
JHCC
-
Posts
19,404 -
Joined
-
Last visited
Content Type
Profiles
Forums
Articles
Gallery
Downloads
Events
Everything posted by JHCC
-

What did you do in the shop today?
JHCC replied to Mark Ling's topic in Blacksmithing, General Discussion
Thanks, lbs. I like the truth it. If you made it with more bars and thinner, you could use it for a grill. -
"£" is the symbol for the British pound sterling. Old British salesman's saying: "Learning leads to £ + earning."
-
"£" + "earn"
-
What did you do in the shop today?
JHCC replied to Mark Ling's topic in Blacksmithing, General Discussion
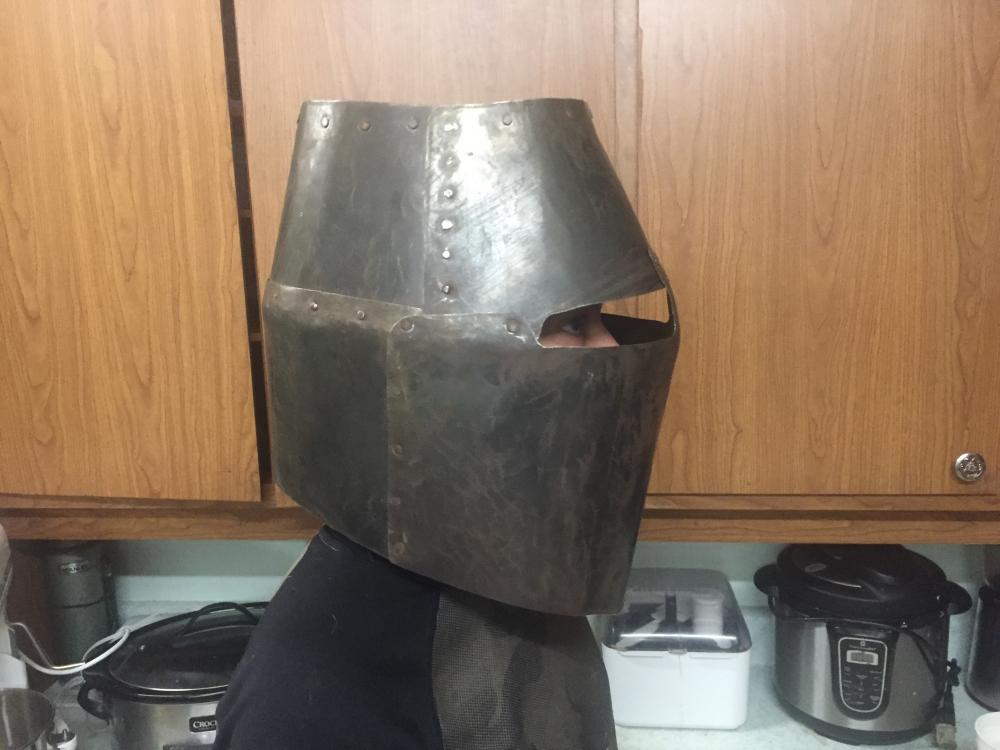
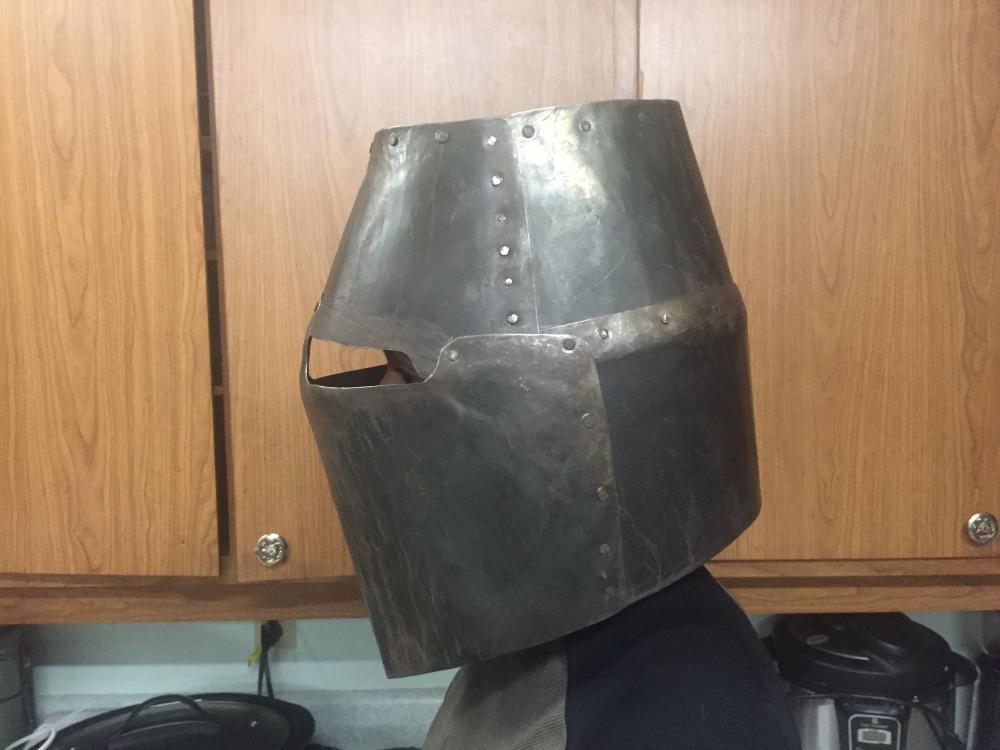
(Perhaps I should add that this entire project is made from salvaged materials: the sheet-metal is from the sides of an old oven, and the rivets are the nails out of some old pallets.) -
What did you do in the shop today?
JHCC replied to Mark Ling's topic in Blacksmithing, General Discussion
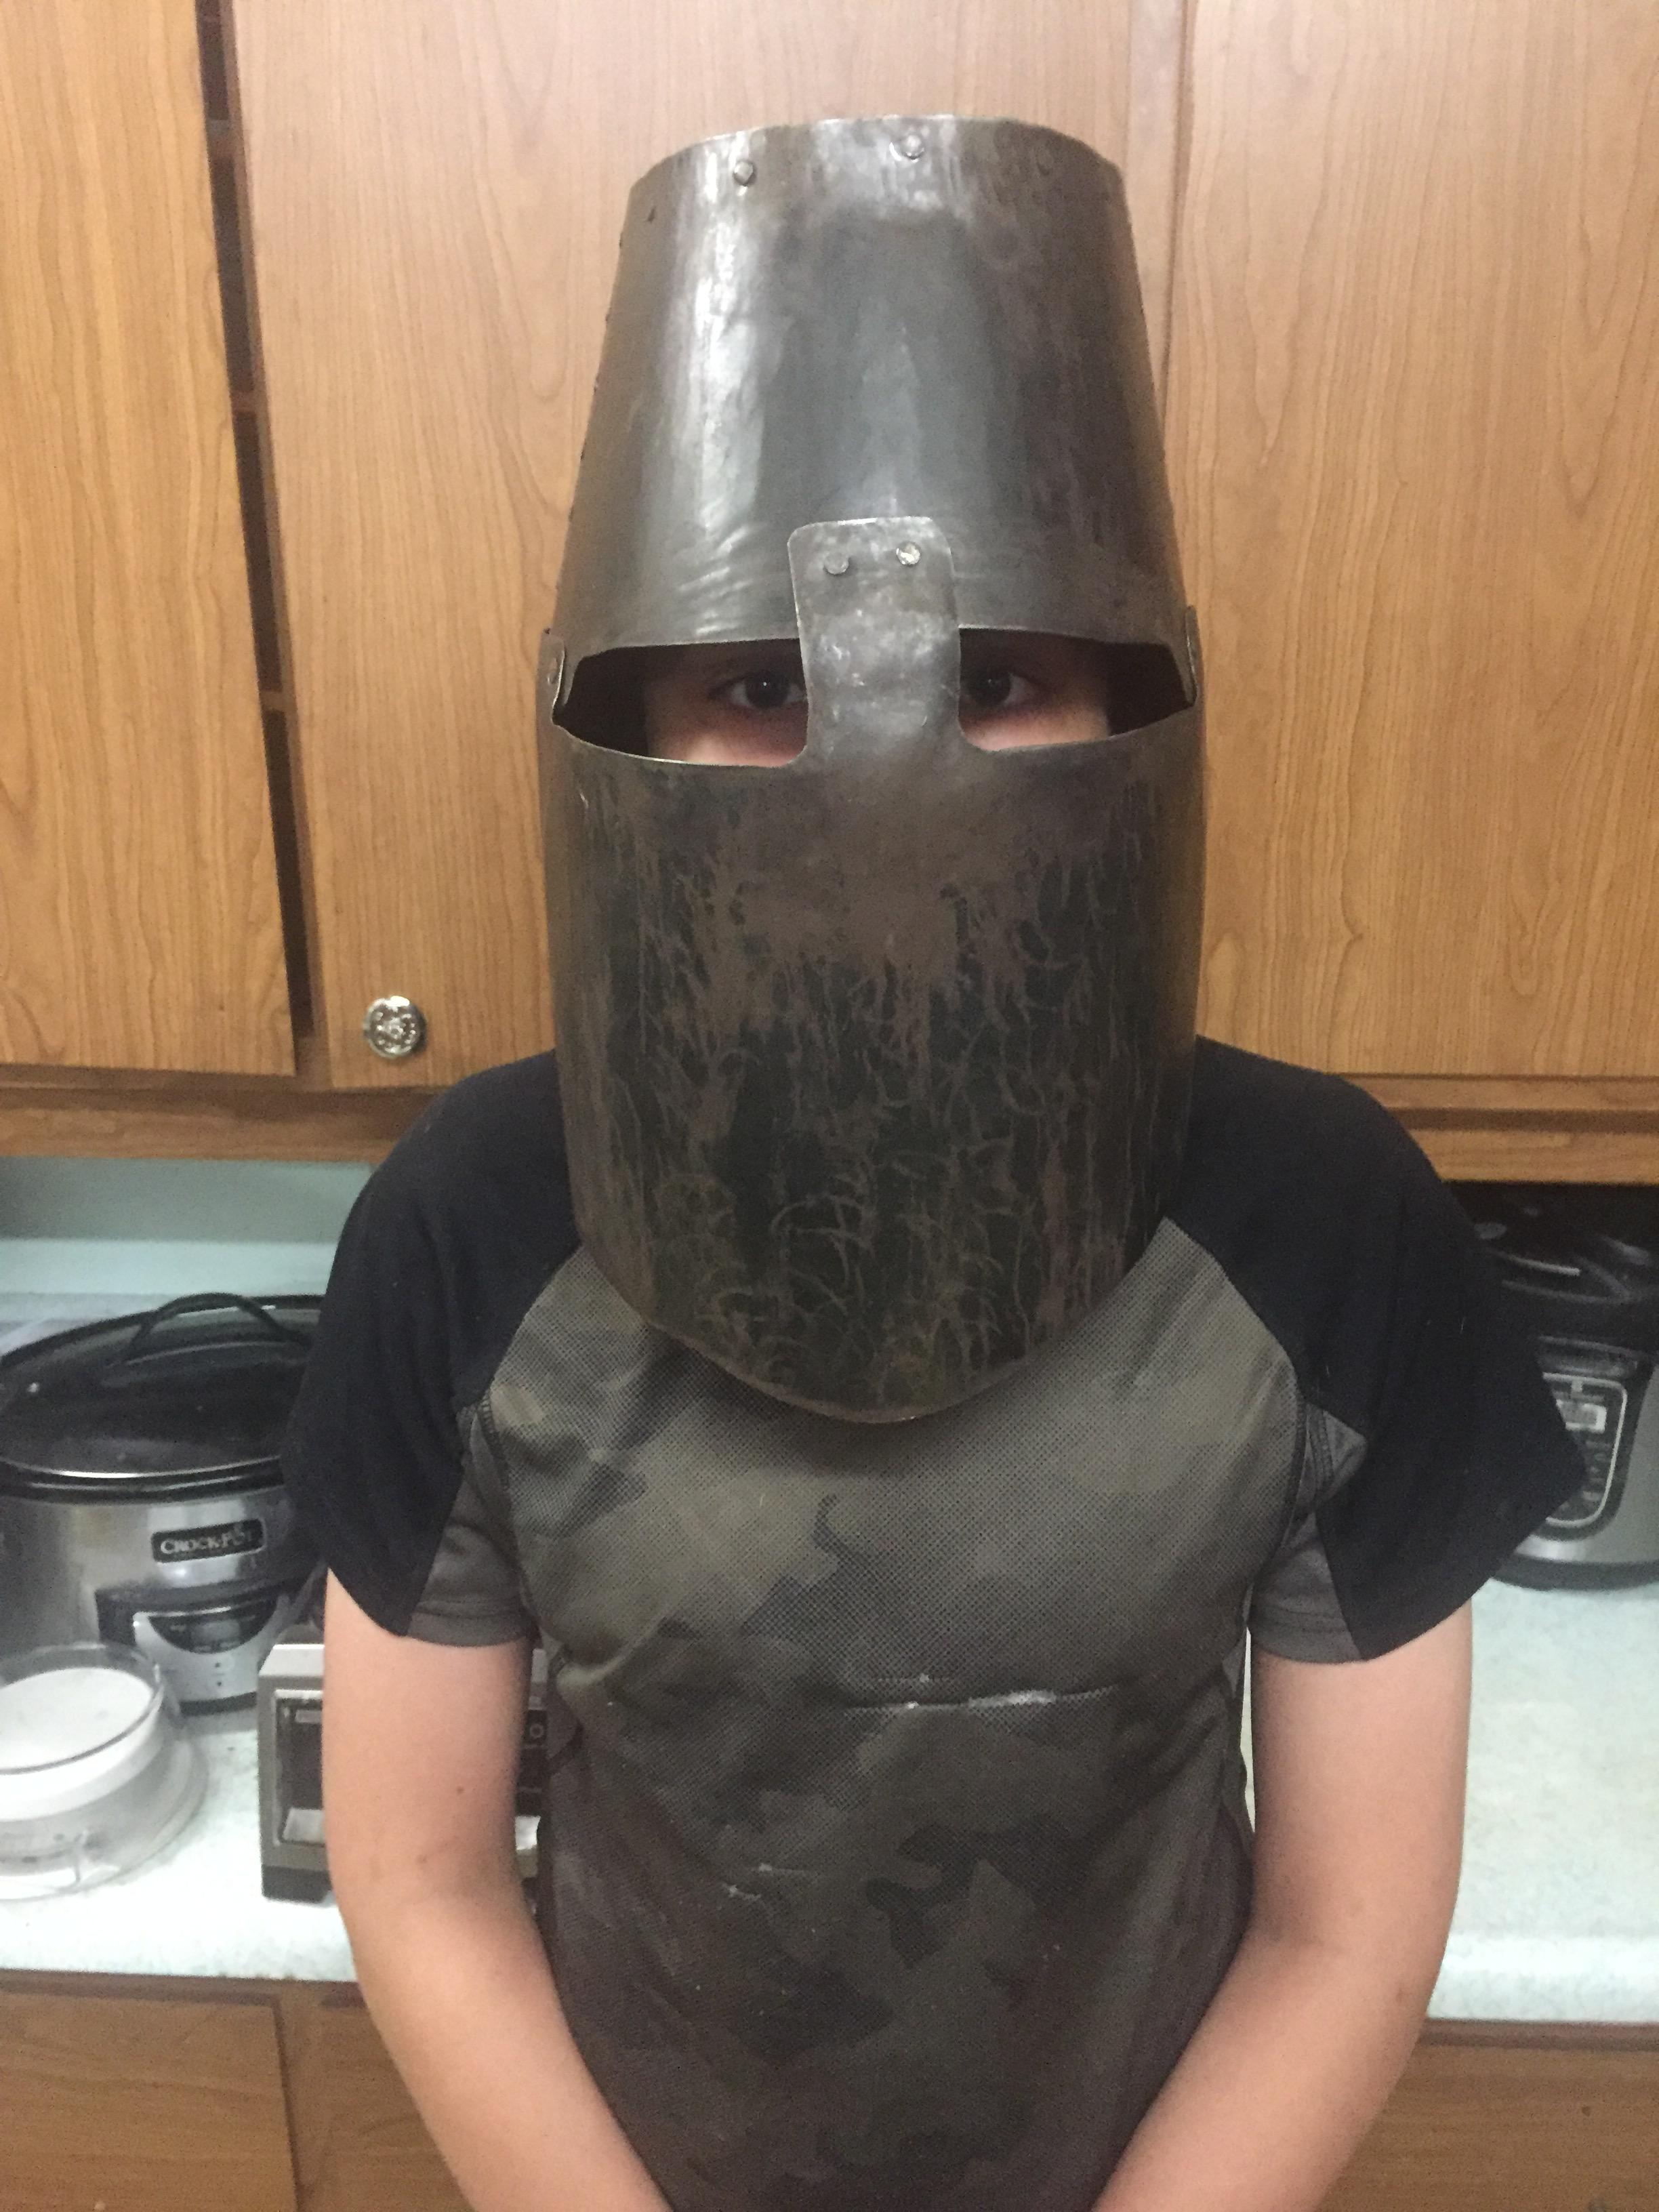
And the shaping and riveting on Bubba's greathelm is all finished! It's a bit big, but he's a growing boy! This is based on Alan Bauldree's patterns from the Armour Archive. Lots of stuff I'd do differently if I were doing it again, but it was a fun exercise.

-
Picked up an Oliver hammer
JHCC replied to Everything Mac's topic in Power Hammers, Treadle Hammers, Olivers
Thanks for posting this, Andy. Looking forward to seeing more. -
What did you do in the shop today?
JHCC replied to Mark Ling's topic in Blacksmithing, General Discussion
That would also give him the opportunity to try out different placements and alignments. Thanks! -
What did you do in the shop today?
JHCC replied to Mark Ling's topic in Blacksmithing, General Discussion
It's for my son and more a fantasy piece than useable armor (the metal is fairly thin gauge, for one thing), so the decoration is going to be a mounted pair of antler spikes, one on each side. True, but the flat top is a bit easier for this novice making his first piece of armor. (That said, I have been tremendously annoyed at some of the helmet designs I see on "Game of Thrones". Some of them seem designed to catch blows rather then shed them, and almost all of them leave the face exposed. There was a scene in the first season where two characters joust with open-face helmets, and there are any number of times when characters go into battle without any helmets at all, even when otherwise fully armored.) -
<Insert corny joke here.>
-
Why mount anvils on things that bounce?
JHCC replied to rookieironman's topic in Anvils, Swage Blocks, and Mandrels
Yes, and yes -- and infinite height adjustability. -
Why mount anvils on things that bounce?
JHCC replied to rookieironman's topic in Anvils, Swage Blocks, and Mandrels
Much depends on what kind of sand you use. Sand that's been tumbled and rounded from the action of water (e.g., a stream bed) will tend to shift more easily than sand made by crushing rock (also known as "sharp sand"). The latter tend to lock itself into place pretty quickly, or so I'm told. -
New guy here, just made an anvil for around the shop
JHCC replied to Tapper2's topic in Anvils, Swage Blocks, and Mandrels
Lots of folks (both on IFI and elsewhere) do just that. -
What did you do in the shop today?
JHCC replied to Mark Ling's topic in Blacksmithing, General Discussion
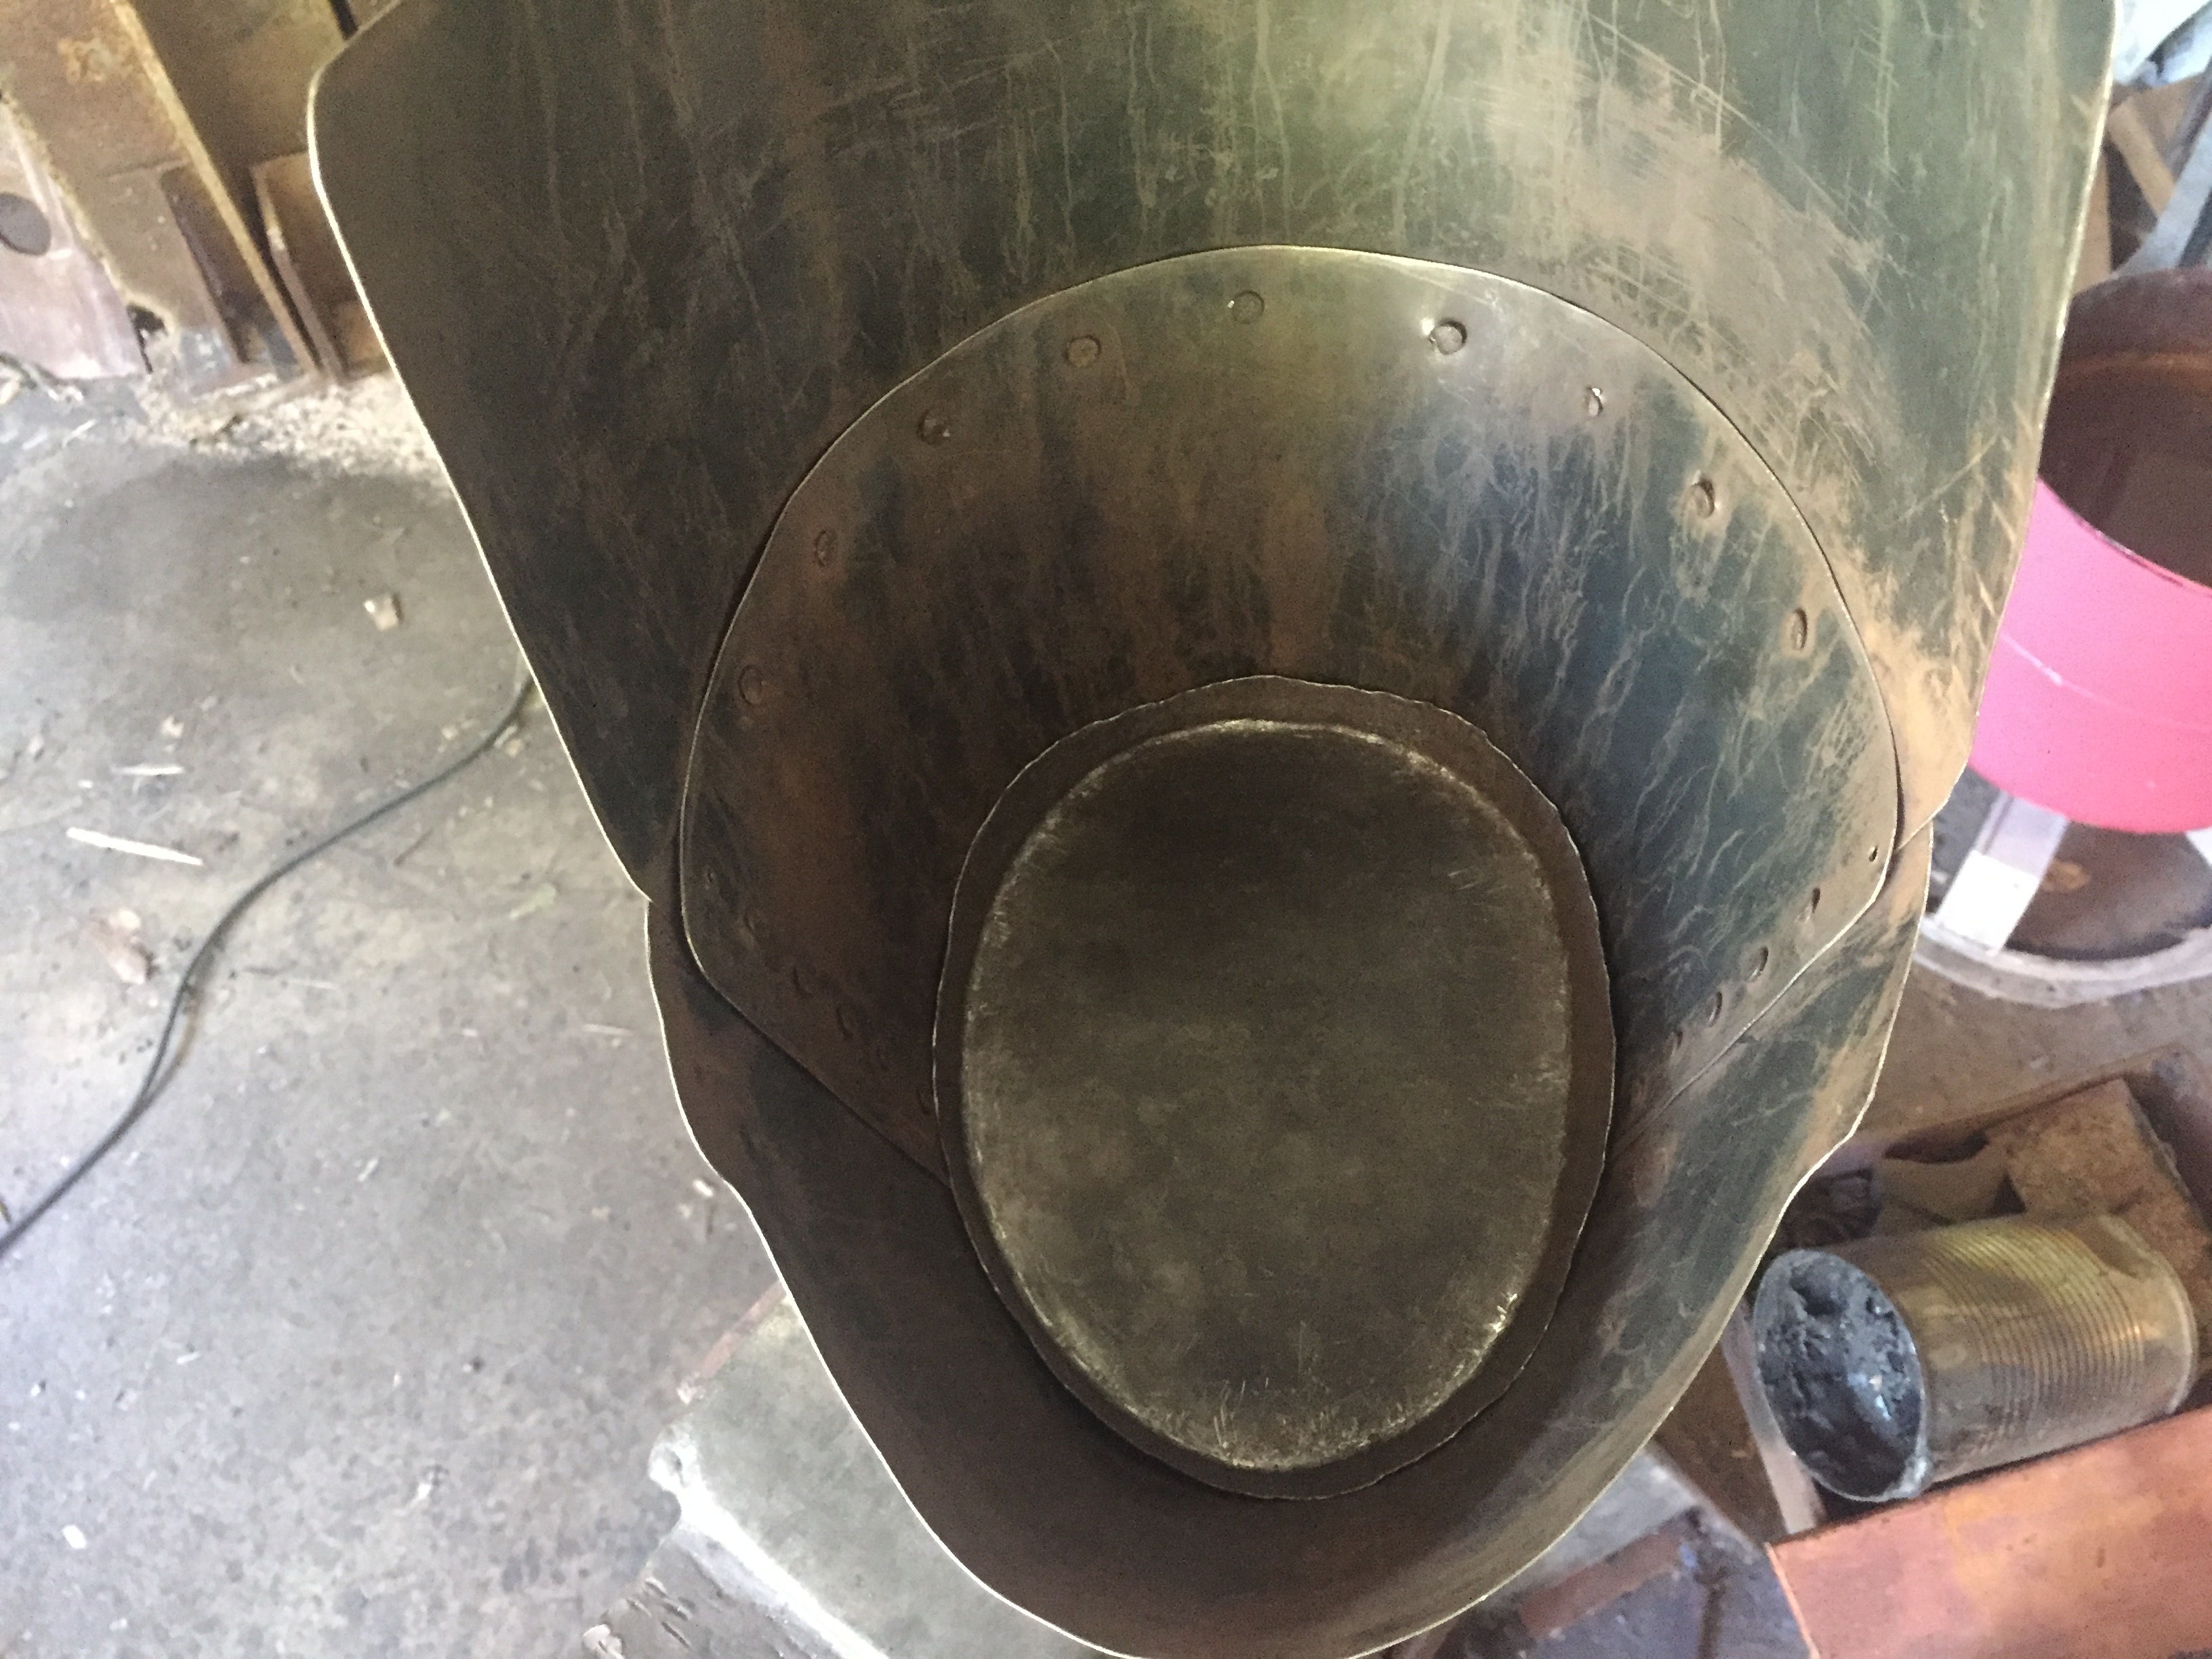
Put in some work fitting the crown plate on the greathelm.
-
New guy here, just made an anvil for around the shop
JHCC replied to Tapper2's topic in Anvils, Swage Blocks, and Mandrels
Welcome aboard, Tapper2! Good to have you, and keep up the creative thinking. No critique to add to what's been said above, but I'd heartily second the appreciation of your innovative approach. I'm often in upstate NY on business -- whereabouts are you? -
What did you do in the shop today?
JHCC replied to Mark Ling's topic in Blacksmithing, General Discussion
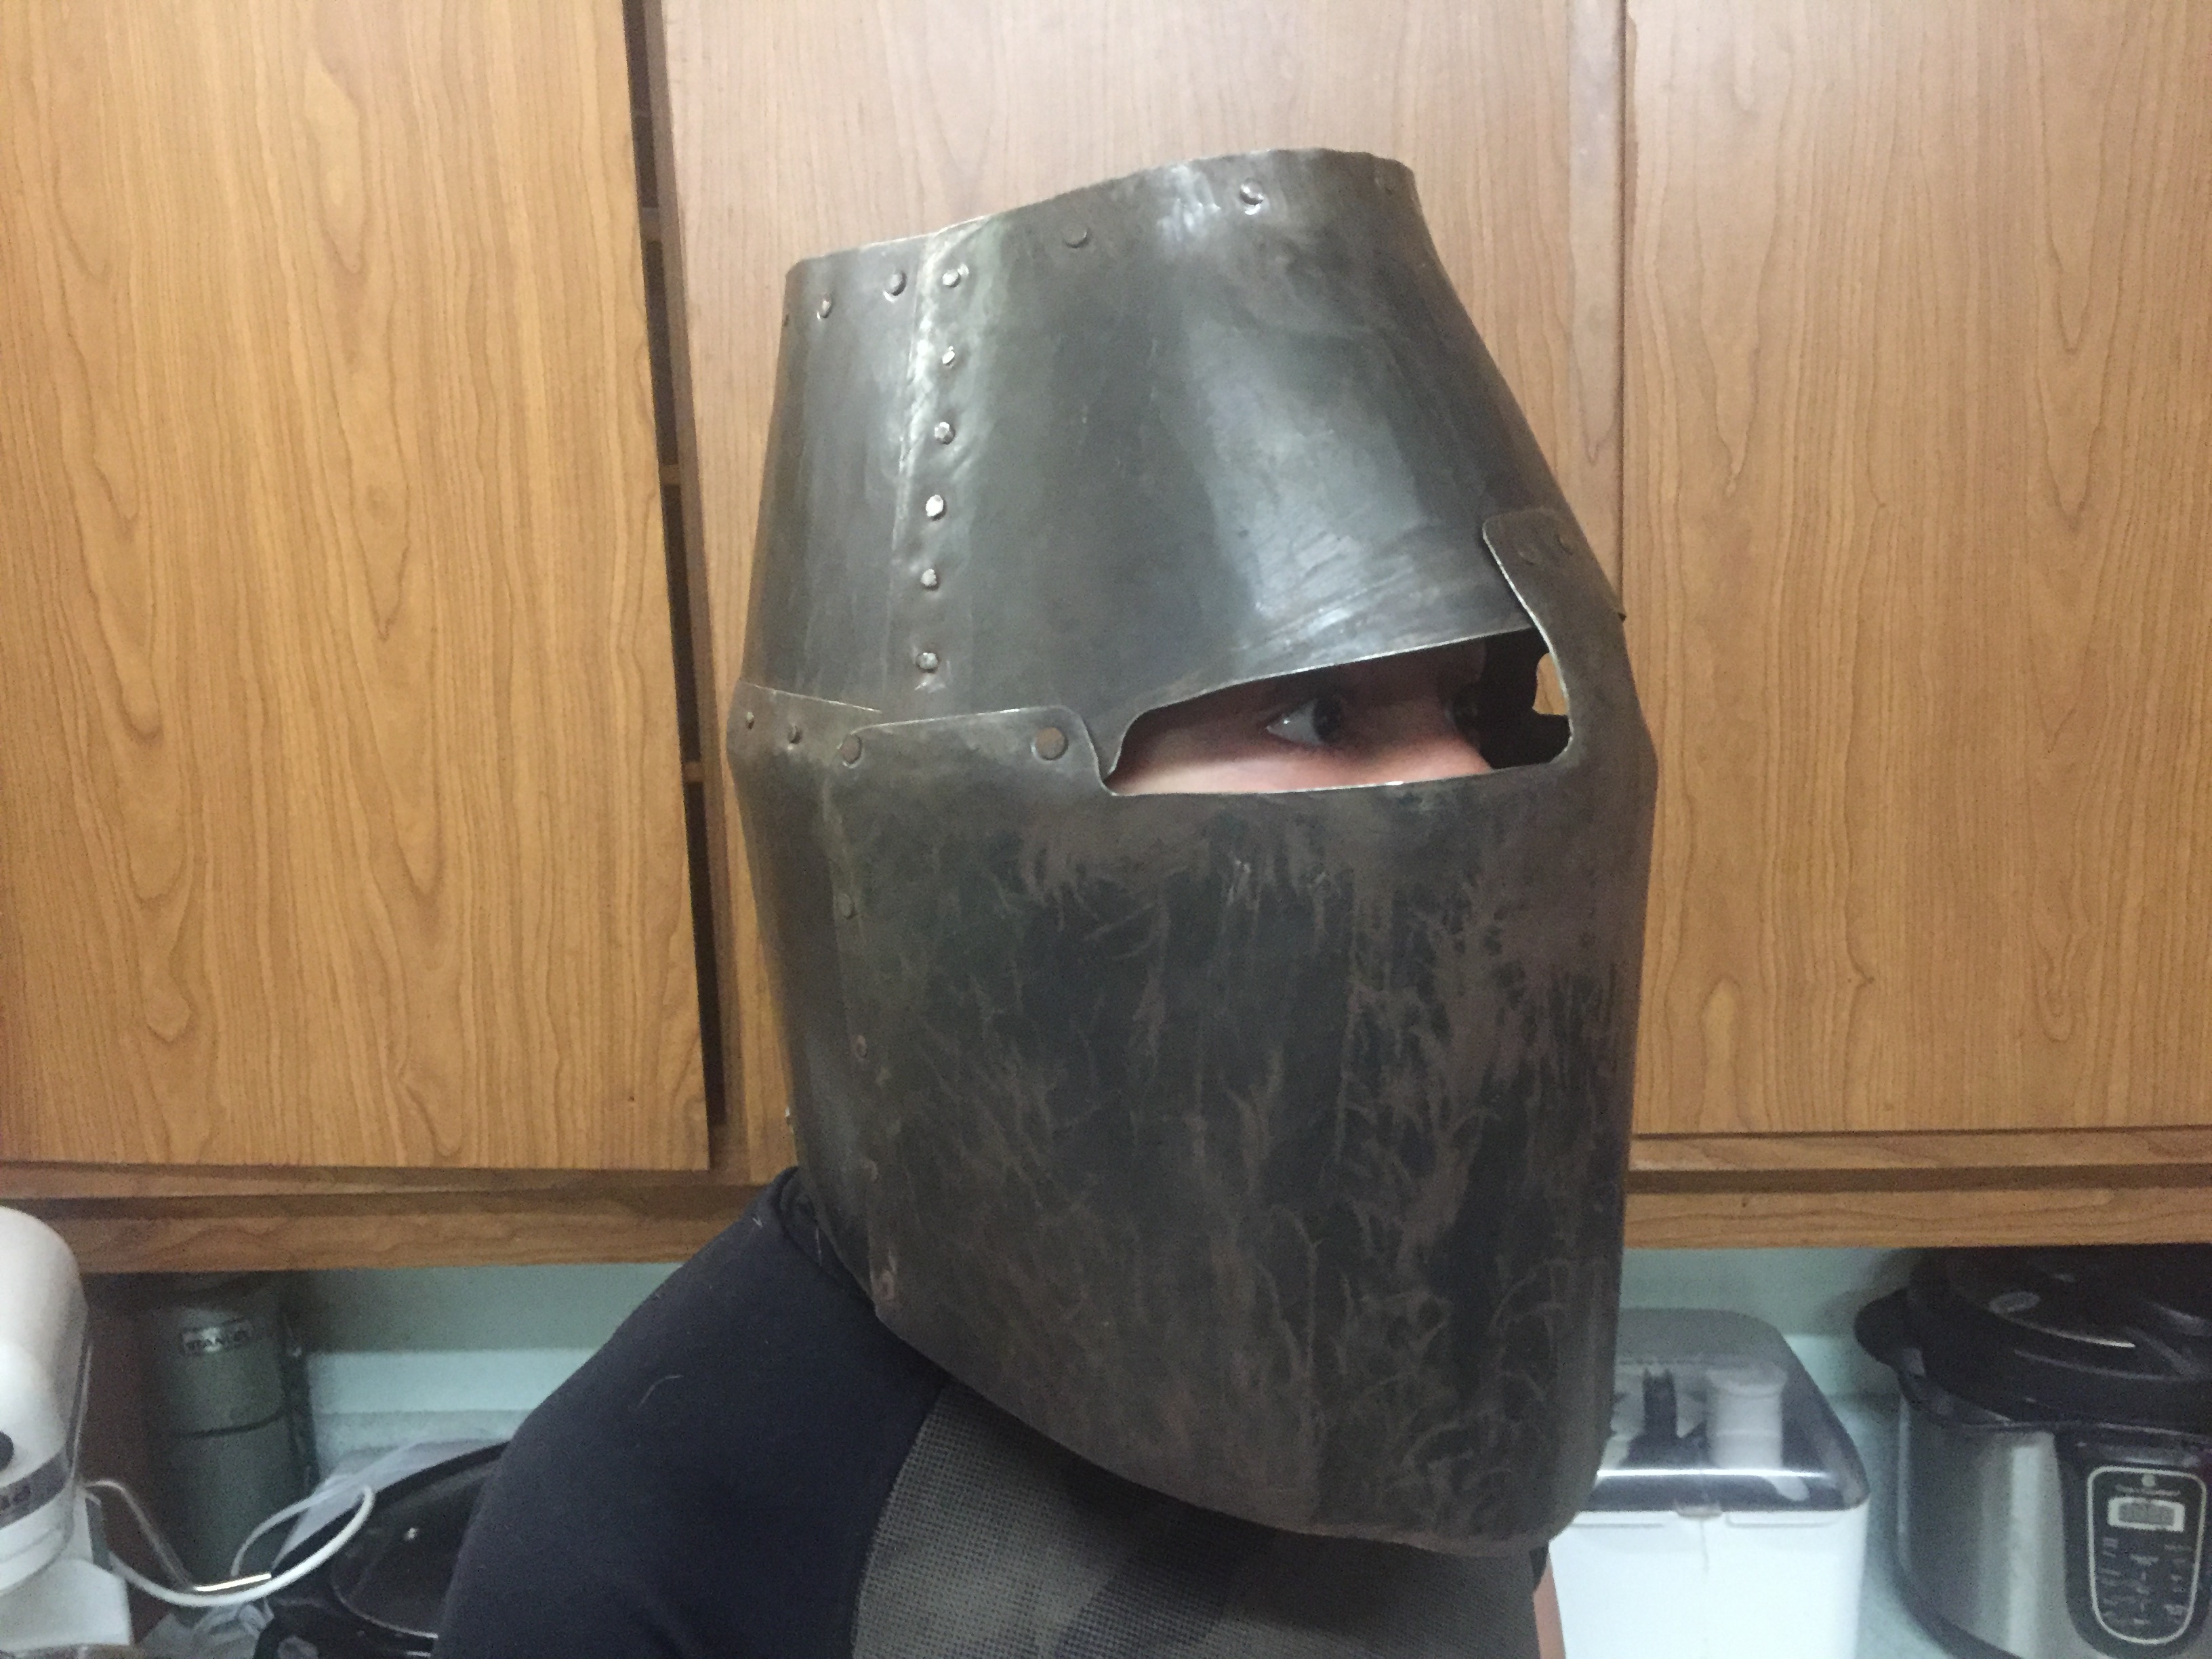
A beard that could easily stop a sword blade, if the pictures are to be believed. -
Somehow, my eye skipped over the "it to" in that sentence.... I burn anthracite as well in a side-blast JABOD. Not sure what size coal you're burning, but the rice coal from Tractor Supply Company works well for me.
-
What did you do in the shop today?
JHCC replied to Mark Ling's topic in Blacksmithing, General Discussion
Haven't put on the bottom of the face yet. -
What did you do in the shop today?
JHCC replied to Mark Ling's topic in Blacksmithing, General Discussion
Considering that I haven't installed the plate that covers the crown, I wouldn't suggest using this as a thunder jug in the usual way! -
What did you do in the shop today?
JHCC replied to Mark Ling's topic in Blacksmithing, General Discussion
Progress.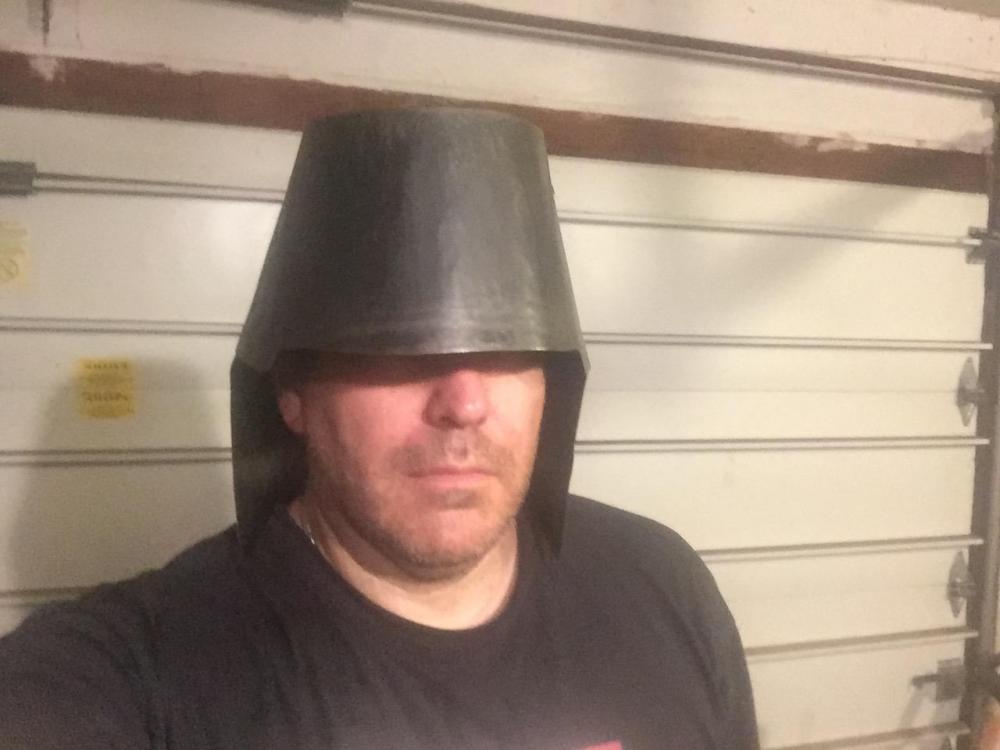
-
There was a thread here a while back about why farrier tongs have that dimple in the middle. If I recall correctly, the idea was that having a ring-shaped contact area gives you lots of grip, the ability to easily change the angle of the workpiece relative to the tongs, and little-to-no tendency for the workpiece to pivot inside the jaws (as often happens as a high spot develops in the middle of flat-bit tongs).
-
What did you do in the shop today?
JHCC replied to Mark Ling's topic in Blacksmithing, General Discussion
That sounds like a good idea, especially if you cold-forge the pipe down to the proper taper first. -
Let me know how it works out!
-
What did you do in the shop today?
JHCC replied to Mark Ling's topic in Blacksmithing, General Discussion
If the chisel is just going to be pushed by hand, it's probably okay as-is. If there is any chance that it's going to be struck with a hammer or a mallet, I would worry about what happens as repeated blows slowly force the tapered end of the handle farther and farther inside the socket. If the metal is too soft, the socket could open up. If it's too hard, the socket could crack, especially since the socket as it stands will have a bit of flex to it. The advantage of a solidly welded socket is that it distributes the compressive force all the way around, with less chance of it finding and exploiting a weak spot. So, yes: electrically welding would be good. I defer to those with more welding experience for advise on pre- and post-heat, etc. -
What did you do in the shop today?
JHCC replied to Mark Ling's topic in Blacksmithing, General Discussion
I'd suggest forge welding the socket, but that probably wouldn't work if your coil was 5160. I must say, though, that the blade on that looks great. -
What did you do in the shop today?
JHCC replied to Mark Ling's topic in Blacksmithing, General Discussion
Two things about that chisel: the first is that you need to close up the base of the socket. Otherwise, the handle is just going to push straight through, especially when struck with a mallet. You might also want to run a bead of weld up the joint, just to keep the whole thing from opening up under pressure. Second, if the chisel is going to be used primarily for paring, you might want to crank the socket forward, to give more clearance on the back.