templehound
-
Posts
448 -
Joined
-
Last visited
Content Type
Profiles
Forums
Articles
Gallery
Downloads
Events
Everything posted by templehound
-
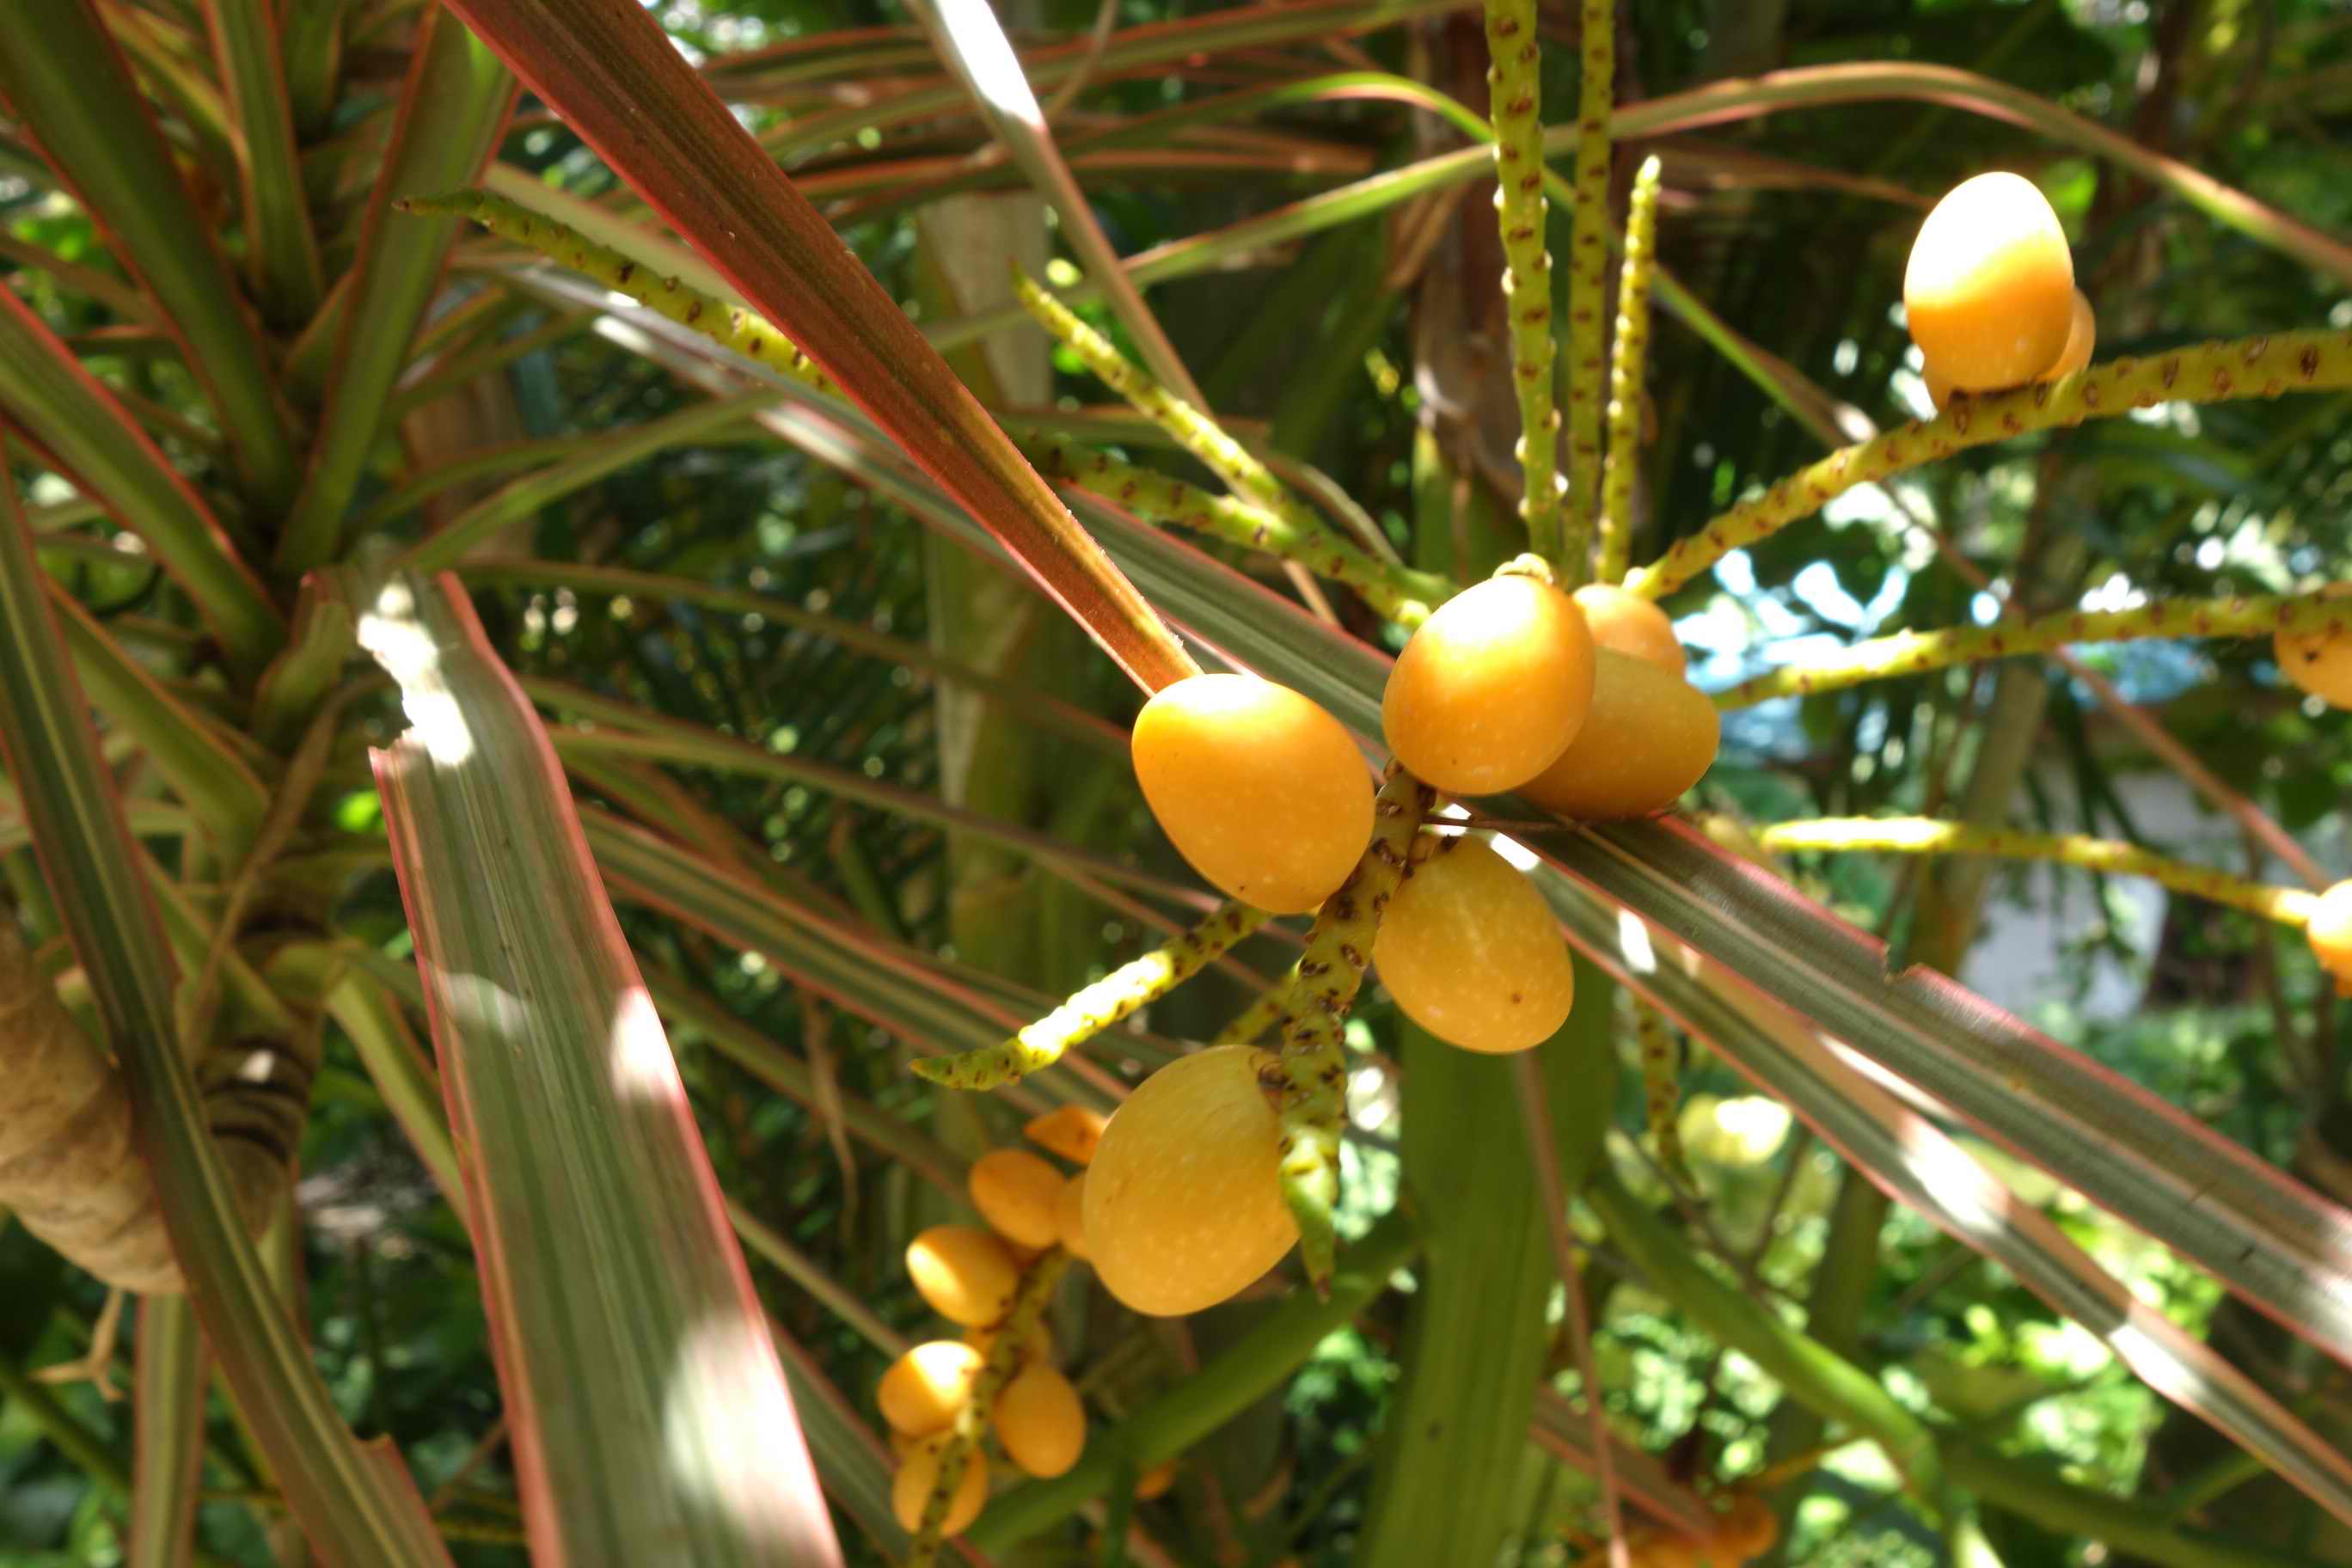
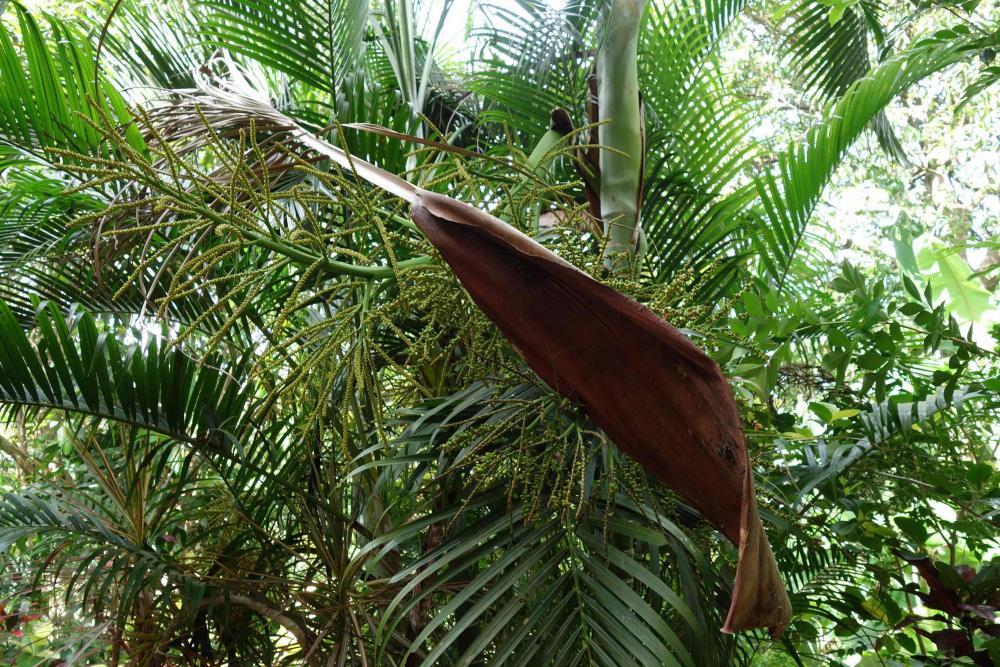
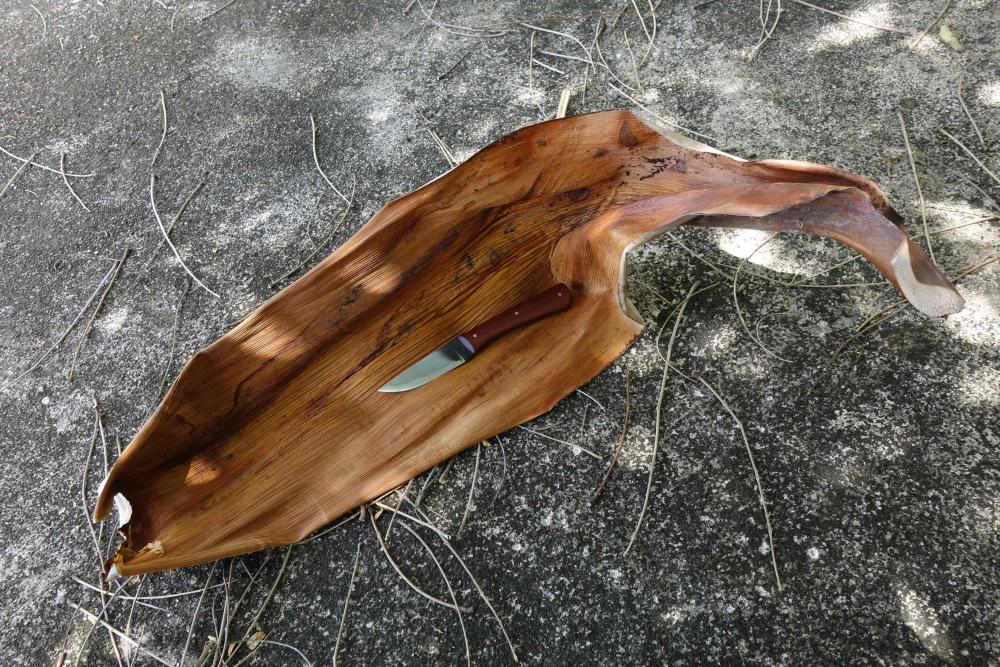
Thanks DASwulf , it is the base of a leaf of a Betel nut tree(Areca catechu), it is hard and thick when dried, just like wood veneer. Thanks KRS, .....und Grüsse nach Bayern!

-
Thanks a lot, Boys!
-
Second real knife....? Good classically proportioned design, full taper on the blade, cable welded blade....that is not beginners level, it is real advanced class....and You did excellent! ....actually" second-real-knife-makers" are not supposed to be that good....I am plastered
-
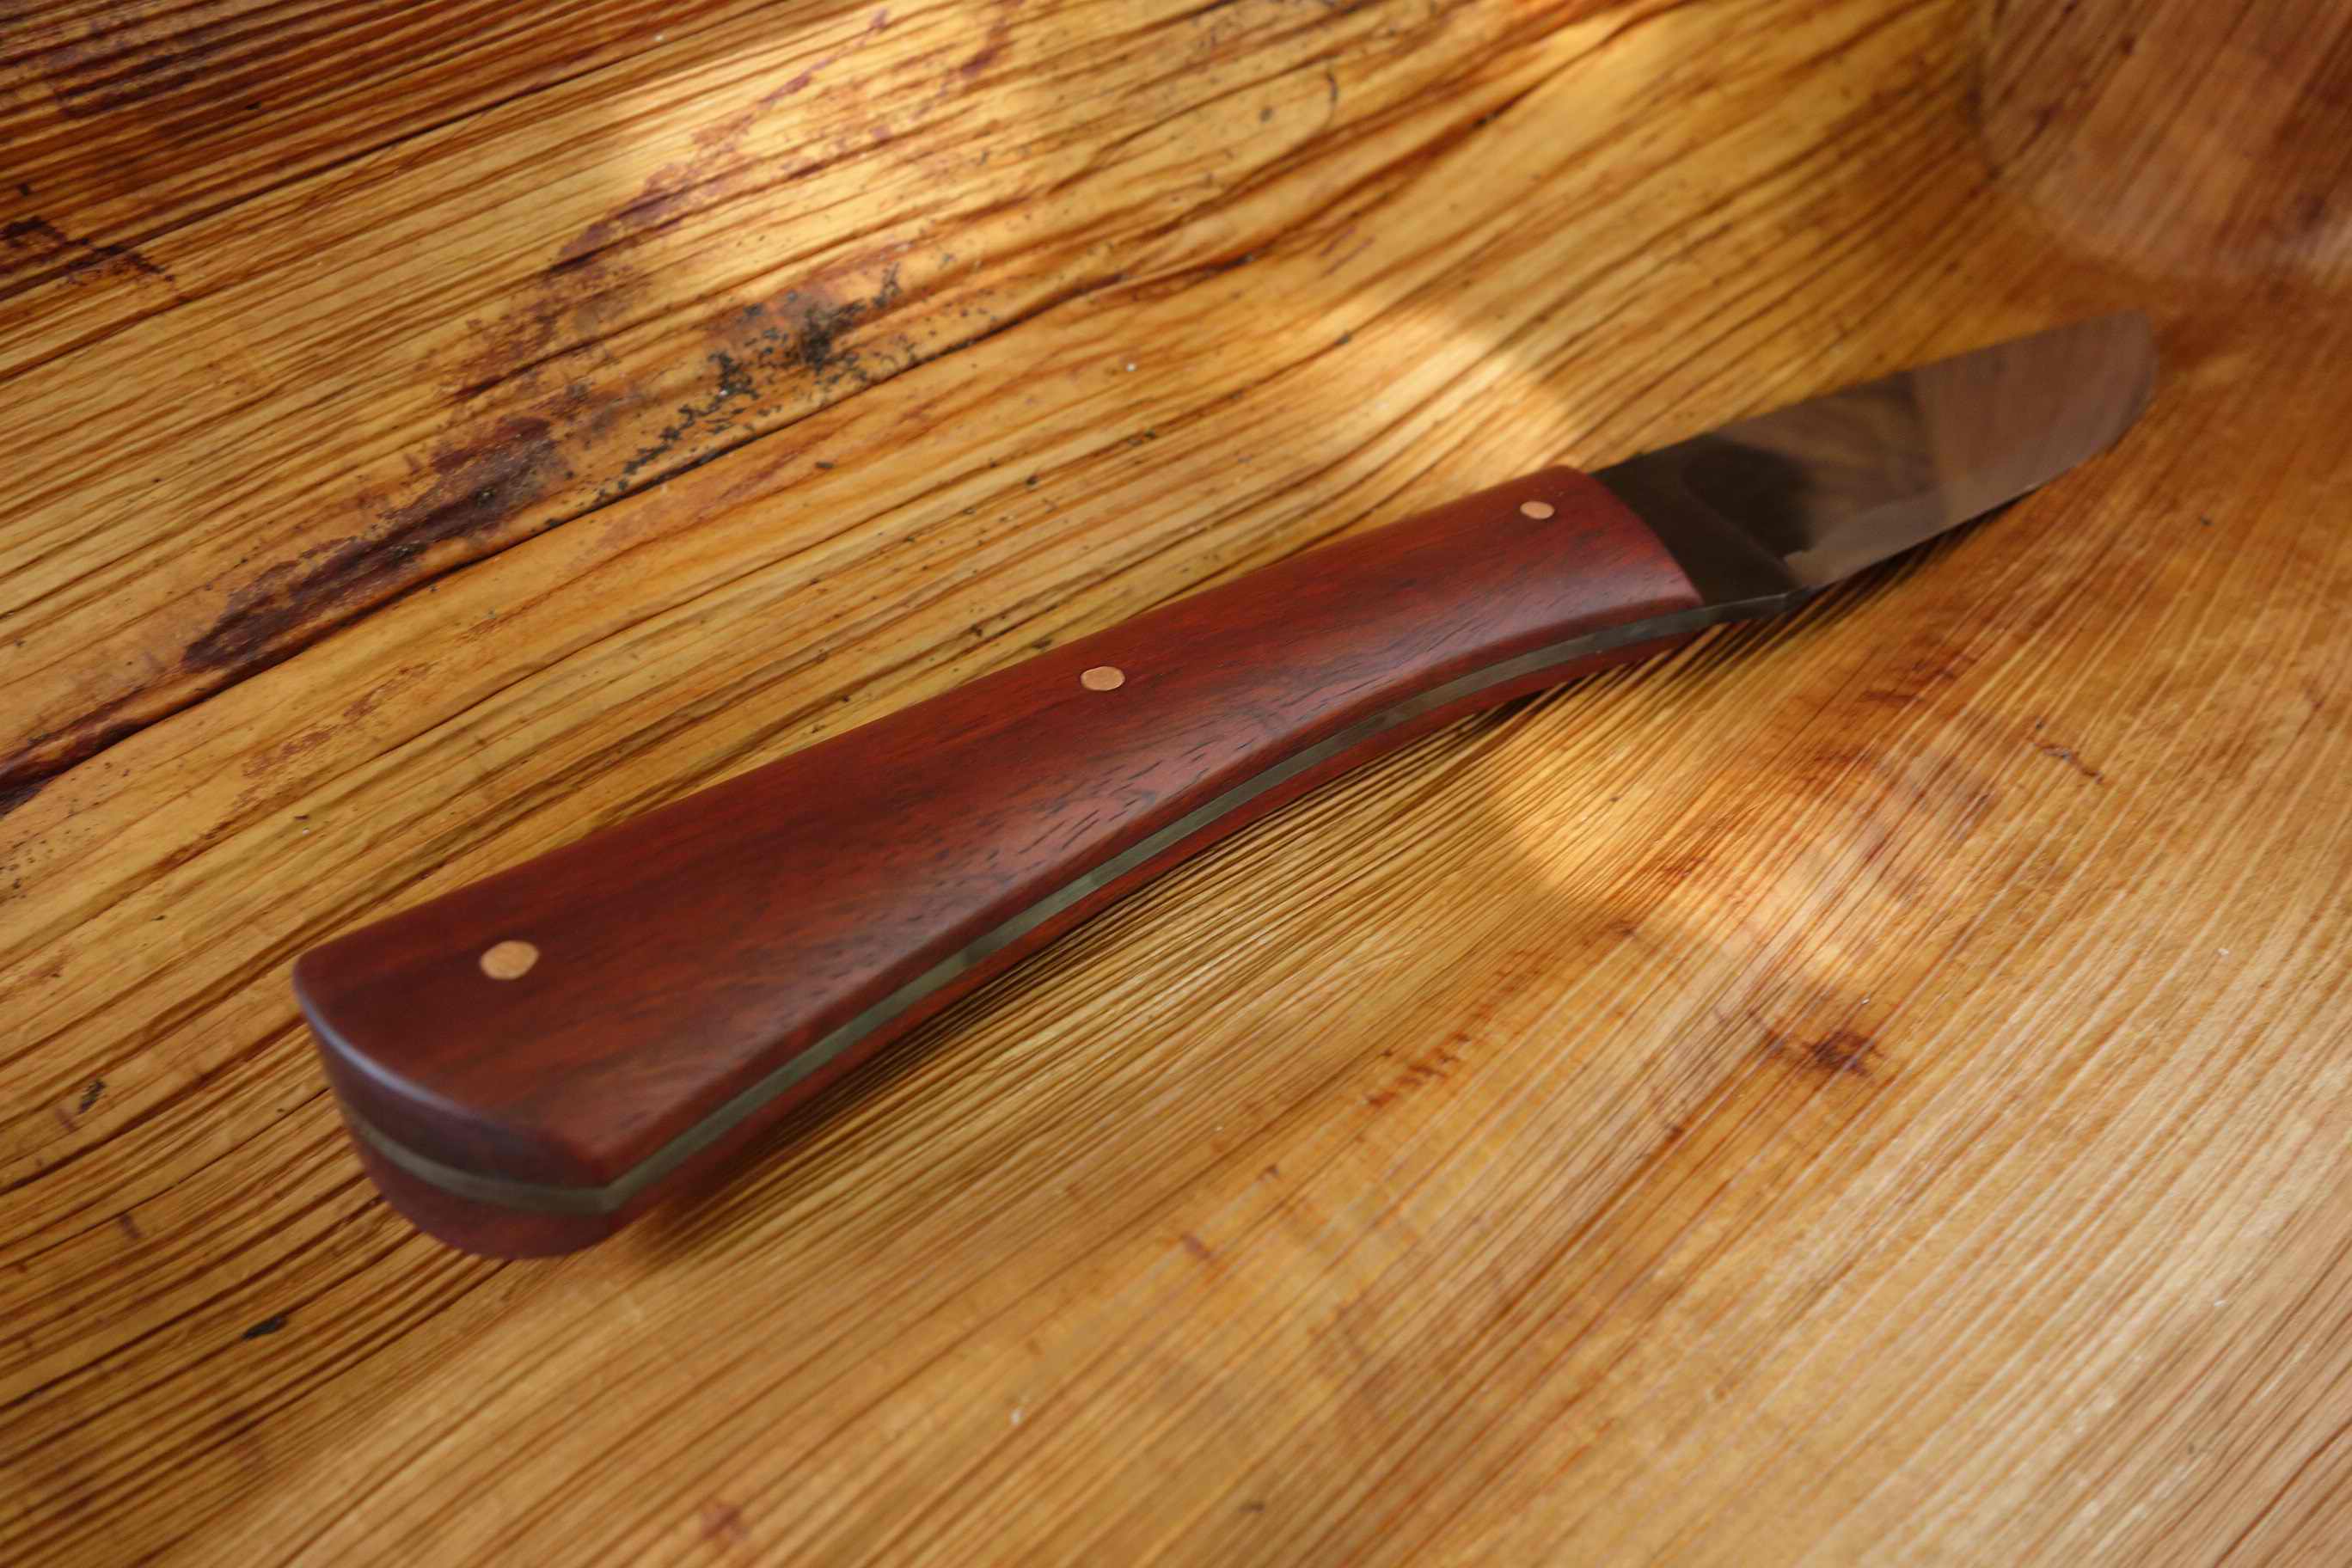
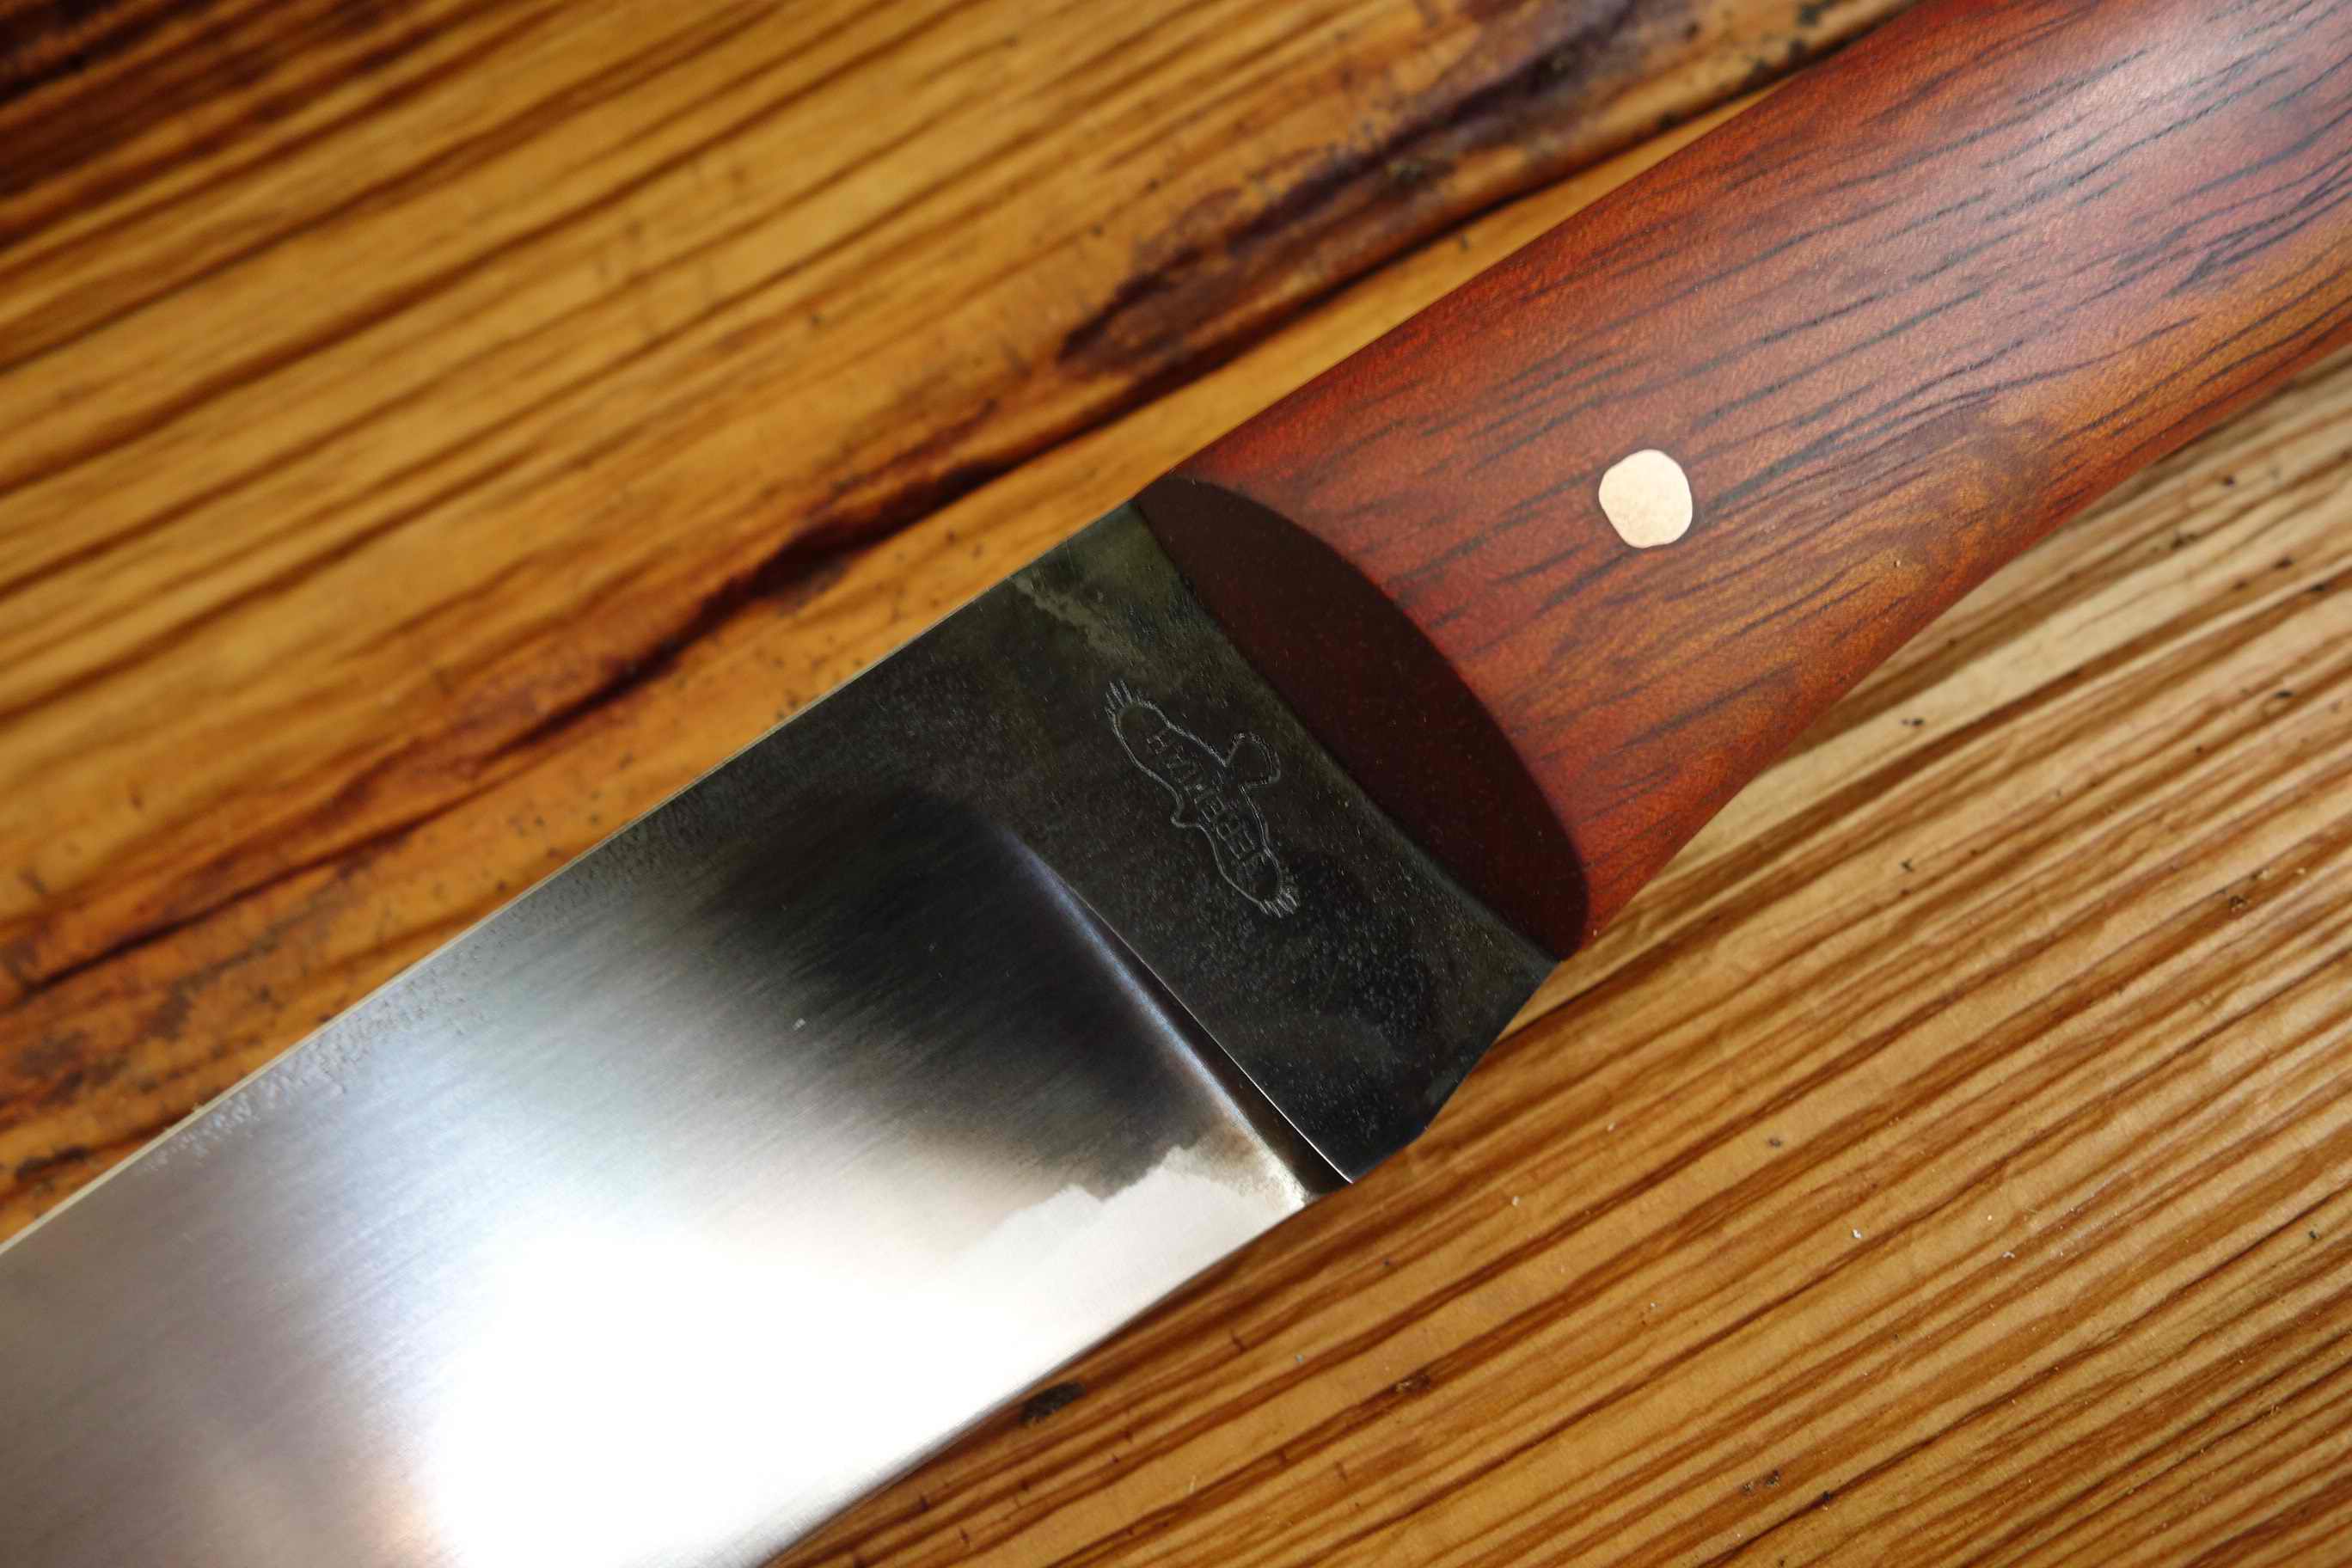
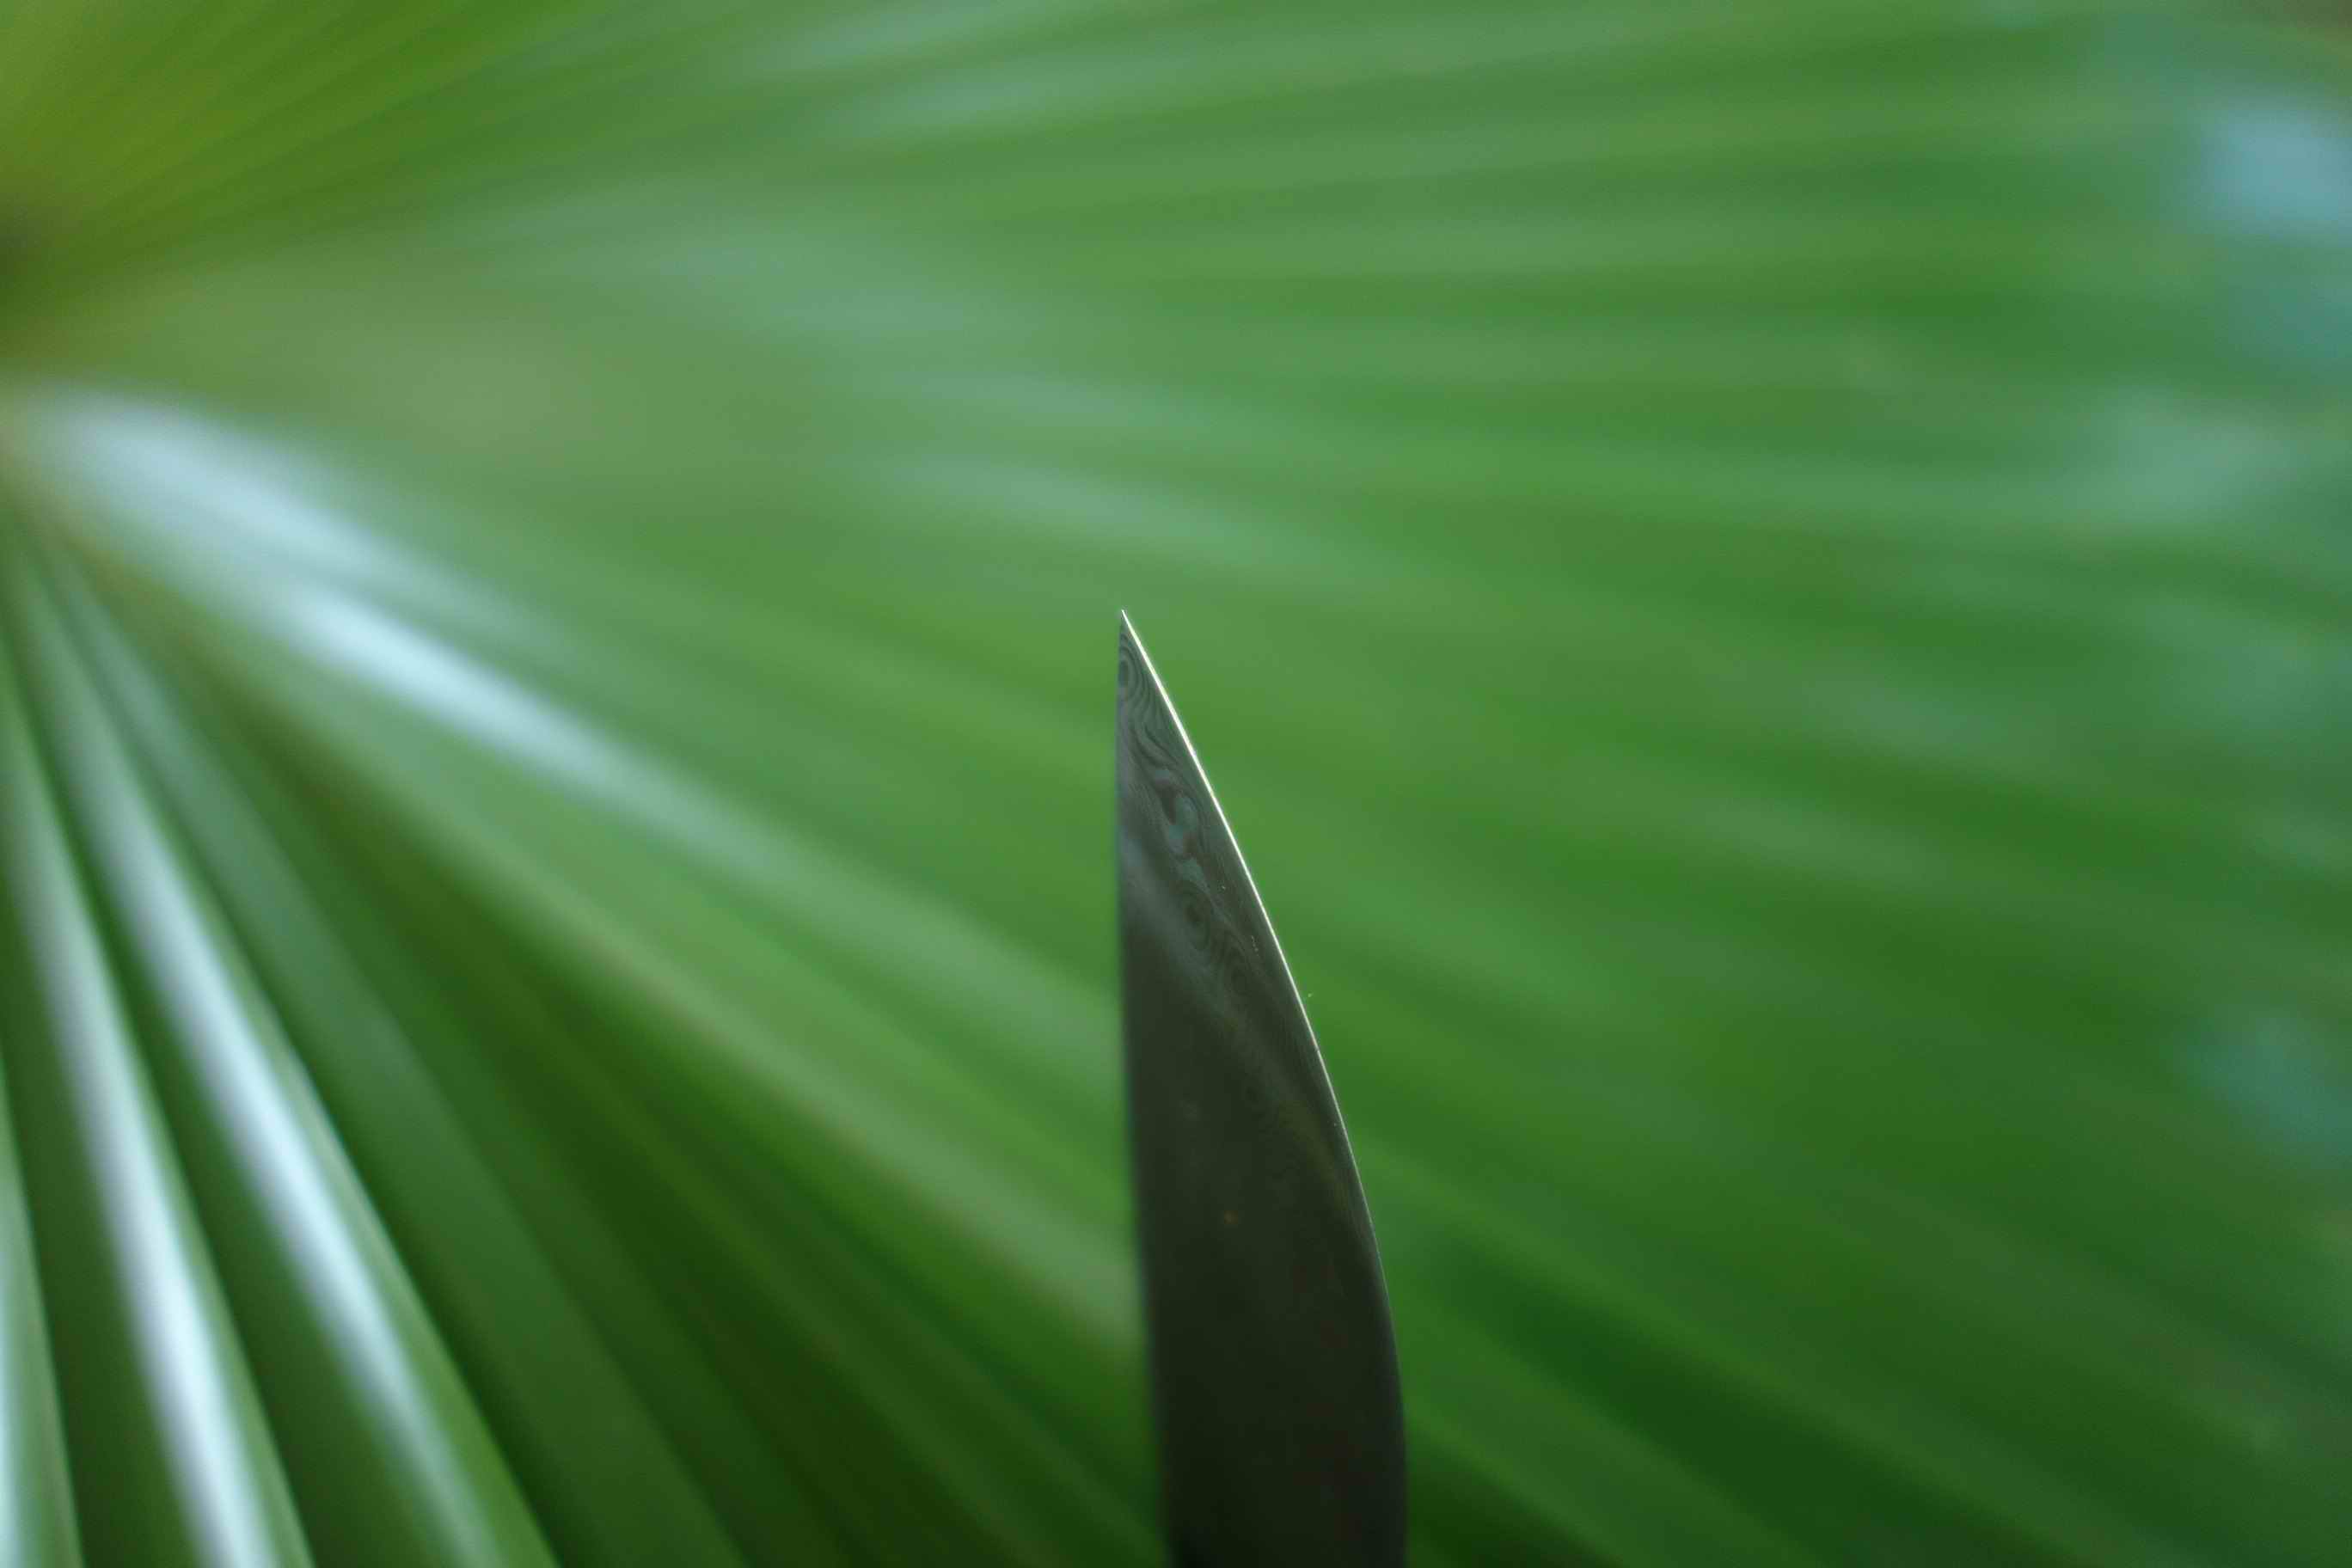
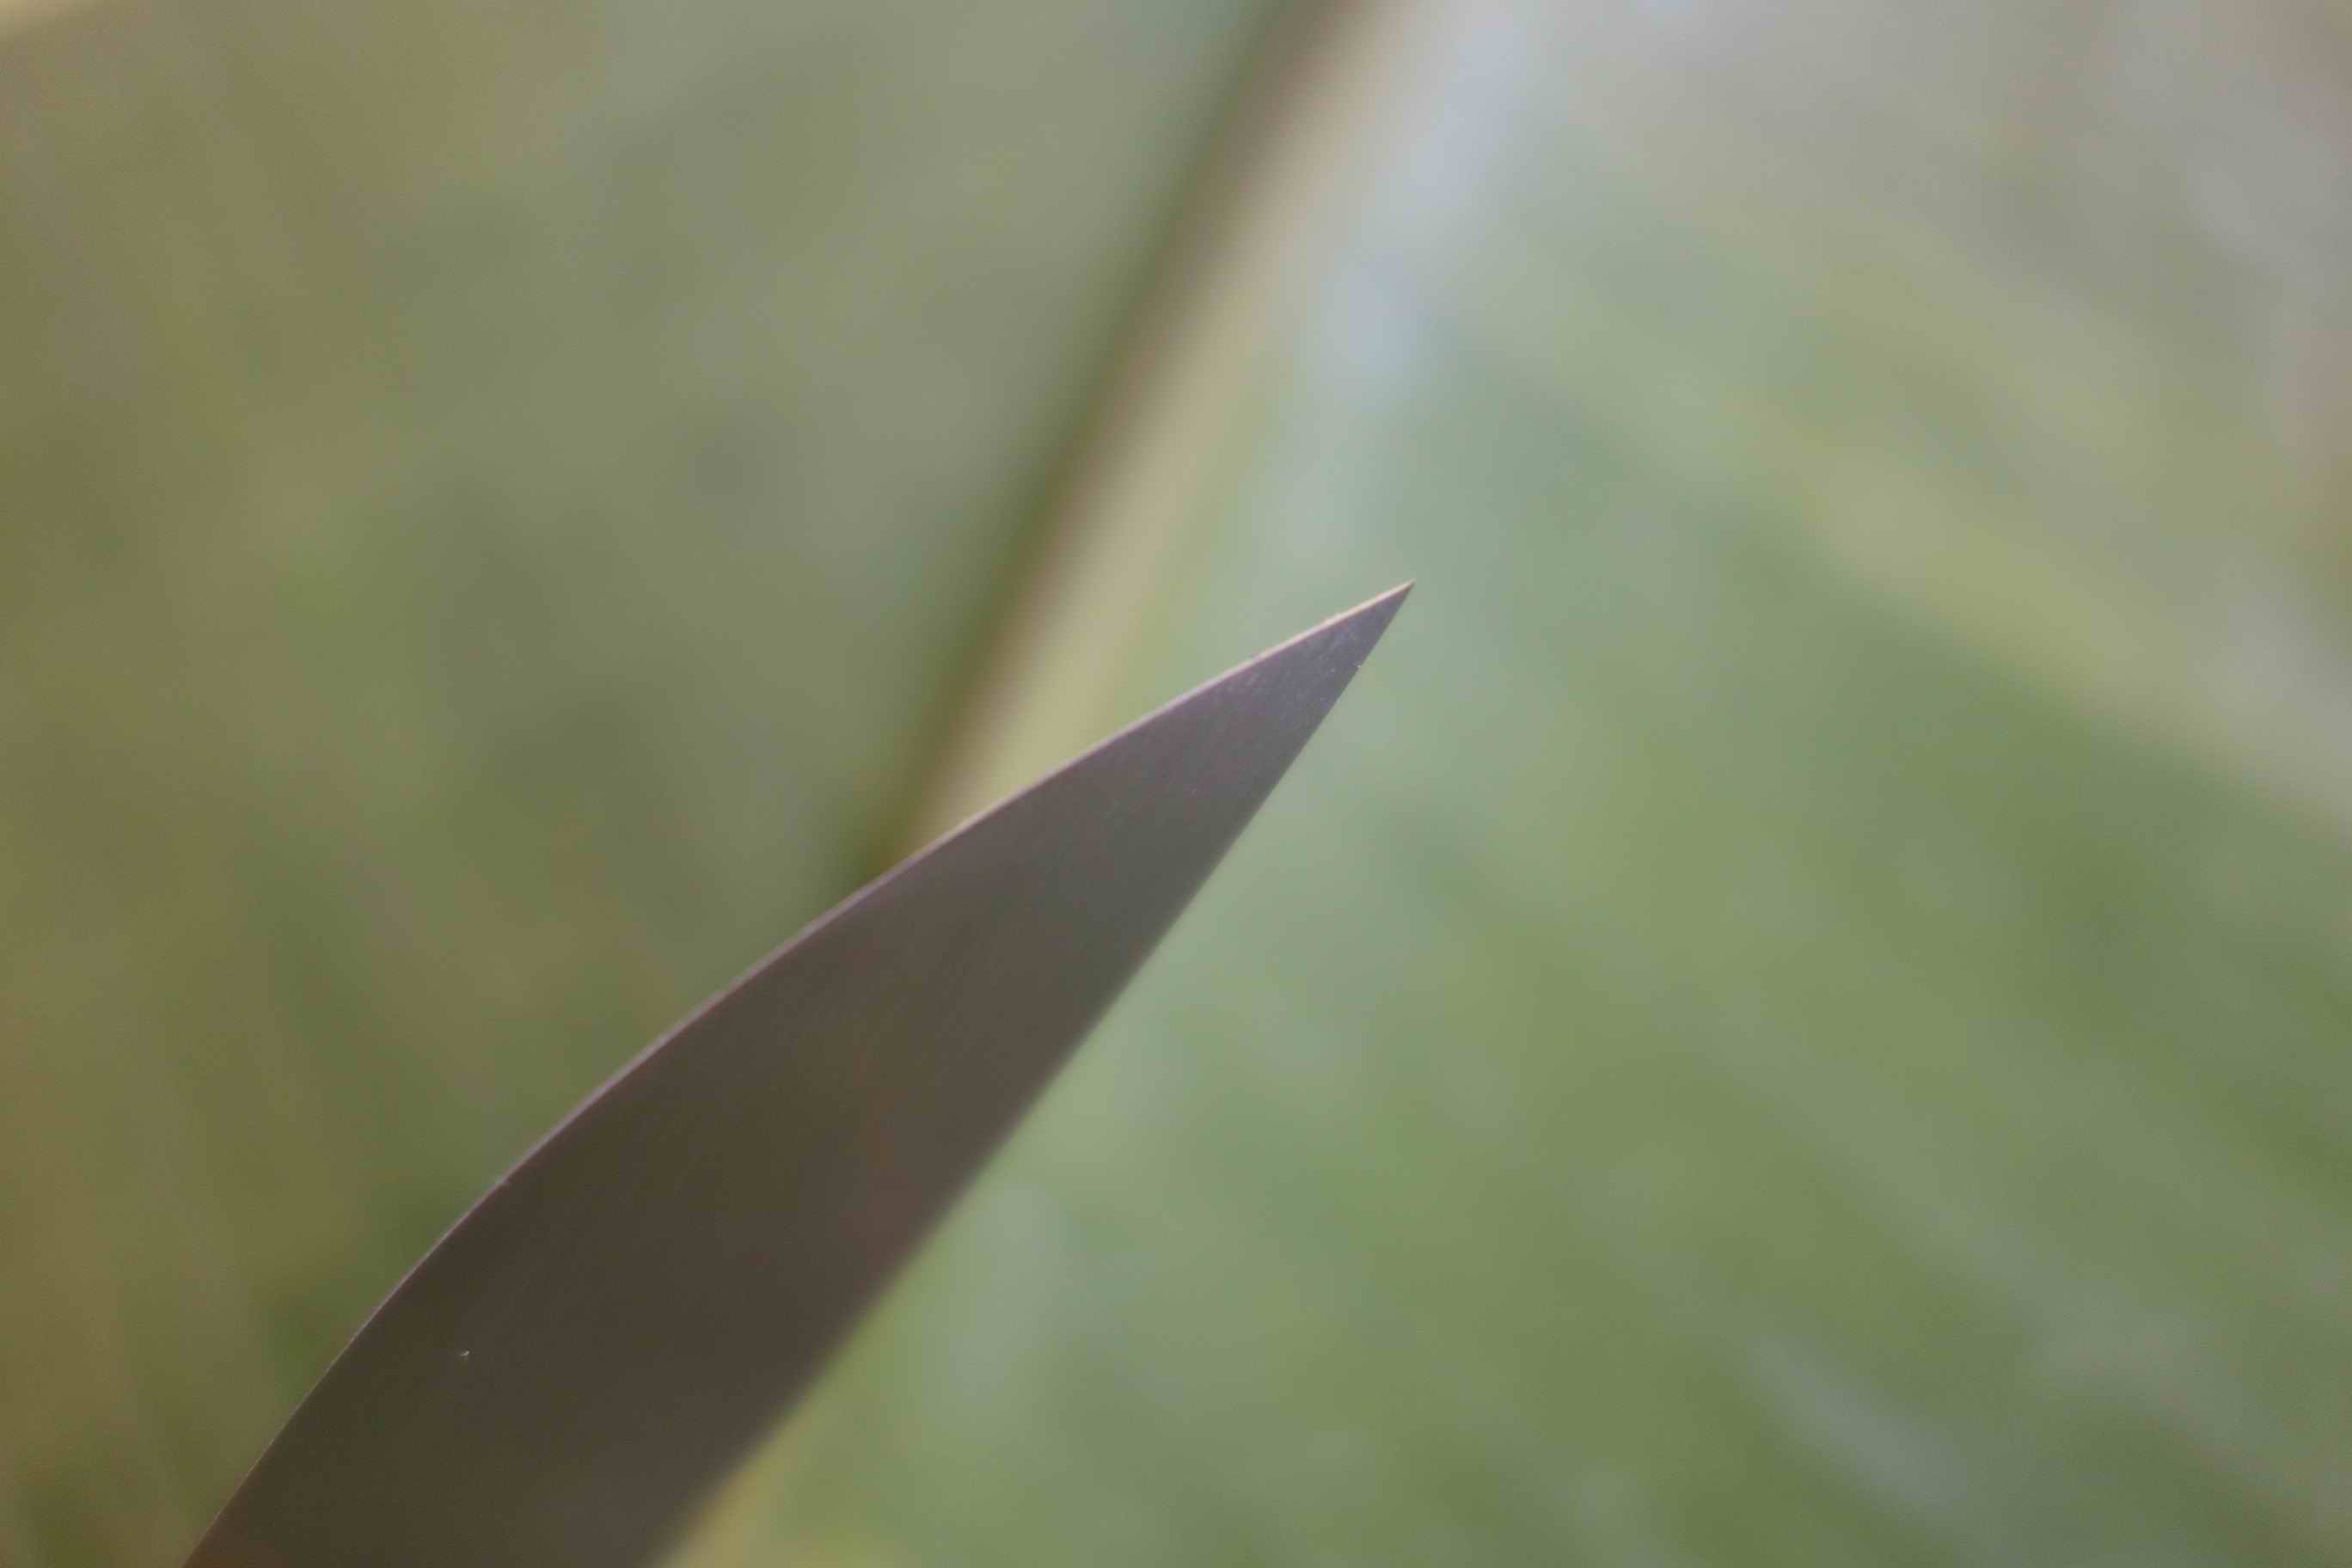
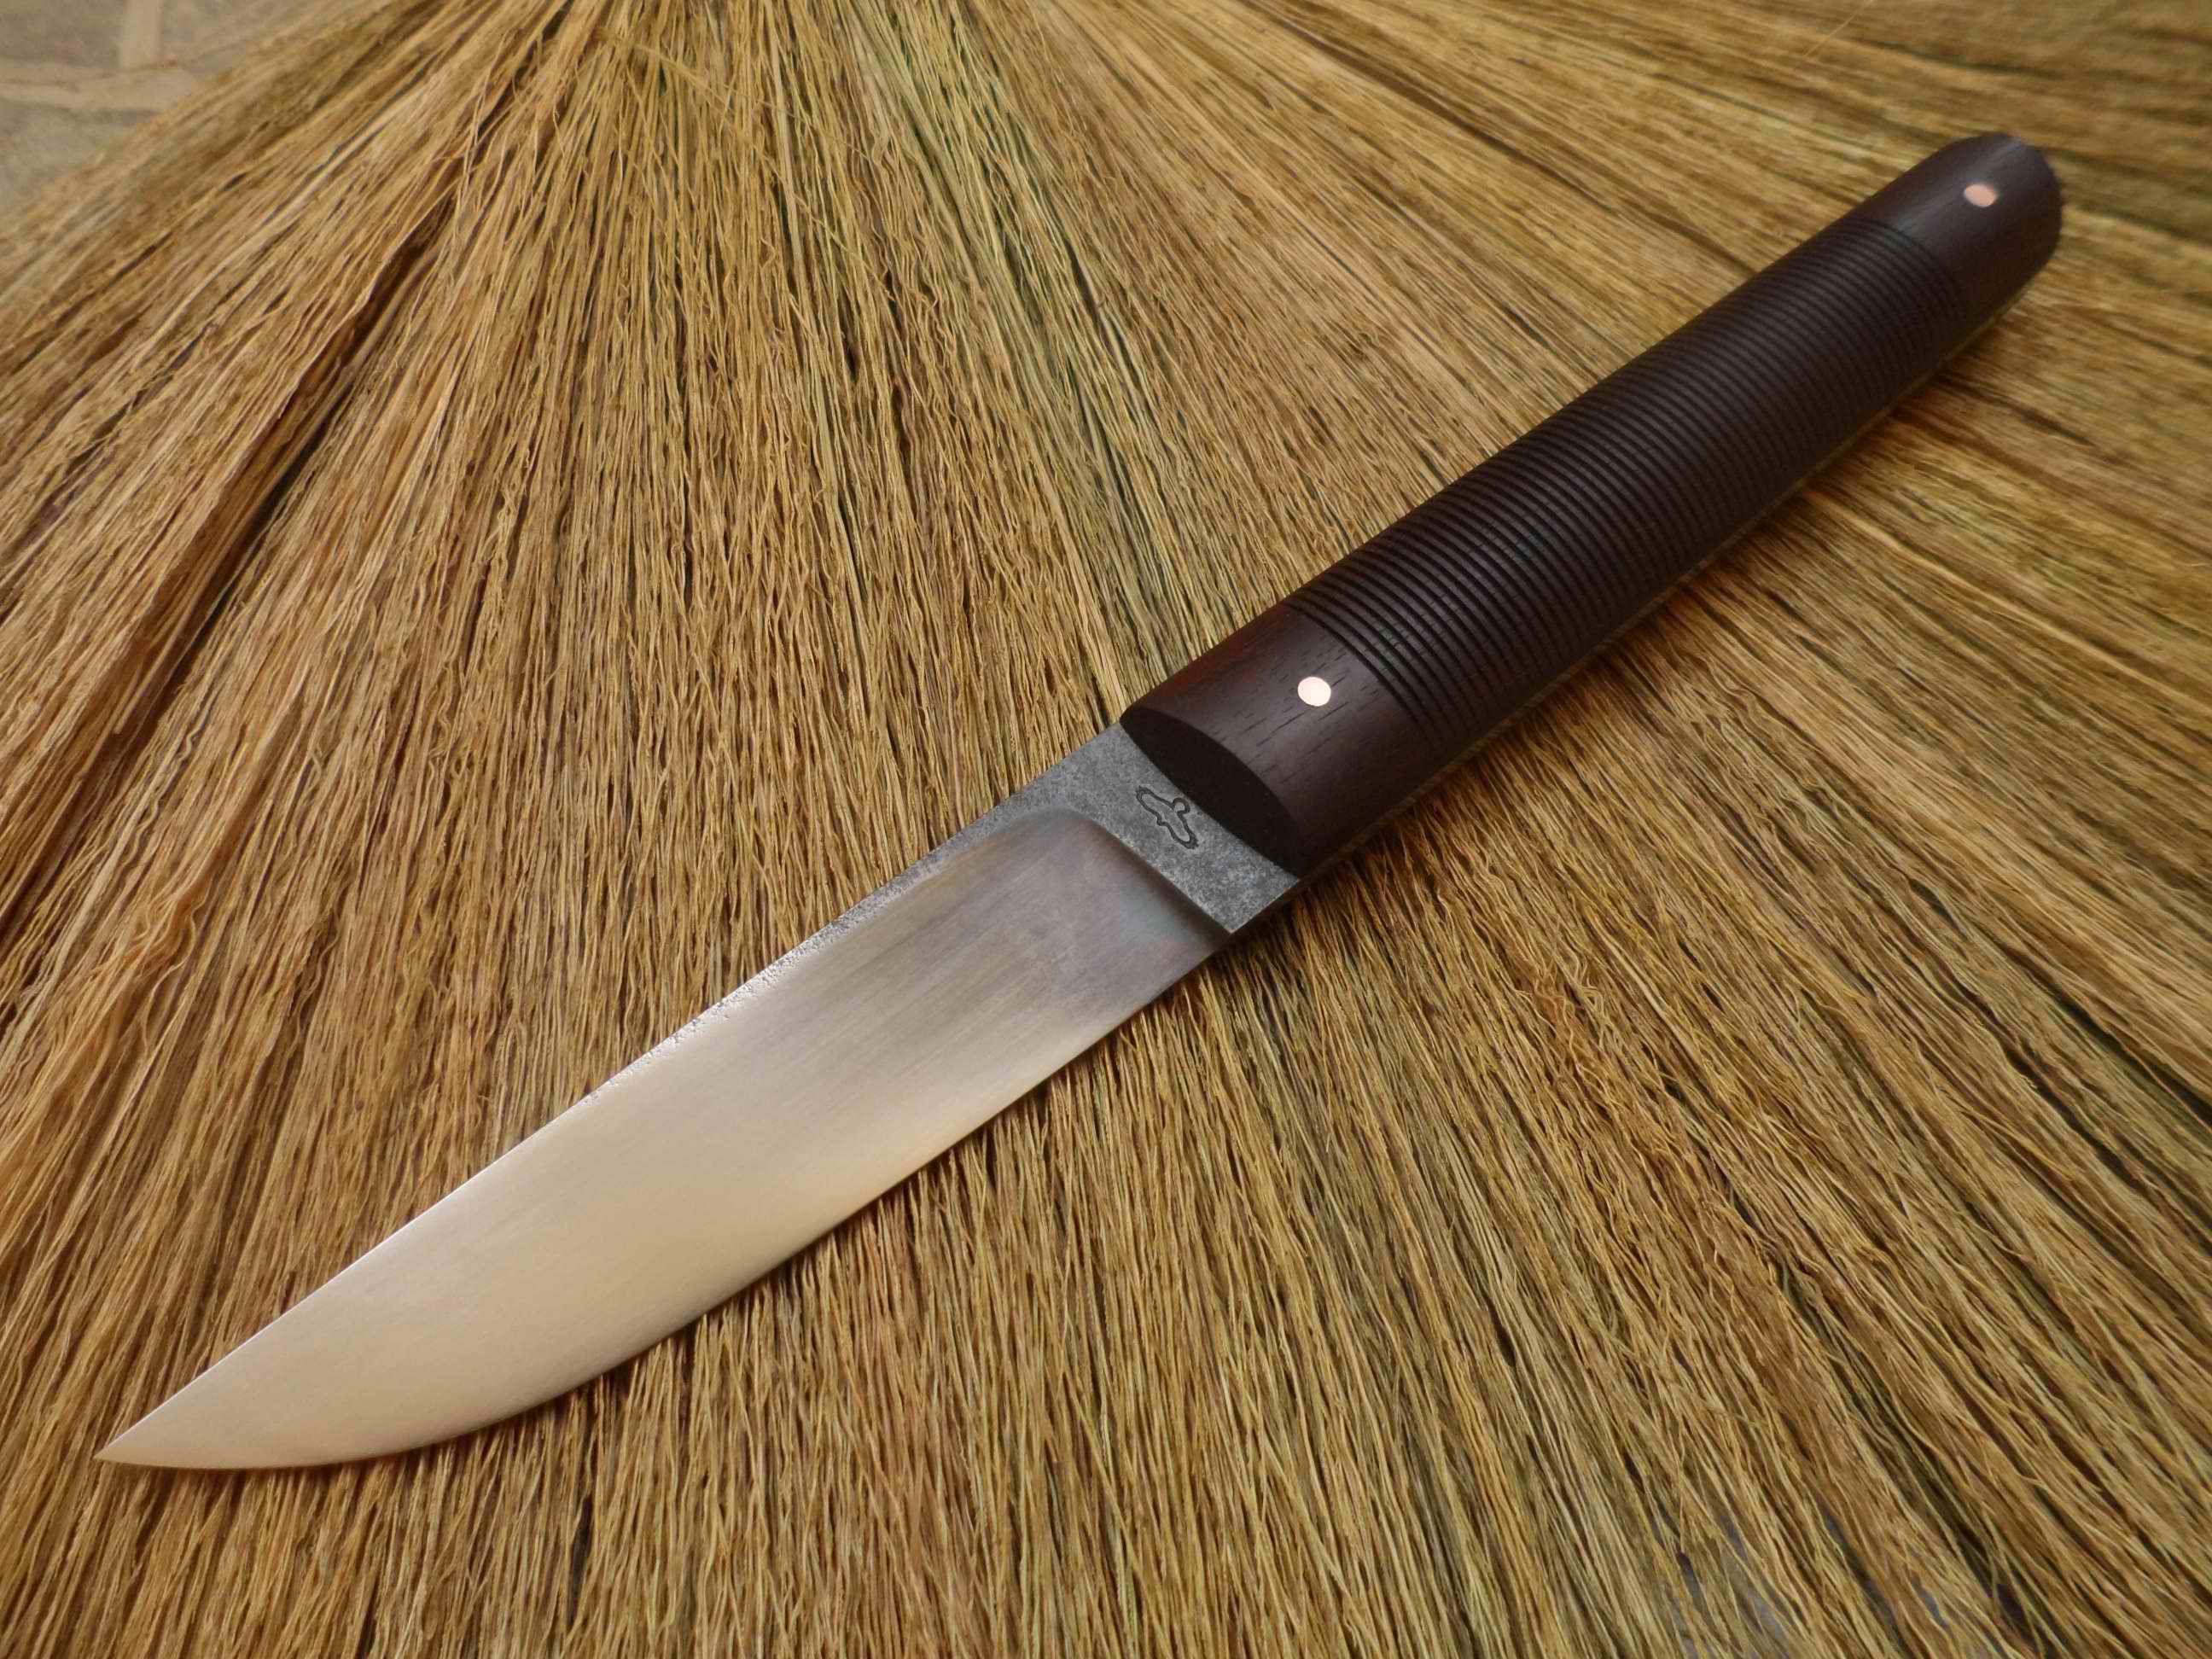
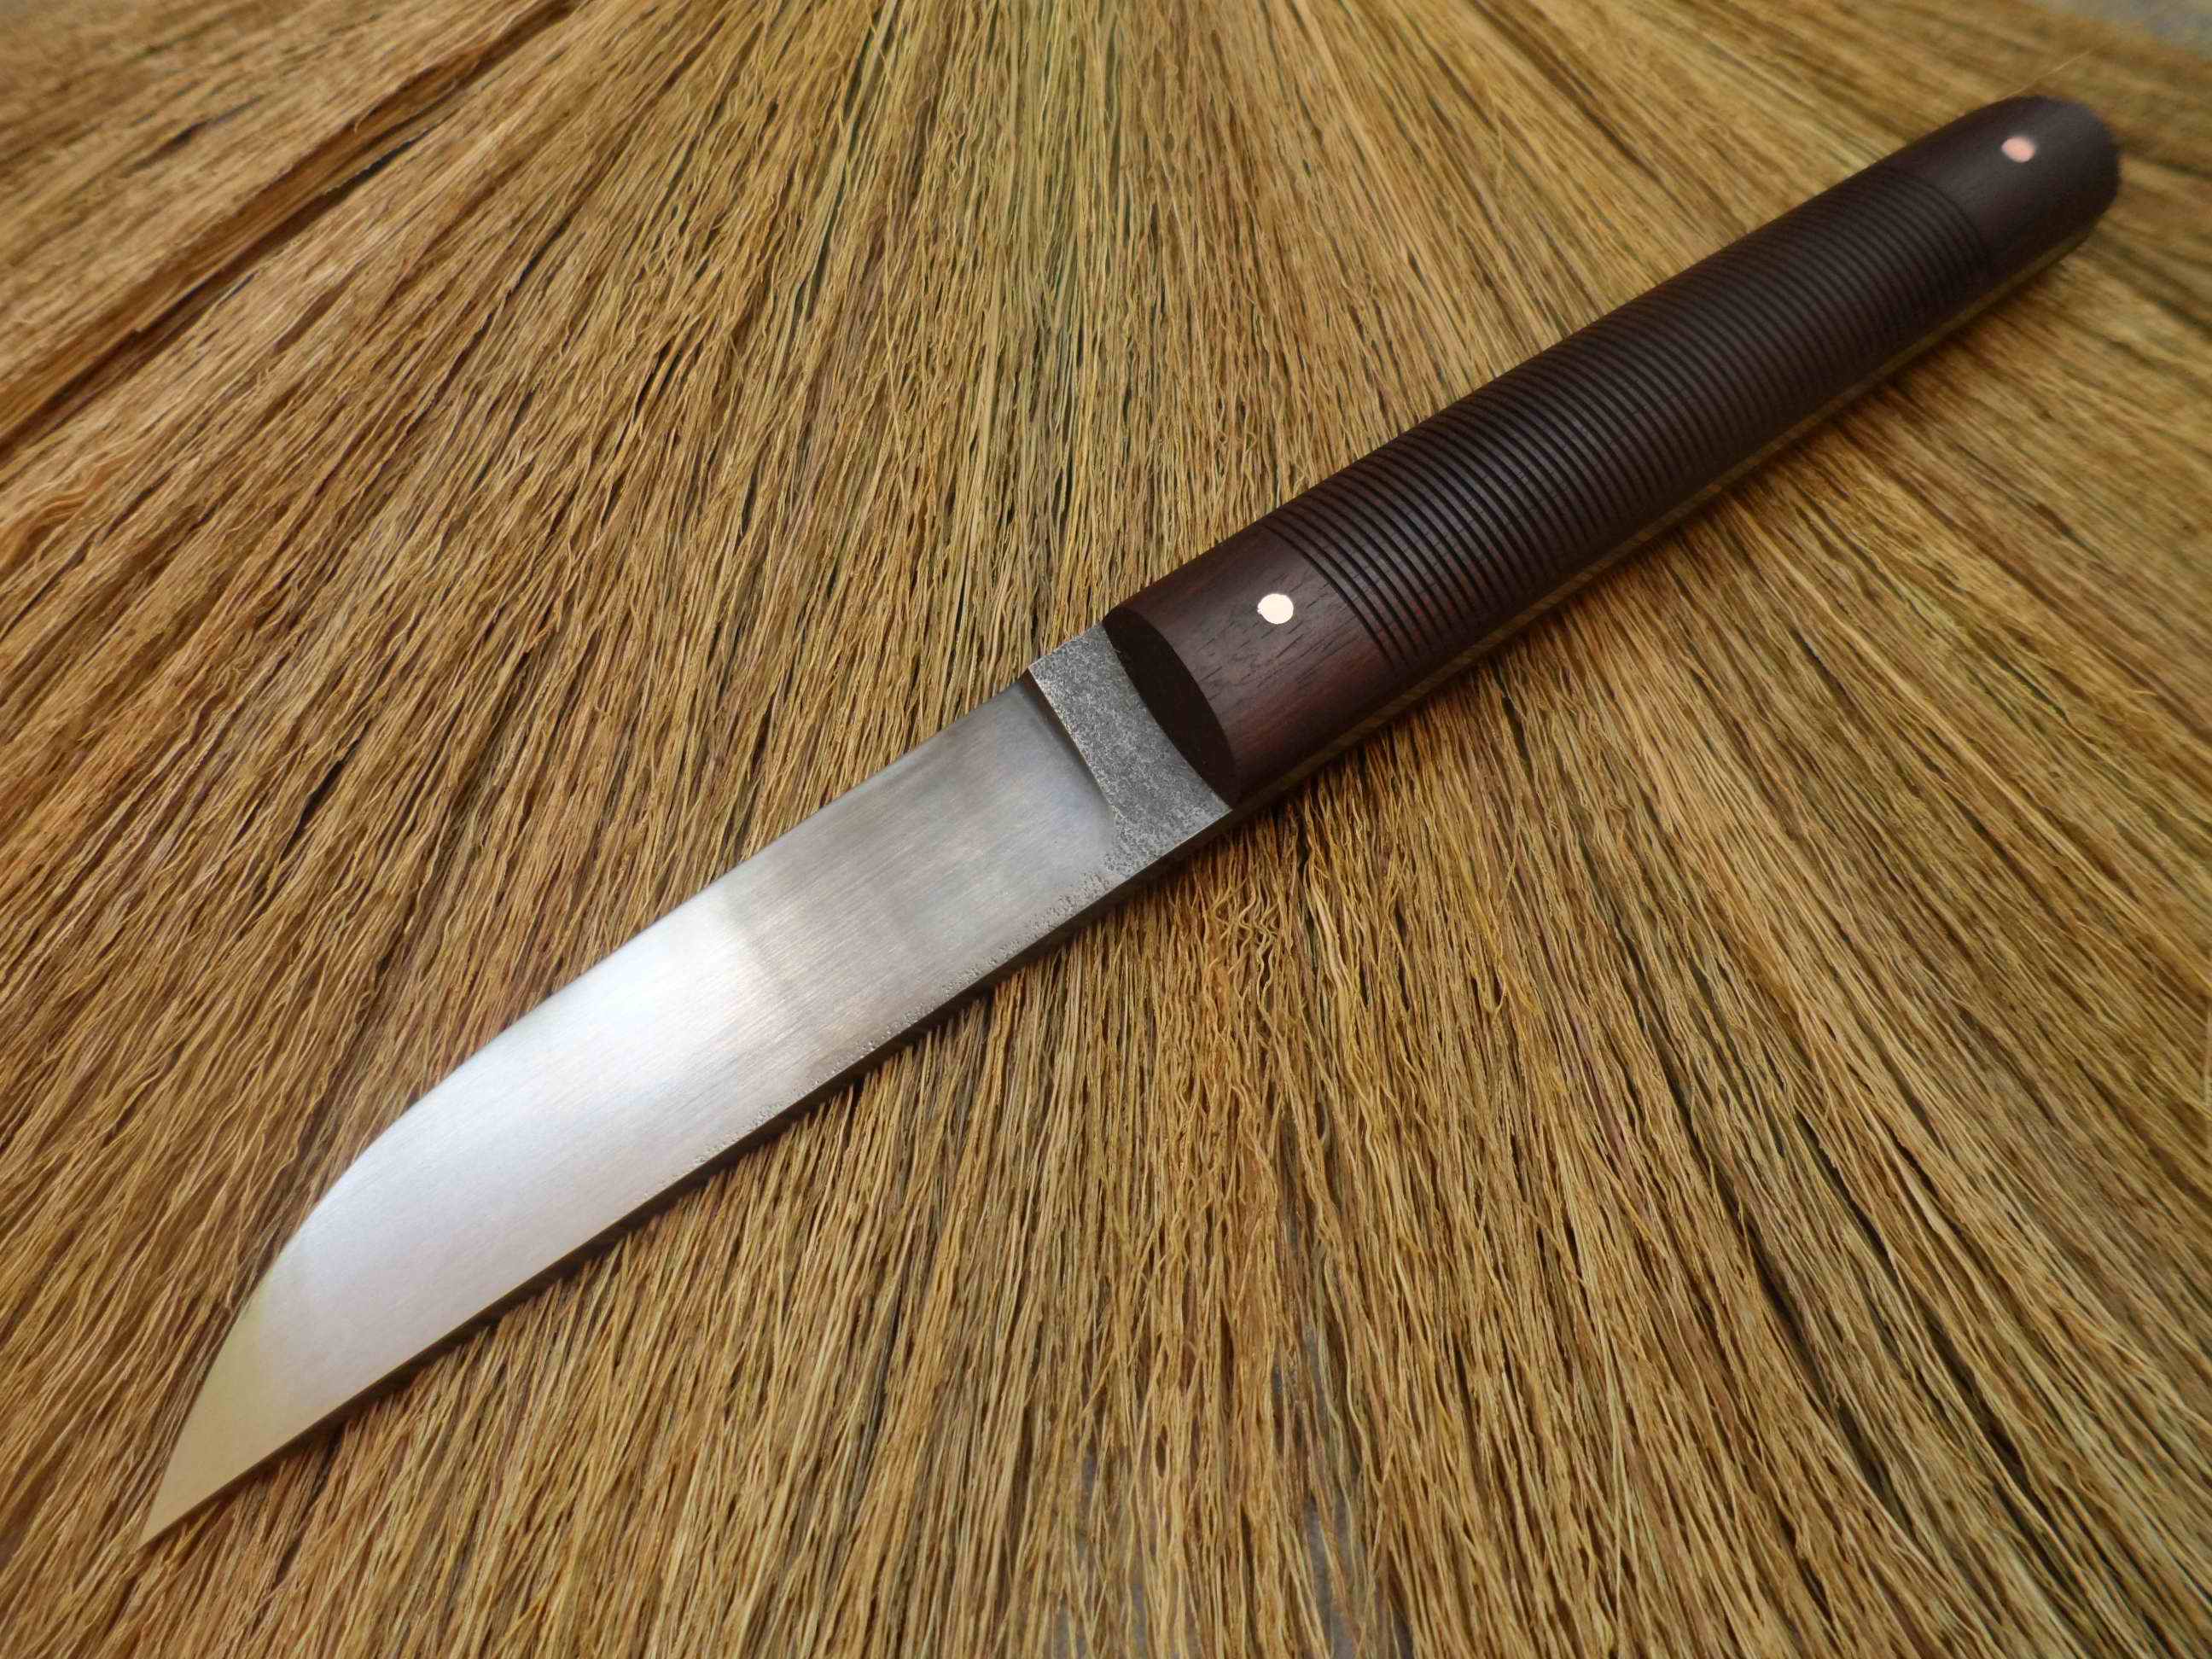
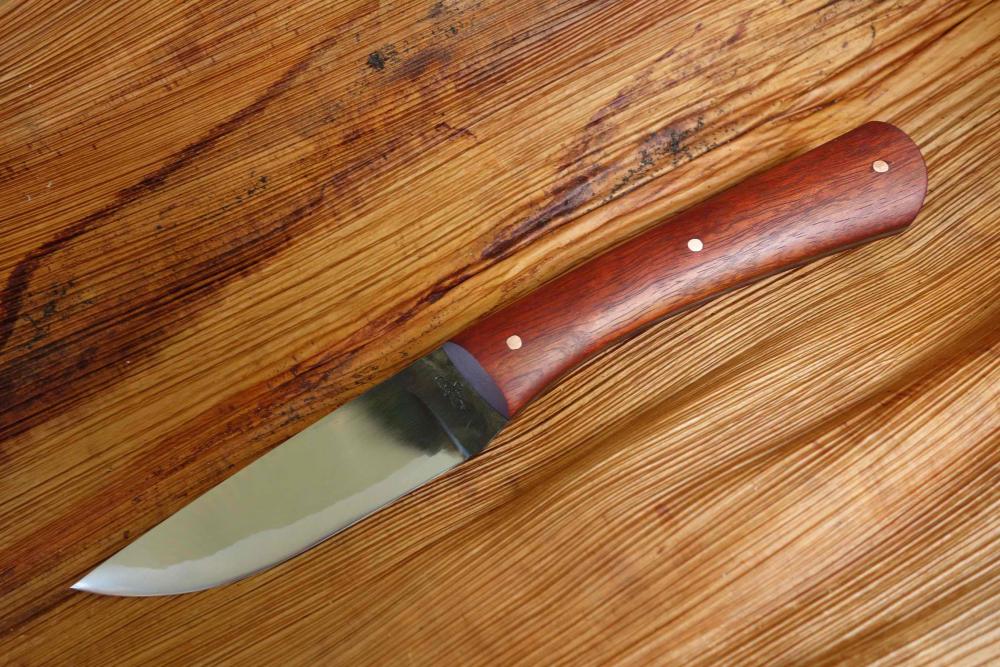
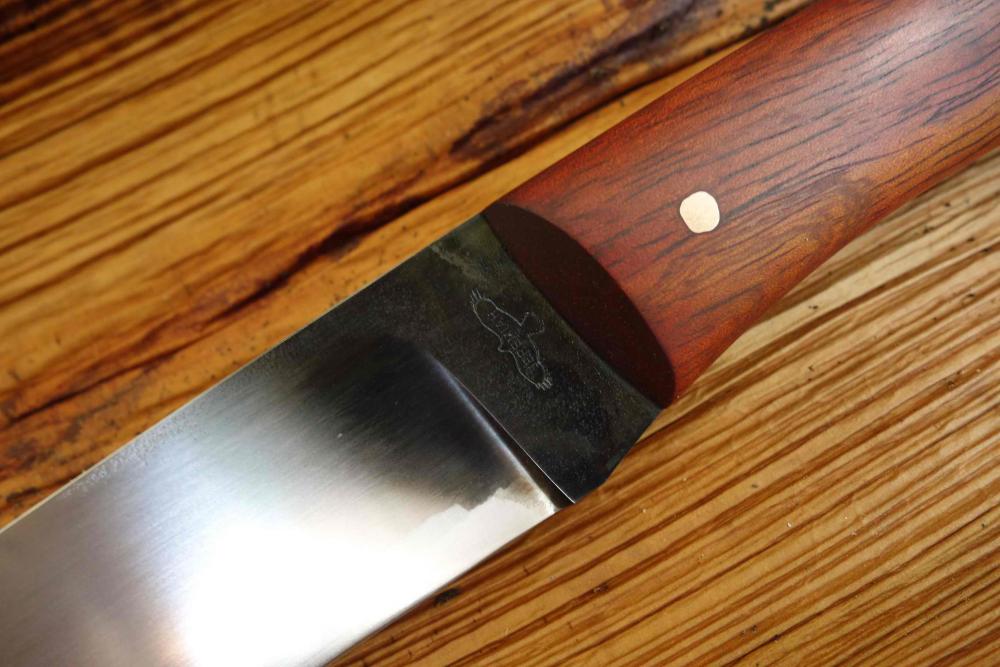
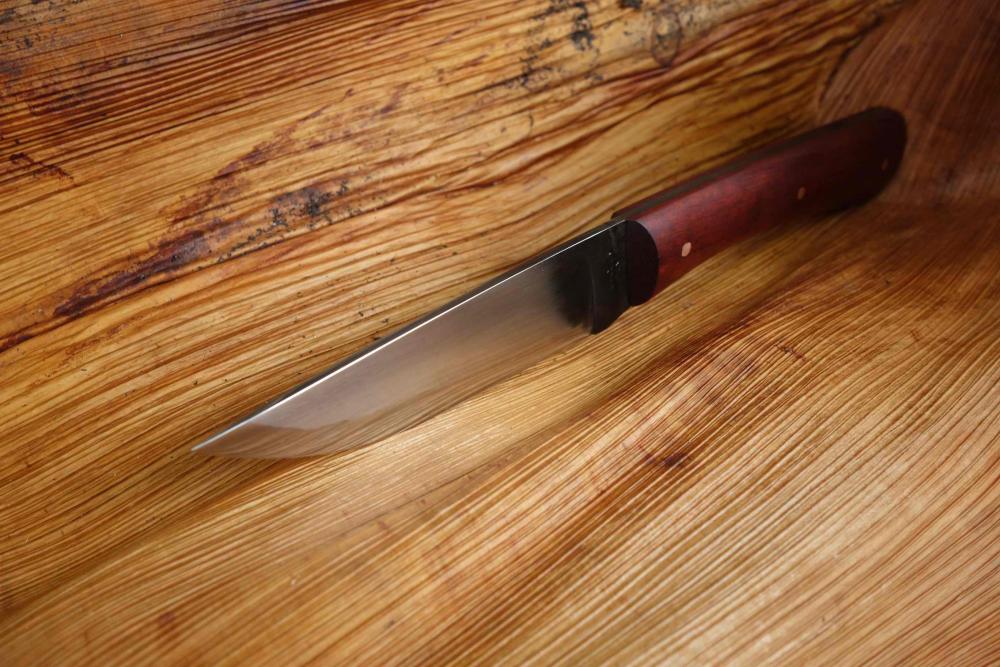
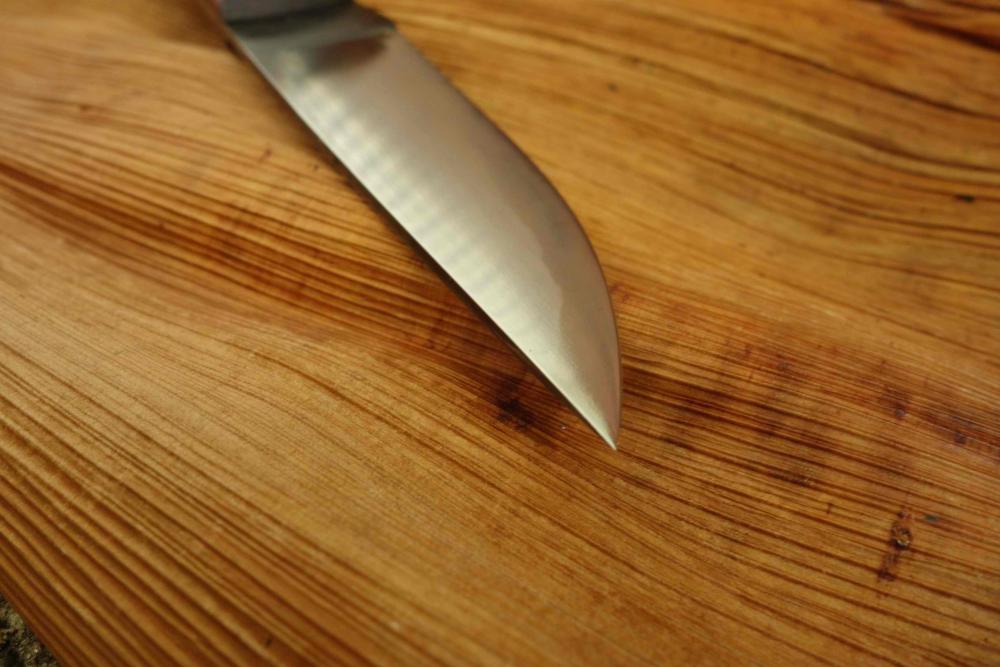
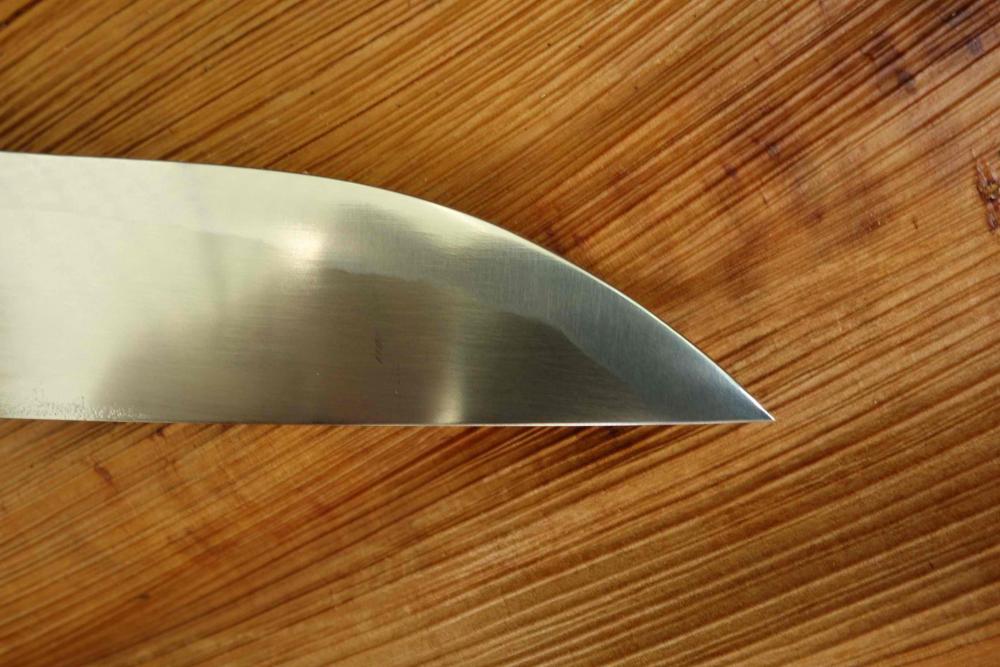
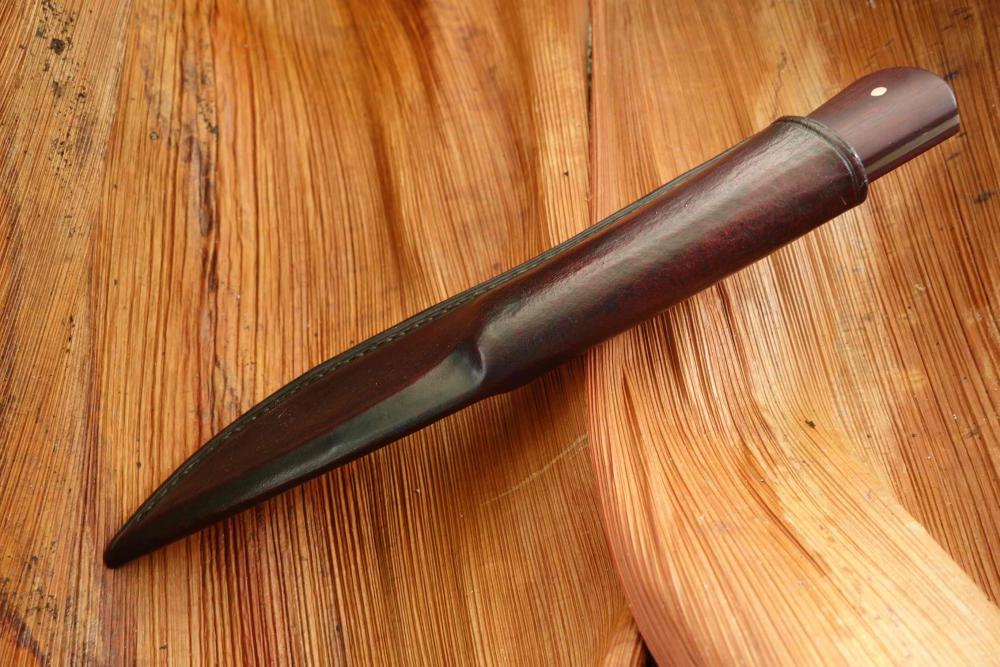
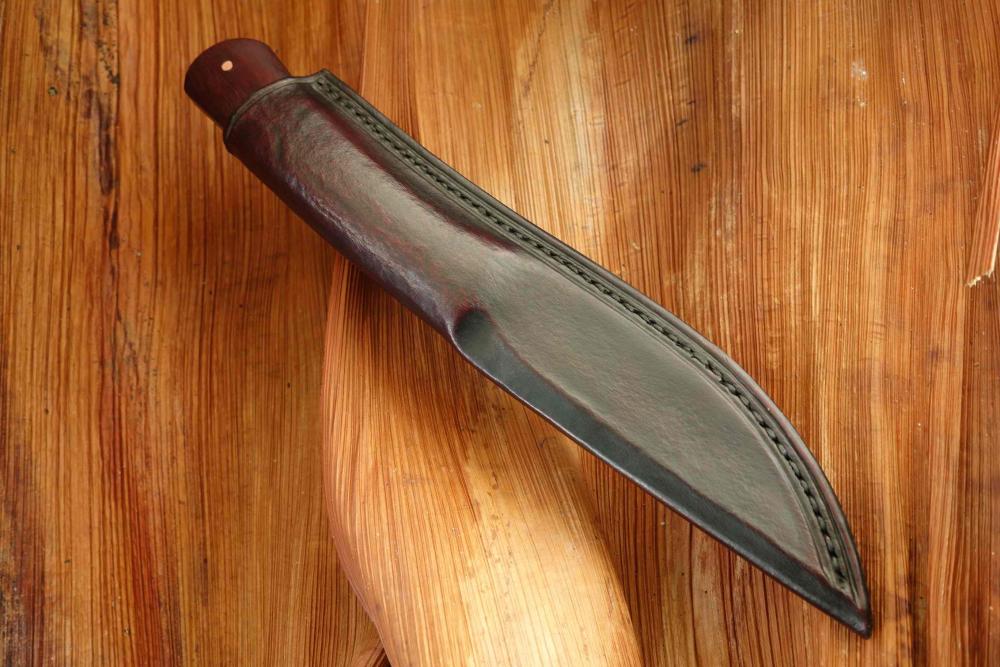
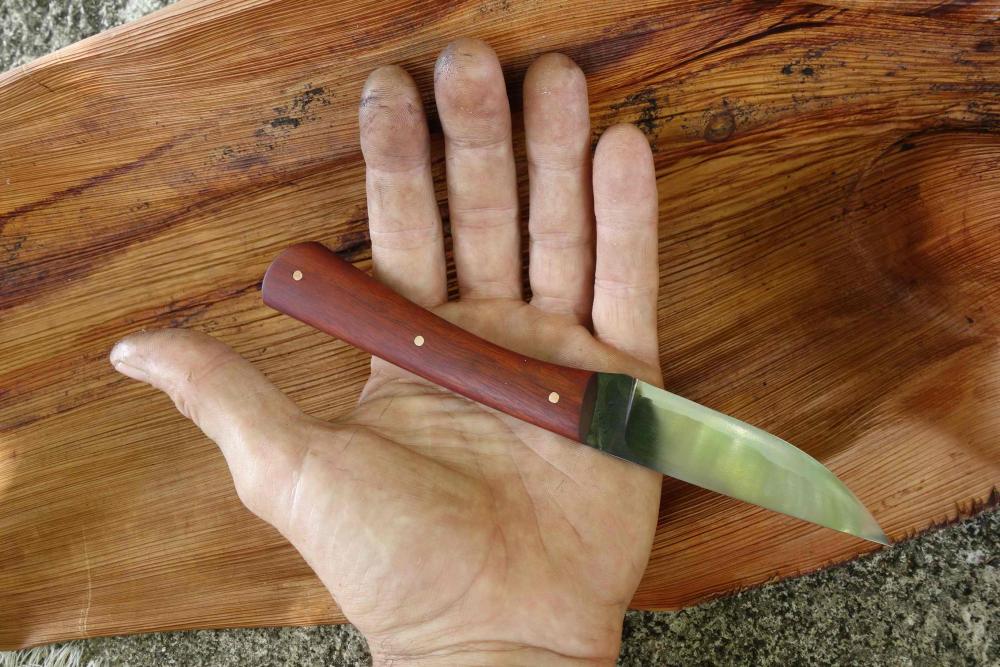
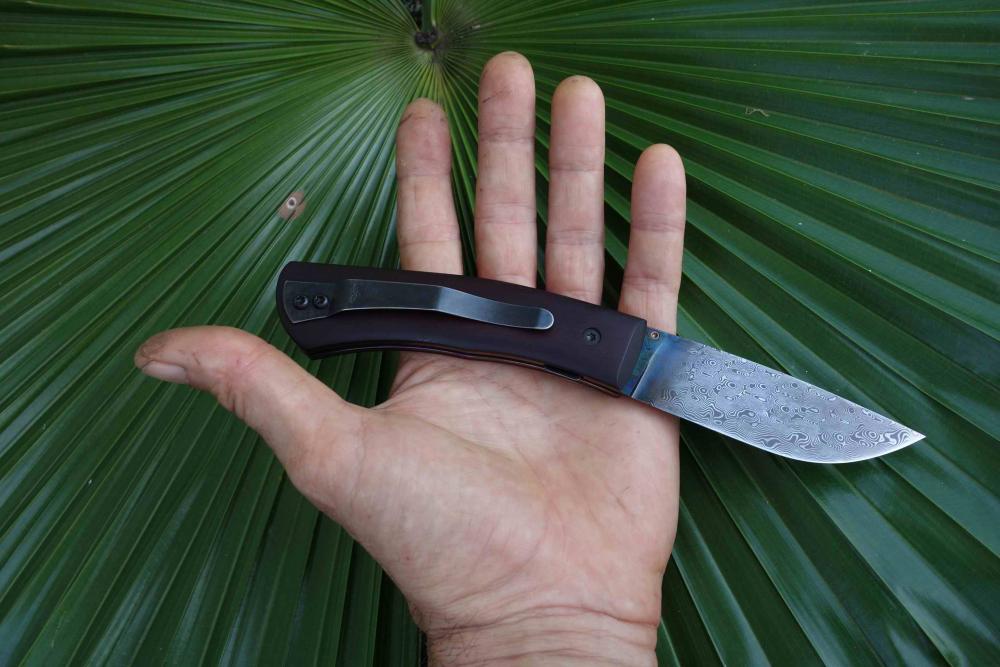
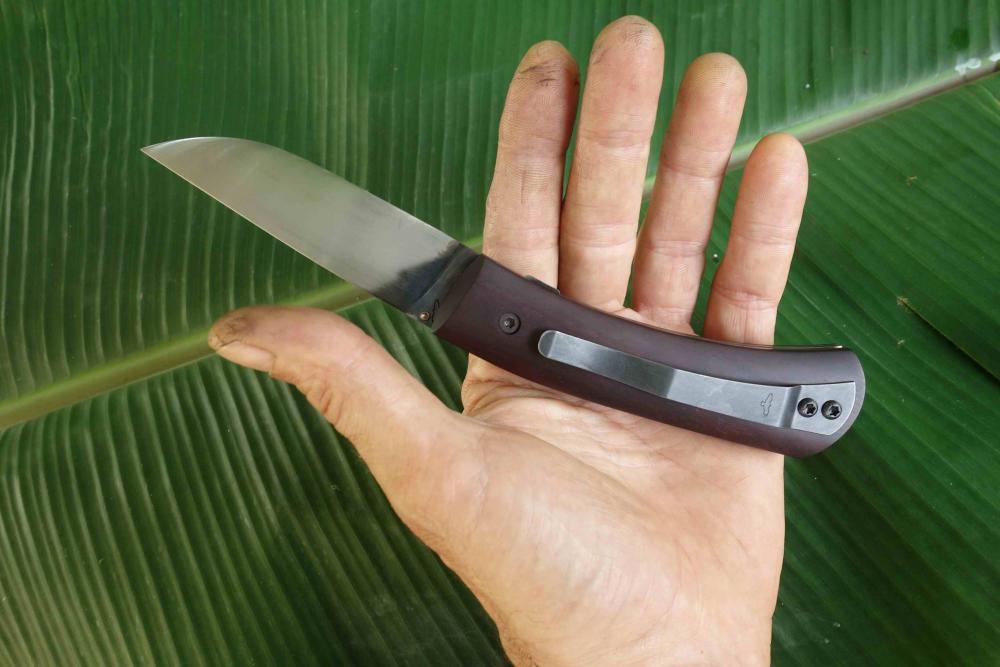
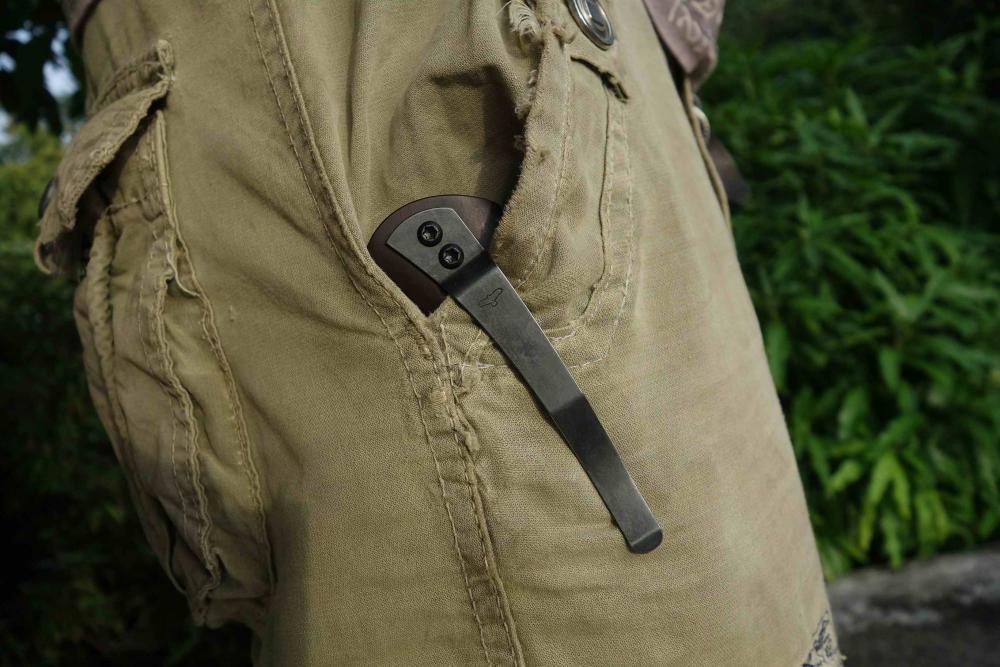
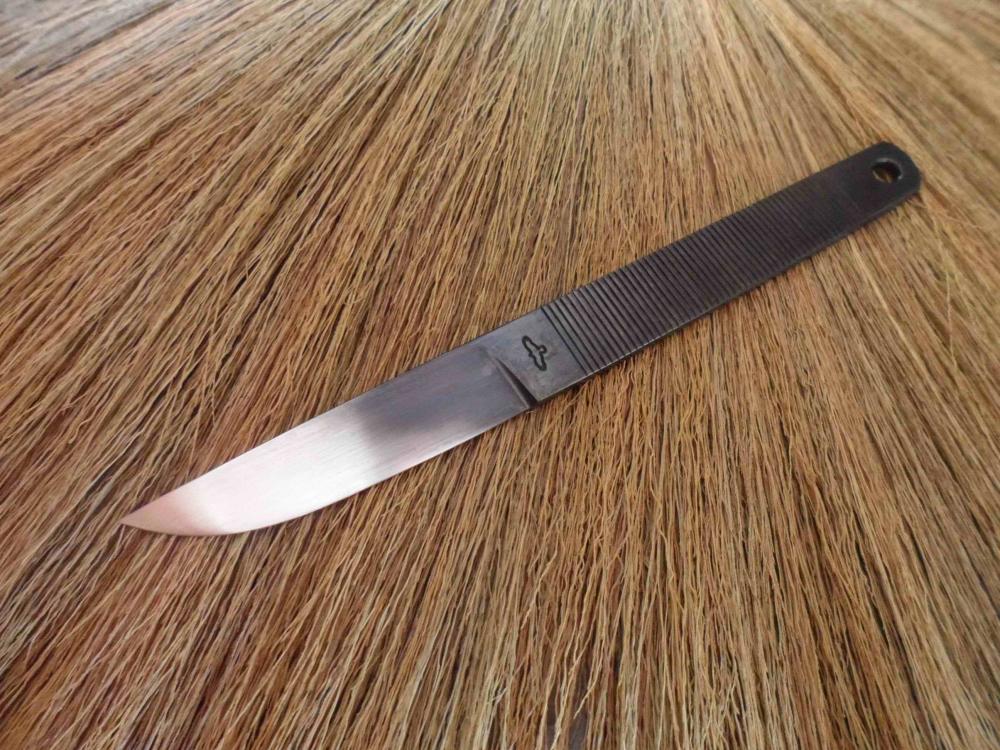
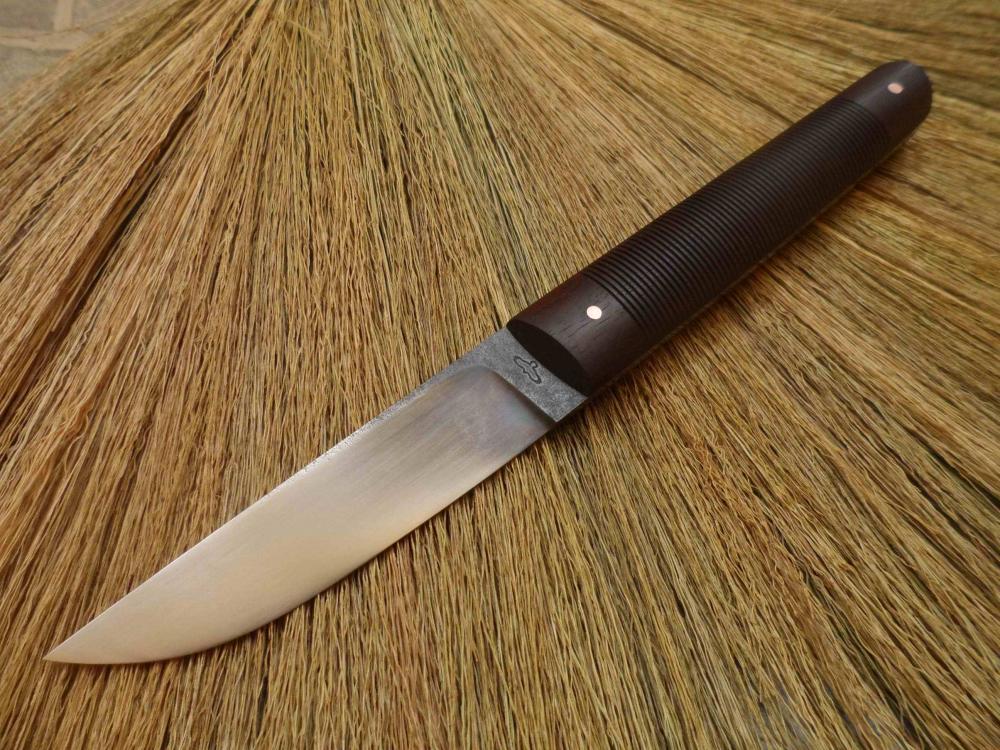
A small utility knife with 1.2442 (115W8) blade and copper riveted Ceylon ironwood handle slabs. Overall length is 200 mm. Traditional rolled blade and stropped edge resulting in a nearly disgusting sharpness. Actually too small to be attached to the belt, but small enough to fit in a lot of different pockets. In Germany a lot of traditional clothing like cultural dresses, work and hunting wear still have slender pockets for knives integrated. Mostly on the right thigh for folding inch rulers on work wear or for the "Jagdnicker" on hunting pants and "Lederhosen". Sheath is wet formed raw hide, lined with calf skin. The riged back enhances stiffness and leaving a rhombic cross section that gives more space for the blade and less contact with the leather. Cheers

-

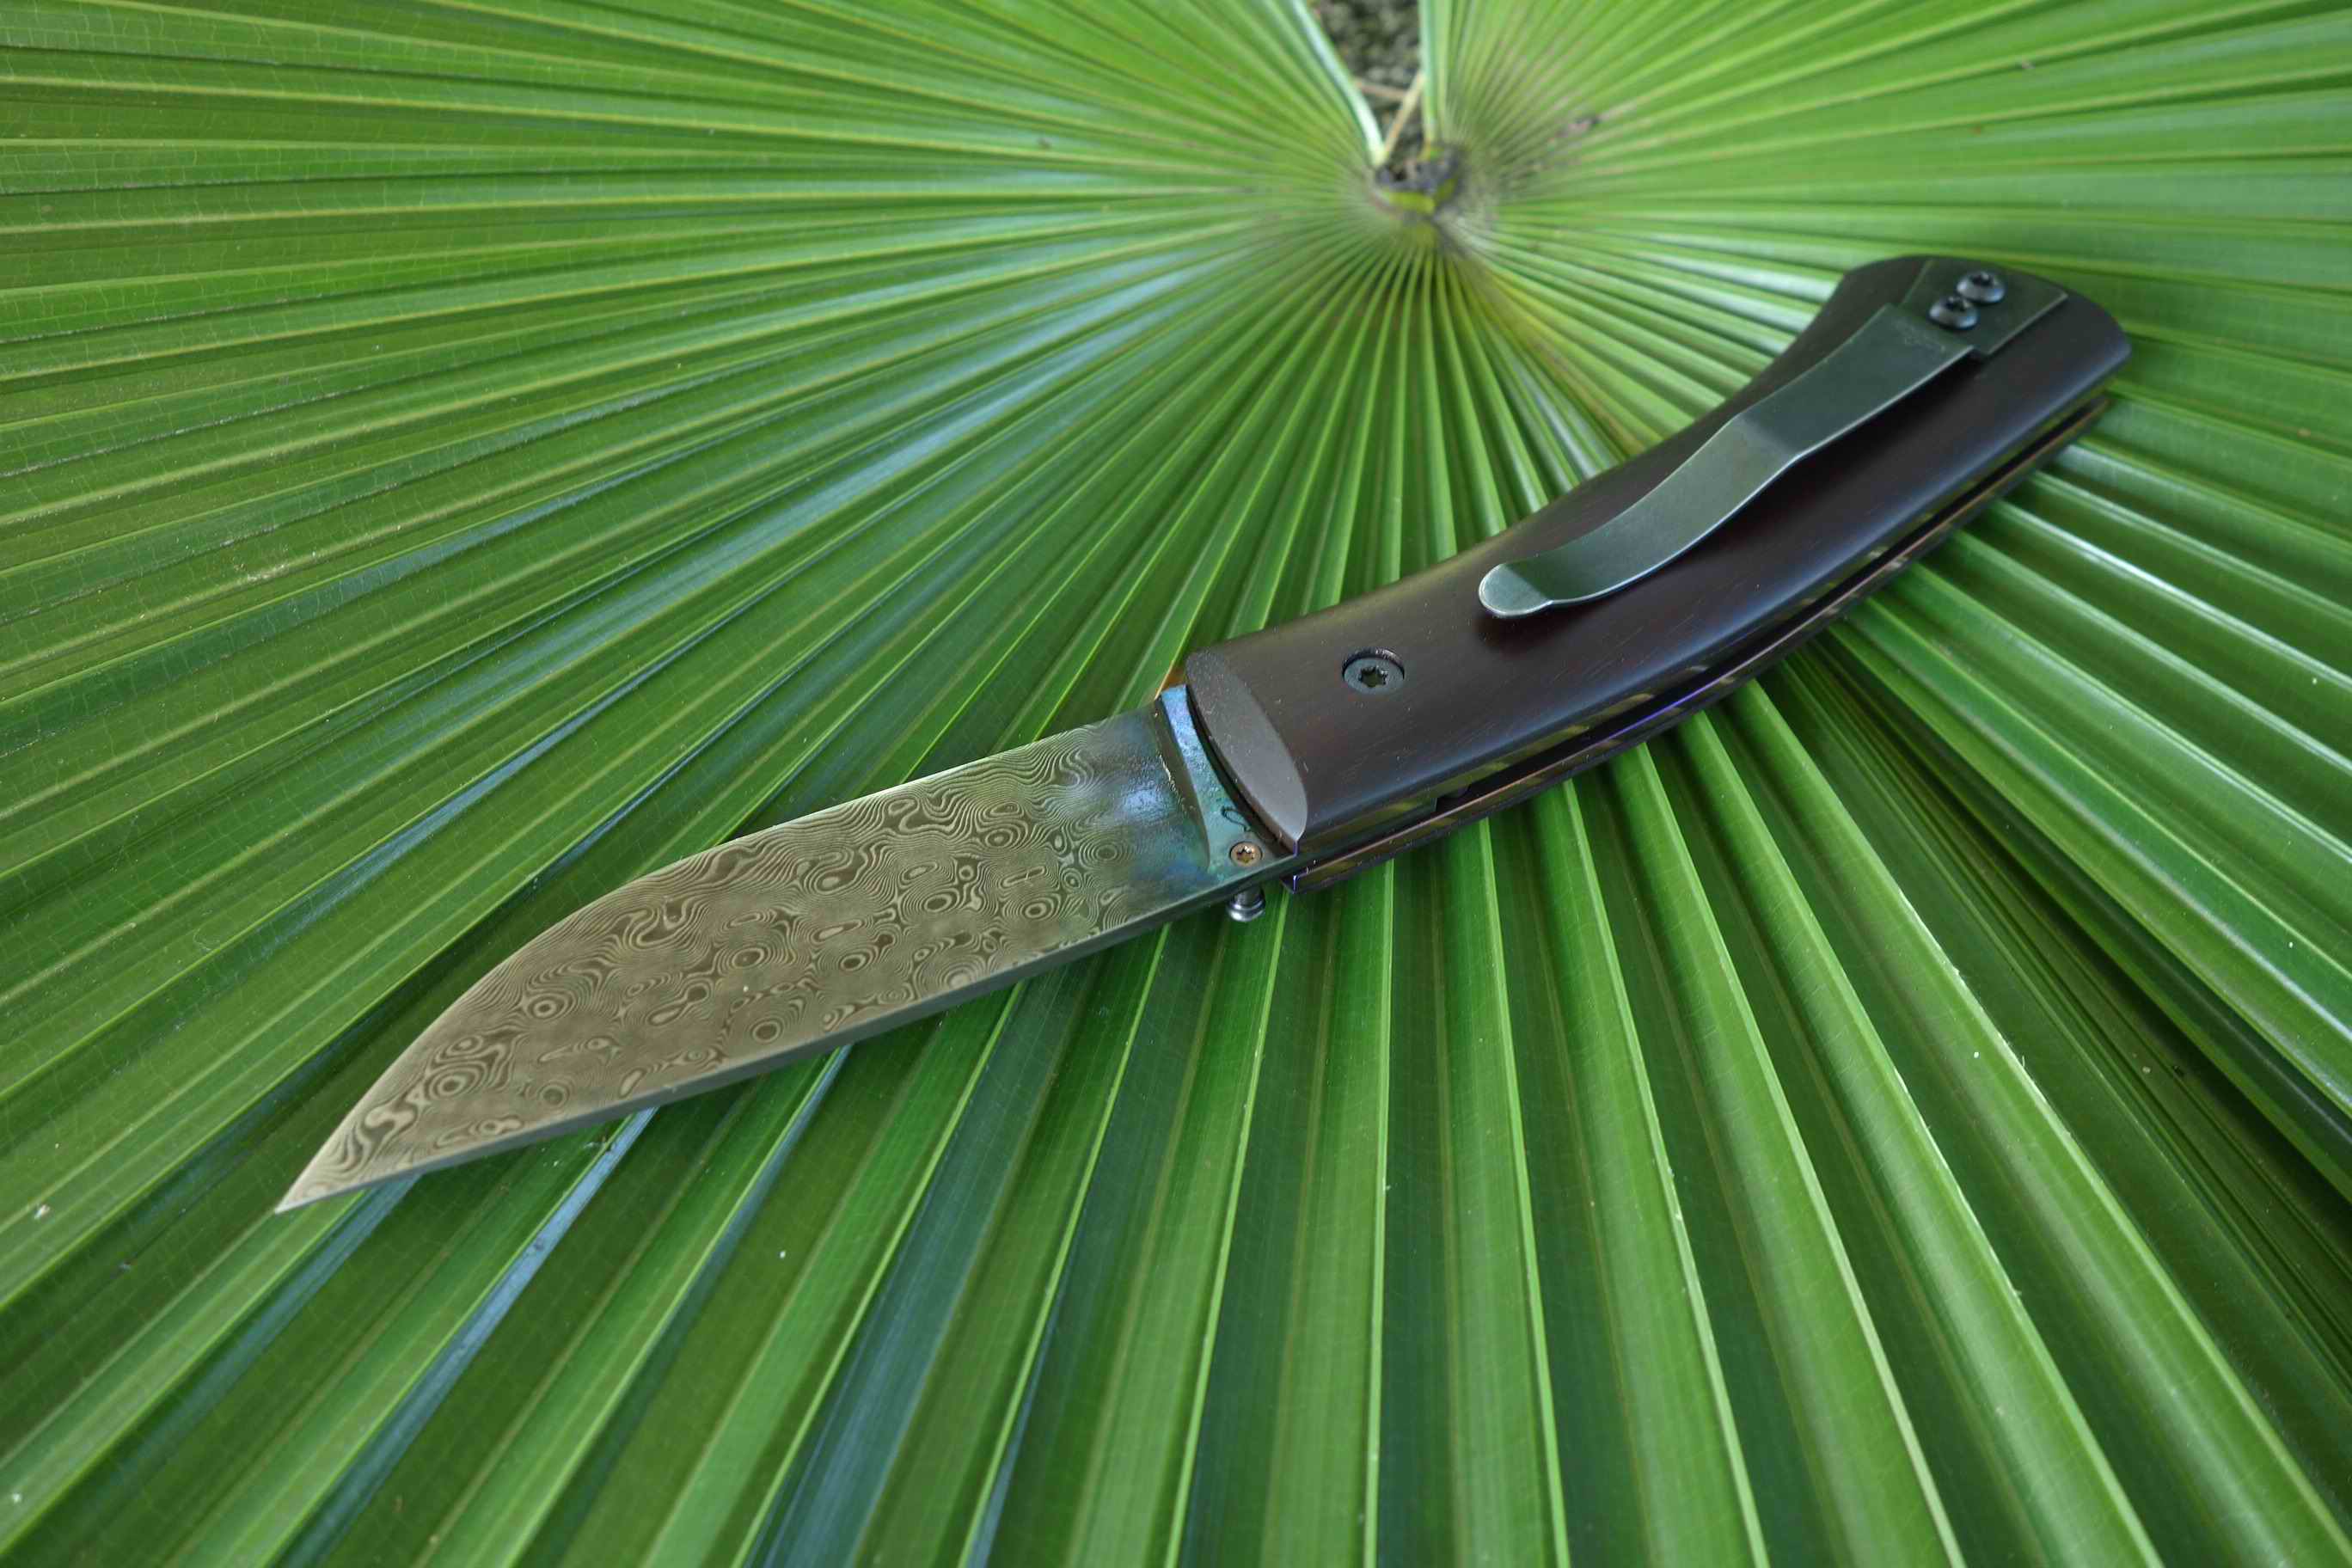
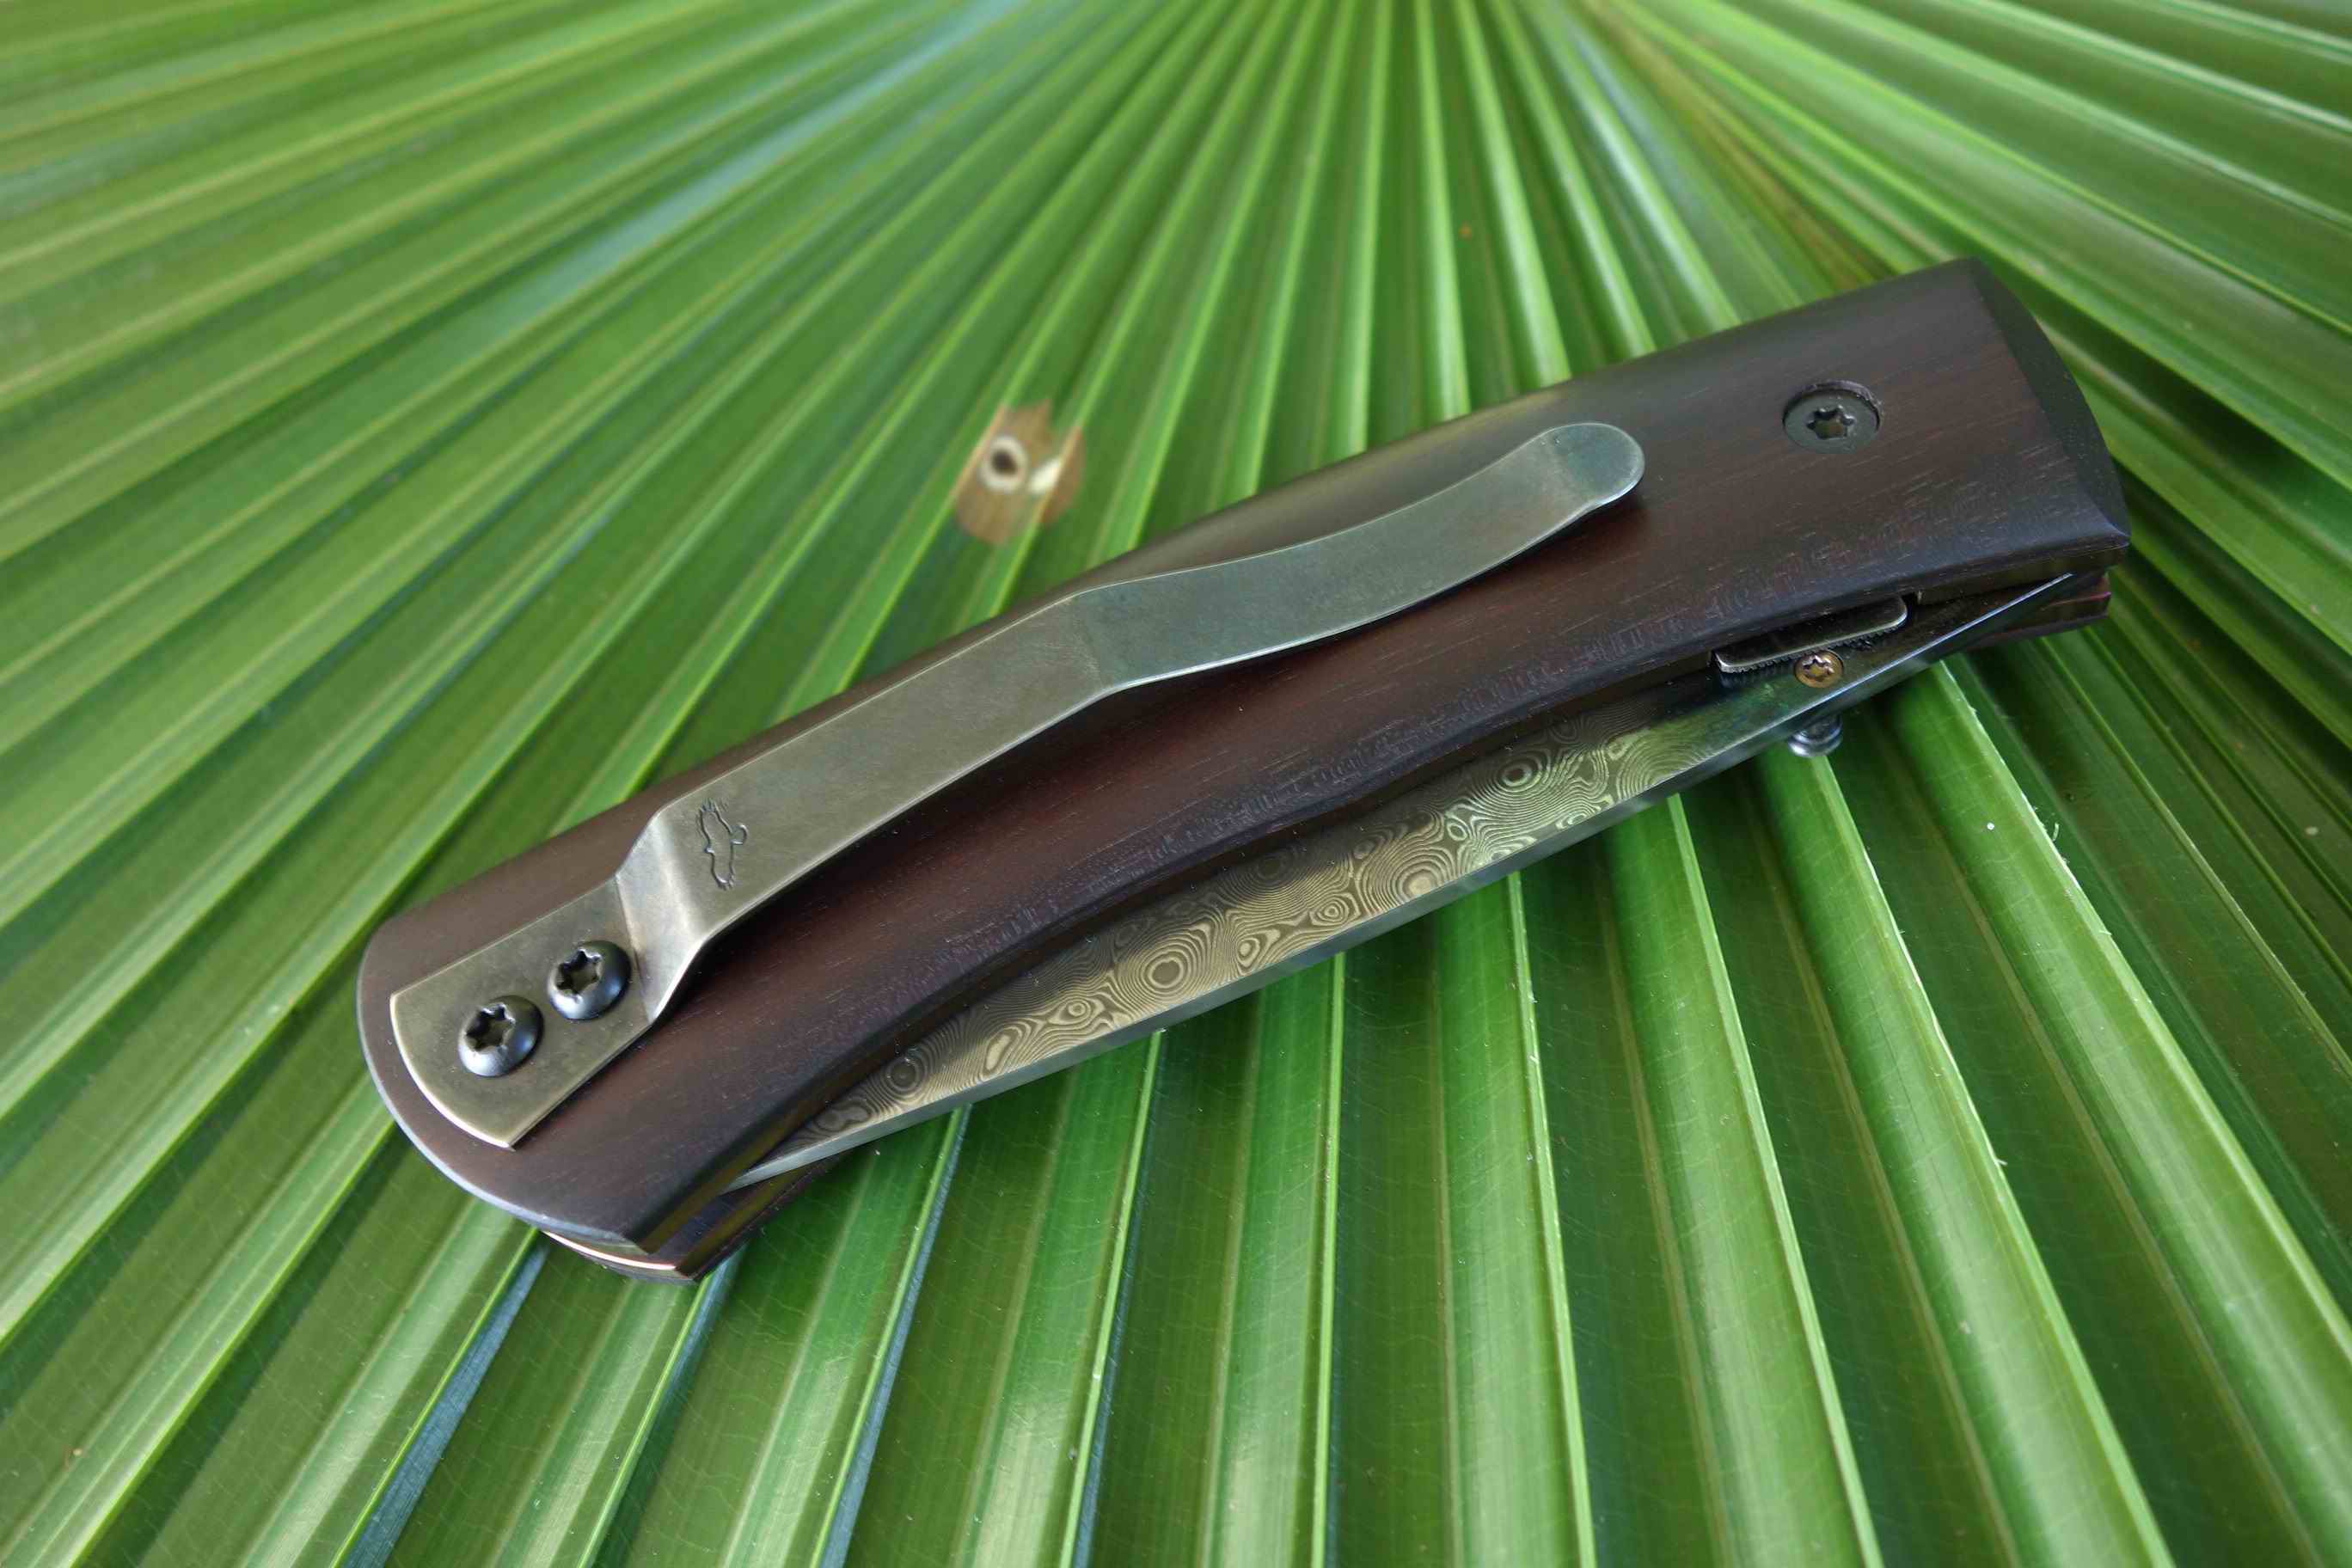
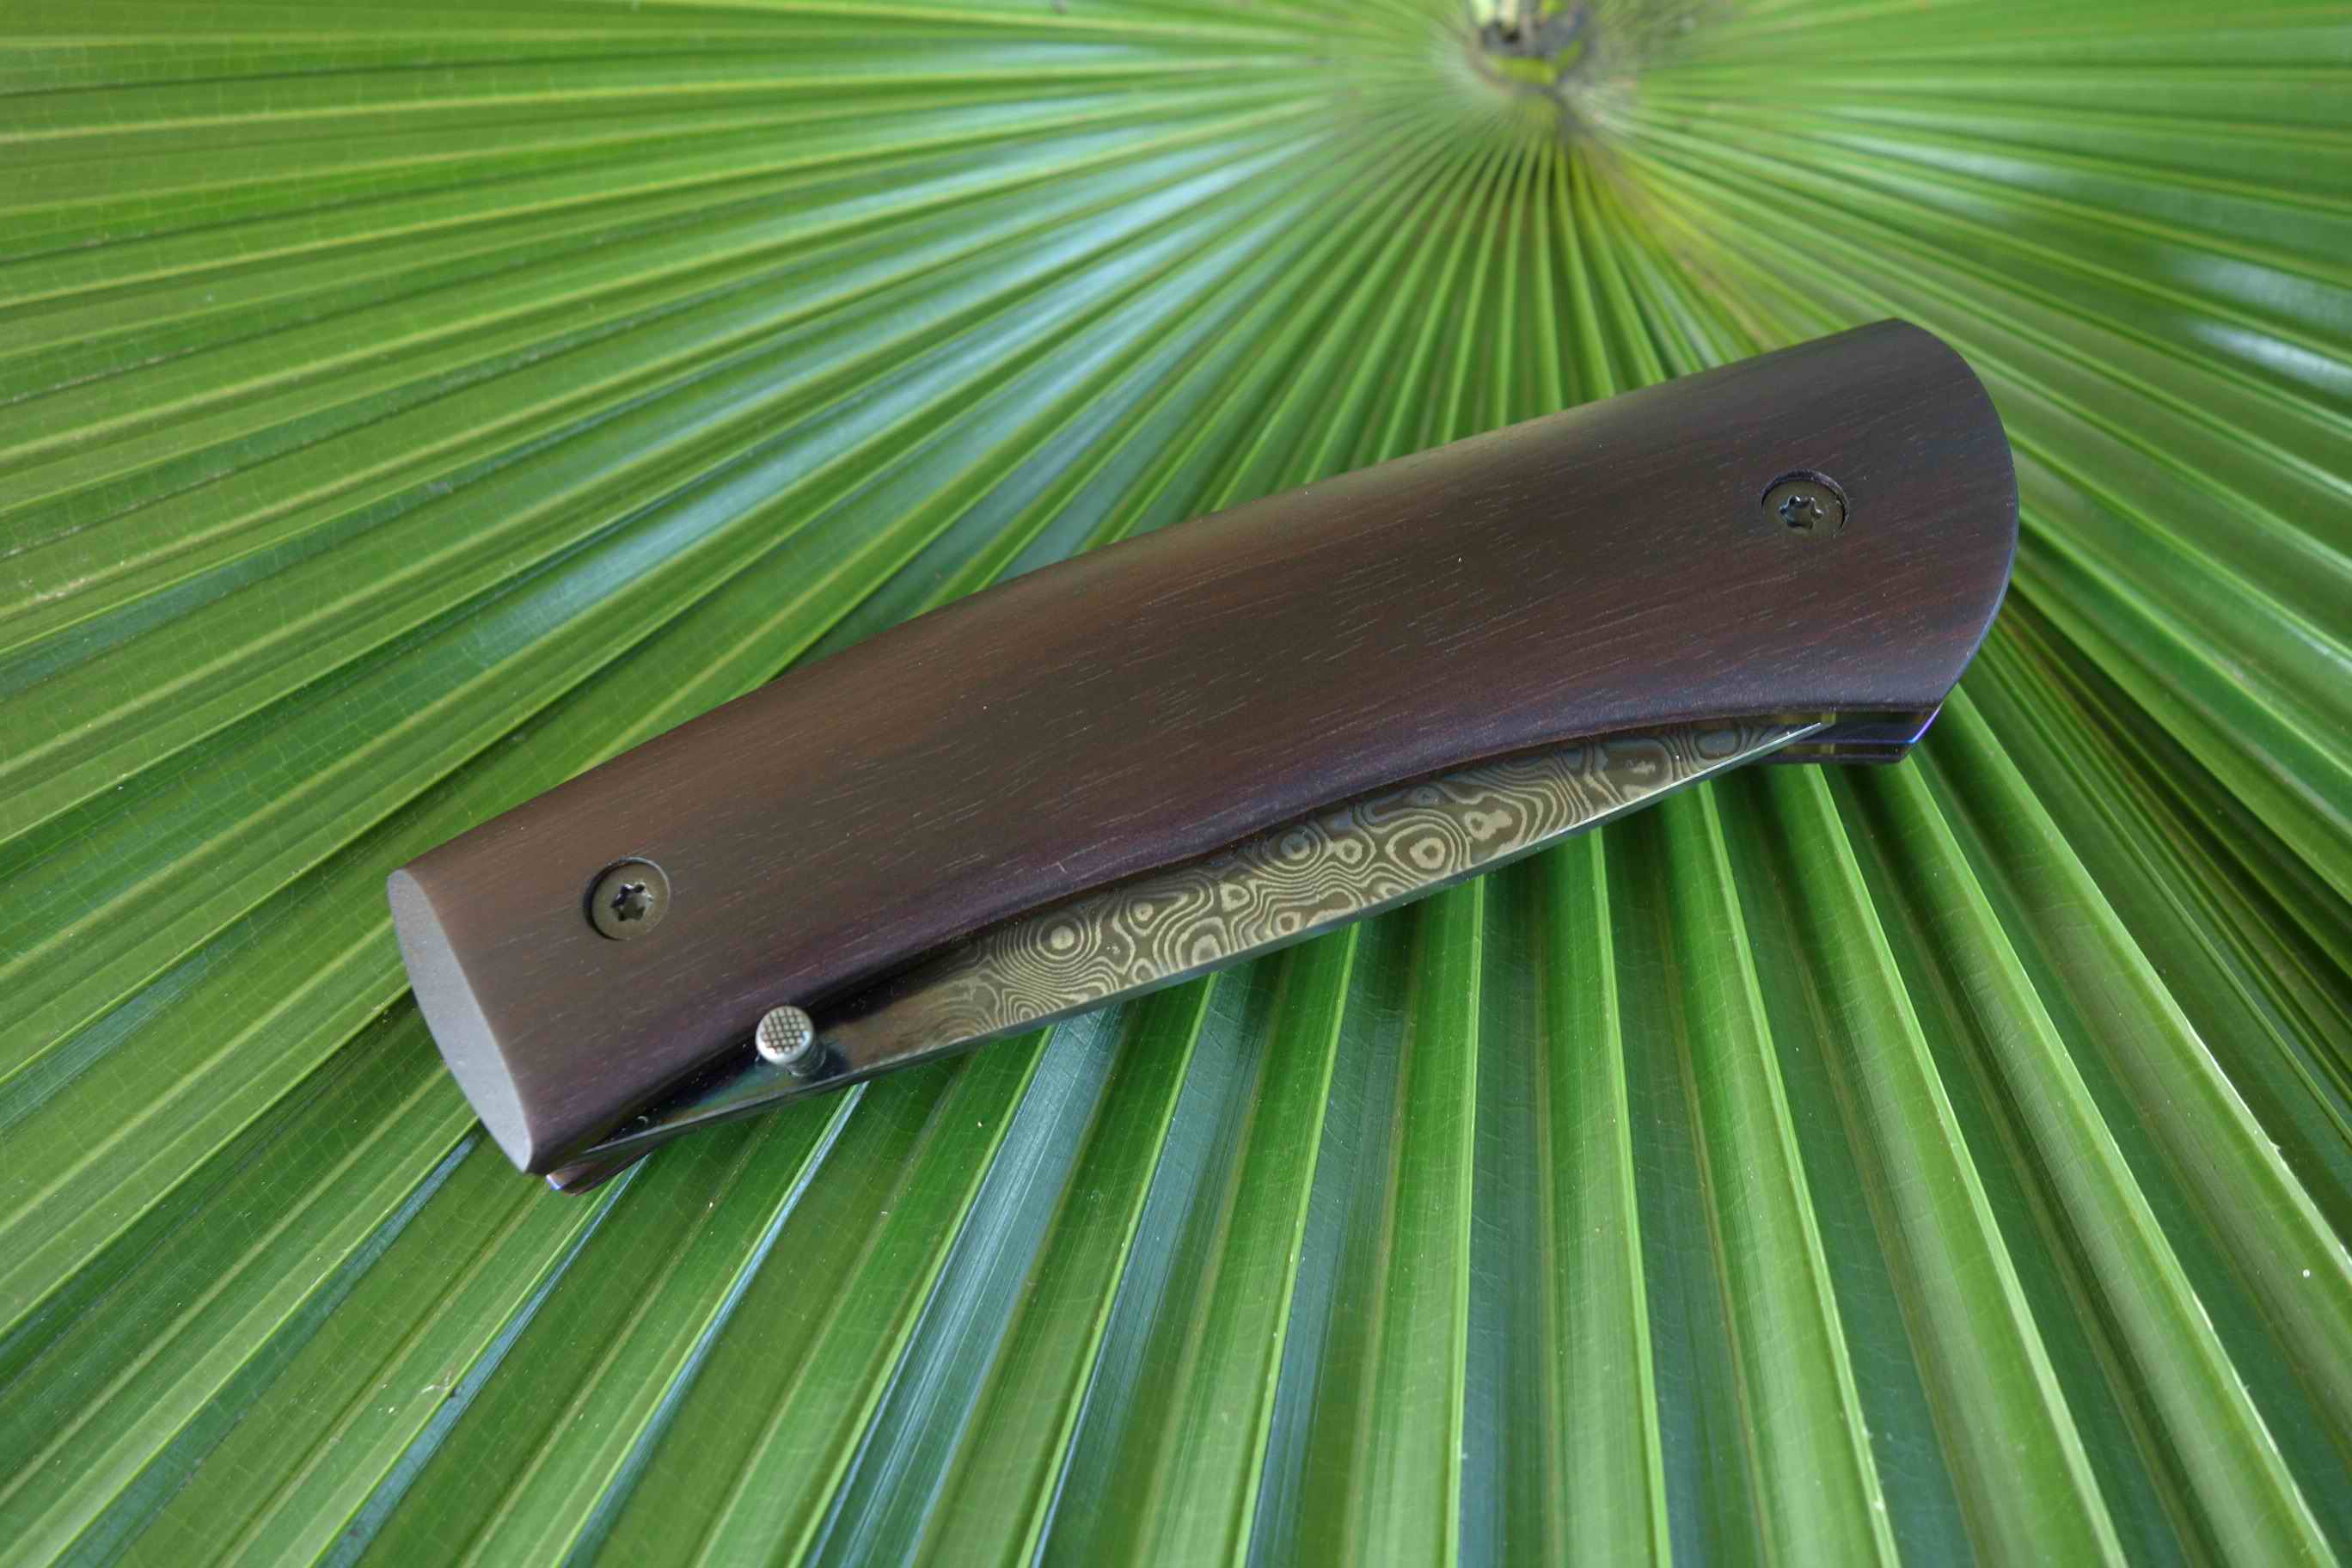
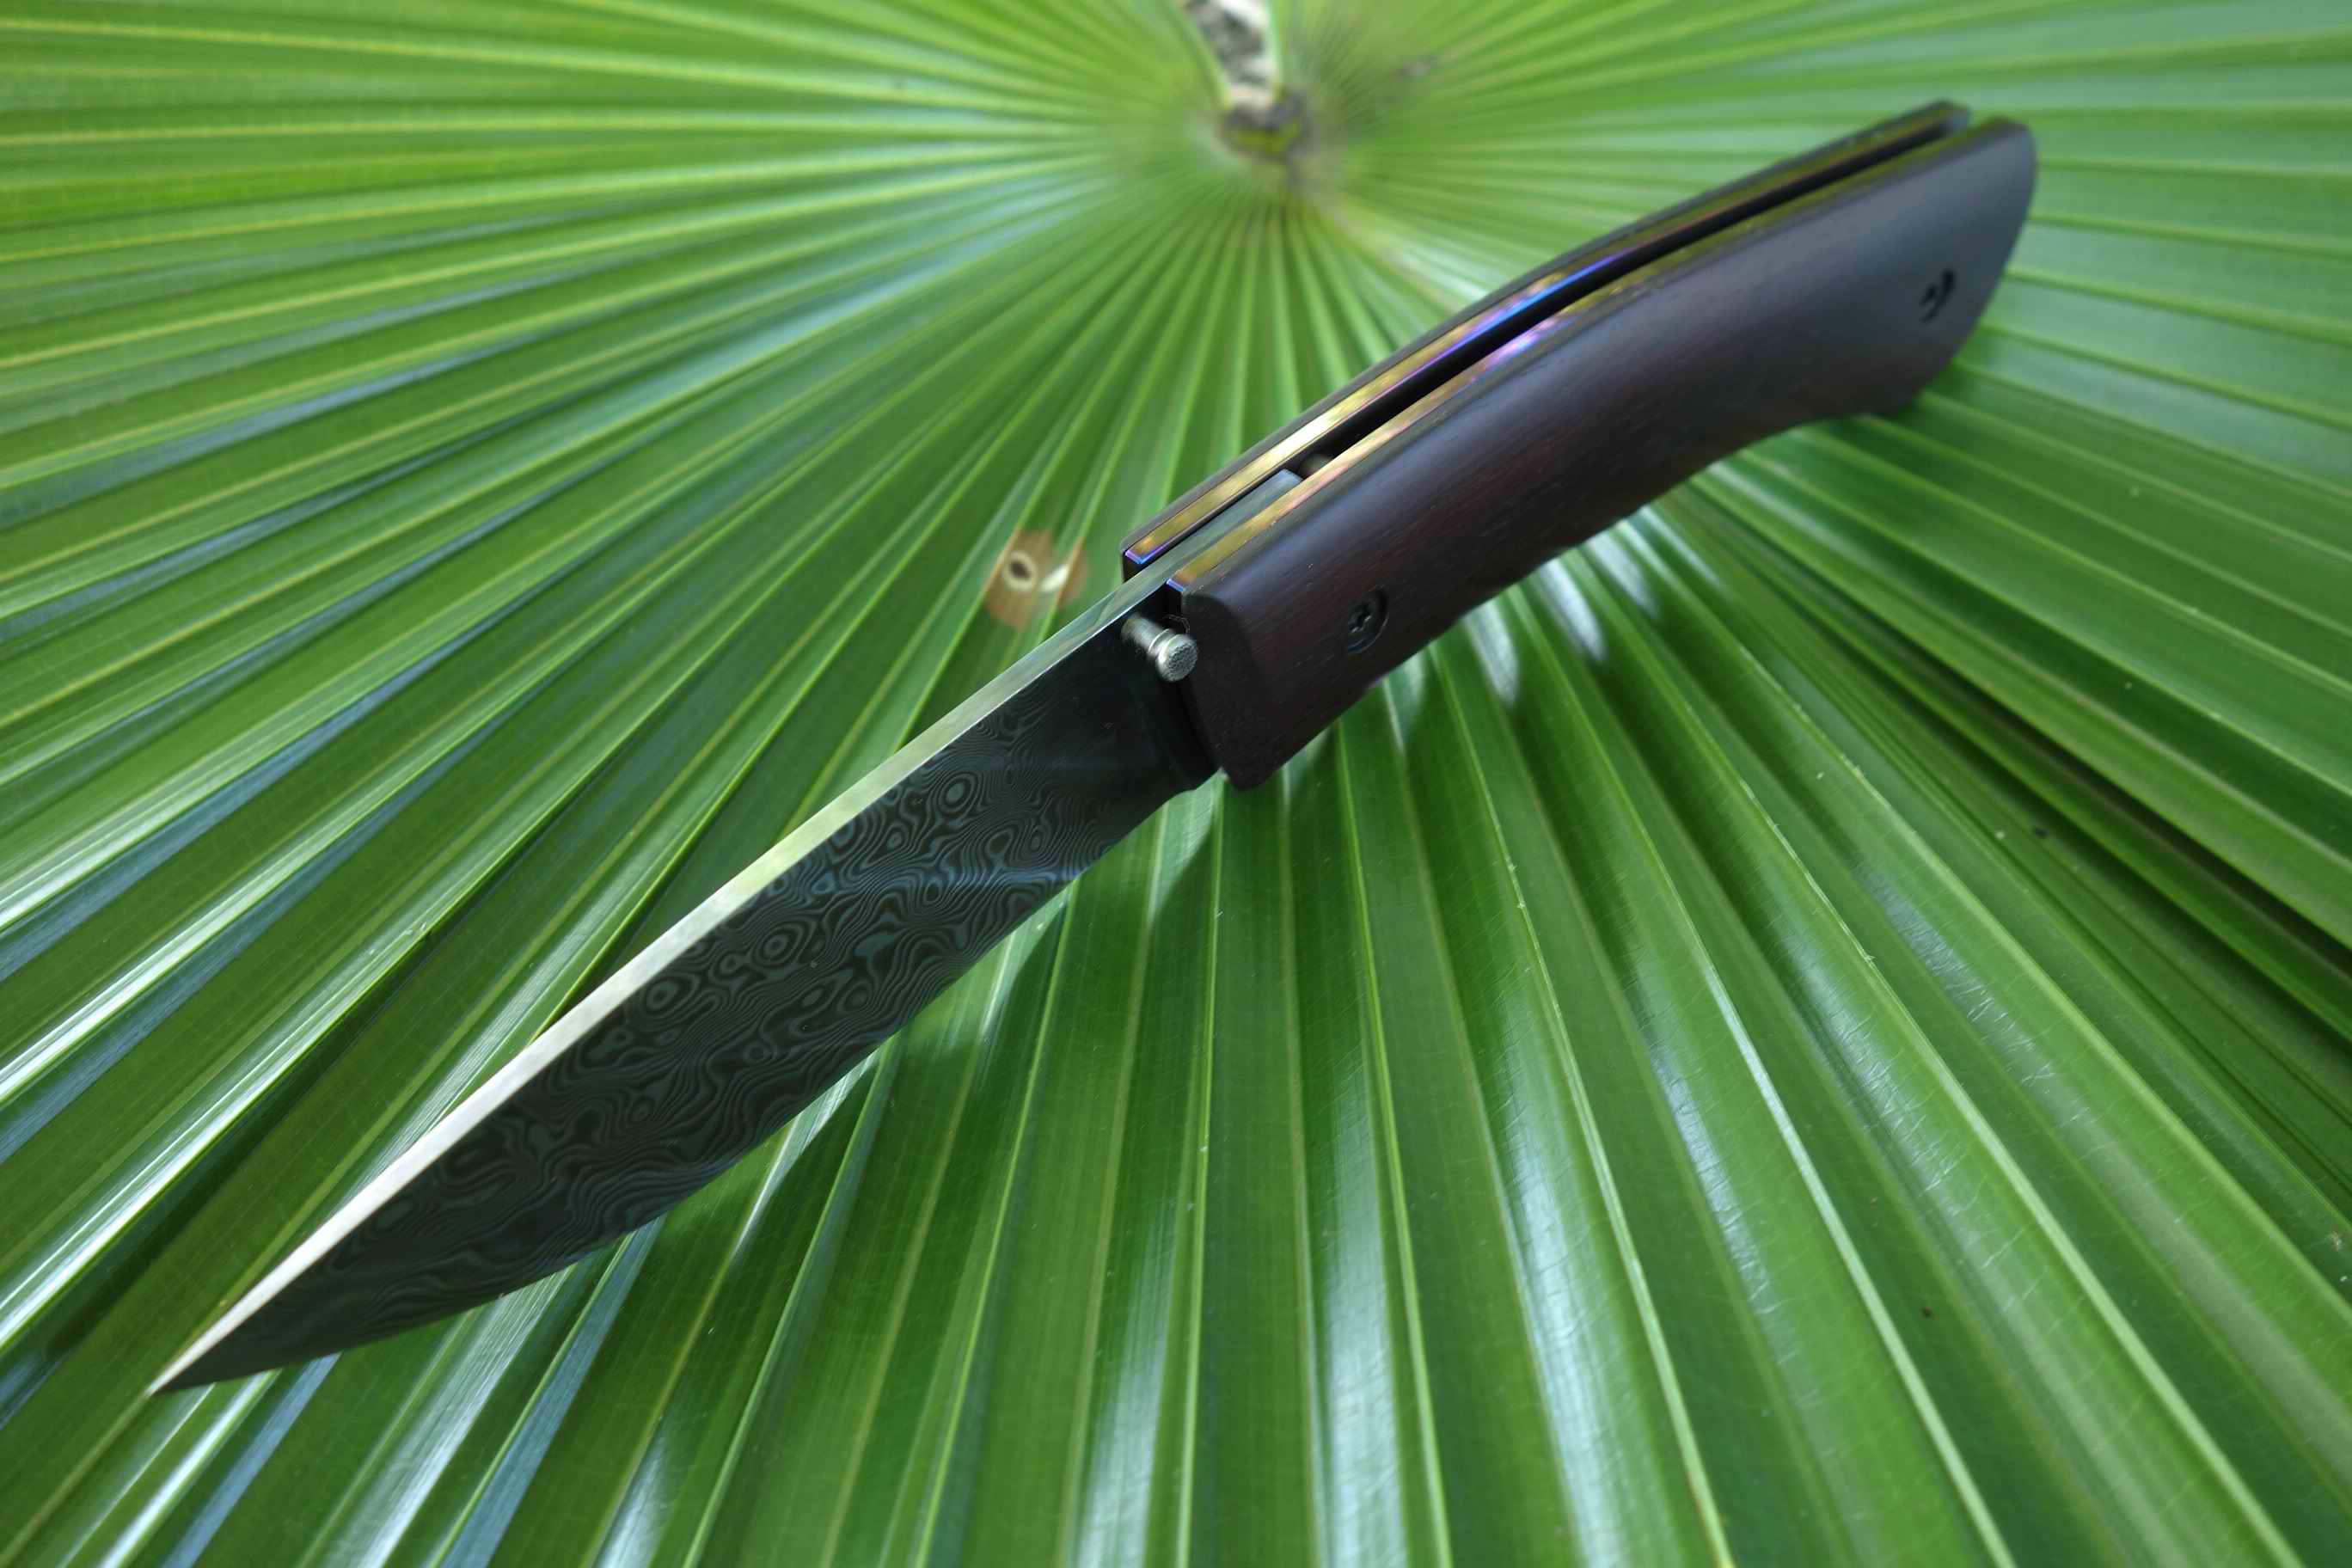
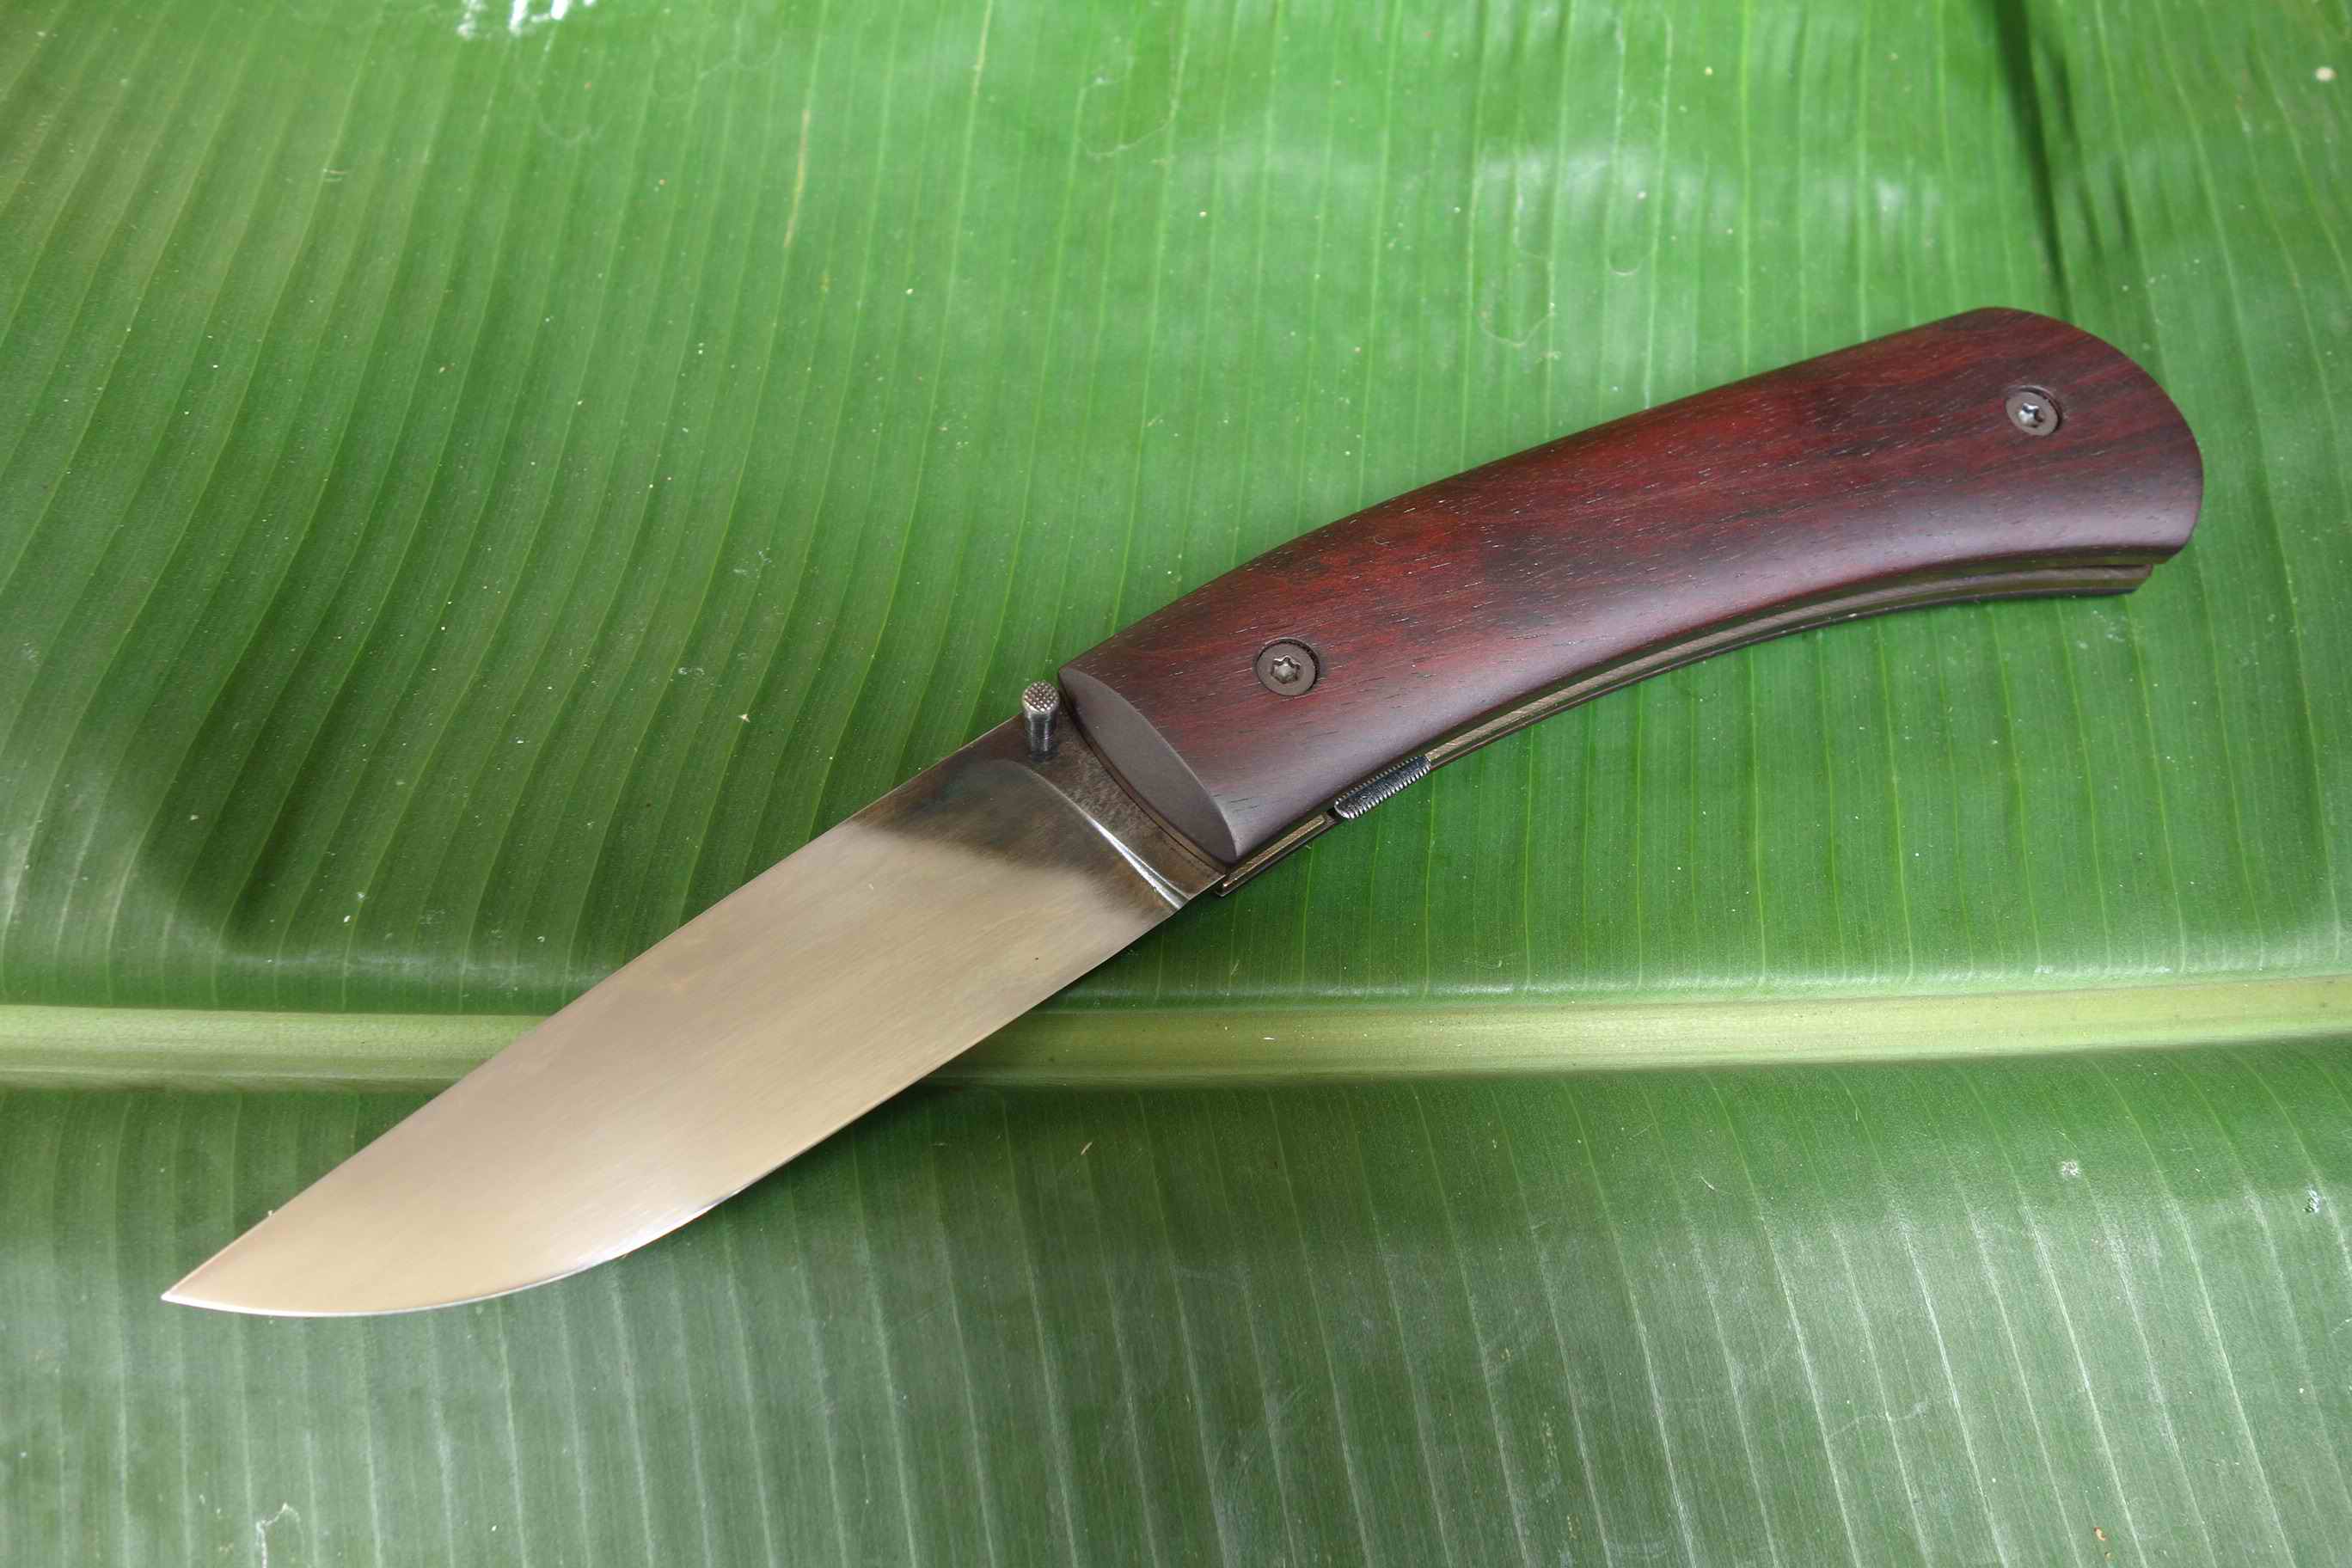
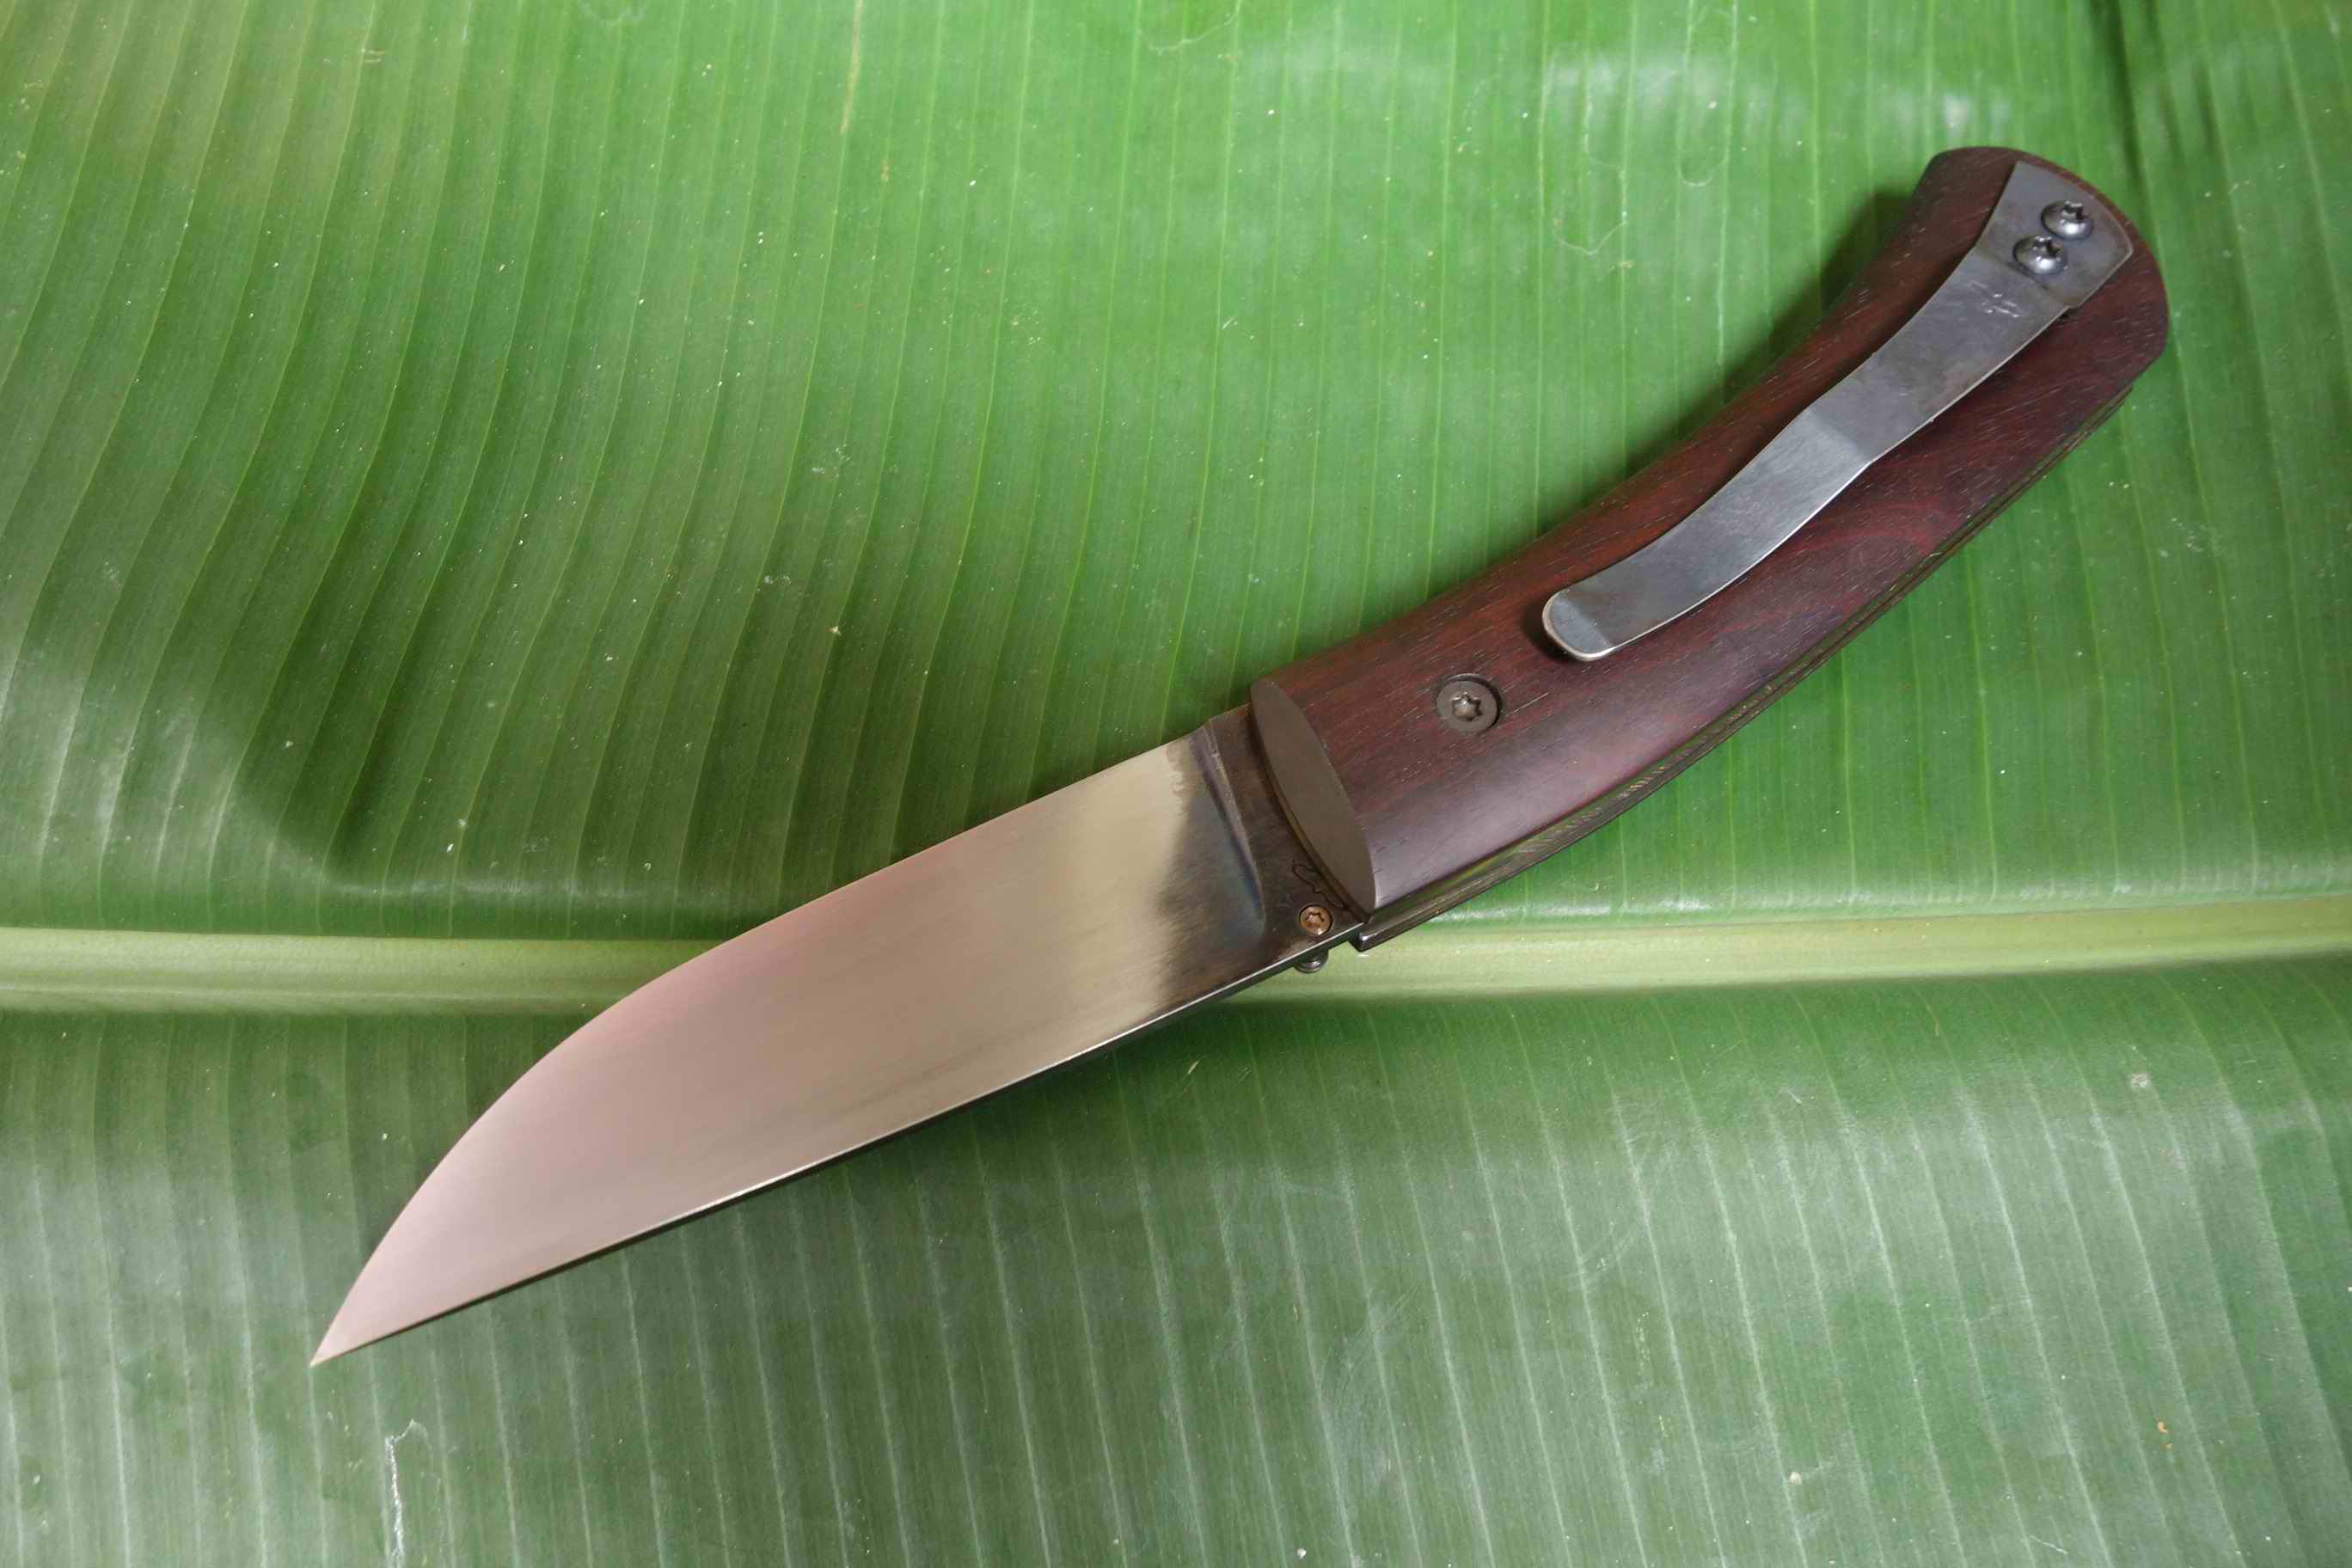
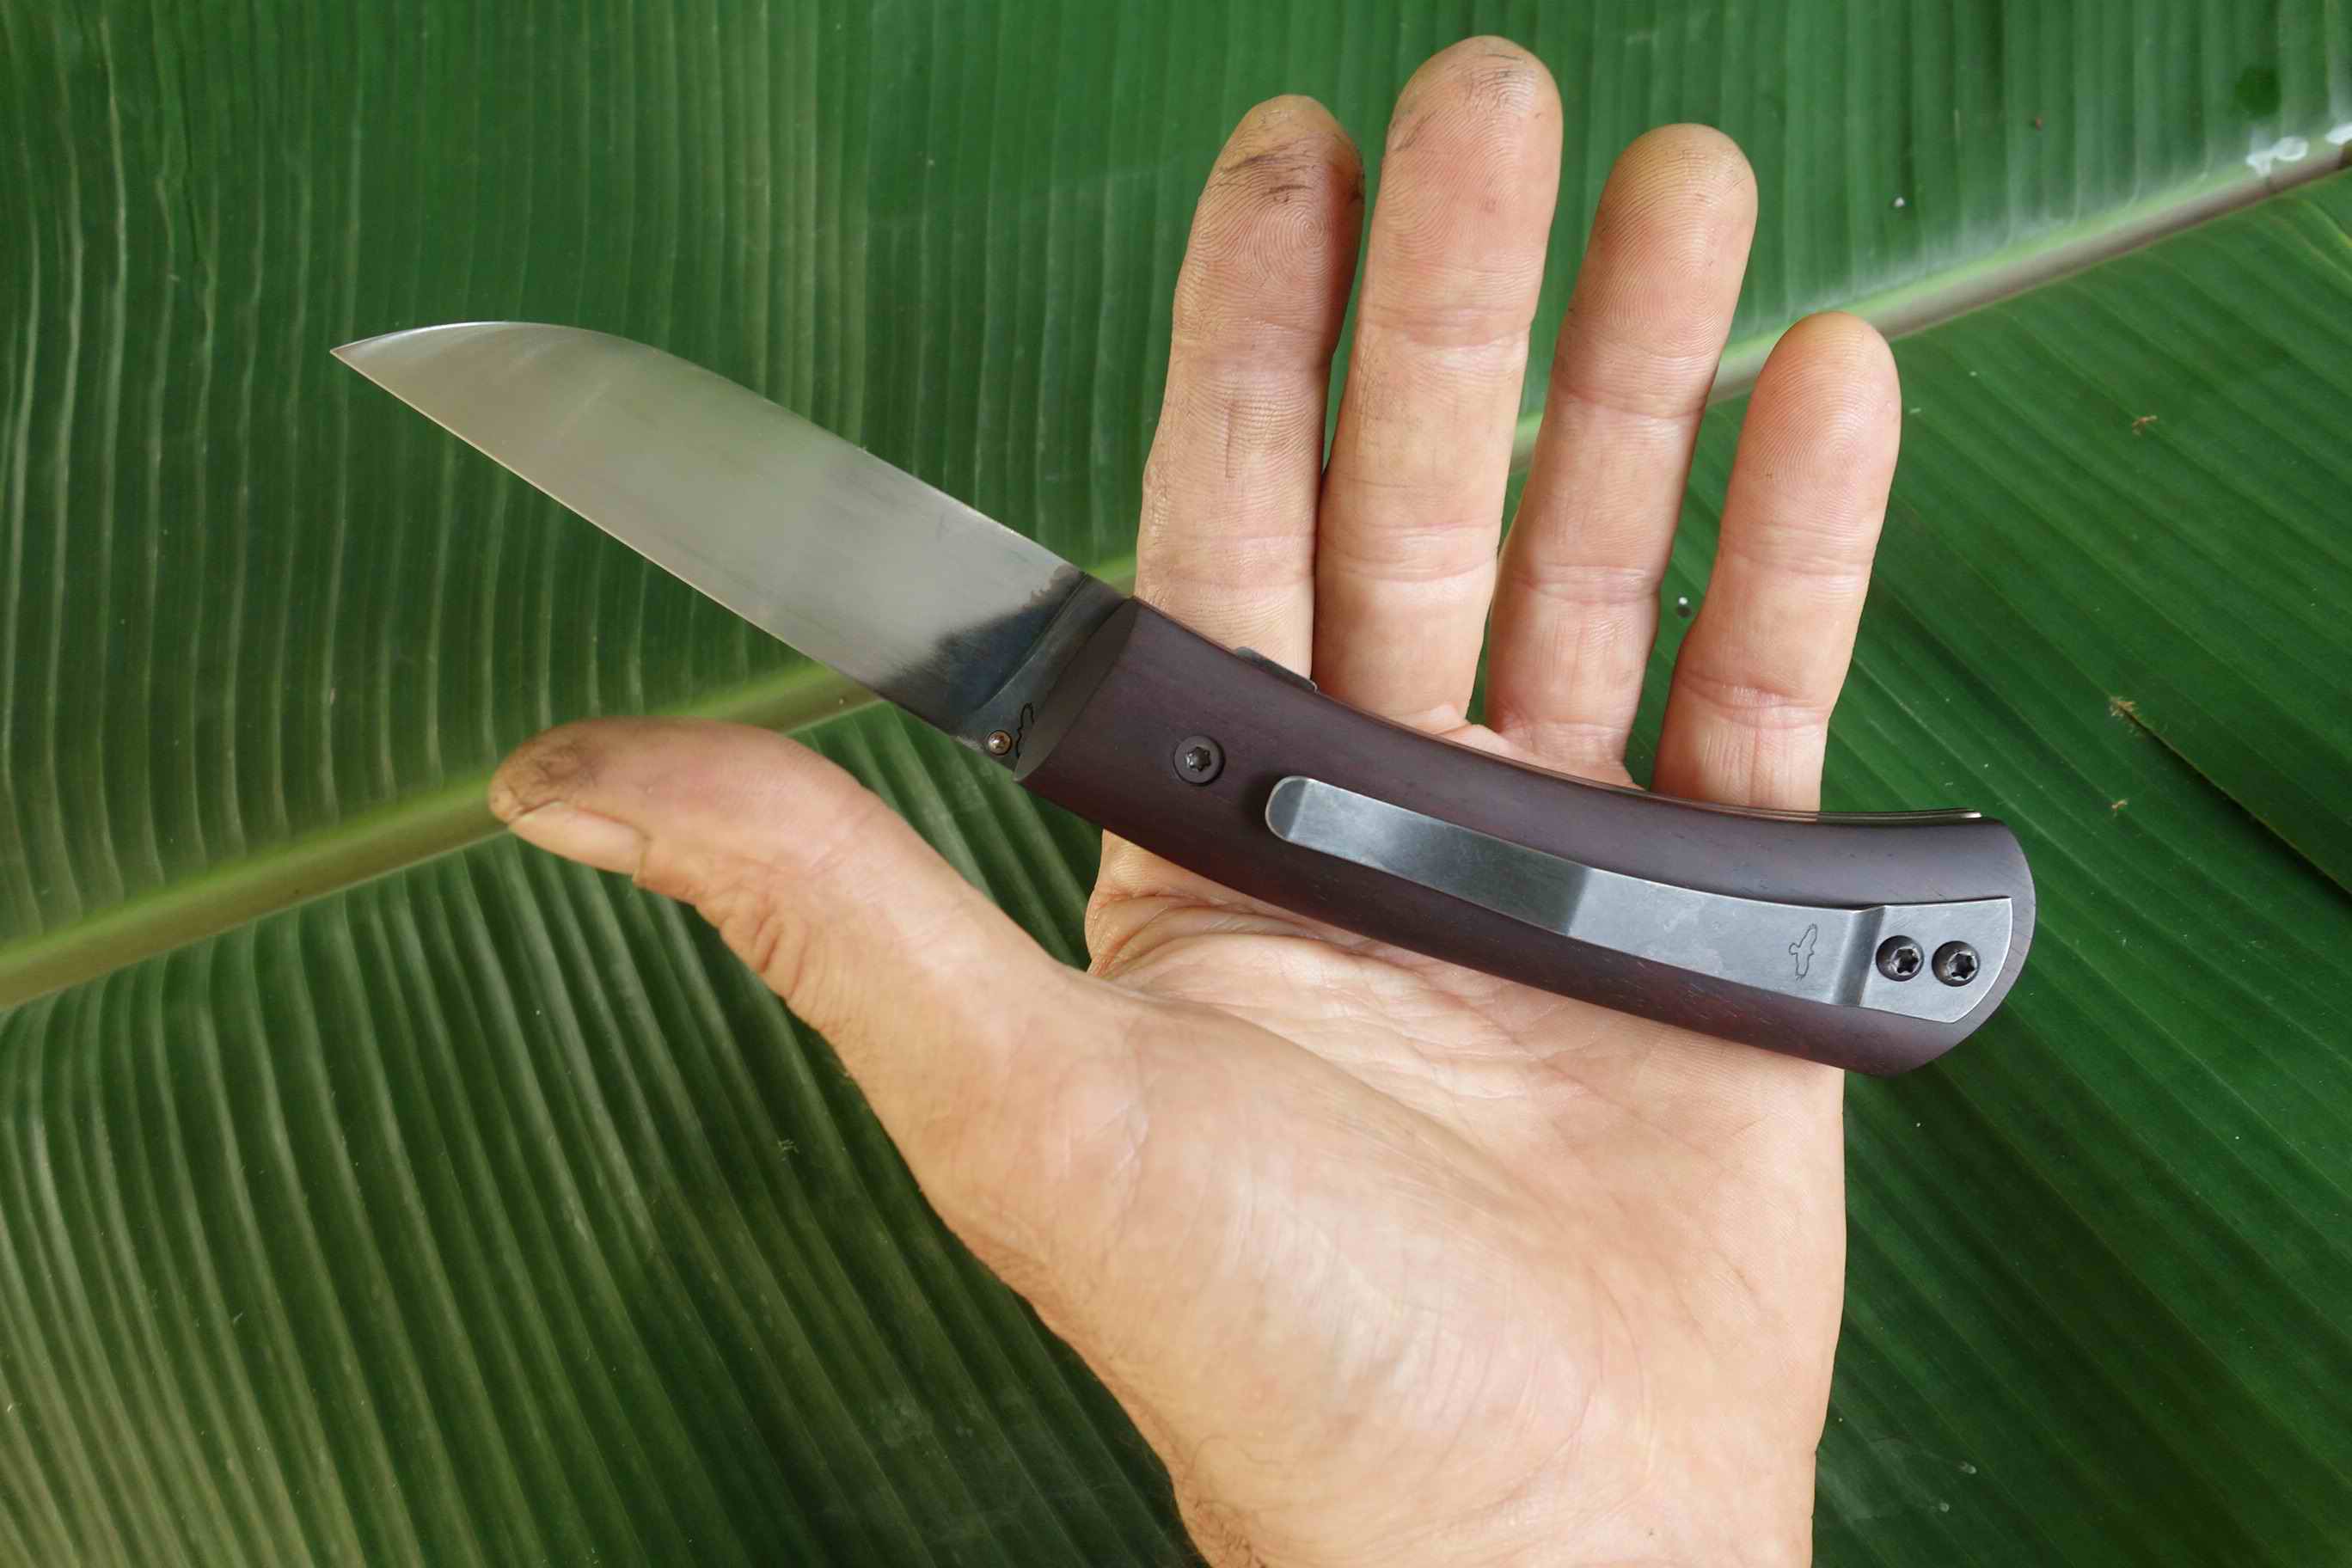
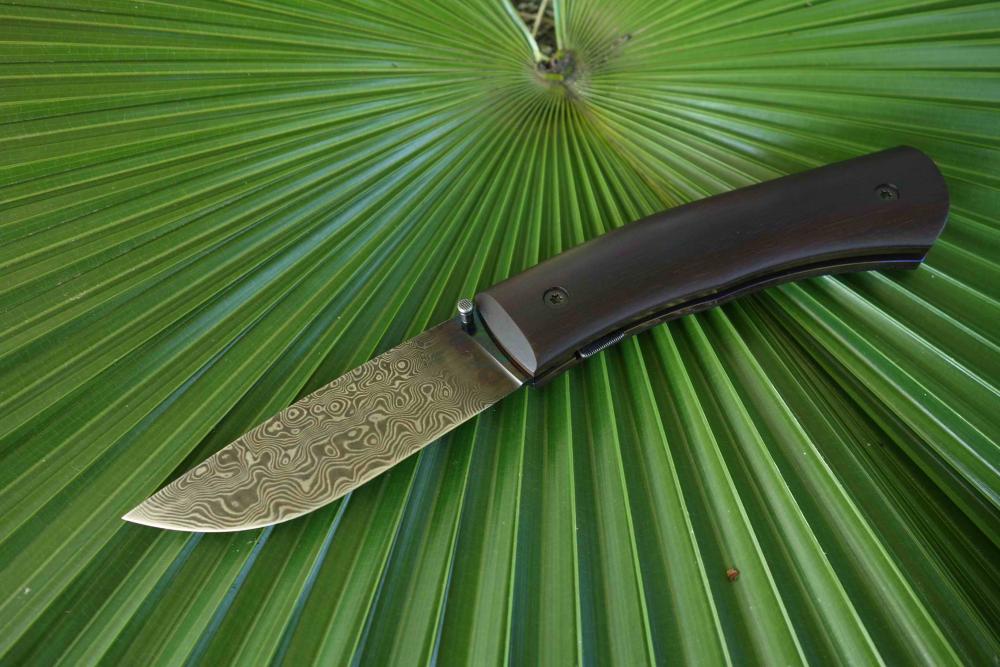
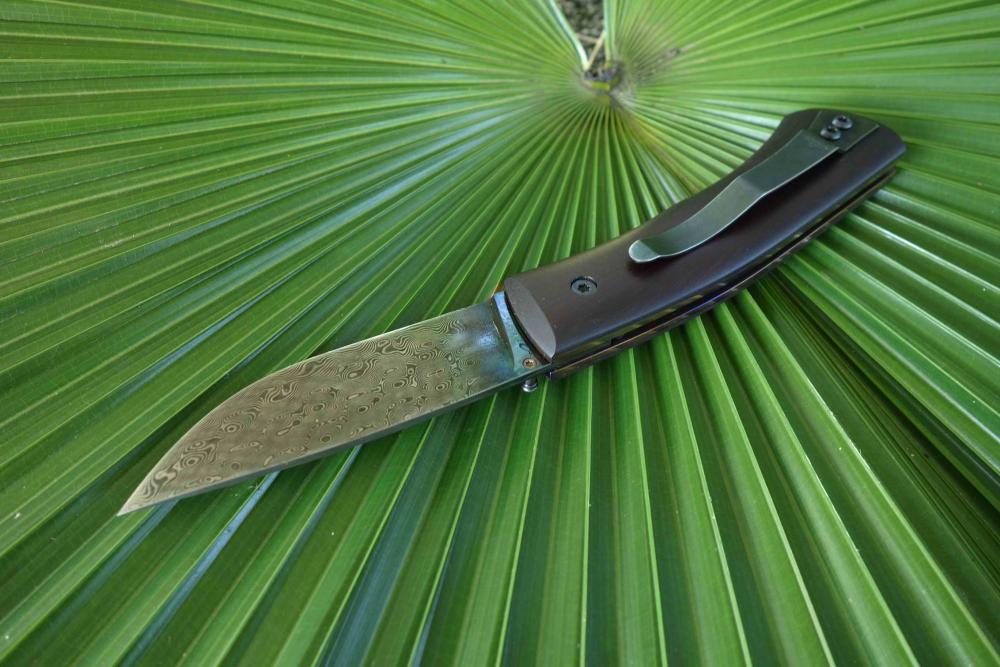
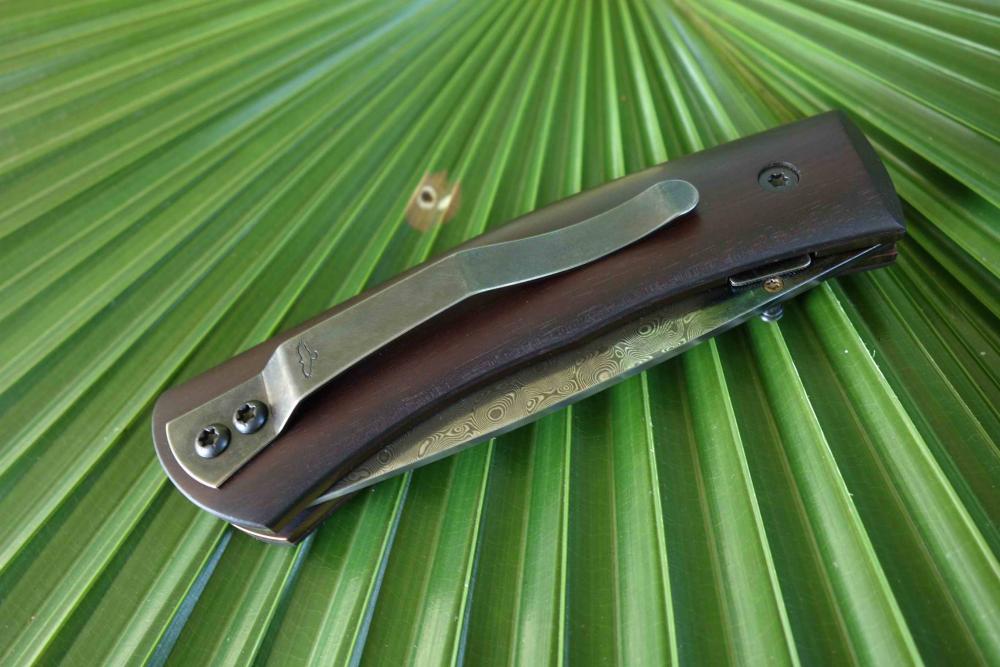
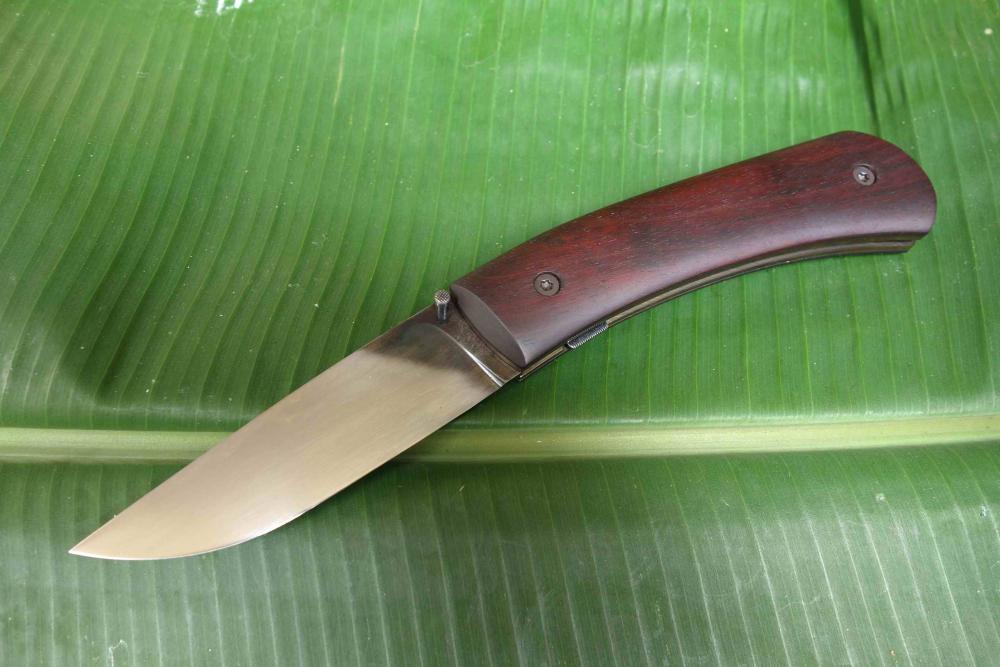
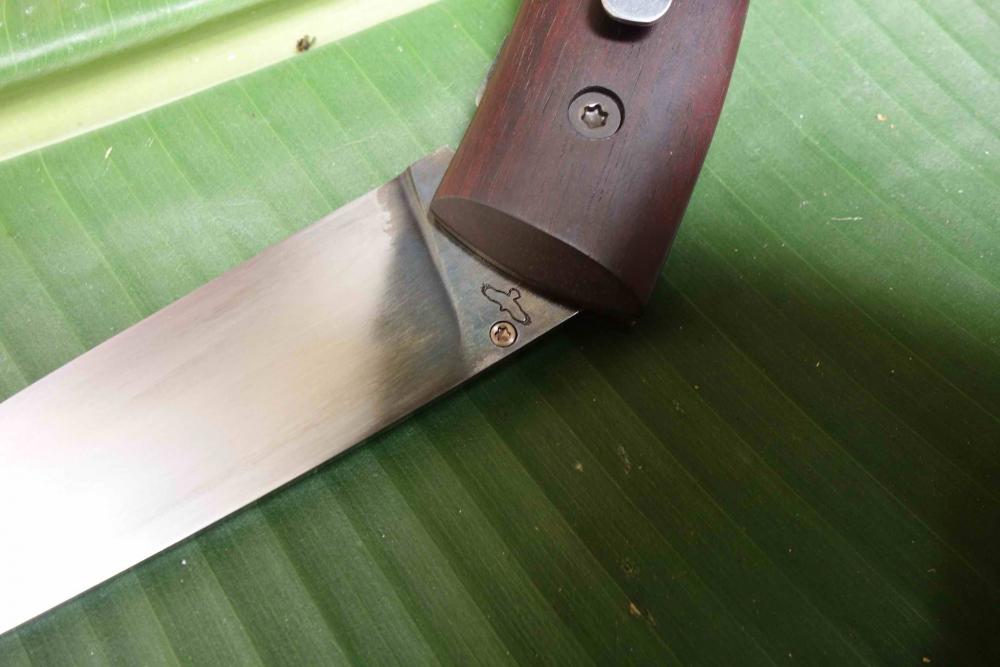
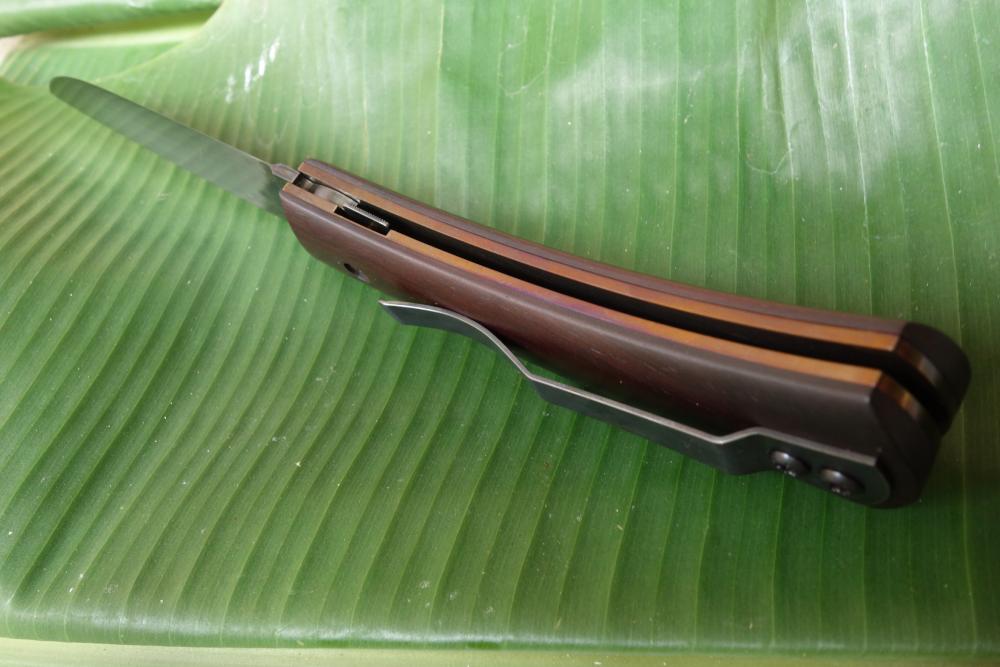
Plain again in O7 and Indian rose chestnut
templehound replied to templehound's topic in Folding Knives
Thanks Benton!
-
Tools that pay the bills and feed the mouths...
templehound replied to templehound's topic in Folding Knives
Thanks for the fine comments, Guys! 1776 : Ceylon ironwood is not that hard like Desert ironwood. It needs sharp belts, but do not wear them down so fast as Desert ironwood does.the dust is slightly toxic and this heavy wood makes fine dust that goes in absolutely everywhere in the work shop.It just works like Ebony or the like. Except sawing needs a fresh, sharp band on the saw. In use, the wood performs very well.It stays pretty true, very good for folders. Frosty: For me as a bloody beginner, it is very dependent on the "everyday's light" and good piece of luck Thanks!
-
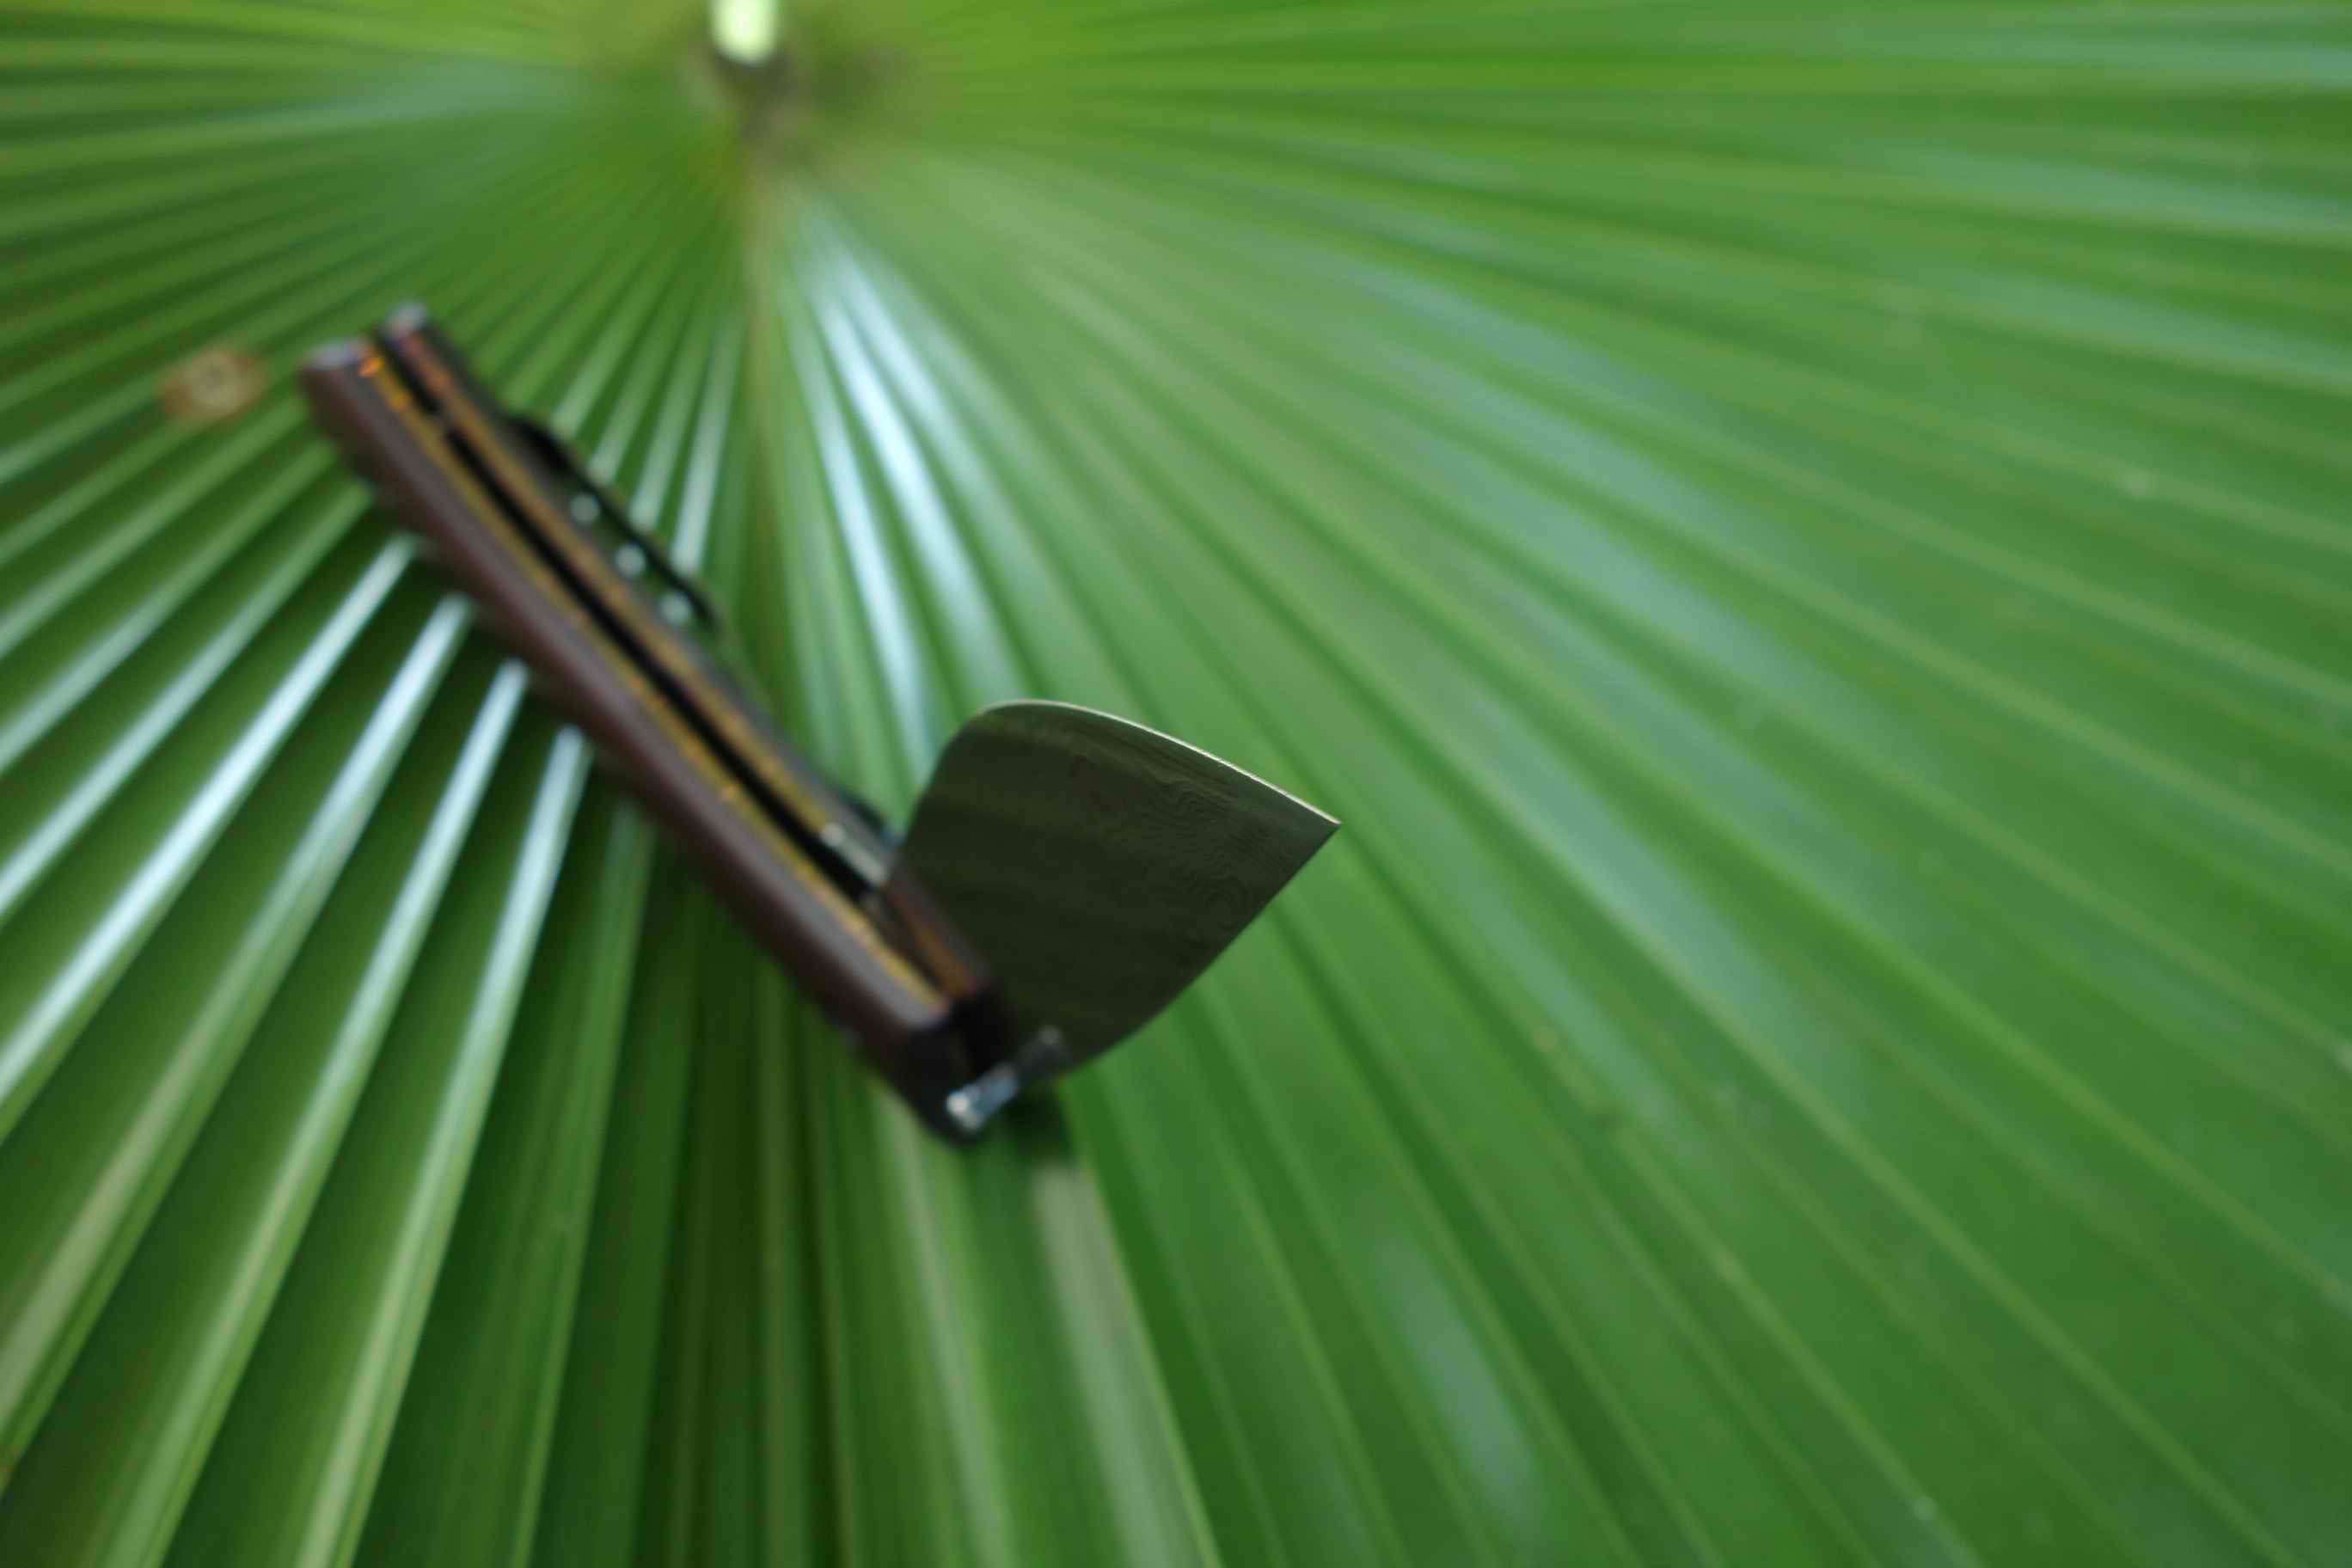
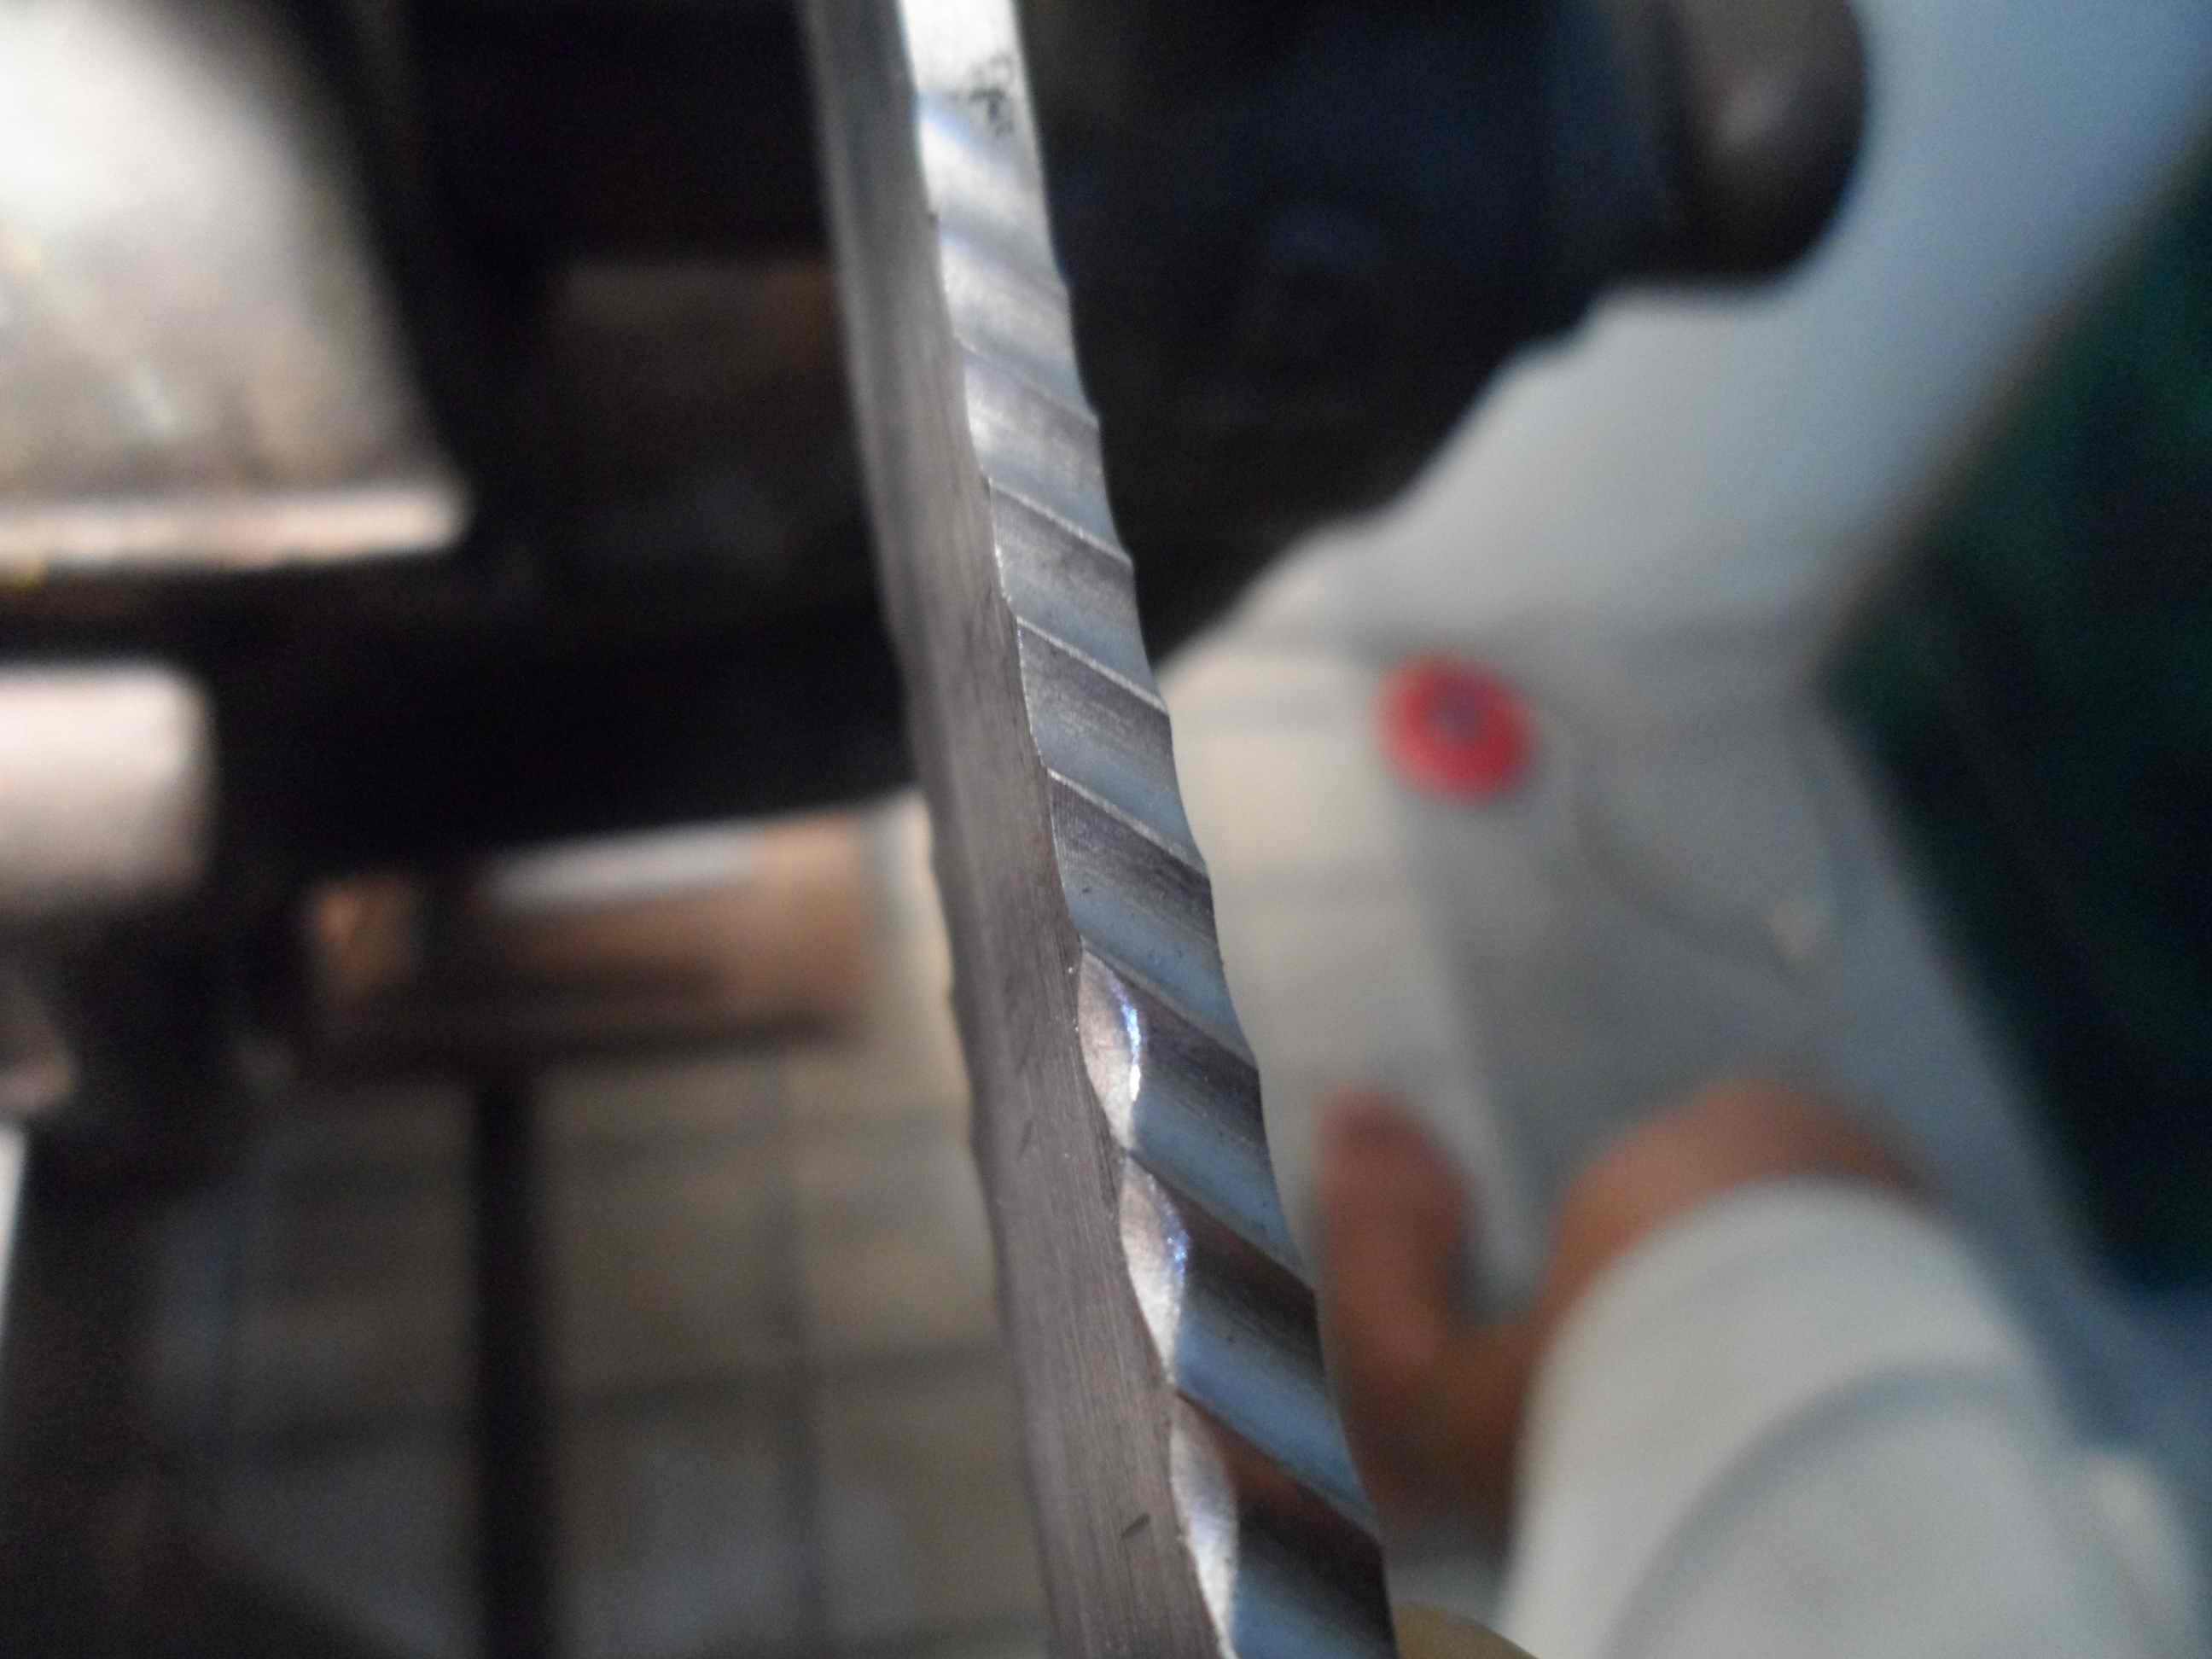
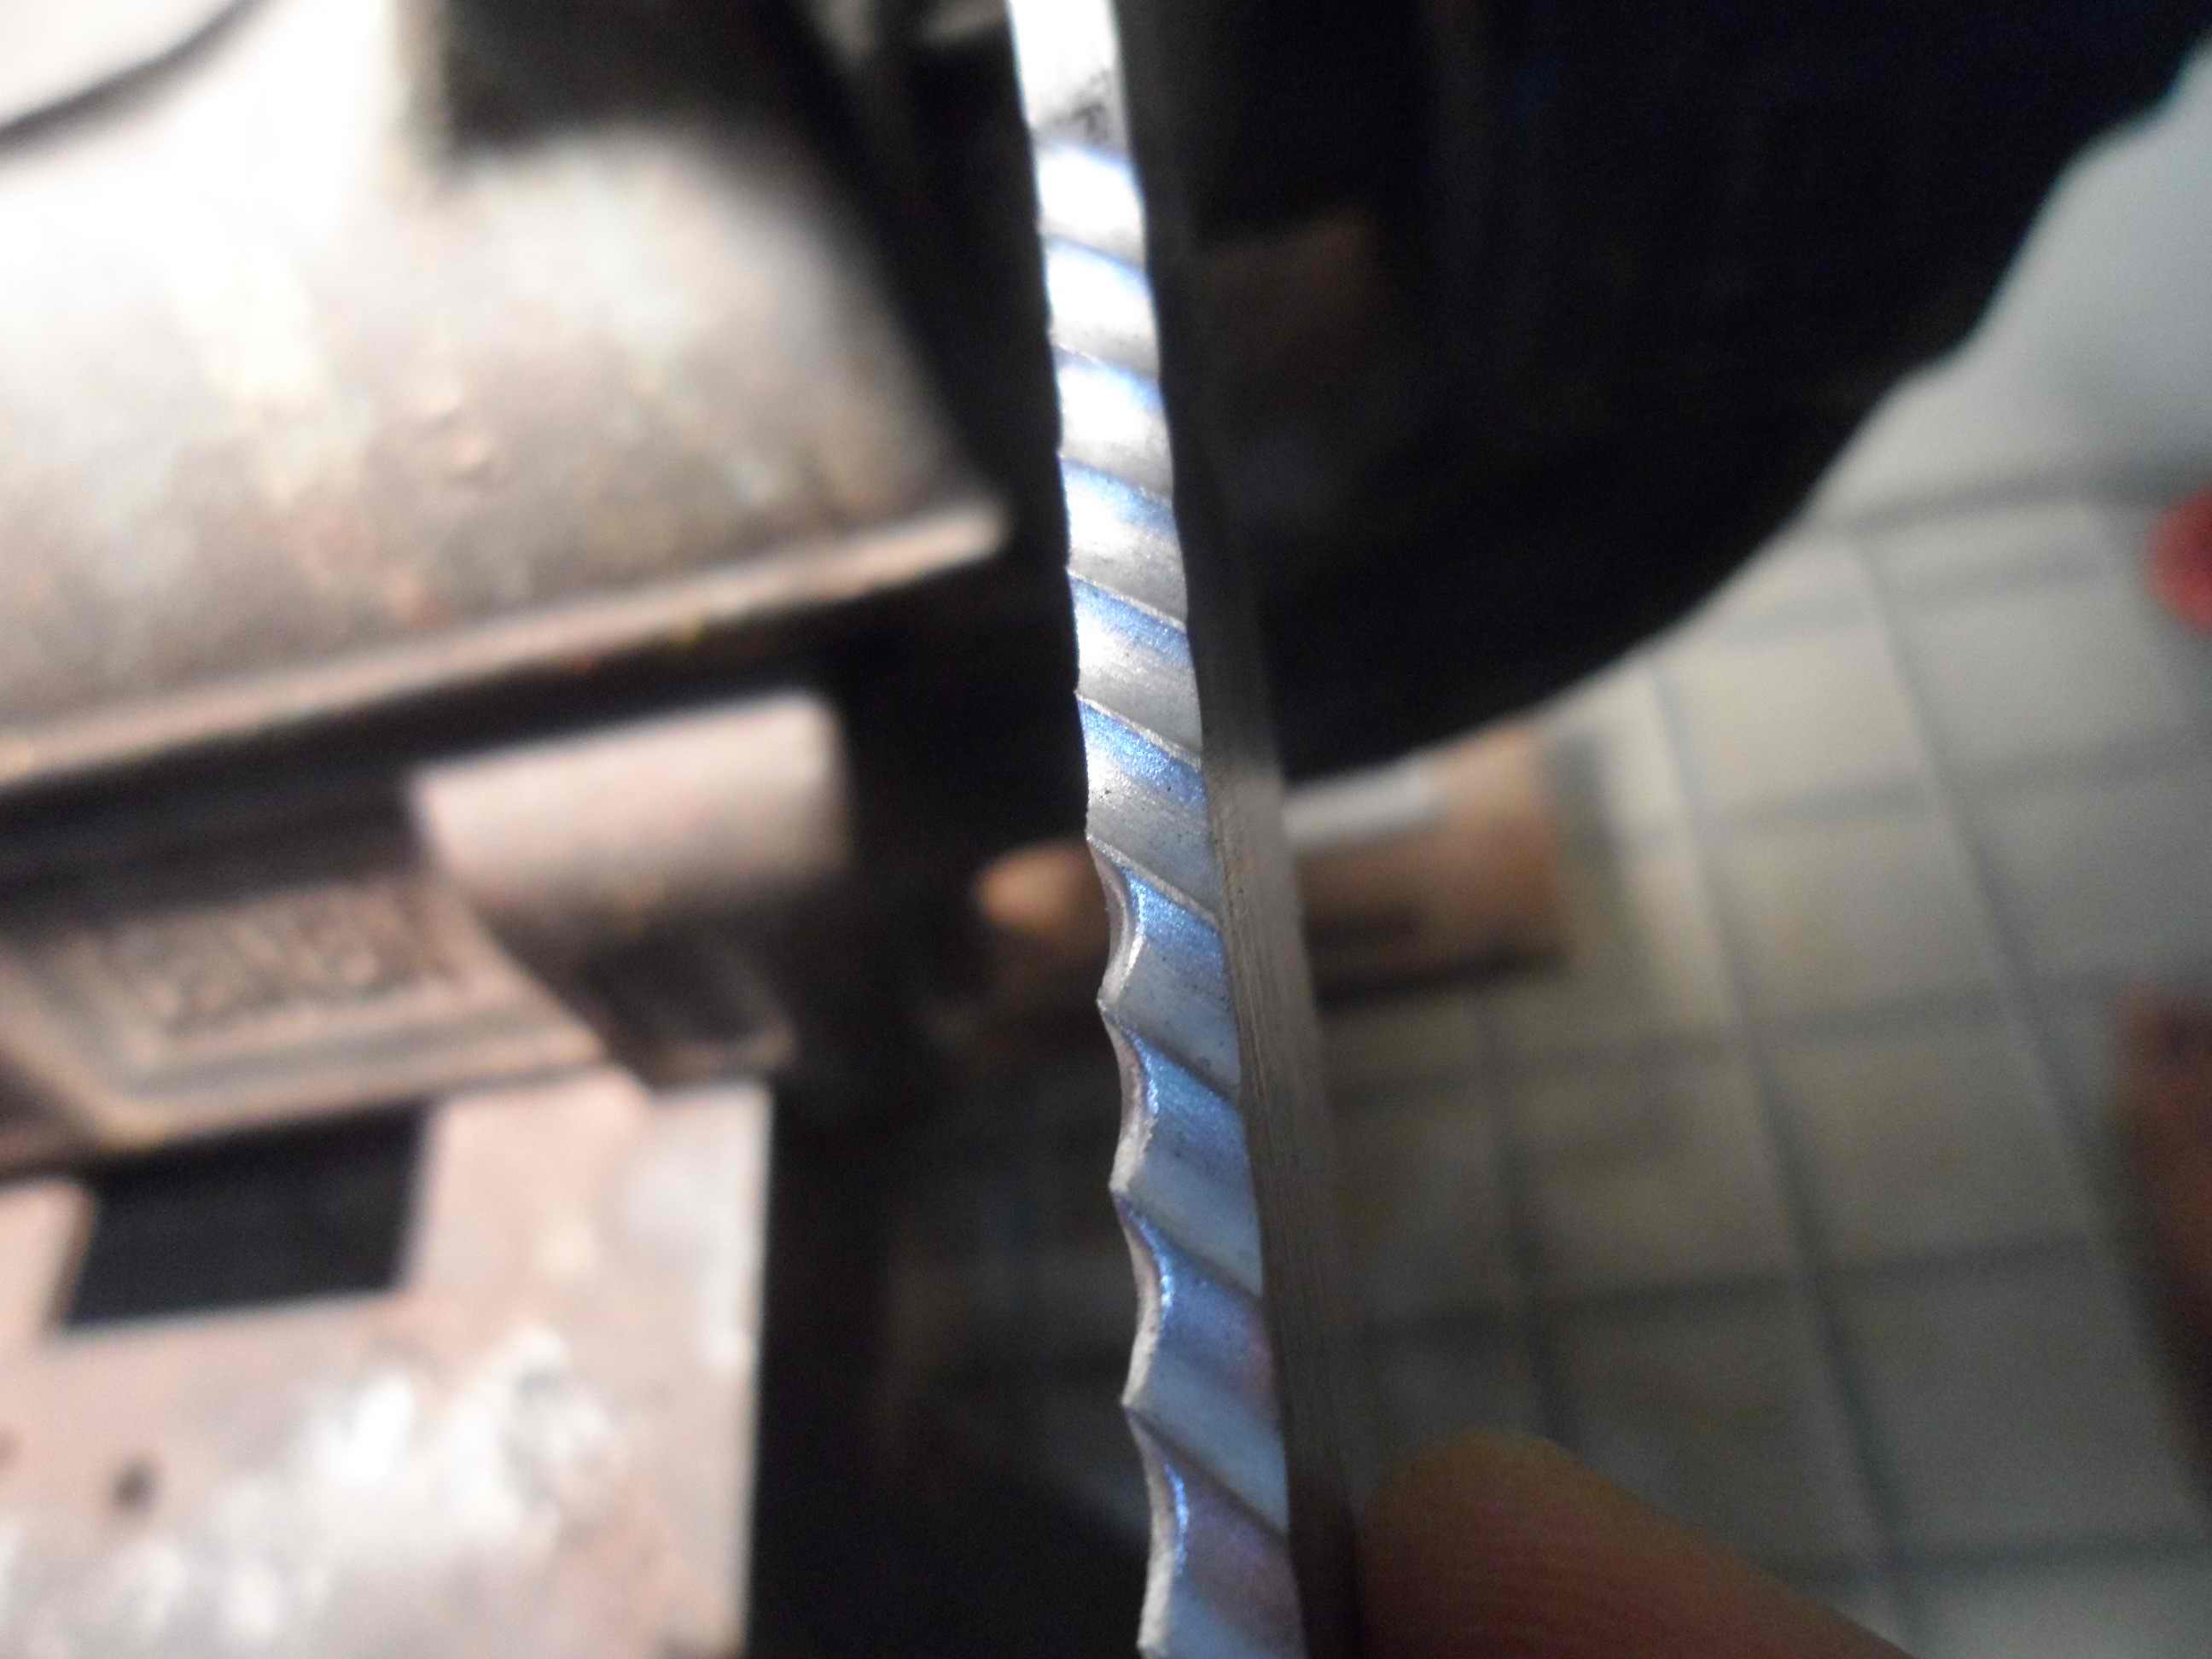
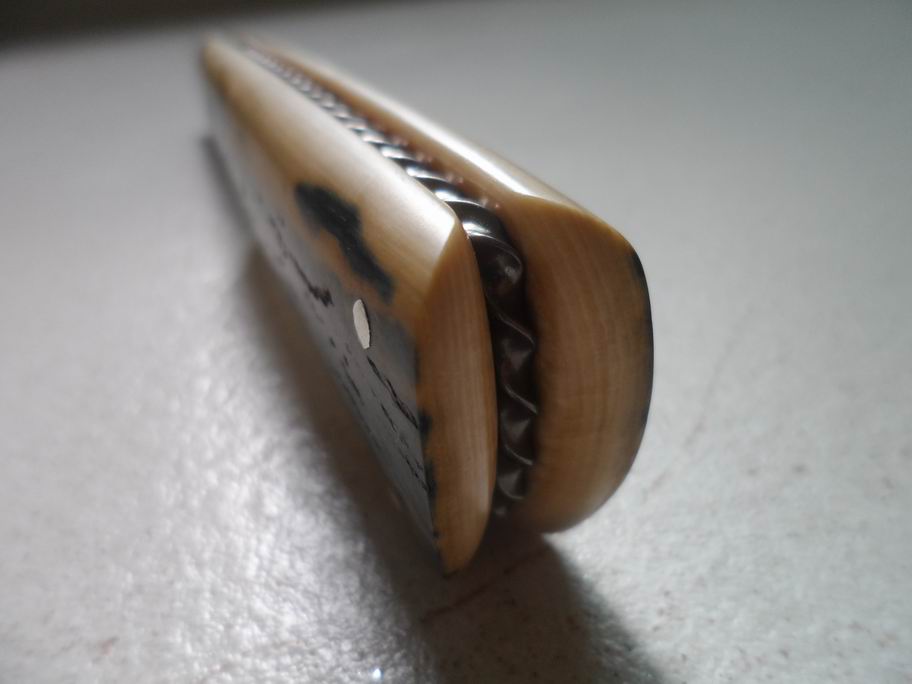
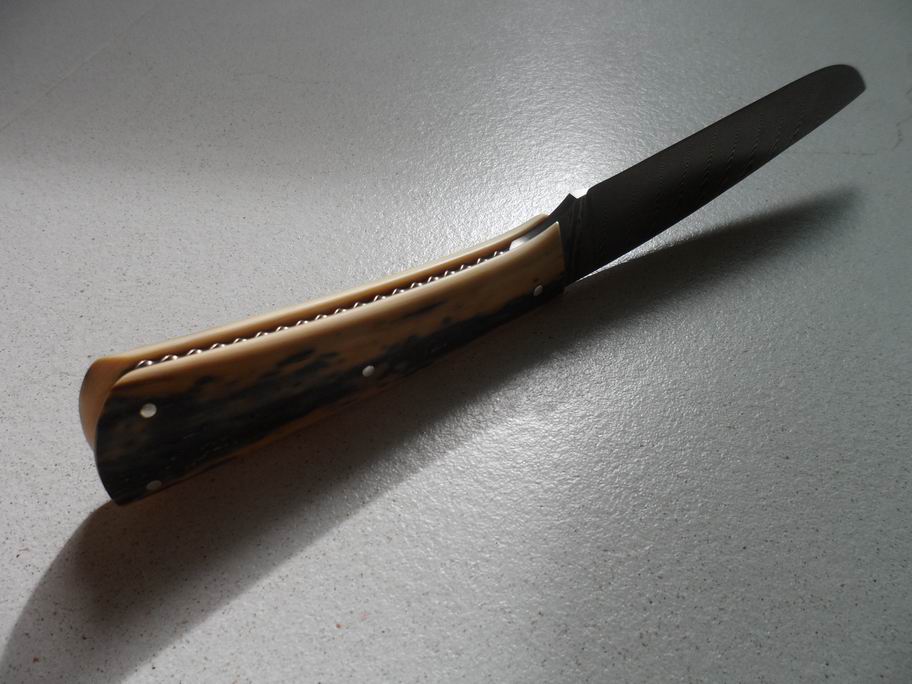
....most of the time never entertain us with that much diversity.They are all about quality and endurance. Also this locking liner sports Ceylon iron wood for the handle slabs,, 6Al4V on the liners and and high carbon spring steel for the clip and the mechanical parts. Except the blade this time is different. I made it from a semi industrial made Damascus steel forged by my old friend and colleague Achim Wirtz http://www.lohmann-stahl.de/kontakt/ O1, 1.5634(75Ni8) and 1.2442(115W8) sharing the approximately 180 layers. Etched in instant coffee and gun blued on the rear. I am not the guy who prefers Damascus on a working blade but this stuff performs like a super tough mono steel with excellent wear resistance.....and that is rare to push the big compromise on performance that close toghether. The only thing I can't take the steel into my production offer is it's(fully justified) high price.....but once in a while there is the opportunity and the pleasure. Cheers


-
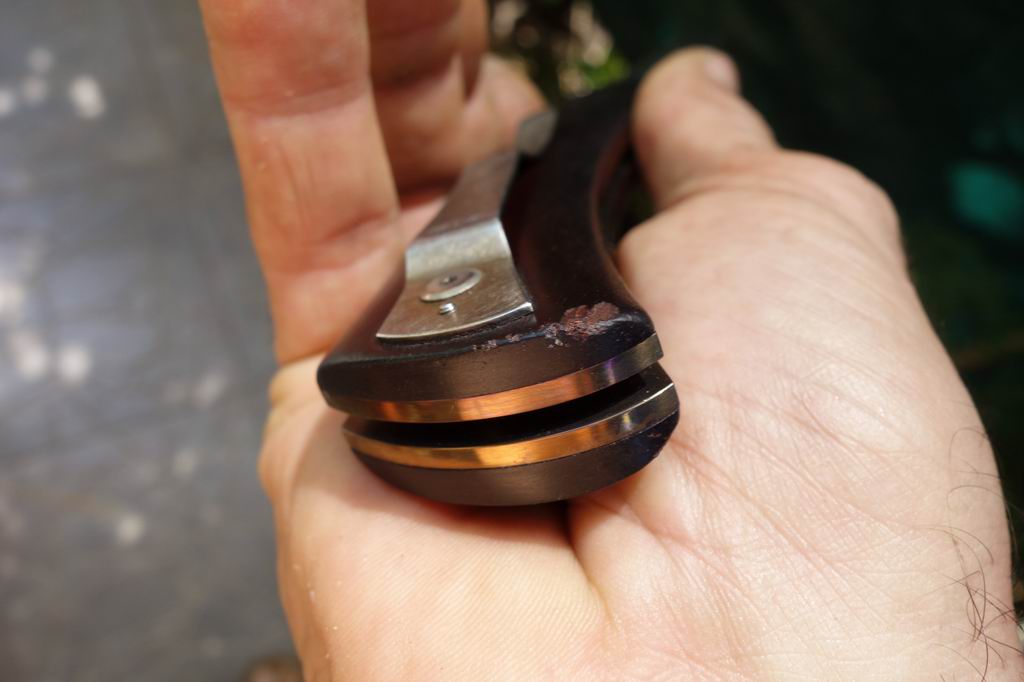
Hi there, it is all about compromise(like always..) For example:...on Titanium jewellery the colors seem to stay forever......on Titanium blades there is, (if they will be used)always heavy friction while cutting, so.....it is quite obvious which one is prone to wear off or which one lasts longer, right? There are two common ways(maybe more) to color Titanium, anodizing and heat coloring.I prefer the heat coloring, You don"t need special equipment except a Butan gas flame and some degreaser. While the anodizing makes it easier to catch the blue color the heat variation gives better yellow, bronce to violet colors, which I like more. Mostly there are 5 different kinds of Titanium, from butter-soft to springy hard, and they all coloring a bit different, especially in time of the Titanium reacting to the heat. I think a good example are the liners of a folder. I use 6AL4V because of its toughness on small threads(like M2) and its stability to stay straight. Good example is my personal folder which I use every day.I shot a pic of the butt with its most worn down spot to give evidence that it is a real used one. Folder is about 3 years old and You can see that the colored Titanium holds on really well. Coatings can be done but with less or more success. In my opinion coatings look cheap, distorting colors and wearing off very fast but..... taste can not be argued

-
Plain again in O7 and Indian rose chestnut
templehound replied to templehound's topic in Folding Knives
BIGGUNDOCTOR and DASWULF, Thanks Fellas, I appreciate that a lot! -
......the liners are 6AL4V and the clip and all mechanical parts are high carbon spring steel. I always give the slabs a little oversize of about 0,10 mm, because in Europe it is much less air humidity than in the tropics. Cheers


-
That is not a Bowie, it is a Crowie.....inhaling classical forms, blend them and heading straight to combat
-
Maybe You know this already, but if You don't, I strongly recommend to take a look at this........Boys, I am down on my knees for this master! Watch and enjoy. https://www.youtube.com/watch?v=bAzJOULyx5c
-
Actually There is no real good contrast possible with Damasteel, because it is stainless. Stainless is not supposed to take "contrast". Never black only versions of grey. so it can be brought to contrast like the video showed but it is some effort and the result is not very durable because it has not washed out enough. Take H2SO4 ( 38%) to deepen the Damasteel and then do the ferric vingear stuff .That finish and colors last longer.
-
Very good! I am glad to read this. Thanks JHCC! My pleasure, Guys! Thanks for Your comments!
-
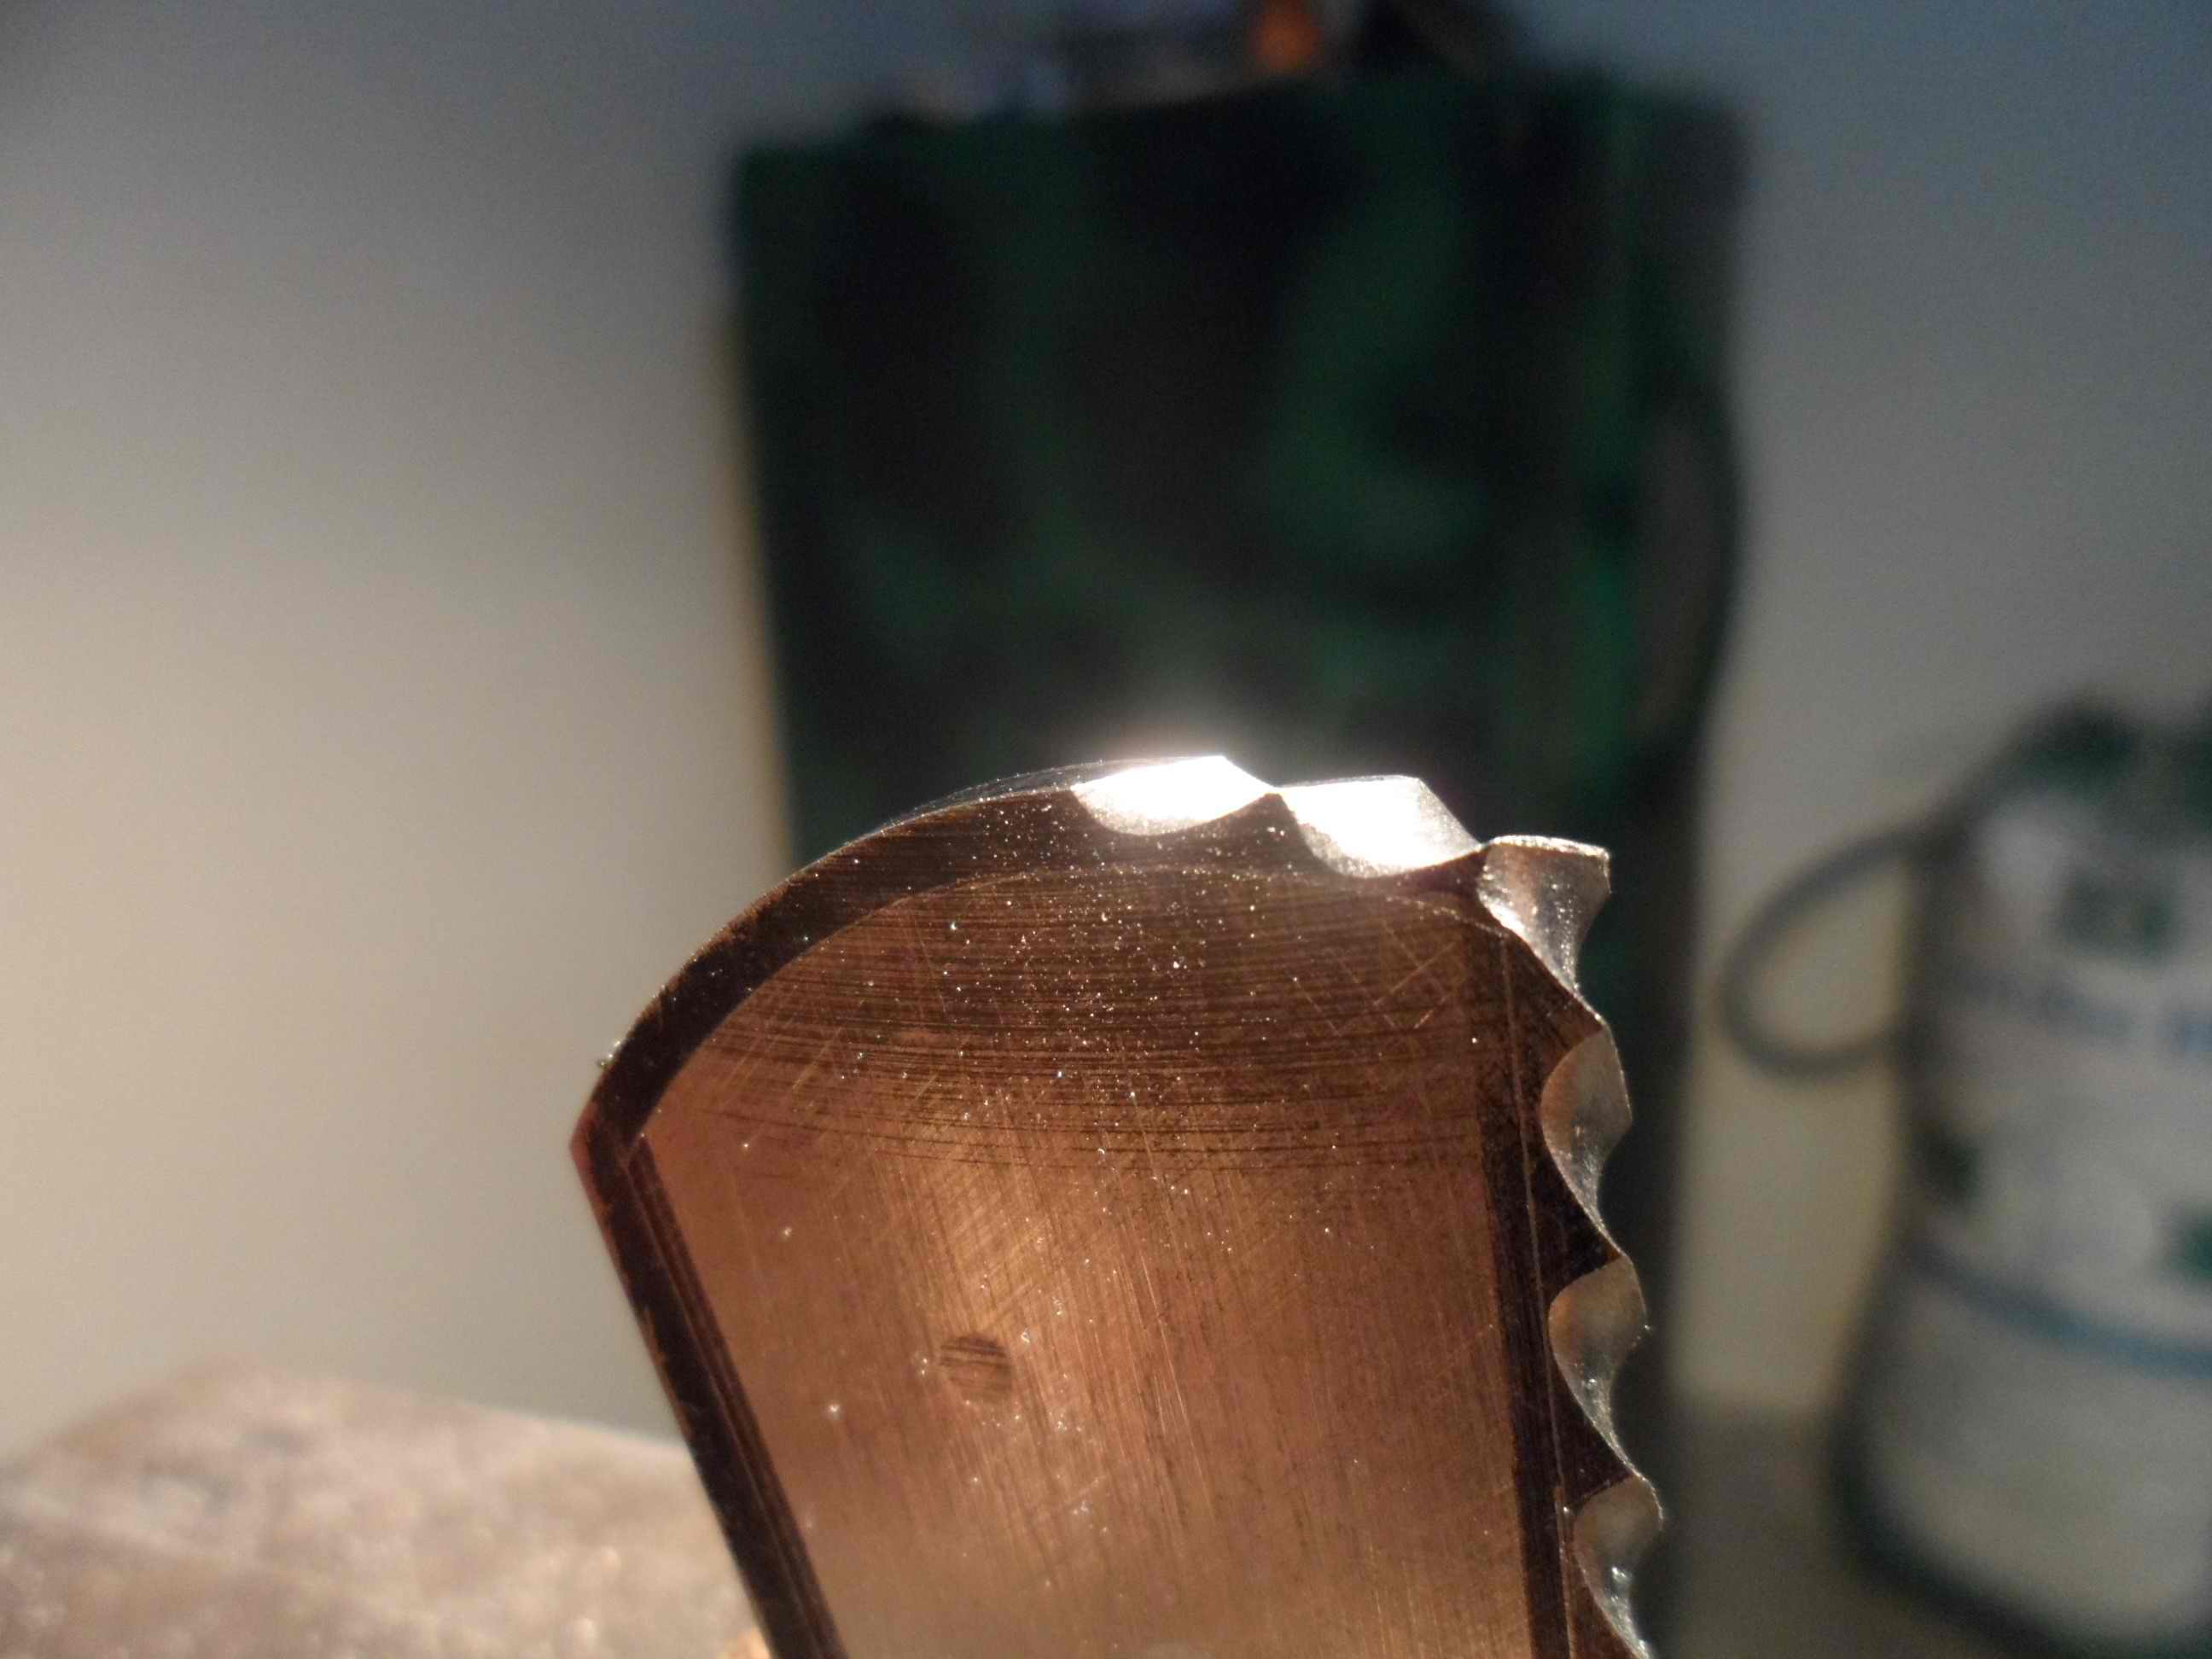
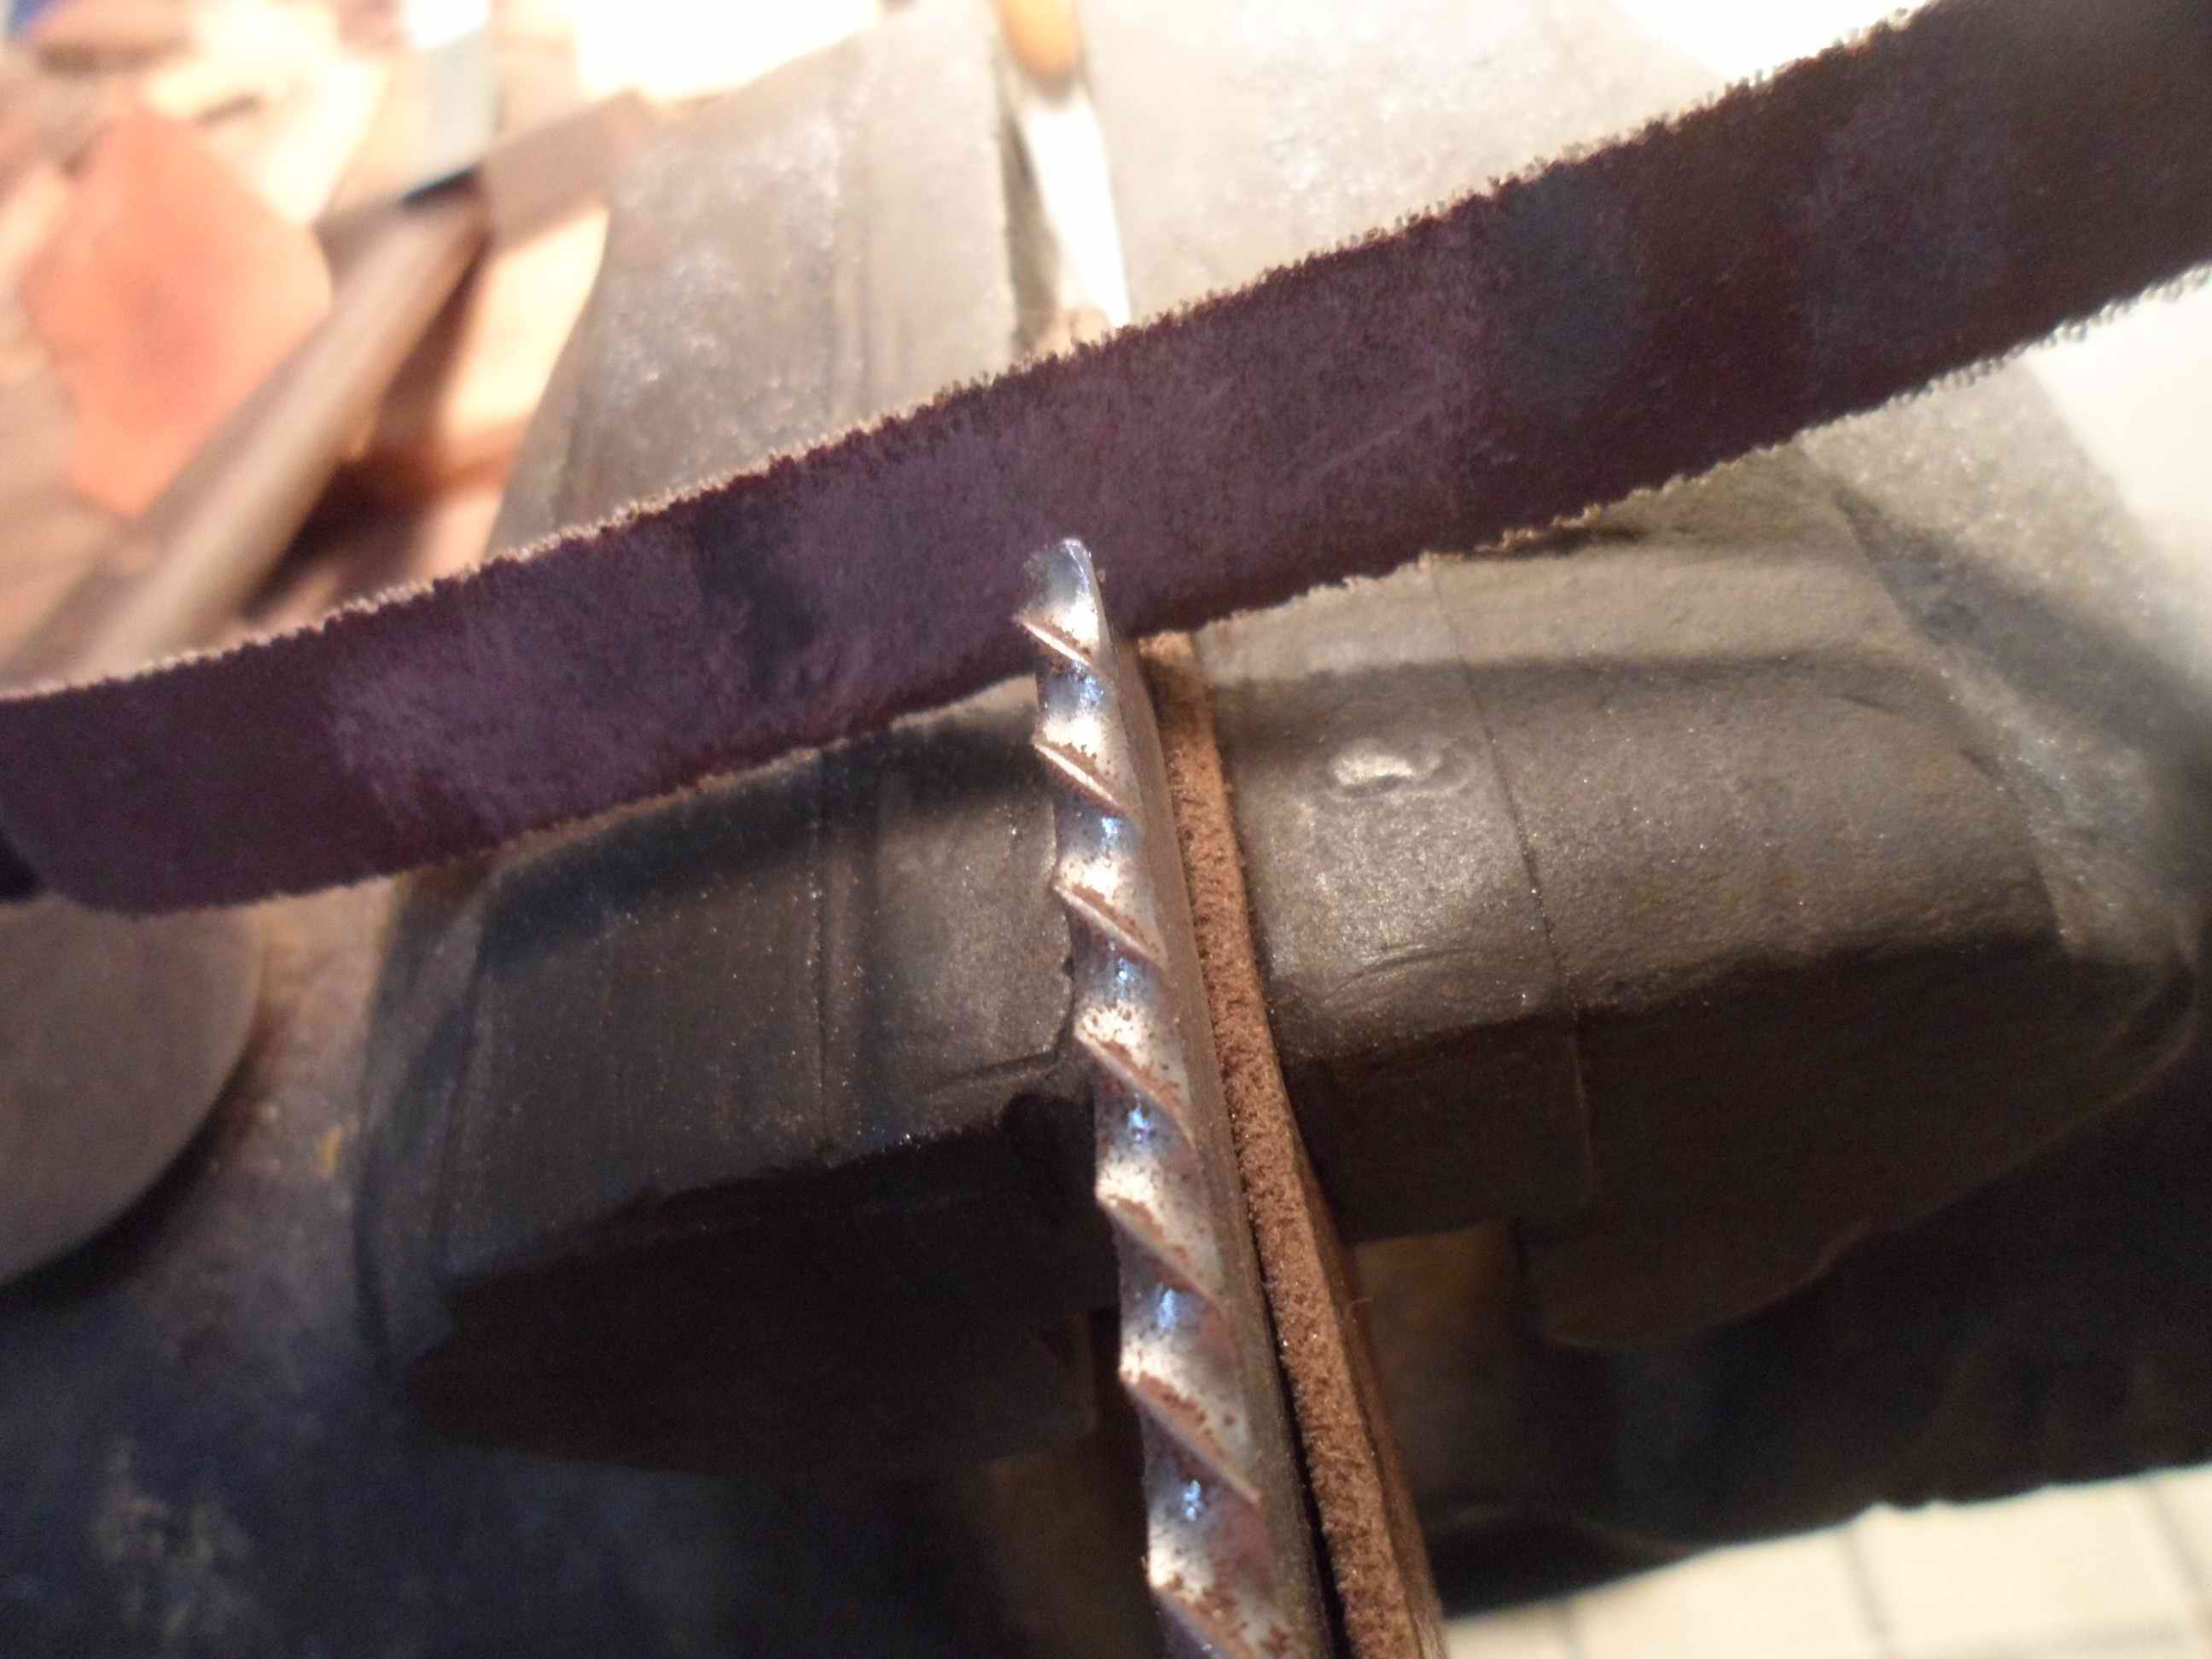
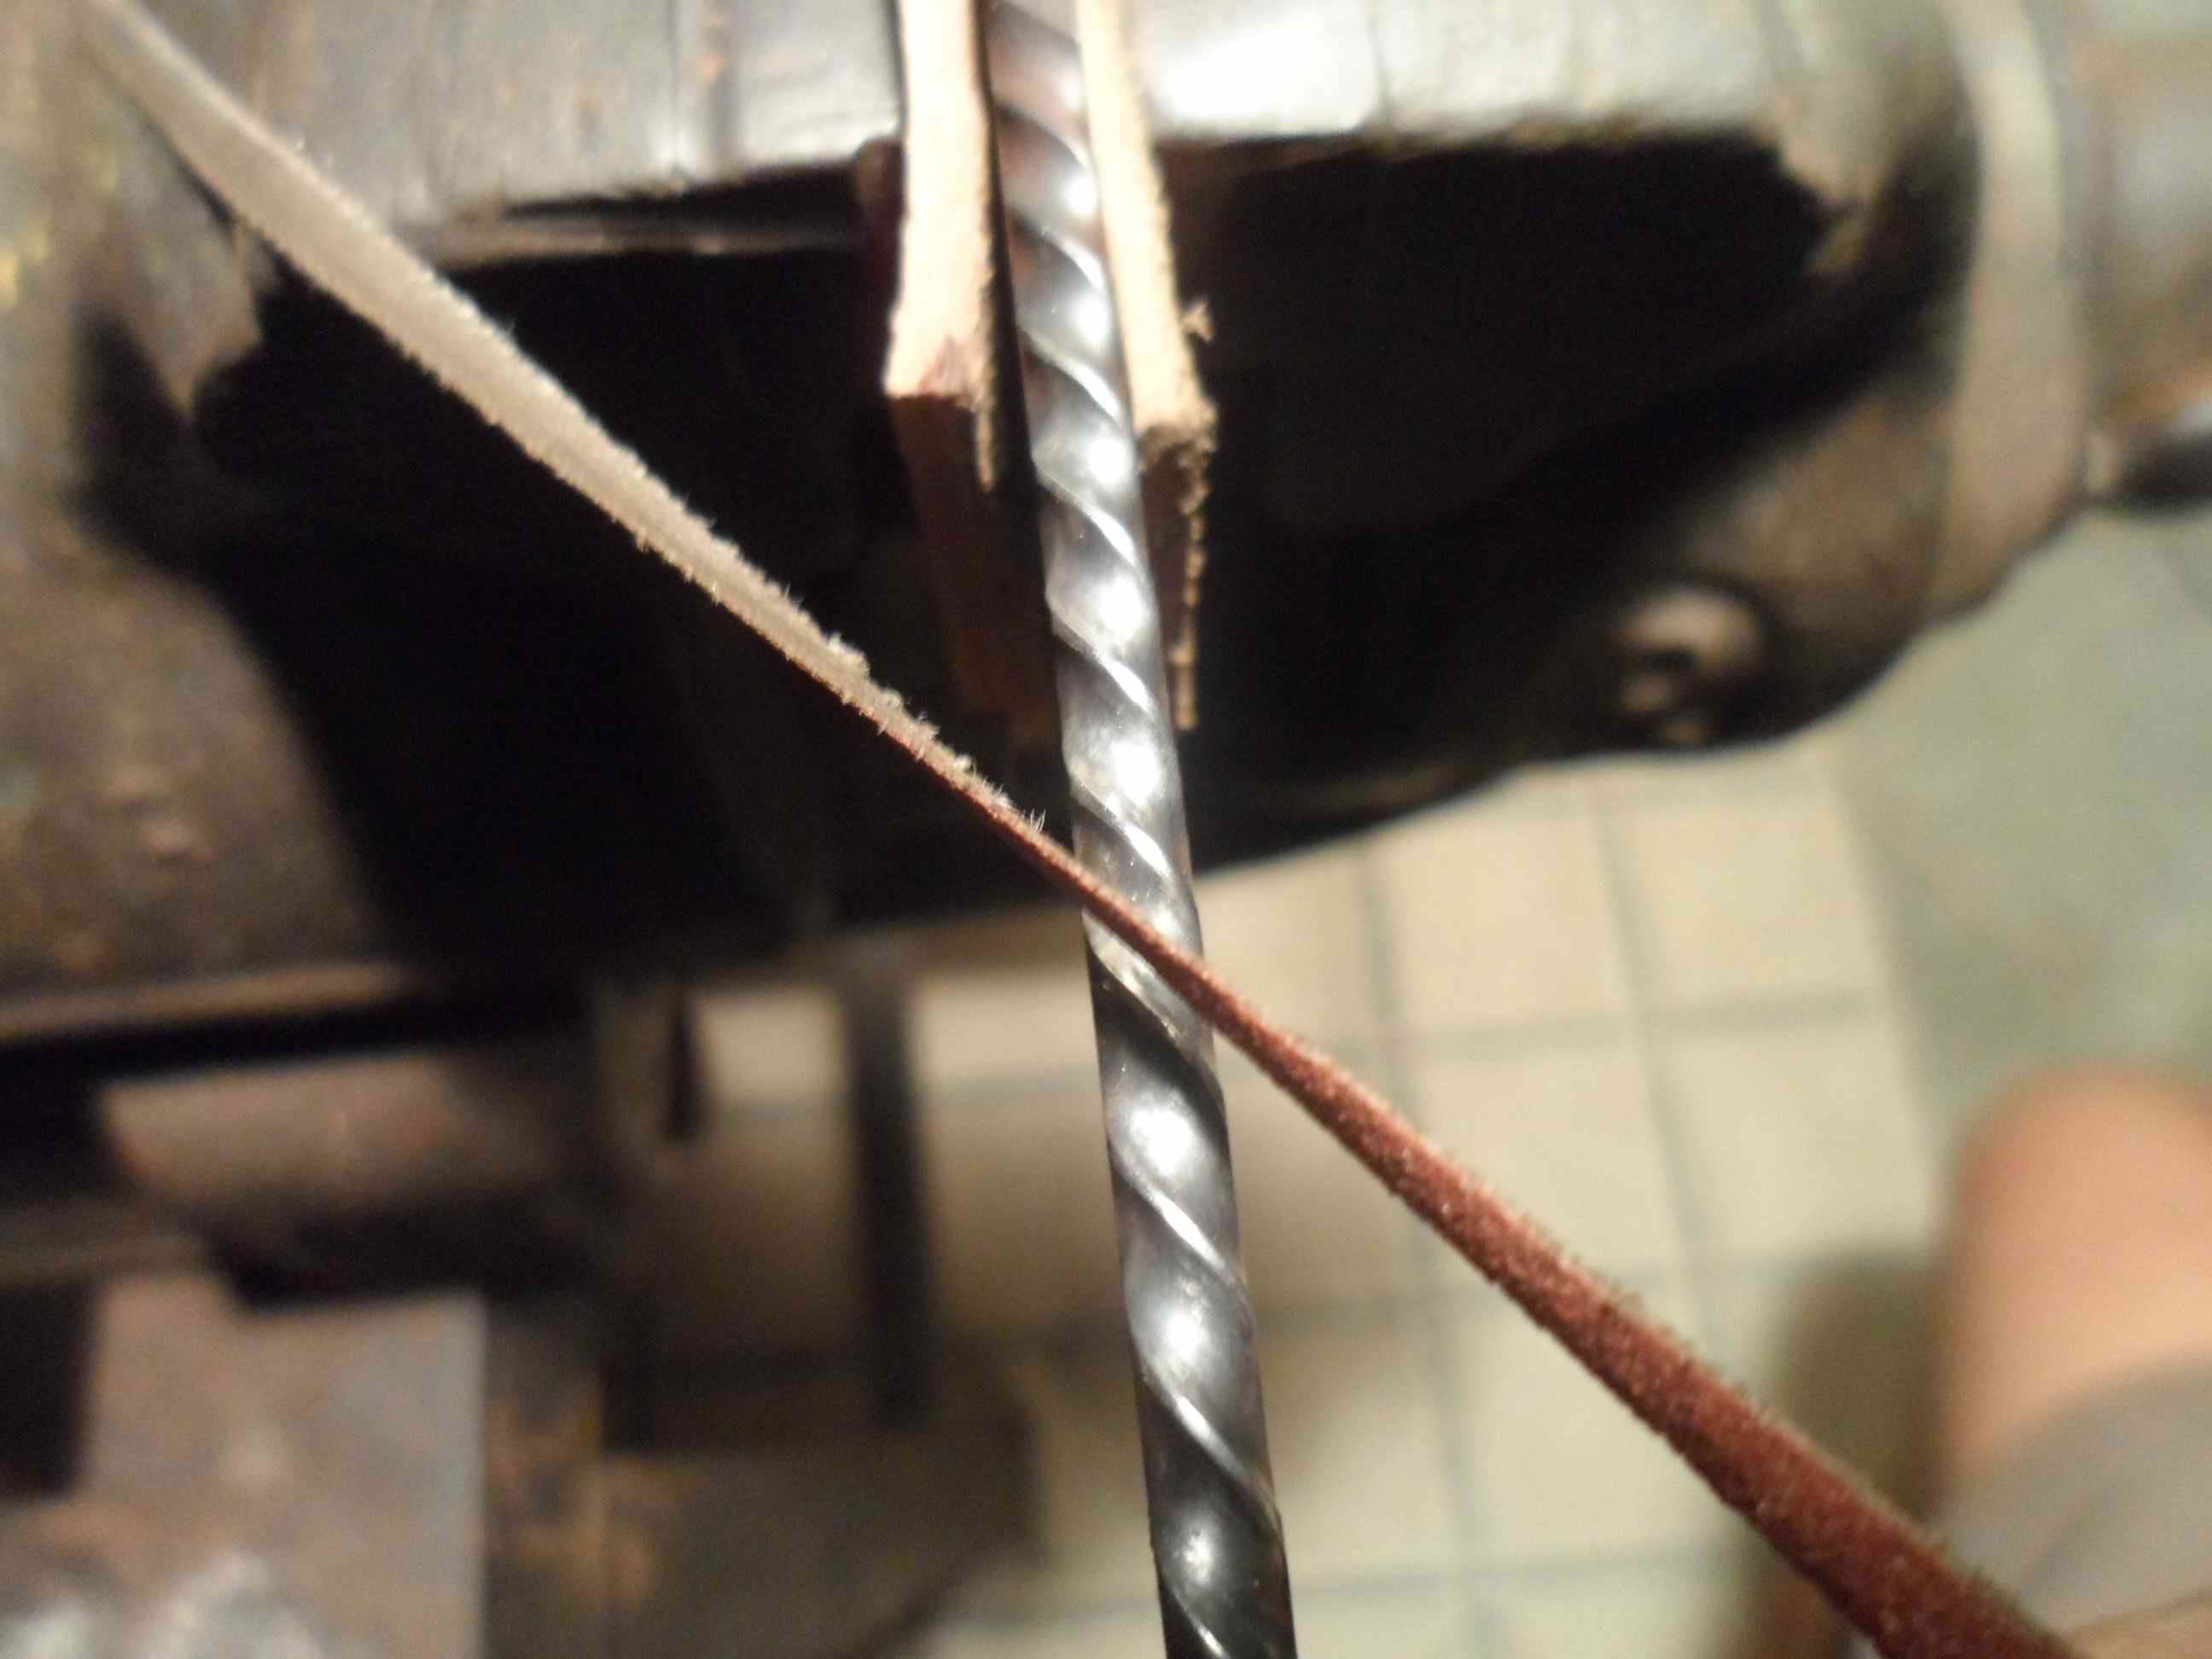
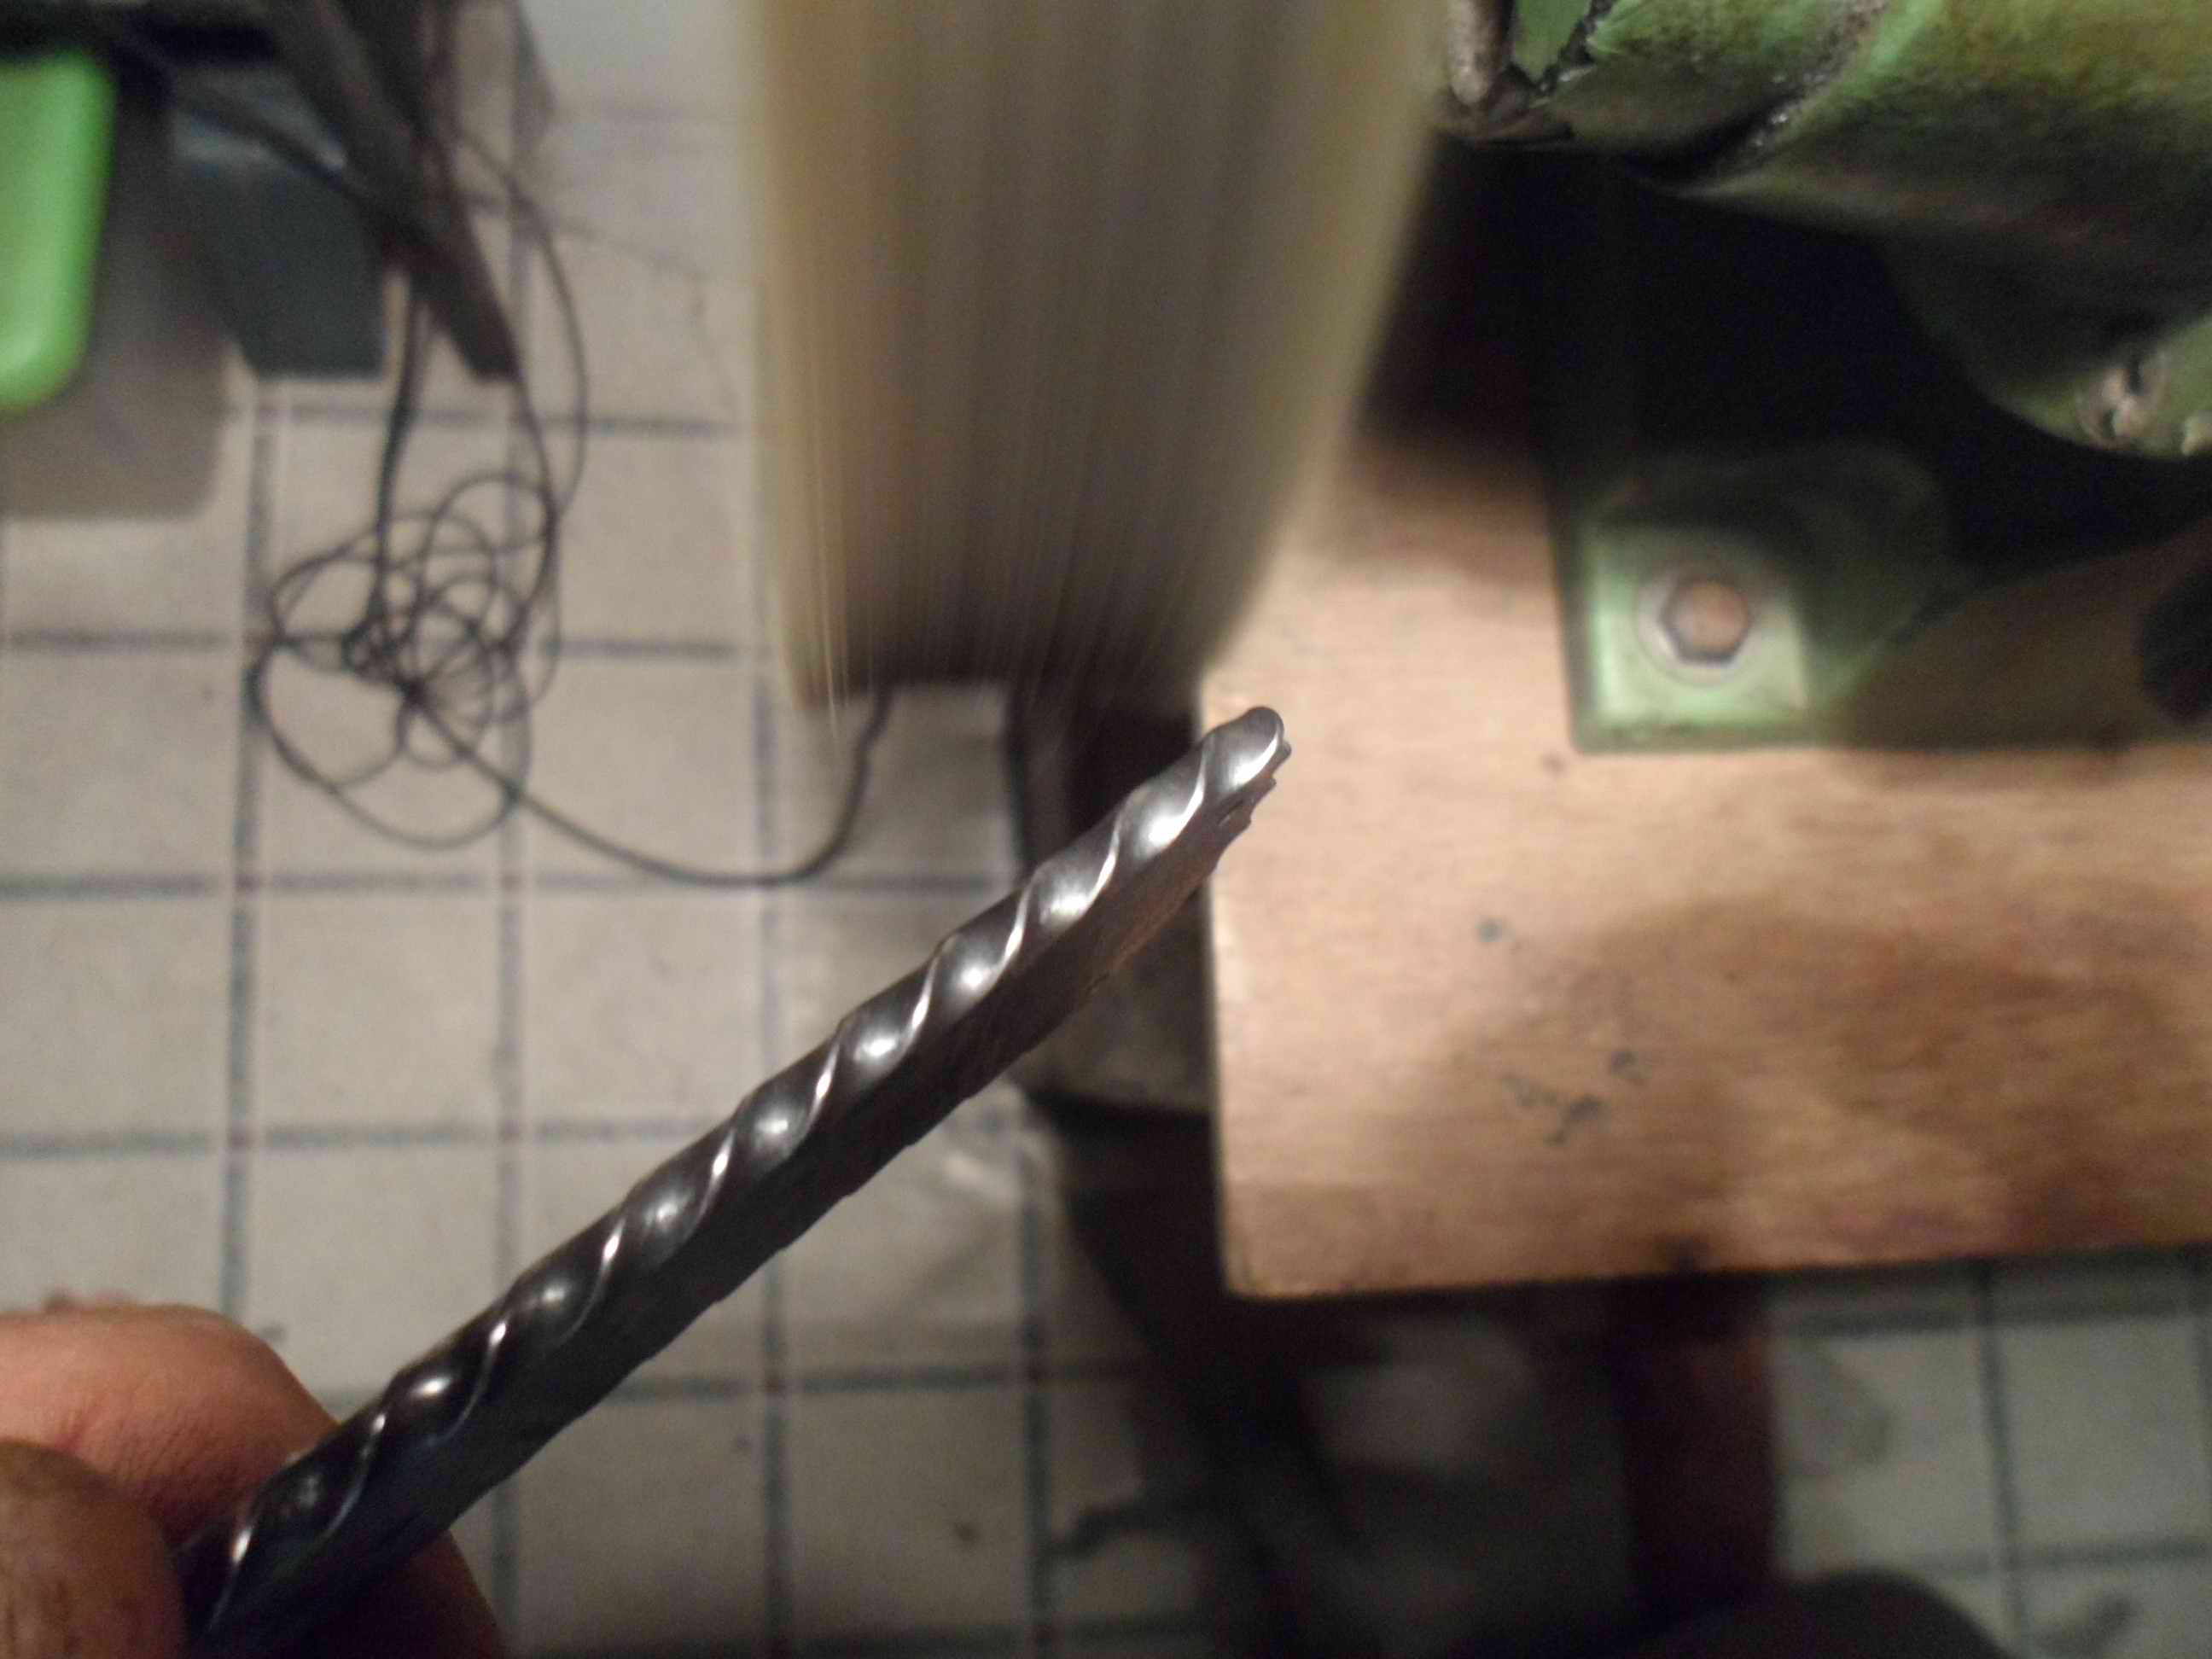
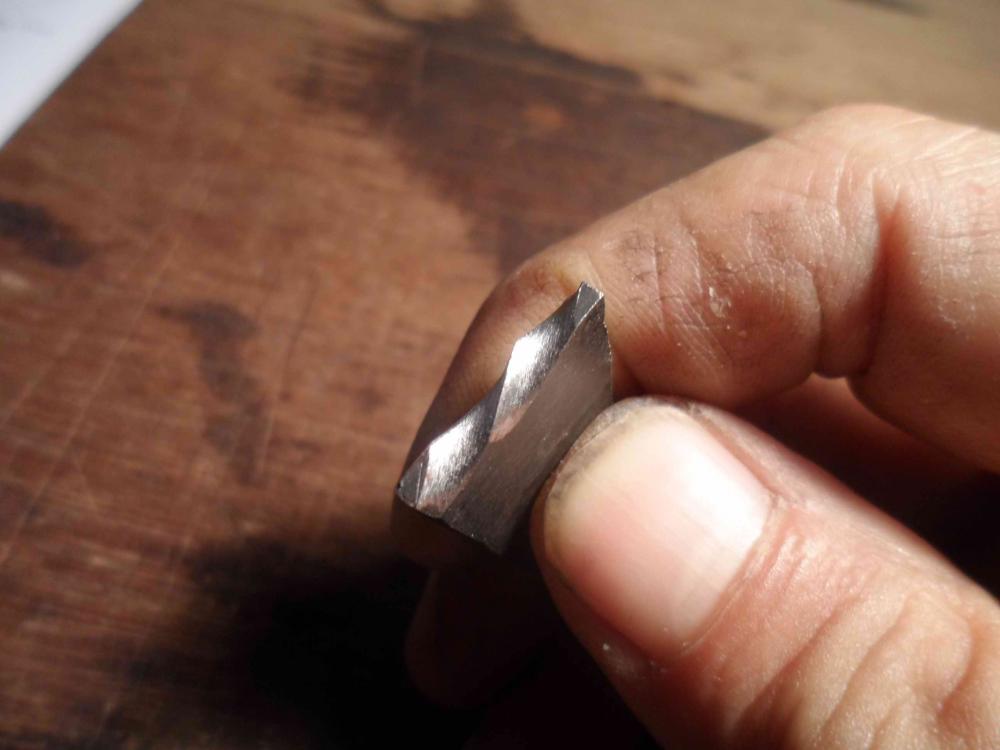
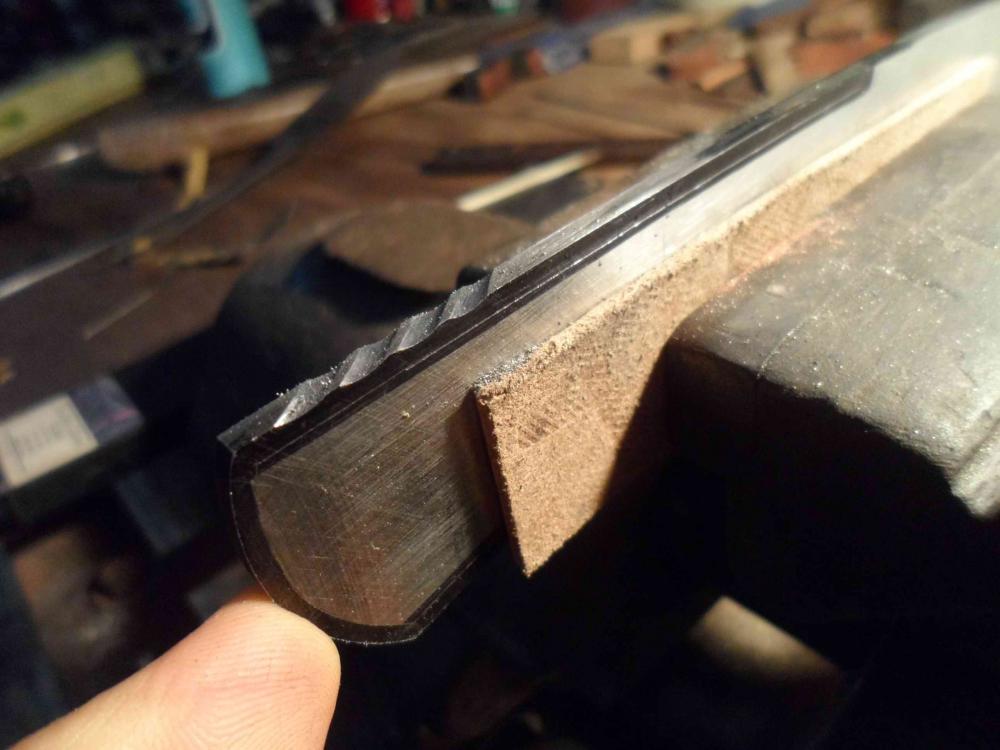
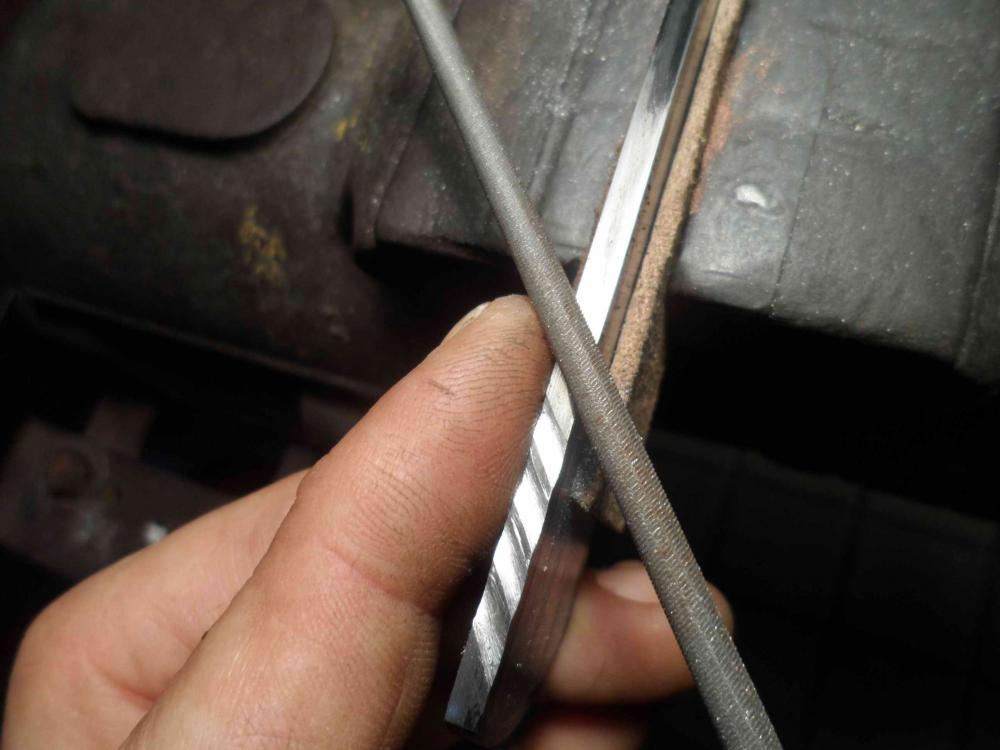
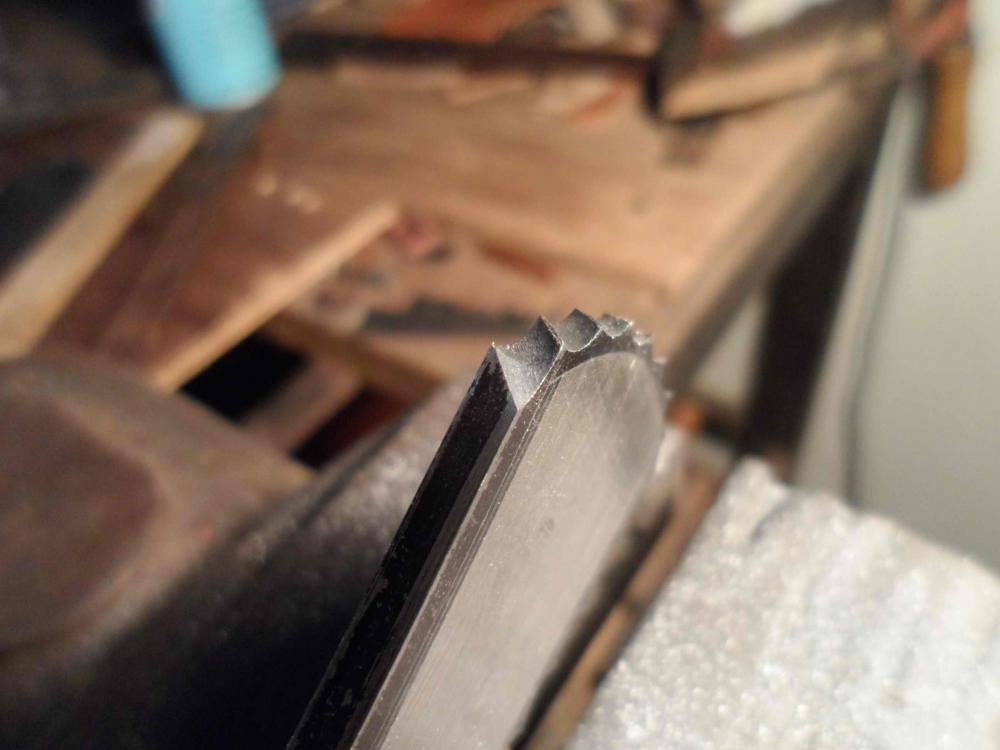
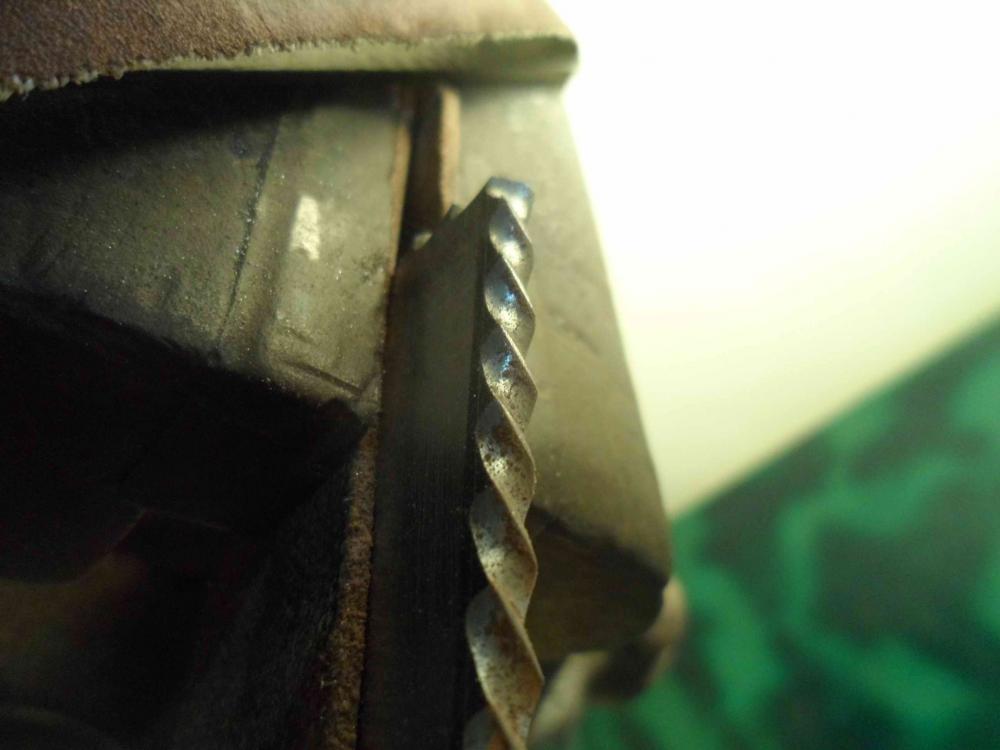
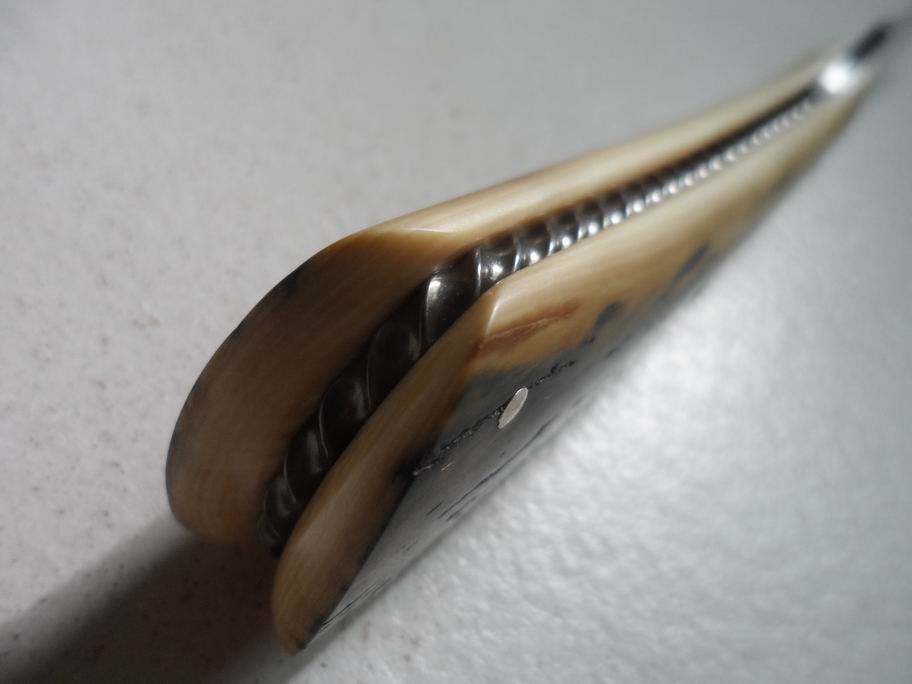
This is some kind of old school embellishment It has the benefit that it is actually easier than it looks.....really The sequence of explanation and the images may contain some confusion, but when You start to file You will see the whole thing comes by itself. 1. file a sample to get the feel for the move and see how it developes.2. mark the brink with a felt pen3. scribe a line for final depth.4. try to file even grooves and leave ribs with about 1.5 mm in width.spare out the corner.5. I use my finger as a guide to start a straight groove6. after you have warmed up and feel the move, file the corner.7. even the grooves and the ribs while filing to half depth8. break the angle to full depth, one side first, then change position and file the other side.carefully rounding the middle of the grooves to the outside, running up and down all the grooves.always make shure you file from 4 to 11.ribs still should have 90 degree.9. filing(carefully) corners with a small flat file and rounding ribs with a stripe of a grinding belt, 150 grit works well.10 finish grooves with small, and ribs with broad 150-240 Grit belt stripe.11. sisal polish in twist direction.(You can polish to high mirror finish but it tends to wash out the pattern and colors less)12. mask it with tape and grind the blade13 ready for heat treatment.14 after HT repeat step 10 and 11I do it in 3 steps: spine, butt, belly. and take a rest between the steps, while eyes and fingers start to get tired.every step takes me at least 2-3 hours.spine and butt tending to stretch out, belly tends to tighten the pattern.You can counteract but i accept it, it makes it look more vivid and natural. Cheers


-
The irons came out very nice, especially the lily.... pretty symetrical! Maybe just grind the Lines in some angled geometrie with some bevels(hope You get what I mean) to get more depth in the branding, but it is hard to do better than You already did. You are more skilled than You always say Cheers
-
Good day Steve, no I think I didn't missed that as the self quoting shows....but my English sometimes lacks a lot, sorry. of course my educators told us about the dangers of all aspects and situations they could imagine we ran through. It is some advance to be told by good masters(or get some self education in alloys and their purposes) that wrenches make a lousy blade, because the alloy is of course designed for wrenches not for knives....good pry bars but bad blades. Newbies often start wasting their time and money beat on every piece of crap they can find just to "spare" some money or to just to "practice". Newbies will do that until the end of time, dosen't matter what we say, because their greenhorns No offense Steve, I didn"t want to arouse Your indignation. Cheers
-
Of course there are mistakes said and made but IMHO quite harsh words.....but duckrunner took it with dignity. The comments to the mistakes covering the up the good things on his first attempts to forge. I think this is one of the best first attempts the last months I have seen,....and there are plenty...some of them deserve less compliments than given. Well, first blade is good for the trash can. Second blade is very close to ancient Roman, Chinese or Bronce age patterns. And the quite normal plain handle pattern will work out well. Get the edge thinner, and start to think about what the other fellows said......educate yourself, there is more between Tip and butt that You thought. I am an German cutler/blade smith learned that profession by trade, to say the humble facts. The first thing as an appretice we learned is to forge a tip and then we were trained to forge blades and blades and blades. (And we were trained to grind the rest of our education time which lasted 4 1/2 years to the journeyman ship.) Nothing from normal blacksmithing basics , because we were educated to be bladesmiths not blacksmiths. But that was the sight out of the company's interest and the statutory education system, because we were of course told about basics but it made only 10% of the whole work. What I want to say is, he will not kill himself if he starts with blades.....keep on burnig of wrenches he will. when safety is taken into account, as the fellows emphasized it, playing is the key and then it will come to the blacksmithing basics by itself. Because without the blacksmithing basics there is no control and no developing quality nor beauty. Cheers Jeremiah
-
-
Quint, BCROB...Thanks, Guys!
-
Well,... I am honored, Thanks a lot BCROB! ...some additional input to encourage You I still have an image of the first study, it told me very fast about the angle of the checkering according to the design. Then I tried it on scales, figuring out the difficulty of continuing the evenness in the checkering pattern when the handle tapers too much. My pleasure Cheers

-
aessinus Thanks, appreciate it!
-
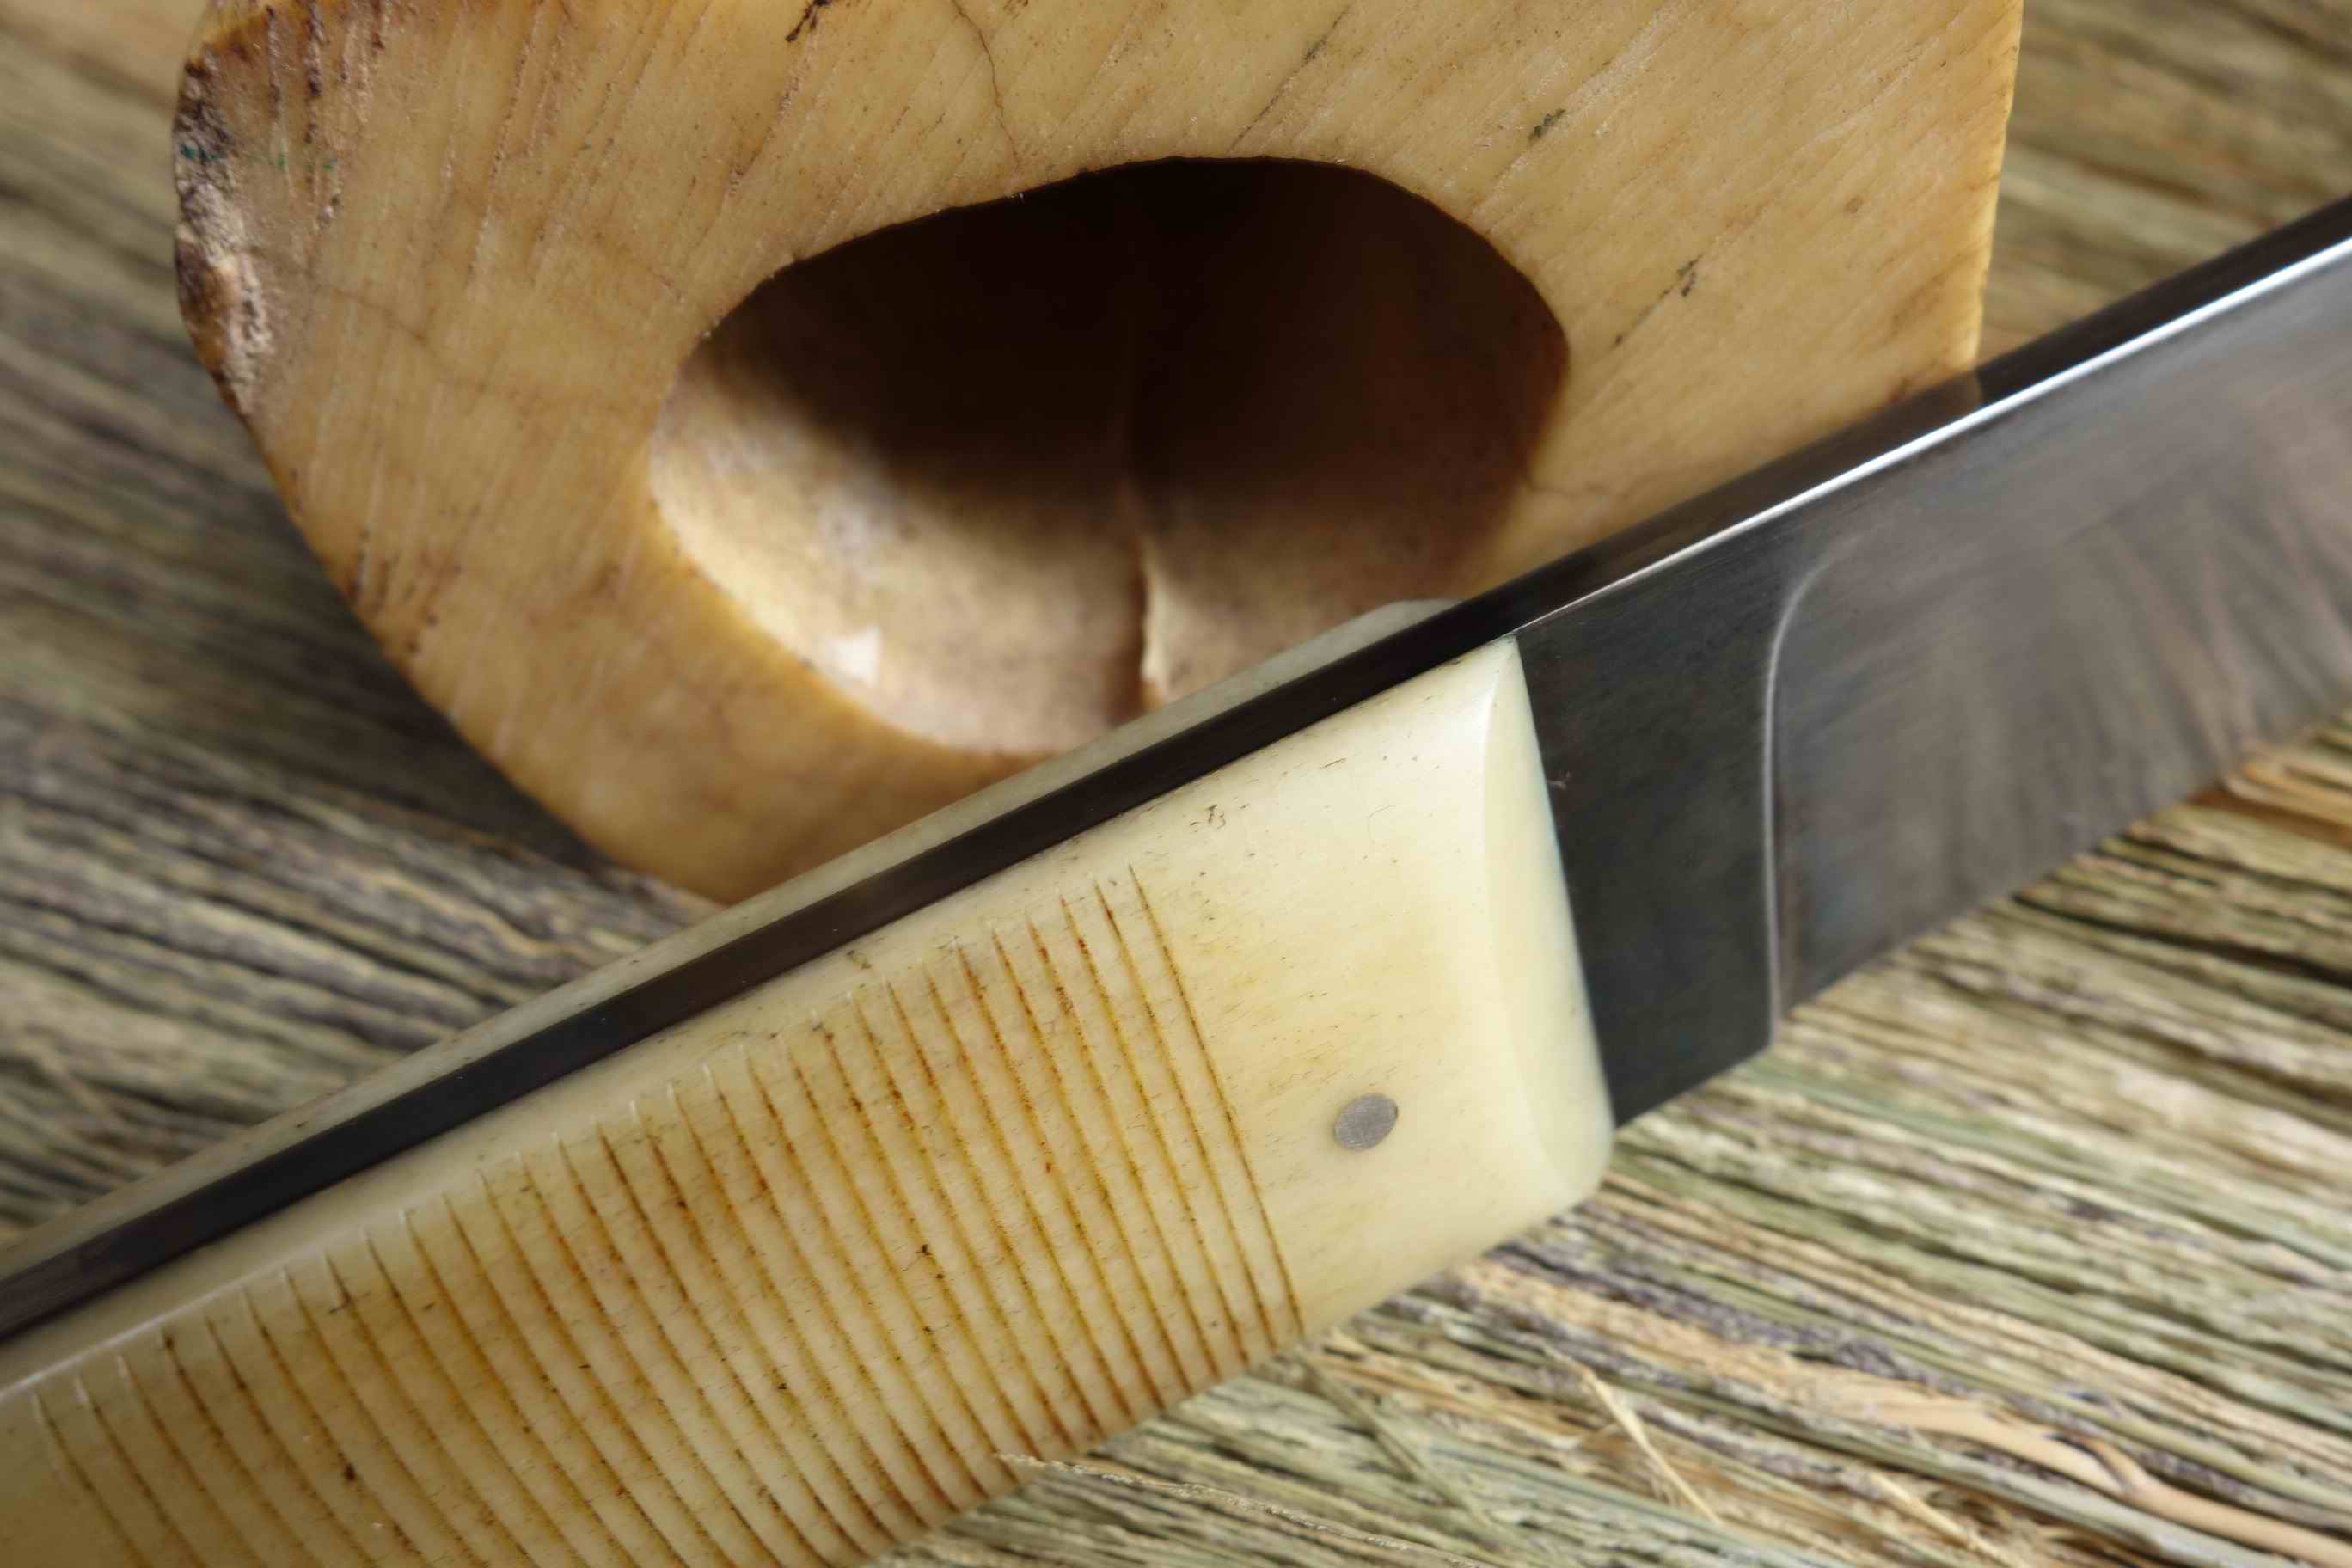
Thank You, ianinsa! The only problem with this material is, it actually cannot be glued ..even strongly chemically degreased After hours(quick bond) or after days( slow bond) the fat wil find its way back, it will loose its bond and smear away. the bleached bones may glue better, but if they are so strongly bleached they become more brittle and loosing the original toughness. so I like them fatty, yellow and strong and that means I always countersink and riveting the pins and only glue to keep the whole thing in place until I set the pins with or without doomed head. And I do not make hidden tang knives out of this material, because of the problem mentioned above...besides You need the bone of a huge bull to get the thickness for a hidden tang knife. If You have a bandsaw You can cut the chunks vertically, than You have 2 major and 2 minor scales. Take sharp belts and low pressure, thats hard bone.If not sharp and too much pressure it will get hot real fast, smear, bake and close up Your grit. so thats it, just start work with it and You will see.....has its own fragrance. cheers
-
Thanks BCROB!
-
No, the scales don't extend over the tang.I like them extend over the tang, but that would have changed the drive of the design and raised the effort. Thank You boisdarc!