LibrariaNPC
-
Posts
198 -
Joined
-
Last visited
Content Type
Profiles
Forums
Articles
Gallery
Downloads
Events
Everything posted by LibrariaNPC
-
That is gorgeous. Reminds me of how far I still have to go as a smith. How many layers did you end up with on the Damascus, if I may ask?
-
I actually didn't have a set idea in mind; one part I was going with the descriptions my friend gave me (which sounds much like an eating knife and/or a "woman's knife", now that I'm thinking about it), while the other part was just listening to the metal and seeing how things could be shaped.
-
Thanks for the input! The original goal was to taper, lengthen, twist, and then bend into a different shape (either a narrow U or a nice rounded ring), but I realized after the fact that it was too short, so I went with this instead after seeing the partner knife JWS made with a seax. Didn't see a point in throwing out material, so went with something that could work. I'll keep the octagonal note in mind for the next one (I started another with 3 inches of handle and one inch of blade but ran out of fuel while tapering). Surprisingly, it is relatively comfortable, but as you mentioned, I'm not sure how well it will feel when I'm cutting things due to the thin handle. Any other input on shape, look, or tips to help me get better at this?
-
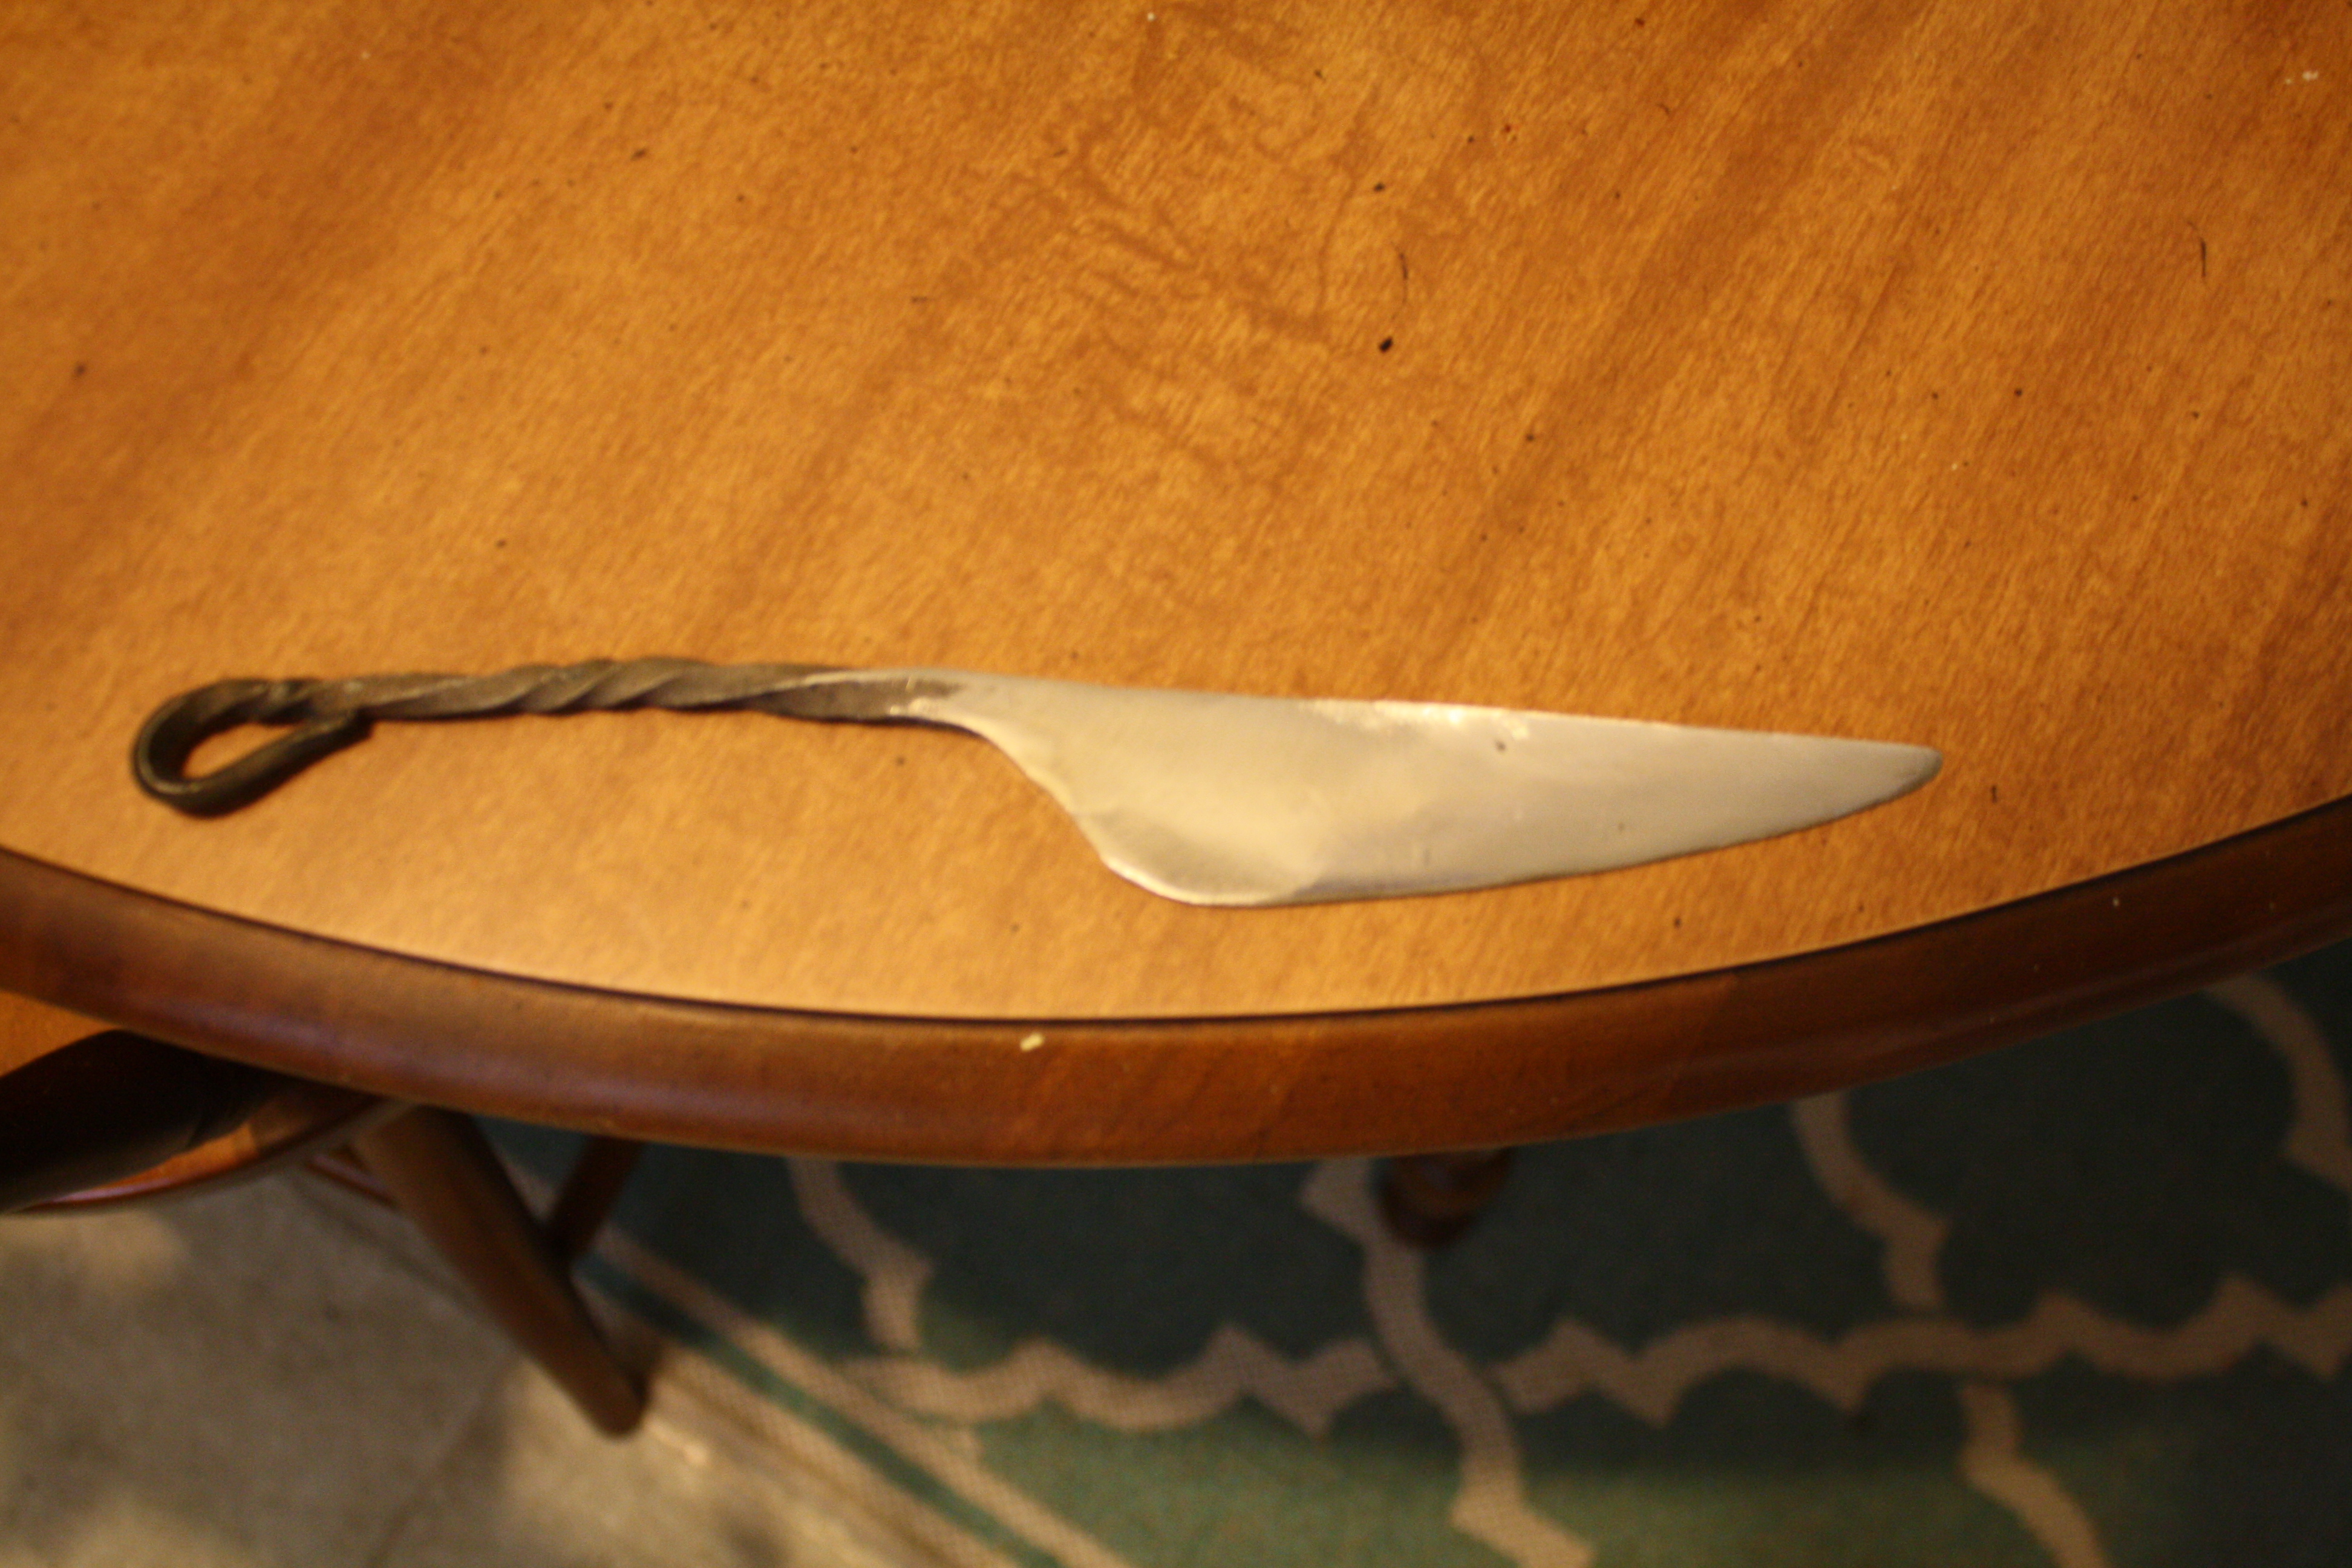
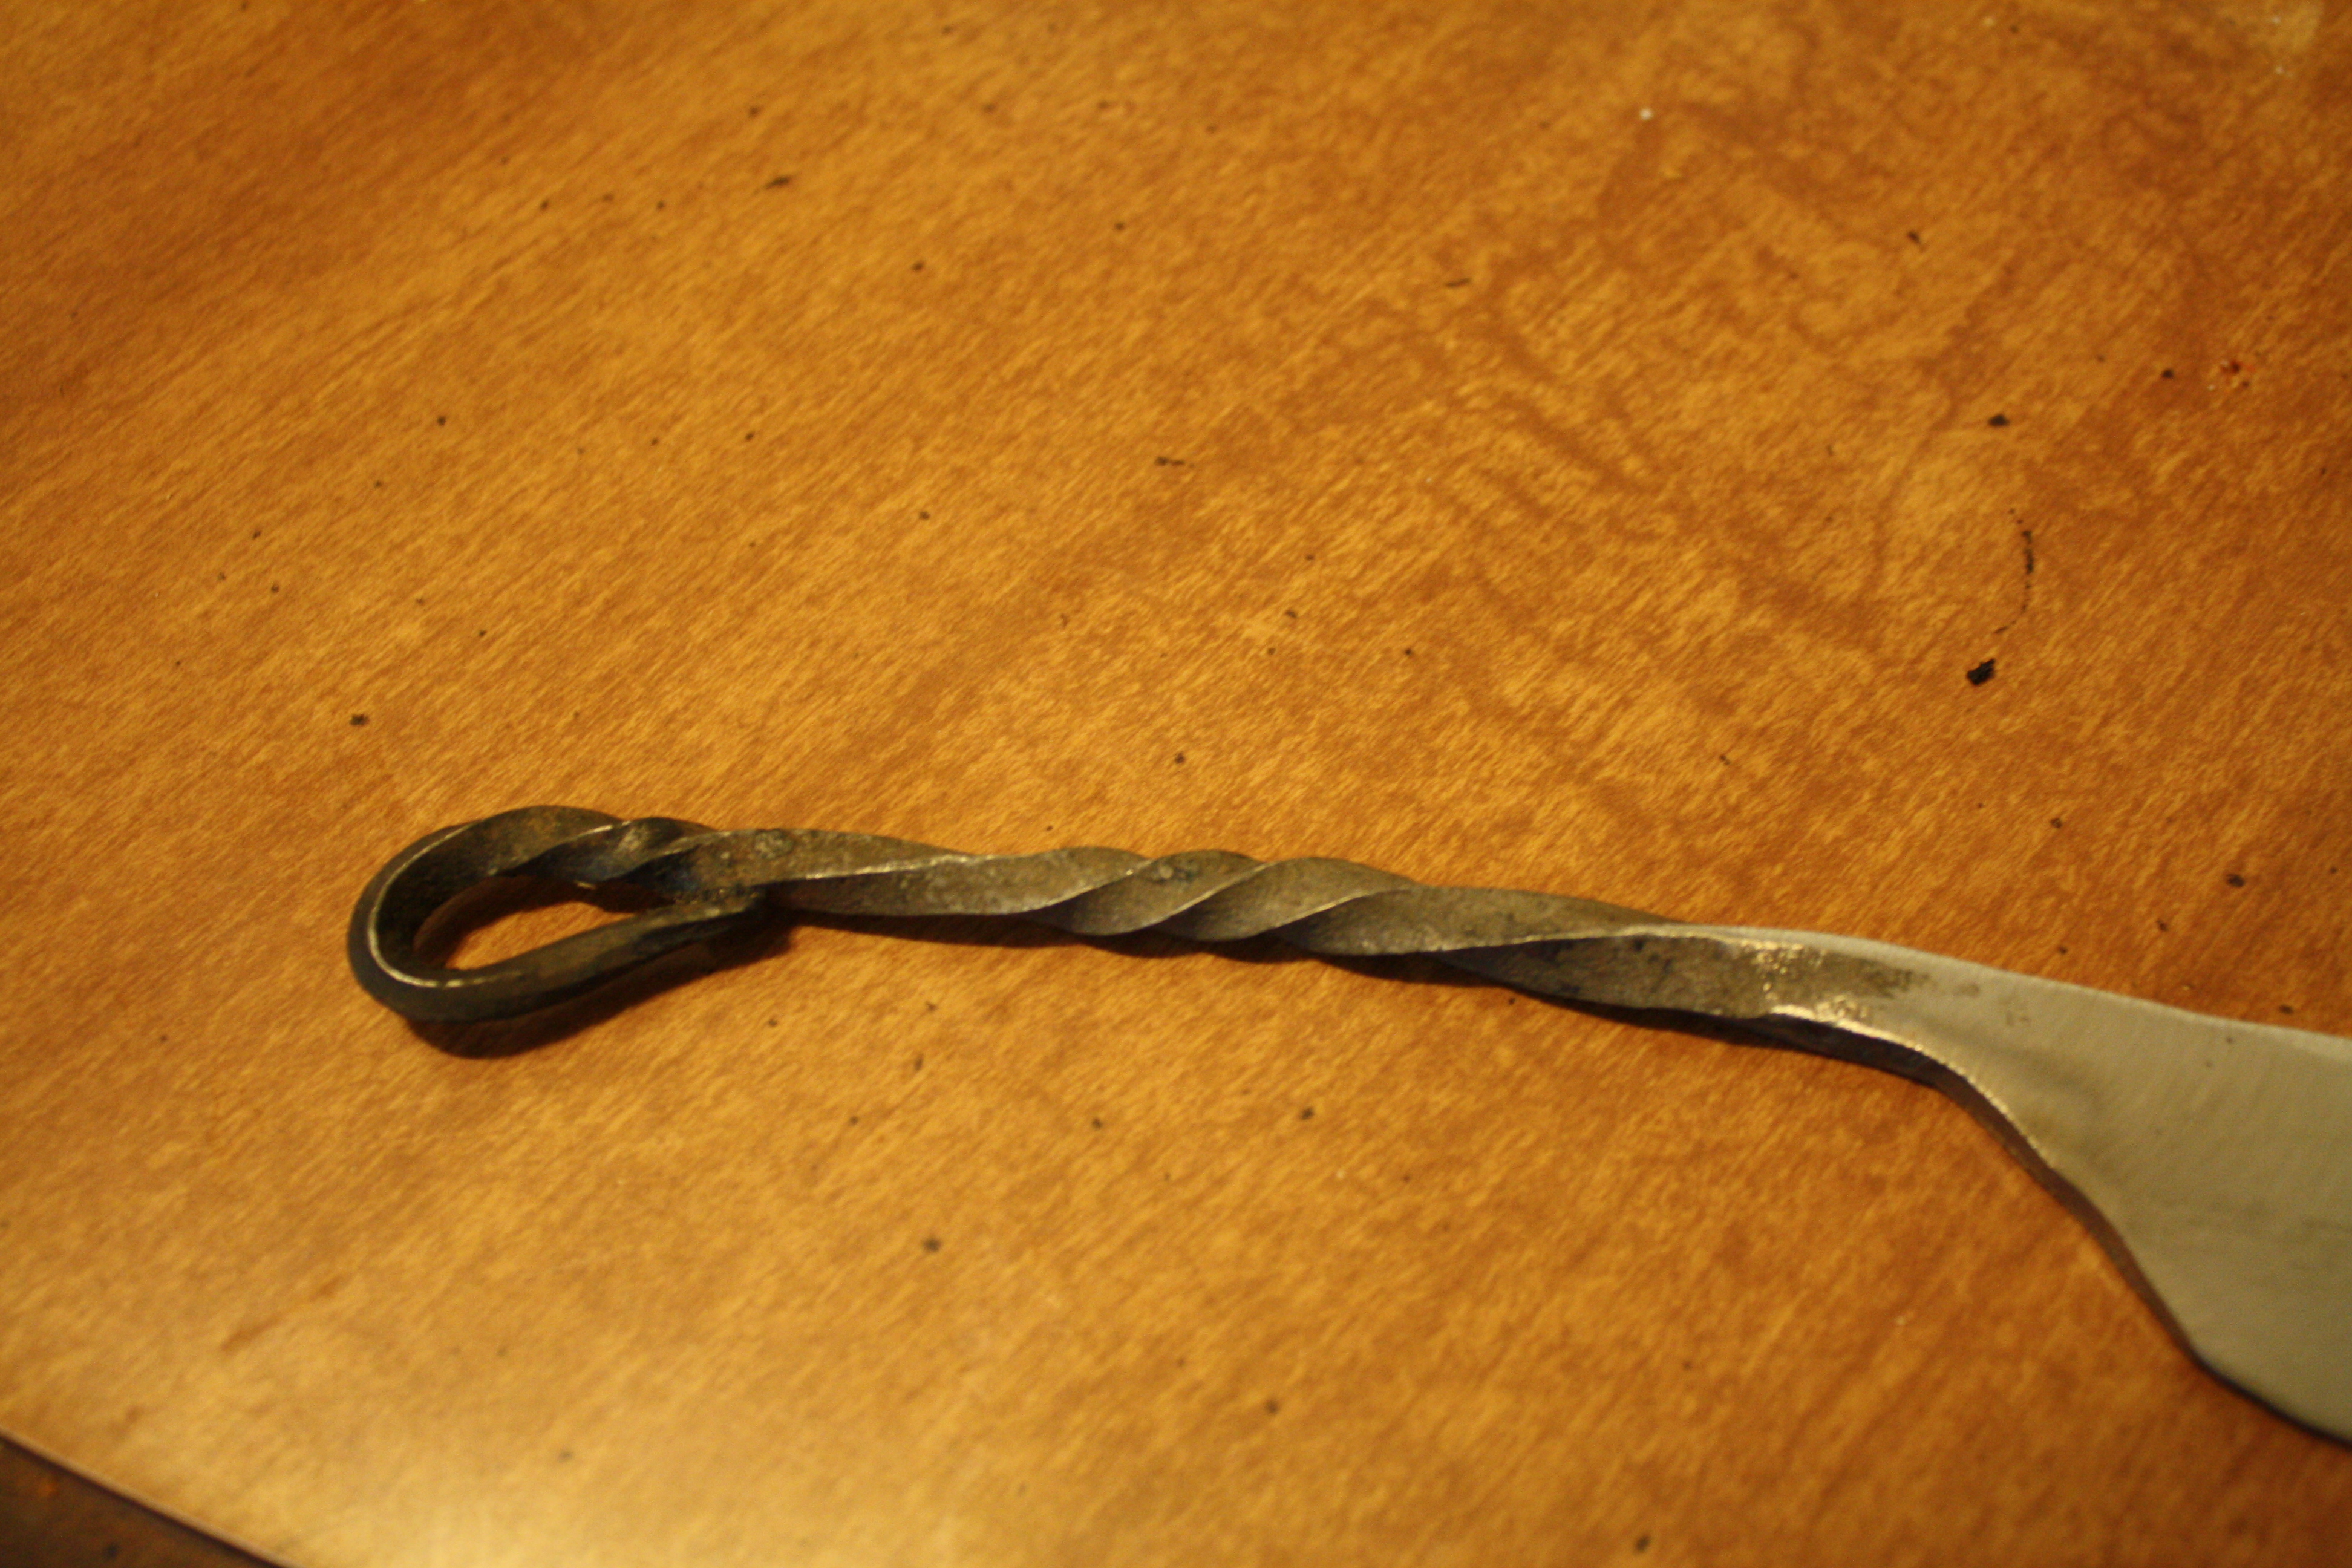
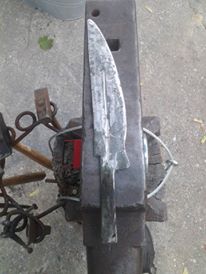
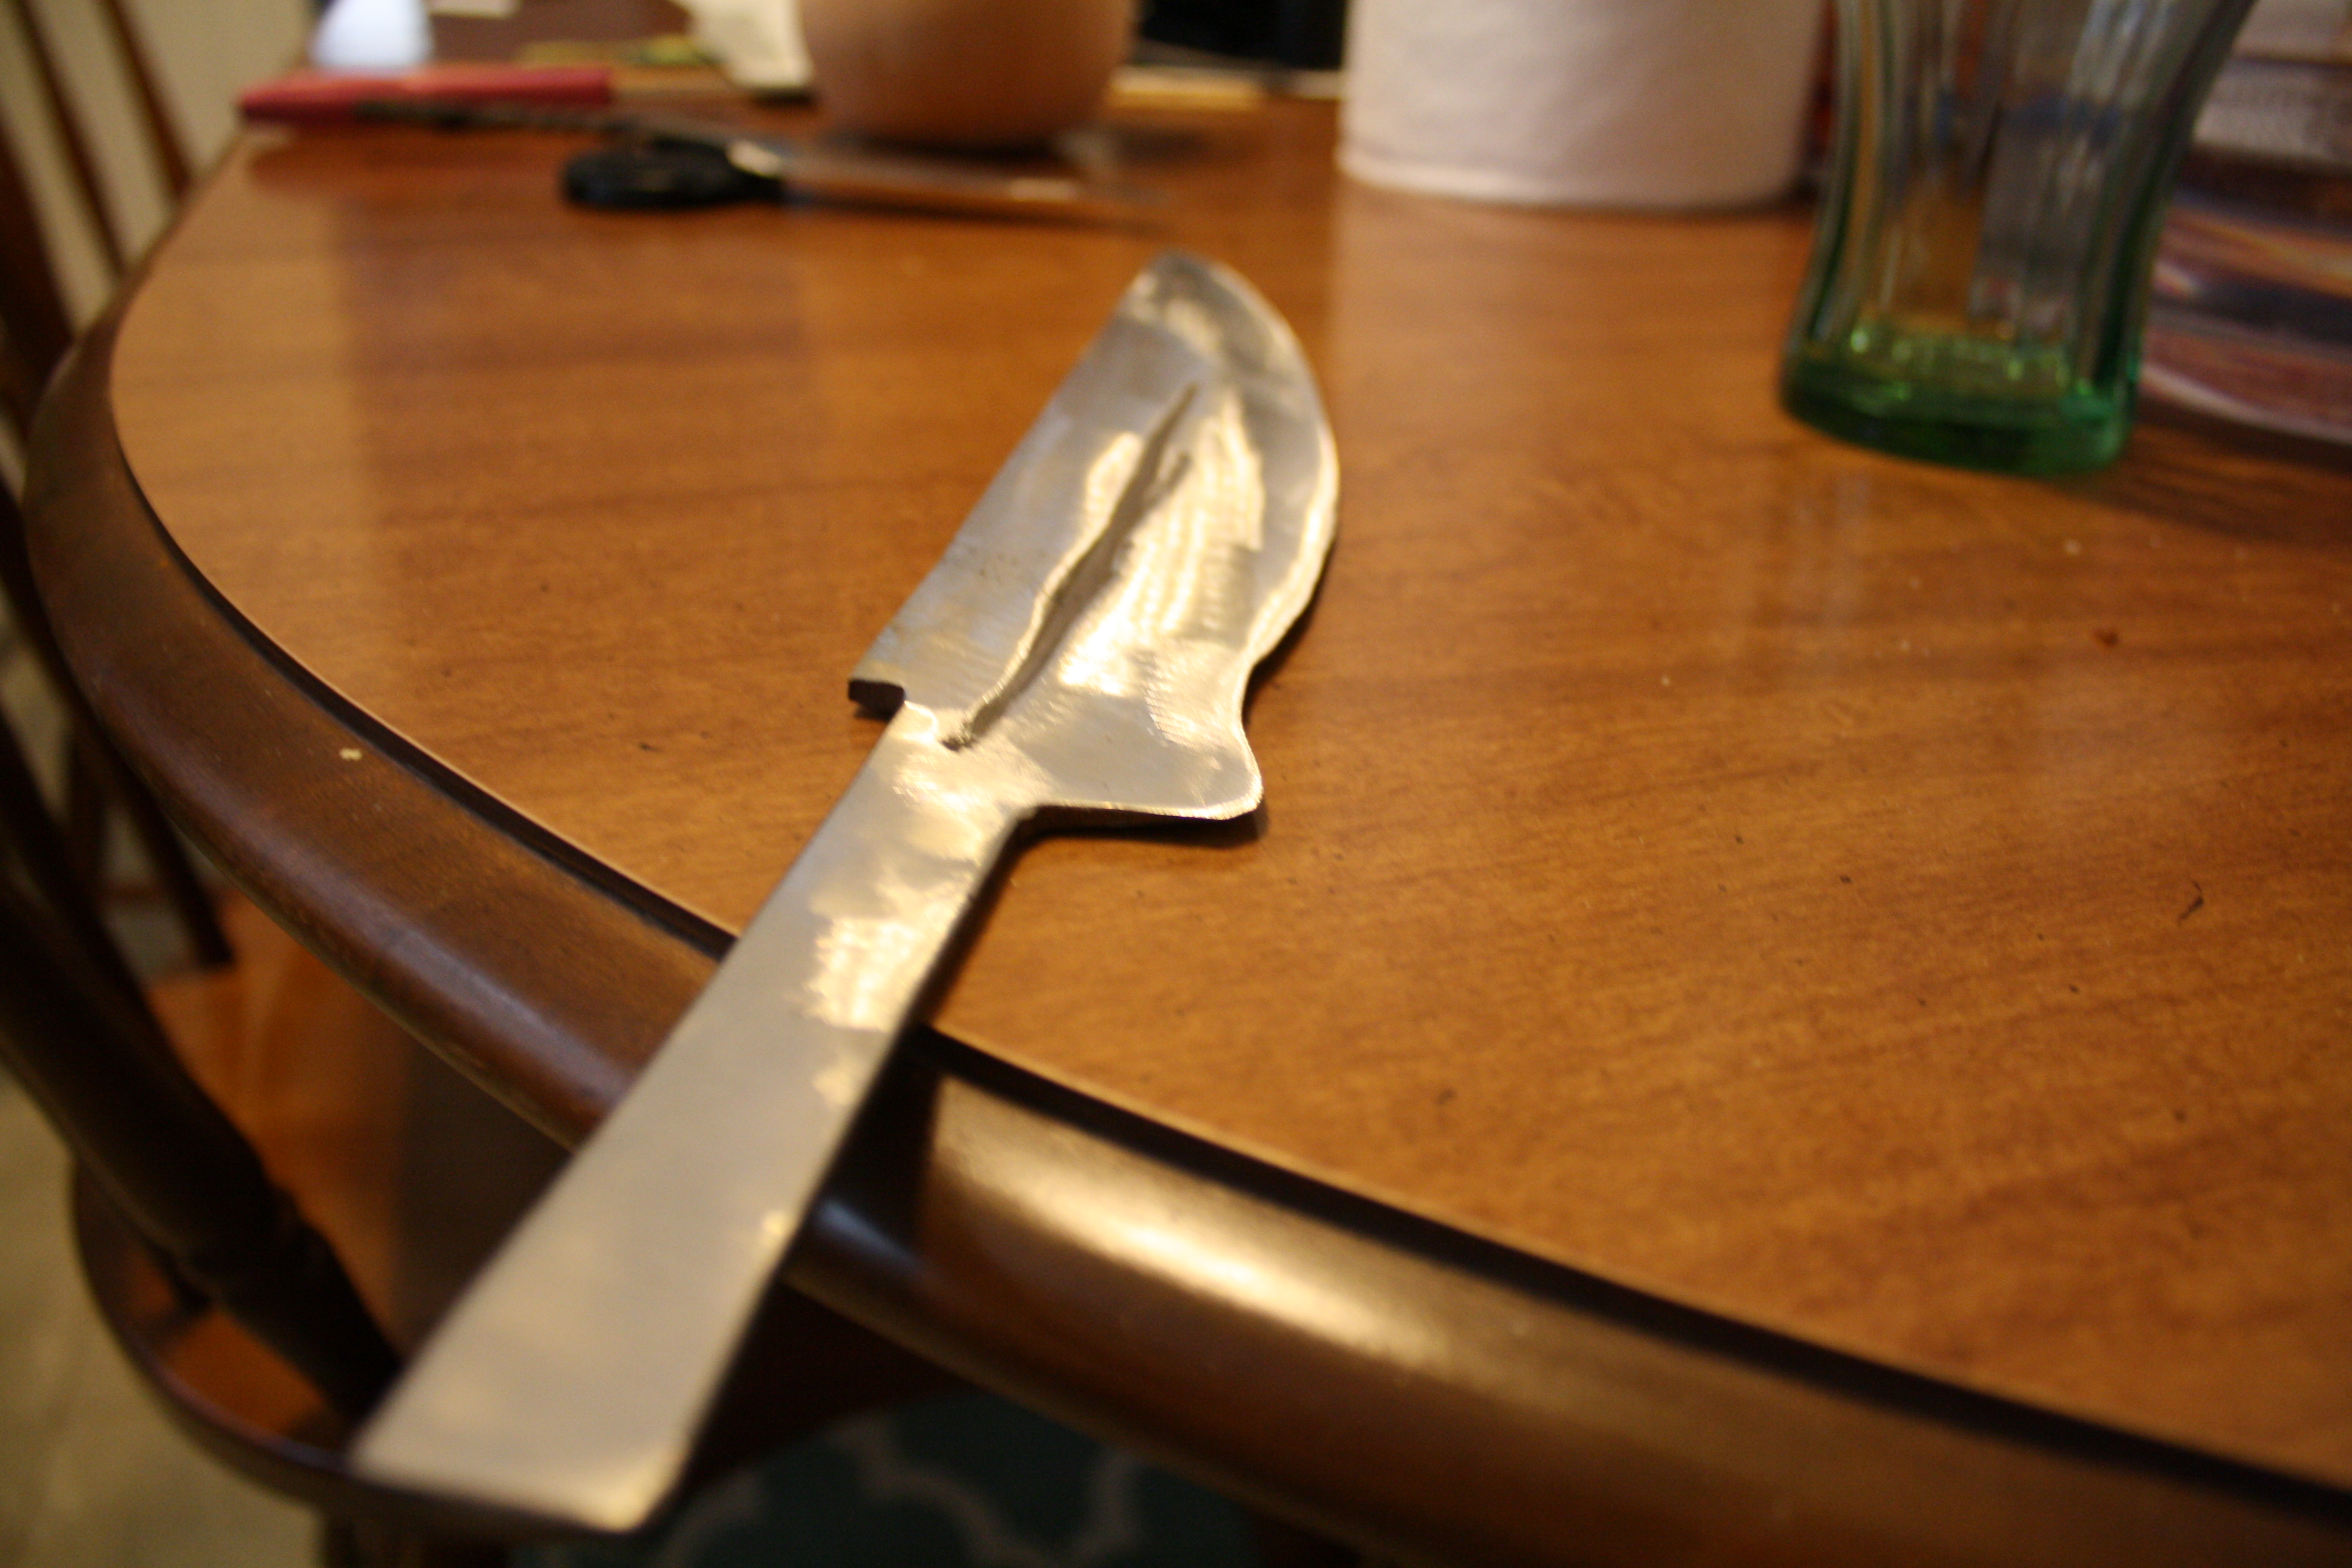
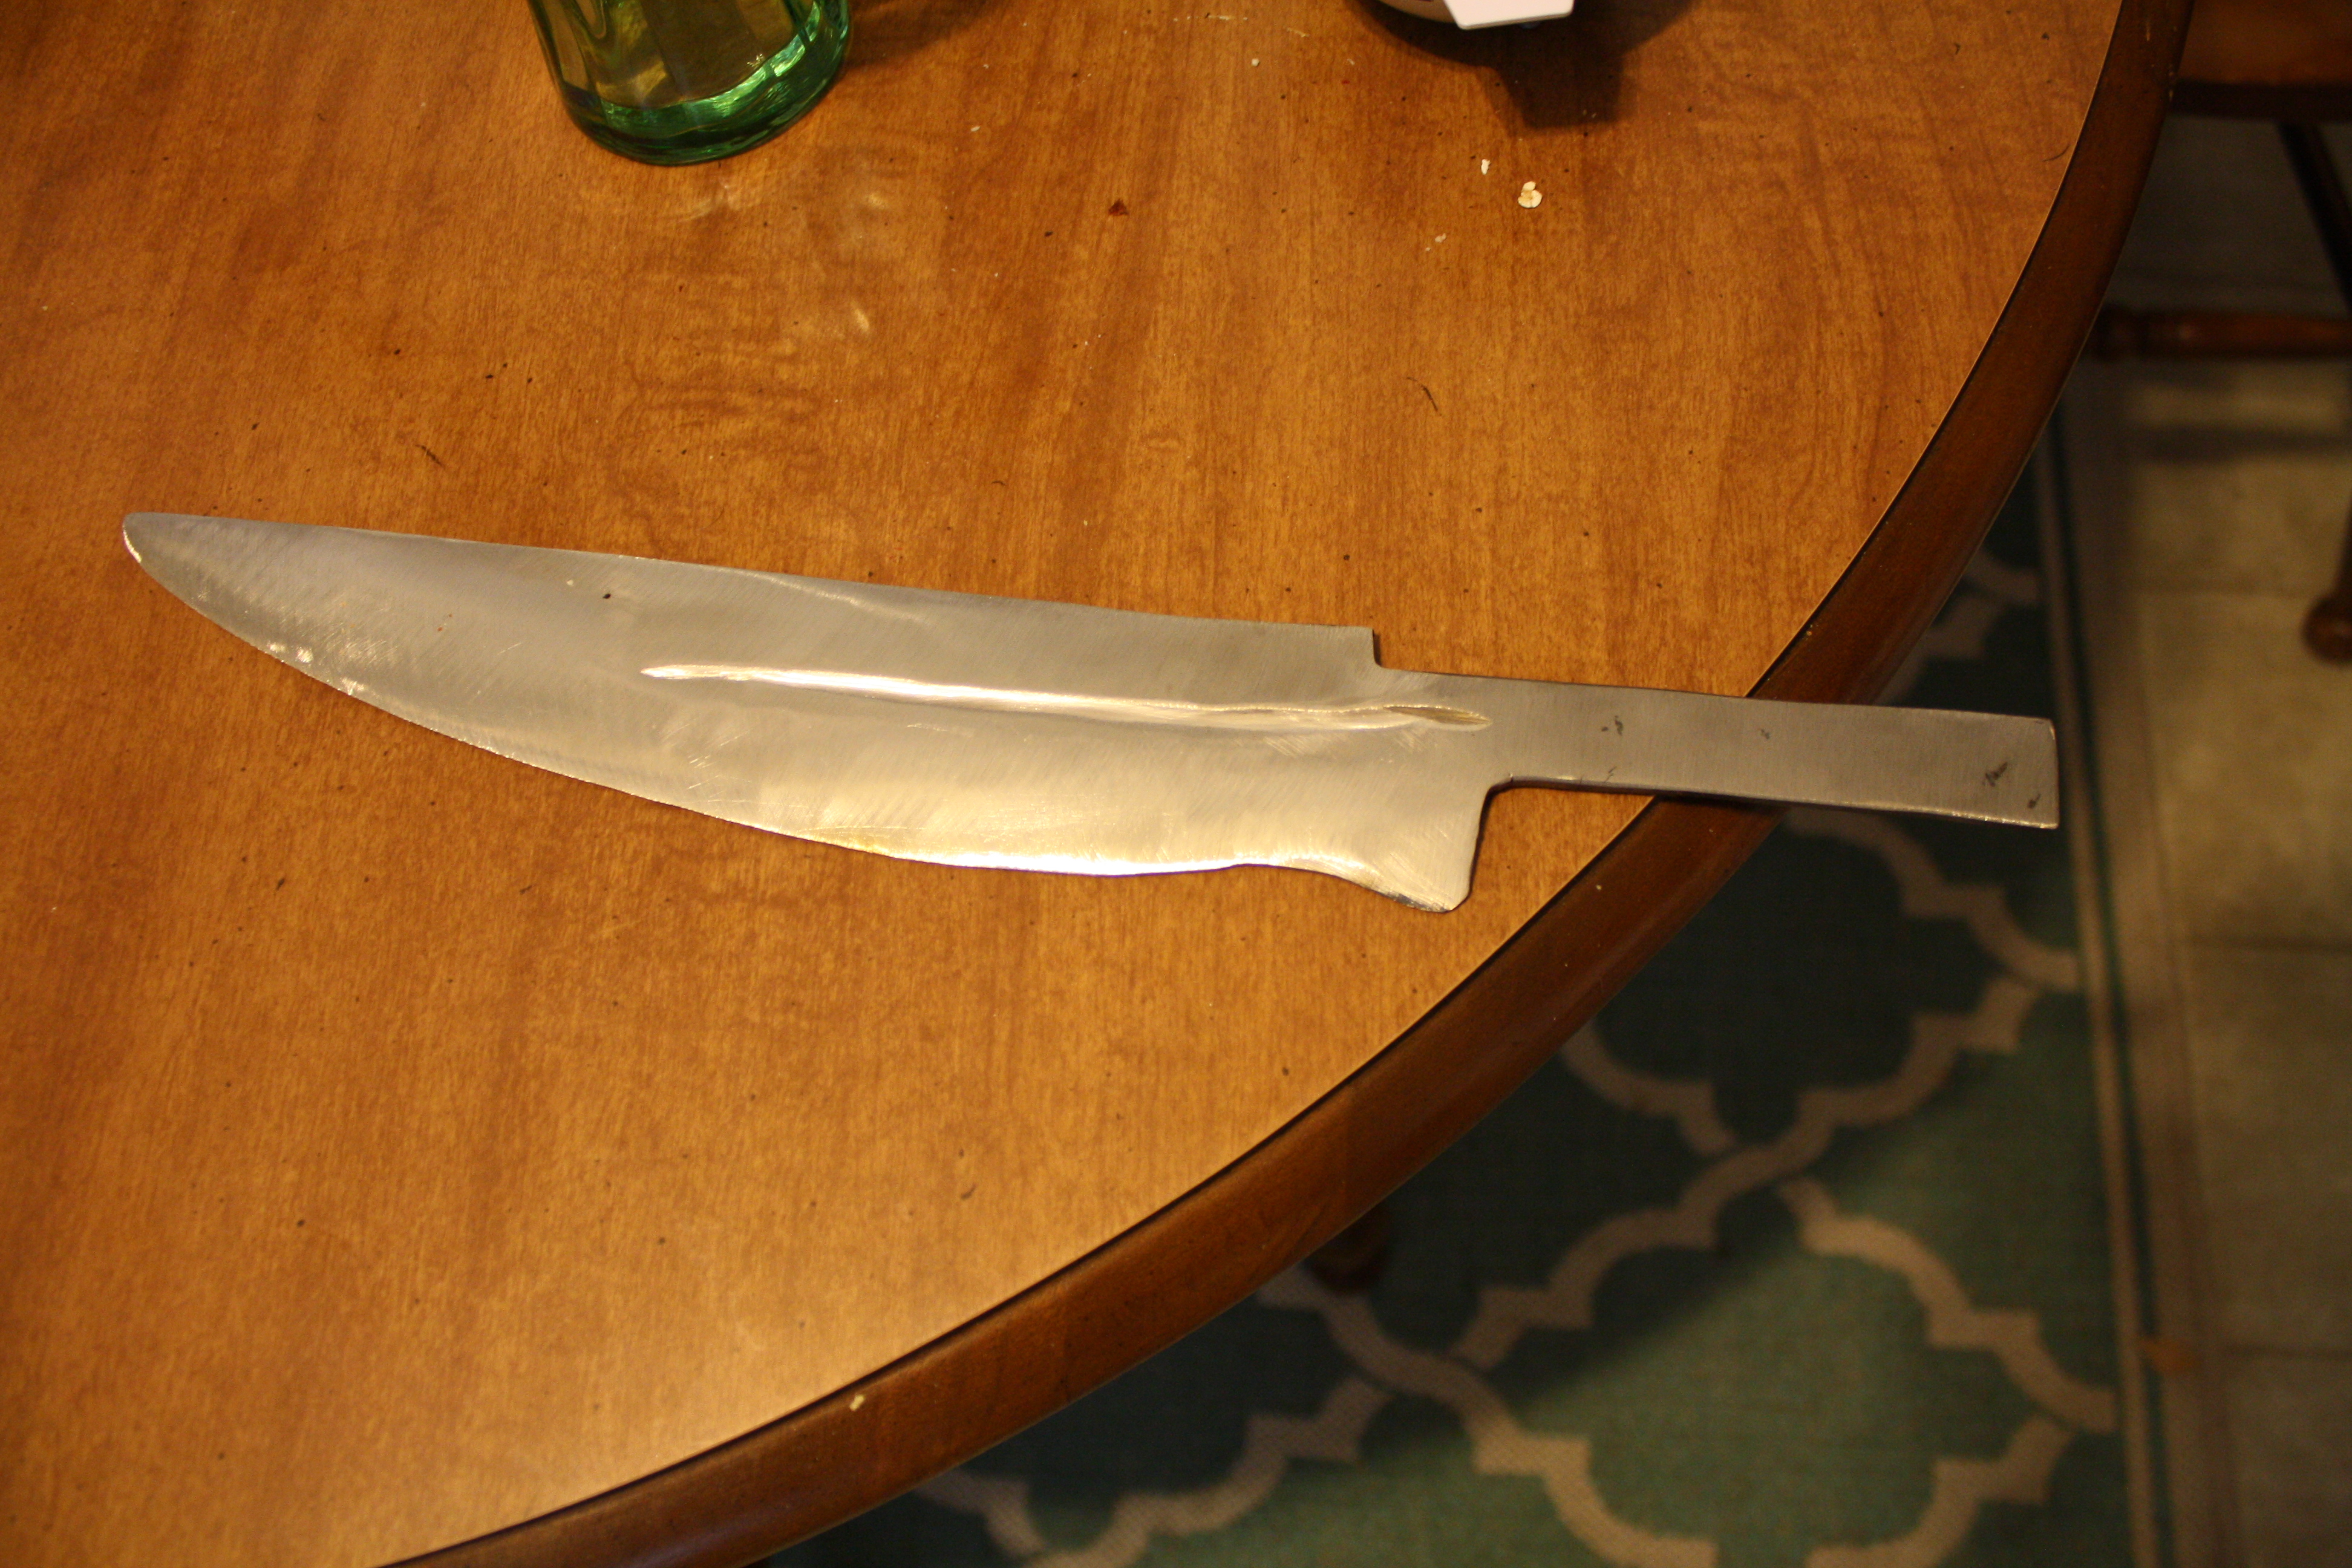
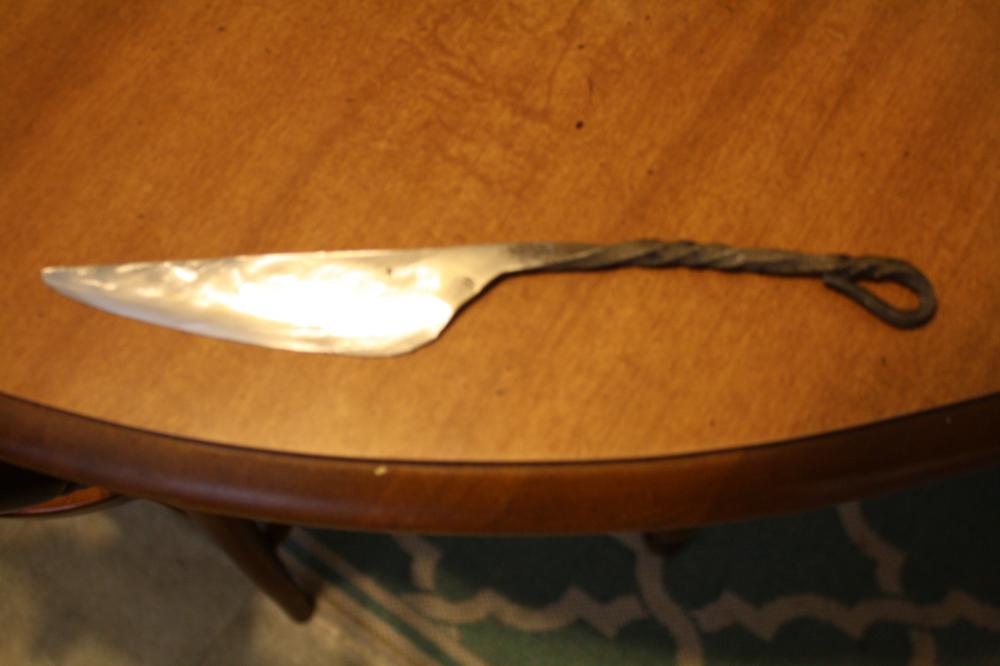
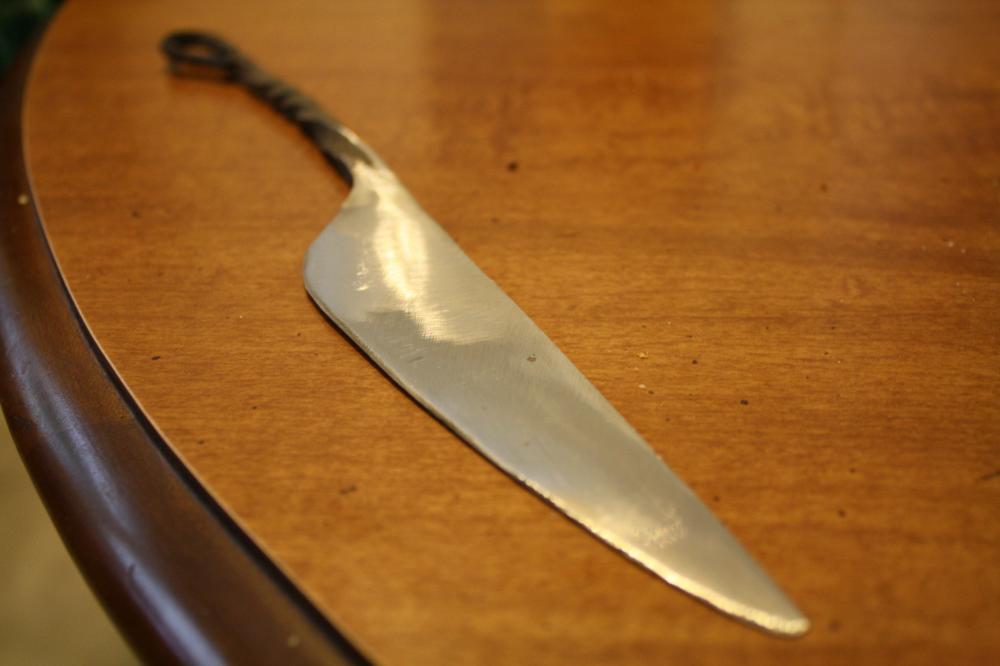
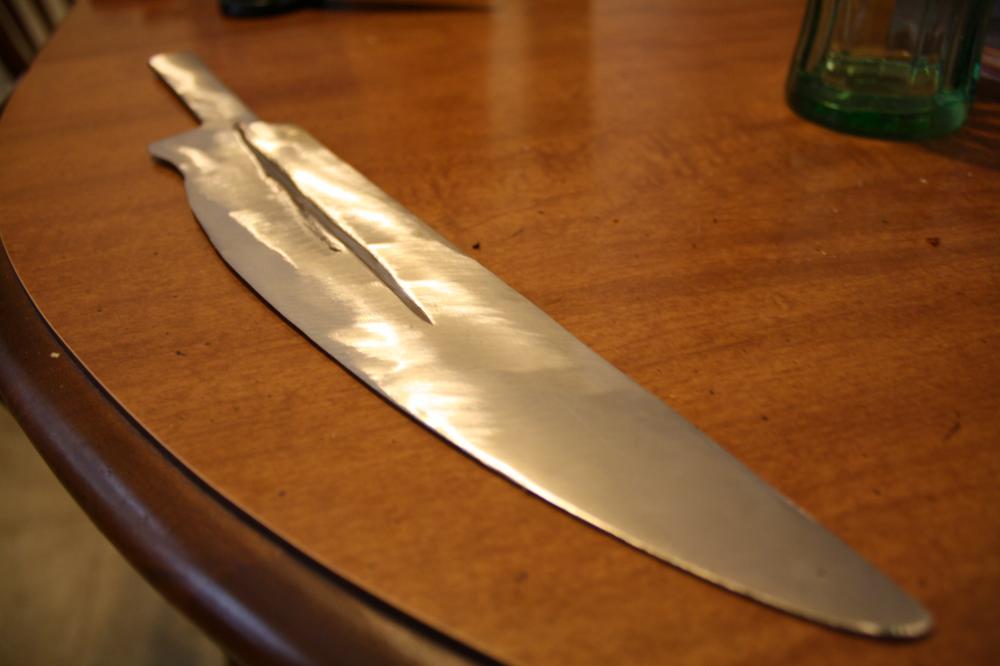
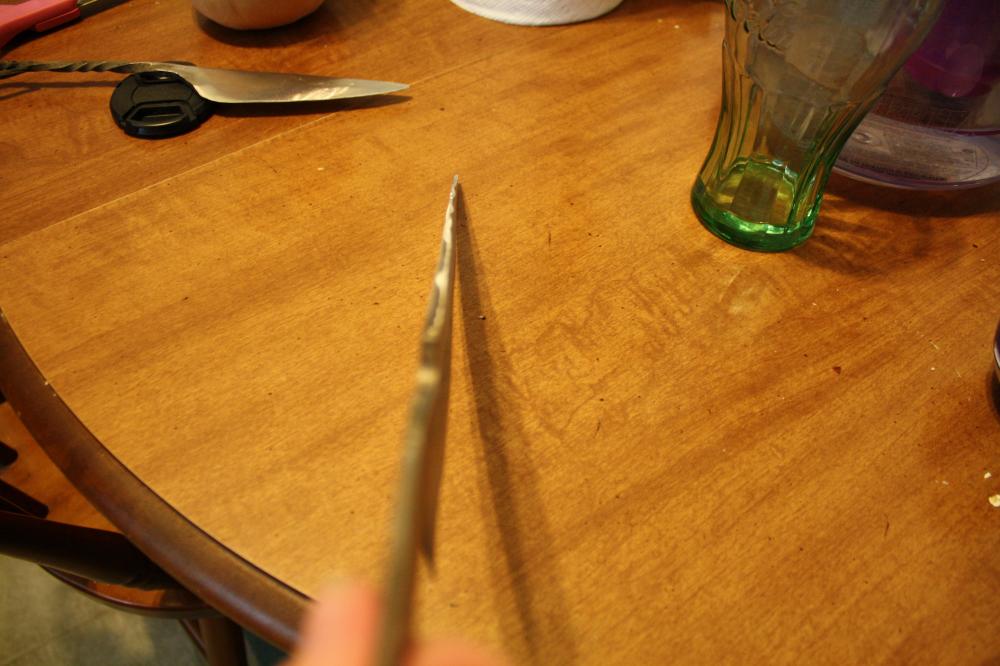
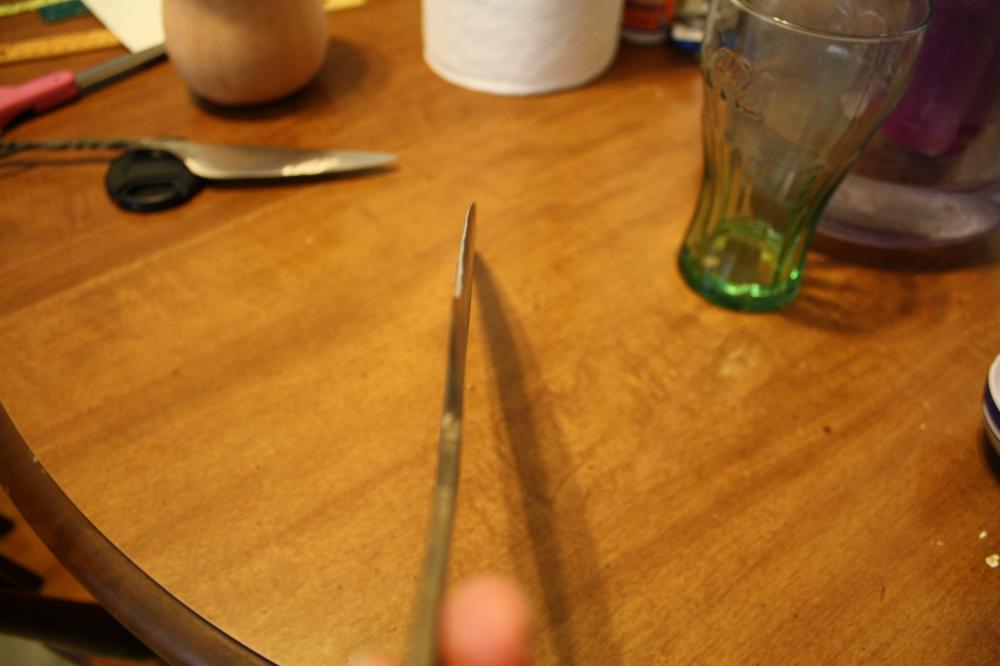
I'm still trying to see what I can do with smaller bits of metal, as my first class used 8" of steel and I haven't really made anything smaller (except for a boot knife, but that's another story). It also helps that a friend of mine was asking about specific designs, and I wanted to see how little material I needed to pull it off. While the original idea didn't work (didn't leave enough material for the handle), I made the best of it anyway. It's not quite done yet. I ran a 26 grit wheel on it after I forged it, and used a (slightly worn) 36 grit wheel to get it to this point. Going to sand it by hand and probably leave it a bit more rugged than not. Starting material was 1084 measuring 4x1x0.187. The only problem I'm seeing with it is the very miniscule bend at the tip; I'm guessing it happened during cooling or tempering, because it was straightened out of the quench. I'm also trying to decide the best way to clean up the handle. I'm giving it a vinegar soak right now to see how that pans out. Any input would be appreciated!

-
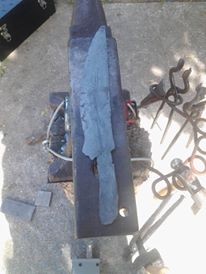
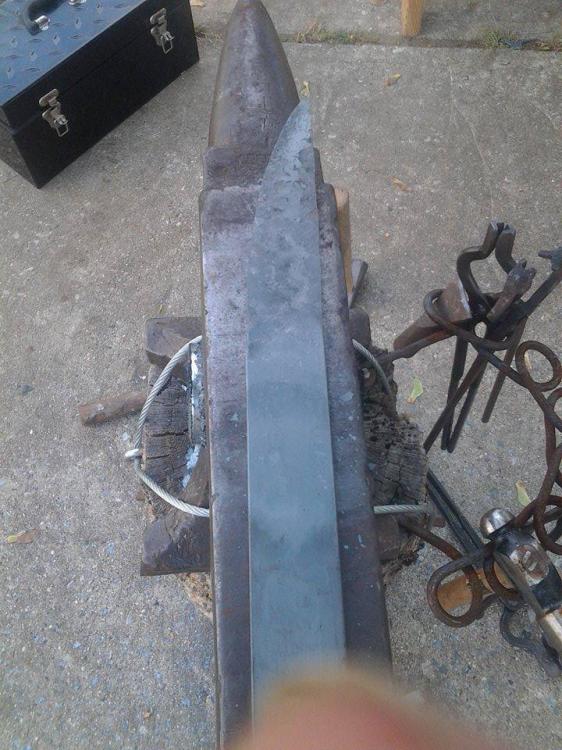
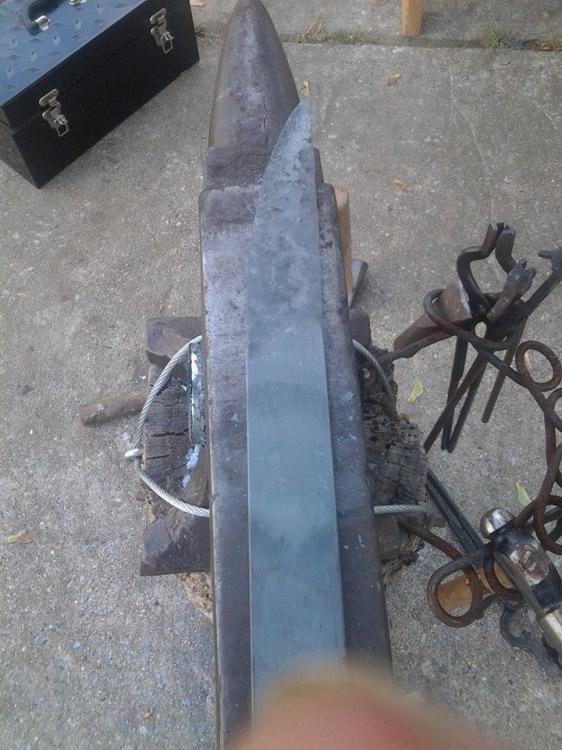
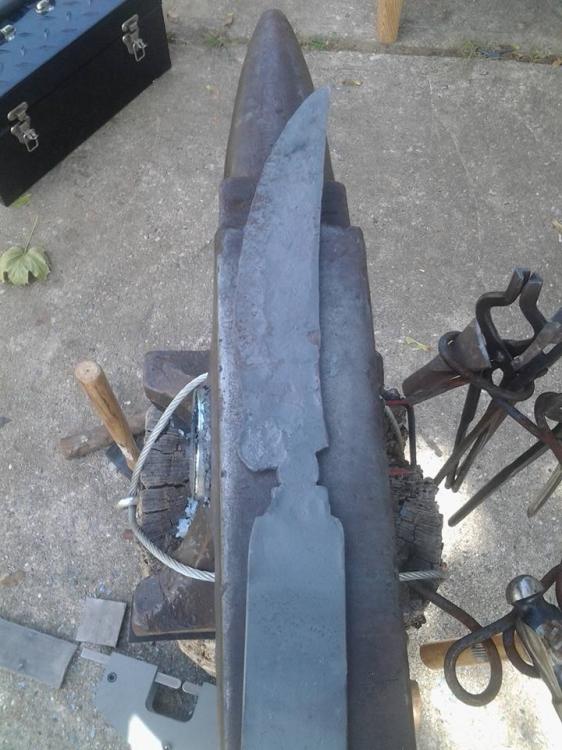
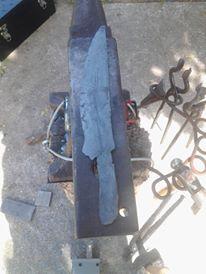
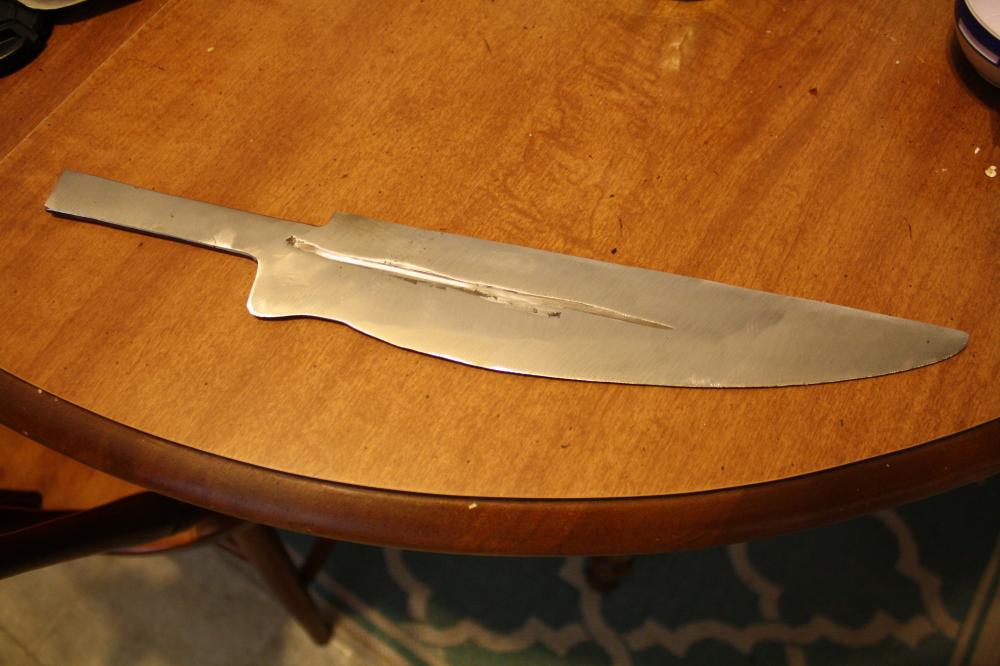
A friend of mine flagged me down a couple of weeks ago and asked if I would be willing to make him a custom piece for a costume he was putting together. His specific request was for Mat's Ashandarei from Robert Jordan's Wheel of Time series. After much discussion (as the character is from a novel, and artists always fiddle with the design on book covers, cards, etc), we decided on a design and material and got started. This isn't a "real" blade (not from lack of trying; he specifically wanted something that wouldn't hurt anyone and wanted to keep costs down), but I've learned a lot from making it. It's not quite finished yet; I need to do some sanding by hand once I get more sandpaper in, and my friend needs to decide what finish he wants (as a mirror finish is probably going to take a lot of time). The first three are forging WIP, the fourth and fifth are before and after the first pass of grinding, while the rest are the final round of grinding at 126 grit (I don't have anything better than that, and not sure if it'd be cost efficient to buy more). Current time is about 5 hours. Three hours were spent hammering it out from a piece of 9x2x0.25" mild bar stock, and a fuller was added with a fullering tool from Yesteryear Forge (and emphasized with a 26 grit grinding wheel). It currently measures 15" from tip to tip, 2" at the widest part, and 3/16" at the thickest. It's not quite accurate to the image, but the buyer seems to like it. Things I've learned from this project: make deeper fullers, learn to work faster, battery power only goes so far, 20lb propane tanks only run so long, don't trust a gas station to fill a propane tank, and practice thickness symmetry (getting there, just not quite perfect yet). I'll add more photos after I sand it and shine it up a bit. Until then, any input would be appreciated!


-
I would not have expected a weld like that by looking at your image. Interesting approach! Thanks for the elaboration on that!
-
Honestly, I'm gawking at how you have that handle set up and curious how you put the guard in like that. Mentally I'm trying to figure out how you did it without cutting into it, and while I have a few theories, I can't say I have it figured out. Personally, I like the metal handle, but that's mostly because I don't have the setup for good handles. If you plan on using this in the yard, though, I'd use a wrap, and go with colors that will jump out at you.
-
Yeah, knife making is addicting, and learning other blades doesn't help much. I figured I'd be okay after learning how to make a sword. Nope. Then I figured I'd be okay after making a pattern welded knife. Nope. Now I'm here making a costume/prop glaive and experimenting with other knife shapes and sizes that don't need separate handles, just because I can. I've also tried to drag my wife in, but she doesn't do multi-tasking or time management well, so she helps me out by holding things for me or pulling something out of the forge for normalizing, but that's about it. We'll see how that pans out in the future!
-
Looking good, Nick!
-
Two ways I've straightened single edged blades that weren't meant to be curved: 1) As I bevel, I sometimes give the area of the spine across from it a smack (usually to aid in the tapering process as well) 2) What Frosty said: heat the whole thing up and give it a smack (or two) with a wooden mallet/board. I've already broken a mallet, so I'll be sticking with chunks of 2x4 from now on. As a note, one of the instructors I worked under would actually hit the spine to curve it into where you want the edge, and then bevel it to straighten it. Not sure how well that works out as I haven't quite mastered it (and the two techniques above tend to cover everything so far).
-
Heh. I have most of my notes from the class I took at Peter's Valley if you think they can help. I'd offer letting you rummage through my blacksmithing notebook, but I'm afraid most of it is illegible.
-
This is an amazing resource people overlook. If your local library can't get it for you (and sometimes they can't due to funding limits; for example, my library can only order items from in state), see if there's a local college nearby that gets state funding. Most of these schools are also open to the public (your tax dollars at work), and the majority of them are part of WorldCat (a way to order books from around the world). Policies vary from school to school about whether or not they can order books from other libraries for community patrons, but it's worth looking into in order to see books before spending an arm and a leg on them. Sorry, I'm a librarian, so this is a knee-jerk reaction for me to help.
-
I've said it before, and I'll say it again: that's just gorgeous.
-
That's a fun and challenging choice there! Be ready for a lot of madness with that, though.
-
Thanks for that input, Frosty! I'll see if I can't chew on that idea a bit to come up with something I can make with my limited tooling.
-
Looking good for a first round there, Nick!
-
No worries. That's the way the week has been. I've quoted the part that I'm trying to grasp but I'm a bit confused at how that would work. DSW: I haven't been in the old shop yet (my wife wanted to come along, so I didn't get to check everything), so I don't even know what to expect. I figured hammers, chisels, punches/drifts, and another metal toolbox (my current one is just about full) are all good ideas. I just didn't know if they'd have something that would work for what I need regarding the vice or forge. I loved the metal shop, though. Well worth the trip.
-
By the by, I'll be swinging to Fazzio's again sometime in October (after I'm paid and pay for the anniversary madness my wife wants to do), so I'll keep my eyes peeled for things that might be able to fit the bill, so if you or anyone else has a suggestion of what I might be able to find at a metal/industrial shop, I'm all ears.
-
I don't get it either. Such is life, ne? Thanks for the input on that post. I'll keep my eyes peeled when I'm out (less frequently than I used to), but if you're ever up for meeting when you're on this side of the bridge (or wouldn't mind a visit from a novice), just give a shout.
-
Glad to know I'm not the only one. Can't tell if it's certain words like "shop" or "market," or if it's anything longer than four lines at this point.
-
Gah, this 403 thing is getting pretty annoying. Frosty: could you elaborate a bit more? Consider me an idiot on this topic, and the resources available to me aren't helping me make this mesh together into a foldable stand. DSW: A wheel rim was an option someone mentioned to me to be a good base, but I haven't had luck finding one (local junkyards on this end of the river aren't open to the public; craigslist has been a mixed bag). I'd then need to find a way to mount a stand and a vice to it without a welder (another tool I lack due to space). I also can't dig outside ("shared" yard with the other three families in the building), so setting up a more permanent post is out. I'm honestly thinking about taking the table apart, putting the four "legs" together with lag screws and putting them in a 5-10 gallon bucket of cement, and then mounting a vice on top (either the one I picked up a few weeks ago or find a swivel vice at a local place). The alternative is picking up a post vice I can just drive into the dirt each day and hope it stays (not the best idea come winter) or cement that into a bucket instead. Care to explain on ideas for removing the vice each time? I can't leave it outside, so I was debating between just taking it apart each day or getting threaded rods and use wings to hold it down. Thanks for the input; I'd appreciate any more information anyone can offer!
-
Thanks for that! I very much appreciate it. And I'll say it again: that's some nice work! Also glad to know that the bleeding wasn't anything serious.
-
Great looking work there! Random question: what type of knots are you using around the guards? Been considering trying out some paracord handles until I get some woodworking materials, but my knowledge of knotwork is nearly non-existent, so any input would be appreciated!
-
I'm with Frosty; I would love to see how this is done and possibly learn from it. Care to share the details?
-
I kept getting that 403 error. Hopefully this one comes through. Frosty: my goal is to have a proper stand for just the forge, and get a better stand for my vice. I'm currently thinking of taking the grill (we haven't used it all season due to time) and using that for a forge stand as it will be stable. Now I just need an idea for my vice (the table in my photo is used for both vice and forge; a bit dicey at times). I don't have a post vice, and haven't had much luck finding one. One idea I've had was to put a board in a bucket, fill it with cement, and use that for my vice. Not sure if it will be stable enough for twists or not, so haven't gone for it just yet. Swedefiddle: Hot sandwiches are always great come winter, and I've done that with my forge. Haven't gotten around the rigging something for a kettle yet; might do that after I get something a bit more stable/permanent for this. The trash can idea has come up often, but filling it with water is the first pain (no hose, so relying on pots), and there's the concern of freezing come winter (as I'm not about to waste water by dumping a trash can of water every day, especially in winter).