LibrariaNPC
Members
-
Joined
-
Last visited
Everything posted by LibrariaNPC
-
That's a gorgeous looking blade. I don't think I can say much more about that o_O
-
Yeah, flux is bad on bricks. I was told to either use another brick or to create a lining. Got some fun instructions on that, so I'll try it out at some point (need a place to store the materials). I'll try cranking it up when I fire it up next to see if I can get a bit of mild steel to a welding temp. I've only done welding in coal so far with mixed results, so I'm curious to see how it works out in gas. That, and I'm a ways away from getting a coal forge. Heh.
-
RJS, ThomasPowers already answered that. I'm not too high or too low for any issue at hand. Frosty, I've been contemplating making racks for things, but it's pretty precariously balanced between the uneven surface (the ground isn't level) and balancing it on firebricks/cement board (again, don't have the tools to really fabricate something better, and lacking the space to store said fabricated object). I have kept sandwiches warm on top of forges, though, which is always brilliant.
-
Thanks Frosty! I'll look into this as an option. Not sure how well it will work come winter, though, as I set up in the yard. Heh.
-
I haven't tried it yet, but I also don't have a big enough bucket/tote for it at the moment. When I have anything out for quenching, it's either a turkey fryer with canola oil (normally working with high carbon steel) or a smaller-than-my-tank bucket of water. No real luck with junkyards around here (apparently they aren't open to the public), but I'll keep it in mind when I'm out and about looking for things at the markets and in general. Amusingly enough, when my tank starts to get iced or runs low, turning it at an angle tends to keep things going. I usually have the the one nearest the burners turned up enough that I feel like it'll fall out if I turn it much more. Any suggestion on what to look out for and how to perform the basic maintenance on something like this? Thanks again for the replies, everyone!
-
Freezing has occurred from time to time, and it's a major problem when I'm down to half a tank (at which point I'm cranking it up to full just to maintain the 10 PSI). I don't really have the space for a bigger tank; anything bigger than a 20 is going to be hard to store in my apartment. Trust me, I'd love to go bigger, but it's not in the cards until I move (which means new job, selling my body to science, or turning blacksmithing into a profitable full-time job).
-
Thanks, Frosty! I haven't tried anything higher than 12 PSI, as another member here on IFI said that should be more than enough to weld. Again, as I haven't needed it, I haven't tried it, and all I've gotten was "you need to tune it." So if I close it too much, I'll get a lower temp (and possibly flames wafting out)? Just checking, as I've been tinkering with it on and off and saw that happen whenever it was too closed. I'll try shining up a bit of steel and seeing what happens; I know scaling is almost a given (nature of the beast), but I'm working on reducing it so I have a better finished product. The steps of becoming a better smith, ne?
-
I was told that the choke plates would help with scaling, and that the forge could reach welding temps. I didn't have a need for it to reach this point until recently, so I was more concerned about reducing scale and practicing forging things.
-
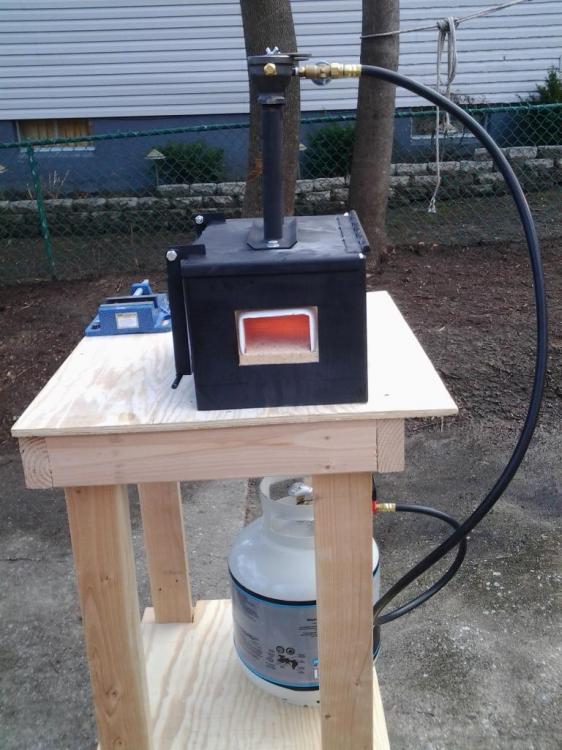
I've been using my two burner blacksmith forge from Diamondback Ironworks since January, and I've been enjoying the ease of use so far. What I still haven't grasped is "tuning" it to allow forge welding and, to a lesser degree, reducing scale (I think I'm getting the hang of that part). From what I can tell, I adjust the choke plates on top of the forge to aid in the oxygen/propane ratio, correct? So far, I've cut both burners to about 30% opening and run between 7-10psi, and I get a nice orange heat with minimal scale (depending on the material and external temps), but not white. Not sure if there's a point I'm missing here or something I haven't learned yet. If anyone has some input to get the most out of this forge, I'd really appreciate it!
-
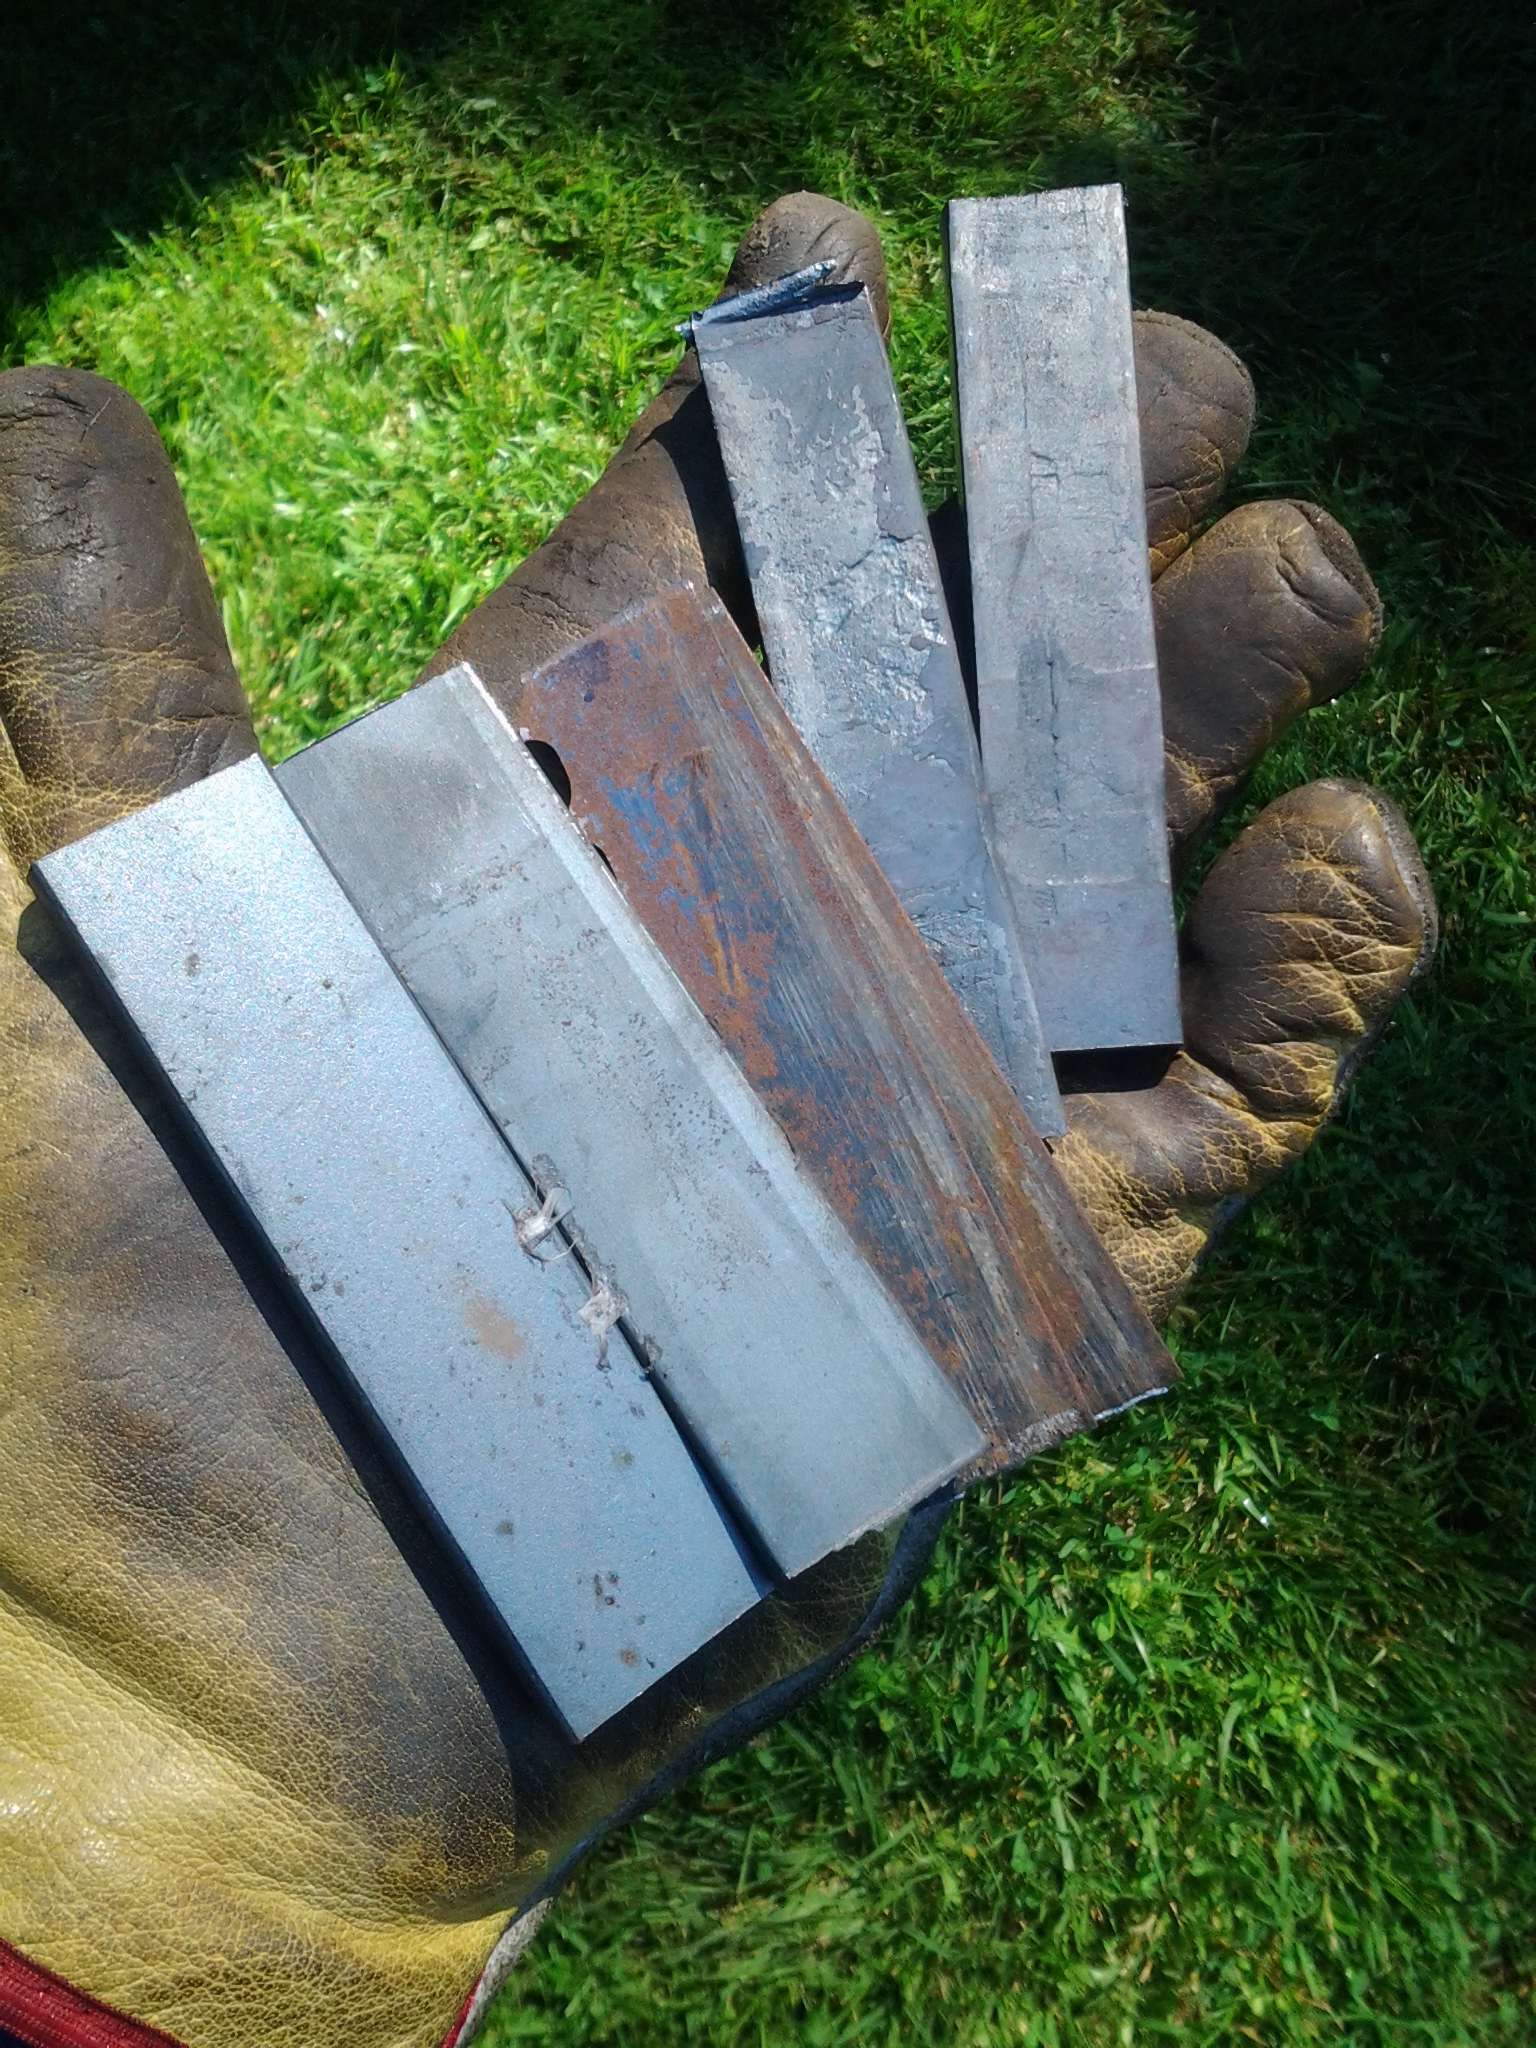
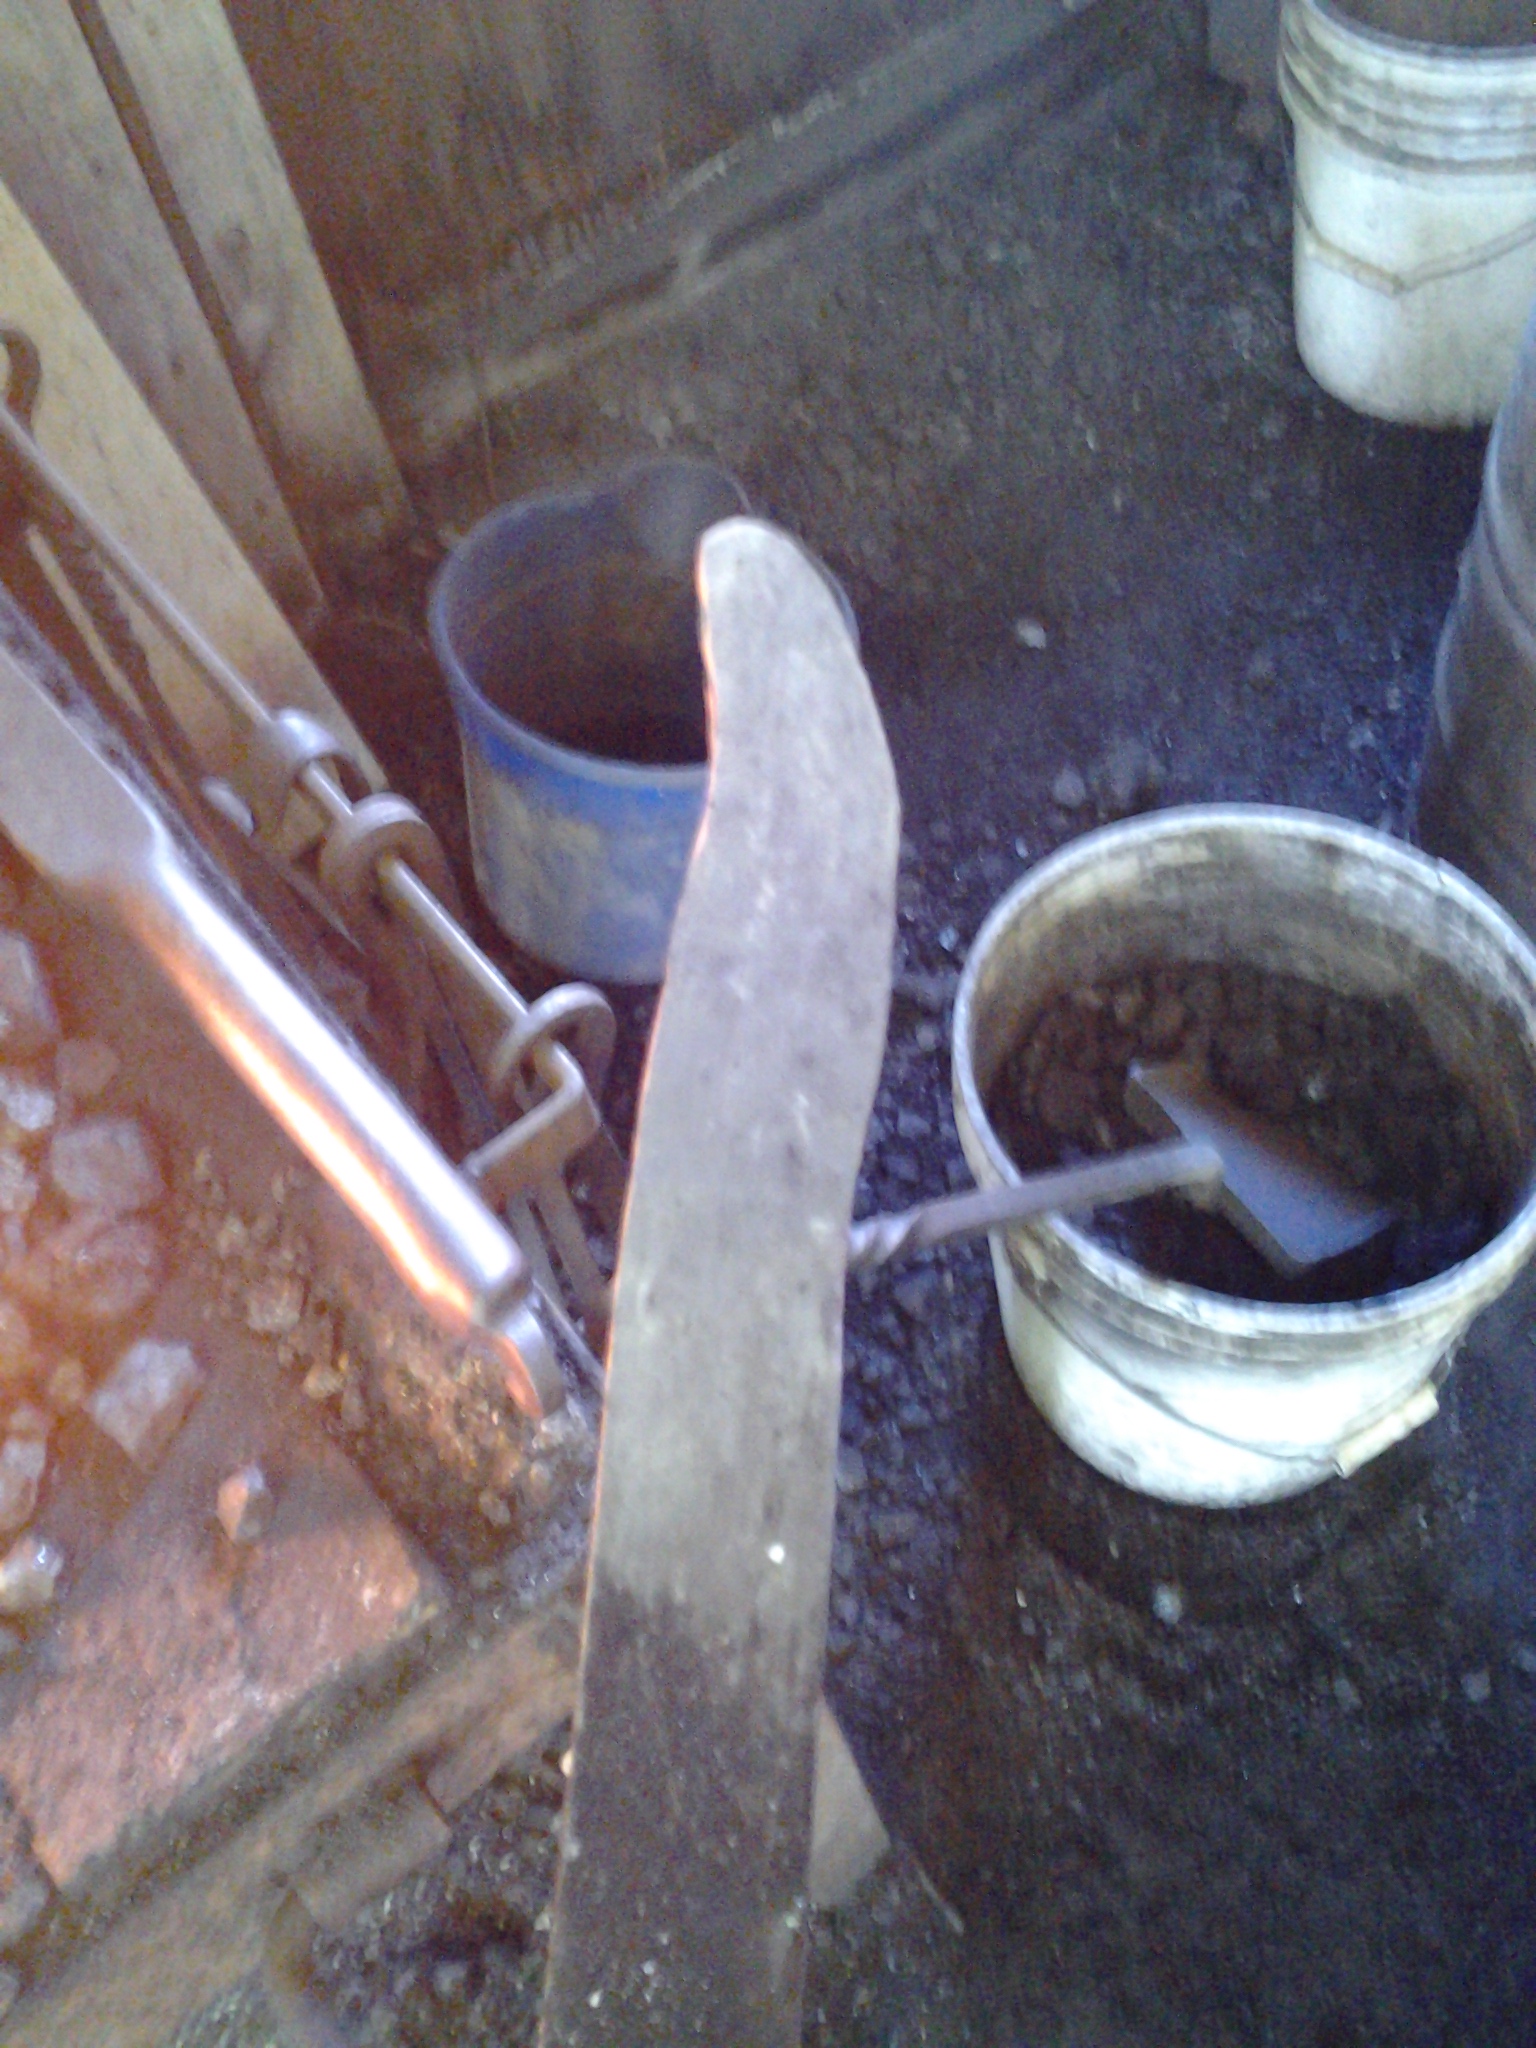
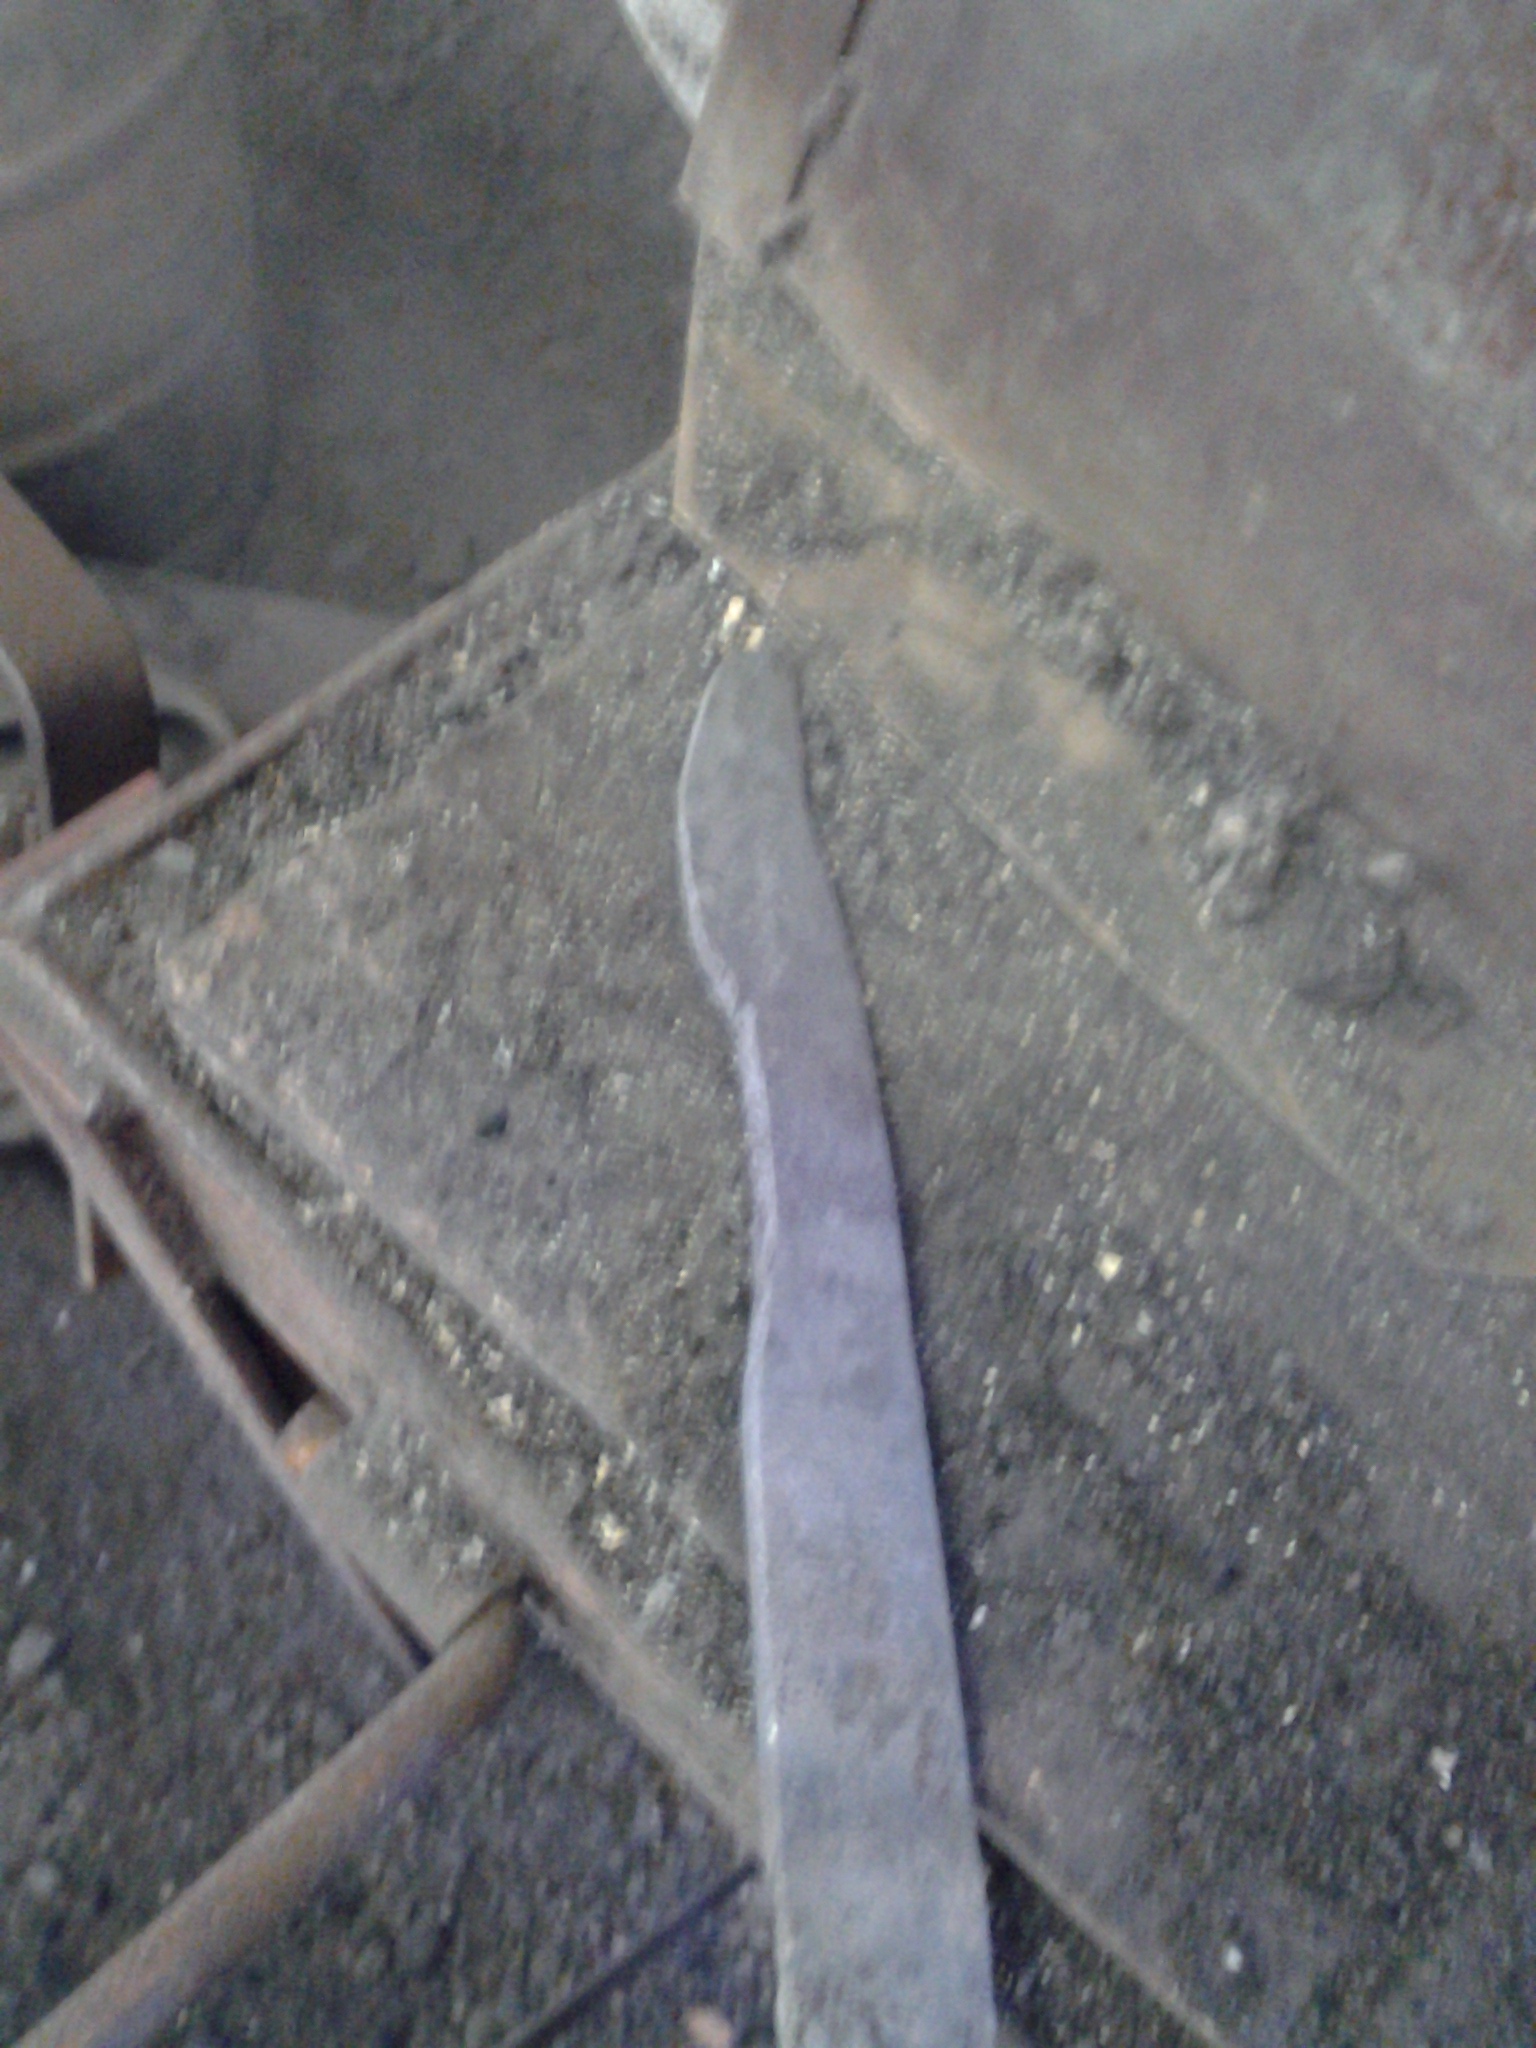
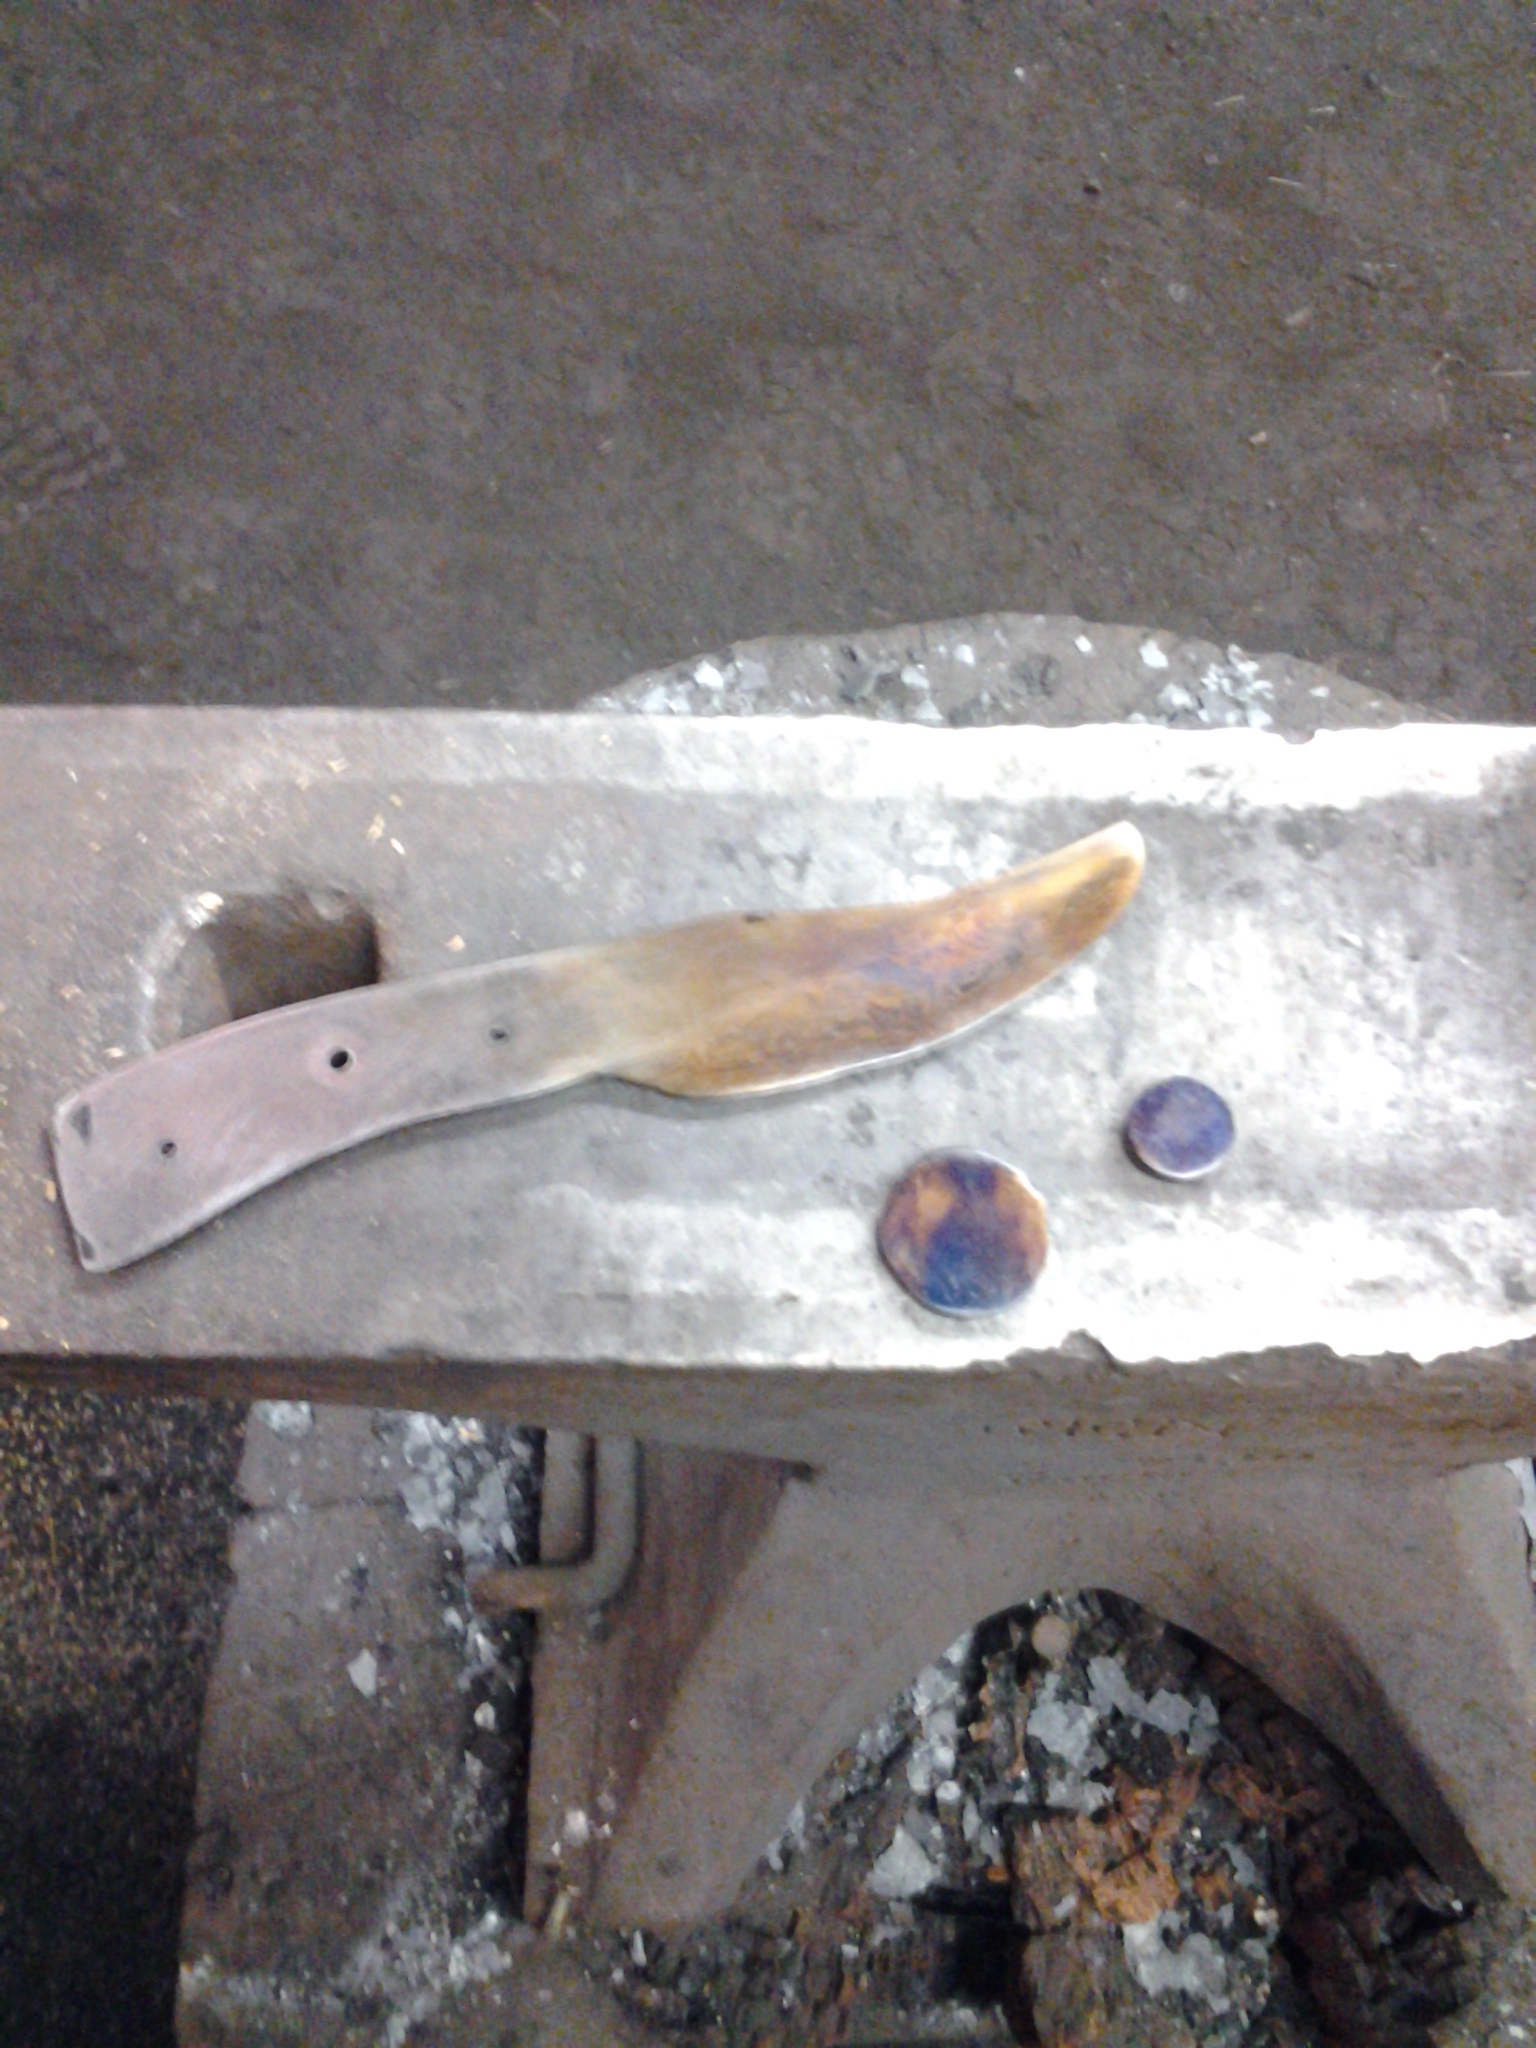
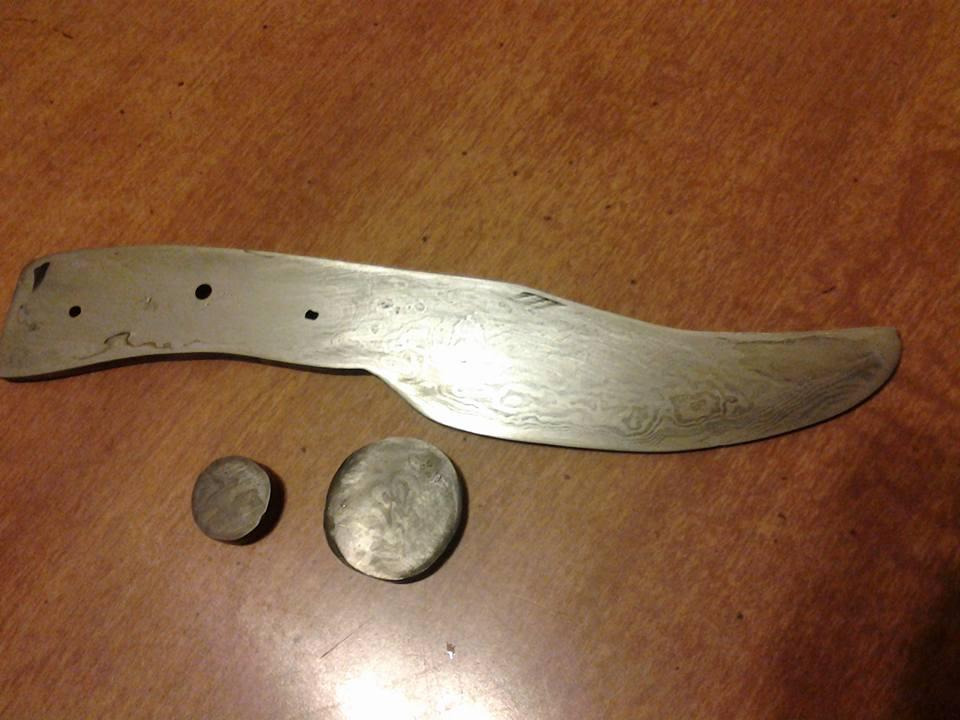
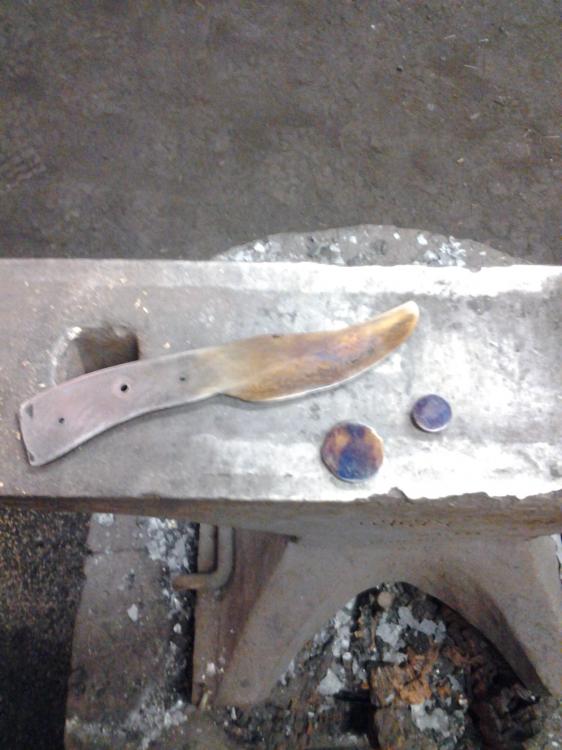
In early August, I took a pattern-welded steel class with James Viste at Peter's Valley. I made this knife, shaped these two "coins," and left with another billet that (should) work. Metals were jackhammer bits, mill saw blades, and mild steel. Random pattern, 96 layers, differential heat treatment for the blade with an oxyacetylene torch and canola oil. Sanded to 1200 grit by hand and soaked in home-made ferric chloride for 30 minutes. Lightly sanded again with 1000 grit sandpaper. Haven't decided on a handle yet; wanted to see how the pattern turned out before committing to a material. Debating between clear epoxy, finding some wood without breaking the bank, or just some grey paracord as a temporary fix so I can at least use it. I've included some WIP shots as well for your enjoyment. As always, I'd appreciate any input!

-
It looked like it was mounted to a table in the images I saw, thus my confusion. My current vice is mounted to the table that holds my forge (no post vices for me yet), so I'm not sure how well that will pan out for me. Still, looks like a fun idea I will need to look into when I am a bit more settled. I have the cheapy drill from Harbor Freight. I dropped a lot of cash into a good battery powered angle grinder (rigid) and I spent a lot of money on my failed forge attempts that I had to cut costs somewhere. A new drill isn't in the cards for a while, as finances are currently balancing between paying off that last class I took and the need to acquire some metal to continue practicing and (hopefully) recoup some of the losses.
-
Cole drills look amazing, but my table is a bit too high and unstable for it. I built a small square table that is the perfect height for my gas forge and hand sanding, but is too high for my vice (learning that one the hard way recently). I've also learned it's a bit too unstable for a hand-turned grinding stone, so it may be a bit too flimsy for a cole drill. I'll keep my eyes out for one at the local markets and consider building another table that I can leave outside (just afraid it will deteriorate or walk off).
-
Sadly my drill doesn't work as well as I'd like (battery powered, doesn't really have much oomph), but it's gotten the job done a few times. I've also been exploring some of the non-metal handles. I made one of those "blacksmith" knives earlier this summer, but it was more of a chopping knife for being out in the bush. The shape wasn't the greatest, but it was fun to play with. A friend of mine requested I perfect it a bit and start making more, so I'll be playing around with that in the near future. One other design I saw from a smith at one of the classes I took: a ring knife with a twisted handle. I expected it to be uncomfortable, but it worked surprisingly well. I might give it a chance when I'm not in a rush to finish a project (like I was with this; I had a week from the day I started until the day it had to arrive with work in the way as well).
-
I have all of my steel, scrap and otherwise stacked against a wall behind a door. I just can't leave ANYTHING outside due to things walking off around here (no one in my neighborhood leaves a grill unlocked outside, for example). It makes it a challenge when I want to do any type of handle at the moment.
-
Hardening was done by heating to critical and dunking the whole thing into canola oil. As I have no clue what my mother will do with it, I figured hardening the whole thing was best. I lack the tools/space to really make handles. Everything I have has to fit back into my apartment when I'm done, so I'm on battery powered hand tools that can fit into a small box. I am thinking of doing another ring knife and trying out either leather or paracord as the handle, as I've been meaning to learn some knotwork at some point.
-
Thanks! Just trying to learn as I go, and that was quite useful!
-
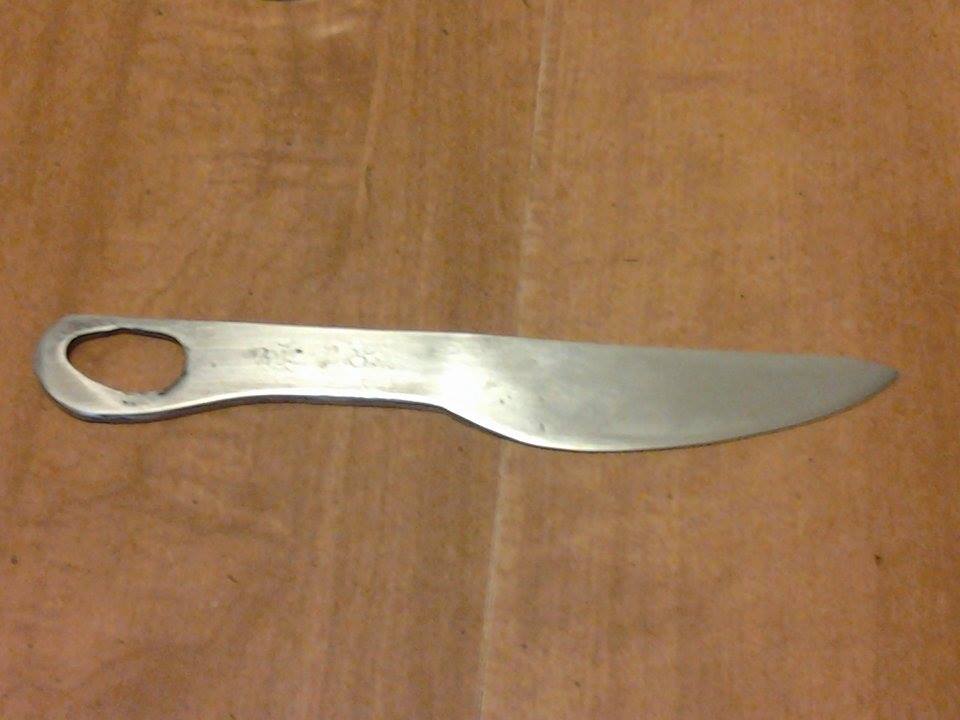
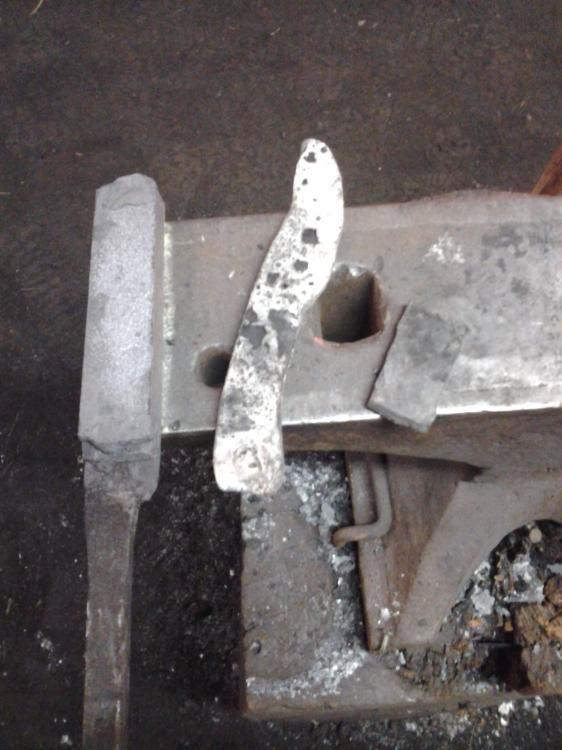
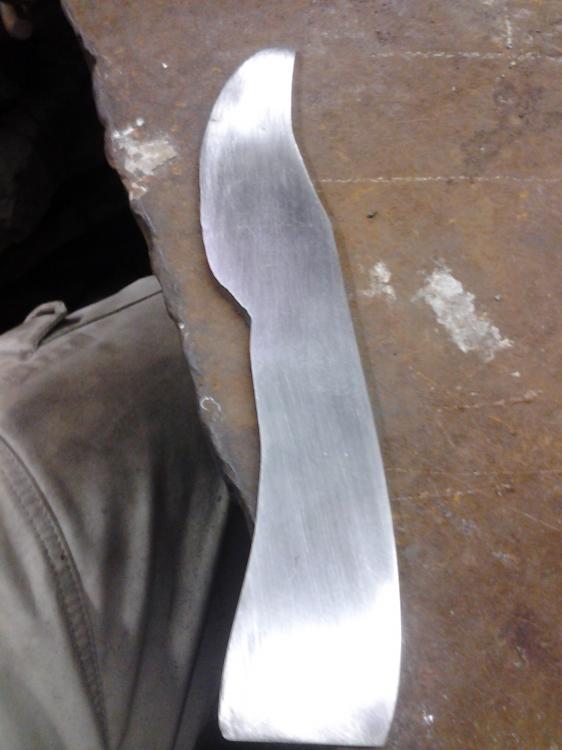
I've been silent on the forums lately (sorry!), but I've been trying to finish up a few projects and still have time for smithing. Real life tends to get in the way, but there are more projects coming up soon! This particular knife was made from a block of 1084 measuring 6x 1x0.18. Ring was made with the aid of a spike I found at a local farmer's market as I didn't have a large enough chisel. Tempered at 400~ish degrees (kitchen oven with a really worn dial, so may have been as high as 425). Soaked in vinegar and then hand sanded to 500 grit for the handle, while the blade was brought to 800 grit. The blade was sharpened on a diamond block up to 600 grit, touched up with 800 grit sandpaper, and can slice into paper with ease. This was made as a birthday gift to my mother, who's immediate reaction upon seeing my blades last November was "where's mine." Well, now she has one. *laughs* Any input would be appreciated! I have a few WIP shots, but nothing too spectacular if anyone wants to see more.

-
That knife is gorgeous, but I'm also in awe of that chain. Reminds me just how far I really have to go.
-
Excellent product redesign! This is one of my goals as well; just waiting on getting a better setup so I can make a proper handle to go with it. Keep up the good work!
-
Looking good! I haven't made a hawk yet (and my wife wants one), so stupid question: was this just taking the spike, flatten out the one side and use the fuller to expand it, a guillotine/fuller tool/edge of the anvil with cross peen to create those nice shoulders/divots, and a make the hole with a drift punch? Just curious how you made it if you're willing to share!
-
My wife and I have been joking around about setting up a trailer or something and finding a way to get it settled (bigger vehicles are ruled out as I'm still paying off my car). Right now, we're holding off on everything. I have an interview this week and, if my contacts are as good as they seem, possibly another one in the coming weeks. Relocating to certain parts of Pennsylvania, New York state or Connecticut might help with the issues at hand.
-
Not at the moment, no. I was considering it, but the township has ordinances against things sitting in yards, and the parking situation doesn't permit me to have it on the street. I'm rolling with what I have for now. Not ideal, but it is still good enough to set up for basic blades and other small projects.
-
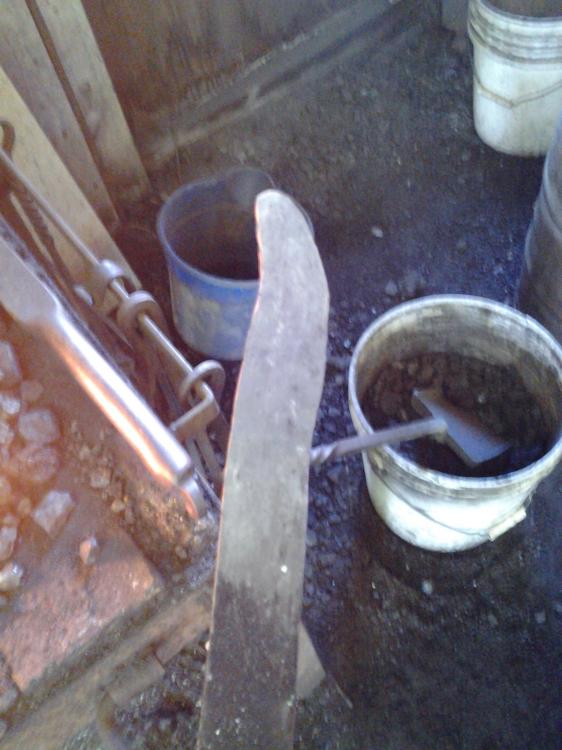
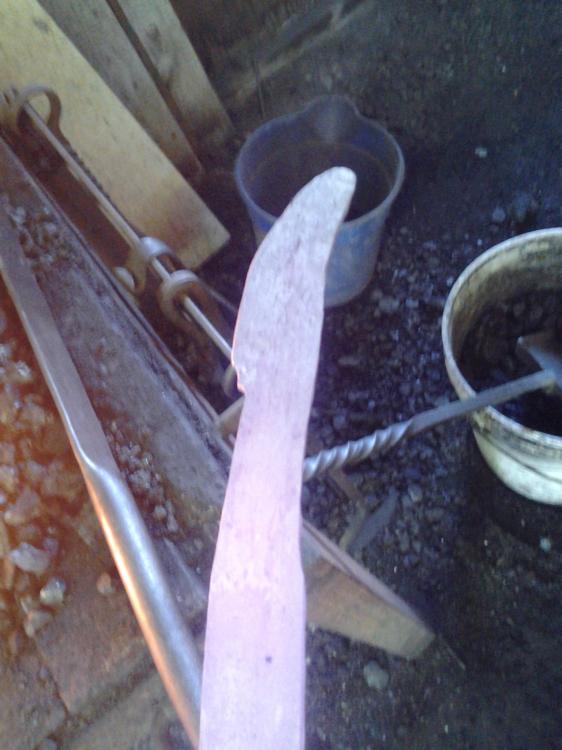
I assume this passes as a sword then, Thomas? Charles, parking is a mixed bag. Some days, there's not a car on the street. Others, I'm fighting tooth and nail for a parking spot. About half of the houses on my block are rentals, and the rest are rather affluent households (there's at least three Jaguars on my block o_O). I'm set up in our "driveway" (a small patch of concrete in our yard); not too sure how well the police will like me making knives close to the street. *laughs*
-
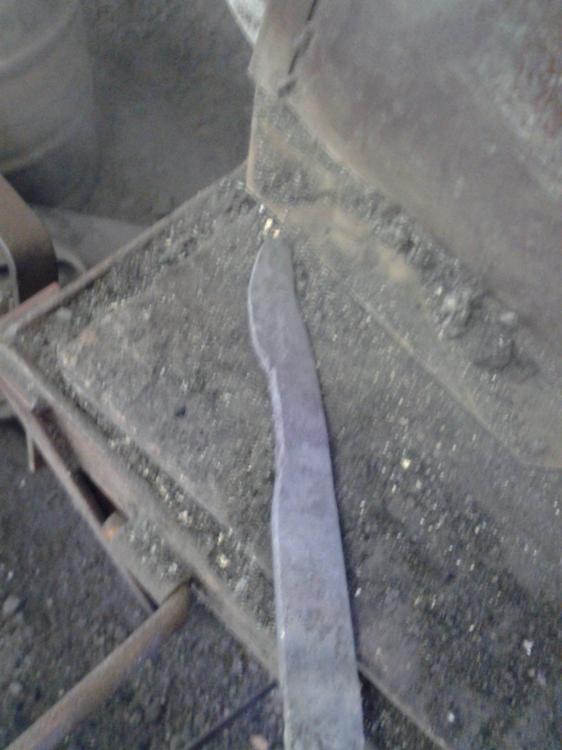
For those curious, the blade itself is only 27 inches long, but the entire length of the sword is 35 inches. Charles, it sounds like an interesting idea, but I cannot bury things in my yard. I share my yard with three other households (the apartment is a house split into four), and my landlord specifically put a "no digging" clause in my lease. I'm lucky to be able to set up my smithy in the yard and tear it down with how strict the lease is. . .
-
Sorry for the delay! For some reason, I couldn't submit a reply this weekend. Could be my internet connection at home causing problems again. In any case, the sword weighs in a 2lb 7oz according to my mailing scale. I keep forgetting to get an actual length measured out, but it's somewhere in the 2.5ft range for the whole length. If I can find one of my two renegade tape measures, I'll get right to it!