Dabbsterinn
Members
-
Joined
-
Last visited
Everything posted by Dabbsterinn
-
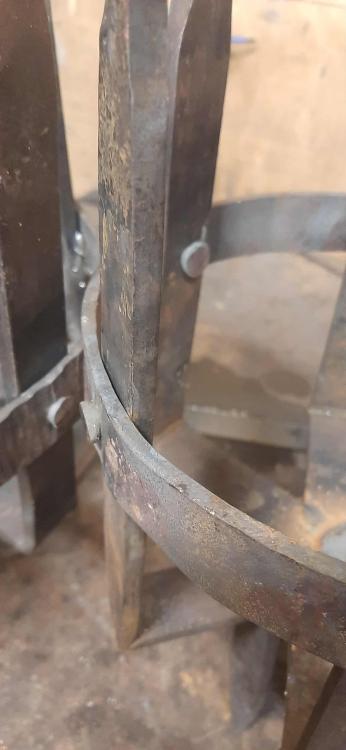
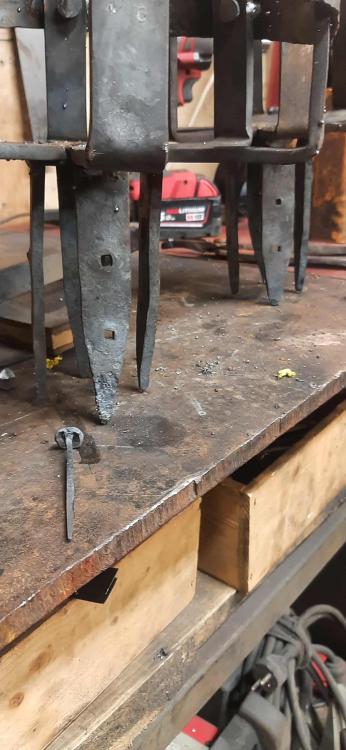
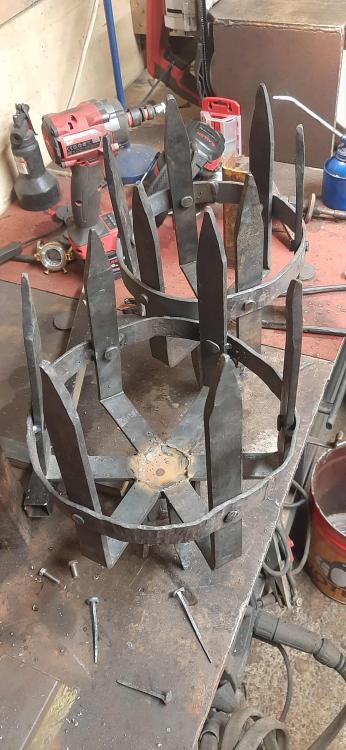
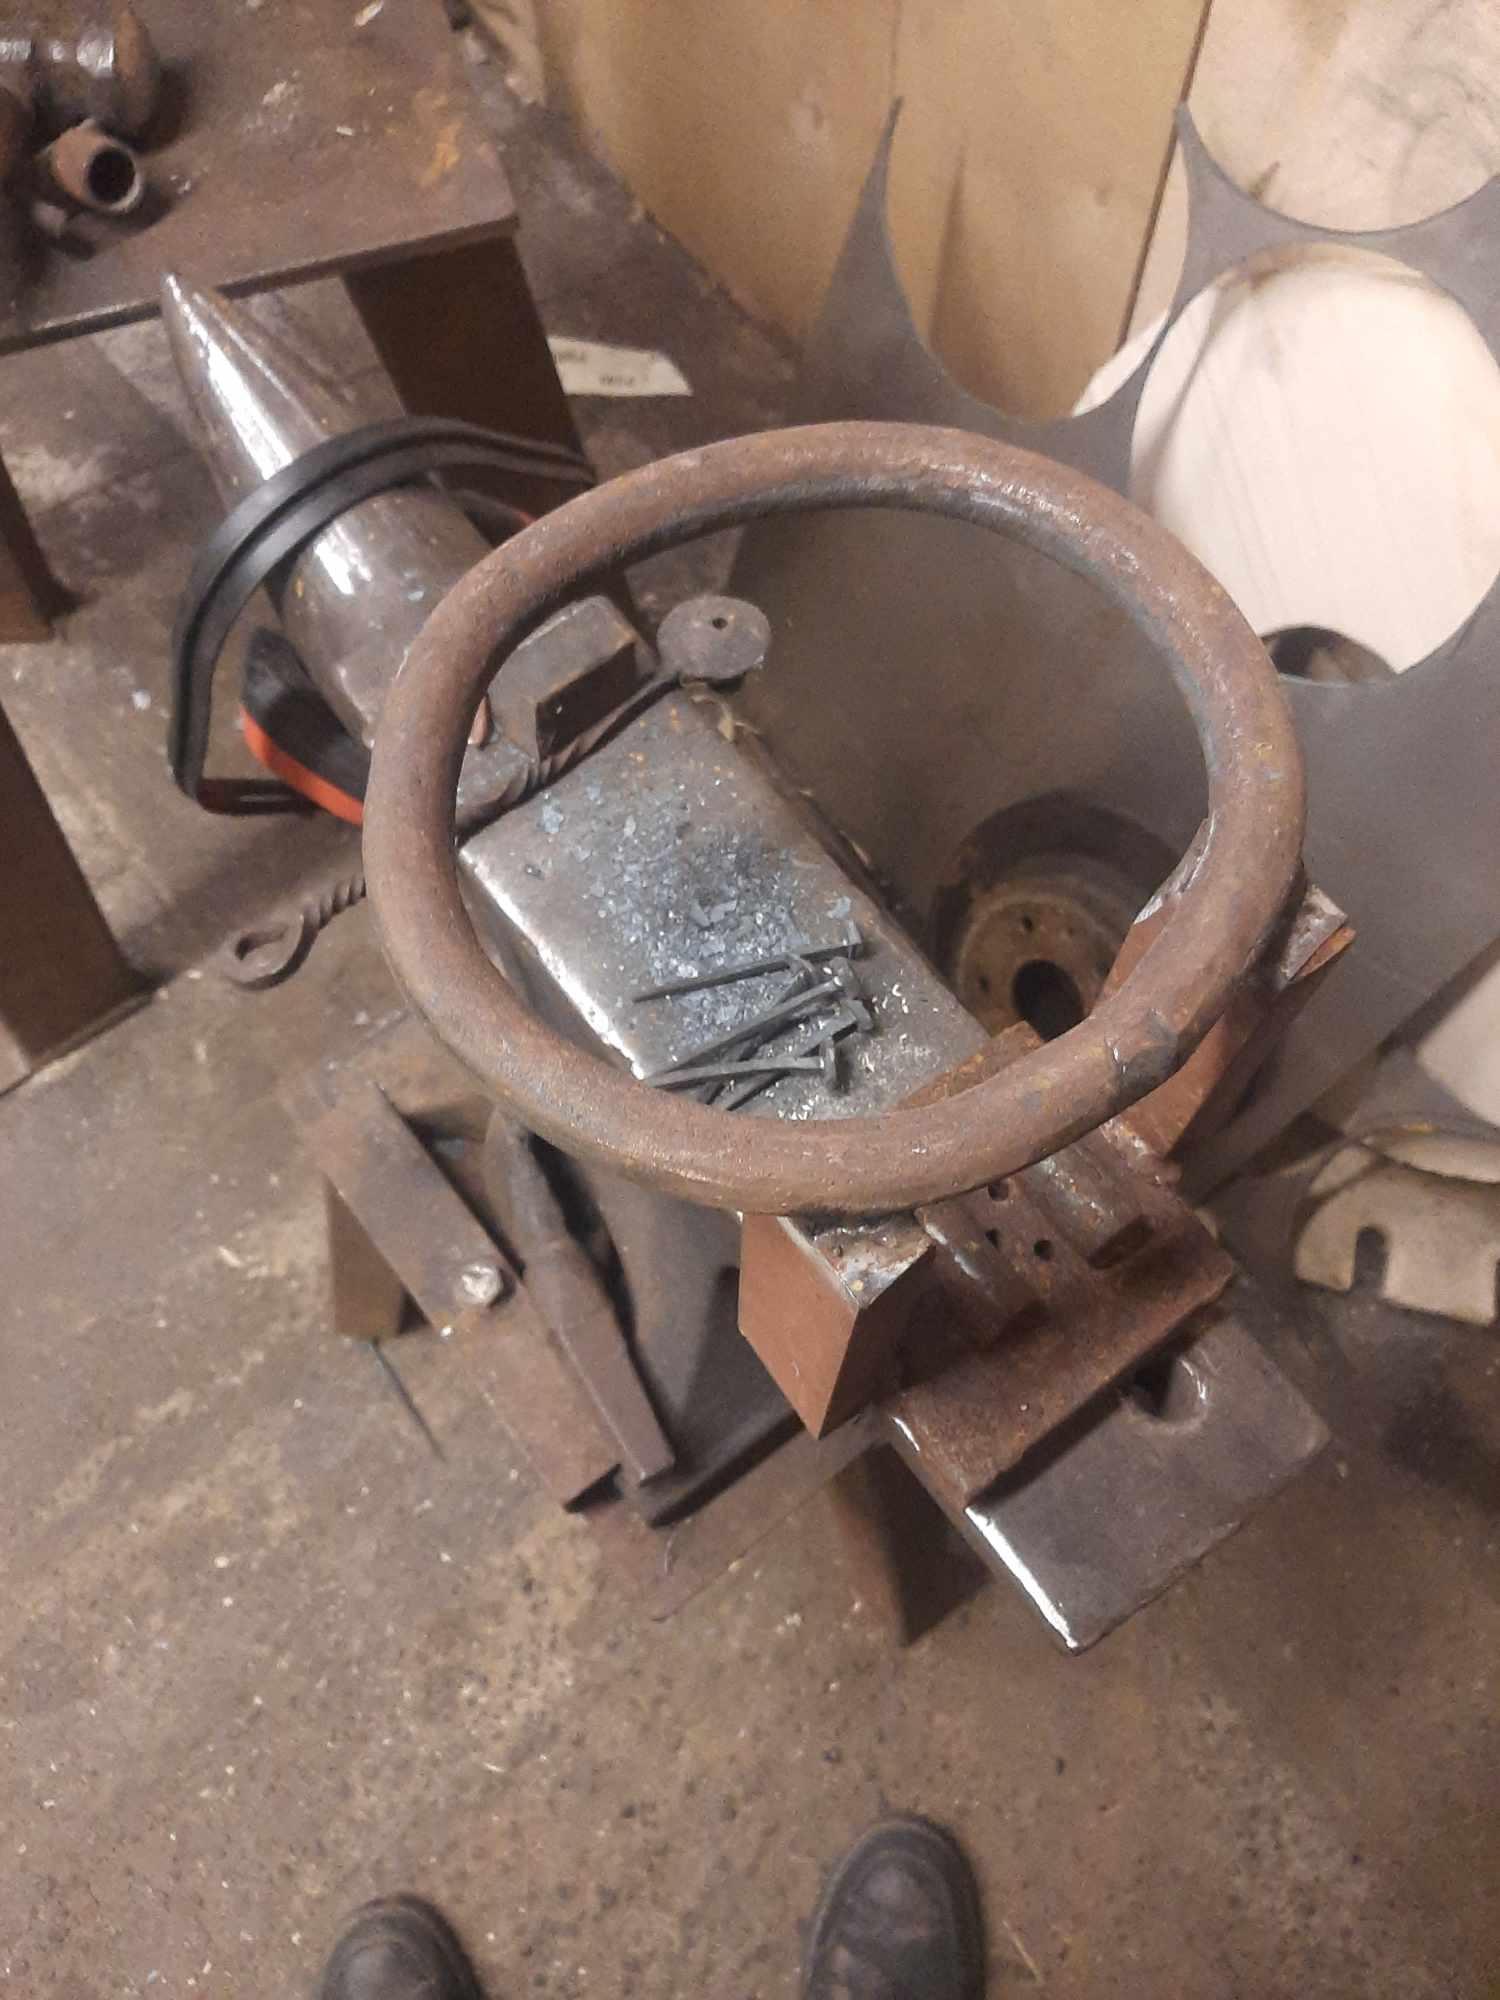
got the forging done on some medieval looking torches for a coworker of mine, he's setting up a haunted house for halloween and asked me if I could whip something up real quick for him, he specifically stated it didn't need to be anything fancy so I took several shortcuts and left the burnt finish on for a more eerie and worn-out look but I highly doubt that it'll be visible, I'm really excited to see how it'll turn out once he's got it all set up. the arms are a little bit wonky due to a calculation mistake I made, turns out when you cut a lenght of steel in half and add a plate between them, it does indeed increase the diameter which can be a bit of an issue if you already made the ring before making those adjustments. I got to spend a good while with a cross peen on the horn to get that ring to fit again but he's very happy with how it looks

-
I had a very educational phonecall with a friend and fellow blacksmith earlier today and I'm fairly certain he's solved this in a spectacular way that left a self inflicted palm print on my face. just cut the blanks a fair bit bigger than you'll need, dish them out and then cut them to size.
-
Hello everyone, I'm planning on forging a large cauldron roughly based on the Oseberg cauldron for my viking re-enactment group Veðurfölnir in Akureyri and I have acquired a large sheet of 2mm hot rolled mild steel, should be right between 12 and 14 gauge according to my research, guess we'll call it 13 gauge? I've searched high and low around the internet for a cauldron pattern since I'd rather not guesstimate the shape and risk ending up with a wonky looking cauldron. I took a few measurements from a cauldron that another group has a while ago but I don't have the measurements for the curvature of the sides of each segment and I'm considering making it a bit larger than that cauldron either way so I'm trying to find some simple mathematical formula to figure out what the shape should be but I have no idea how to calculate that, if I just used the reducing diameter divided by the 9 pieces that'll make up the cauldron sides I'd end up with straight triangles and that'd leave me either with a concave cauldron or with massive gaps on the top and the bottom.
-
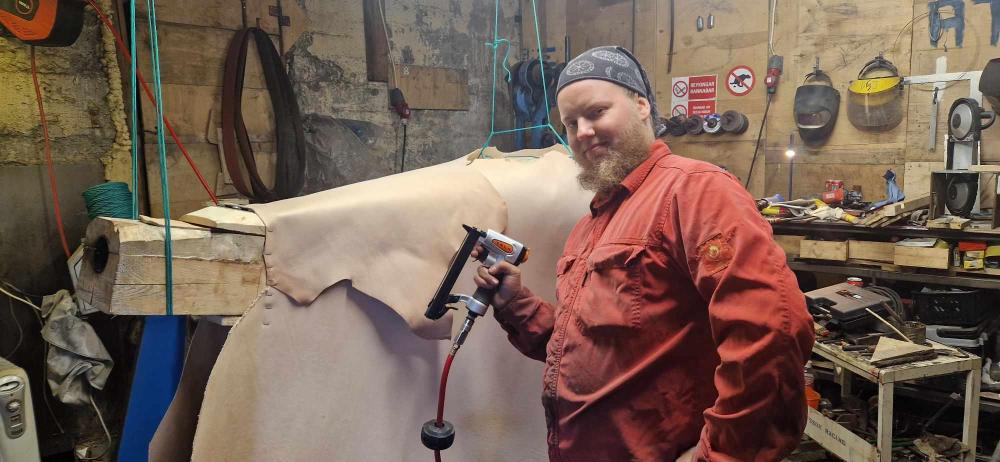
I had the idea to do it "properly" and tacking it on and the even thought of forging my own tacks briefly crossed my mind until I started calculating approximately how many tacks I'd need to cover all 5 segments so I went on the hunt for tacks for sale, found one guy who was willing to part with them for a fair price but it was still about the same price as the pneumatic stapler, a box of staples and a box of small round-headed SS nails and when you consider the time difference and ending up with a very handy tool, the choice was easy. on top of that a problem that I've noticed in the bellows that the other re-enactors down south have is that after about two decades of use the tacks have started to work their way out of the wood and I believe the chances of the staples doing that are much lower, same goes for those nails I'm using thanks to the ribbed shank. I highly doubt these will be the last bellows I make since we're 5 blacksmiths and blacksmith enthusiast in my local re-enactment group and we're only on our 1st year with 8 active members, I'm sure some beadmakers and foundryworkers will show up eventually so I probably should have written down my observations and hindsight enlightenments as I was doing this and for the next one I intend to start much sooner so I won't have to resort to "cheating" with the stapler since this needs to be ready to go by Tuesday, I believe I have it all wrapped up now and once the glue is dried up tomorrow (unfortunately not hide glue, haven't had the time to figure that out yet) I'll put everything together and get a video of the performance
-
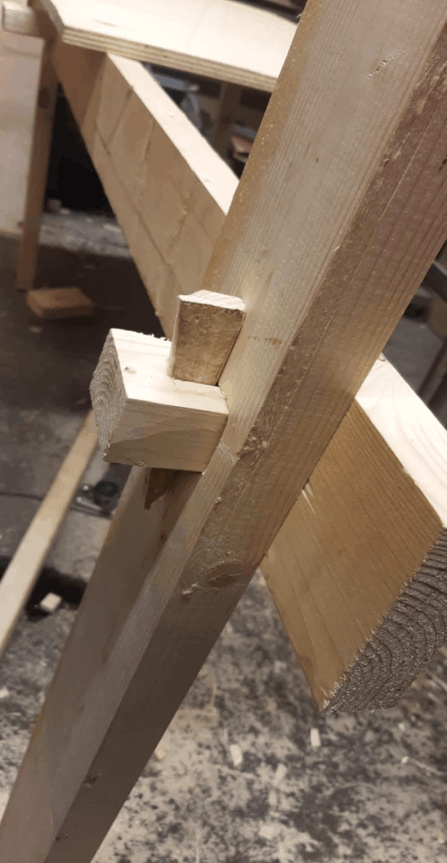
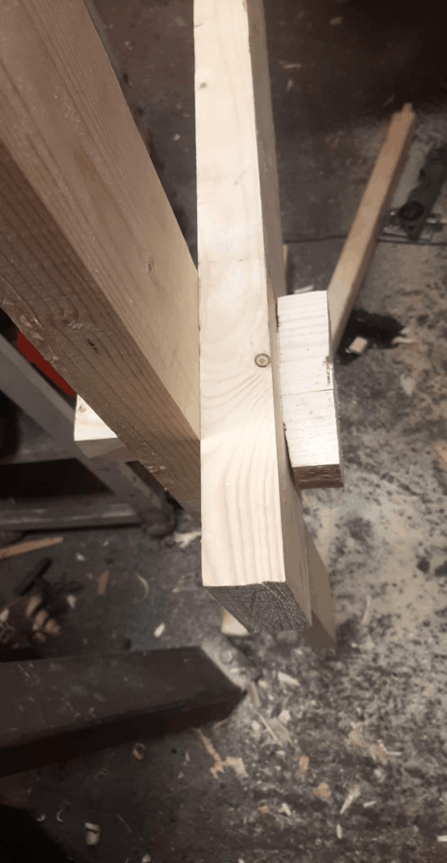
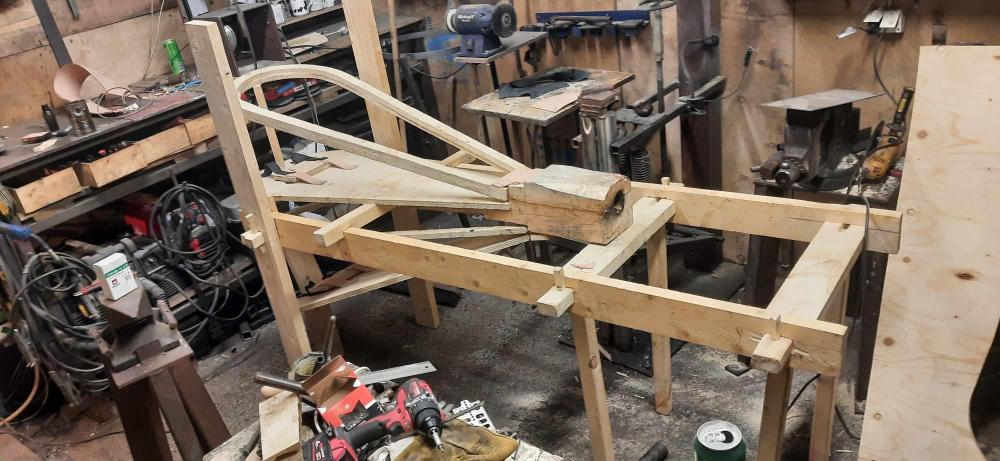
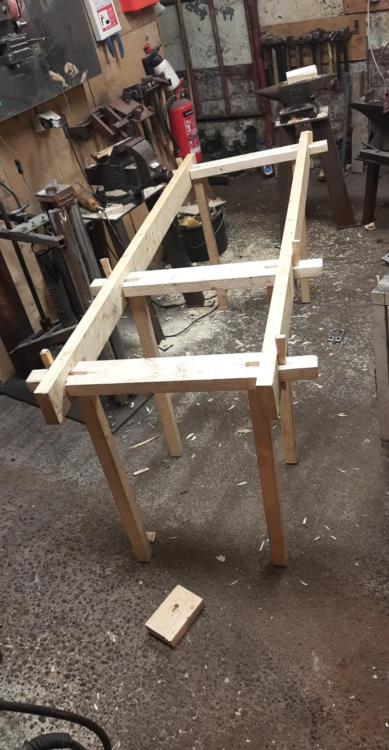
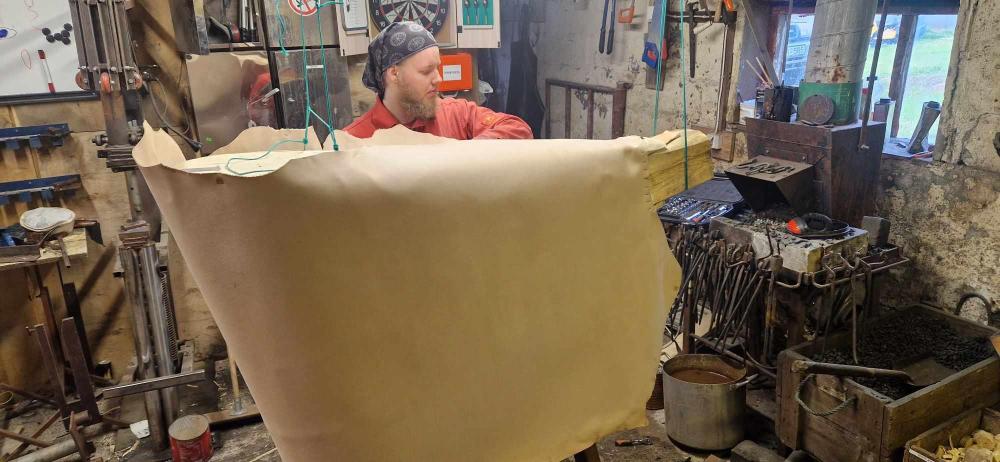
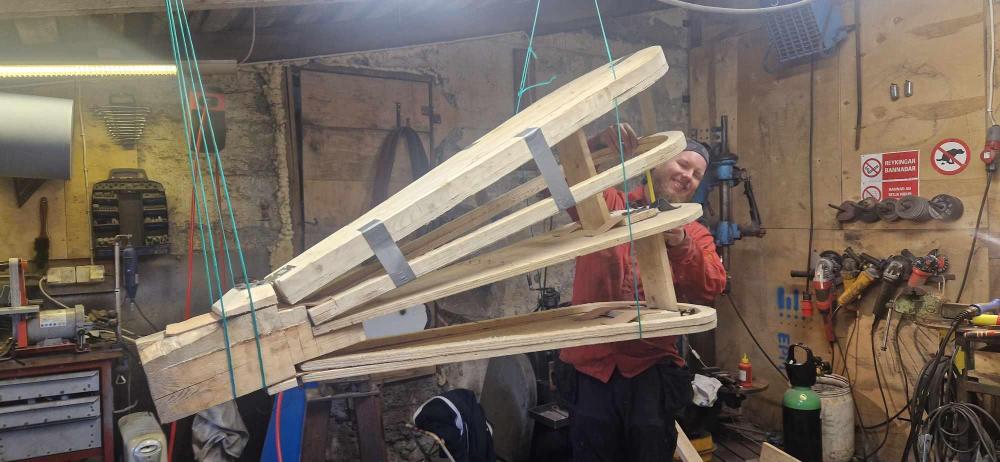
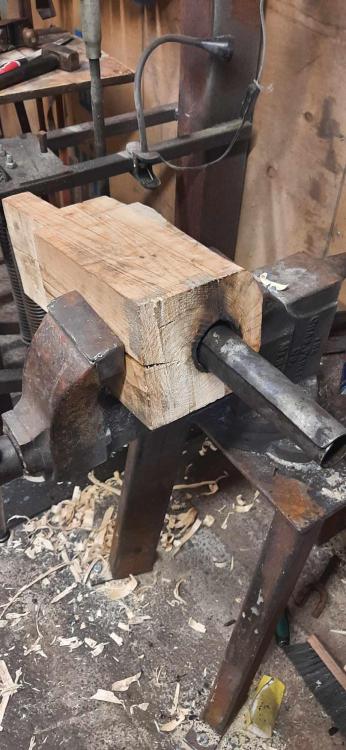
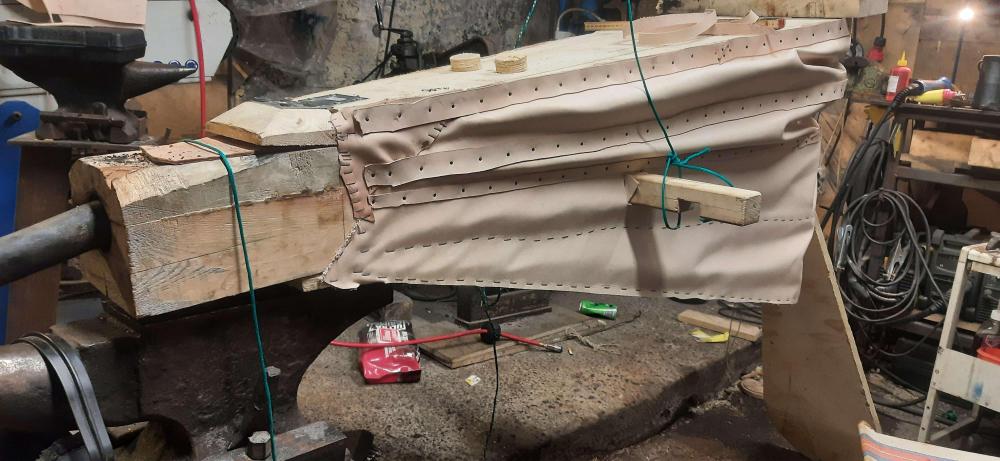
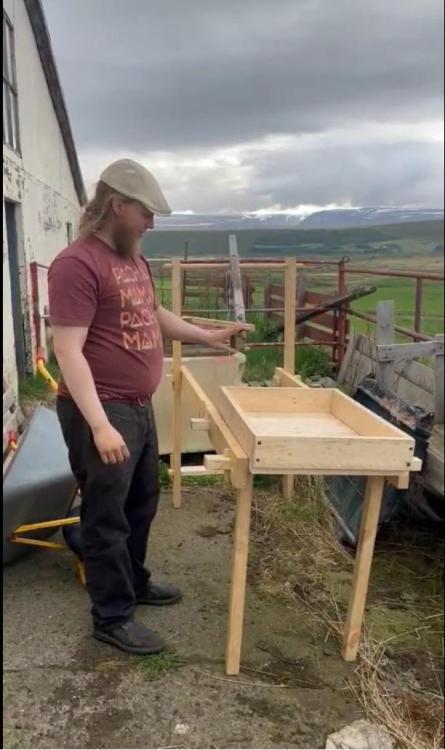
Since late April I've spent multiple evenings and sometimes been out well into the next morning when my schedule allows figuring out exactly what happens when you ask a metalworker to do a carpentry and upholstery-adjacent project. I also discovered my love for pneumatic staple guns. This will hopefully become probably the largest functional Viking age forge in the country with a slightly anachronistic double lung bellow but we let that slide since having someone man the period accurate dual single lung bellows for the whole day at a week long festival could get rather boring after an hour or two. the bellows have a circumference of 2.65 meters/8'8" and the distance from the top leaf to the bottom at full expansion is 82cm/32", I'm sure there are some formulas to plug these numbers into to figure out the volume but after a thorough eyeballing I estimate it to be...plenty. The leaves and ribs are made from 18mm/ 3/4in plywood but the top leaf is clad with 38x100/ 1 1/2x4 planks to both make it look prettier and add some weight to it to increase the flow rate without stacking multiple hammers and tongs on top of it. I'm aware the framework looks awfully crooked, the legs were intentionally made a little bit longer than I'd like so I could cut them level once everything is together as it should be. The firepot will be 50x50cm/ 1'7"x1'7" but only about third of that will be for the coals, the rest will act as a table to keep tongs and other tools and it's currently filled up with a mixture of riverbank clay and super fine sand and drying out as we speak. Once that's dry and I've got the nozzle and the bottom leaf and rib covered up with leather and nails to look the part and a hole carved into a sandstone chunk I had laying around somewhere it'll go with my re-enactment group to a Viking age festival down south near the capital of Iceland, it should only be a half-days work to wrap it all up assuming nothing catastrophic happens like the mice making a snack out of the leather like they did to most of the gloves and for some reason the rubber part of the TIG handle and the paraffin/linseed oil/graphite dust punch lube.

-
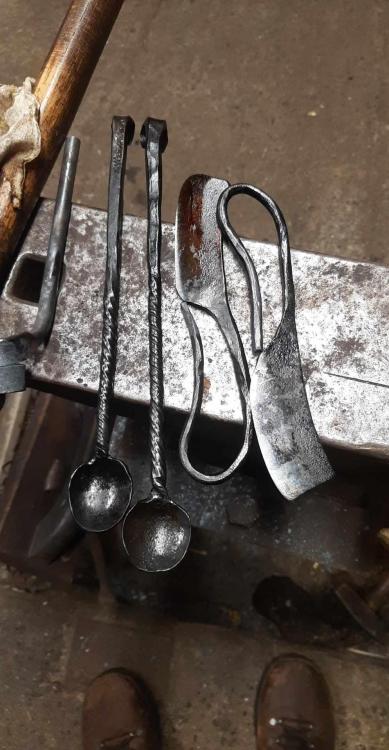
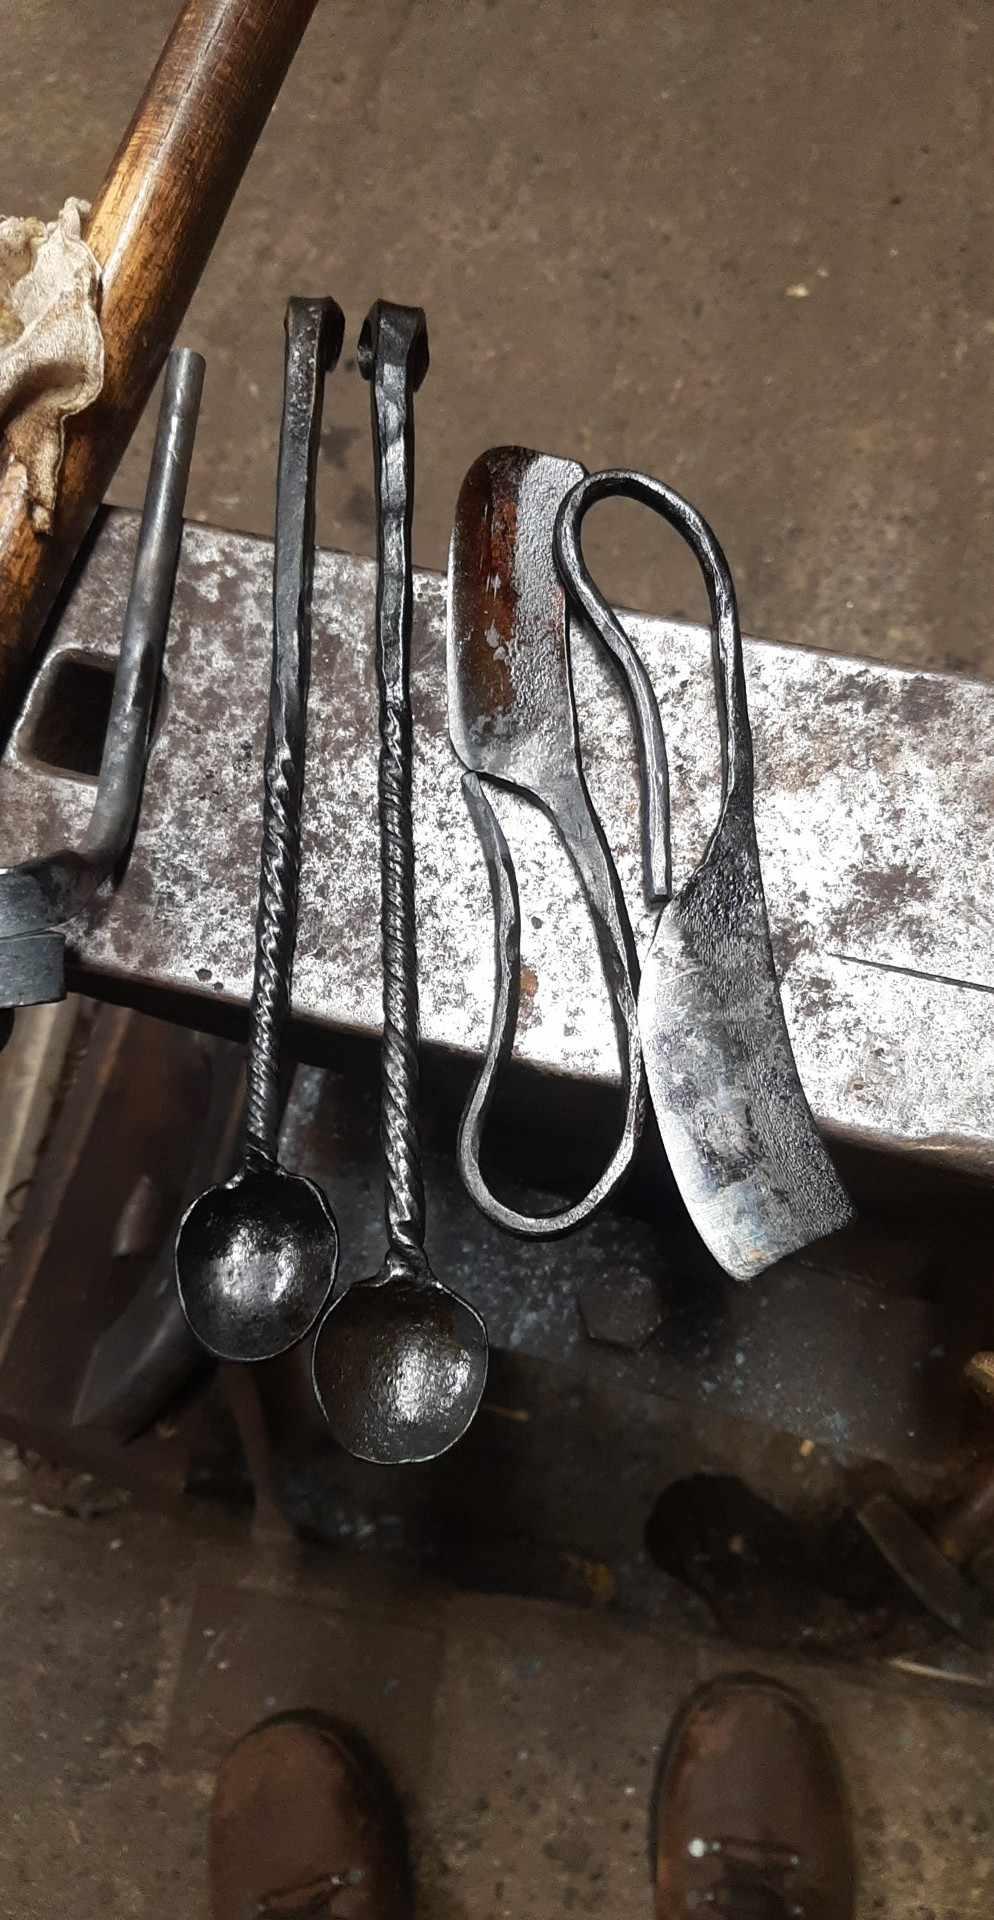
knocked out two jam spoons and cheeseknives for a christmas present yesterday and finished them with a nice hot coating of twice used deep frying oil then once I got home they got another wipe of oil and were sent for a long soak in the oven at max temp, I figured if seasoned cast iron pans are fine and dandy for cooking then seasoned mild steel utensils should be just as fine. those spoons have a half octagonal twist and I made them extra long in case the intended recipients enjoy those jams that come in the narrow and tall jars that no regular teaspoon fits in.
-
nice weld! it sure looks like it'll hold. torch welding was the first welding method I learned and I'll say the hardest part was learning to adjust the flame just right. I feel like the puddle is a good bit bigger in torch welding than in any other type unless you've really got the amps cranked up so I found it much easier to watch and learn how it moved. while torch welding is mostly outdated there are several situations where that's the only option like when you're welding around some sensitive electrical equipment or can't get electricity to where you need
-
I sure wish it did, we have 2 electric blowers and a radiator in the shop but that just barely keeps it above freezing, layers are the key and a nice hot cup of coffee also helps a whole lot but for the twisting, could you mount the vise on a plate with a square shank for the hardy?
-
good lighting is one thing I don't think has been mentioned yet here, I haven't experimented much with different light fixture positions but I think somewhat close to directly above the grinding wheel would work pretty well
-
I'm not quite following the compass design you described there, do you have a picture or a drawing that might make it clearer to me? I'm mostly wondering how the round stock attaches to the magnet. I'm also guessing it's a beam type compass rather than a V shaped one since I imagine the legs would get in the way when moving the torch around. great idea with the headache balls, there are at least 3 net makers nearby and 1 store that sells all kinds of lifting equipment so I'll be surprised if I can't find one and even if I can't I think I've seen some steel net floats that should be able to do the same job, there's even a plan C which would be to take the top off of one of the empty TIG gas tanks since we're already planning on sacrificing it to get the curved bottom piece for dishing. might even use the body of it for a slack tub or a gas forge I reckon a diagram like those for meat cuts but with a gas bottle might put a smile on many faces here and inspire some ideas perhaps.
-
standalone bench vises are great. my friend mounted his on a three-legged stand very similar to my anvil stand and it's wonderful to work with but a bit on the light side as it tends to move when we tighten the handle properly so that's something that's something to keep in mind
-
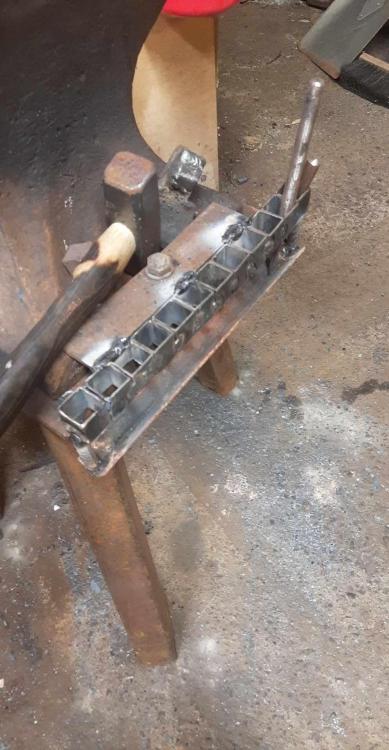
the treadle hammer and a short but thorough list of projects for the day make for a productive day. 11 years of forging also help even if the days spent forging have been way fewer than I wished. who'd have thought that work and 3 other hobbies would take up so much time Regarding the punchline, a neat feature of that design with the angle iron suspended from the sq. tubing is that scale and dust will have a hard time building up in there but I'd add something on either side closer to the bottom since the current gap is wide enough for tools to get between
-
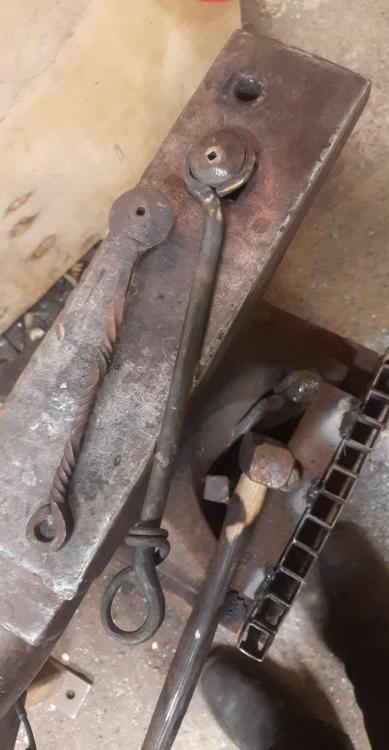
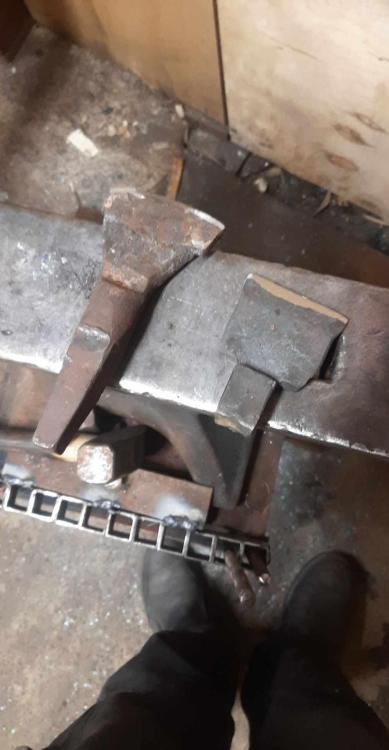
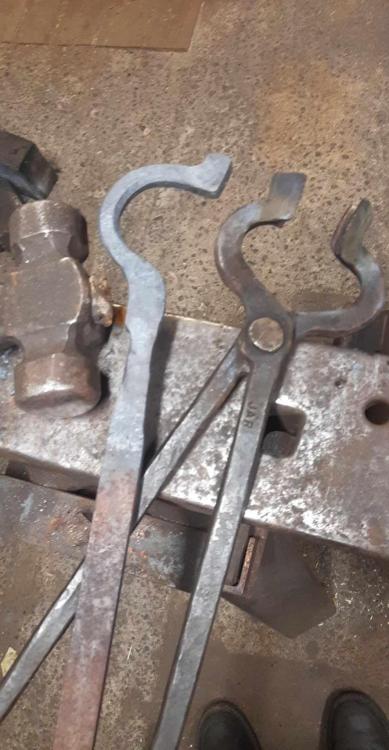
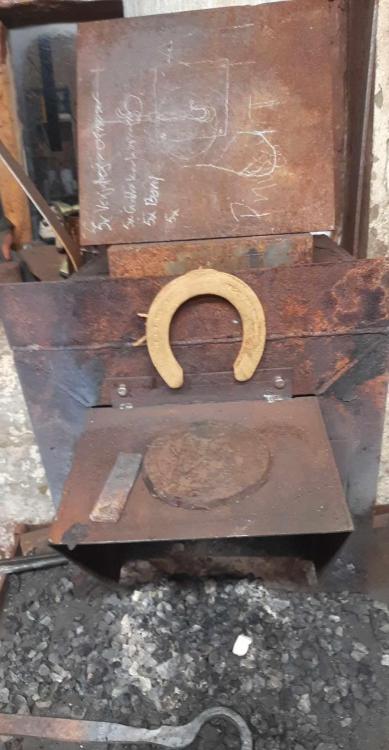
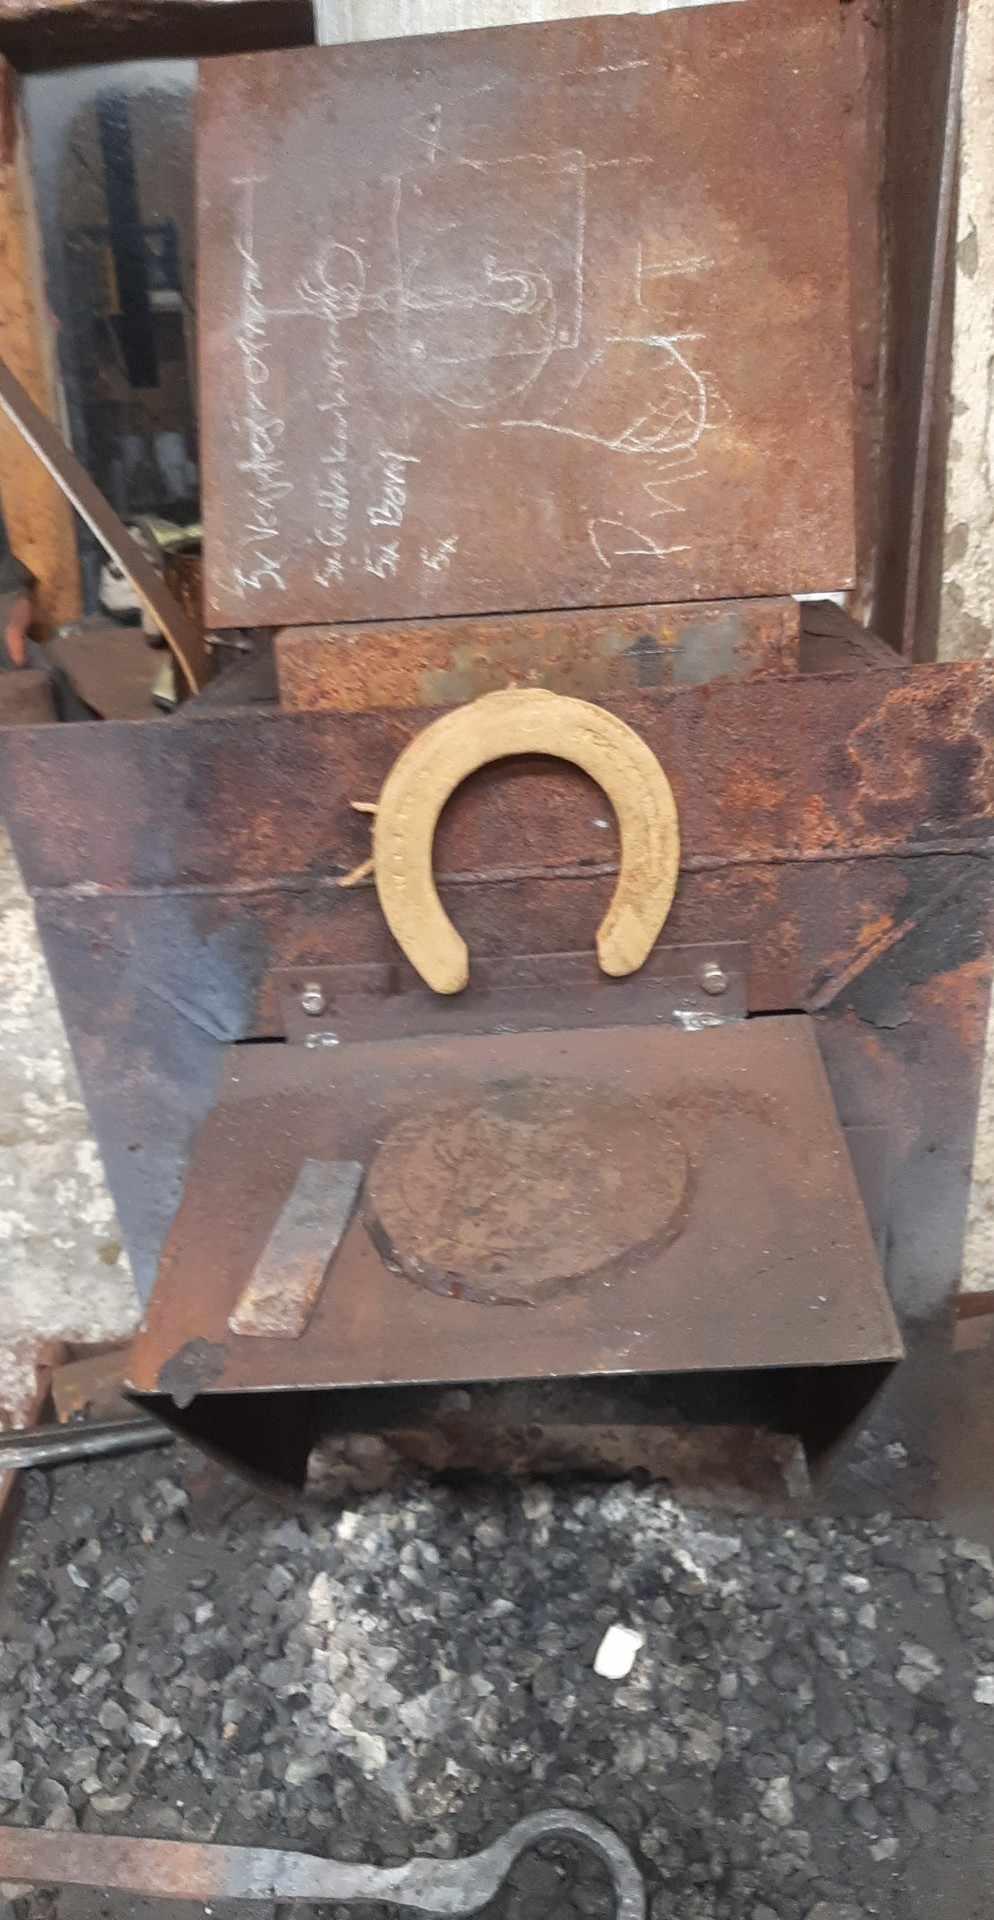
Had a very productive 6 hrs in the smithy today, made a new nail header, hot cut, anvil mounted tool holder (punchline?) and got started on another pair of bolt jaw tongs and I hung up the horseshoe my friend and I found while we were out hunting ptarmigans, that horseshoe and 3 empty shotgun shells was all that we acquired in that trip but we had a good time in nature
-
Thank you! I'll be making several more in a similar style when I get into more sheet metal work I'm actually dishing them hot in that bigger circle that's in my anvil, that thing takes up way less space than a swage block or a piece of wood large enough for the shield bosses. the downside is that I have no definitive guide for the shape other than my eyes but they still come out pretty good, I can get most of the unevenness out by hammering them cold on the anvil. should I ever come across a big ball bearing or some other dome shaped steel I might try making a ball stake and raising them and see how that goes.
-
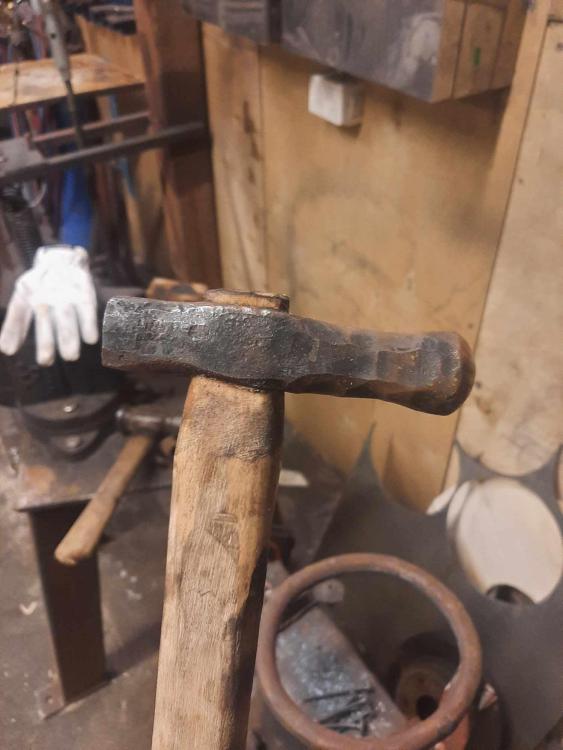
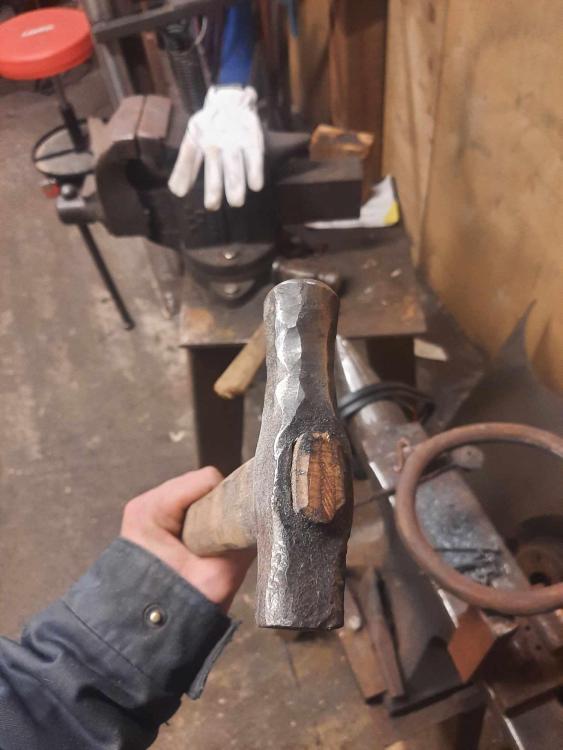
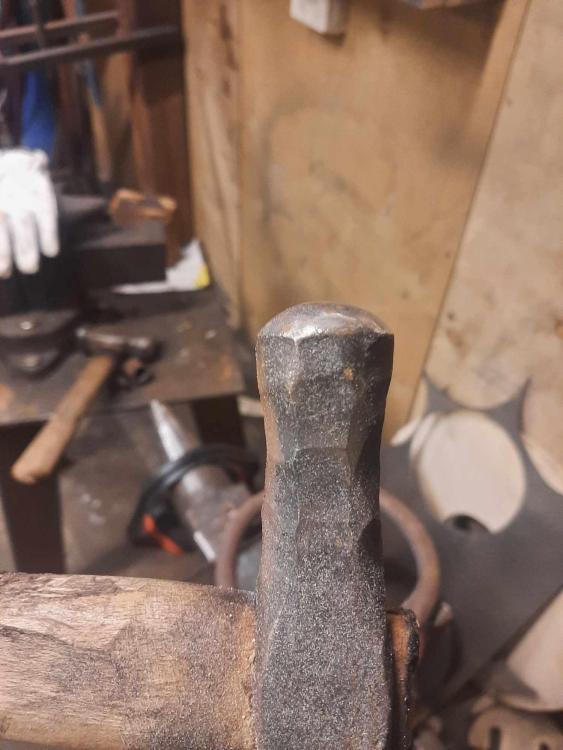
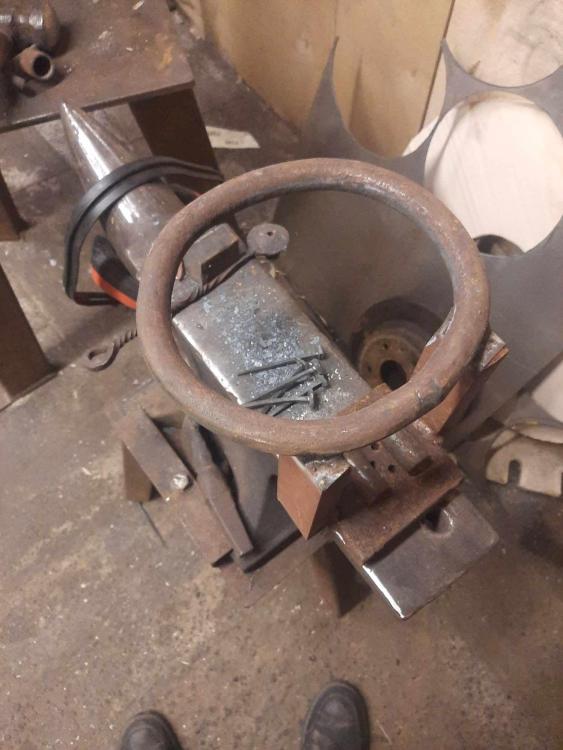
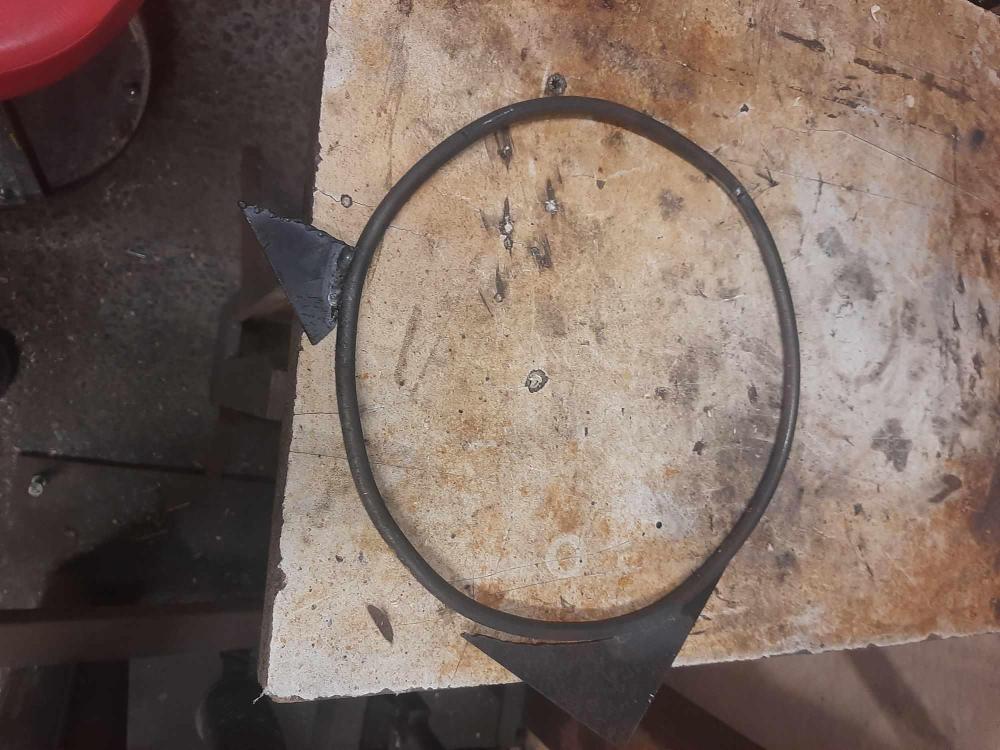
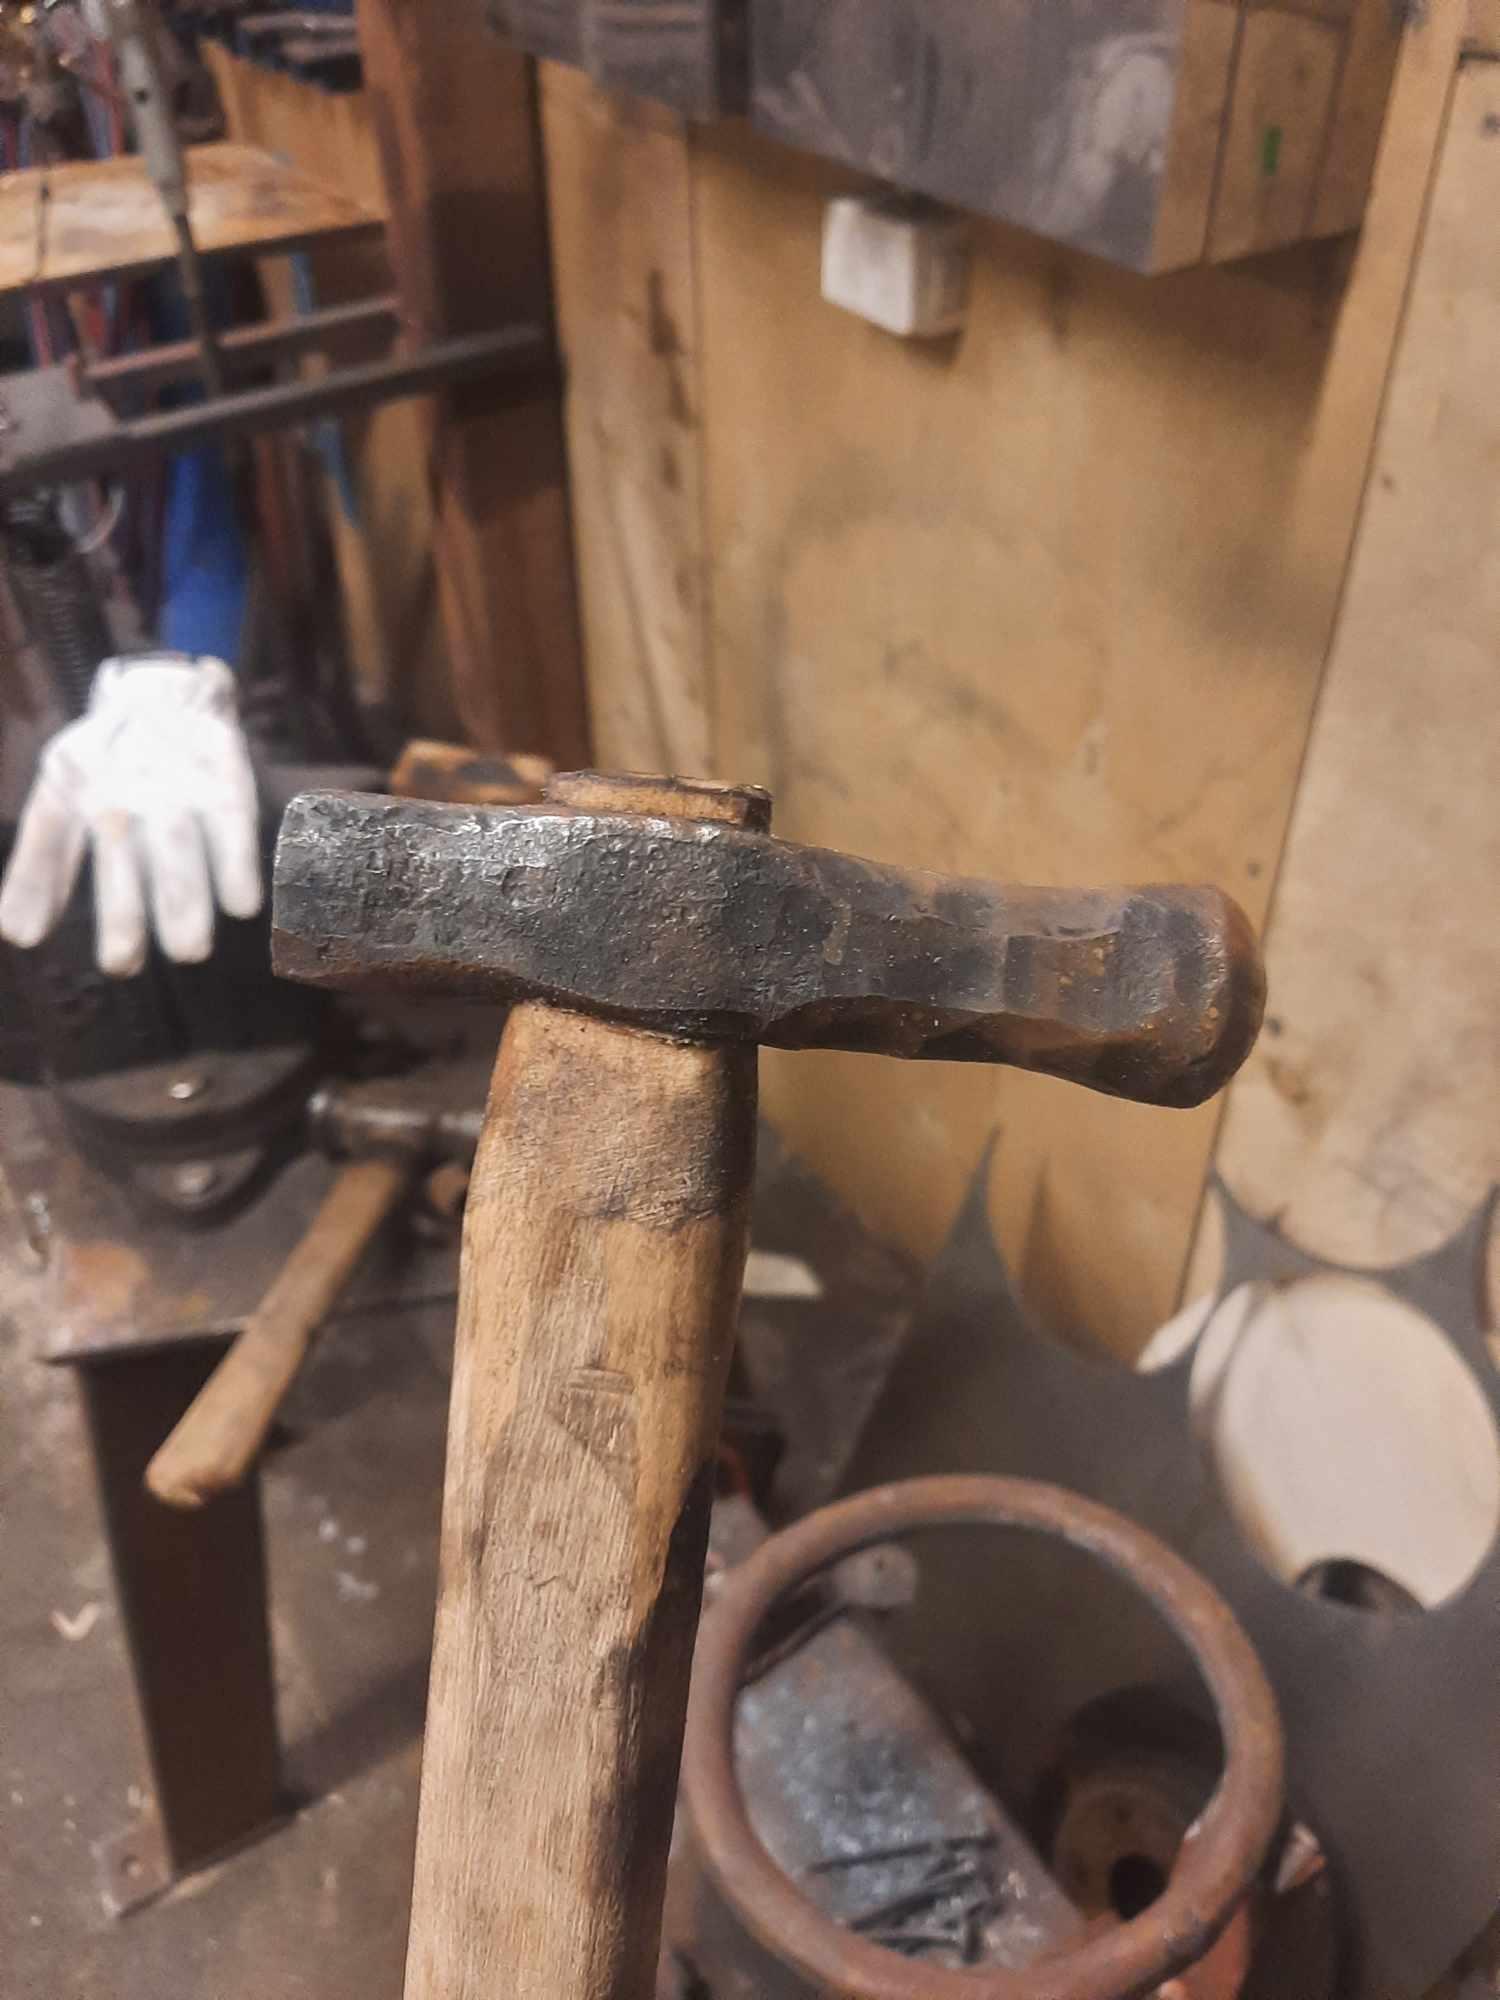
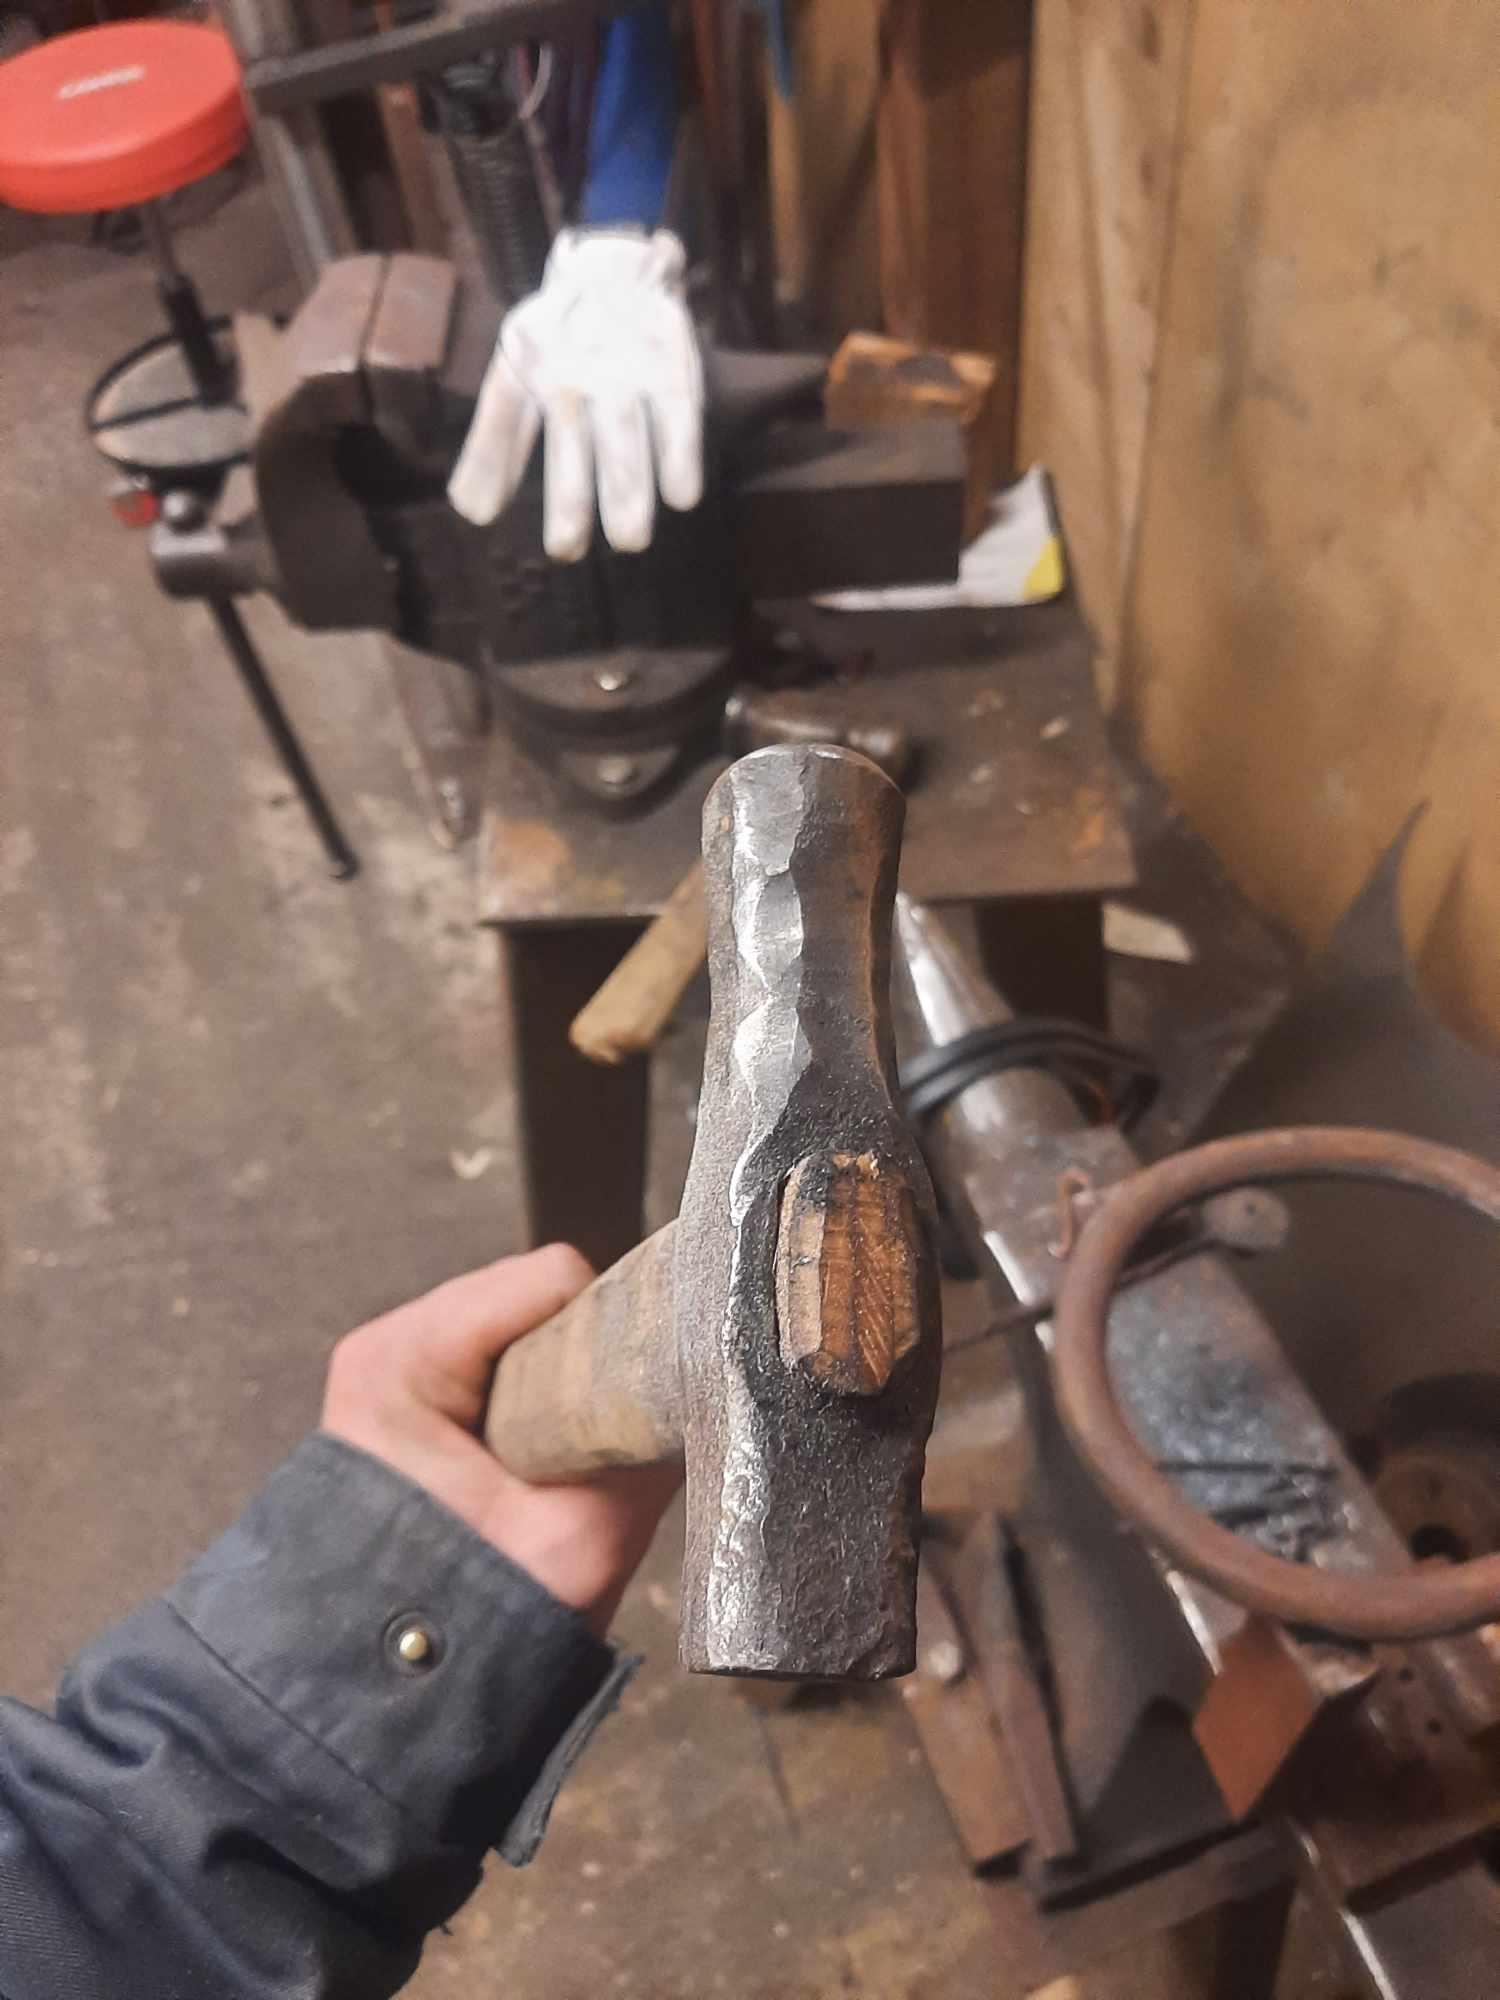
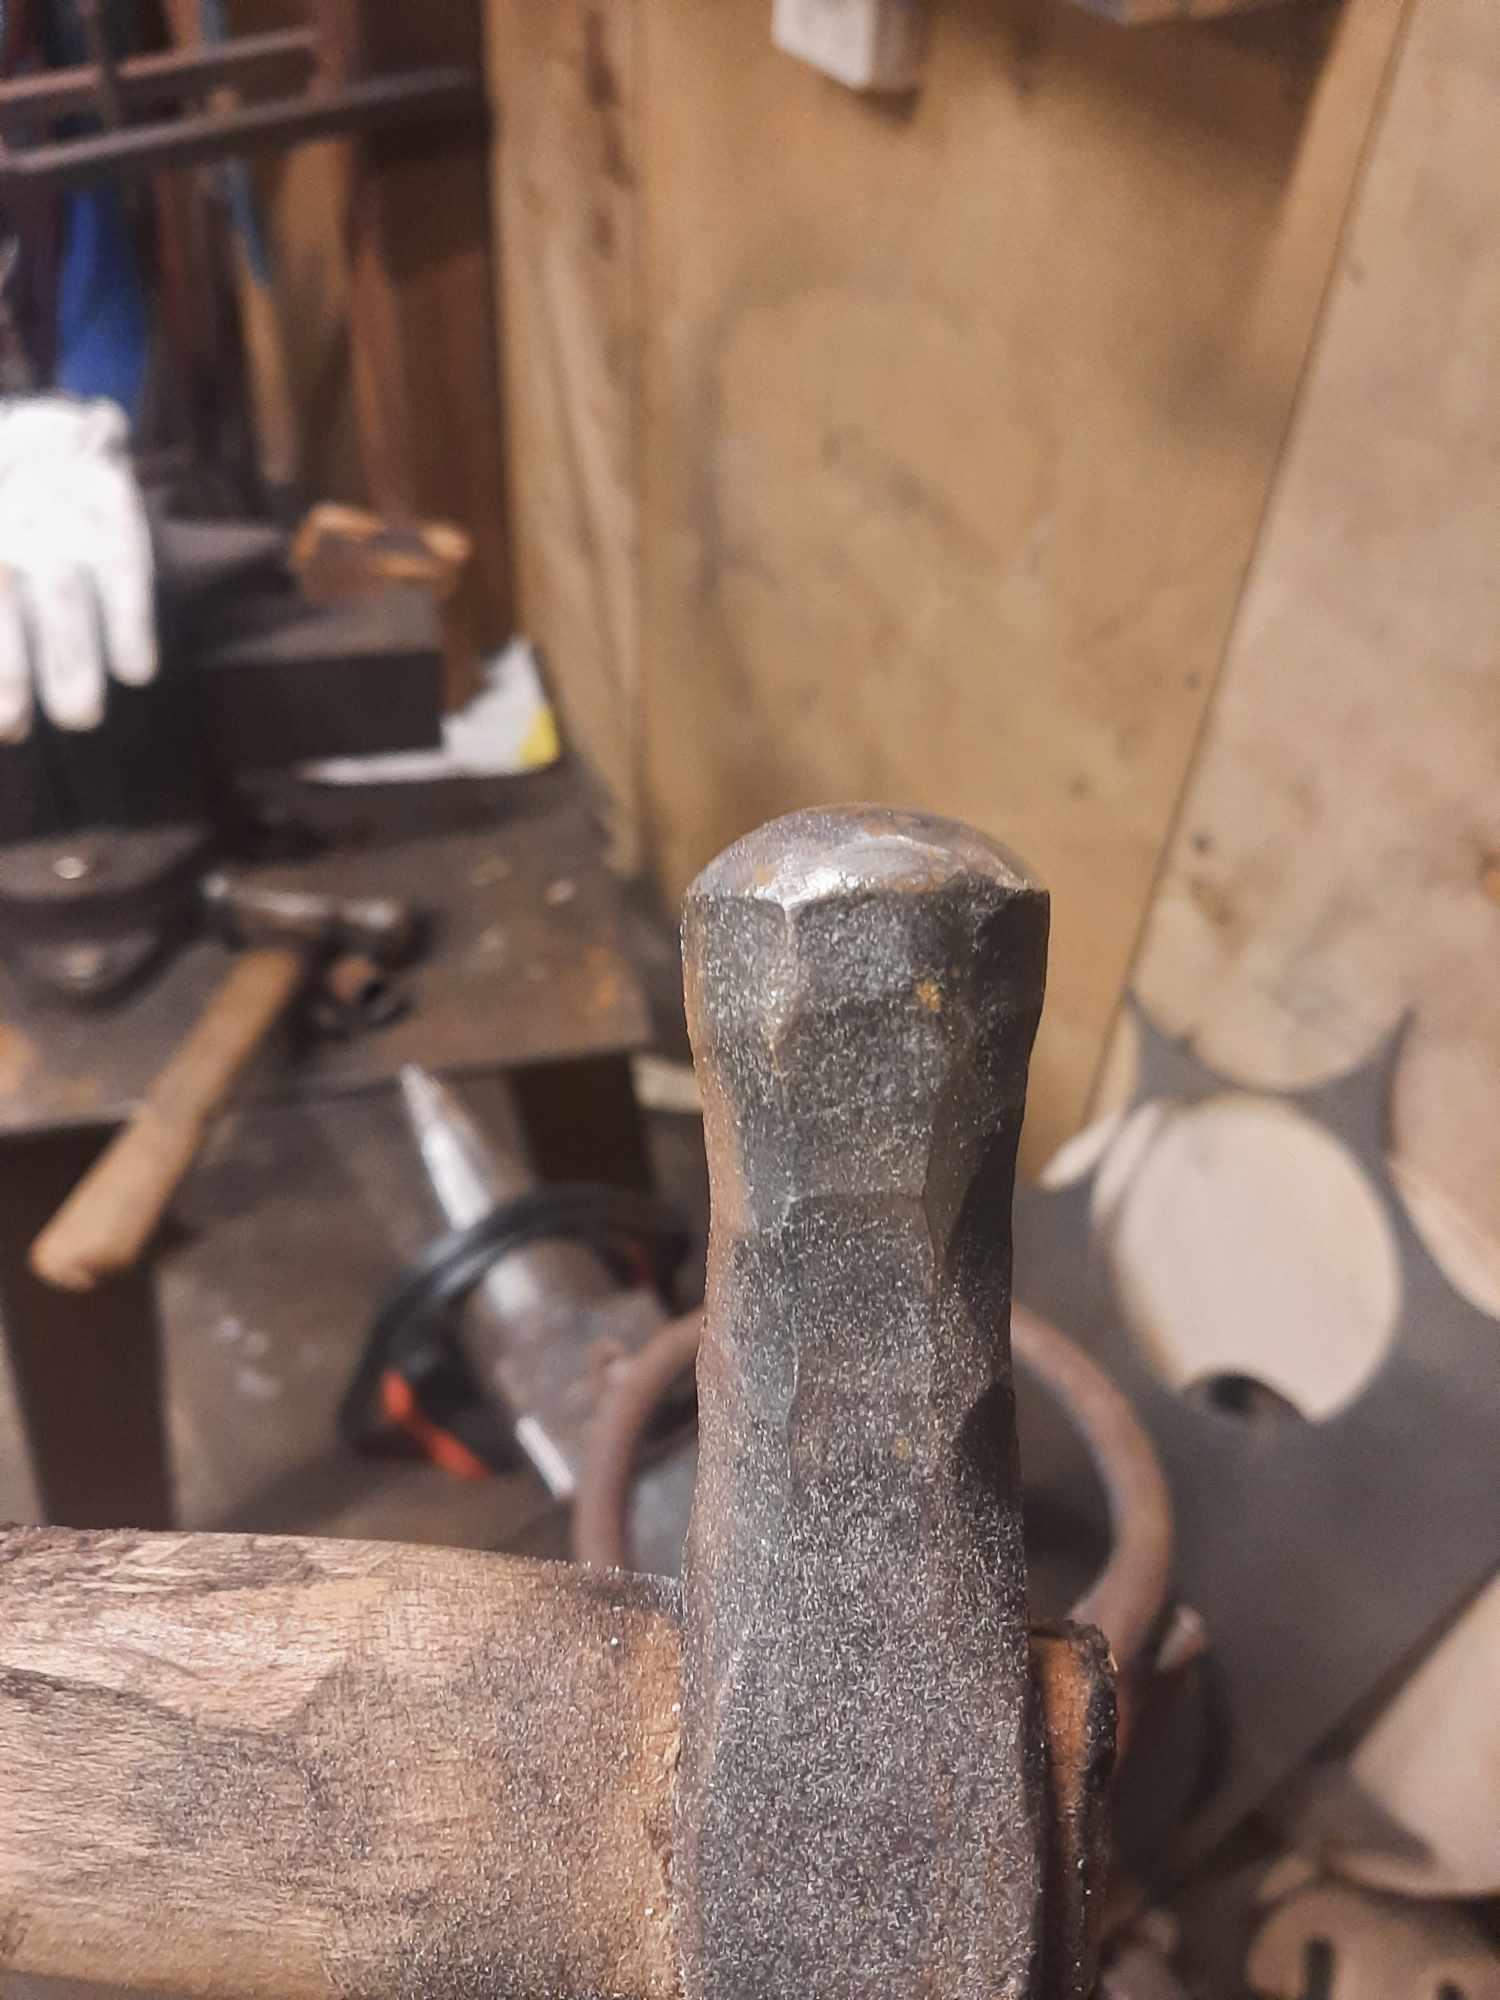
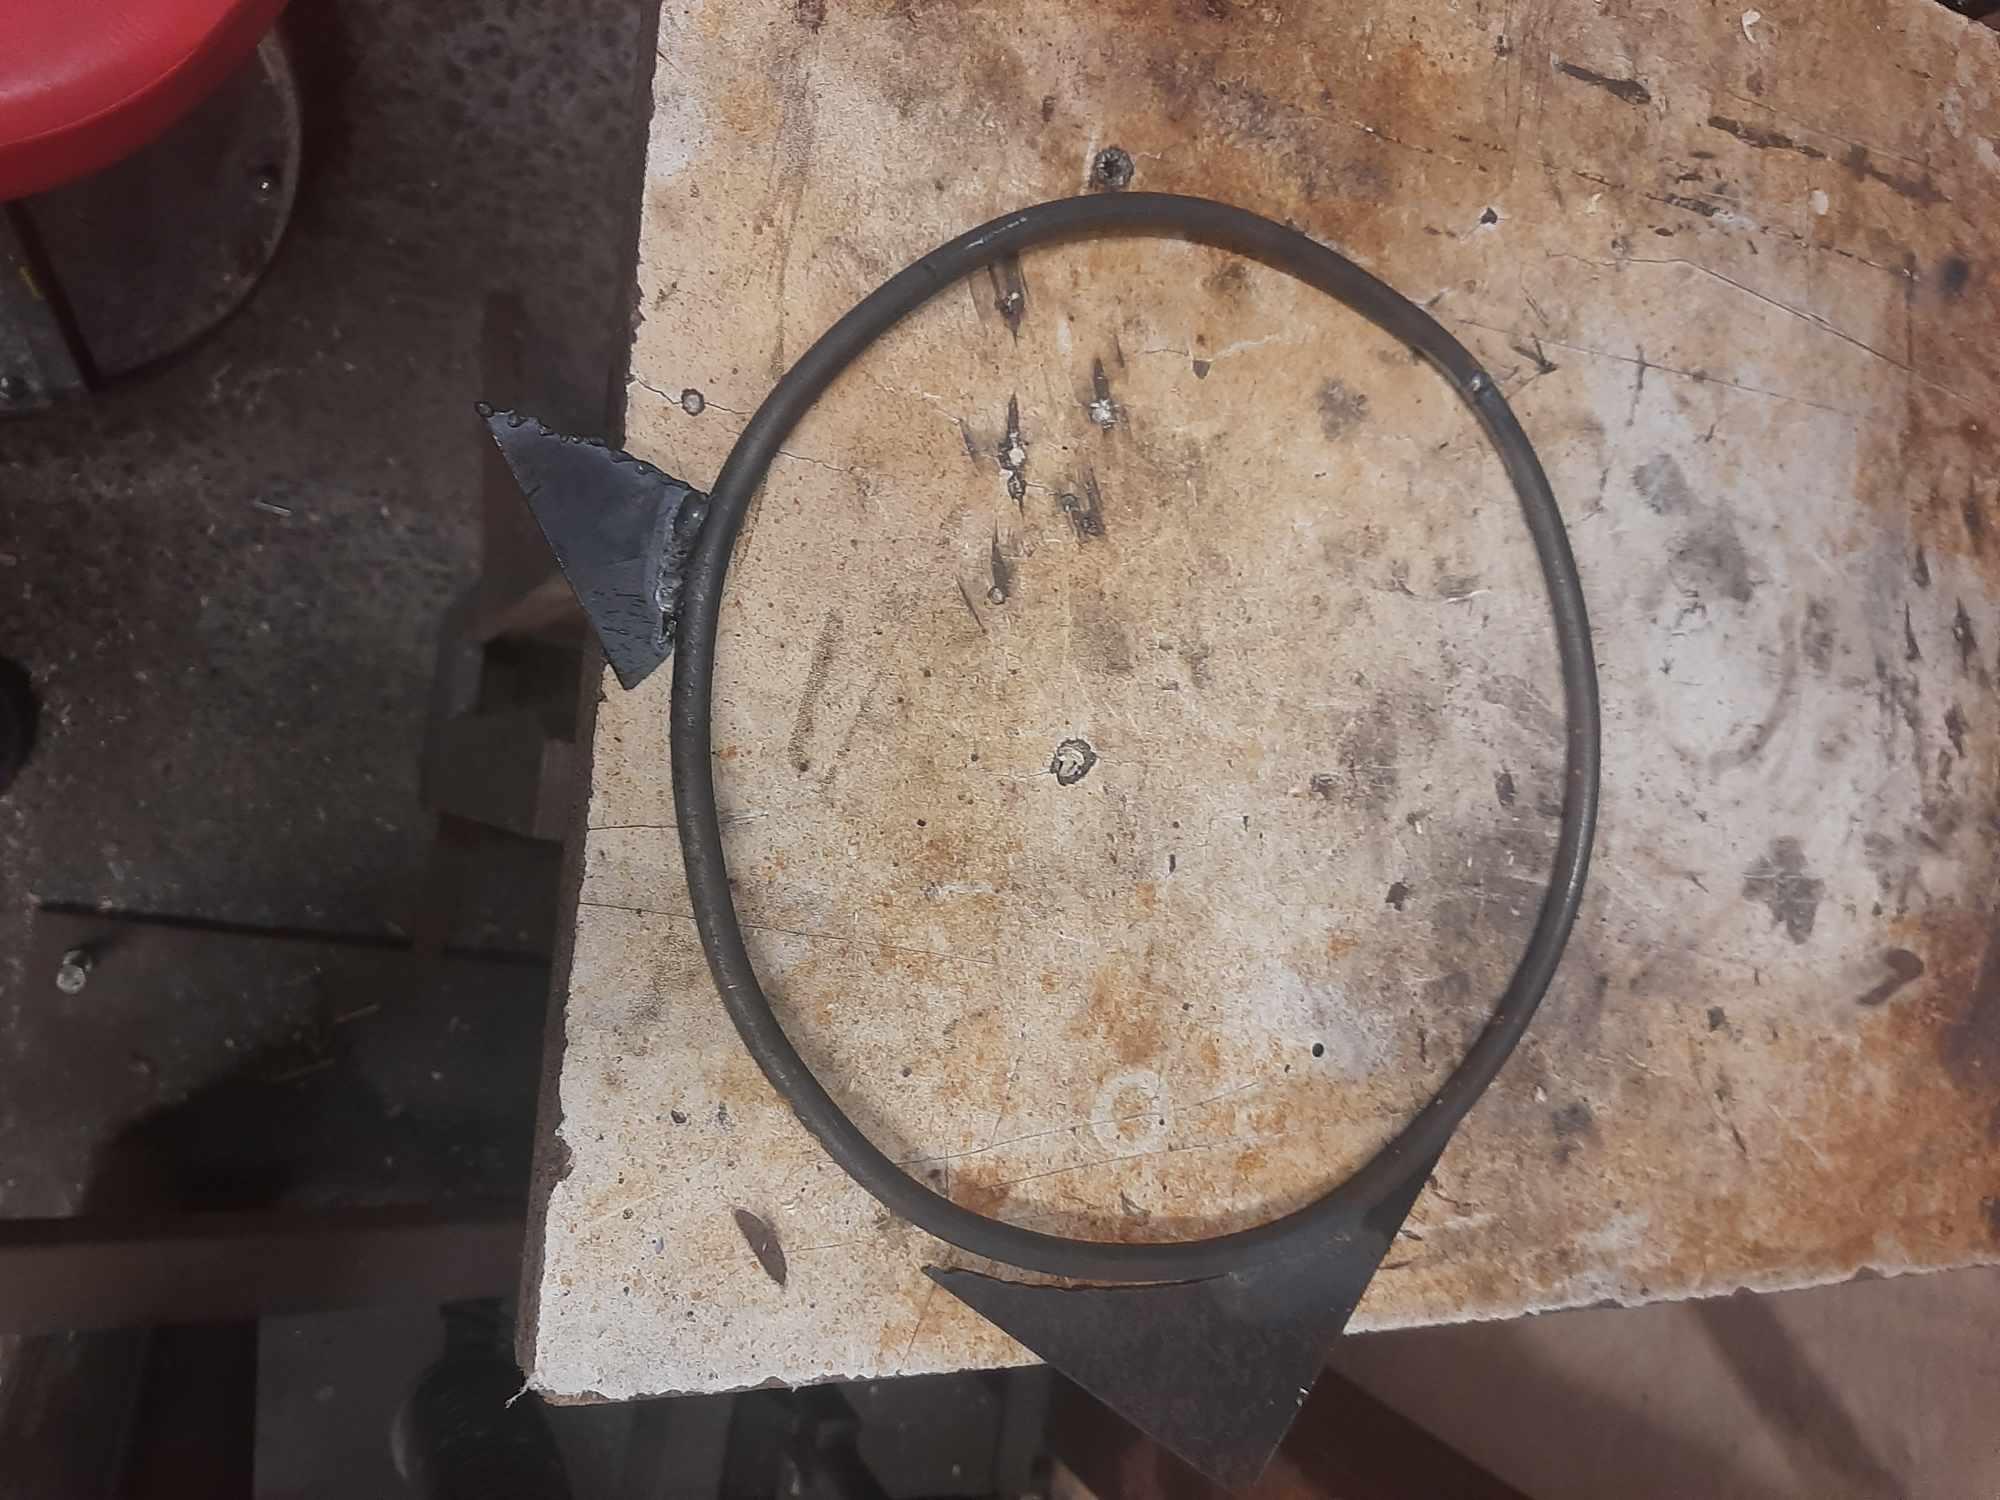
Here's the pictures as promised, the hammer is approx 600g/a bit over a pound and the face is about half way between a ball peen and a rounding hammer in the roundness factor. I used mild steel for this one since it's a test piece, when this one wears out I'll make it again with some proper steel. Here's the dishing ring, I really wished for a cone mandrel when bending that but there's really no need for a perfect circle since all it does is support the edges and has free space underneath, the thing I welded the ring onto was a failed experiement for a jig to chisel the center of a long piece of 16mm(5/8ths) square for a pineapple twist this is my cutting template, 27cm or so in diameter with two tabs for clamping to the plate and the plasma torch rides on the inside of the ring. there was my second wish for a cone mandrel, maybe on the third wish I'll look into getting some heavy plates and searching for a mate with a hefty slip roller in the shed
-
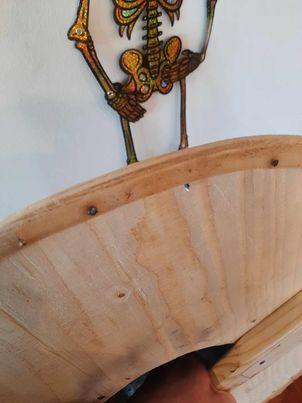
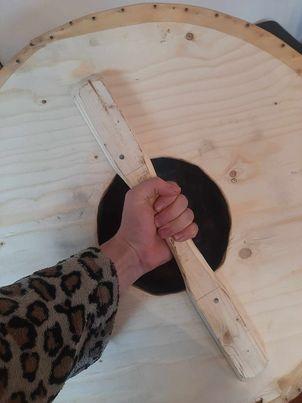
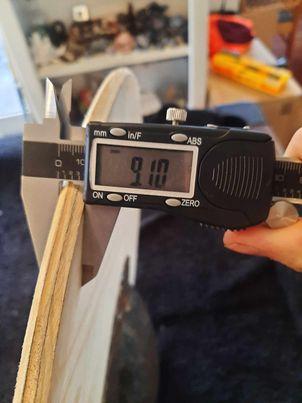
the rawhide, sourced from dog bones, is what we normally use for the rim but if the duct tape experiment doesn't work I have a good collection of sheep leather scraps I might cover the rim with, I also need to go over the nails again now that the rawhide has dried out and blunt or bend some of the points that are sticking out there's a rather beefy wooden grip behind the boss and I cut out the center of the shield to fit the hand inside the boss. I forgot to bring my jigsaw with me when I went to cut the holes so I had to improvise with a 12mm drill bit and a straight die grinder and I think it came out pretty well, I bolted all 8 plates I was working on together and cut the center holes in all of them in one go broke out my hand-loading calipers for the thickness question since they're easier to photograph
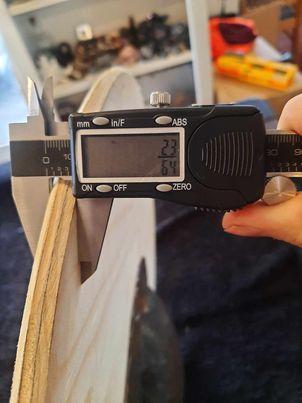
-
Hello everone, earlier this year a guy messaged me about getting a viking age re-enactment group started/revived in close to where I live so of course I jumped in on that and got more active in the smithy than I have been for the past few years. That resulted in these 5 shields that I've been working on for the past few days. I hand forged those bosses, made a jig for cutting the circle consistently, a new dishing hammer and a new jig for dishing (will update with pictures of those when I finally remember taking them) tonight I finished riveting the bosses on and nailing the rawhide rim on 3 of them and on the other two I'll put 3-4 layers of duct tape for research purposes since these are just for the practice swordfights authenticity isn't as important (and I'll take any chance I get to avoid handling wet rawhide, that texture drives me up the wall) 9mm-3/8in plywood, 59.5cm in diameter 2.5mm mild steel plate 250mm/11 inches in diameter before dishing rivets are just 2 inch nails except for the top right one, I used some hand forged nails for that one since it's a boss I made close to 10 years ago and had drilled the holes way too big
.thumb.jpg.ff35135f5466d128589b1b12d313fb9f.jpg)
-
That would be very handy for people having a BBQ get-together to distinguish between vegetarian and carnivorous options if there will be vegetarians at the gathering. I'm at least adding that to my ever-growing to-do list. Most of the things I'd suggest have already been mentioned but you could also make carving forks, ice cream scoops, long handled teaspoons for serving the sides, corn cob holders, and one thing I haven't designed yet but would like to have is some kind of device to lift the grate on my grill for when I need to adjust the coals. If you have access and interest in leatherwork, a big wide leather belt with loops or hooks for standard grilling tools and a can holder might be a good seller too, or you could incorporate that with a leather apron too.
-
I think that a sub section of some sorts that could cover the how to's and that's how's of how various patterns are made in PW steel assuming there are enough posts to warrant a whole subsection, maybe a sticky post in General smithing is good enough
-
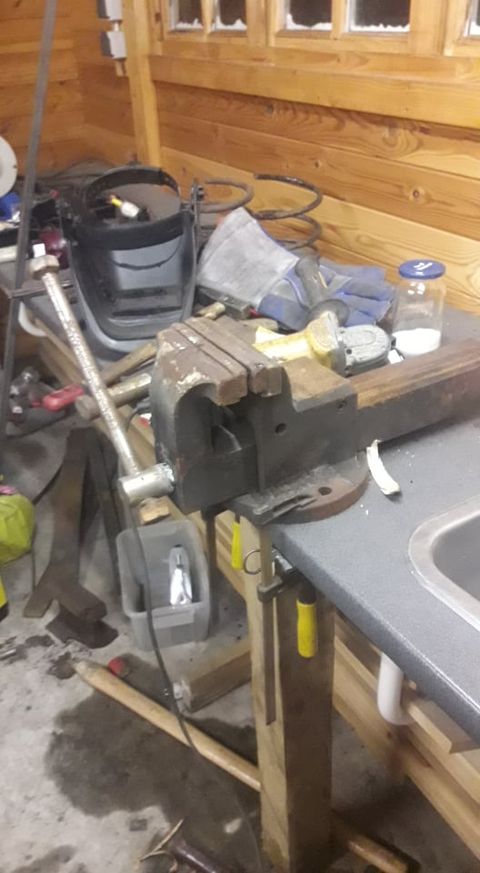
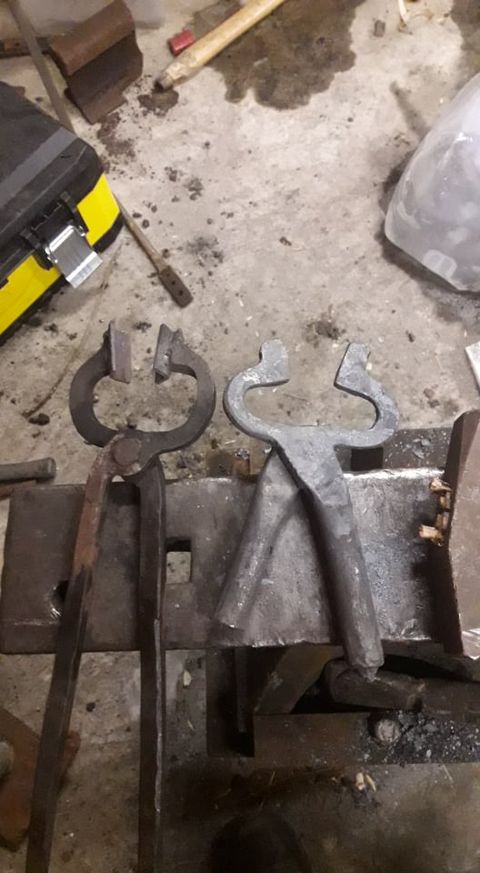
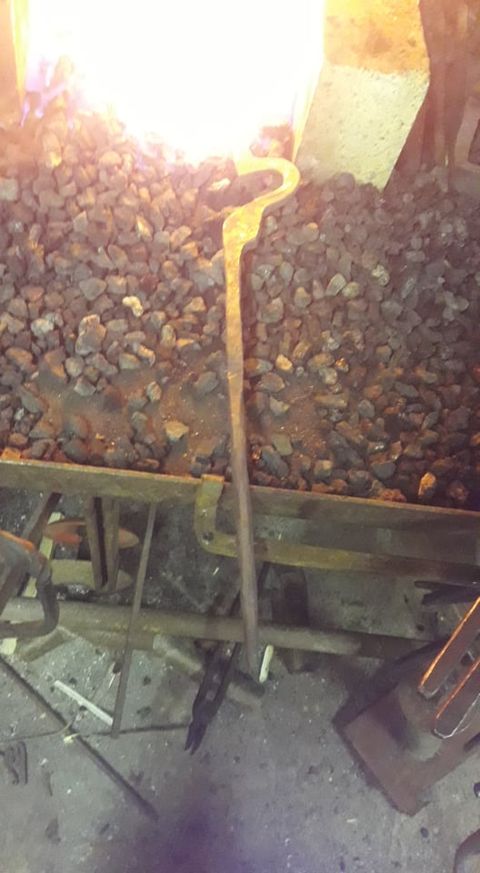
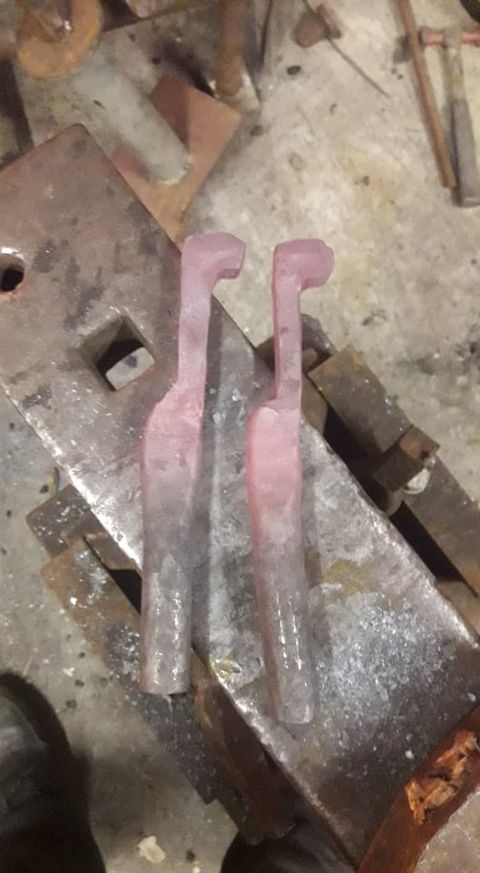
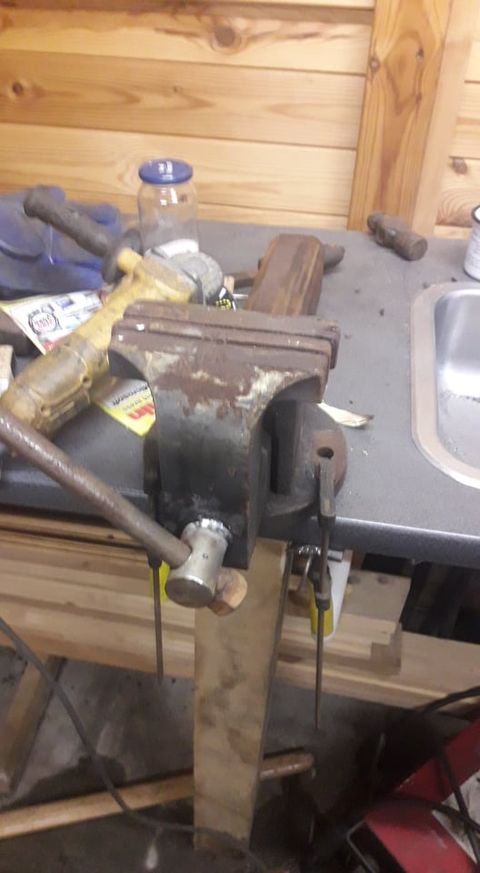
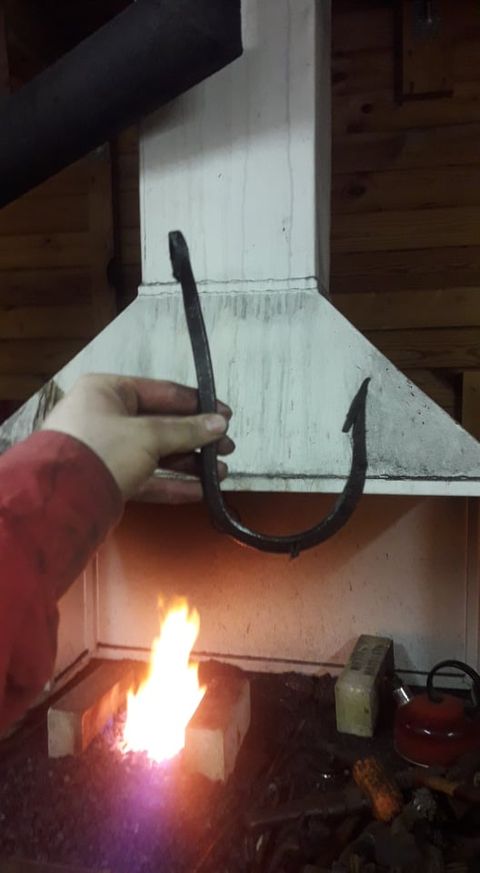
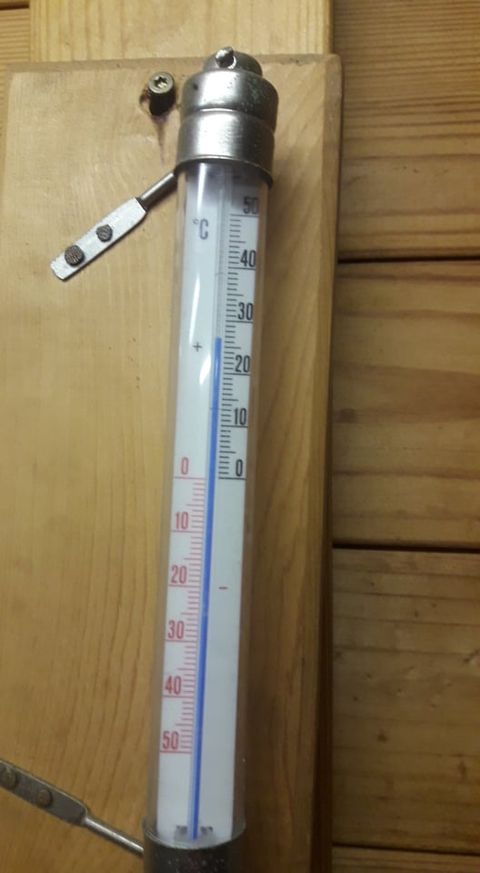
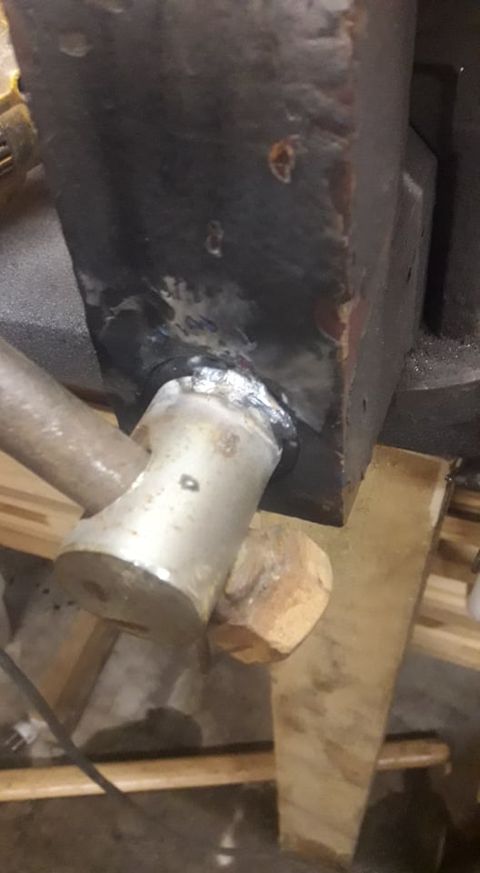
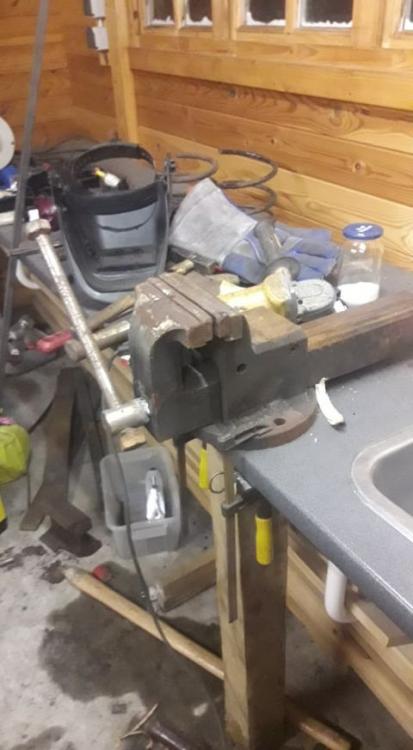
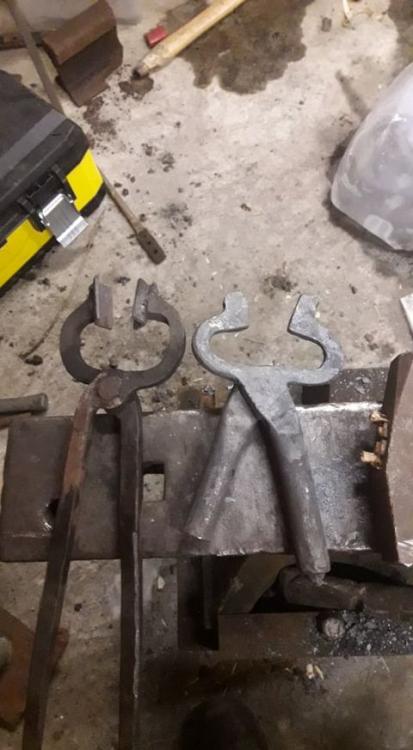
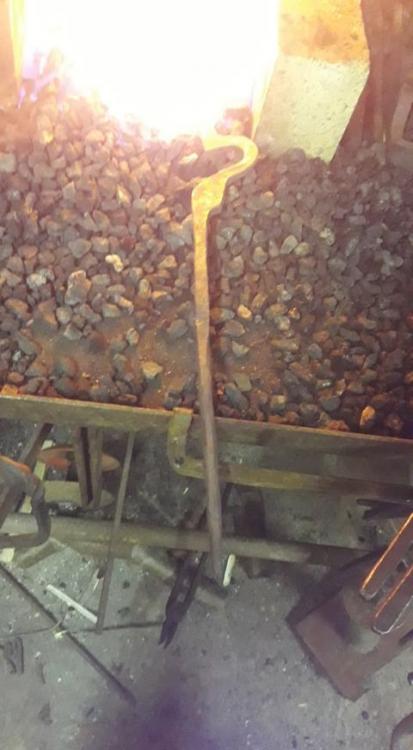
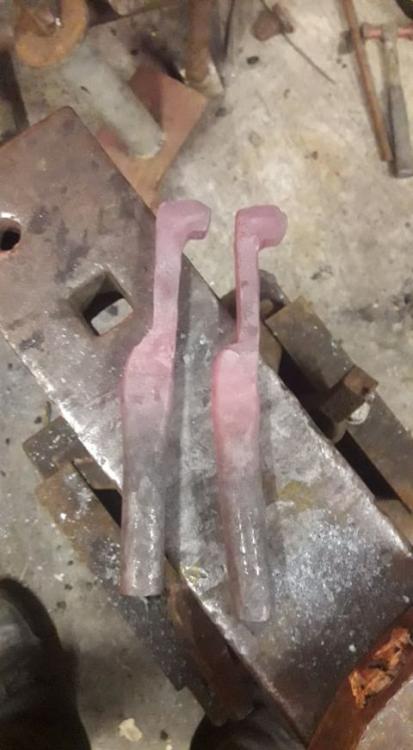
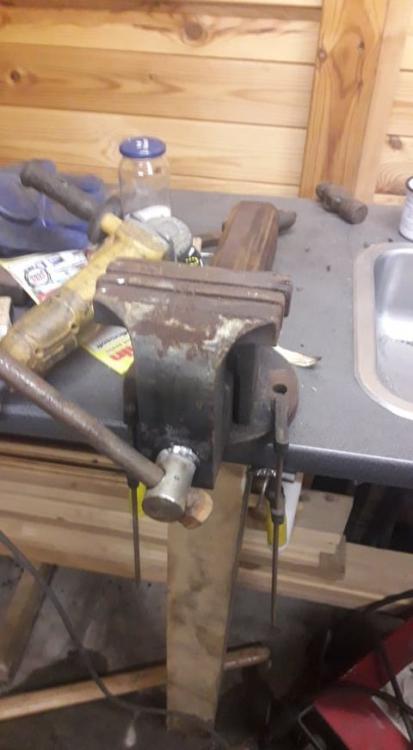
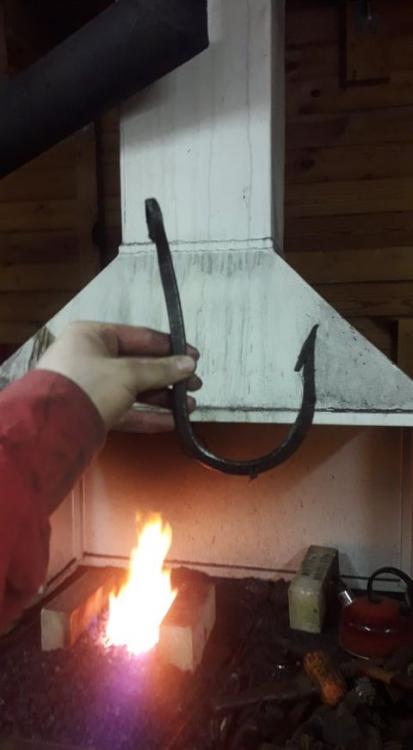
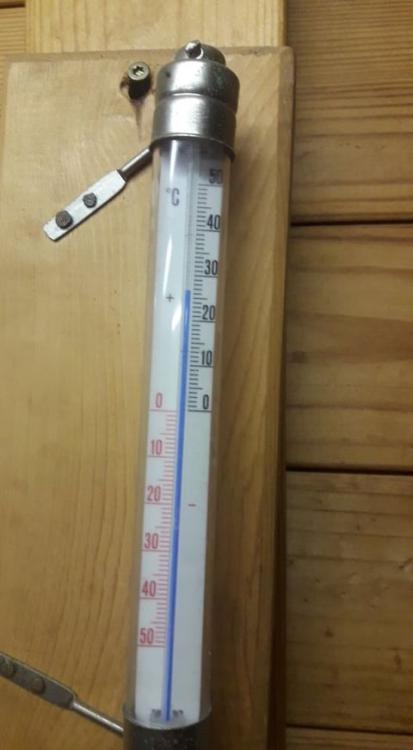
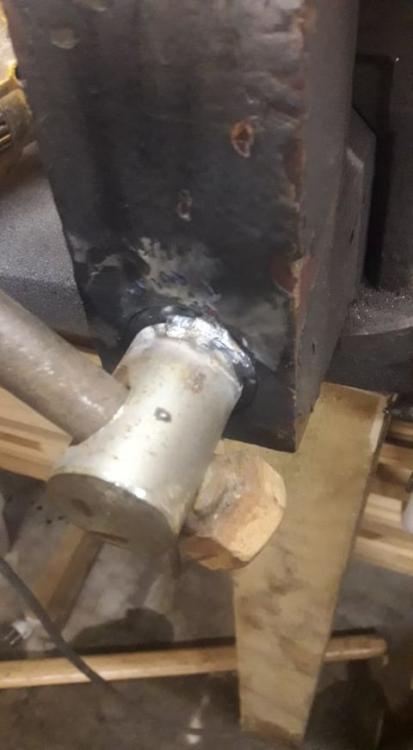
I finished the other half of my dads christmas present today, a gigantic fishing hook with a bottle opener for an eye, the first half is one of those pen fishing rods, I'm tying the hook on it and I got a new pair of bolt jaw tongs started, I realized when I was about to cut up some 16mm square that I don't have any good tongs that hold that size and since I'll be making 6 pairs soon for selling, I figured I could get two birds with one stone by brushing up on my tong making skills and get myself a tong that actually fits. I managed to draw out one rein and then I heard that the eggnog was ready at home so I quickly packed up and called it a day, tomorrow I'll draw out the other one, cut the jaw and maybe draw out the swan neck some more, then punch and rivet them together and start cranking out some tongs Also patched up my vice, going by the looks of it the original handle and handle to screw attachment broke at some point so a new one was machined and lightly tack welded on but those welds broke a few years ago so when I tried to tighten something in the vice, the handle just spun around while the screw did nothing. so I just laid a short bead on the screw and handle assembly and now it works just fine I'm very grateful for the wood stove, it was -11°C (12°F) outside today and with the forge running on full blast and the wood stove burning well too, I got the temperature inside up to 26-ish°C (78°F)
-
I'd say 3 1/2" in from the edge is fine, also makes it look nice and symmetrical but that's a personal preference I don't believe it's necessary to weld the anvil on a plate but I'd say it depends on the smith, I'd have the anvil and the stand separate since I travel every now and then and a striking anvil is something I'd like to take with me. Another possible benefit to having a separate anvil and stand is if you should find yourself no longer needing a striking anvil or find a better one, it's as simple as taking the bolts out, putting the anvil in the corner or somewhere safe and voilá, you already have another stand ready for it's next purpose I don't really see a reason to add a pritchel hole in your striking anvil too if you have one already on your main anvil so maybe wait with drilling a pritchel hole since it would be easier to add it on later than taking it out
-
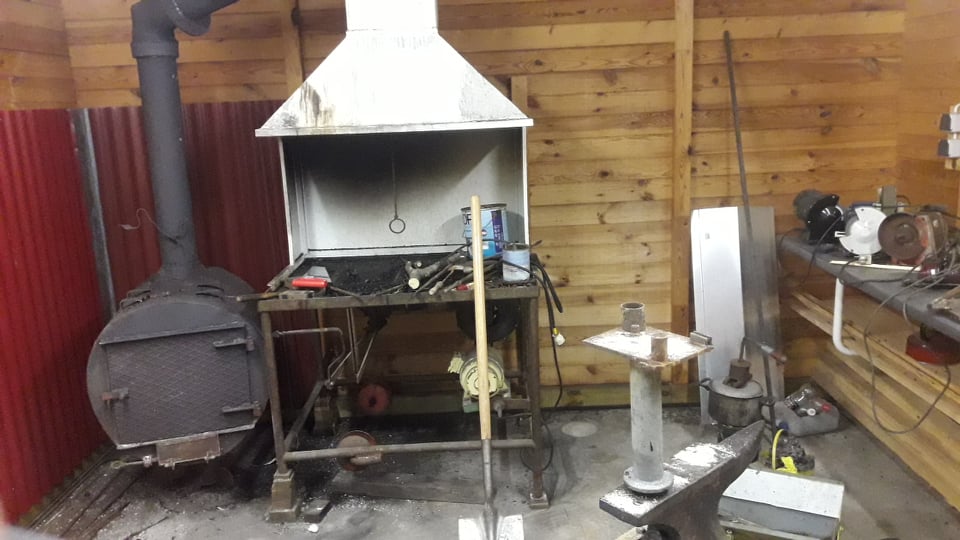
I moved a vast majority of my shop from my friends smithy into the old smithy on the farm I'm now living at, I never expected most of my hand tools, tongs, hammers and such to fit into two (rather large and full to the brim) tool boxes. I got the tools inside and they're now kind of scattered around on the bench and the floor but tomorrow I'll go out and get some organizing done. but I did get a bunch of firewood cut down into proper lenghts and test fired the wood stove that's in there and boy howdy I didn't expect the smithy to go from near freezing(32°F) up to a whopping 30°C (86°F) with the wood stove only 1/3 full. It was kind of sad to look back at my mates smithy with only a fraction of the tongs hanging on the side of the forge, practically no hammers left to speak of and the top tool/chisel/punch table near empty and a whole anvil poorer, but I'm sure he's glad to get rid of the pile of bench grinders in the corner
-
So I have a couple of different bench grinders and I'm hoping to get some more and I had an idea on how to make all of them useable while saving on workbench space I figured someone here has probably had this idea before and either has some tips on how to make it better or comments on why it doesn't work The idea is to have a thick steel top on the working bench, something around 25mm plate (hey, I'd rather have too much rather than too little) and drill a hole in it and then file or broach it square mount all my grinders and other similar tools, maybe even vices too, on another plate just big enough for the footprint, countersinking the bolts so that the mounting plate is flush on the bottom. then weld a U shaped piece of flat bar that fits in the hole on the table to the bottom of those plates and use a wedge to secure them to the table, then changing out grinders or vices should be as simple as tapping out the wedge, lifting it out, dropping the new one in and whacking the wedge back in place now that I have typed this out, would the wedge even be necessary if I would just weld a square bar matching the hole on the table?
-
I've thought about that but I don't want to sacrifice mobility since this is the anvil I take apart and throw in the trunk if I'm going smithing anywhere else. I know I could just take the sand out and put it back in later but it's really not that much weight I need and the bags should be a whole lot quicker and easier to remove, I'm pretty sure I'll go with leather for the bags so I don't set them on fire
-
I'll agree with you on that, it is heavy enough to be stable when forging smaller stuff but it does move a little bit when striking. So I'm considering welding another hook to the bottom of the plate and hanging a sandbag on it to weigh it down a bit more


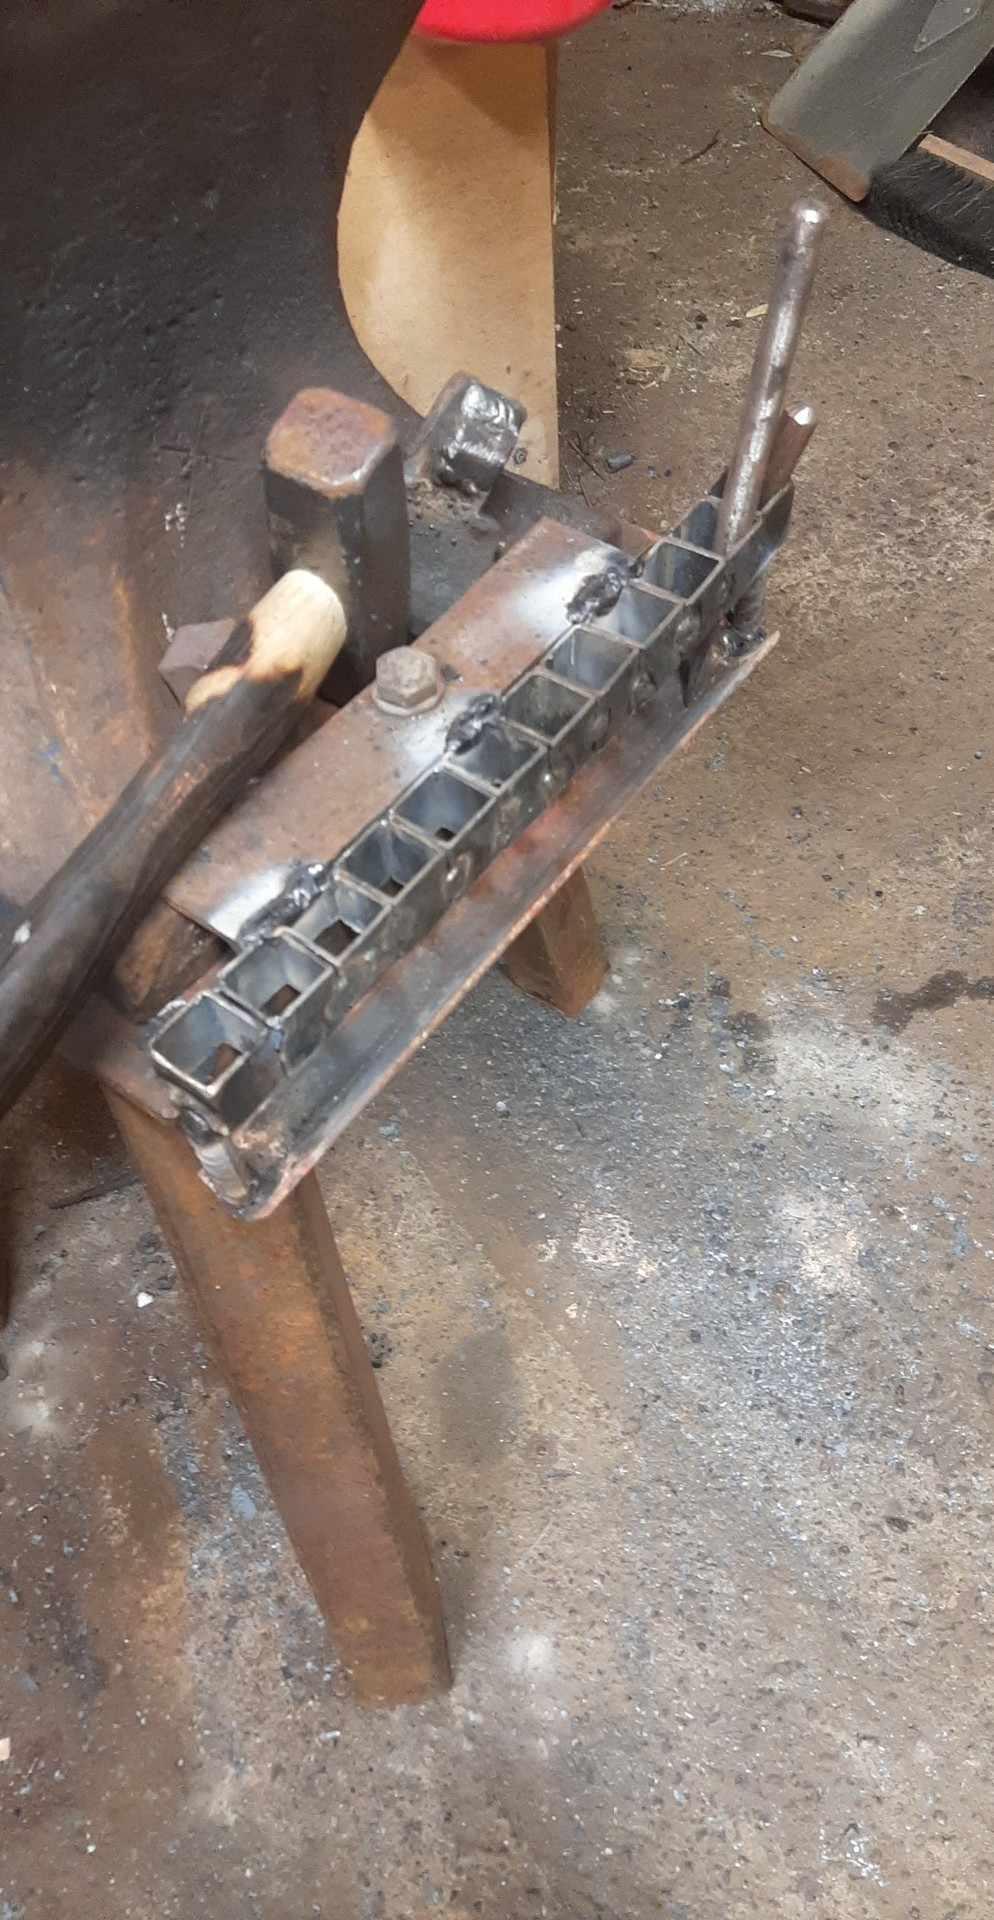
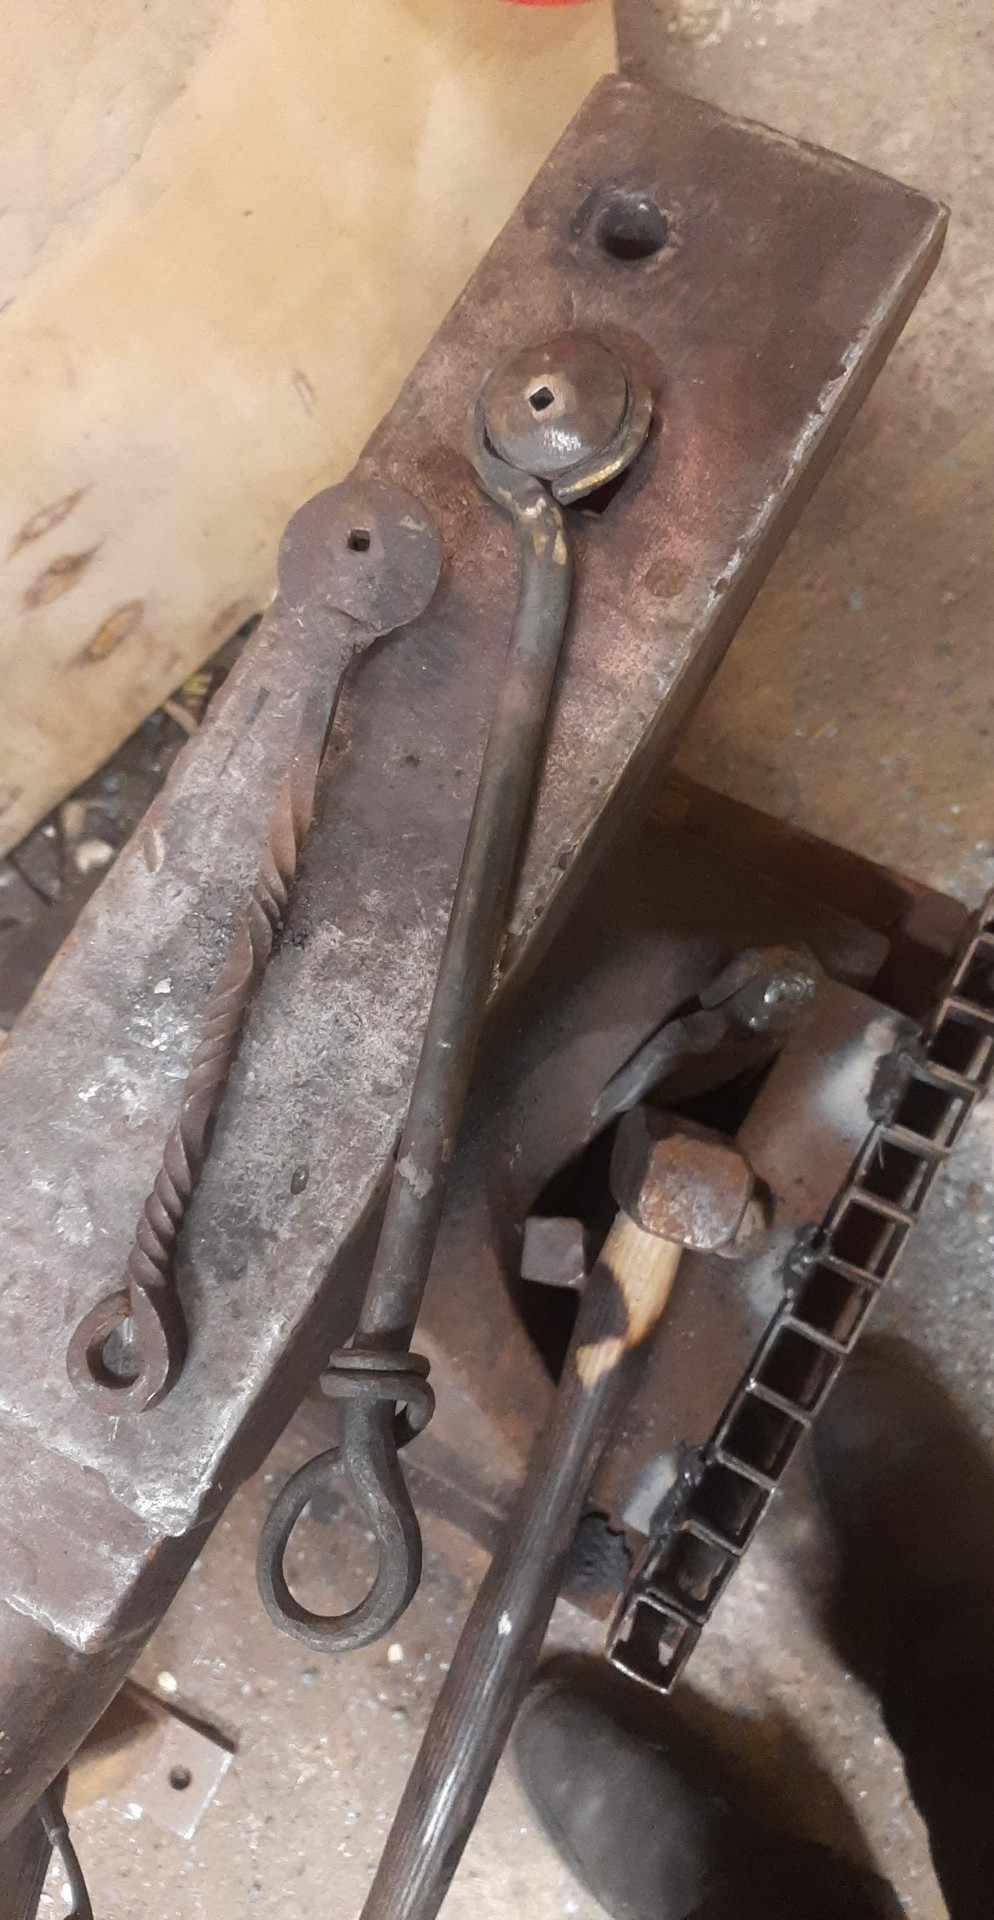
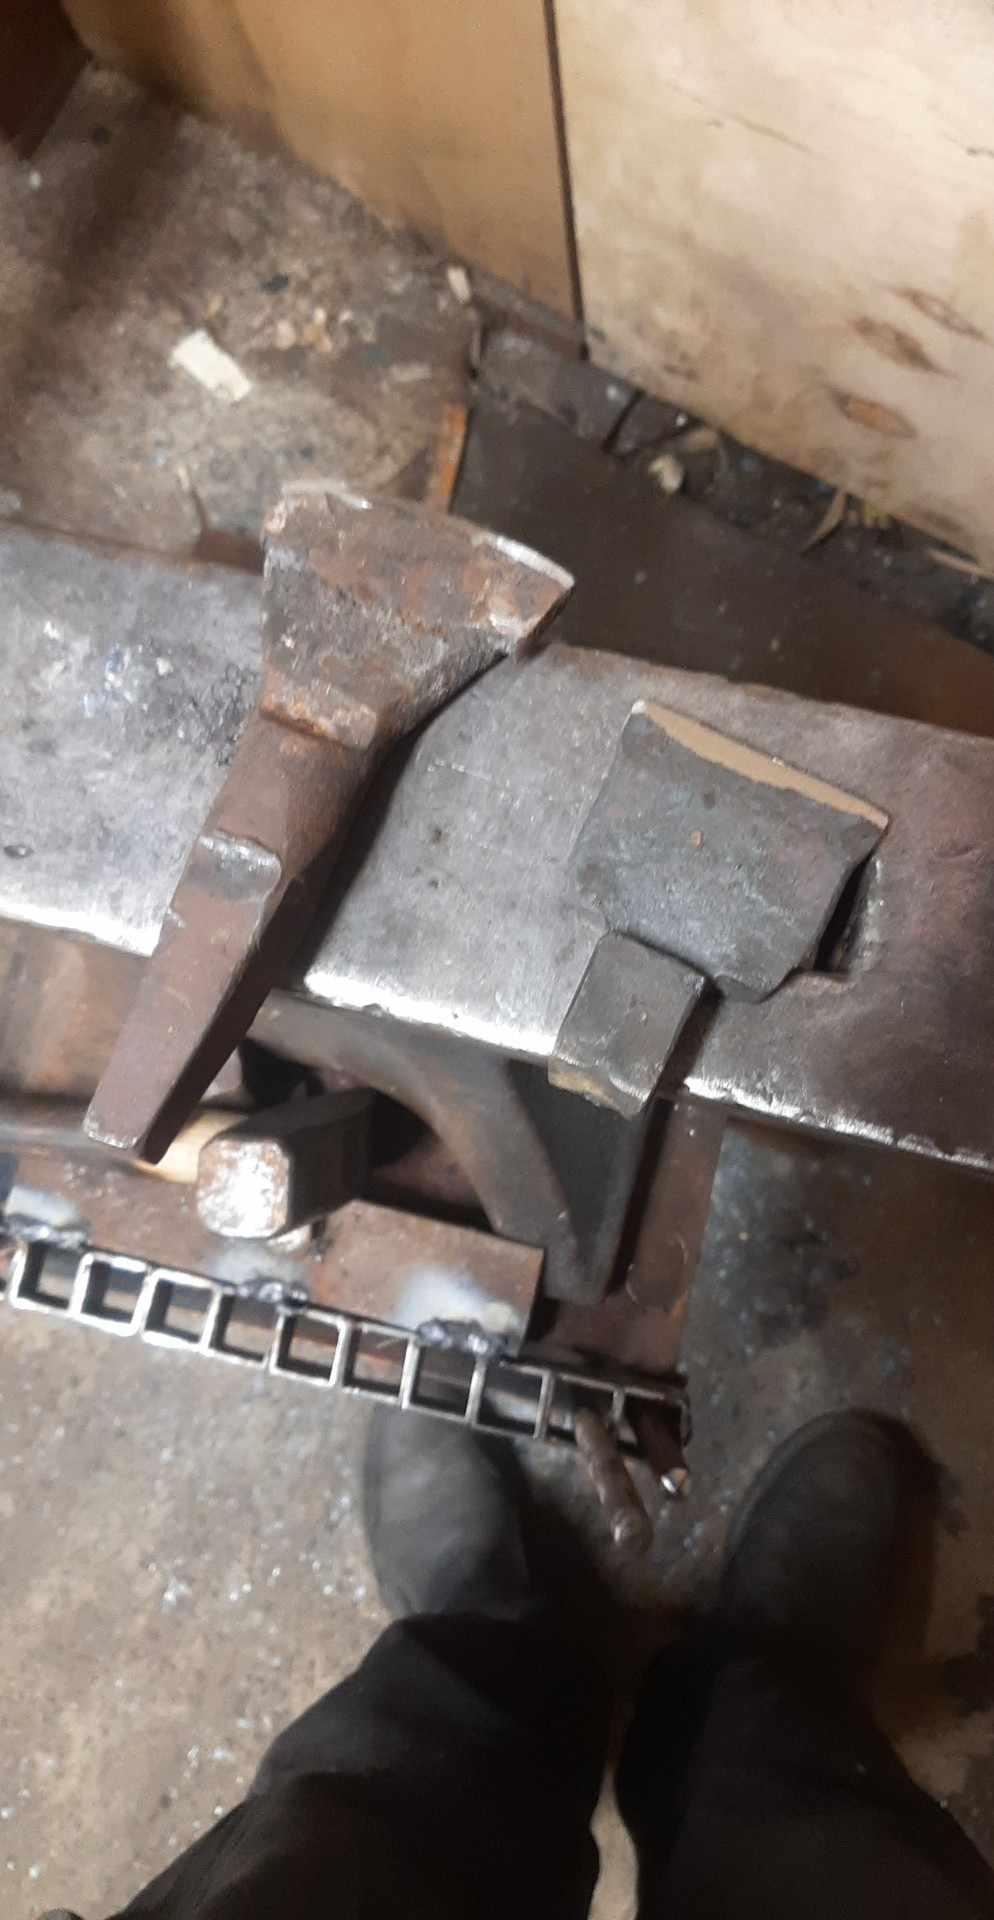
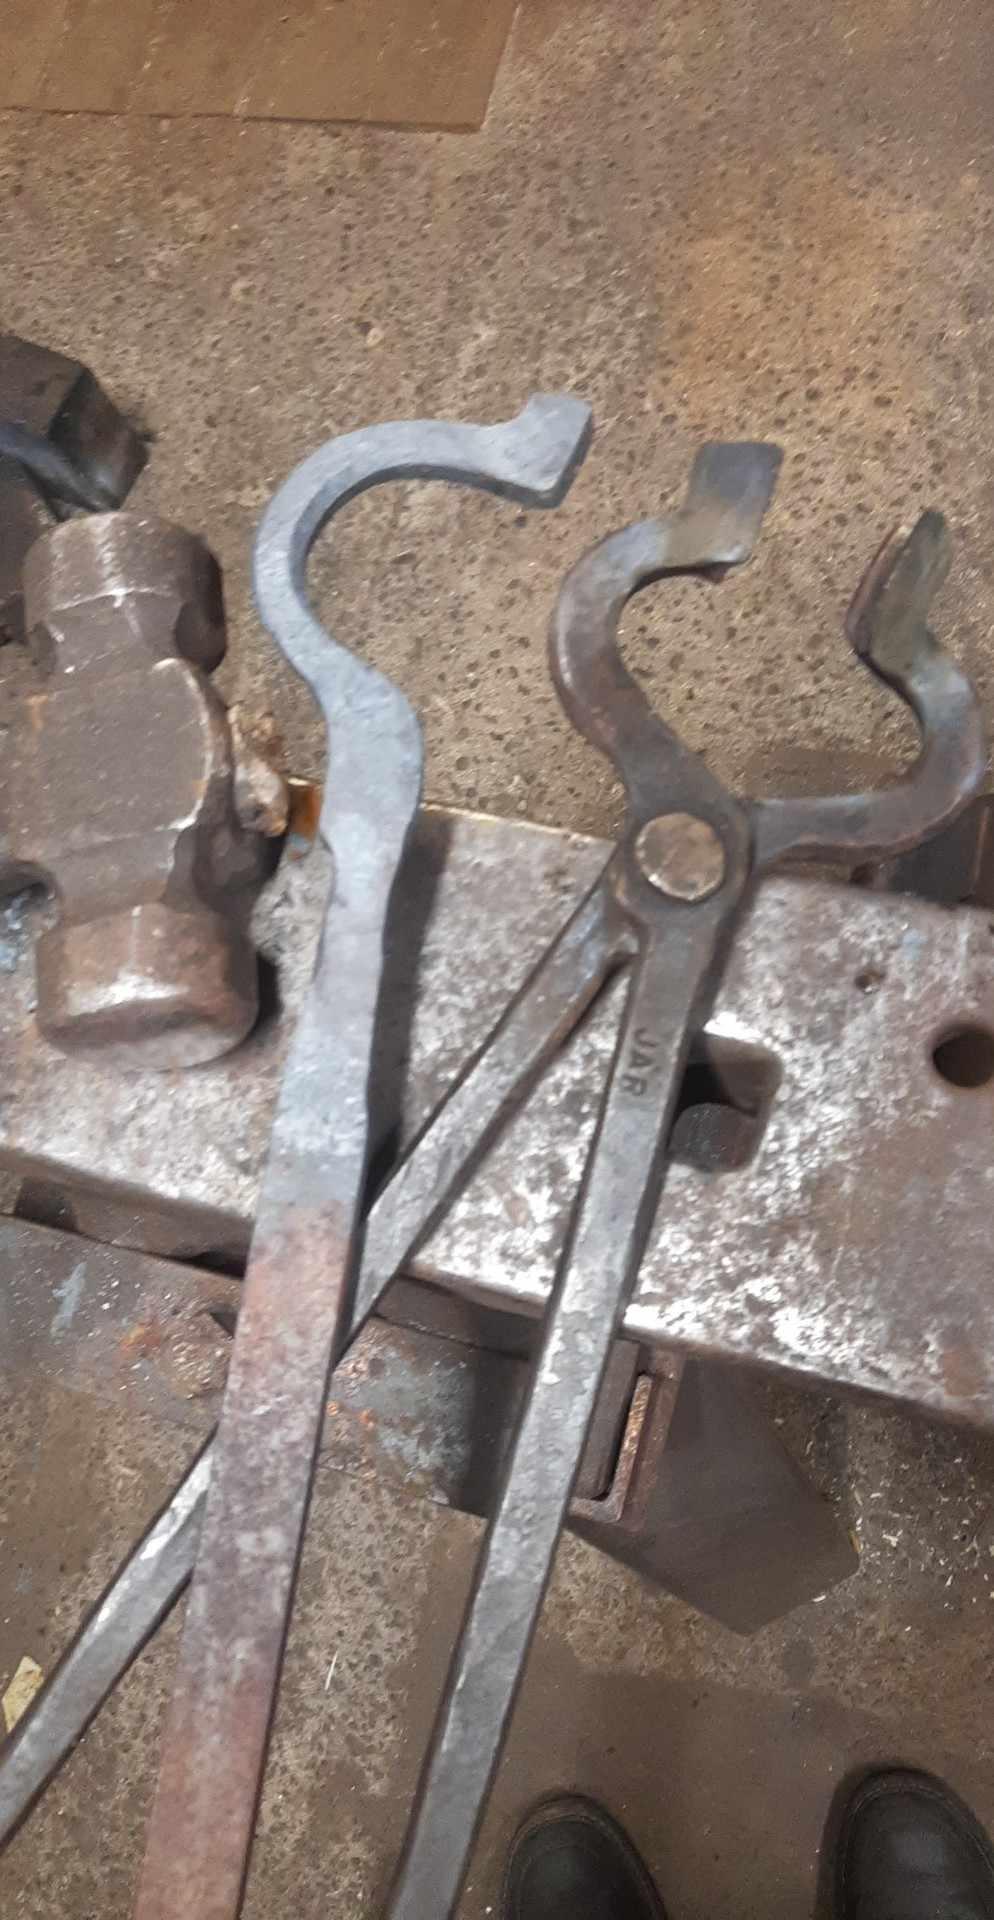
.jpg.51a18552206ef0040502bfd0b03ee384.jpg)