blacksmith-450
-
Posts
378 -
Joined
-
Last visited
Content Type
Profiles
Forums
Articles
Gallery
Downloads
Events
Everything posted by blacksmith-450
-
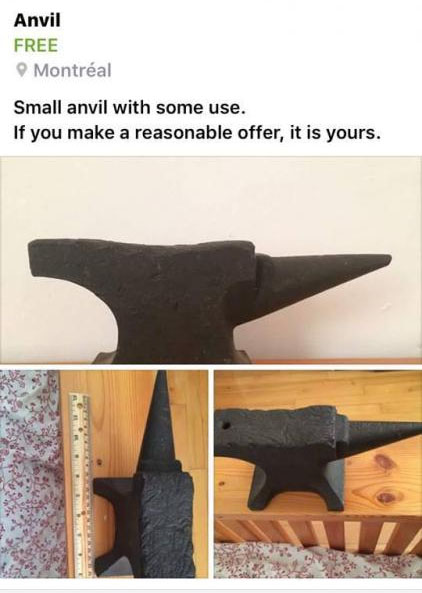
How do you like this's one ? «with some use»... looks more like a anvil/swage combo ! LOL !!!
-

Anyone Can Identify This Anvil?
blacksmith-450 replied to Dom's topic in Anvils, Swage Blocks, and Mandrels
Merci beaucoup ! -
Anyone Can Identify This Anvil?
blacksmith-450 replied to Dom's topic in Anvils, Swage Blocks, and Mandrels
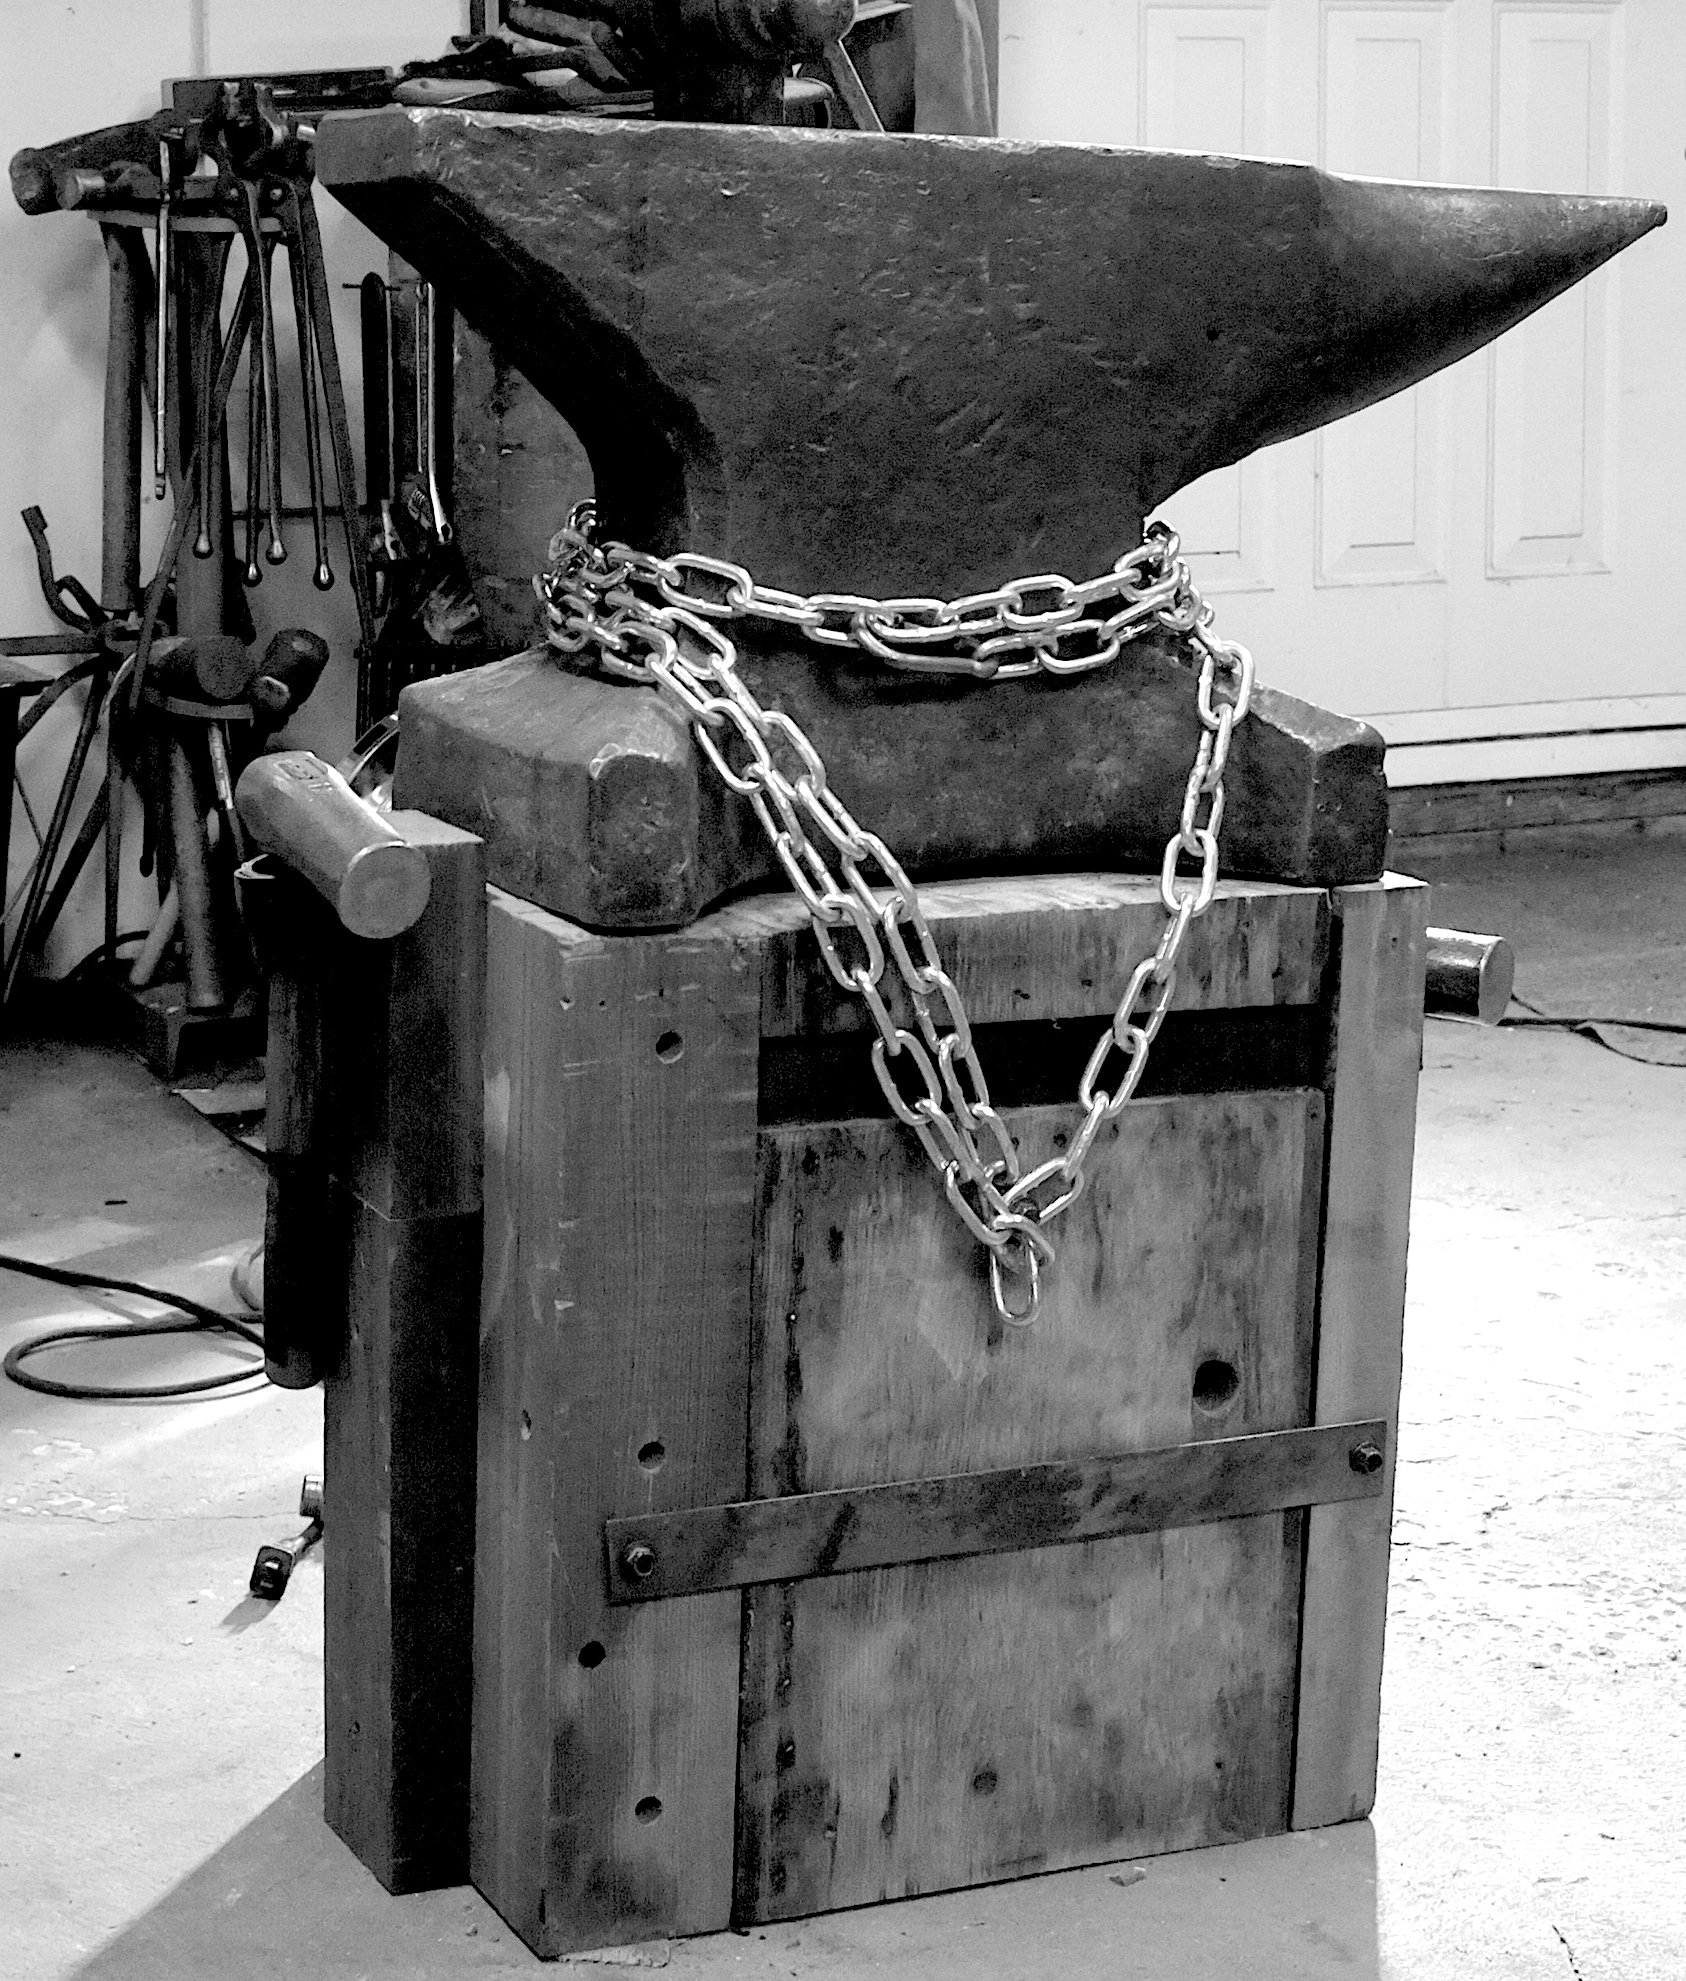
Little update of this thread, the anvil is cleaned and on his stand.
-
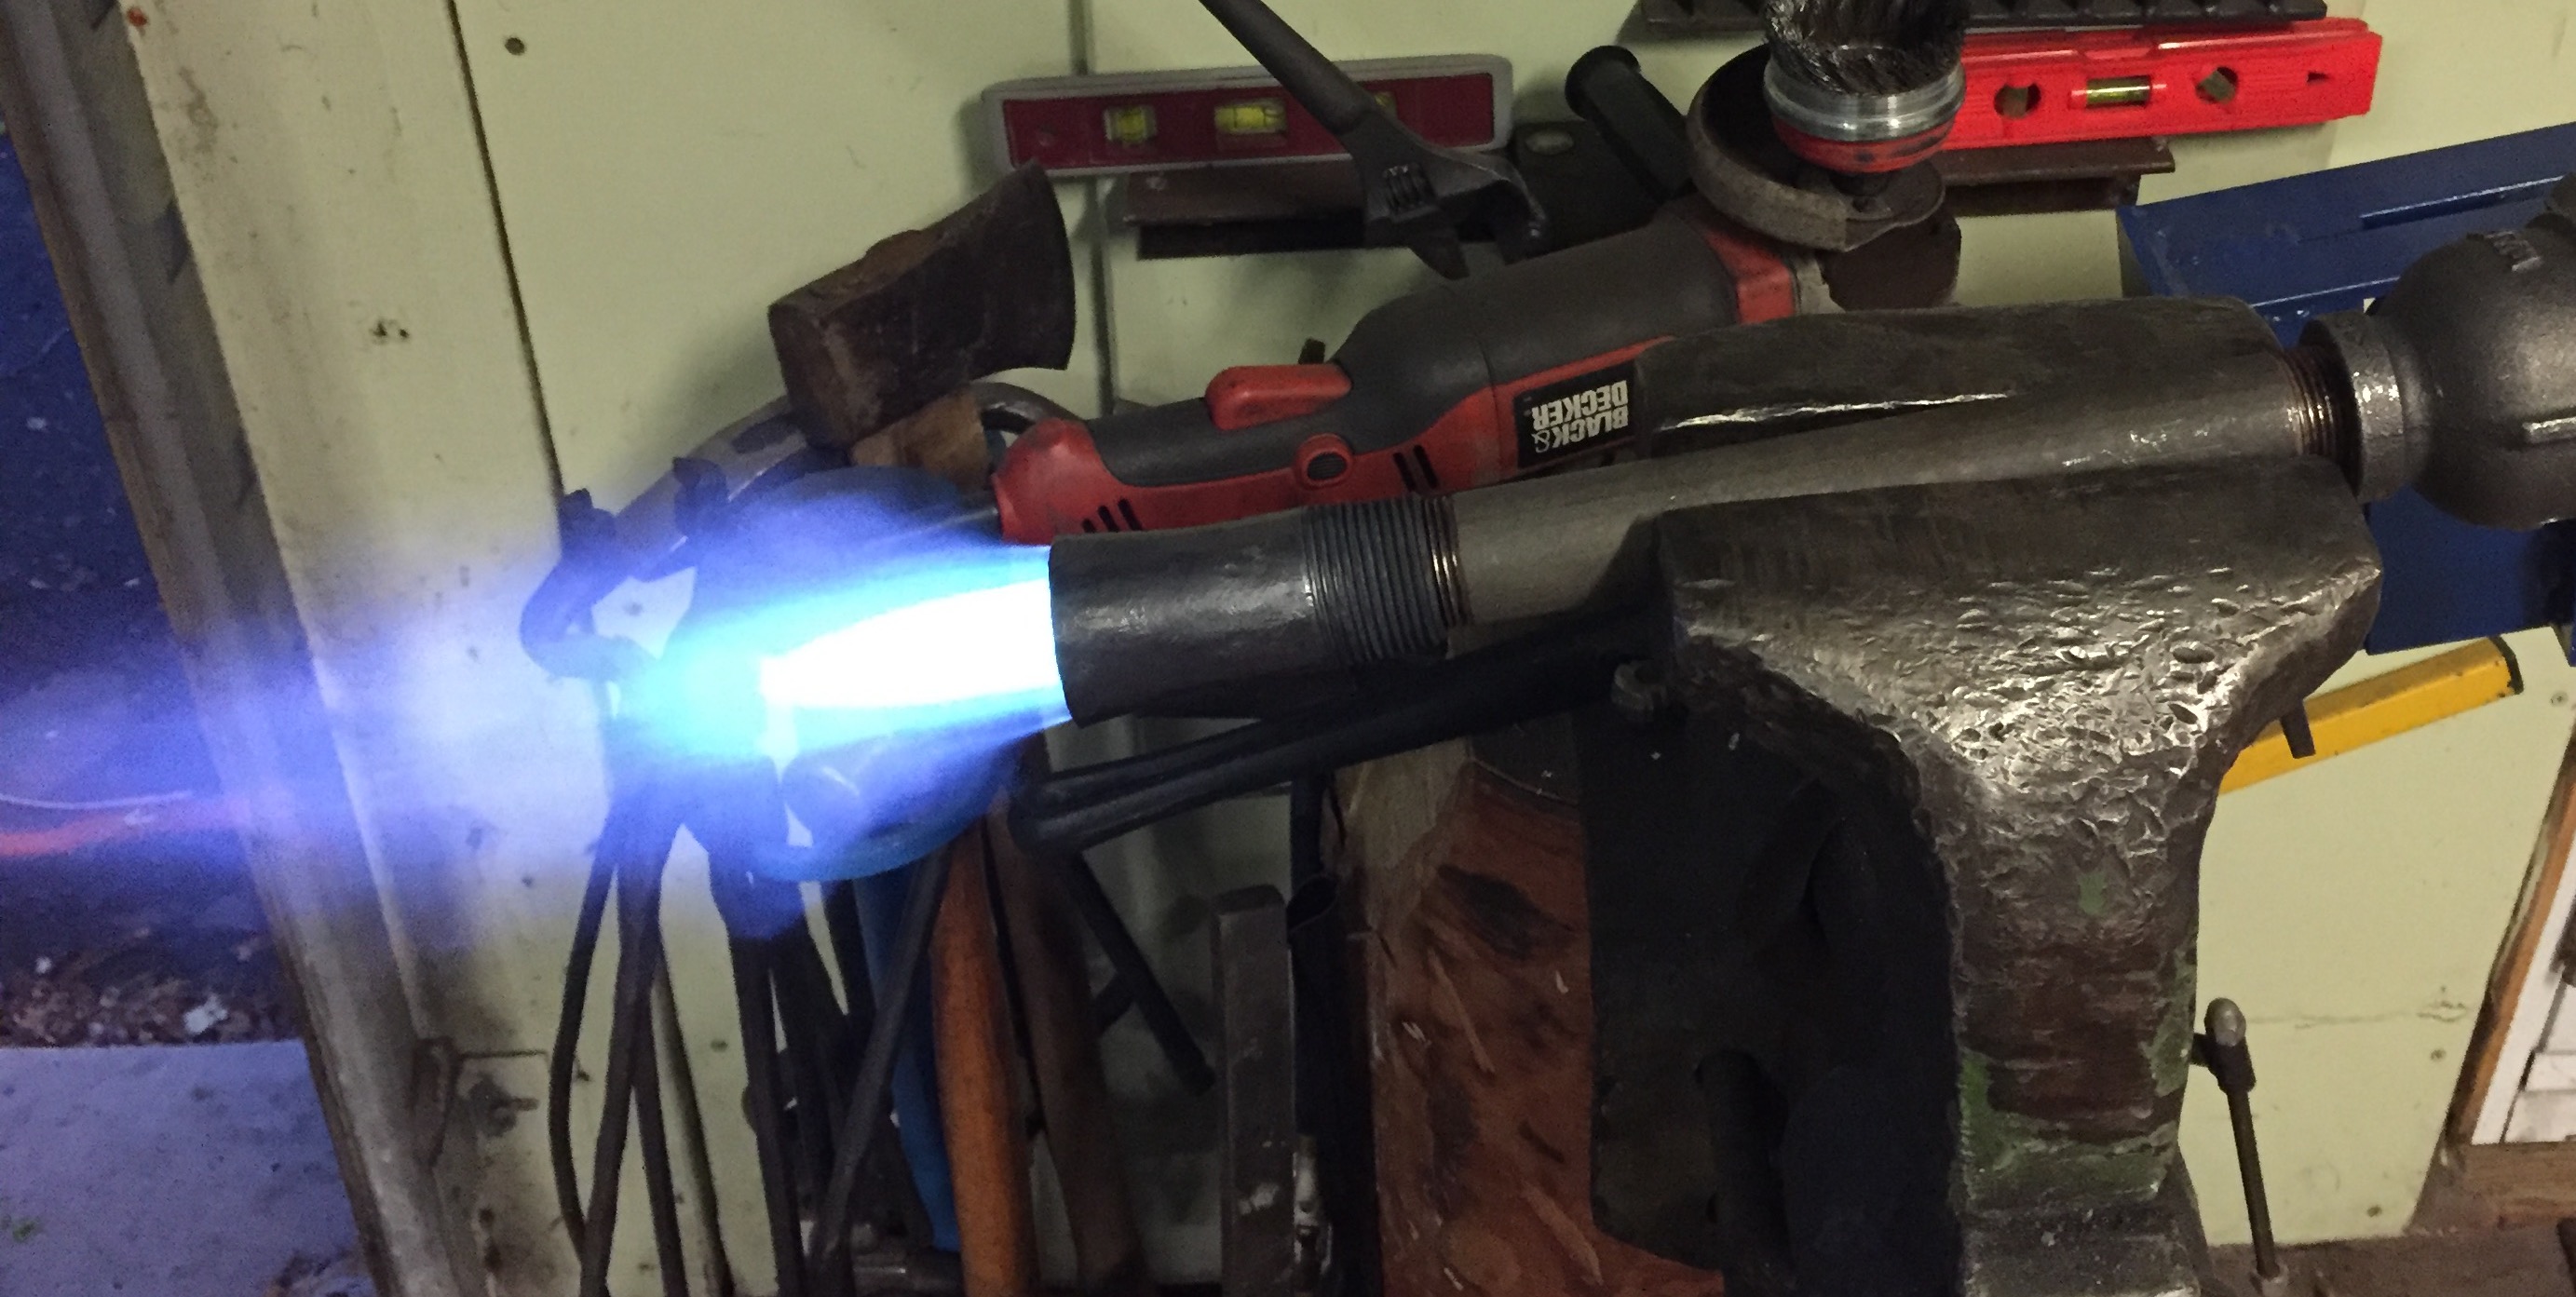
Thanks Mike, I am beginning to be able to identify an adequate flame through your good advice.
-
I really enjoy making burner. I did the «Oliver Upwind» but I opened the holes along the length. I also added a sliding choke (not on the picture) but it is useless since I do not need to do any air restriction. The only adjustment remains the flare. Since i took the picture I filed the slots for a better look. The jet is a no.60 hole.

-
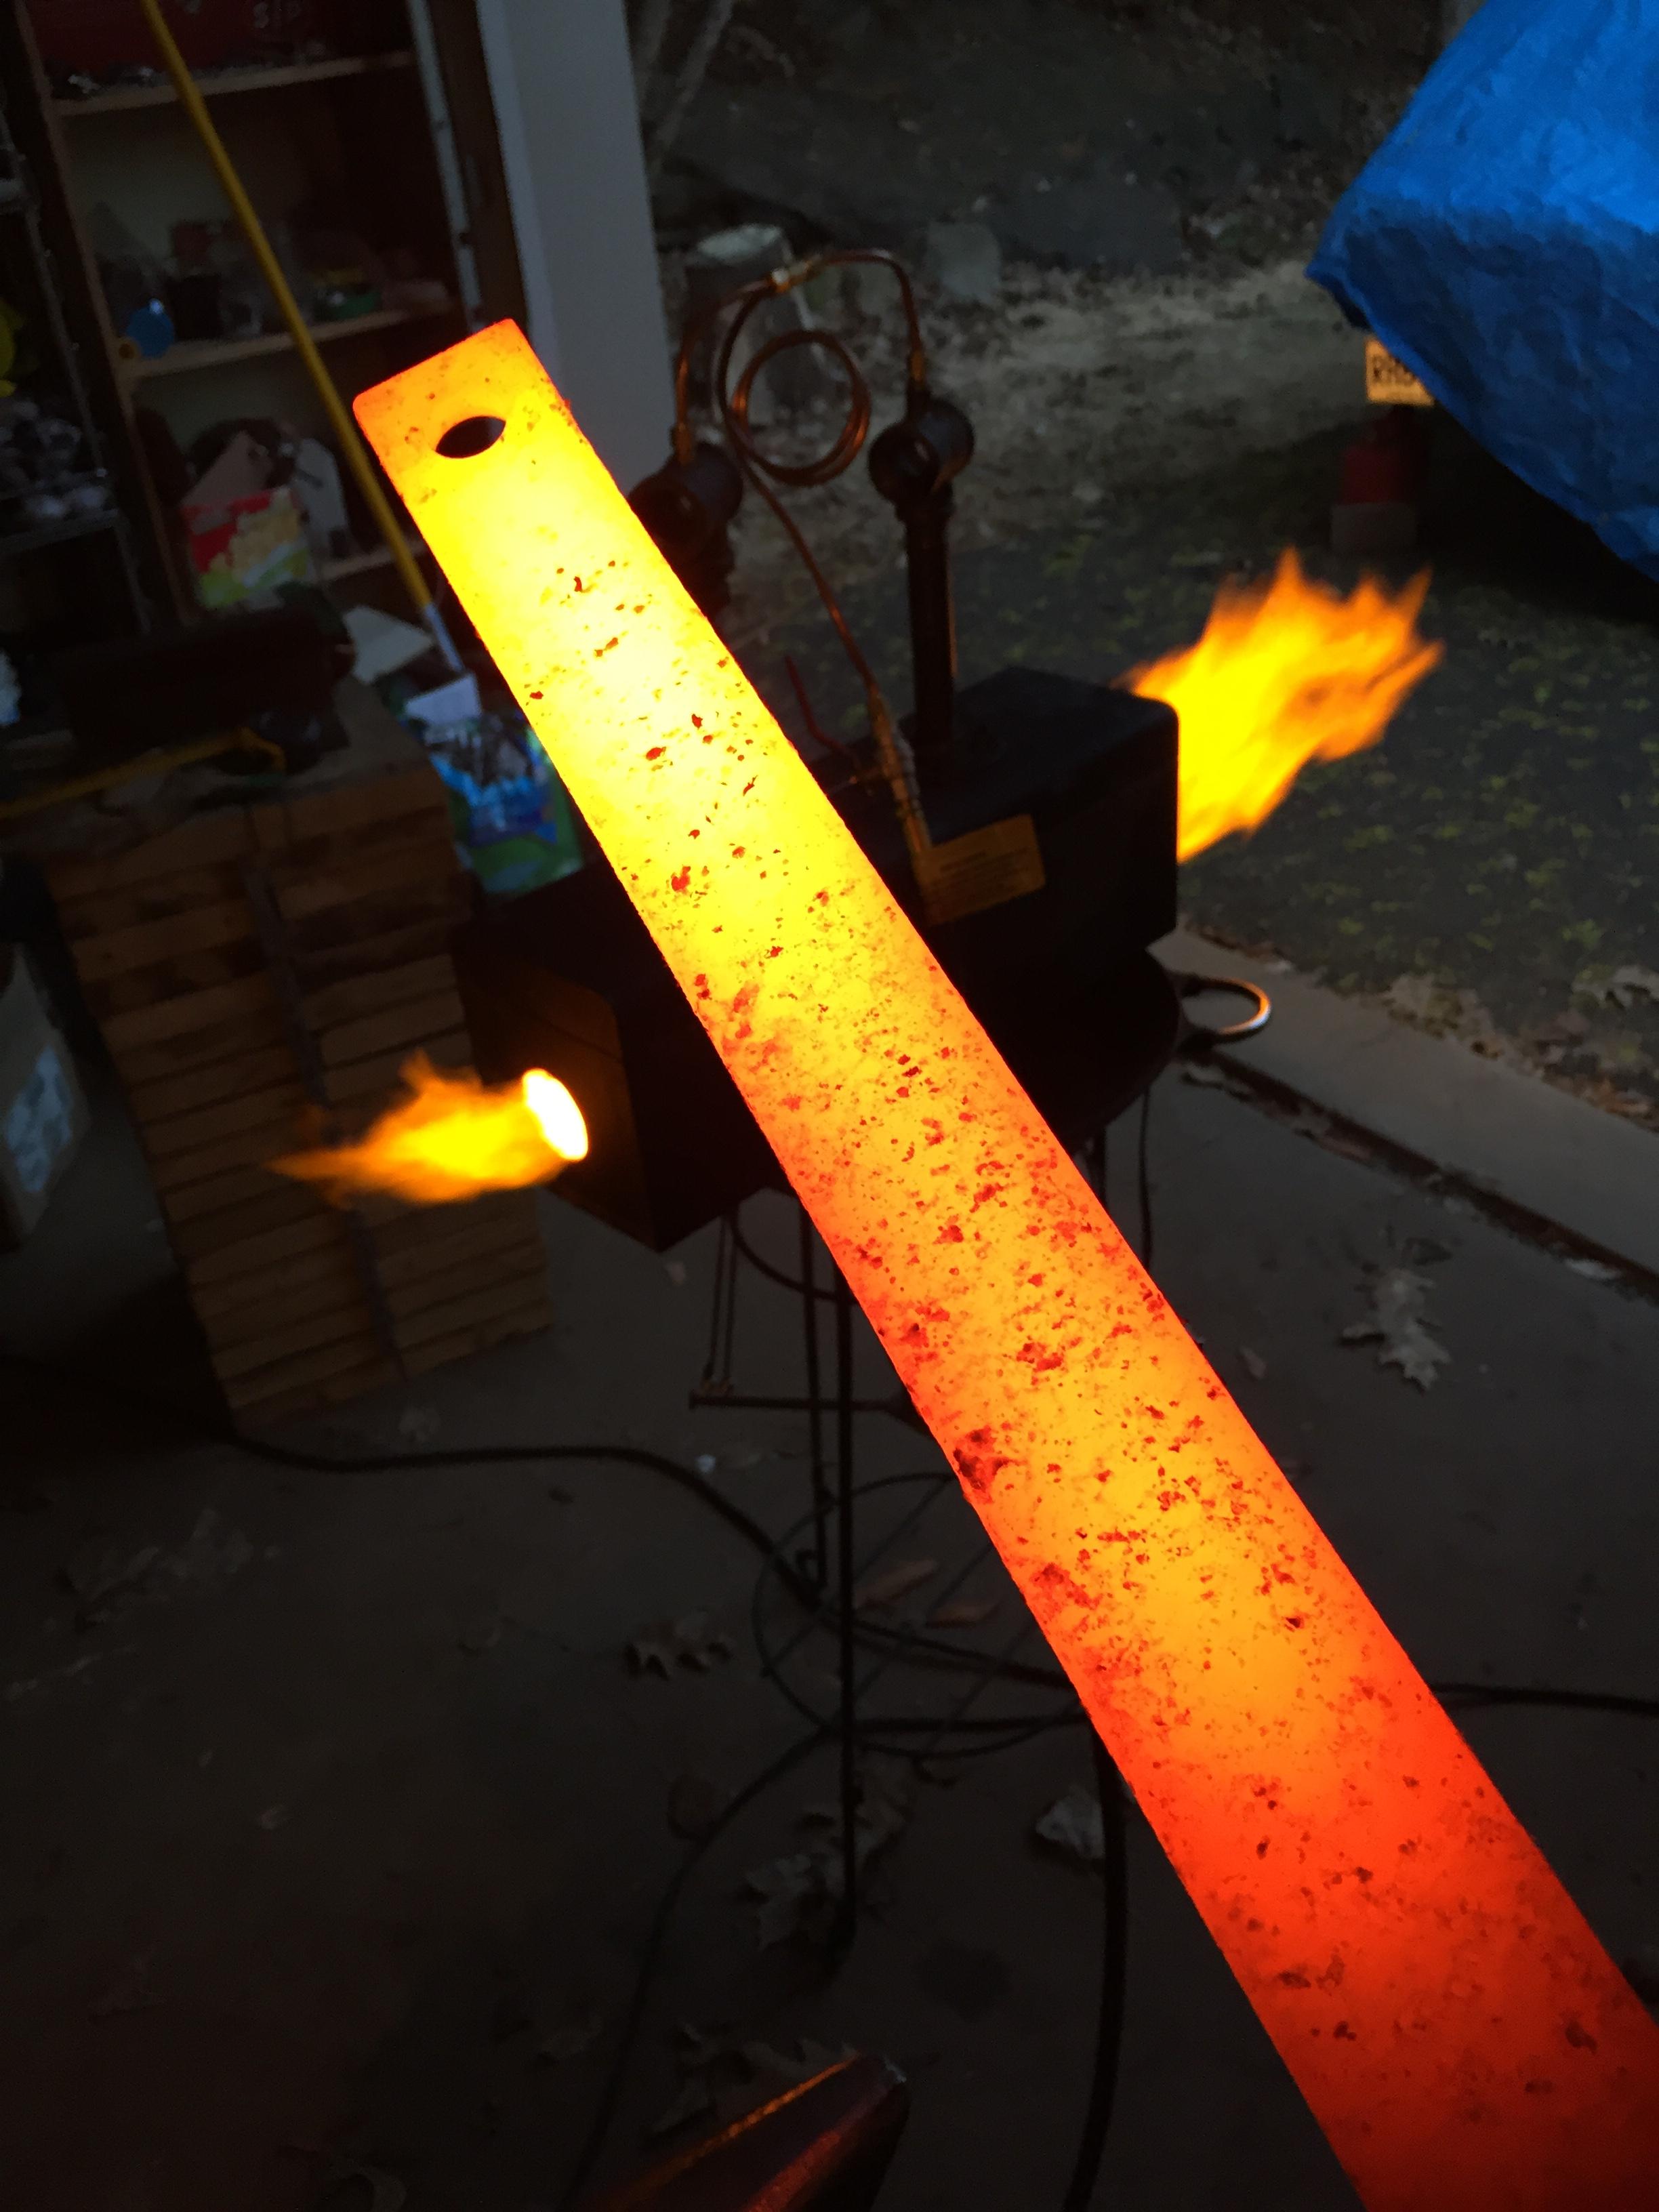
Like this ! I'm pretty satisfied. Thanks again Frosty. The flat bar is 1-1/2 X 1/4, the dark points are rust, not scale.

-
Super ! French or English we said the same thing.
-
BTW everyone when you say a «rich» flame, is it rich in gaz or air...? Just to make sure.
-
Sure good enough ! ... but the challenge to get the perfect one still there !
-
Frosty Burner - help tuning the burner
blacksmith-450 replied to MatthewMachinist's topic in Gas Forges
The MIG tip is too long... -
LOL !
-
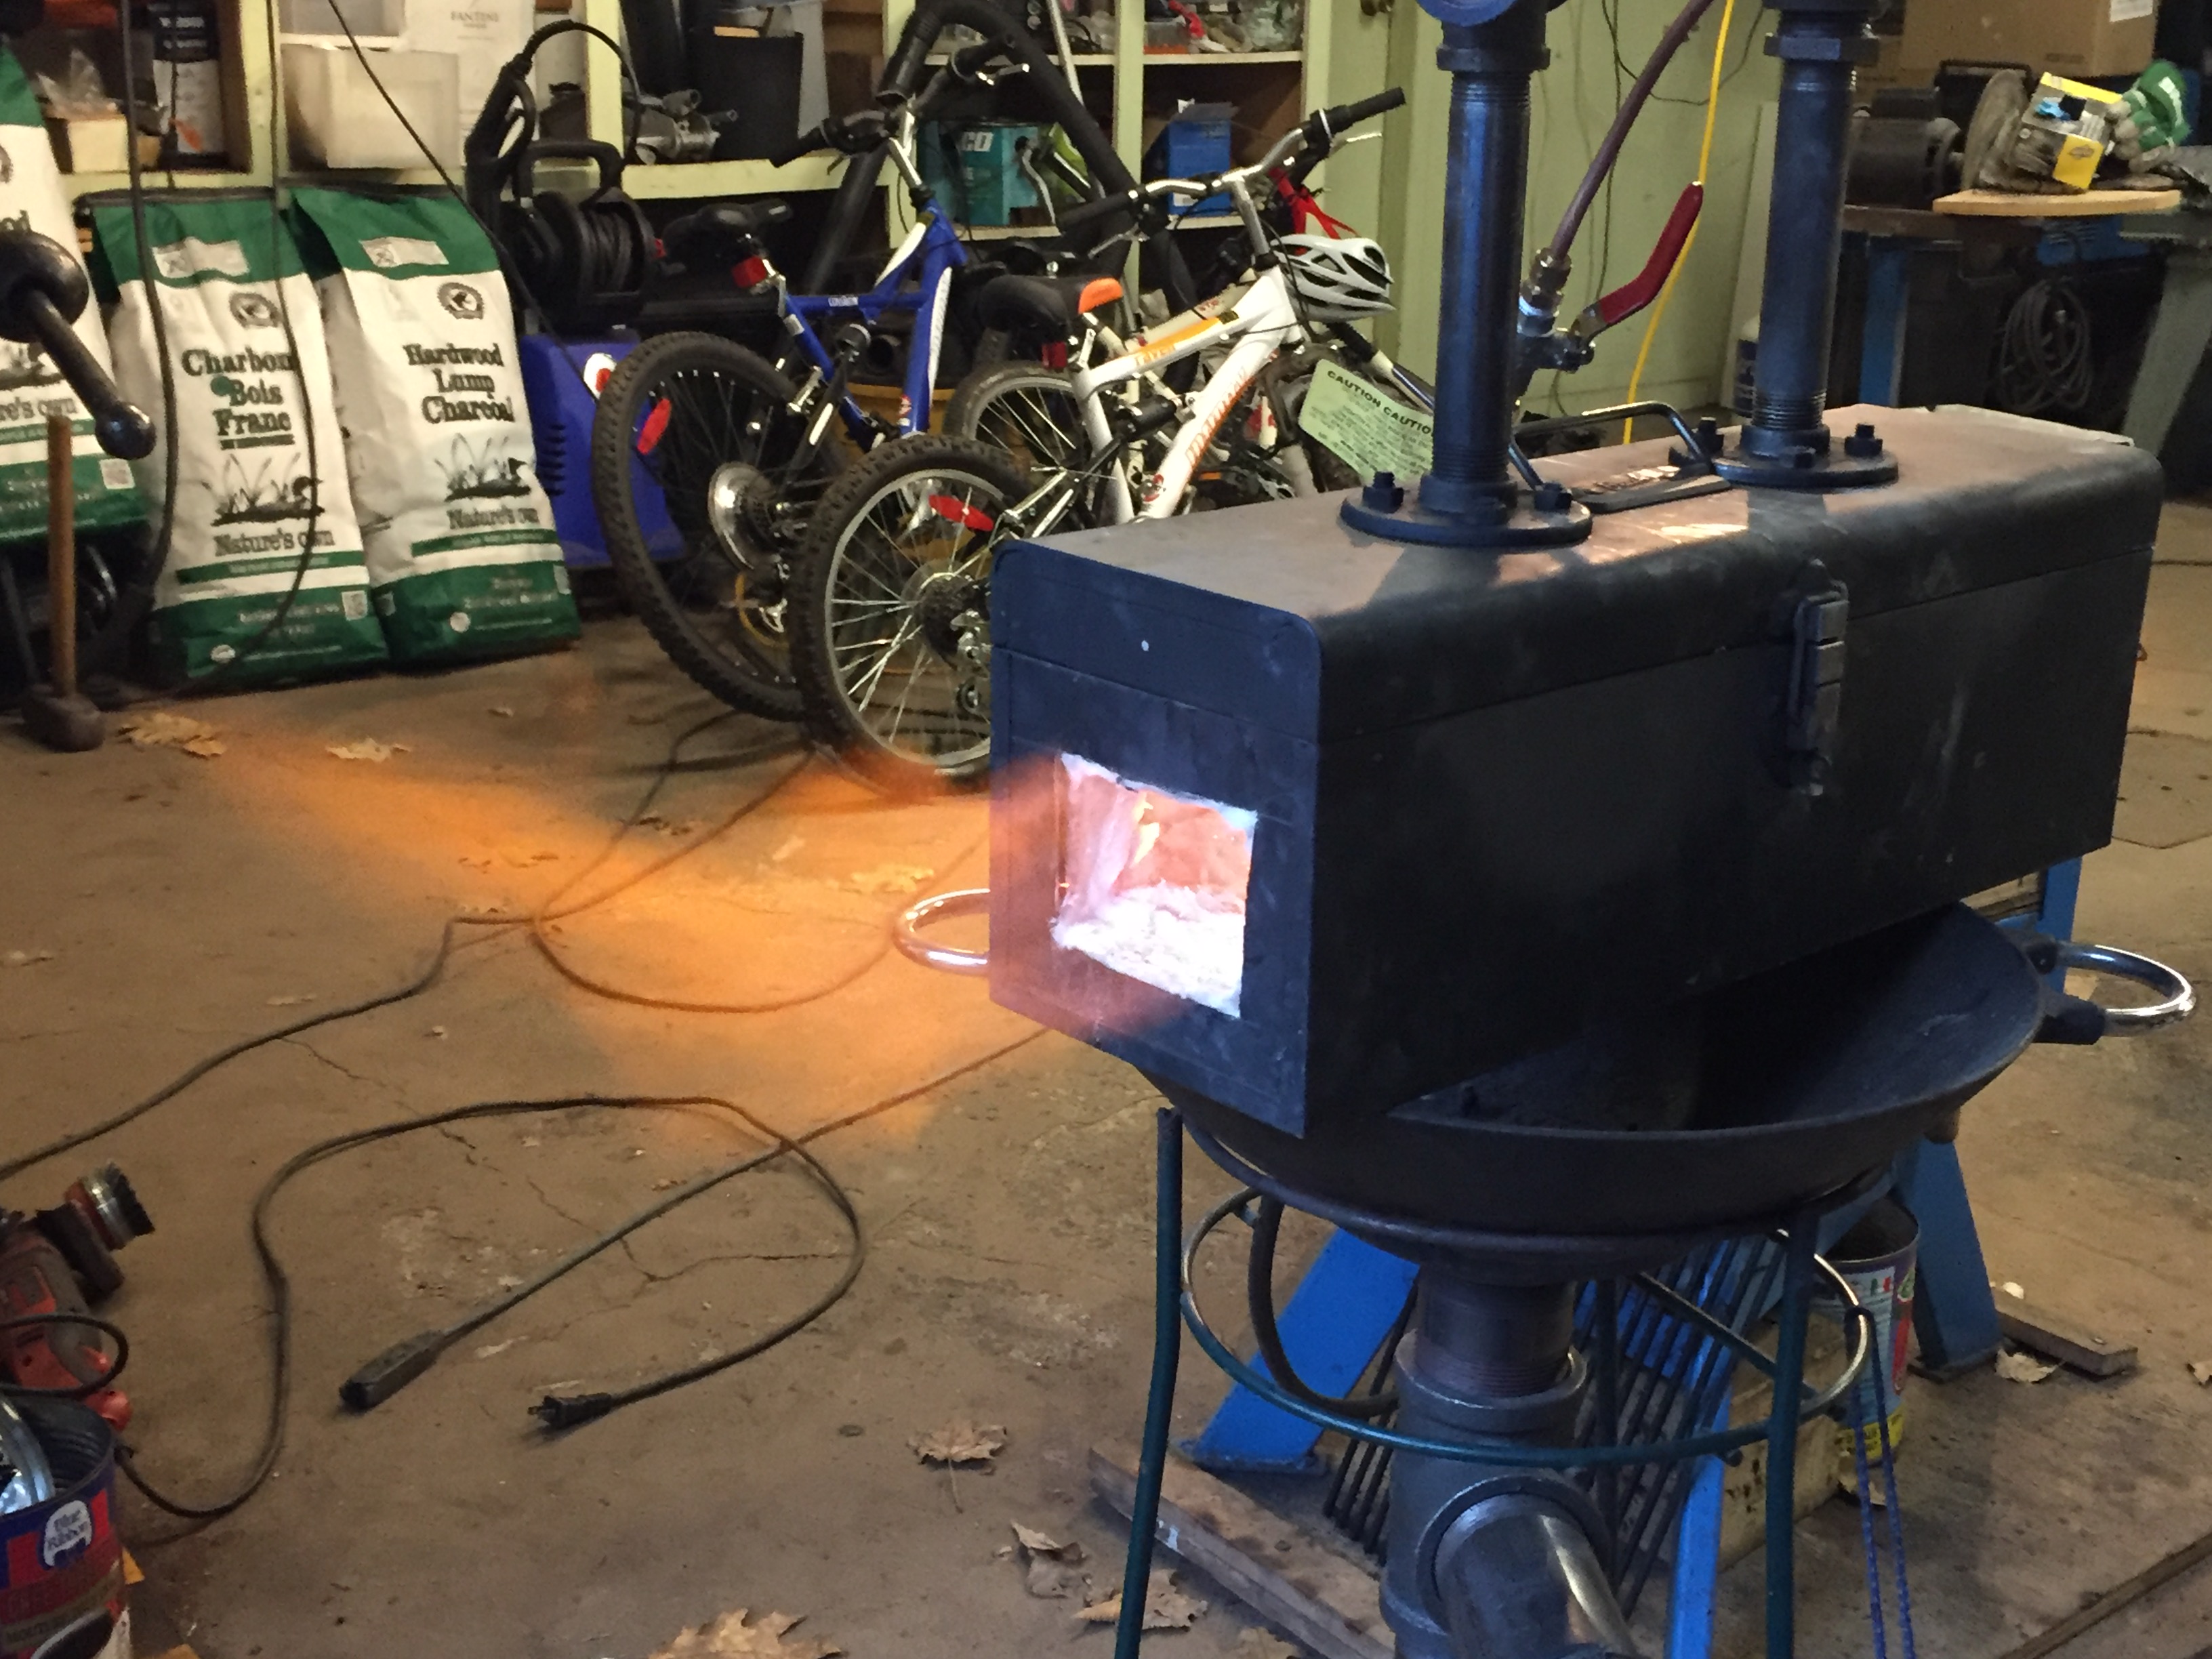
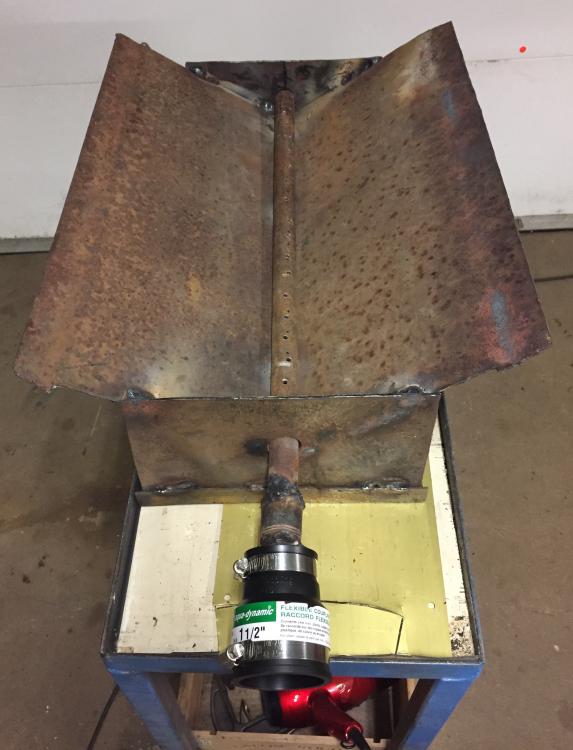
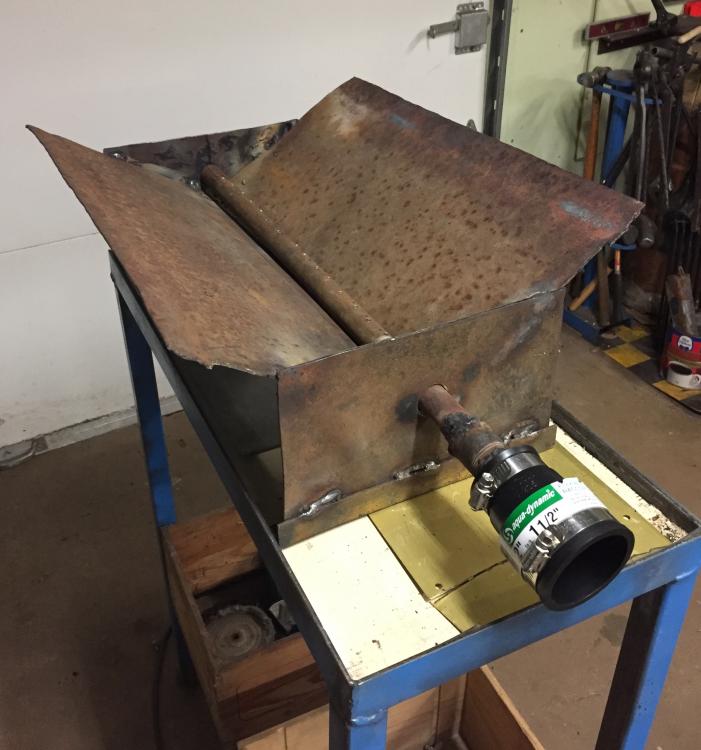
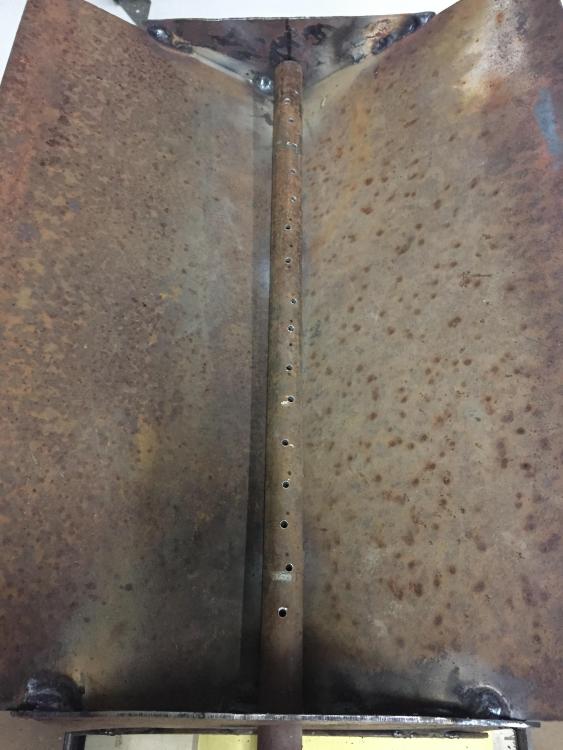
et Voilà ! Pour une fois que je peux écrire dans ma langue ! I've made this little one last week end. I've just mocked it up... I have to finish the welds, clean and grind a little and... enjoy it ! 100% from scrap sheet metal (former trailer fenders)

-
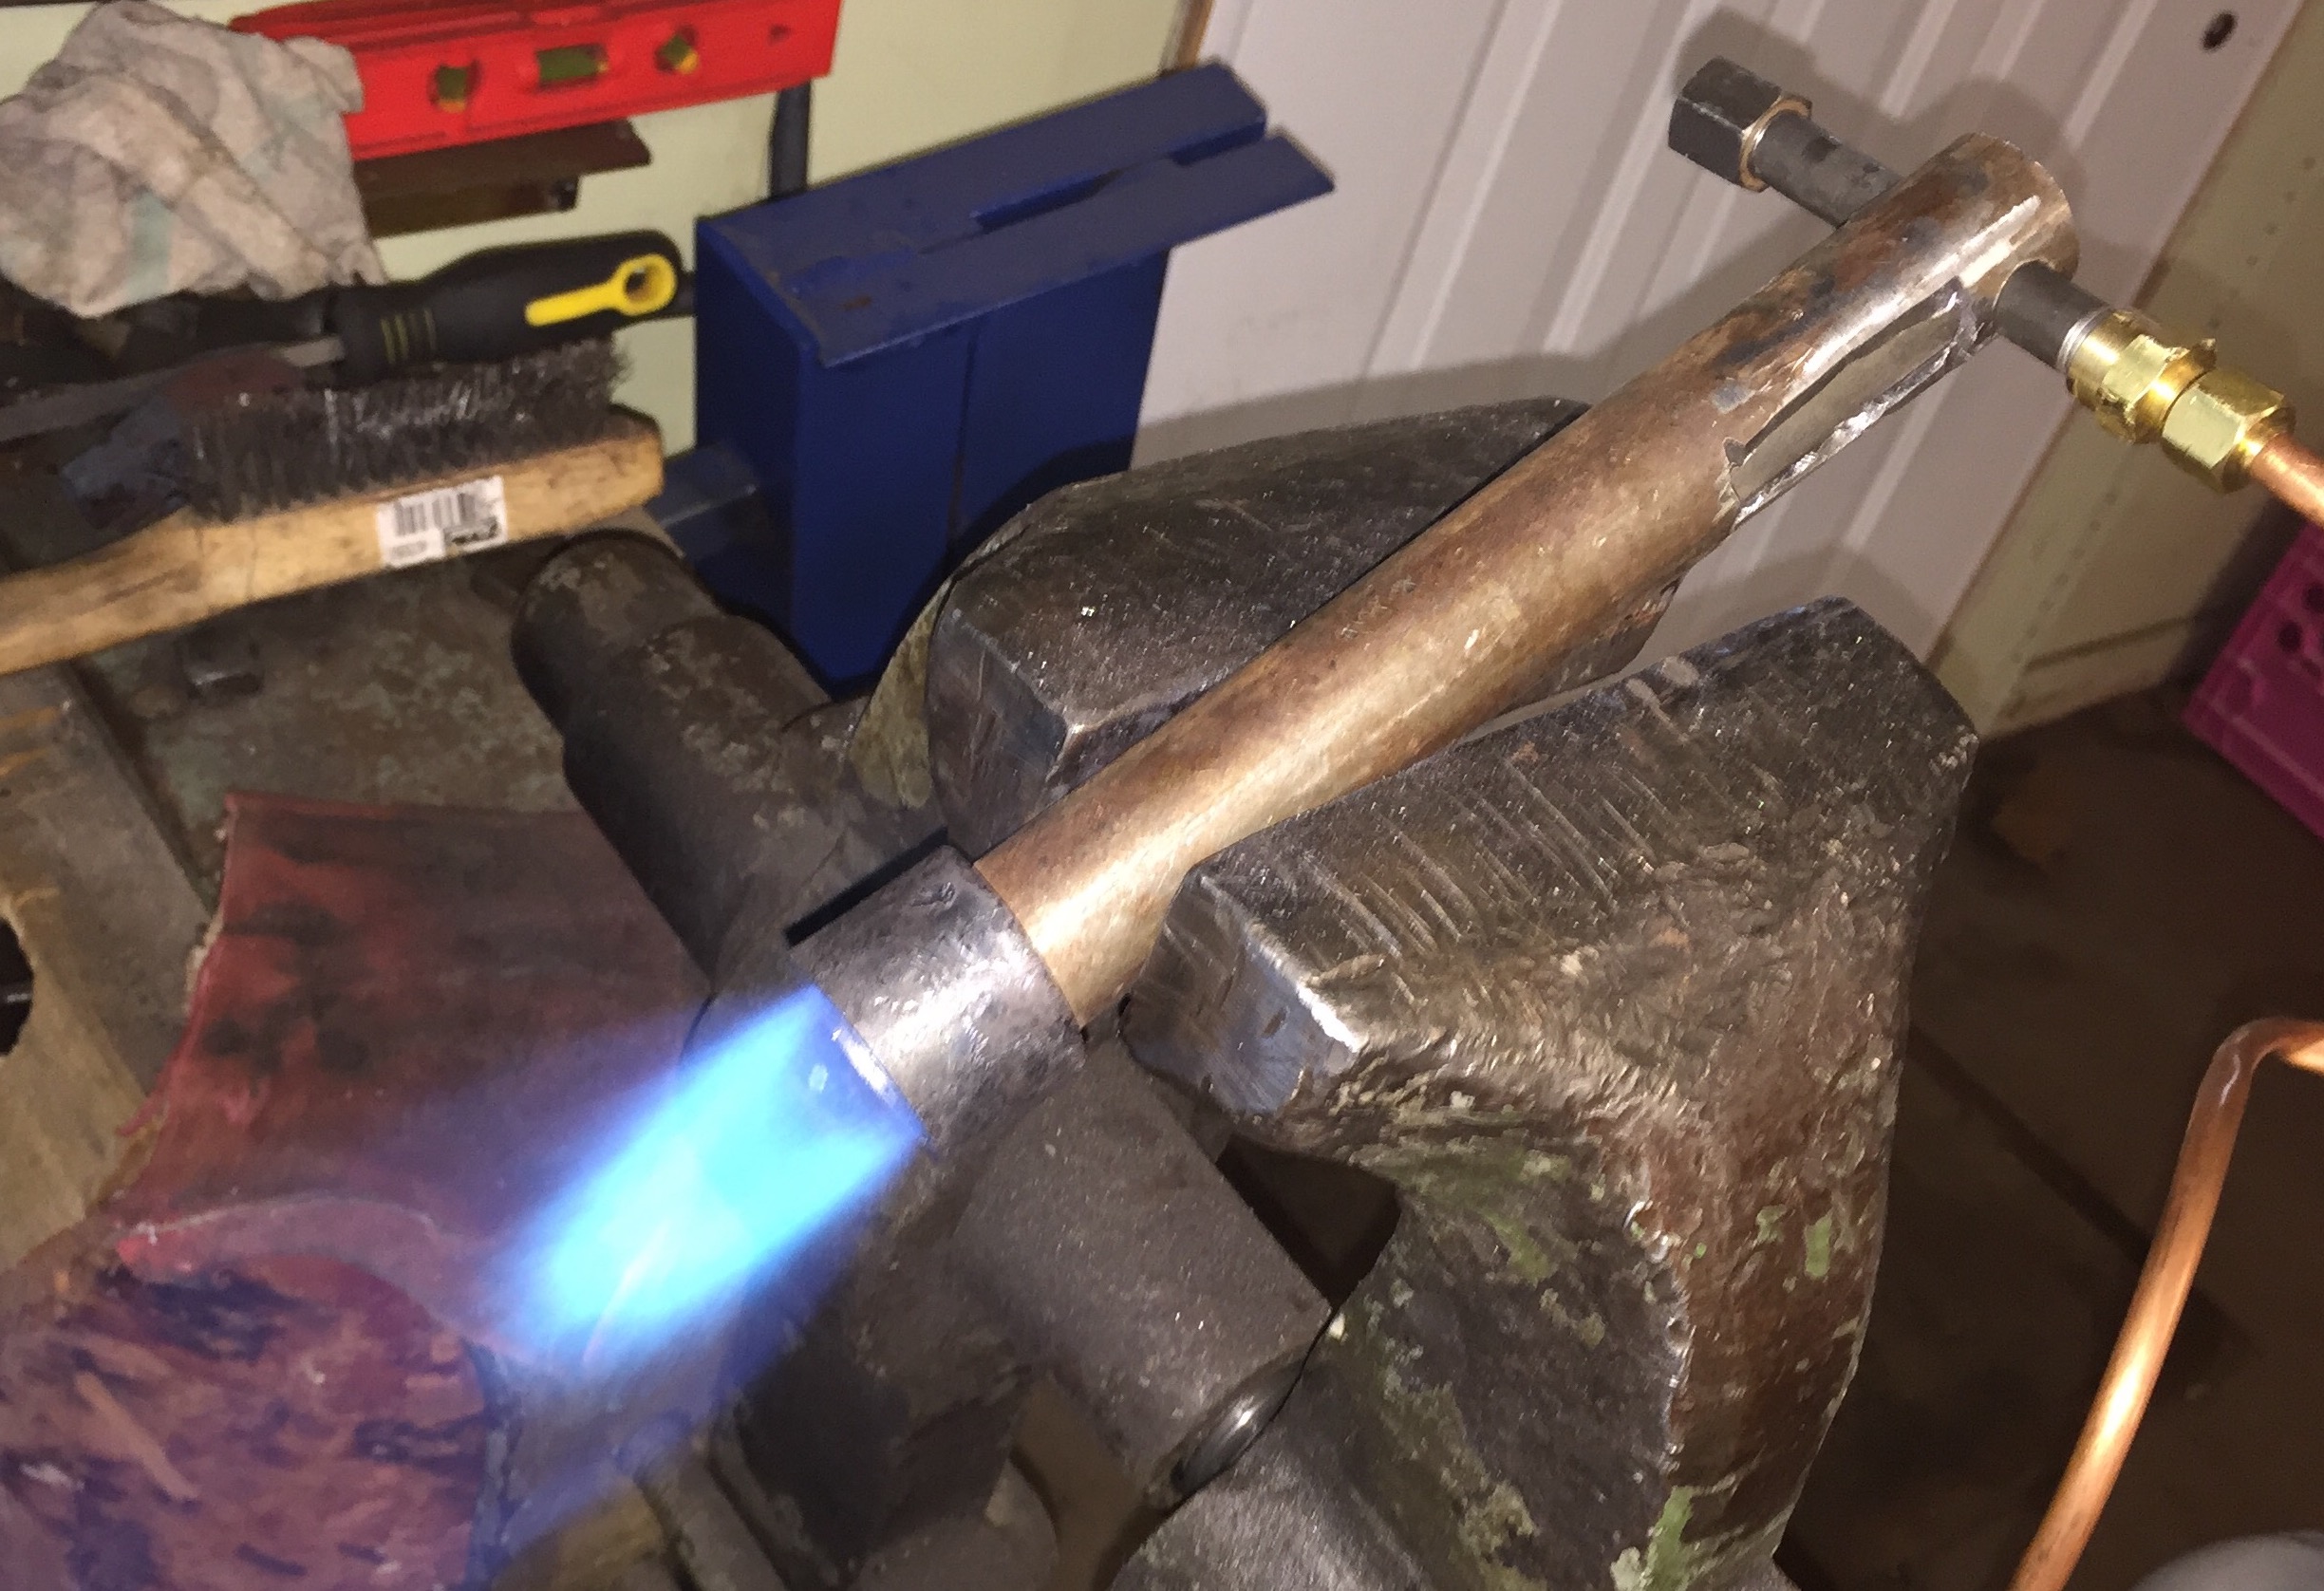
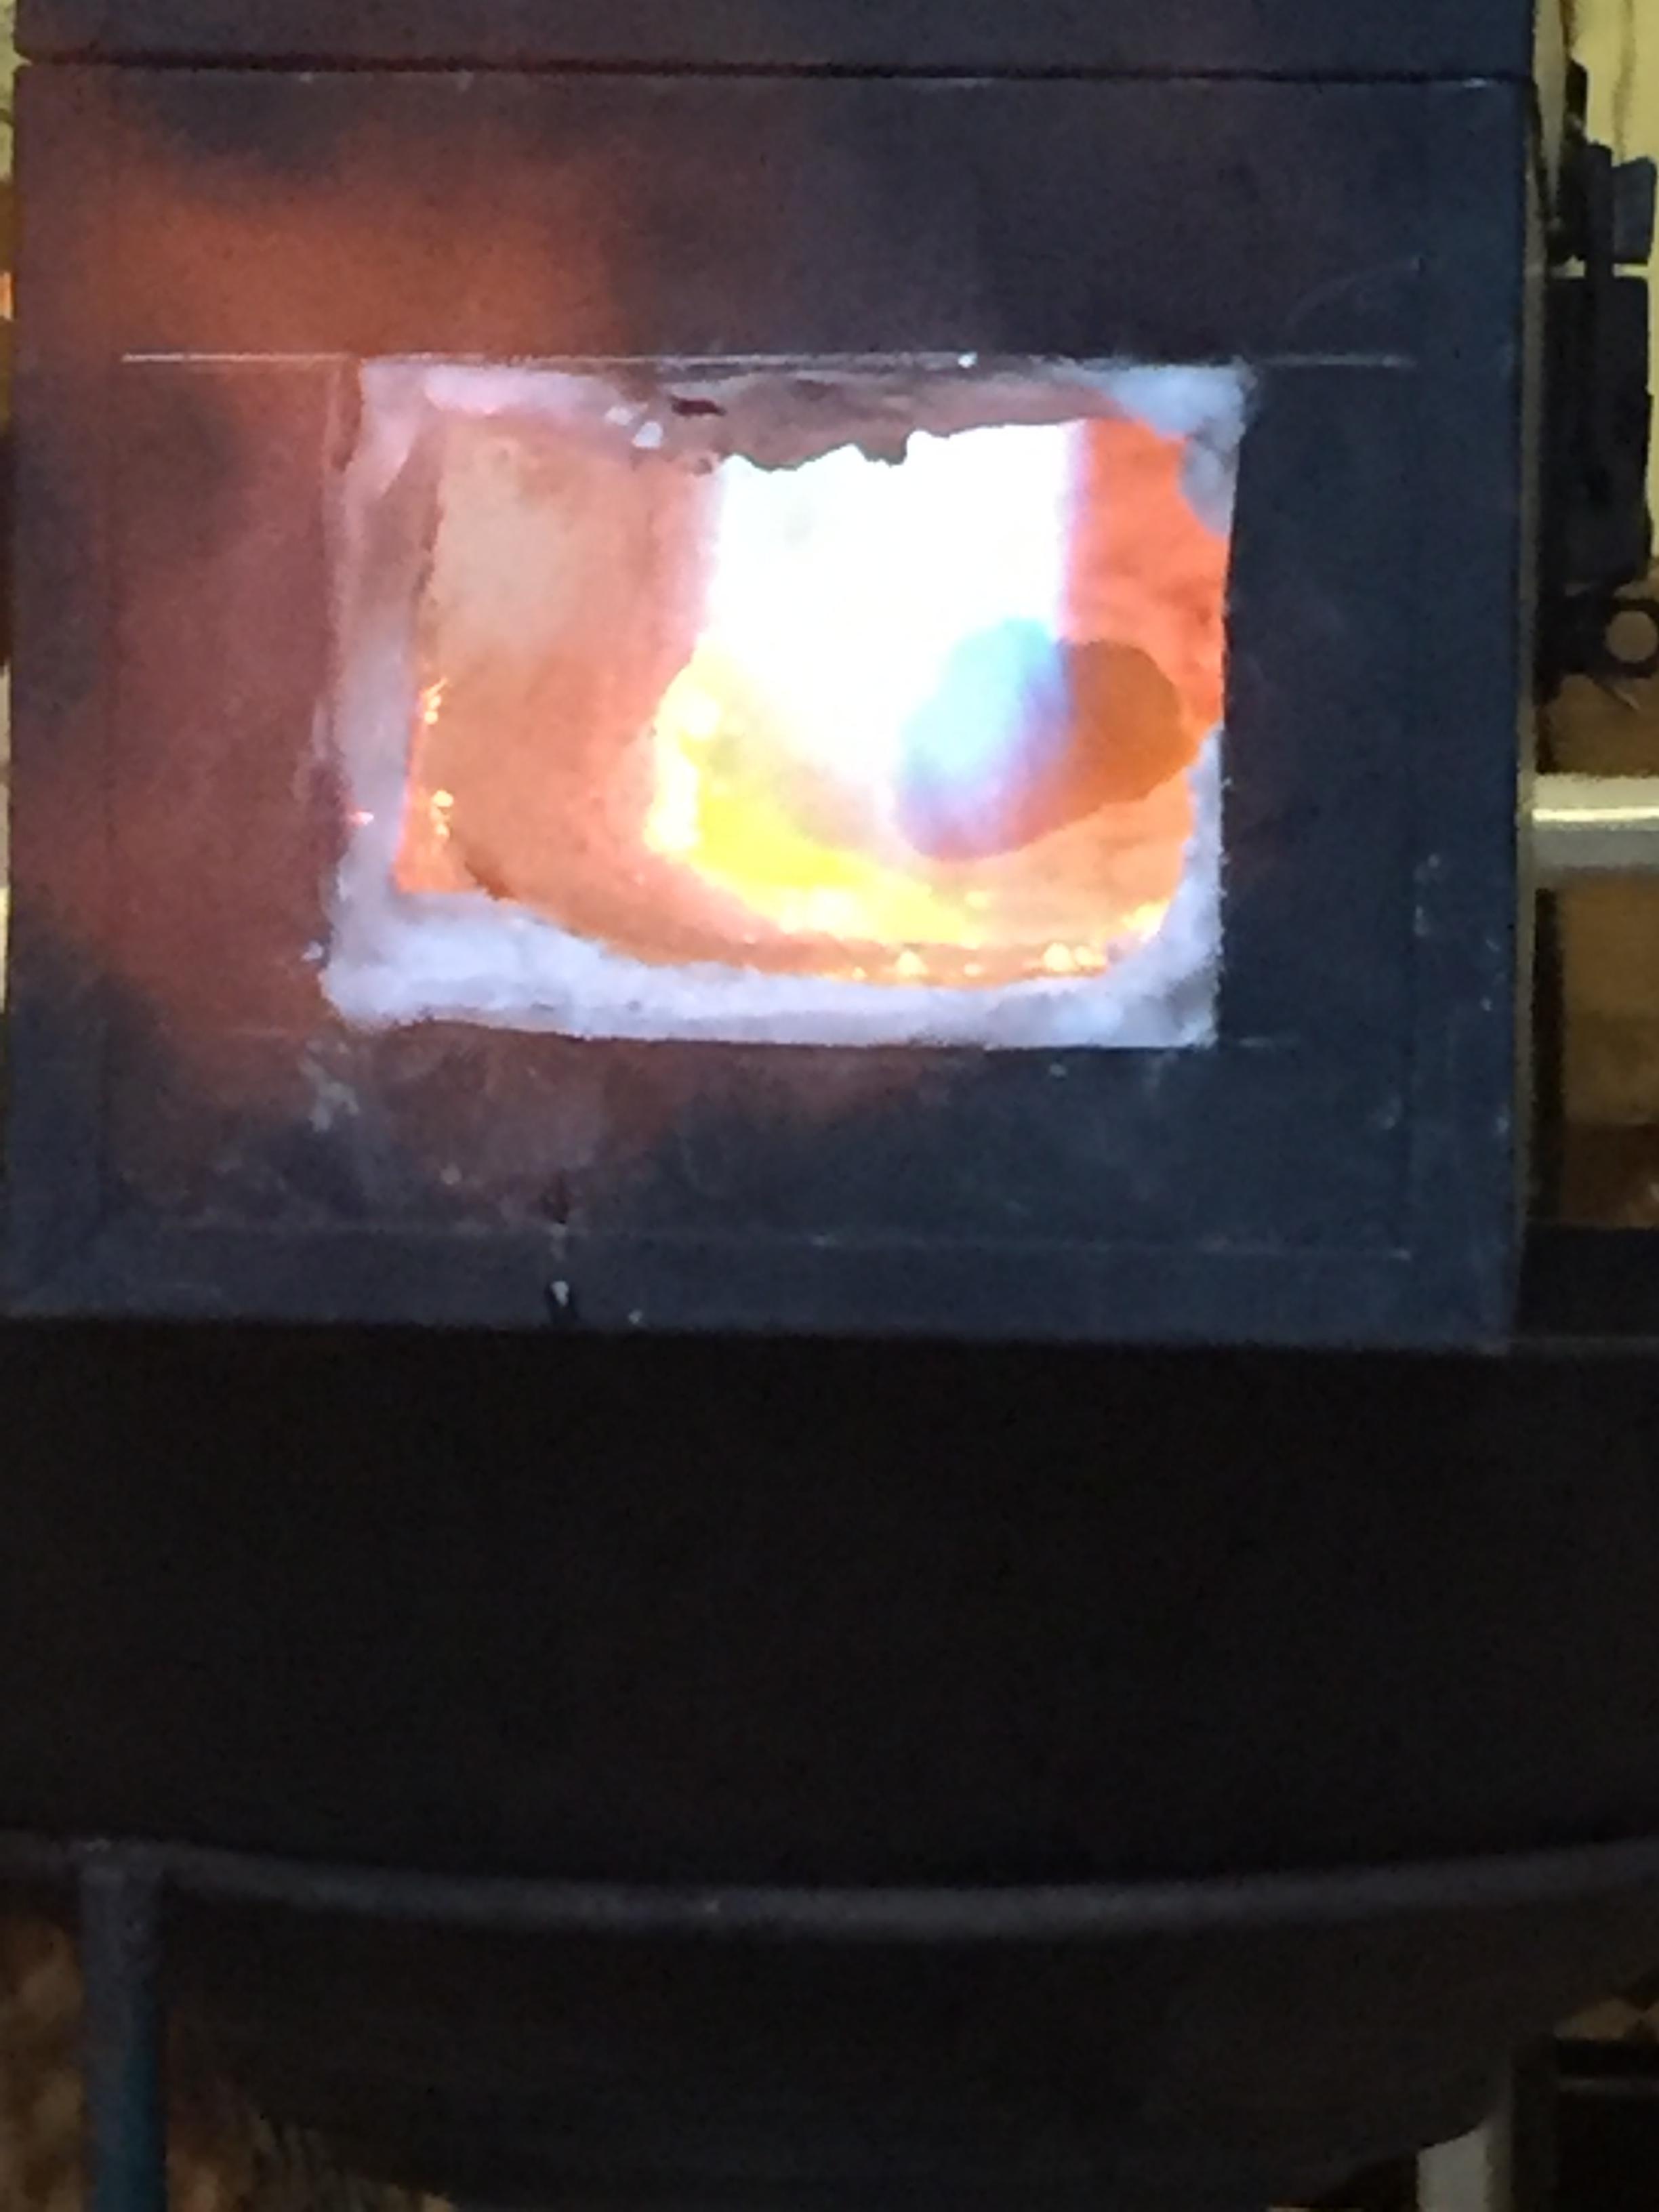
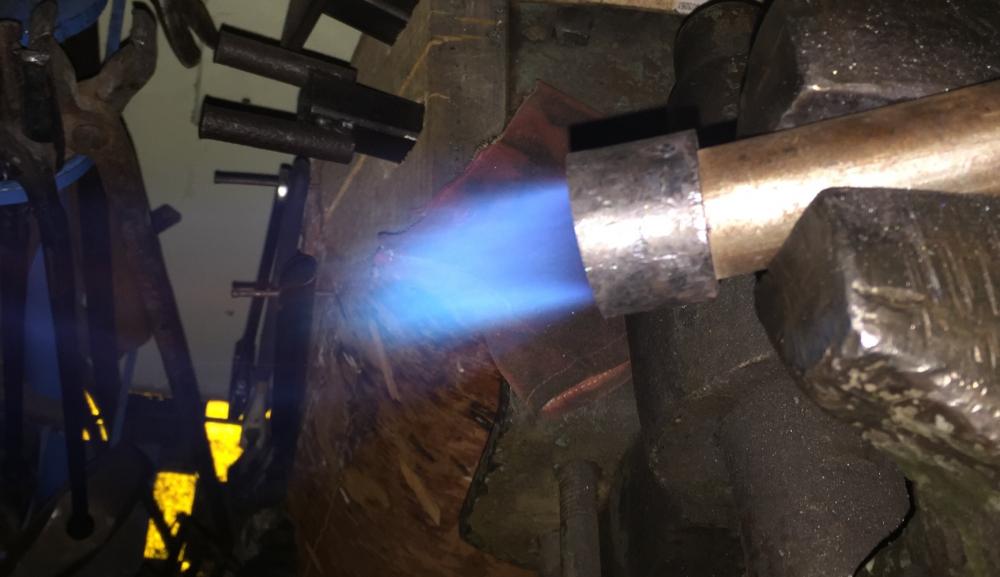
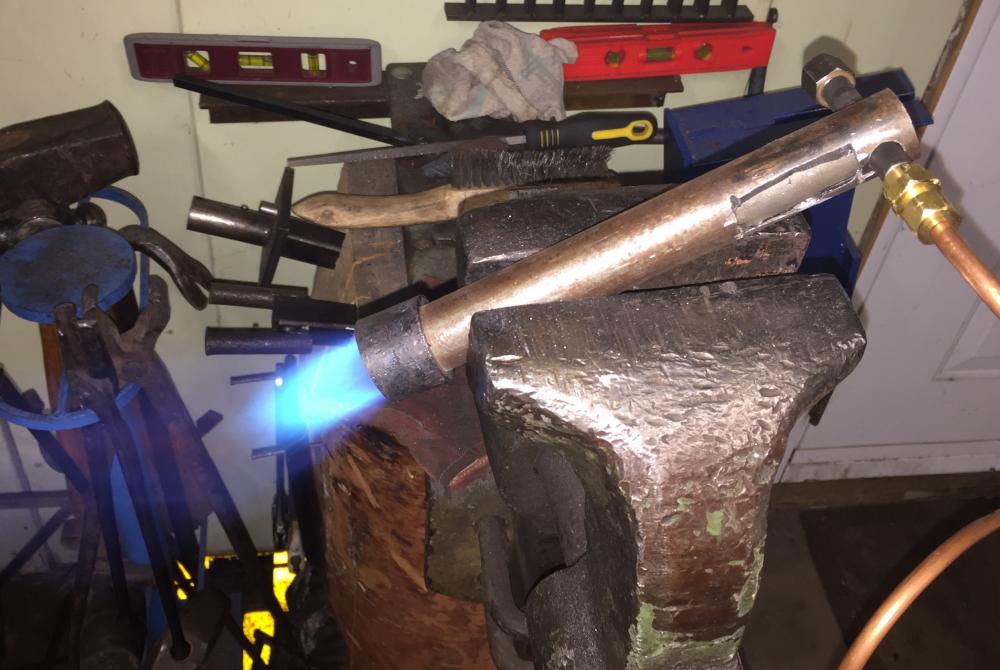
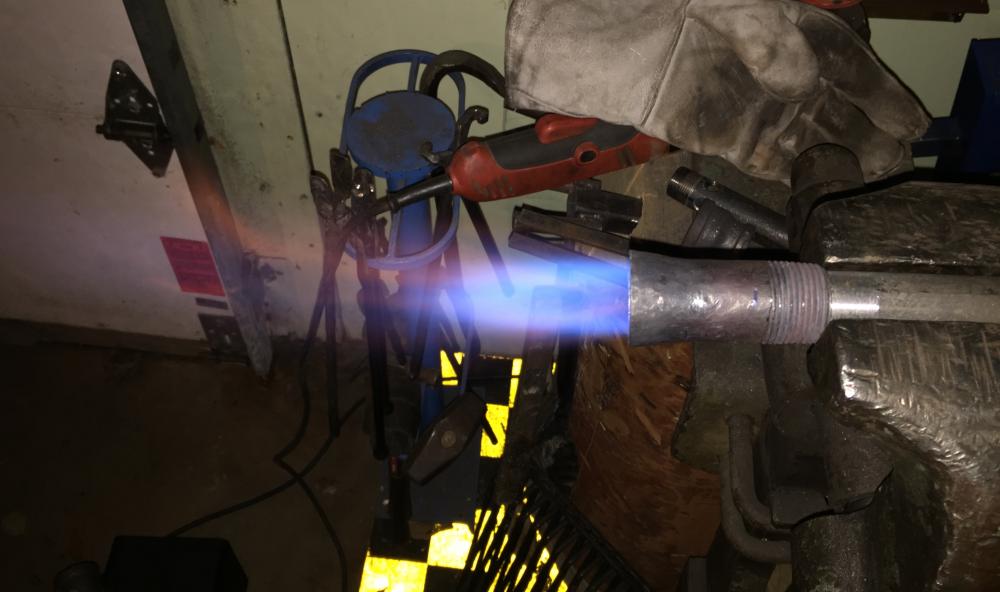
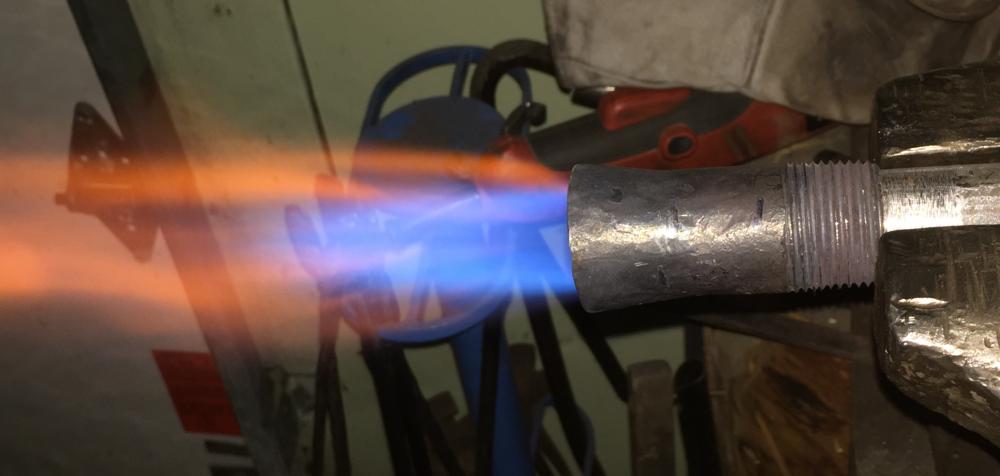
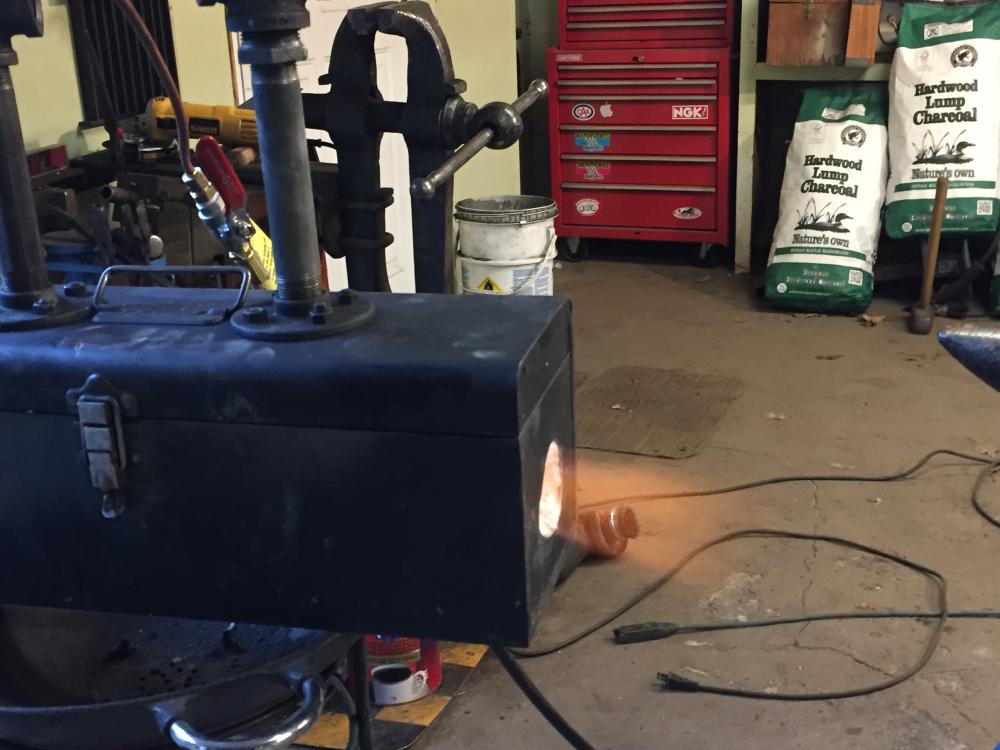
When I asked my question this morning I was in the bus... Now I'm home and I have try by myself. First picture, it's «before» running at 5-6 psi. The second picture is with two tiny washers. I think that I came in the very fine-tuning zone. Comments ?


-
Frosty. My 2 T still running on the rich side. May I put washer(s) under the fitting to pull the whole thing back instead of cutting the mig tip?
-
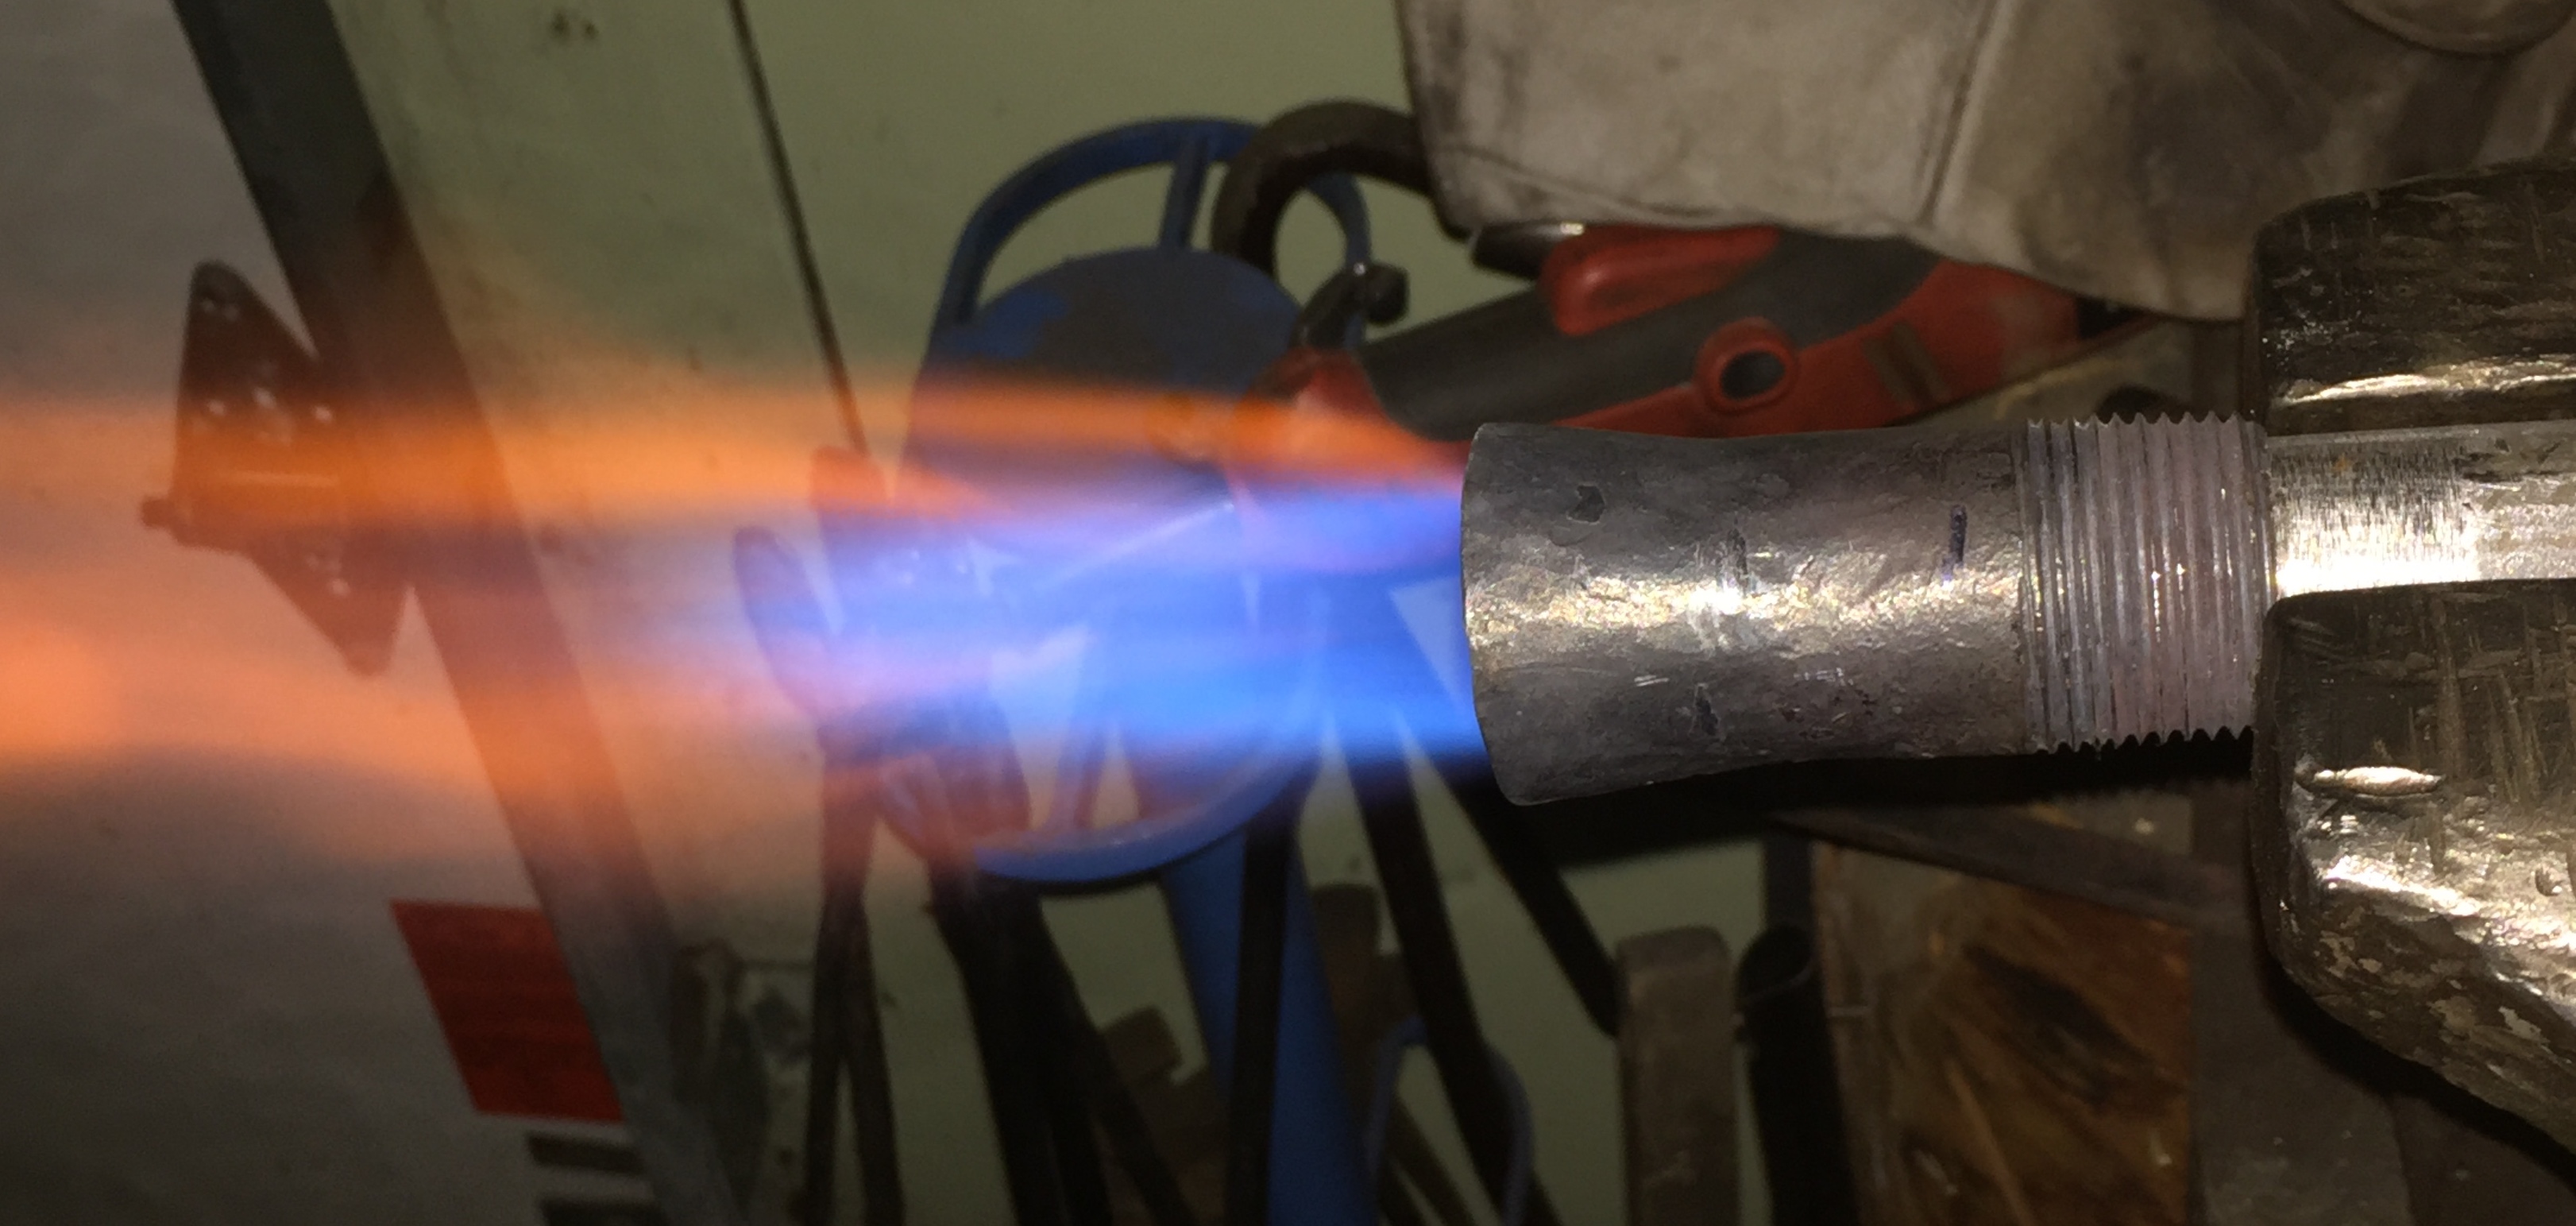
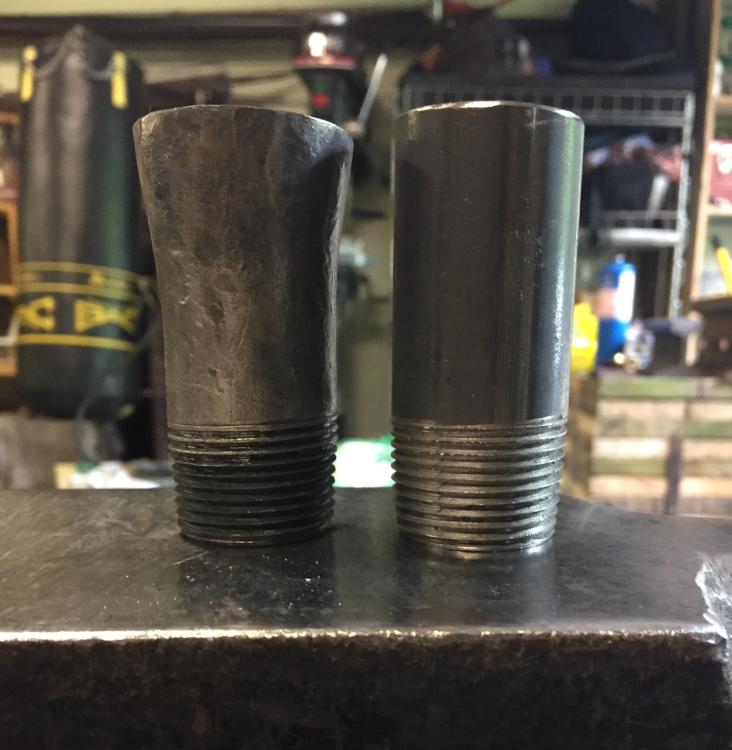
Mike, thanks really much for your patience. I try hard to be an achiever... i add some hammer hit on the flare... a little sand paper and I got this :
-
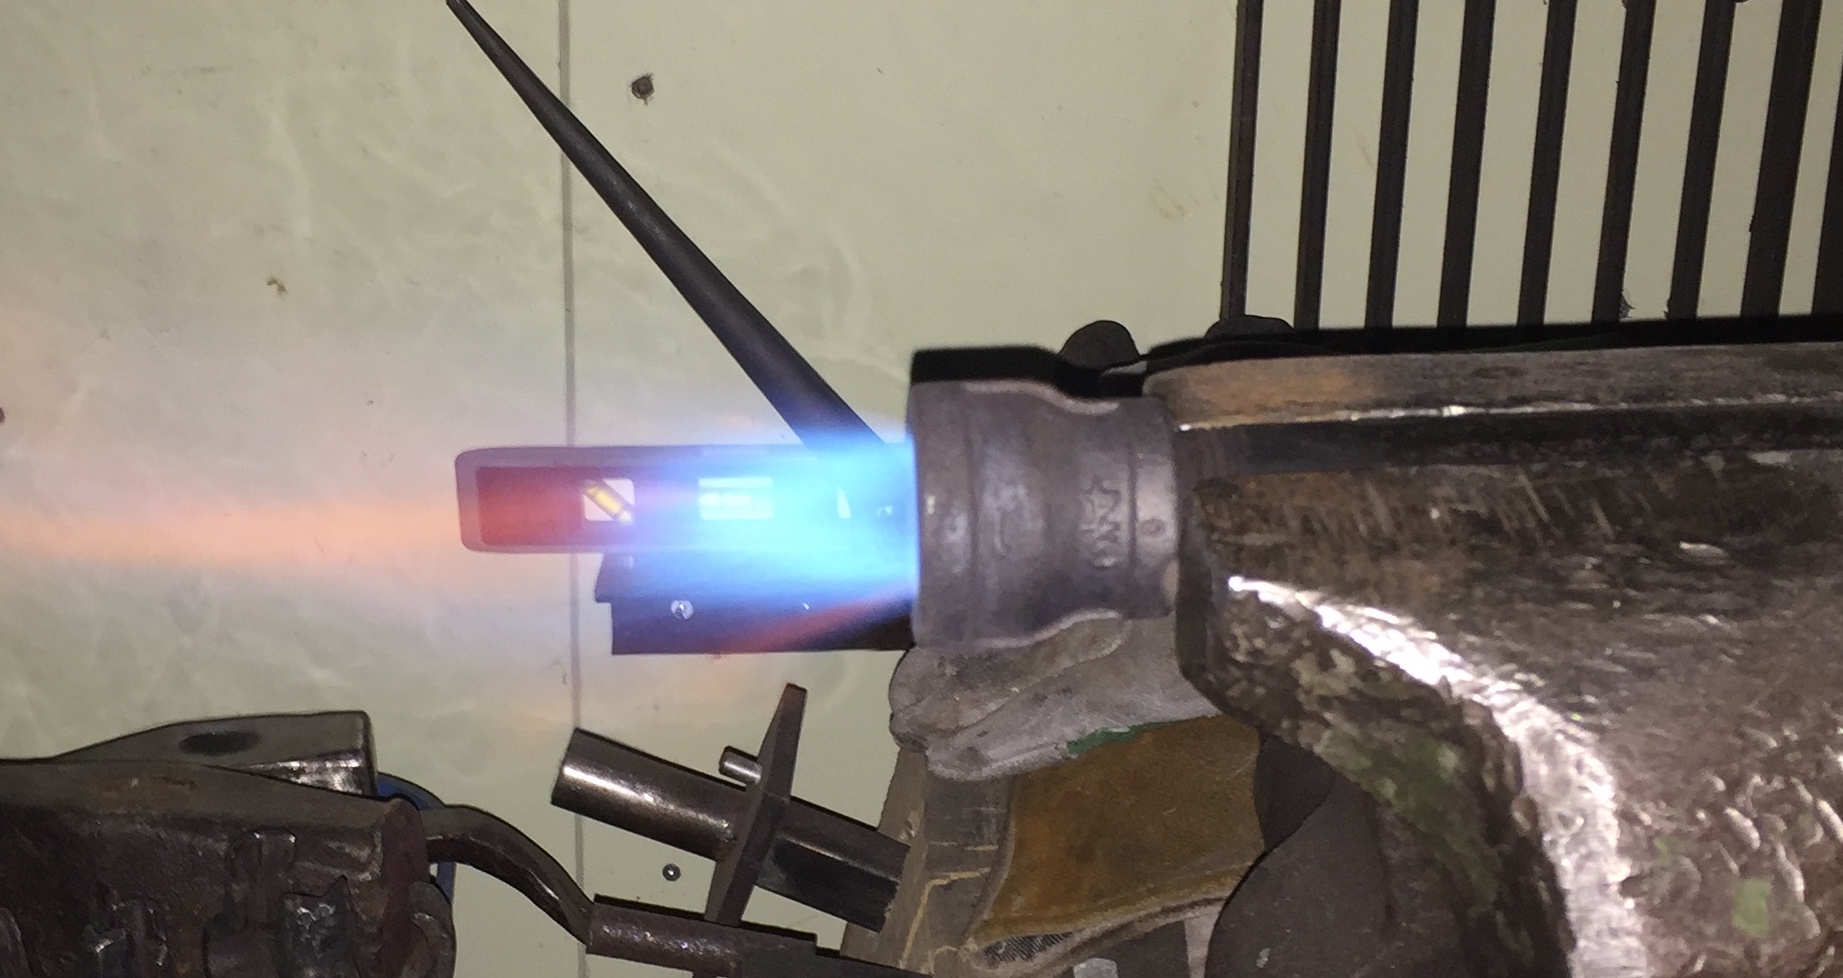
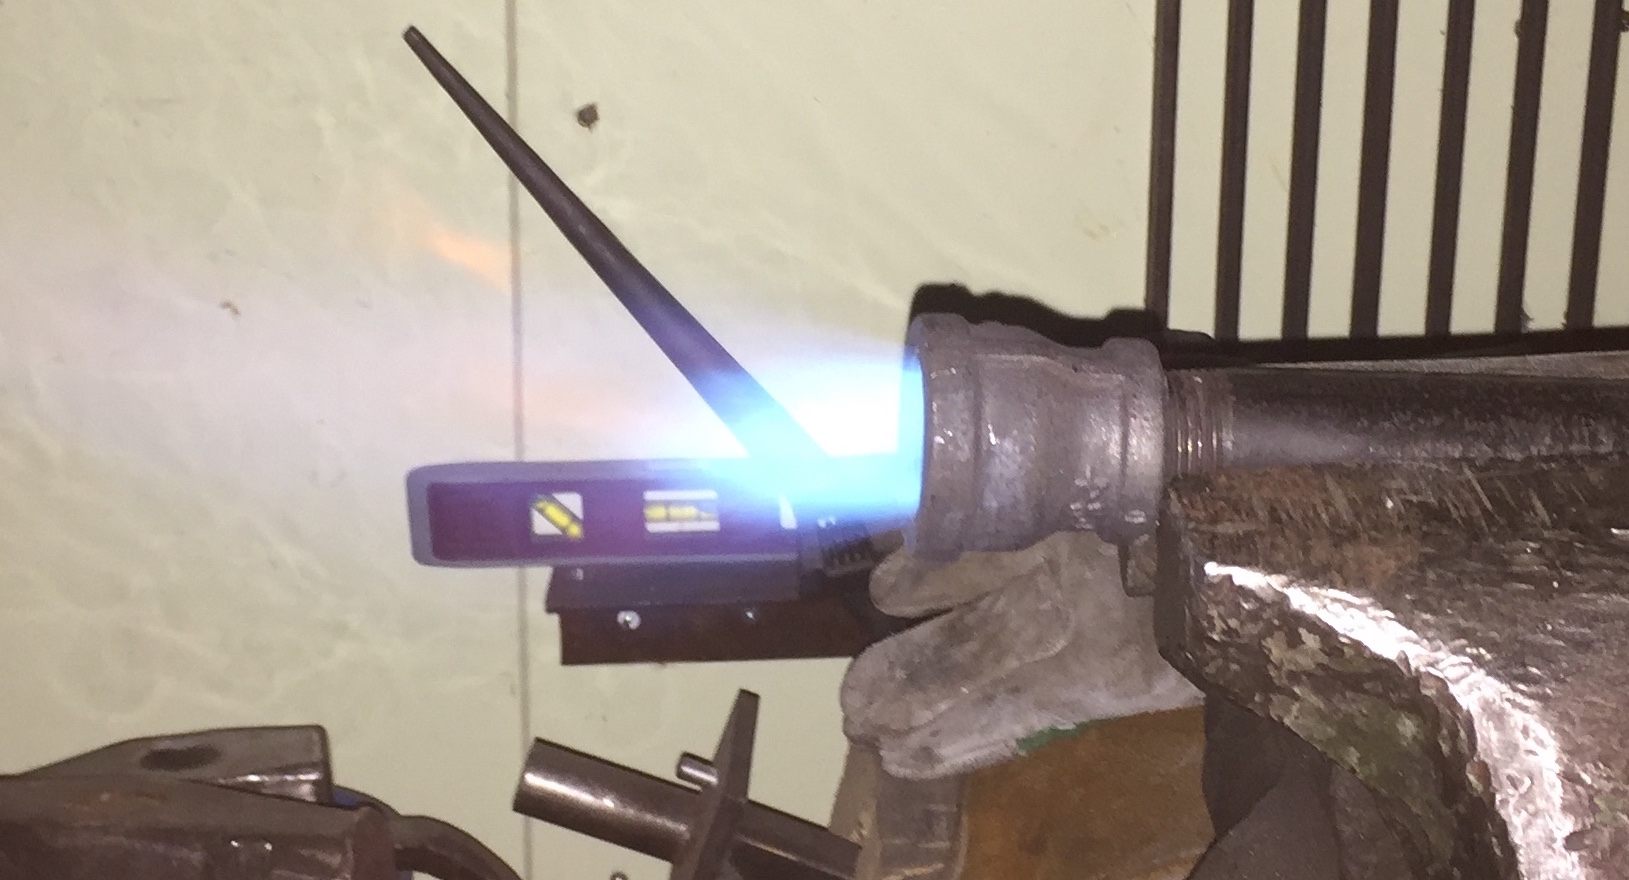
As long as you learn, you do not die ! That's my mindset I remade a tube with a hole no.60. The flame is 100% blue. However, there are orange flames. I guess I must now focus on the flare adjustment.
-
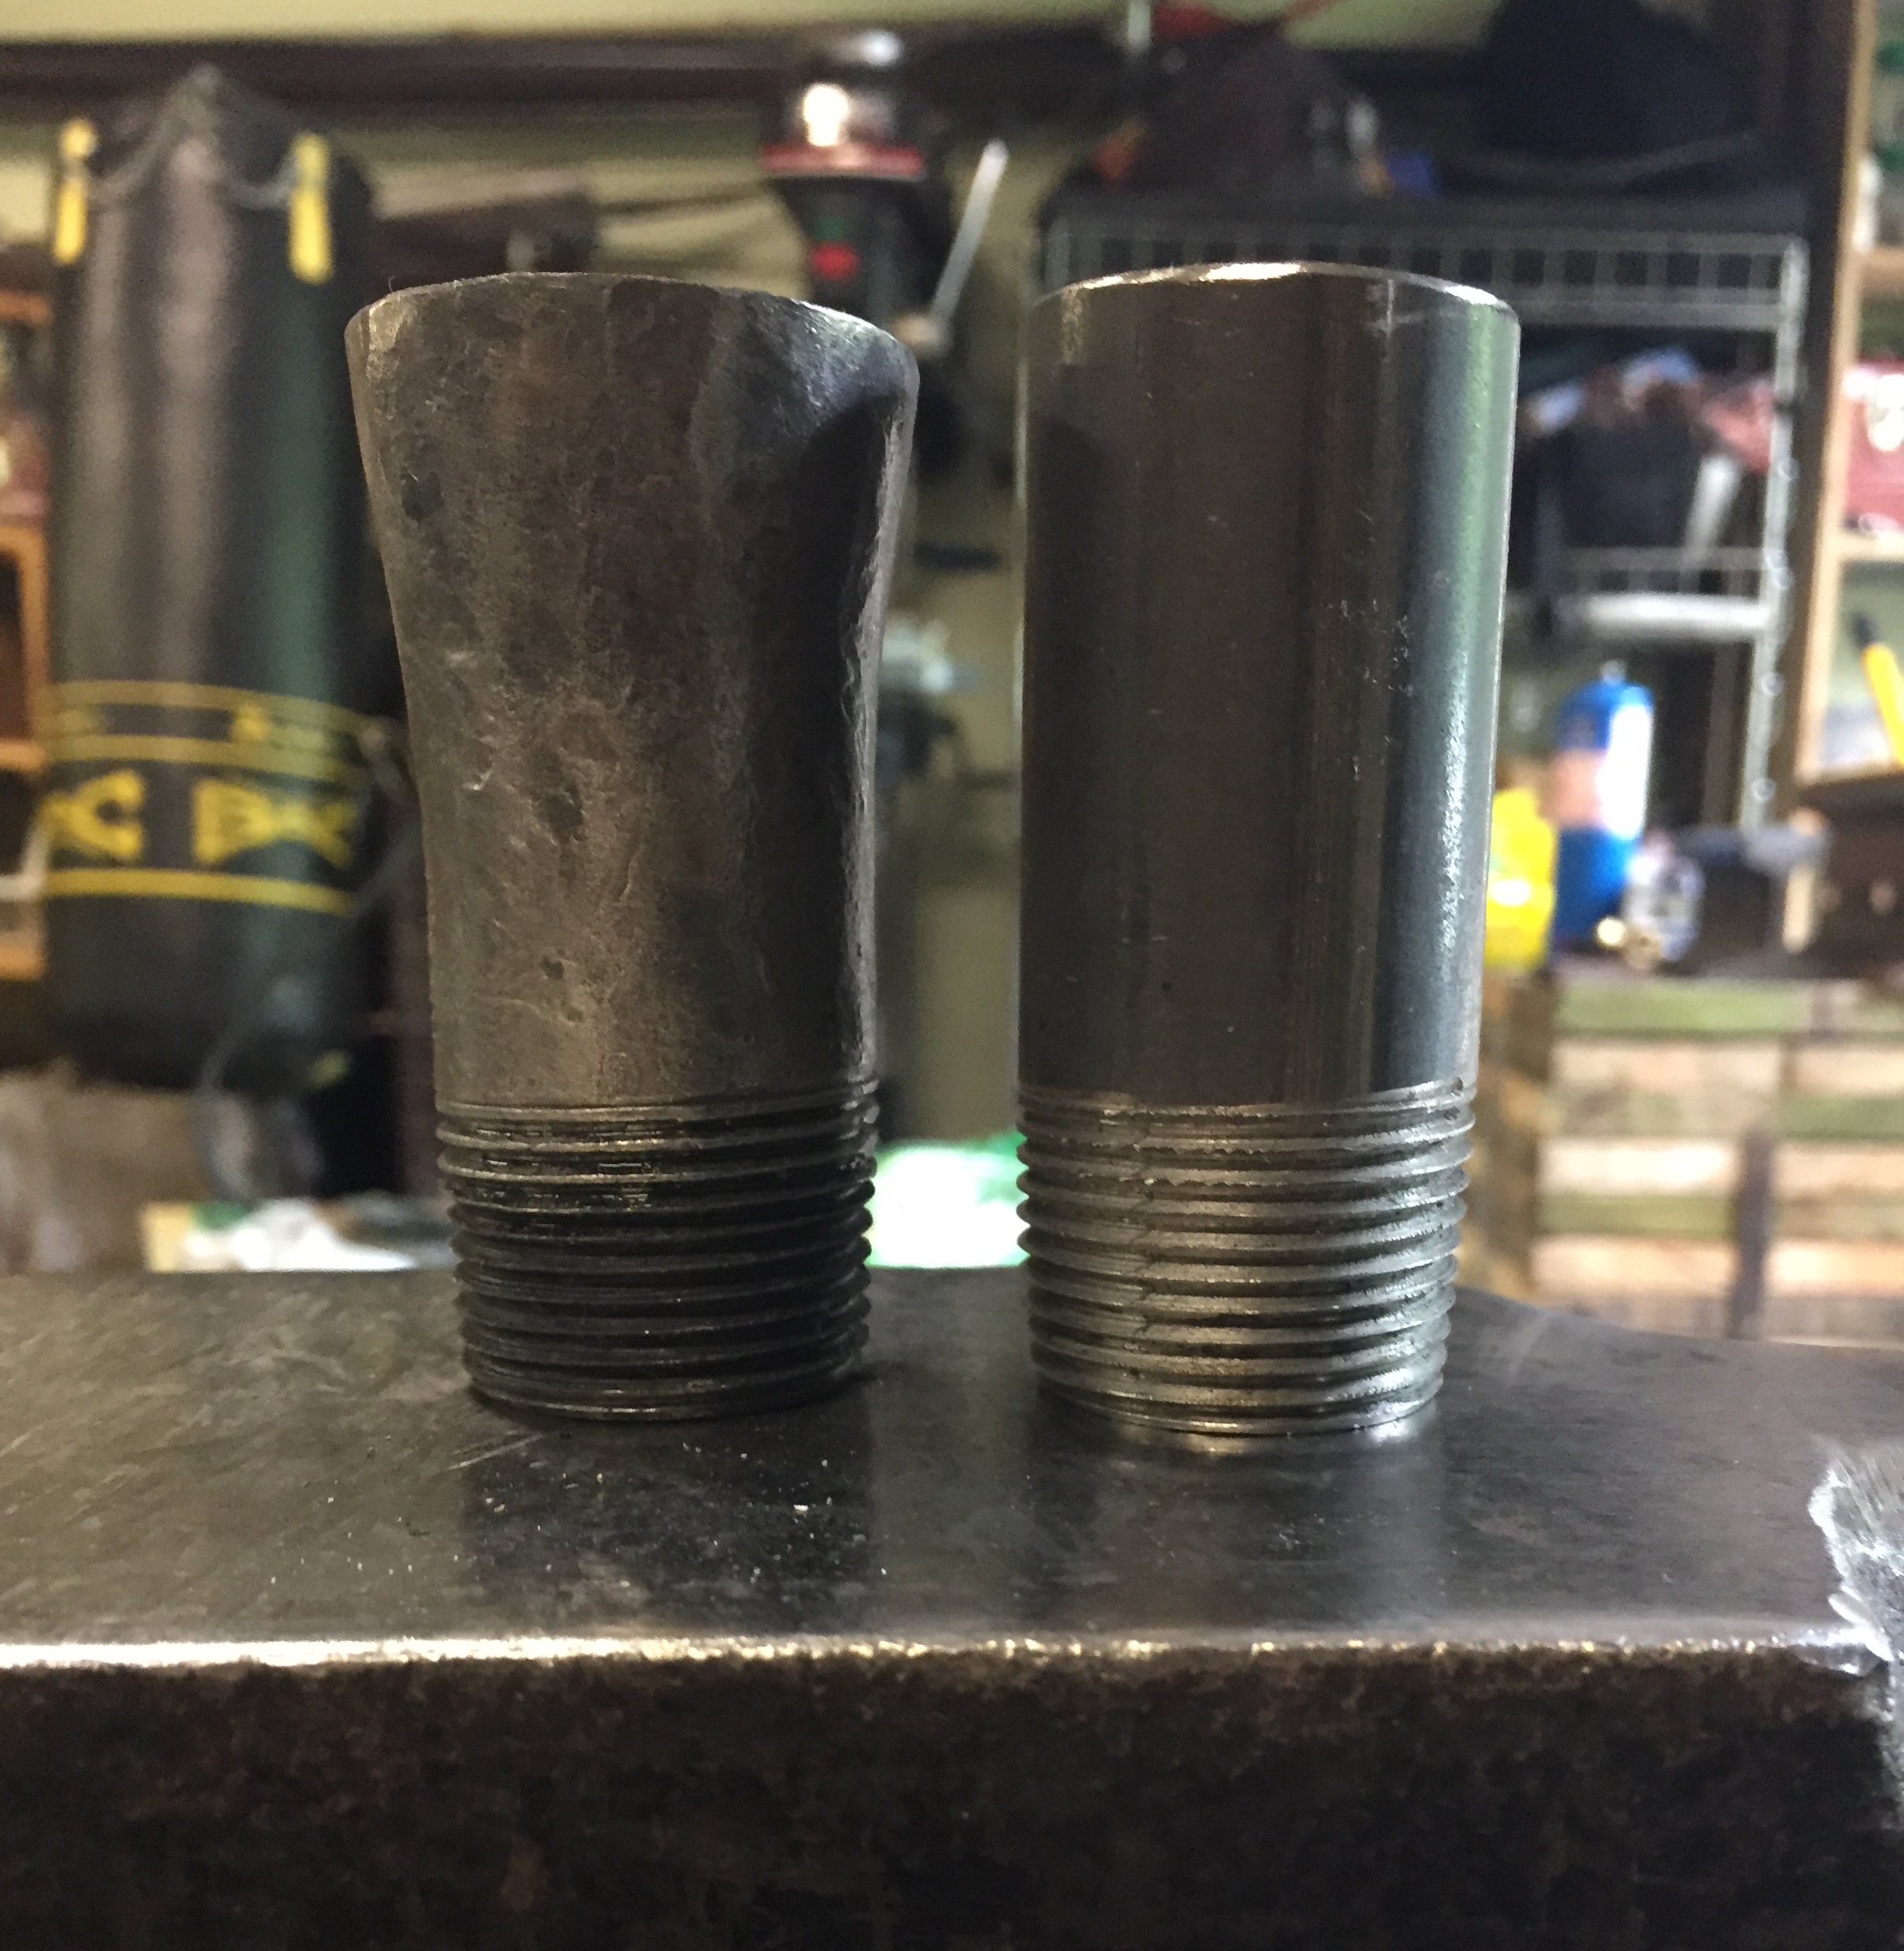
Thanks Frosty and Mickey That's what surprises me the most and I do not understand. The Reil burner is quite easy and here are my parts as described instructions: Reducer 1-1/2 to 3/4 Nipple 3/4 X 6 inches 1/8 Tube with no.57 hole Flare To make the flare I took a 1 inch tube and I forged it. It simply slides over the 3/4 mixing tube. That's why I wonder why it does not work (look) as supposed...? although I get a hot flame...
-
I am one of the new ones but I assure you that I do my homework before asking a question. However following the recipe is not so easy. I made 2 T-Burner, 1 Reil, 1 Oliver Upwind and 1 Mongo and despite much attention to detail, I can not get the perfect flame! That's the better that I got : It's becoming an obsession!

-
Cool ! see it works ?
-
I have a hard time accepting (understanding) that there is as much adjustment for a burner that has 3-4 parts only. Running too rich brings a lower temperature, more CO and... ?
-
Thanks Frosty. I'll trim the MIG tip a bit. I'm sure the burners are rolling on the rich side again. Very good idea to put one valve per burner. I'll put the T connector down the valves instead of up. The volume is 16.5 x 5.5 x 4.5 = 408 cubic inches. Your advice is very appreciated.
-
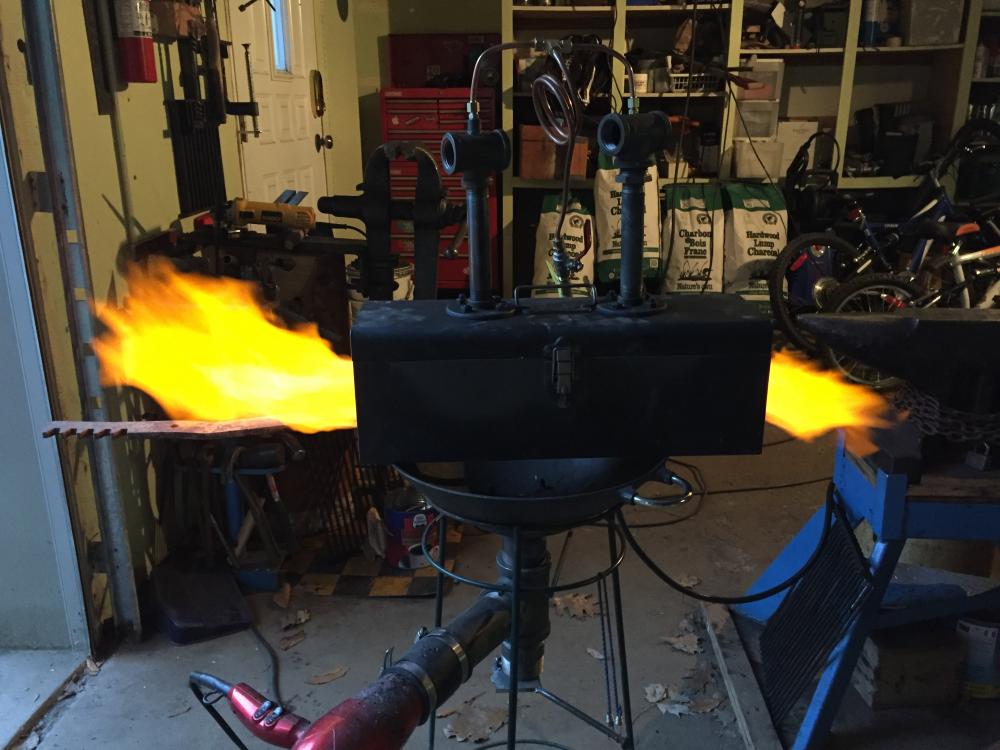
Thank you, it's very clear as explanations. I intend to use it only outdoors to avoid for problem of poisoning. I took the pictures inside just to get the flame in the dark and the front door was open... I'm starting out with gas forges, but I'm going to be very careful with the safety rules. Thanks for the tip !
-
I'm sorry Thomas, but my english isn't good enough to understand your question. Can you explain me a little more what you mean please ?
-
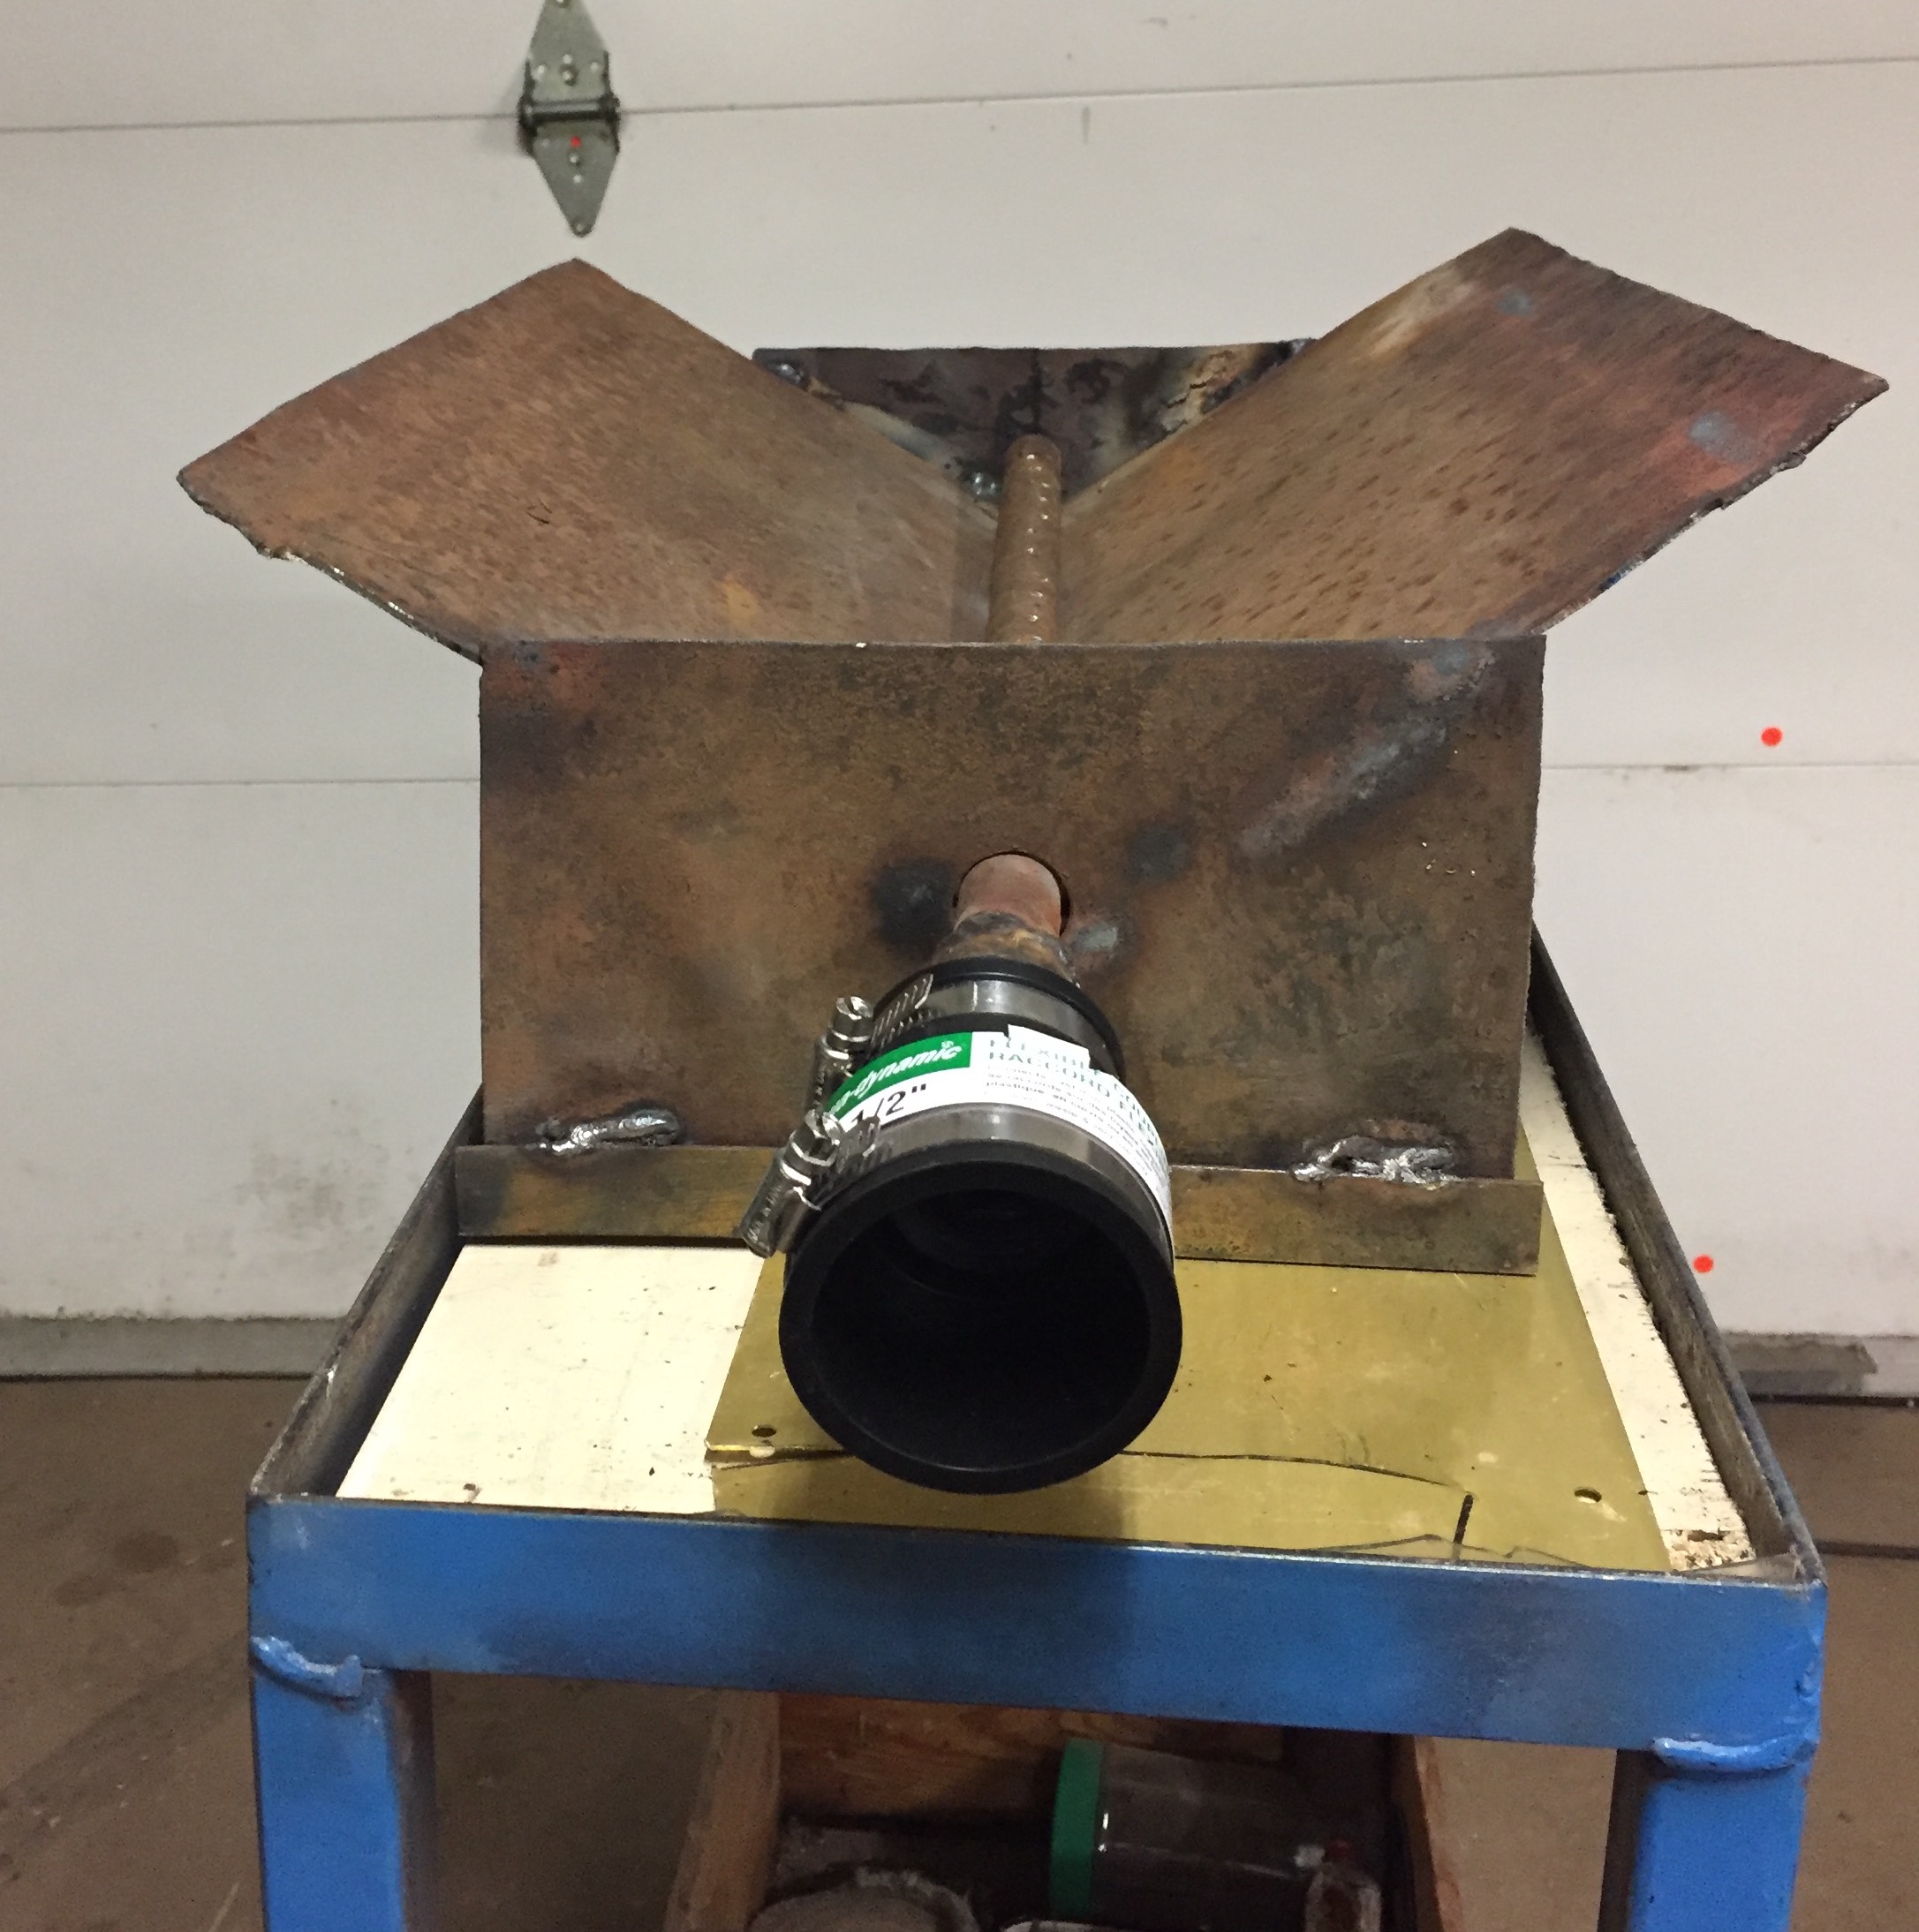
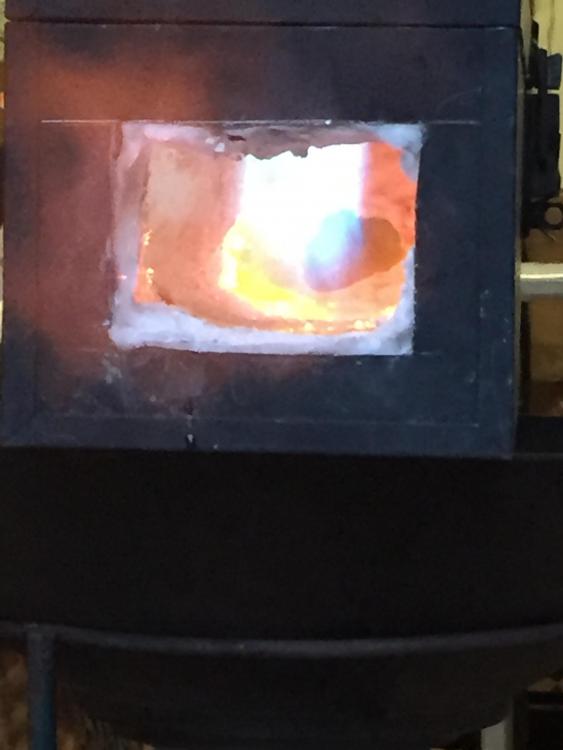
Part II of the toolbox forge. As I was advised, I moved my propane bottle for more safety, checked all the possible gas leaks around the fitting, I enlarged the front hole, I made an exhaust at back, I double the wool on the sides and put a thicker more in the bottom. The kaowool treated with hardener! I am quite happy with the result.


-
Already done ! Ok, I'll forget about the brick