blacksmith-450
-
Posts
378 -
Joined
-
Last visited
Content Type
Profiles
Forums
Articles
Gallery
Downloads
Events
Everything posted by blacksmith-450
-
Comments ??? http://www.makeitextreme.com/en/newsroom/entry/VIDEOS/propaneforge
-
Wow ! The shop is soooooooooo clean !
-
An other one today...

-

Gas Ignition Inside the Body/Tube
blacksmith-450 replied to Chad Hunter Thrower's topic in Gas Forges
The mixing tube is a little too long. -
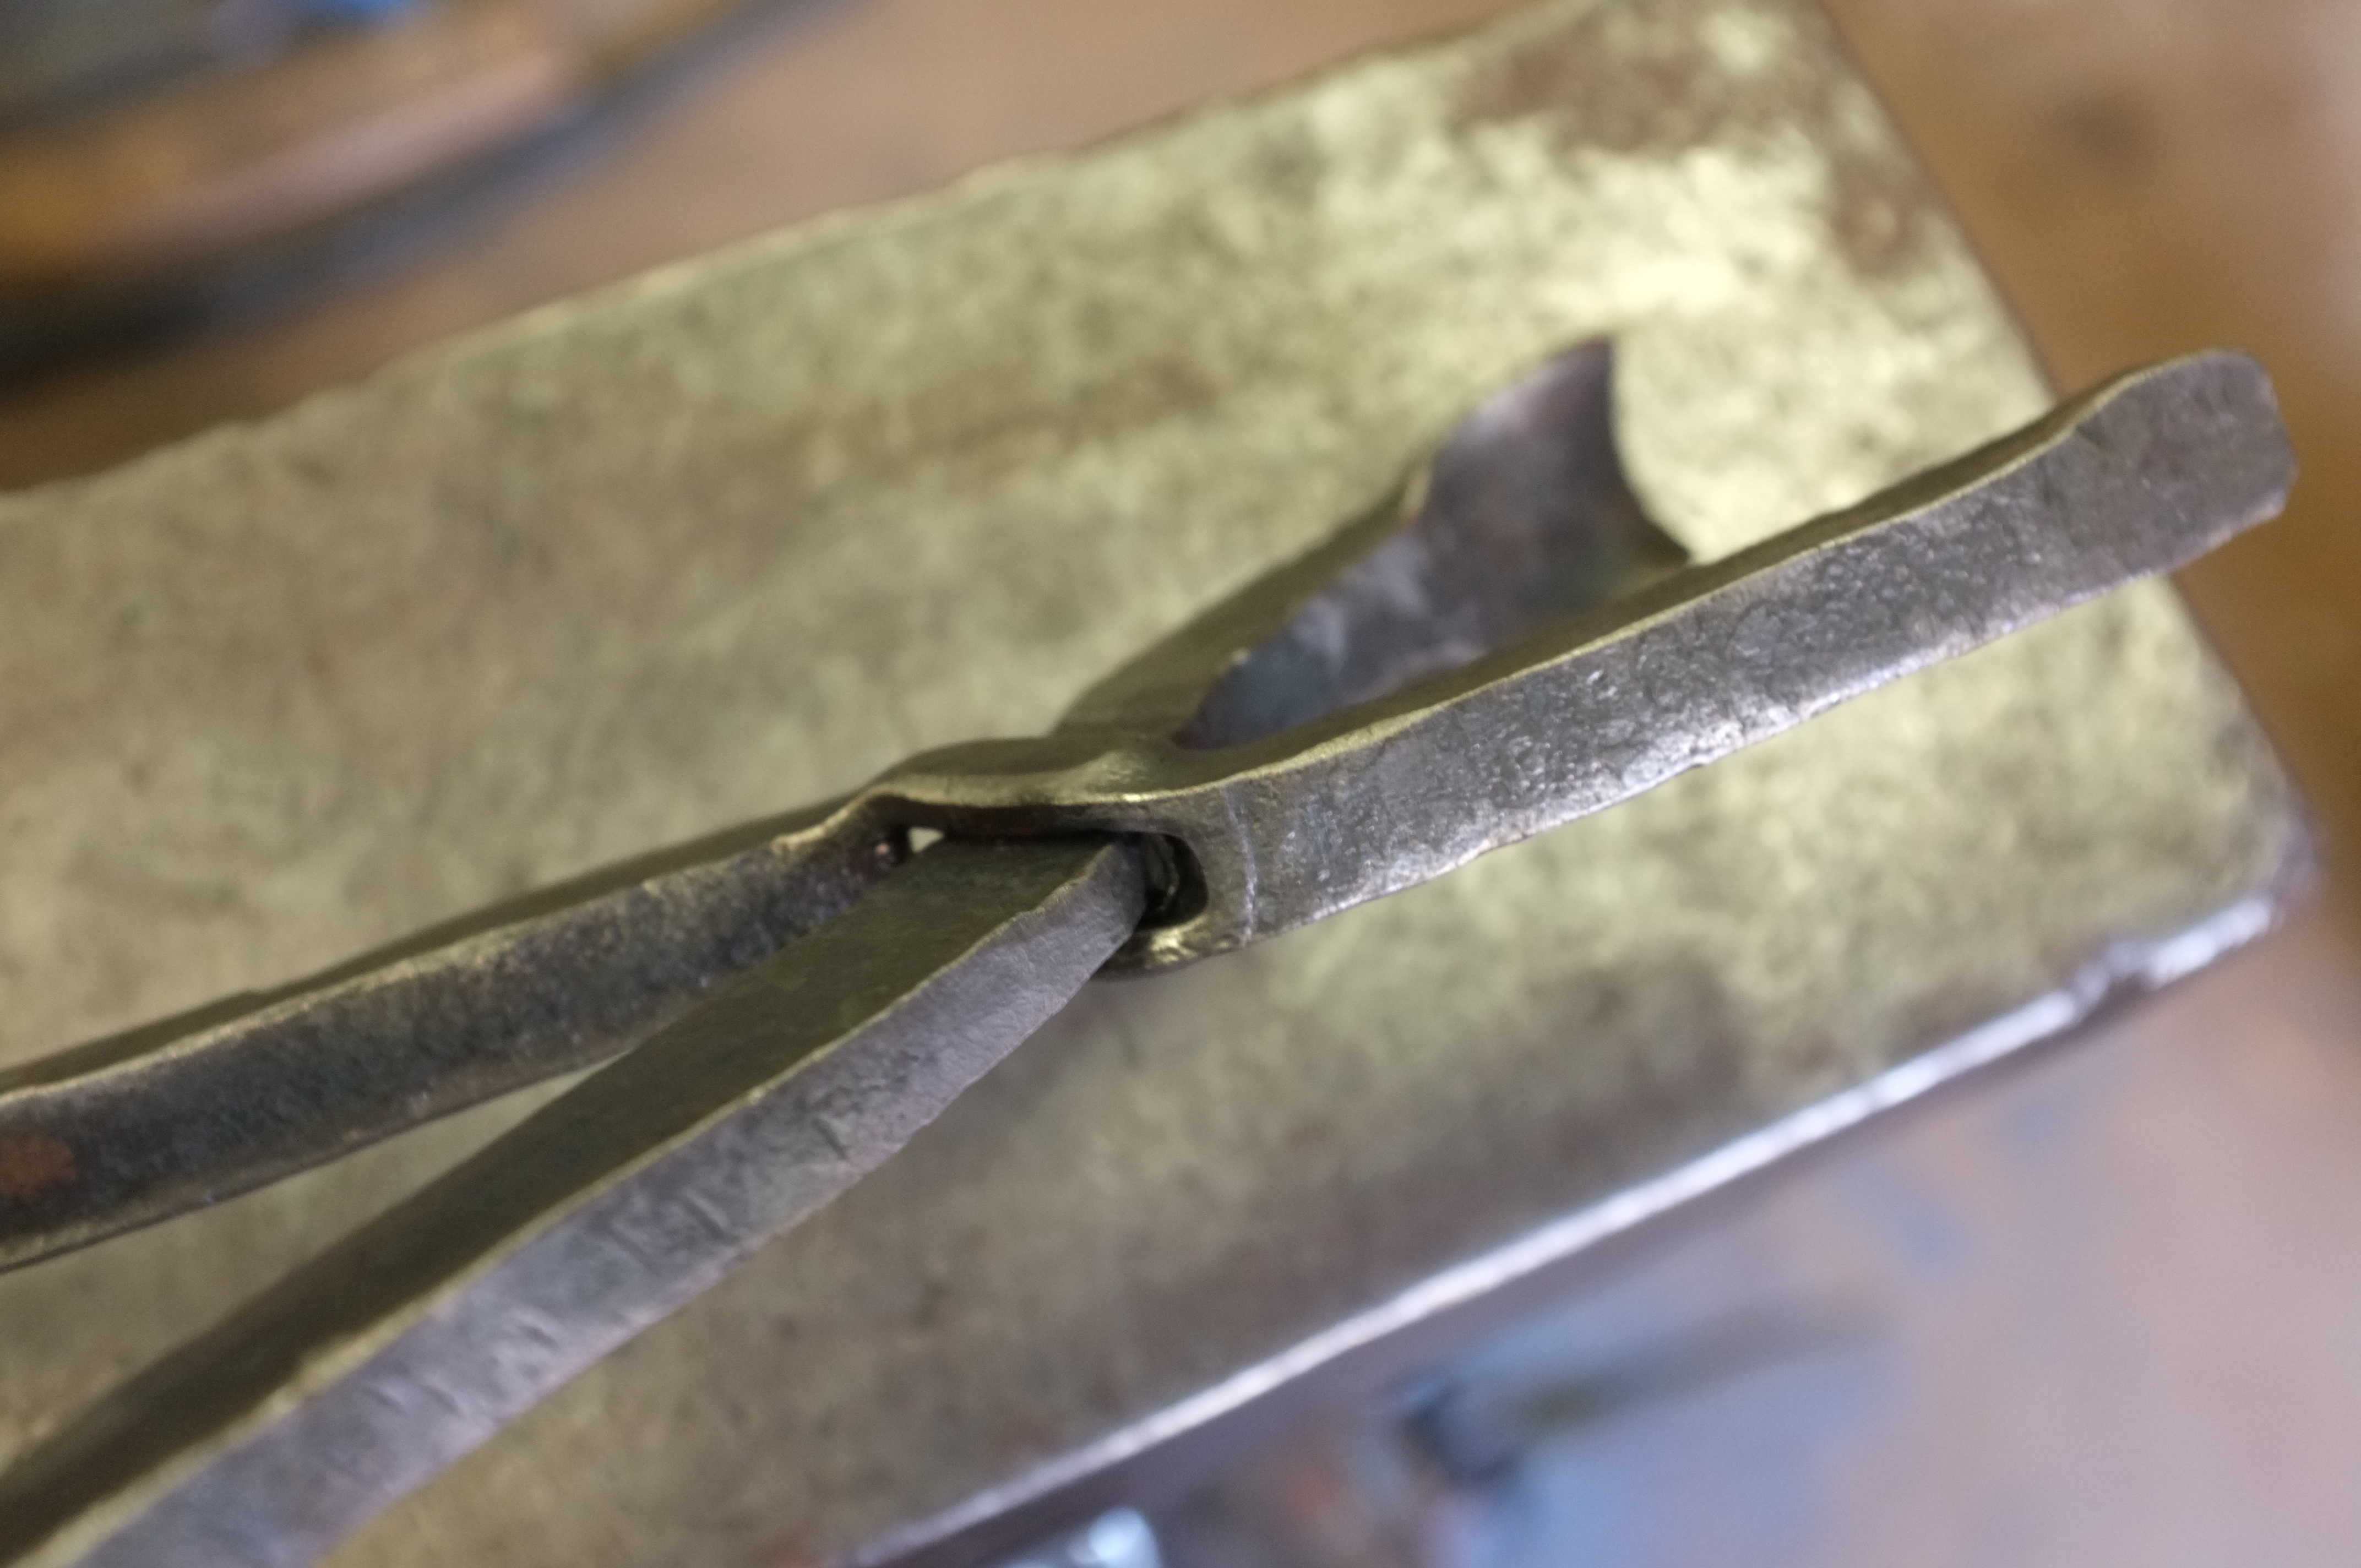
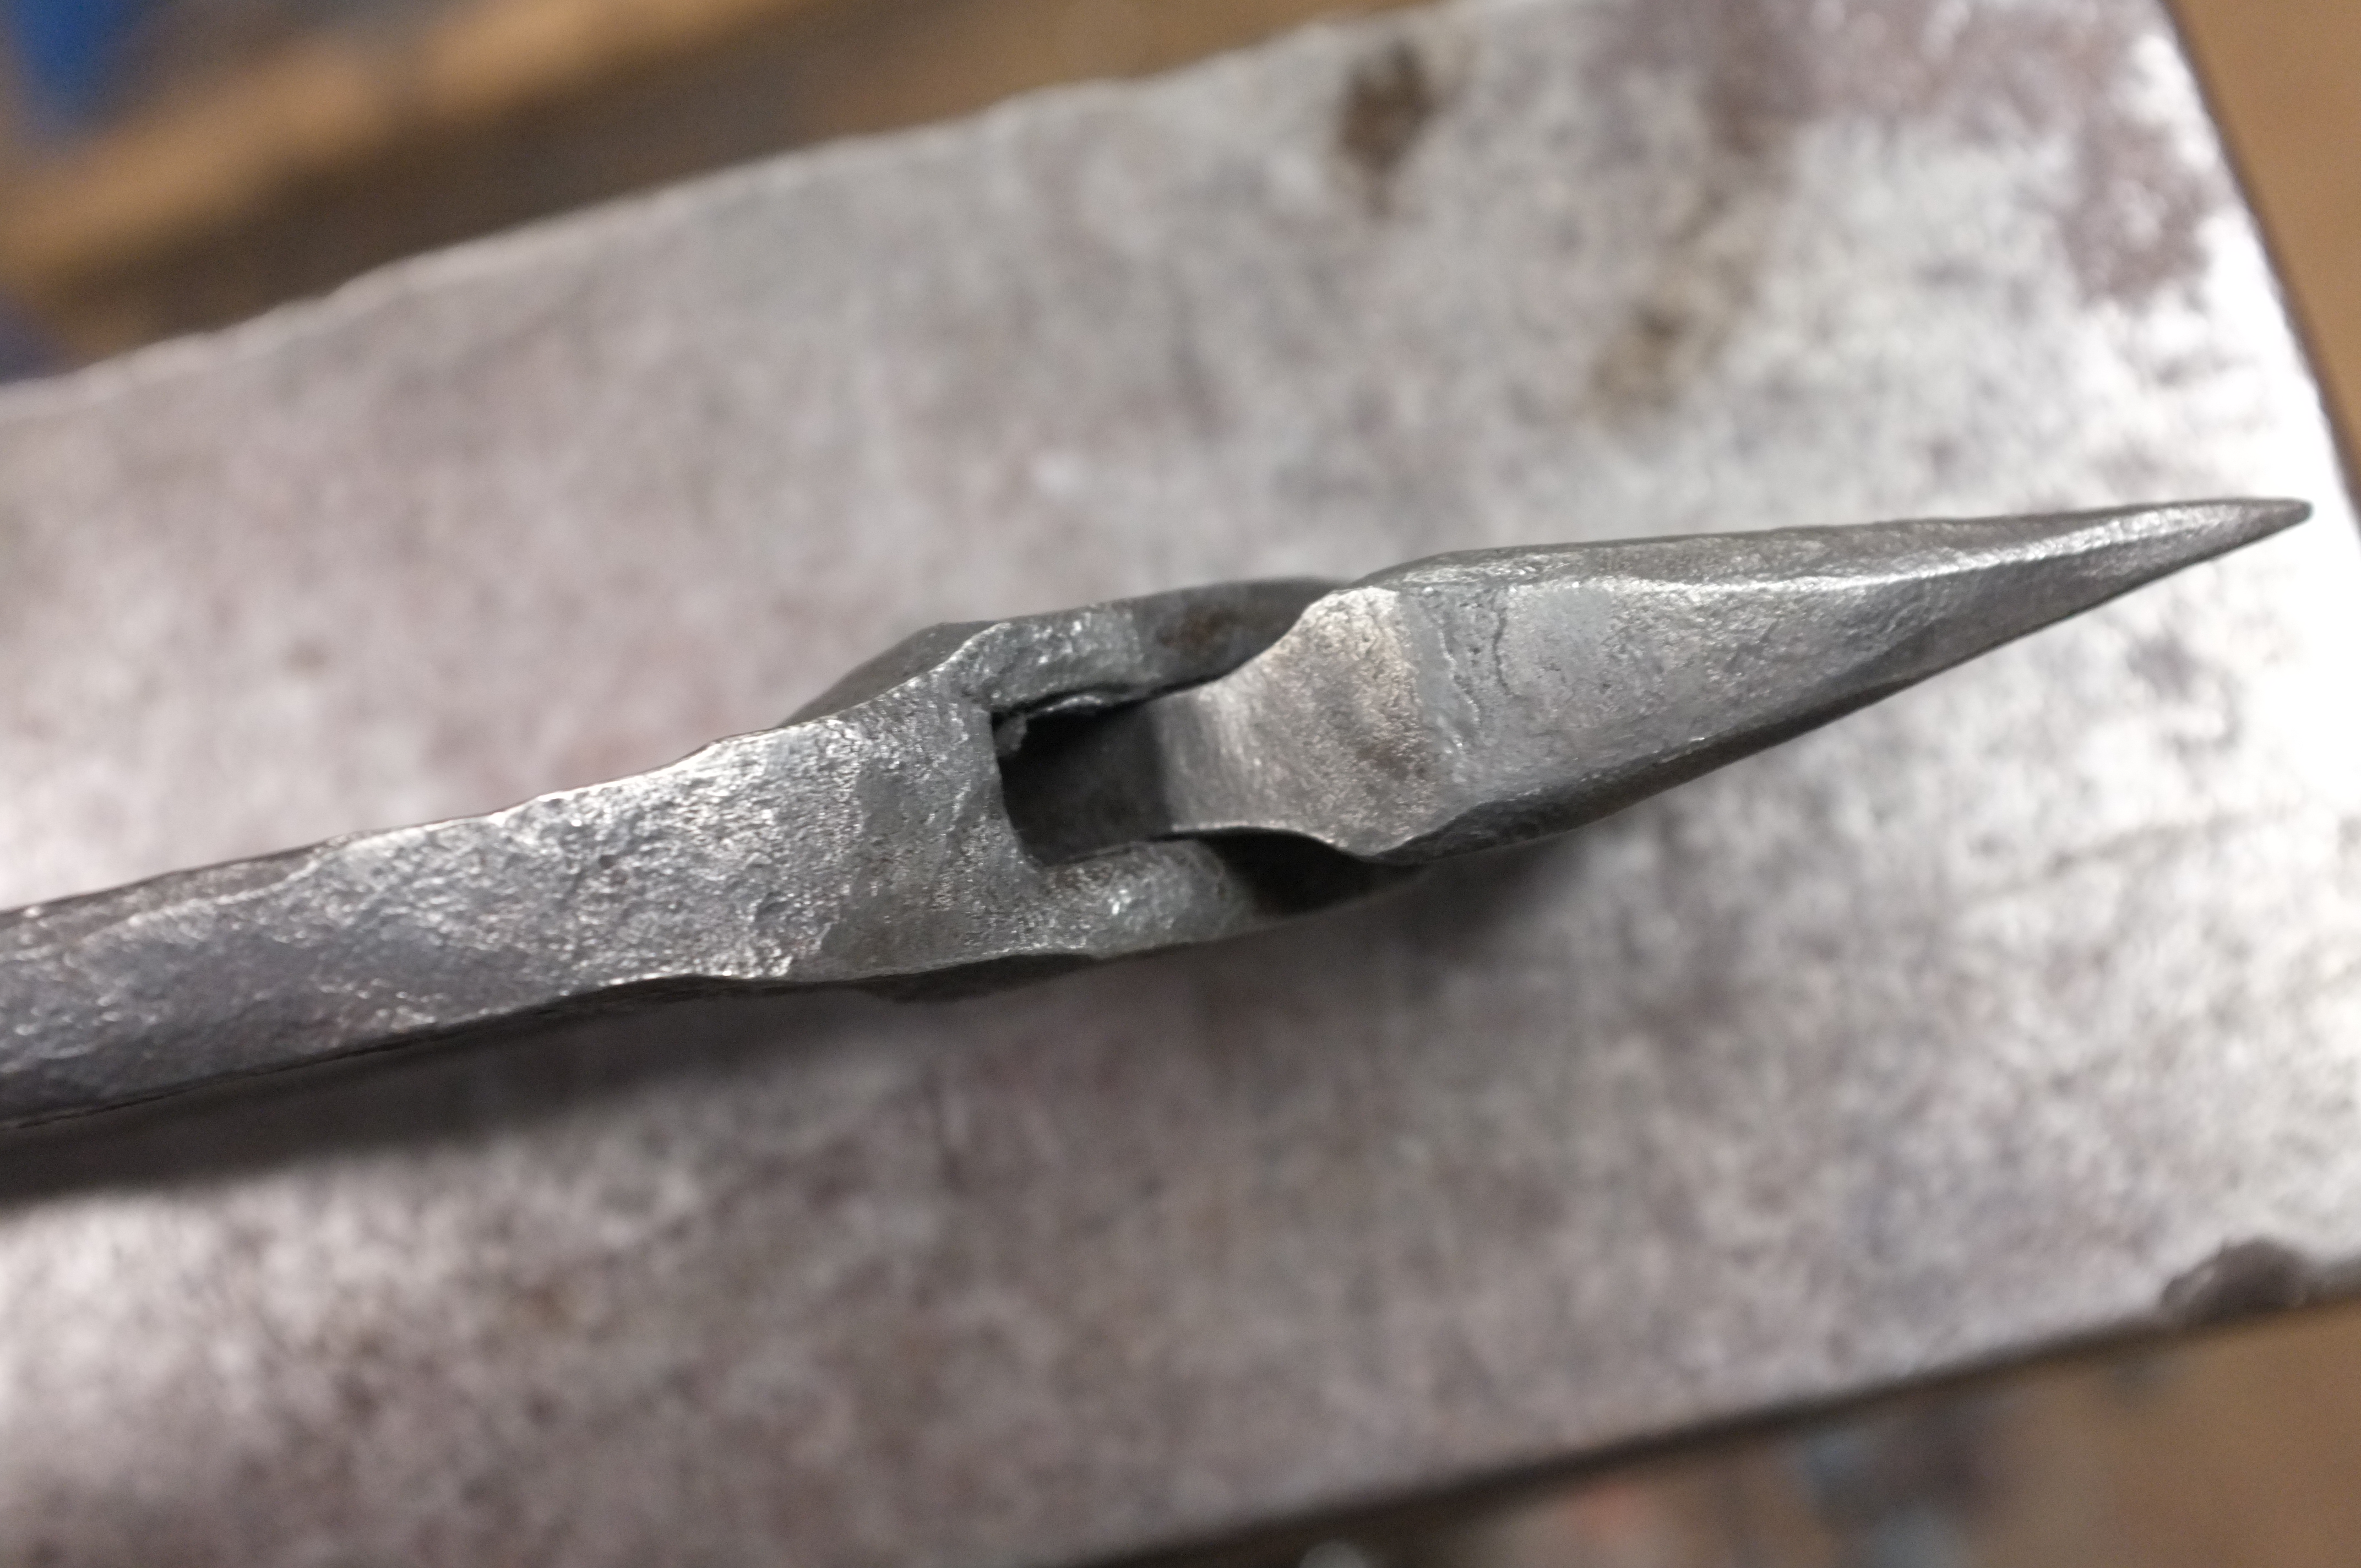
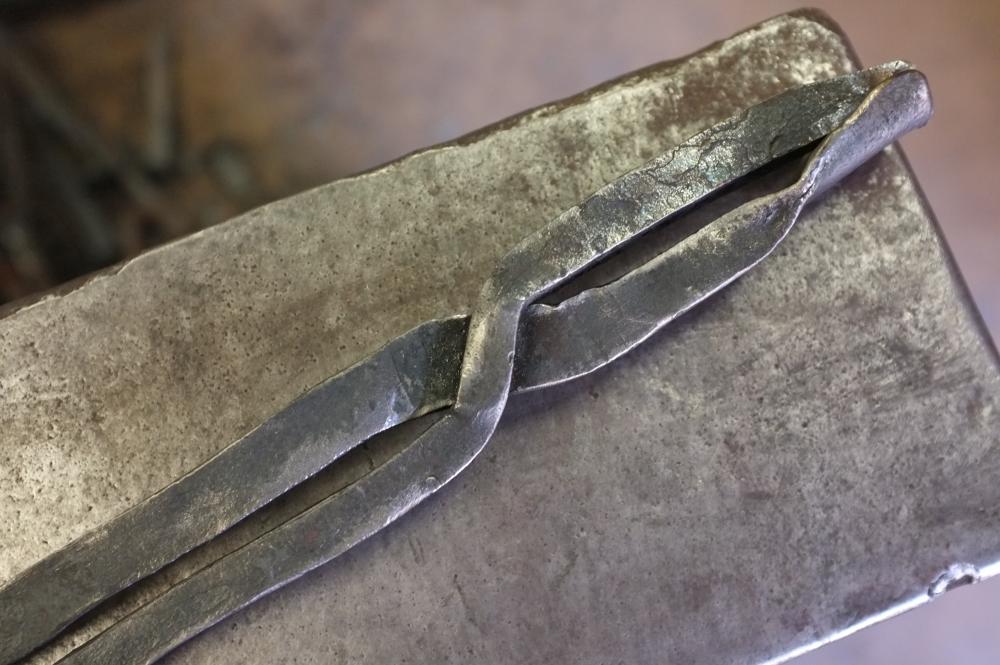
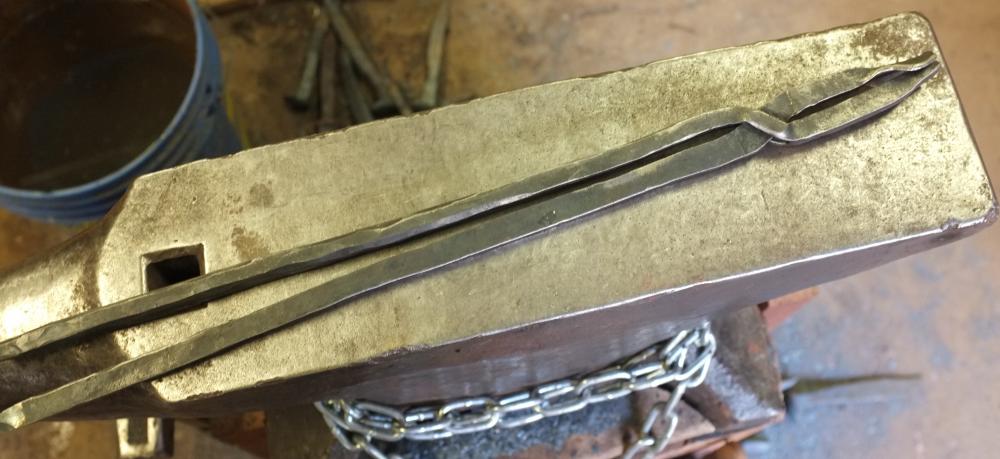
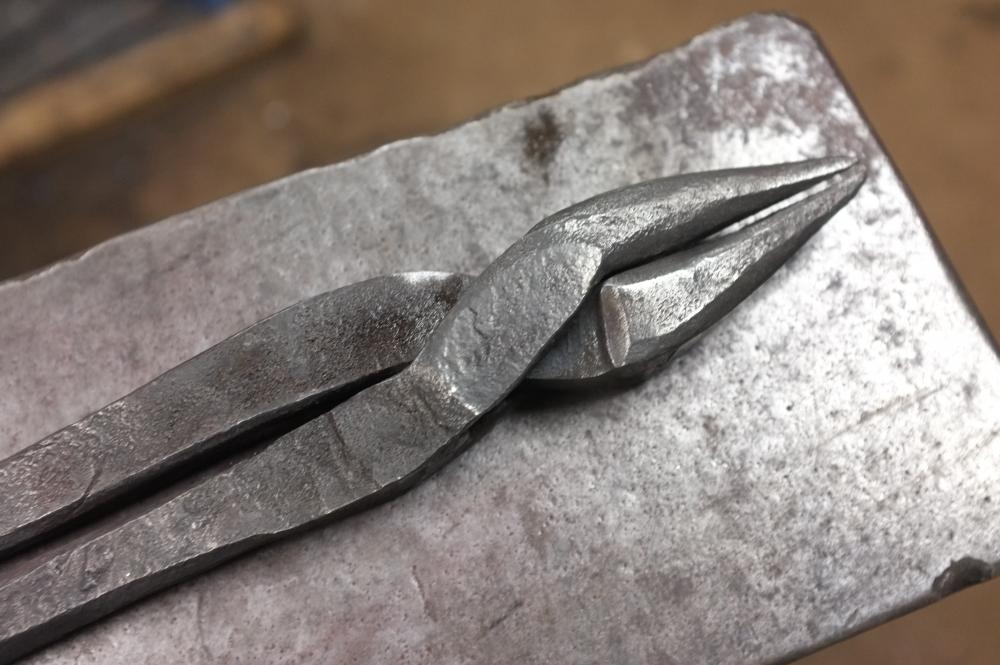
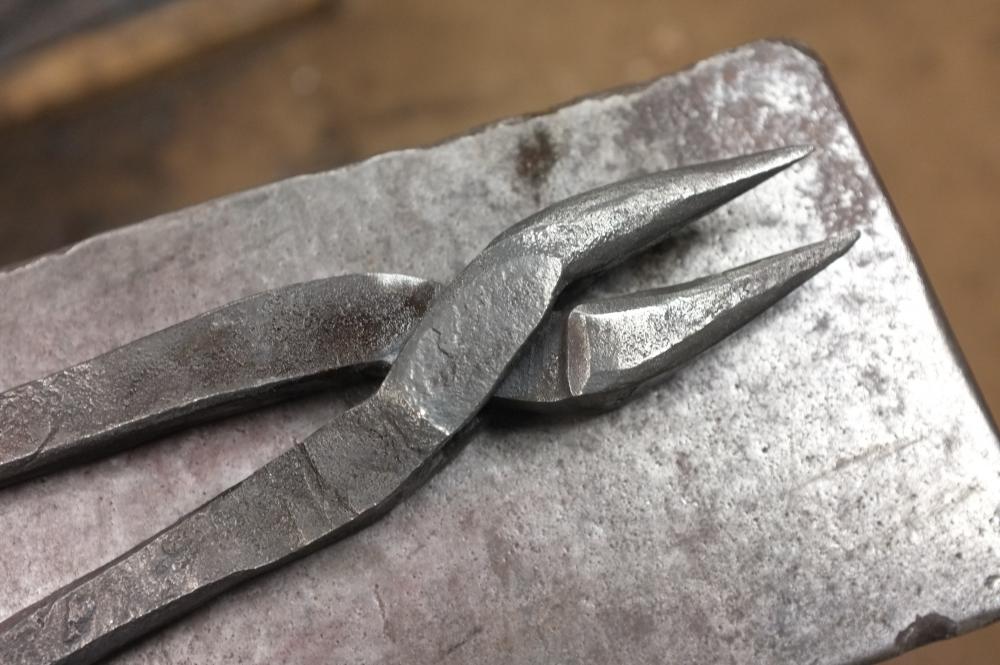
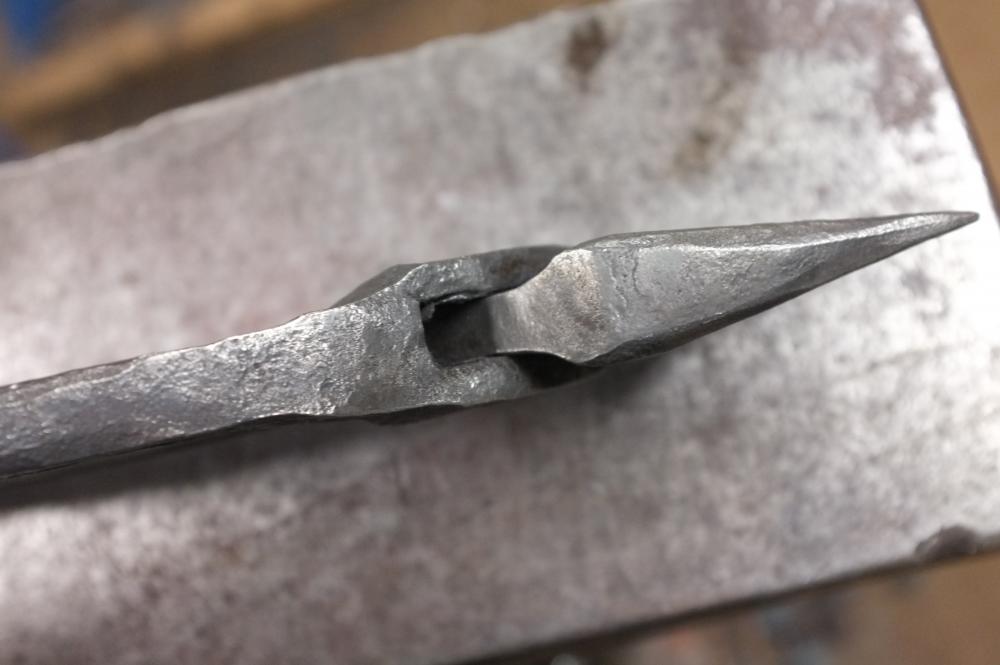
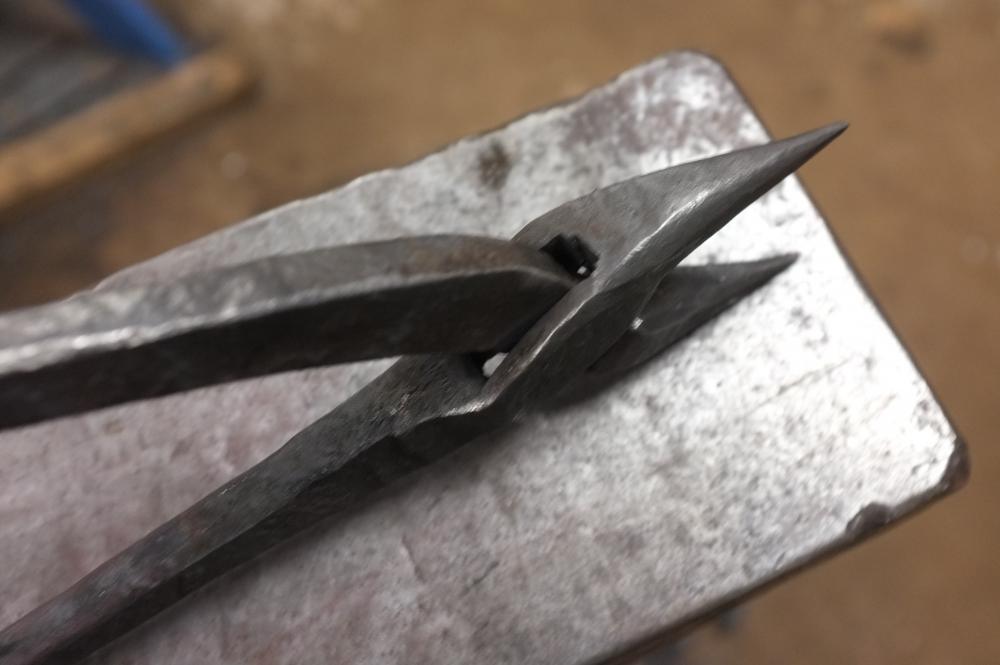
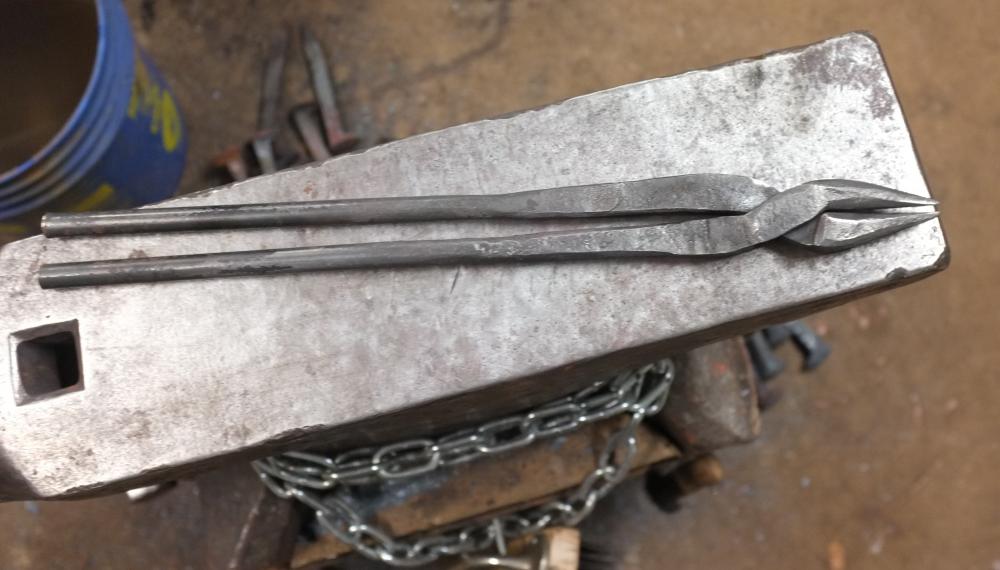
Here a scroll tongs without rivet. Fancy ???
-
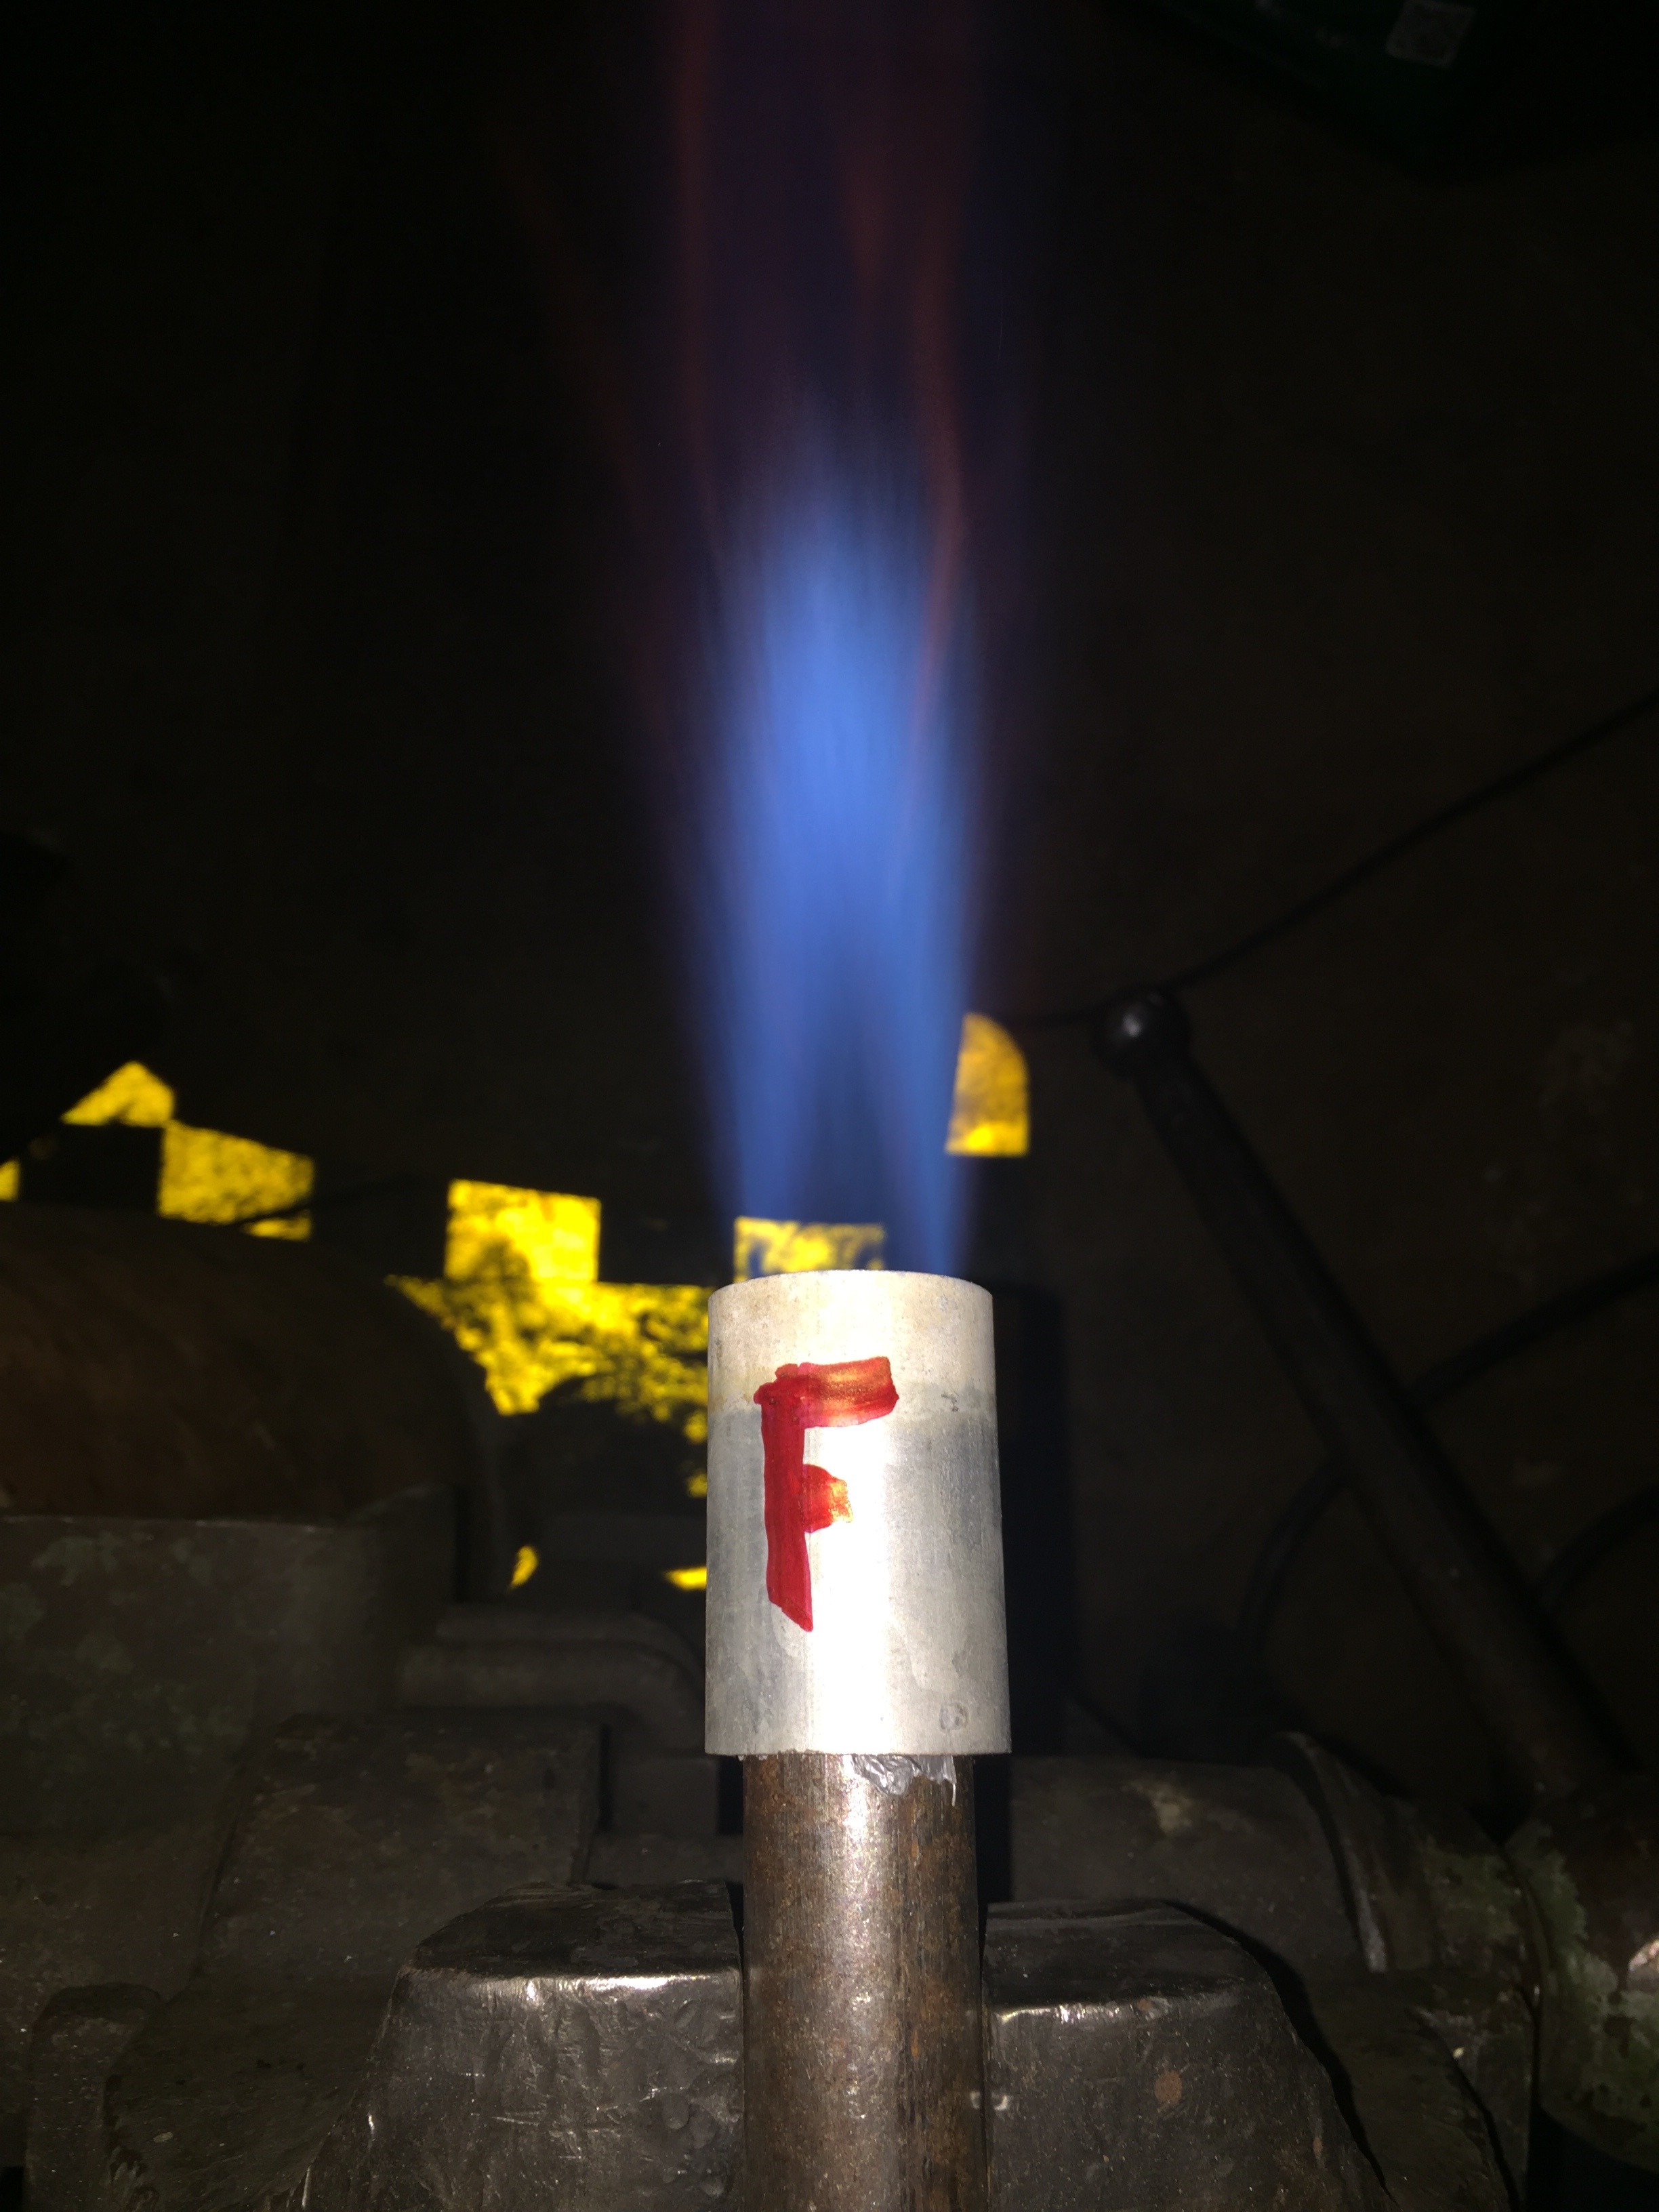
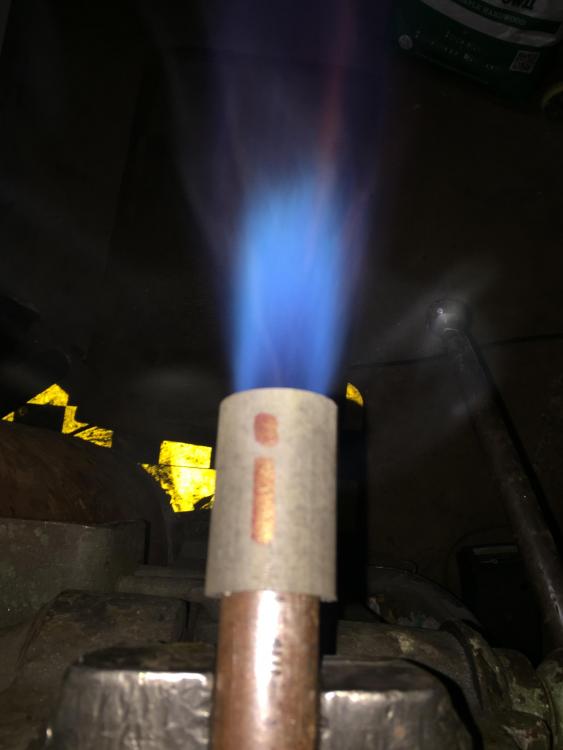
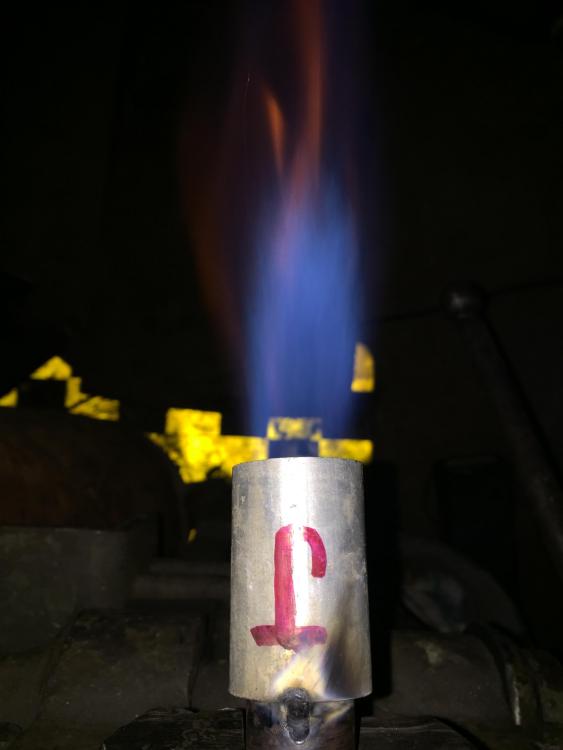
The built is very simple, in fact I followed the original plans found on the web... or almost ... 1 inch OD X 7 inches long 1.25 ID X 2 inches long 1/8 nipple X 2 inches long 3/8 hole at 1/2 inch of the top 3/8 hole at 1.25 and 2.75 inch, open to make a slot No. 60 drill bit to the jet. TIG Weld when to is fitted in place with a neutral flame I weld the end of the 1/8 nipple instead of using a cap The fitting is a NPT to 1/4 Tube to connect it to the gaz line For the commercial sale, I do not believe it ! I offered them on a Facebook page of local blacksmiths at $65 Cnd delivery included and I often got answered that they were able to do better at cheaper prices. I wish them good luck !...
-
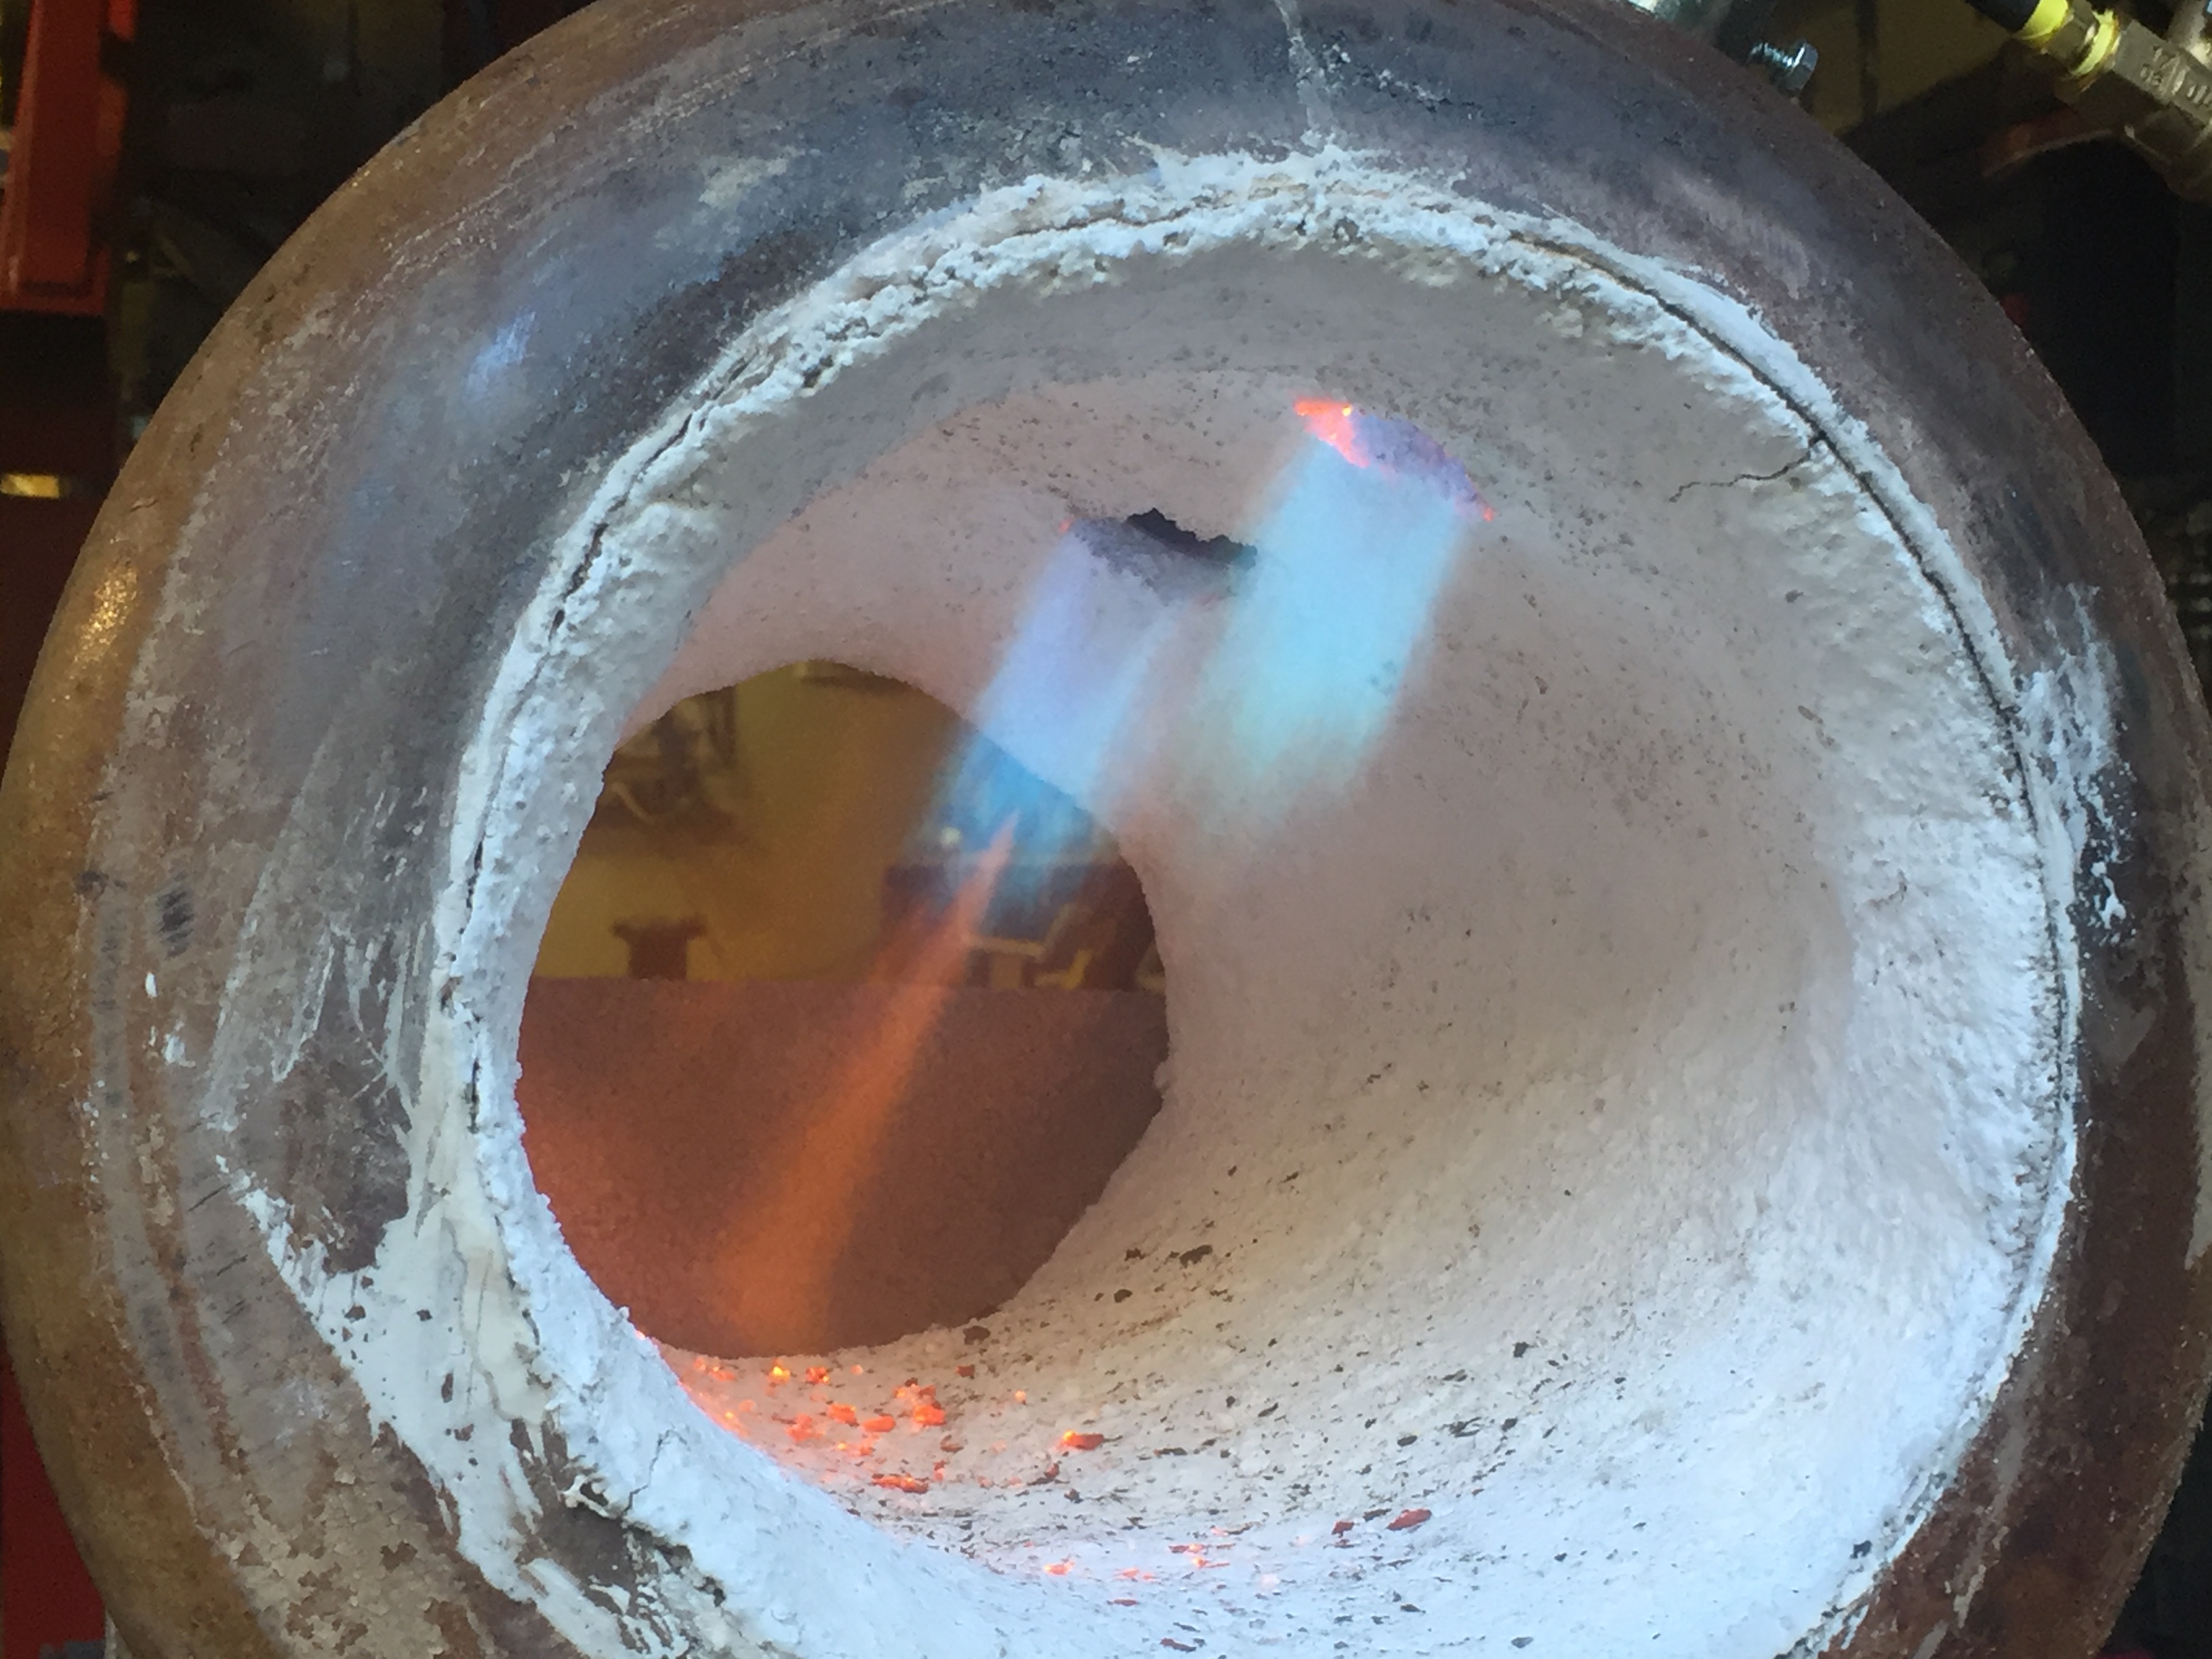
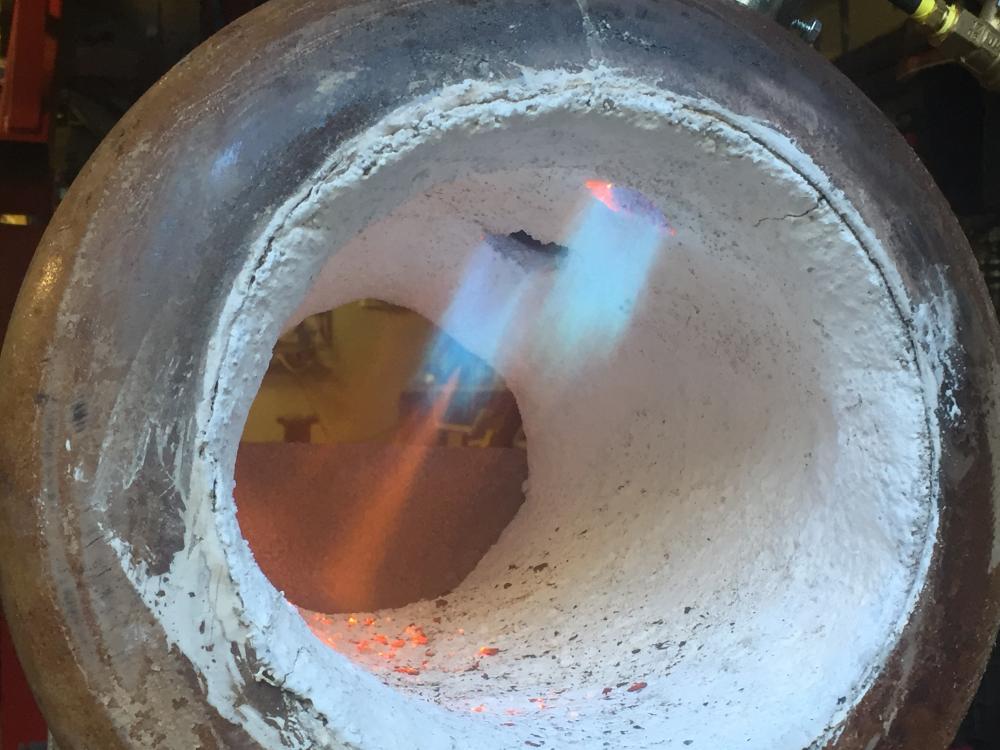
Little update : Metrikote With the burners on... Running !!!
-
First test !!!
-
@Buzzkill : can you post some pictures of your burner please ? (or refer me to a thread if it's already done.) Thanks.
-
btw i'm think that I put a lot of «ing» to my verbs... sorry for that ! .... but this time did I miss one ? LOL !
-
Above. ... but the horizontal still have some avantages.... The base will doubled with an other section of H-Beam... it will be mounted on a table, a large log,... An other section of h-beam will be but behind the main beam to cut the flex... I think that I have a plan...
-
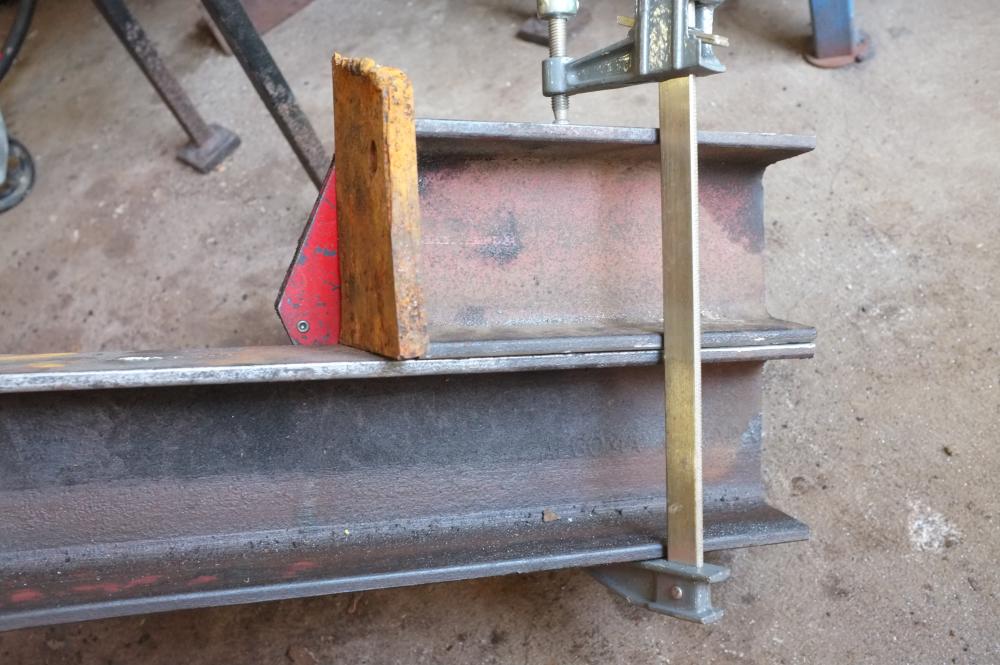
Here the final frame... 60 inches base to top - 15 inches of travel. and the working table before welding.
-
Today I work on my project to forge. I have 3 objectives: 1- Cut the motor support. I have to remove 12 inches of length on the beam. I reweld the beam cut back. It's a 180 degree flip. Rod welding, there is nothing structural in there. 2- Cut the bottom of the press. There were 16 inches in excess on the travel. I cut 8 inches and reweld flush to make the table stand. TIG welding on all 4 sides. I went slowly and deeply. The table will be welded on top of that assembly. 3- Remove the oil tank ... it will be replaced at the end only. The complete assembly is now 5 feet. It is more compact and solve my height problem. Pics to come.
-
Thanks Mike, I made a steel template to get a better alignment of the holes and I put a layer of duct tape between the tube and the flare to keep the thing straight during assembly. 2 little tricks that improve the product.
-
I had another litter of 6 !

-
I used log splitter for years and some of them were far from being in perfect condition. Now you scare me with hoses explosions !!! Frosty, black-pipe to remplace the hoses ?
-
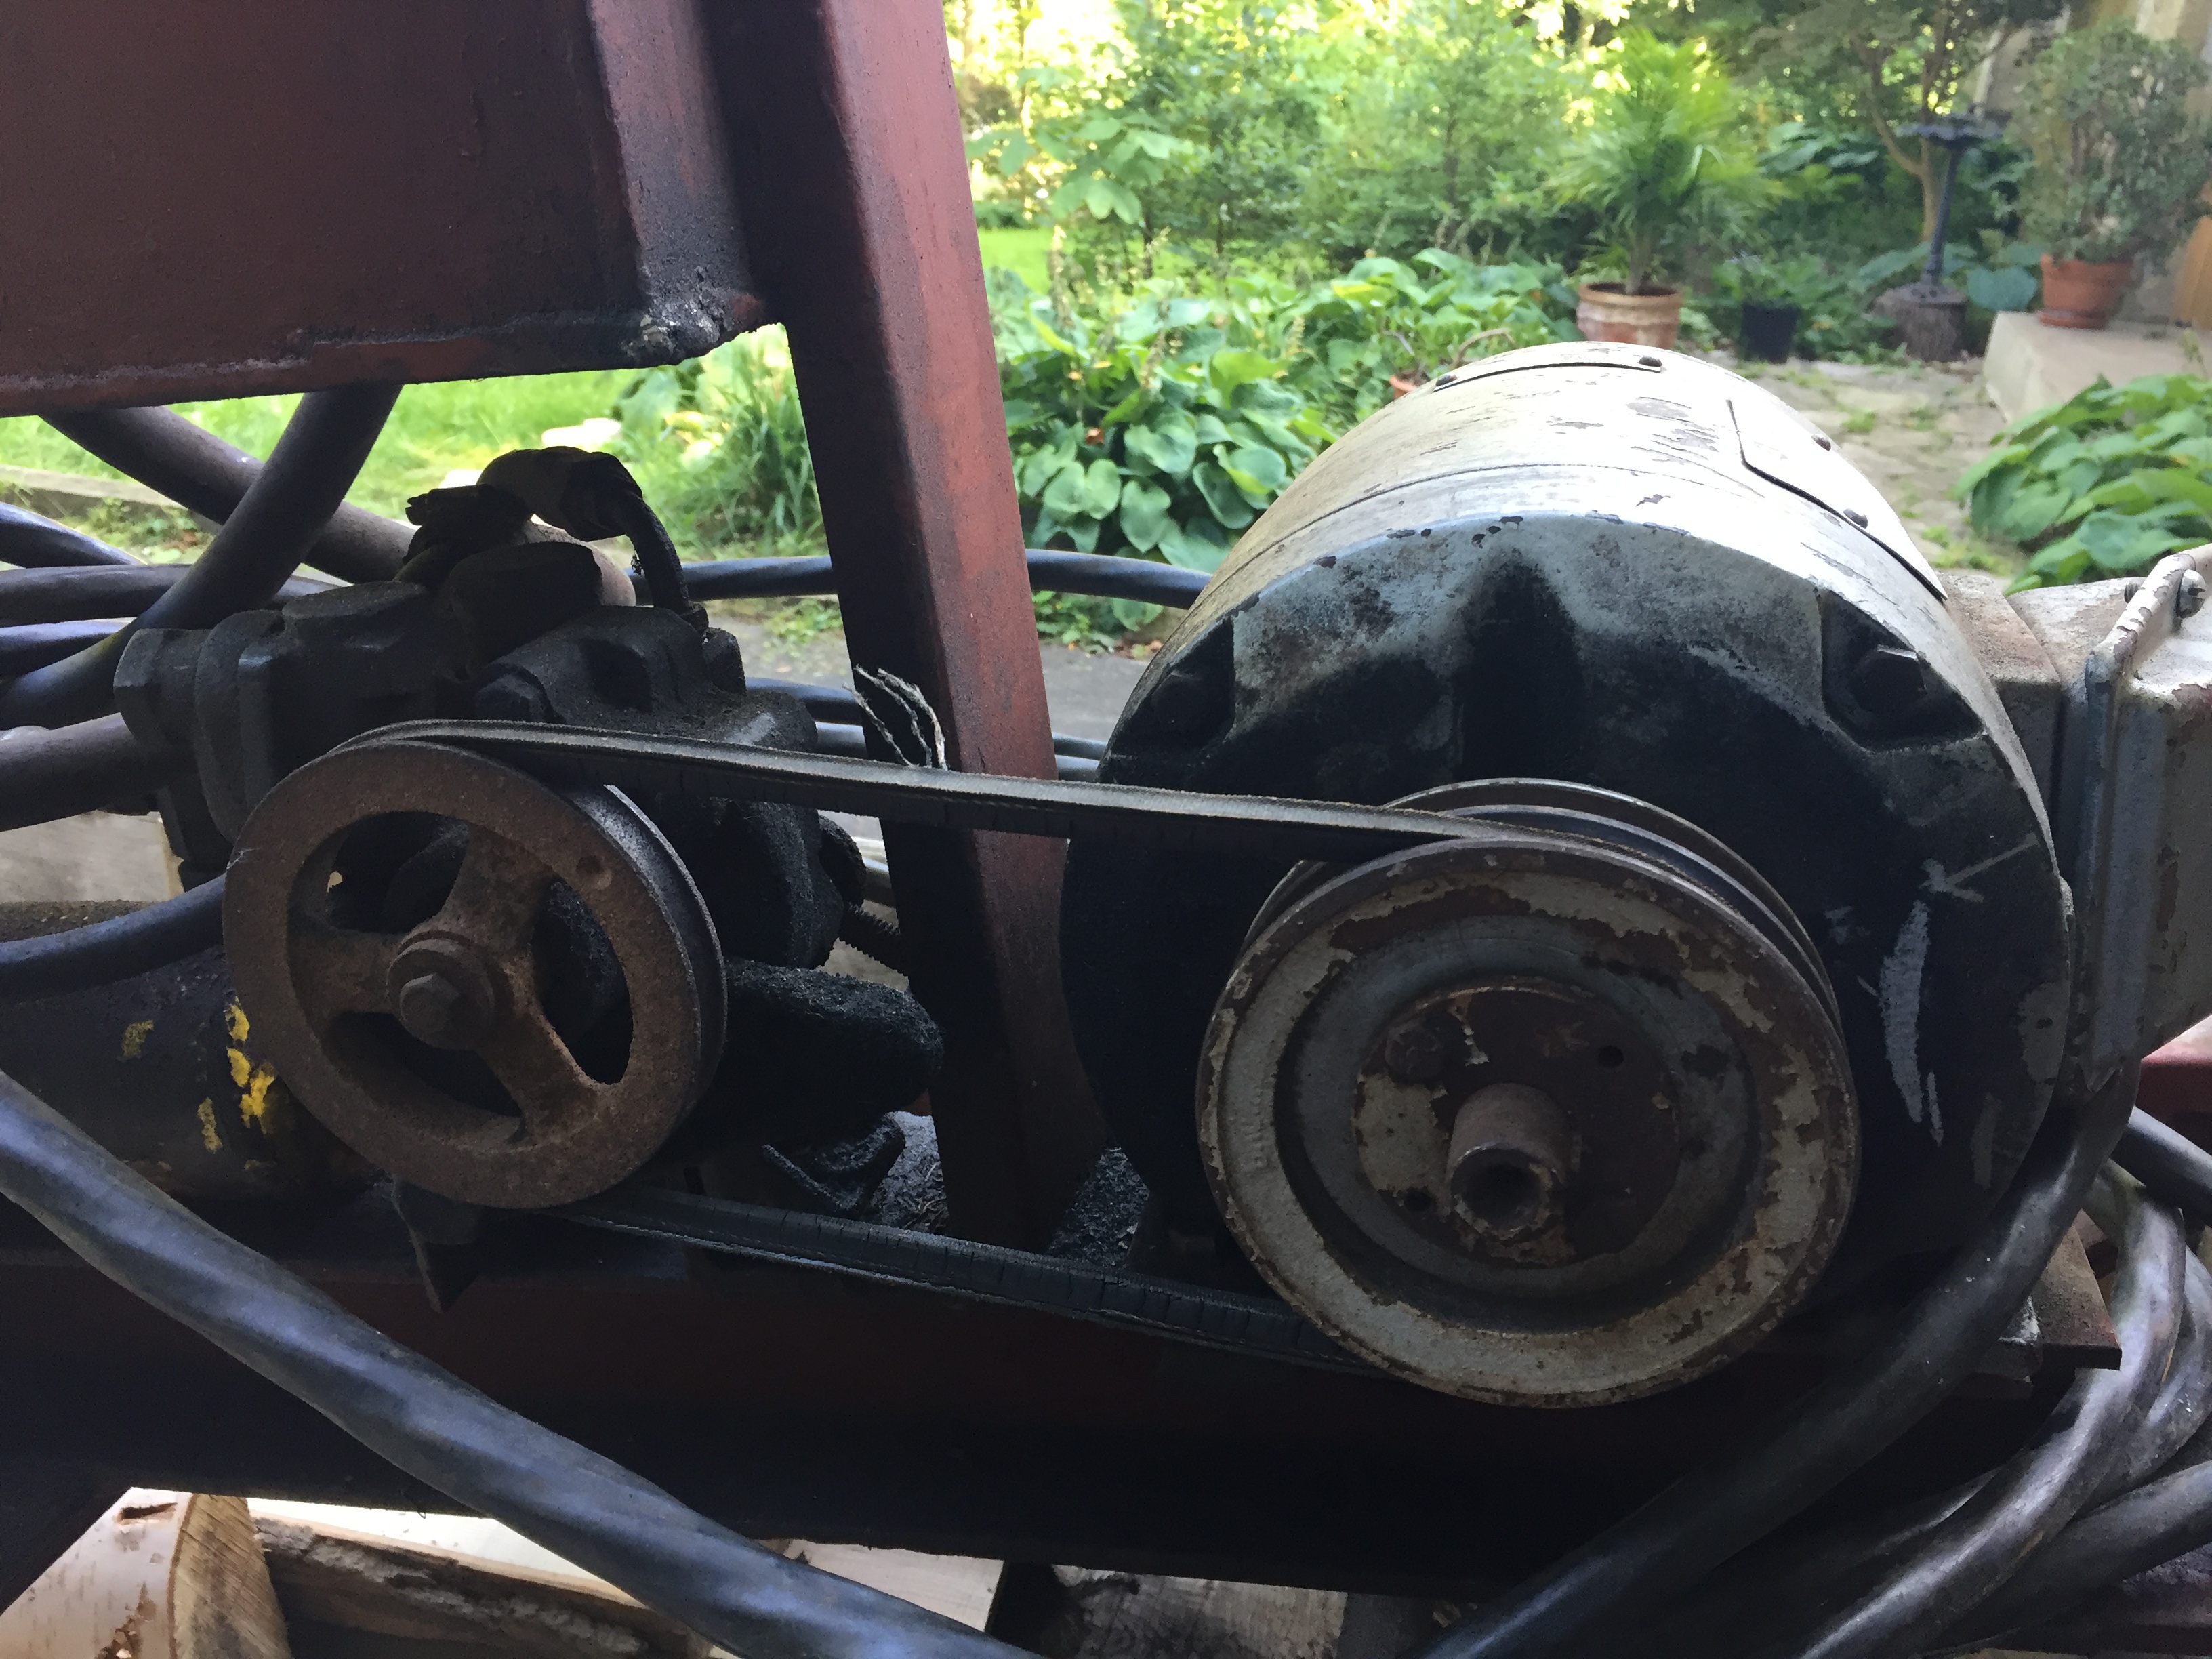
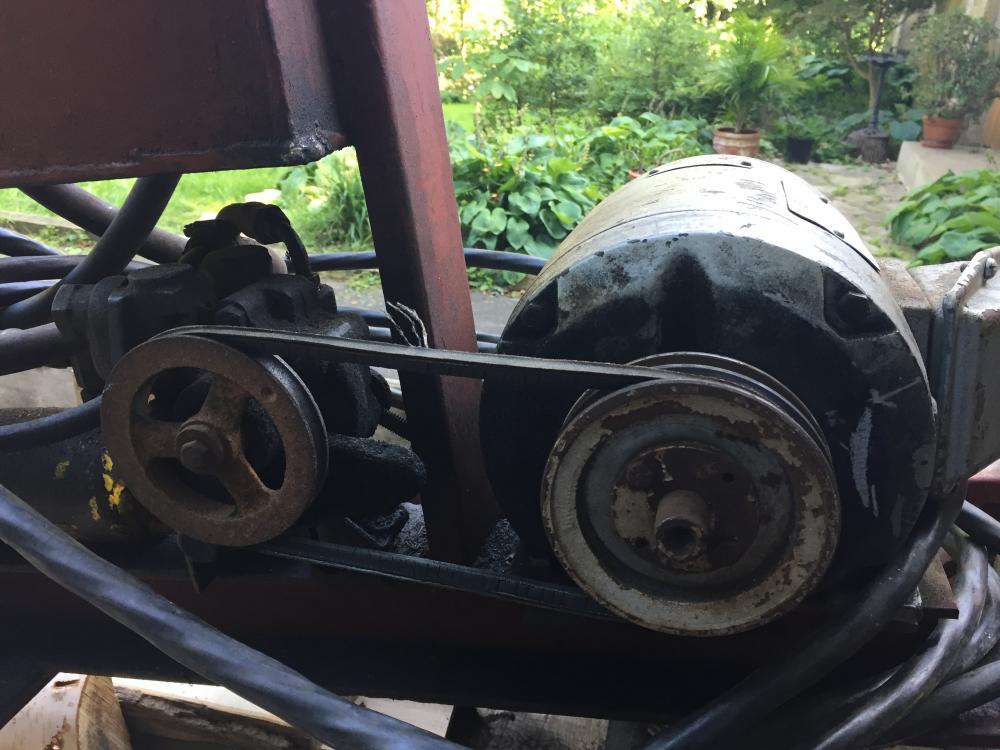
I had not thought about the safety rules. Wrong reflex to believe that to split logs that was not required,... everything was ok. I will put a shield around all the hydraulic portion when the assembly is finished. Just flip the motor below the beam will give me 15 inches.
-
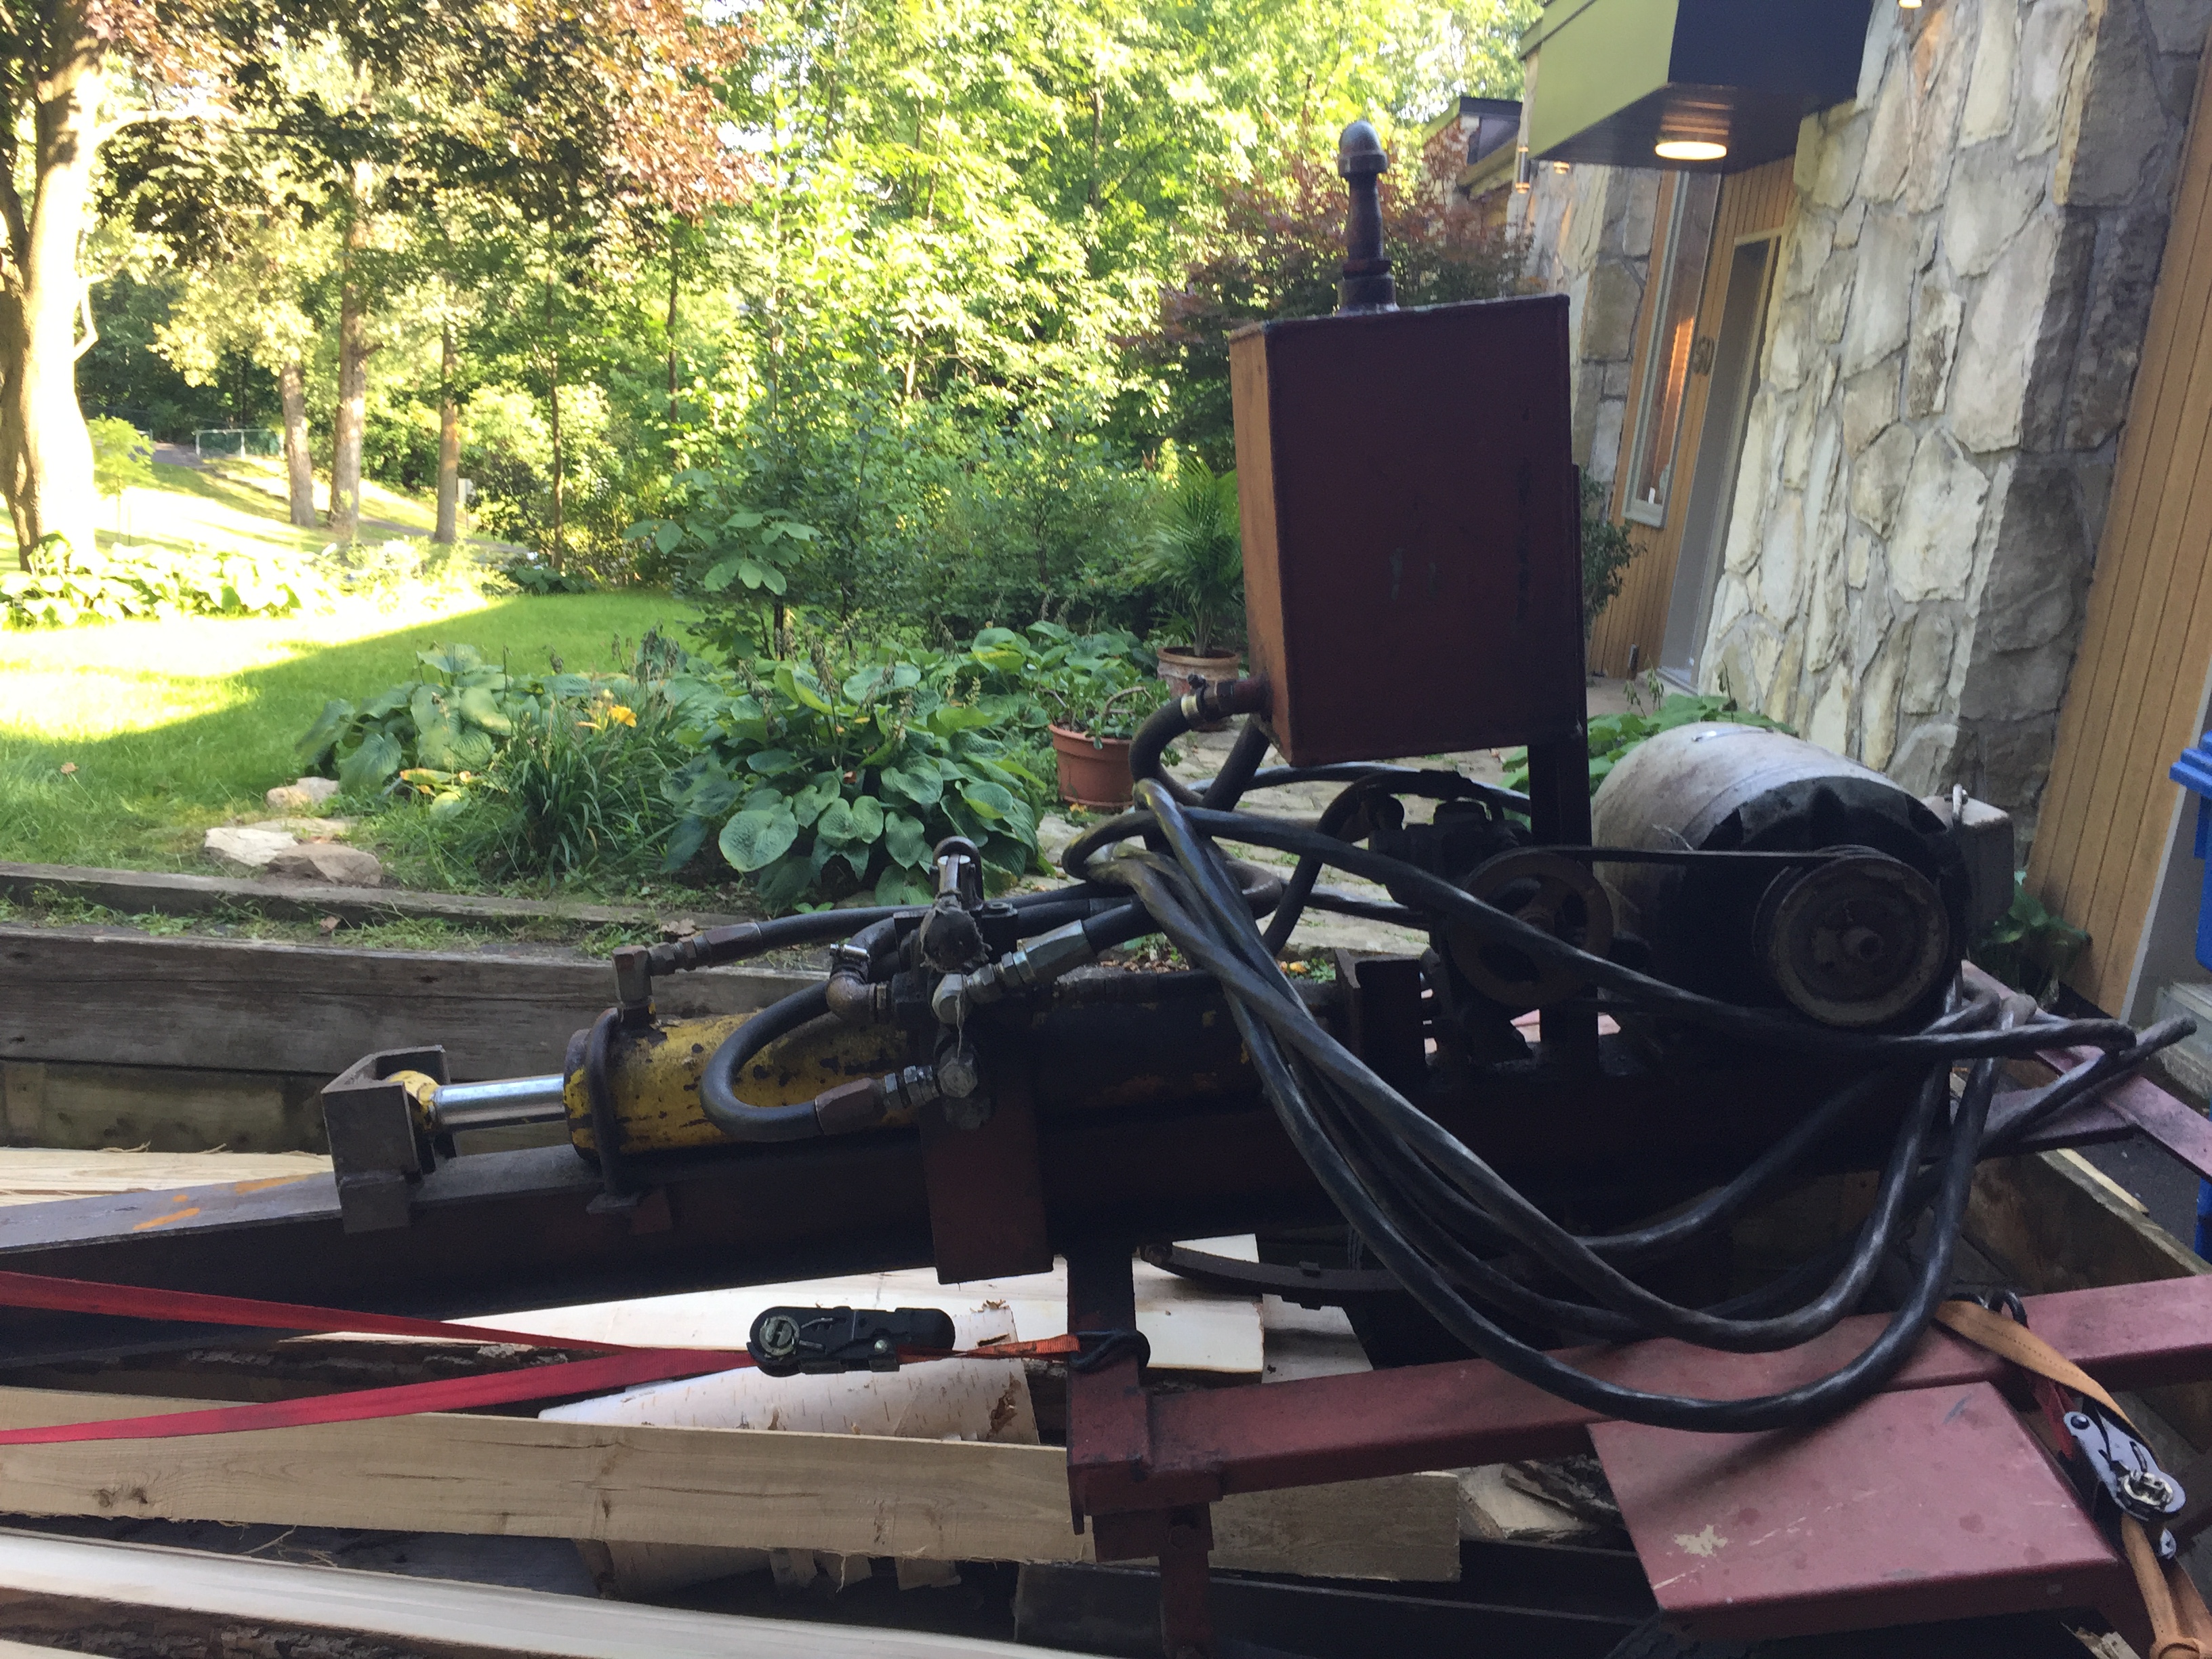
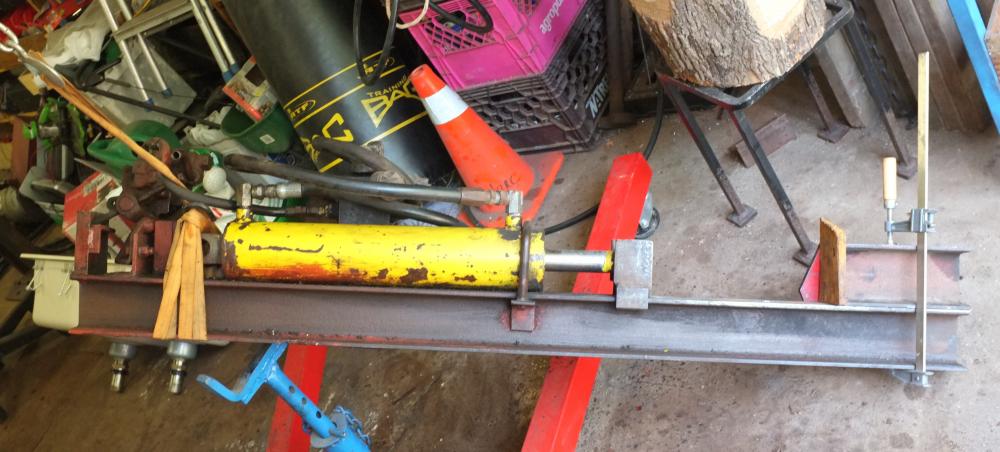
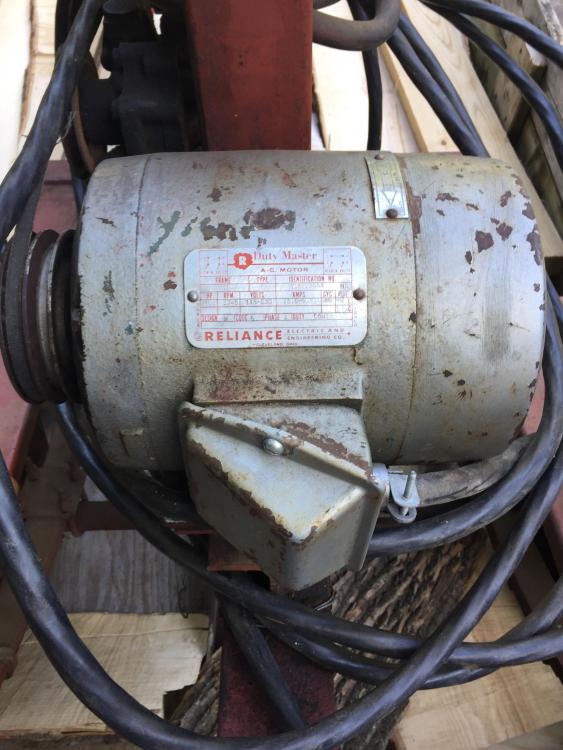
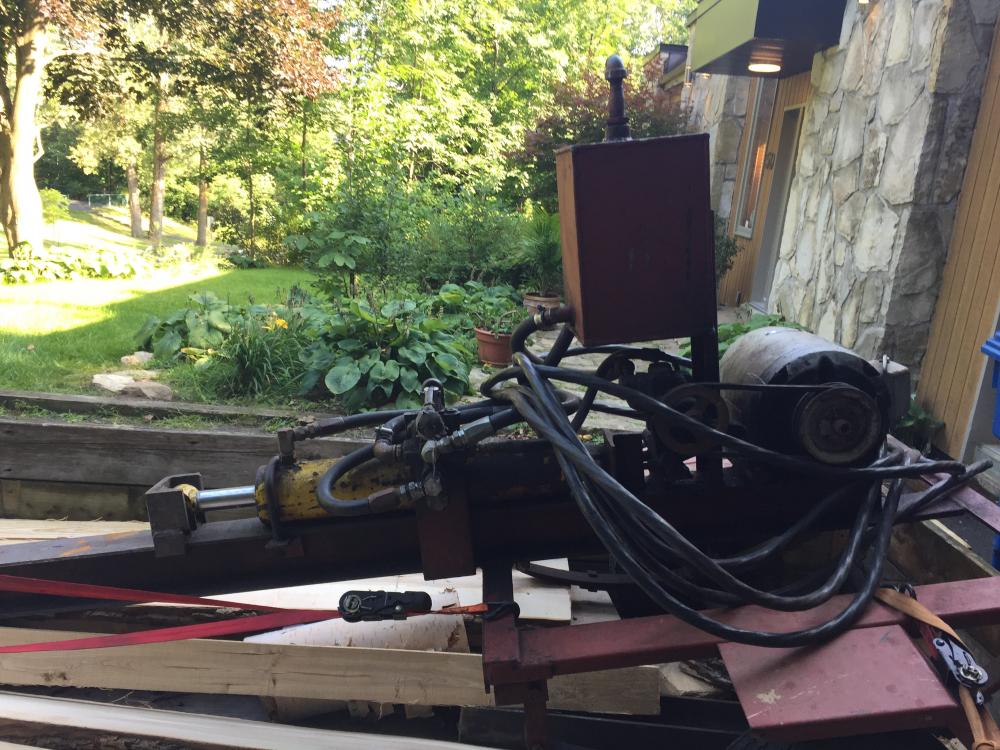
I am converting a log splitter into a forging press. The log splitter is mounted linearly with the motor at the end of the beam. I have a problem of height! If I place the worktable at 36 inches and keep the 15 inches of space between the table and the top of the ram, I miss 6 inches on the ceiling. My options are: Put the worktable lower, about at 28 inches Reduce travel at 8-10 inches Lower the table AND reduce the travel Remove the motor and oil tank, remove 12 inches of beam and reinstall the motor back on the other side of the beam. (...more work) What I should do ? Forging sitting on a chair or doing it the long way ???


-
A log splitter, 1.5hp 220V, ram 20T... will make a great forging press !!!

-
More pressure and maybe,... turn the «T» 90*... your set-up make a kind of air tunnel.
-
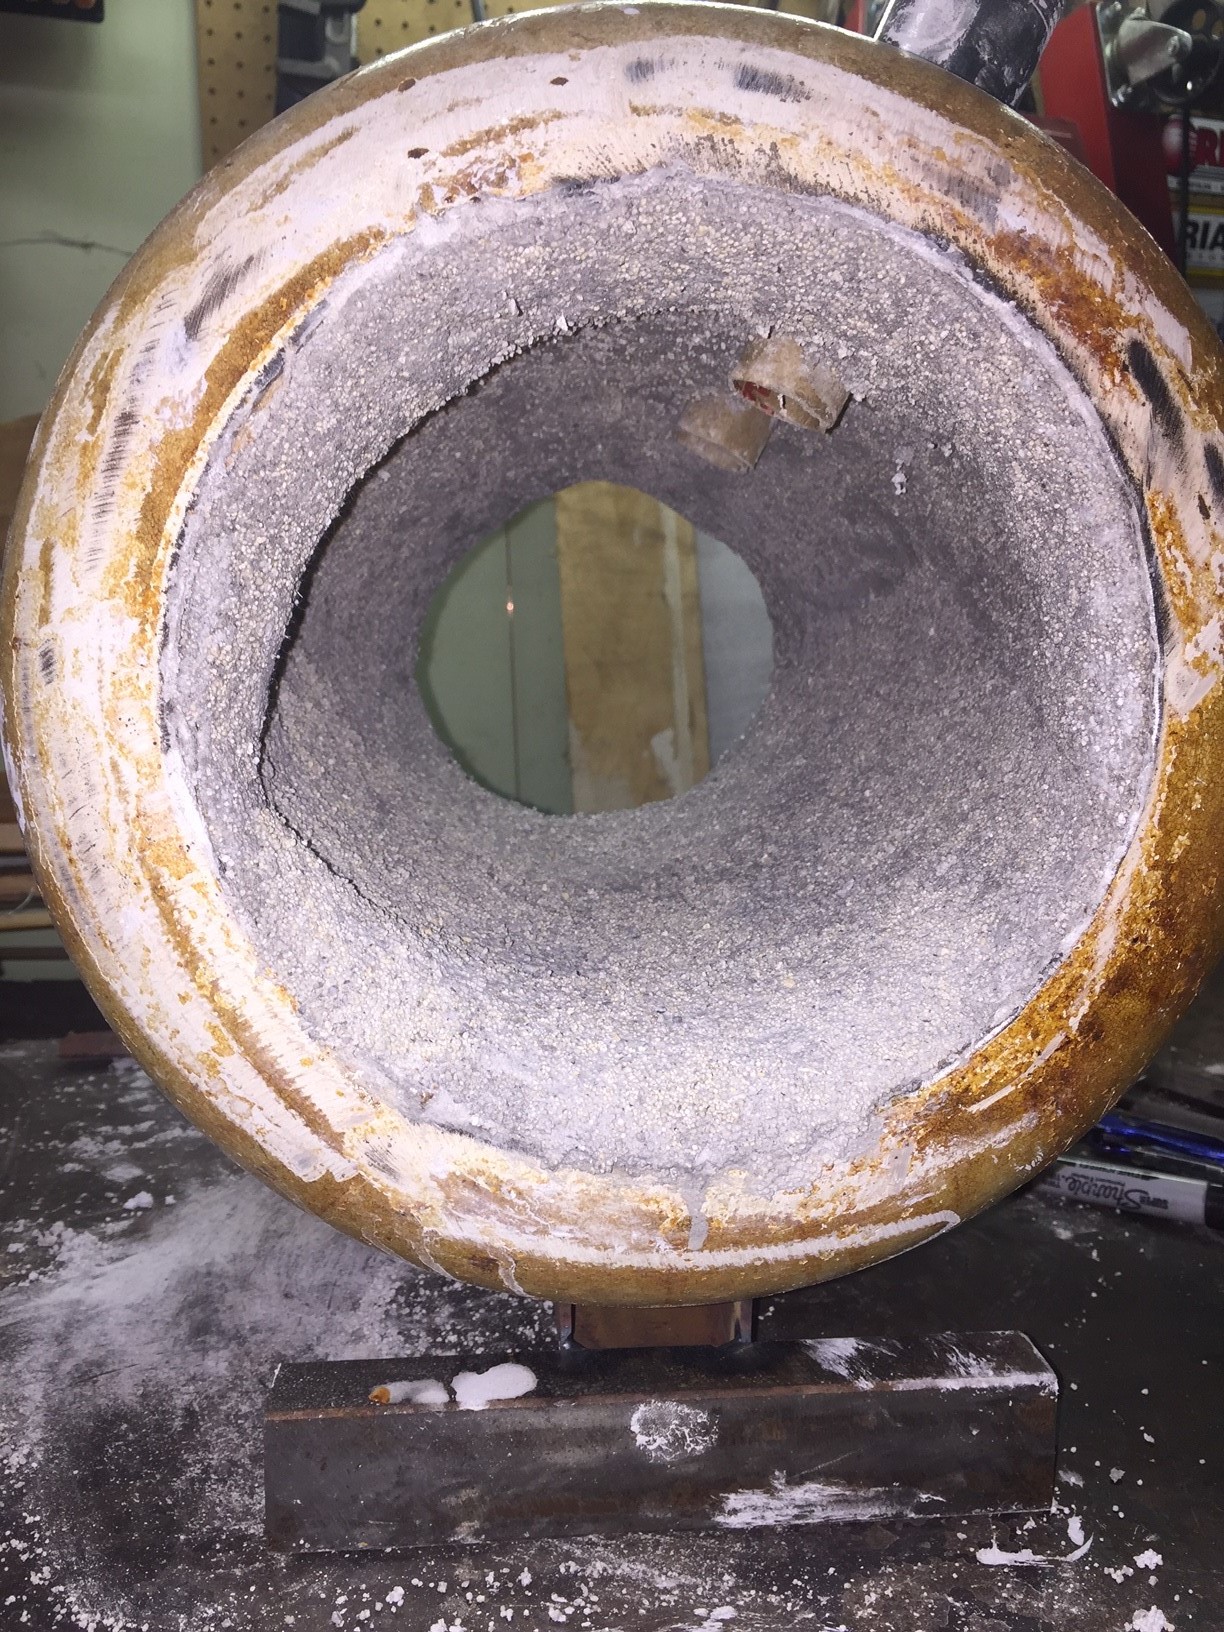
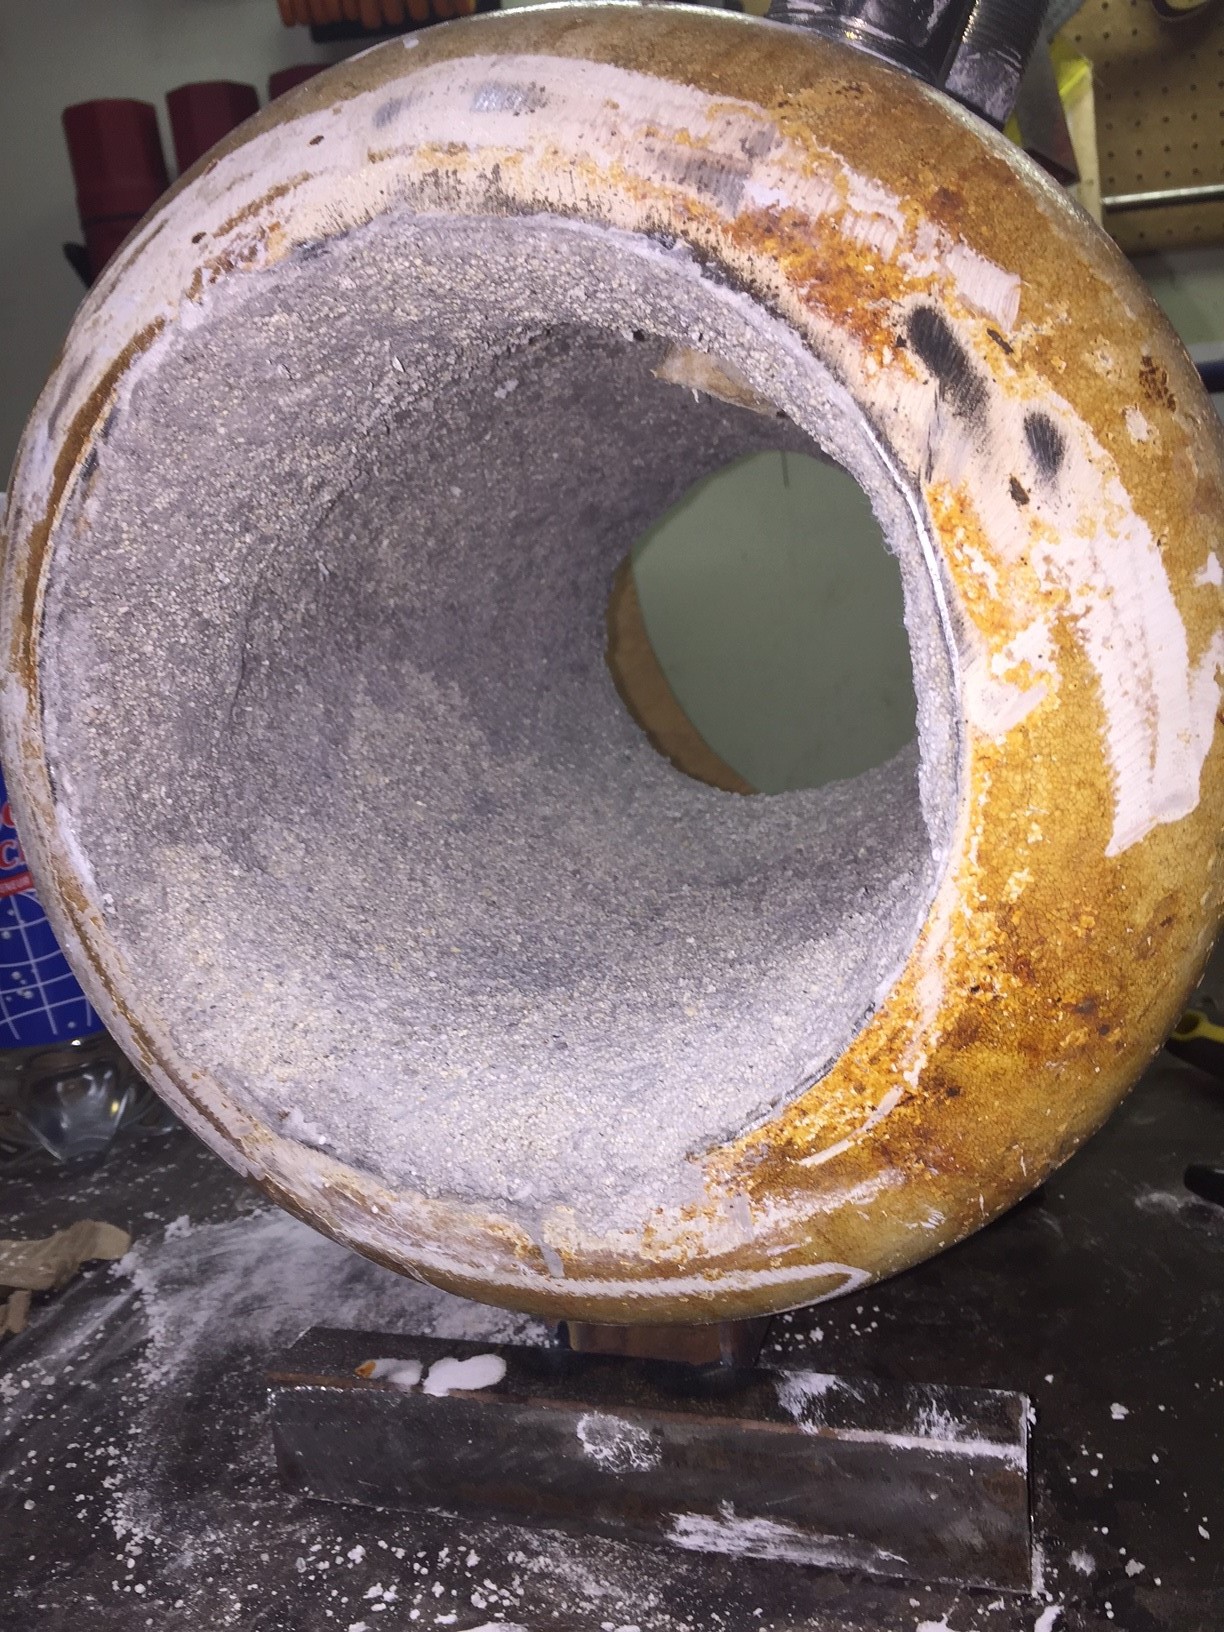
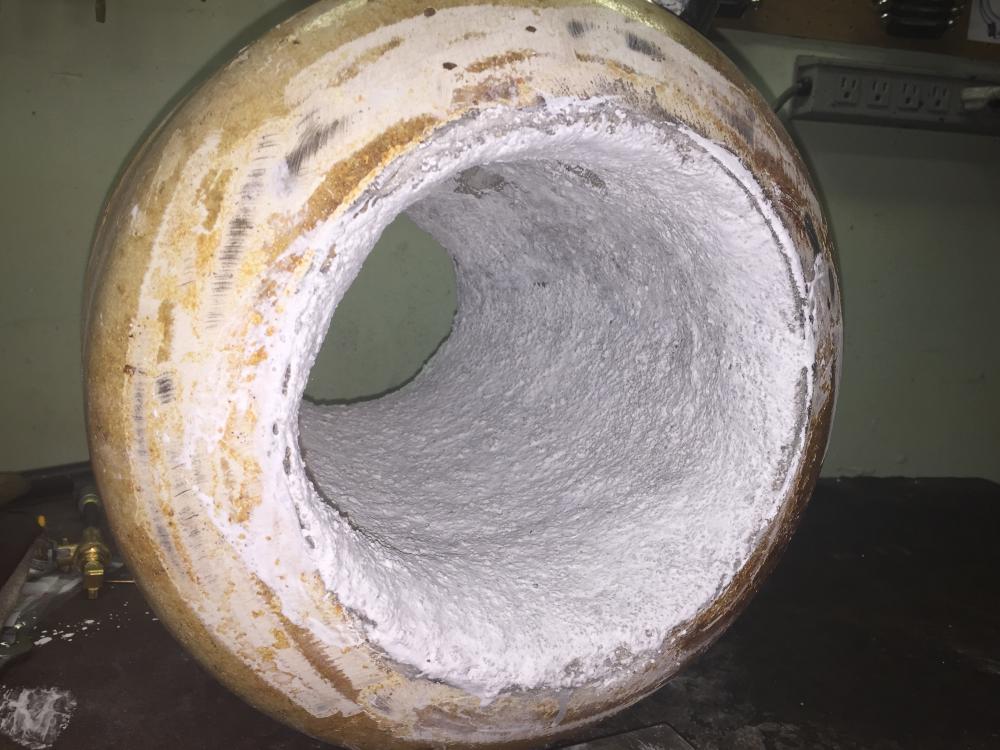
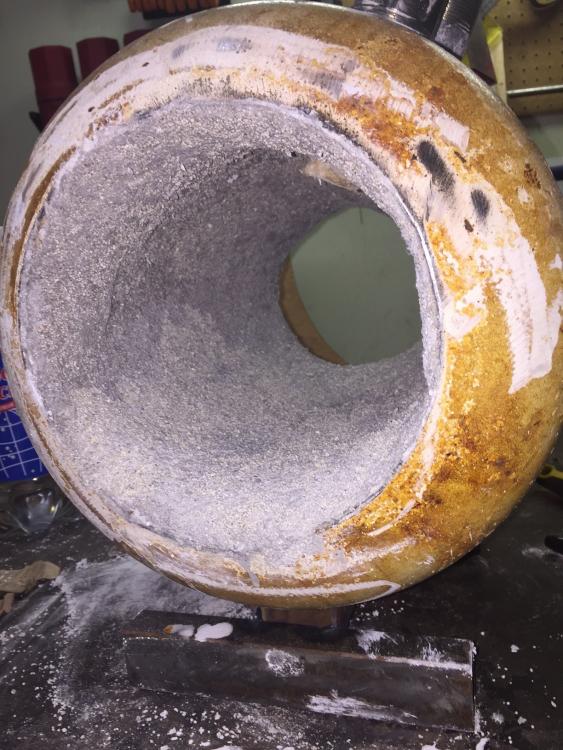
Currently I run 2-3 projects at the same time, it leaves time for the Kast-O-Lite to dry. It's pretty hard BTW ! My plan is to put 2-3 heated blocks, then one put a burner on low and another fire goes high. After I will put the IR paint. I drilled 2 holes under the tank to let out the moisture. If I see bubbles forming, I will stop the process, break them and then start again with touch-up, cure, dry, heat..etc...
-
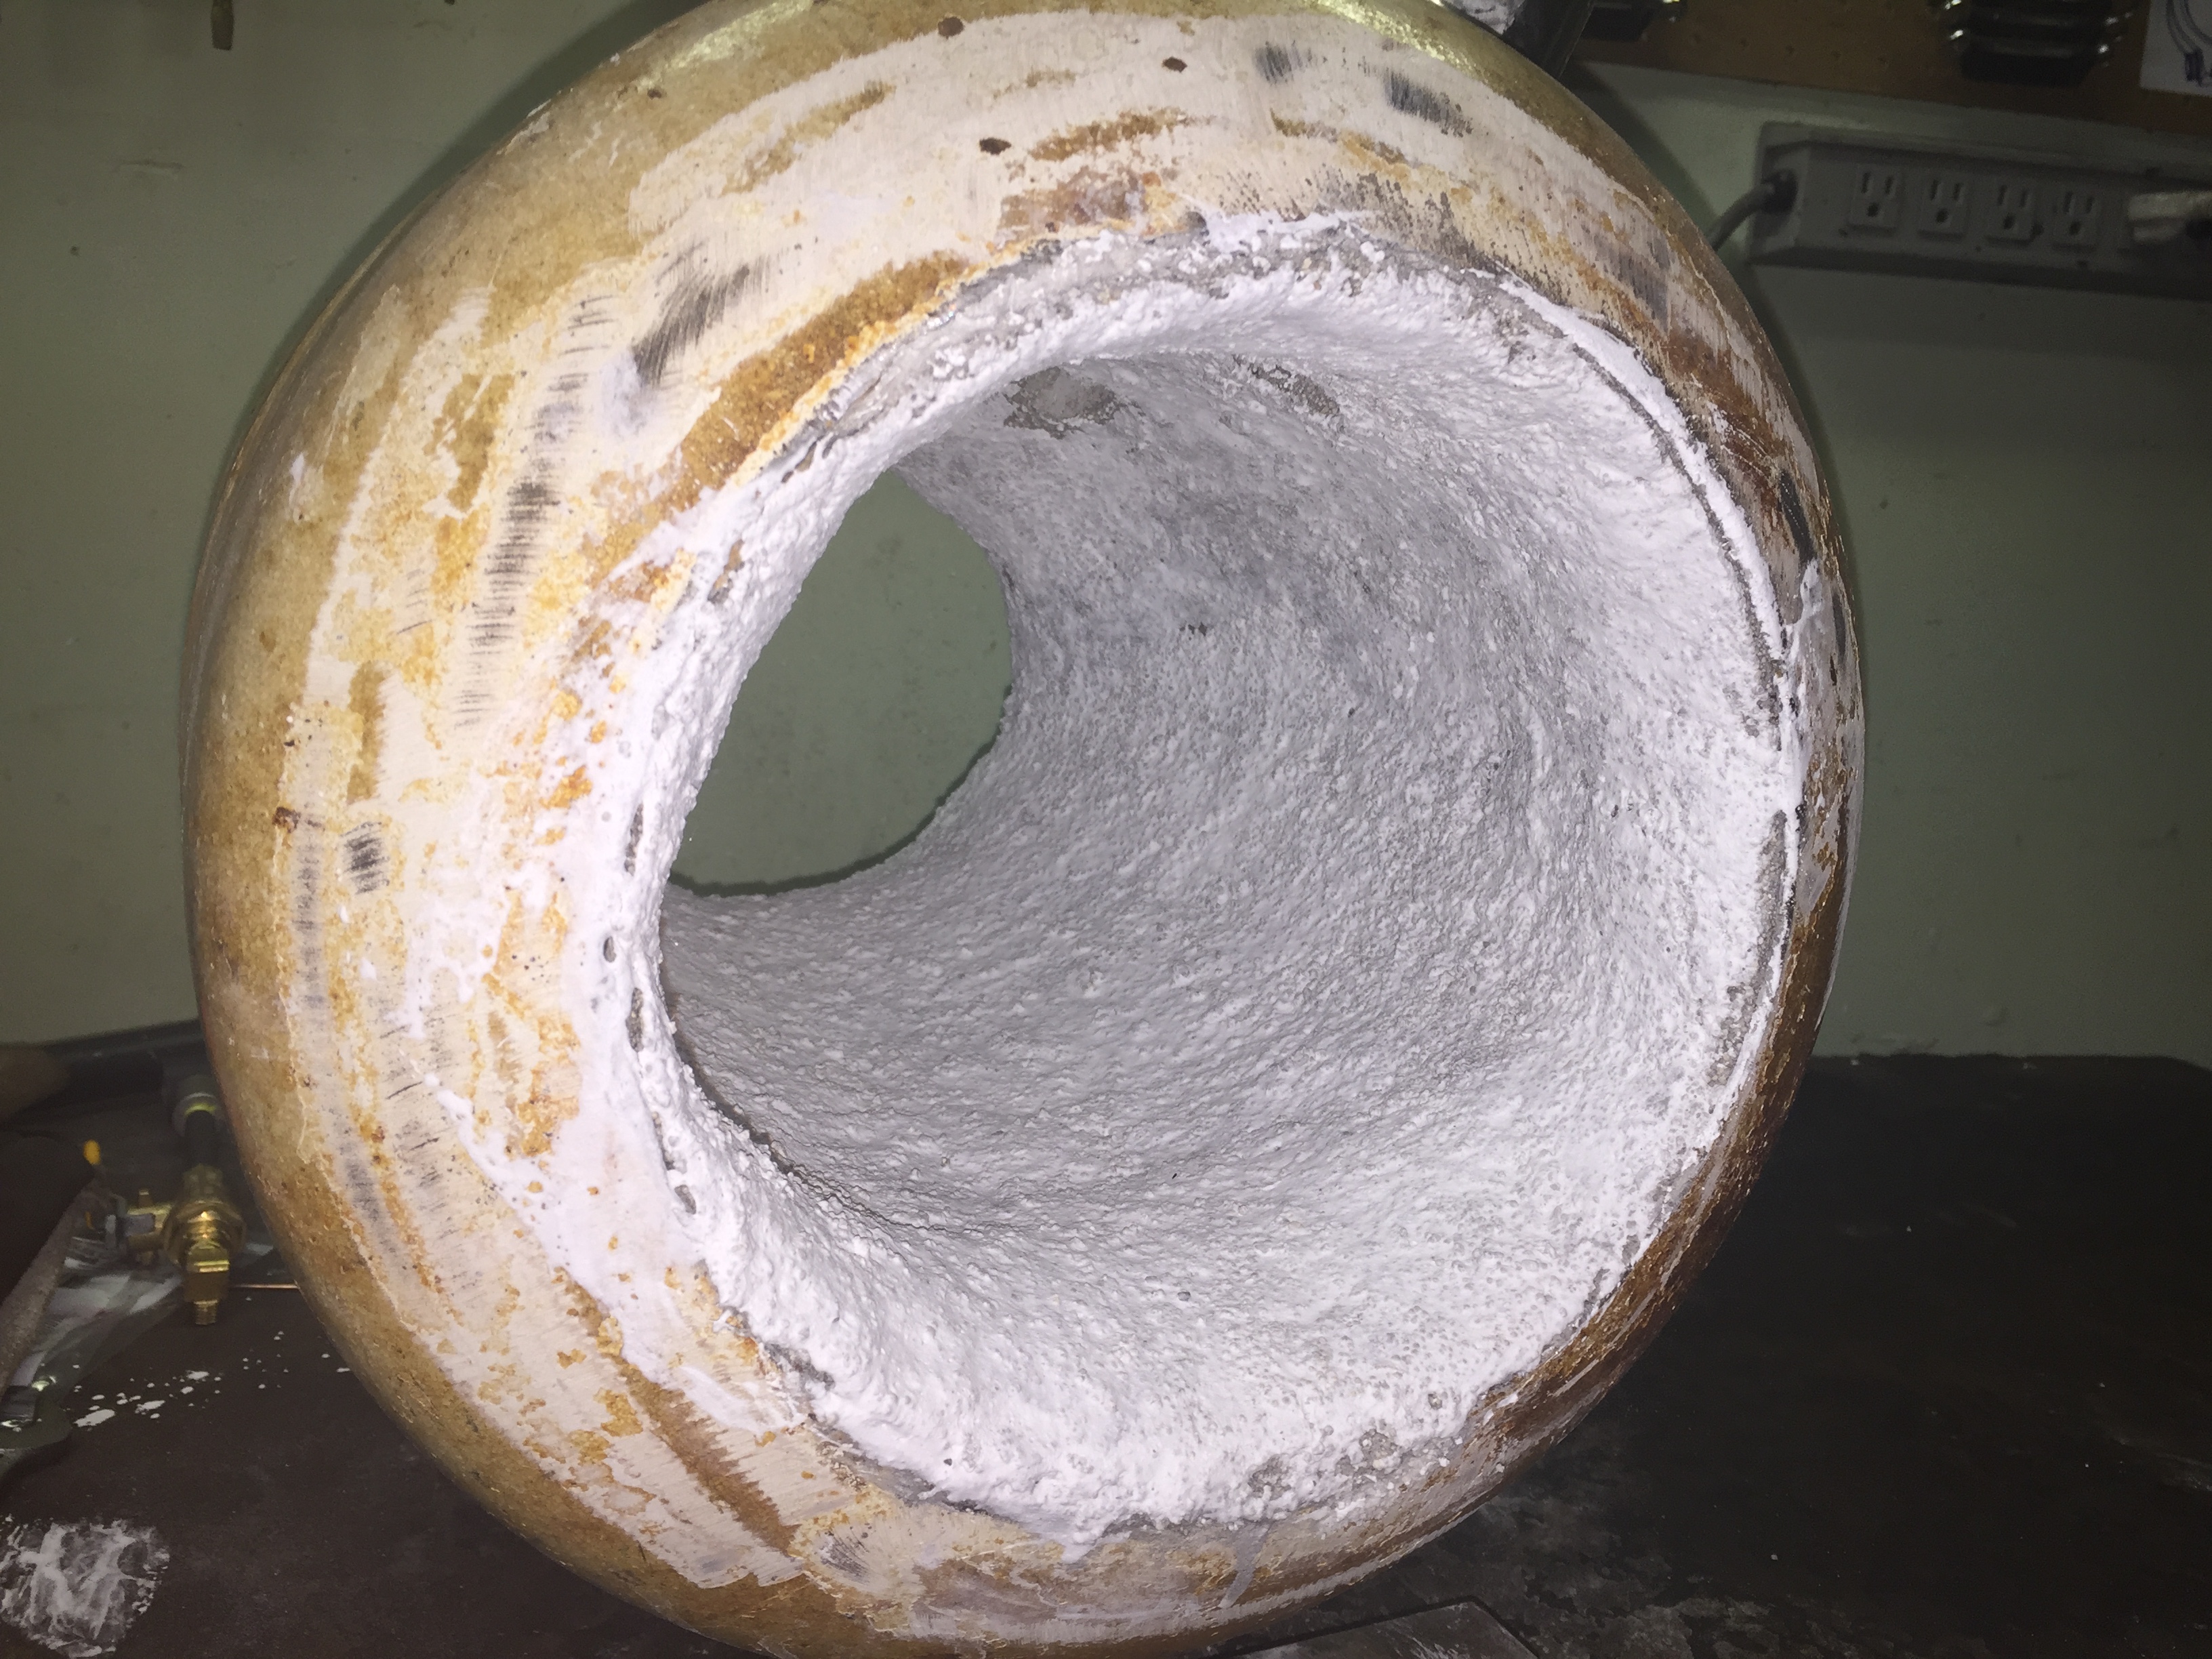
Here is the inside of the tank with the app of the Kast-O-Lite. I put a thicker layer on the floor and the opposite side to the burners. I have about 2 lbs (#) of cement left, I wonder if it is wasteful to put even thicker on the floor ??? I will let it dry another day or 2 and then I cover with Metrikote.

-
We're at the same place.
-
Mine is : «I am too poor to buy bad quality» Tonight : Kast-O-Lite touch-up...
-
@Mike my plan is 2 X 3/4 burner... I will put a valve on each, so I will be able to use just one... or 2... if needed.