
John B
-
Posts
3,598 -
Joined
-
Last visited
4 Followers


-
It's not a race, and all advice is helpful.
-
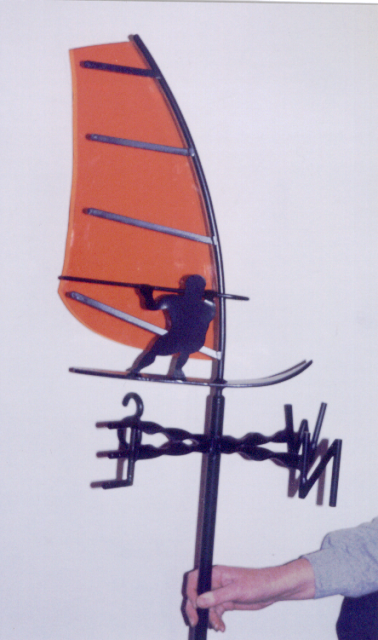
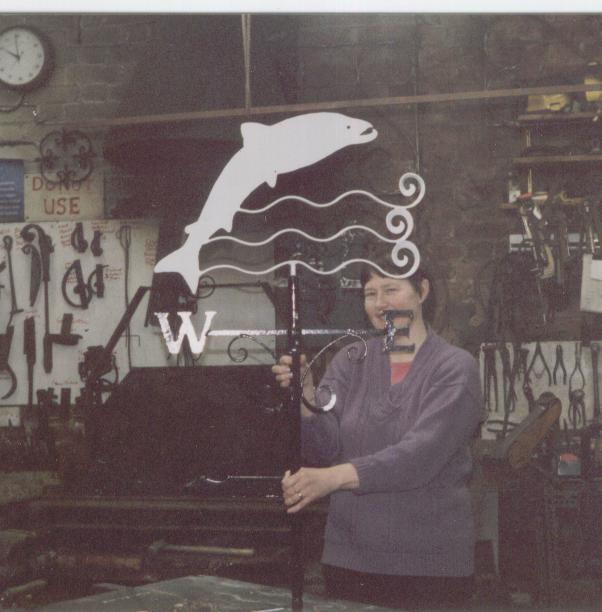
Never had this type of suspension/pivot requested before, but may I suggest a possible solution and a couple of potentially major problems. Solution, IMHO it will need need an independent axle and bearings to allow it to freely swivel, axle secured to ceiling, bearings mounted at each edge of the timber with a clearance hole through the timber. Major problems are, To rotate freely in the wind direction the vane should be balanced, One end of the vane needs to be more wind resistant than the other so you can figure which direction the wind is coming from, which may mean profiling a shape or adding ballast if needed It needs to be in clear air, so depending on how far out the eaves stretch this may be difficult to achieve, there is a large lee (sheltered from wind direction) along any side of a building. Personally I would reconsider the location and put the finished vane on a vertical mount which could simply be a vertical pole suitably positioned for viewing from wherever is most suitable. This vertical method would make it much simpler make it to allow it to freely pivot with minimum metalwork needed, I hope this helps, and if you would like to pursue my alternative, I would be happy to make recommendations. Weather vanes are a personal thing and should be inspired by your own reason for having one, In the past I have made them with profiles of favourite pets, boats, cars, hobby themes etc to give you some ideas
-

What did you do in the shop today?
John B replied to Mark Ling's topic in Blacksmithing, General Discussion
Do you have to have a rivet in the tube? My solution would be to drill two holes at the top (one each side diametrically opposed) and then make a wire hanger to fit, Make hanger like an inverted V shape with ends flared out in the same straight line plane, to fit into the two holes, trim to length to slightly plus the diameter of the tubes and then spring it into place in the drilled holes and use this as a suspension point. -
Chicken problem
John B replied to Jaegers Forge and Foundry's topic in Blacksmithing, General Discussion
That's probably the origin of the chicken dance. -
What did you do in the shop today?
John B replied to Mark Ling's topic in Blacksmithing, General Discussion
Sign me up ! -
If there is no where to suspend it, it would make sense to go up from and attached to the hearth structure at the back and part of the sides, search for Super-sucker chimneys on this site to see how they work Leave access at the sides to pass your longer work pieces through
-
Look into repousse work if you want to be a little physical and hands on, You can use mild steel for your punches, or small sections of tool steel, angle grinder and a small gas torch like a plumber uses will be handy to forge and heat treat them.
-
The heat from the fire produces the draft, but you need to channel the heat to the pipe, hence the hood.
-
Hex bar for making tools and axes.
John B replied to Jobtiel1's topic in Blacksmithing, General Discussion
The steel is good for the purpose, it's a matter of scale for the tools you make with it, You could upset the end for an axe blade or use as is. If you can make a camping axe from a farriers rasp, you have more material in your hex bar, so should be able to make a decent small axe from it. Enjoy -
What did you do in the shop today?
John B replied to Mark Ling's topic in Blacksmithing, General Discussion
Try to make sure you keep the ends aligned as well as a good even heat. in your picture the ends look offset, this will cause uneven spacings of the parts. It is possible to adjust the spaces using one or two round nose tongs or a lever (like a screwdriver blade shape) to give a controlled adjustment. -
Glad to have been of service,
-
You may find the ones with the handles at 90 degree to the opener "blade" awkward to use. While using these as a practising too, The use of a flatter on the opener blade would also help in removing the hammer marks to inmprove the finish, and , if the scrolled ends were more tapered to a point, they would IMHO look somewhat better., Look forward to seeing them all completed and the progress you will no doubtedly make as you get through them. Enjoy.
-
Hi Pat, Firstly I would cut out a piece (probably 4" square) for the BMW badge from the plate, leaving a margin all the way around, makes it easir to work than a disc of the finshed size and you get equal resistance all around its perophery when casing the profile in, and incise your second circle as the first one. When you are satisfied with your design, then cut off the excess, Hacksaw, and file or use the dremel to finish the outer diameter. use the hacksaw as you would forge a round on the end of a square bar. Saw the corners off near to your marking out of the outer diameter, just keep taking similar cuts from all the remaining corners as you proceed around the circumference and you generate a circle. A square is just a circle with all its corners removed. No need to use a chisel, this may distort your edges, and if the chisels aren't very good, then consider re-hardening and tempering them, they should at least be made from a suitable steel for their use. For the angel profile, then hacksaw and dremel (or file) to finish.
-
Hi Pat, I'm a little confused with the two circles, if its going to be 3" diameter, then you only need one circle. Anyhow, this is my approach to making this item Anneal your metal. Mark out the finished shape you are wanting. I would then use a small (Approx 4" long x 3/8" diameter or hex stock) radius fuller chasing tool, and a light weight hammer (12oz) and incise in the profiles and lines you want. A Search for chasing tools for some idea of how to use and what they look like may help, hard to describe otherwise , but it will look like a blunt chisel that has a very small radius instead of a sharp edge, and instead of being square to the shank end, it has a radiuse end, the smaller this radius the more easily you can control your incised curve. It is just a case of applying patience, and using small incremental moves, you can deepen the grooves until you get to your desired depth. I would then cut the material to the outside diameter and chamfer the edge to give the appearance of your second, larger circle, and clean up for the finish Looks like a fun project, enjoy.
-
I think your assumption is correct. They usually come in pairs, and are used to support clamping bars on machine tables to secure workpieces. This block has sixteen different increments, (if used at 90 degrees) The clamp bars have a slot down the centre to enable them to have a tee bolt pass through to locate in a tee slot on the machine table. They are an alternative to a screw bottlejack as they accommodate smaller heights to suit component thicknesses.