Wandering_R0gue
Members
-
Joined
-
Last visited
-
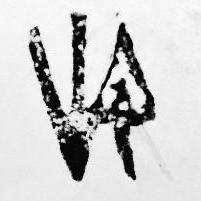
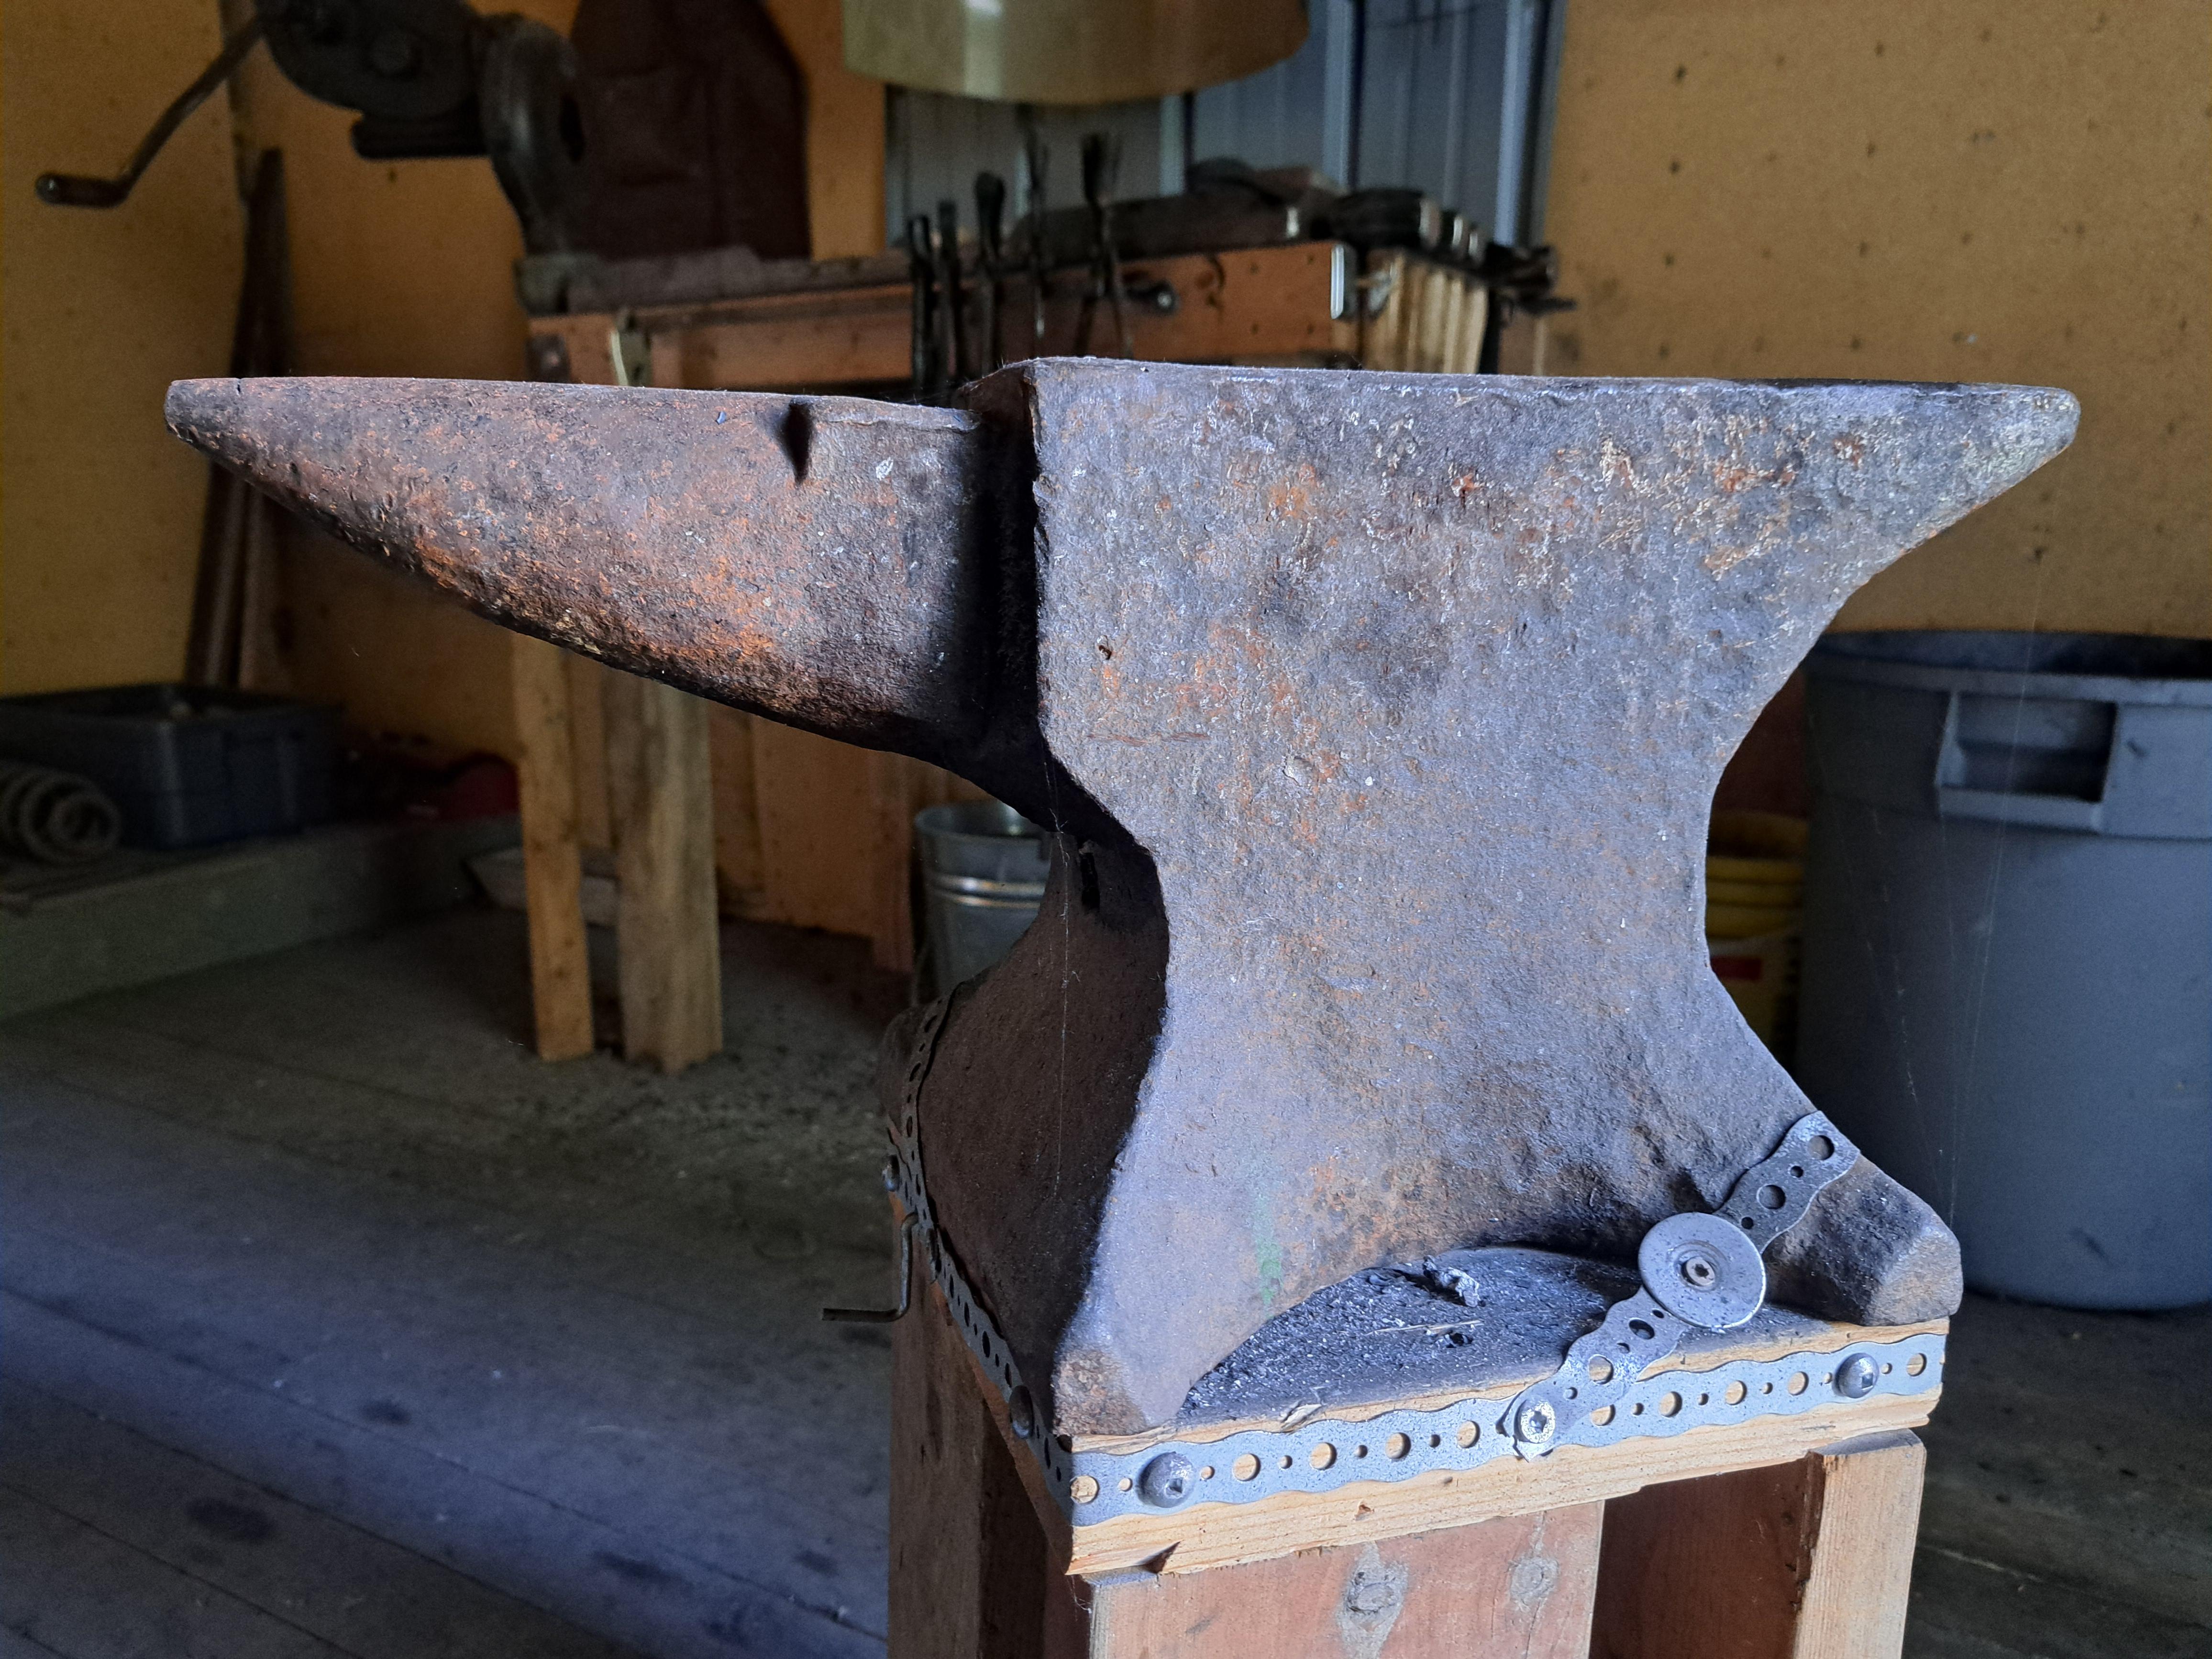
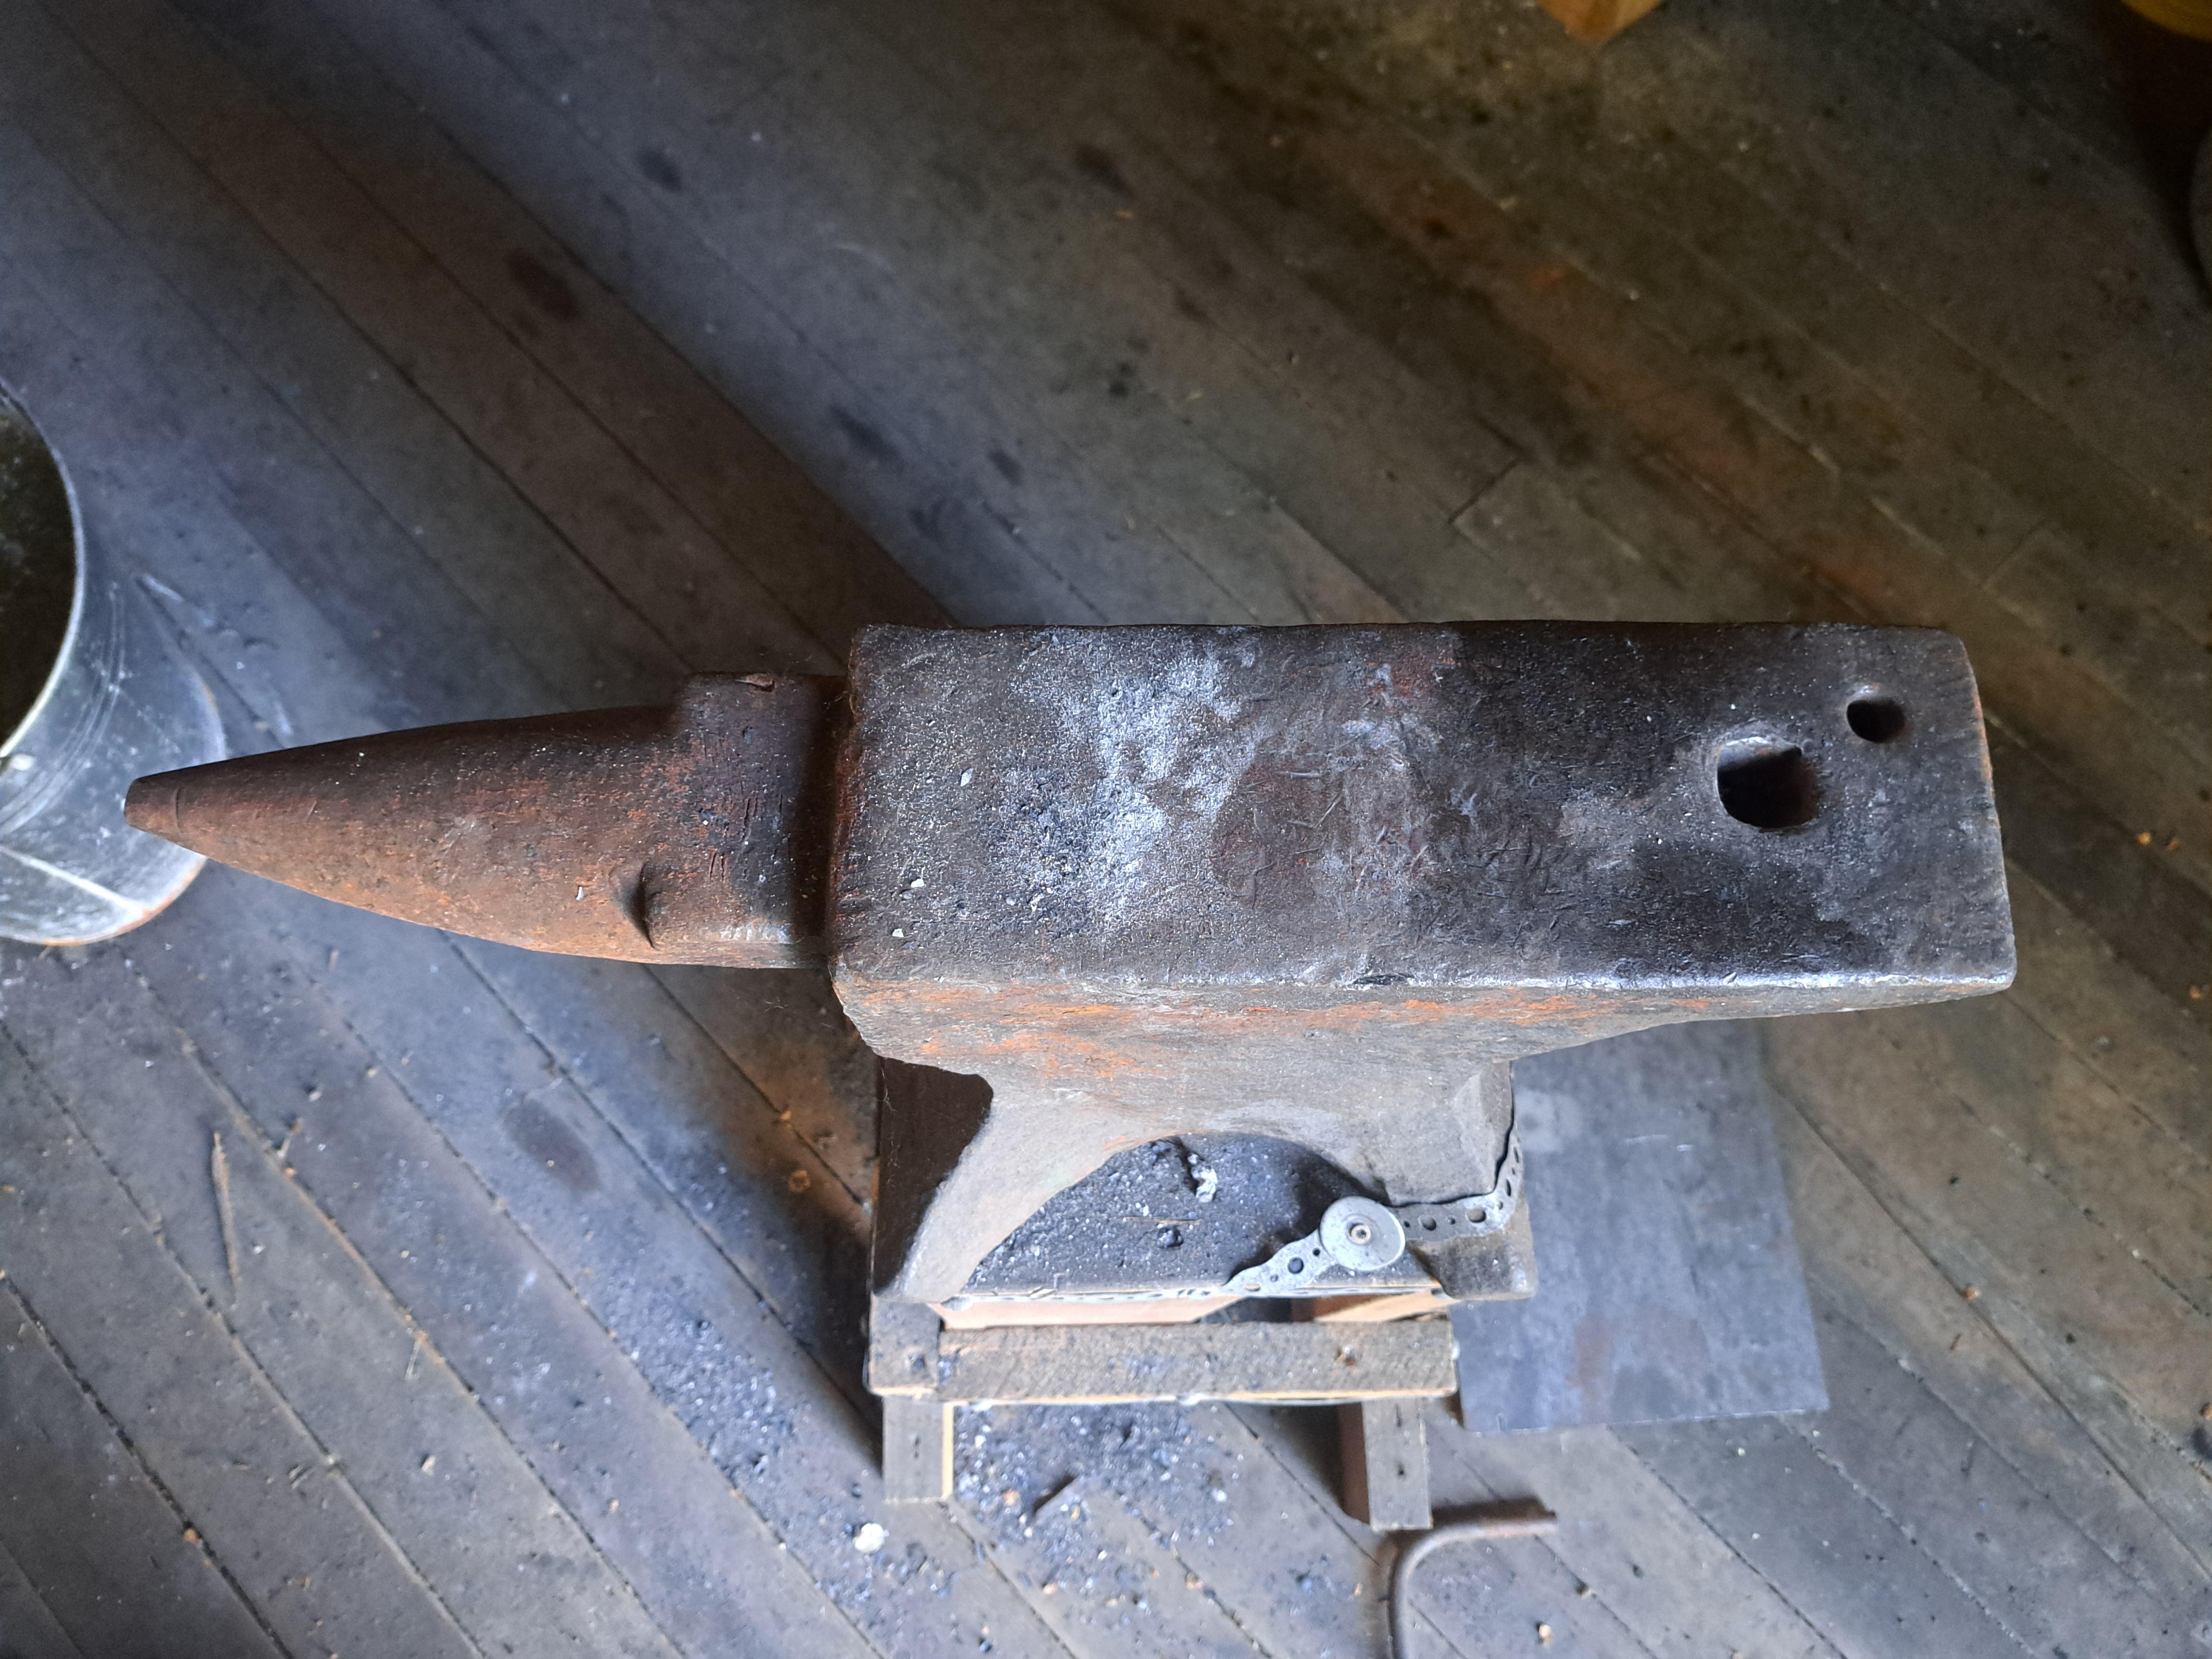
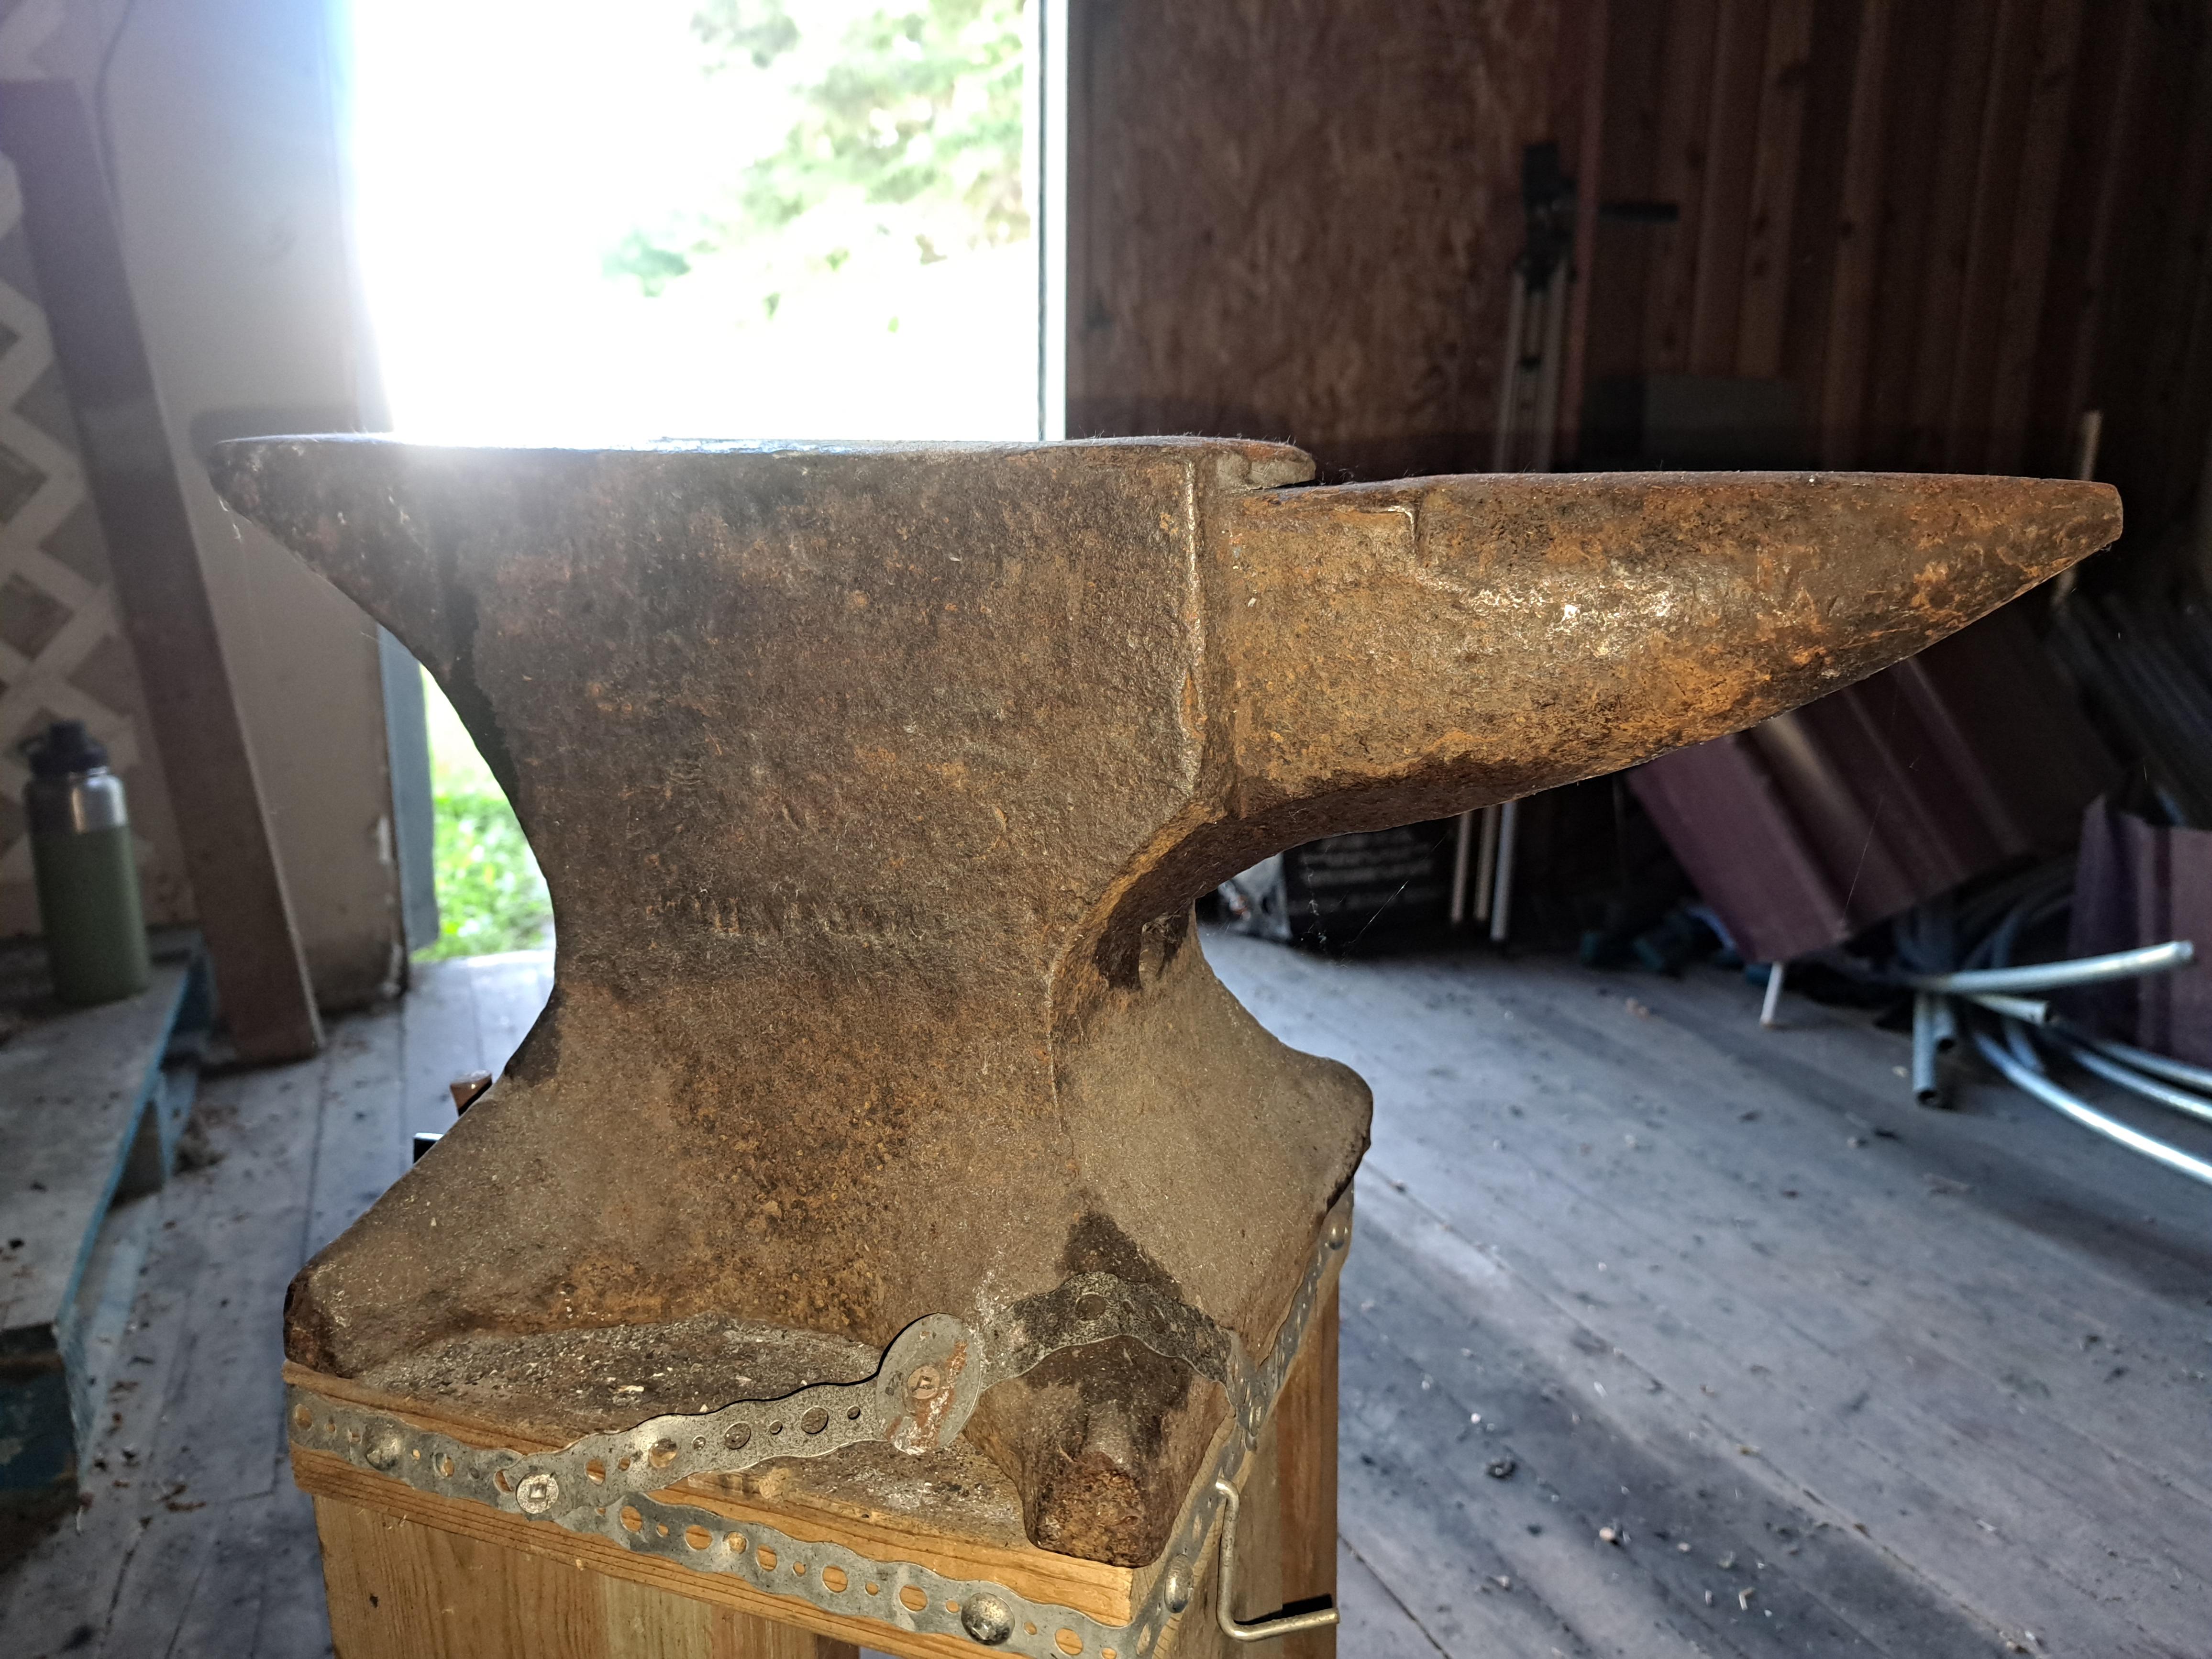
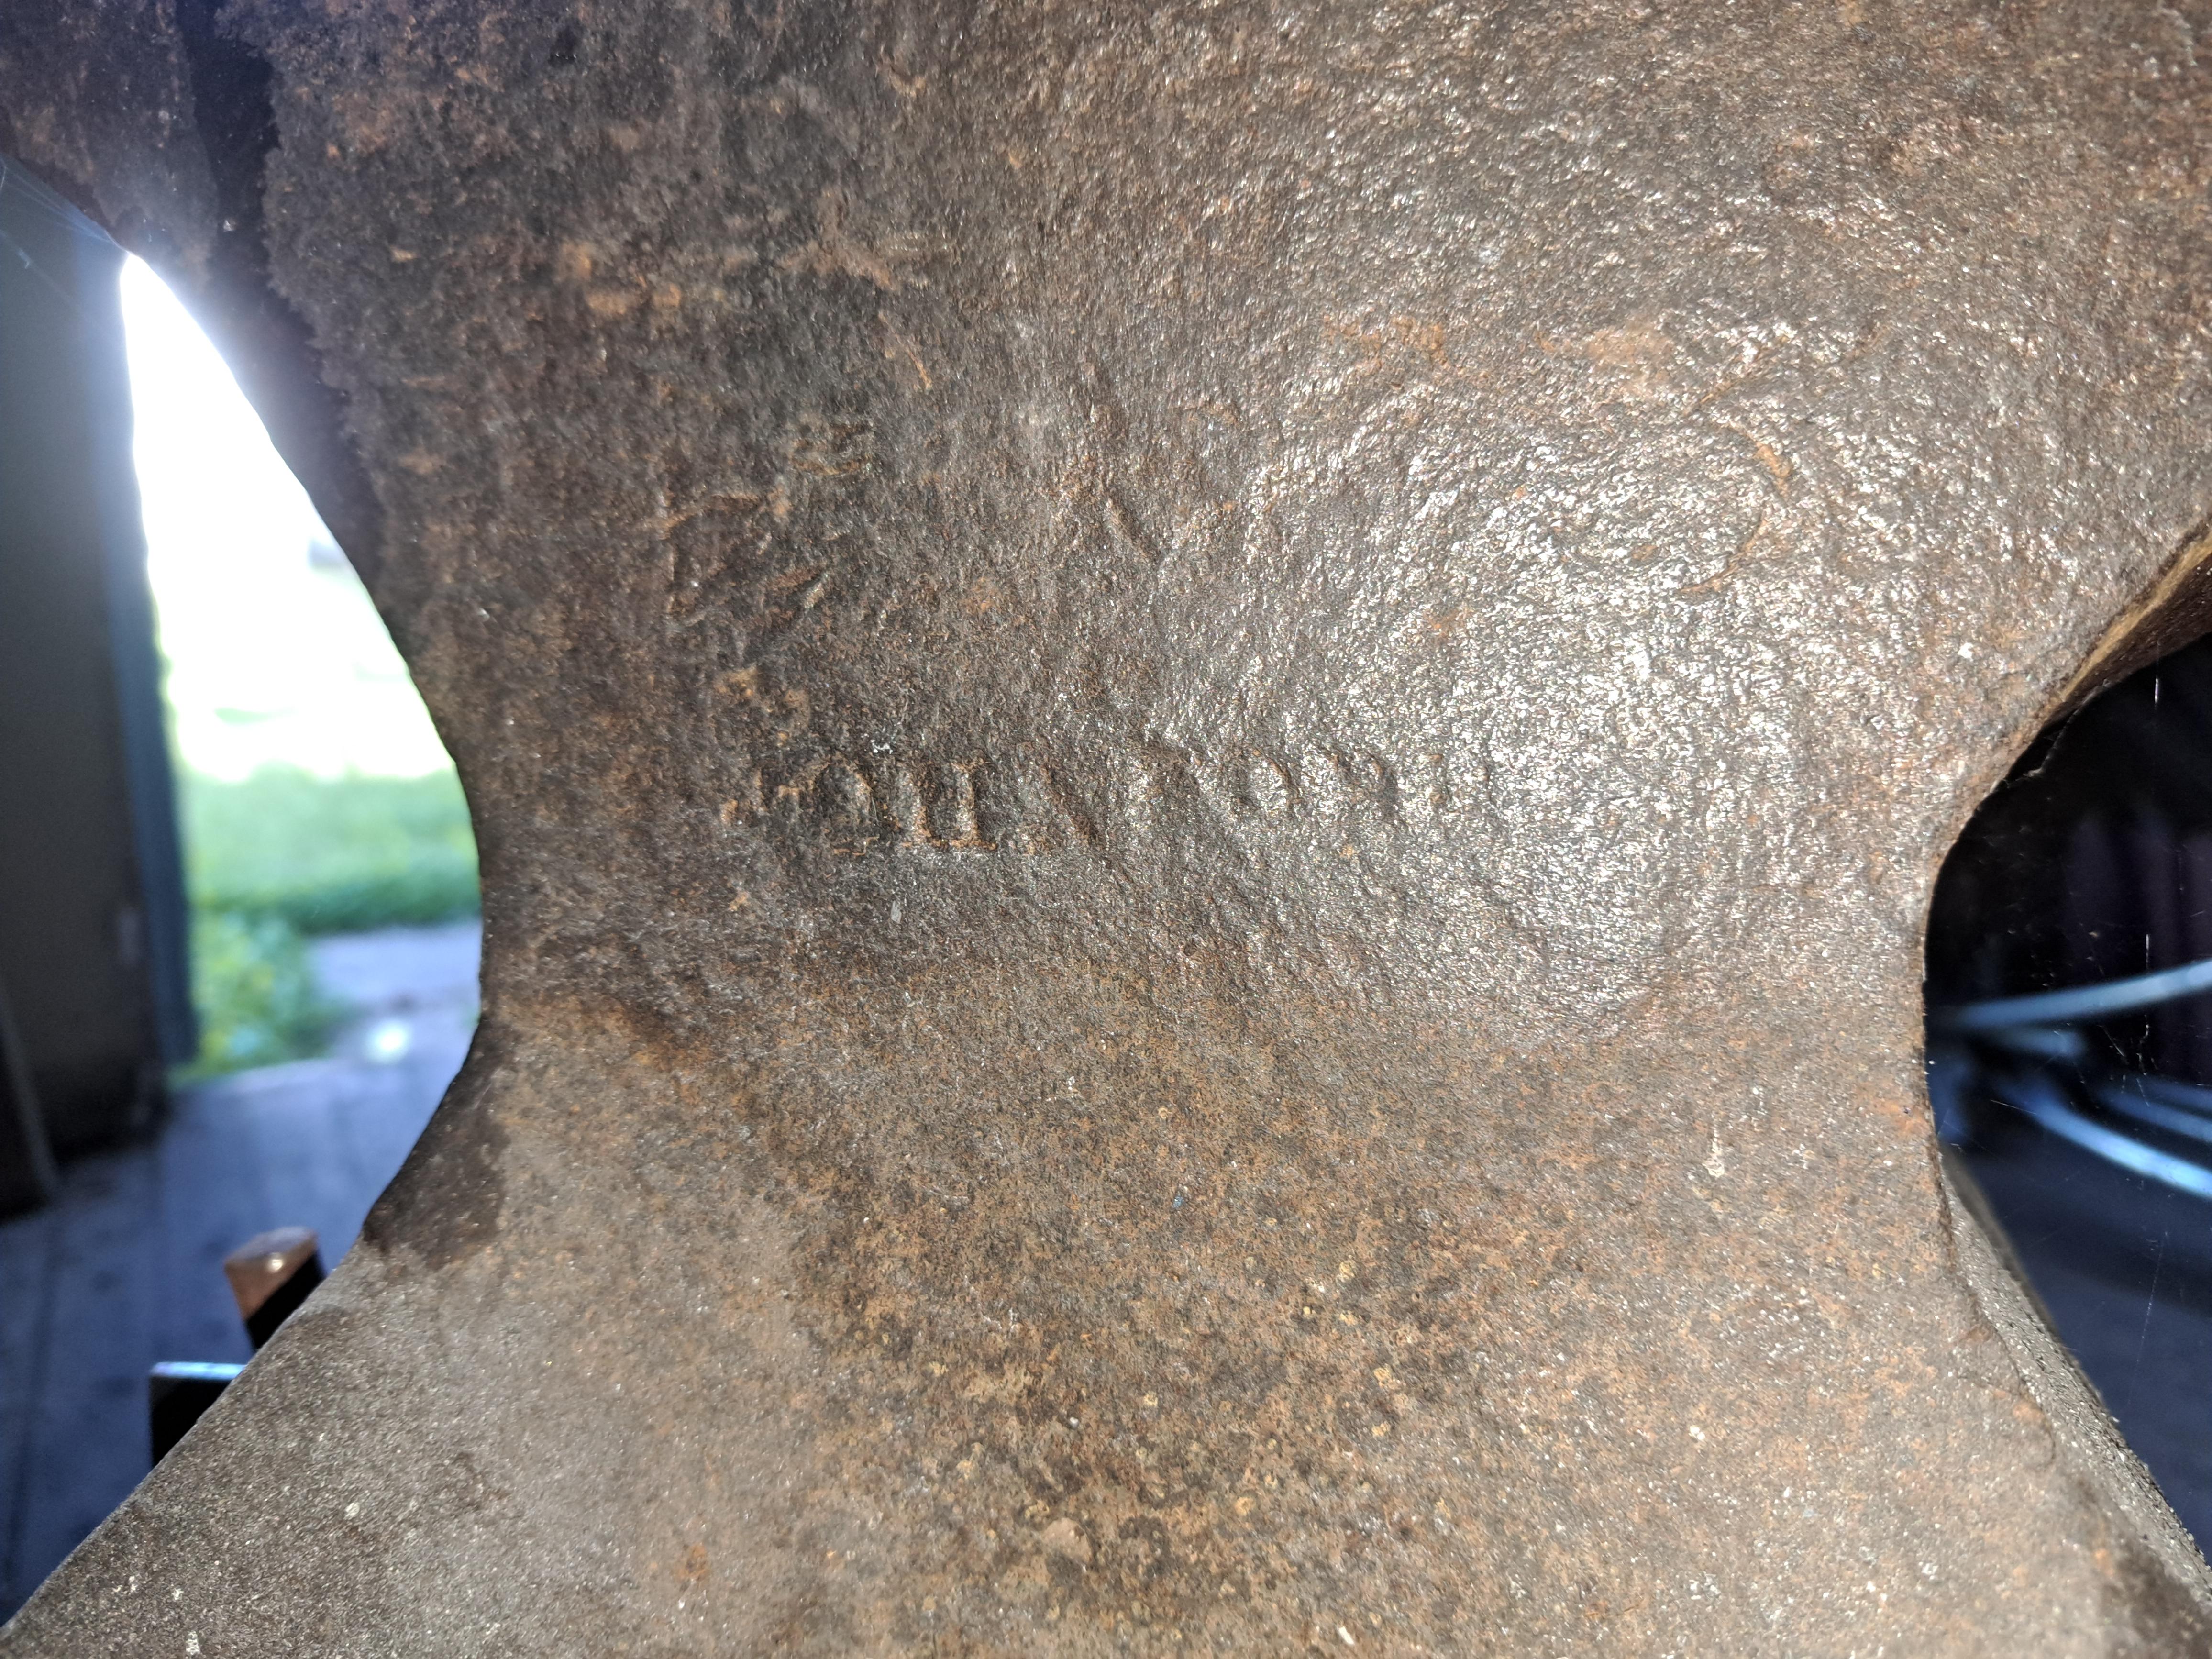
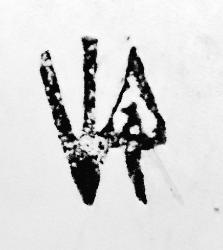
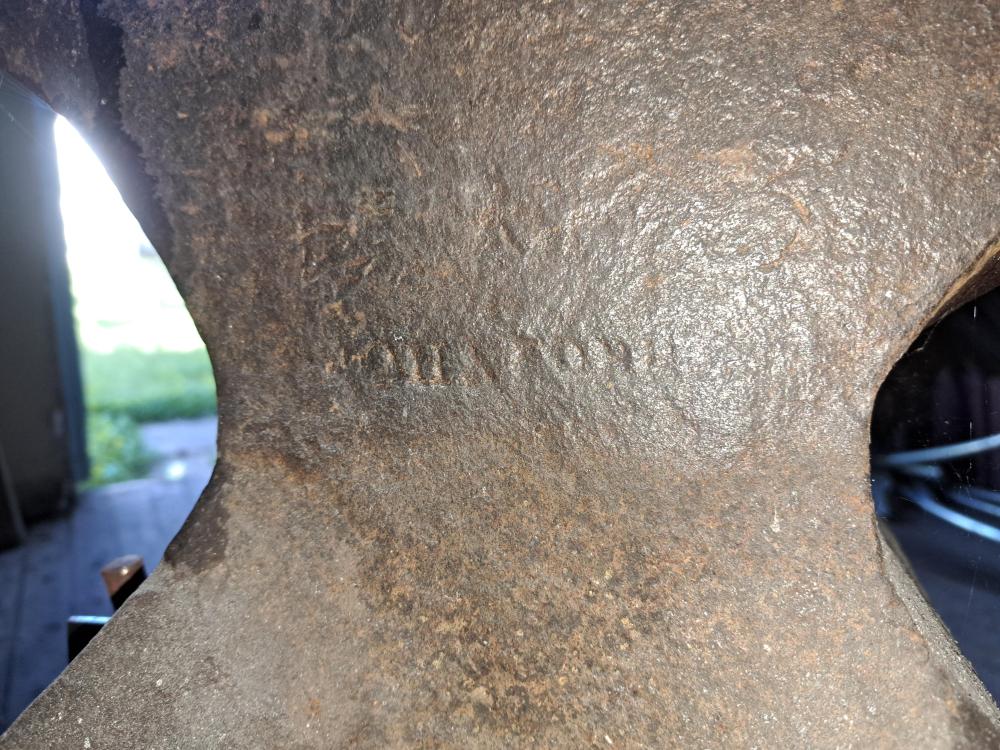
Figured I could latch onto this thread. I've never been able to figure out much about my anvil, other than general type. Sides are pretty corroded and there's just a trace of remaining lettering on one side. Have no idea how old it is, it's about 90lbs, I got it for $90.00 about 20 years ago from an old barn in Prince Edward Island, Canada. Isn't really that important, more a curiosity. Has served me well.


-
I thought this was supposed to be a resource for people to ASK questions and seek answers from there in the space? If not, then why are any of us here? I recognize experience, and was simply stating mine, and asking questions so as to better understand. Everyone was a beginner once... and very often, the problems I find with forums like this, is that there is co flicting information, Everyone is convinced that THEIR way is the right way, and instead of trying to explain something it devolves into an argument... Really makes it discouraging for any new makers to want to engage. Just my opinion, I take no offense at anyone else.
-
I may have done past tempers at too high a heat... I think I had tried at lower temps and hadn't gotten the color draw I wanted, so went hotter. That is on past attempts though.
-
I meant that, at the proper temper temperatures, if I put it in for hours, I would move well past the colour spectrum required, and would wind up with a soft blade.
-
If I were to temper this back fir a couple hours, it would have no hardness whatsoever.... I generally find, Mayne an hour MAX for the blades I've made in the past. Why would you "retemper" a second time?
-
Fair enough, ad I didn't mean to put any words in your mouth, apologies for that. I see your point 100%, but, in the learning process, I'm willing to take the risks for the sake of learning. Cannot learn without mistakes.
-
Wasn't that much of a waste, frosty, but I see your point. Was made with some free coil spring, so no waste there... and, I don't consider anything a failure... simply a learning opportunity. As far as heat treat on this, I have done the same several times on a few different blades/tools with recommendation from another Smith. Able to get this one shaving sharp, so it is at least able to take an edge.
-
I hear you. I run a charcoal forge too, so reaching, and maintaining a proper temperature gets a bit finicky. But, it is all a learning process.
-
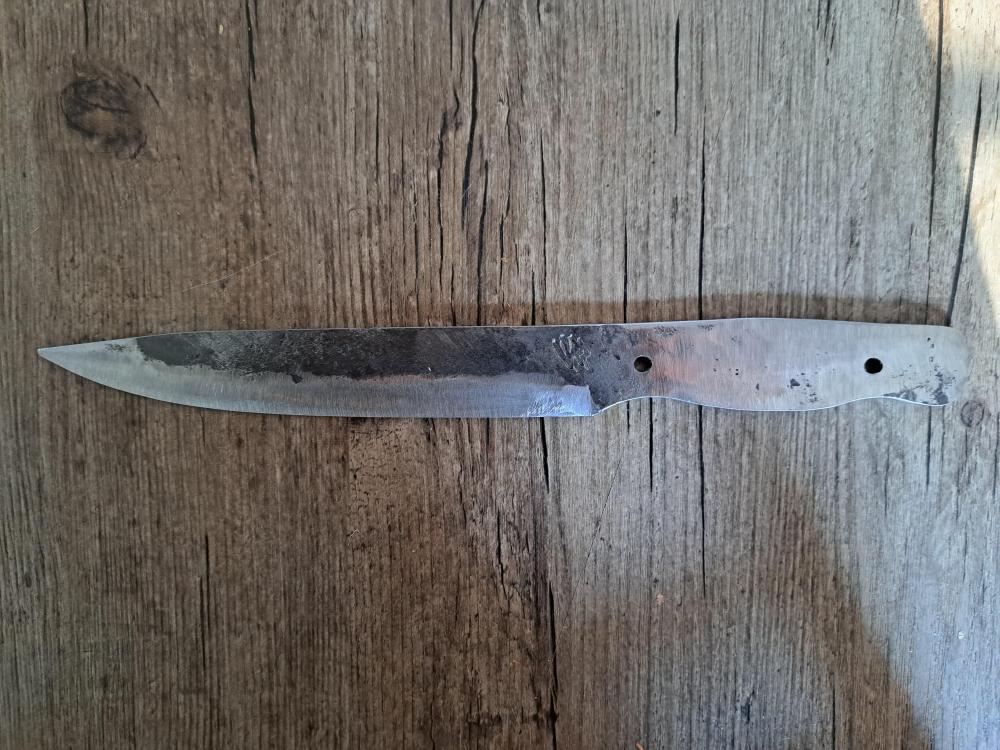
thanks, this will be my first slab-scale knife.
-
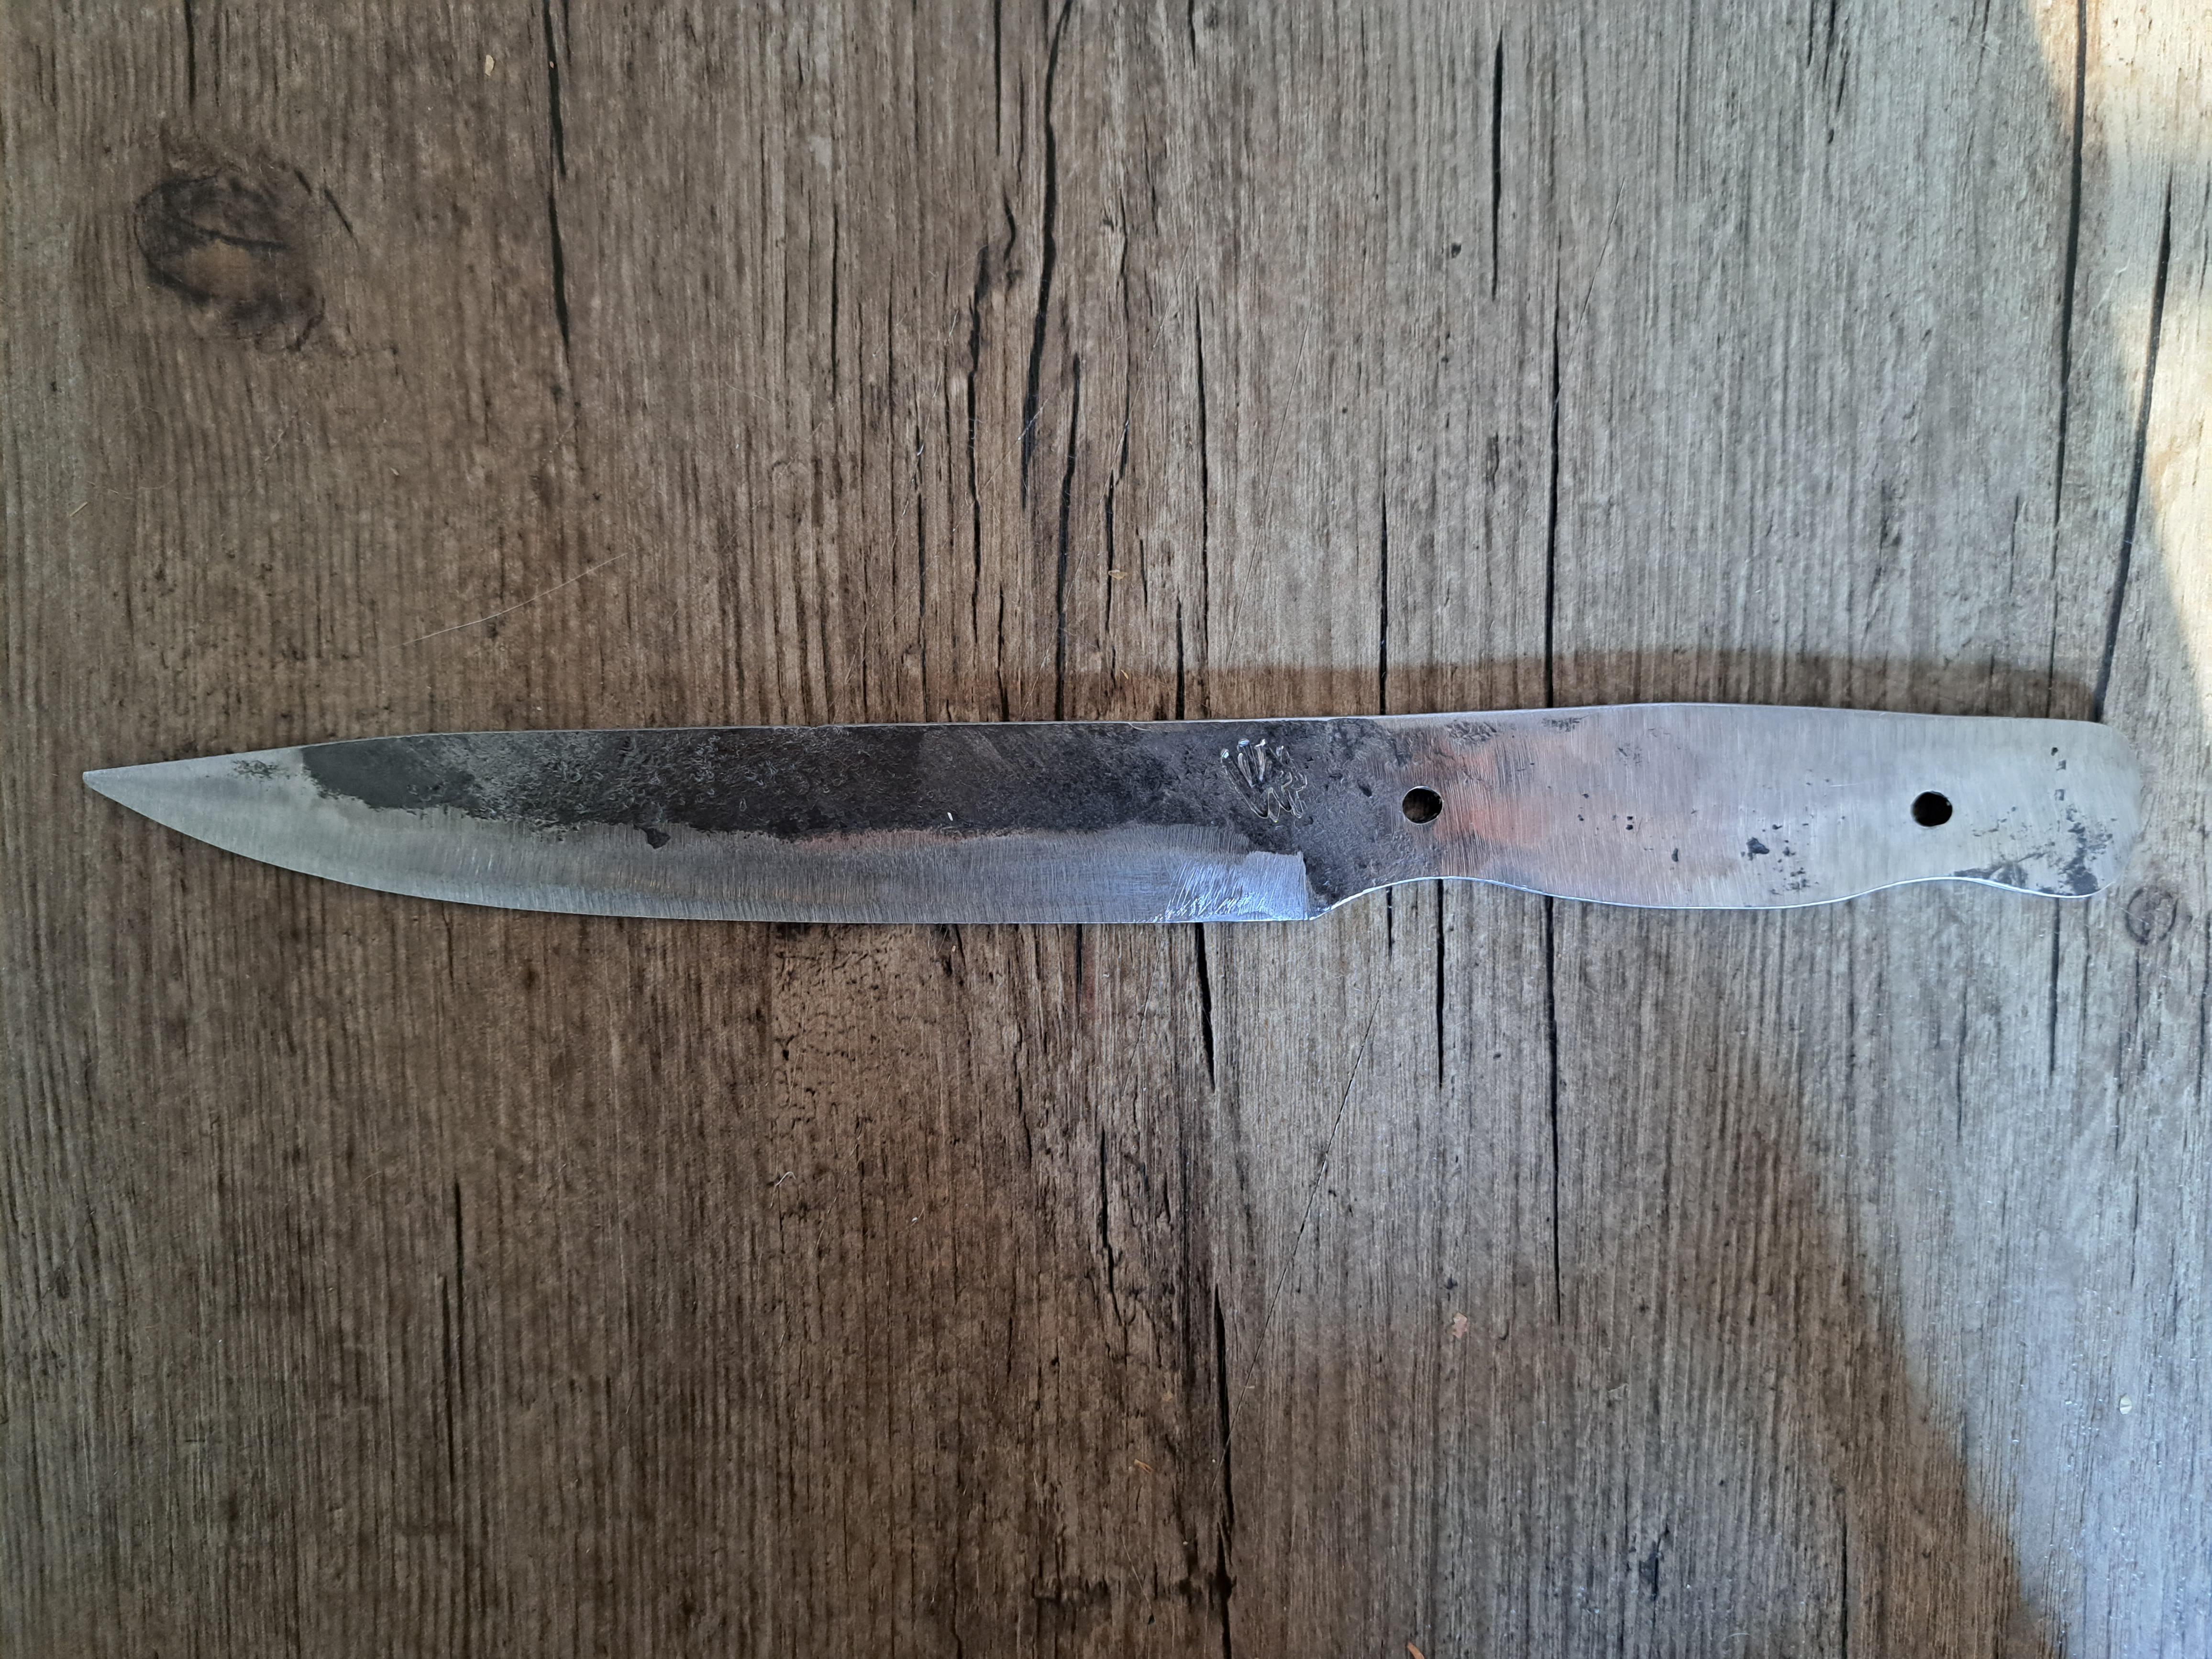
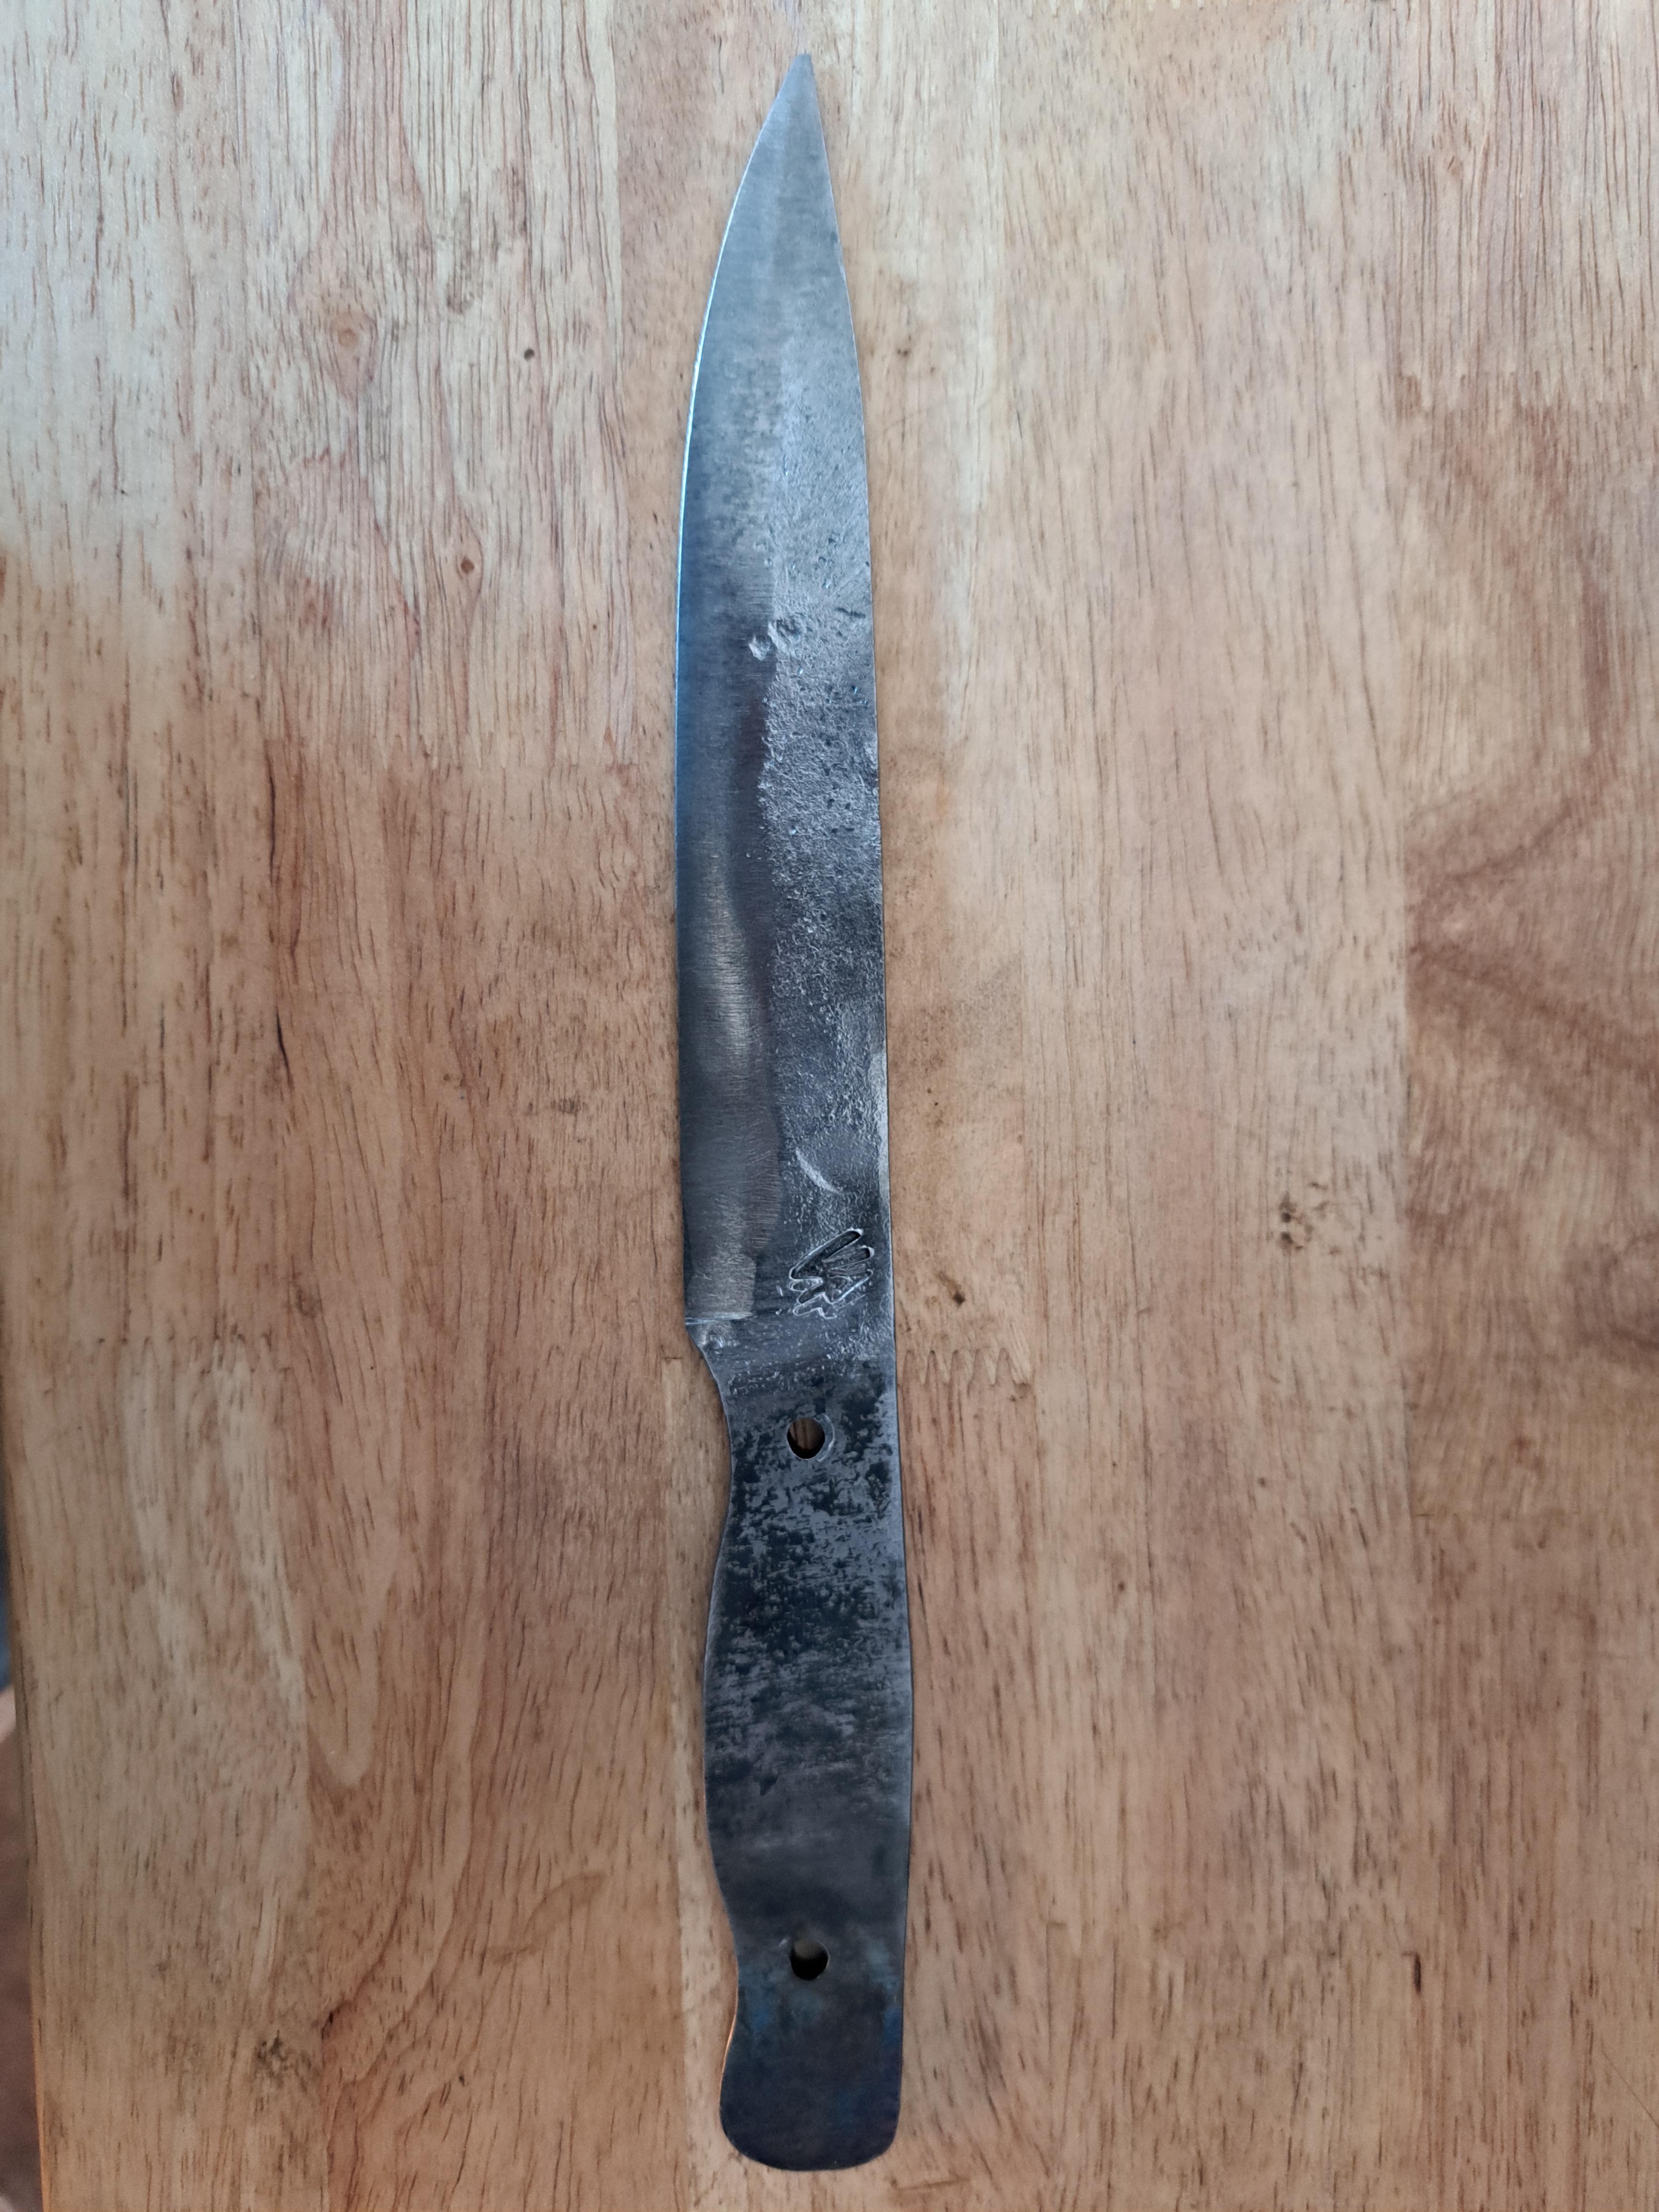
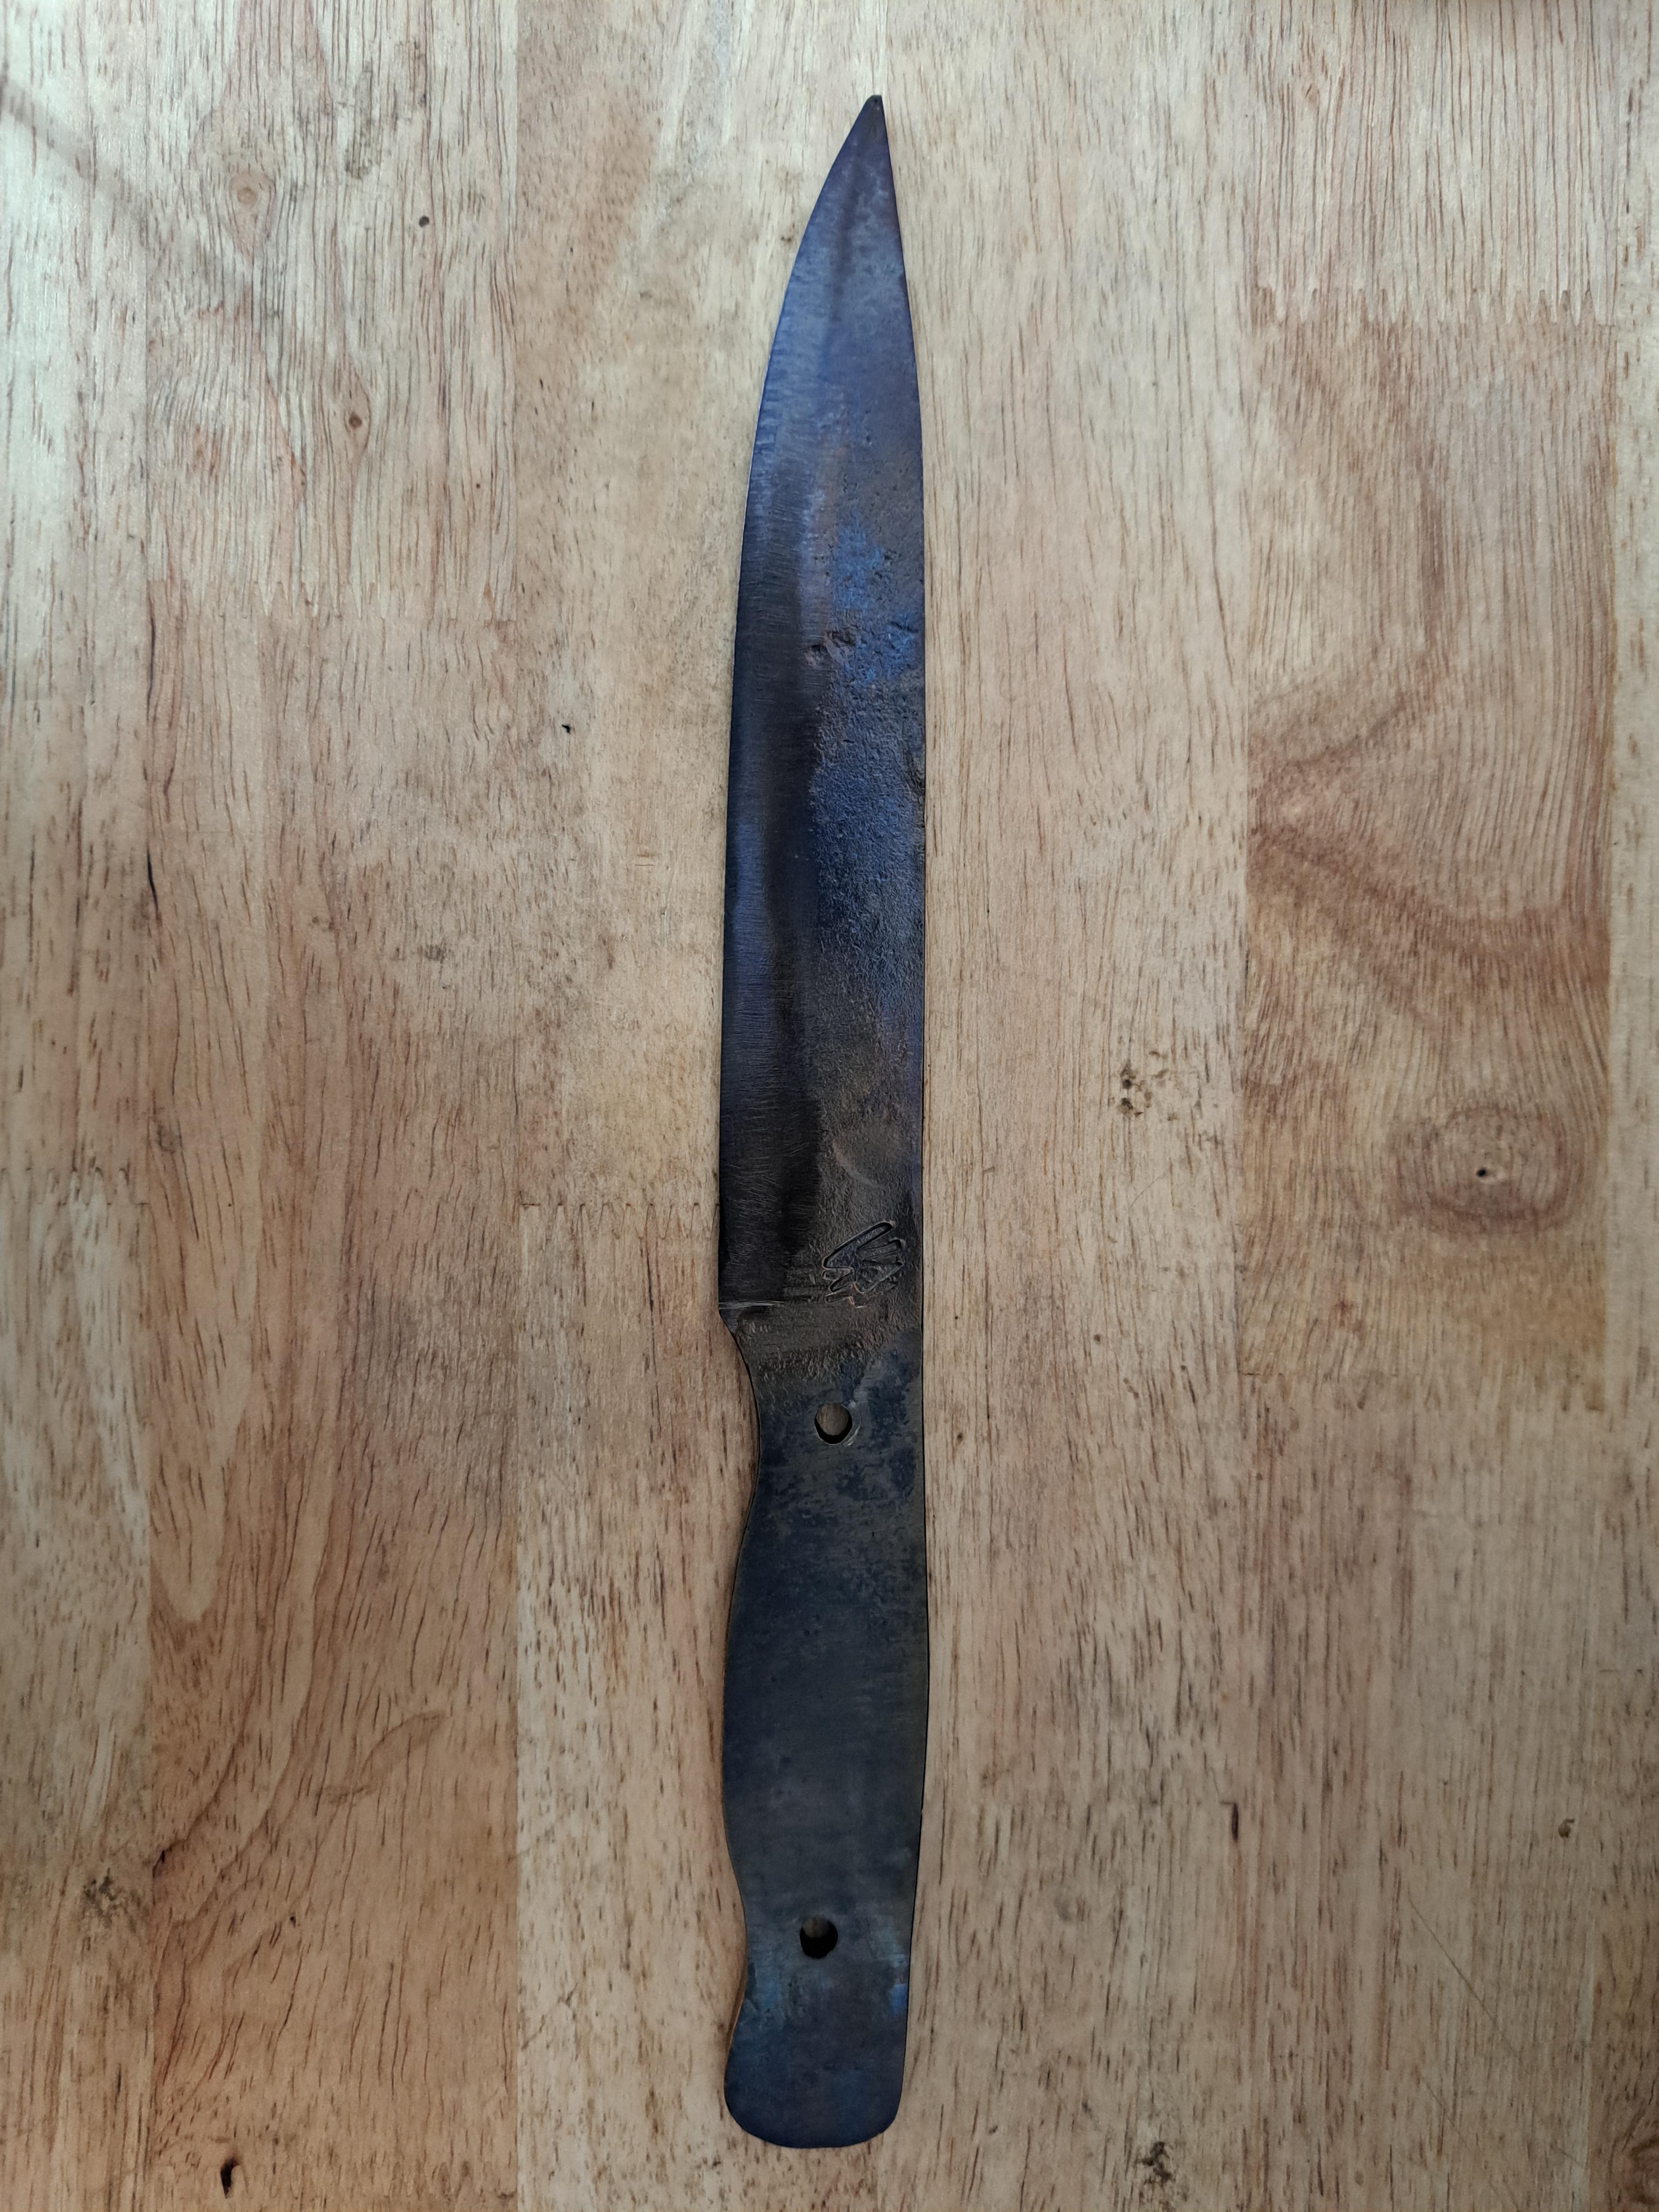
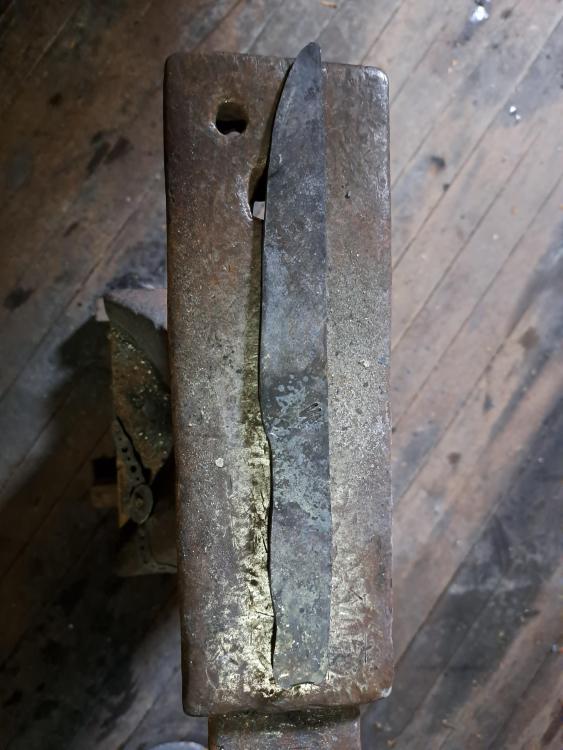
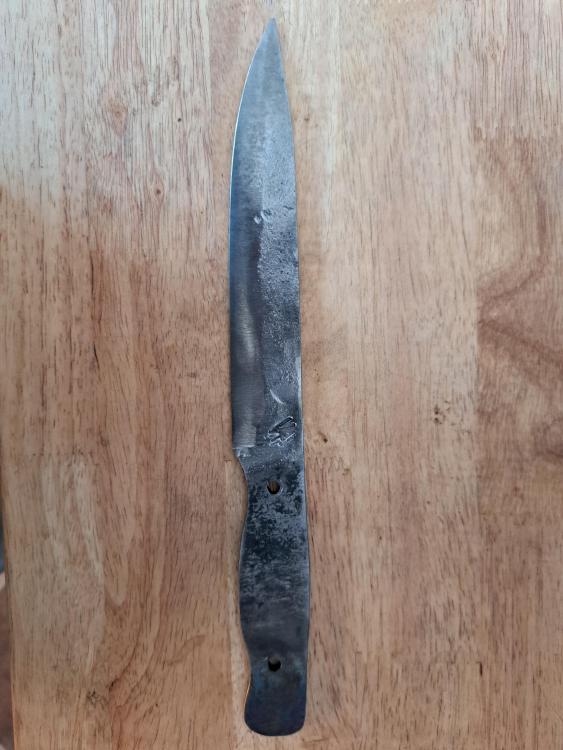
Banged out a blade this weekend. Got heat treat done, but I was second guessing myself, and ended up doing it a couple of times. I'm still trying to figure out what best temper/heat treat is for knives from this material for best edge retention and durability. Next step is adding handle and finishing.


-
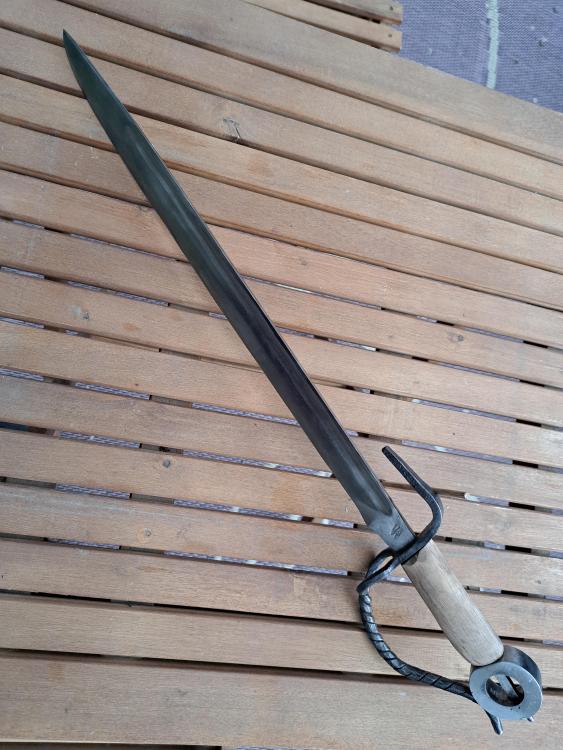
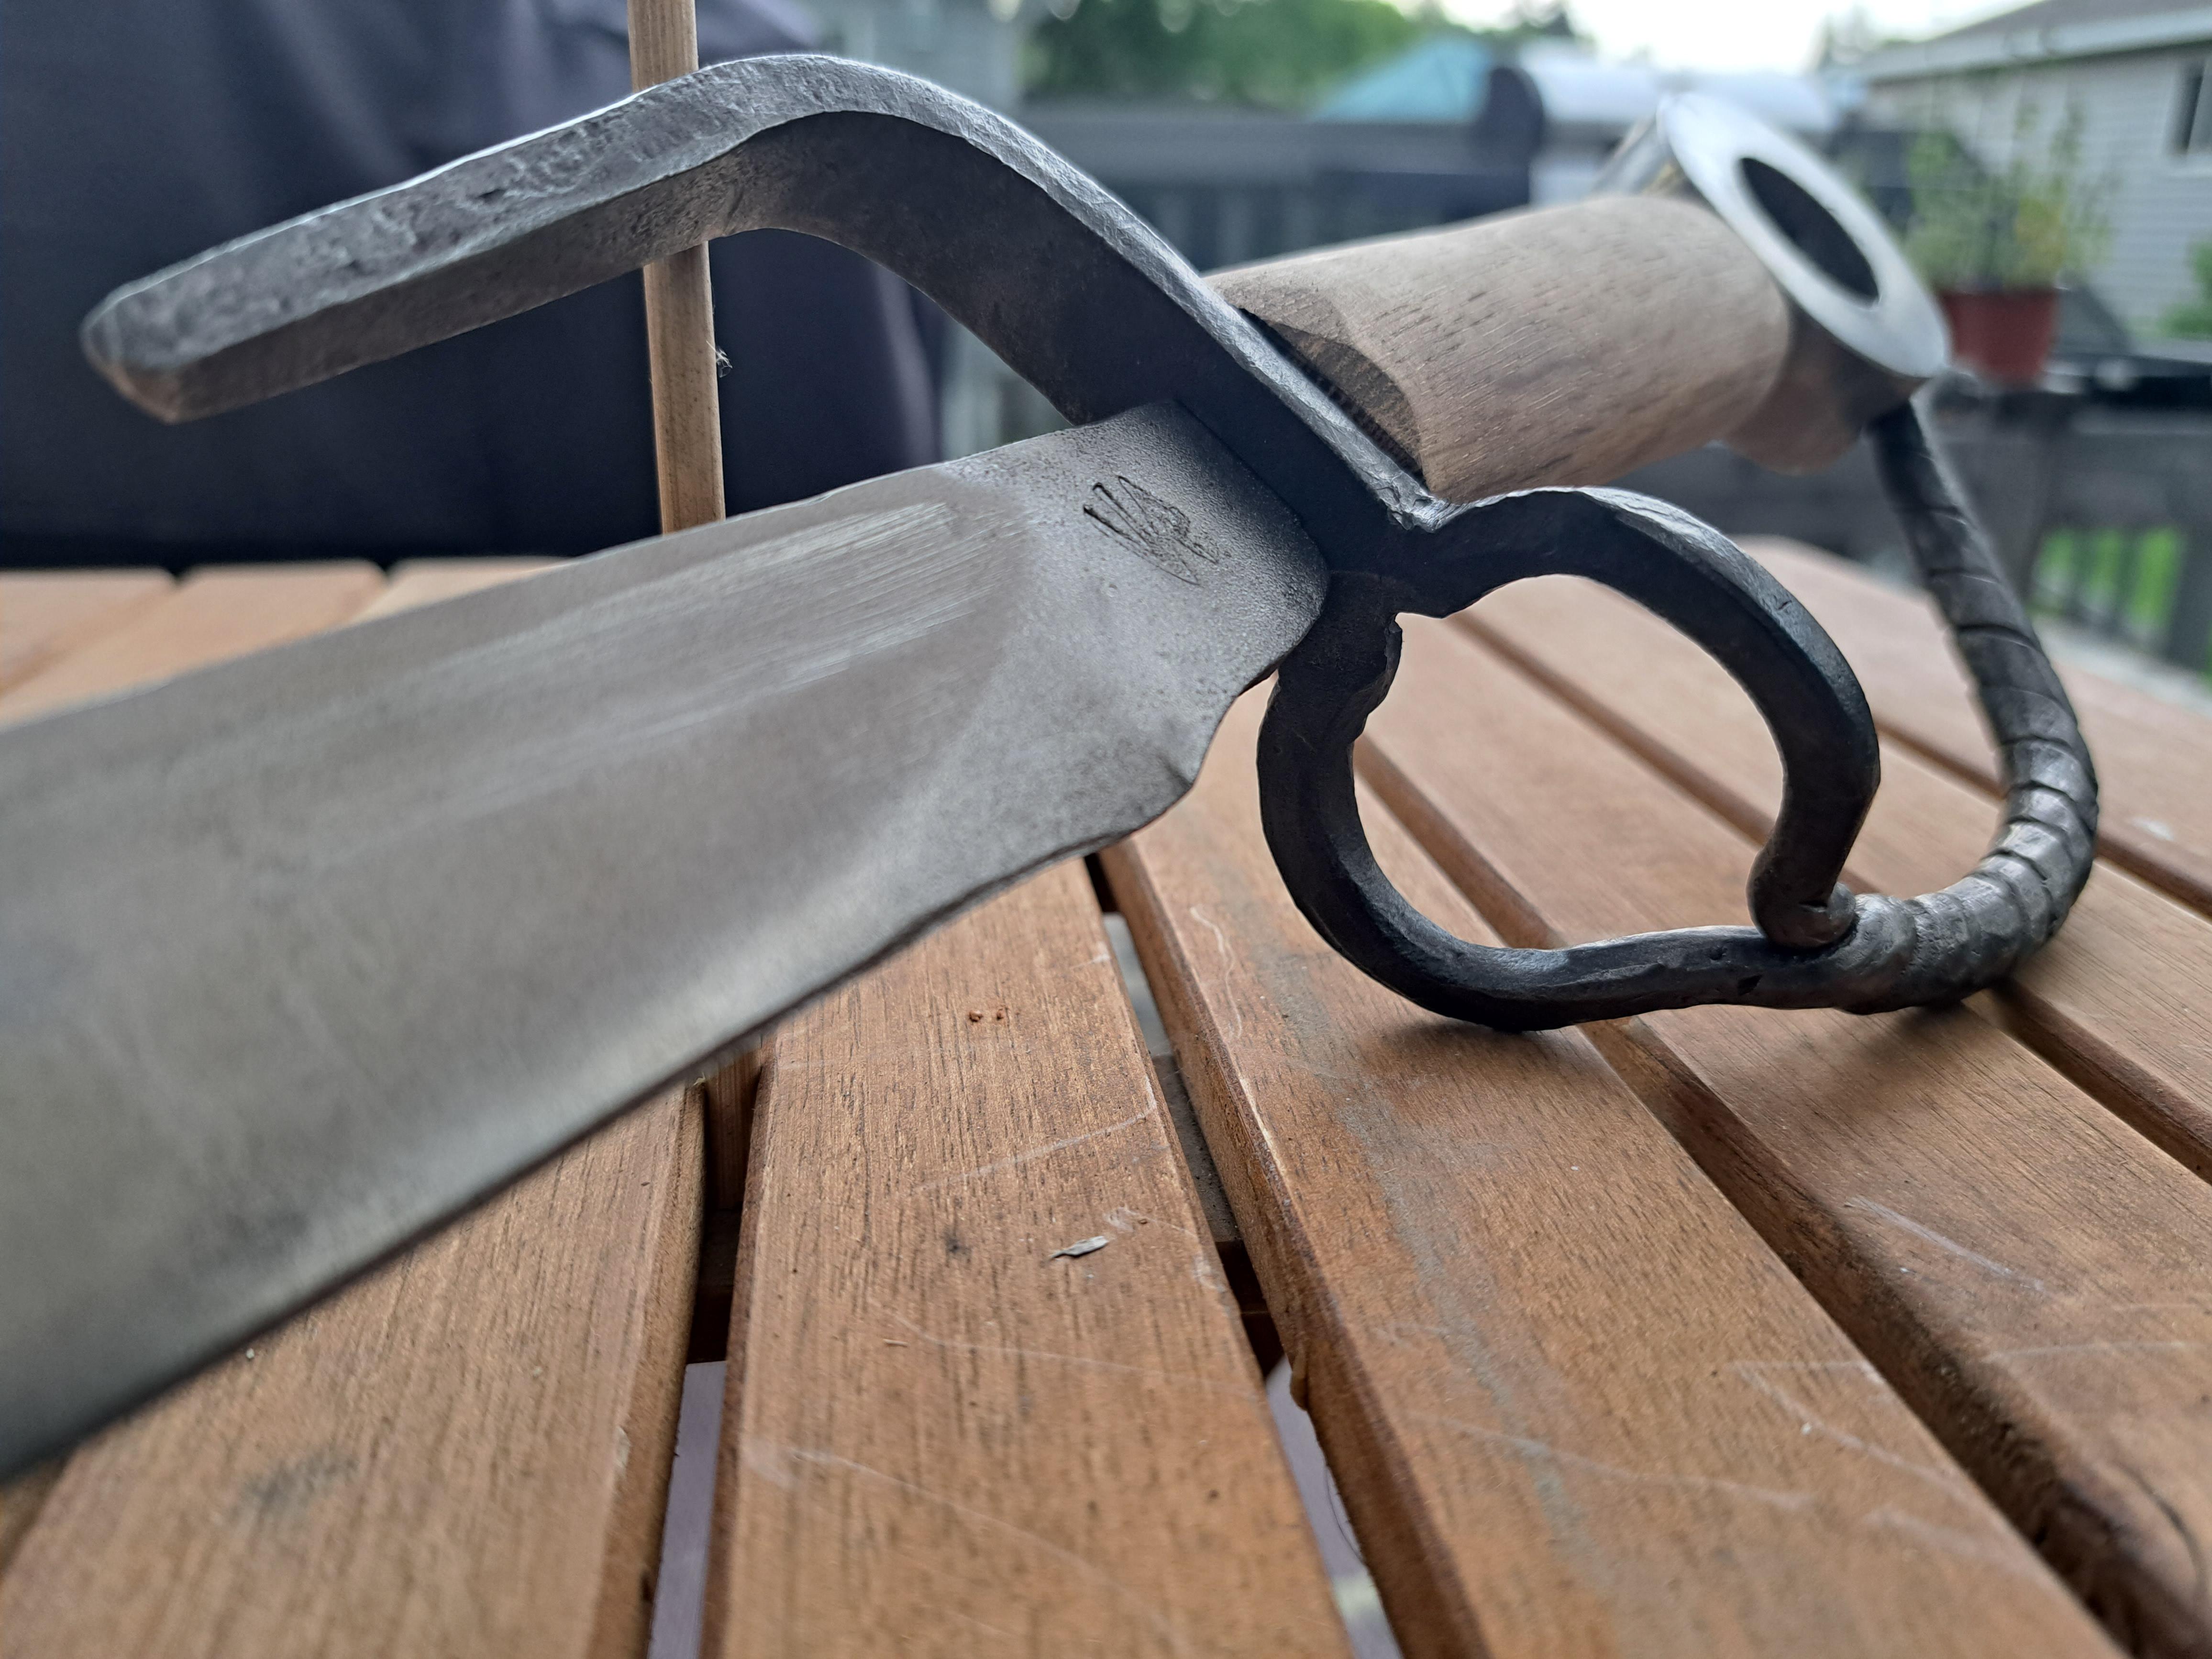
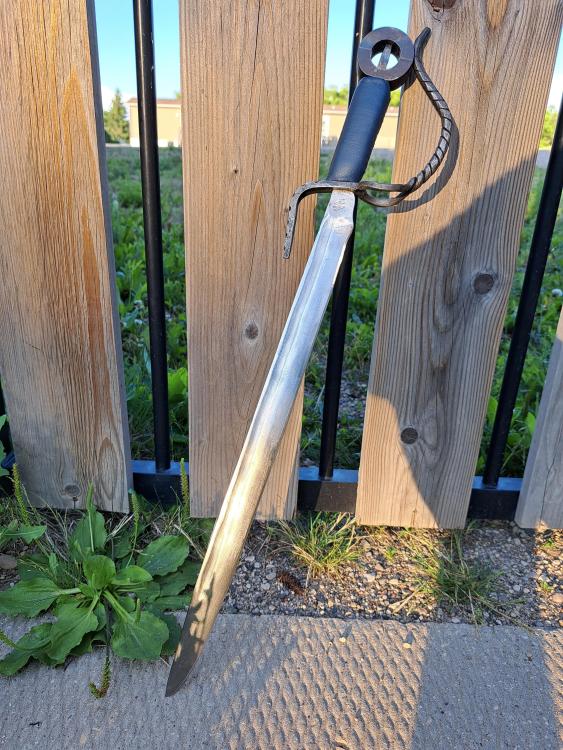
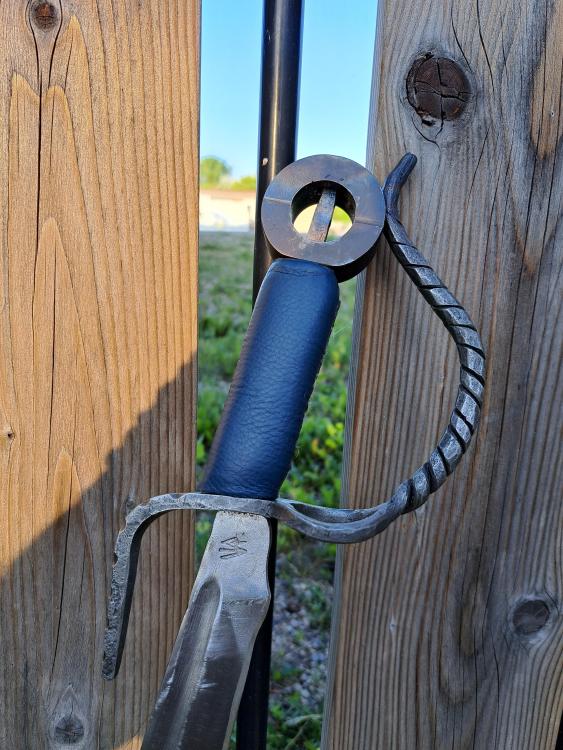
That's a slick lookin sword. I love the hilt design. Thanks! I'm really happy with how the guard turned out.
-
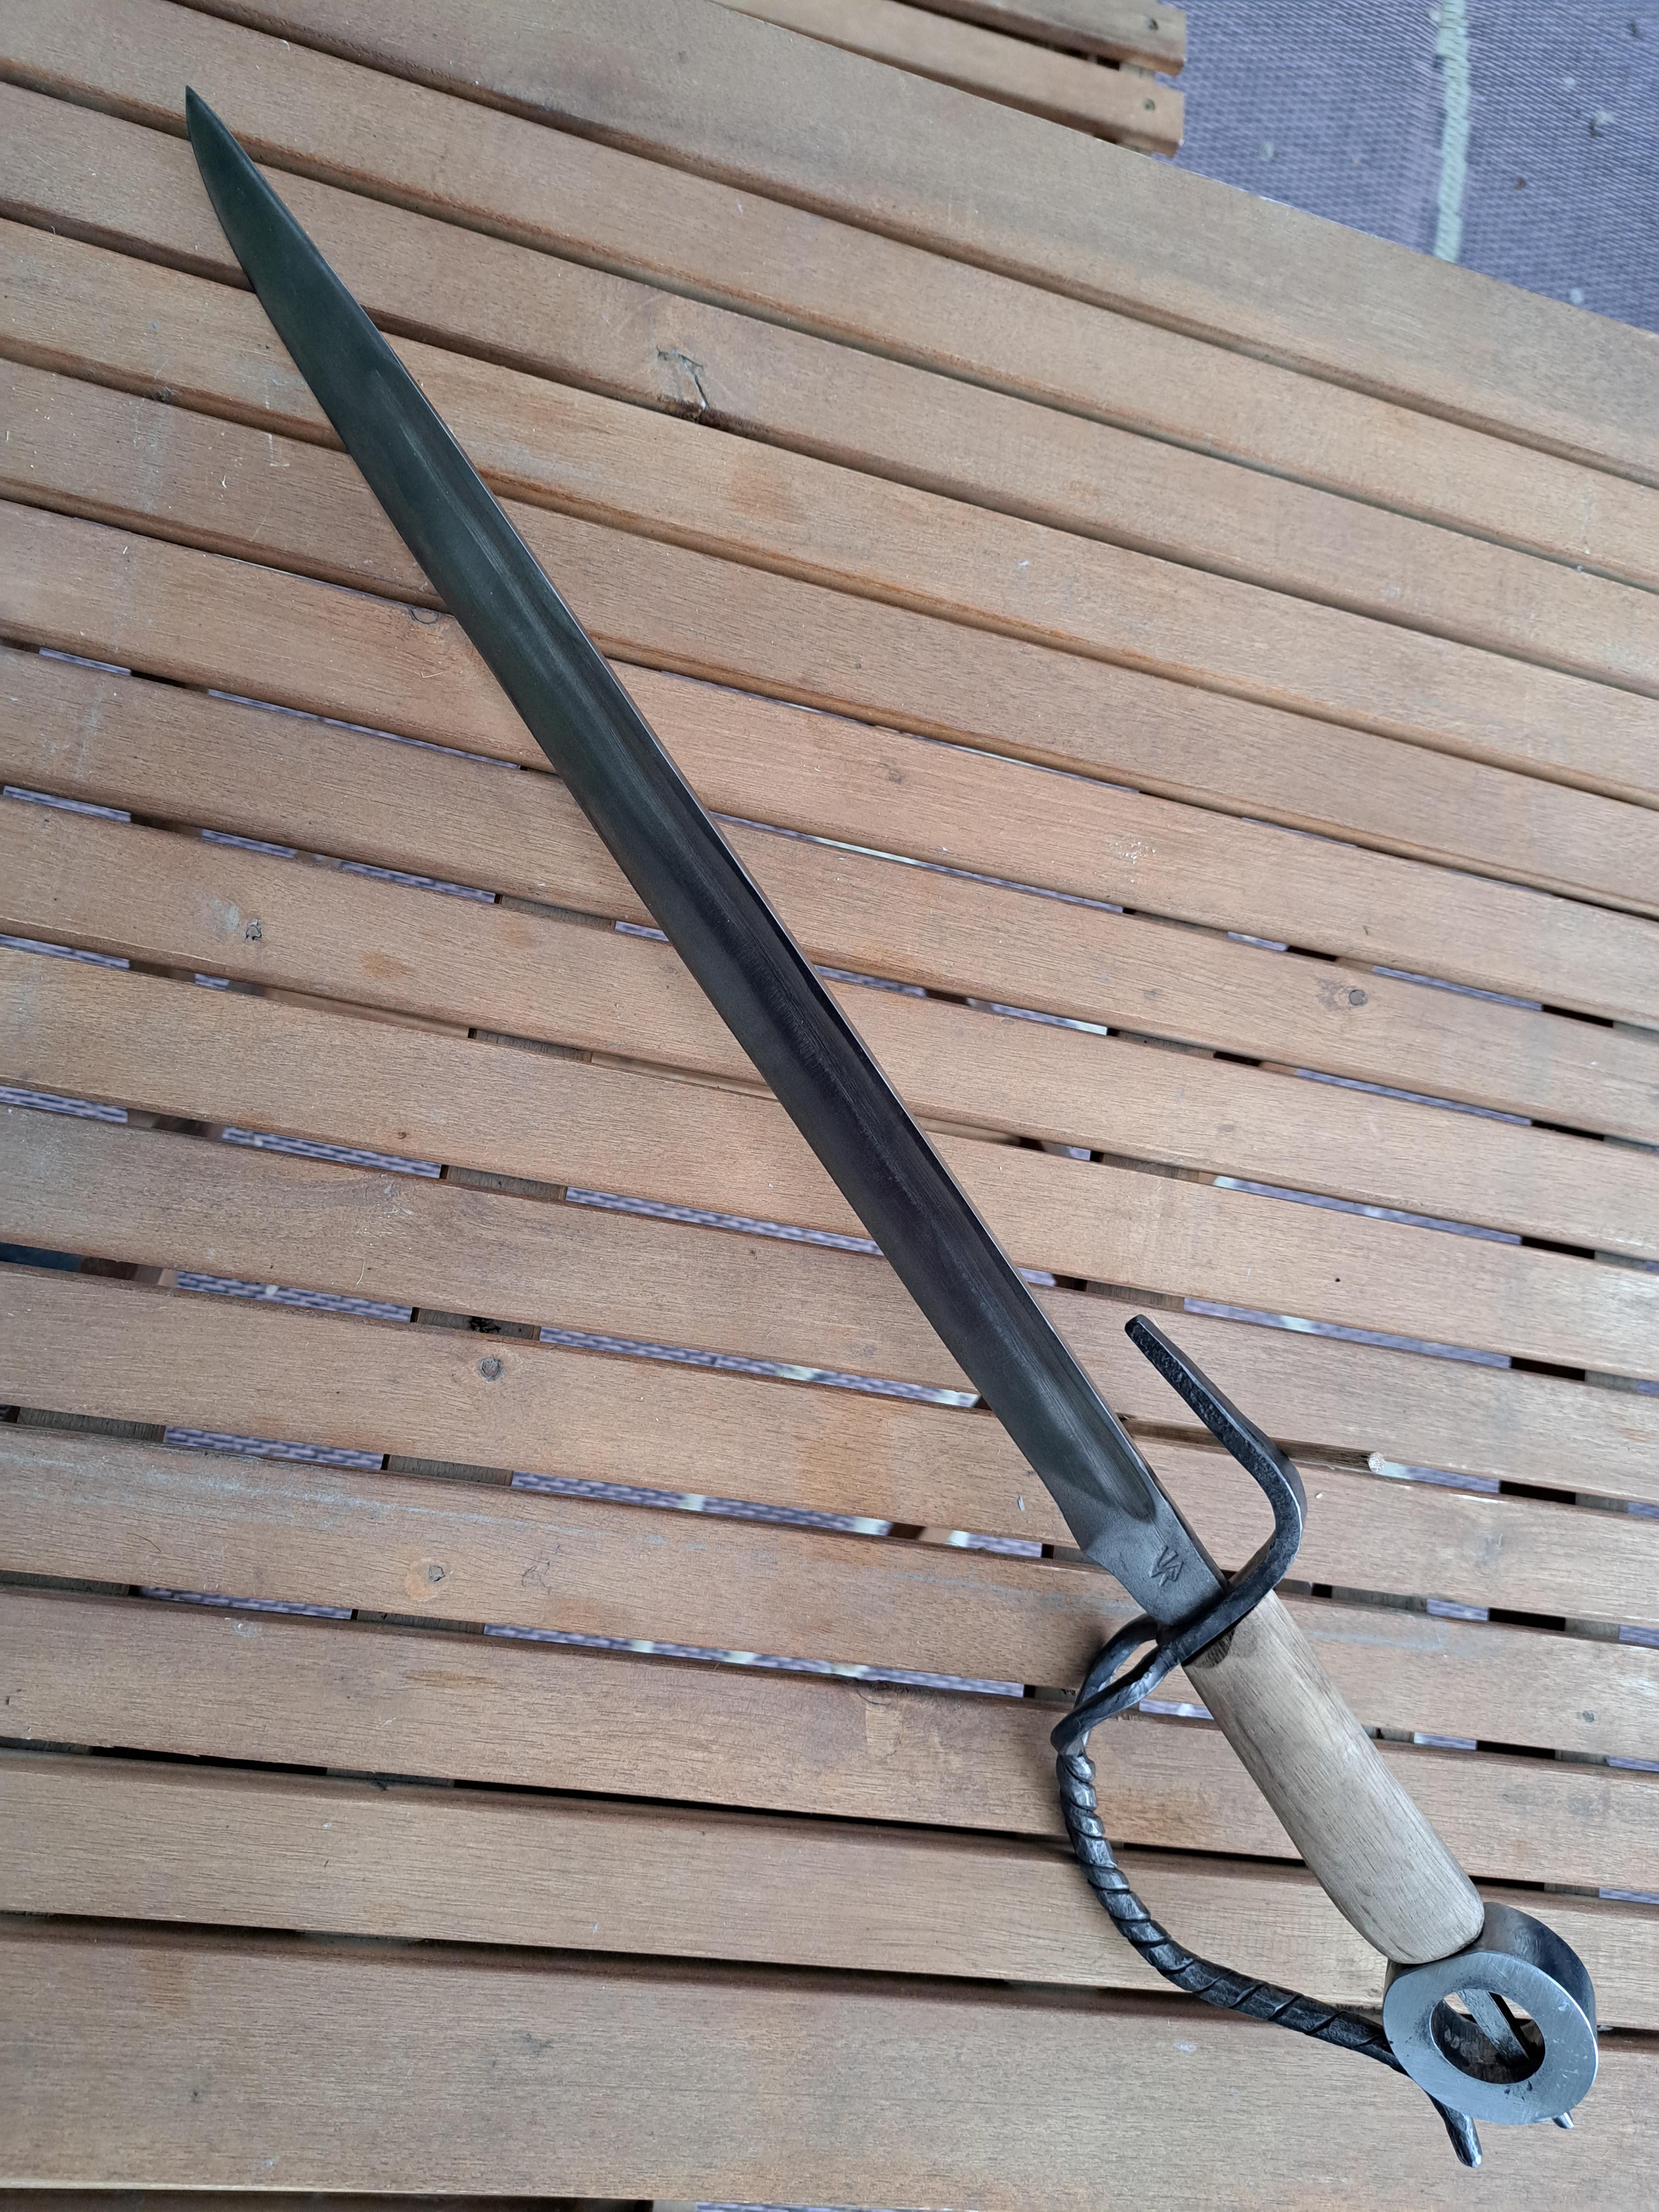
Partly what the metal did for me, partly what my wife wanted in the design. It is sort of a mix of a cutlass and a falchion.
-
Finished all but for sharpening. Next step is the scabbard. I learned a lot of things in this build that I will apply next time. There are some quirks, and issues with this one, but for the person it is going to l, it will do, and they like it. Final weight, 1lb 12oz. Overall length, 26", blade length, 19 inches
-
"Very nice, WR. It’s got a lot of character." Thanks JHCC. I'm pretty happy with it fir a first ever sword. Learned/tried lots of new skills on this one.
-
Continued working on my sword project. Today was Hilt day: Made the guard, pommel, and fitted the grip. Still have to do all the final finishes and fitments. Will likely do a cold-blue or patina finish on guard and pommel, and a red leather wrap on the handle. Will also have to make a scabbard.