Savlaka
-
Posts
57 -
Joined
-
Last visited
Recent Profile Visitors
296 profile views


-
What did you do in the shop today?
Savlaka replied to Mark Ling's topic in Blacksmithing, General Discussion
I have 1117 in hex bar, and some 1215... along with some 1141/44. I have seen 1018, 1045, 4140, not including the Lead bearing steels (like 12L14) from one of the places I get metal. -
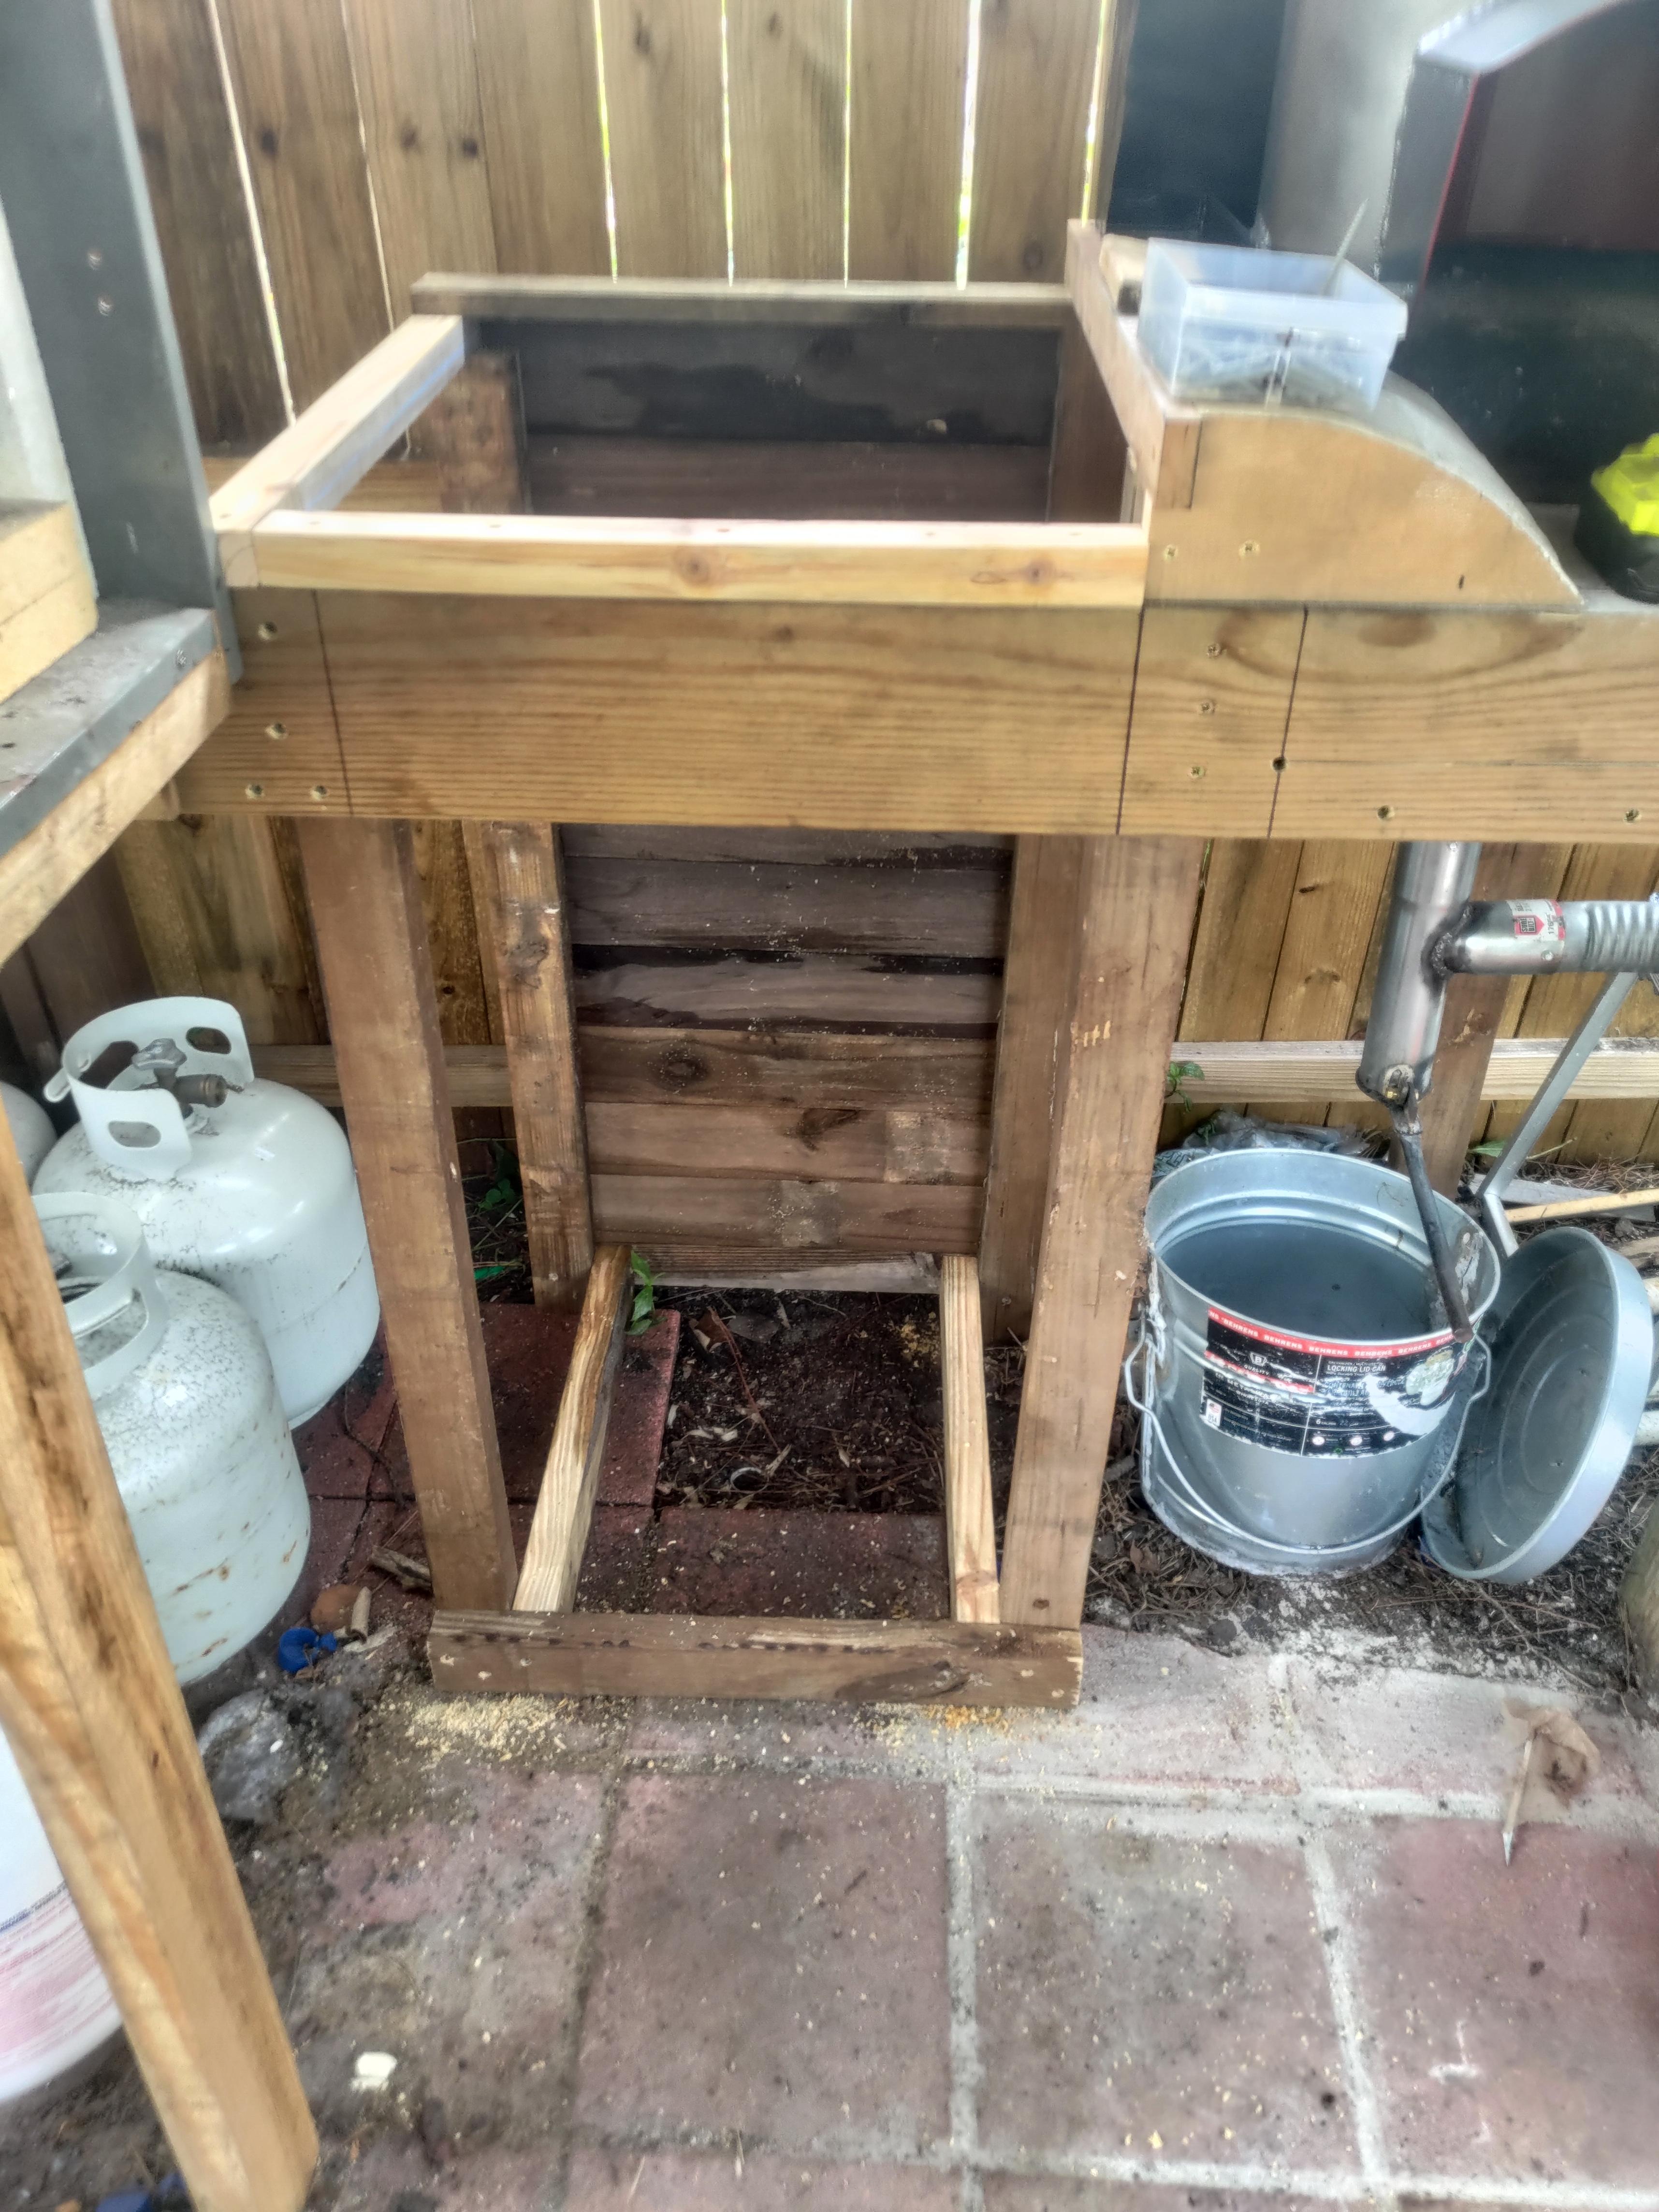
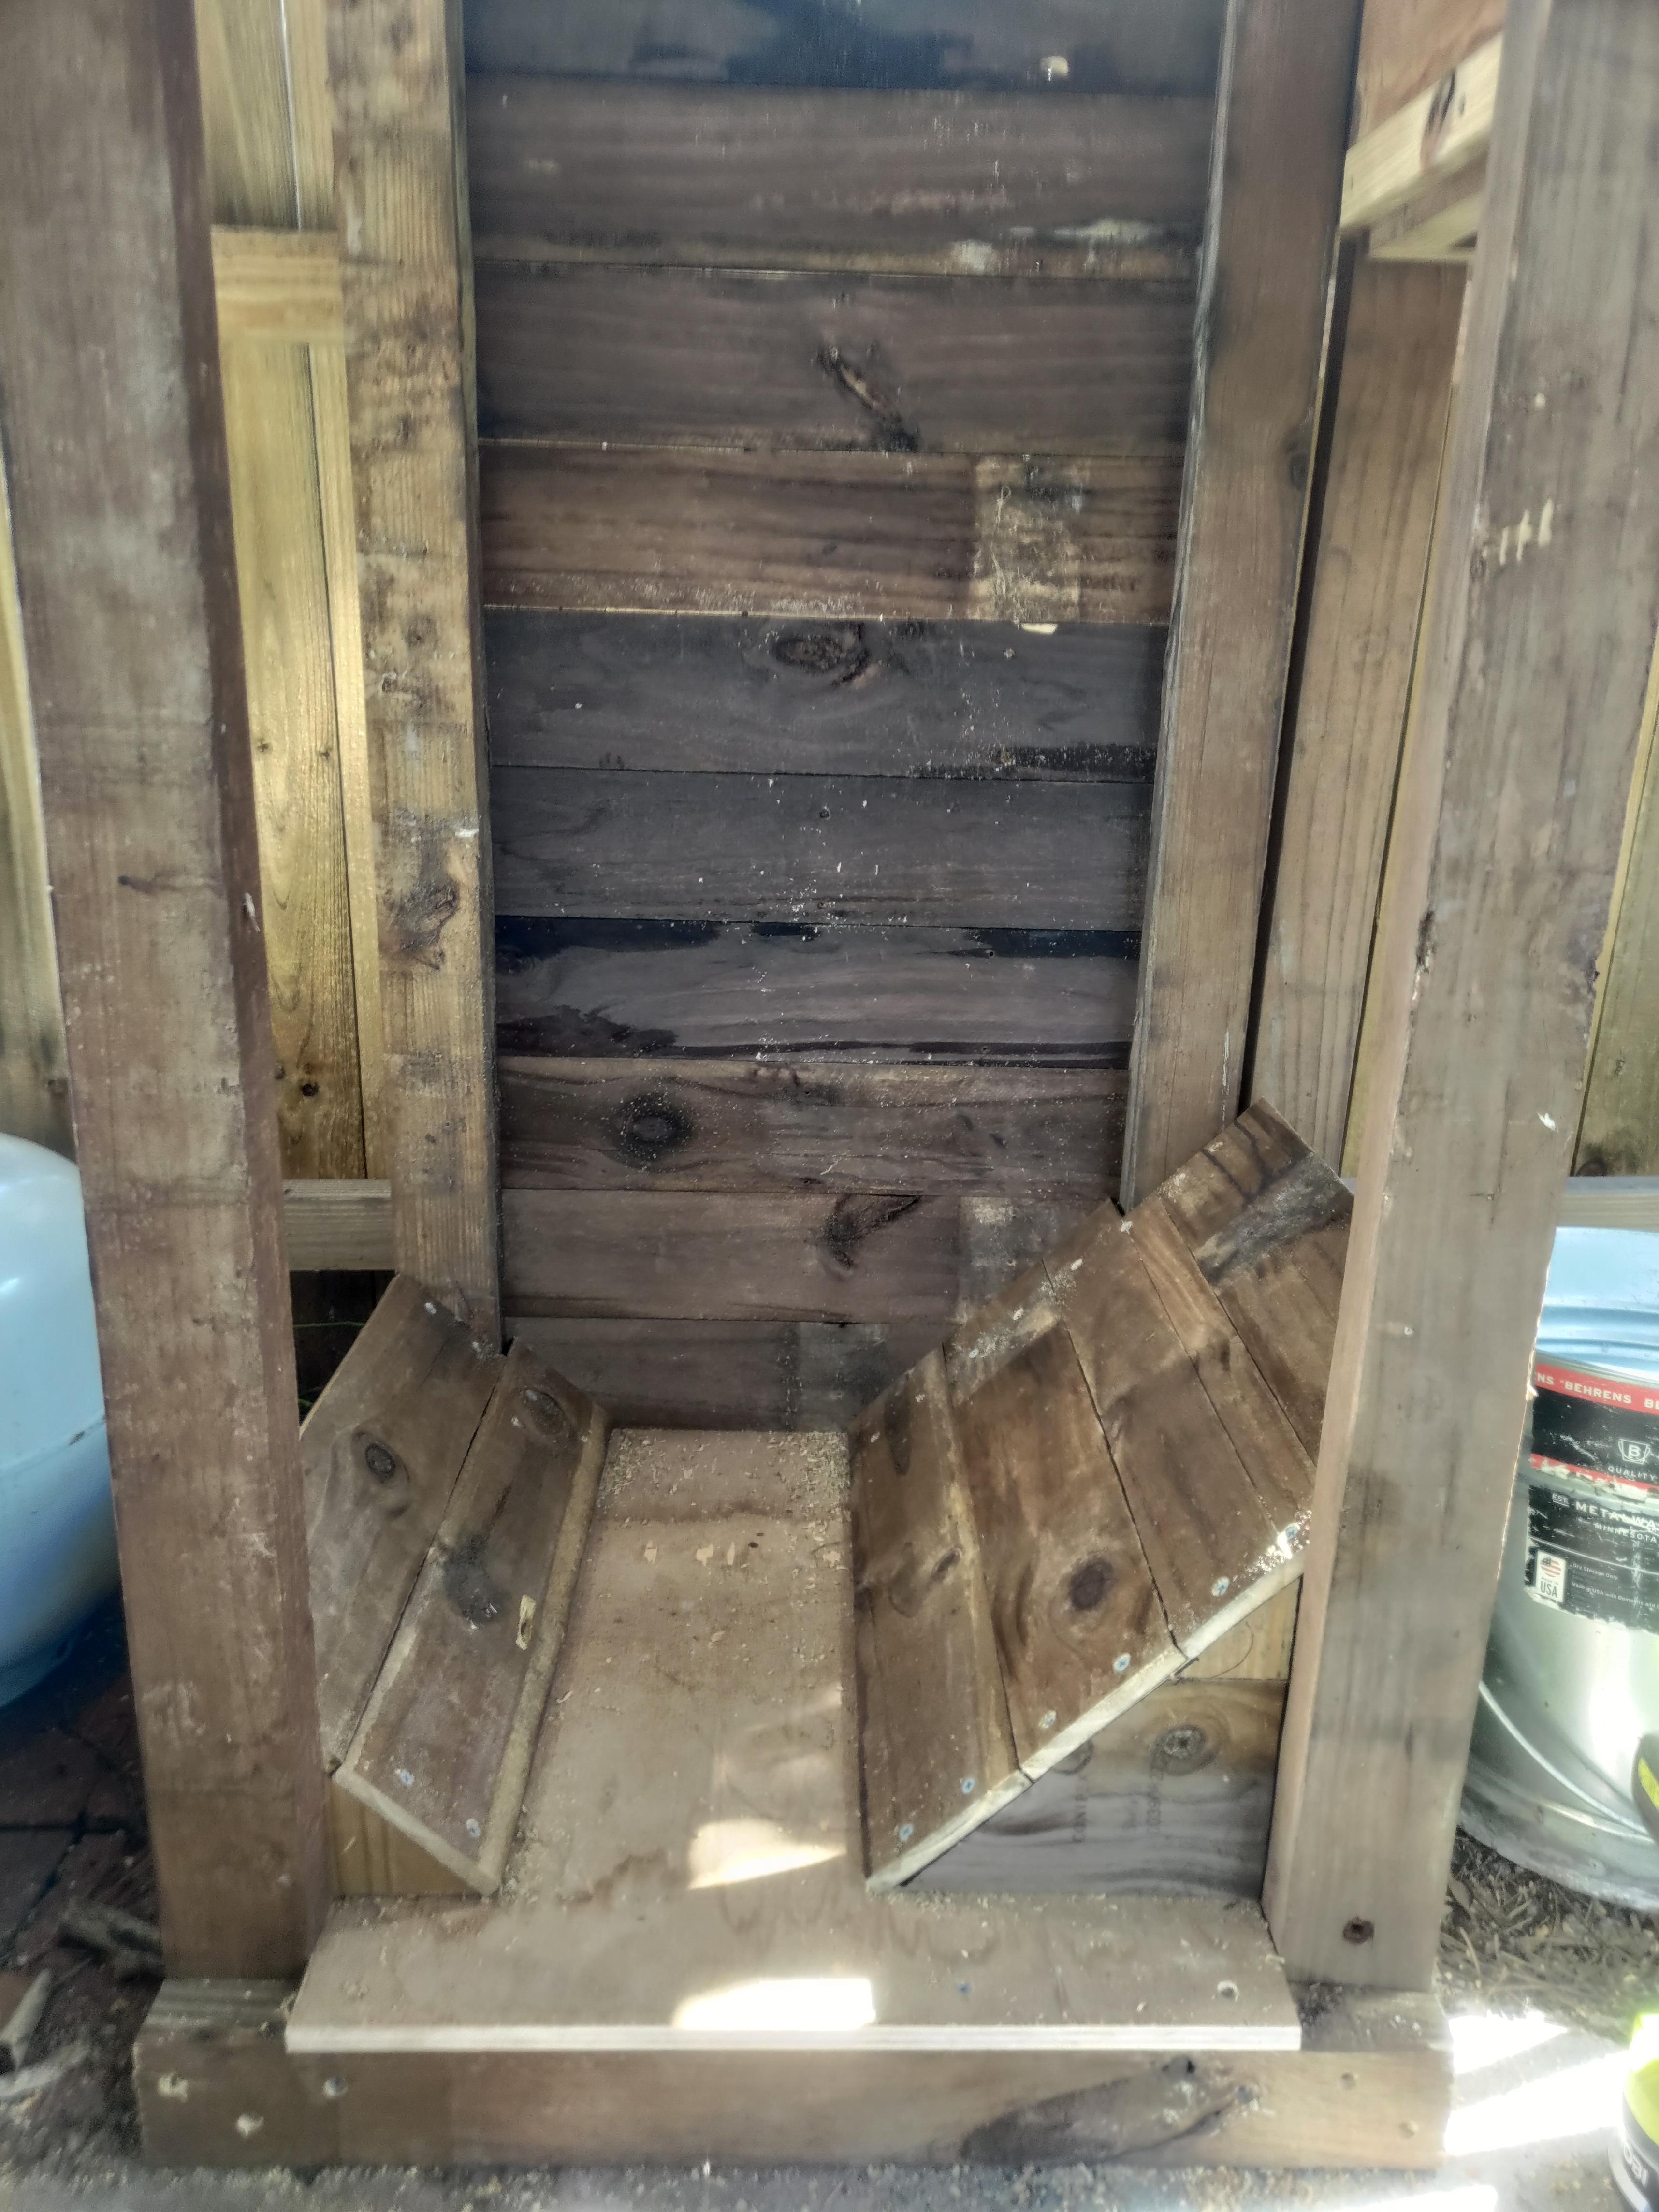
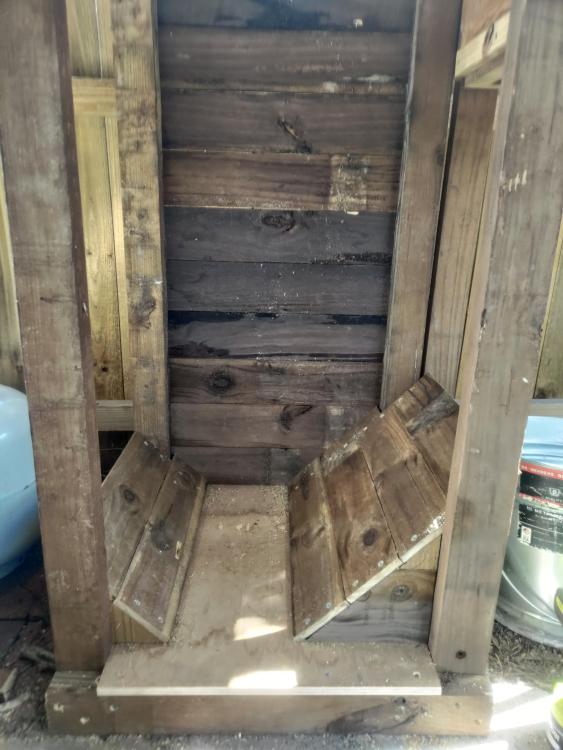
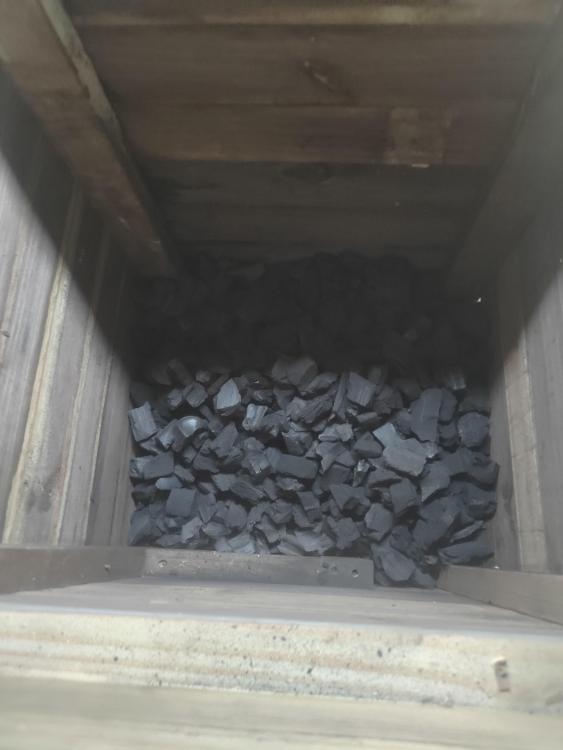
thanks y'all, I thought it was the simplest method of both storing and being able to feed the forge (or grill). while the studies I read show autoignition of charcoal does happen, normally it requires a very large pile (I was seeing #'s in the range of 20-50 cubic meters), and it needs to get soaked. the autoignition happens at the interface of the dry and partially wet (drying out) charcoal. usually more of an issue for industrial situations... But even with that, I tried to ensure that there was some airflow available from the sides. this bunkers sides are not fitted super tight, the fence pickets were left as they were and just placed close and screwed into place. on the other hand I knew the top would get rain spray on occasion so the top is multiple layers in alternating directions and the edges were jointed to make it fit tightly. then glued and screwed together to make a sort of plywood. I did not find any water inside after the afternoon rainstorm despite the top being wet from spray.
-
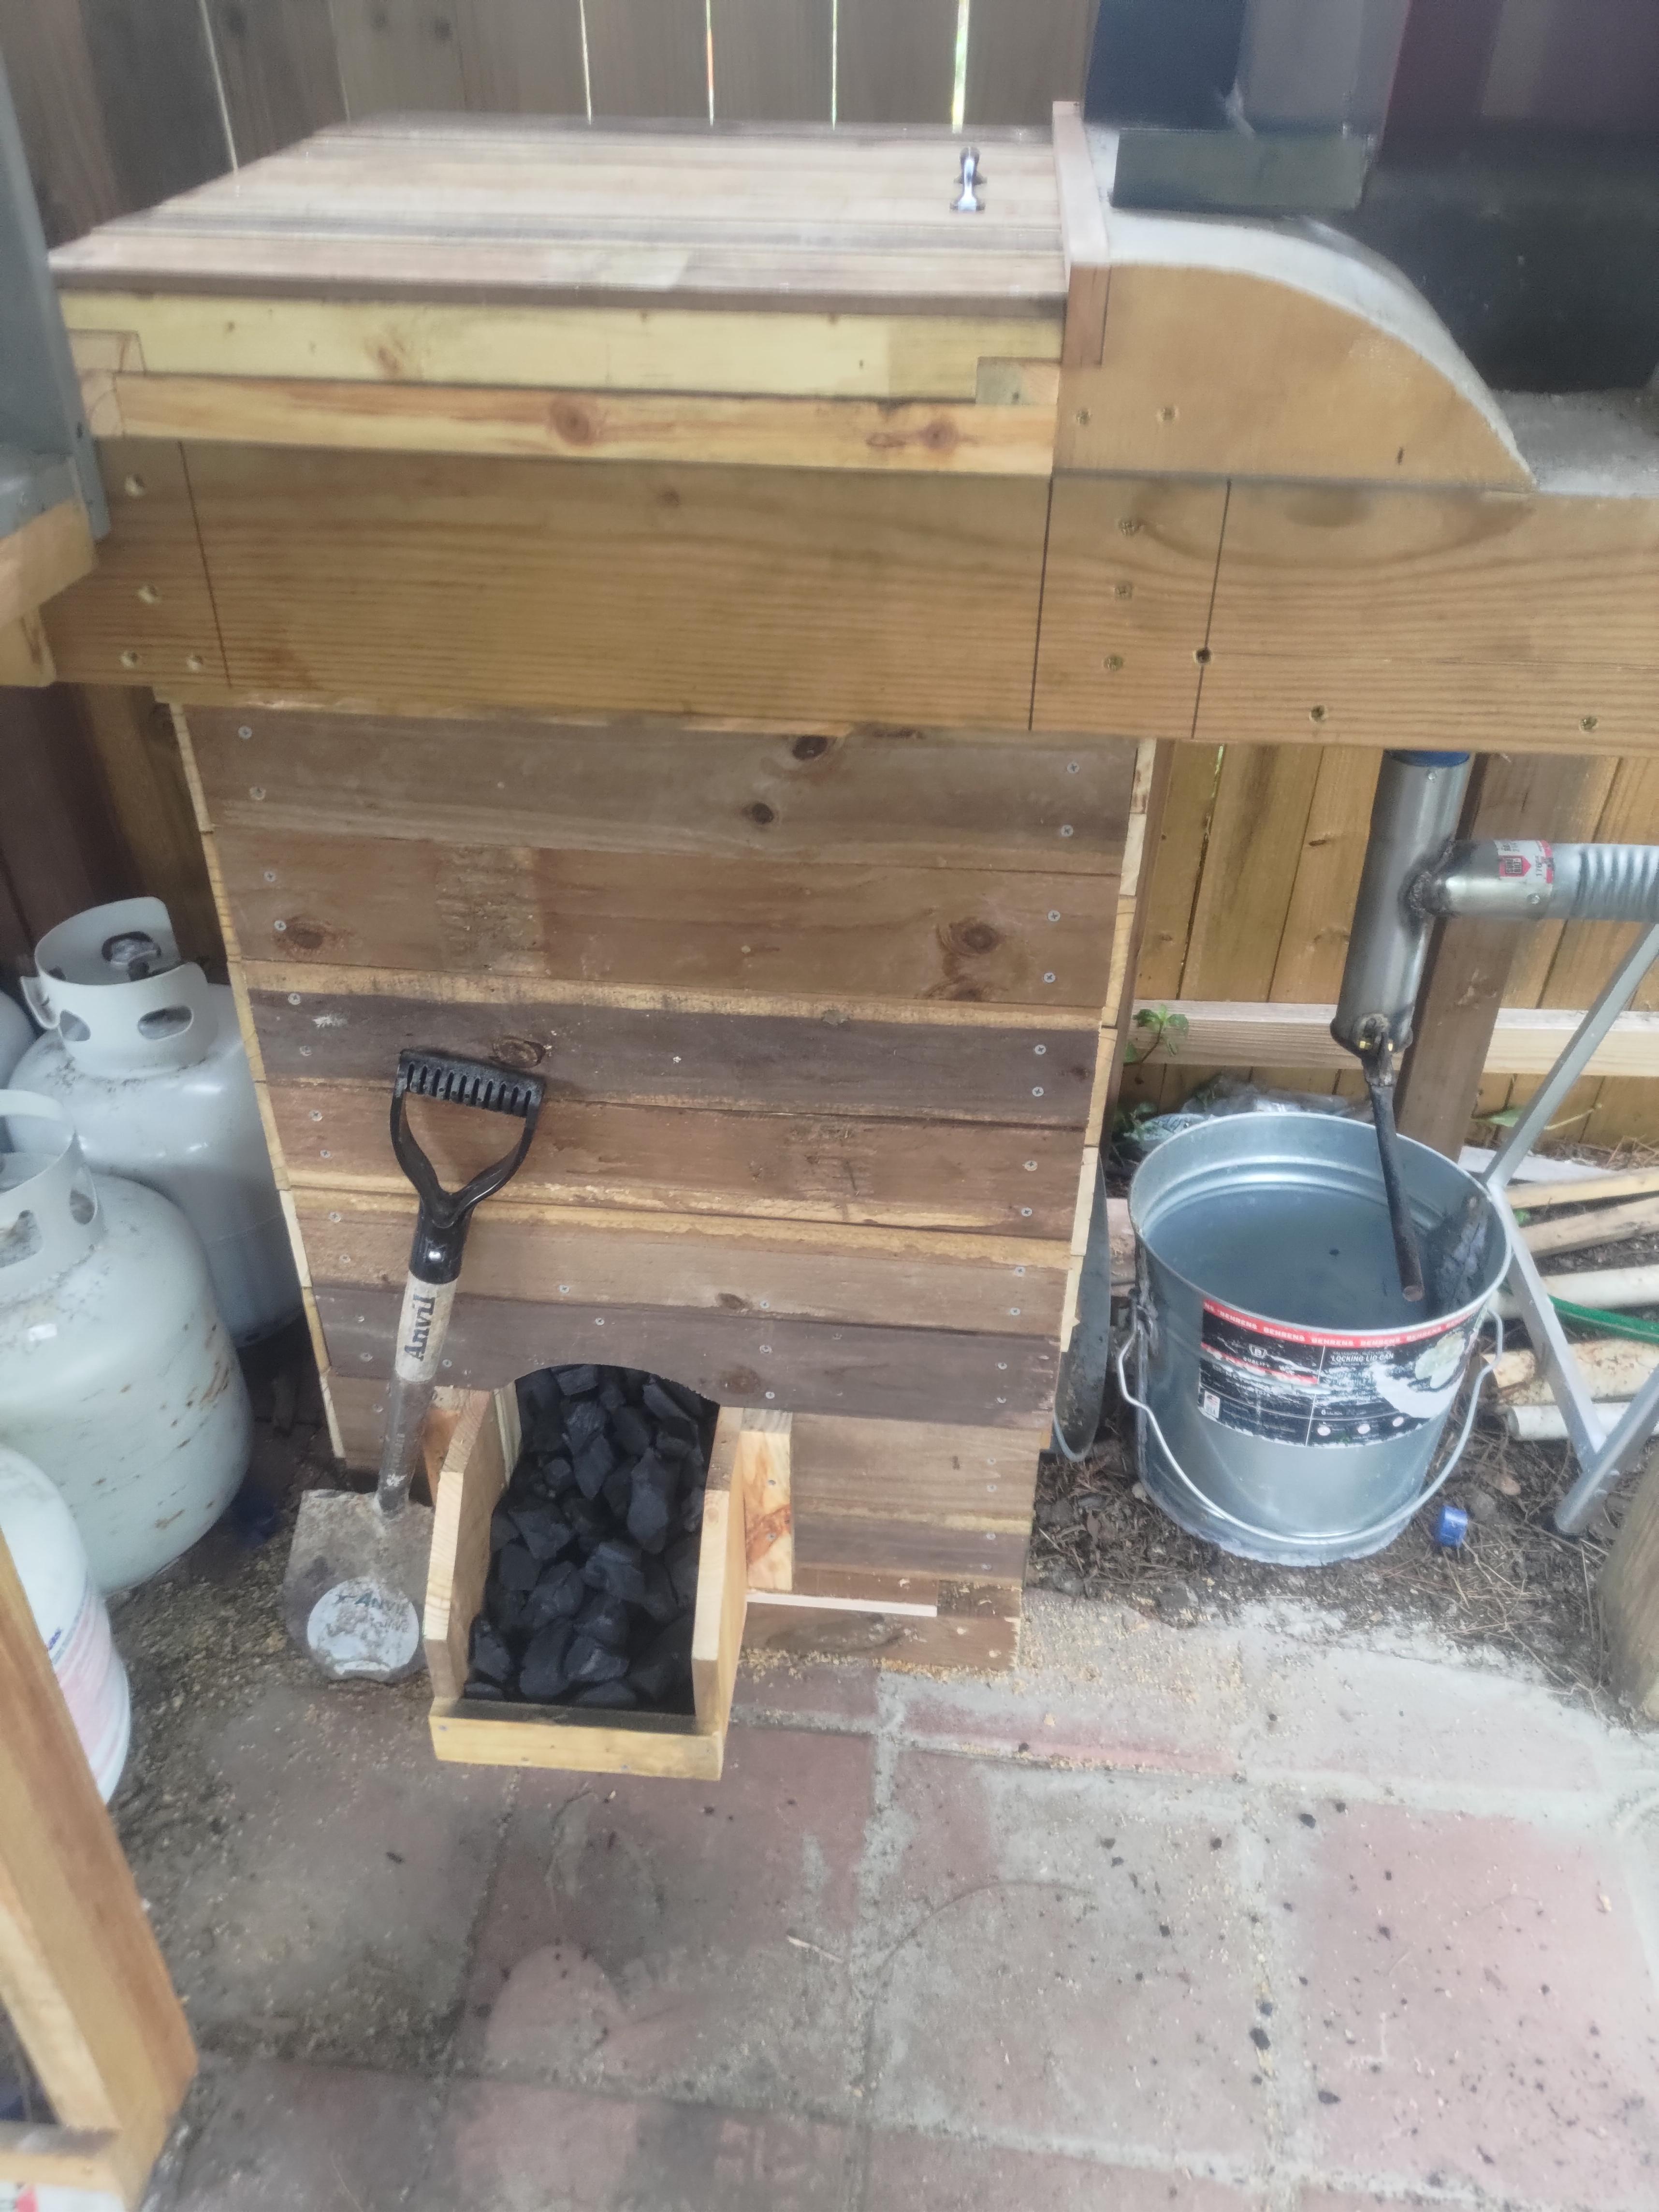
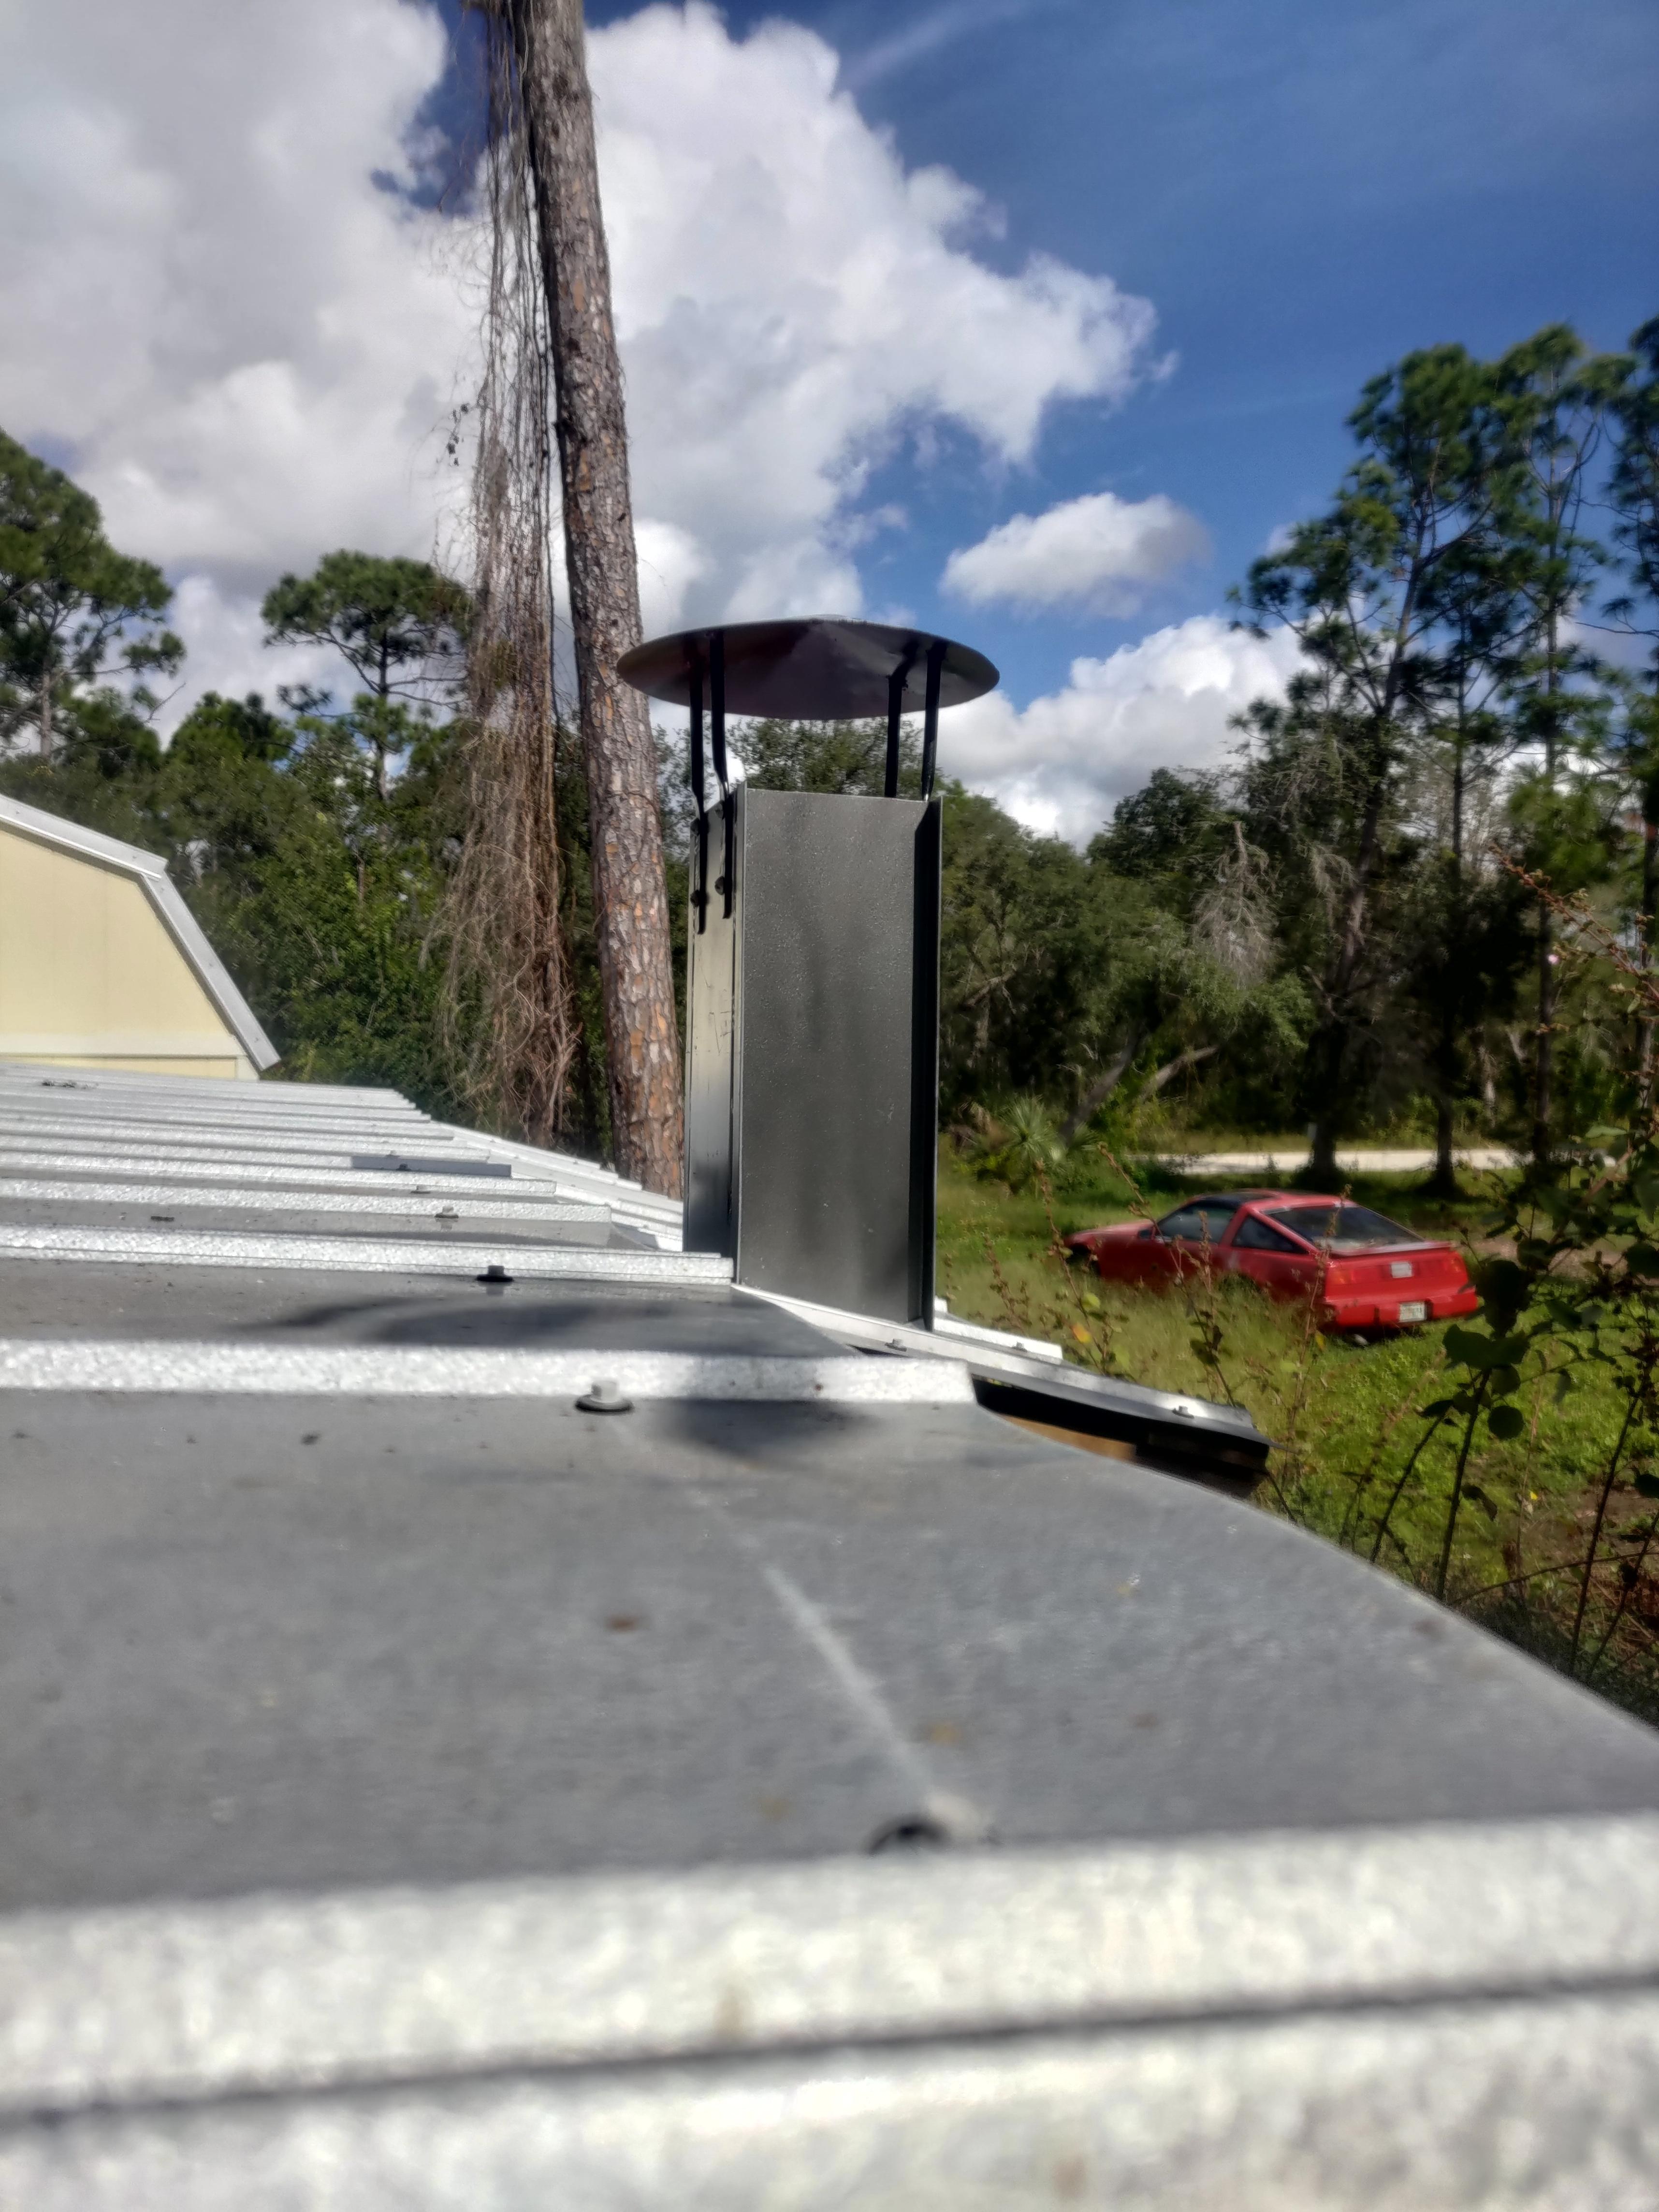
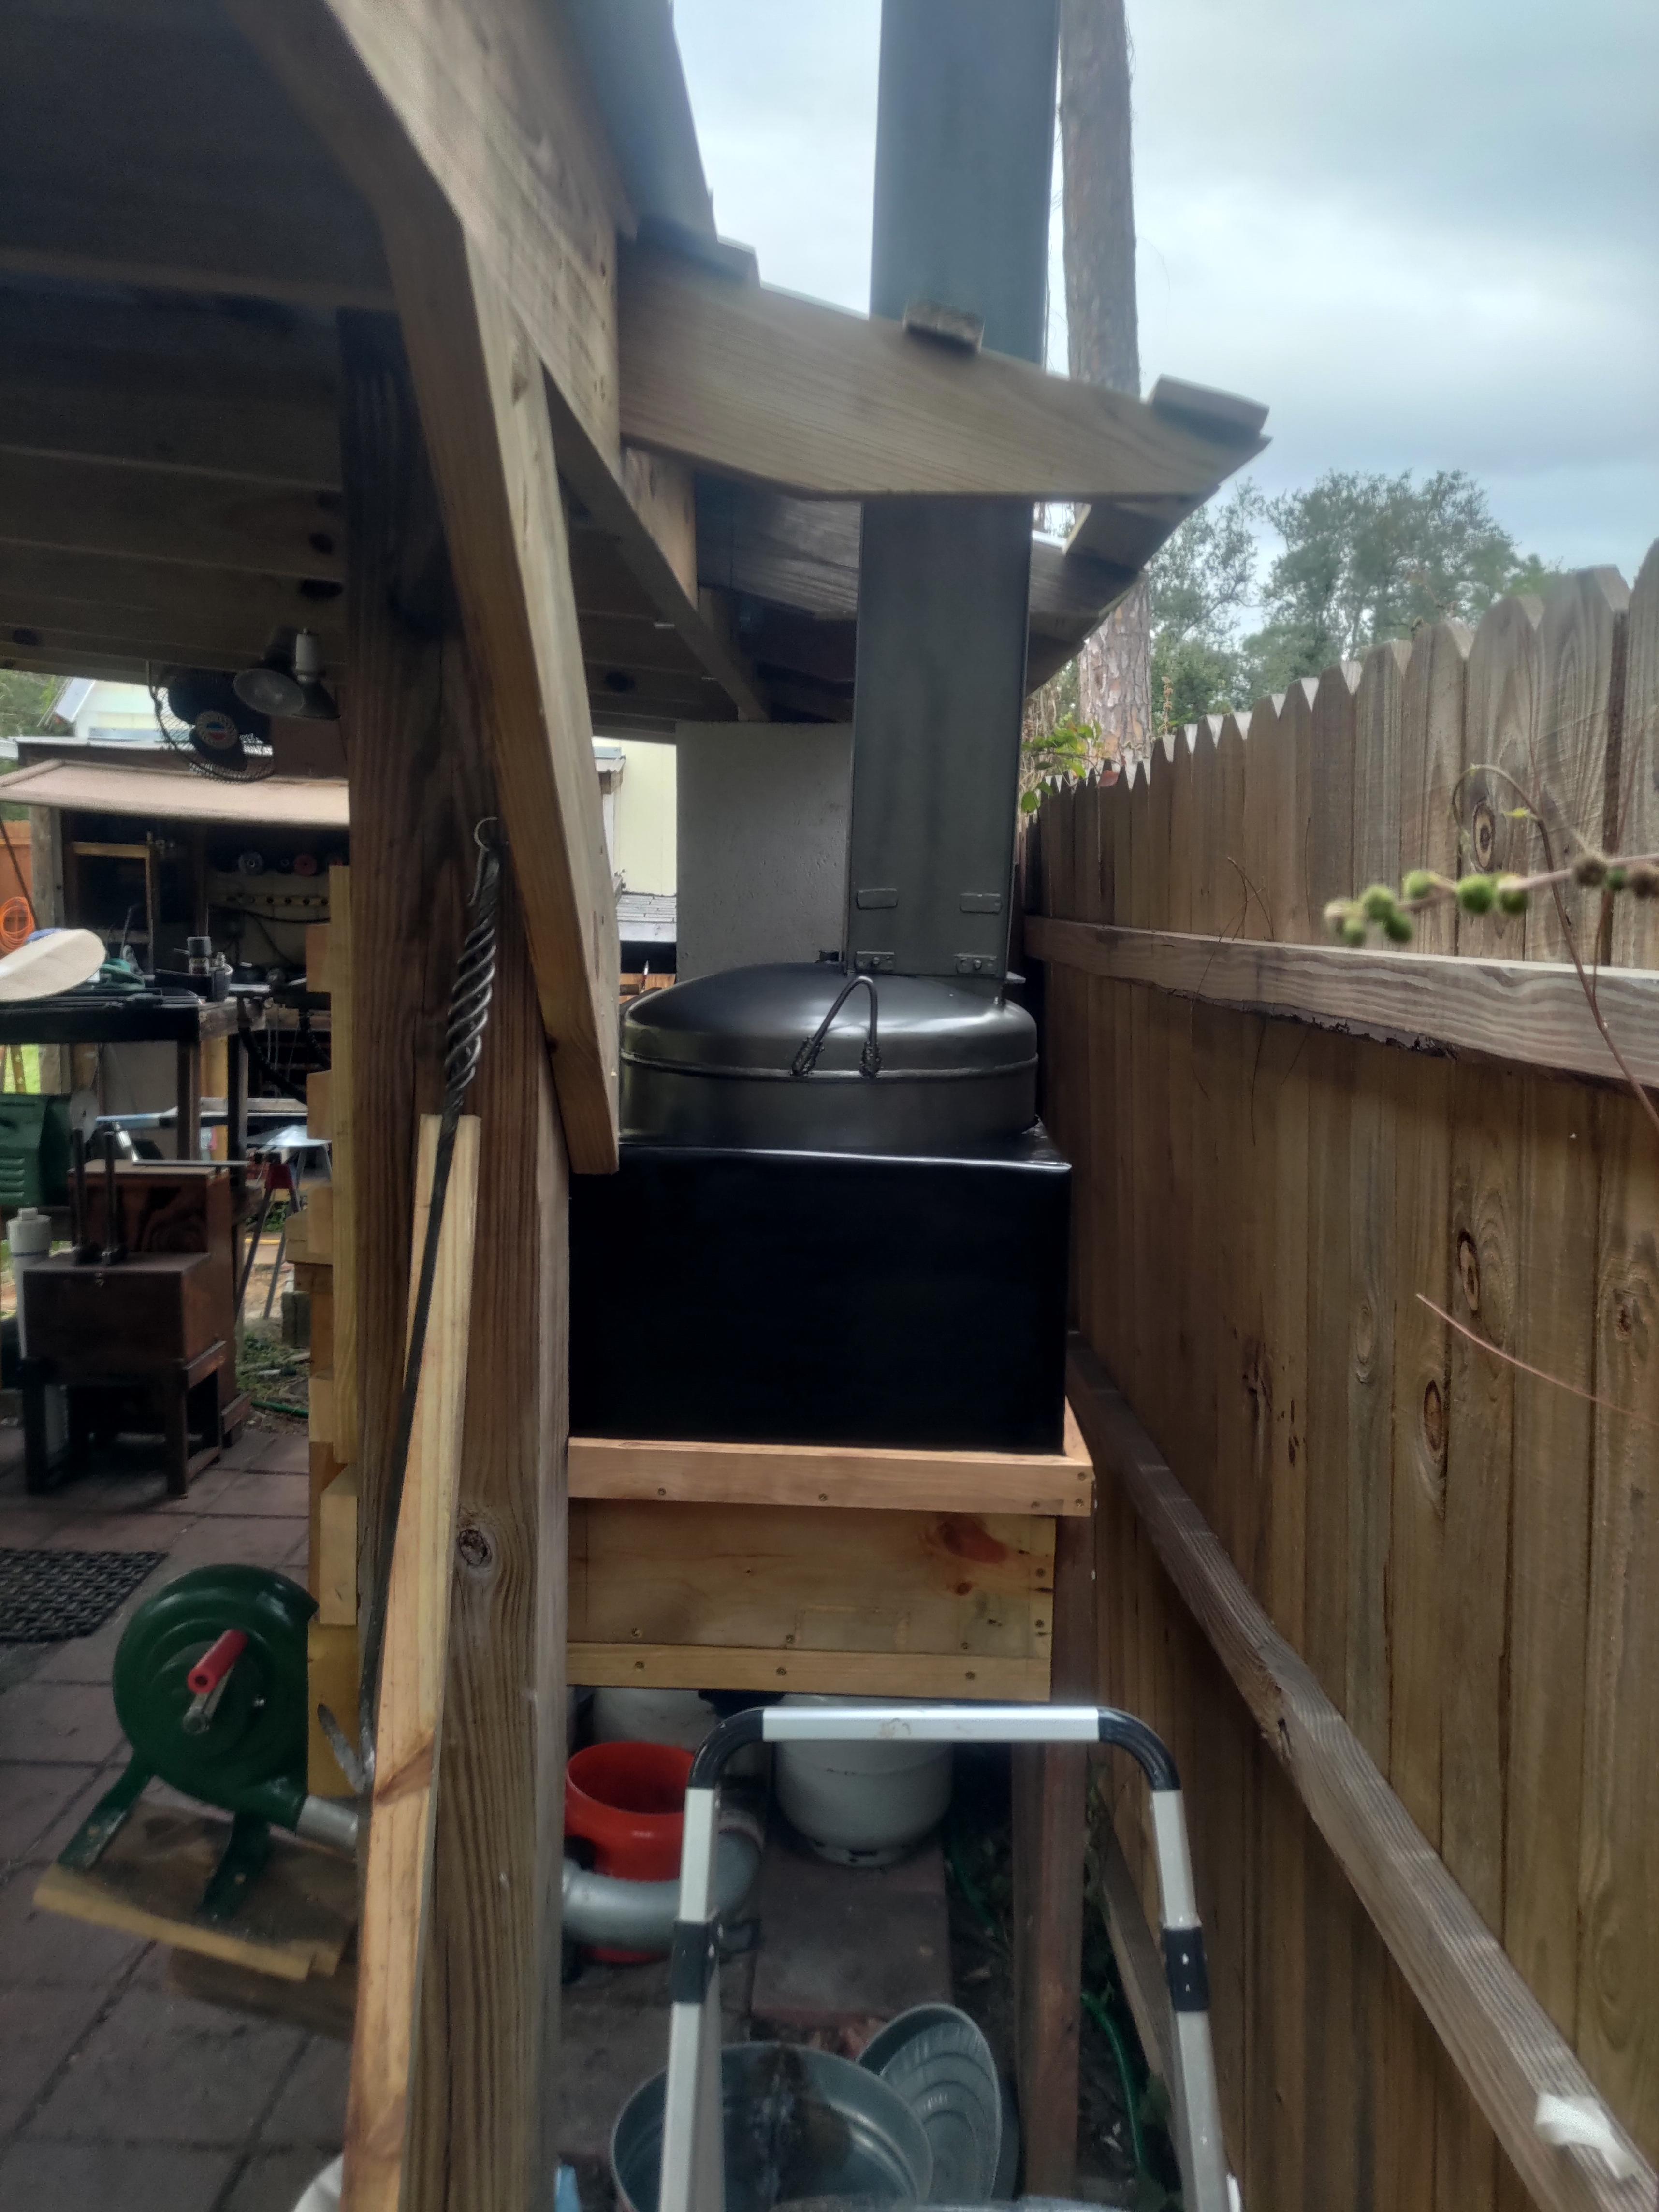
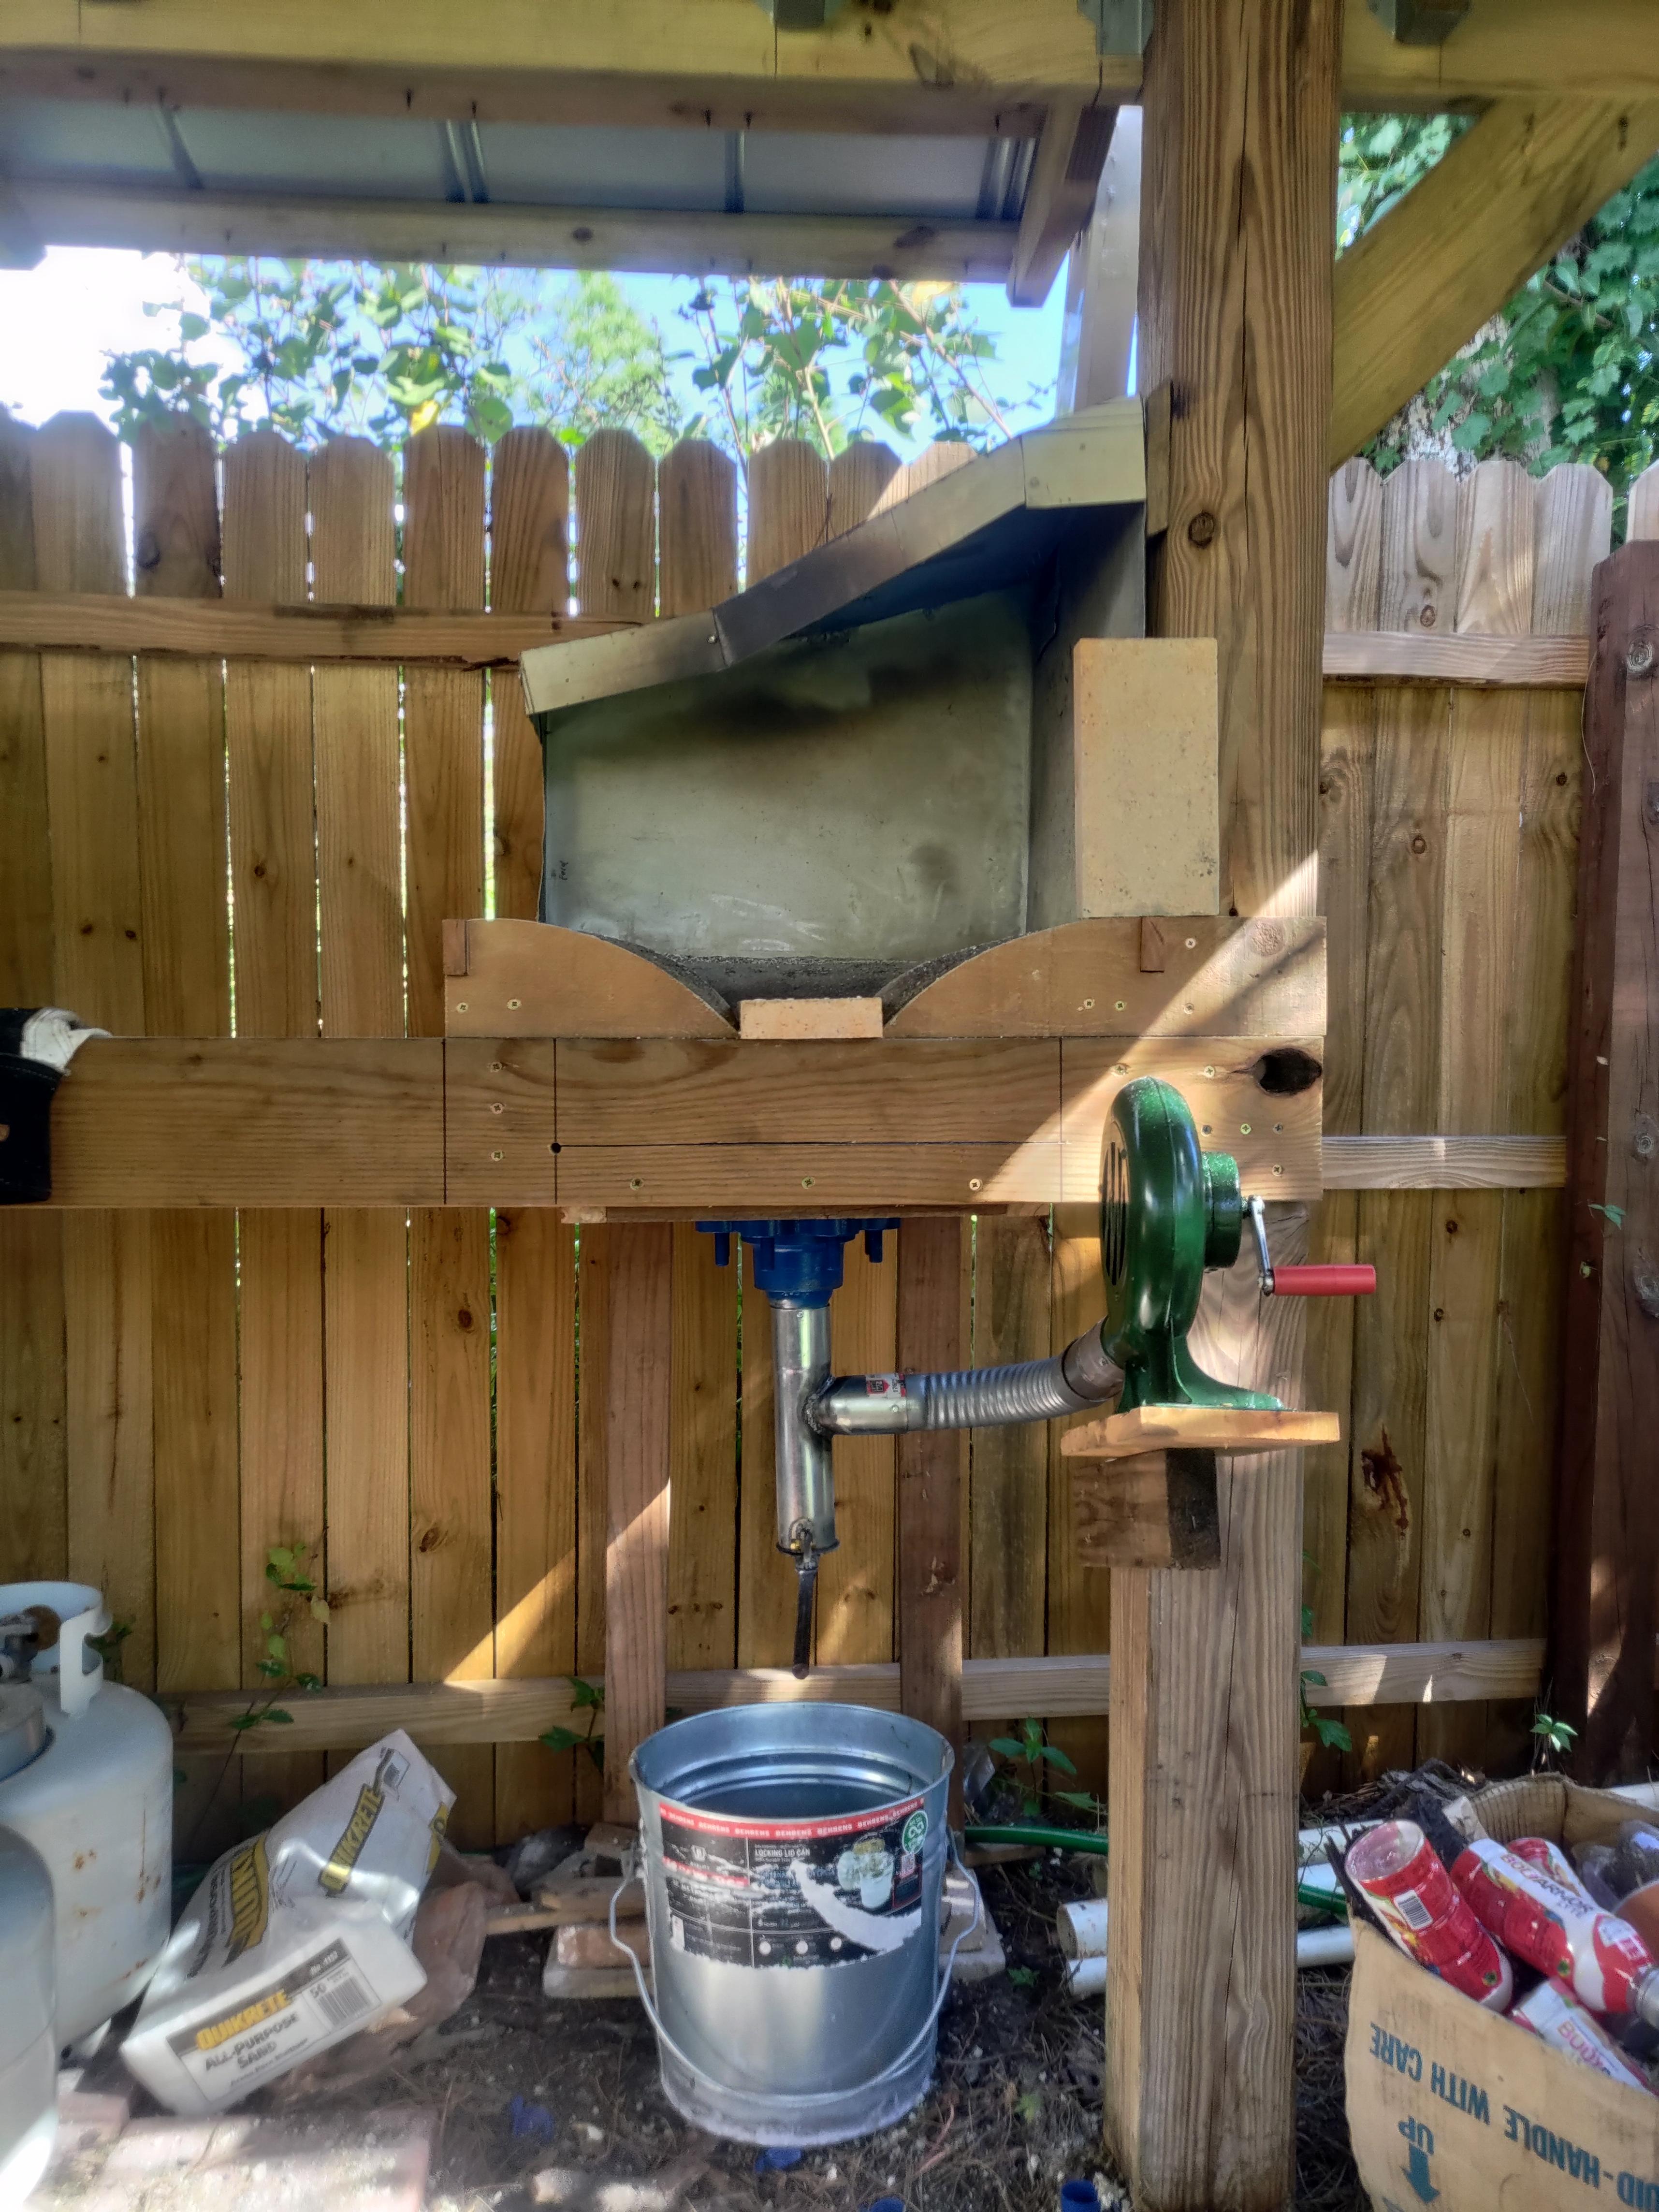
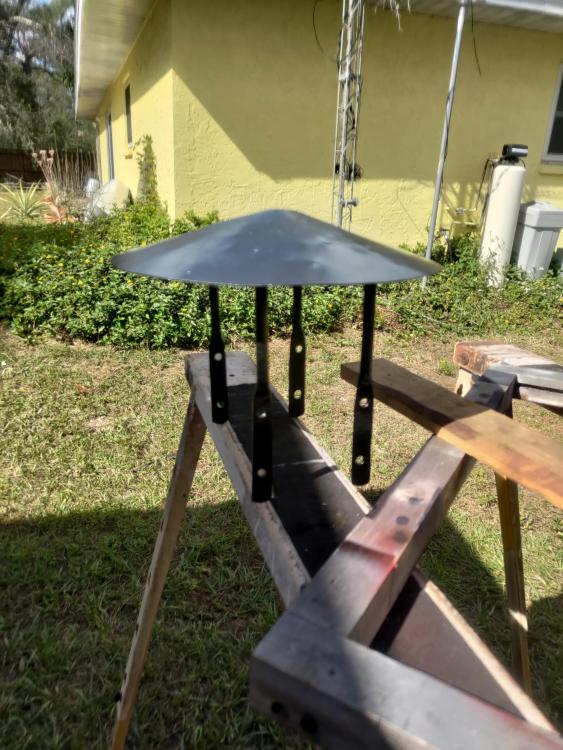
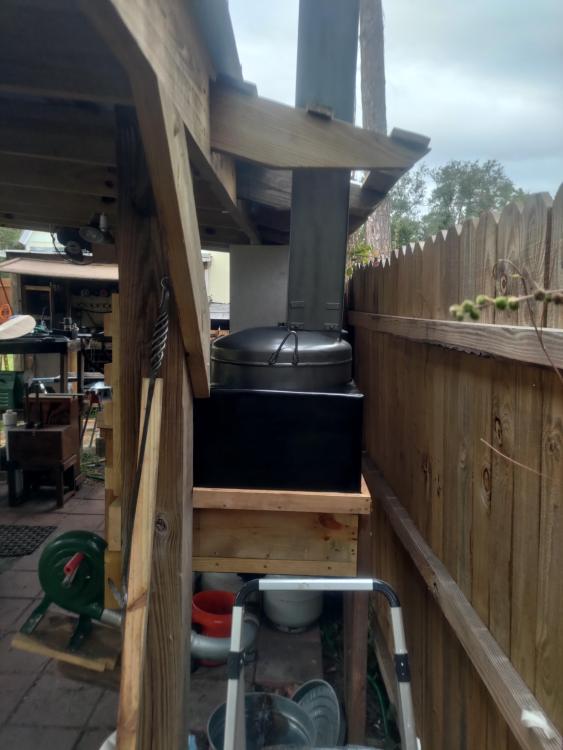
I got the rain cap on, lucky for me the day before it started raining again. and a bit of flashing (not done in the photos) seems to be enough to keep out the majority of the water during the rain. And then I moved over to the other part of this project, the charcoal bunker. I made the charcoal bunker from old fence parts, and a few small cut-off's from making shelves. this design allows me to just take a scoop of charcoal out the bottom and dump it into the forge as I need more fuel. I break the big chunks coming out of the bags down to size and then dump it into the bin., and my guesstimate on total capacity is 250+lbs of 1-2" charcoal pieces - at least. 50lbs just barely covered the sloped section. now I can pick up charcoal when it goes on sale and not worry too much about storing the bags somewhere.


-
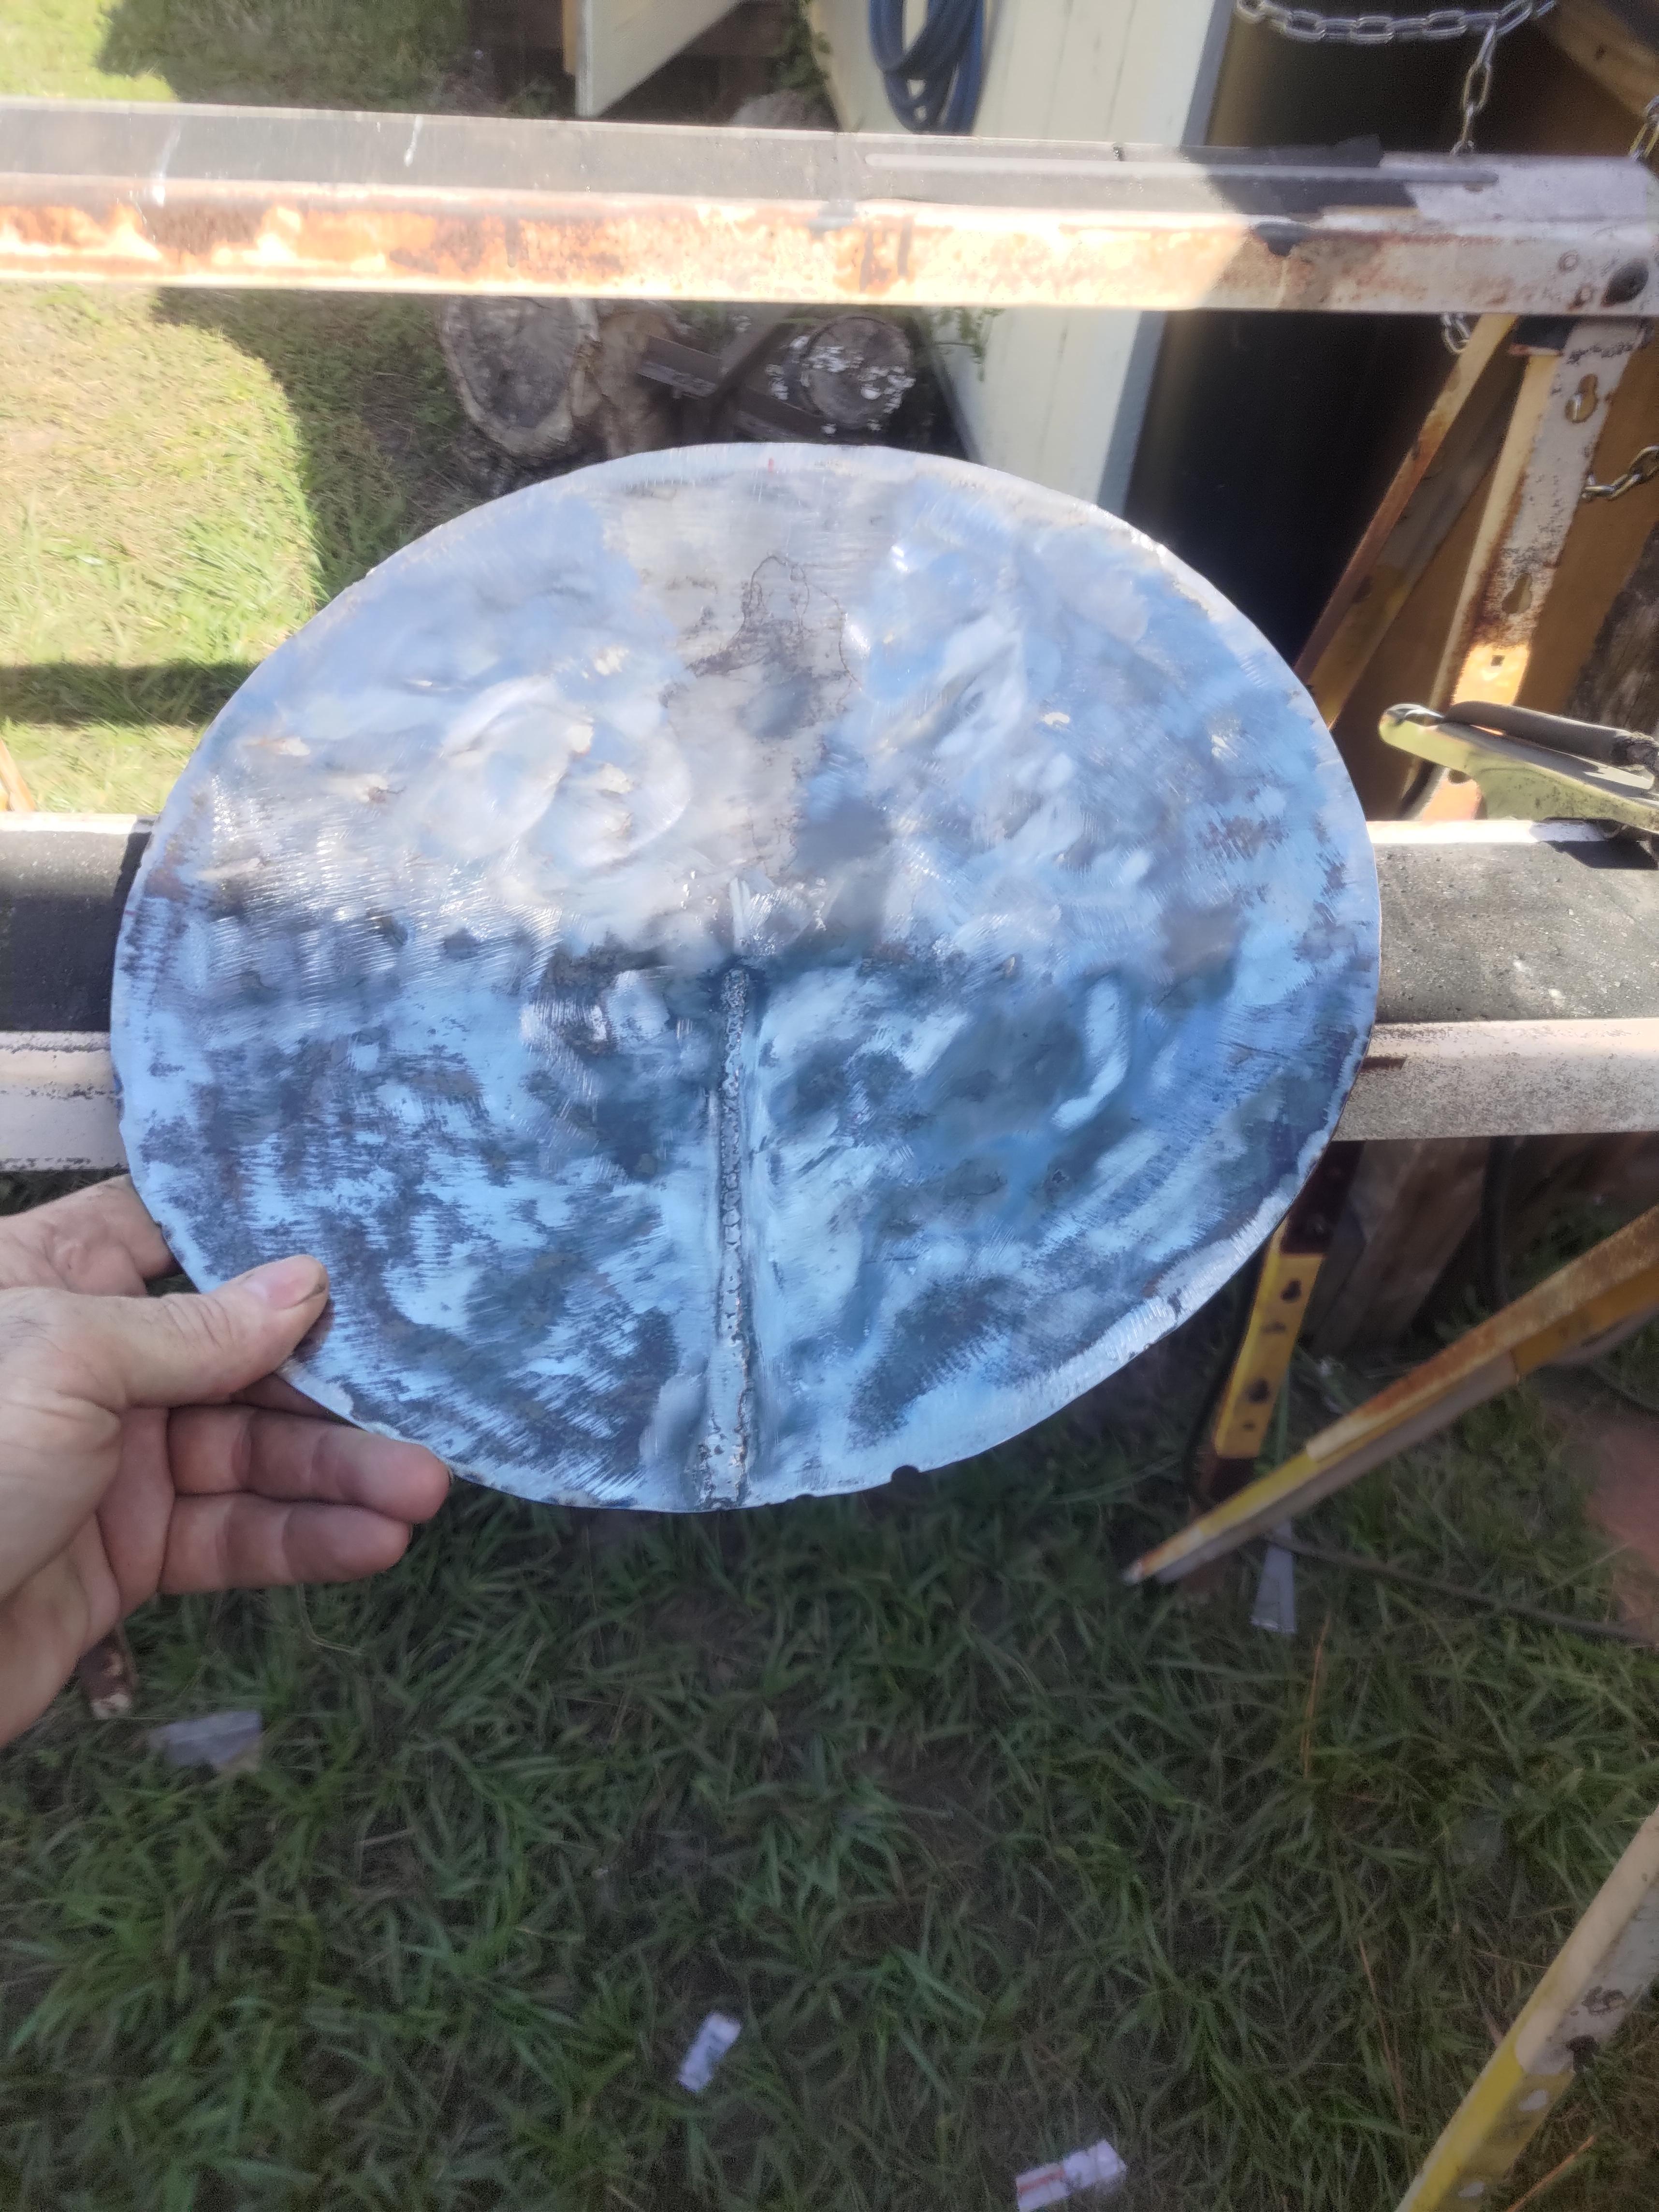
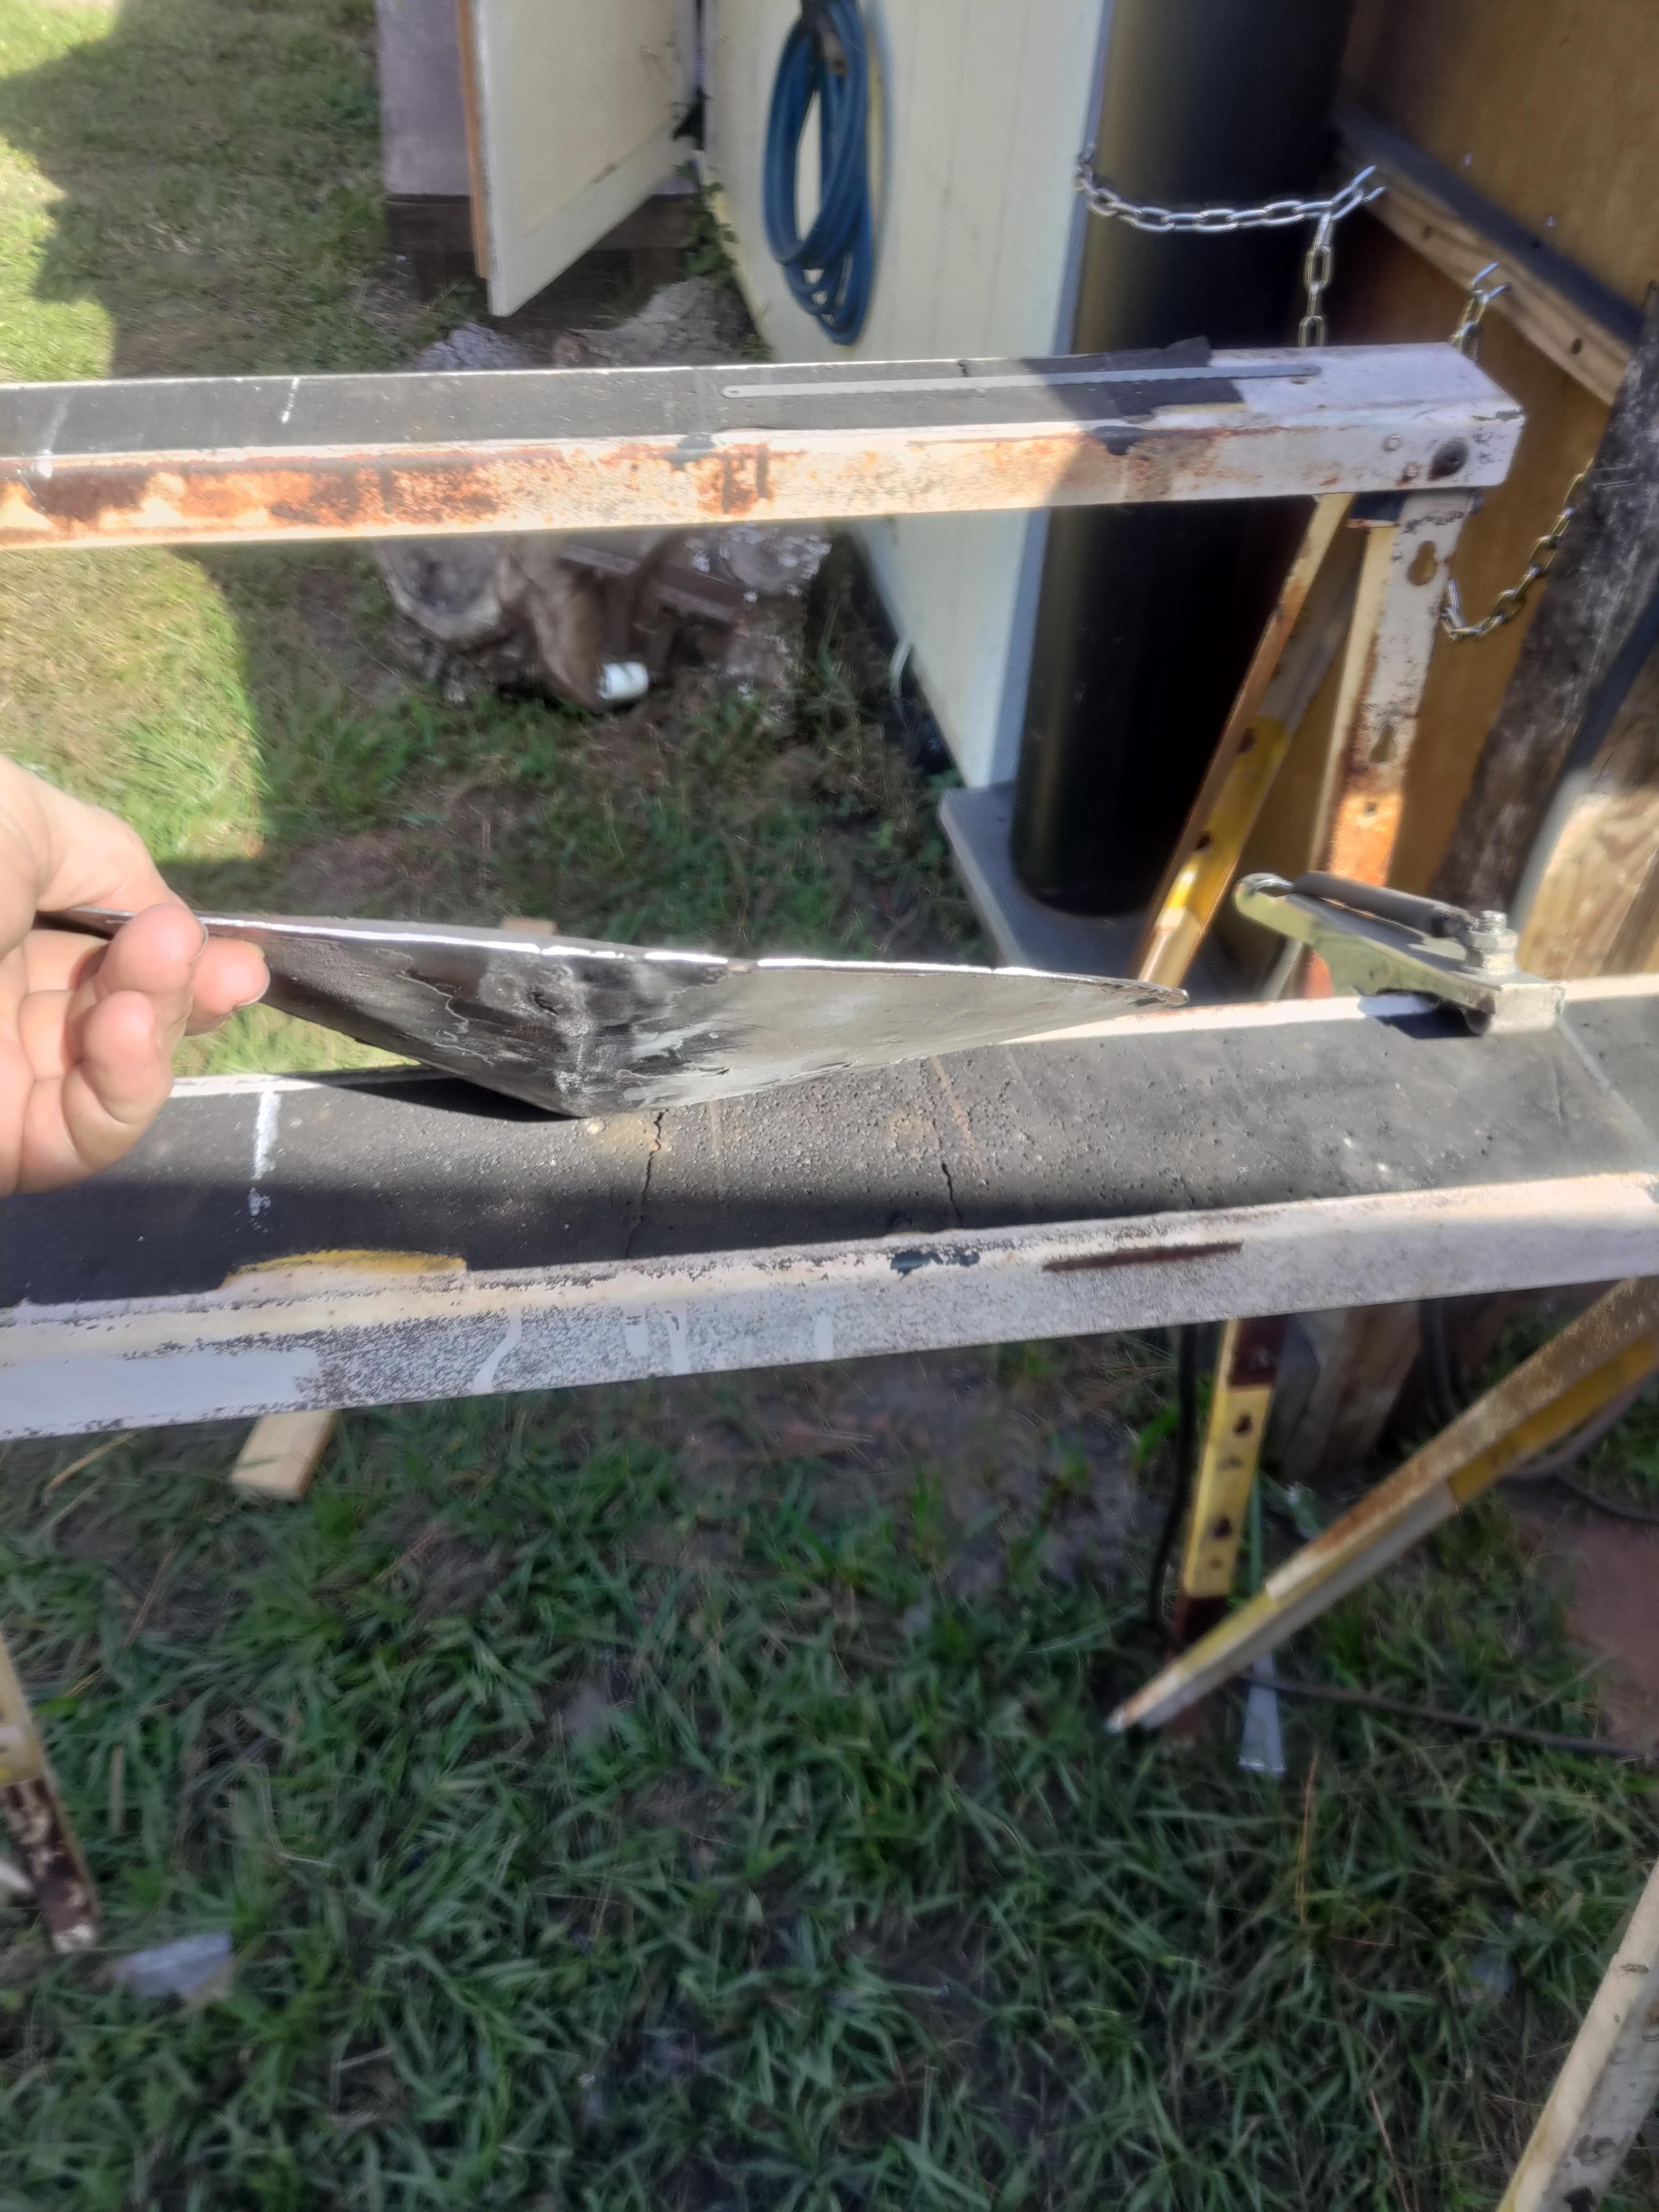
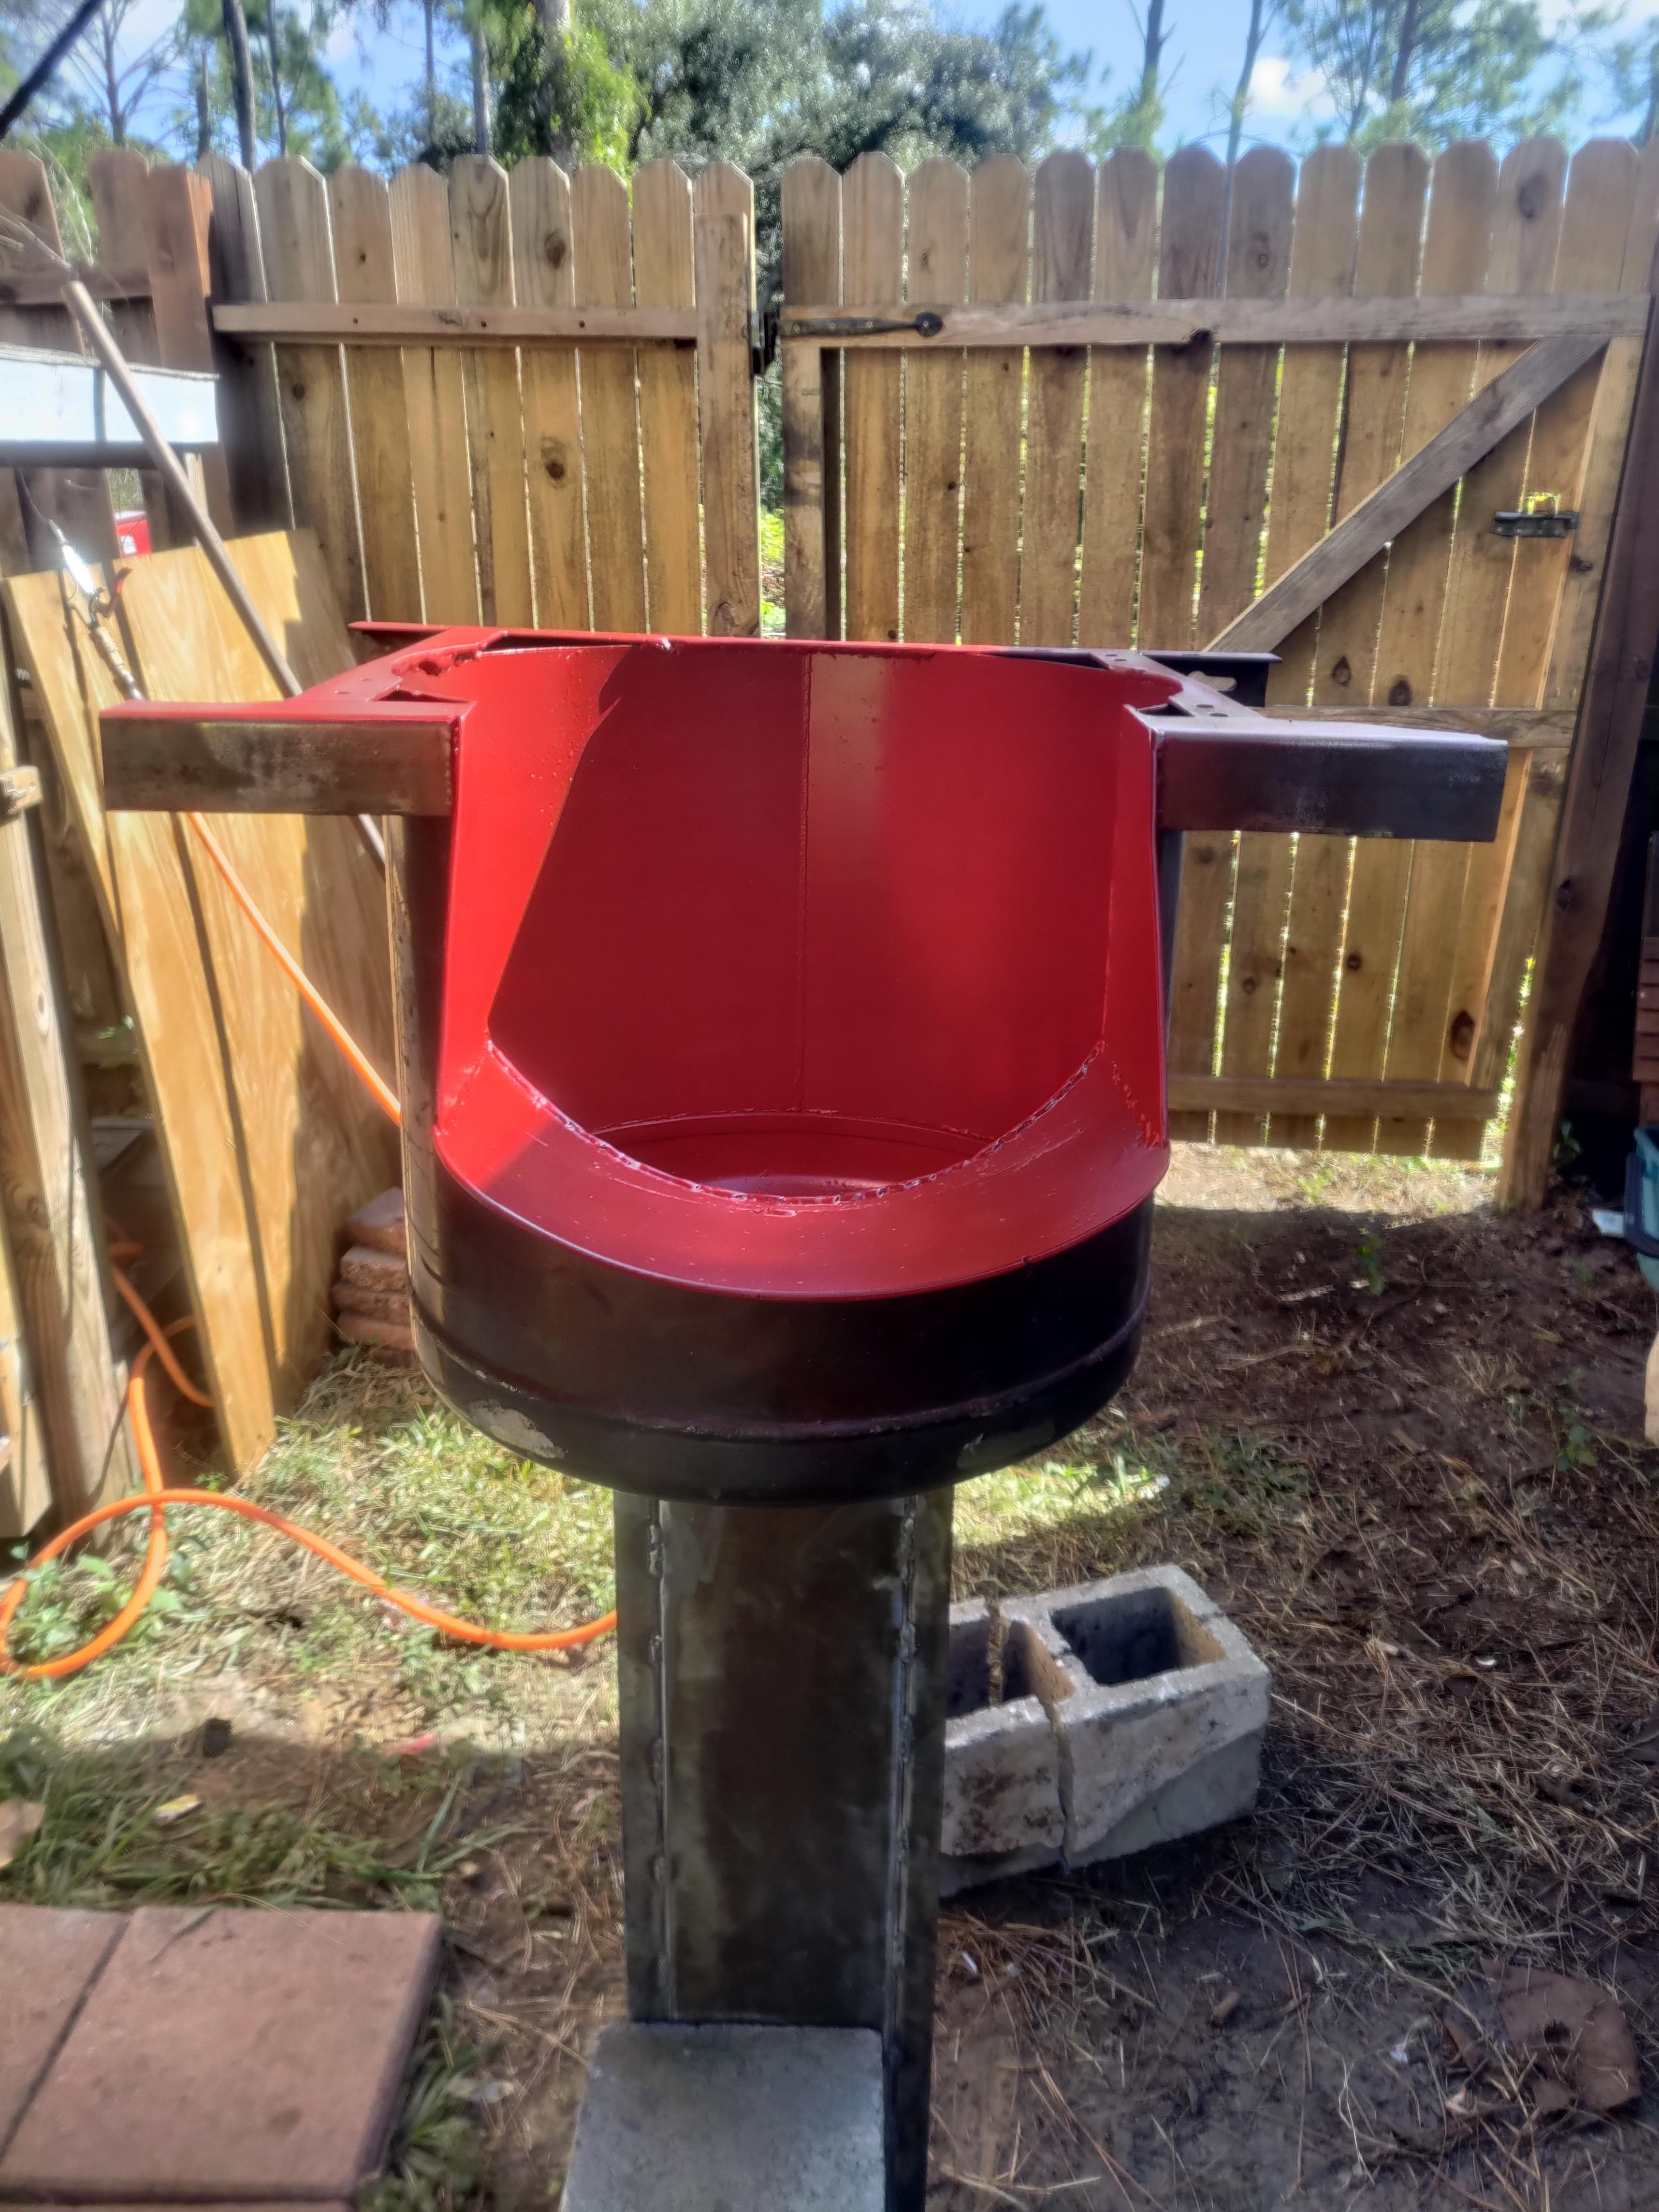
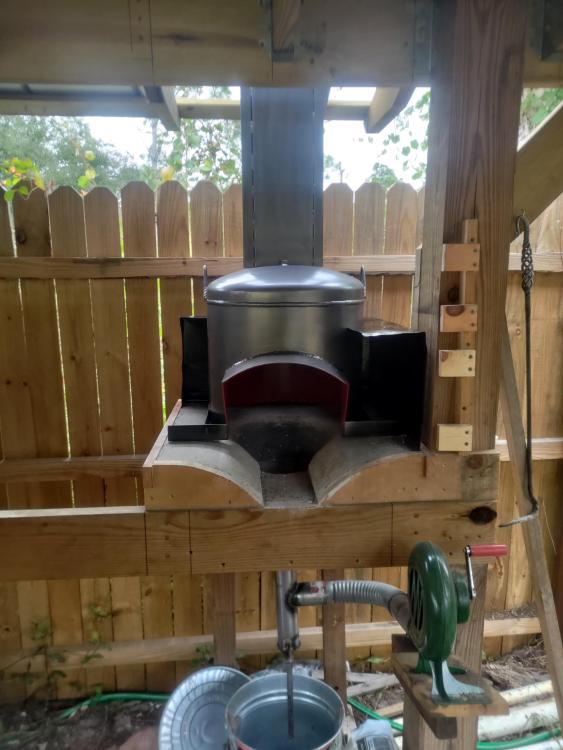
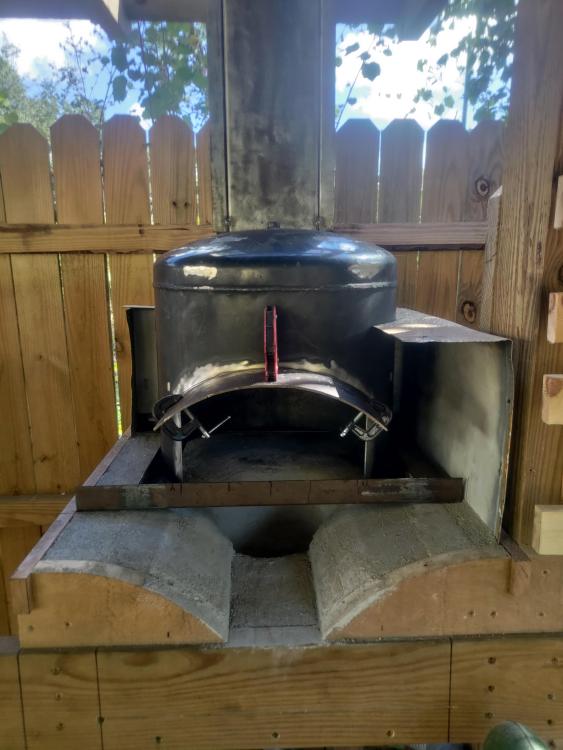
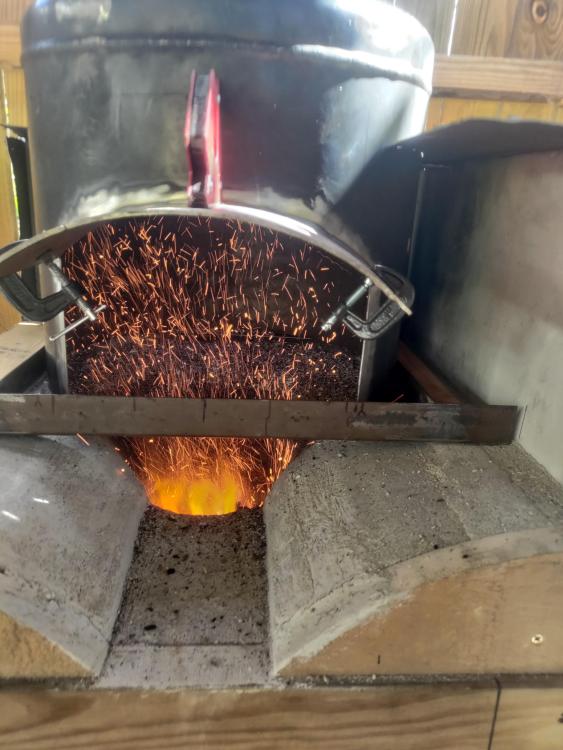
Irondragon - I was cranking on it much more than needed to make as many fire fleas as I could to see how it would handle them. Jason - Thanks. The hood is completely over the forge but is offset to the rear a bit. Almost there... I got the rain cap for the chimney started, I need to make the mounting legs for it - it'll bolt onto the top of the chimney using the 5/16" threaded holes already there. All of the major work on the hood itself is done. the front of the baseplate decided to warp some when I fitted the front panels on... some percussive persuasion convinced it to go back to where I wanted it :). I did use some of the red paint... just only on the inside. it's only for rust prevention I know it'll be black eventually. I got the rest of the metal stripped and clean and repainted it's a semi metallic grey. once it was dry enough to move I put it in place. after these photos were taken I got the roof panels cut and put back in place, though I still need to make some flashing to get it mostly watertight. I also still have a bit of sheet metal work to do for the rain guard... I'm not trying to get all of this sealed up 100% waterproof just to block most of anything that makes it to the forge.


-
So I got some more work done on the hood. I cut the opening out and made the top extensions for the opening, I have the side panels roughly cut, I'll fit them after I weld the base frame to the tank and cut out the front section of the frame to fit. But I decided I needed to give this design a quick test to make sure everything was going to work the way I wanted. So I dumped in some 1/2 rotted pine sapwood and the dusty dregs from a bag of charcoal to make the most smoke and fire fleas I could... I definitely need the extension (perhaps visor is a better term?) on the top of the opening - without it I was only containing about 60% of the smoke and 75% of the fire fleas. But with just that top piece it worked almost perfectly - at least 90% of the smoke and better than that for the fire fleas. I'll be working on the roof panels and chimney cap later, and once it cools off again I'll get to welding up the parts. The final bit will be the rain guards and painting all of it... Though I need to pick up some more high temp paints all I have left is red, don't think I want this thing bright red...
-
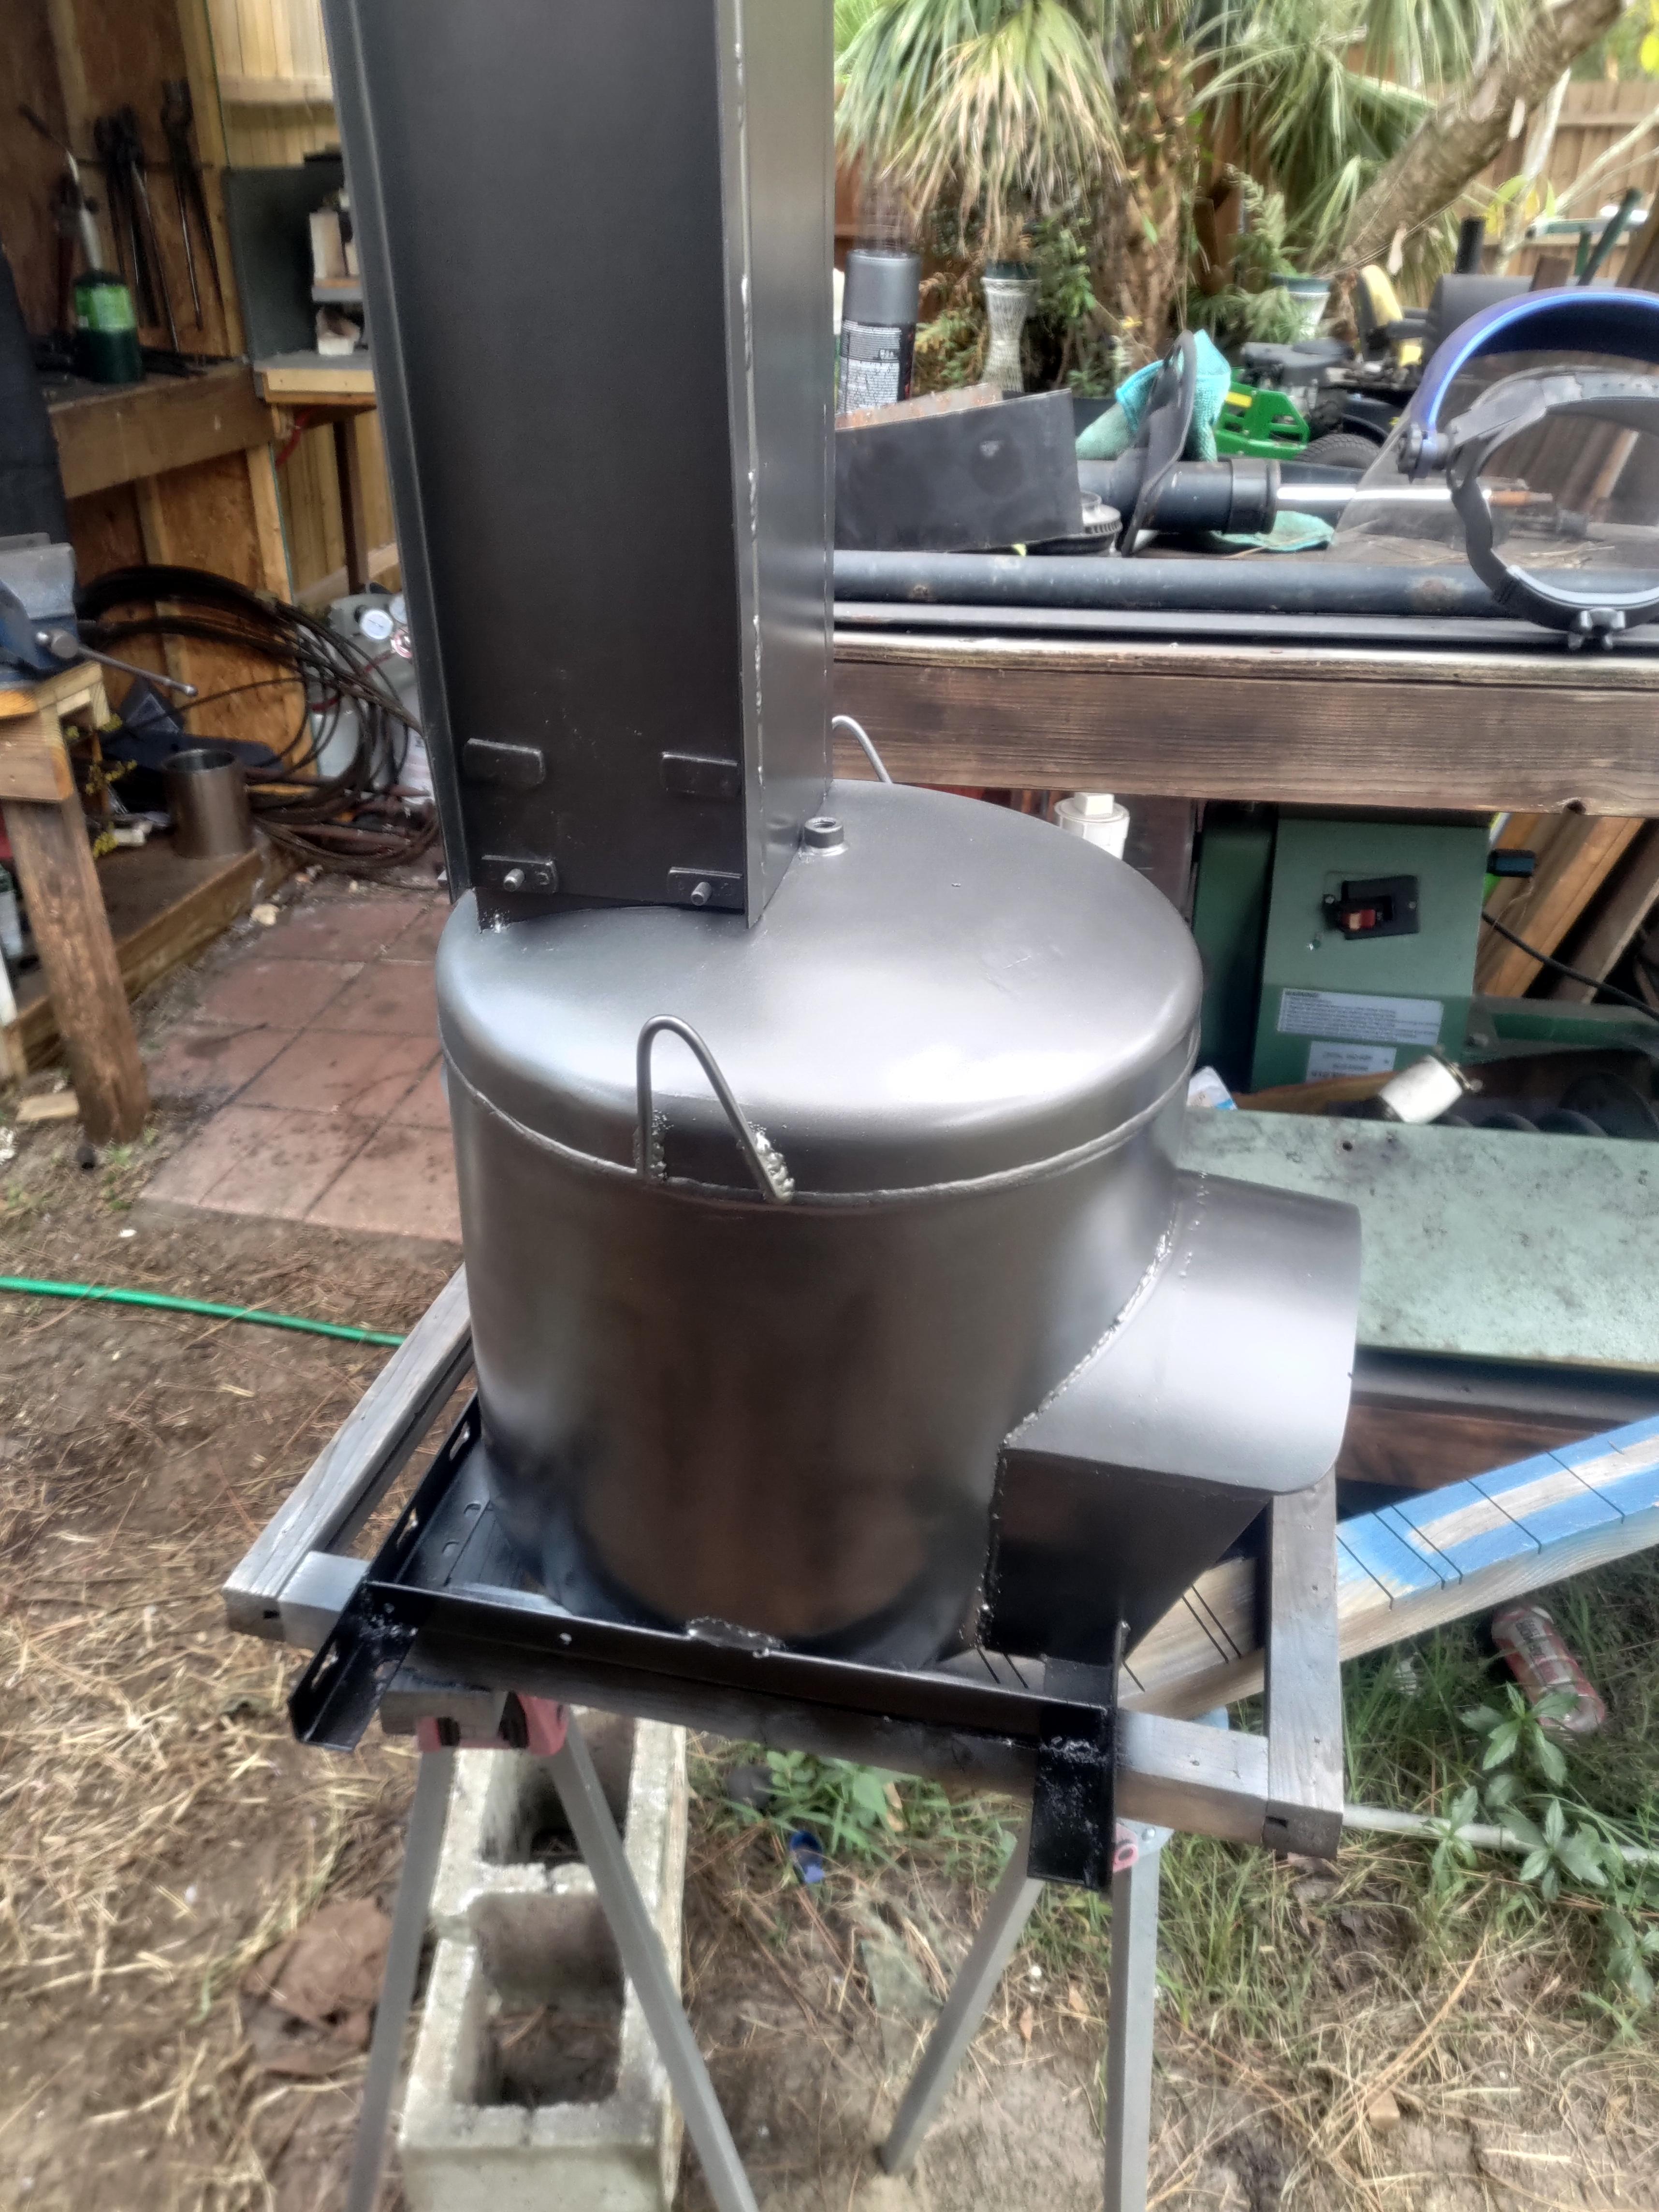
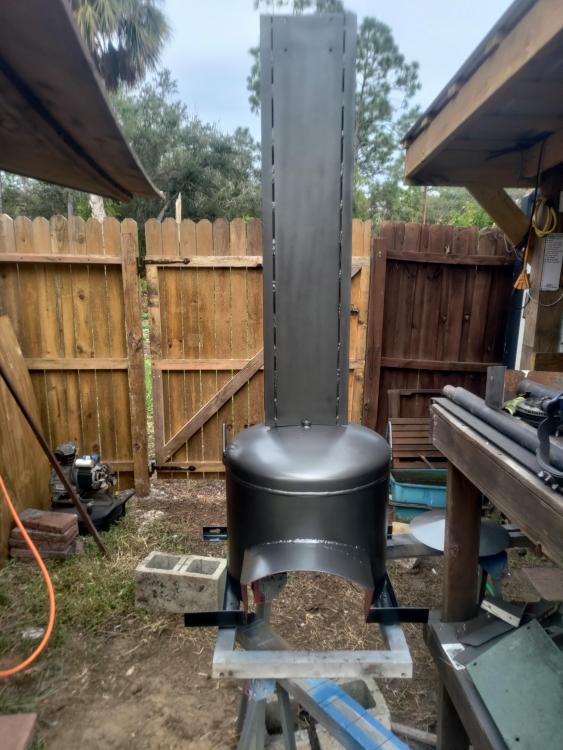
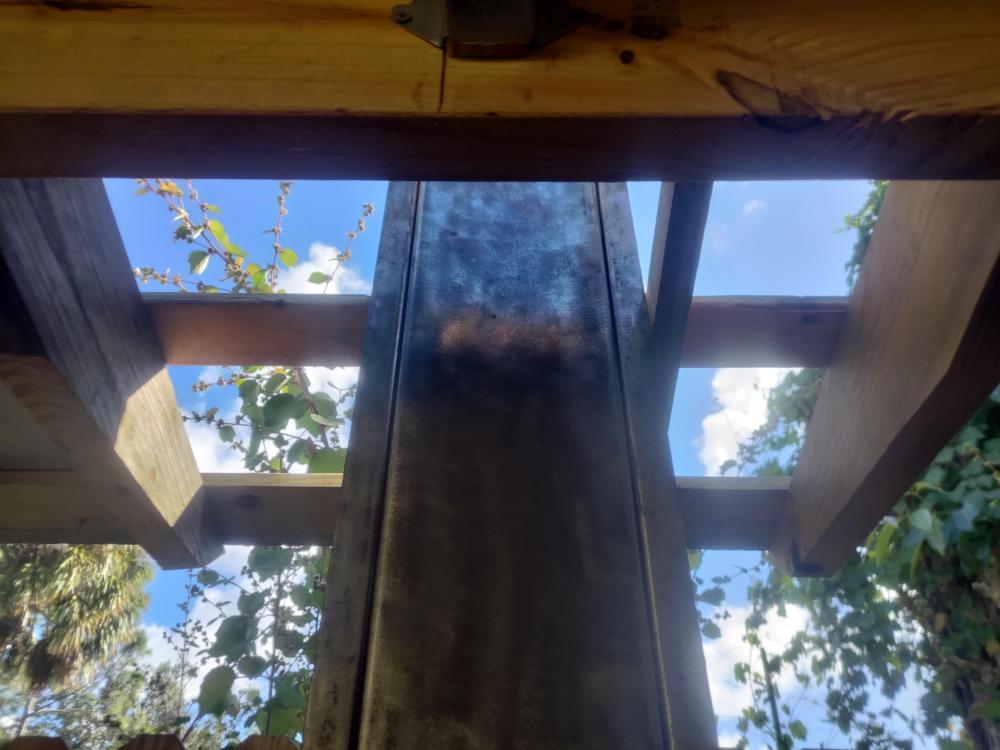
I've been working on the better hood design. - Sorry Frosty not a side draft, but for my needs I think a full hood will be better for my installation. the roof is only about 4 foot above the forge table and next to a main beam, so I have to think about radiant heat management. I've got the base frame partly assembled, and the tank cut to size. and I've started fitting the remnants of the old hood as a rain guard for the table - while it's under the roof it's right at the edge and will get spray and sometimes even direct rain depending on the wind. I still need to cut and build the front opening, I'll start on that tomorrow most likely. I found some metal to make the chimney from some metal table braces they are a bit under 7 foot long 6" wide made of 1/8" steel. trimmed and fitted up they will give me a solid (if a bit heavy) 6x6x37" square tube, currently I have the tube just tacked together, I'll run solid welds once I've got all the upper mounting decided on. I made a square mount on the top of the tank from some 2" 3/16" bar stock, and the chimney bolts onto that using some stainless 5/16" bolts. I still need to design and build a Rain cap for it, and finish cutting the roof panels to fit.


-
What did you do in the shop today?
Savlaka replied to Mark Ling's topic in Blacksmithing, General Discussion
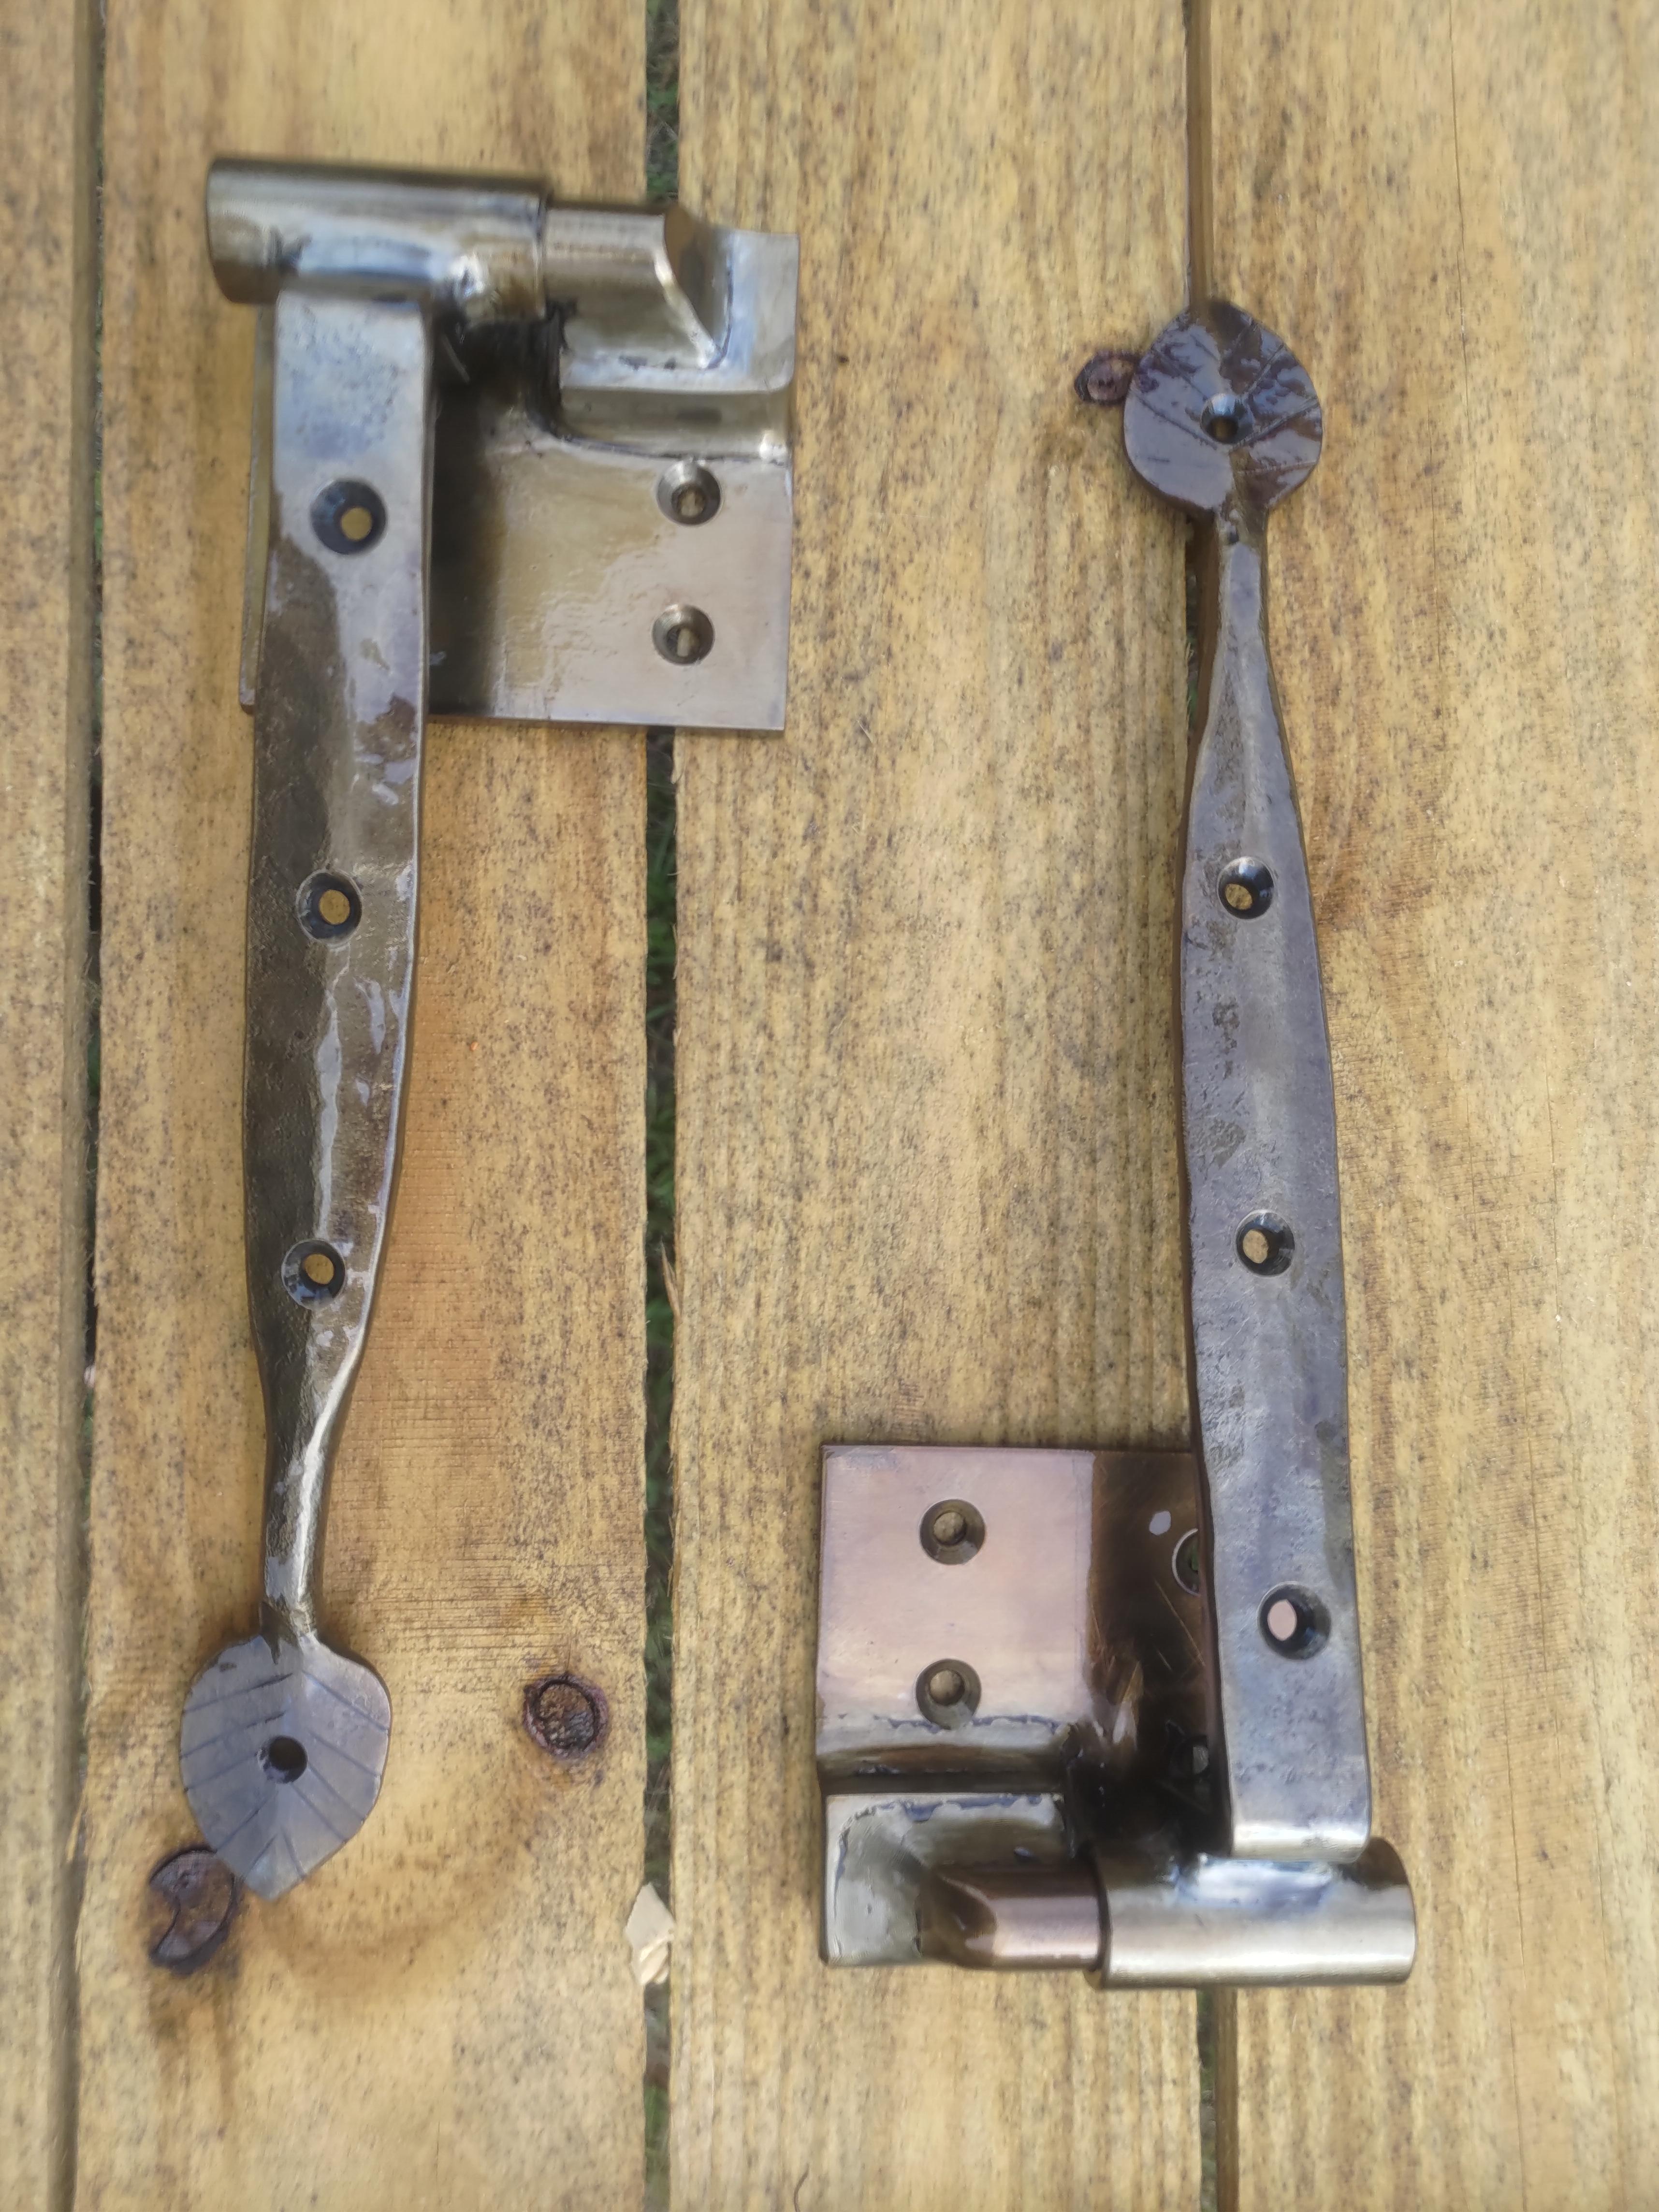
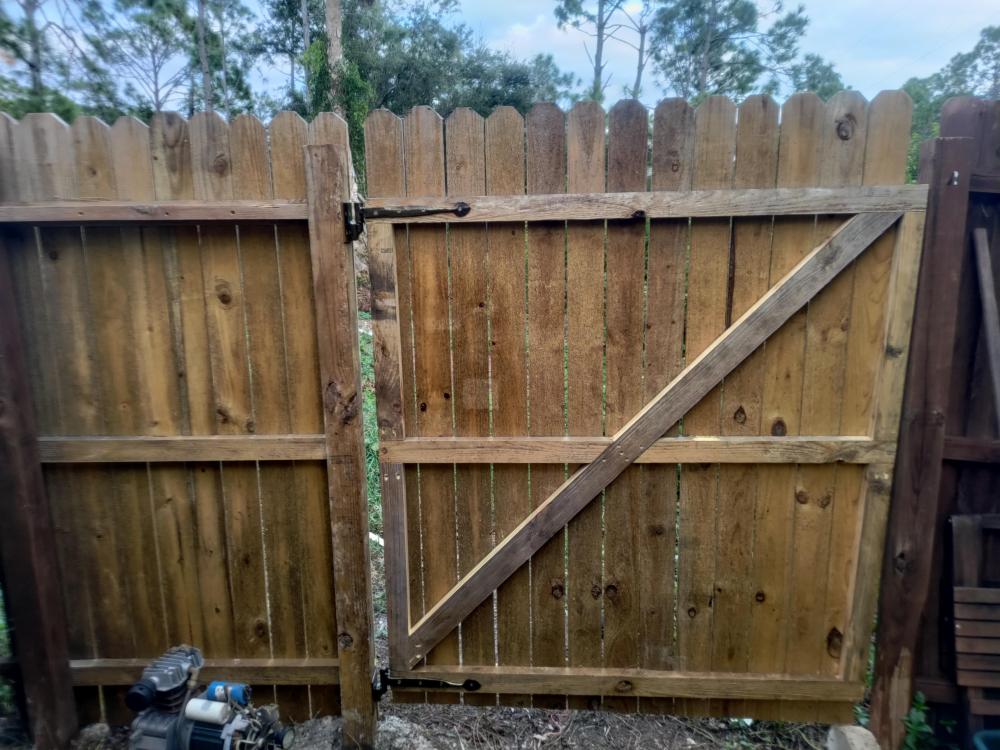
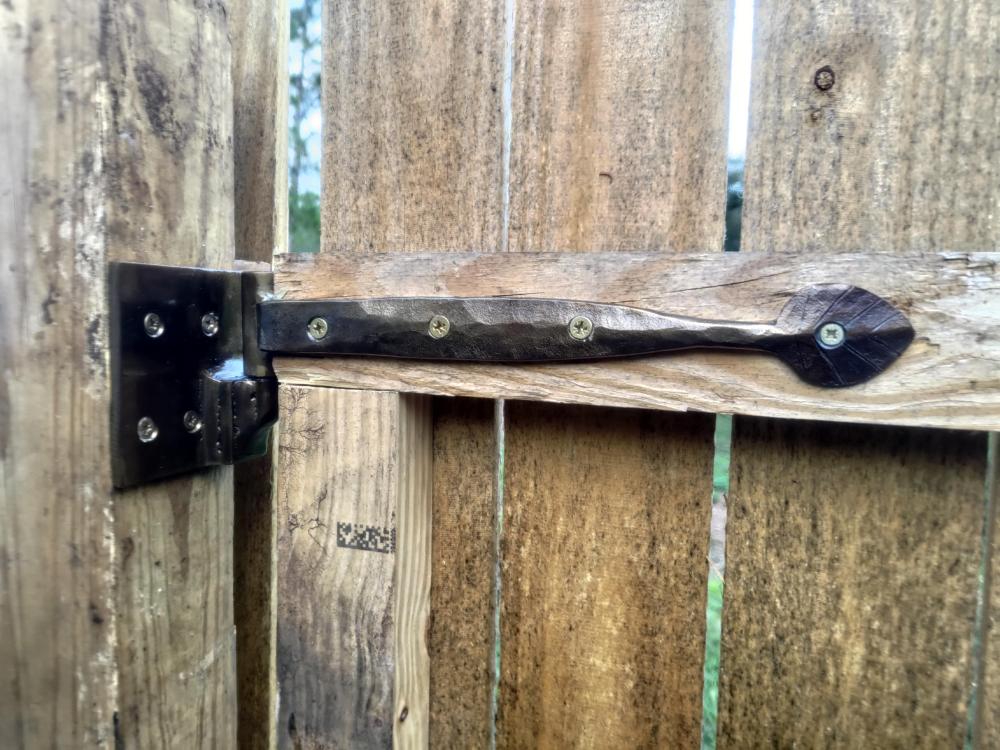
Made some gate hinges today. Still gotta make the handle and latch, but these seem to work good. The strap portion is made from a 3/8 wall 1026 DOM tubing. 2x 1" sections I cut, flattened, and shaped before welding on another smaller 11/16" ID tube for the hinge point. 1026 DOM tubing is nice since I can be hardened somewhat to increase it's resistance to bending. - not a lot but noticably springy after treatment... The hinge pin plates are entirely fabricated with the MiG welder, mild steel plates and a section of 1060 11/16” rod. All the parts were cleaned up and then tempered / colored to get that nice somewhat dark bronzy color. And I sealed them with a clear enamel paint. On the subject of forums and asking for information: I looked a a number of different forums before deciding on this one. All forums have their spats of "experts" with different ways of doing something, that's one thing you can't get away from. It happens in person as well as online... One of the reasons I decided on I forge iron vs others is that their is a wide variety of smiths on here. With that you'll inevitably end up with some pissing contests, But there's likely someone who is closer to your style of work, or is easier for you to understand their methods - and that can be priceless... A Method, process or style one person does for getting a project done might be viewed as backwards by another person, but if it gets the results that they are looking for then that's the right method for them - Even if their methods are technically inferior in some way. There's some chasing "perfection" and others just after "Good enough" neither are right or wrong, just different goals.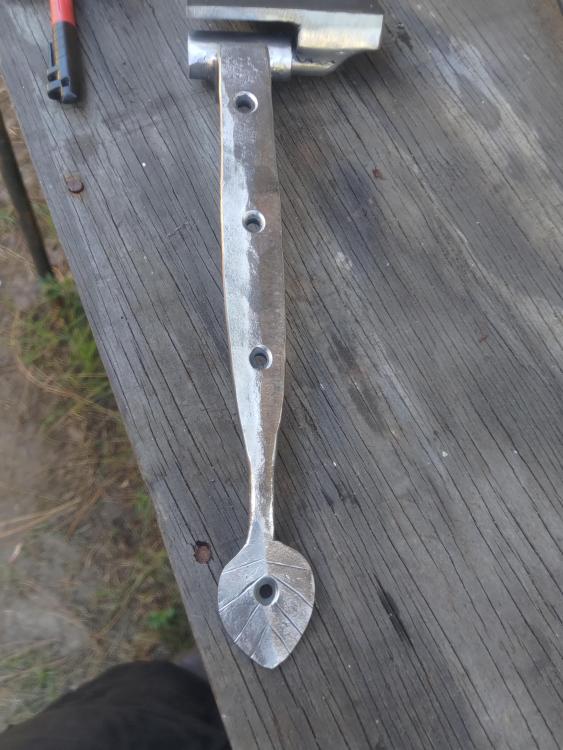

-
Irondragon- the dragons breath from this ribbon burner forge is quite small- I've worked to keep it tuned so it only runs just on the rich side so I don't scale things up inside... at welding heat I get 6-7" at most, and at normal operating temps I only get 3-4" - and this is with the doors only open an inch or so, if they are fully open 1/2 that distance or less is there. also it Immediately is heading Up and away from the porch so a small section that's insulated like the forge but not under the burners would allow me to Low heat items a lot easier than trying to hold them in just the right spot to keep it in the flames.
-
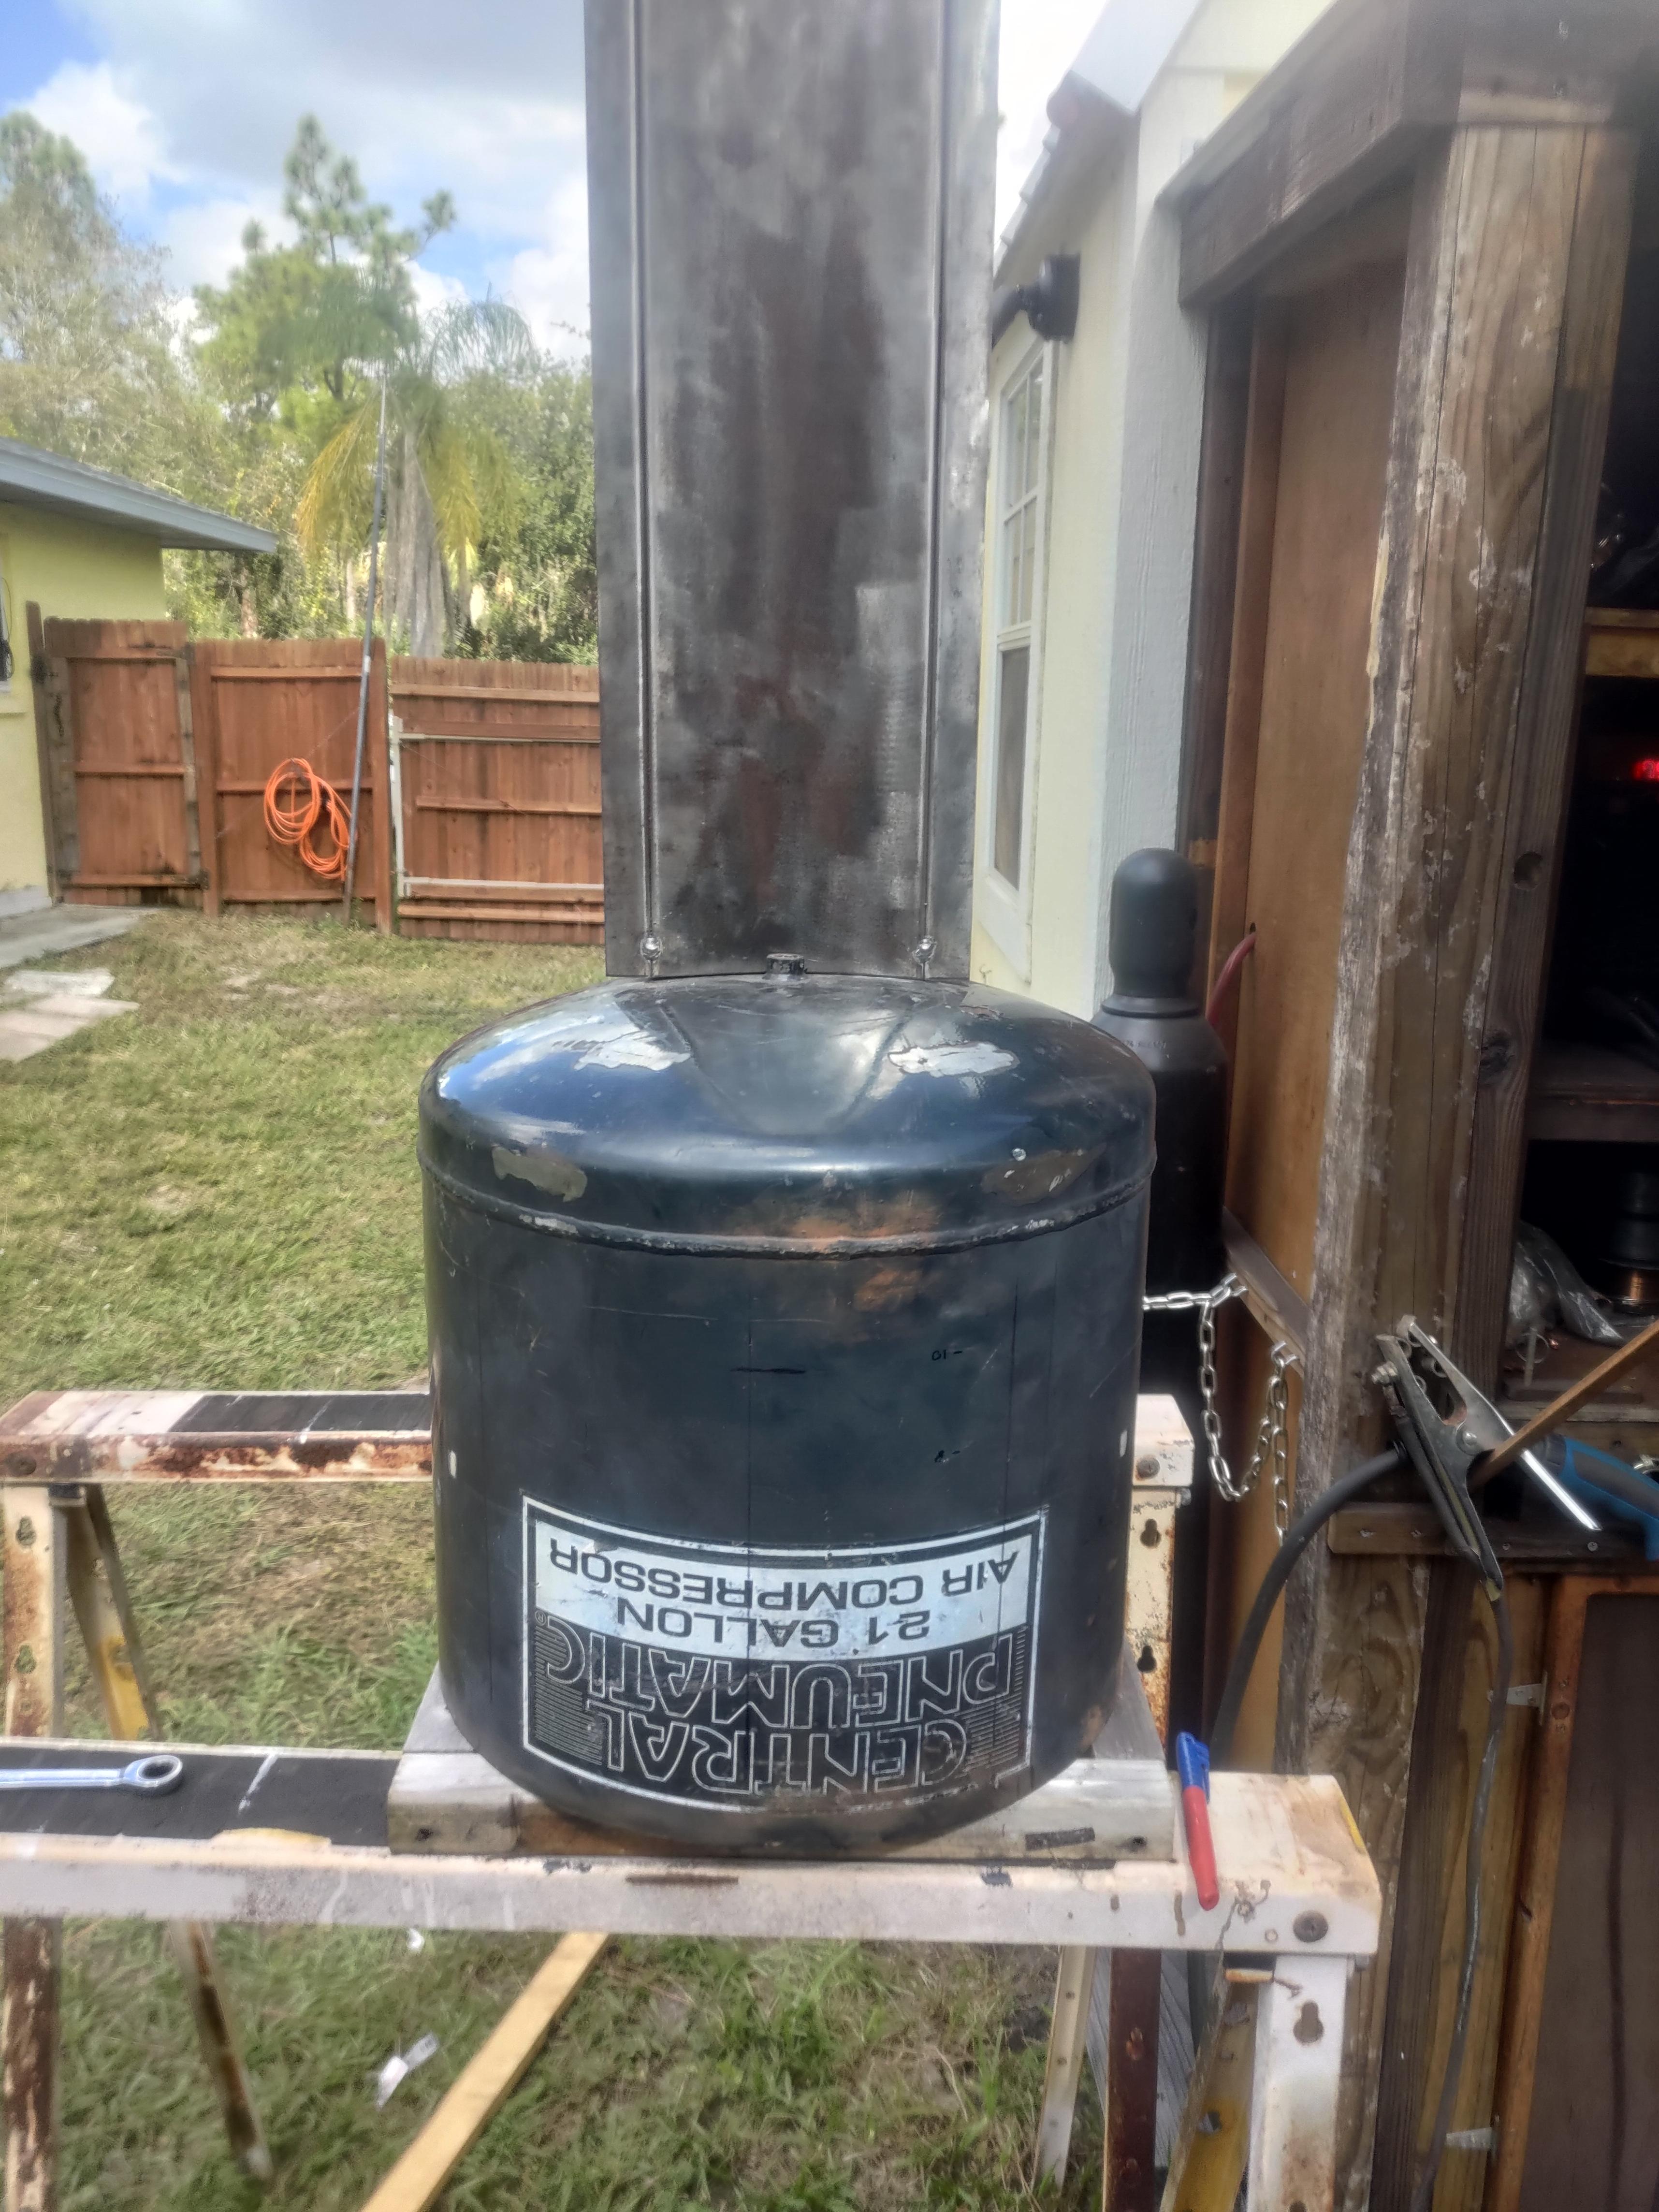
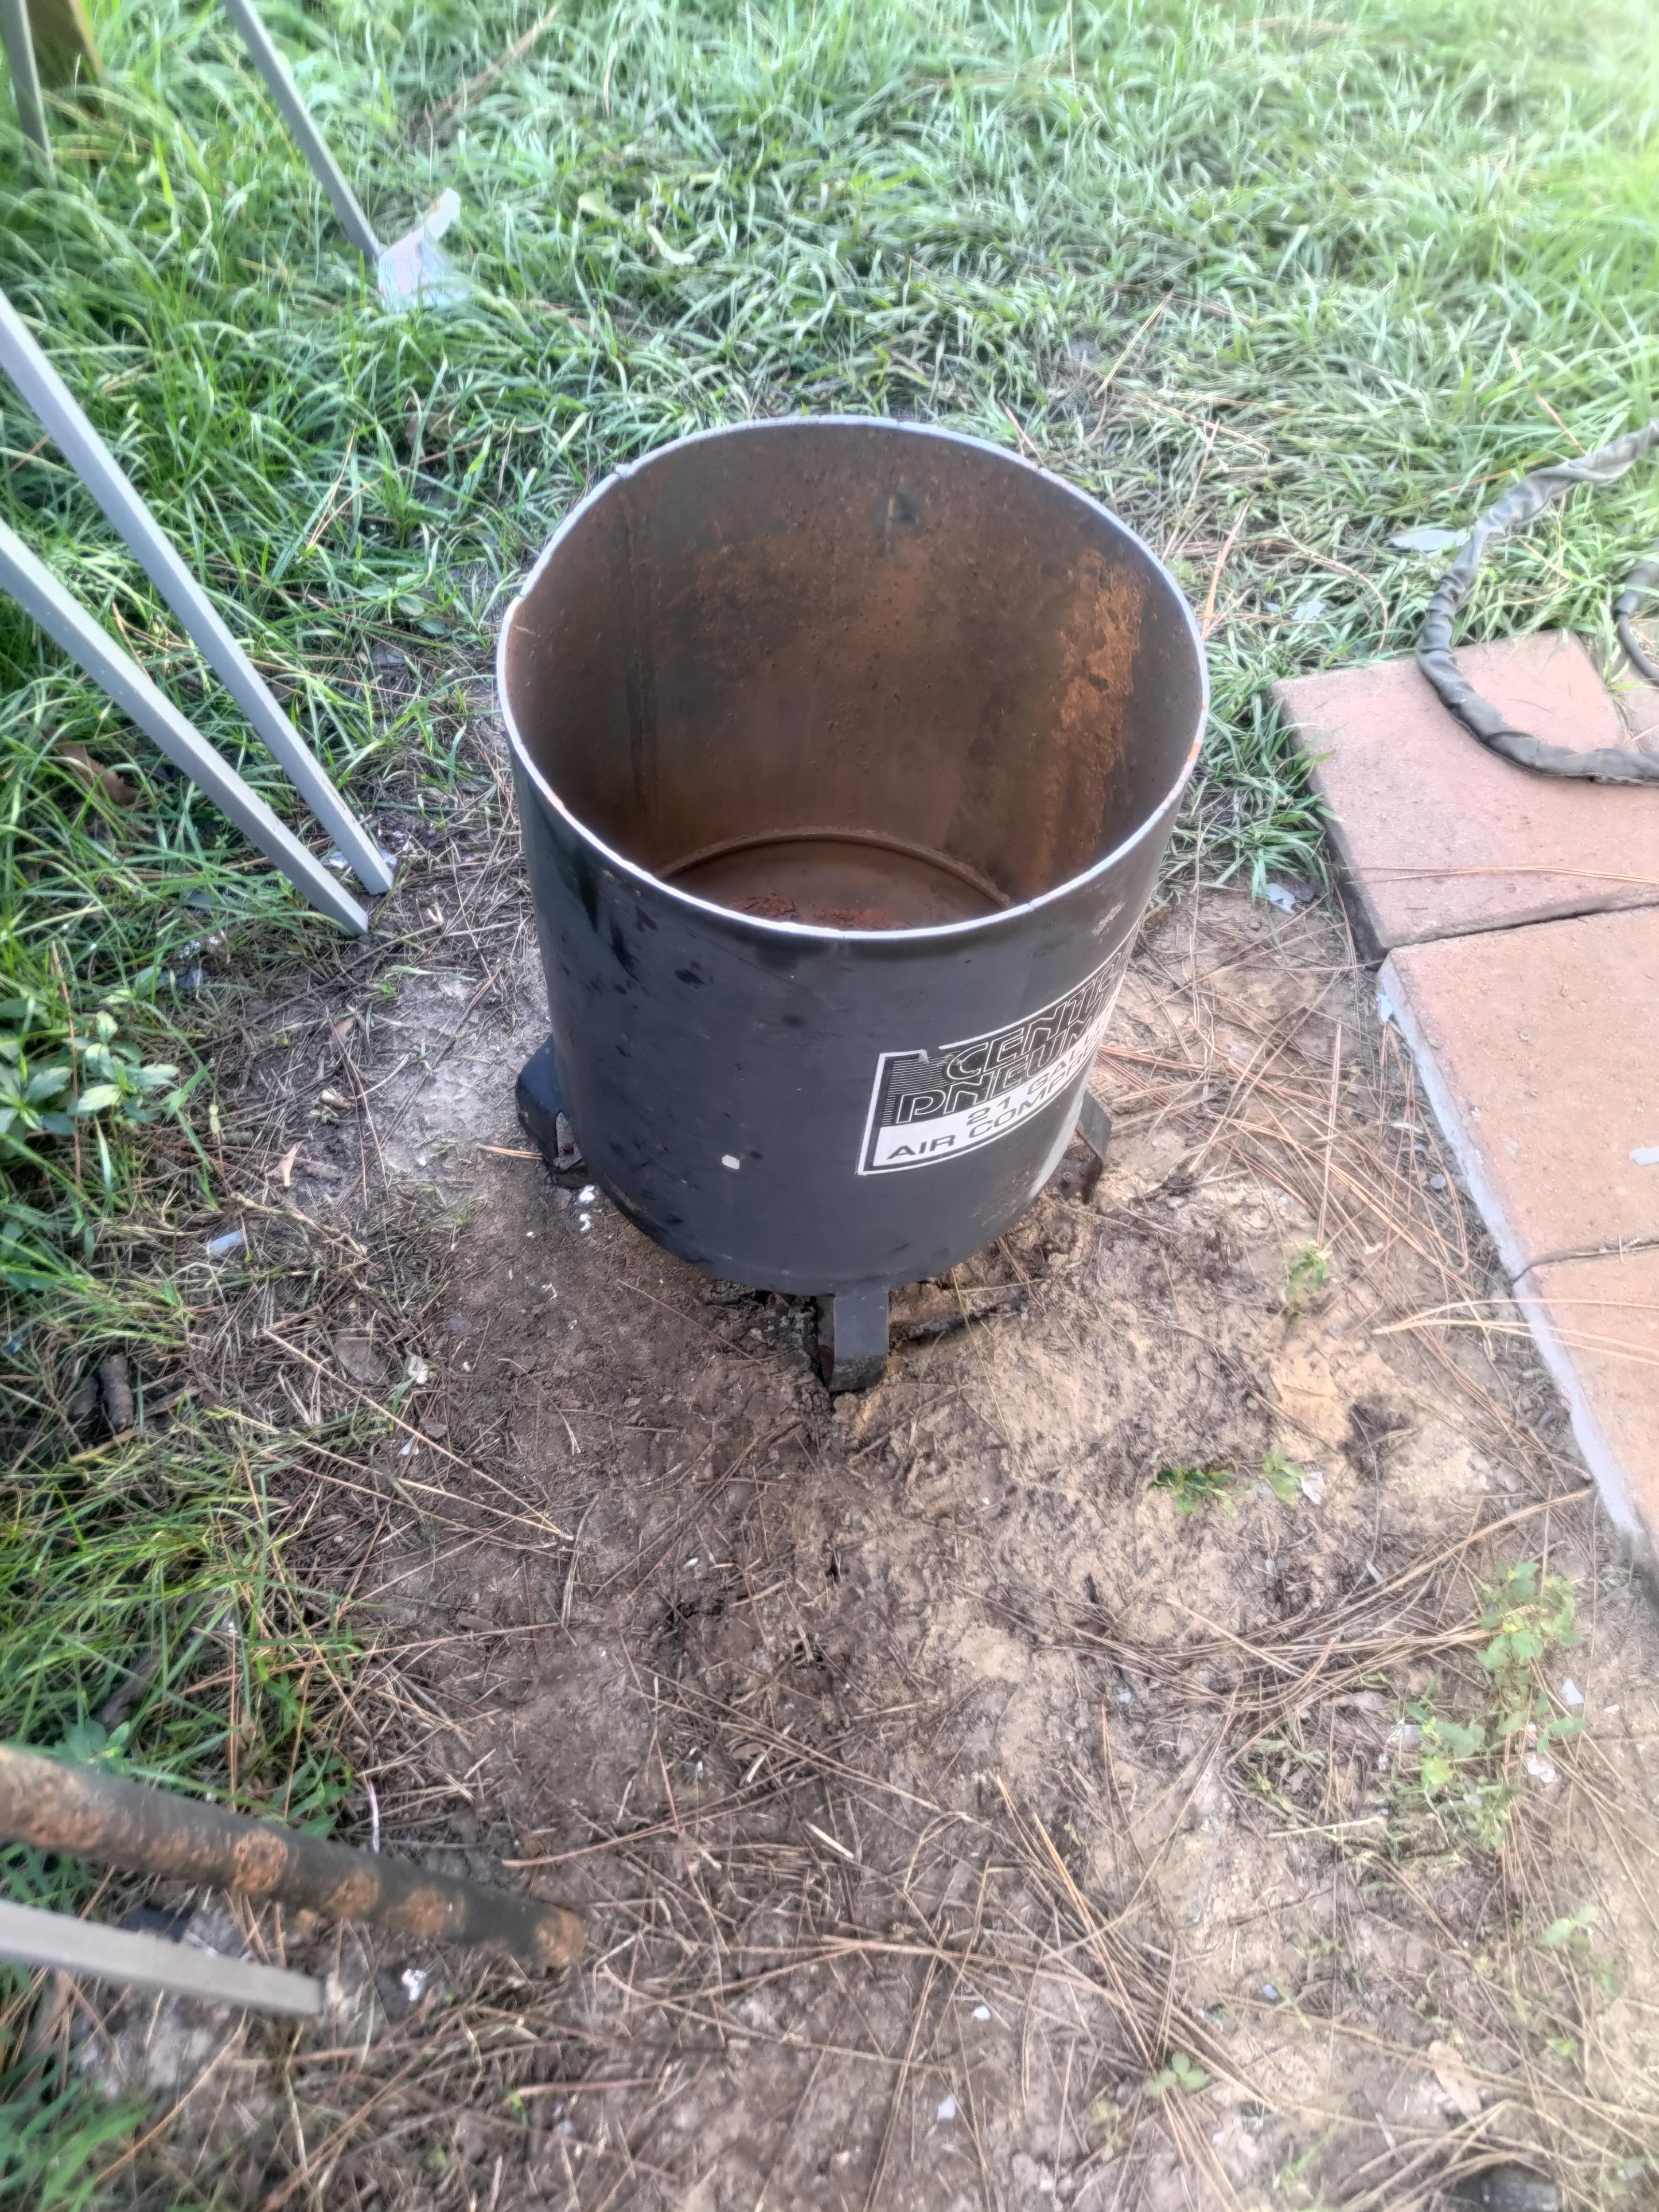
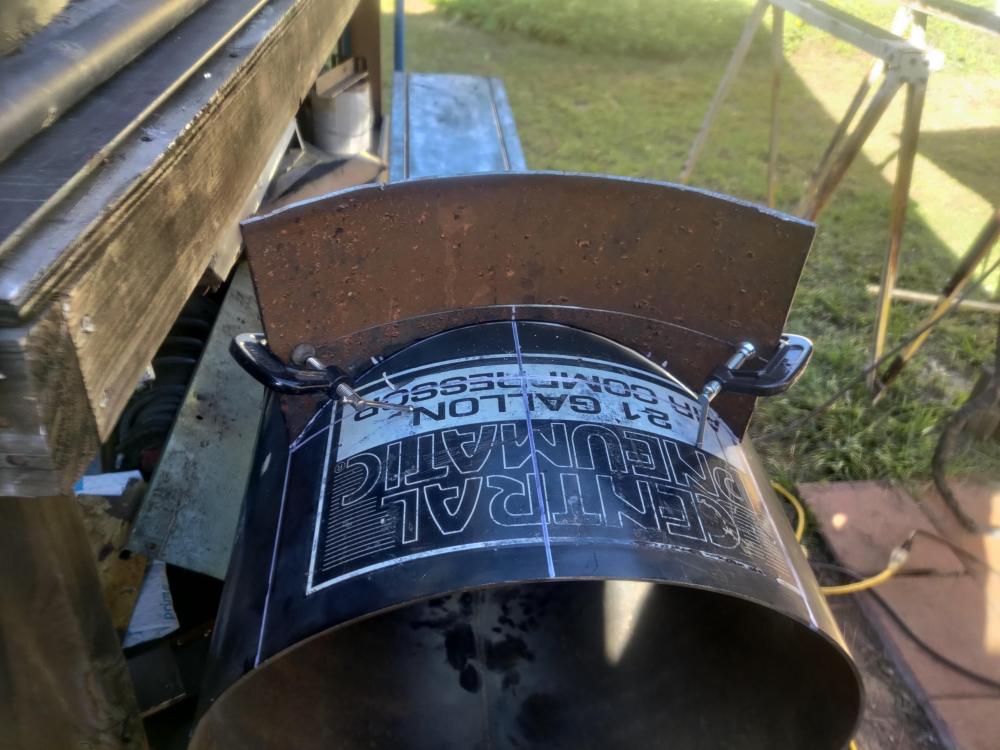
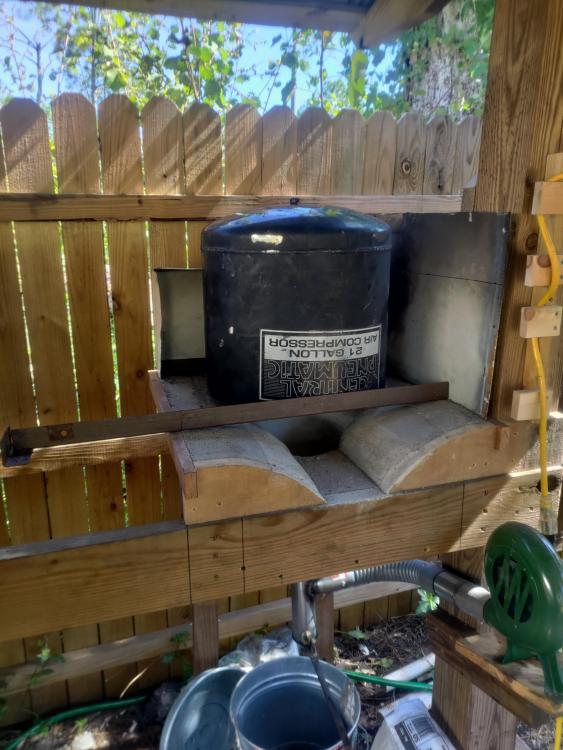
I was doing some yard cleanup and rearranging of stuff, and I found I still had my old compressor. I'd replaced it when it's motor died and set it outside the fence to deal with later and it seems I promptly forgot it was there. after cutting the tank off just below the handles i have a 16" dia x about 18" tall section I can use to make a better hood... now I just have to come up with something to make the chimney from.

-
What did you do in the shop today?
Savlaka replied to Mark Ling's topic in Blacksmithing, General Discussion
White fox- that's a nice tomahawk,I like the Damascus plug I don't see that a lot .. one of these days I should probably try my hand at an axe, hatchet, or tomahawk. Wandering rogue- looks to be a good knife you've got there. I understand about finding the best heat treatment method for something, I don't have a heat treatment oven, so it's often a bit of a game of test and see to figure out what works best for me and my tools. Even if you know the exact prescribed method for a given steel, getting those results with the equipment you have usually requires a bit of testing. -
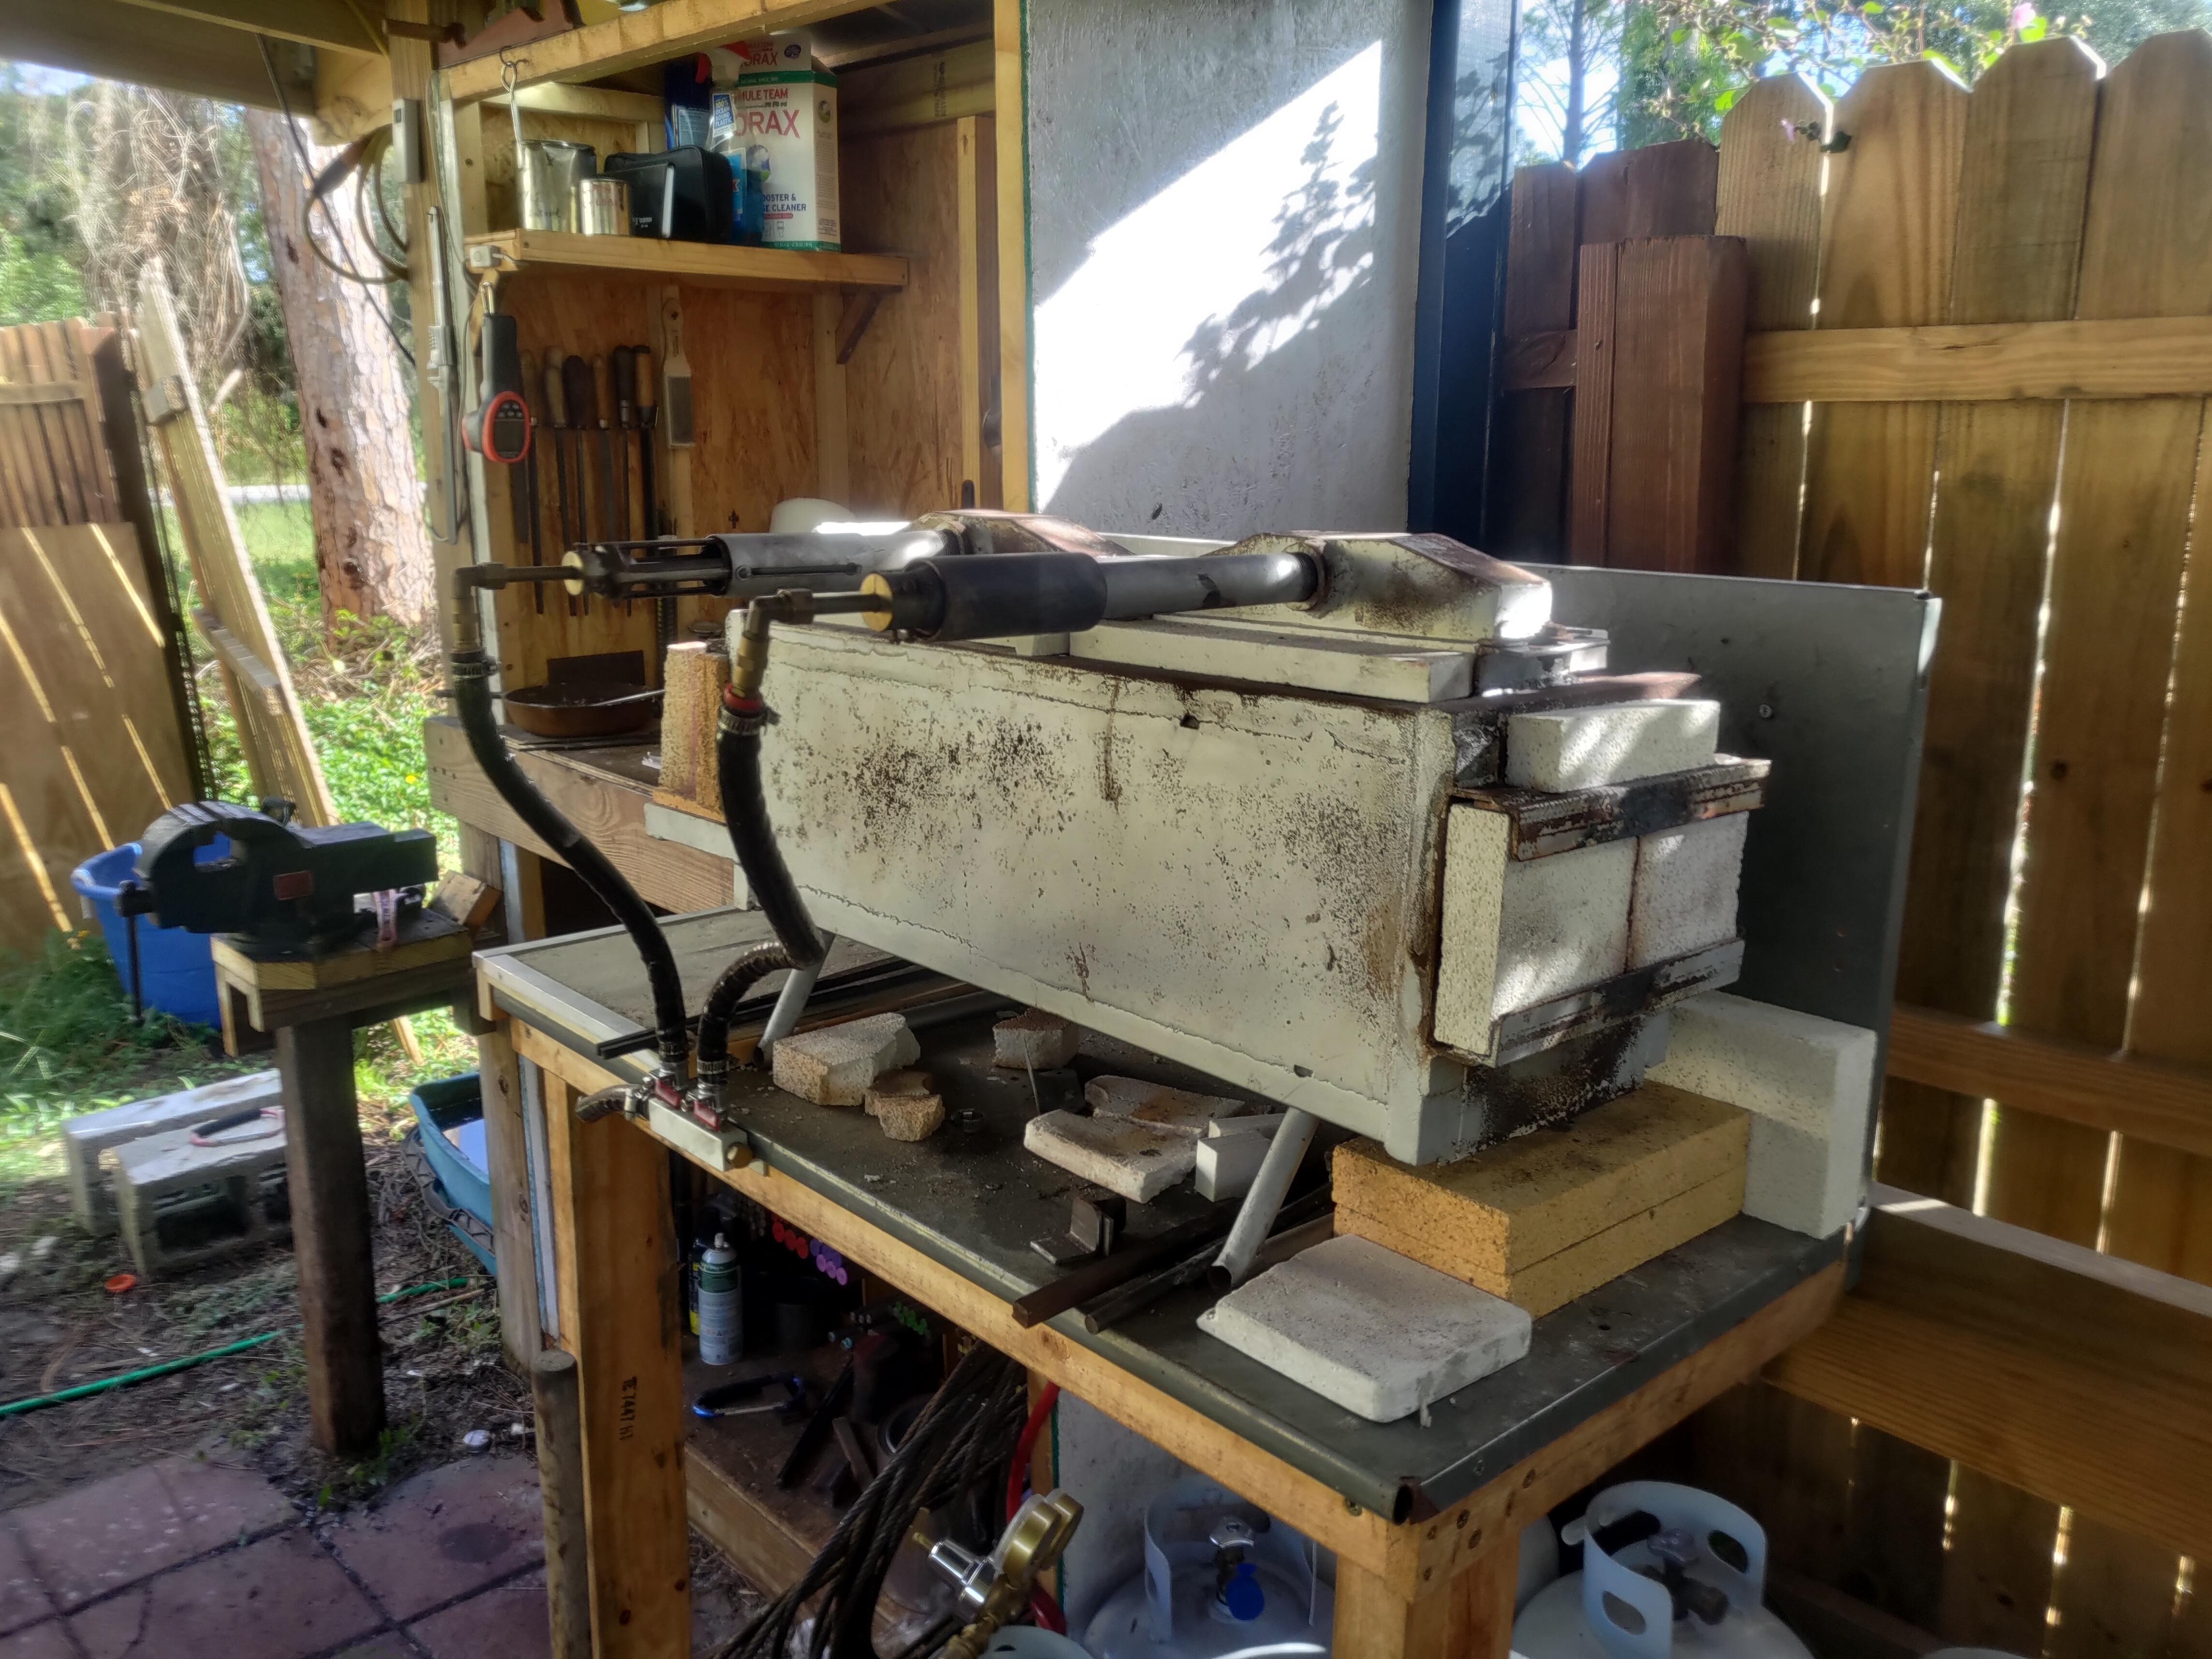
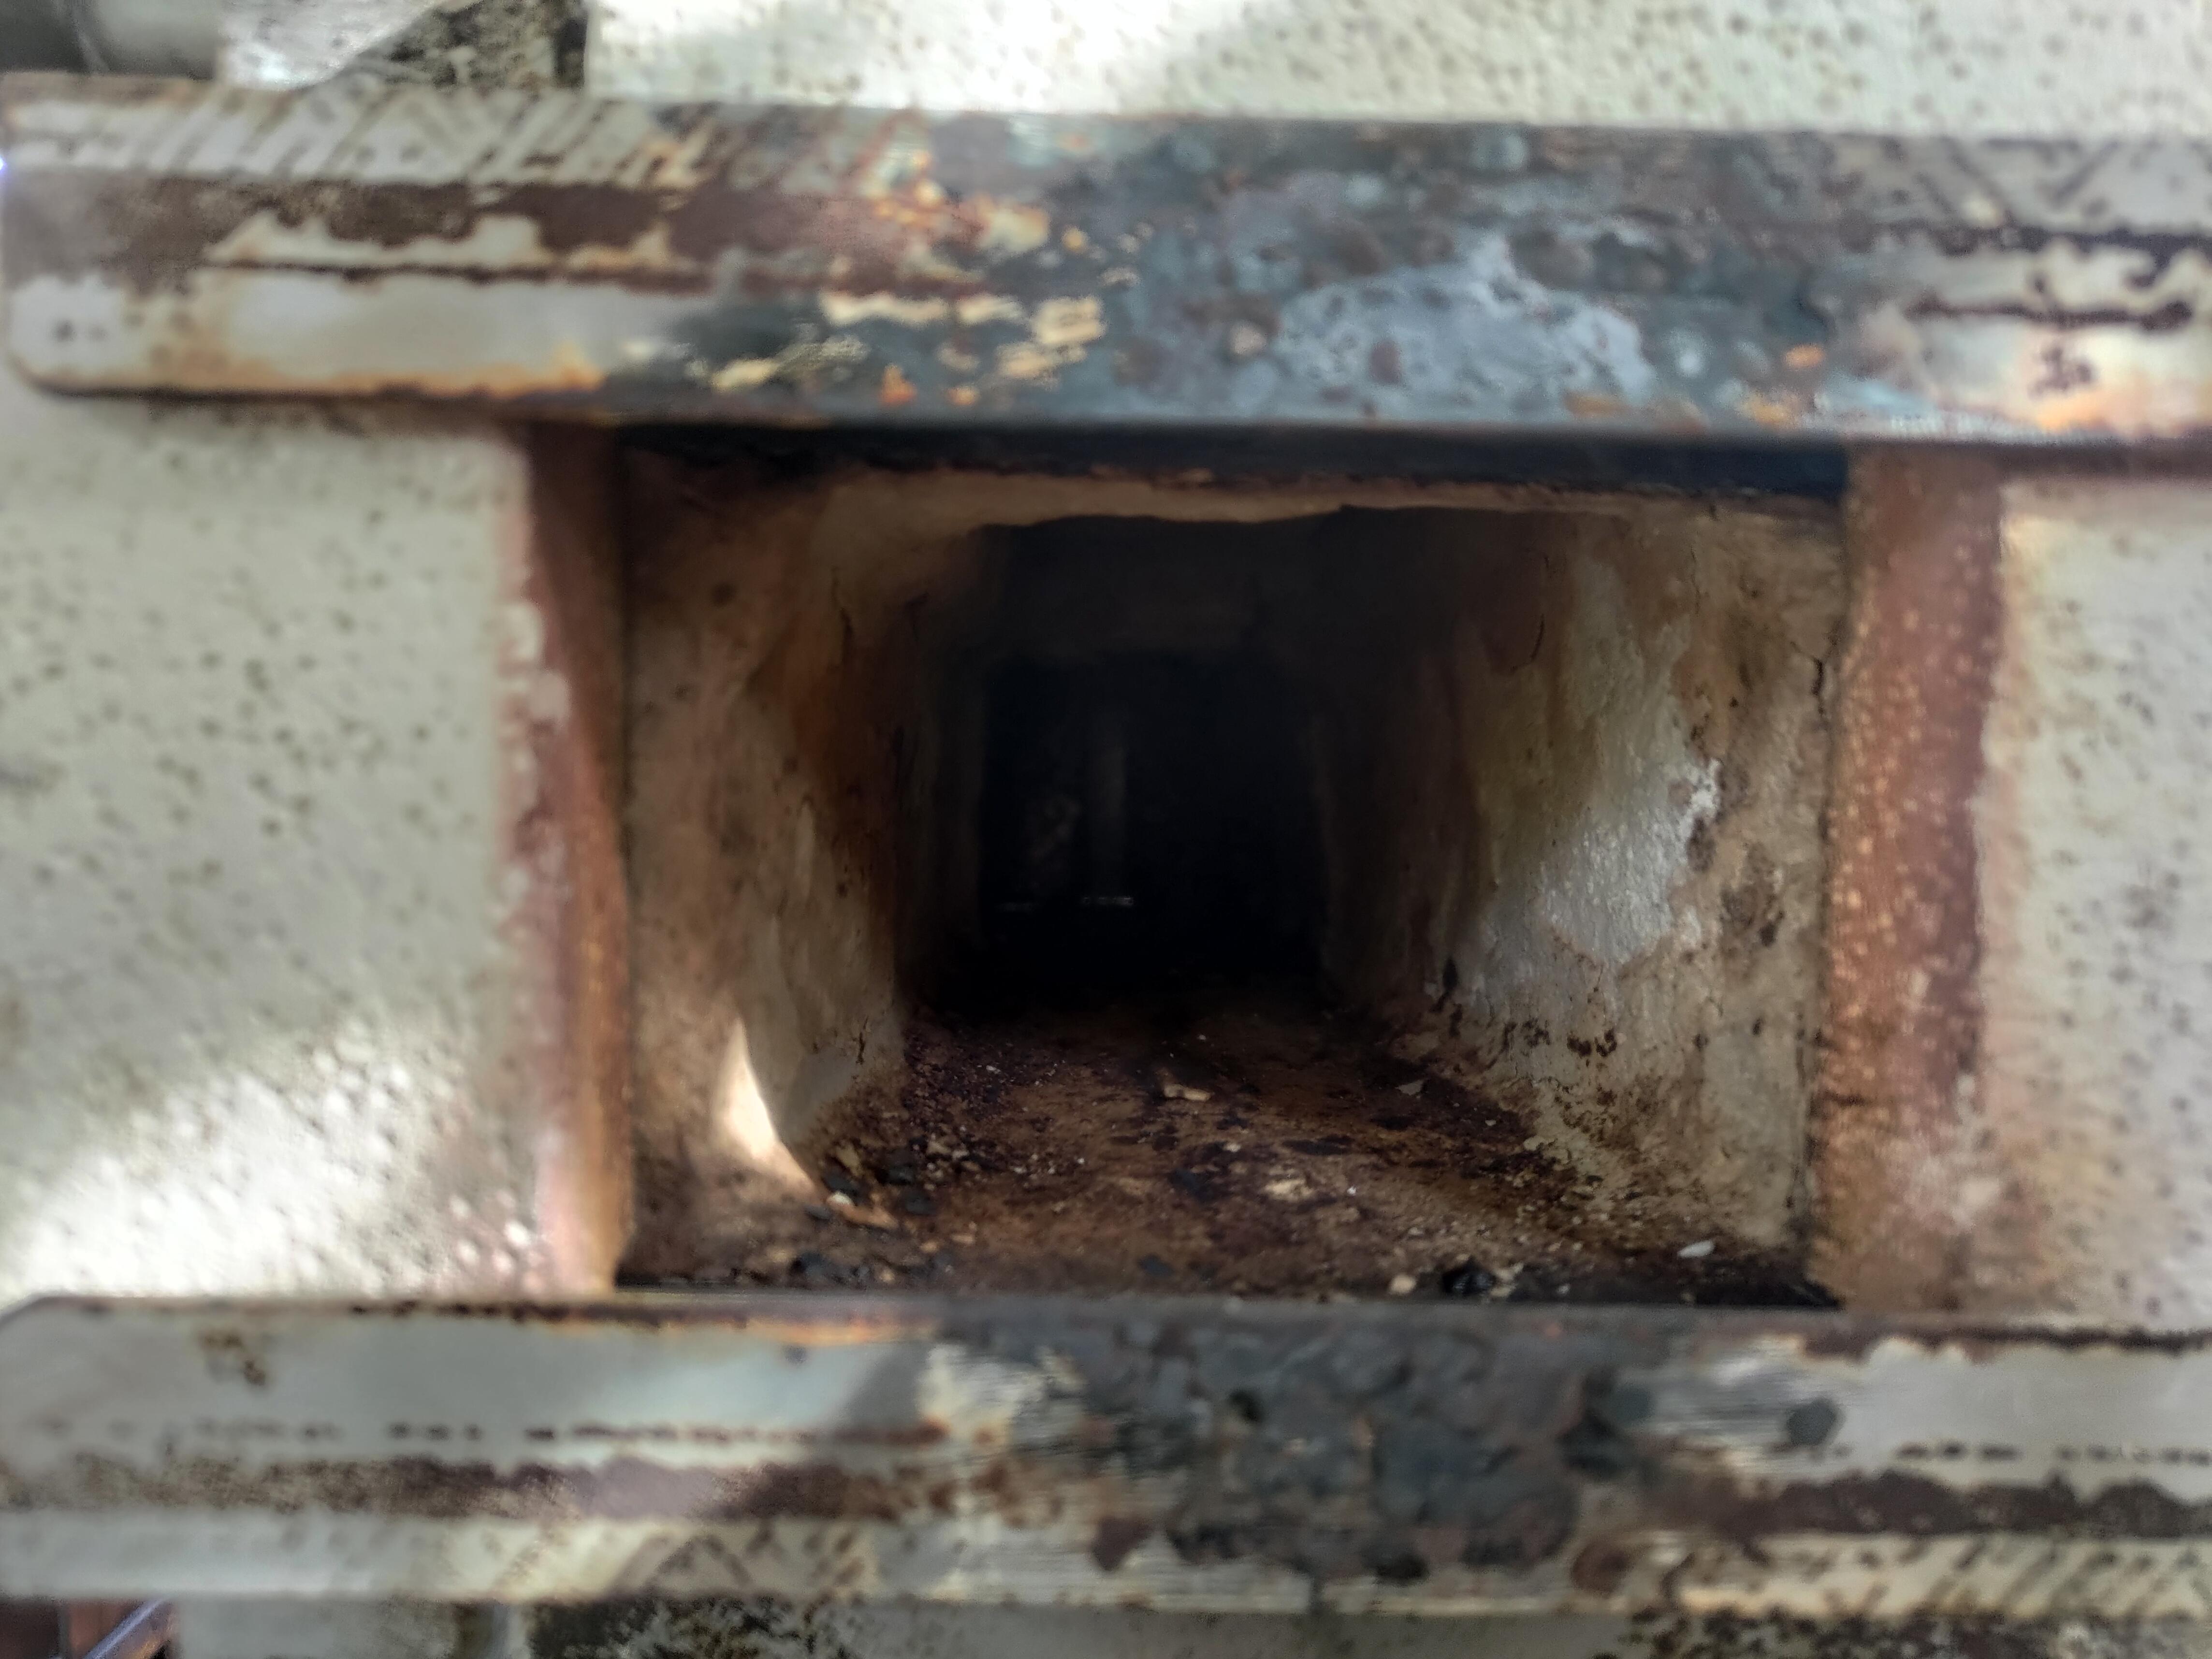
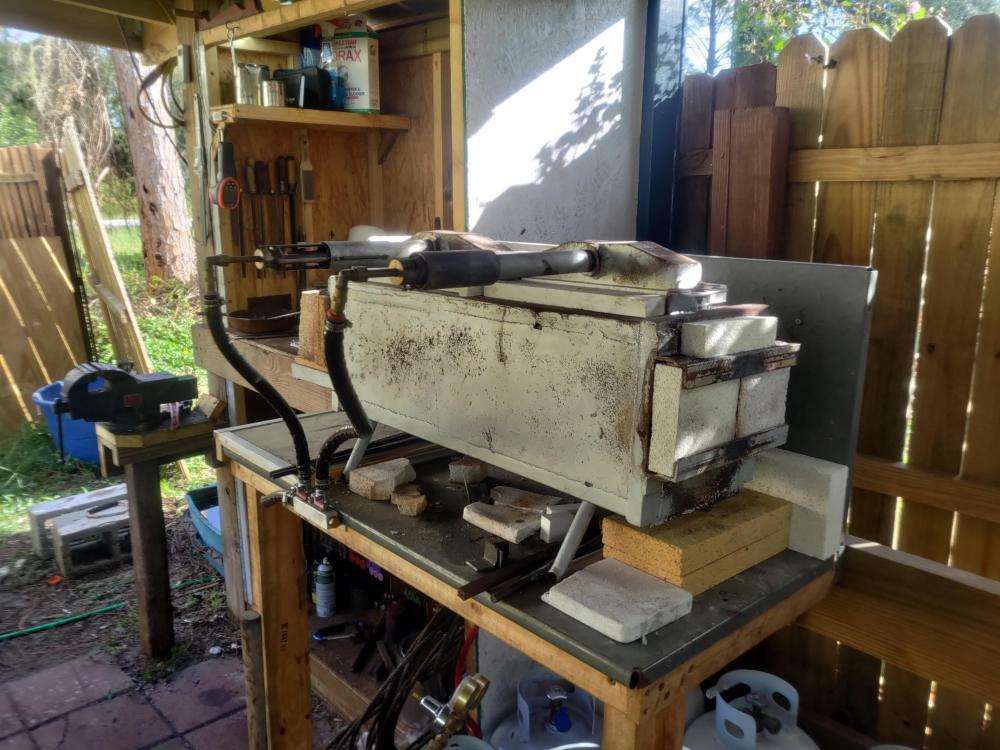
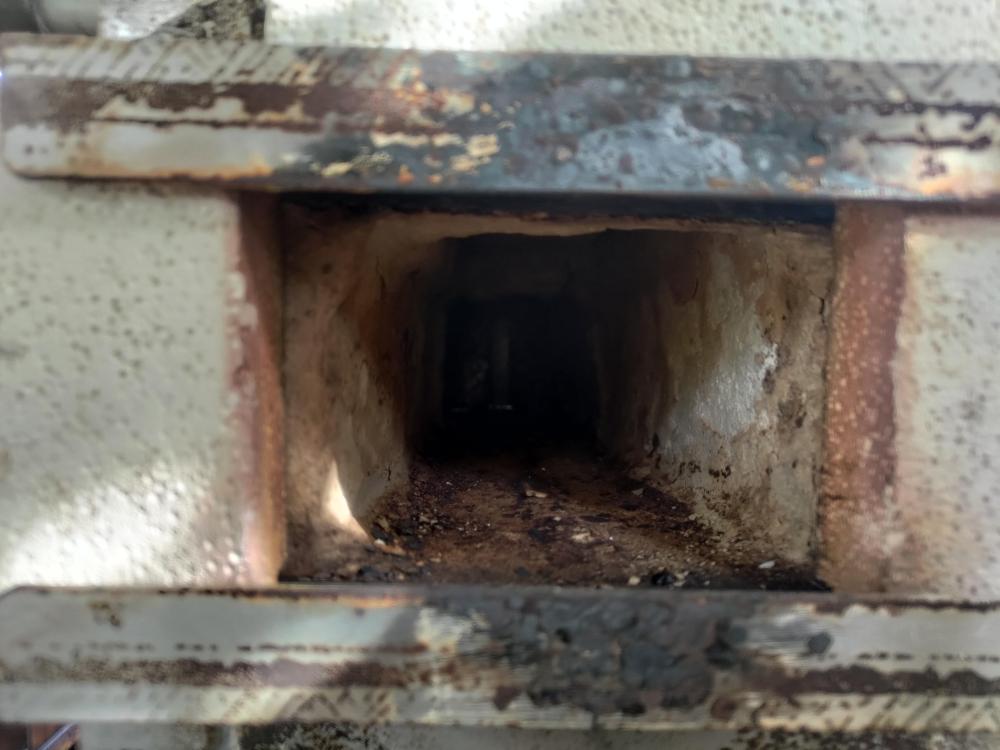
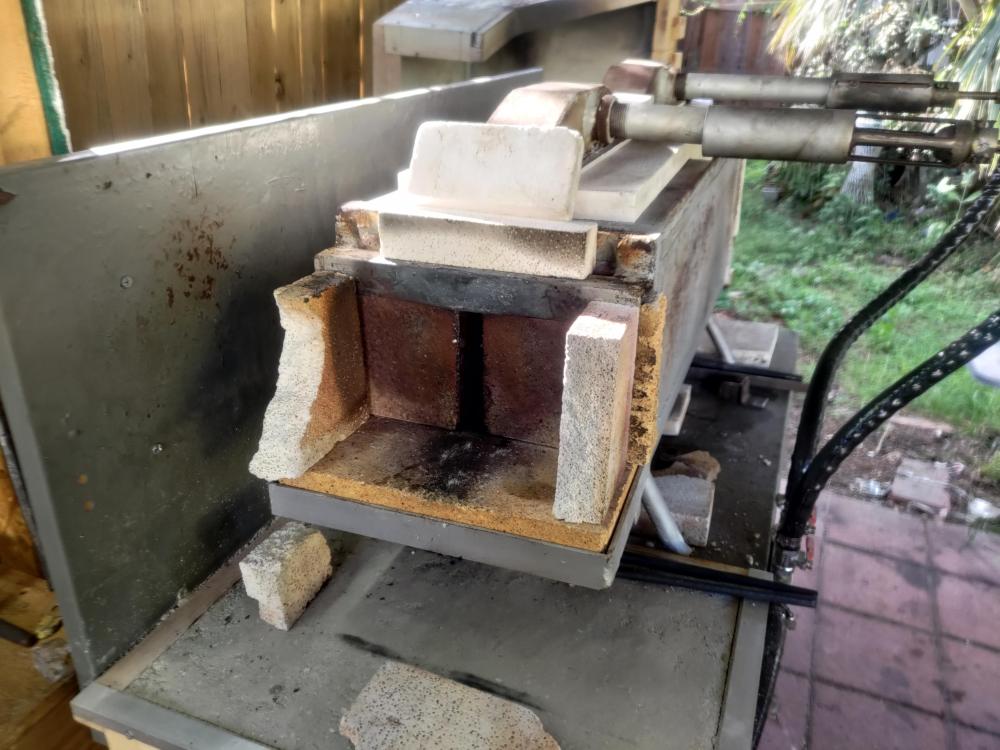
So I figured I'd come back here after about a year of use and pass on what I've liked or not, and what worked and what didn't. I'll start with the burners: I've played with the tuning and hole count for the burners a few times, but it was all basically fine tuning and getting the best efficiency I could... Both burners are holding up VERY well and working great. If I built them again I'd make the slots a bit shorter as they're definitely longer than needed. And I would cast "ears" on the sides of the ribbon burner blocks instead of using the ceramic board strips to seal up the top. The forge itself: The size is decent and the length hasn't really been needed often but it's definitely nice to have, I've found I can run both sides and put different projects in each side which has been useful for lots of small projects that lose their heat quickly. And for heating a big item while working on a few small items. If I was doing it again I'd have gone to 5x5 instead of 4x4.5, the tiny bit of extra size would have not done much to effect the ability of these burners to heat the forge, but would allow a little more flexibility in work size. I've learned that the center baffle was basically a waste of effort. If the back doors are closed time to heat up to normal operation is basically identical. Though because Florida is so humid I typically need to run both sides at a low output to boil off the moisture the first time I light the forge for the day anyway. If I don't the unused burner will fill with water from the steam. At this point I don't use it at all, I just leave the T shaped plug in place. The tabcast 94 is awesome as a forge floor, it's basically been totally impervious to anything I've done, it ignores Flux's and scraping steel against it. Though I would do a better job casting it smooth and flat the next time I need to do it. The heat guard refractory and the satanite I used as surface coatings haven't faired very well. Where they are on ceramic wool they did well, but they eventually just crack and peel off the tabcast walls. I should have built a "porch" on both sides, and it should have been 2x the size of the one I did. I also should have built a short insulated "dead" section on each end of the forge (a 3-4" or so section not under the burners). This would give me a bit of a gradient for heating things up to lower heats - like temper coloring an item. As it's built anything inside the door lines will get to full heat after a bit. Overall this forge build has done very well for me, especially in the last few months it's been run for a few hours at least a few (3-5) times a week, and is holding up well.
-
What did you do in the shop today?
Savlaka replied to Mark Ling's topic in Blacksmithing, General Discussion
wirerabbit- thanks, it's not entirely unwelded I just didn't squish it to a full round. I welded about 1 inch of the ends solid, then twisted it all and did a light weld for a few inches on each side of where I wanted the "grip" and then untwisted the handle section. Though nowadays I do cheat a little, I tack weld the ends of the rods with my mig welder to keep it all in place while I get things started. for flux I use common borax like you get from the supermarkets laundry section (20 mule team brand in my case). But I also keep lab grade boric acid for when I need something with a stronger cleaning action... I'd like to get some powdered metal to add in, but haven't gotten around to it. You can use all kinds of things as flux, powdered glass, fine sand, and plenty of other things... But if your forge is running slightly on the fuel rich side and you clean everything well before it goes in you can weld without flux... But if it doesn't take the first try usually you gotta reclean all the scale to try again - at least in my experience -
What did you do in the shop today?
Savlaka replied to Mark Ling's topic in Blacksmithing, General Discussion
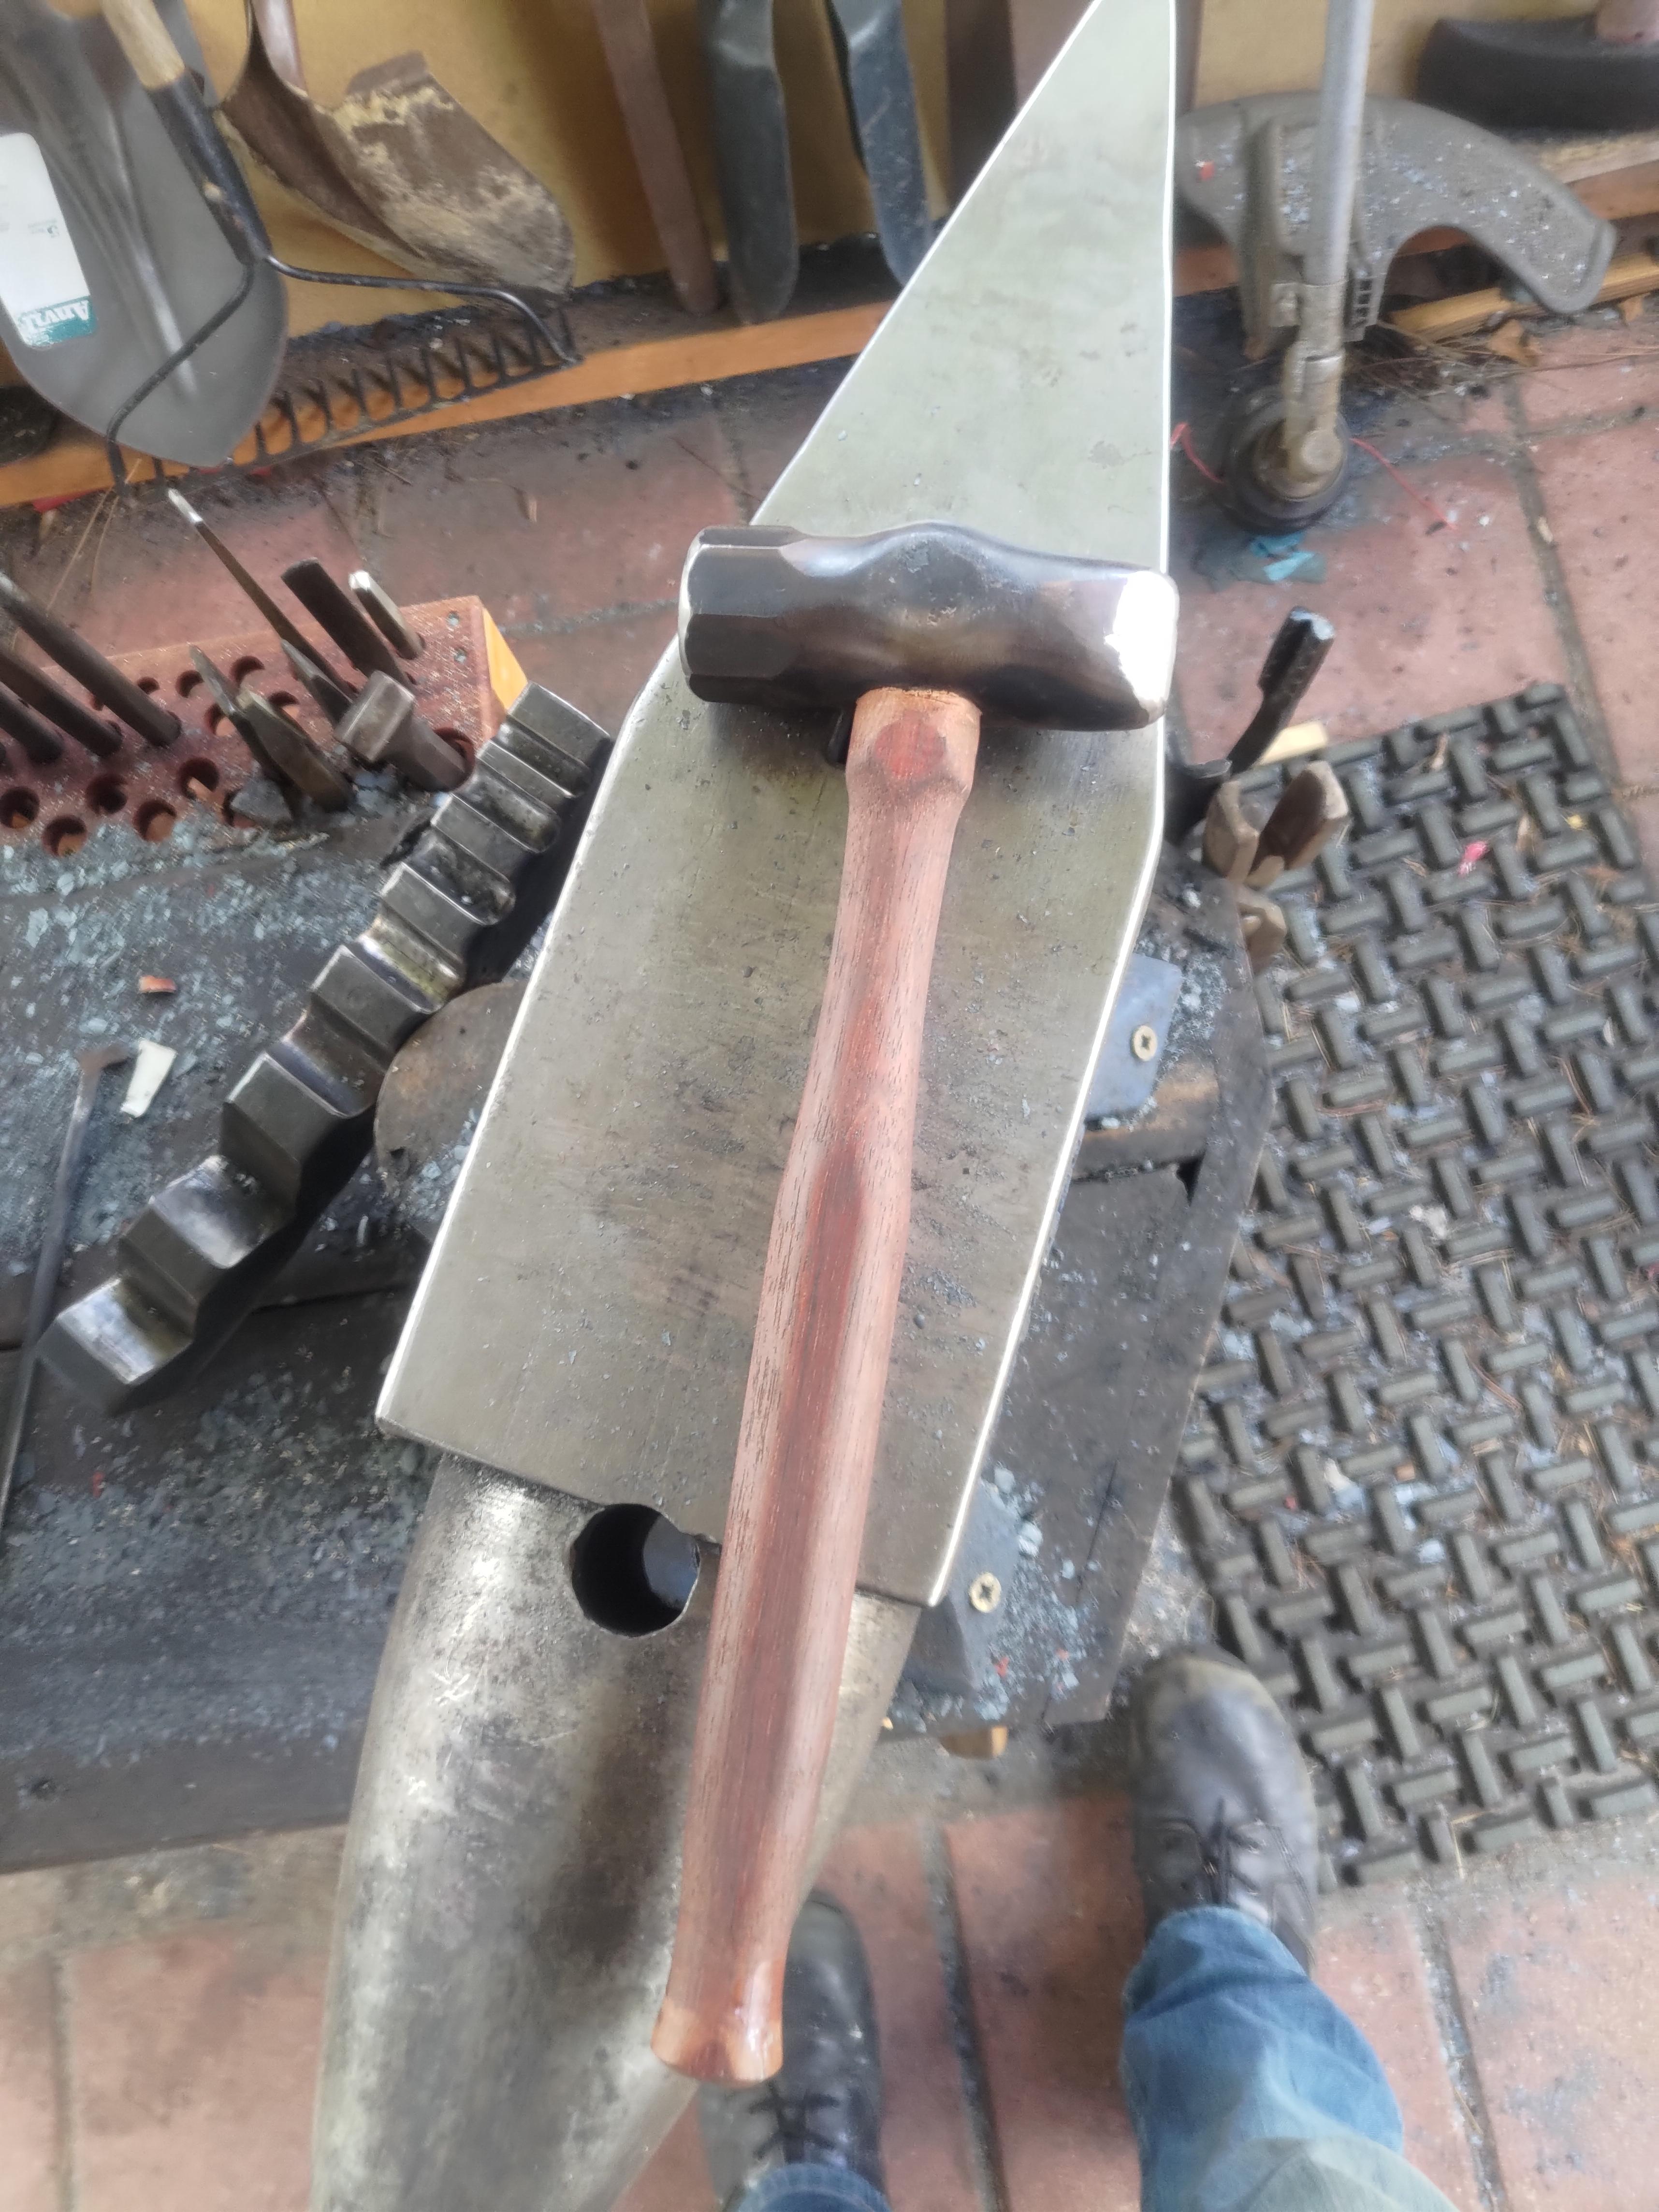
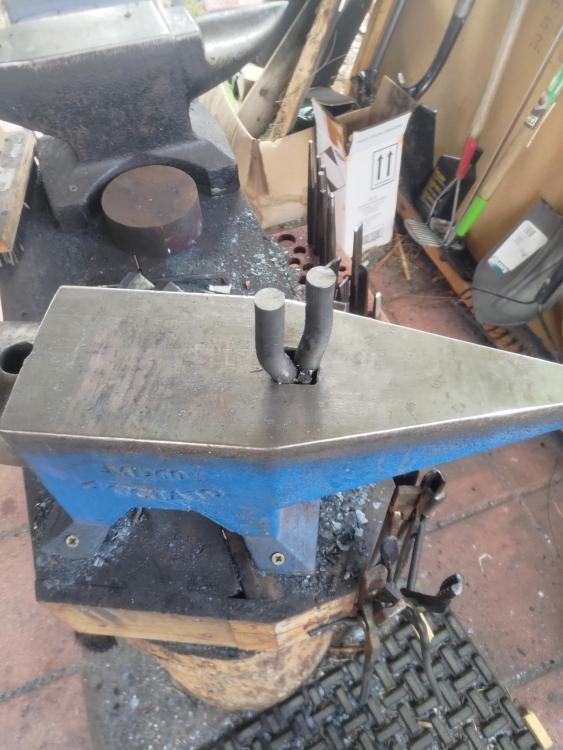
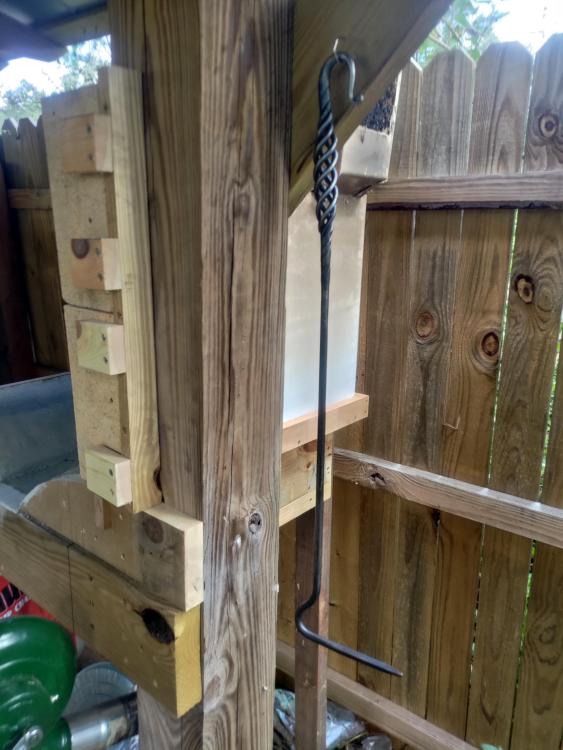
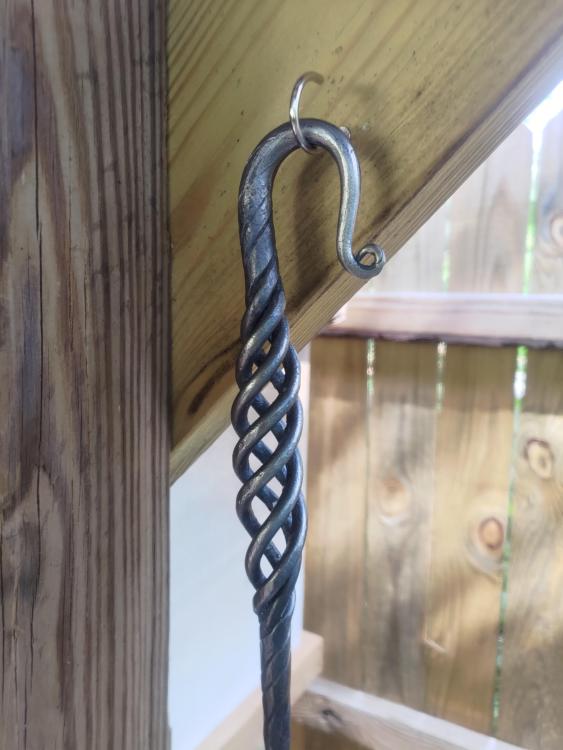
Mostly been cleaning up and getting things ready for the next projects, but I finished up a bigger straight peen hammer - this ones 2.25lbs. And I made a simple bending fork for my hardy hole - this one is 3/4dia x 3/4 gap. Not perfect but it works. And I made a fire tool for my charcoal forge, basket handle with a simple hook on the end... And a quick rack for a pair of firebricks... JHCC- I use the same stuff for my punch lube, messy but it works well.
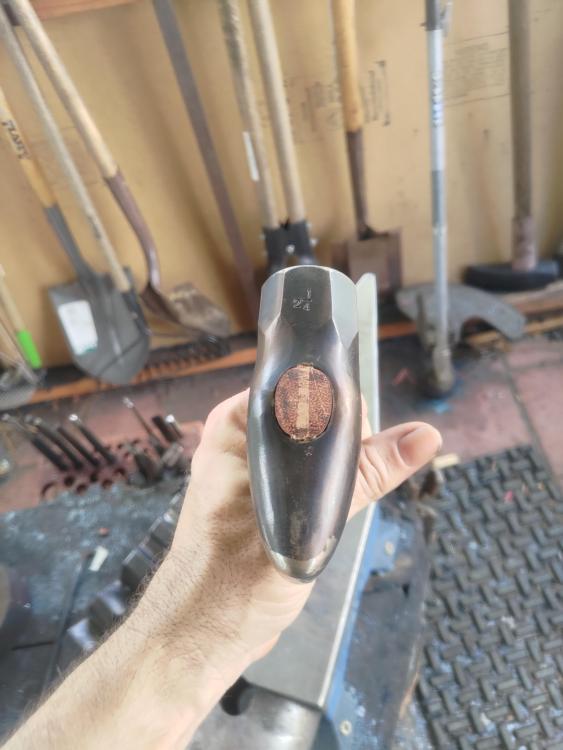
-
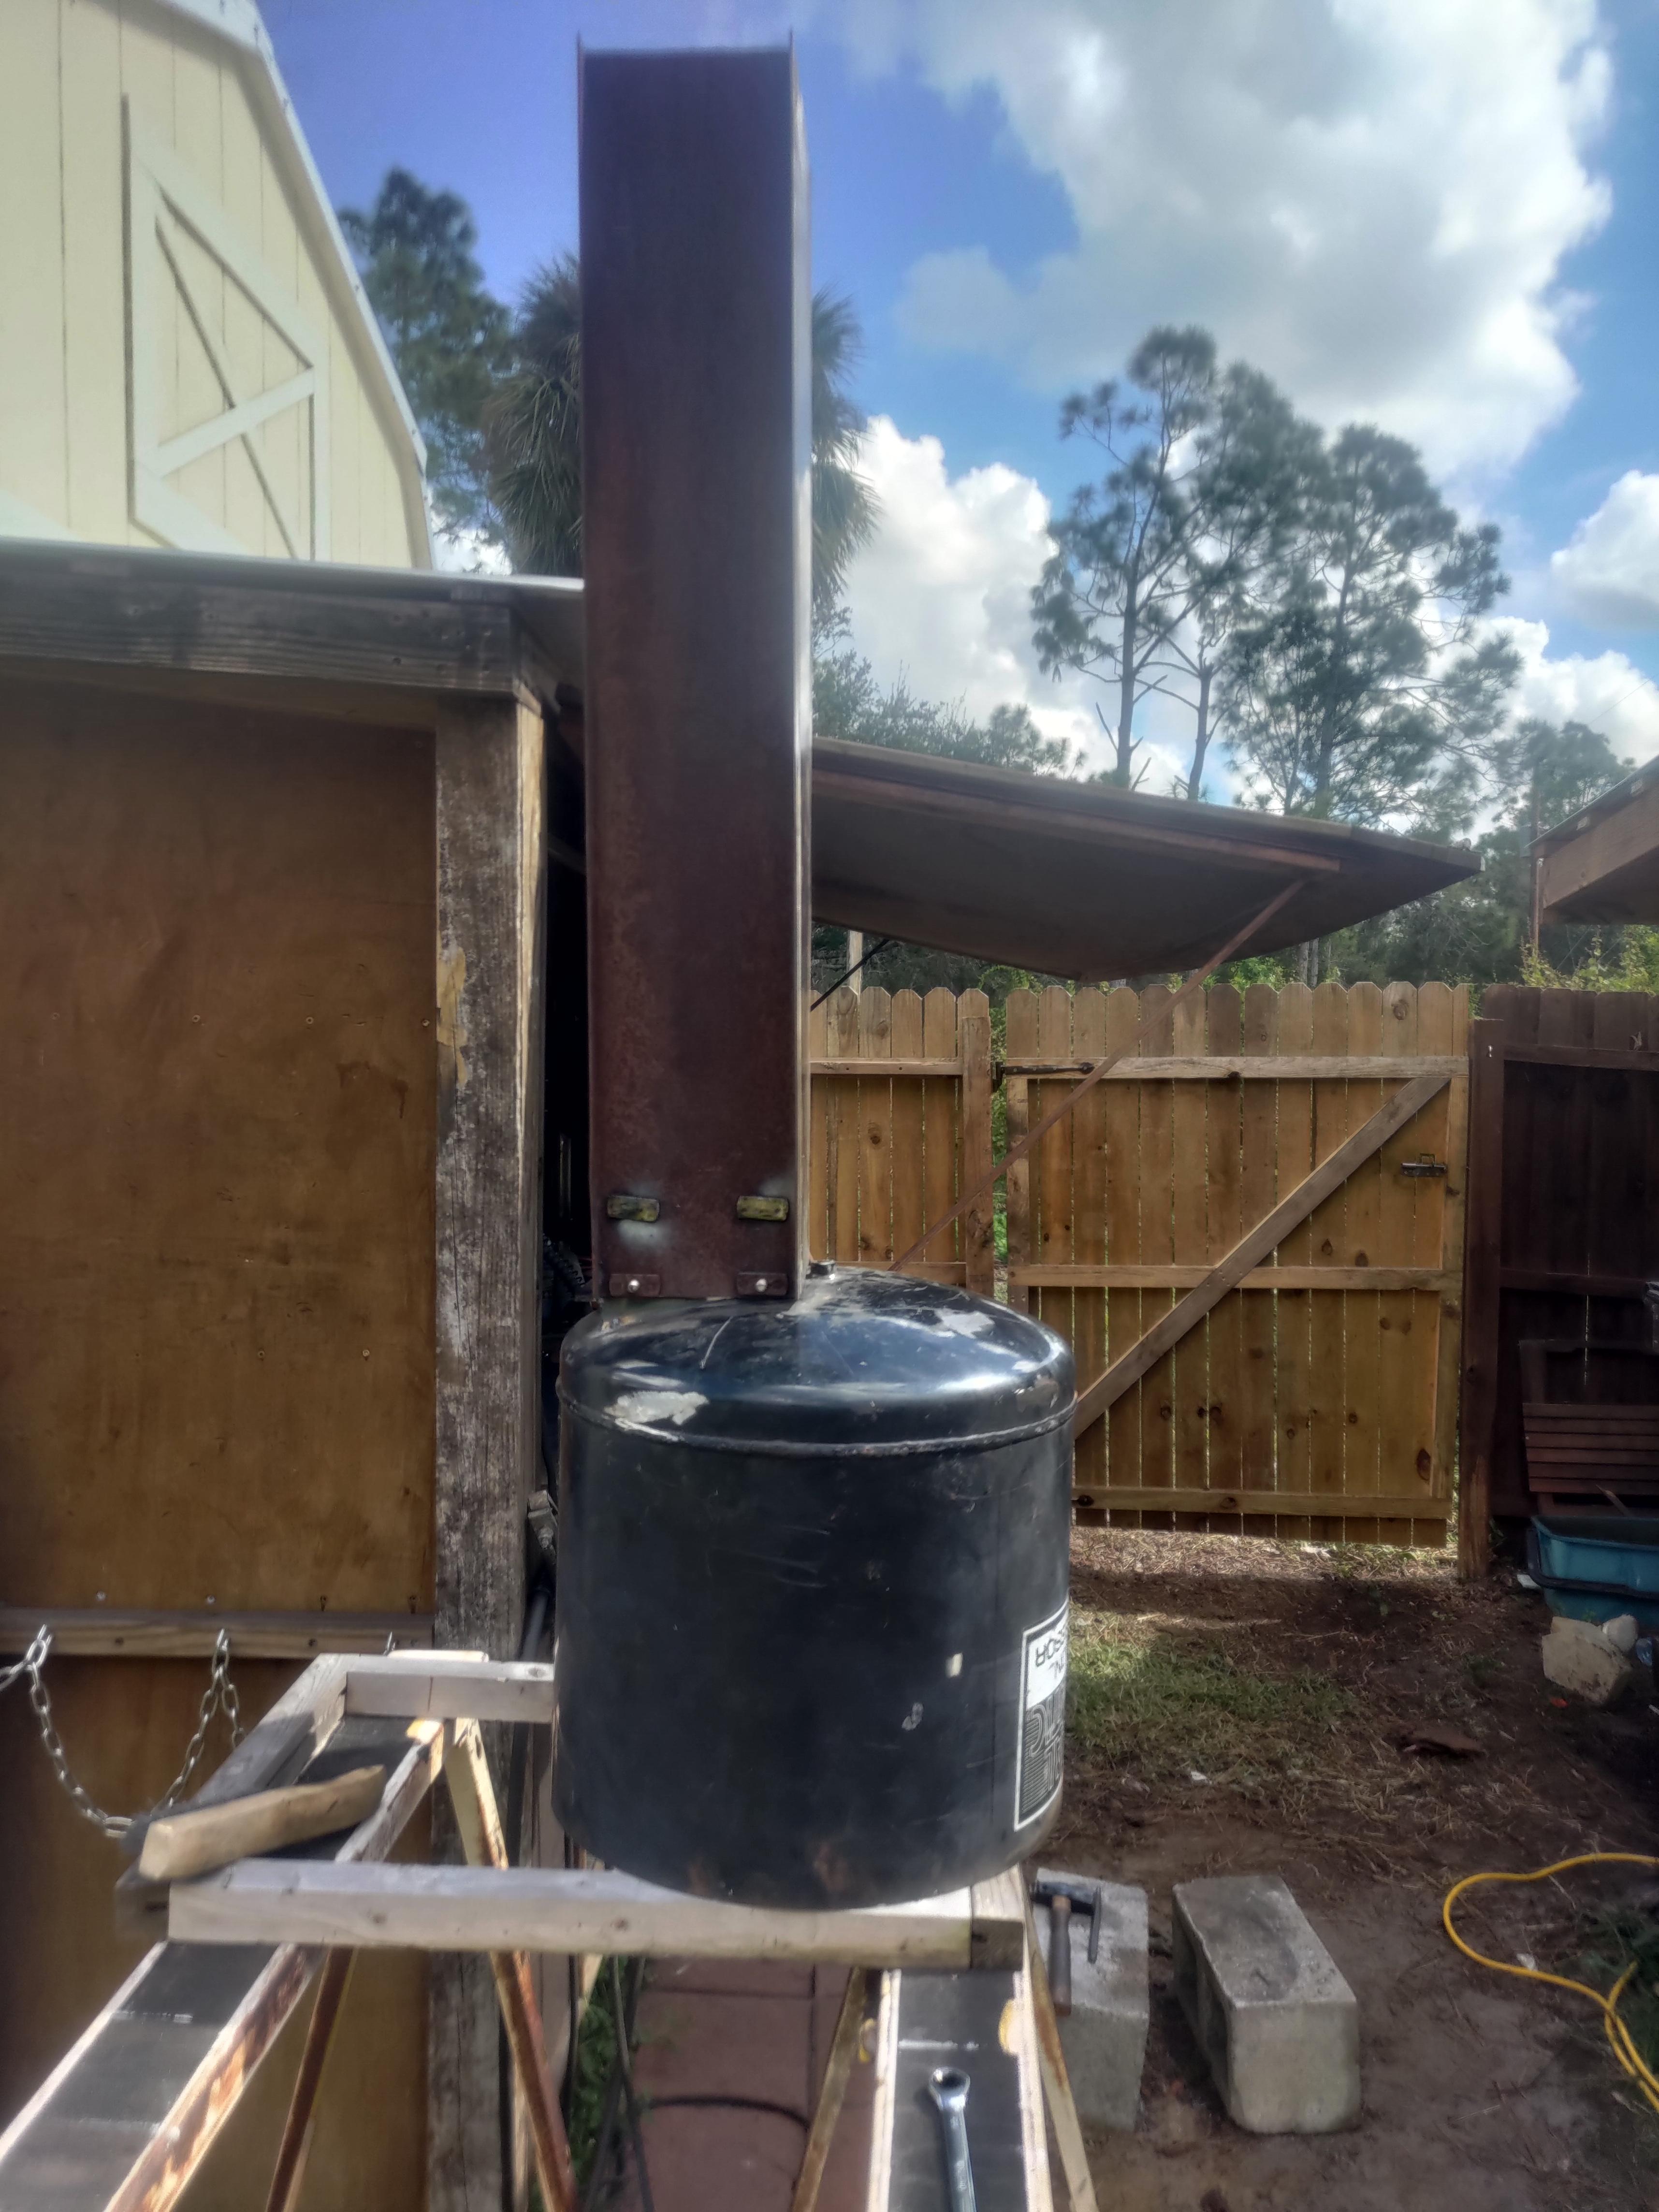
Yep, the "hood" is quite janky ... I've been looking for metal buckets for over a year now, nothing seems to still come in them. The shop I used to work at got their grease, specific oils and solvents in 5 gallon plastic buckets. We'd actually had to replace our air grease bucket since it didn't work with the plastic buckets... I checked at paint and auto shops and even there basically everything comes in plastics now, only a few types of solvents didn't and they were normally 1 gallon cans or 35 and 55 gal drums that they wouldn't sell or give away. Everyone in my neighborhood is on a well system so there's a good chance someone will have a failed pressure tank around. The biggest issue is the "chimney" is too small and not mounted in the right way, finding anything better will be a bit of a challenge, there's nothing in the way of fireplace, wood stove, or similar supplies readily available down here. I'm sure you can go into your local home center and find basic stuff for all of those kind of items, but none of that is stocked in Florida - it's all special order, at best. As to a passthrough, Nope. If I needed to I can place work on diagonal across the forge. But realistically I'd just heat a long bar in the gas forge. I don't do the fence, window and railing type work so it's not too likely I'll have a need for anything like that. This isn't the kind of forge many would build, it's bigger than is economic to run all the time, and it isn't configured the best for general work. But it'll do exactly what I need it to and so far out of pocket I've only spent about $20. Everything but the sand and clay was stuff I had laying around - left overs from other projects or salvage materials...
-
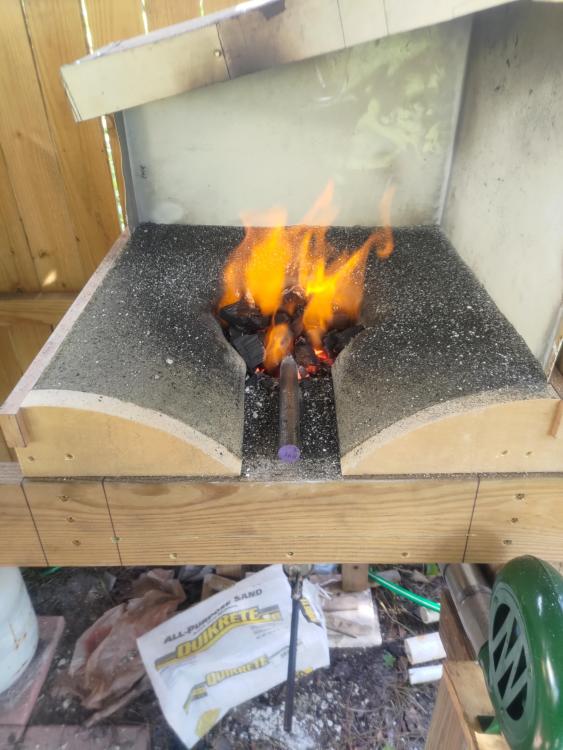
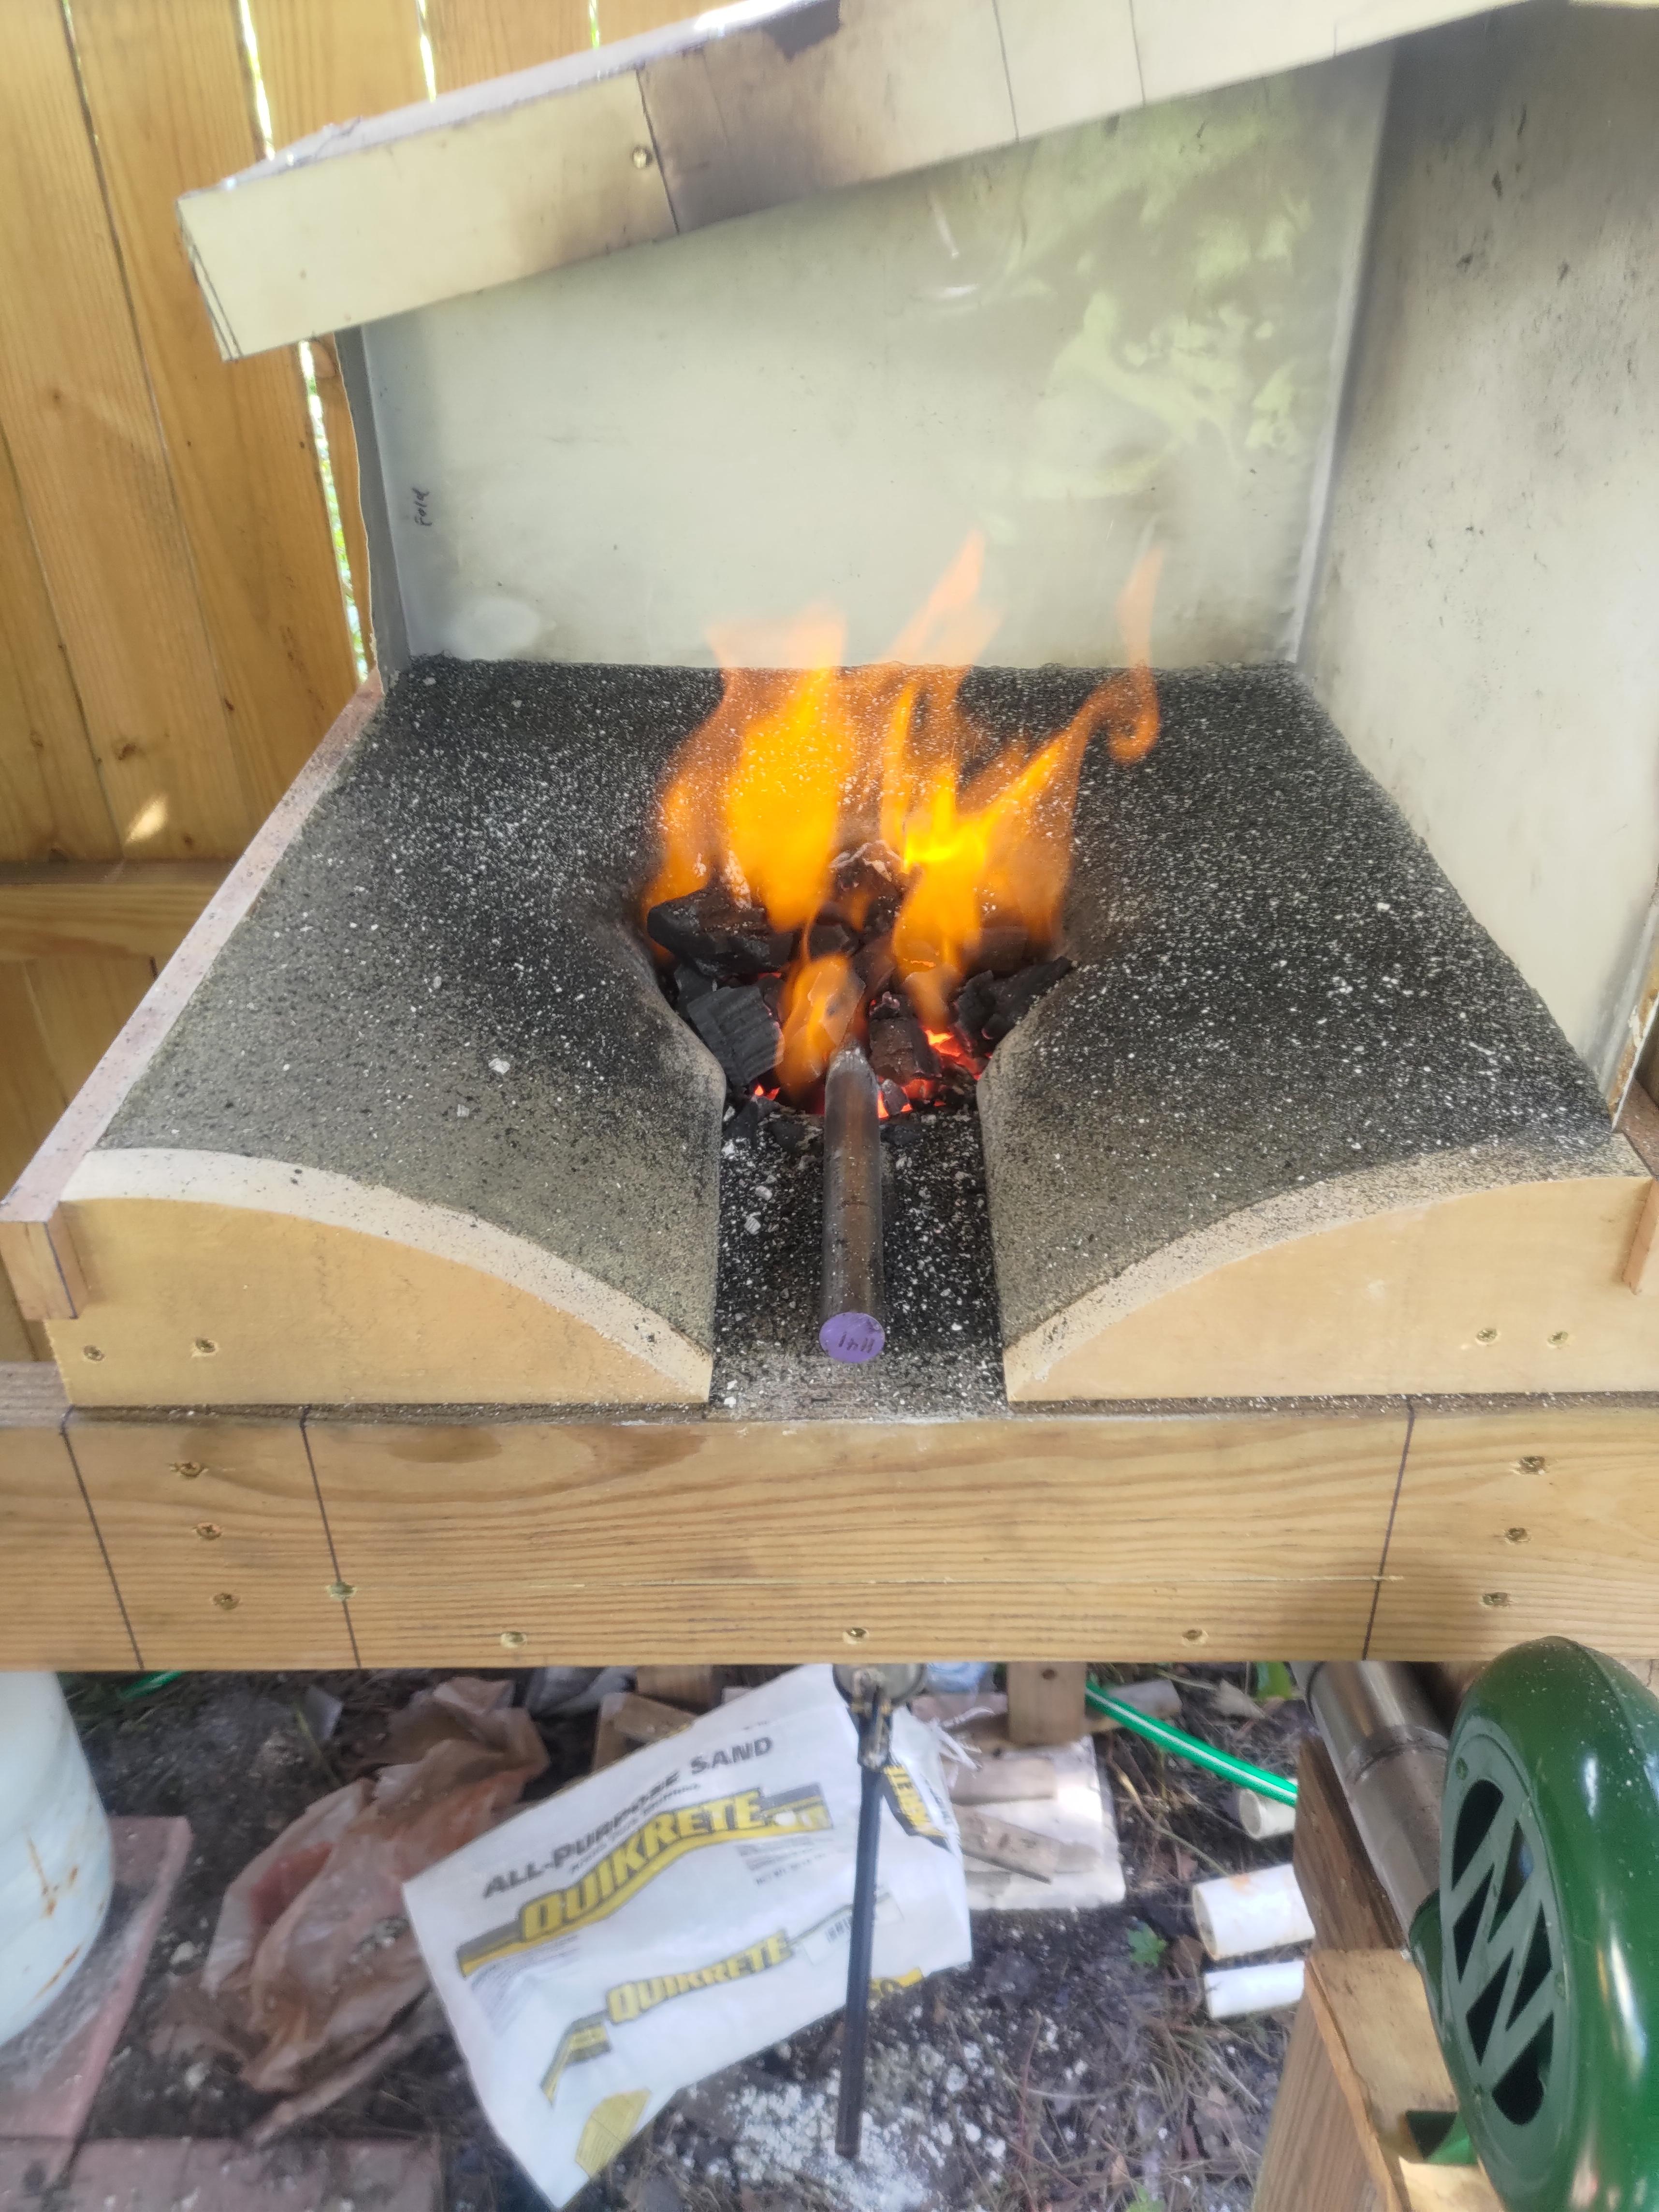
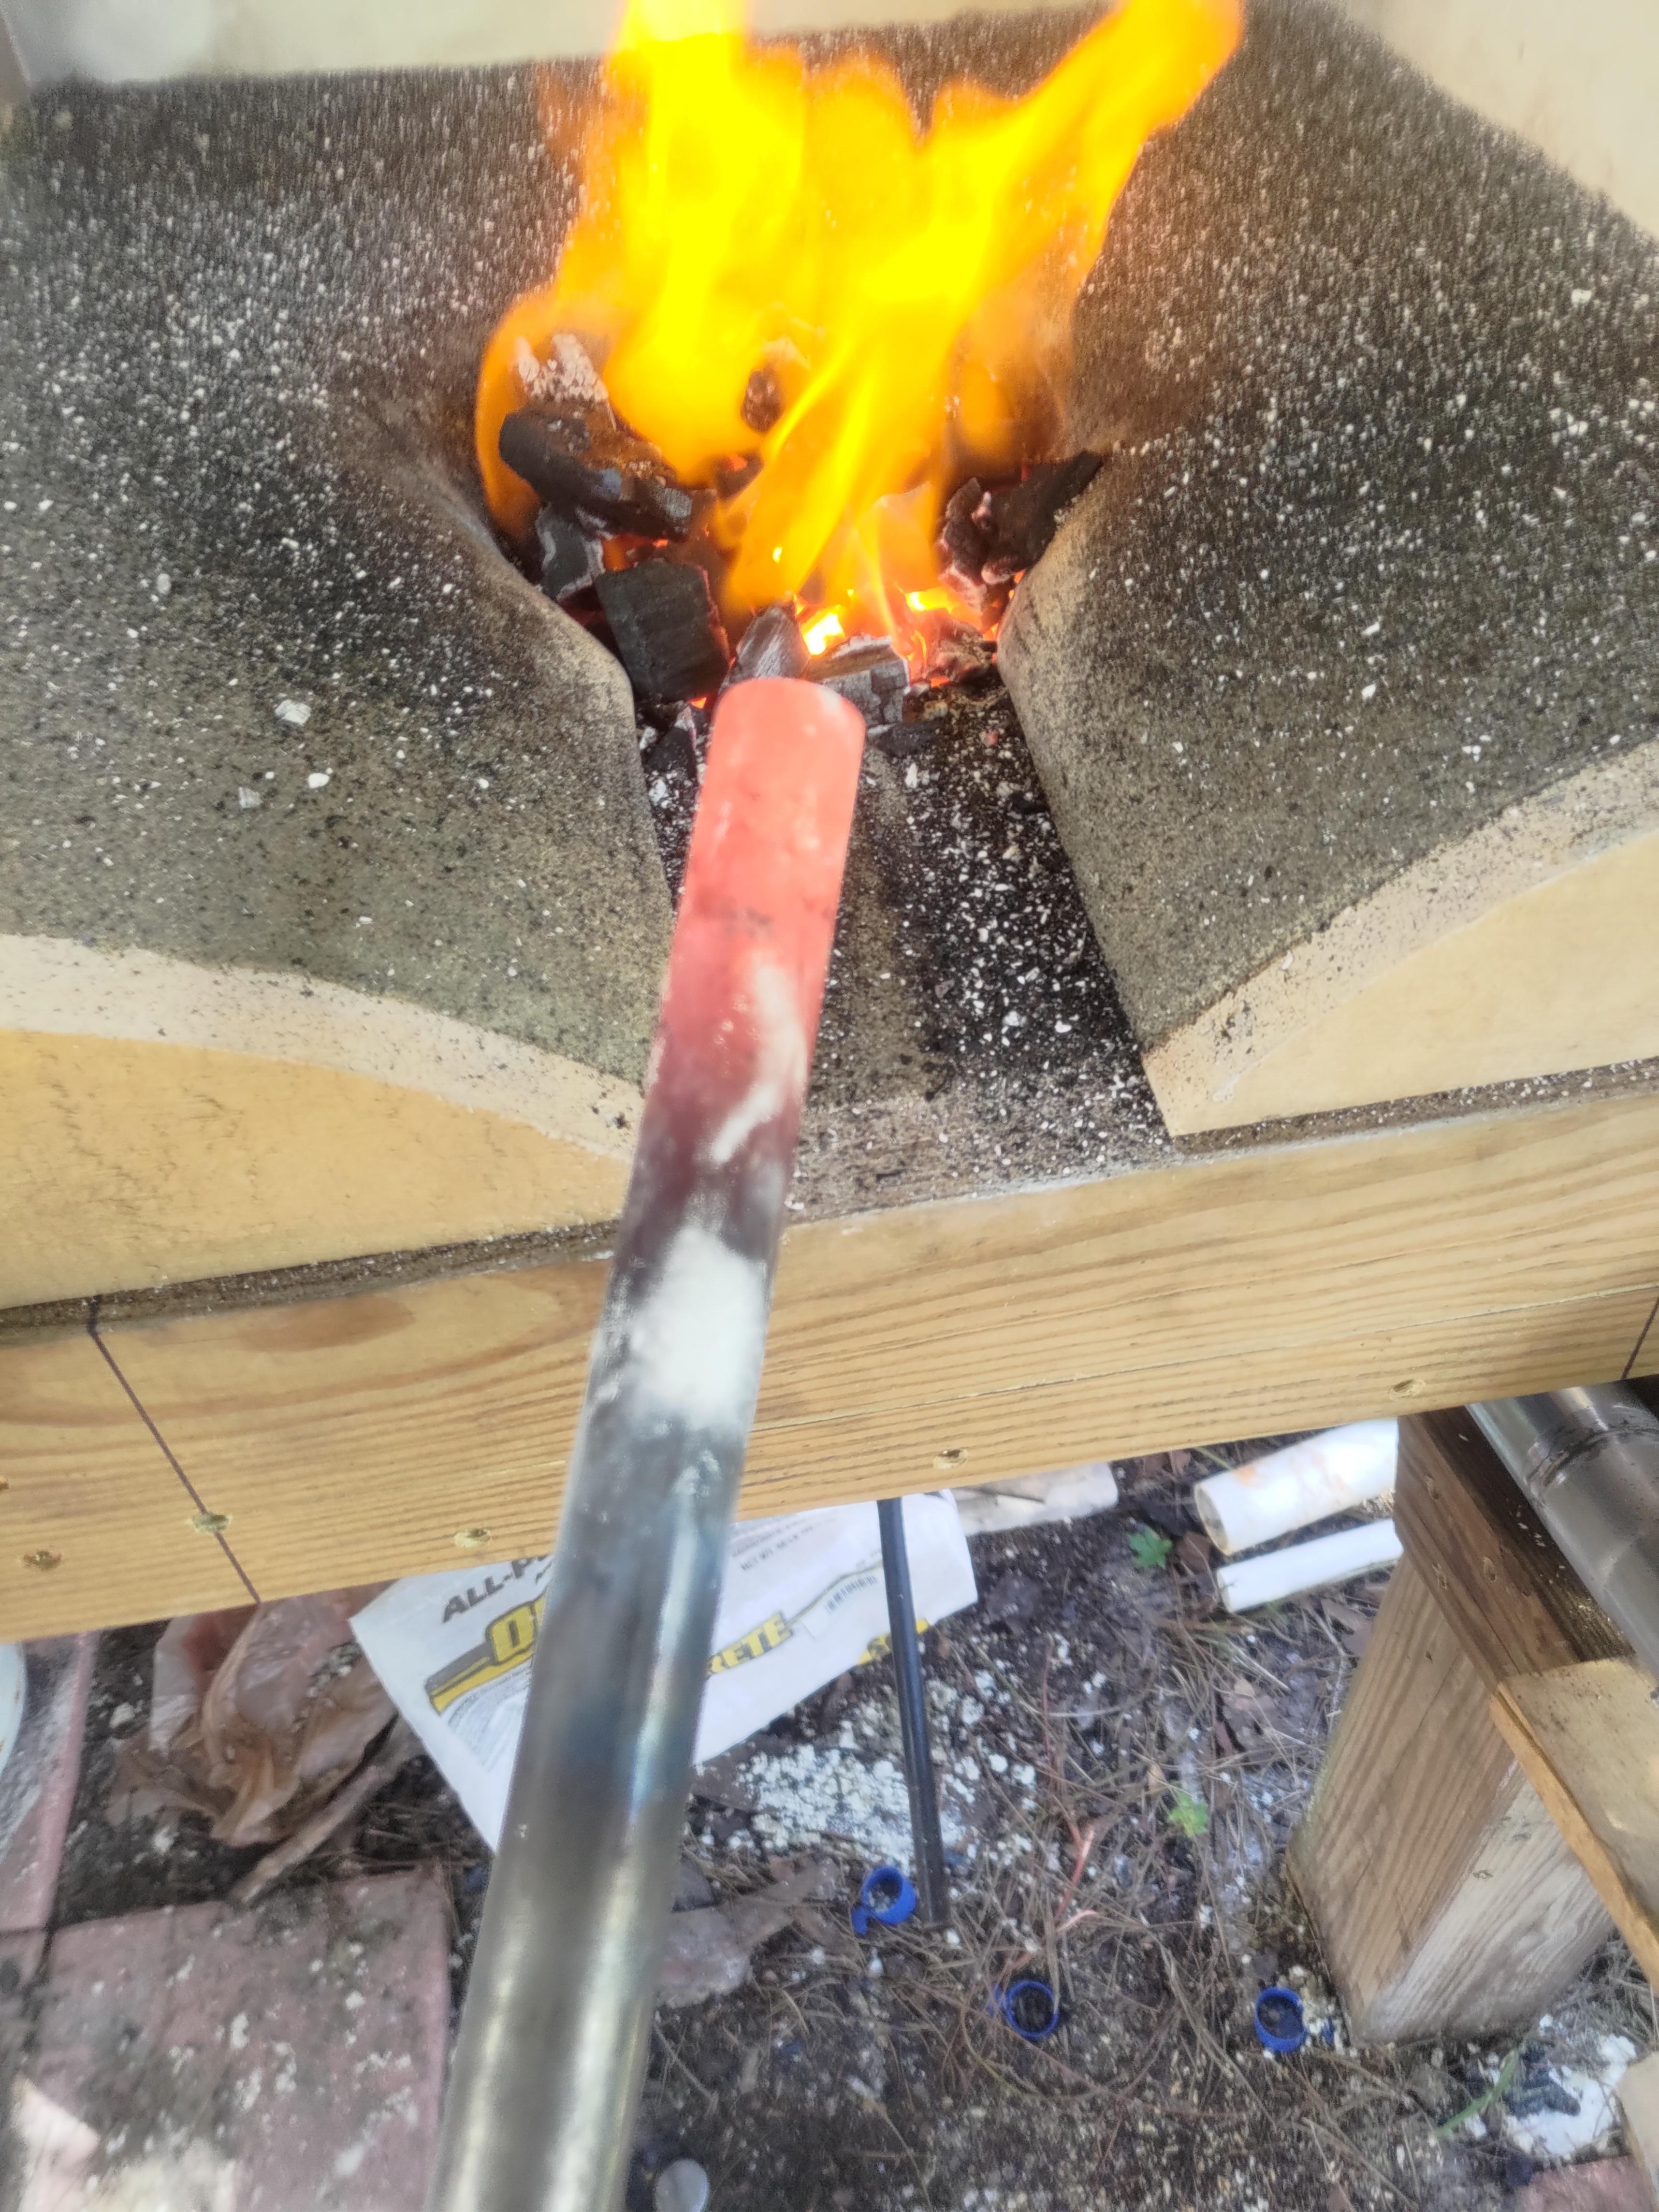
I Got the air supply and ash dump fitted up, and gave it a test burn... Heated up a 1.25" bar ok, wasn't really trying too do more than test things out and give the fill an initial baking... in the photo It's in full daylight so it only looks a bit reddish orange. The hood mostly works, but I'll definitely be building something better when I can find the materials to do so. It fully works as the heat shield I wanted, less so for the dust and sparks. Though of course the wind had to start blowing directly into the chimney opening... I'm thinking an old water pressure or compressor tank would work.