M.G.
-
Posts
229 -
Joined
-
Last visited
Content Type
Profiles
Forums
Articles
Gallery
Downloads
Events
Everything posted by M.G.
-
This morning I woke up thinking I should have just attempted a corkscrew from mild steel, especially if I was just gonna throw it away. For sure there is lots of practice in my future.
-
Thomas, the cracks were developing mid way down the isolation for the screw, and at the tip when I would try to give it a fine taper point. I think I may have had pre existing cracks in the material. Or. I burnt it at one point then later likely hammered at too low of heat. Or all of the above.
-
Thanks for the tips. Box jaw tongs are on my build list for the next couple weeks.
-
Yeah thats the one I was trying to make, sorry I misspoke not a tenon, the step-down and drawn out portion that becomes the screw, thats where the cracks were showing up during the draw out. Yours look quite effective. I think ill need to work on my pre form a little bit too. But maybe after a couple more ill have it figured out. here is my first attempt,I quit after I noticed a crack forming about mid way down the screw bit. And that was after cutting off about an inch and a half incrementally from the tip, due to cracking.
-
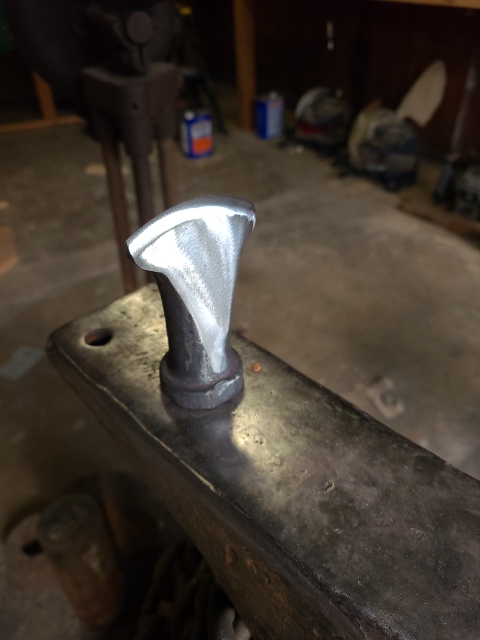
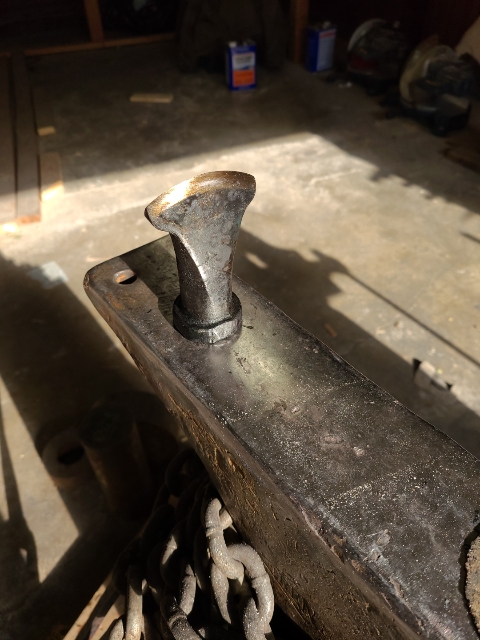
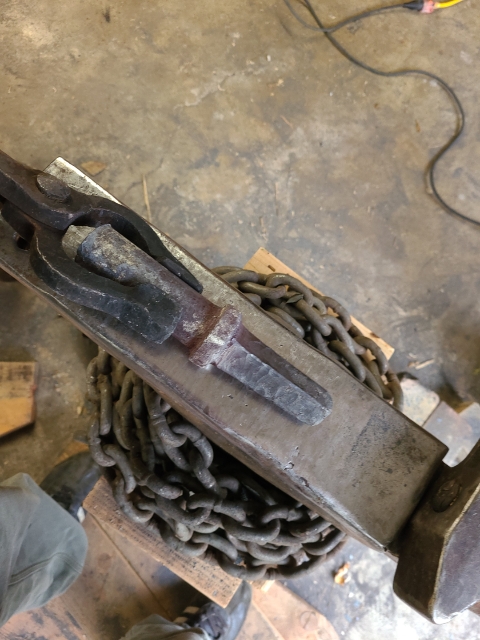
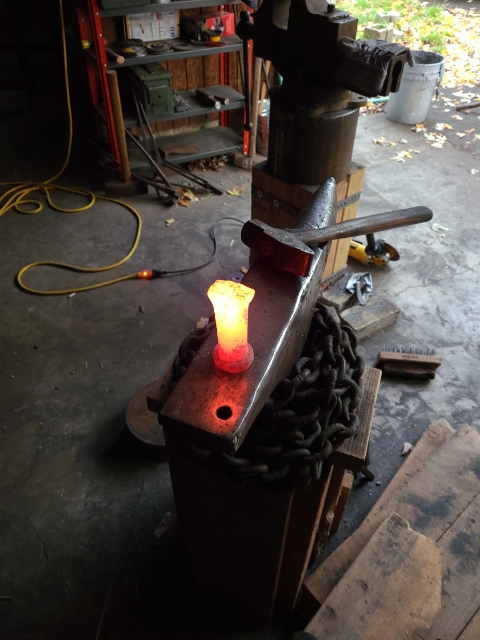
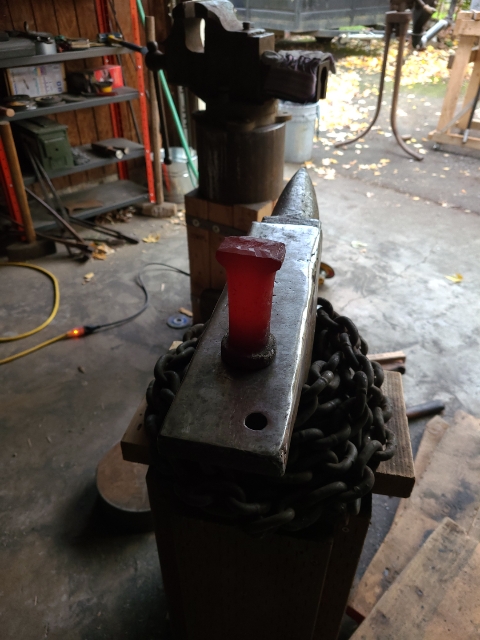
Ok, got back into the shop today. Groun, heat treat, and put an edge on the hot cut this morning. Then spent all day attempting to make a corkscrew from some coil spring. I failed, the tenon to become the screw of the corkscrew kept cracking on me, I may have burned it at some point in forging, or I worked it too cold. It heats up and cools off pretty quickly that small of a taper. But the good news is I got plenty of practice using my new hot cut hardie tool, removing the wasted cracked and burnt portion of said project. Here are the final pics of the hot cut.
-
Thanks. Ill be giving all these methods a go at some point or another. I think ive decided I need to make a top tool hot cut this next week as well. So im sure I'll be looking to you guys for top tool cutting, tips and tricks. Some time in the near future.
-
Yeah, I can see that being an issue. Ive seen the bend break to finish cuts as well. All great tips for using my new tool. Im not gonna light the forge today to get the HT done, being a charcoal opperation, ill wait till I'm going to be running my next project and do it at the start of my day. Im thinking of trying to forge a cork screw tomorrow.
-
Thanks! I'll keep it in mind.
-
I definitely feel thats the way to go. I would much rather damage a hardie tool than my hammer face.
-
Excelent, great advice. I was thinking a softer edge would be ideal, I left excess height taking this into account, so as I dress it over time I can later upset and reforge the cutting end of the tool.
-
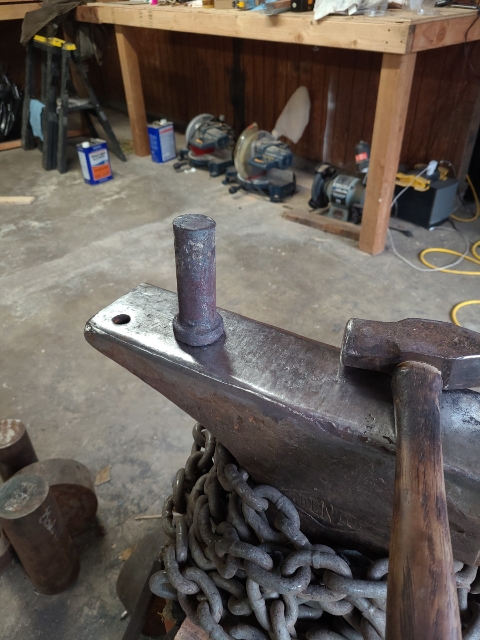
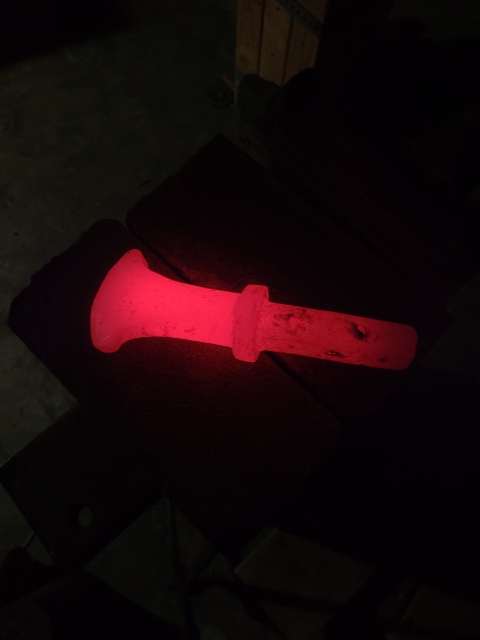
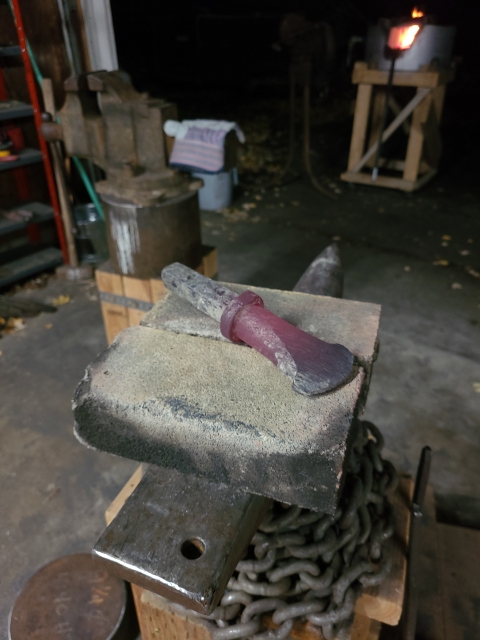
Made my first hot cut tooling for the 1" hardie hole on the Trenton today. Well... I got through the normalizing cycles. Ill get it ground and heat treated tomorrow afternoon. Started with the shank end of a jackhammer bit of which I made a hammer eye drift from last week. As always, feed back and thoughts to chew on are always welcome and appreciated.


-
Excelent. The ornamental work looks nice. Thanks for the tips. I will consider that for future needs.
-
Thanks! True and expected. But it only costs me a couple hours and a few bucks to make another. Perhaps in the future I will make a set from coil spring. But really these will be for light duty fullering. I will be making a handled top fuller and bottom fuller with hardie shank for heavier works.
-
Oh Snap! Literally. Haha. Glad to hear it missed your head.
-
Sorry, I mis spoke this was made from 1/2in. round bar
-
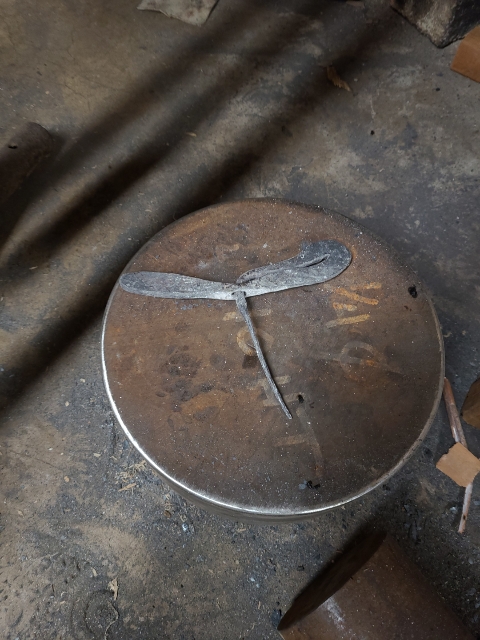
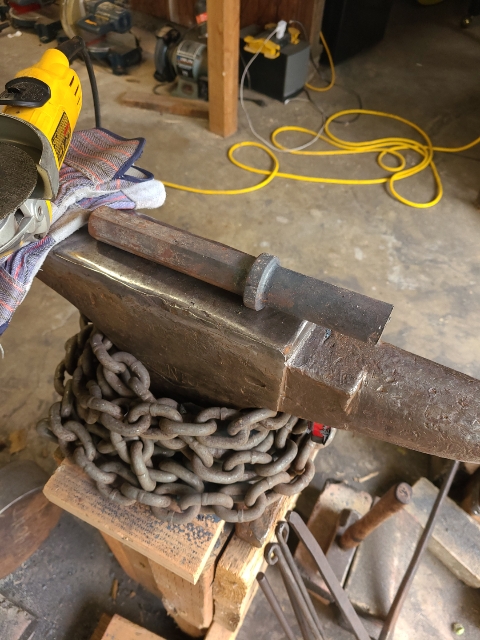
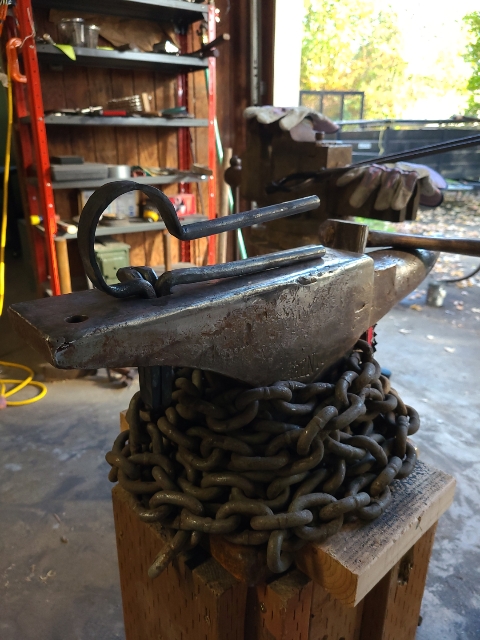
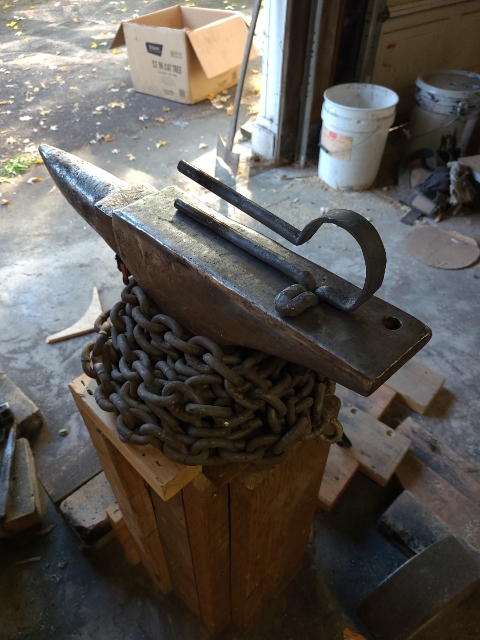
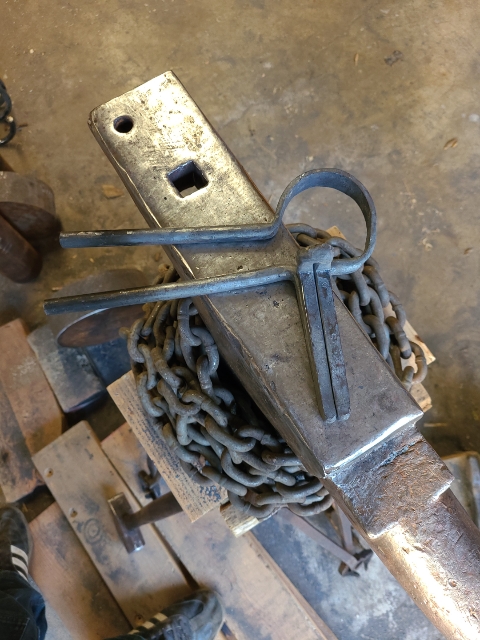
Today I got into the shop for a few hours, to work out some tooling in preparation for a run of machetes. Im going to need to make some box jaw tongs to fit my leaf spring material. To make the job of isolating the box bit nice and easy, I forges this spring fullering tool for my hardie hole. Started with a 3ft section of 1/4inch mild round bar. Tips and suggestions are always appreciated.
-
Thanks guys. I really appreciate the advice from those with more experience than myself.
-
Ok cool, thanks for all the info Thomas. Im pretty sure one of them was Brunner & Lay. I forget what the other was. But ill look again. Next time I am at the workshop. That should get me closer to a much more well educated guess at what these scraps are. You rock Thomas!
-
Thomas, unfortunately I have no data on the steel I started with. Being that my search for info on the manufacturer of the bits came up with nothing that would indicate the type of steel used, and produced no data sheets to consult. I can't even begin guess what they were made from. Other than what people half a world away make as guesses based on their experience and knowledge. Understanding that I'm starting from a point of disadvantage, due lack of information, starting with unknown steel. I know that there is a risk of deformation or failure of the tools from usage. Would it be too irresponsible of me to use the tooling as is, not heat treated? Accepting the fact that I will have to re dress them regularly, if not even reforge or scrap due to some unforseen failures. I have heard of smiths making drifts from mild steel, with the thought that it is used more like a disposable tool, knowing that it will likely deform after a few uses. And my understanding is that, a high carbon steel not heat treated, would still be tougher and hold up longer than a mild steel tool of the same usage....? I have also encountered lots of people around the internet saying that S7 is a common steel used for jackhammer bits. Both 1050 and S7 have roughly similar carbon content and even similar applications, but a few of the other chemicals that make up the steel are very different, and obviously they have very different metallurgical properties and react differently when it comes to the heat treating, hardening, tempering and annealing processes. Is there any testing I can do in the workshop to determine if it is more likely to be one or the other without expensive high tech gadgets. Would a spark test be able to highlight differences in chemical composition other than carbon content, if I knew what I was looking for?
-
Frosty, I understand that the struck end should not be hardened. I definitely don't want any chips flying my way. Just to clarify for discussions sake, these tools have not been hardened in a quench. They were hand forged then allowed to cool slowly in the embers and ash of my charcoal forge for about 15 or 20 minutes then on the fire brick that tops my forge for another while maybe 30 or 40 minutes, then open air on a brick away from the forge until cool to touch. So no hardening from a quench. Are you still suggesting a temper draw on the struck end? Even if the tool has not been quenched off? I want to make sure I'm being safe. I am also curious about the necessity, or not to harden and temper the working end of the tooling. The case being that the tooling in contact with the billet is going to draw a temper and diminish any hardening and tempering I had done previously to the tools. Or am I misunderstanding this through my lack of experience?
-
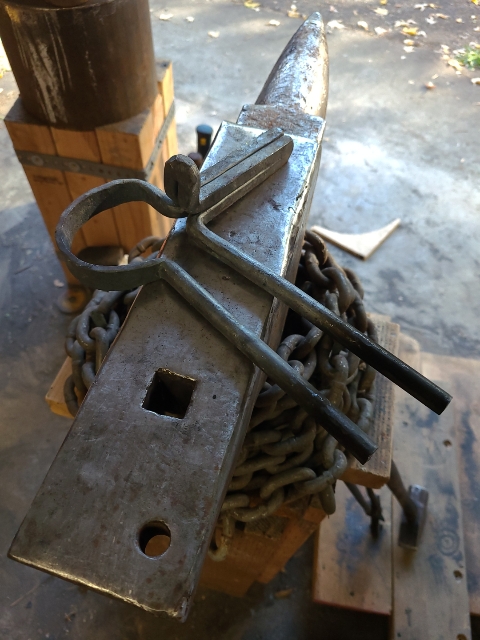
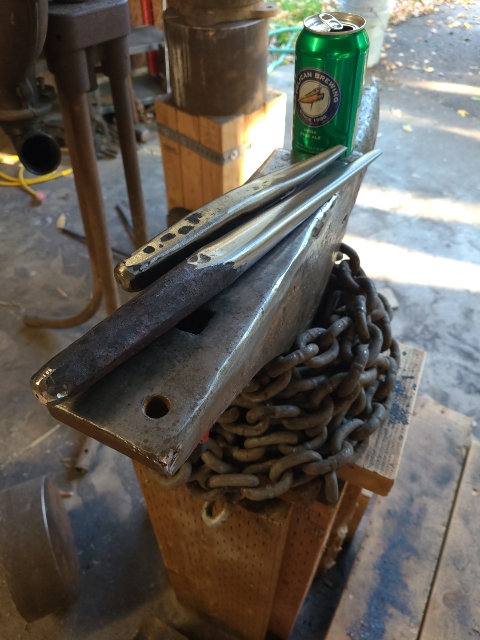
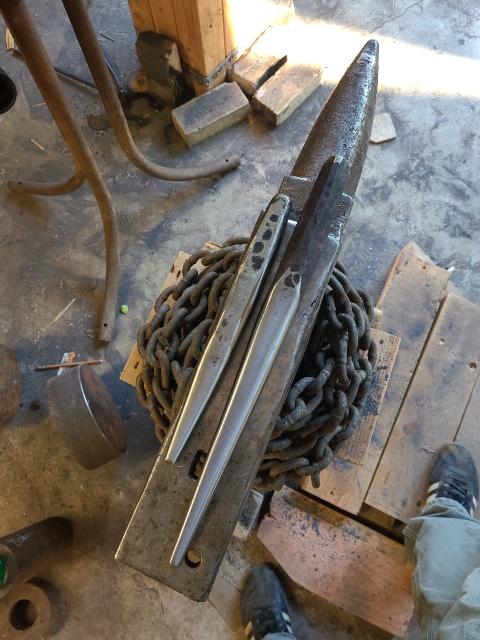
Over the last few days in the workshop I hand forged down some reclaimed jackhammer bits into a hand punch and drift set for making hammer eyes and top tool eyes. I know there is some debate as to the necessity to heat treat this type of tooling but I would be curious to hear some thoughts on the matter.
-
Irondragon, thanks for the confirmation that lines up with what I was told.
-
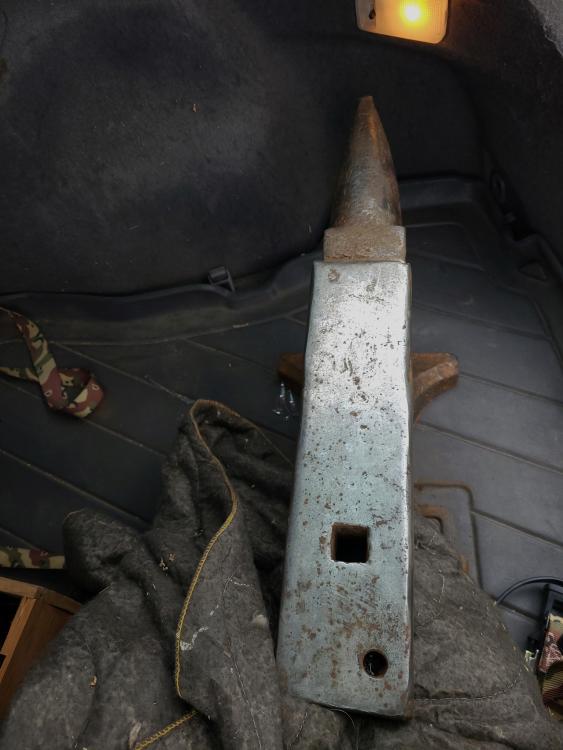
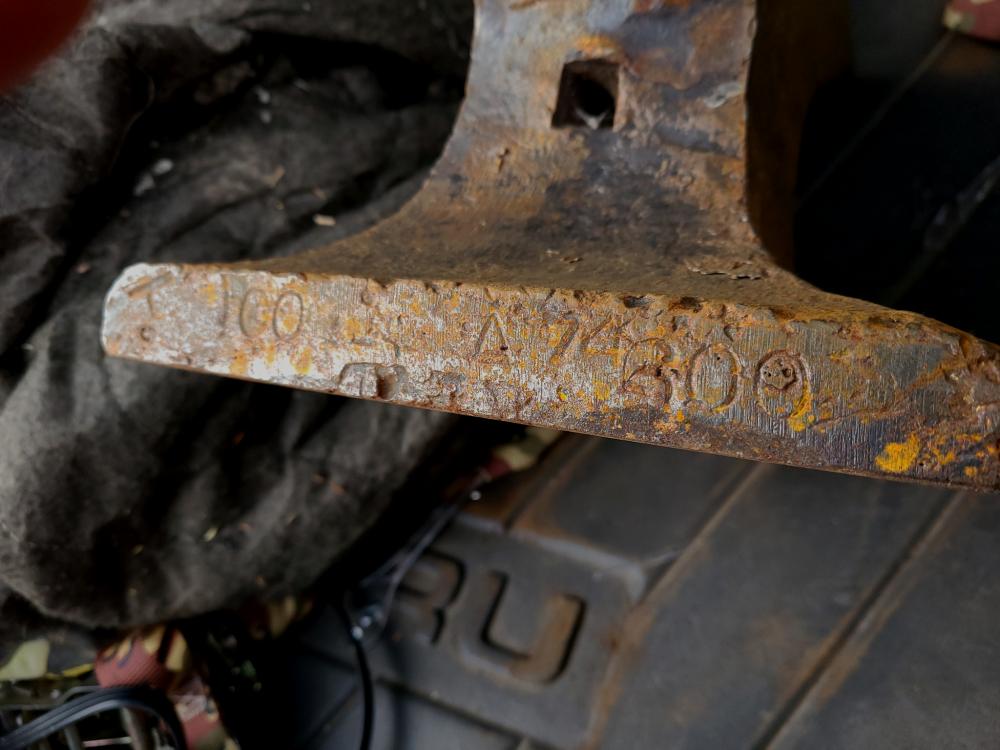
Or maybe it reads "A74800" this might be more likely
-
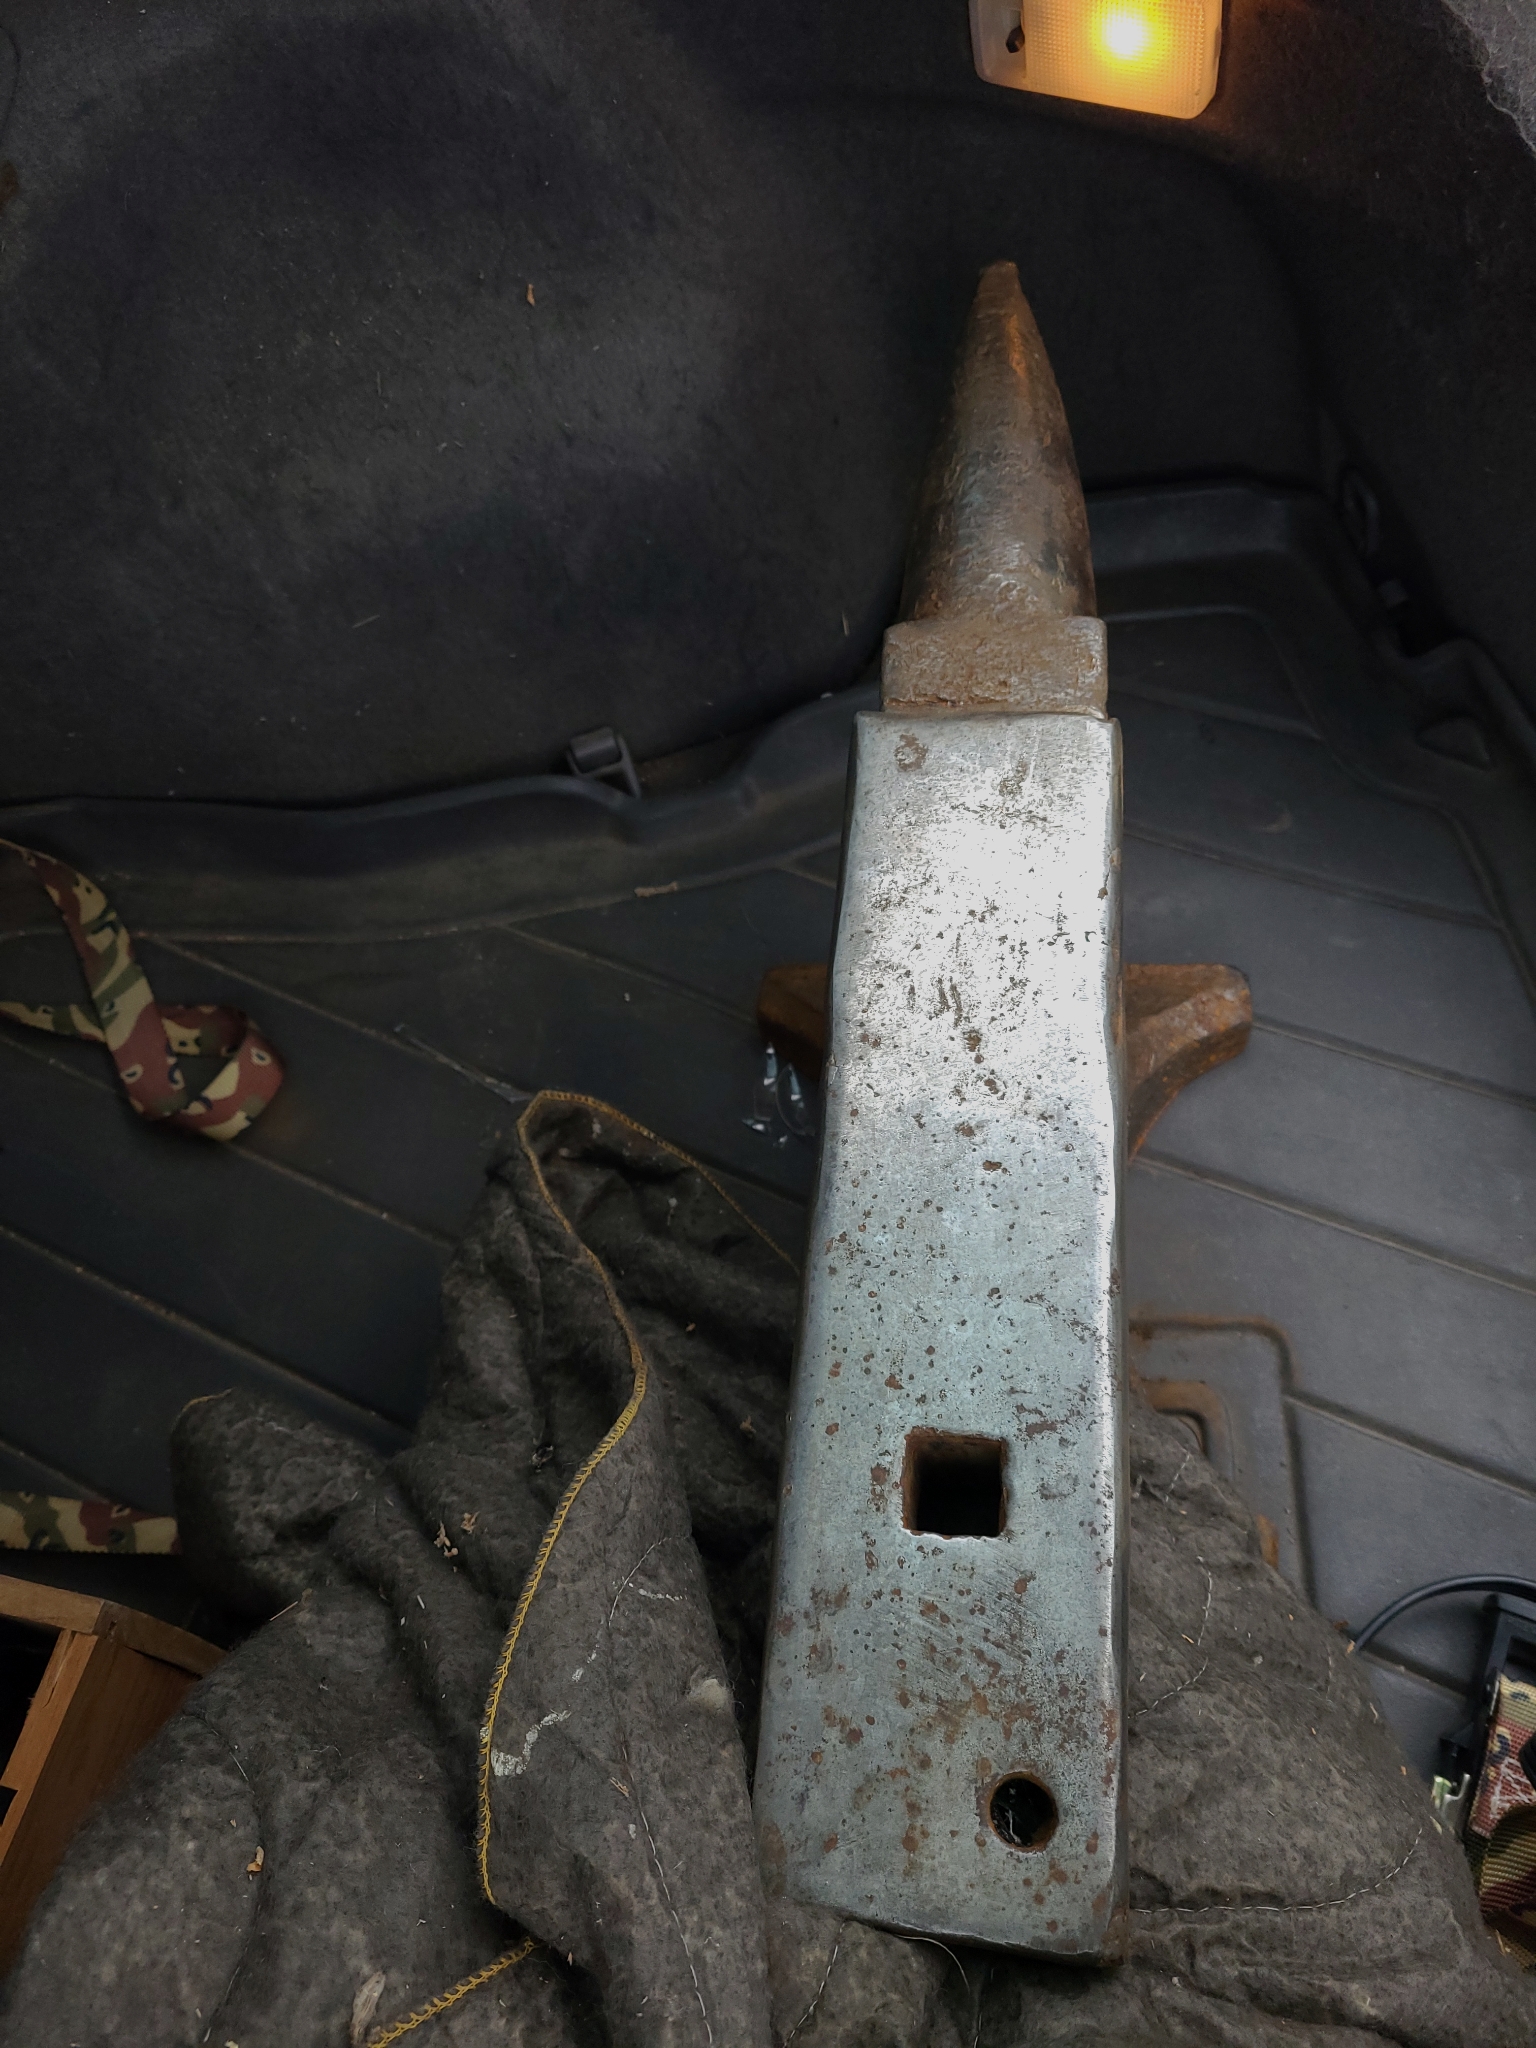
I beleave it reads "A74600"
-
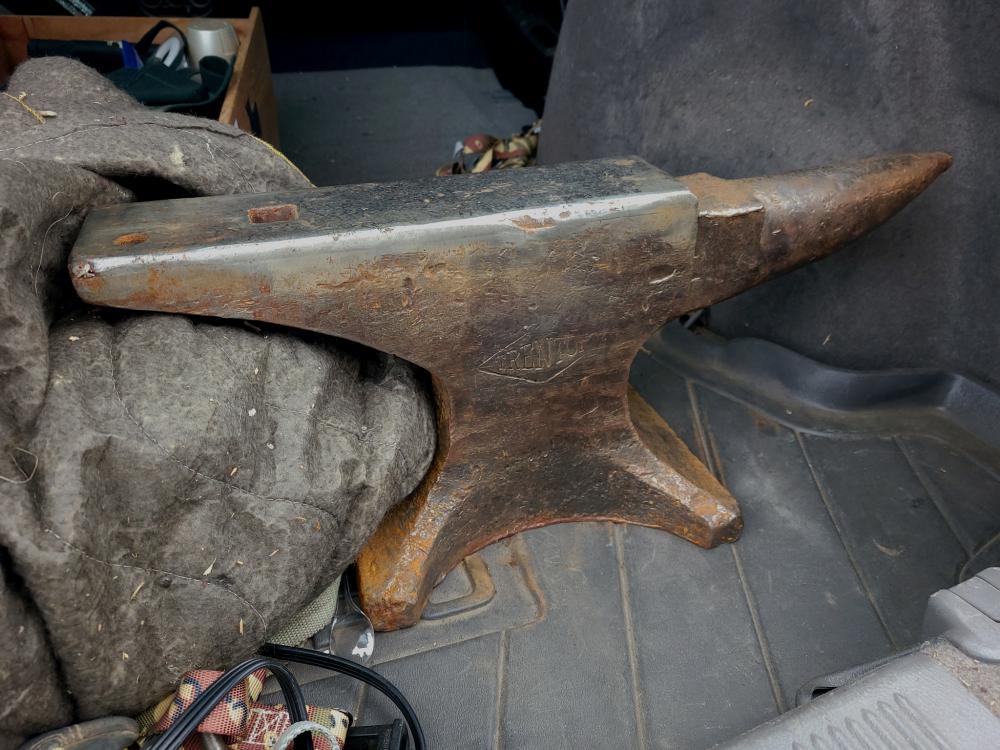
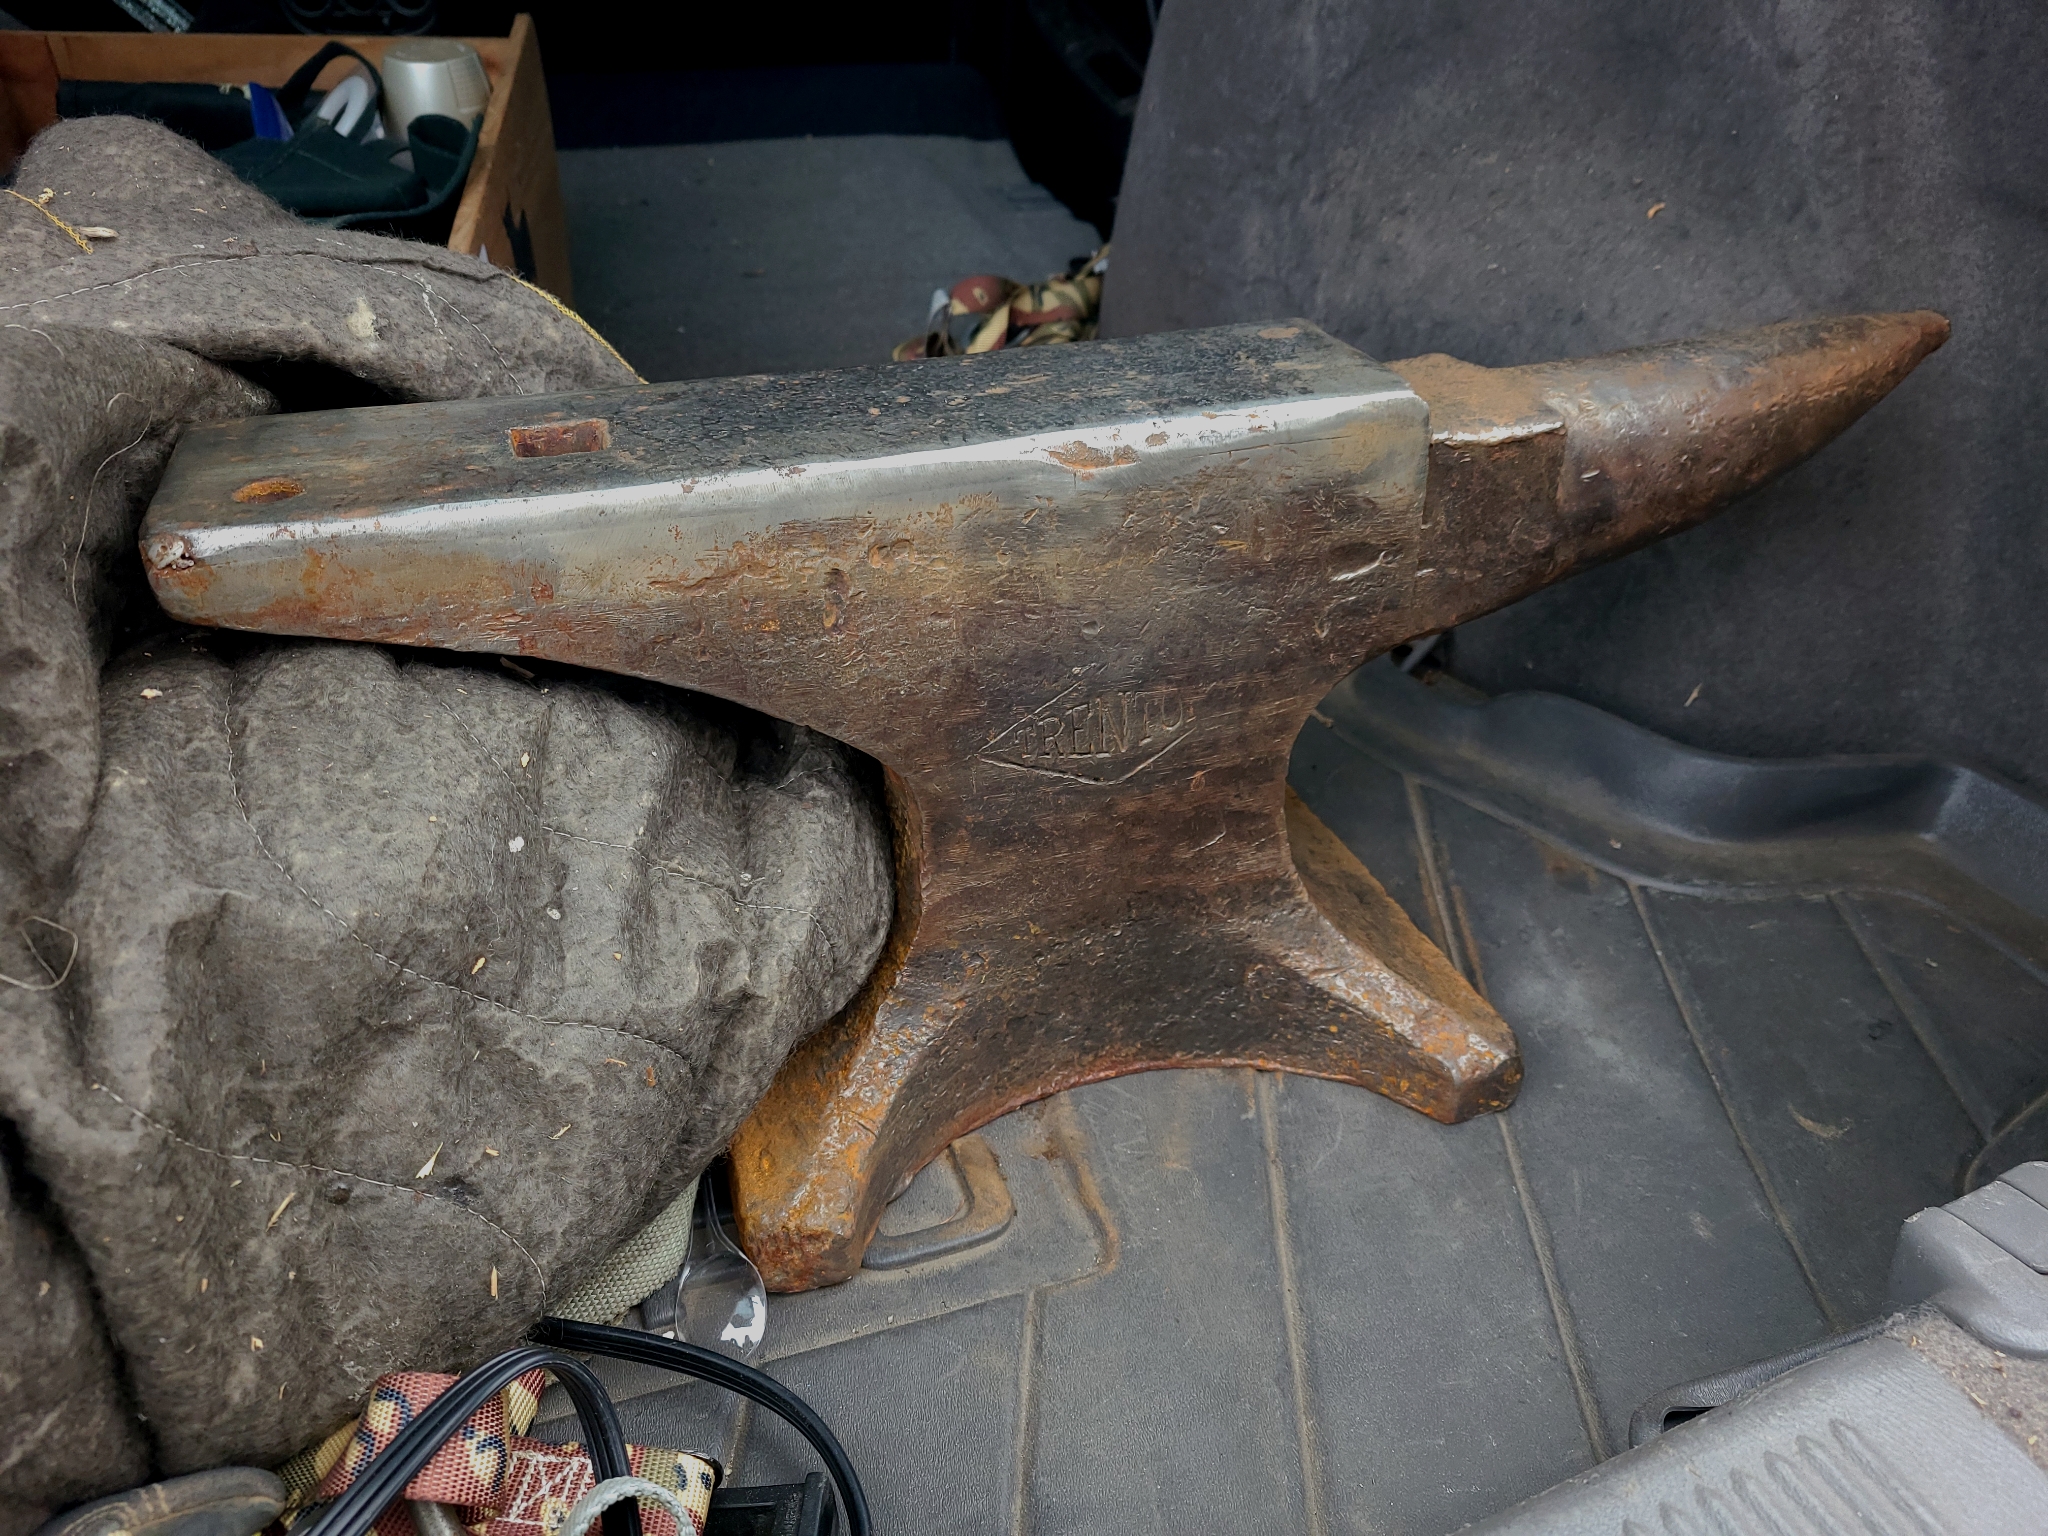
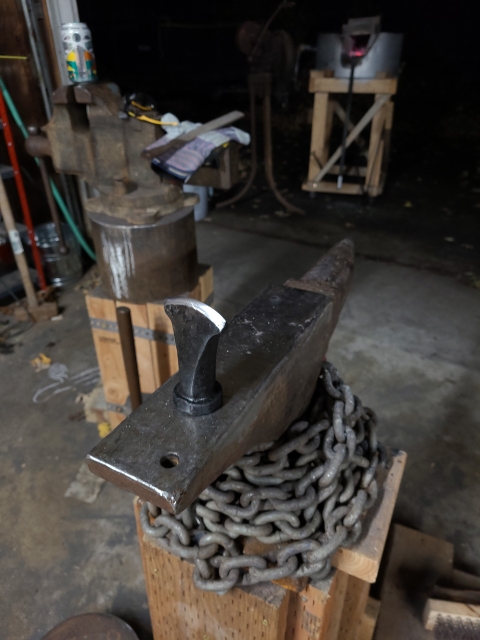
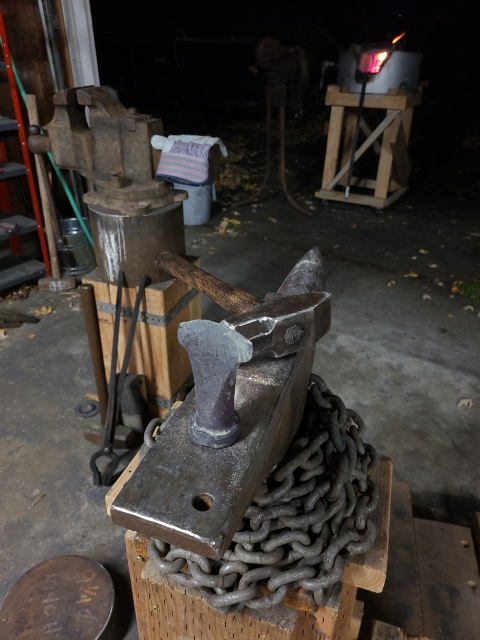
Here is my Trenton 100lbs. If anyone out there with a copy of AIA can confirm the year and maybe the makers name marked "T" it would be greatly appreciated. It is a little beat up, but it should still do the trick until I can justify buying a big boy.