j.w.s.
-
Posts
642 -
Joined
-
Last visited
Content Type
Profiles
Forums
Articles
Gallery
Downloads
Events
Everything posted by j.w.s.
-
I forged that out of boredom one rainy demonstration day.. 6 ft so far, the goal is to get my students to hammer out a link this year as their first hammering project and attach it to the ring - we'll see how far we can go. J
-
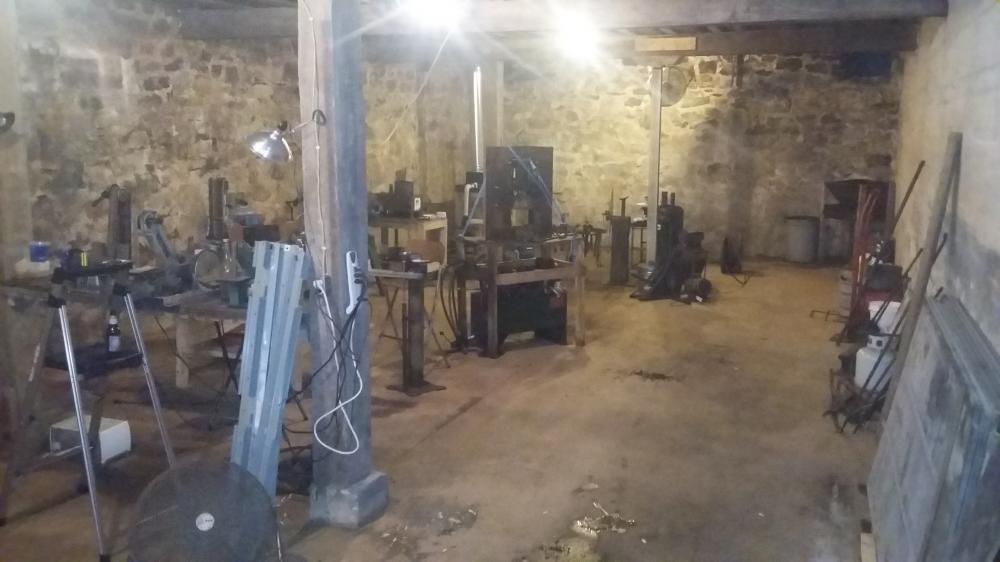
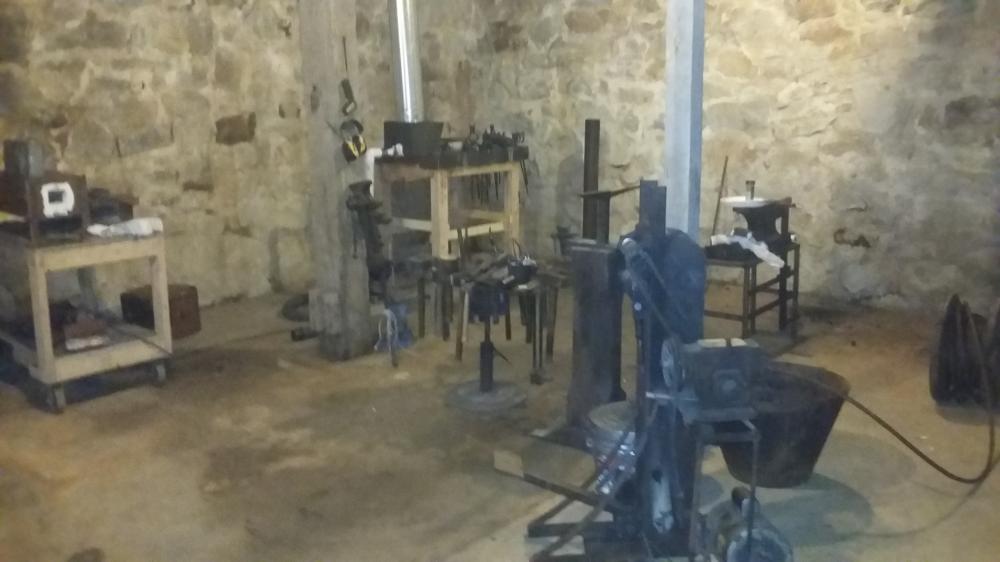
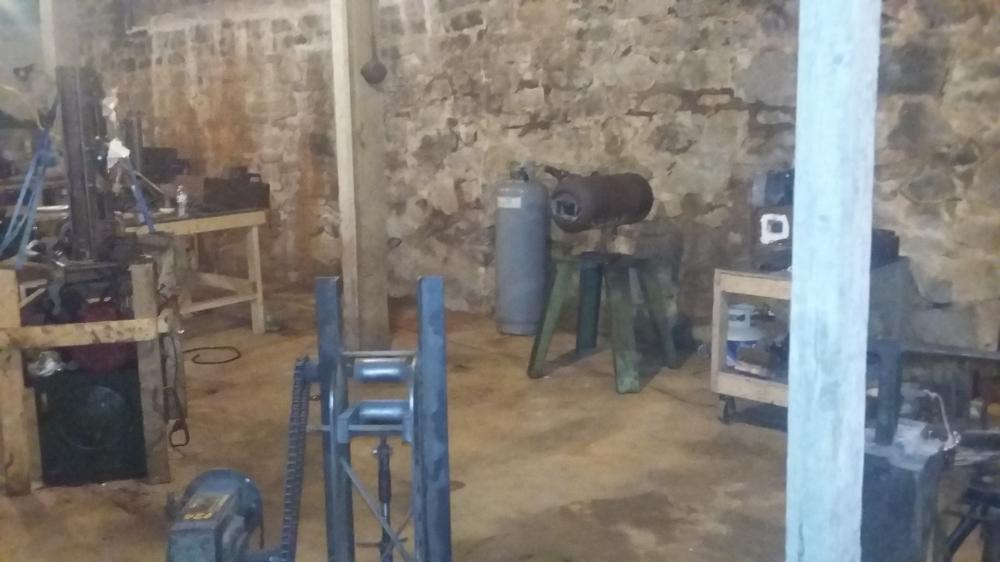
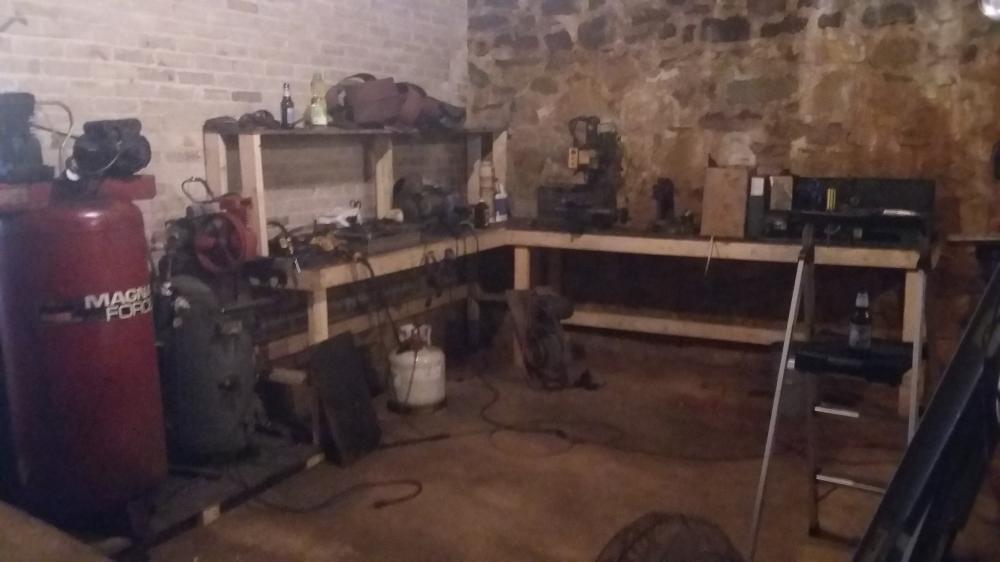
Nothing is fully assembled yet, but there's guards and stuff that had to be taken off for the move. That one compressor is actually an Emglo that was once used for an air breaker system for a really large tranformer. The compressor itself isn't that great for work duty so I use it as a 30gal storage tank and the motor and compressor will be coming off one of these days soon. I'm actually paranoid of compressor tanks (I've seen newer ones rupture) and this is the first I've had one inside so I'll be putting a cage around the whole shebang. J
-
Building a gas forge - Am I on the right track
j.w.s. replied to ThorsHammer82's topic in Gas Forges
On my side blast I'm using 3/4 pipe for the air, I know you're enthusiastic but I don't think she's gonna work. J -
Simple answer to one of your statements is, when forging on camera, the electronic sensor is much more sensitive to light than your eye and will show incandescence for a longer duration. J
-
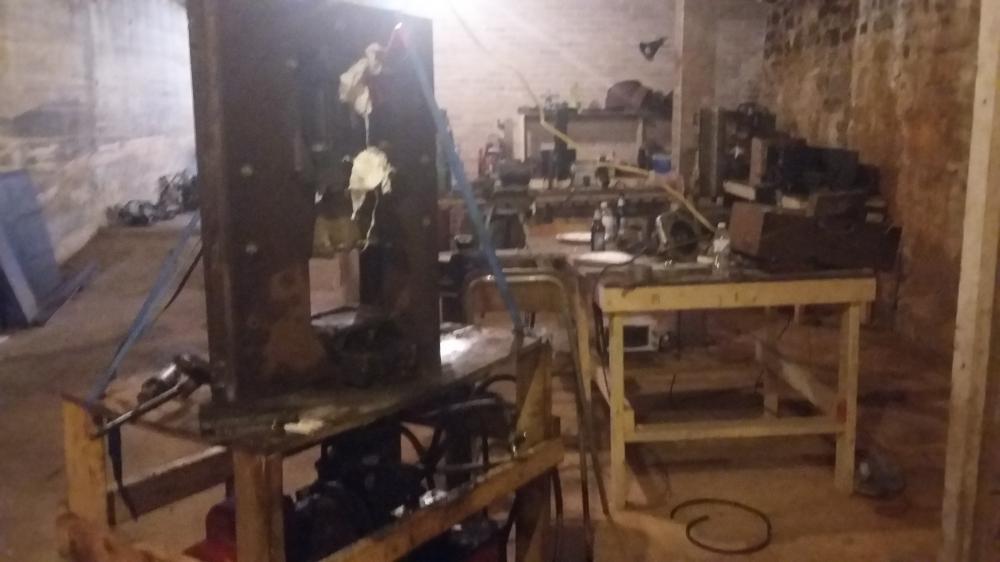
So I got everything except for the air hammer moved today. Truth to tell I may list it for sale, let someone else worry about moving it and just build a new hammer, I've got some designs I'd like to incorporate. It's finally coming together and looking like a shop. Not so blank any more! J
-
Or edit the audio in post. Levels are important. J
-
Well guys, so far so good. Some cracking has occurred as I anticipated and I'm going to give it until the end of the weekend to dry out a little further before I coat it. I'm liking the shape I formed and it gives me enough heat to do longer blades. J
-
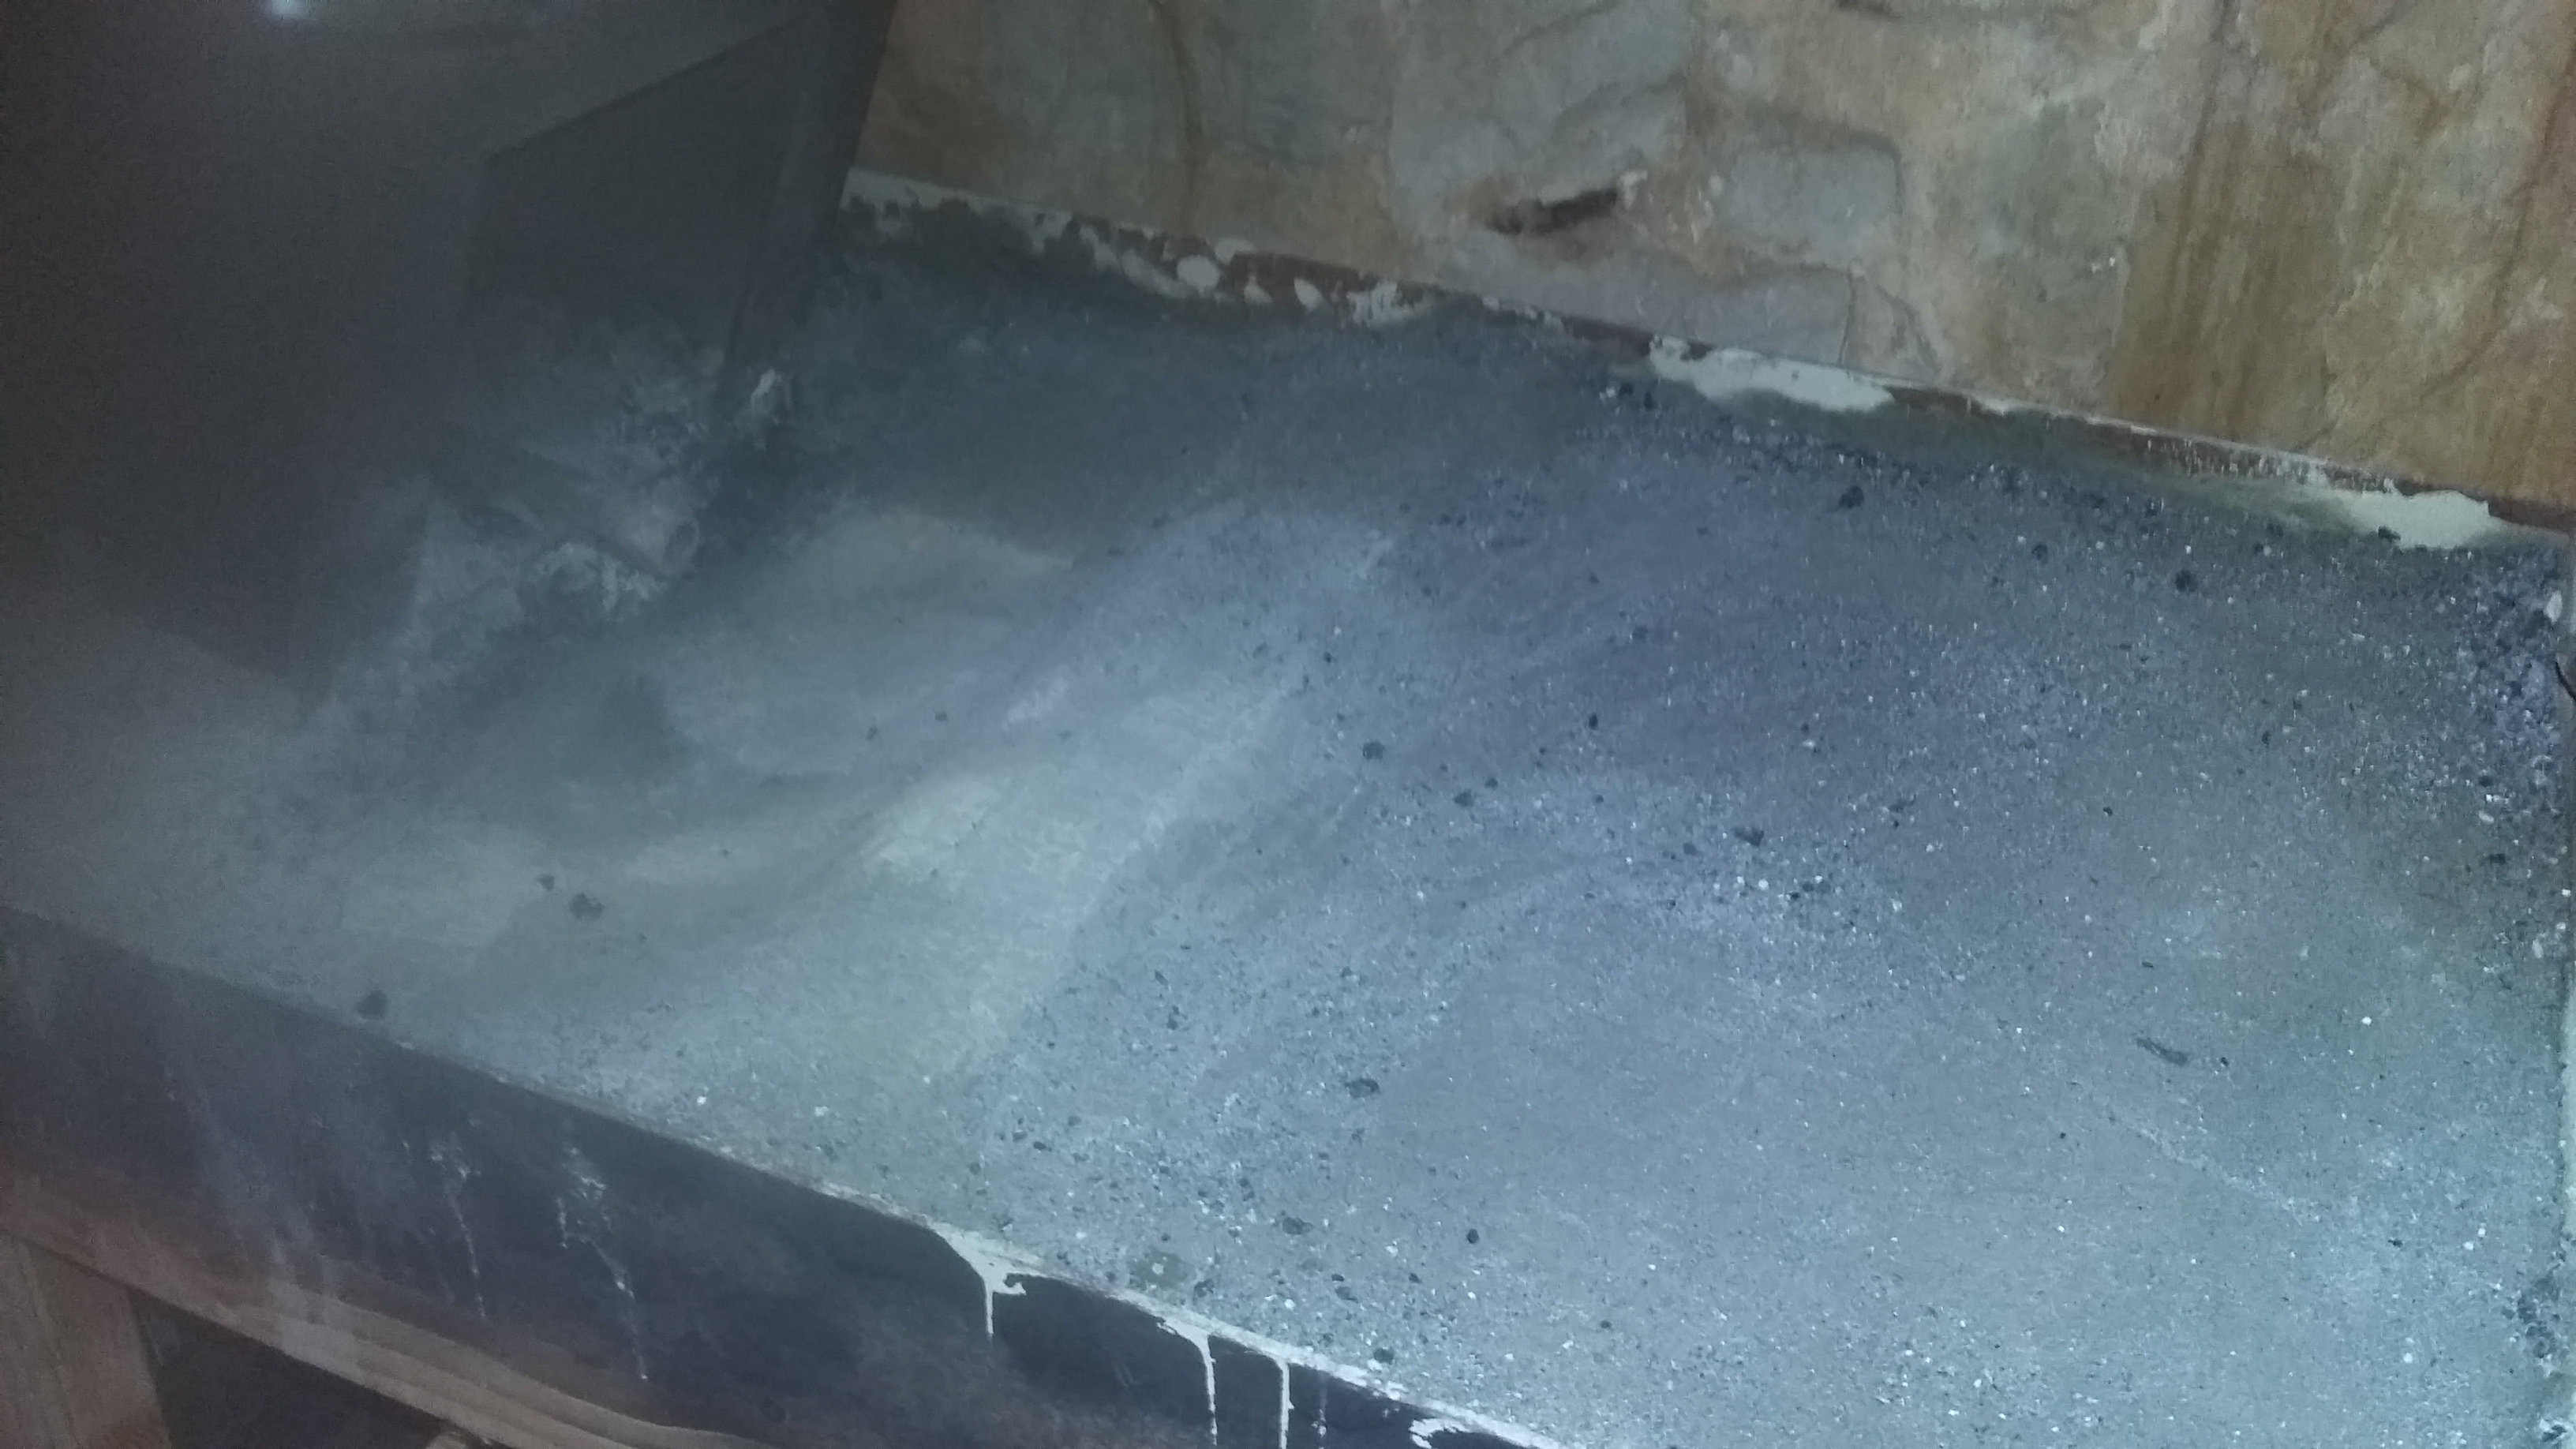
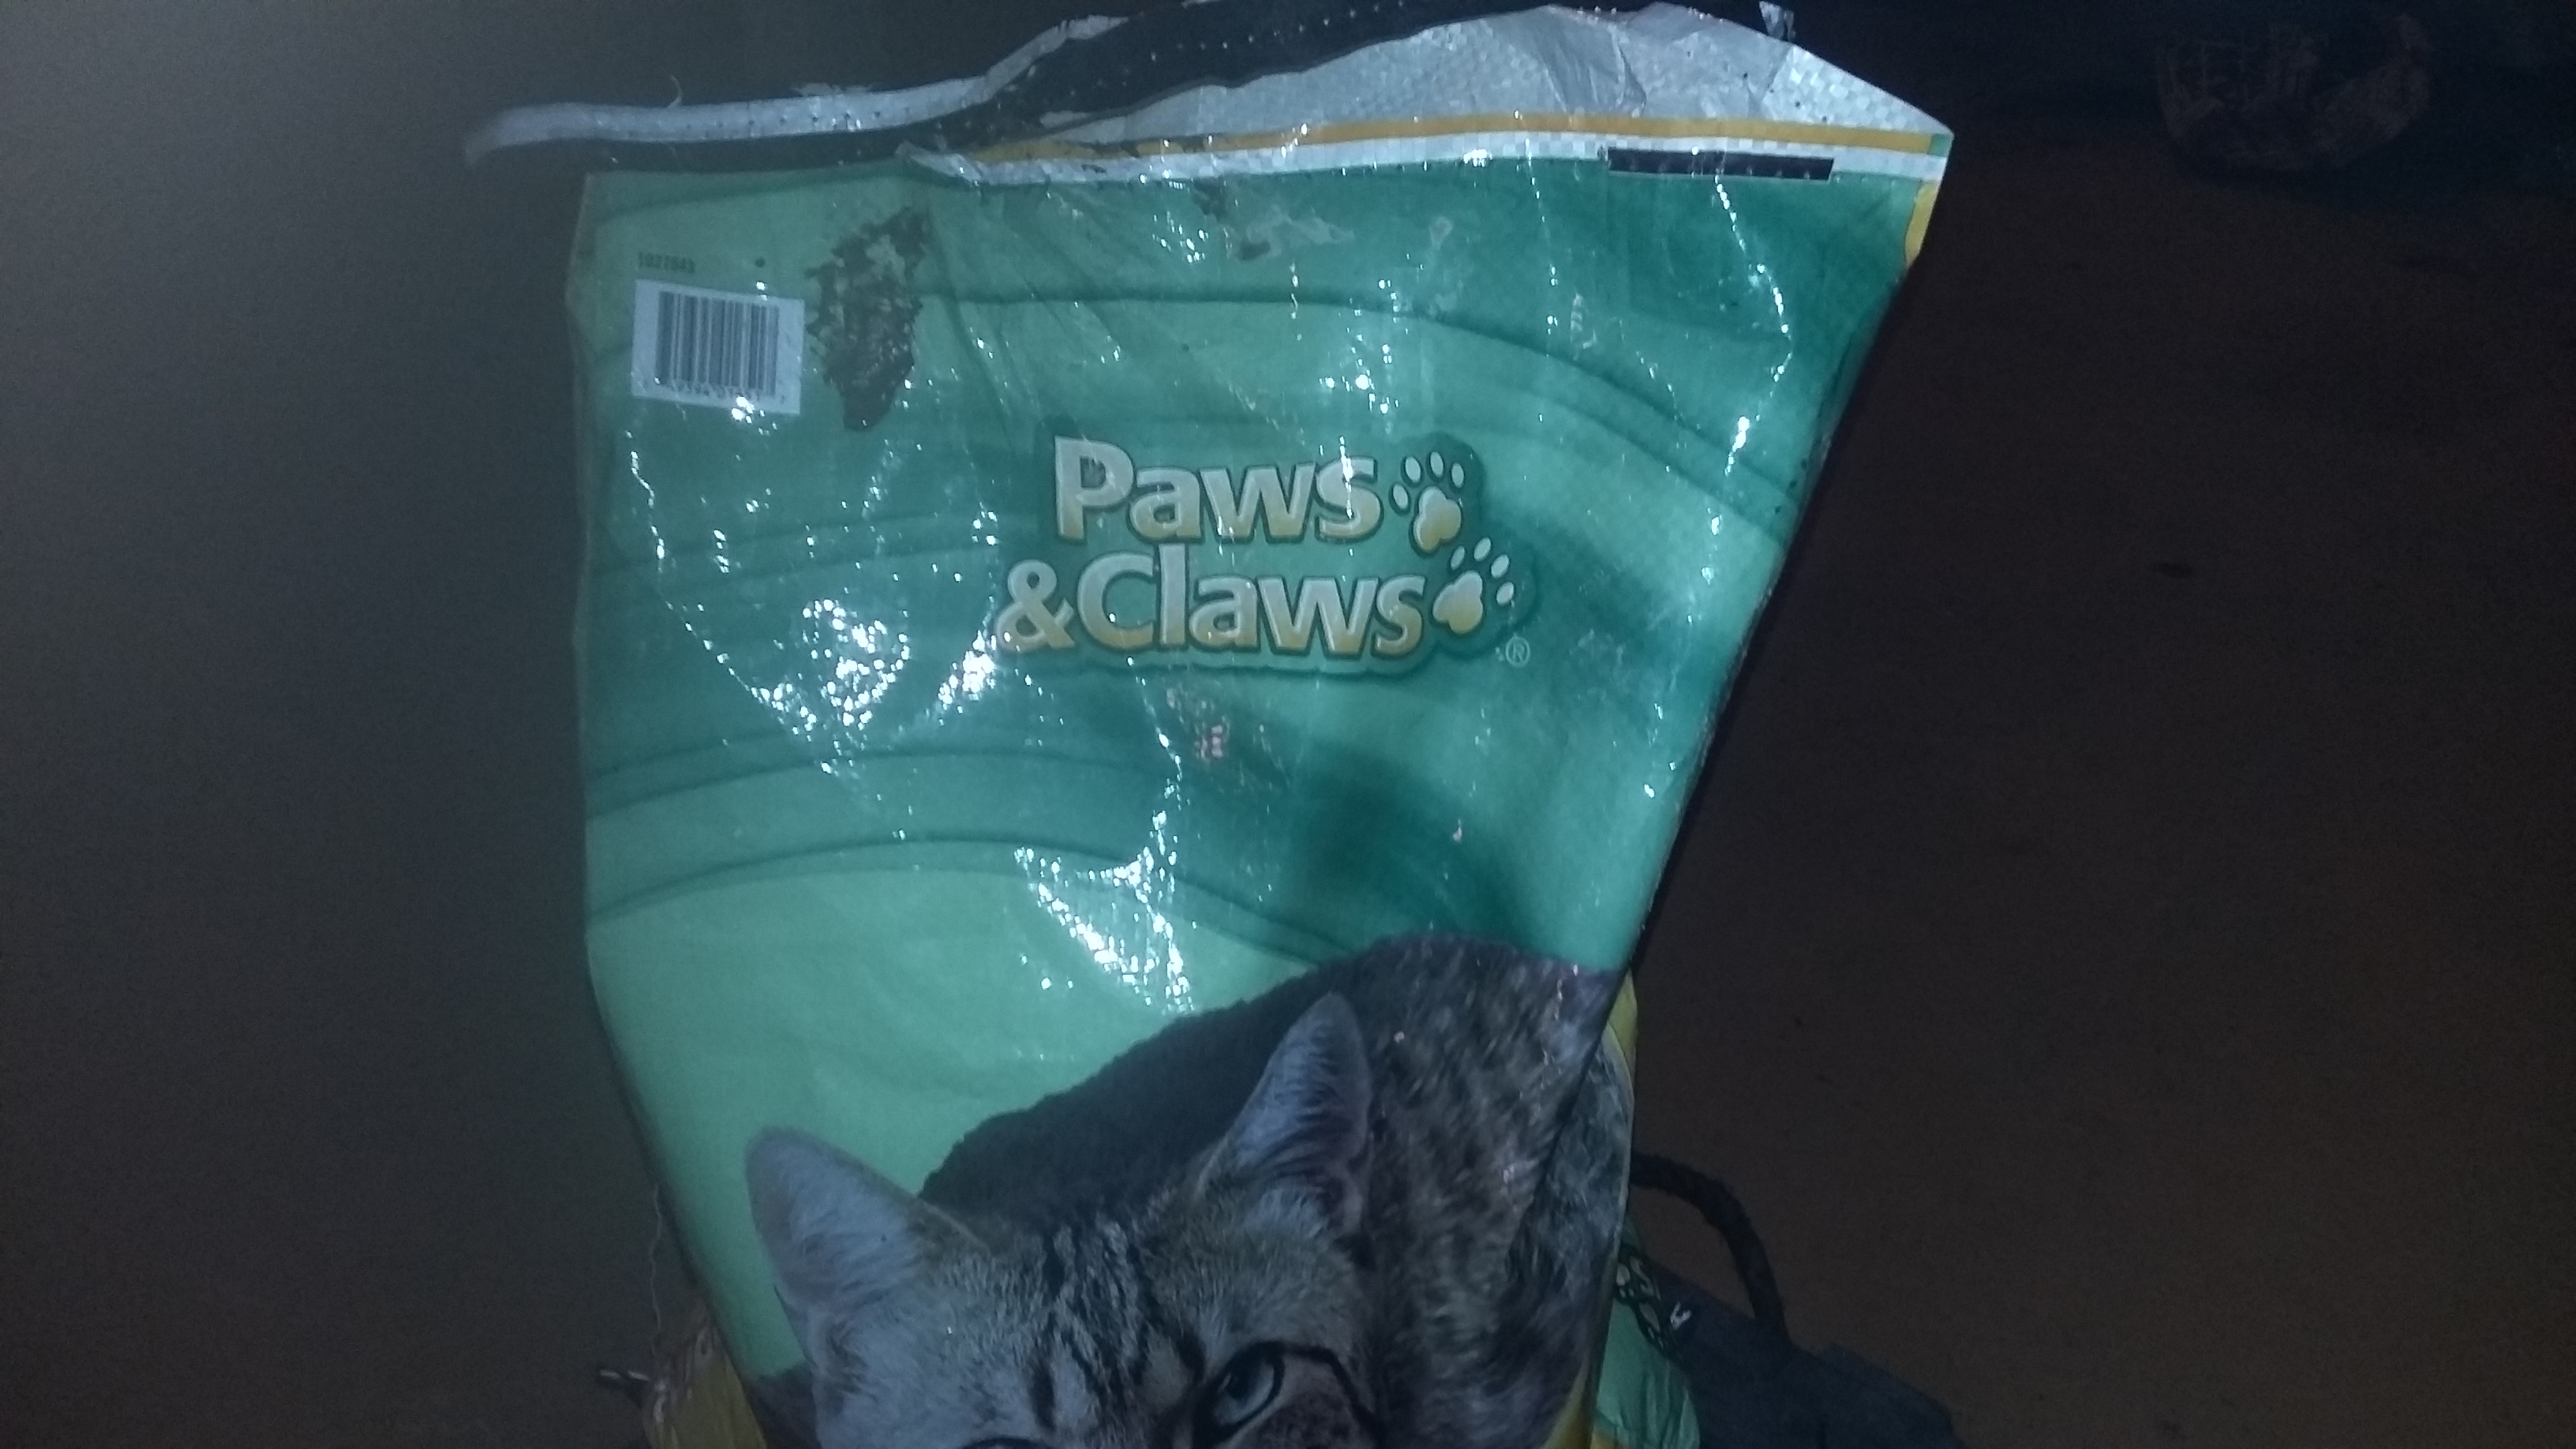
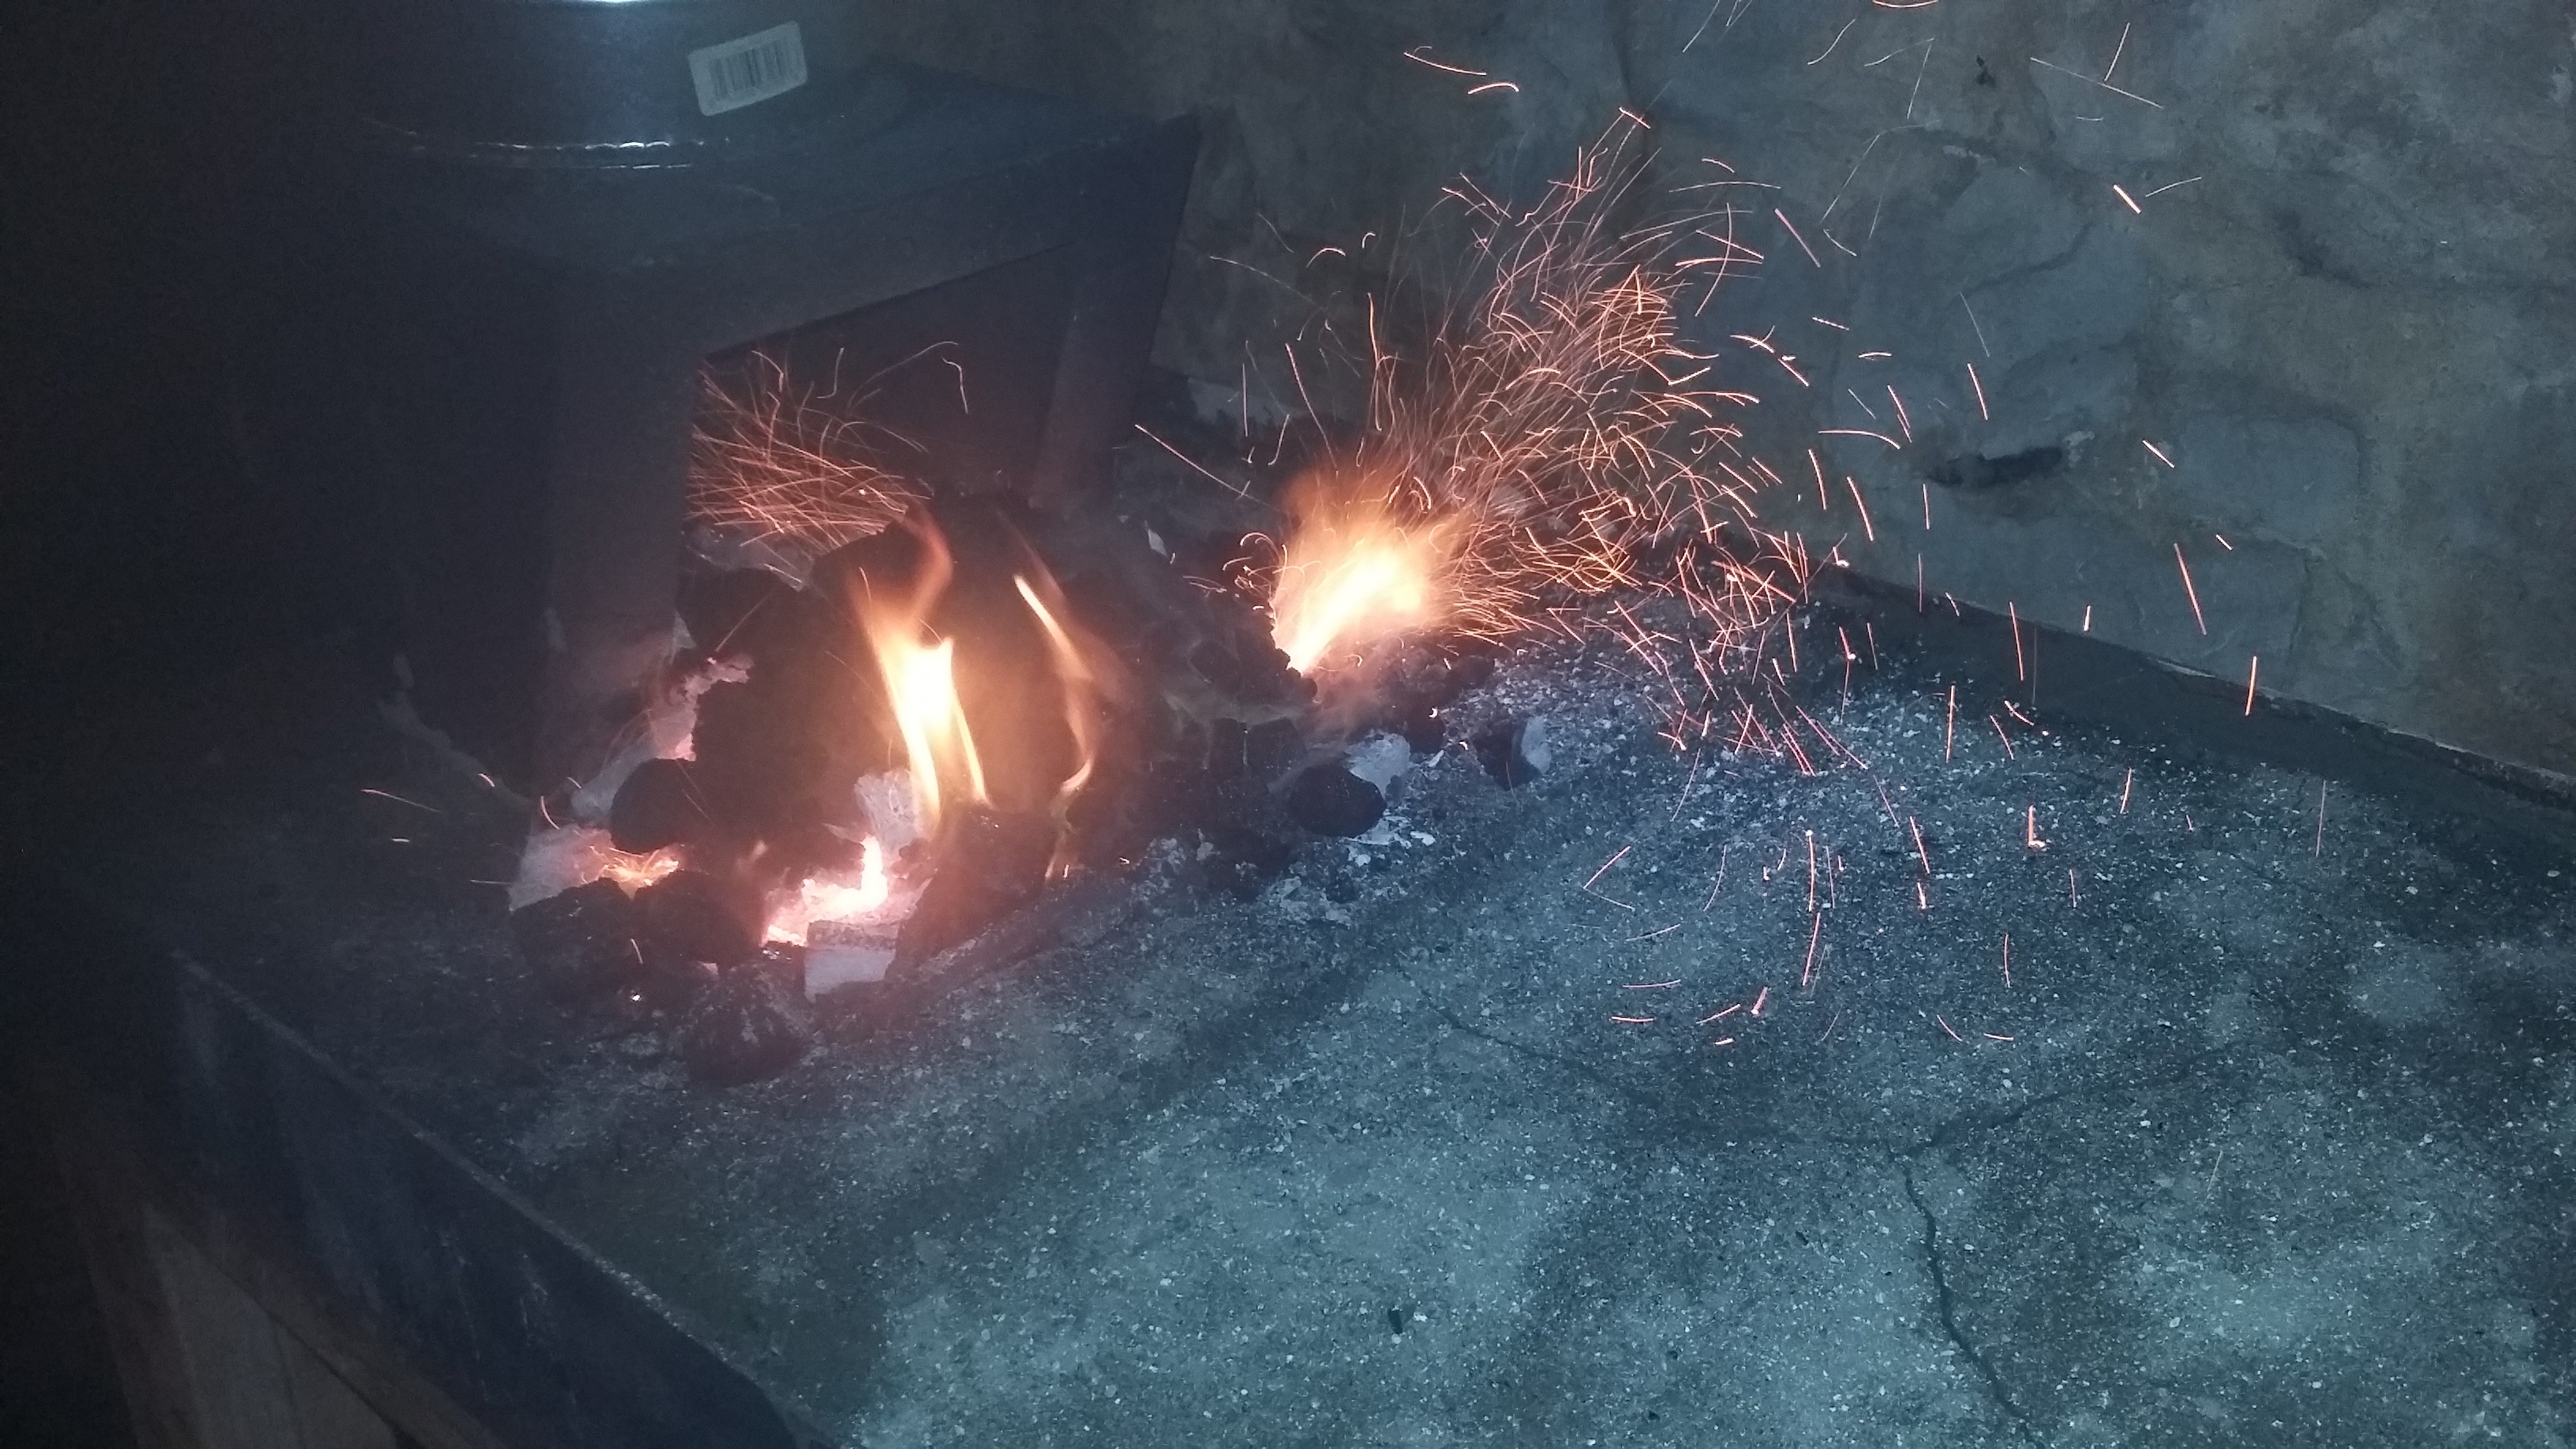
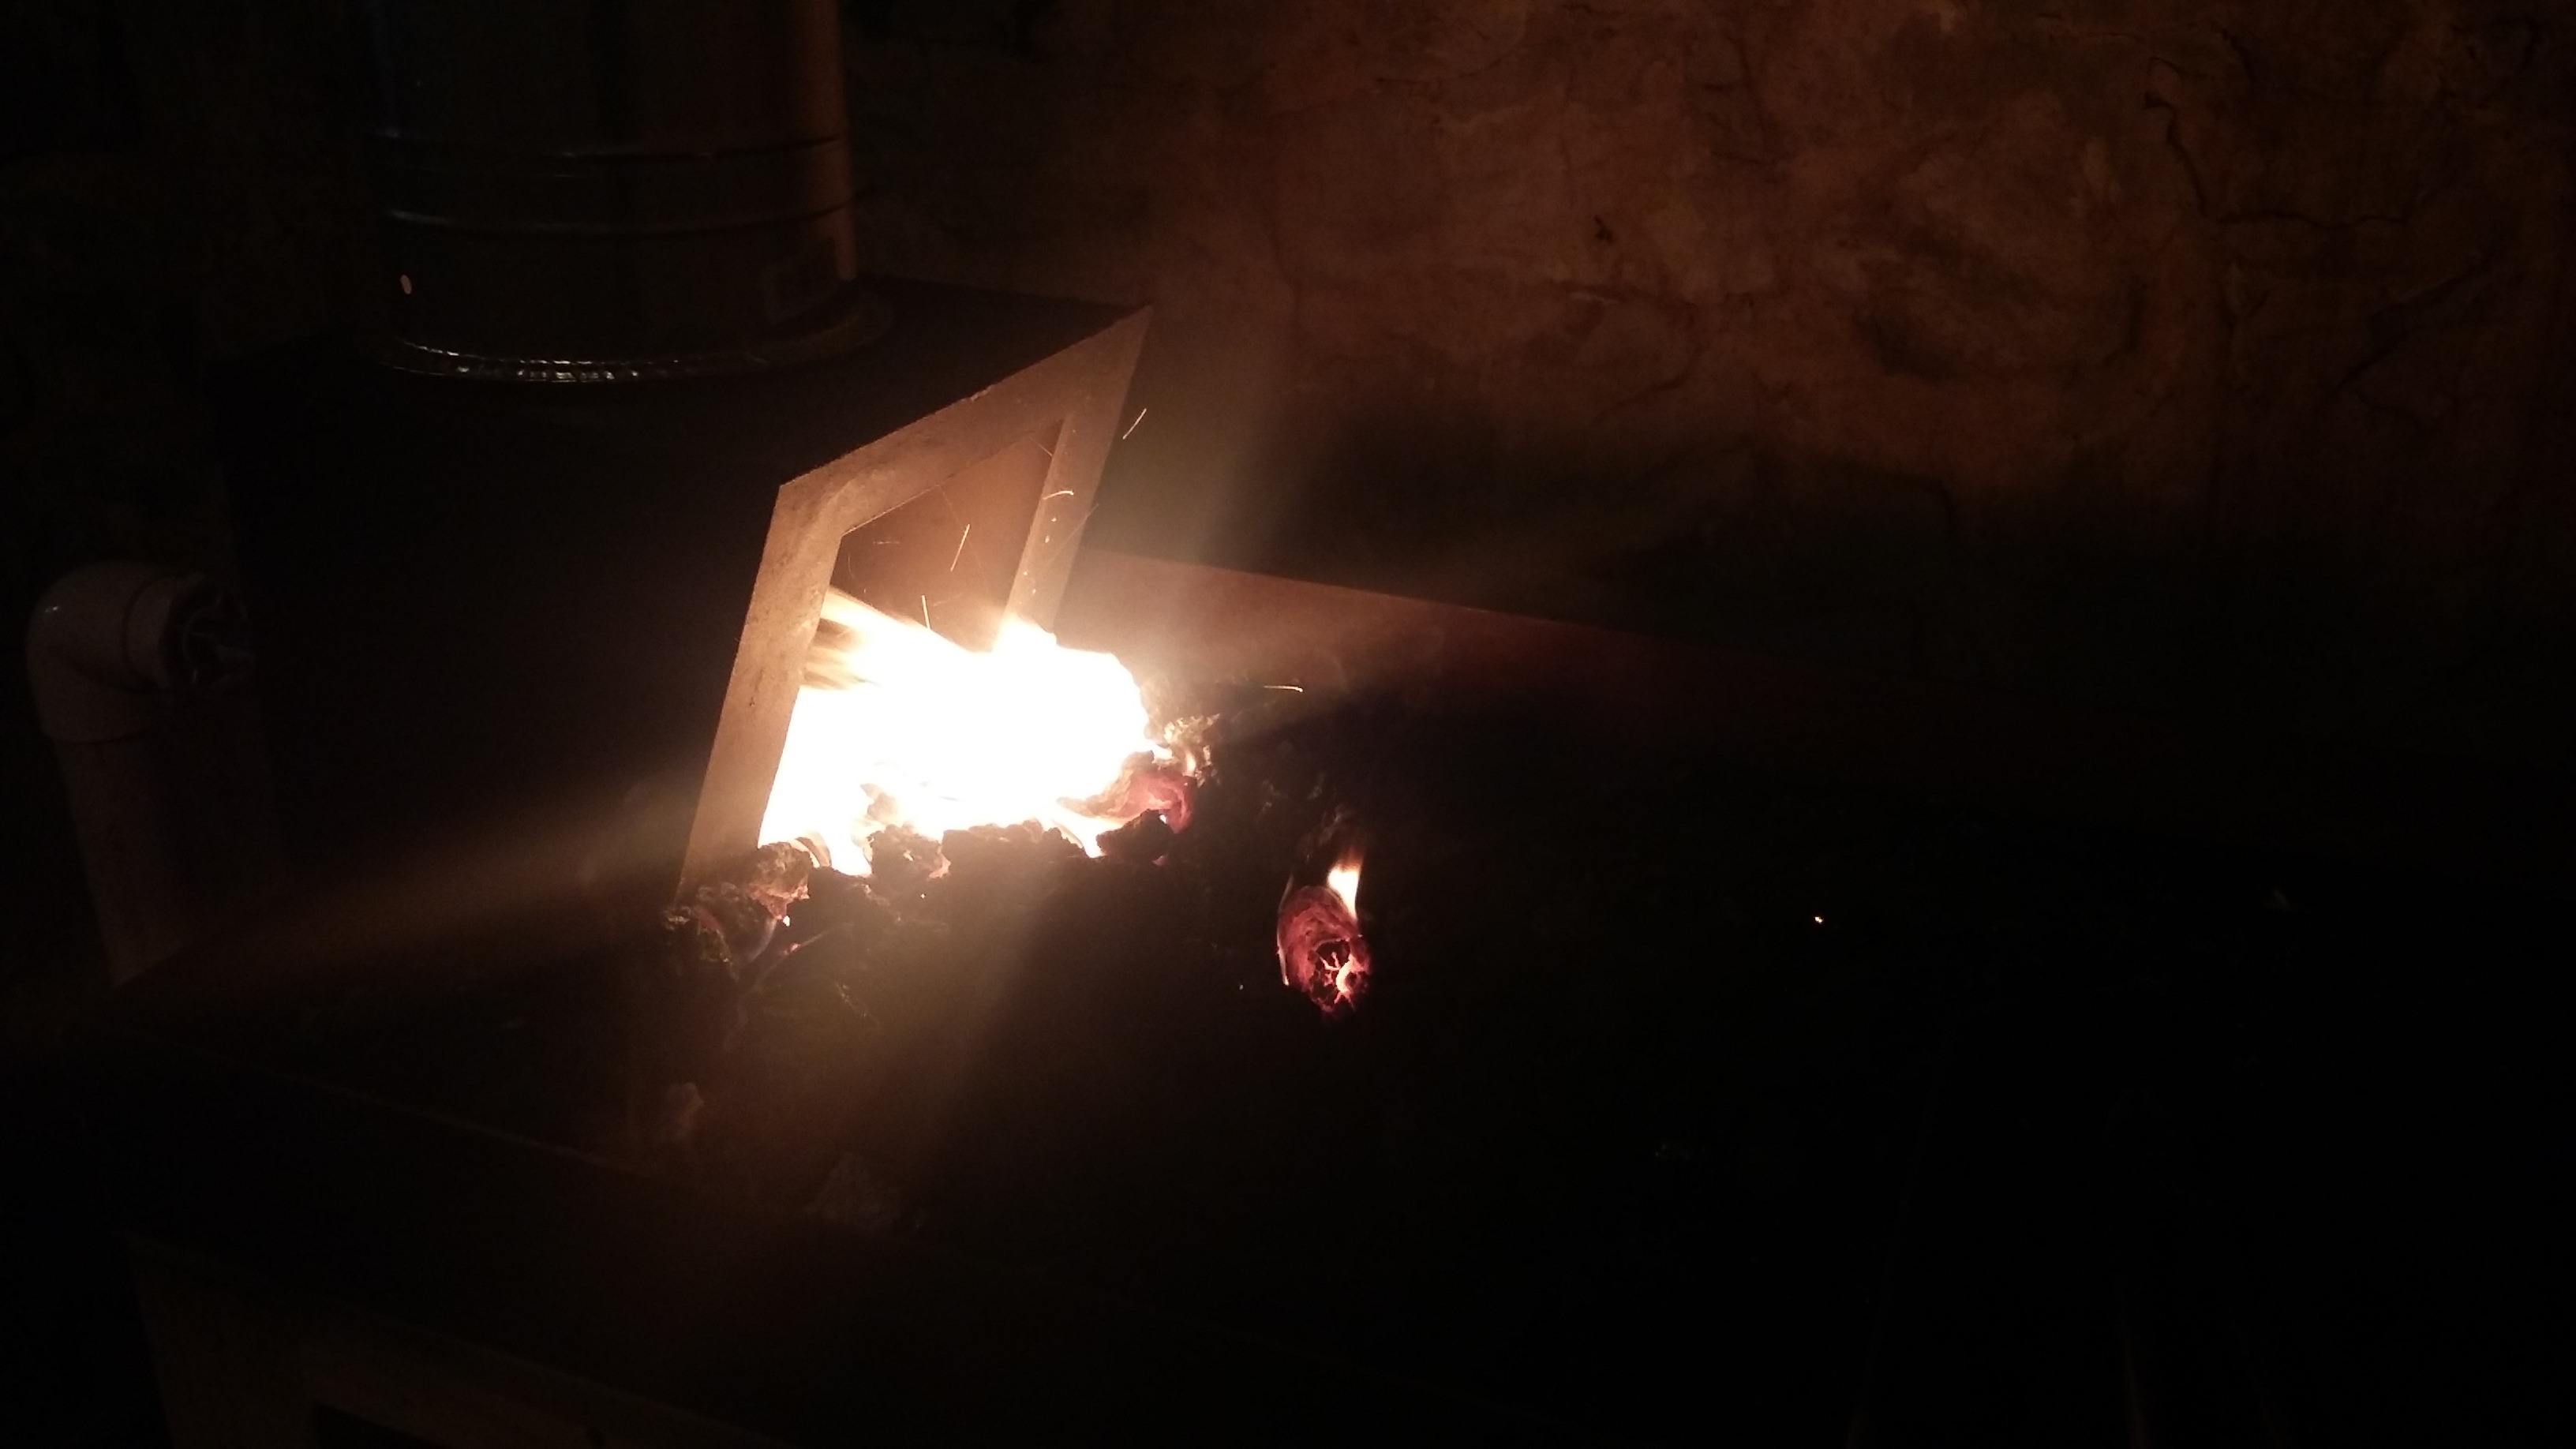
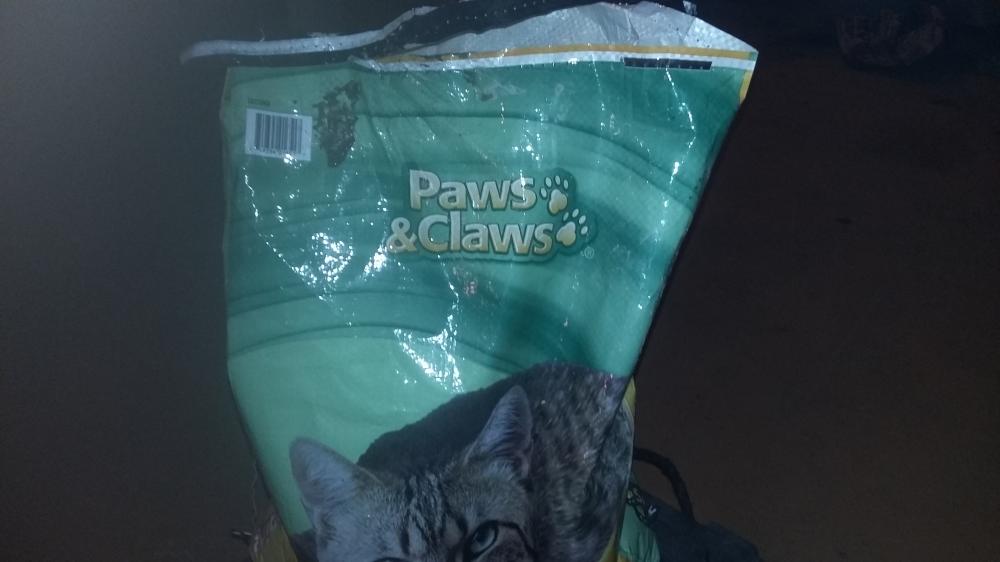
On a whim this morning I wanted to make a valley in my sideblast to help contain the coal and perhaps insulate the bed a little. Went over to tractor supply and picked up a bag of Paws & Claws cat littler - ingredients: natural clay. I know others have played with stuff before, putting it in blenders, ruining their coffee grinders, etc. Let me just say, this stuff turns into clay the moment you add water. I didn't mix it with anything other than water and have a charcoal fire on it to dry it out. Yes, I know it's going to crack, I just want the contouring, I'll go over it with some Rutland cement after its completely dried out. At less than $5 a bag this stuff is easy to use. I'll try to post some pictures of the experiment as I get further along. J

-
When etching blades FeCl3 is typically diluted so the muriatic works well for the application, because we normally want a slow smooth etch. If I were etching circuit boards and needing it to be more agressive I'd go with HCl. As for RS and mills, well, industrial creation of FeCl3 is probably a lot different than my backyard chemistry, but that is most definitely what RS is selling when you can find it, but it needs to be diluted. J
-
If you watch my video you'll see how to make it. Muriatic and scale technically make a very contaminated form of FeCl2 which is ferrous chloride, adding h2o2 will cause a reaction that will create FeCl3. You'll get much better results by dissolving steel wool in the acid. J
-
:) Thank you. J
-
It's a sideblast, there really isnt technically a "fire pot".. but I do rake the coal/coak away from the embers to the other side when I'm done..
-
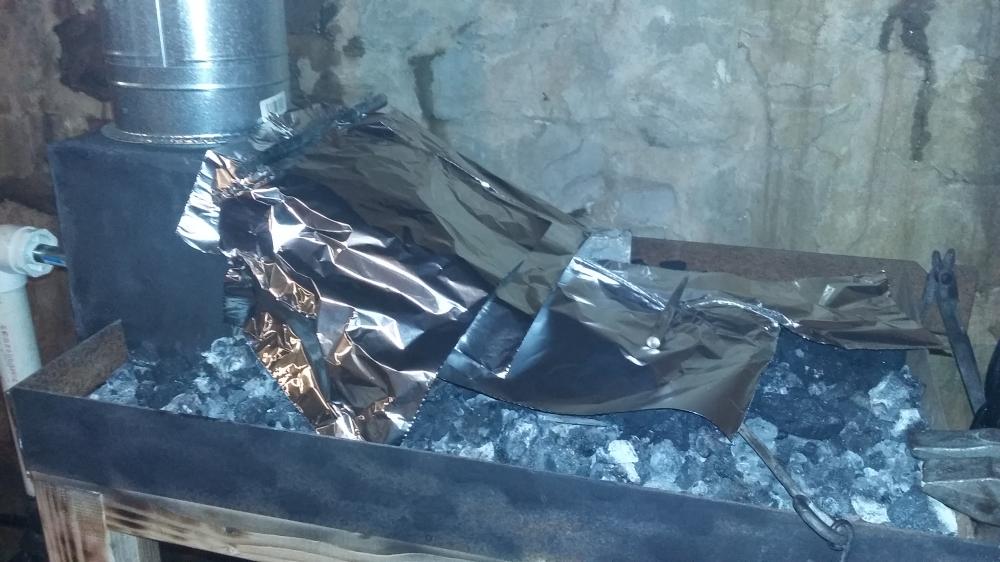
Did the quick and easy tin foil method, I'll try the firebrick idea when I set up for tomorrow's work. J
-
Must be reading my mind because I just picked up a roll of heavy duty foil to do just that at the end of the day. J
-
If I could make a bigger hole through the limestone foundation I would have, but I'm constrained to a 10 inch terracotta vent pipe already in the wall. Like I said, while running at full heat it's great - pulls flames and smoke 90 degrees right out the box, it's when the heat dies down after an hour or so and the coals are still smoldering that the little plumes of coal smoke linger instead of getting sucked out. I have even considered putting a small propane pilot inside the box just to keep the heat creating a draw. J
-
8" flue.. goes up another 5.5' until it goes through the outter limestone wall (almost 3') then it goes up about 16' or around 5' above the roof. Like I said, only real issue is the residual smoke from the smoldering embers when it's killed and I think that's because there isn't enough heat in the pipe to really create the convection needed to suck it all out. J
-
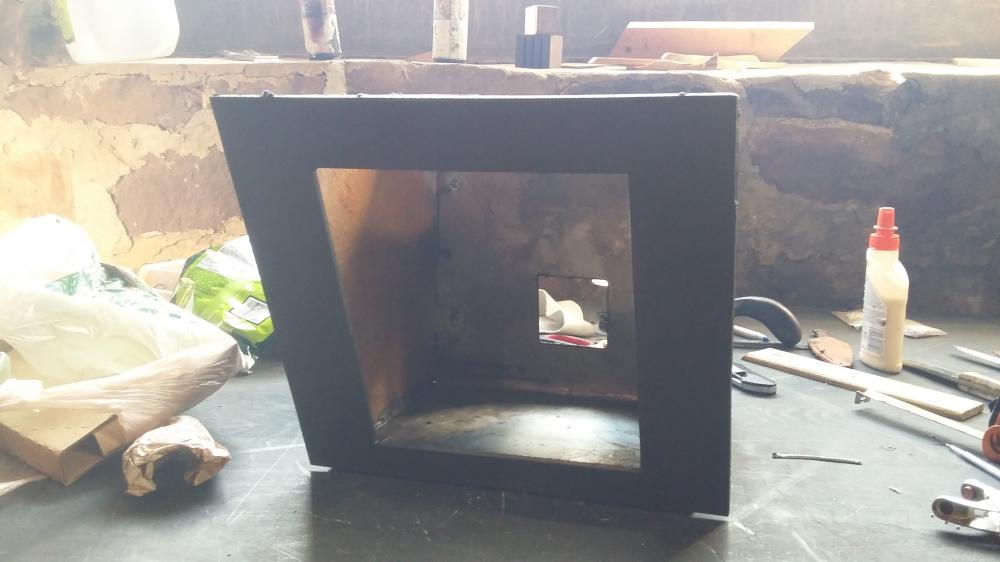
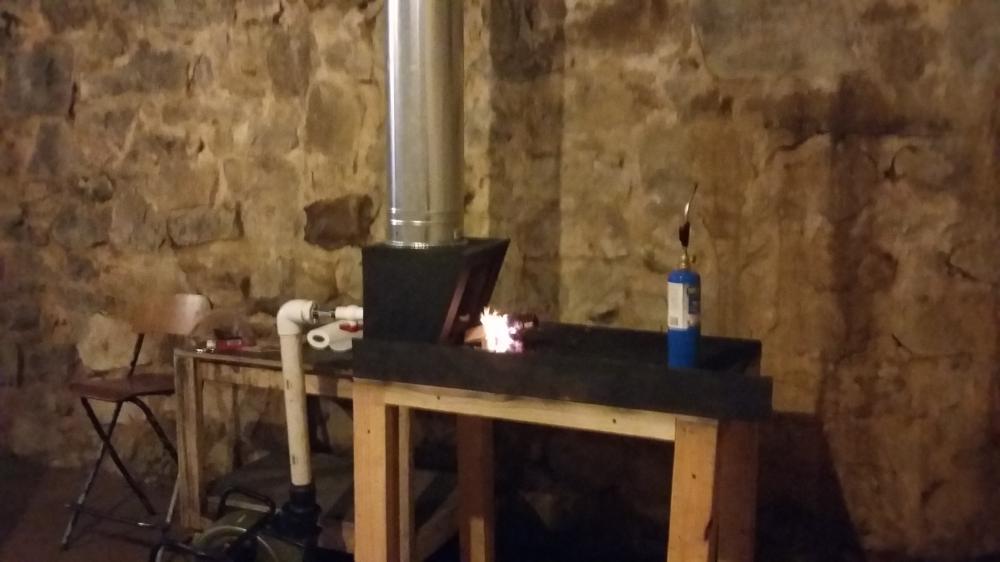
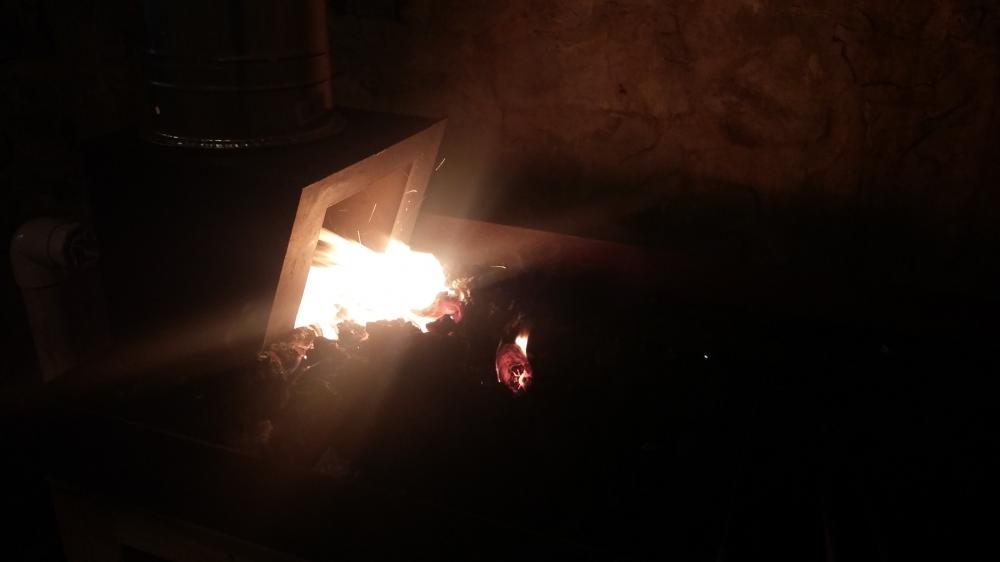
Yeah, say that 4 times fast. lol Anyway, at Glenn's suggestion I threw together a "super-sucker" for the coal forge in the new shop. Works beautifully! The only issue I have is when I kill the blower, after an hour or two, the smoldering coal makes for a little haze in the shop. Looks like a new environmental engineering project in my future. Currently debating making a "hood" that can be closed up with panels when I'm done forging, but first I'm gonna just try moving some air with fans and see if I can clear up the haze. Remember, I'm 10 feet below ground so there's some issues here with airflow that most people don't have to deal with. Here's some pictures of the box I built, a quick test fire (because I had my doubts) and after the forge was constructed, a real honest run. J
-
By dividing the number of knives I get from the billet but it's all fuzzy math now. Lol if I was sitting at my computer I'd try to make some sense of what I was saying (trust me, it really made sense at the time) but quite frankly I'm on my phone at the moment and it's been a very long brain draining week - which I am capping off with an ice cold beer before I put myself back in demonstrations mode for the weekend. J
-
I was giving an example here for one type of blade, the San Mai steel I do in particular and giving the price per piece, but really I'm forging however many knives I can out of a particular billet all at the same time. My per knife hourly charge X the number of knives from that particular billet (normally three) = what I make per hour (sort of). If you really look down at my breakdown I actually make $19 (personally after materials and expenses are subtracted) for every inch of a knife I make. So a blade that's ten inches nets me $190 in pocket, I get on average 26 blade inches (1"x1.25" so not exact sq/in) per San Mai billet, or an average of $500 per. It's by all means not a perfect formula, but if I happen to make a blade that uses the entire billet I know how much I should charge for it as a base price. I know, it's confusing and not for everyone but it works for me. and just because there's 20 years of experience here doesn't mean I was doing it well for that long, it took time for my skill to catch up with my knowledge. Lol J
-
Interesting unnamed spring hammer...
j.w.s. replied to basher's topic in Power Hammers, Treadle Hammers, Olivers
http://www.ebay.com/itm/231637034465 There's a similar one listed on eBay right now. J -
Damascus layer count question
j.w.s. replied to JME1149's topic in Blacksmithing, General Discussion
And let's not even think about all the layers that get removed during cleaning.. once you get above 100, a slight hesitation with the grinder could take 5 or more layers with it. J -
Pure computer error. I meant to say I love my Ryobi earmuffs, wish they still made them but instead they're doing these foam earbuds that just aren't that good. The original set has microphones on either ear that you can adjust. I've l itterally had conversations while operating my power hammer with them. The circuit's eliminate loud sharp noises but allow vocal ranges to pass through. Absolutely wonderful. The new design stop noise, but they're uncomfortable and rely on your phone to do the "noise cancellation". They're absolute c##p. The foam plugs I pick up for students are the yellow with a cord connecting them, I think I pay around $17 for a hundred sets. It's nice for them to be able to pull one out and let it hang around their neck while they listen to my instructions when needed. J
-
I'm working out the ventilation right now. Now is definitely the time to do it, in the fall the owner is planning on concreting and covering the portion above the shop that's creating the moisture, so getting some sort of air exchanger in place is a priority at the moment, but I'm allowed to do what I want provided I do it at my own expense. And I can back my truck all the way down, so moving the air hammer wont be an issue (I built it to be able to move, and most importantly lay down in my truck bed).. although I also have a loading dock and one of my "neighbors" said I'm welcome to use his forklift to move, so I think I'm golden. J
-
I've got the Ryobi noise cancelling headphones. Really dissapointed that Ryobi changed them up with earbud style hearing protection. For classes I buy the heavy duty foam plugs by the bucket, they work great. They honestly don't work all that great. Anyway, I've got a CO alarm to install and am looking at ways to introduce fresh air circulation as well. J
-
Roger that, the owners are fixing the moisture issue after the tobacco crop is done in the fall. We've been leasing off them for 3 years and they never short on a project to fix an issue - they really believe in taking the best possible care of their properties. We just had a nasty few inches of rain the day before so it wasn't the best time to take pictures. Dehumidifier and gas forges are probably the first things to move in! J