Mellin
Members
-
Joined
-
Last visited
Everything posted by Mellin
-
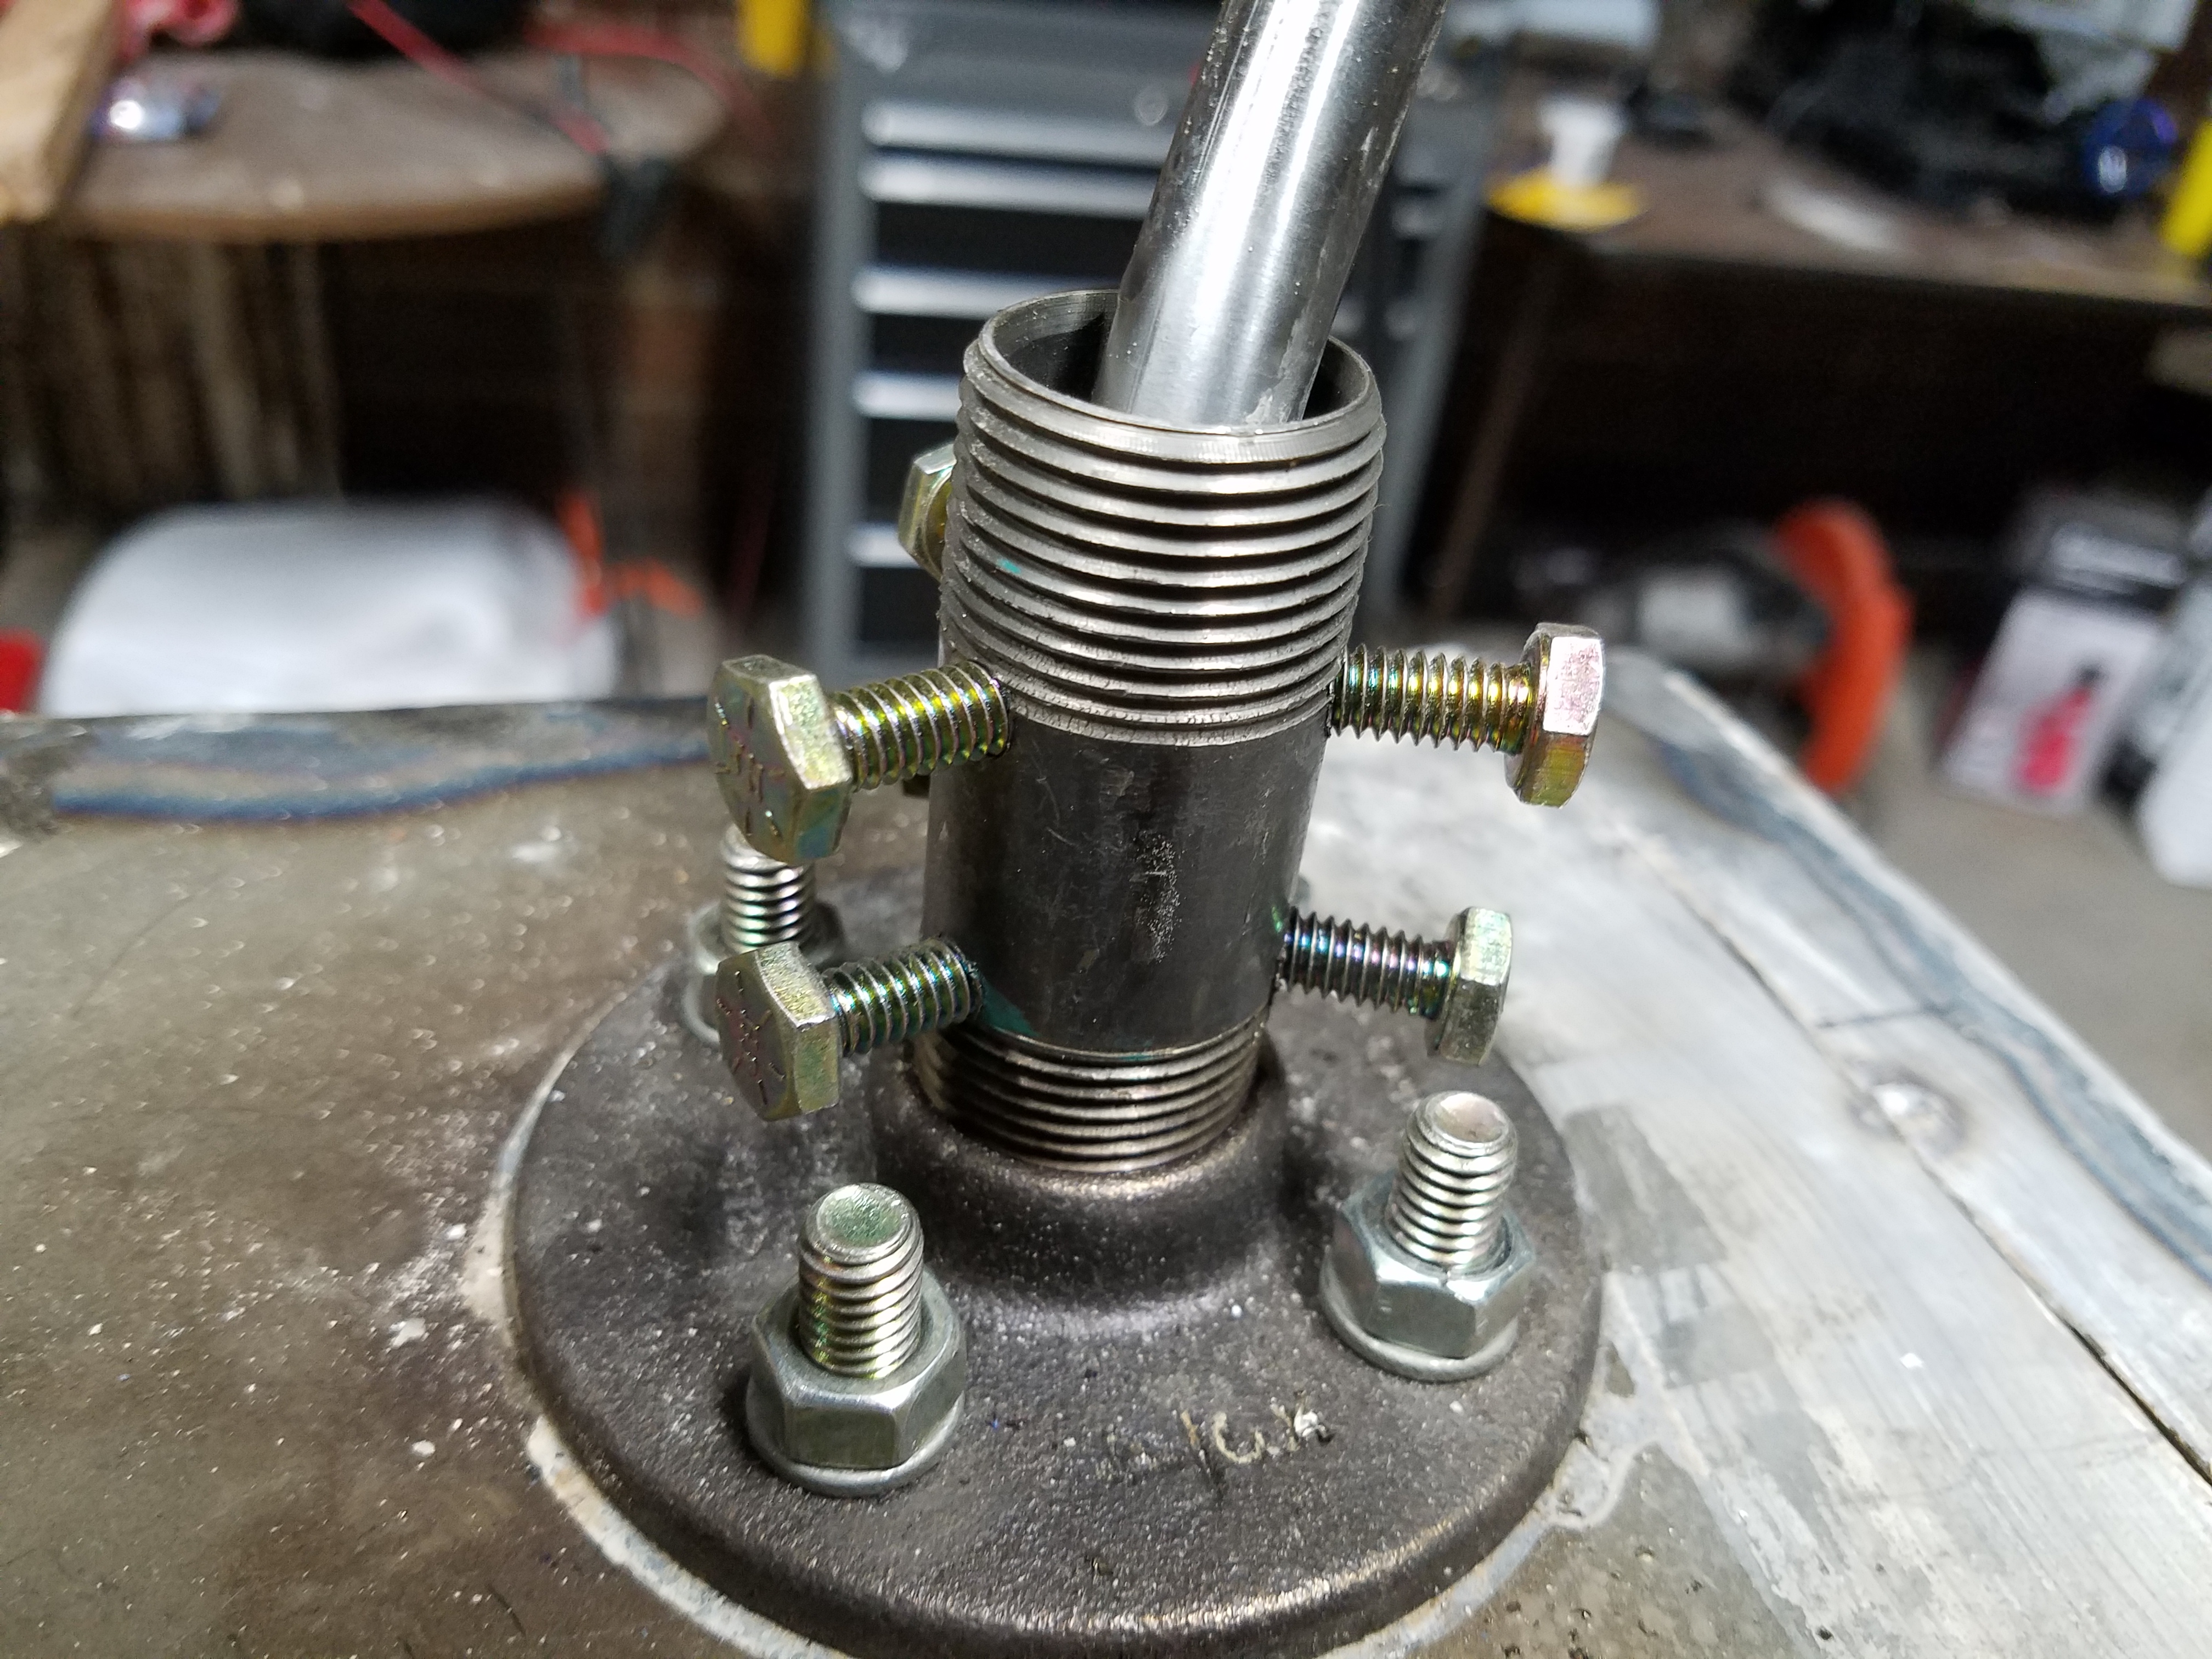
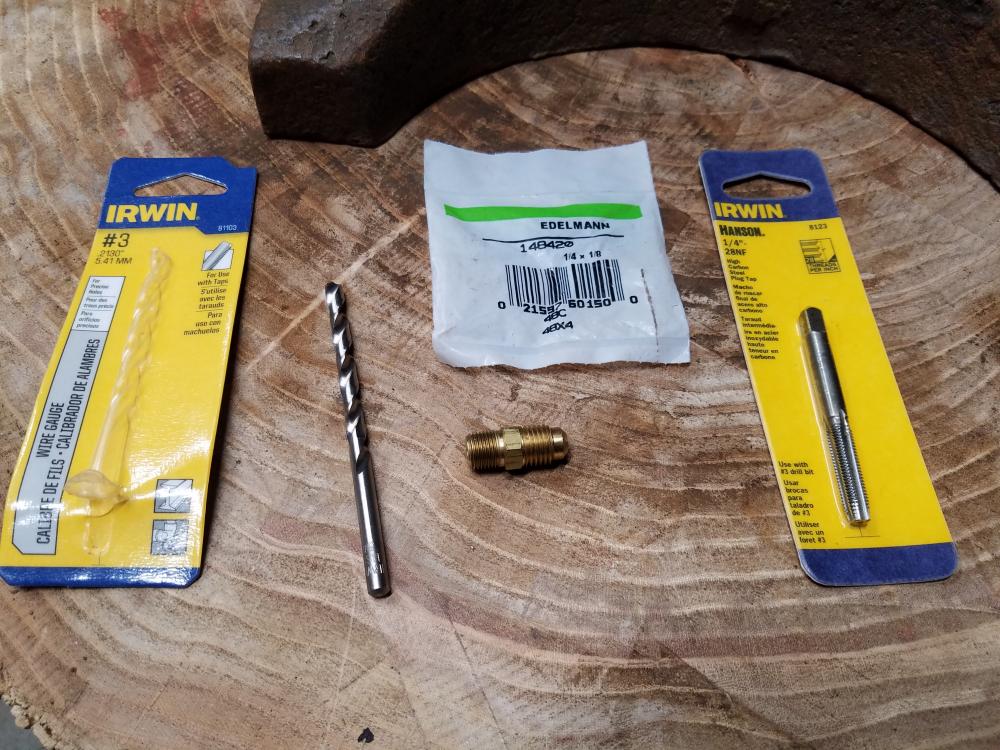
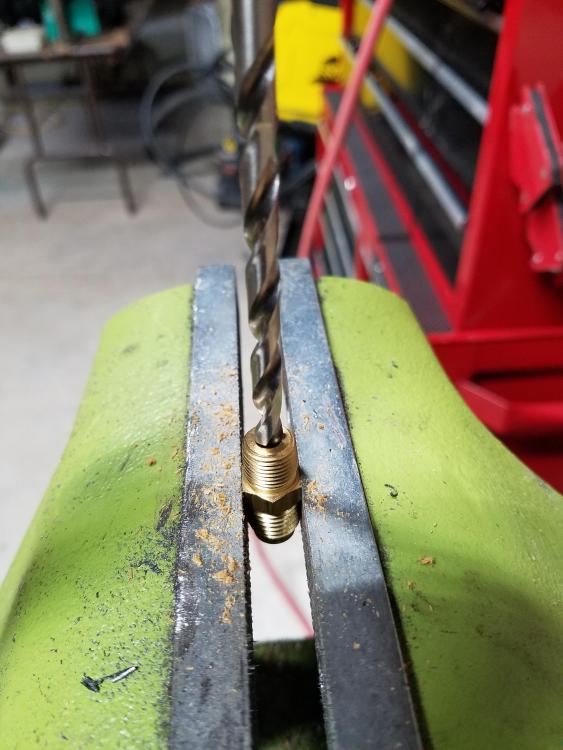
I found the correct fitting I believe. It came from orielly auto parts. Edelman part no. 148420. It has the small inside diameter which I can bore to the correct size and tap.
-
Oh no I've built mine wrong, because it is in the blanket and in the clay mix that the potter supply store said they would use to fix kilns with. I also asked if they carry itc 100 to which they replied " the company that makes itc went under a few years ago and none of our suppliers carry a similar product BUT what we use for a substitute is water, sodium silicate, and fireclay it will stiffen the blanket and make a fire proof face because the fireclay is rated at 3200 degrees." I do appreciate their time though I don't plan on using a layer of perlite for insulation currently if 2 inches of kaowool correctly rigidized and internally protected with castable will work. so what should I do with this bottle of sodium silicate.
-
-
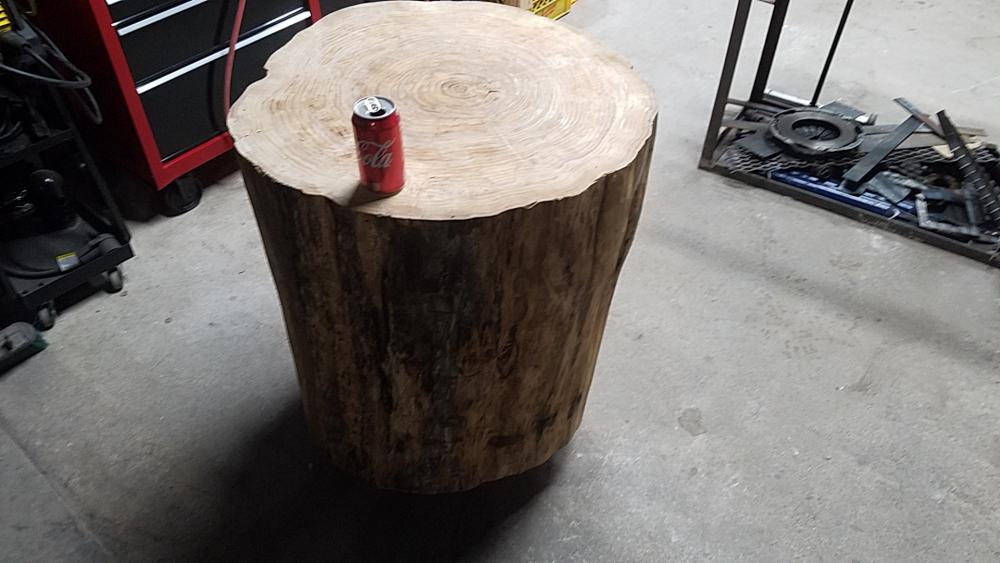
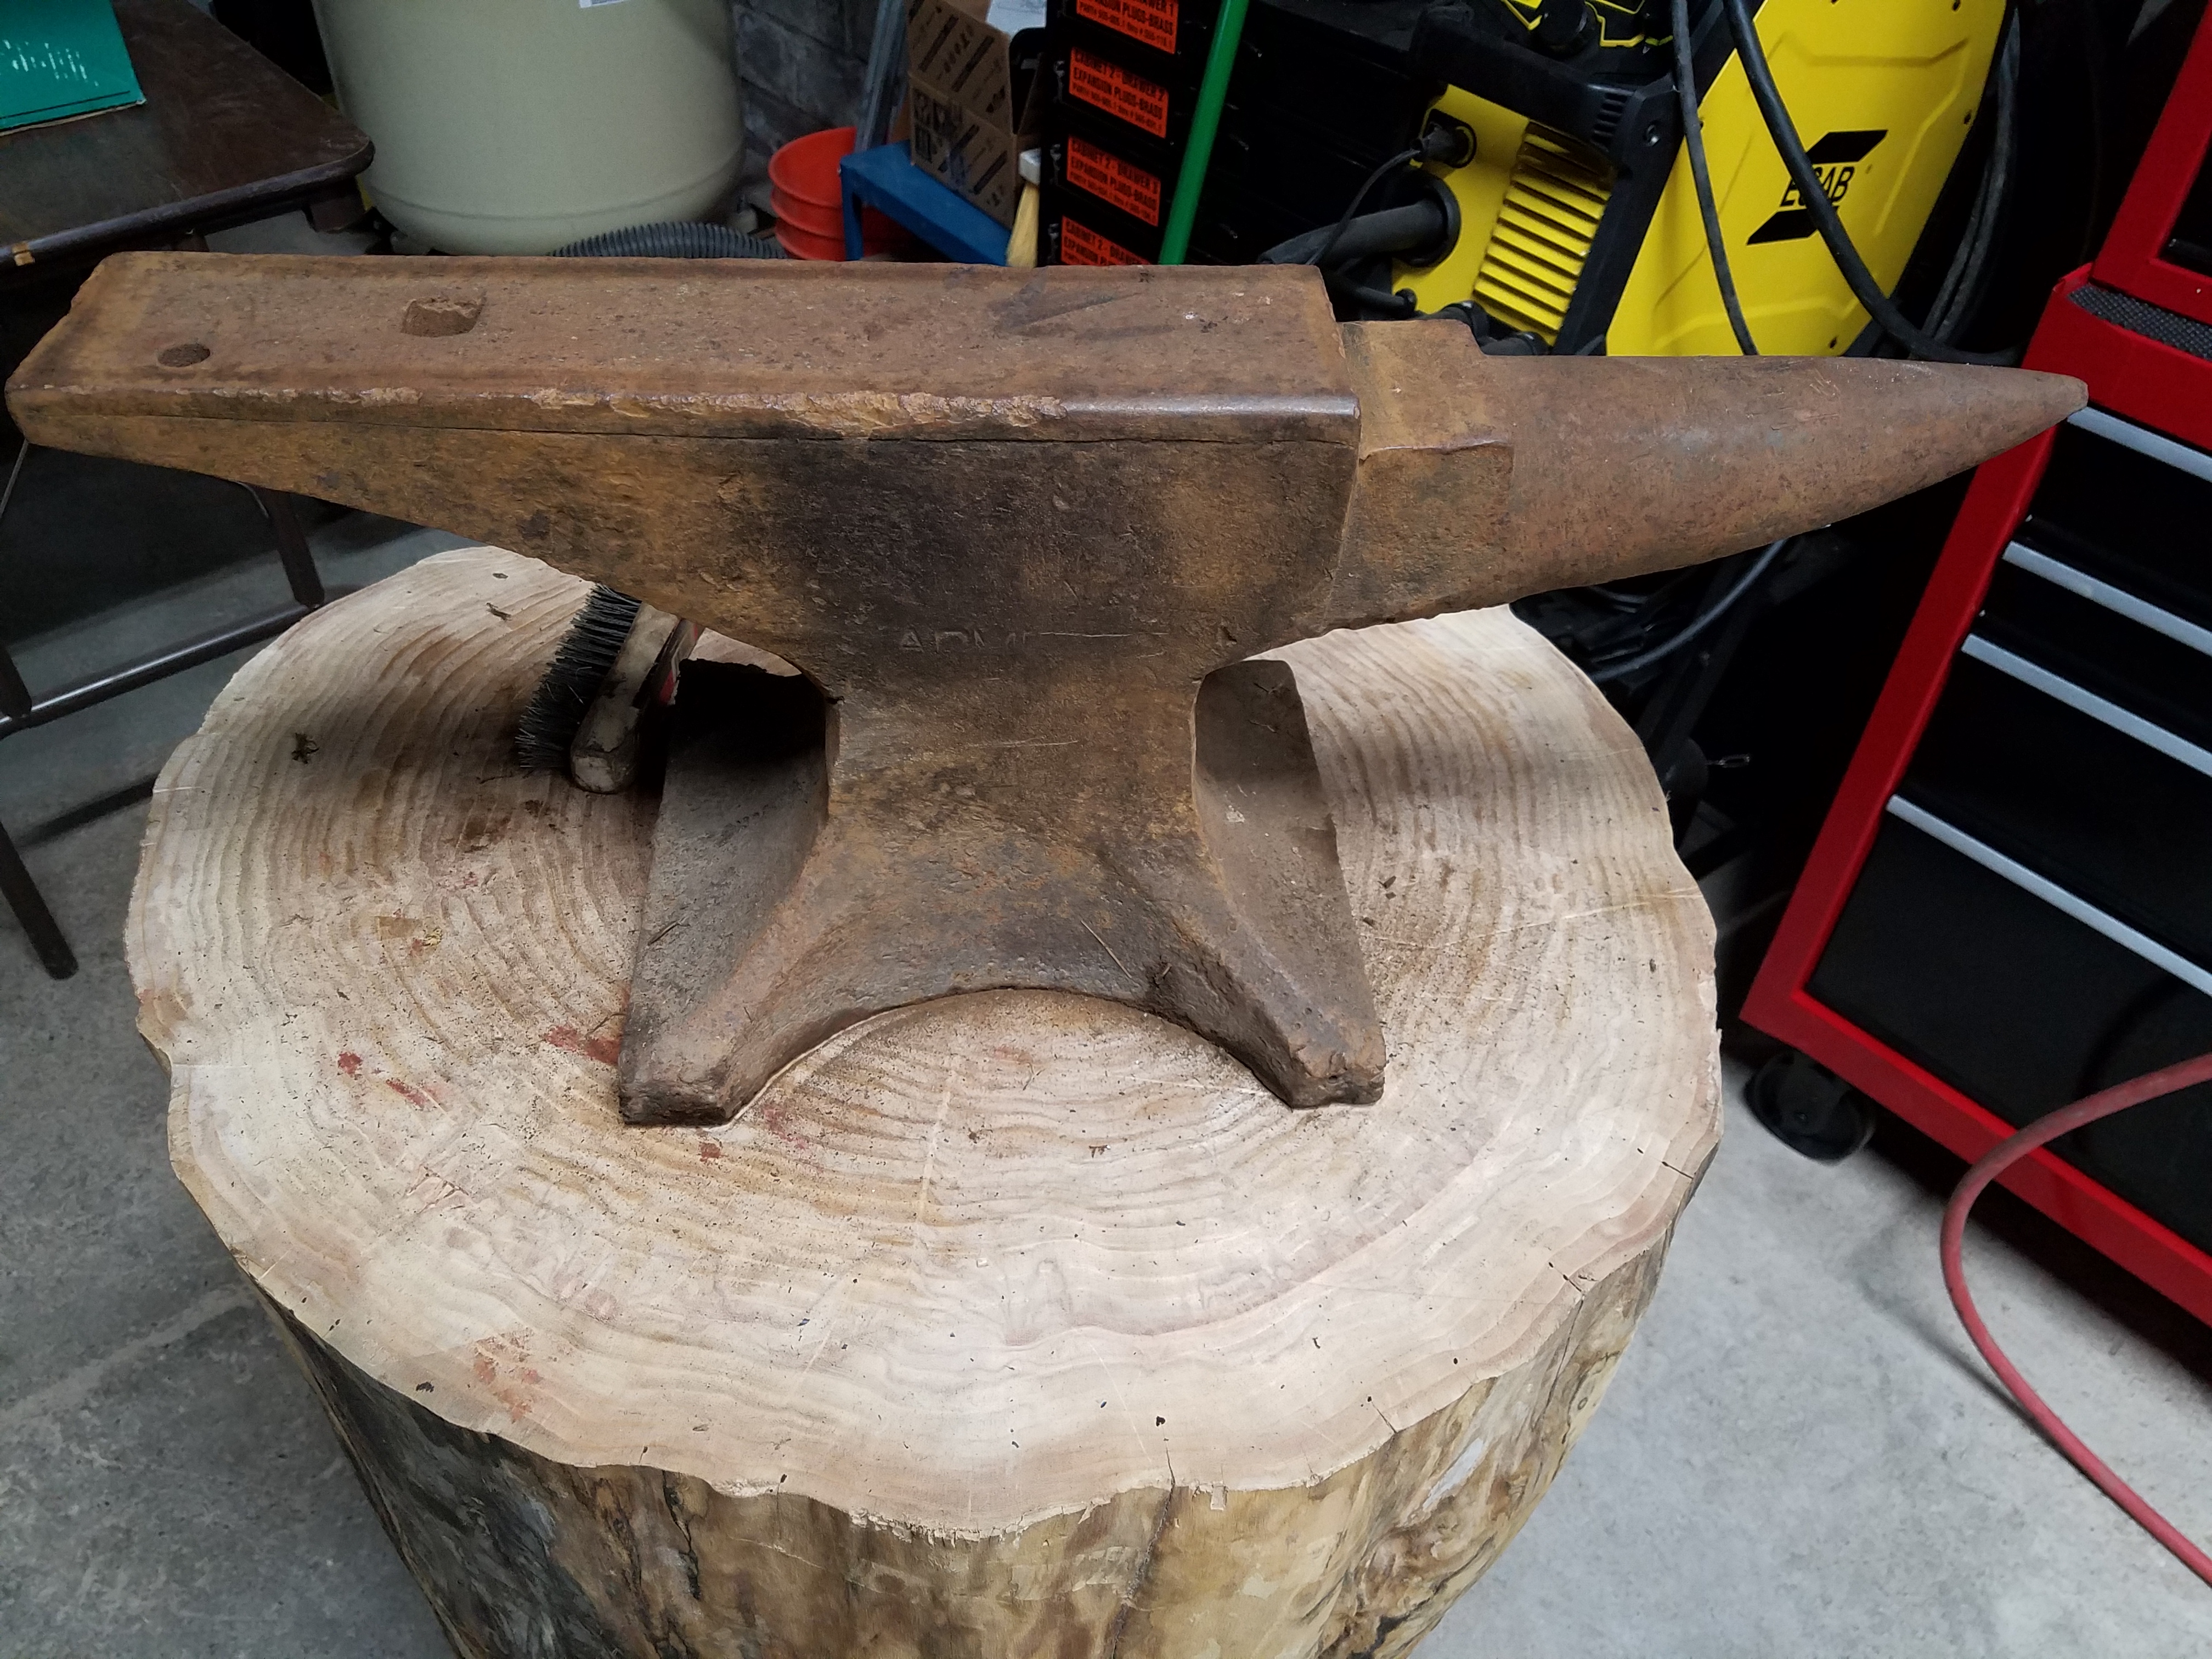
MC I'm definitely going to band it once I cut it down to size, I might not actually use the ash as my stand. Mostly because its a huge hunk of wood and I hate to see myself make it any smaller. but because ash shrinks I was definitely thinking about morticing the anvil in, caulking it and banding it down Does/did your ash smell JUST like a jar of olives, I planed this log out and it reeks of olives.
-
the ring was cool the first ten swing it will be getting mounted and muted very soon
-
I got around to heating a bolt last night and drawing it out into a knife shape....of course. I knew an anvil helps put the hammer back where you want it to swing again but I didn't realize how nice it is. The ring is harmonic there a lot of frequencies almost sounds like a harpsicord it is almost overwhelming when it gets loud like 6 screaming tuning forks. I did not officially check the rebound but it was near effortless to swing my lightest hammer even my 2lb wasn't too bad to get moving.
-
So I checked all the local propane suppliers and only one stocks a regulator 0-15 pounds with gauge, they want 50 dollars for that nothing else. Buying 2 flares, plistix 900 and a connection kit from larry zoeller seems like the easiest way to get them for a reasonable price in small quantities. I don't see propane accessories on wayne coes website or I would consider ordering there. I picked up a 1-1/2 x 4 nipple and floor for burner port, 3/4 x 6 nipple, 1x3/4x1 tee, 1 to 3/4 in reducer, .35 mig tips, the flare to pipe thread fitting, and the taps with bits. so I think I am ready to start building the tee burner but ill have no way to connect it to propane. I just don't know which way to go for the other stuff. Now on to my main question I will be finishing this little forge out then going on to build a more refined design and I was just wanting some final clarification on insulating layers I'm 17 pages through the forges 101 thread so I might not have retained everything I read. from what I remember the order should be if I were to do it over correctly? CASE - for support then kao-wool - as insulation then sodium silicate - rigidizer then castable refractory - as insulation and support then plistix or itc 100 - as internal heat re-emitting coating however I build my forge this way case------>wool----->sodium silicate/fireclay/water mix. it stiffened the blanket a little bit on the side it was applied to but it doesn't sound like the process where someone would spray just the sodium silicate on with dye or soak the blanket. The fireclay pretty much just wants to flake off since it isn't getting as hot as the little soup can I made first. I total spent 5 dollars on clay 10 on sodium silicate and 10 on 8 feet of 12inch 2300 degree wool Is forge interior volume vs burner size calculated using the size of the case as dimensions or the work area not including insulation the dimensions of the case are 6.5x8x9= 468 cubic inches the usable work area inside is 2.5x2.5x8=50 cubic inches Again I just want to reiterate I really do appreciate all the advice and I am trying to read and understand the burners and forges 101 I just ask questions to supplement what could get me into trouble
-
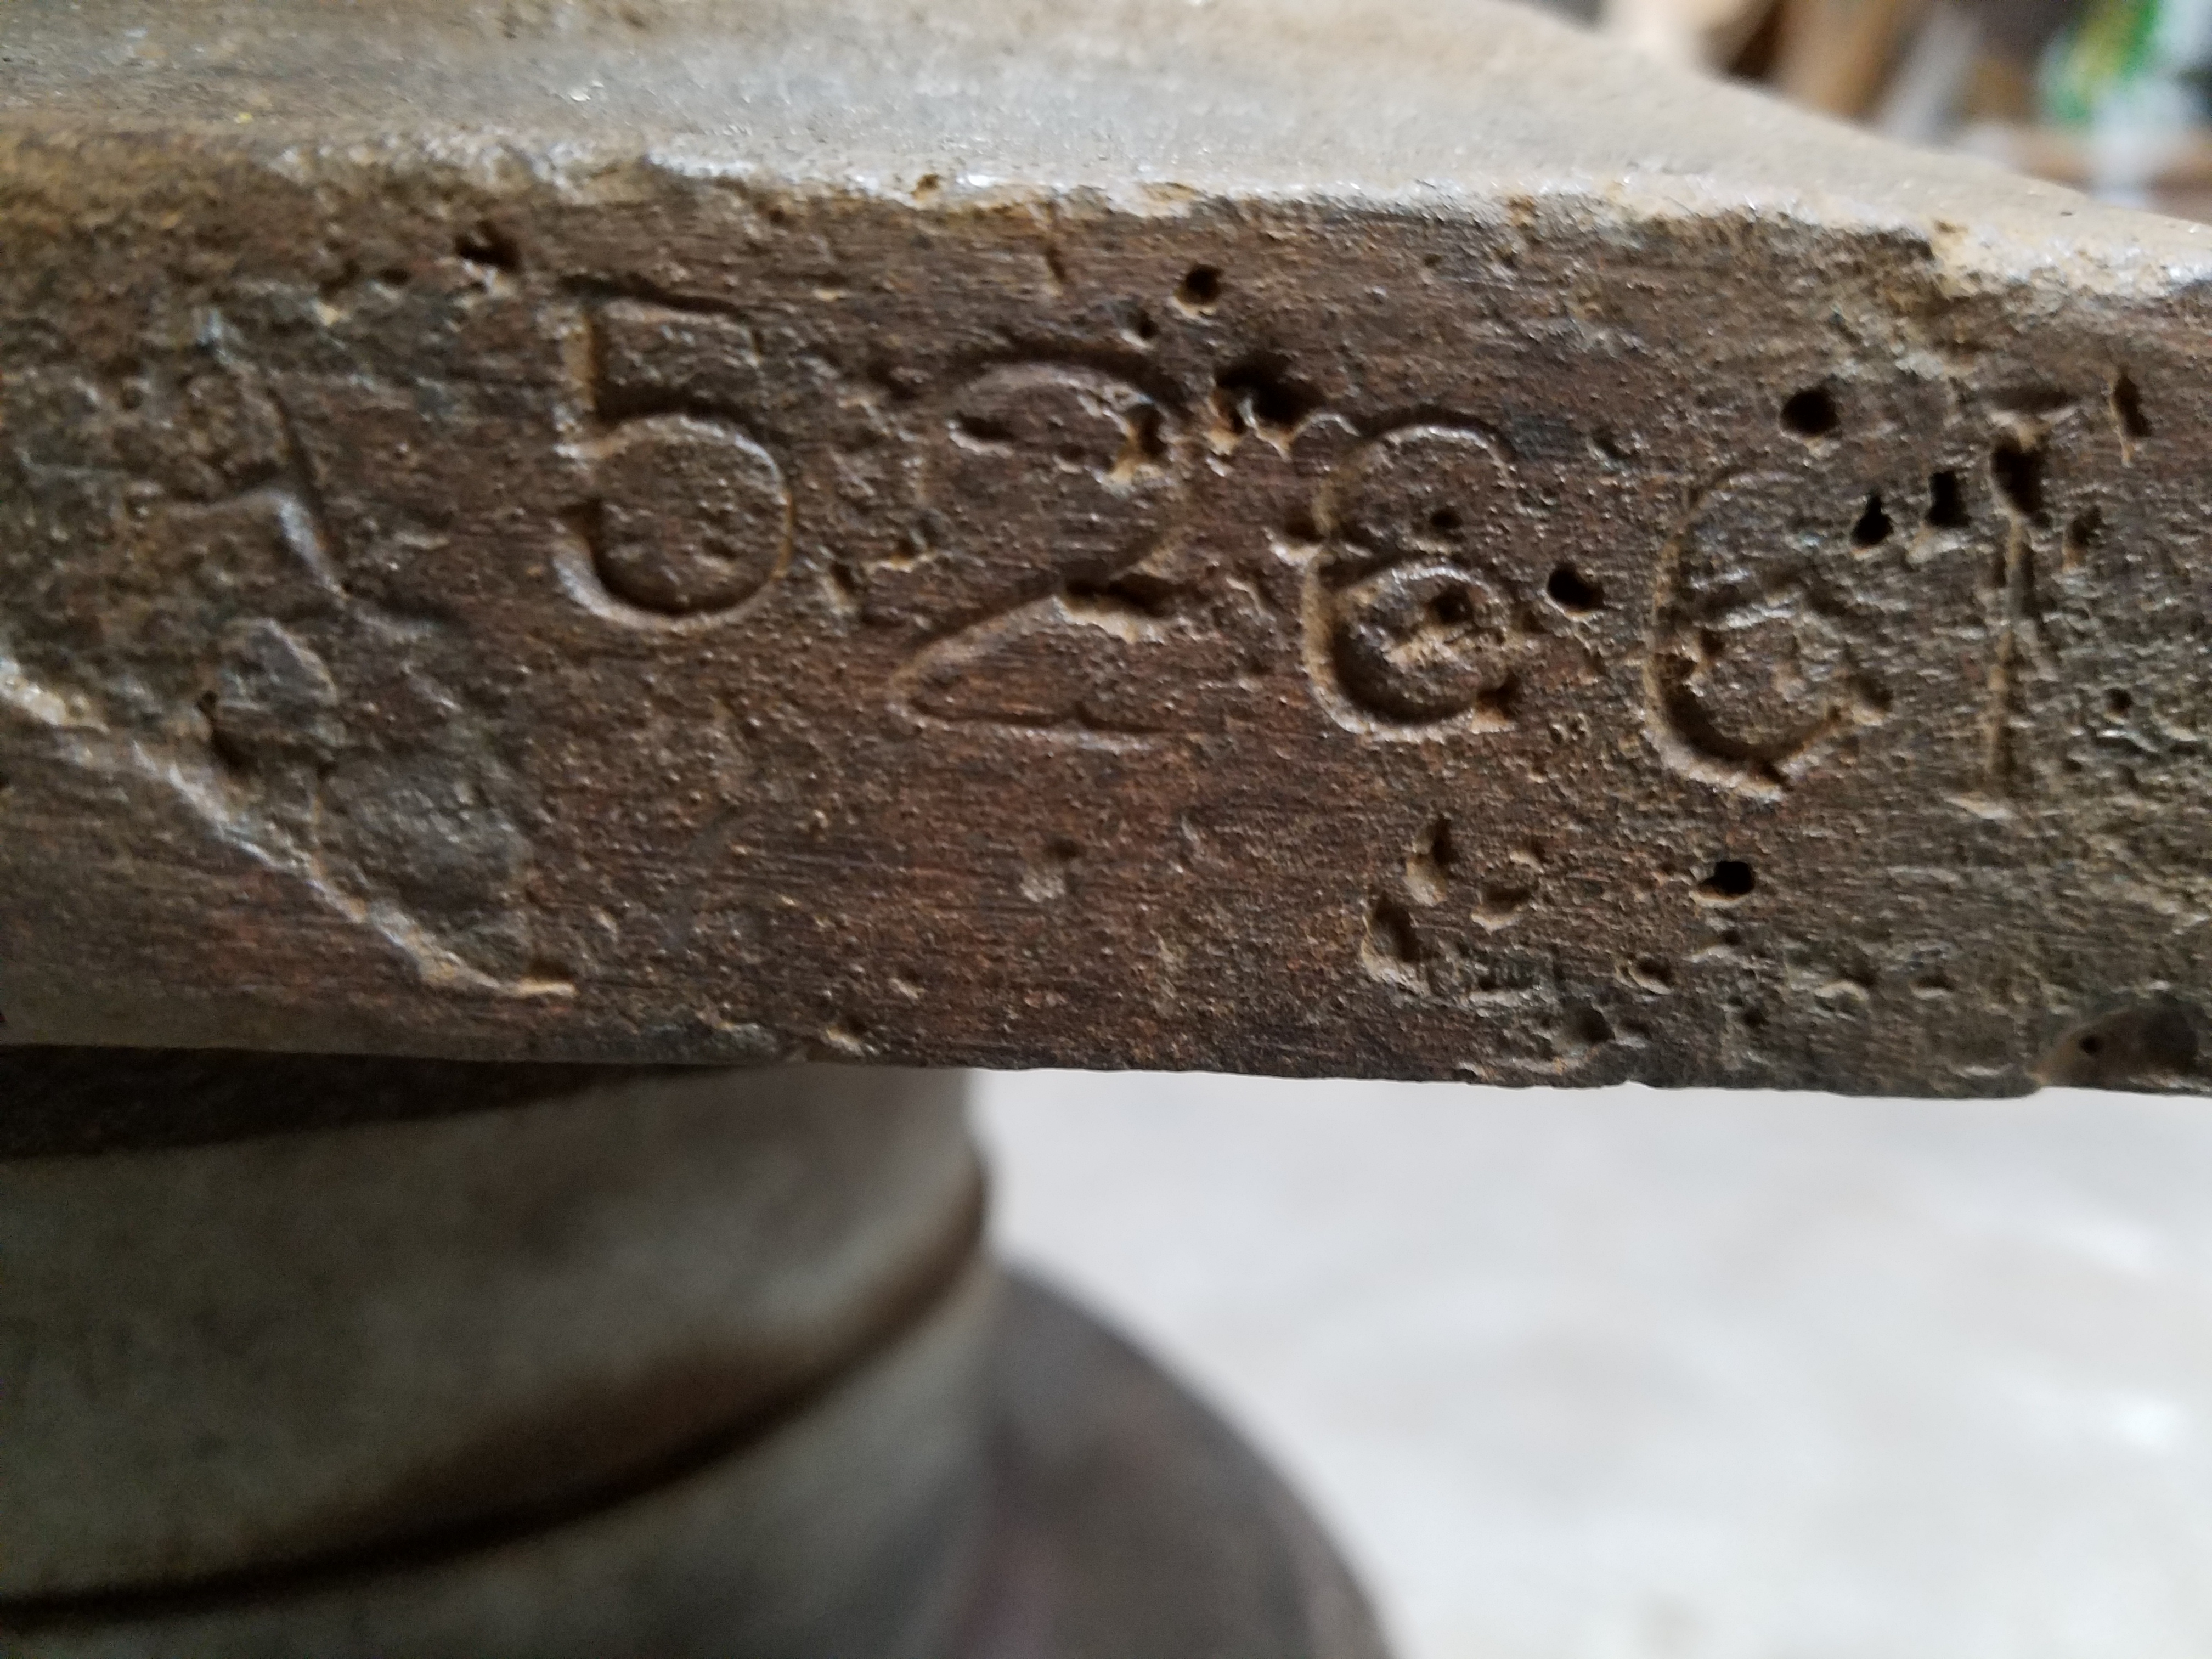
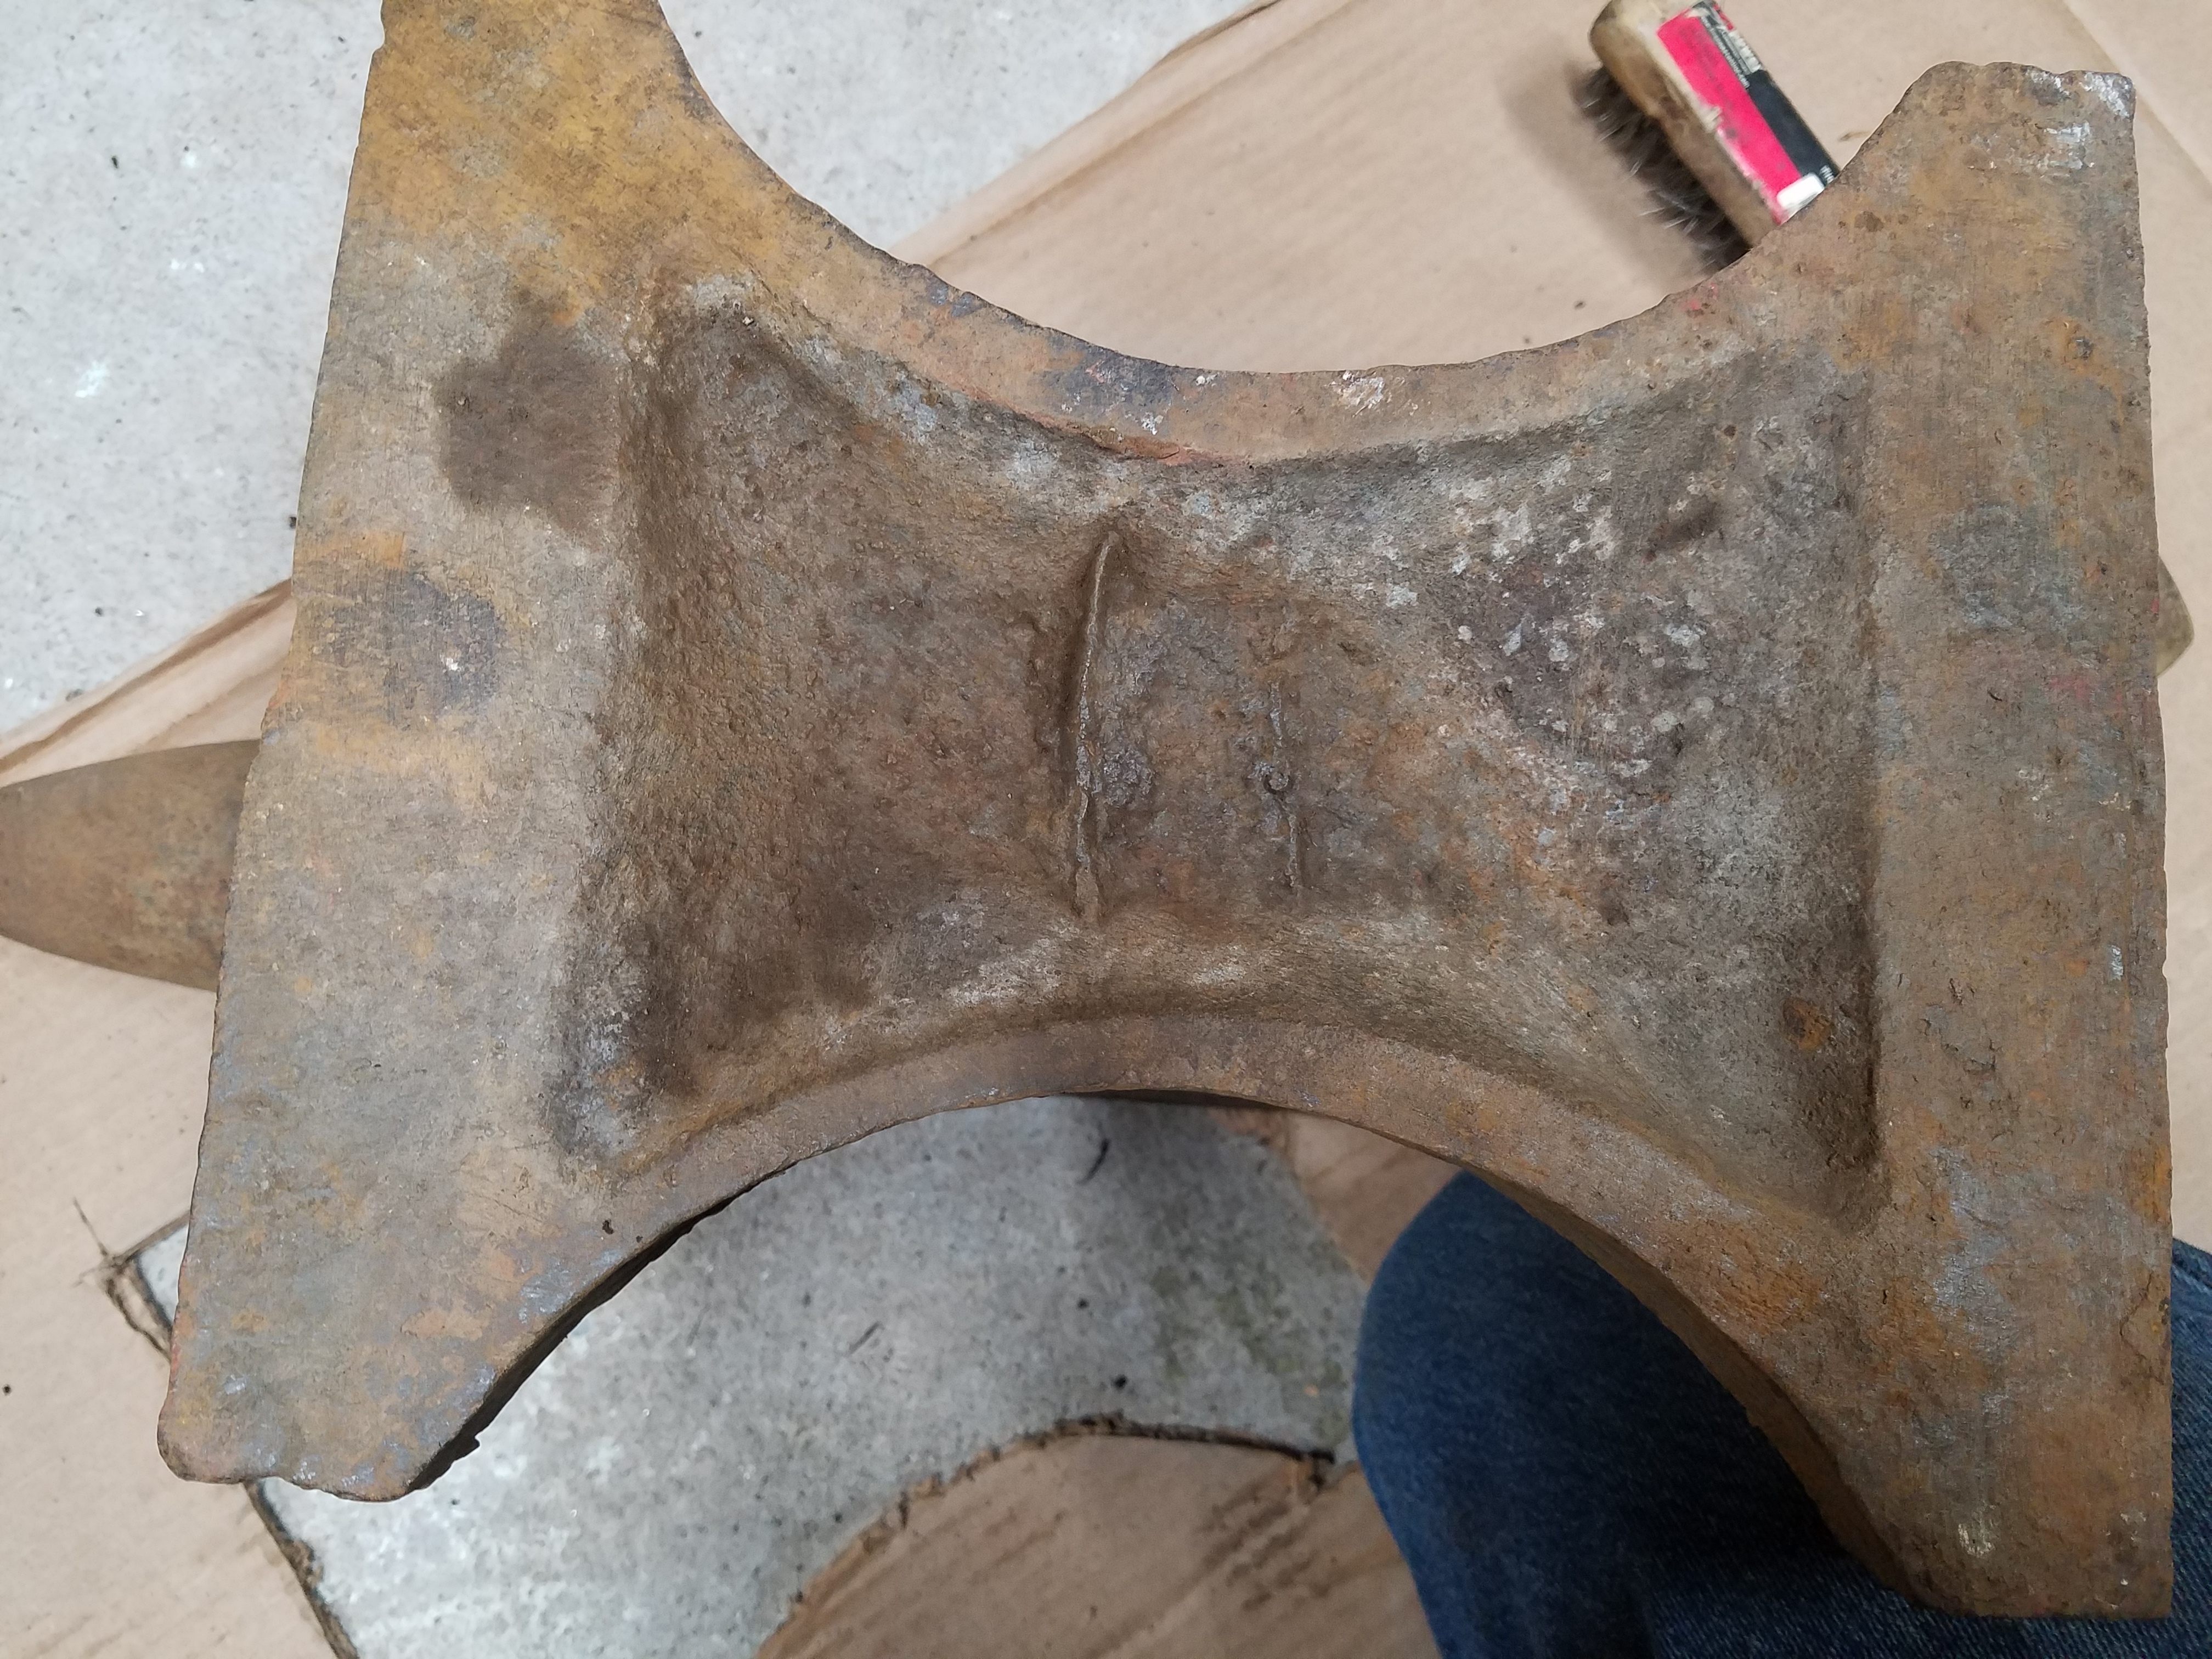
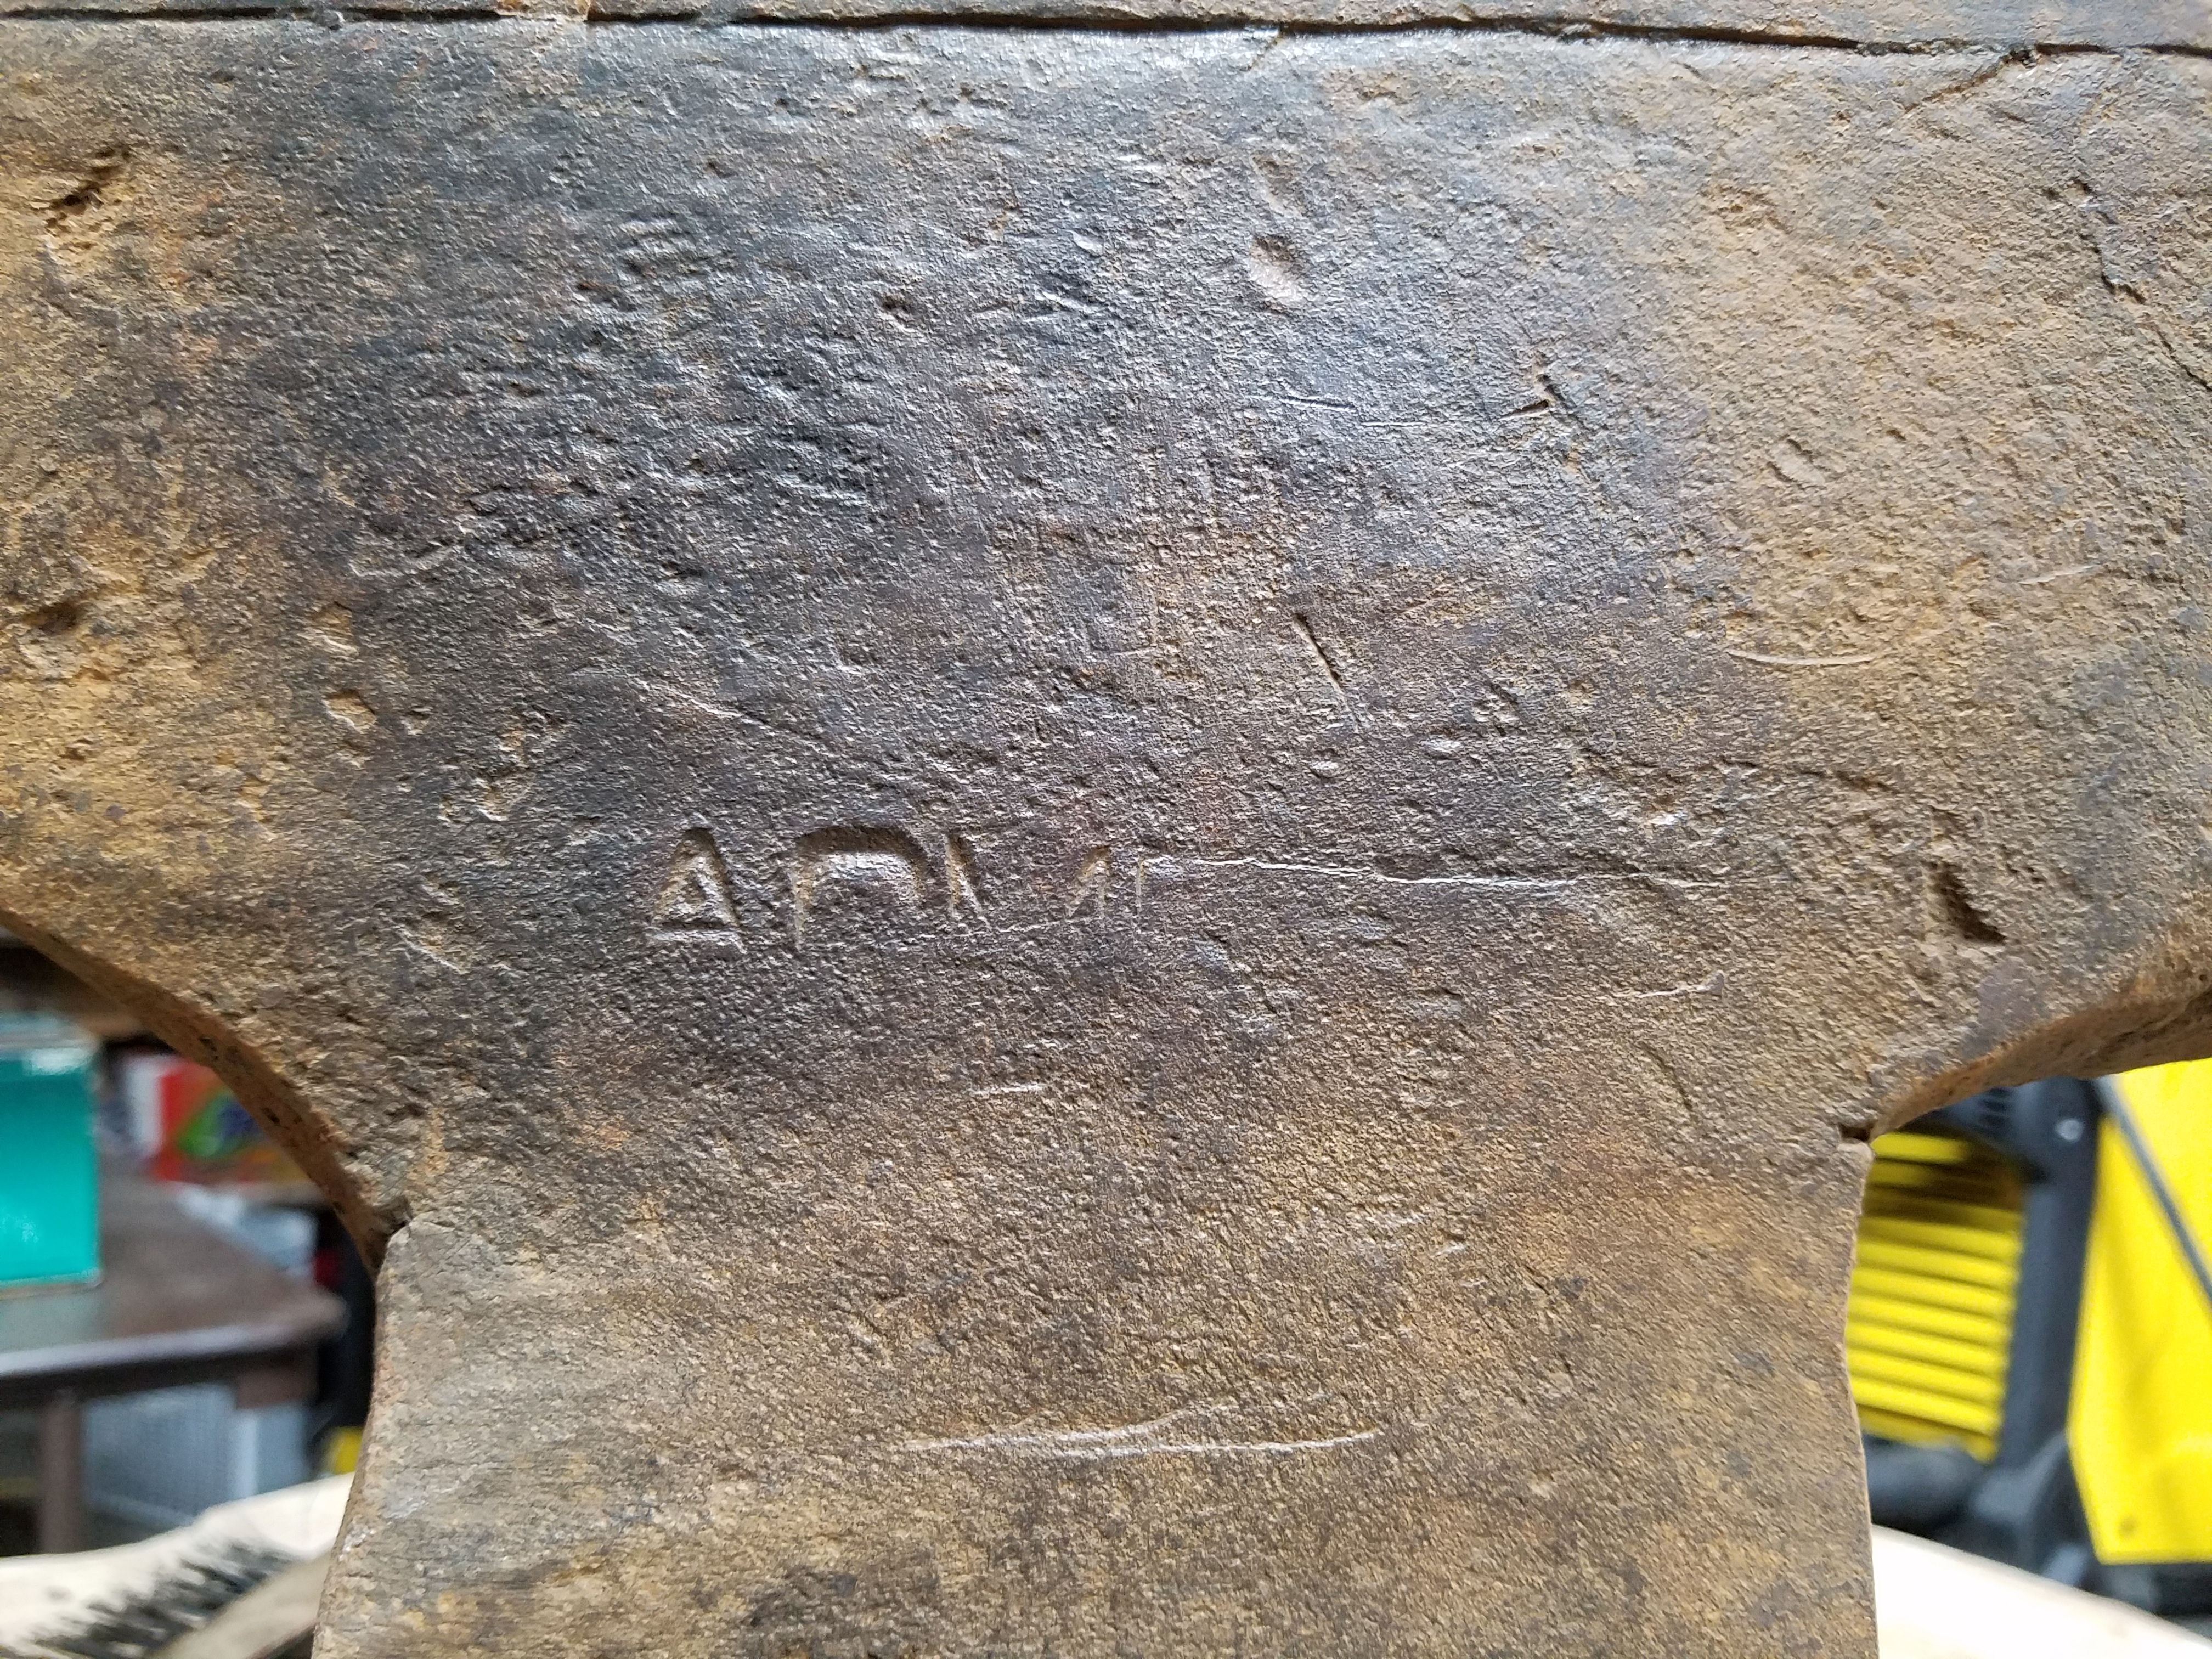
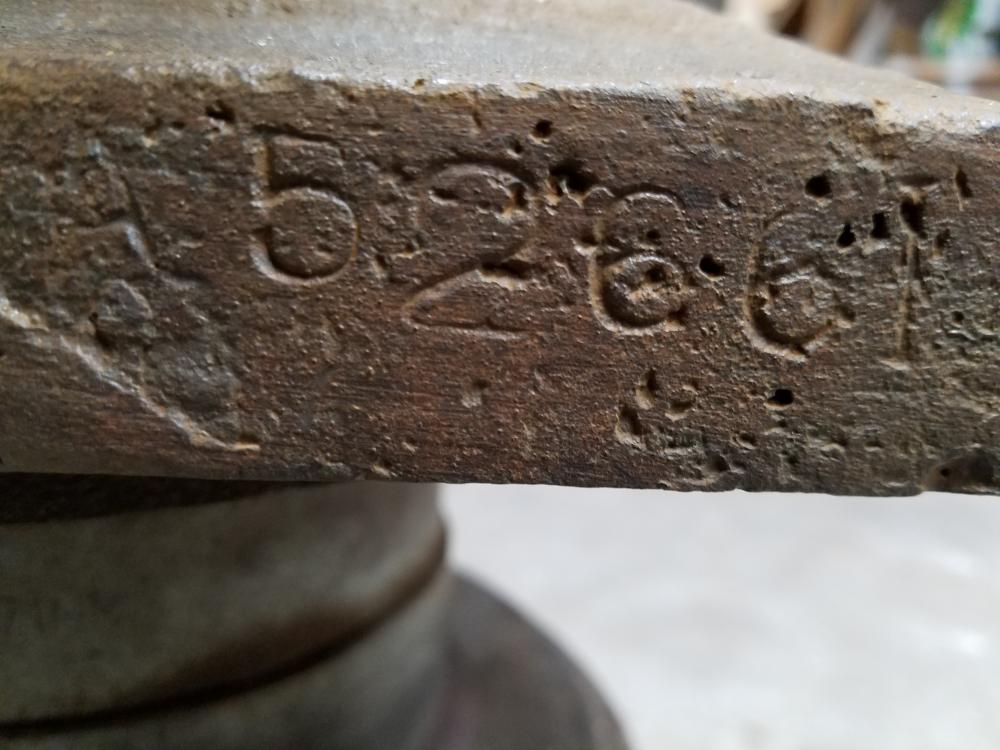
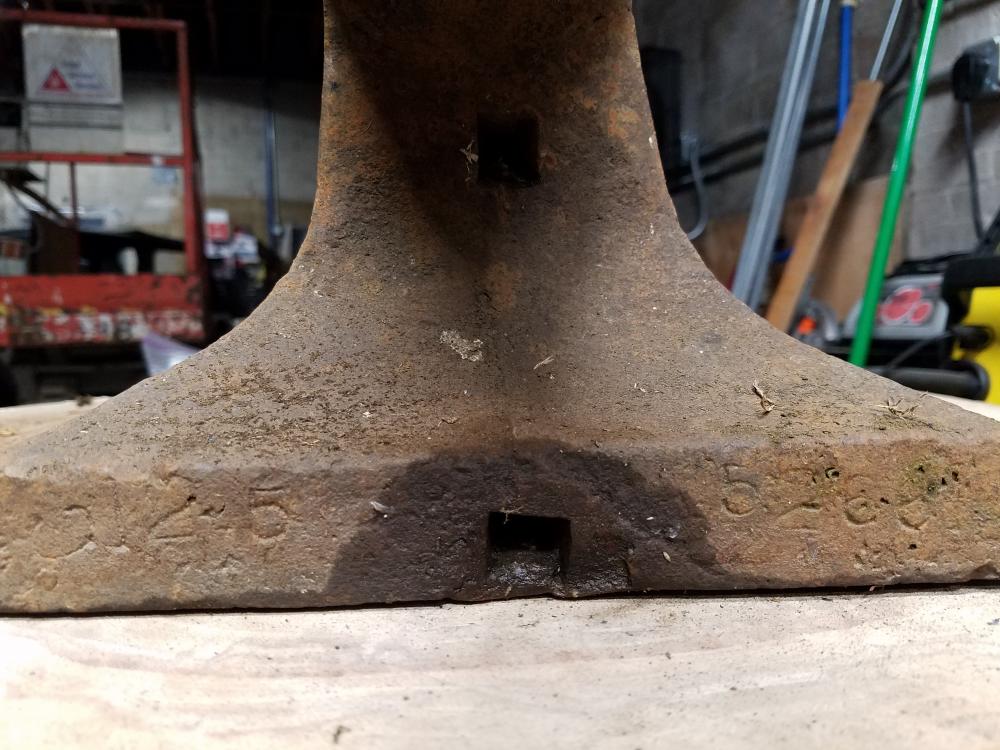
Possibly an I or a 1?
-
Coming right up.

-
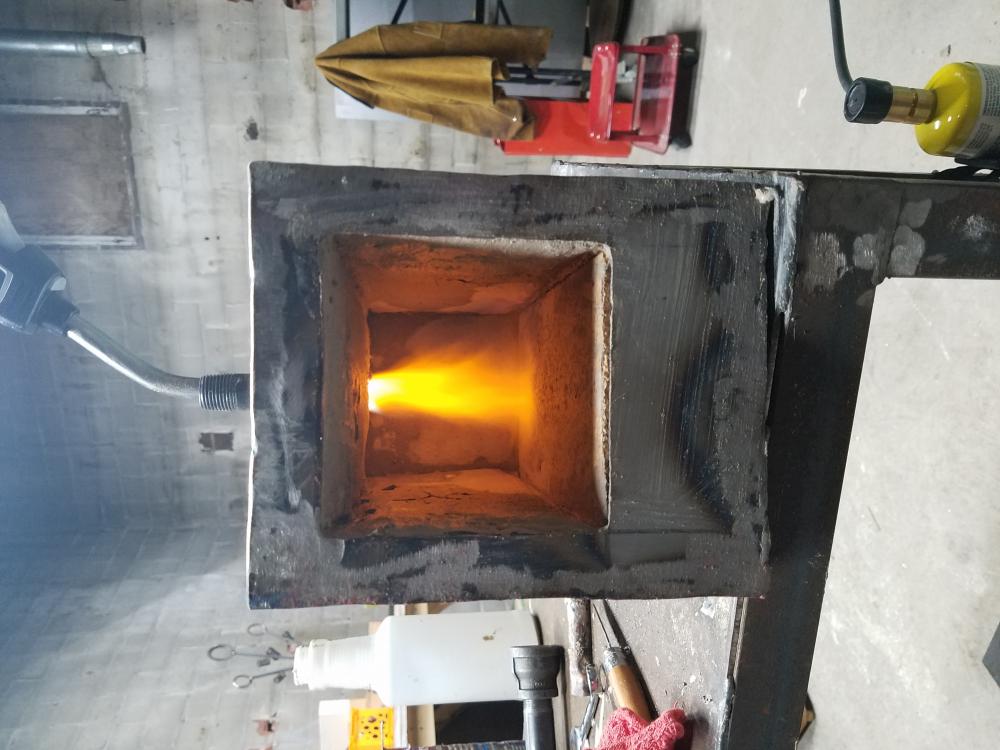
Update: per Mikey I switched to a larger size inlet pipe and used set screws. The flame changed from yellow to blue and will get a camshaft hot to the core. Also using bricks for front door.


-
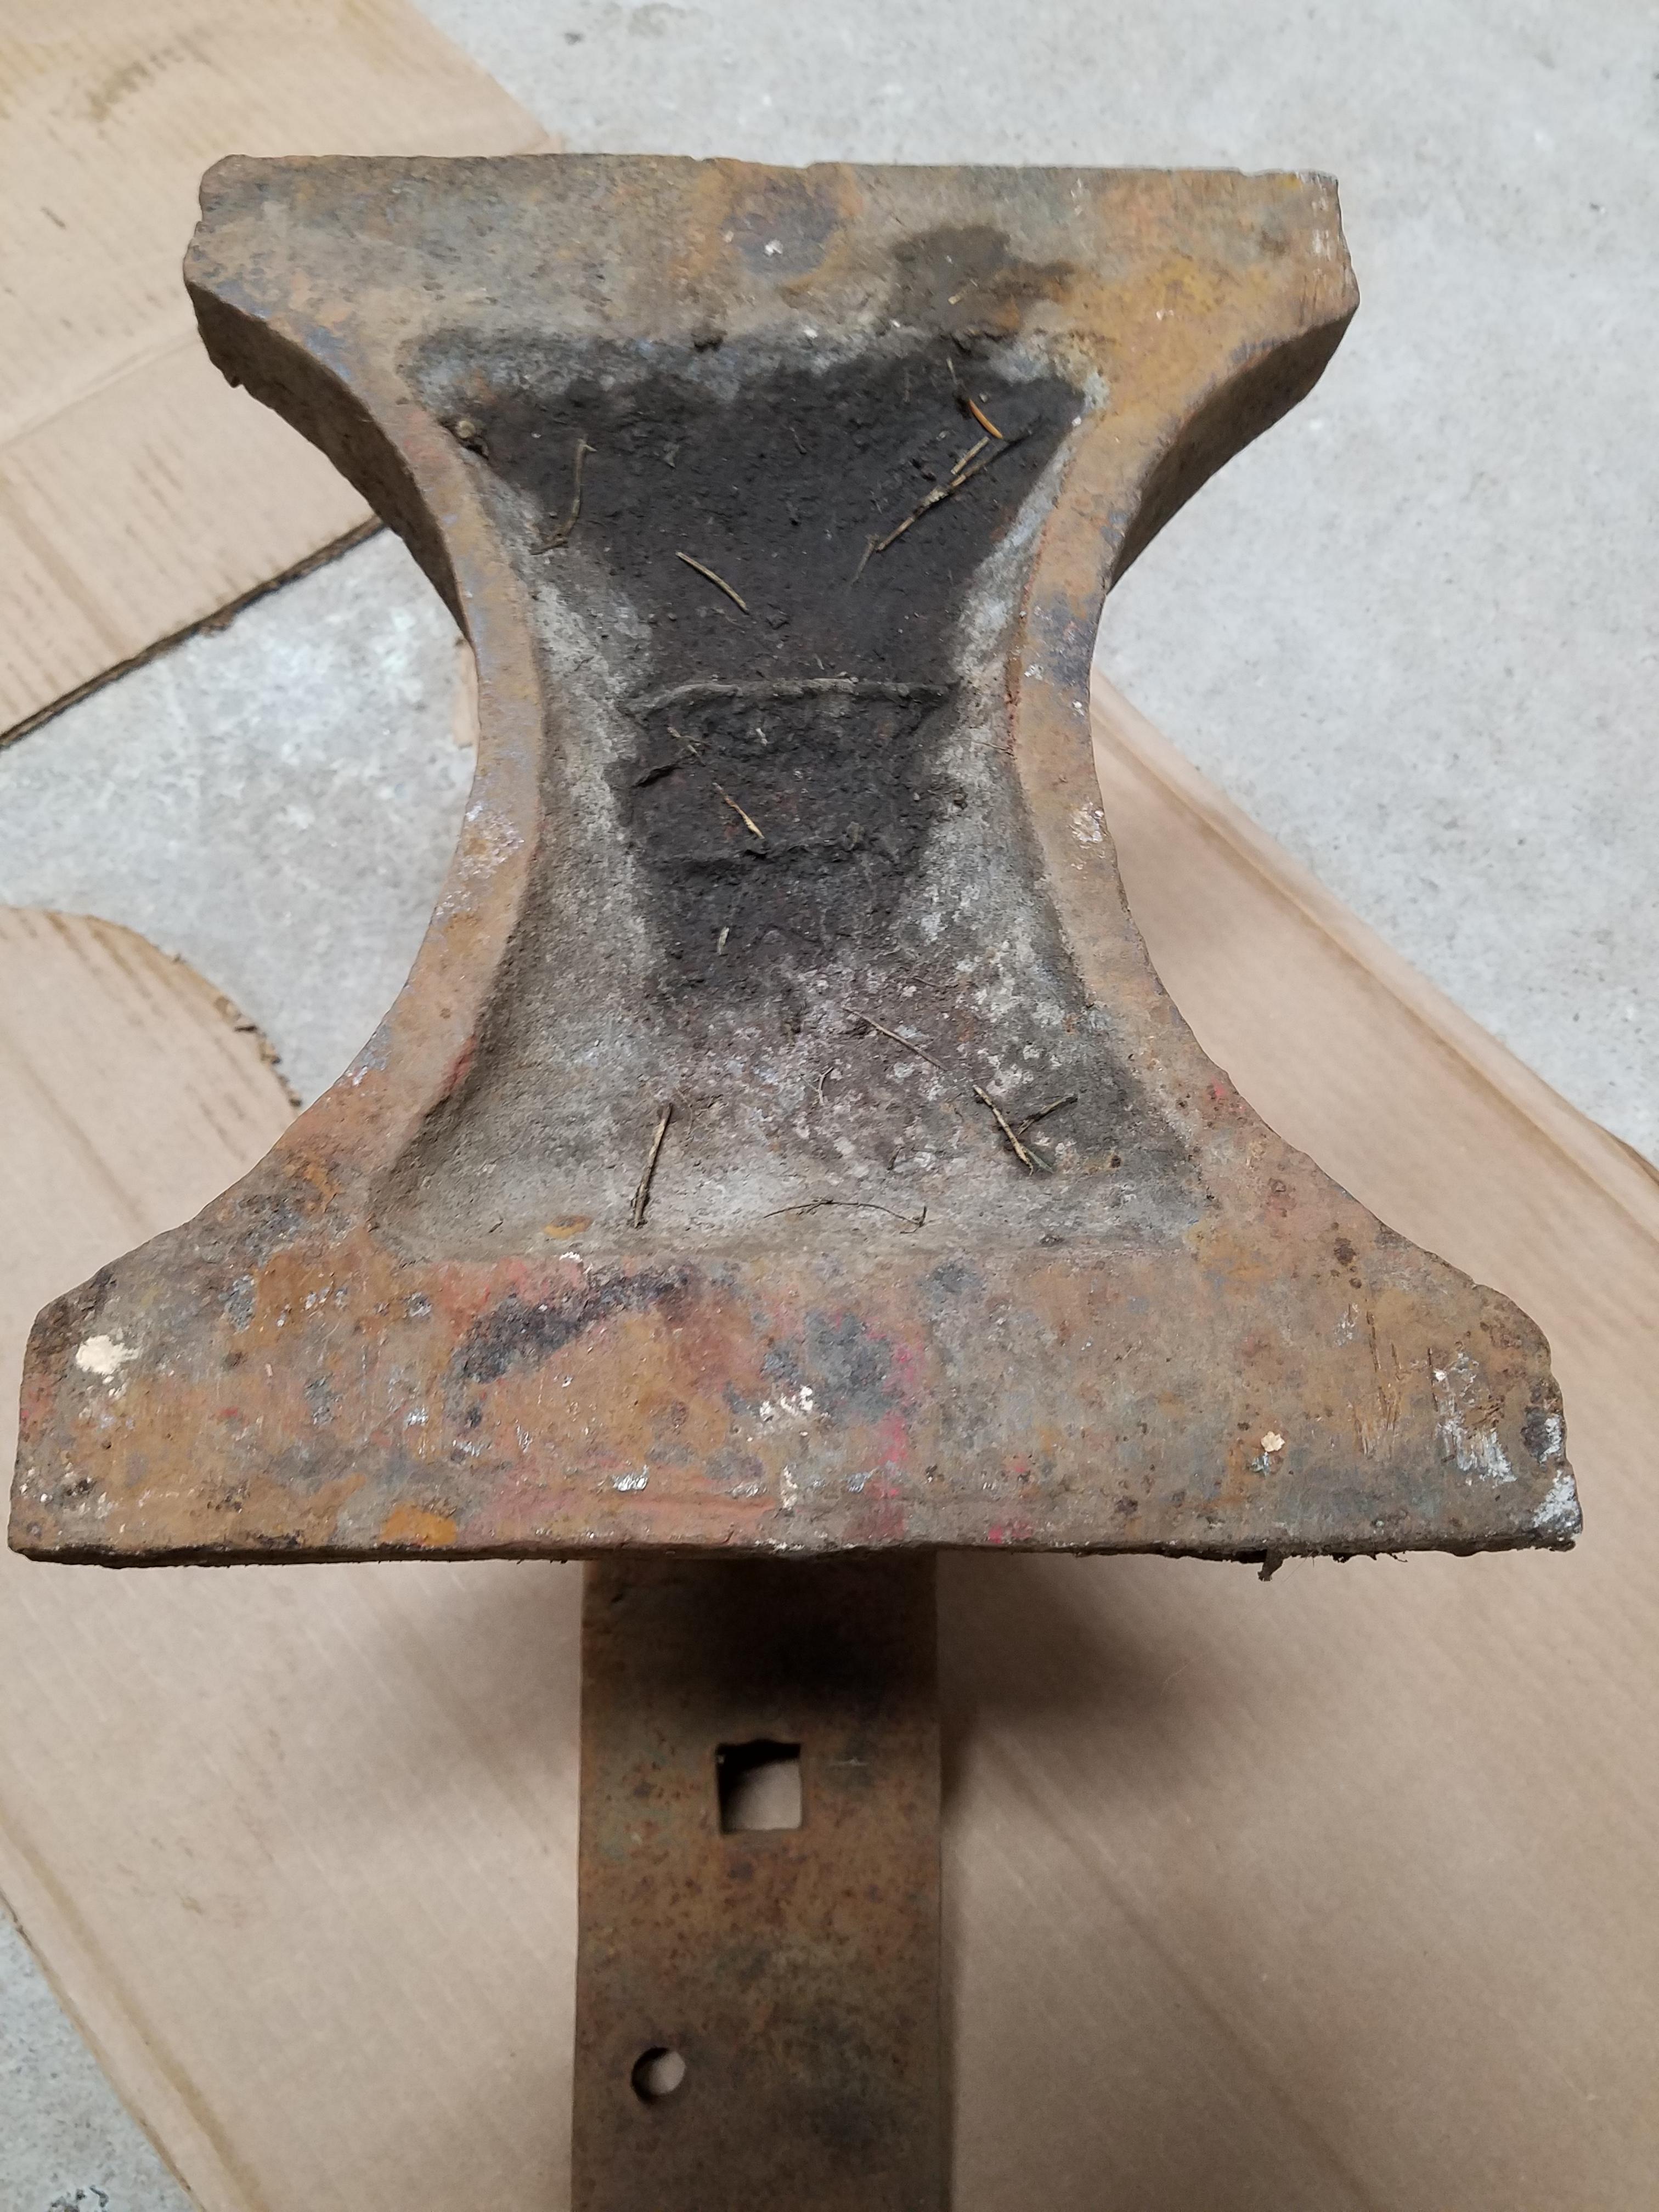
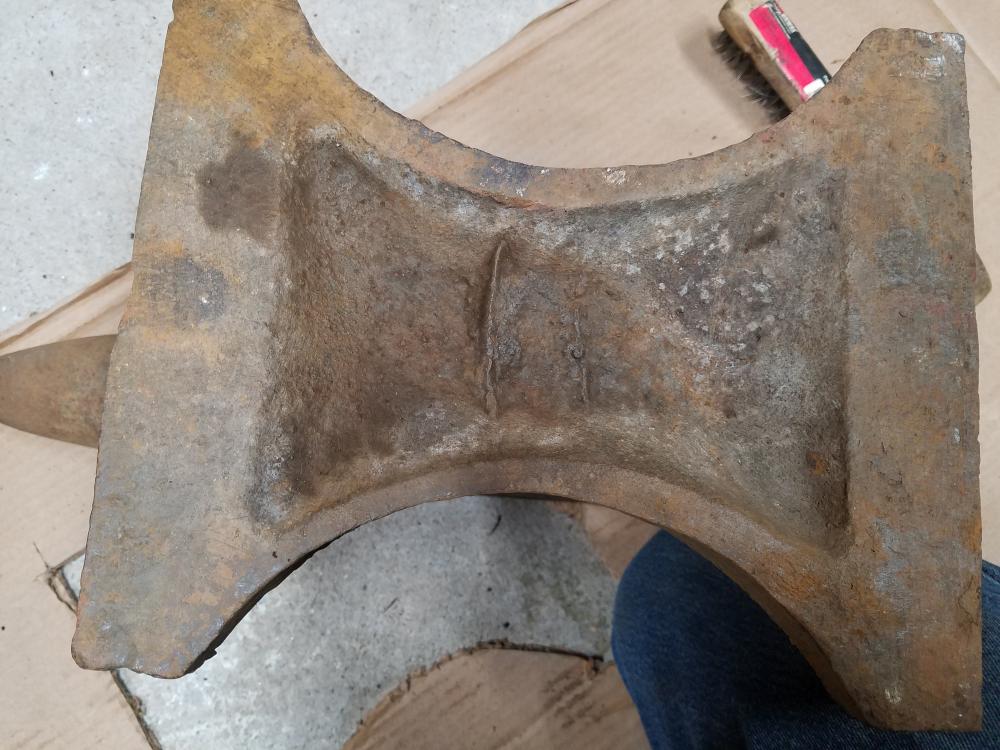
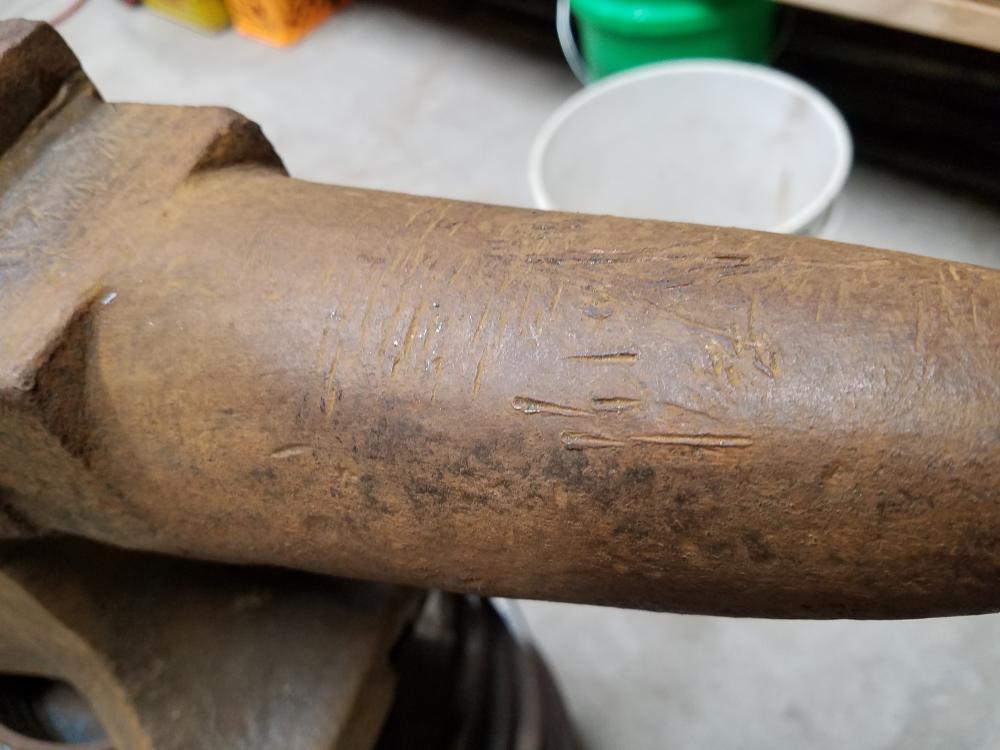
The ring fills me with joy I haven't tested rebound yet. I removed a little bit or the rust on the horn and found some marks from something. Also ous the flat area between the horn and face ment for upsetting? It was sitting outside a barn so long it had moss growing on it.
-
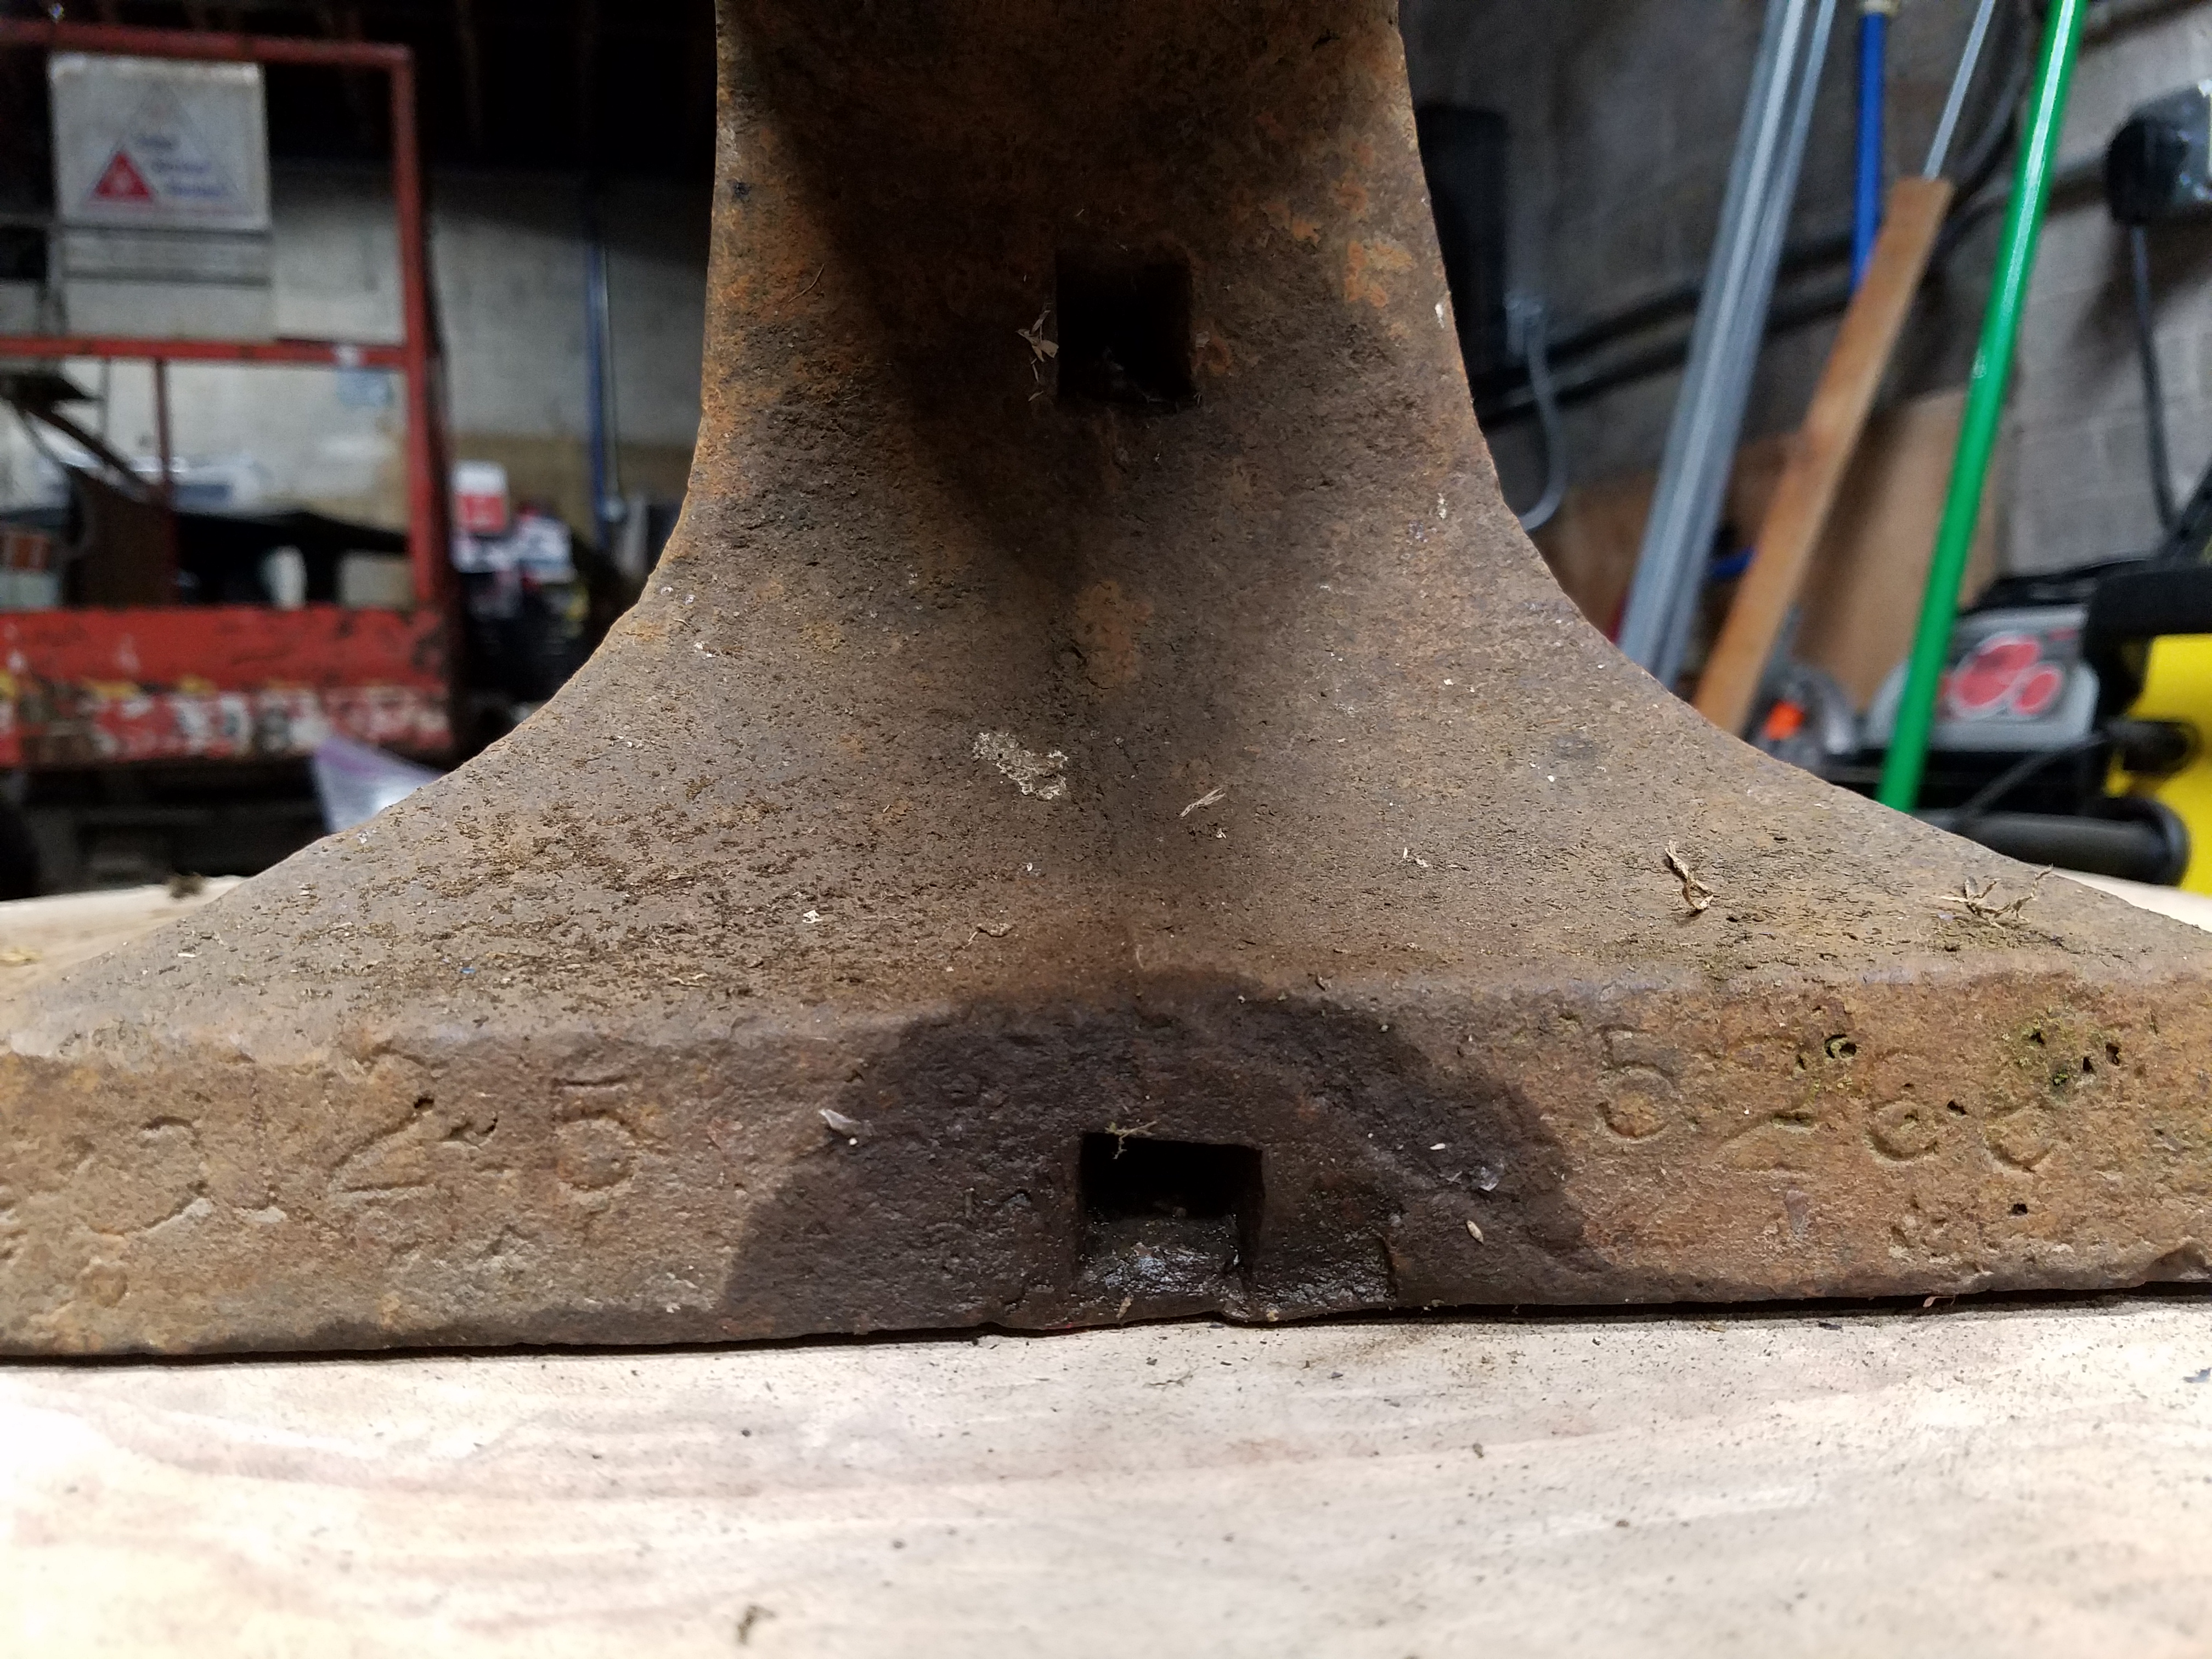
I don't know the weight maybe close to 100 pounds. And I can't read the stampings. This is my first anvil and I also got a chunk of tree to use for a stand. There are a couple chips but nothing too major. The piece of ash was free. Anvil 50 dollars. Does anyone have advice on how to clean this anvil up


-
Thank you Frosty. is the connection/fittings you are referring to the brass fitting to mig tip connection?
-
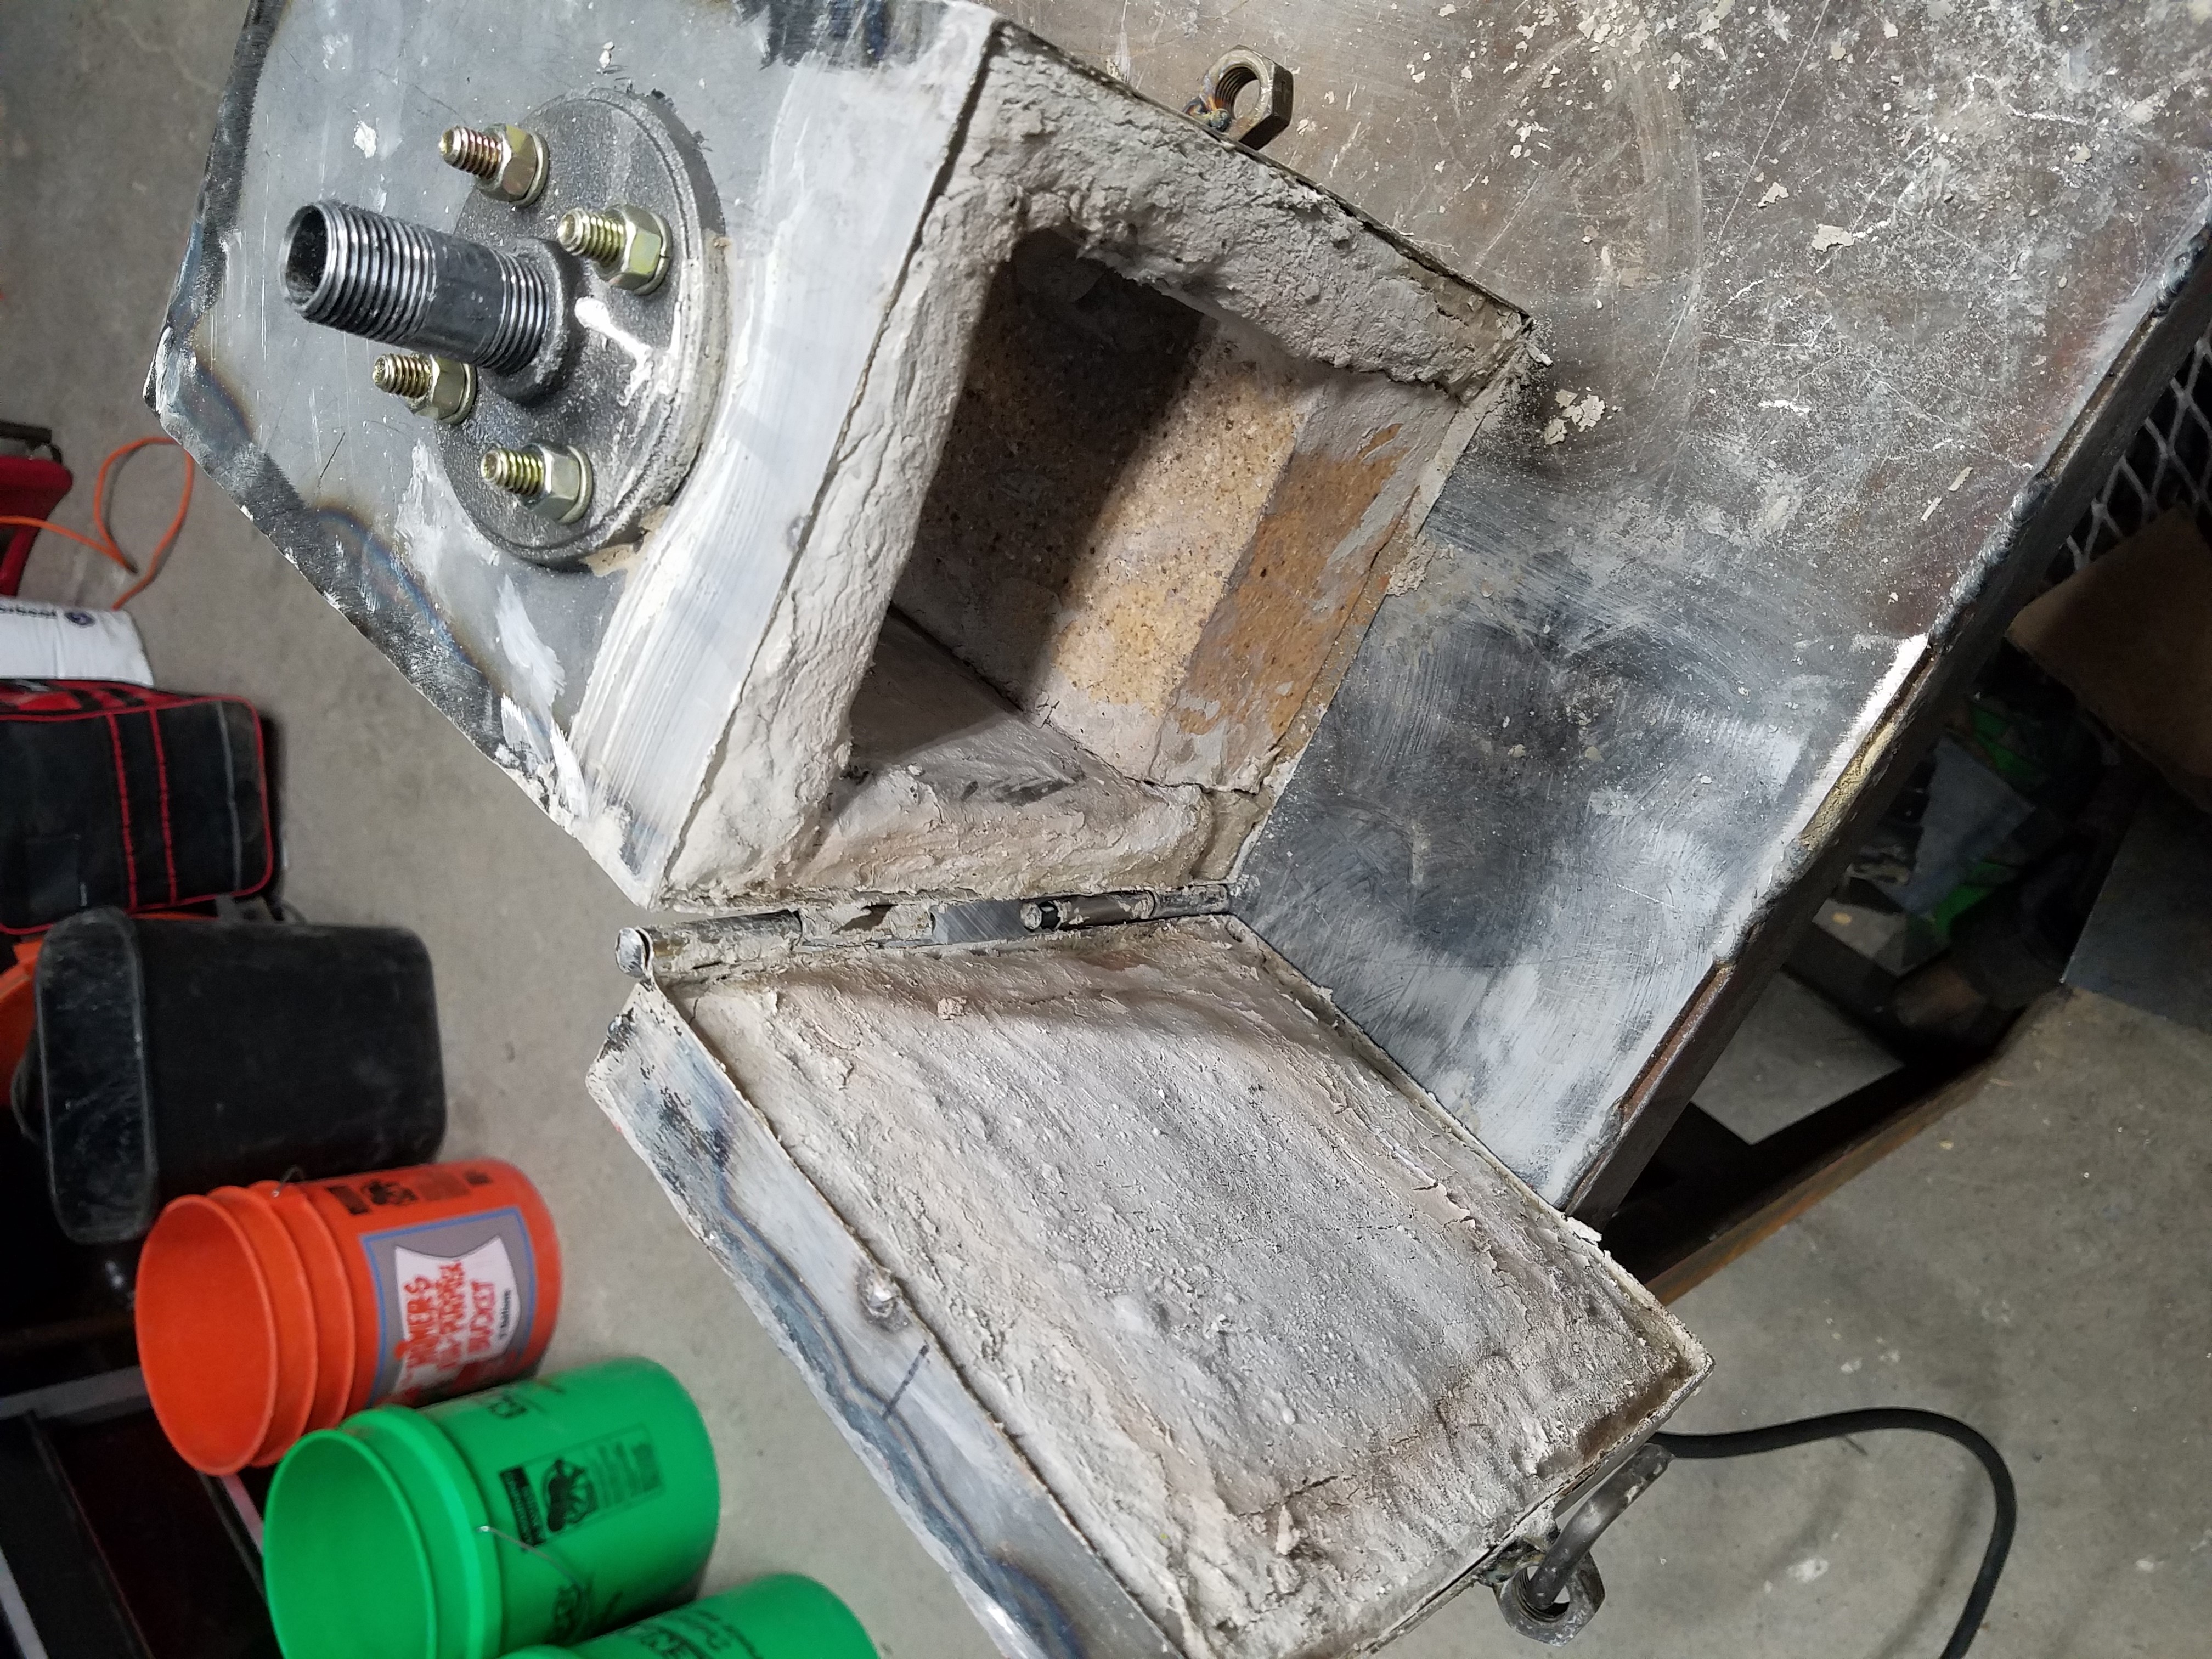
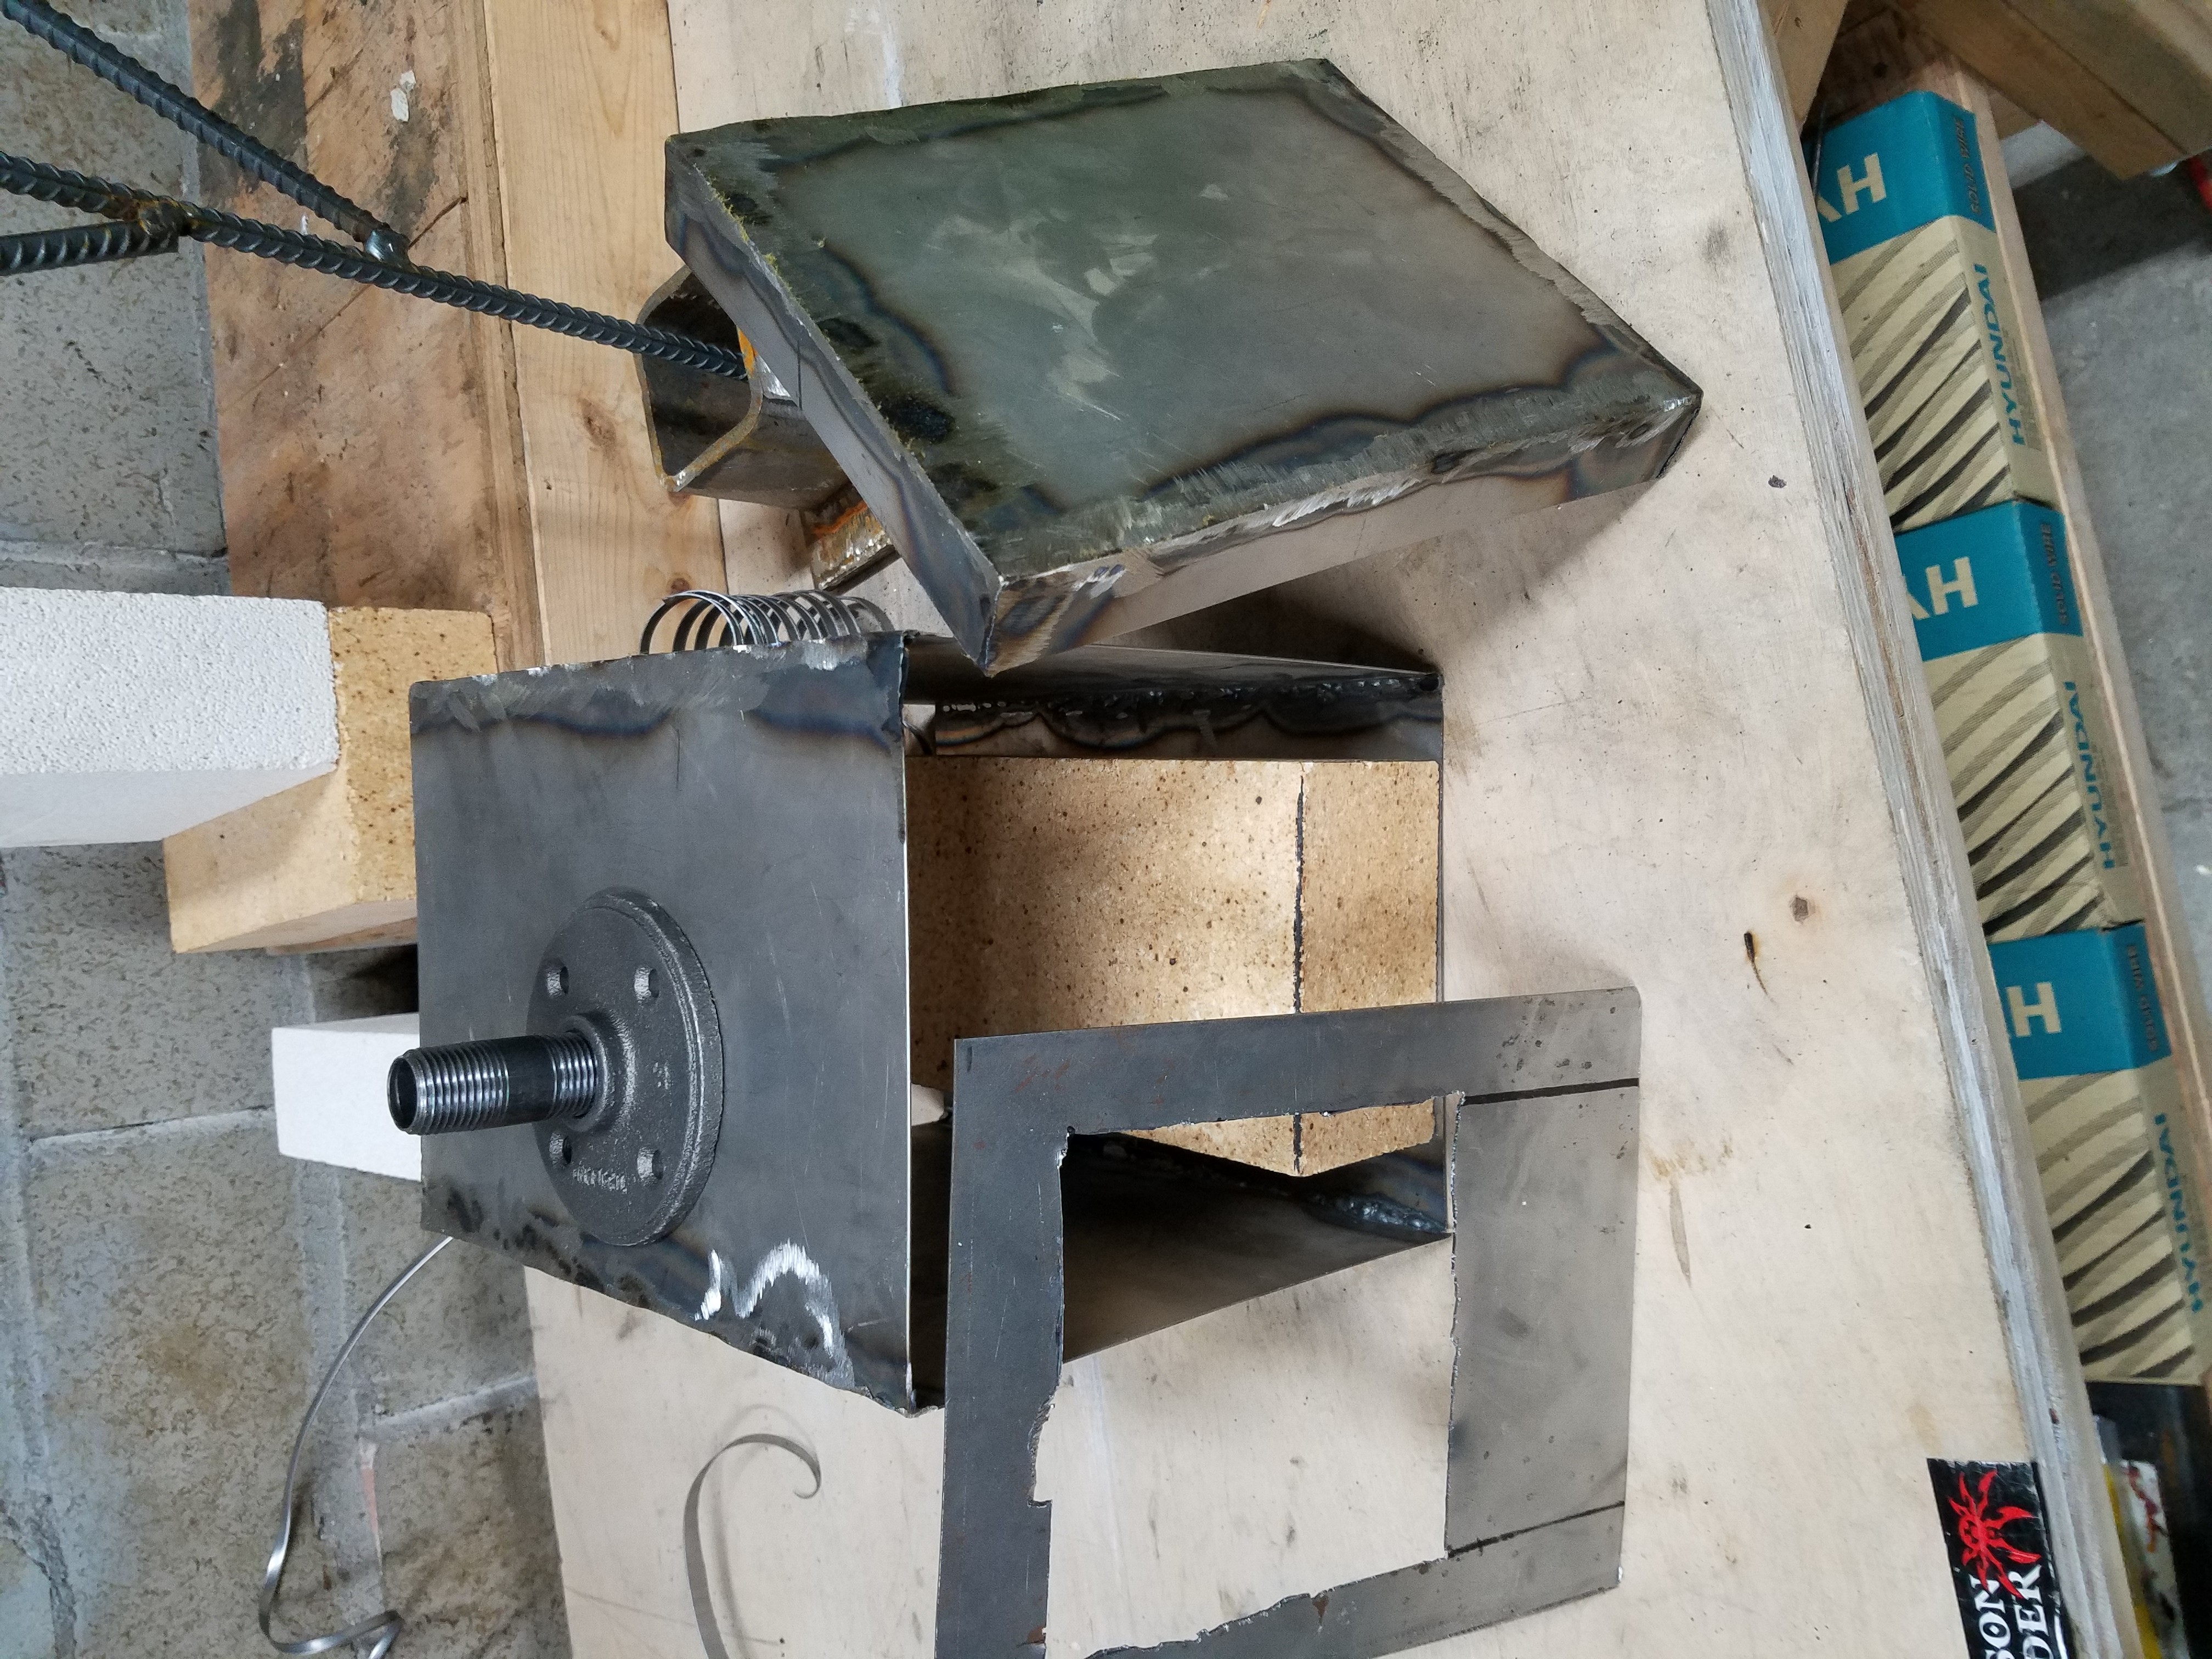
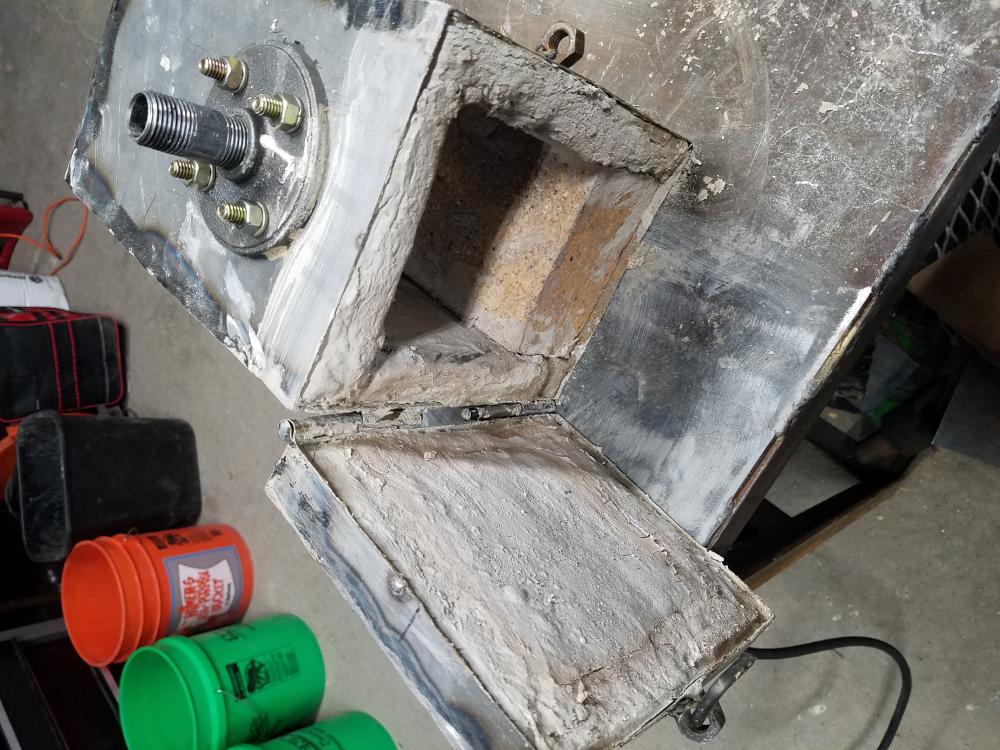
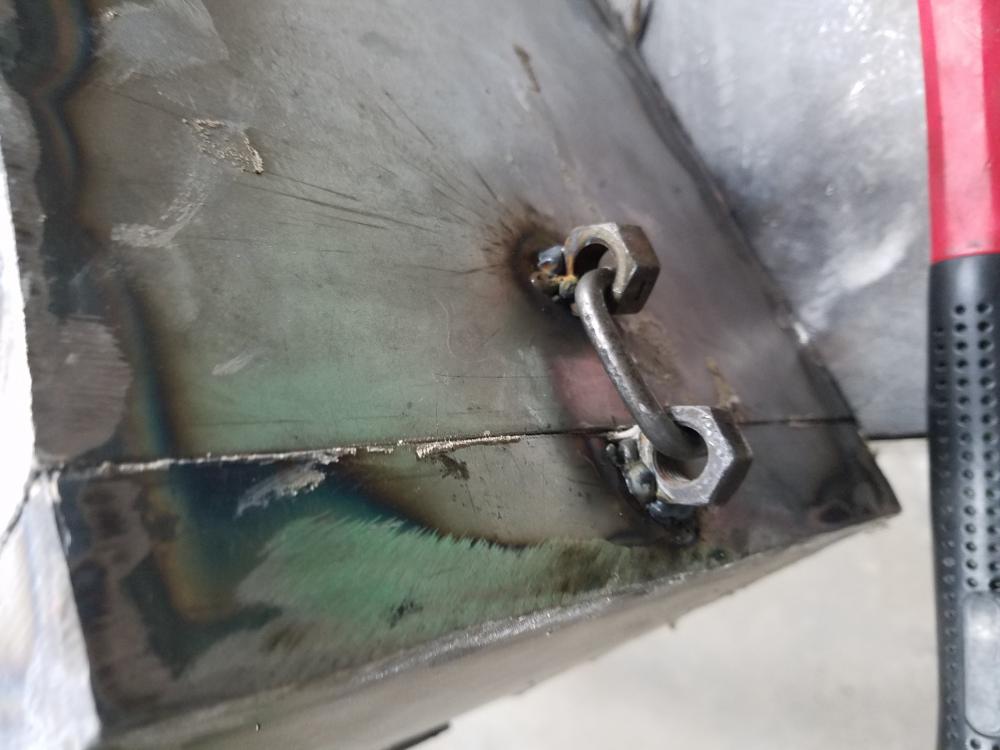
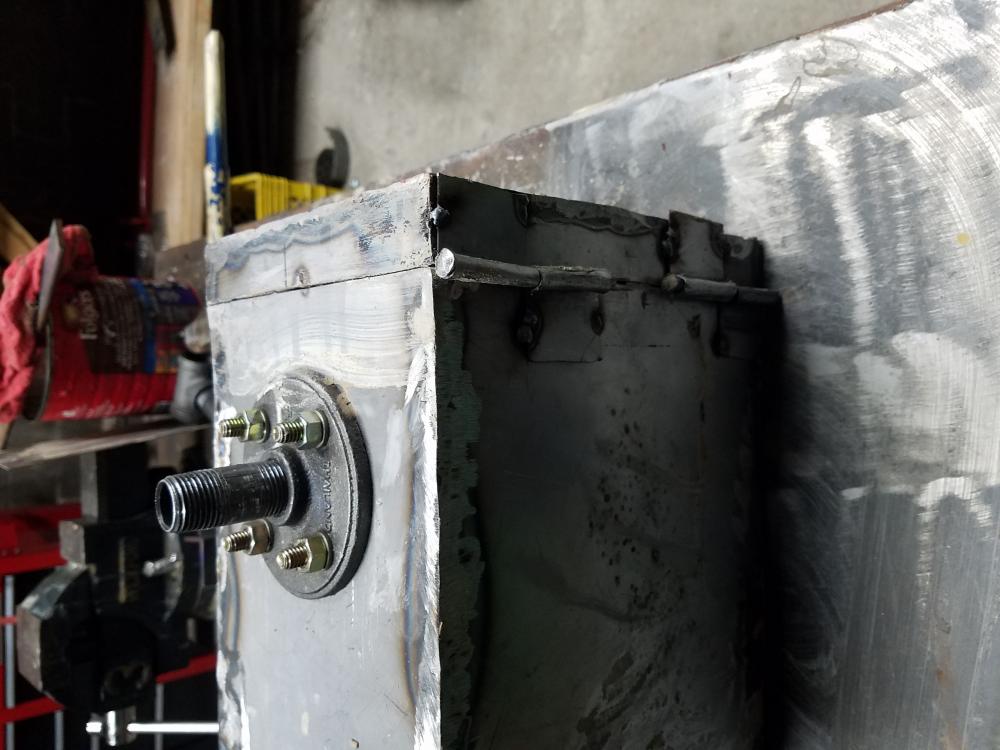
Thank you for the responses everyone Its really appreciated. Mikey I am using a 1/2 in nipple and floor flange Buzz as for your recommended reading I am in the process of reading both of them about 5 pages into each there is a lot of info there. My dimensions are 6.5in x 8 in x 8 in with an additional 1 inch deep door in the back that is insulated. For the insulation I believe the gentleman at the pottery store said that it was 8 pound 2300 degree rated. 1 inch around top and sides and a 2.5 inch tall insulating soft white brick. I did get to looking at the forums more and realize my 1 inch of insulation is not preferred. Question am I calculating total forge interior as in 6.5x8x9= 468 cubic inches or am I calculating the volume of the forge chamber which is 2.5x2.5x8=50 cubic inches I'm assuming the former. I would have put in more information and pictures and a bit of a backround on me but I had plans for my anniversary so I had to make the right choice on that one. I have almost bit the bullet and decided to build a Frosty T or "tee" burner. I called the local welding supply stores and they were quoting over 100 dollars for regulator and gauge after I had looked through the forums more I saw a few blacksmithing suppliers who sell the regulator and gauge for half of that. I have the capabilities to drill holes centered I didn't know the comparison between a bernzomatic torch versus a Frosty "Tee" versus a zoeller side arm ill look more into that tonight. I don't know if I have real original plans for a tee burner, http://www.blacksmither.com/wp-content/uploads/2015/10/T-Burner-Directions-finished-1.pd The directions seem SLIGHTLY different than what I have already found on IFI. Also in the link above they connect the burner to the forge body with floor flanges, Question in a frosty tee does the top/tee provide all the necessary air so I don't need additional air intakes like in my current box setup? Does the additional nipple, flange and whatever else inside the case change the ratios? I don't have access to thread protectors what should I use for flare. Note for pictures: this was the first day of building and I have changed the heat sucking brick out from the bottom
-
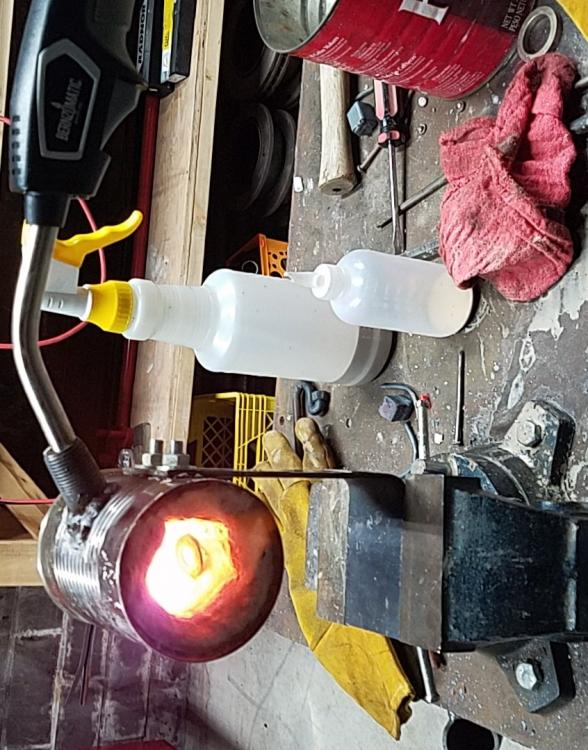
I am new at this and wanted to add forging capabilities to my metal shop so I decided to start small and work my way up from a soup can forge. Any and all recommendations are appreciated and if I am doing something wrong I always like to know. The soup can is lined with some kao-wool I got from a local pottery store, they did not stock any refractories, rigidizers, or products like plistix or itc 100 however the gentleman kindly advised me of a mix of fireclay with sodium silicate and water. My main concern was stopping the degradation of the kaowool which is evidently a heath problem. I don't have a lot of pictures of the building of the first forge because it was actually really quick and I also think I combined multiple plans. I used a short fatter soup can and drilled 2 holes in the side for mounting to a piece of stock that I had bent a 90 degree bend into and a slightly larger hole than the half inch nipple I use to hold the burner at about 2 o'clock when looking into the can. I lined the inside with 1 inch of kaowool on the bottom and sides using the seam of the side to allow the burner to come into the chamber tucked into the cloth. After I had the can bolted to the stand and the liner in place I mixed the clay, sodium silicate and water to a chocolate milk consistency and poured onto the fabric in a very thin layer which was aided by the thin viscosity of the mix. I took my mappro torch and with the lightest flame setting and dried the surface of the clay then put the torch in the burner port and heated it up to essentially what you hopefully see in my picture. To avoid flames coming out the mouth of the can I have to run the torch on its pretty much lowest setting but It still will get a nail glowing hot in a minute or less. My conclusion from this little can forge is I love working with it but I wanted to be able to work larger stock. So I got working on another project the box forge I added some extra features I thought I would like but I didn't know how to account for the difference in volumes of chambers. I made the case out of 20 and 18 gauge sheet, made a door, handmade the crude hinges and made a base with a white firebrick which I later changed to the lighter style. I have problems with losing too much heat and am pretty sure I would need to upgrade to a real burner setup. Any advice on next steps would be greatly appreciated P.s. that hunk of ash will possibly be my anvil stand