TimberBull
-
Posts
41 -
Joined
-
Last visited
Recent Profile Visitors
1,393 profile views


-
Thanks Thomas. I was hoping you knew its parents. Asking price is very reasonable depending on a couple of factors. Yeah. It is an odd duck. Thanks for the reply. Thanks. Gonna be interesting no matter what.
-
Thanks Thomas. I was hoping you knew its parents. Asking price is very reasonable depending on a couple of factors. Yeah. It is an odd duck. Thanks for the reply.
-
Thanks Rob!
-
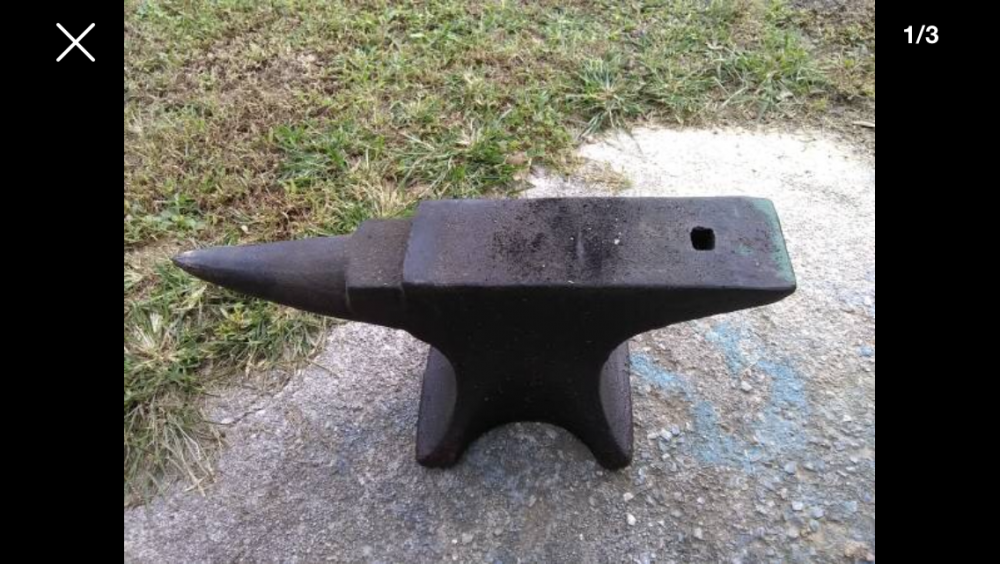
Any of the experts here have any idea what brand of anvil this is by the shape? All I know is that about 80lbs and has been painted. Supposed to look at it tomorrow. I could use a decent 80 to 125lb anvil to tote around. Thanks
-

Show me your Bottle Openers!
TimberBull replied to Arbalist's topic in Blacksmithing, General Discussion
Great instructional video. That’s all I got to say about that. -
Show me your blacksmith pets
TimberBull replied to Glenn's topic in Blacksmithing, General Discussion
Chief and Timber

-
TimberBull changed their profile photo
-

-
Welding nuts or bolts to metal
TimberBull replied to Glenn's topic in Welding/Fab General Discussion
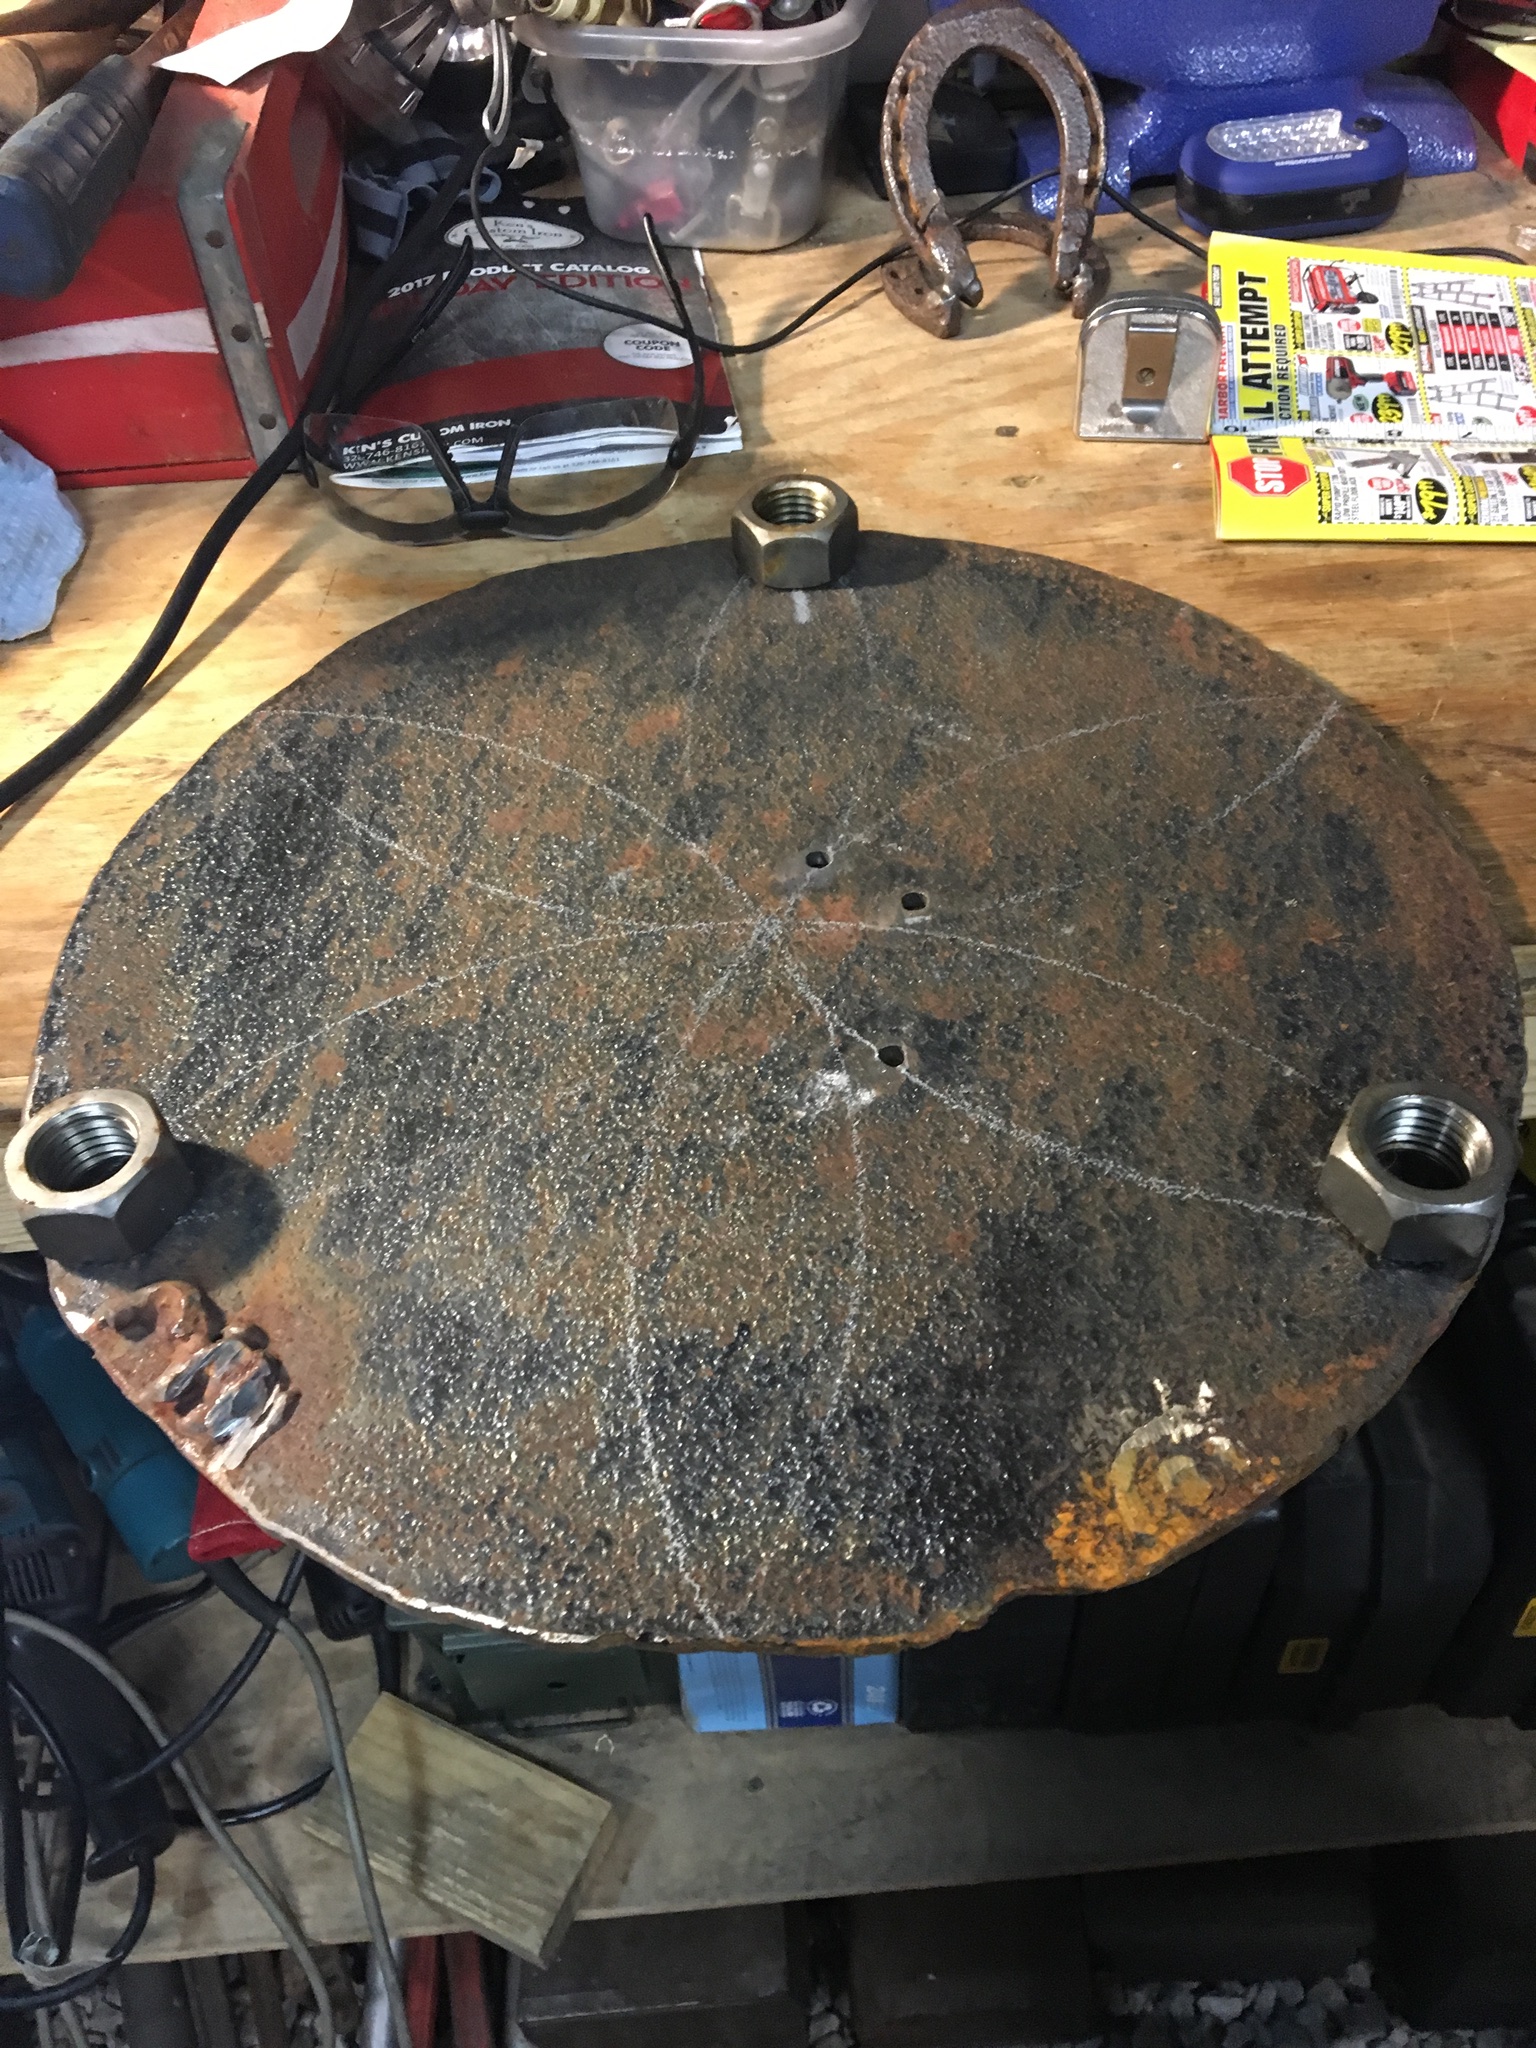
I cleaned the material and clamped the nuts to the top with vise grips. Tacked and then welded all around the base of the nuts. I then screwed the bolts in and heated with a torch until I could pull them into the angle I wanted. Very sturdy and heavy forge table.
-
You might be addicted to blacksmithing if you...
TimberBull replied to divermike's topic in Blacksmithing, General Discussion
You drop something and you look for your tongs. -
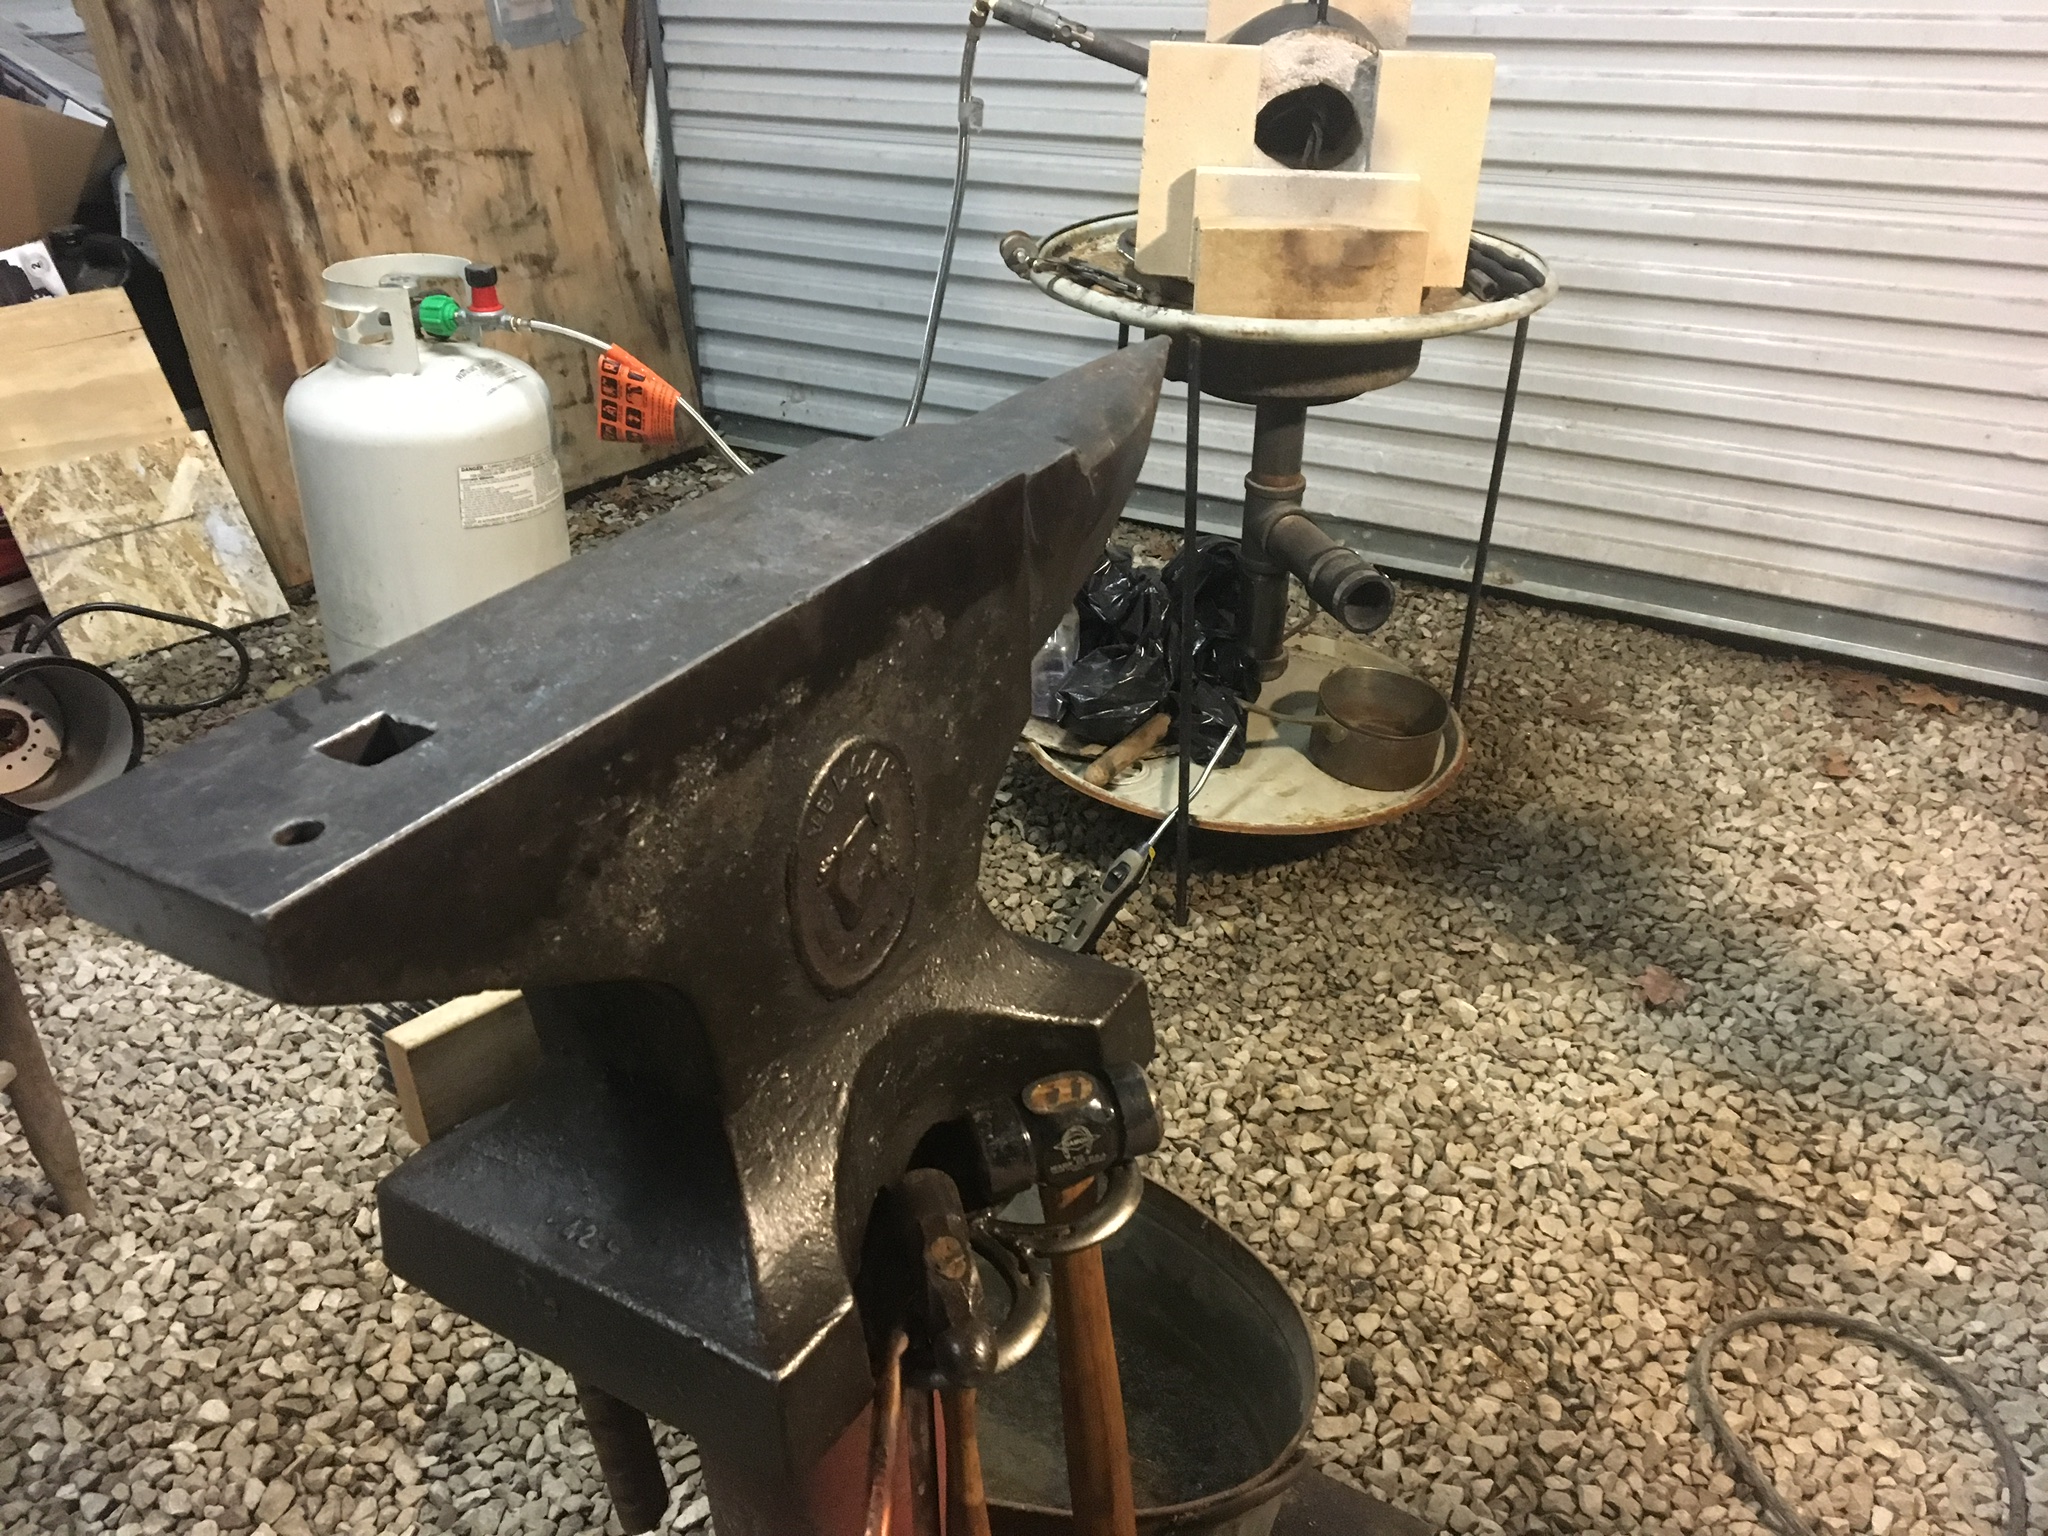
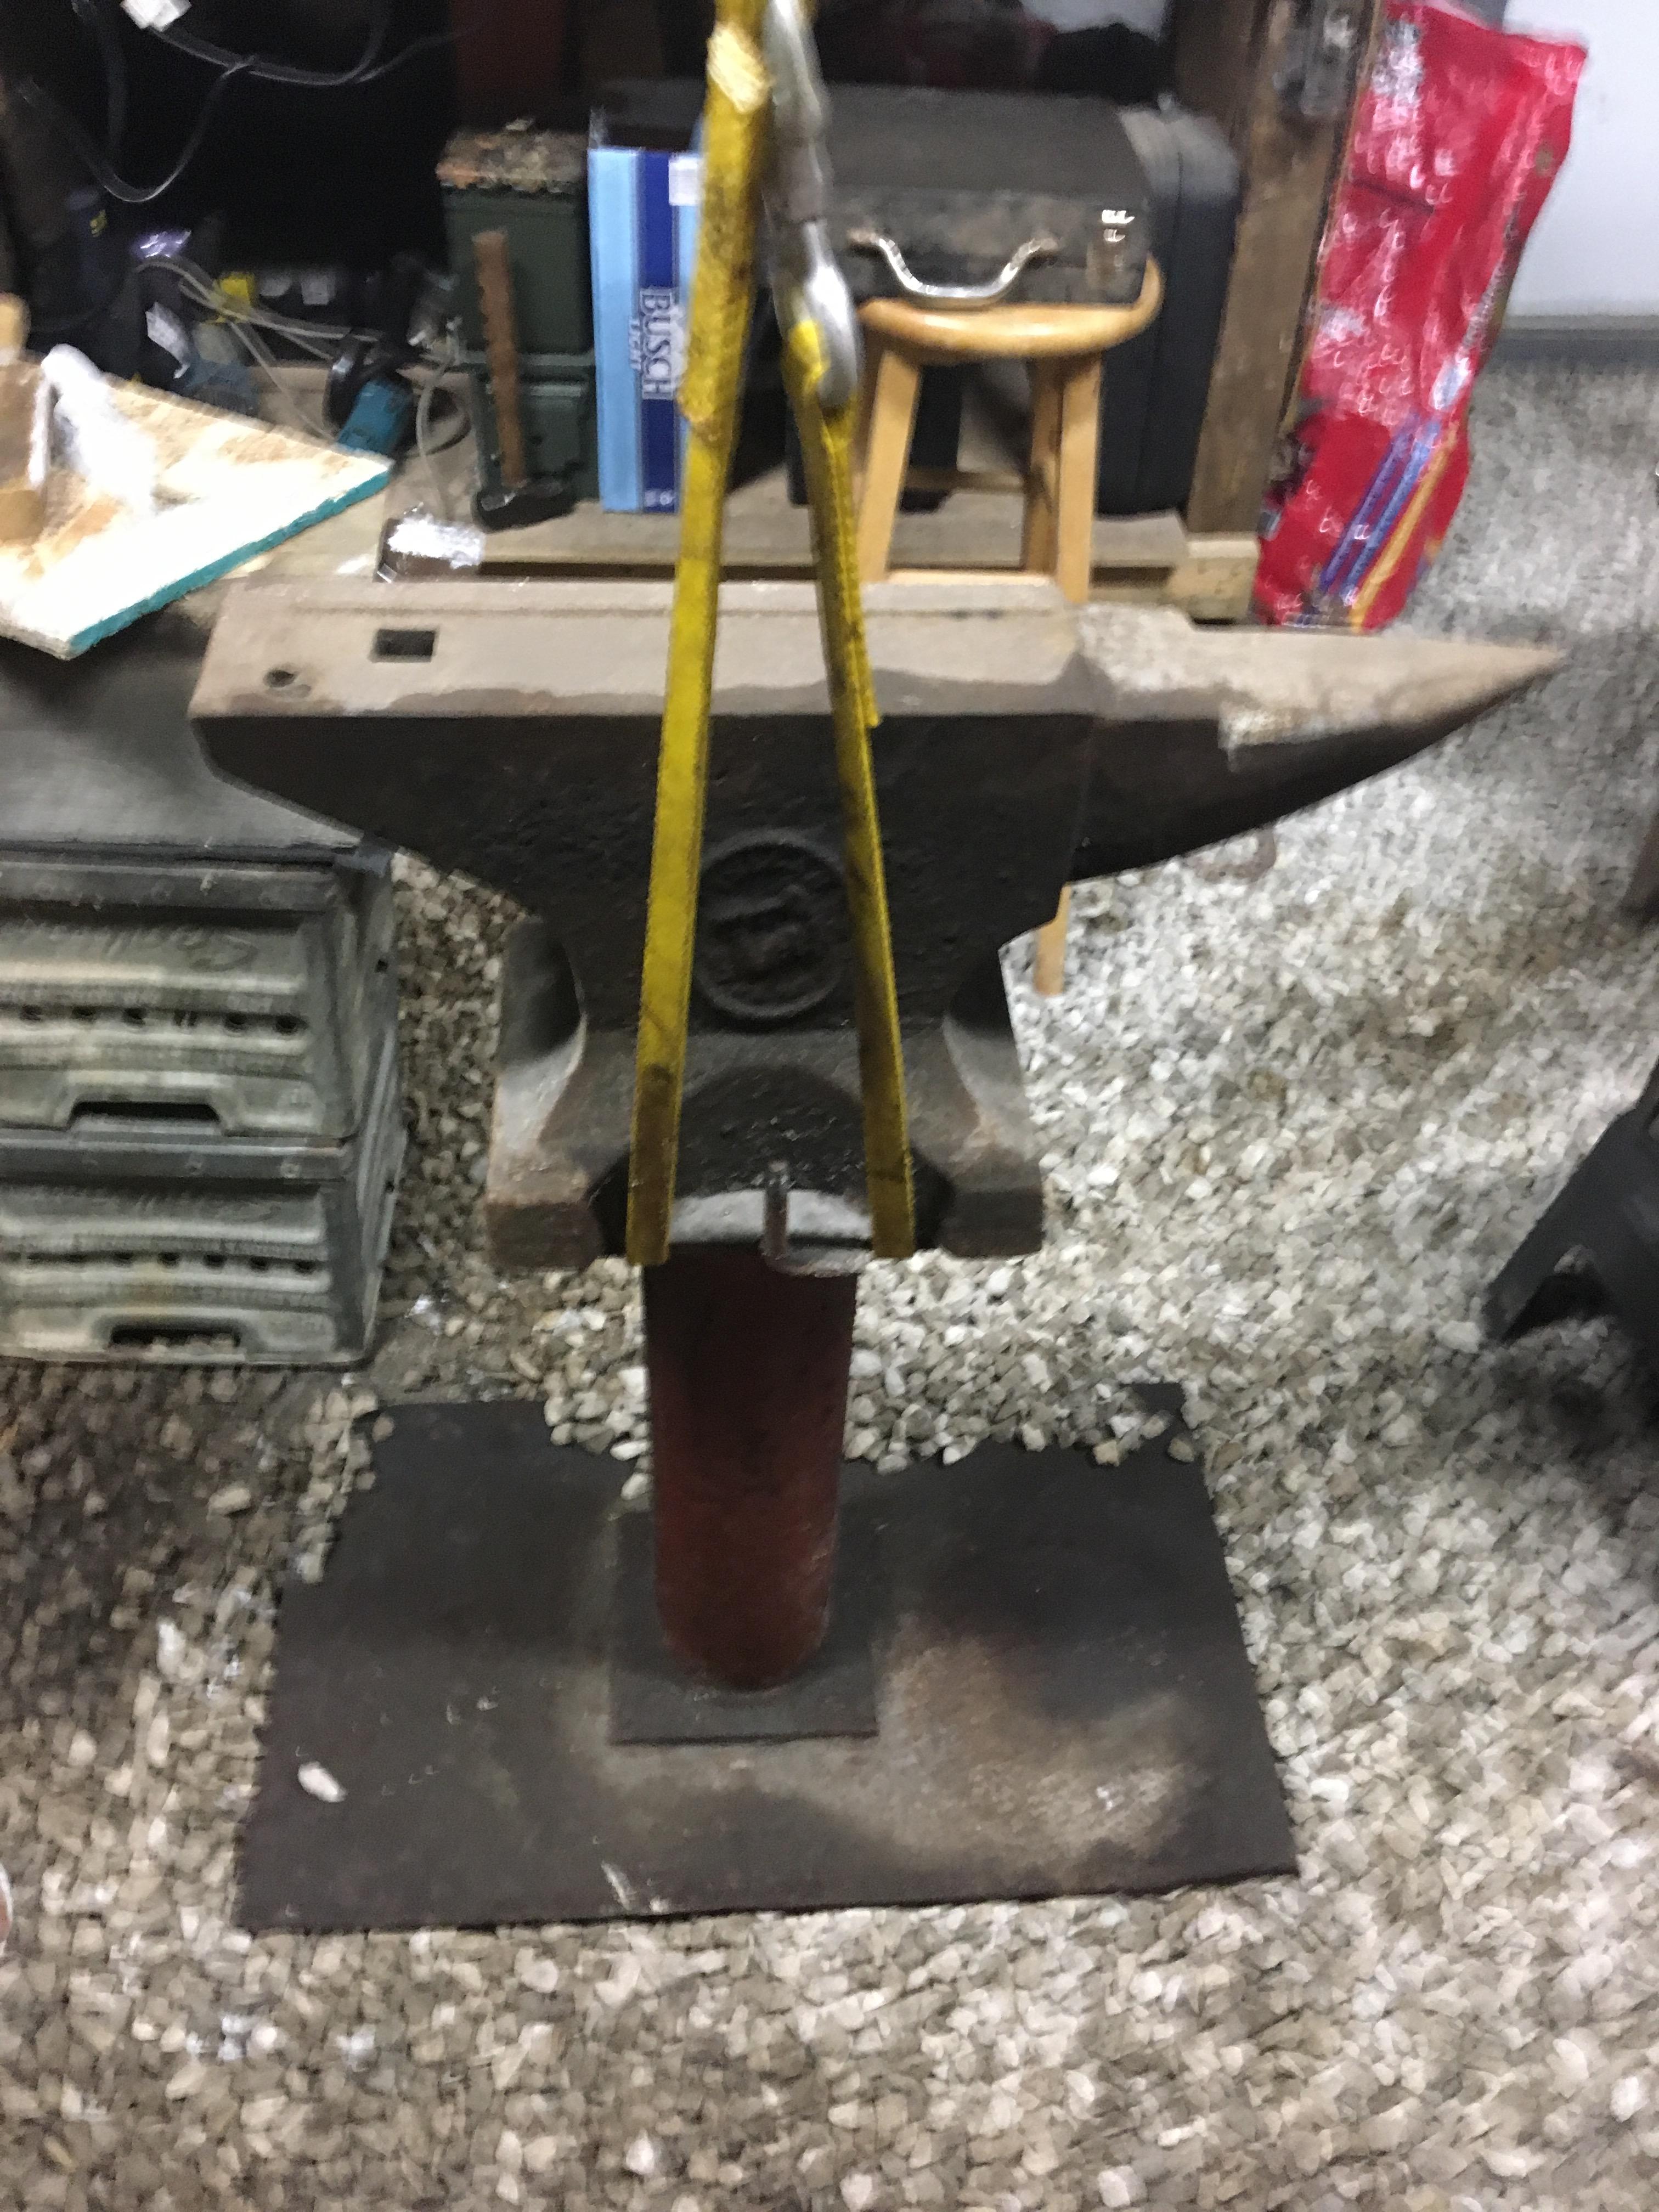
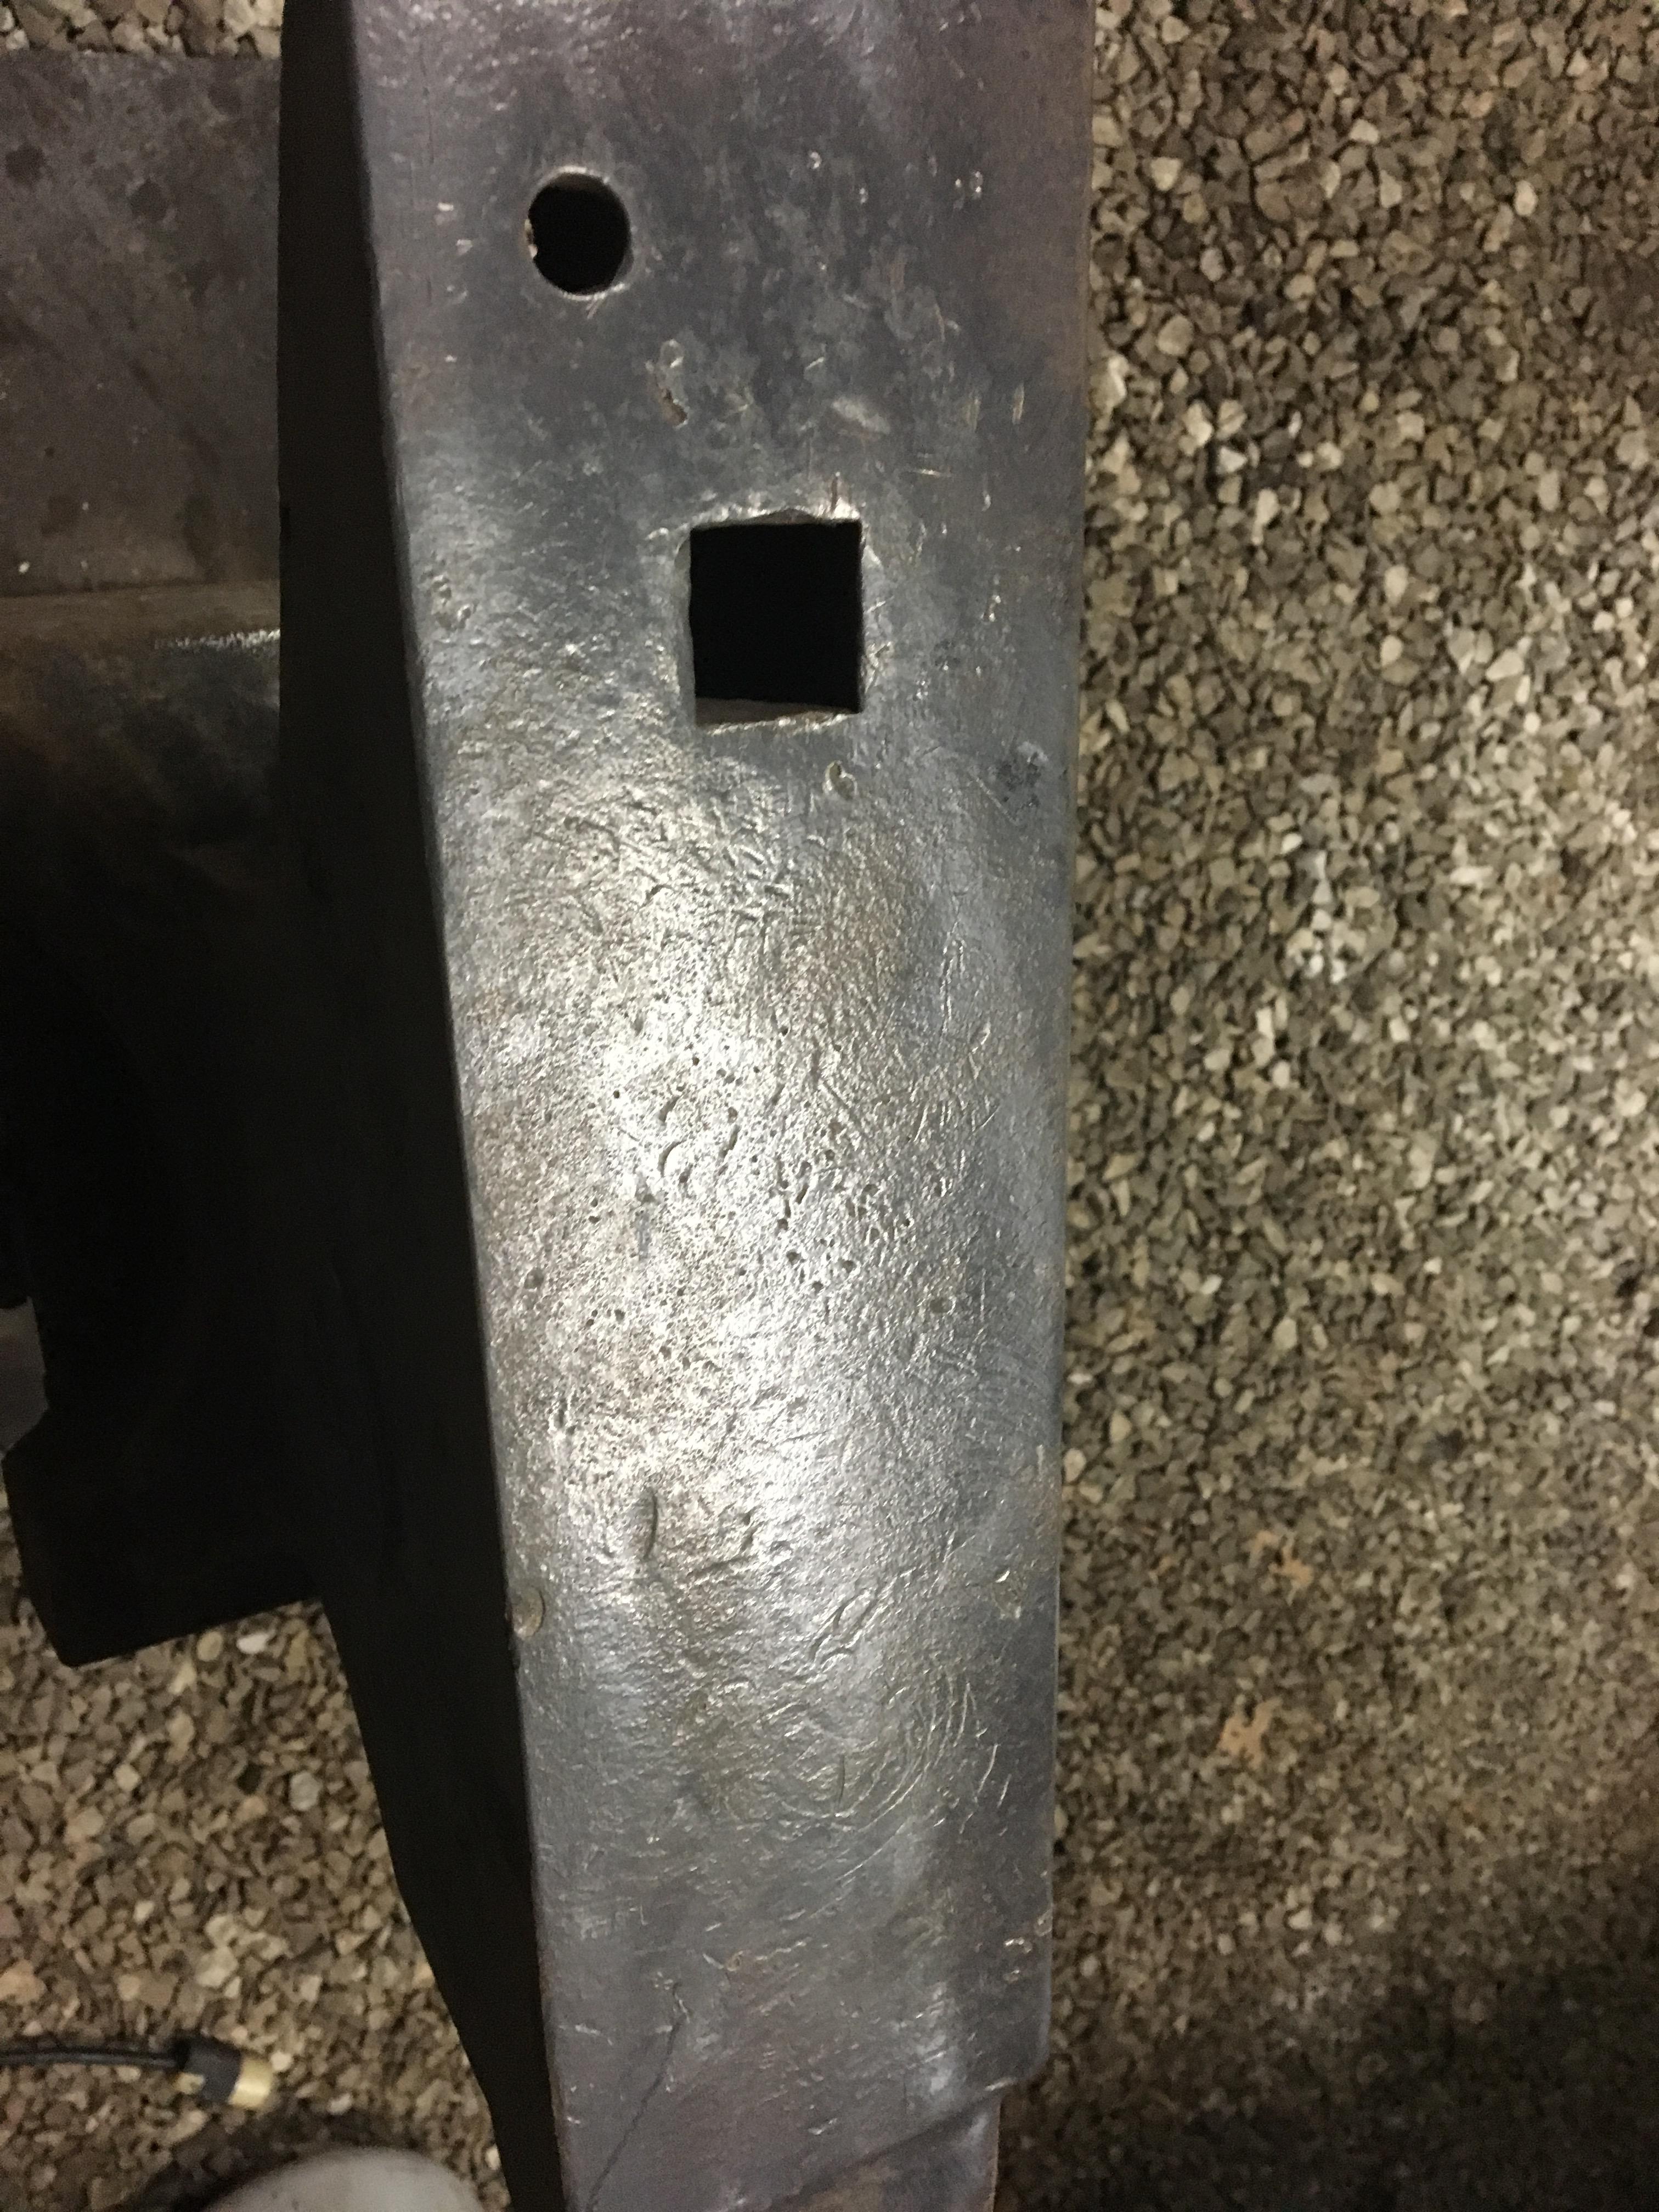
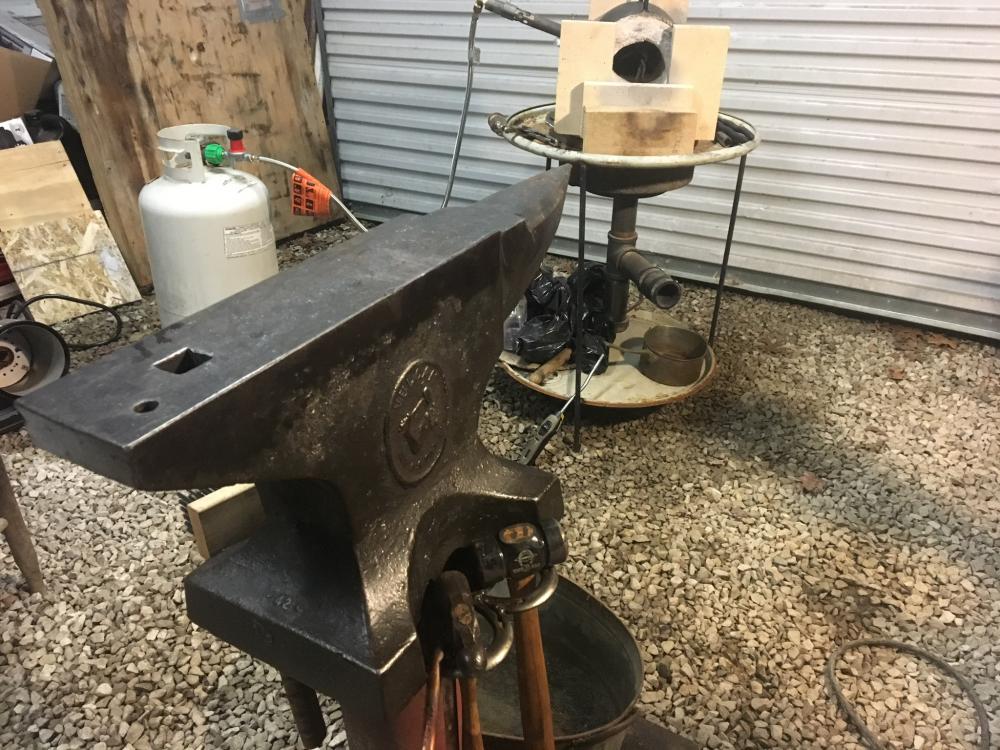
I picked up my care package Wednesday. Quite a challenge getting it unloaded by myself but well worth it. I was dead set on putting it on two 12” x 12” timbers bolted together with allthread and 1” straps but after using it I have decided to leave it on this ugly stand. It is sitting on a 1/2” plate welded to a well casing sitting on an 18” x 32” x 1/2” plate. As solid as if it was bolted into concrete. It is higher than i wanted but is great for my back as I dont have to lean over it. I had to wire brush it a bit and give it a bath of Marvel Mystery oil. I welded four loops made from horseshoes to the plate it sits on. Now I can find my hammers and tongs. There is a whole lot more acerage here than on my RR track or sledge hammer head. They are both enjoying their retirement.
-
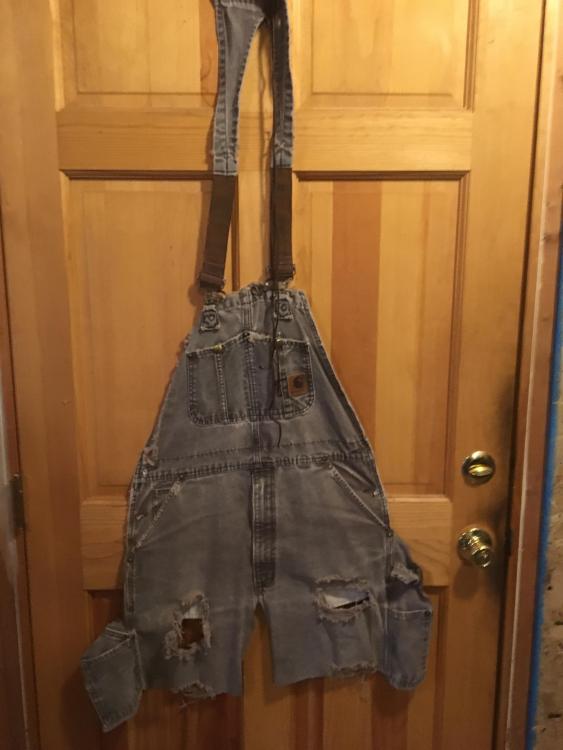
I guess our shop aprons reach both ends of the spectrum. Betcha mine is more comfy tho.
-
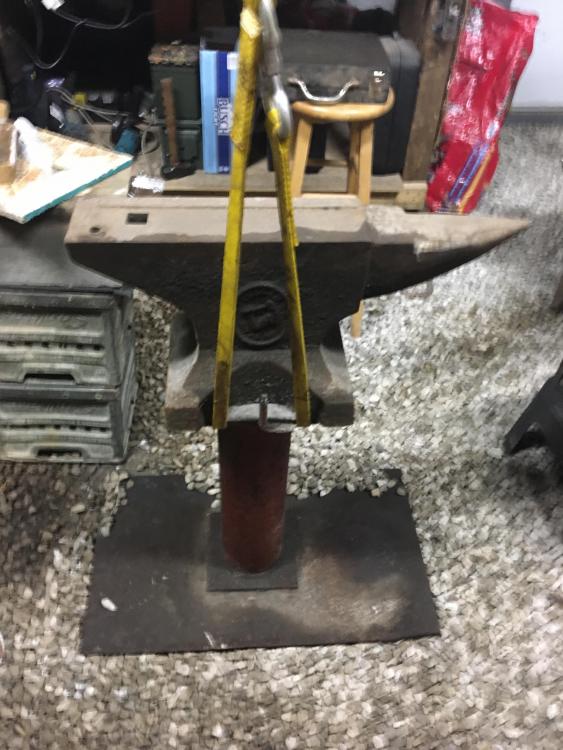
200 lb. picked it up today.

-
My anvil and other toys finally shipped.

-
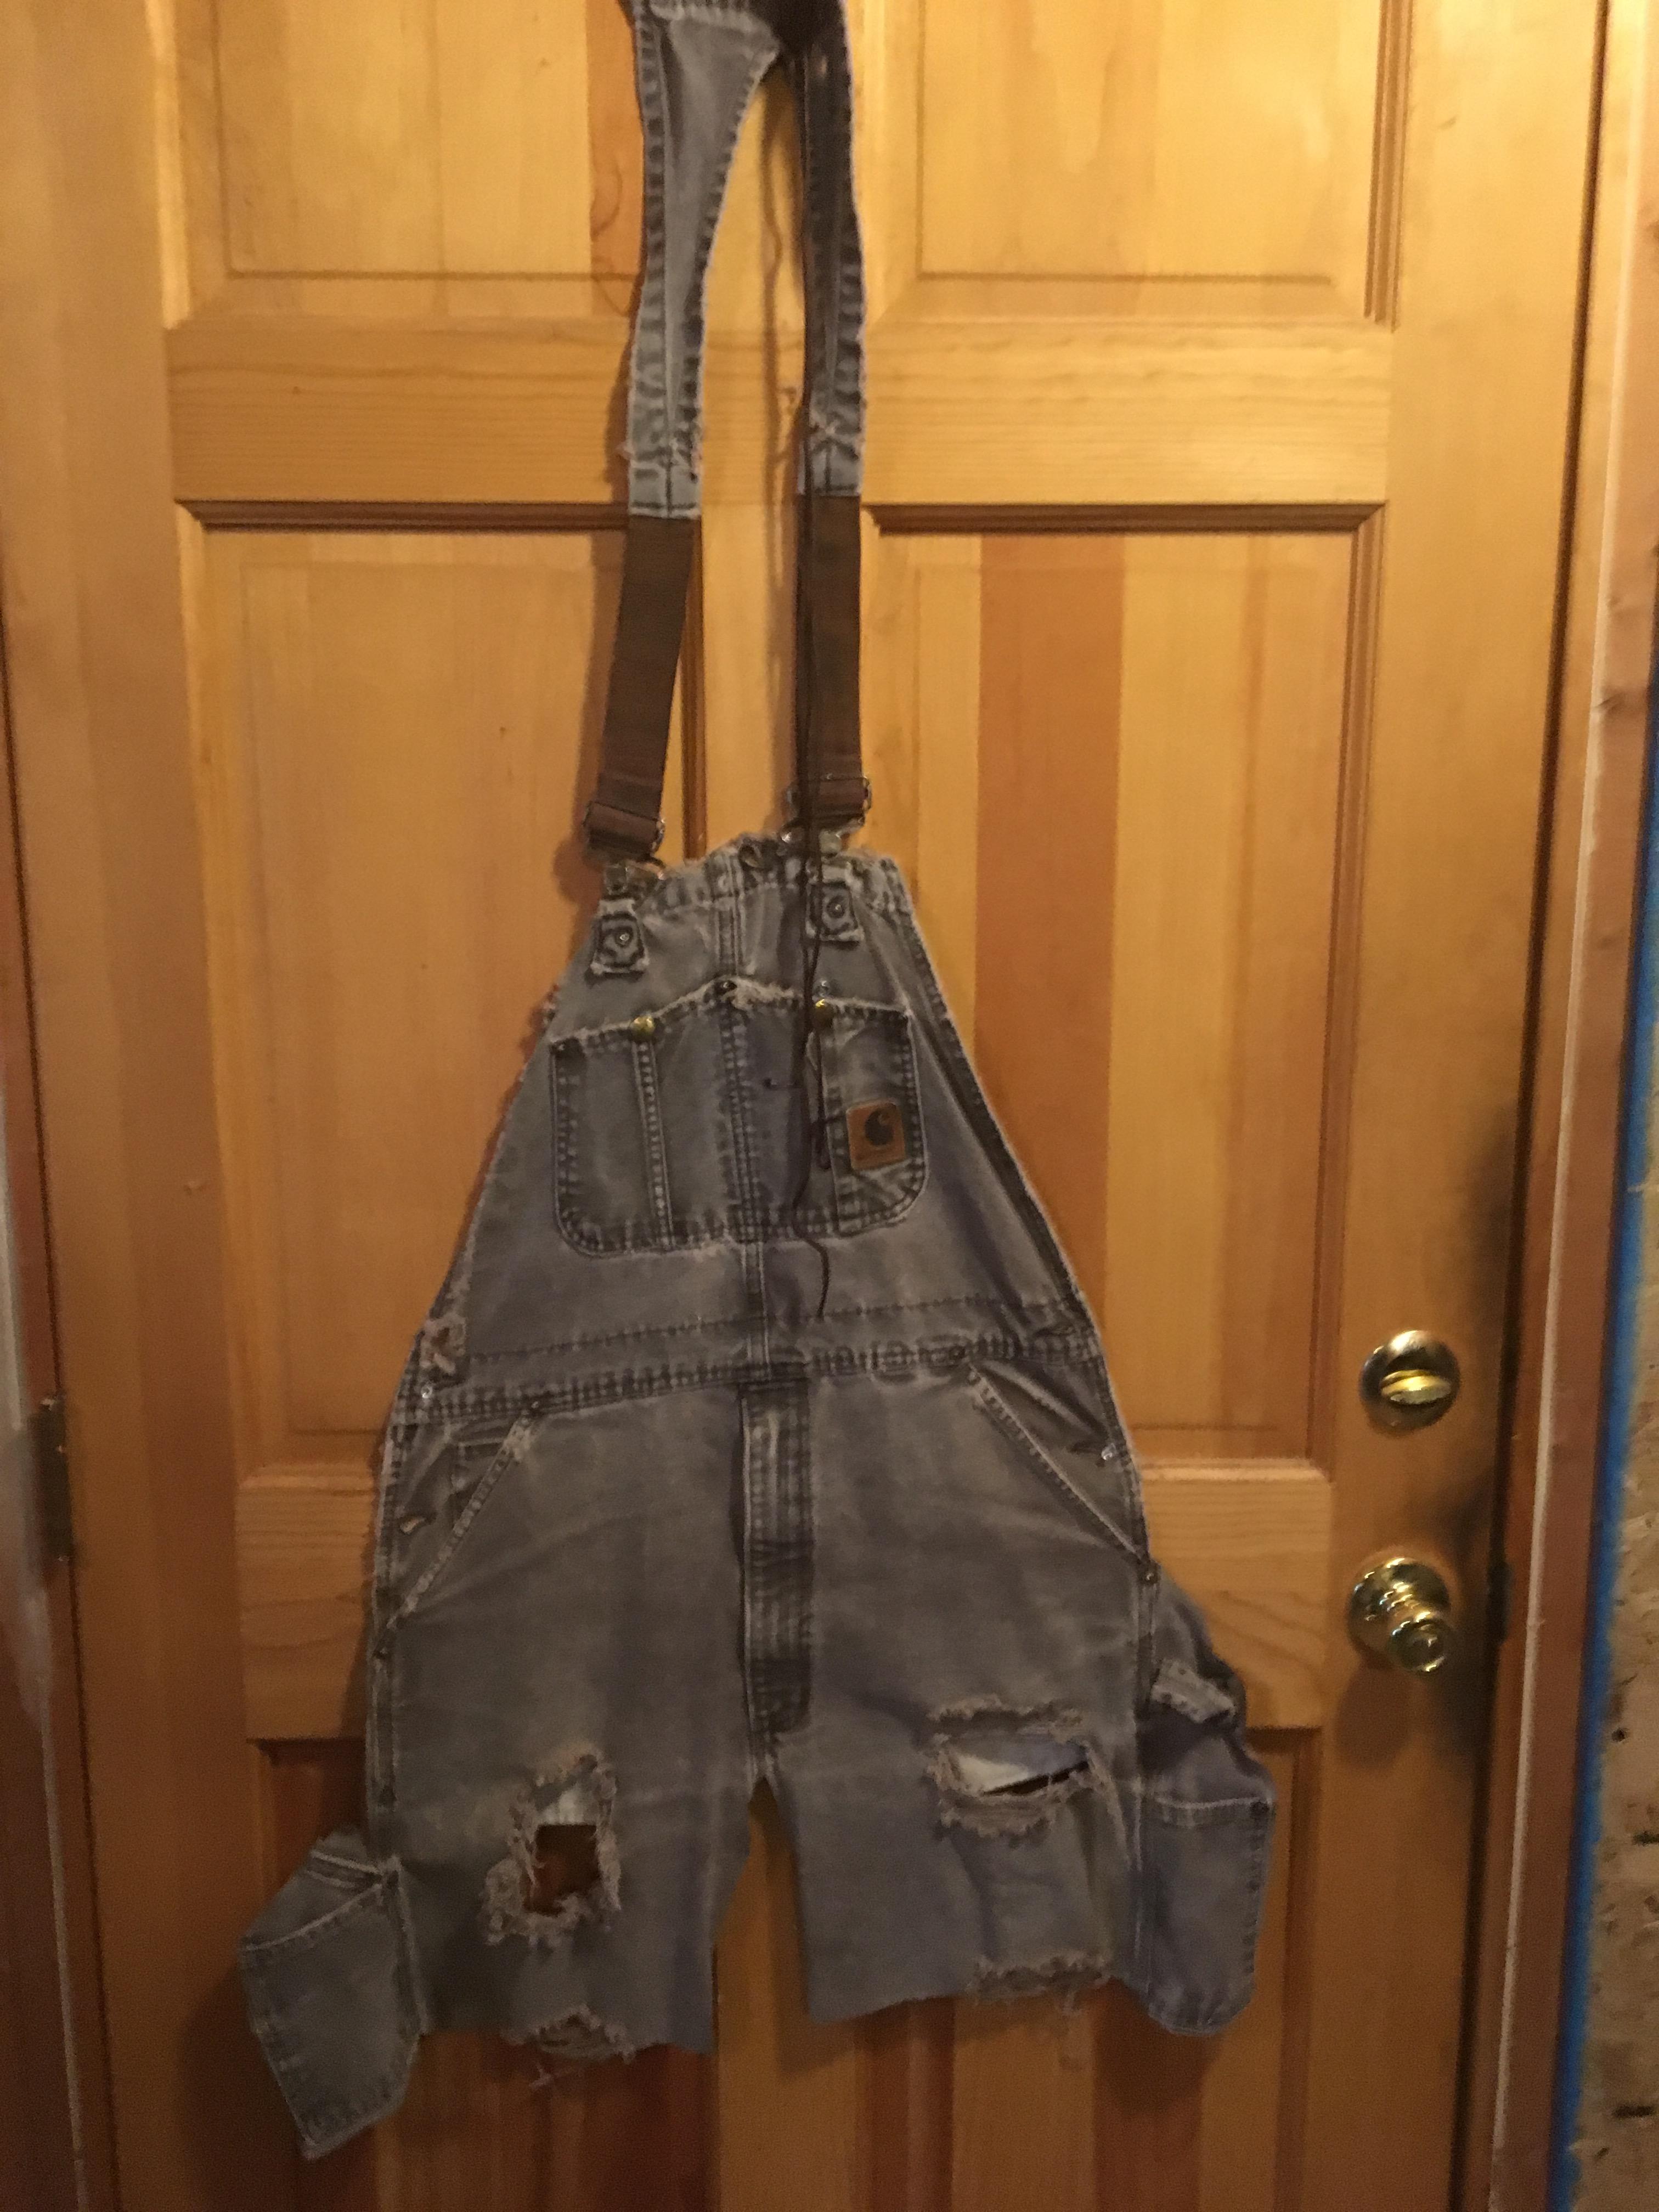
I have been putting off buying a shop apron to try to keep my clothes halfway clean but I couldnt find anything I liked with a price I liked. I must have dreamed this but when I woke up this morning I dug out a worn out pair of overalls and went to work with a pair of scissors. I cut the back off just below where the suspenders attached and down the outside of the legs leaving the tool pockets attached. Then I cut across at the knees and back up to the crotch. I punched a hole in the back suspender Y and attatched a 72” bootlace. It threads thru the side buttonholes and ties in the back. If i could sew I would patch the holes in the thighs that were worn out by keys and pocketknife.
-
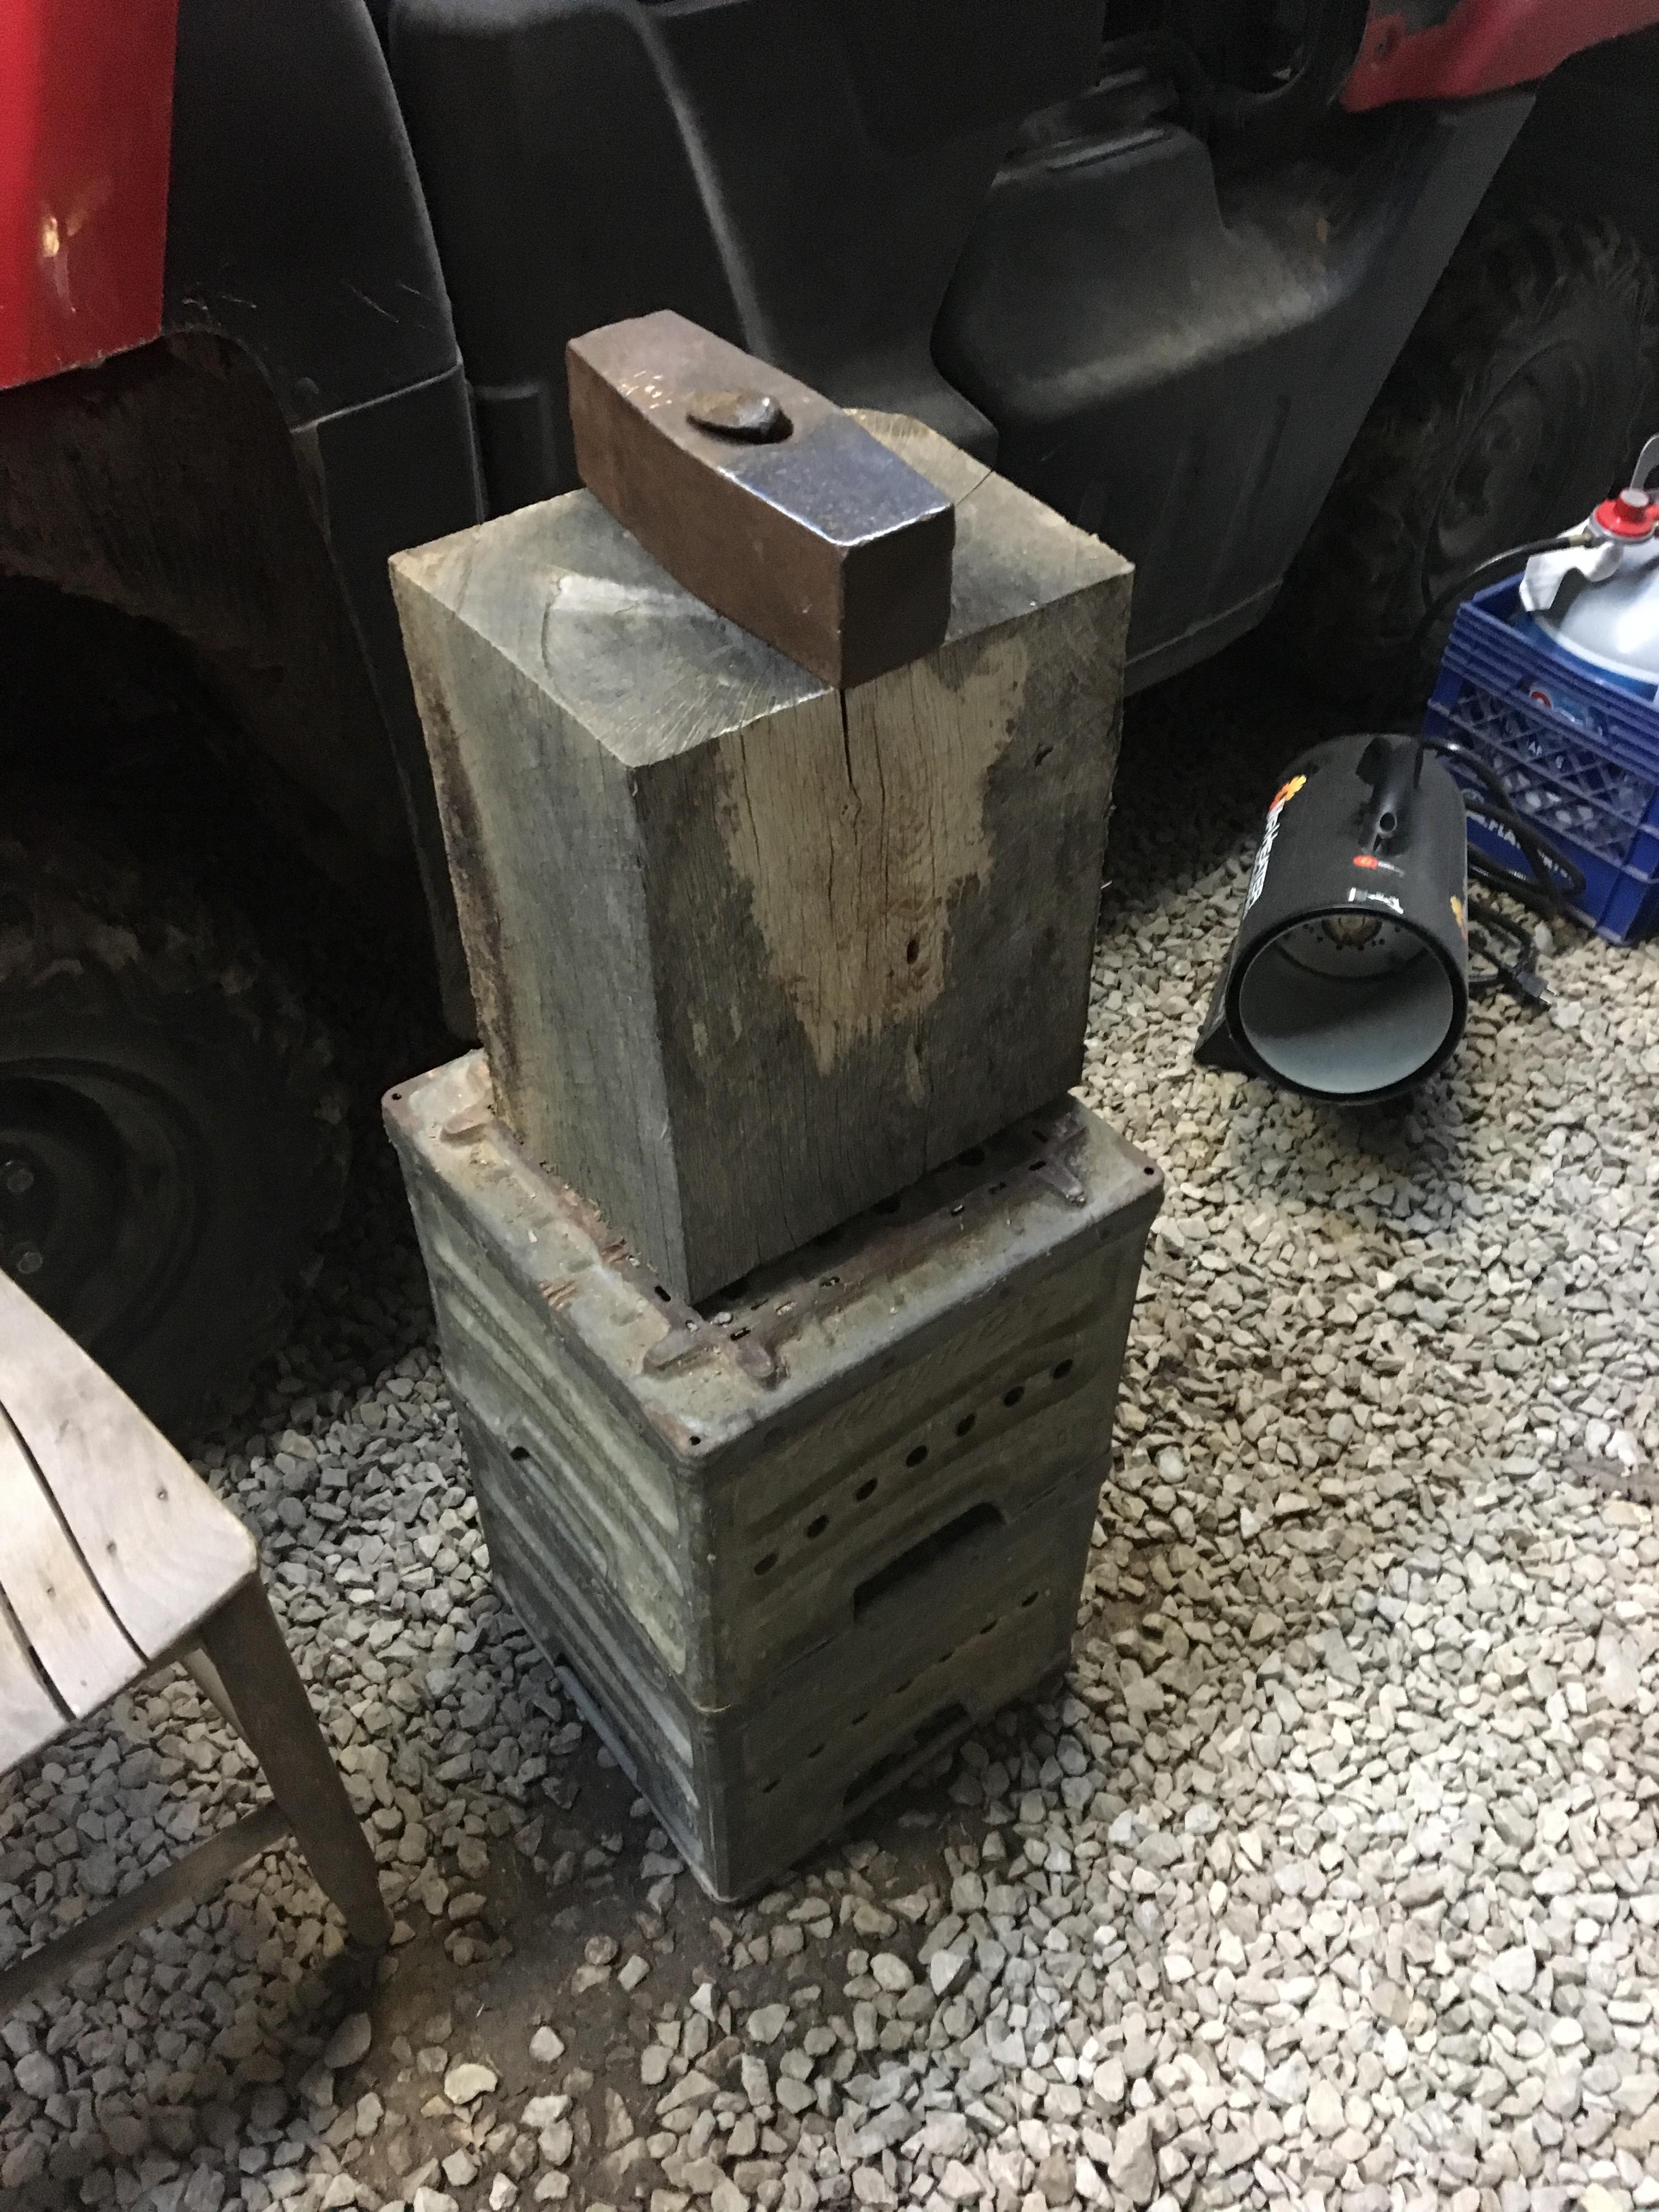
A collection of improvised anvils
TimberBull replied to Charles R. Stevens's topic in Anvils, Swage Blocks, and Mandrels
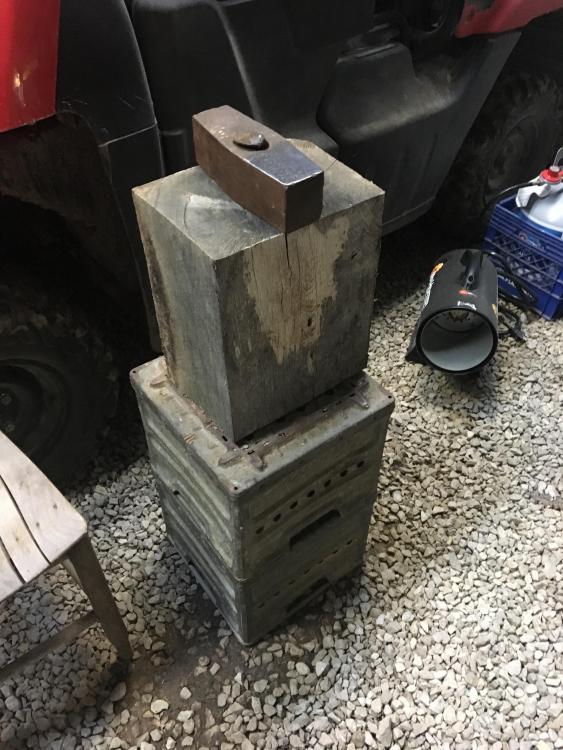
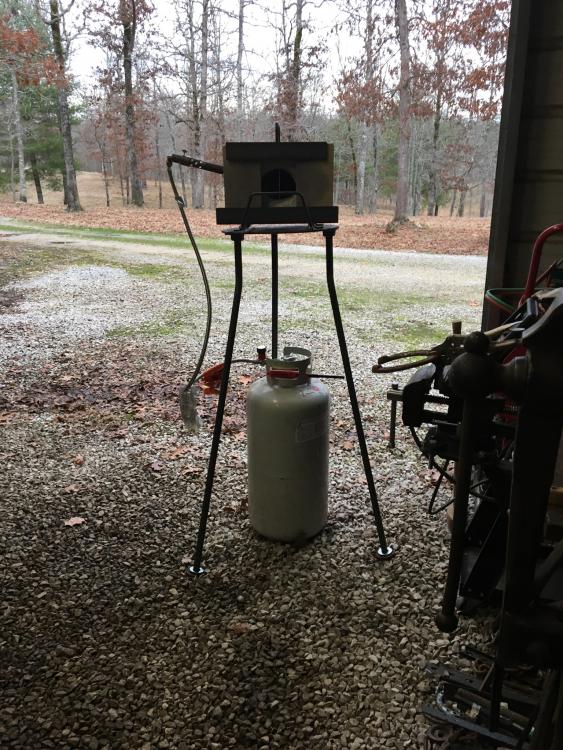
This actually works pretty well for light work anyway. 20lb sledge hammer head secured with a RR spike to a piece of square timber sitting on a couple of old galvanized milk crates. Im still waiting on my anvil to ship but this works better than it did clamped to a welding table.