Jclonts82
Members
-
Joined
-
Last visited
Everything posted by Jclonts82
-
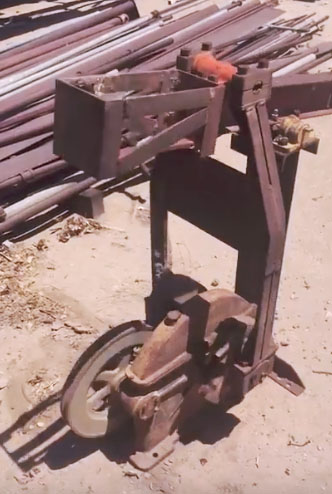
Its in my grandfathers ‘stuff’ yard (2 acres of ‘stuff’) it looks like the oil well pumps. Of course I didnt take a picture of the placard... but it did say 5900 lbs torque at such and such rpm. Any ideas? It would be cool to repurpose it and make some sorta tool from it, I just cant decide what https://www.youtube.com/watch?time_continue=24&v=DWnCwj8JWaE
-
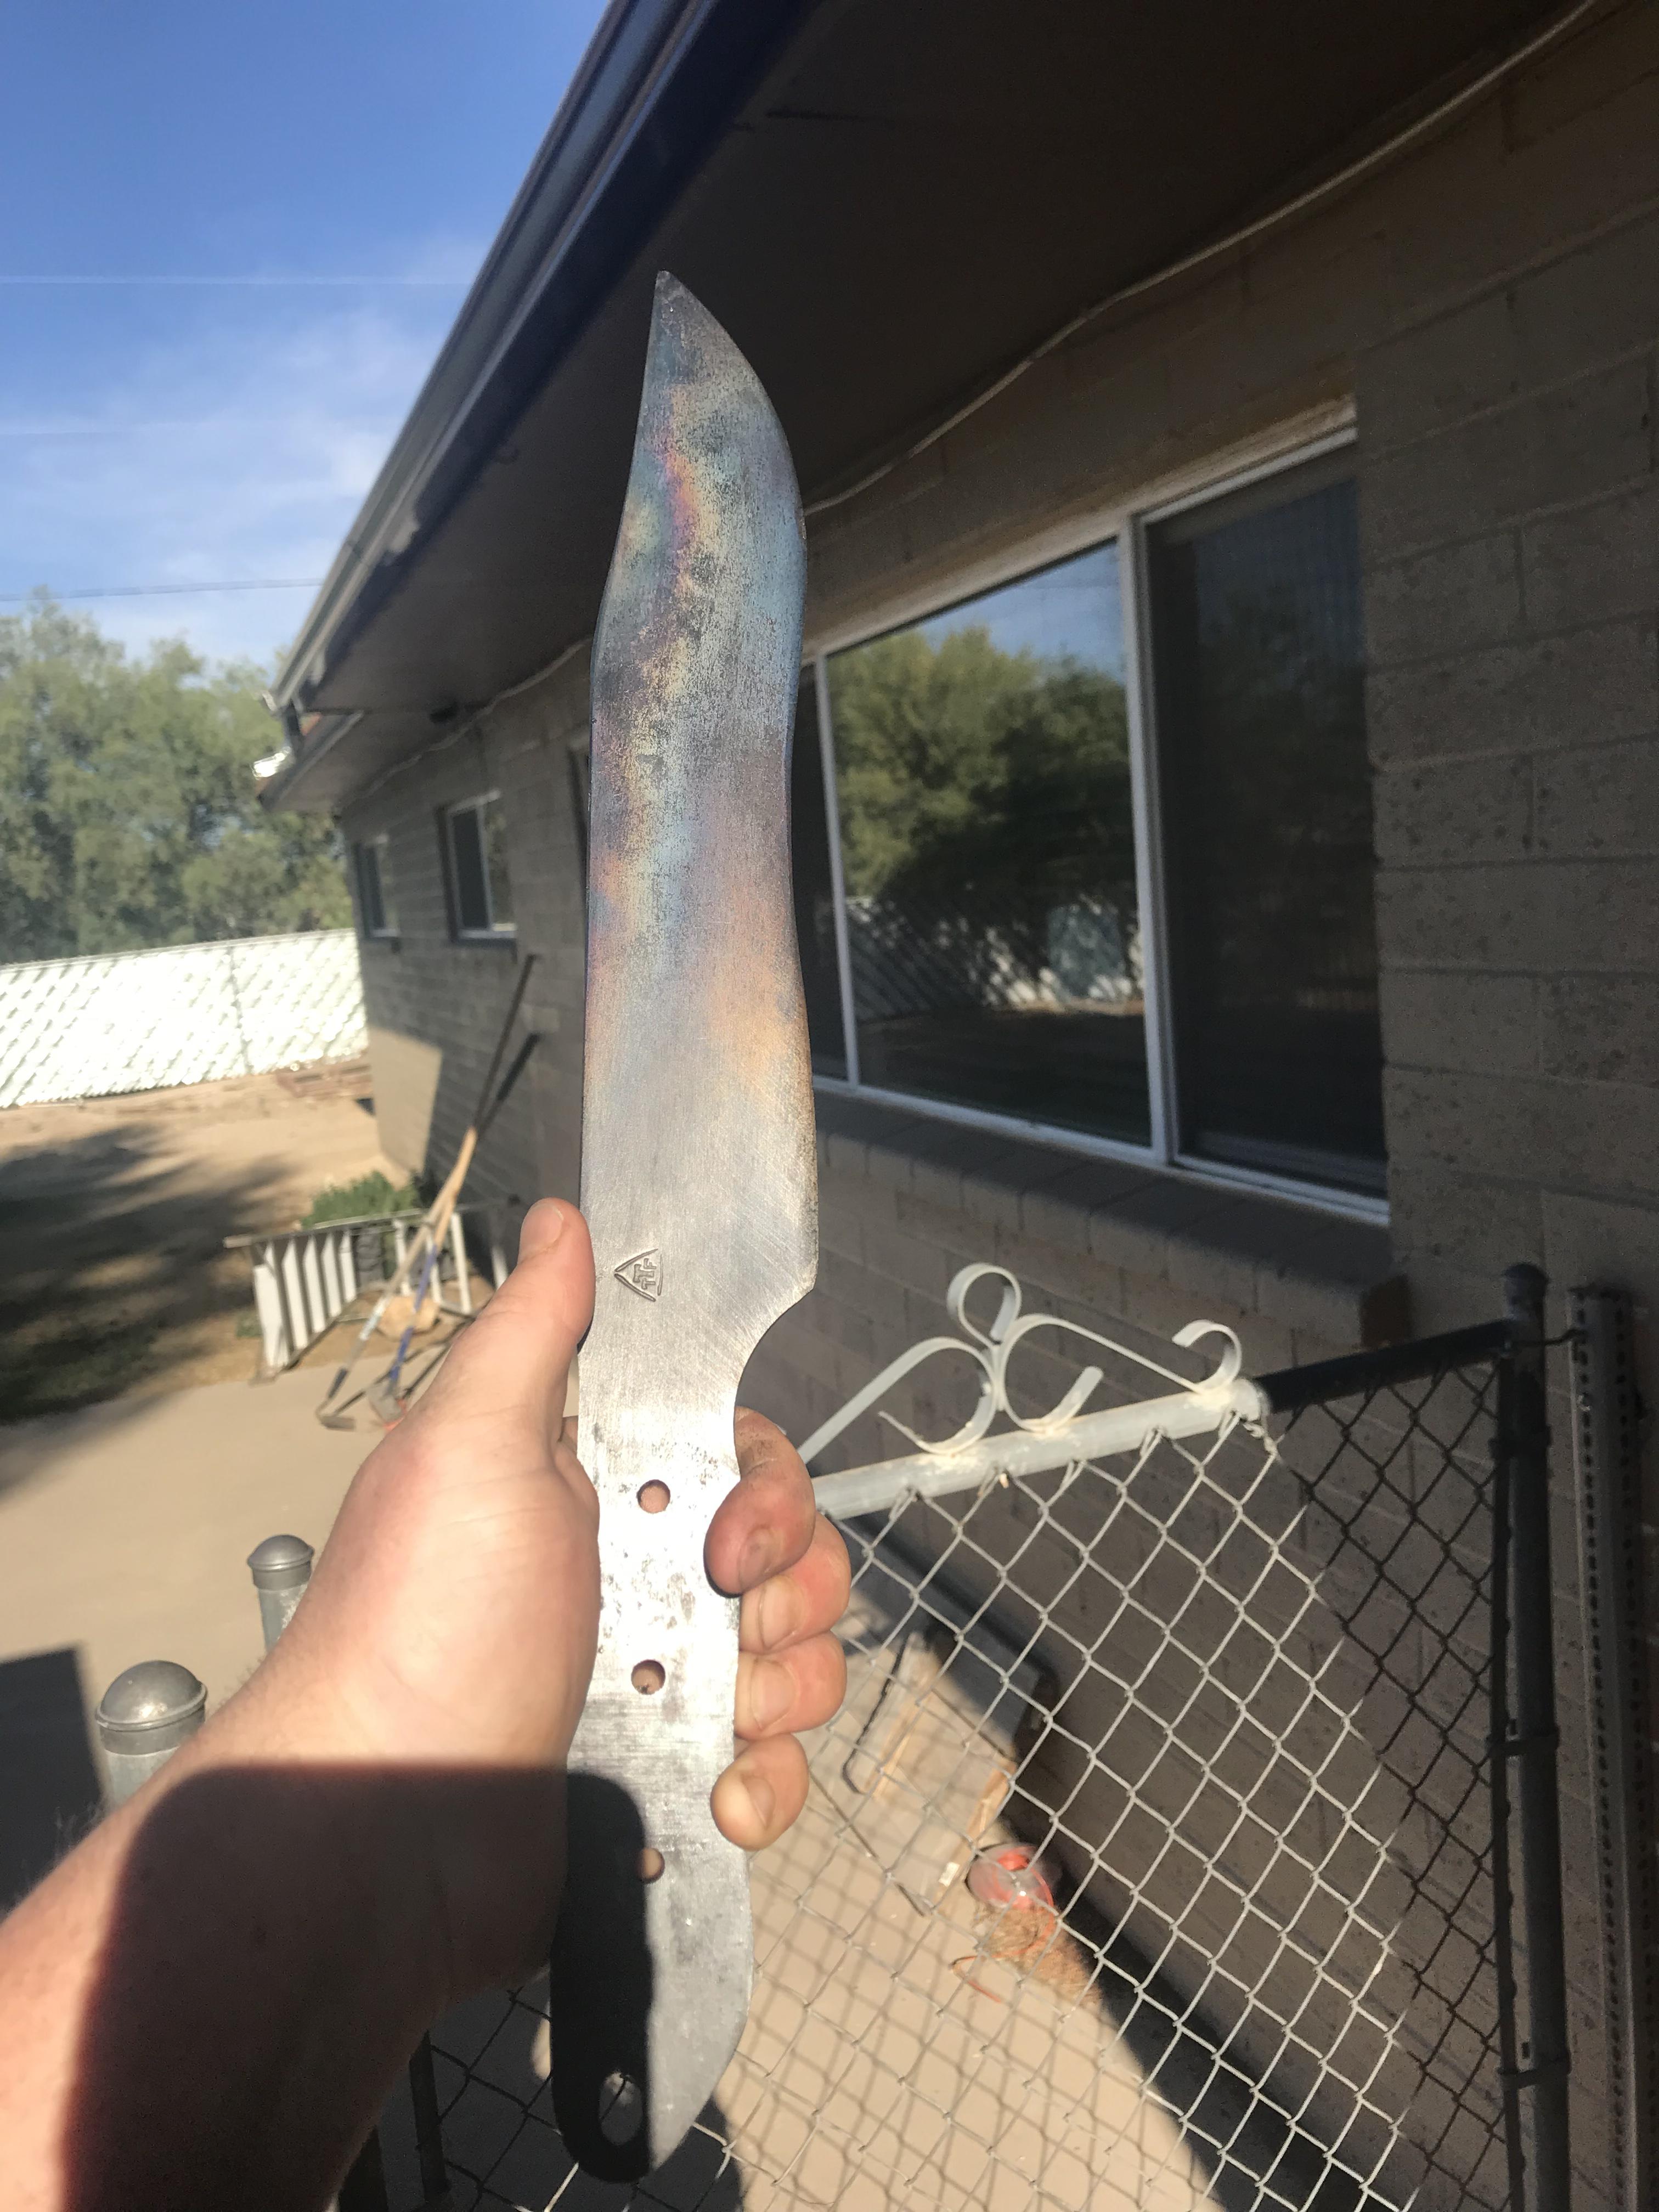
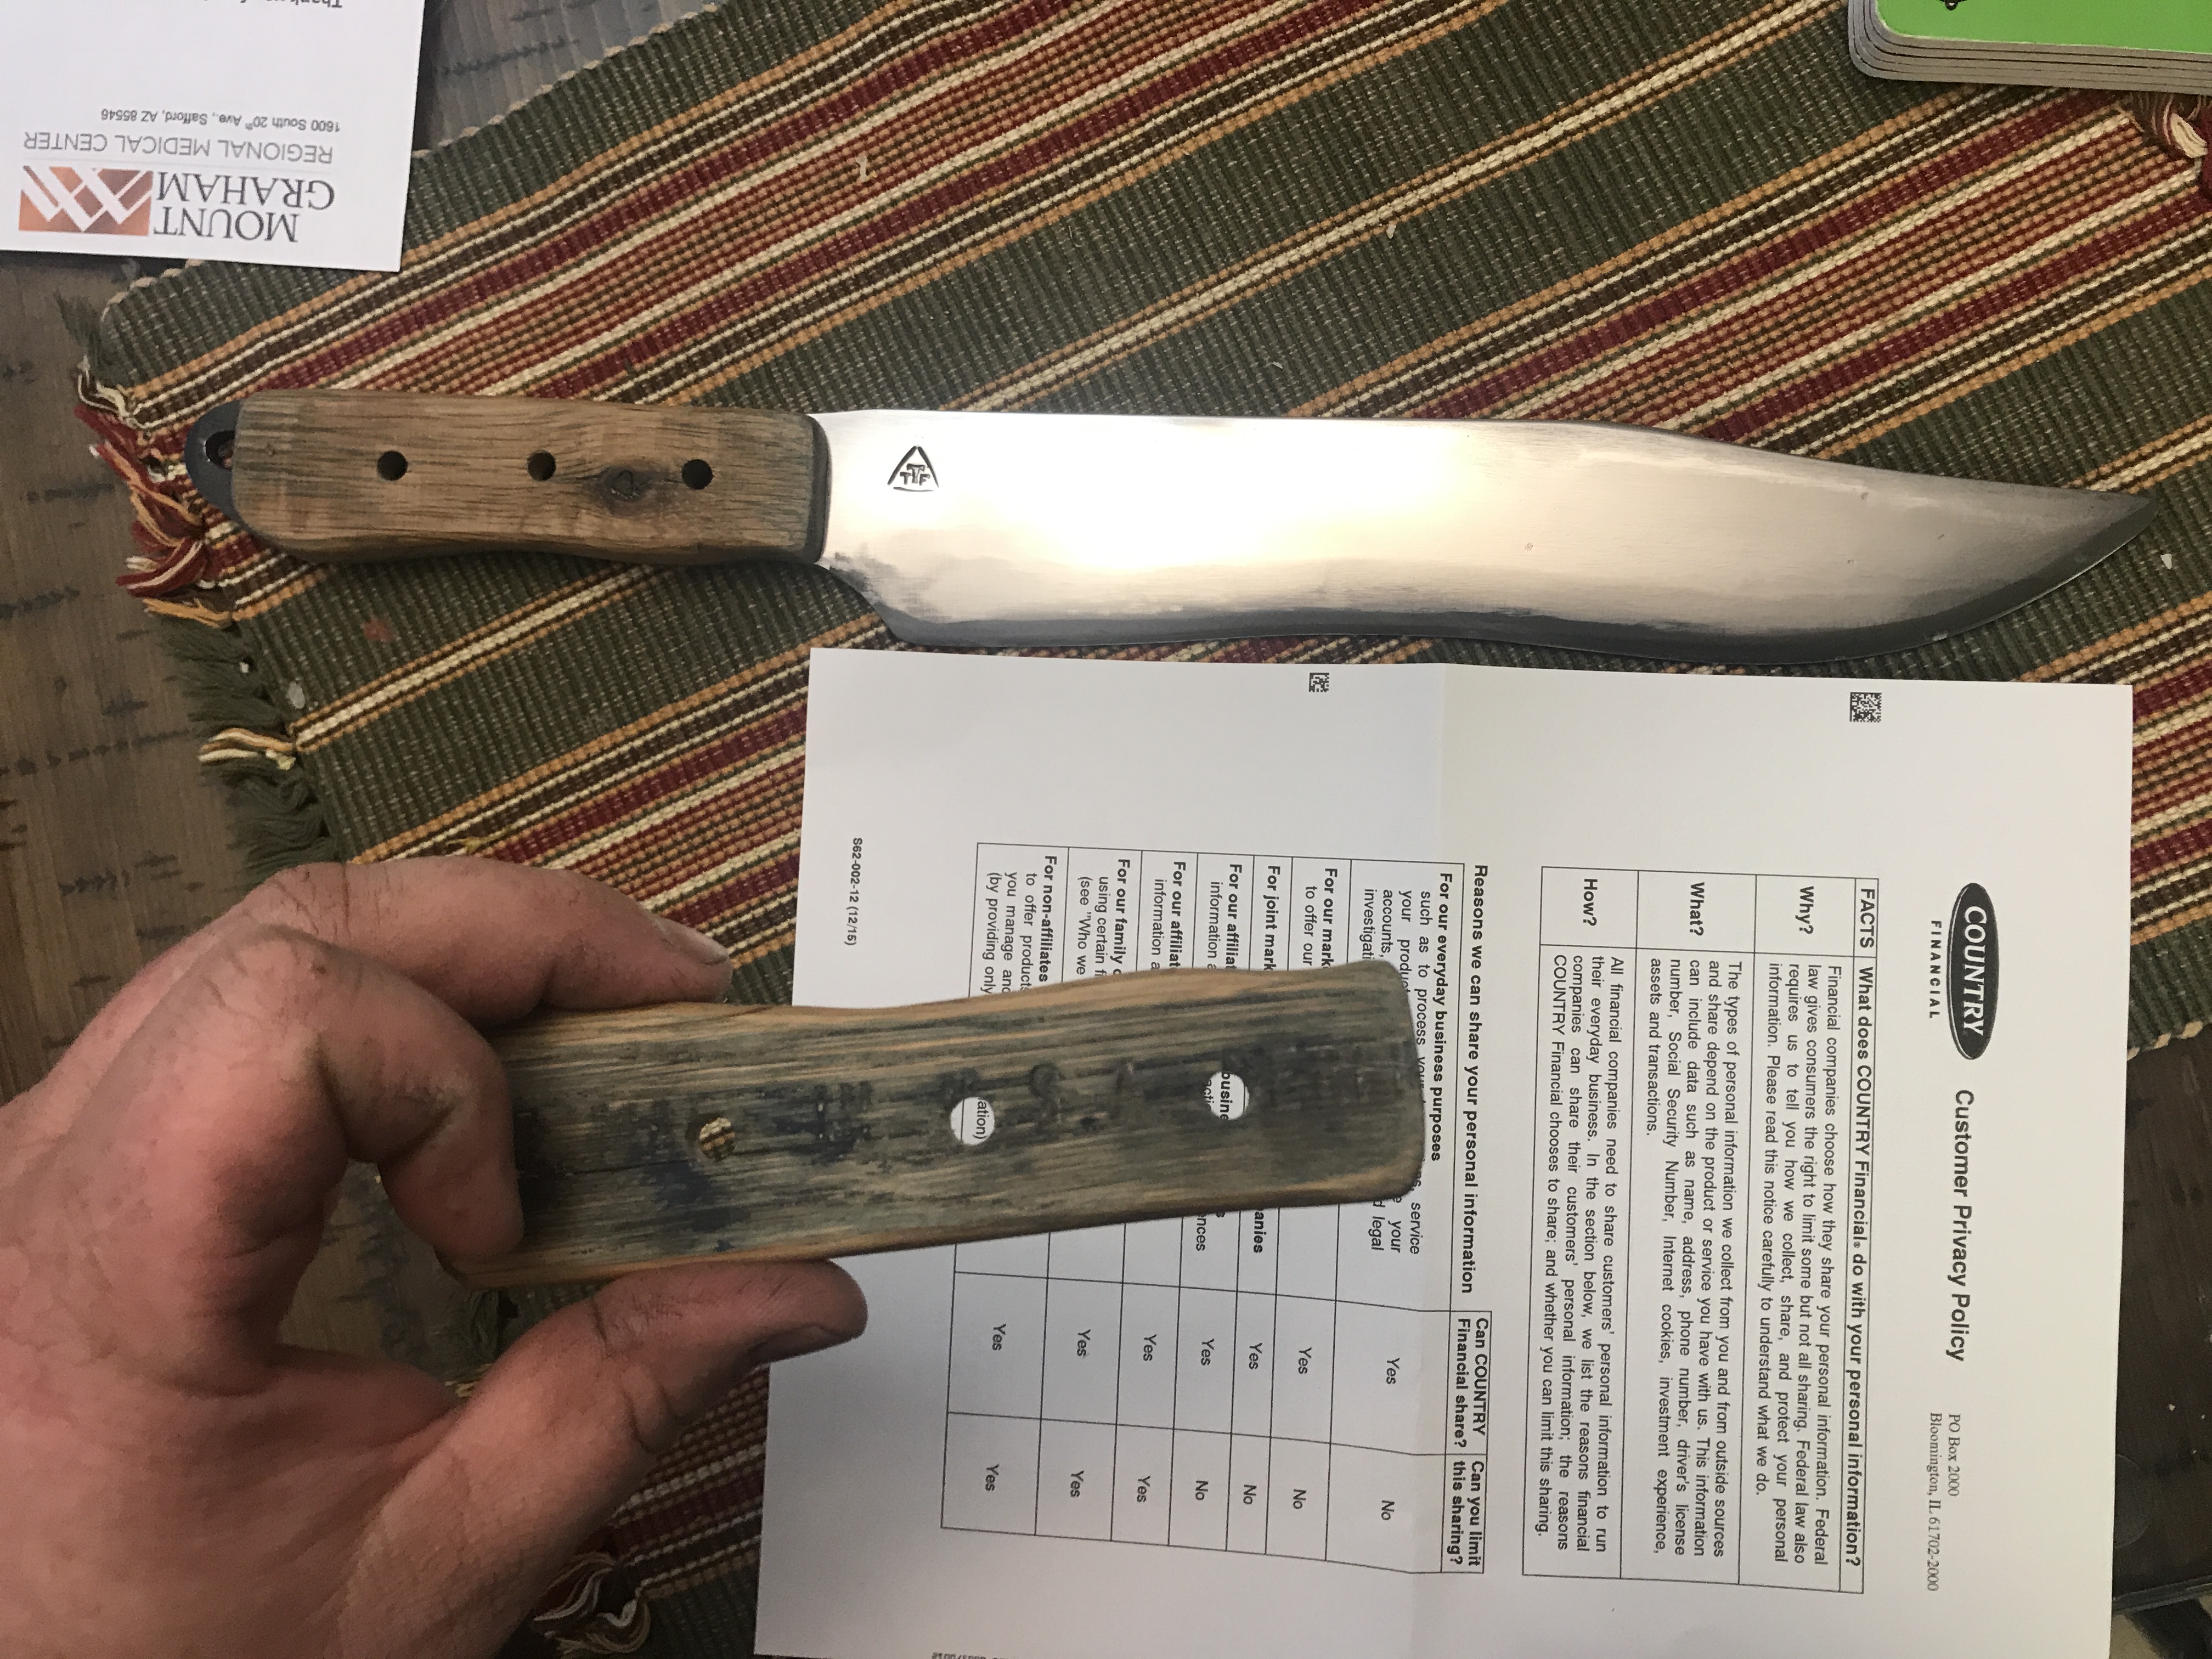
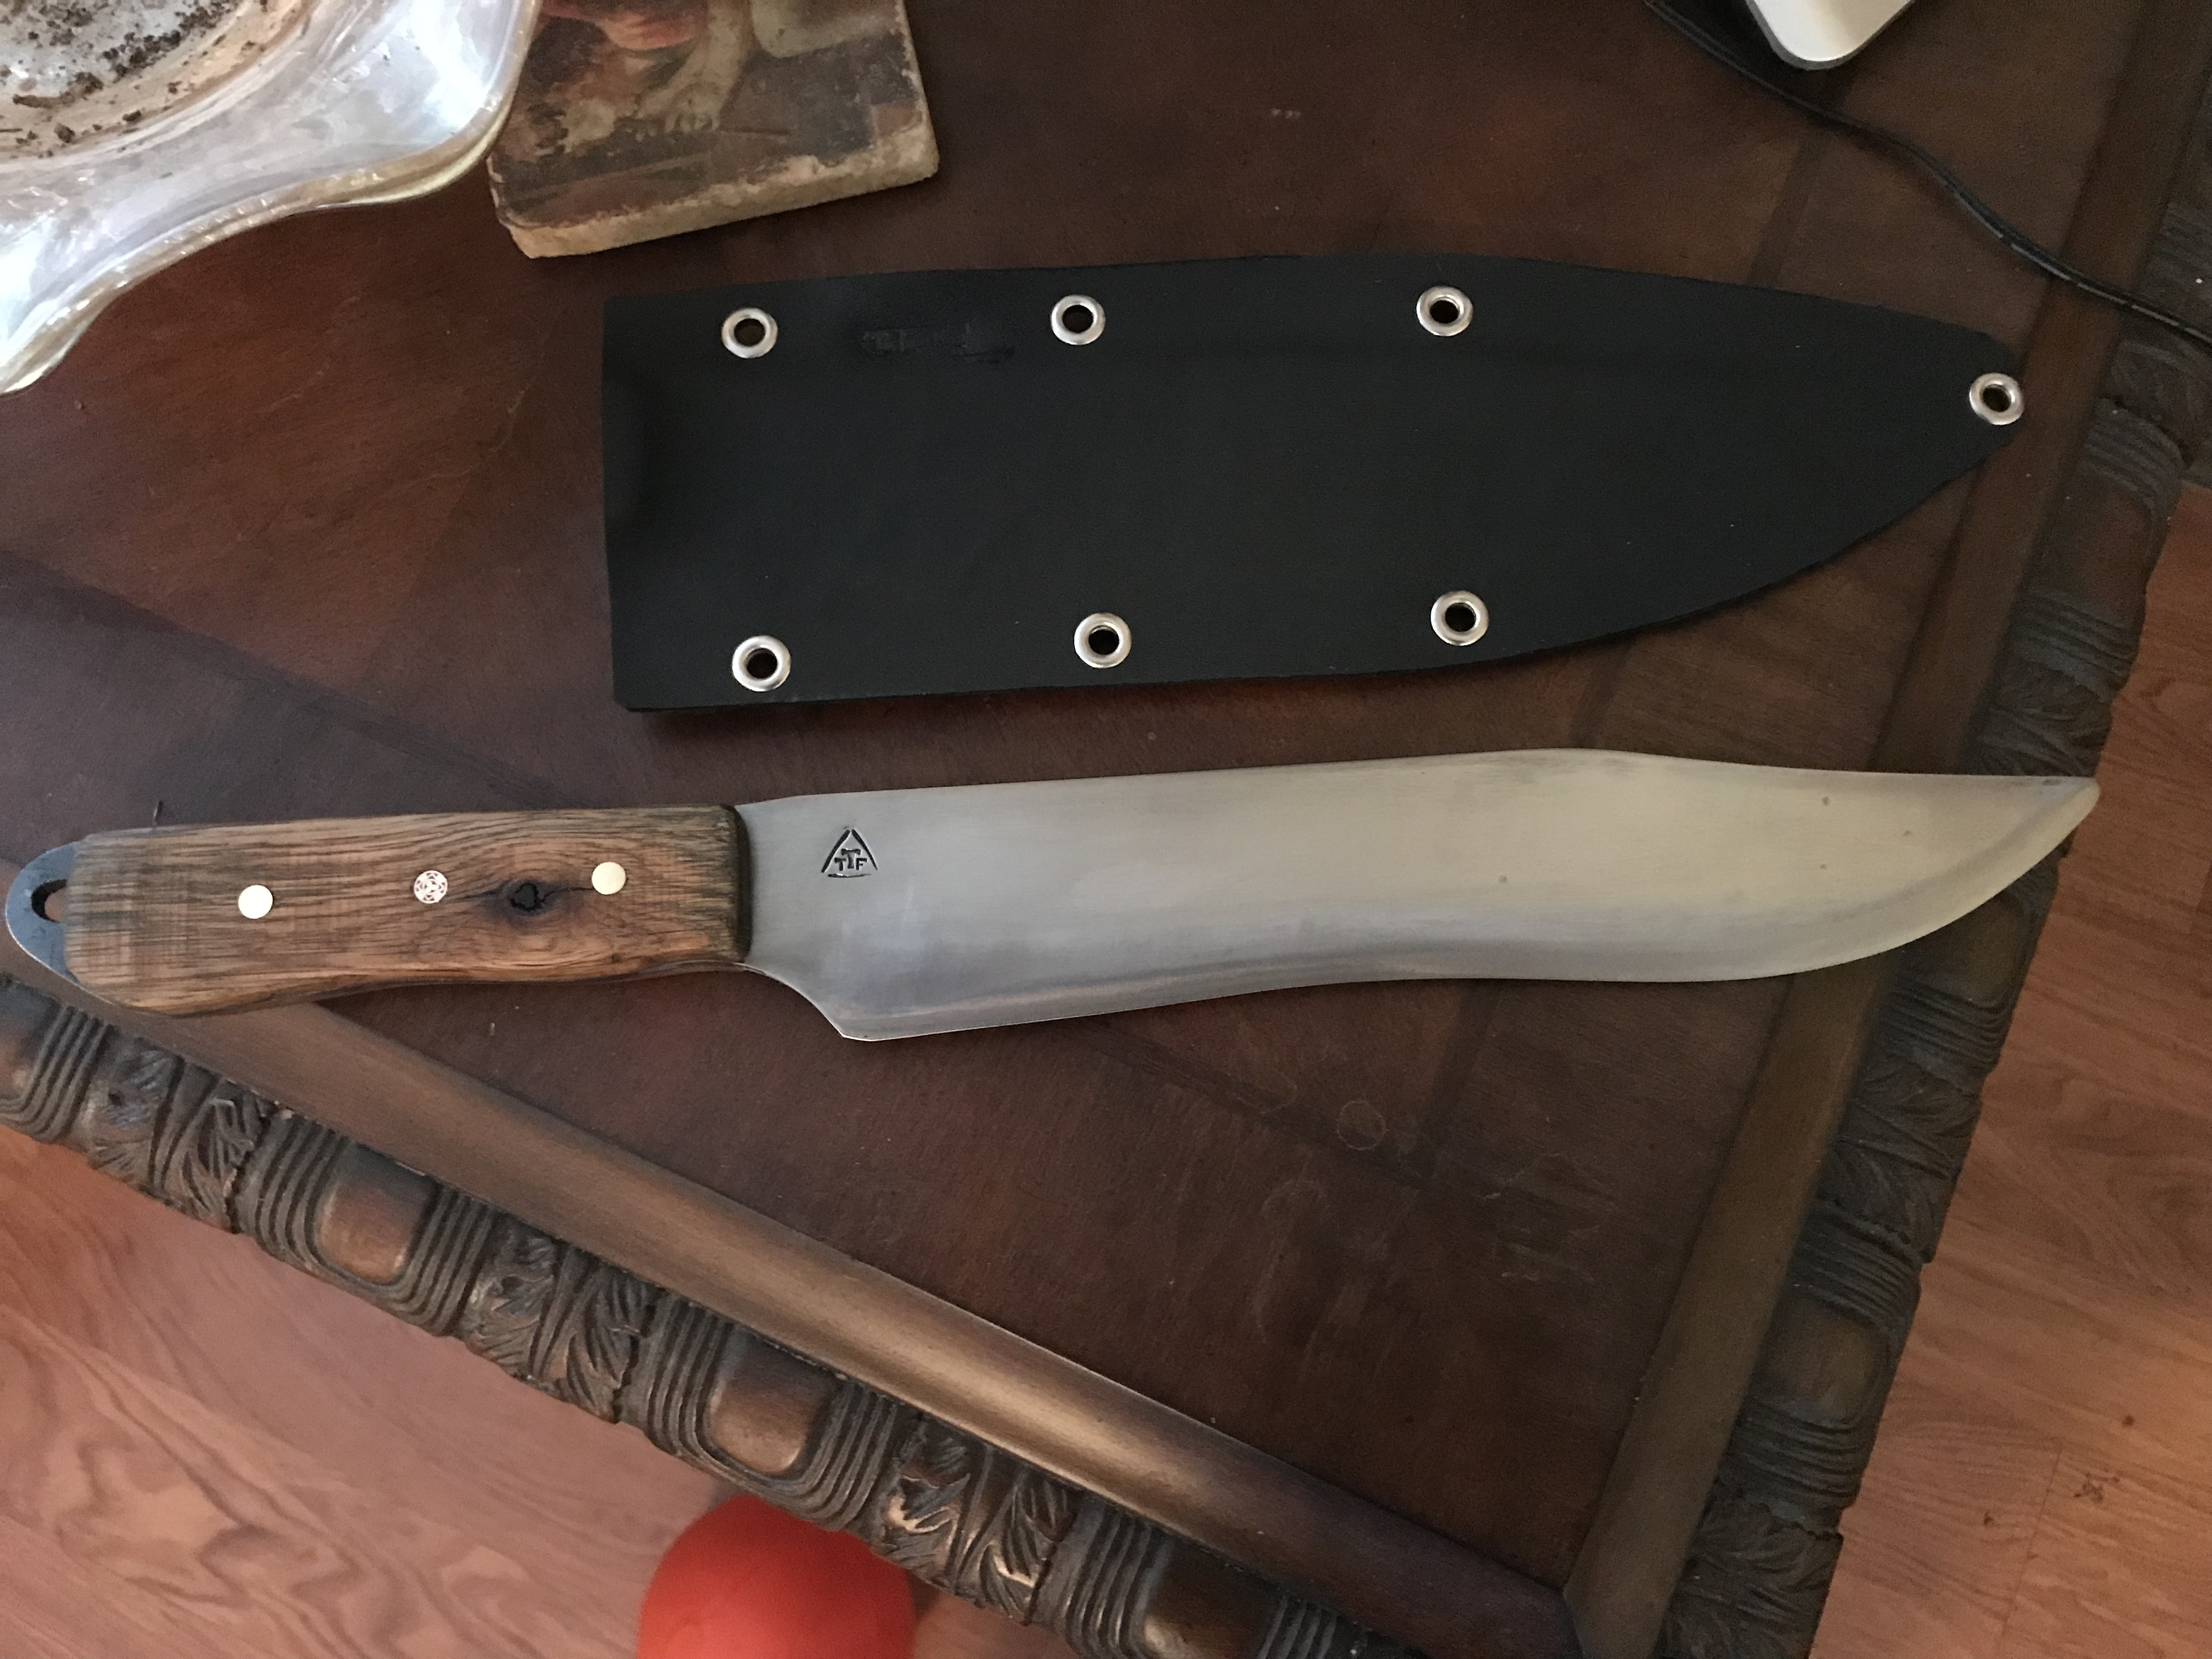
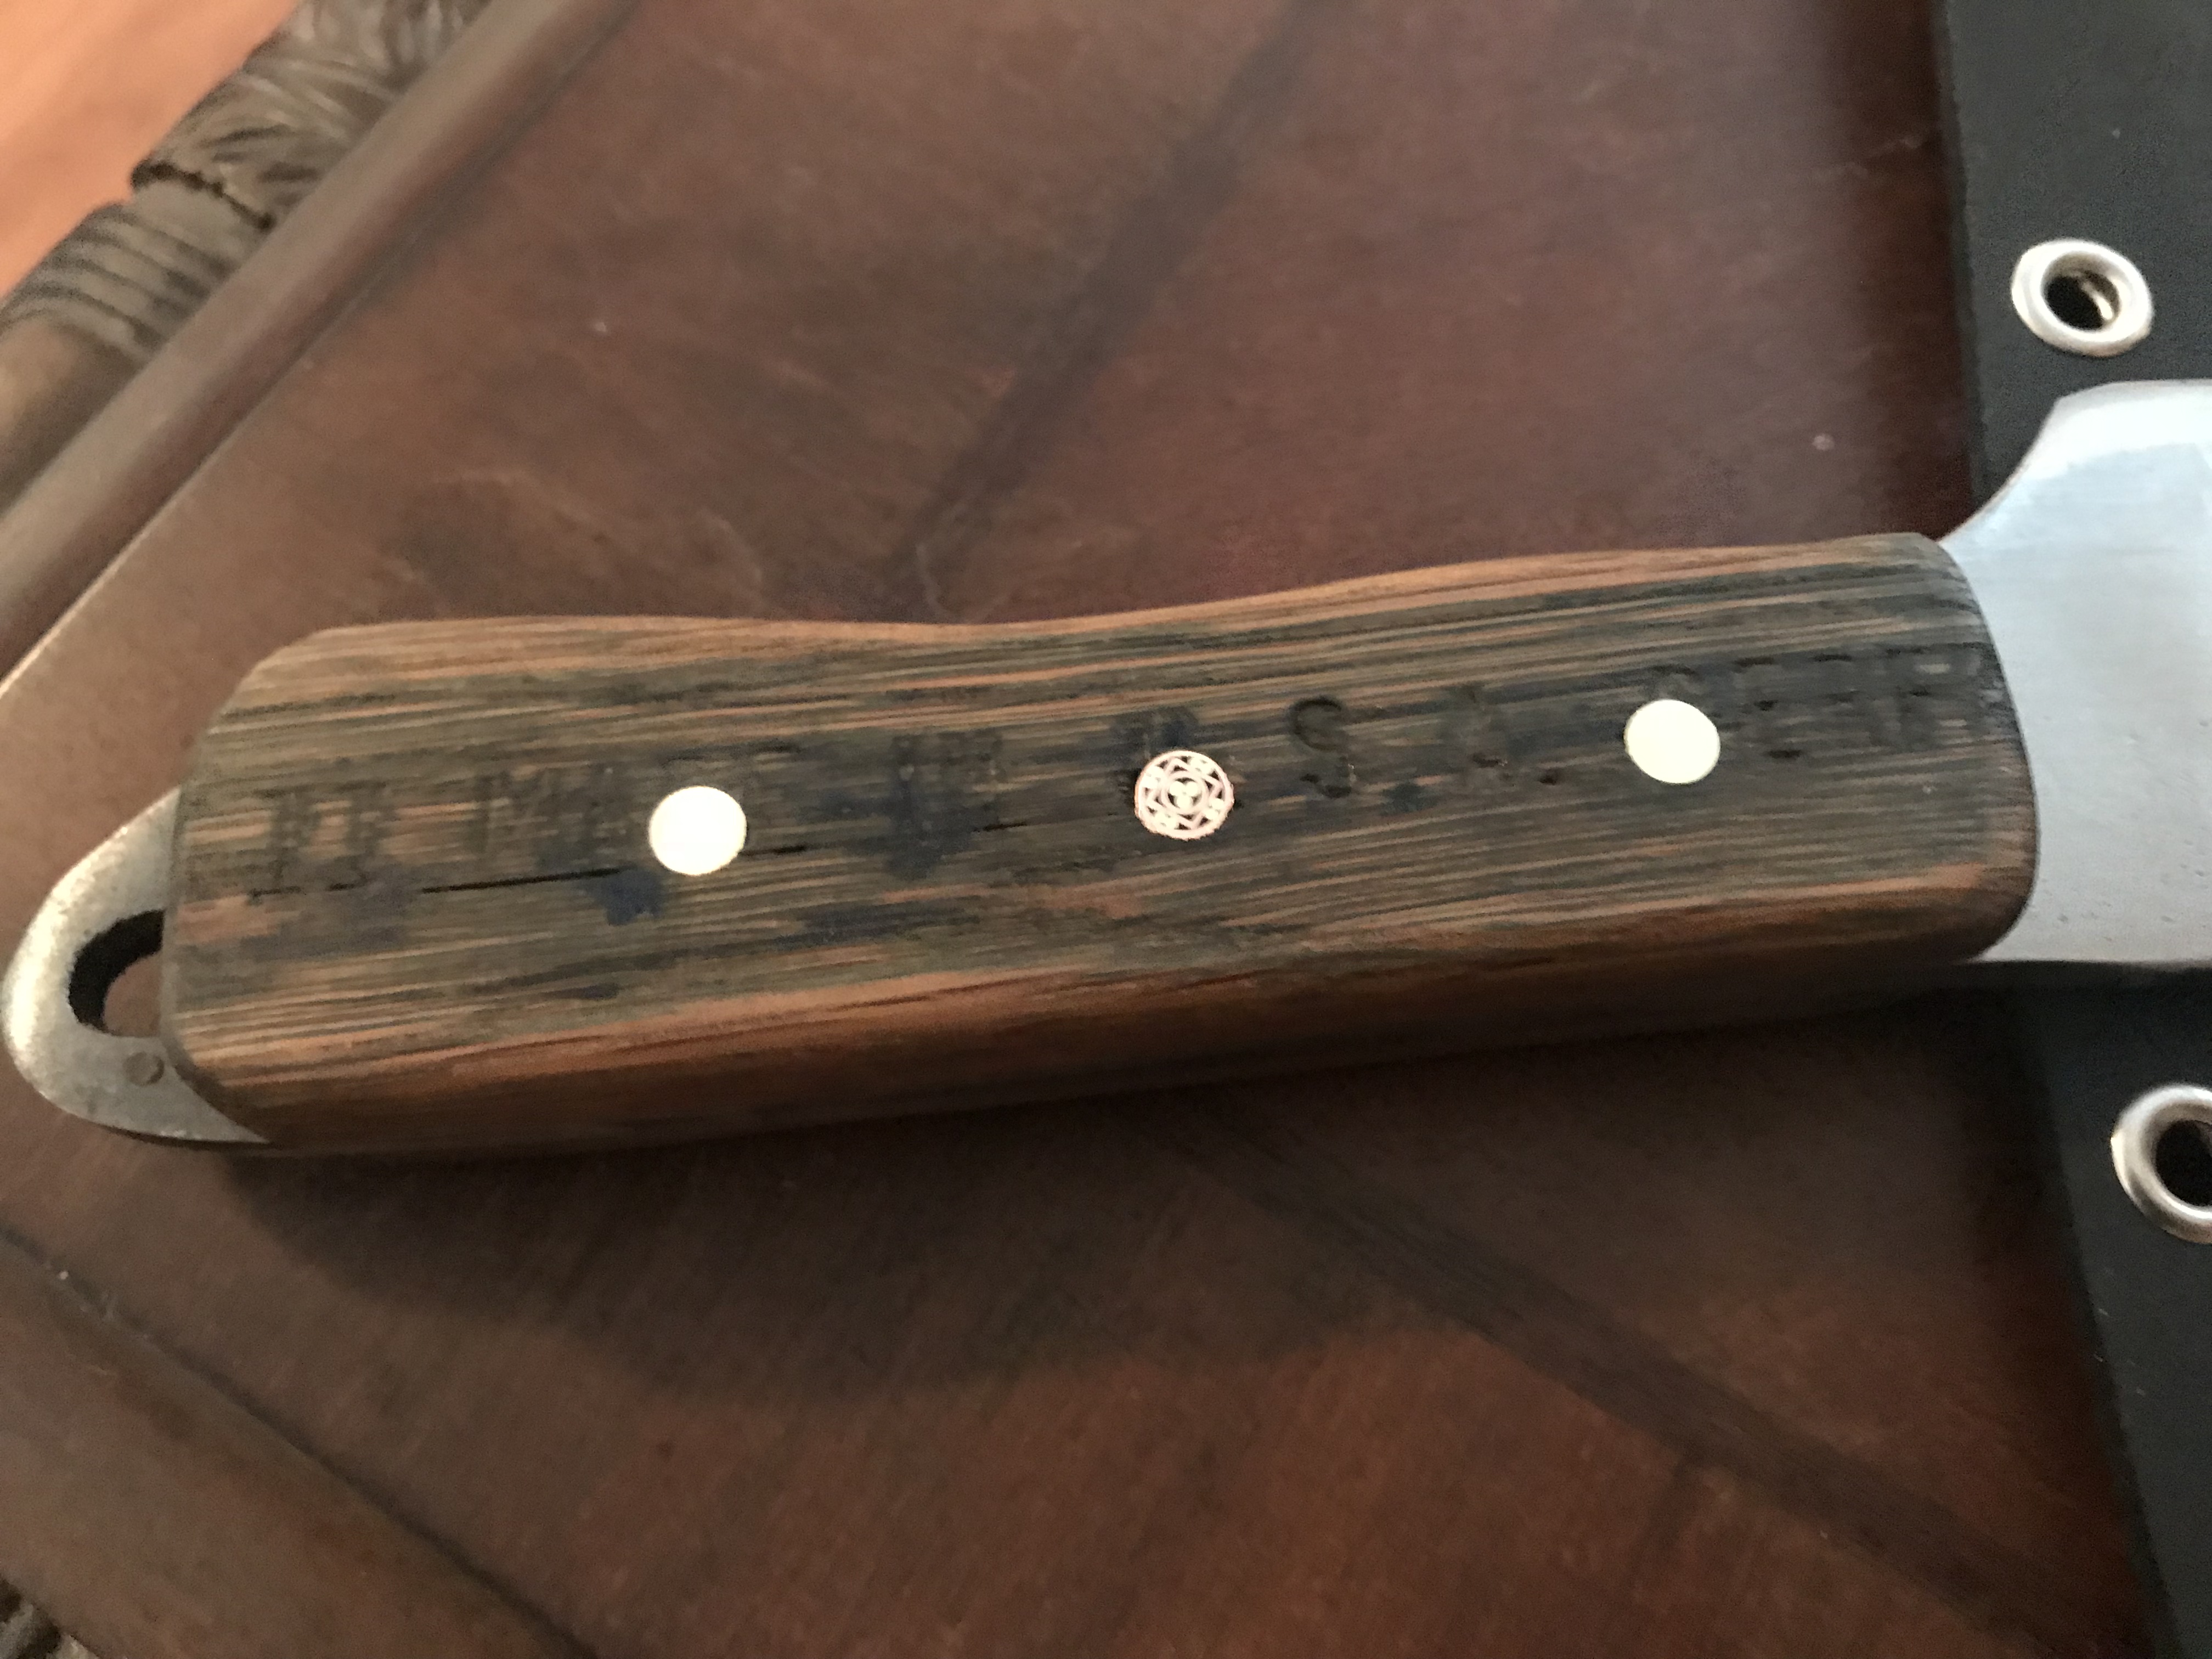
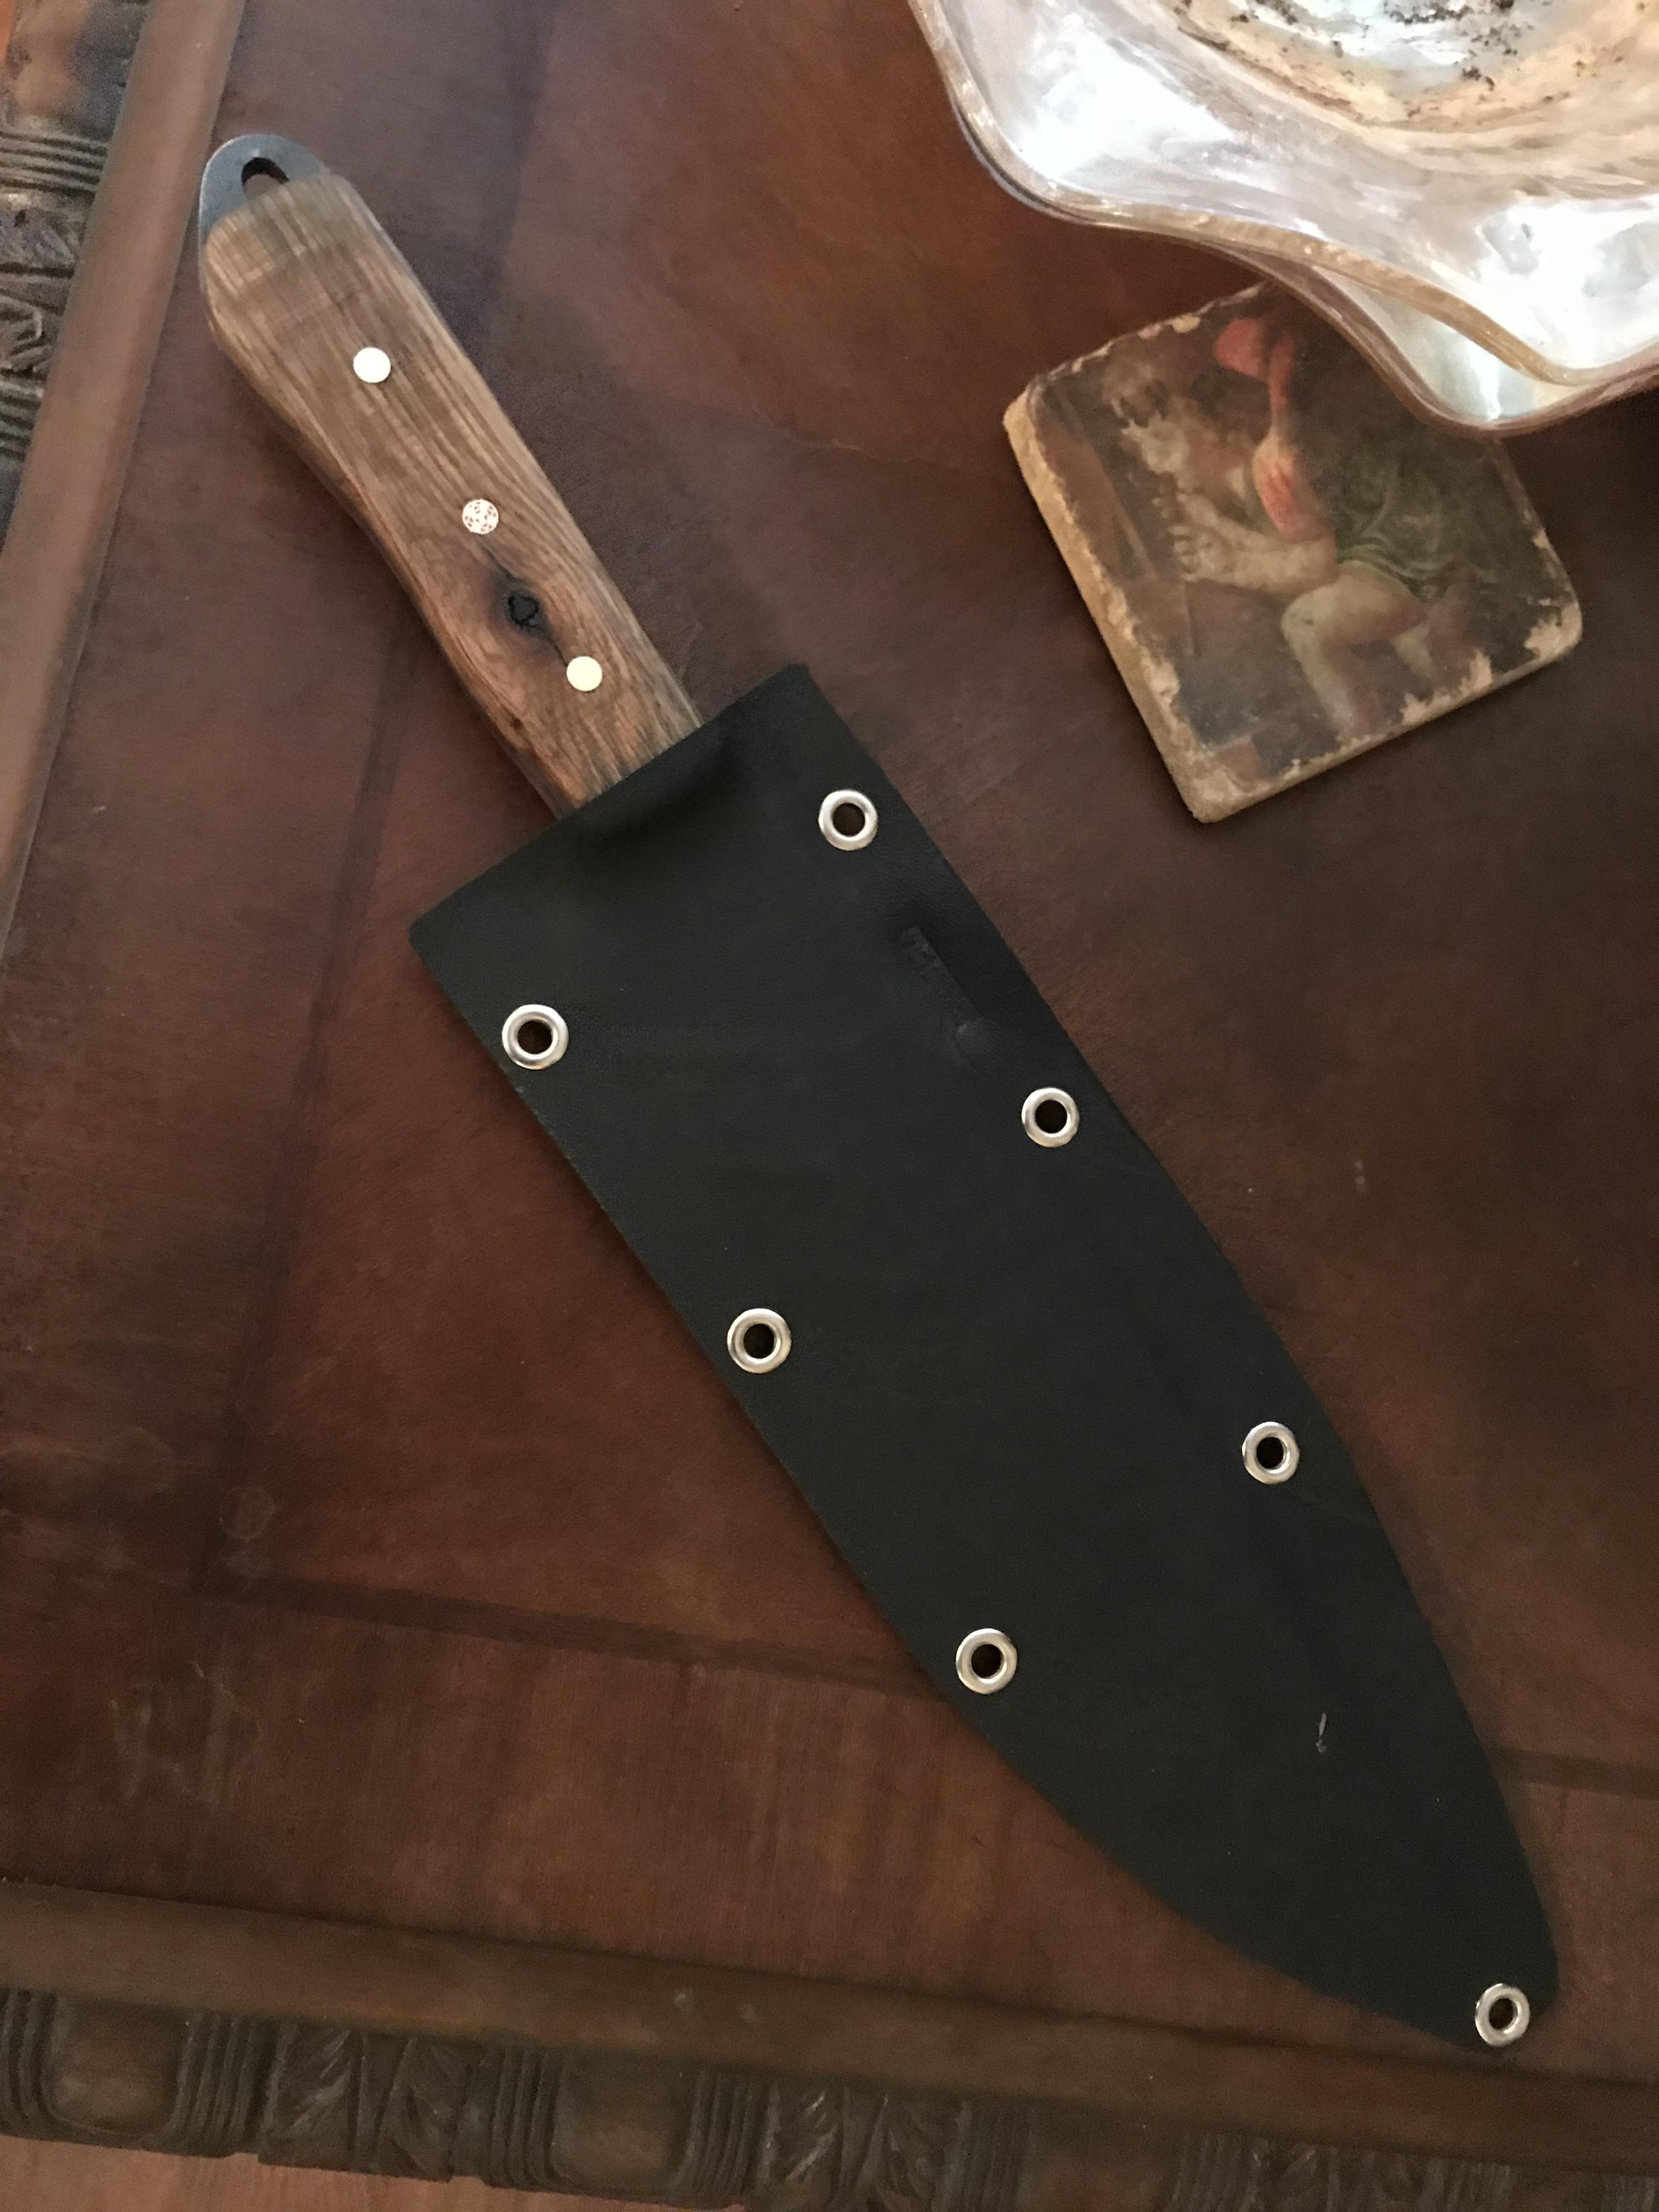
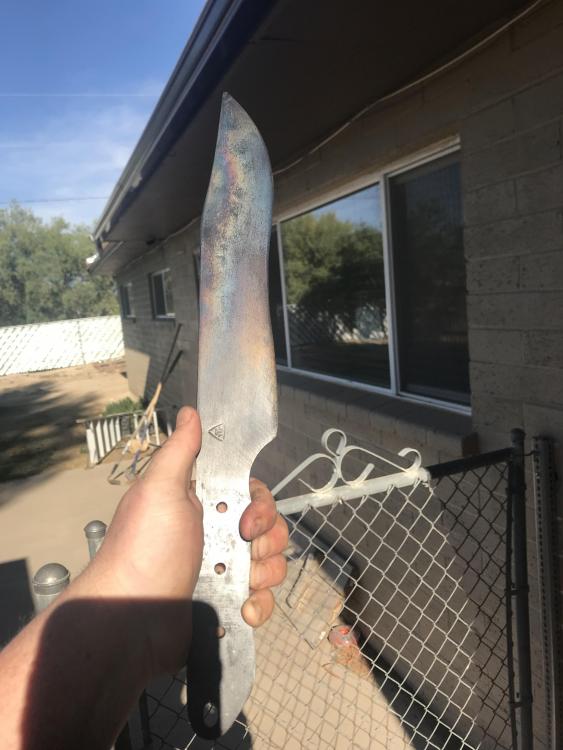
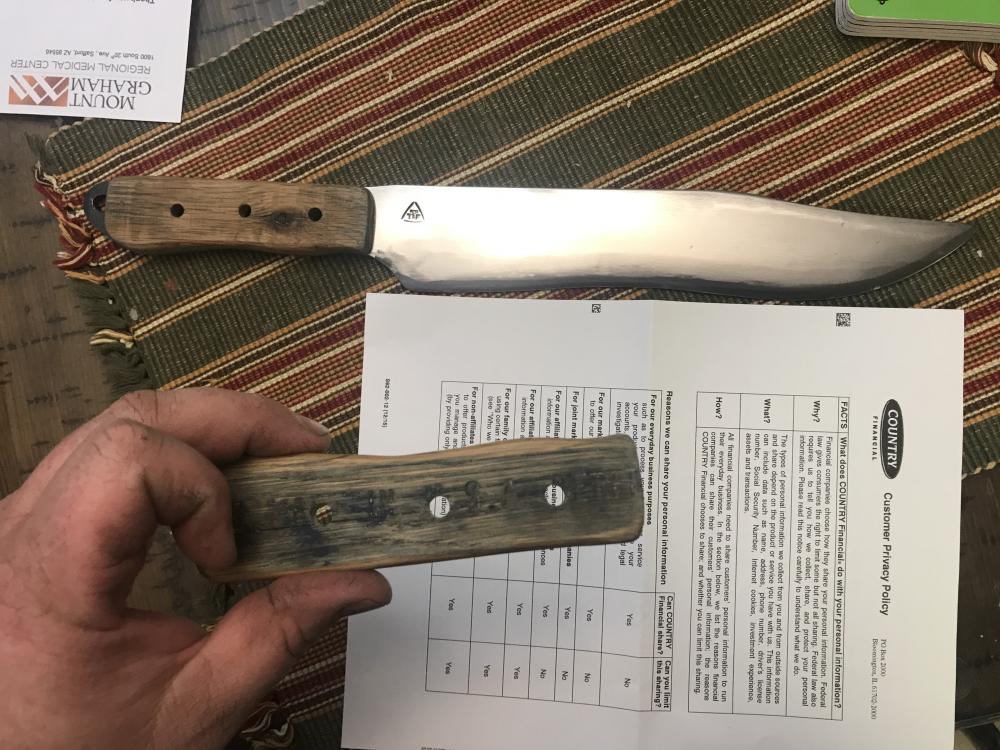
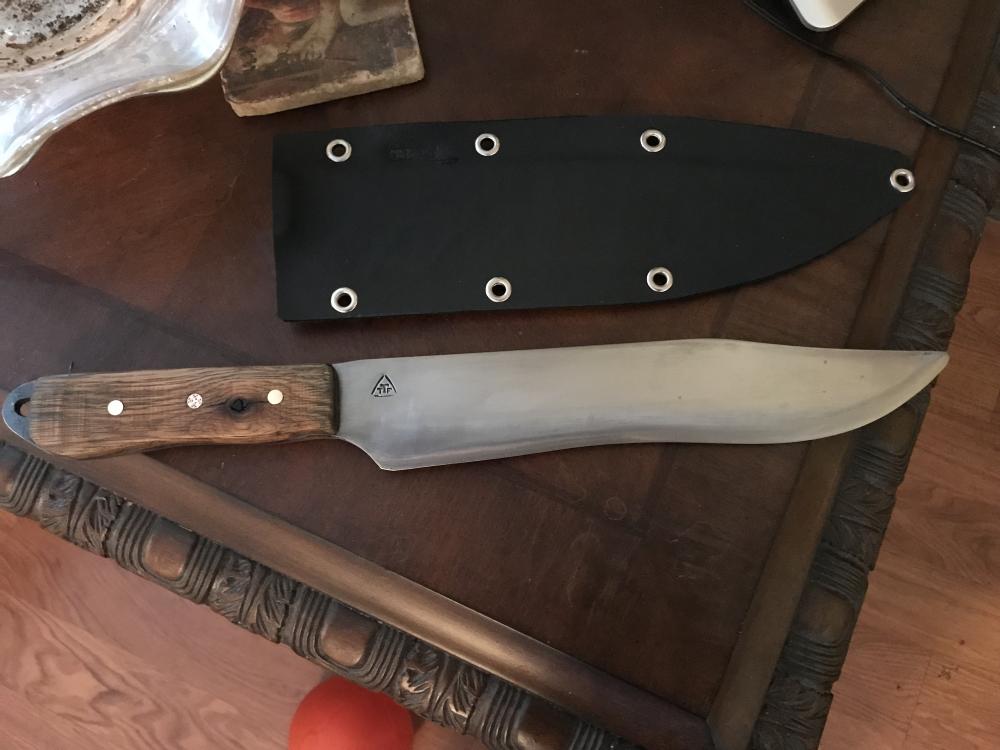
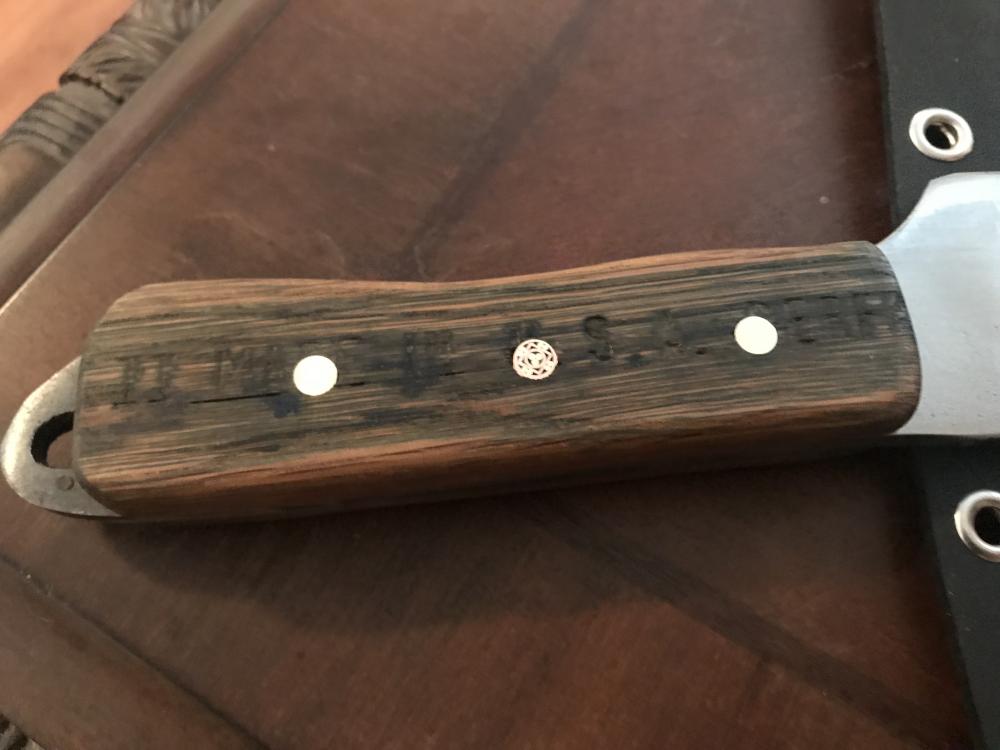
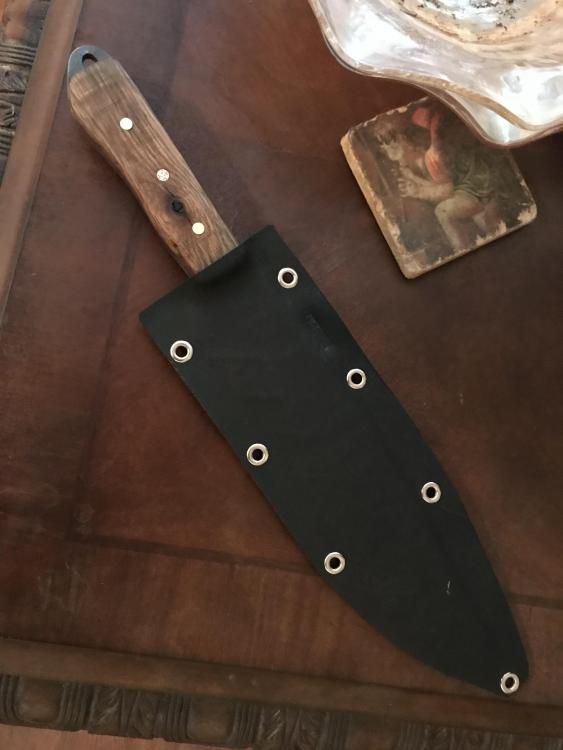
My mother’s husband finally came home from a kidney transplant. He served in the army for about 10 years and early on in his career he bought a knife on the side of the road from a guy hammering them outta old truck springs. On his last deployment he had to leave it behind, always says it was his favorite knife. Sad he had to leave it. So I decided to whip one out todday. From an old military trailer leaf spring I hammered out a new knife for him. Scales are from the old high school gym basketball floor in my hometown installed in 1915. Full sheet of paper for size reference Did a spine, walking the colors, torch temper.
-
Awesome stuff. Thank you for the pictures. I REALLY like the multiple thickness kiss blocks. Again, thank you. Mr. Johnson of Anyang saw my post here, said for me to call him even though he was on the road to Bladeshow. He and I discussed some options, i will chat more in person in a few weeks. I can’t get over the customer service from him. Second to none, theres my plug for the day. I’m interested in ALL ideas, I like to read, research, and just think about all sides of a coin before I actually start anything physical. Right now I’m looking for ideas and examples to run around in my head for a while. I swear if I’m not trying to figure something out, or have the next 4-5 projects mulling over in my head at all times think i might go crazy. Lol
-
I'm in the process of buying a brand spanking new Anyang 88#, picking up in about 3 weeks. I think it comes with flat dies, and I'm buying a set of combo flat/drawing dies along with the hammer. I like all sorts of smithing, decorative, structural, but probably 75% of what I do is bladework, with a preference for pattern welded blades. no swords... yet.... I plan on making lots of hand held spring tools, flatters, fullers, texture etc..., to use with the flat dies, but I'm curious what dedicated (ie dovetail and keyed in) hammer dies others prefer for what type of work, ANY type of work, they do. What other dies are recommended by Y'all? And would you make them yourself, or is it easier to save up pennies and buy them? I'm NO machinist, but do have a friend that has a lathe and mill he uses often (gunsmithing) and would be willing to do some machine work for me. I have also seen some dies that essentially are fabricated and 'clamp' over existing flat dies, worth considering... Id appreciate any input/opinions. Thanks
-
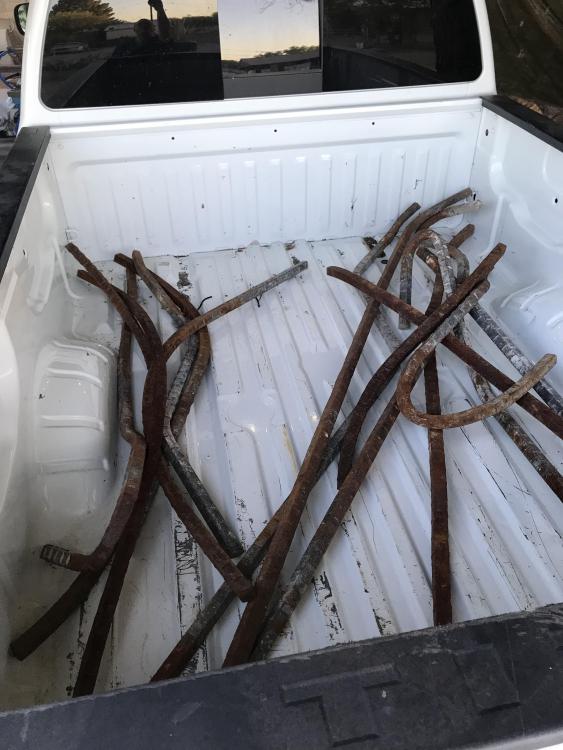
Picked up a few more sticks of the big rebar. The pieces under 8’ anyways.. each section weighs between 40-50lbs it seemed to me.
-
I had the same question before, but found an answer that worked for me. Mikey98118 said Jansent's approach was good
-
Yup, Exactly. Good size for hardy tools too I think!
-
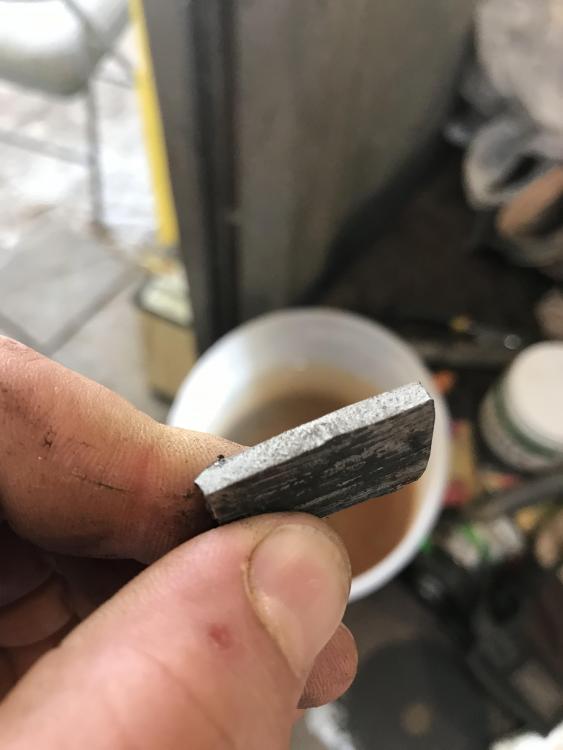
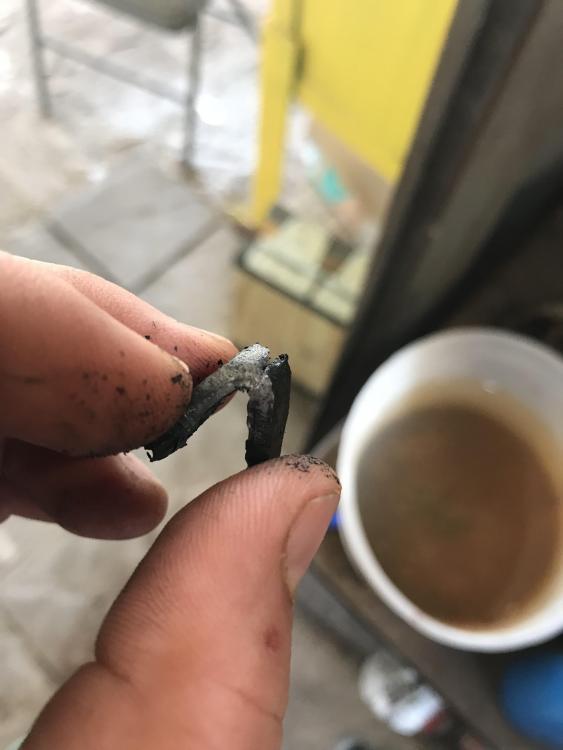
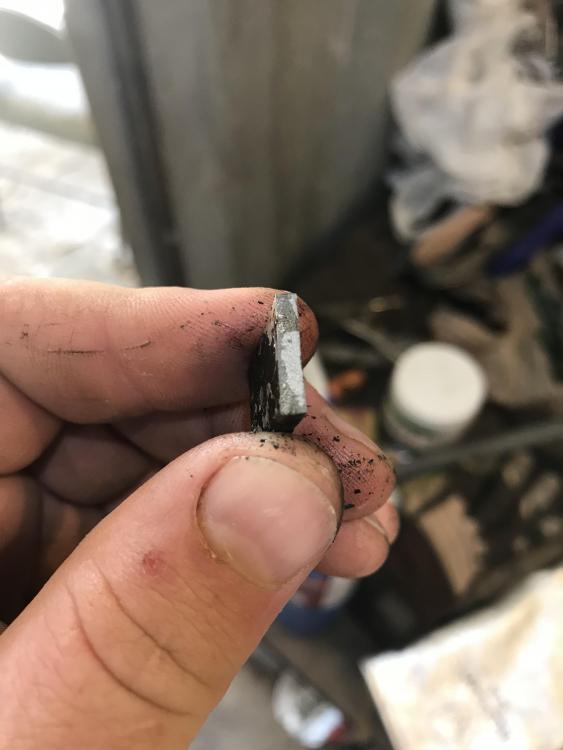
Tested square re-bar today. To check for consistency I tested 3 cross sections in 3 areas of the entire bar. Results were the same in all 3 areas. Sparks looked like ‘medium’ carbon when i compared to 1018 and 1095 it looked like a good middle ground. First I did a forced air quench, vice then hammer. It bent all the way to 90. I squeezed it with vice to see how far it would go before cracking Next was an oil quench, first blow with hammer and it bent about 10-15 degrees, second blow and it snapped off. last I quenched in water and it snapped clean off on the first blow. all 3 tests were the same on all 3 parts I tested.
-
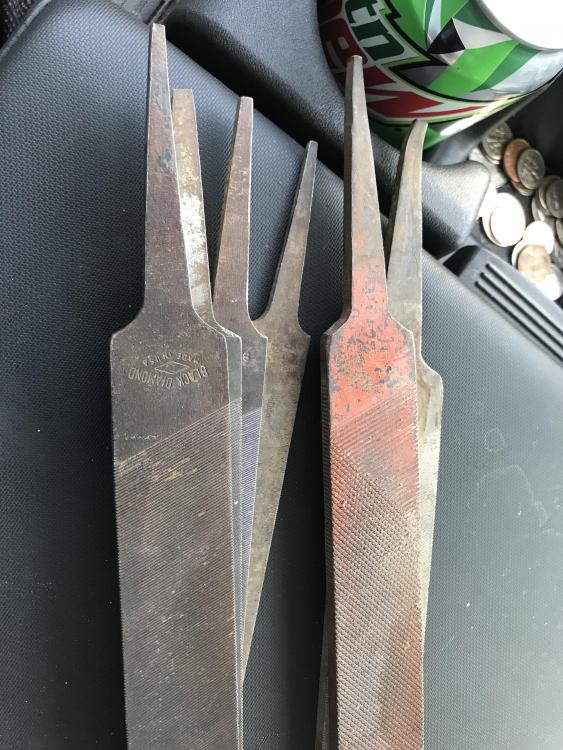
Swap meet, randomly decided to stop. $1 each. 4xblack diamonds. And 2 others stamped nicholson with the crossed cannons.
-
I will check out this weekend... when I manage to find some time. IF it does harden some there is a PILE about 10 feet tall and 20 feet at the base of this stuff sitting outside my clinic where I work... [behind an Arizona department of Transportation (ADOT) fence.] I have a contact though, and I can get as much as I want! Any change its wrought? doubt it, but one can hope right? Playing around this weekend will tell me though, one way or the other.
-
I didn't think Australia even knew about things like grass and rain. LOL I thought it was just the land of NOPEs that try to kill ya! Is that a giant steel plate for a door? it looks like it would be quite a heat-sink. I have firebricks painted with the leftover ITC-100 water after coating the interior of my forge, they reflect the heat pretty good.
-
-
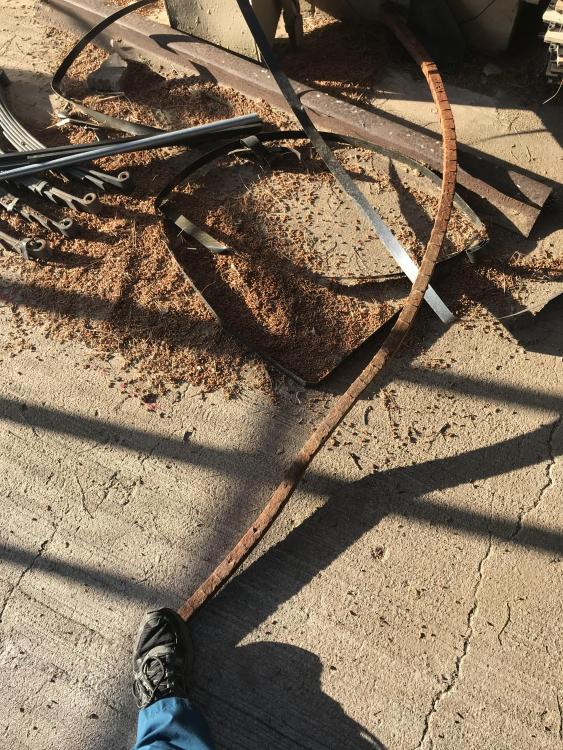
From a recently demod bridge, built in 1941. 1 1/2” square re-bar I havent done ANY testing yet, any ideas on its composition? I have no knowledge on reinforcing bar history. I know that nowdays its like a box of chocolates, you never know what you’re gonna get. But back then it might have been a different story?
-
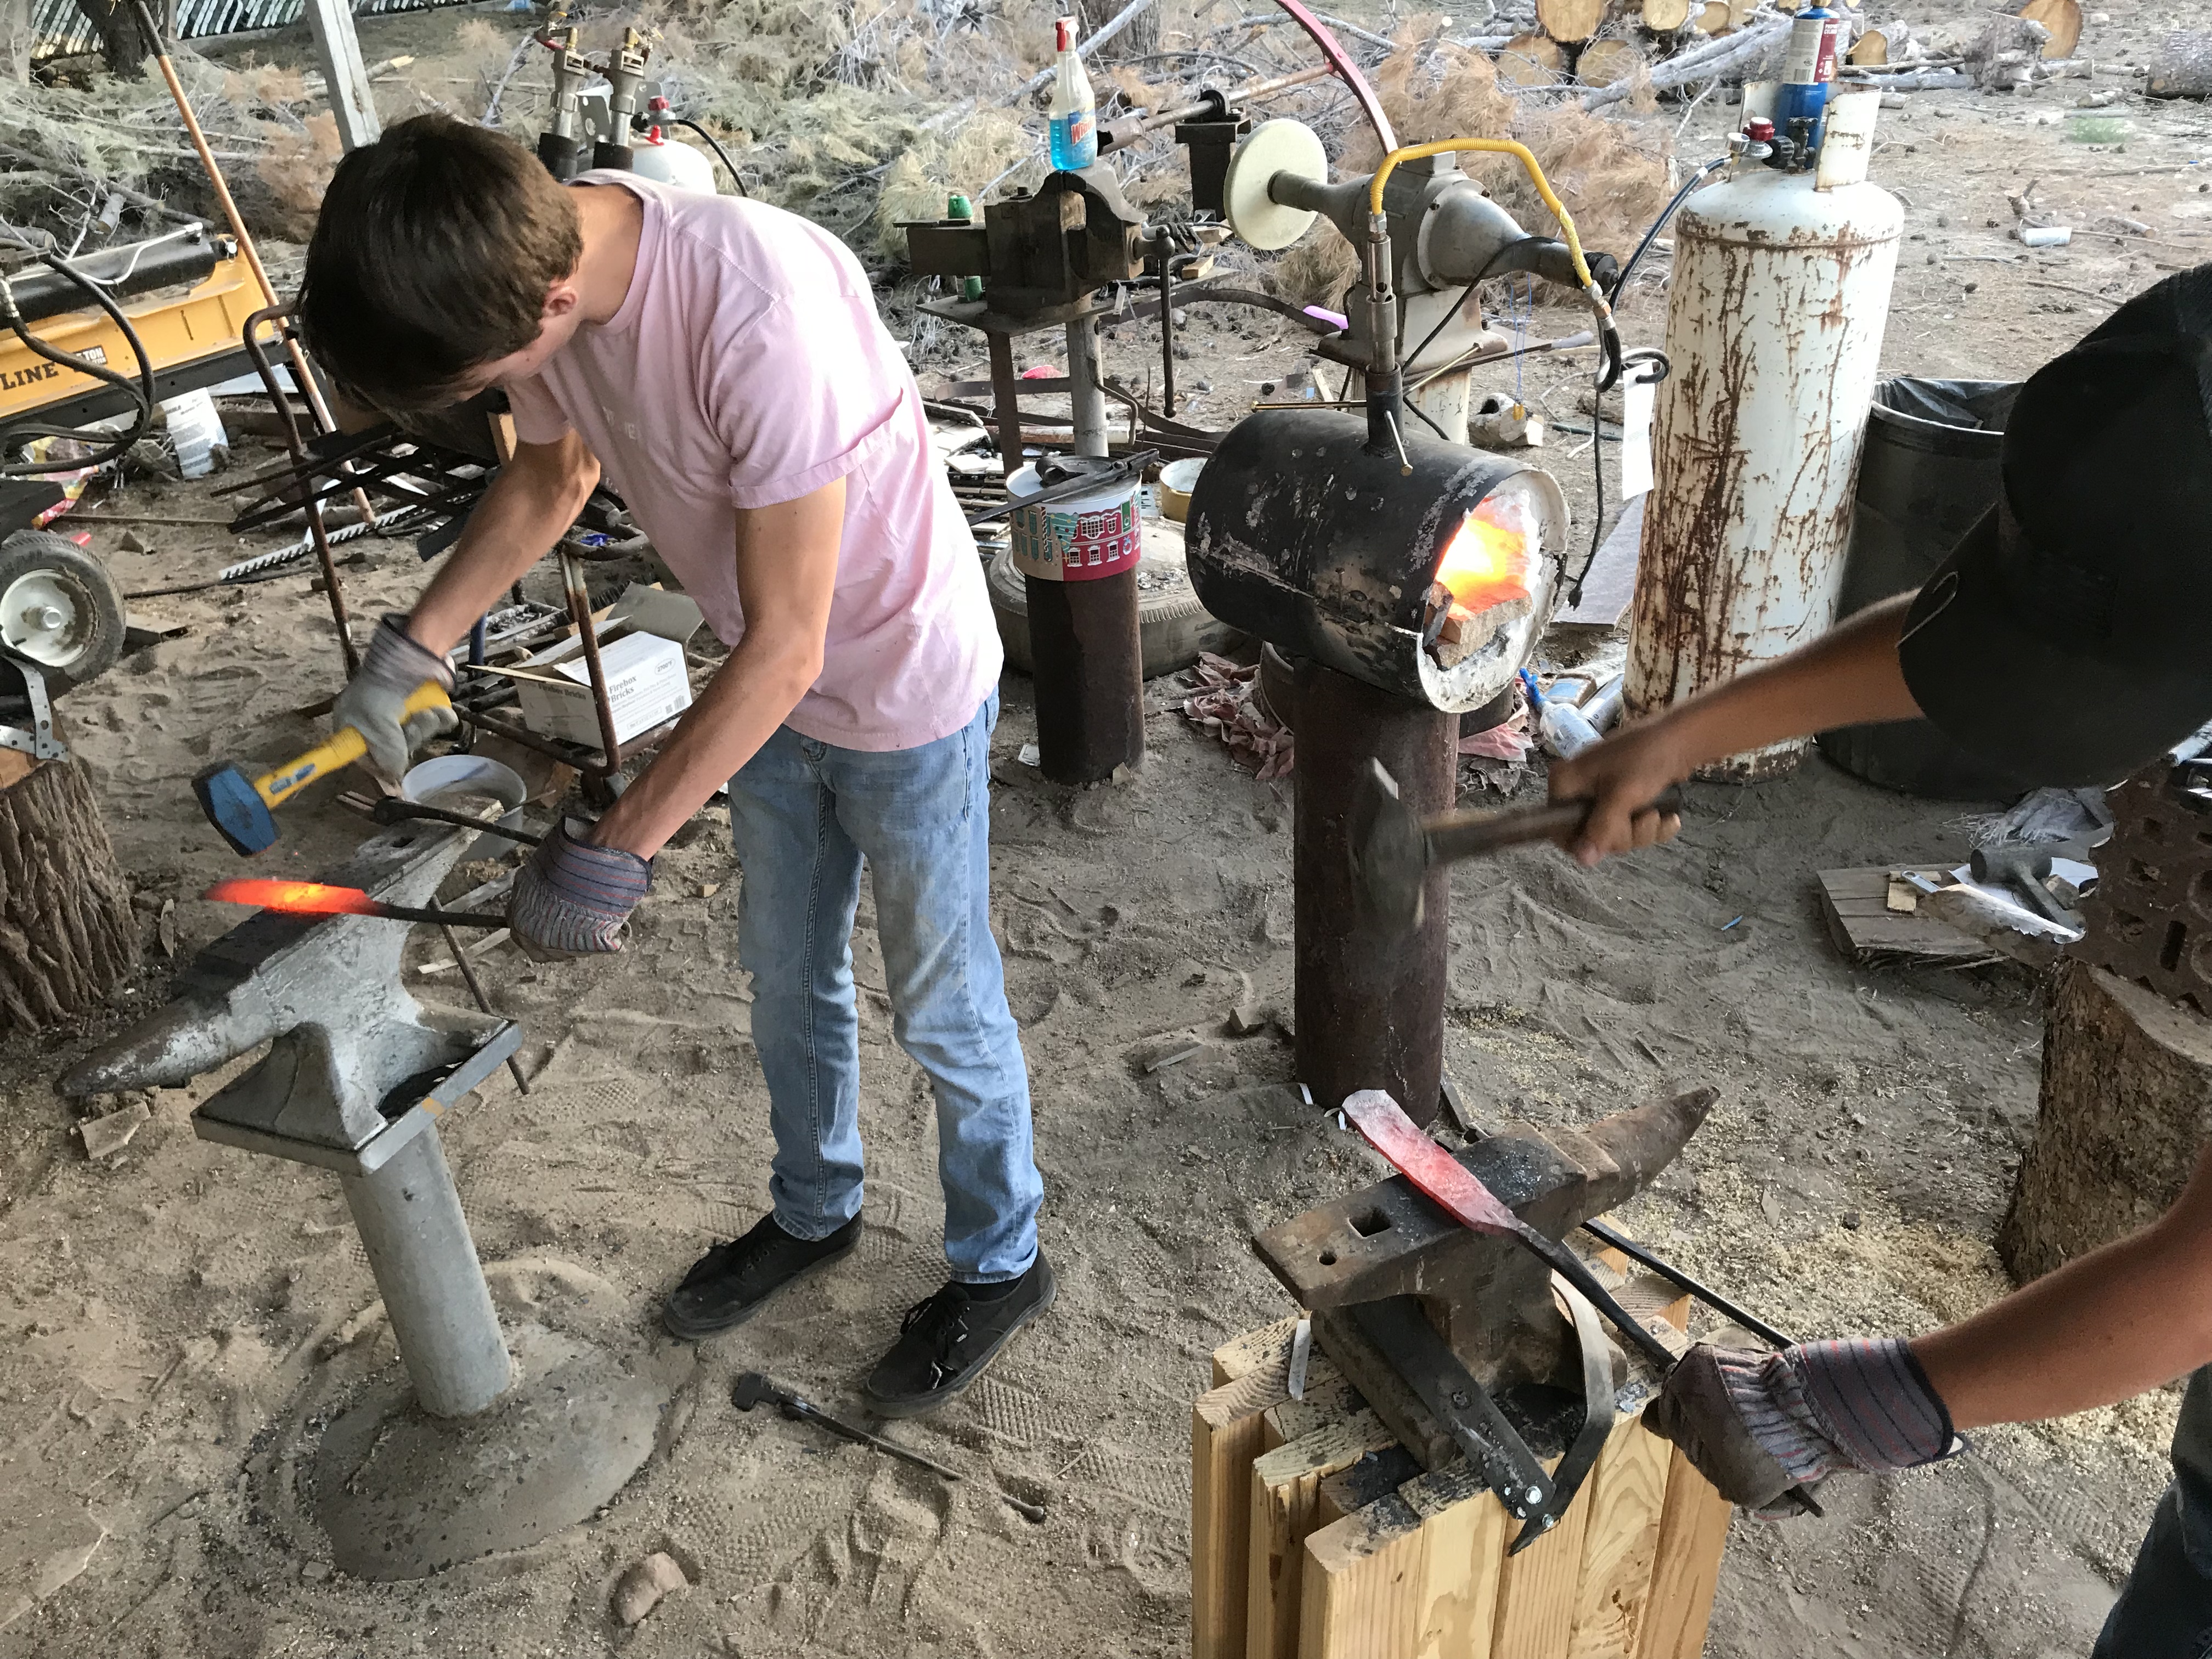
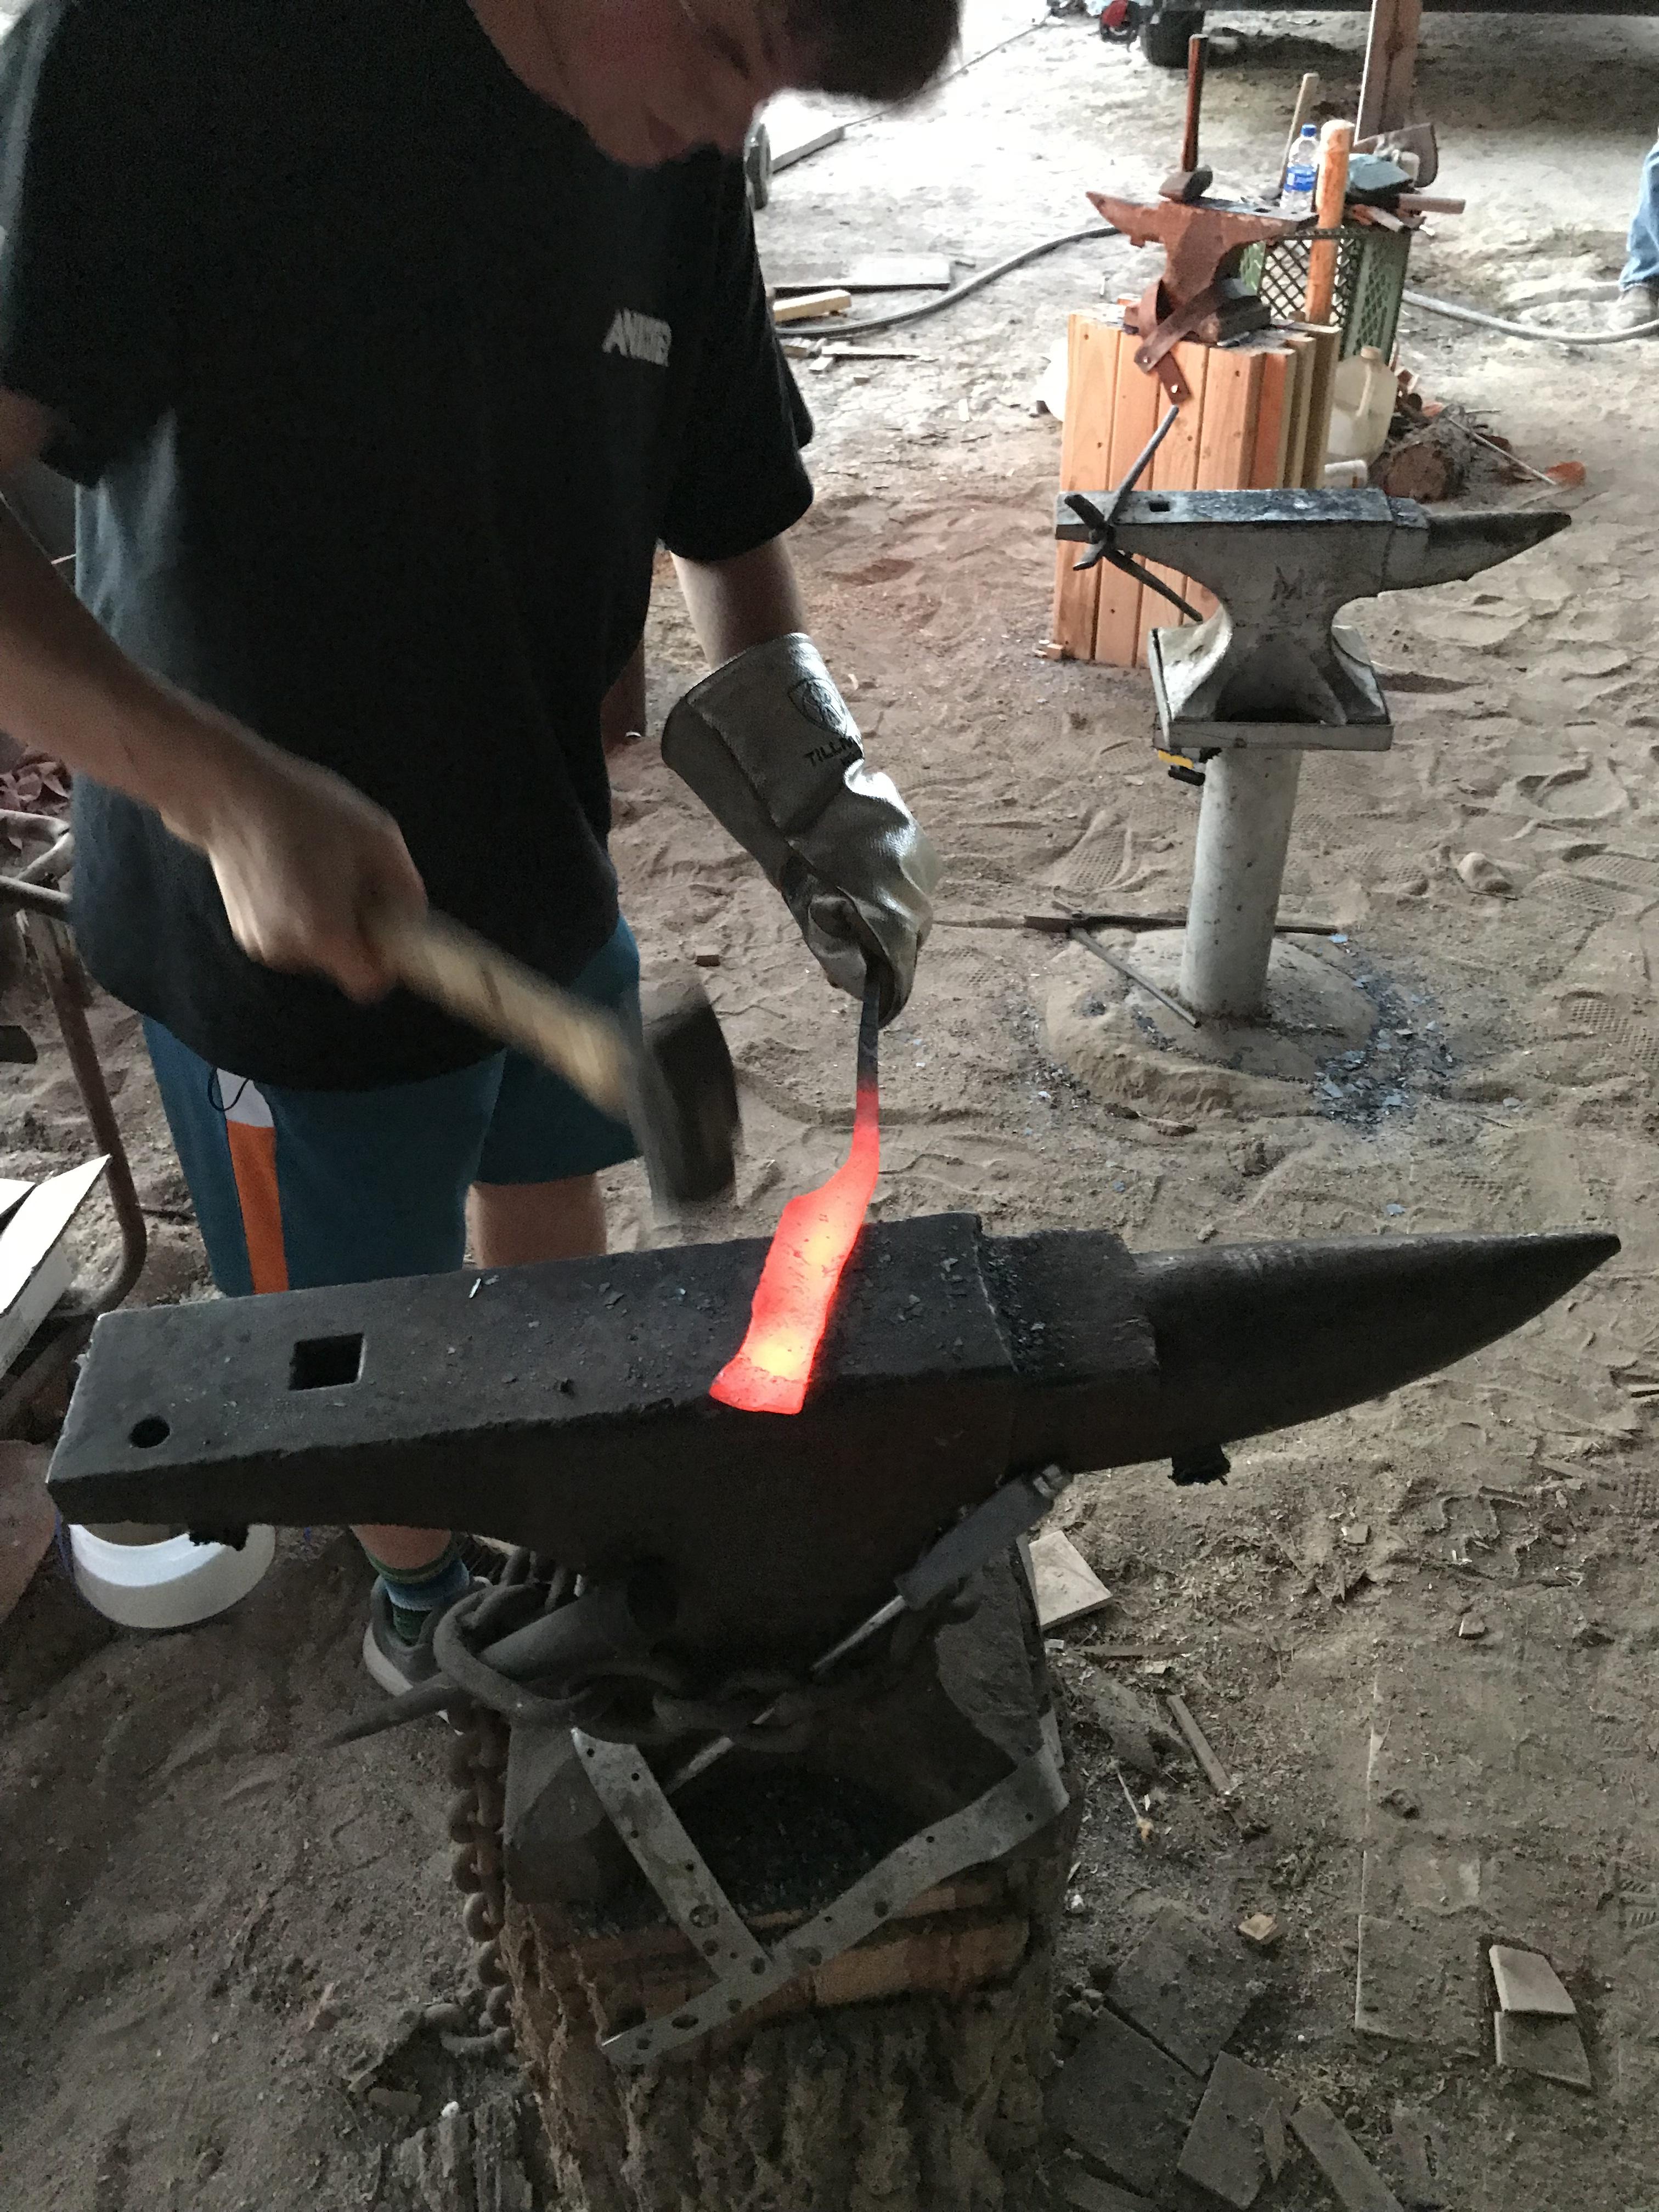
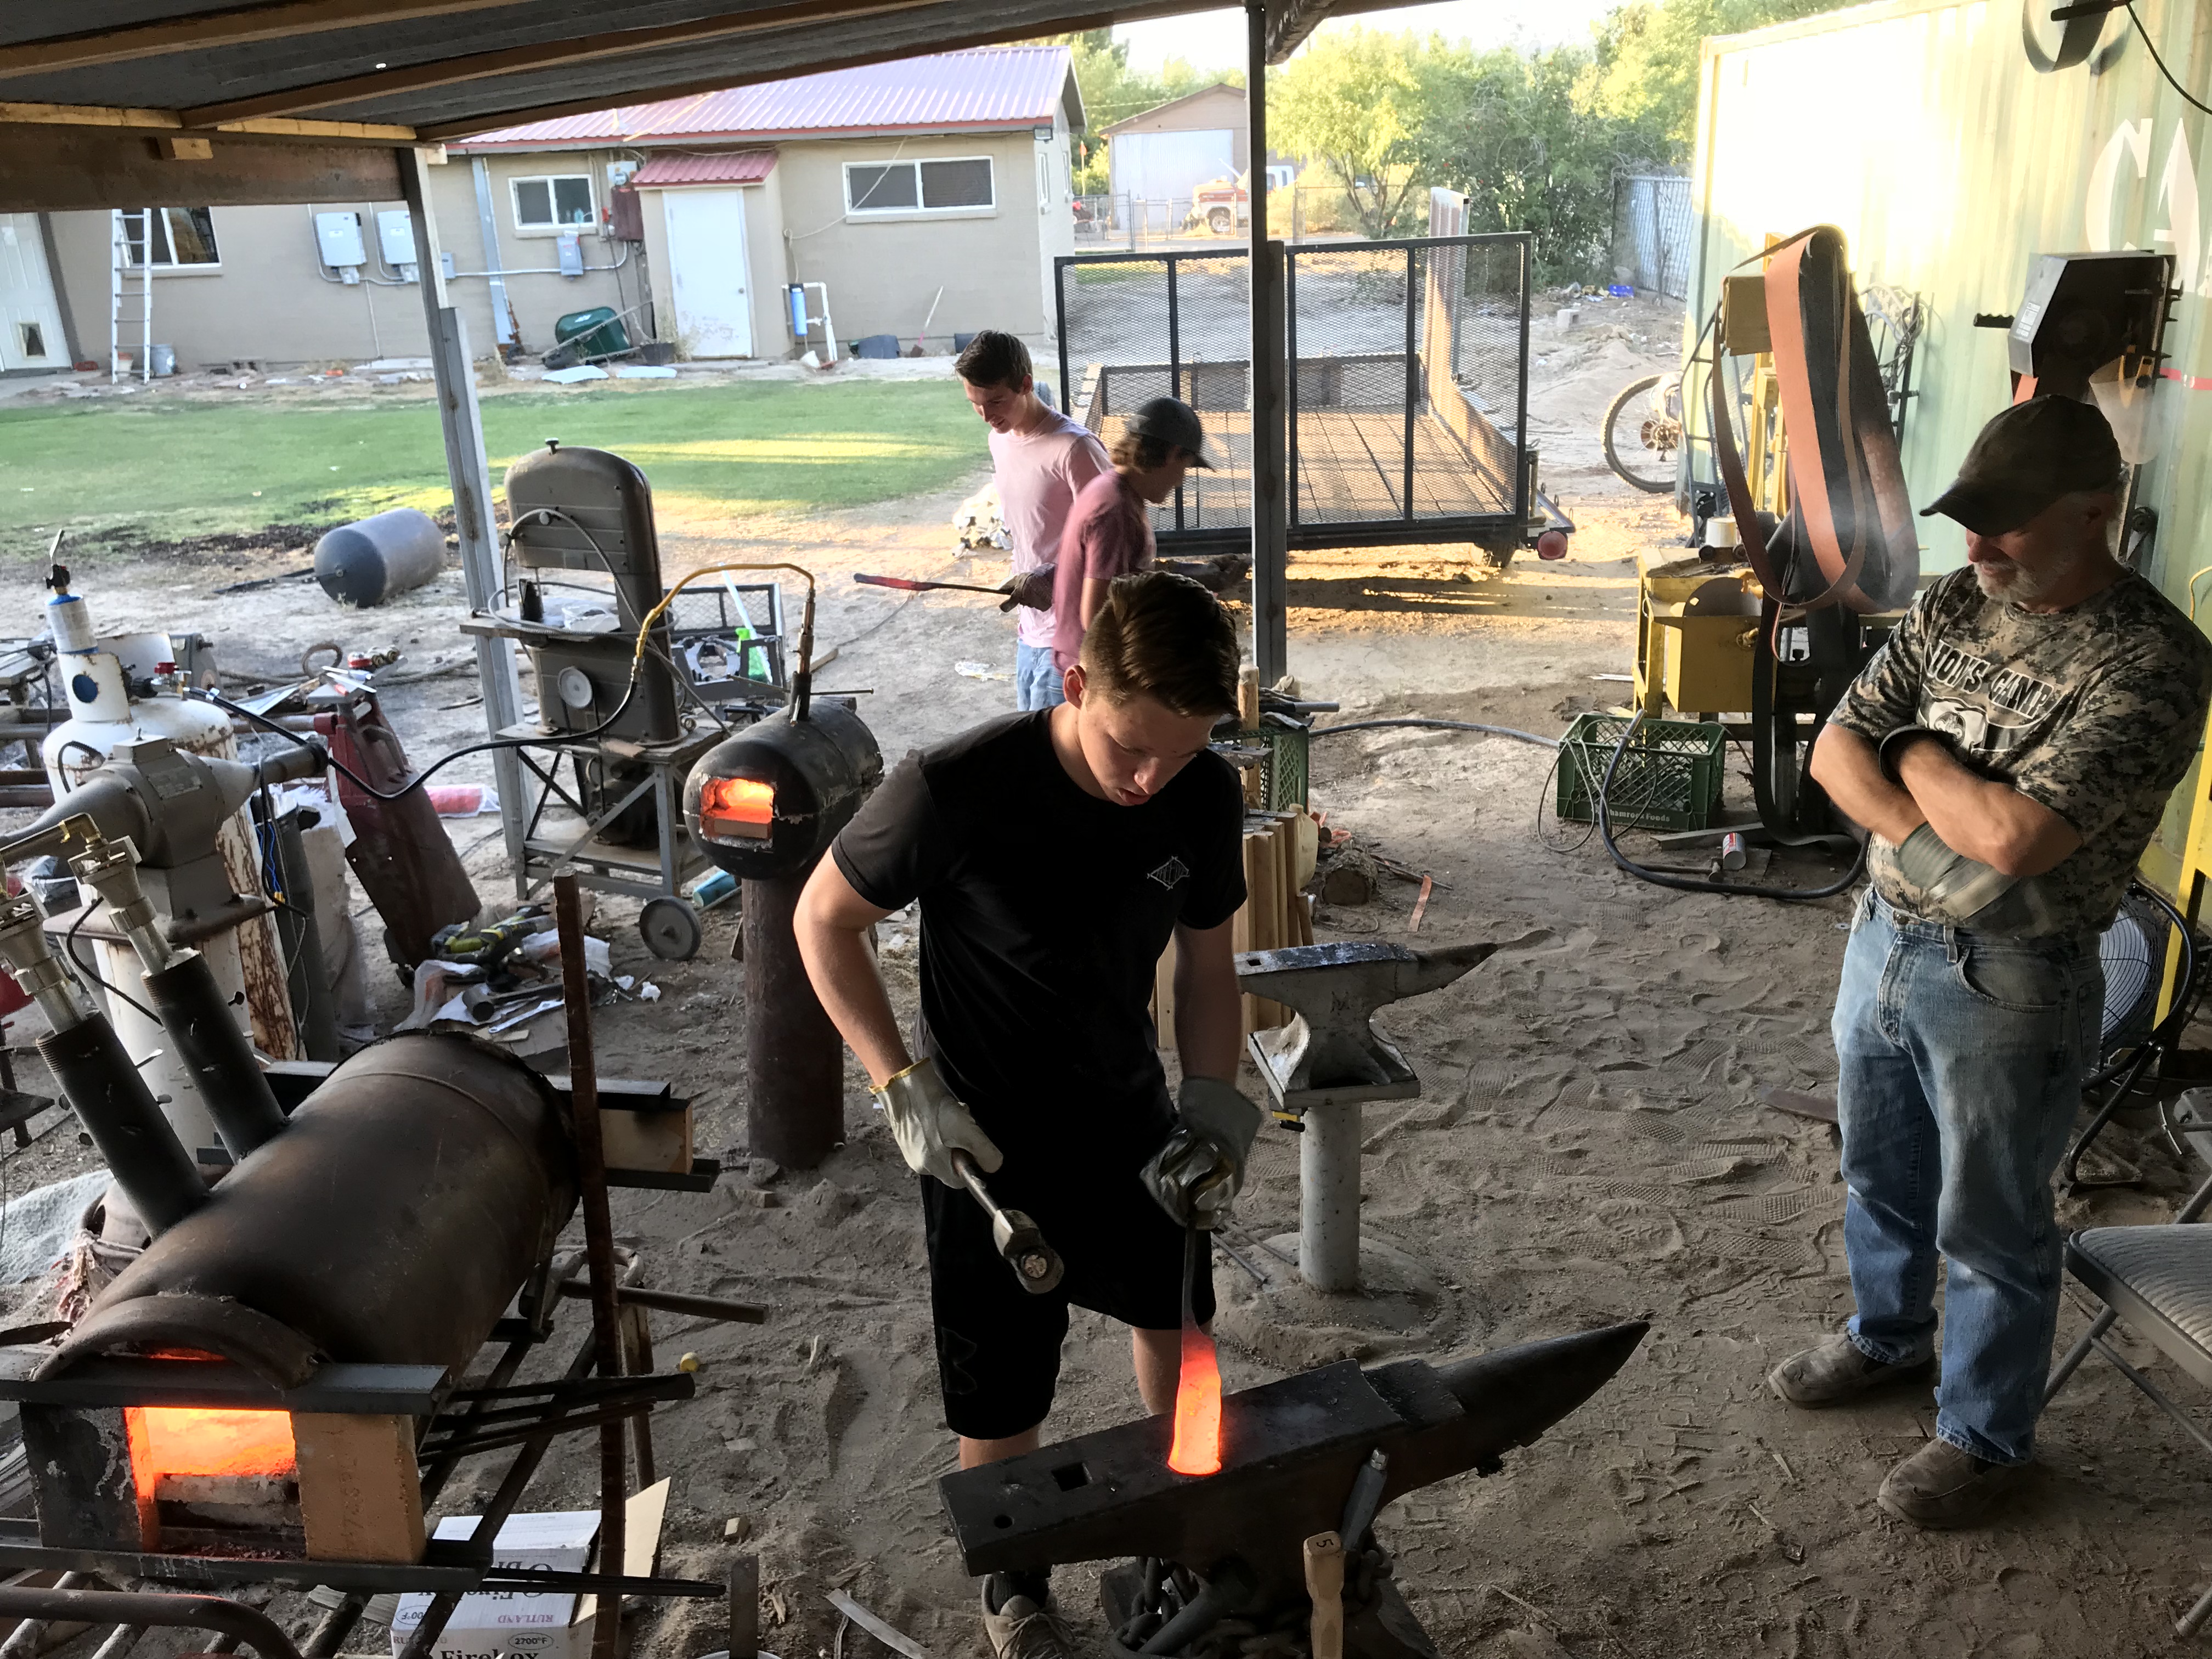
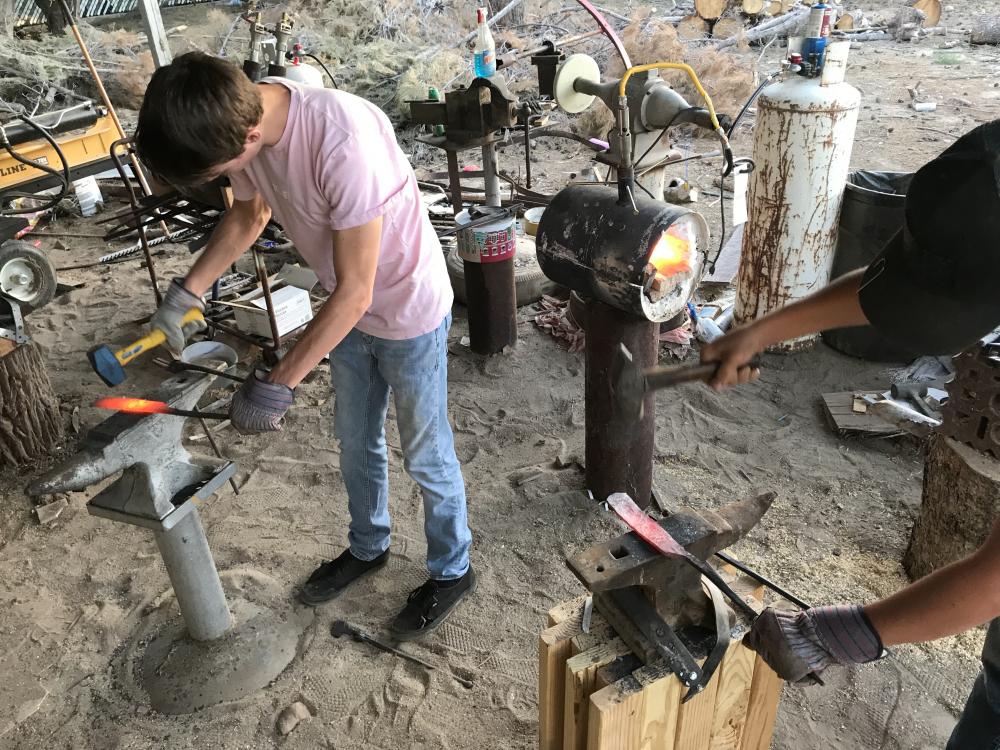
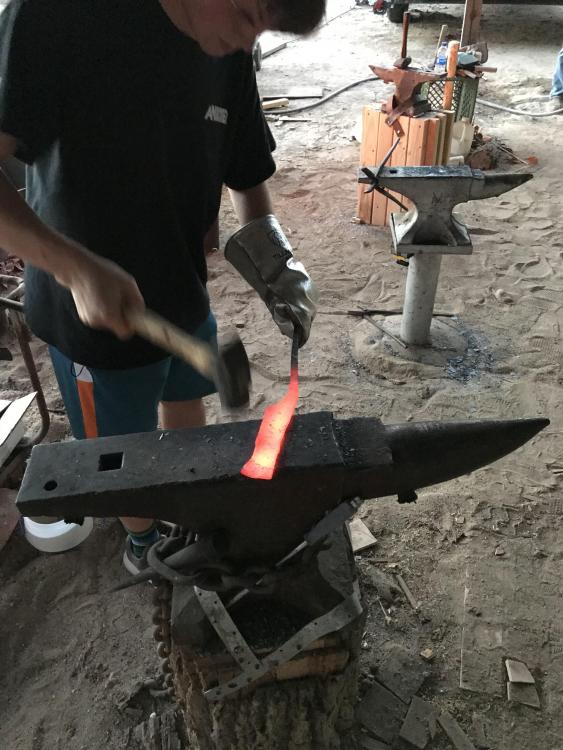
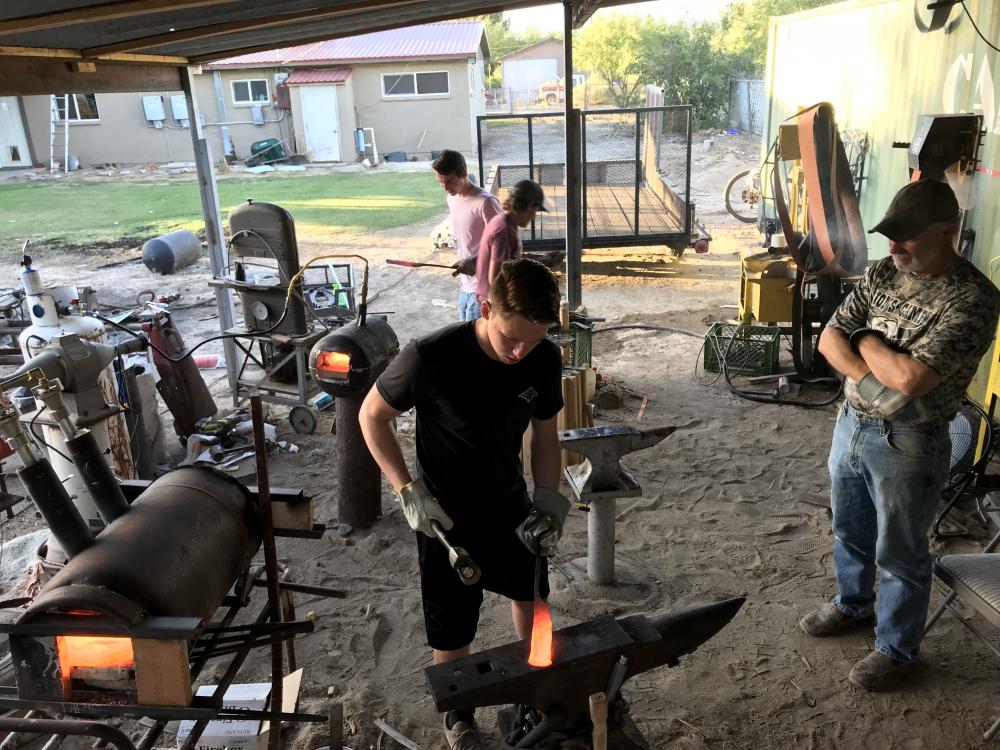
Thats good to know. ‘Viking ladies knife’ jumping right into knife making is, I KNOW, not the best rout to go. Its what I did 1 year ago, and it was a steep learning curve. I got lucky. With a farming, welding, physics, and chemistry background it came pretty easy to me. After reading here daily for over a year I really understand the wisdom that the obviously more experienced users often say. Start small, s hooks, tapers, upsetting, punch/pritchel, drift, all while learning hammer control. I would really love to start with the basics with these guys, but with how busy life is nowdays, I’m happy we got to do at least this. Plus... i had four 14 & 15 year olds completely focused on one task, and not afraid to ask for help or to explain something again. They did great! Part 2 finished about 15 minutes ago. All 4 of em got a distal taper (well... kind of), the downward bananna, and then pulled the cutting edge down to (again... kind of) straighten the pre-bananna curve. 2 full hours including: safety briefing, instruction/plan, and me helping with some hammering on everyone’s blades to show a little technique here and there. Next wendsday we will ‘spade’ out the end of tang and roll the handle back in. Quench, temper, and final grind. We all agreed I will save them some time and grief and do a rough cleanup grind this Weekend so the grinder is not a bottleneck.
-
THAT is a good idea!
-
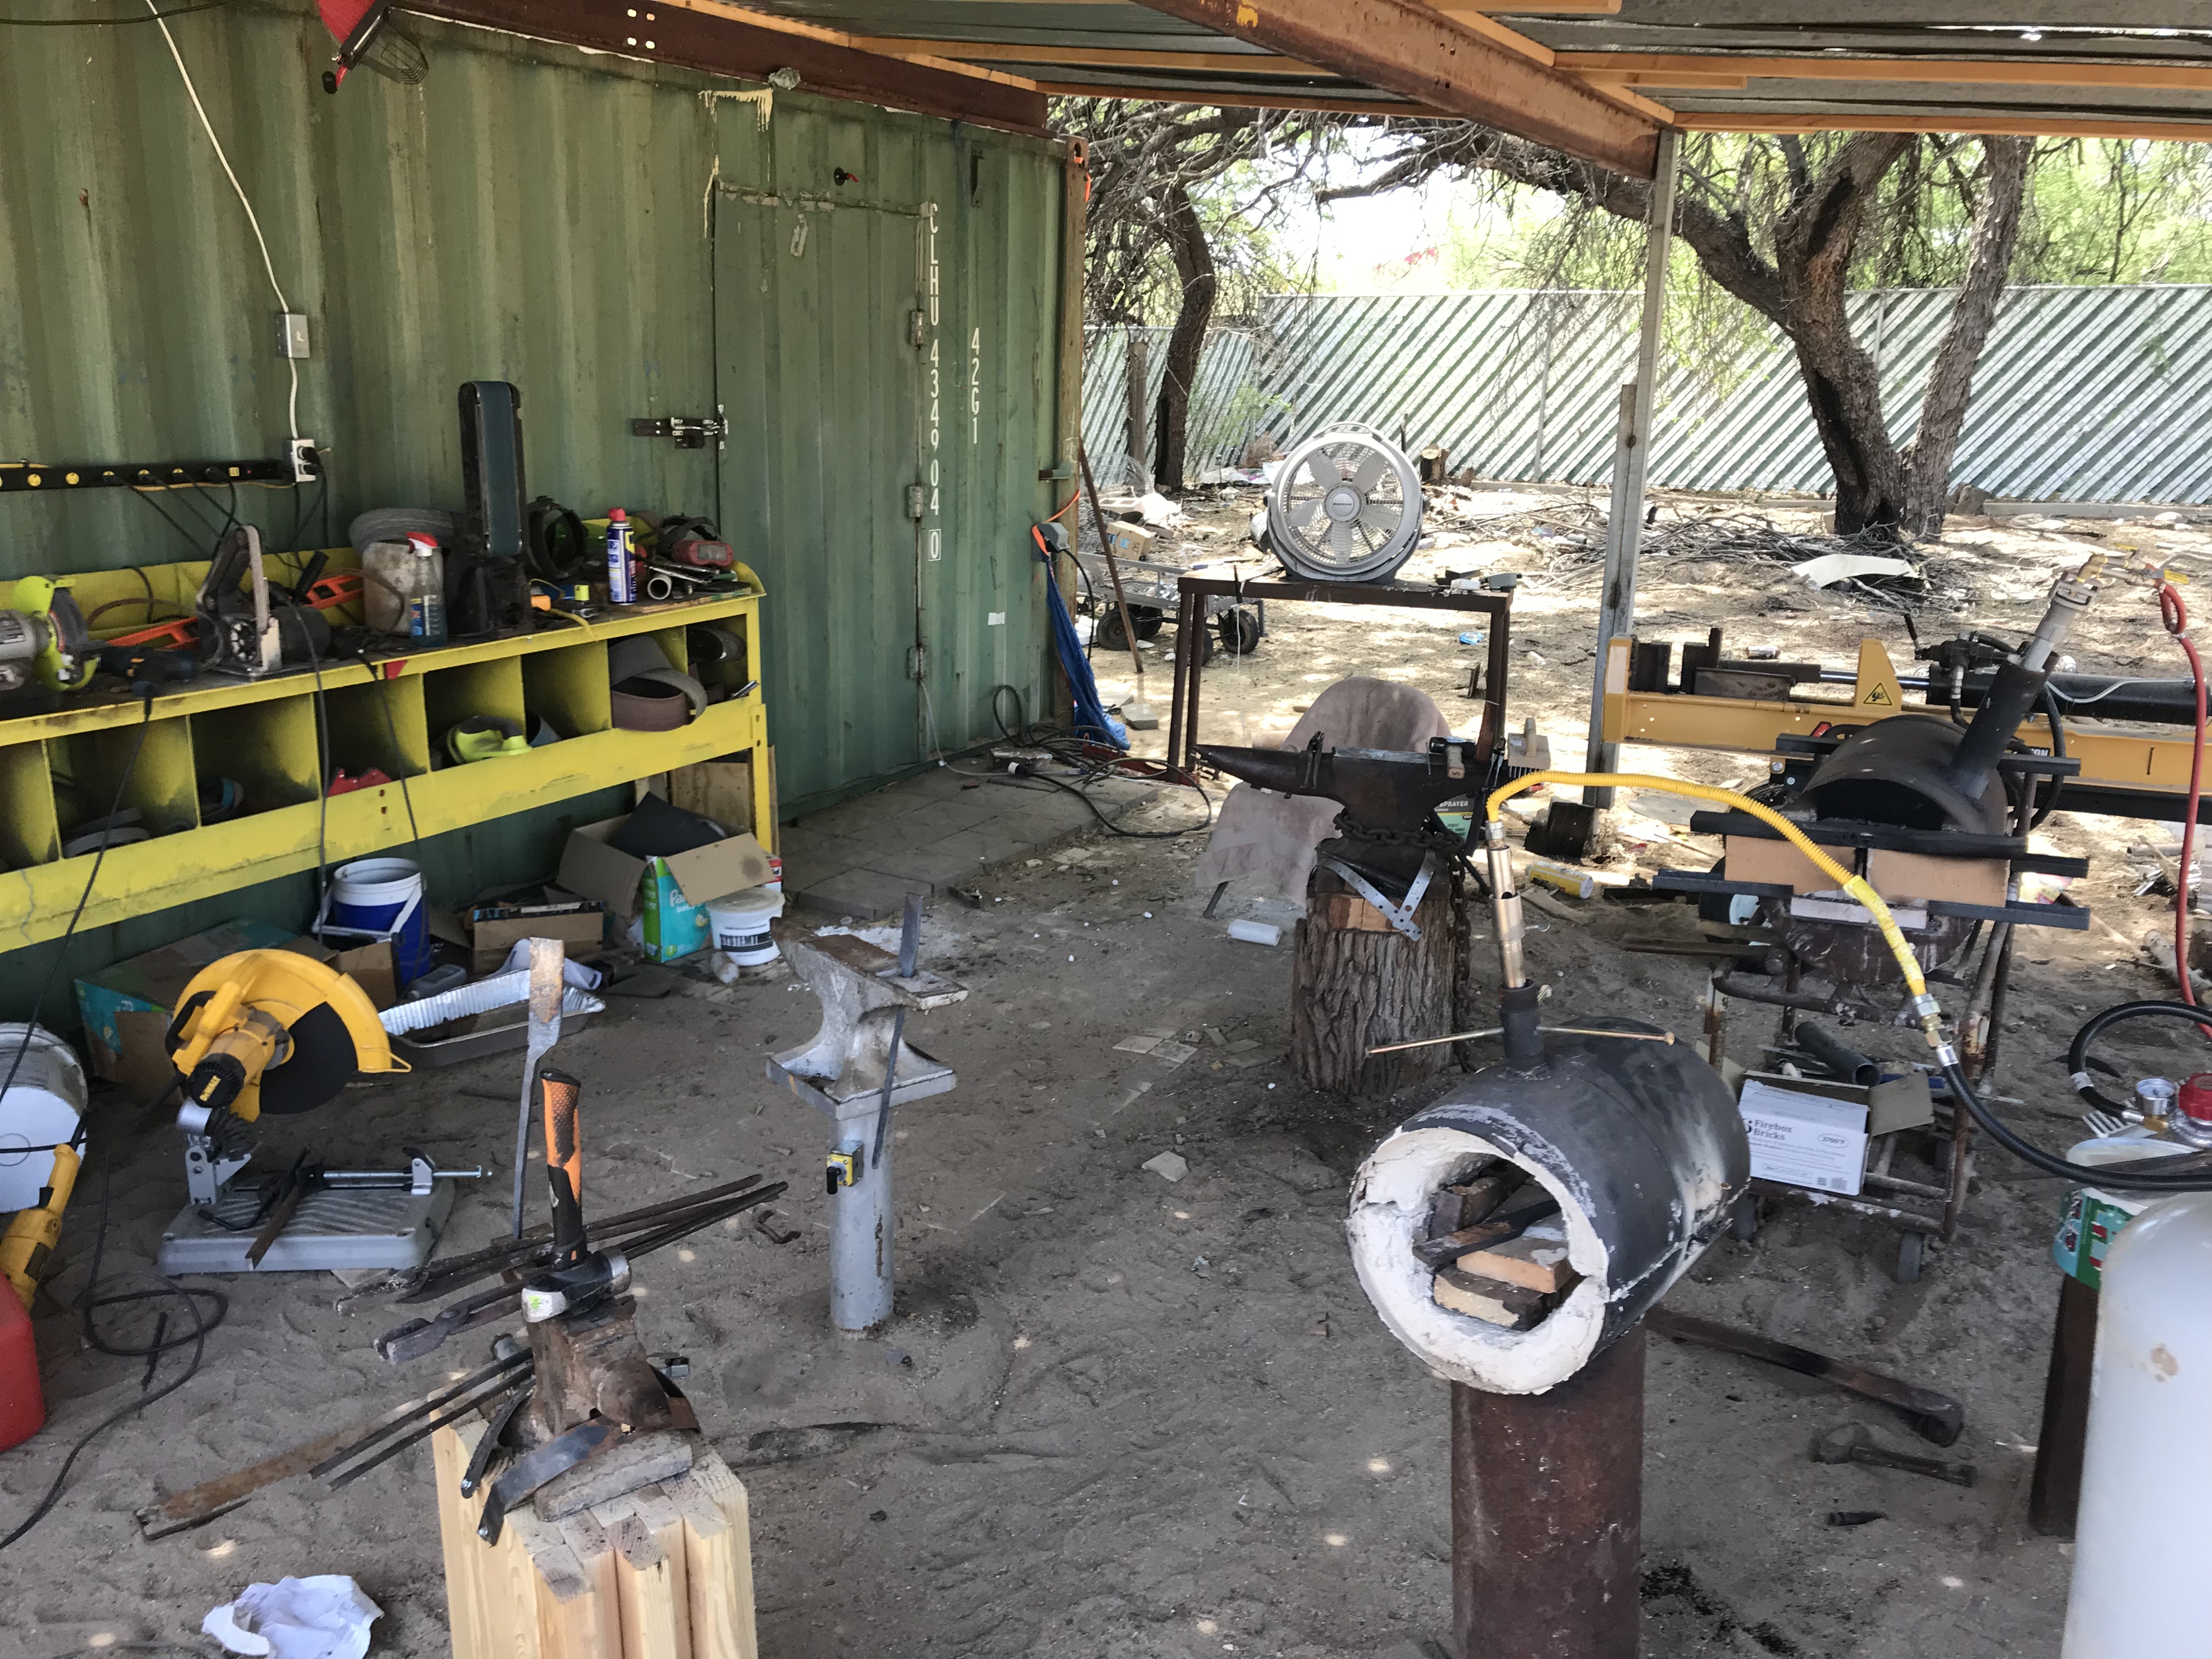
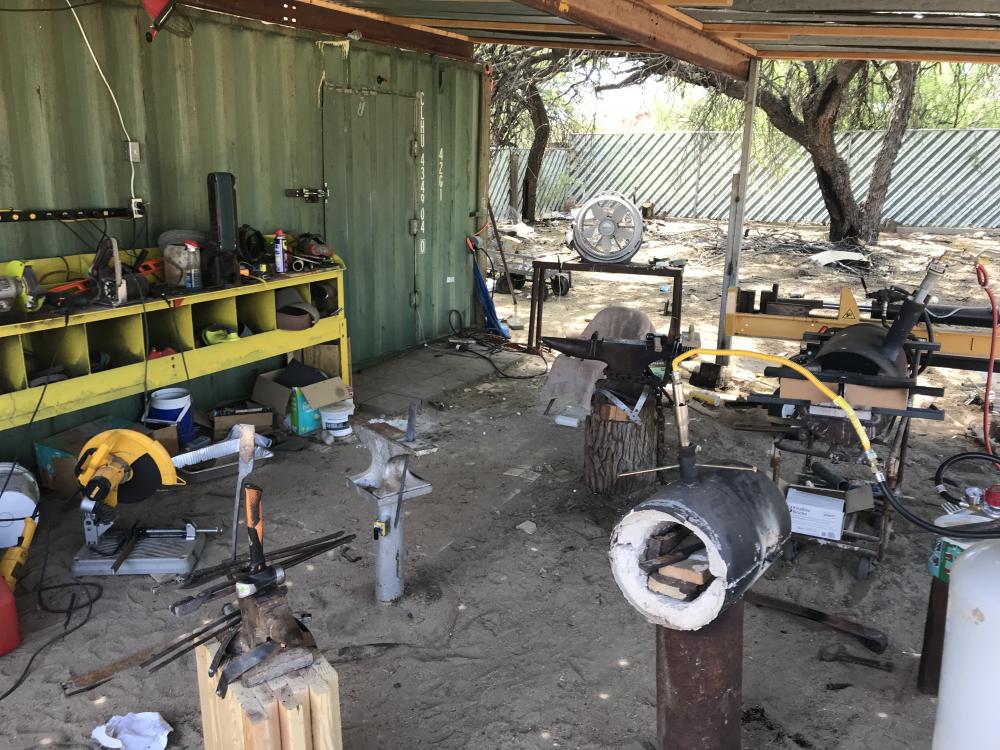
Well they liked it enough that its time for round 2. I rearranged the stuff I could to get lots of room this time. My big anvil isnt going anywhere, so it dictated where everything else went. Have all 3 anvils mounted up. Remade my first smaller forge and made a proper pedestal for it. I’m doing a lot of prep-work. Decided for the sake of time I would hammer out the long tangs for them. Then all they would have to do is a little bit of distal taper, then put the downward bananna bend, then pull the cutting edge down straightening the bananna... hopefully??? quench, cutting torch temper, grind to a chopper/appleseed bevel. I need a power hammer... budgeting for an 88# Anyang in a month or two... drawing out six 15” tangs from leaf-springs by hand was a chore. But hey, ive gotten pretty good at doing it at least.
-
I asked my grandfather about my Hay Budden, he got it from the Phelps Dodge copper mine in AZ an auction some number of years ago. When I asked him, he thought about it, went to a filing cabinet and puled paperwork from everything he bought at that auction (this man keeps everything). I guess the anvil was bought new by Phelps Dodge from Hay Budden in NY back in about 1902 or so. His paperwork had a badly legible xerox copy of the original bill of sale. Unfortunately you cant make anything out on it. I guess they still had the paperwork on it and it was kept with the anvil. Apparently it was in brand new condition when he got it in the 80s.
-
Very nice lines! I like the transition from handle to guard. it flows well. Good job on the pattern too. What wood species is the burl?
-
etch, then carefully clean underneath where the guard will rest if concerned with oxides n such inhibiting the solder, though I don't think they will...
-
Yup. that 13% chromium will get ya! It will form chrome oxides that are not easy to deal with and weld through. Answer found... kinda liberating isnt it? which one was the AEBL? the one supposed to be 1084, or supposed to be 15n20?
-
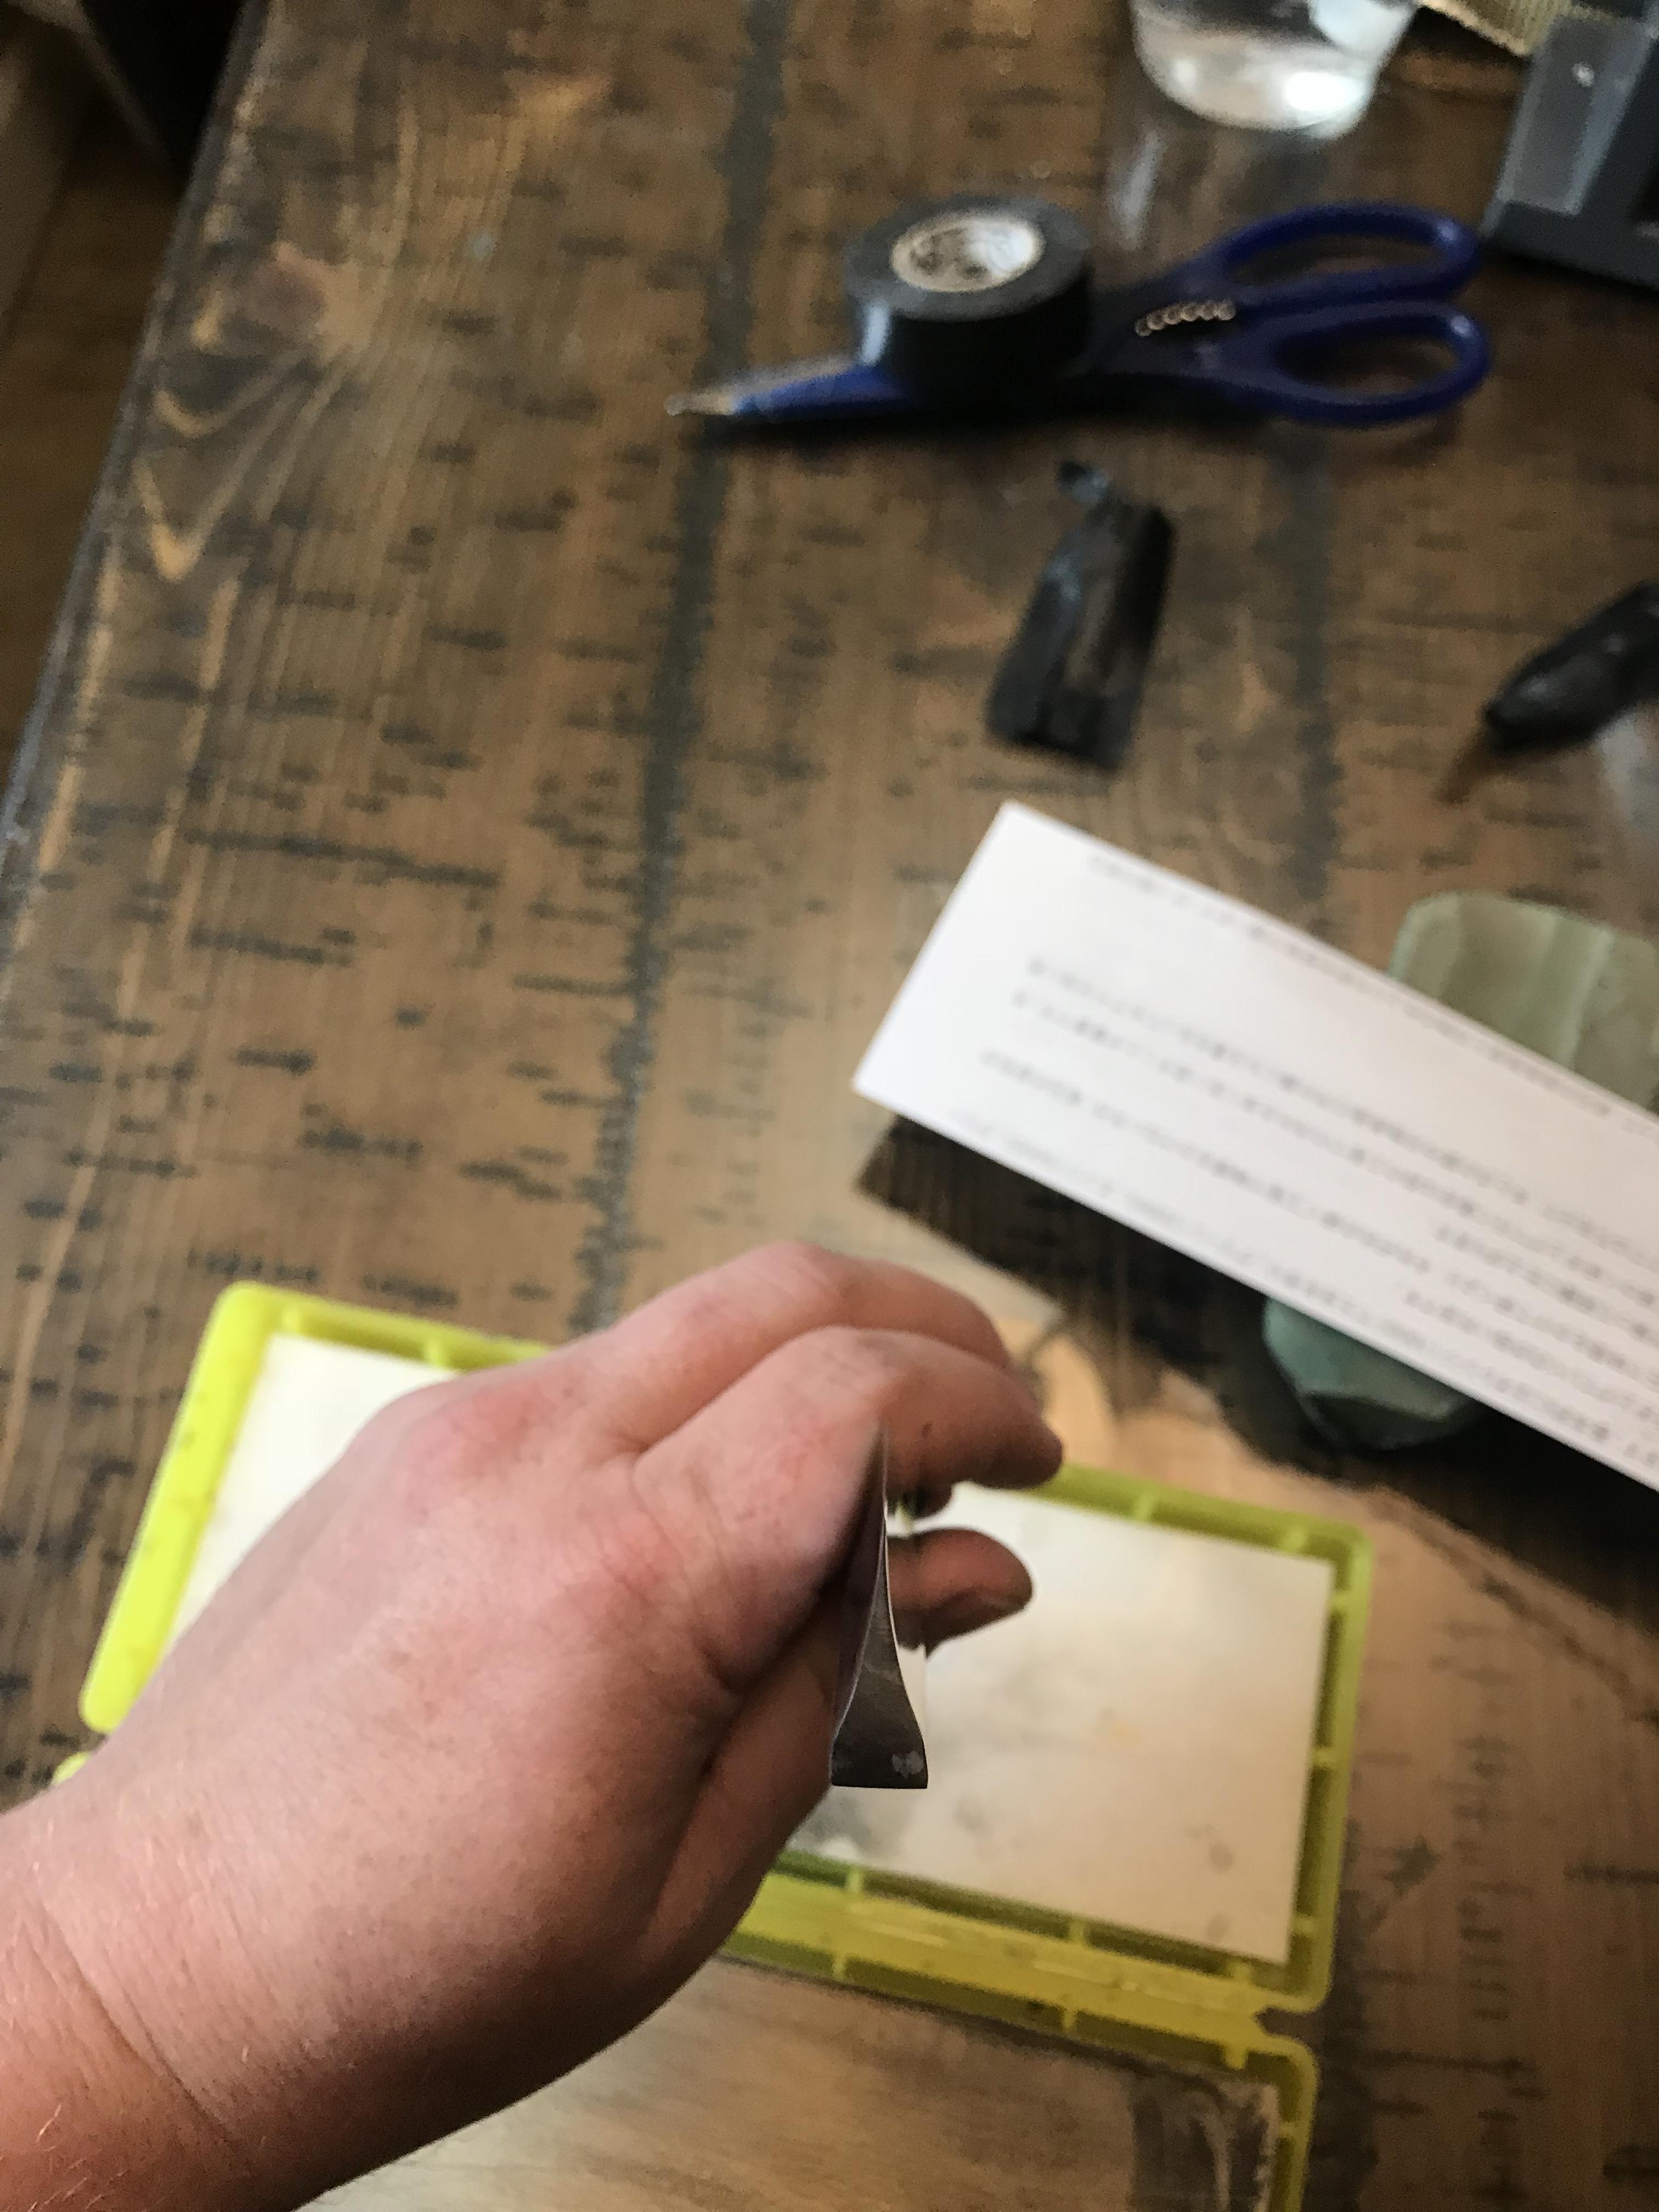
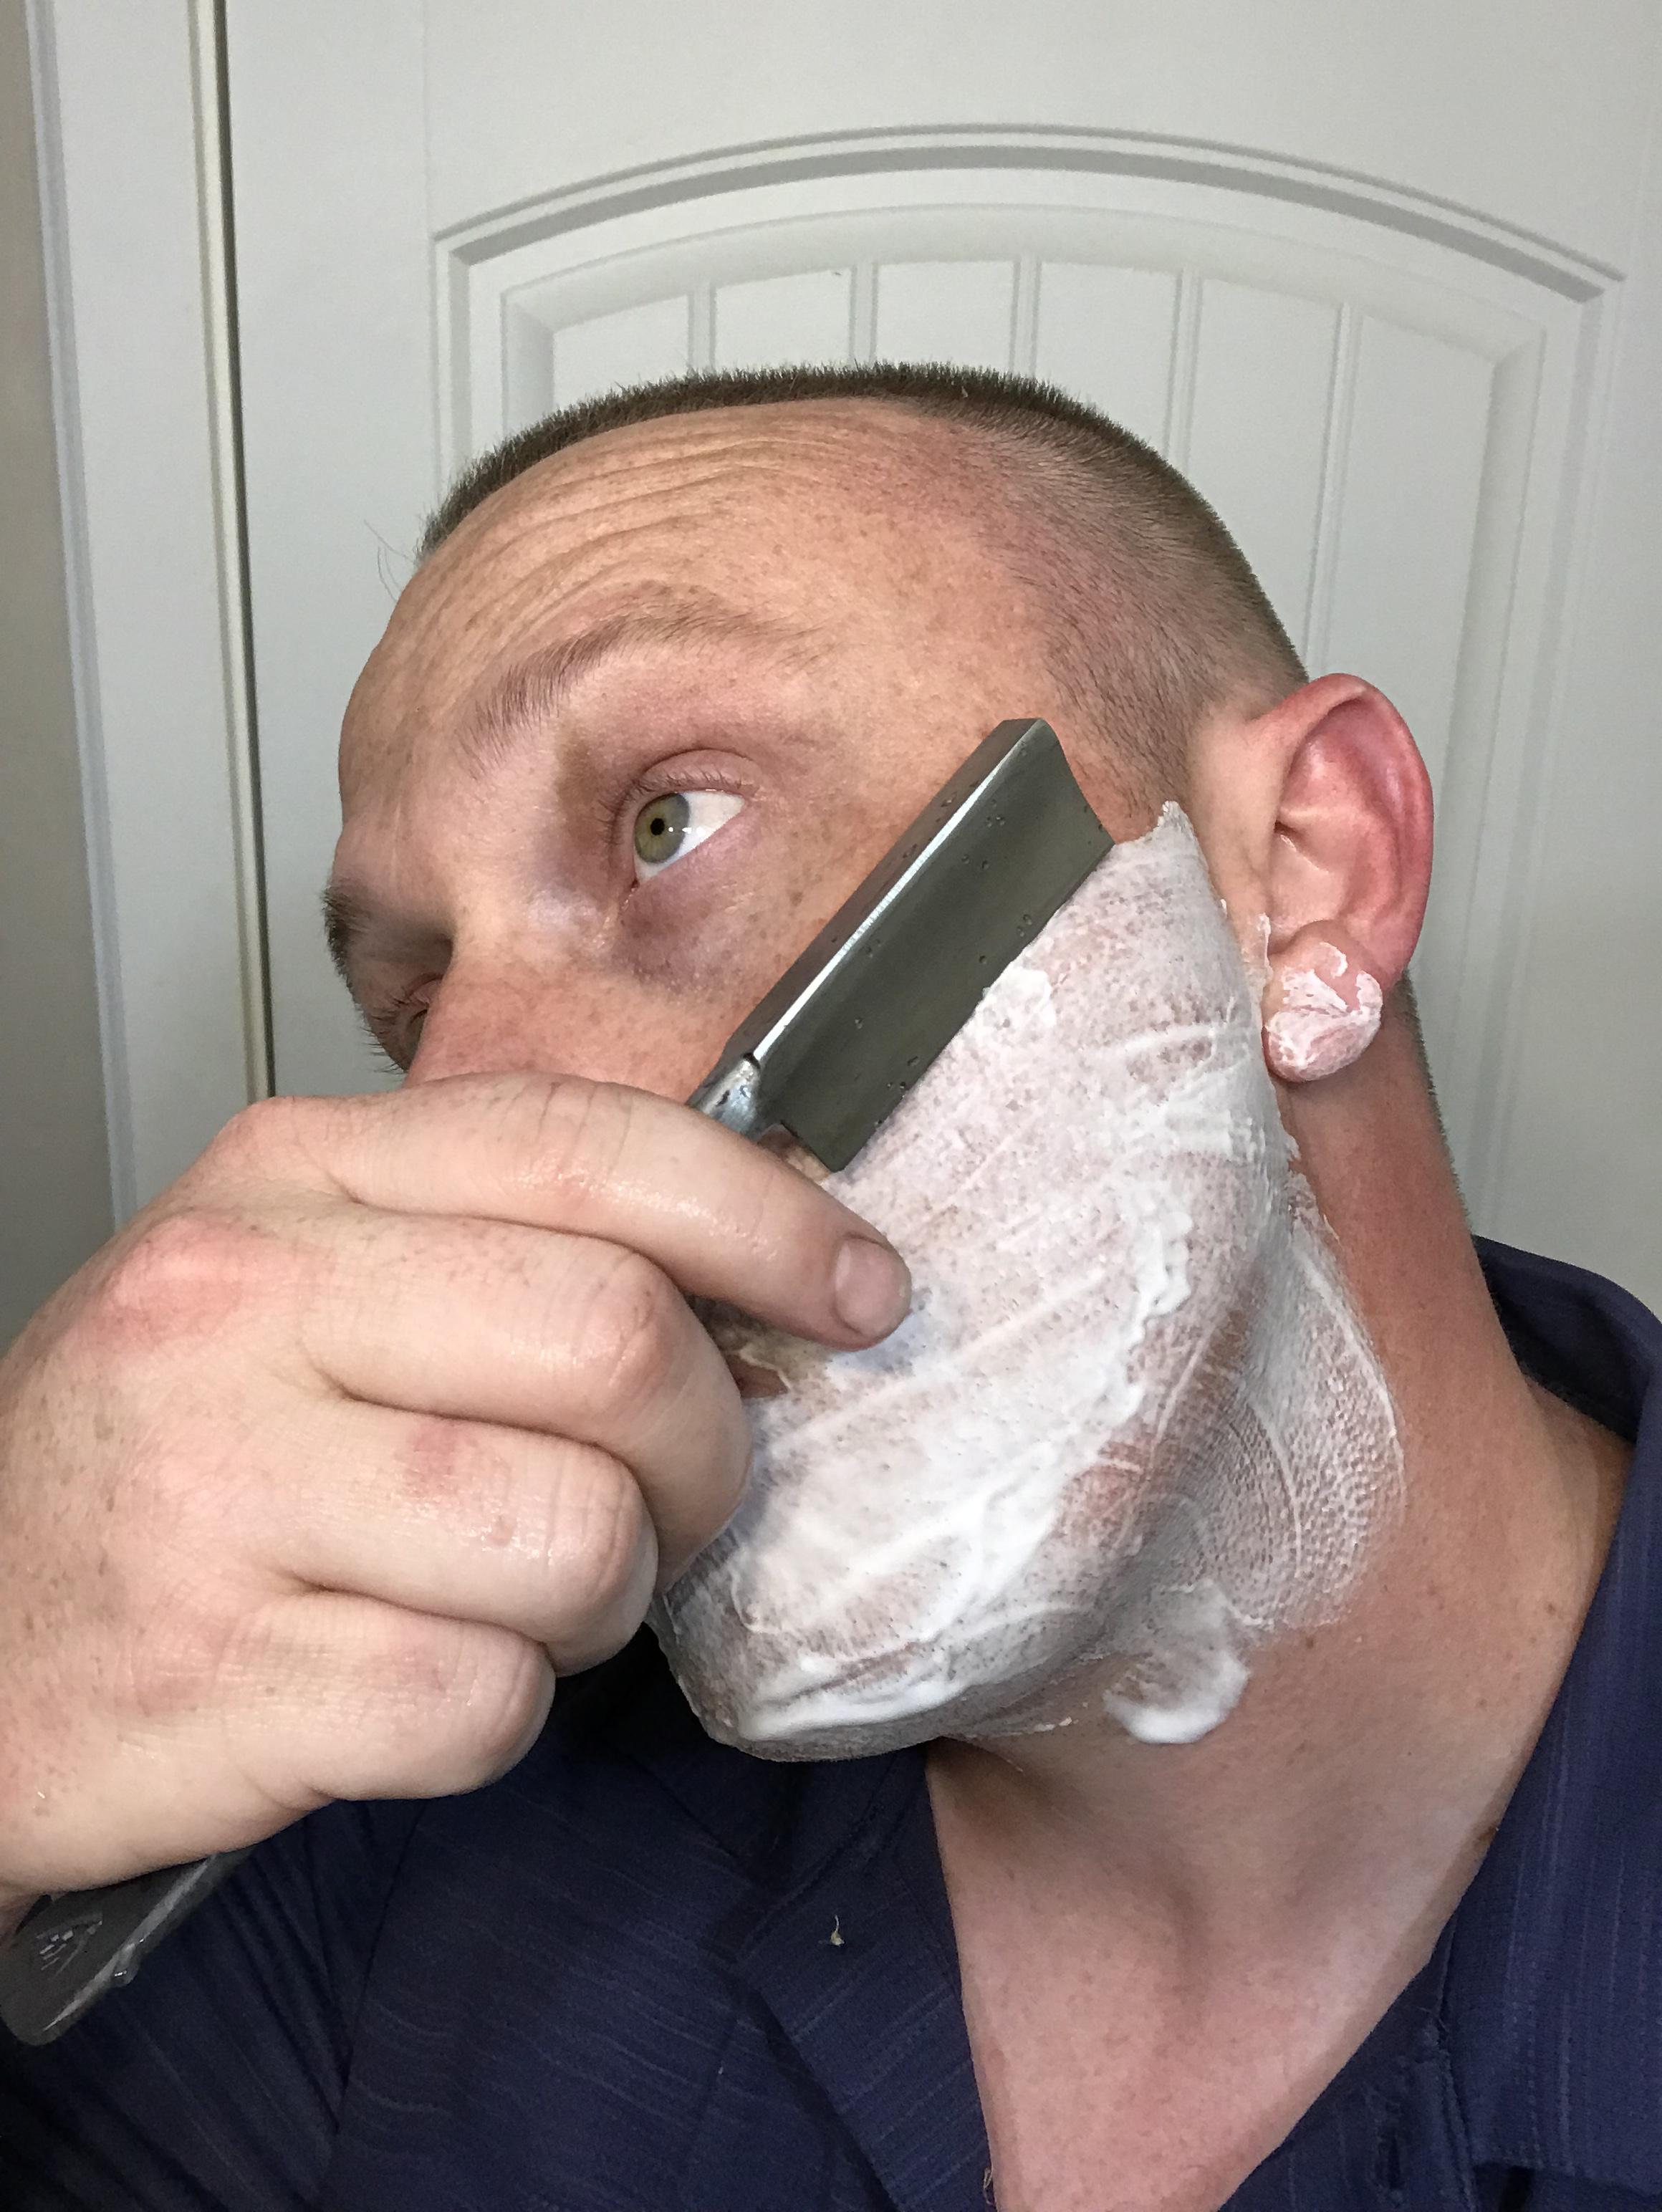
It will cut free standing hair, blade not touching skin, but paralell to the skin. 10.6 mb video, if my phone doesn’t upload properly i will YouTube and link it. 98EA050D-1C2F-45A6-8973-37C12149B2F2.MOV youtube’d for the fun of it
-
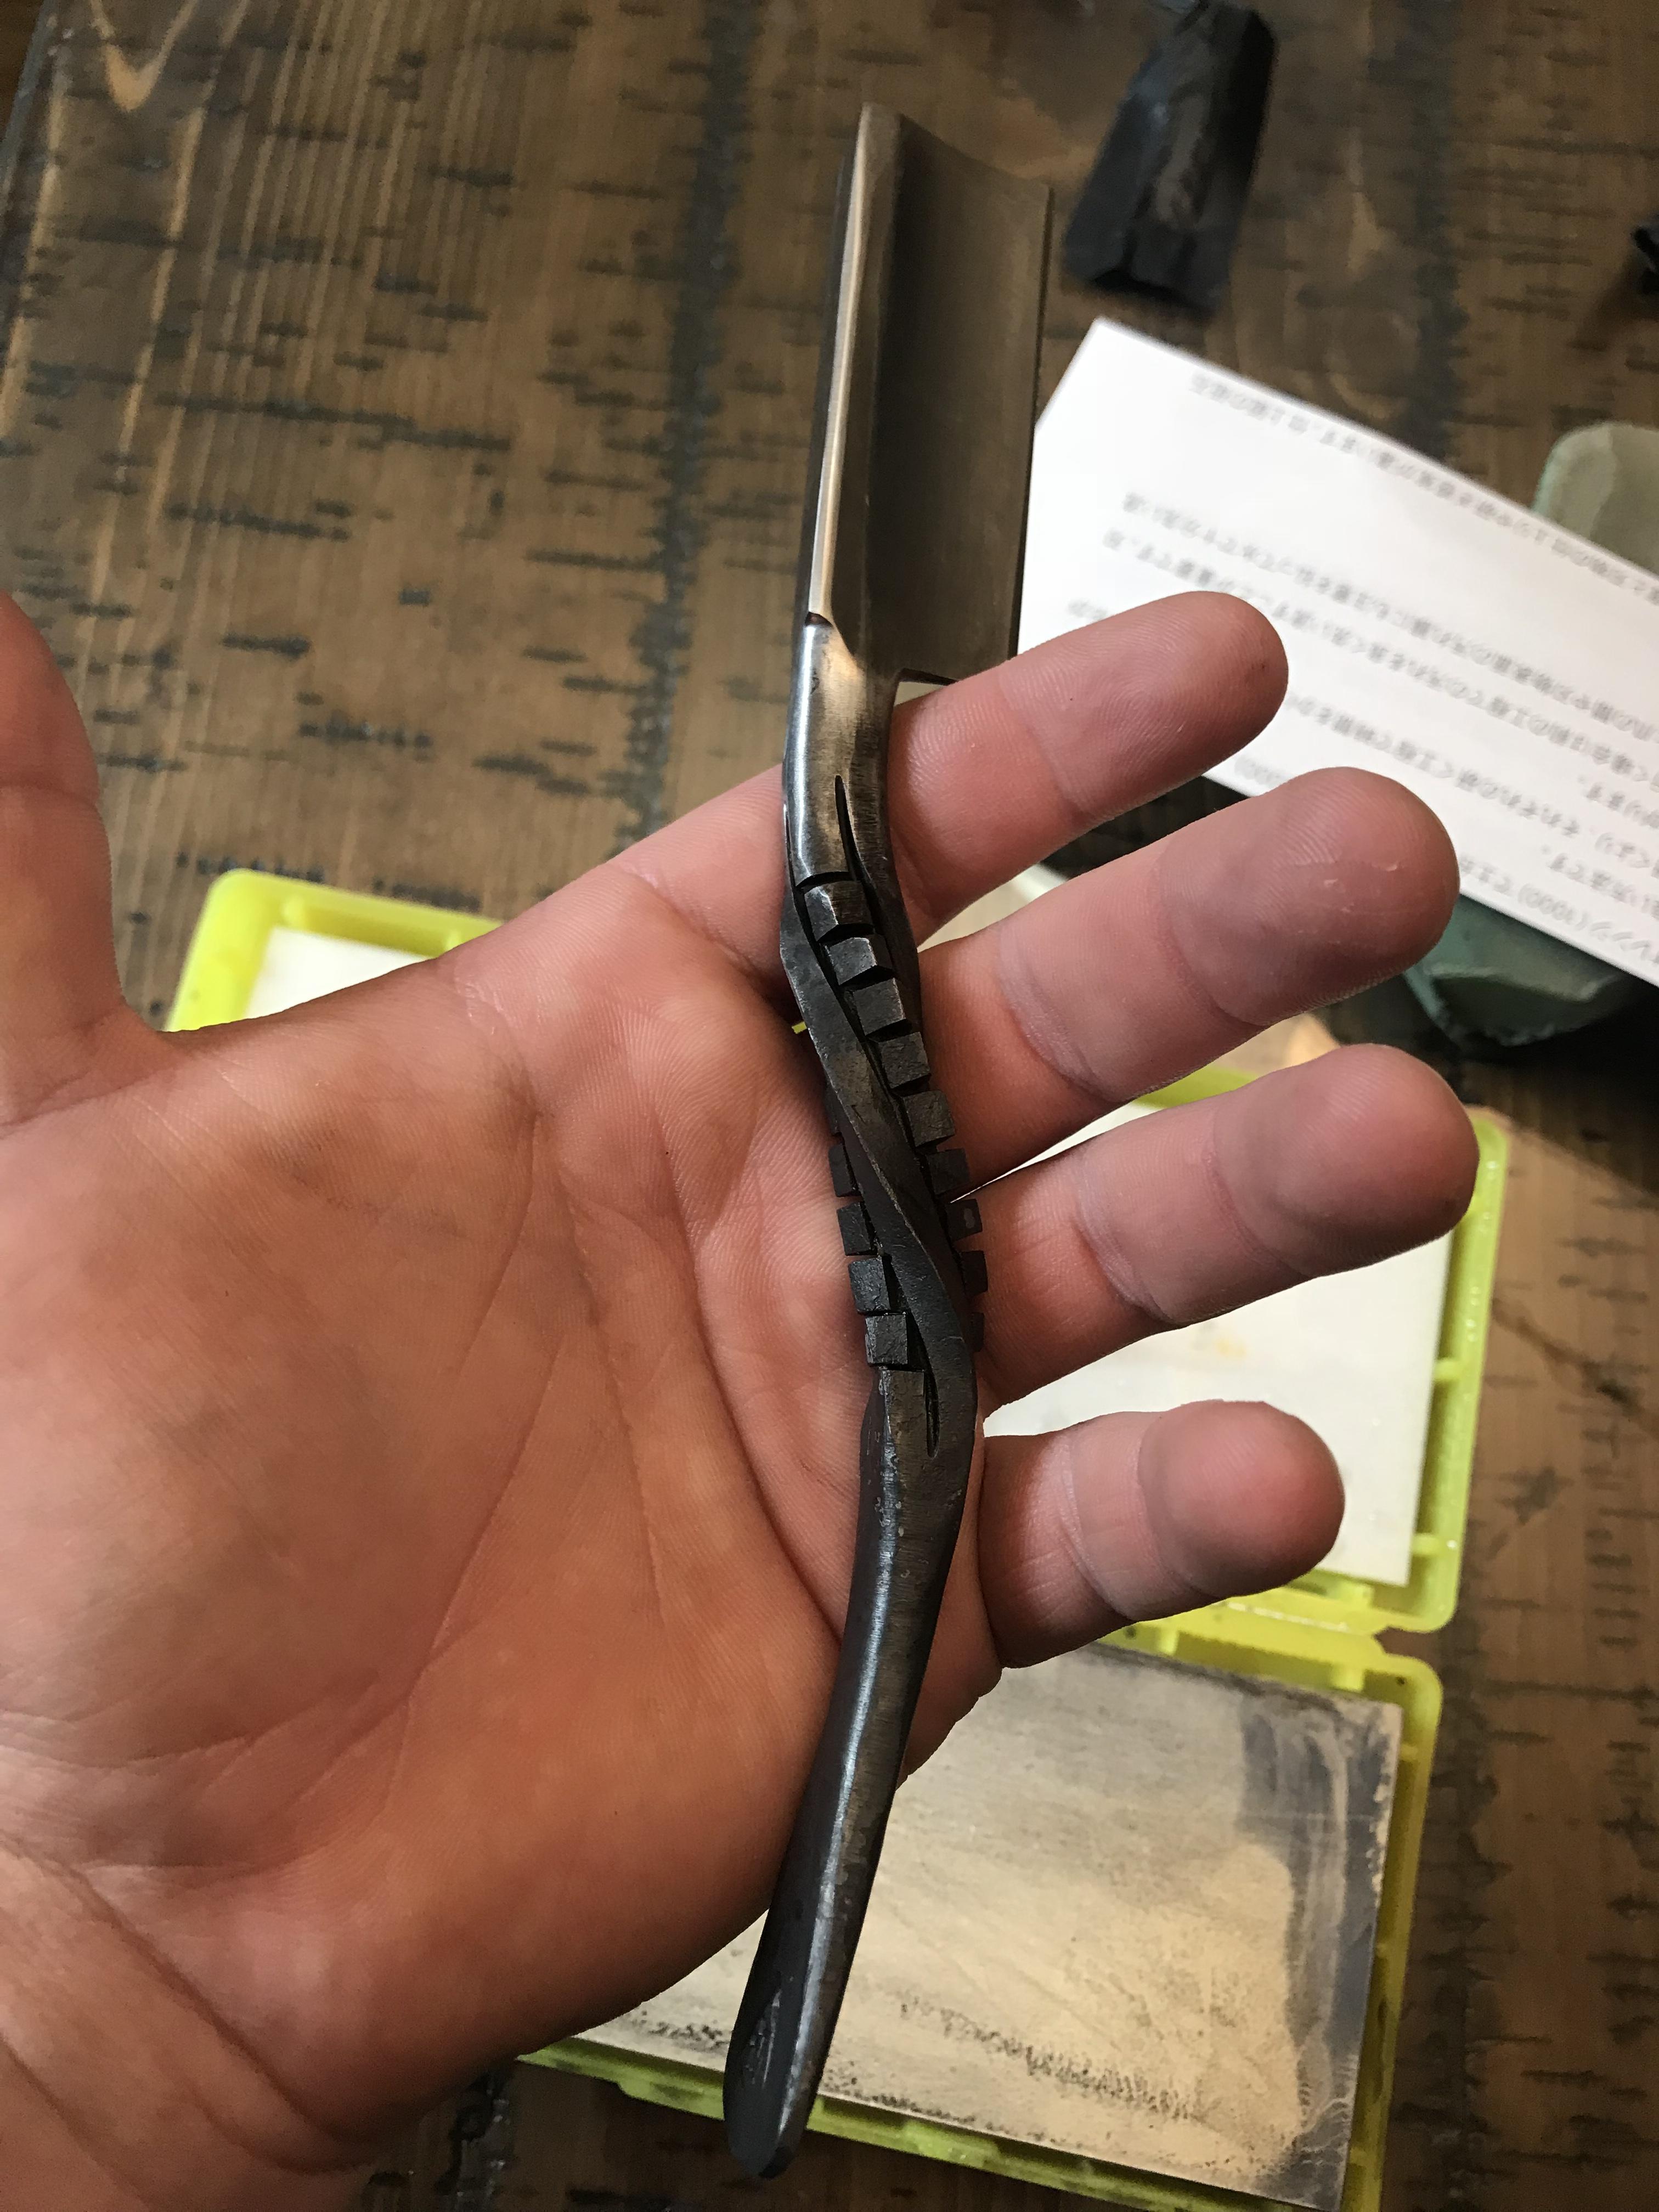
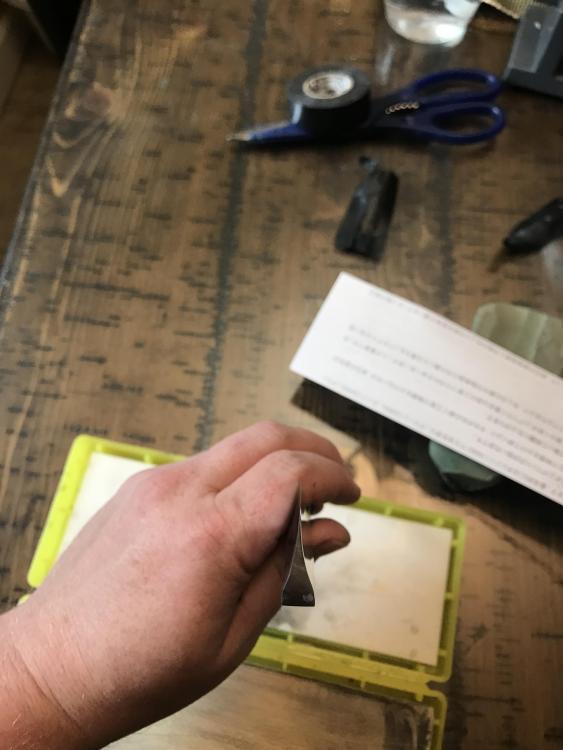
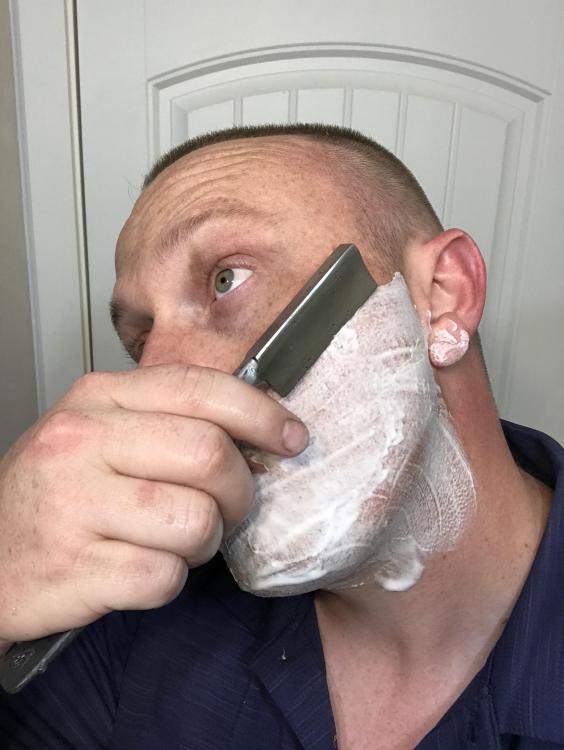
Balance is great, before the hollow grinding I had forged it to a wedge, it felt too blade heavy. After I finishing grinding, it balances on my middle finger when held in the shaving position above. Shopsmith: My grandfather (eternal acquirer and hoarder of 'stuff') gave it to me, with another 1 and 1/2 of them in a warehouse should I need parts It works GREAT for taking a 1/8th inch, really long drill bit and hollowing out a hidden tang handle and getting it straight, being able to rest the handle on the adjustable table. I use it as a sander, horizontal drill, wood lathe, table saw, low speed wire wheel tool... you name it.
-
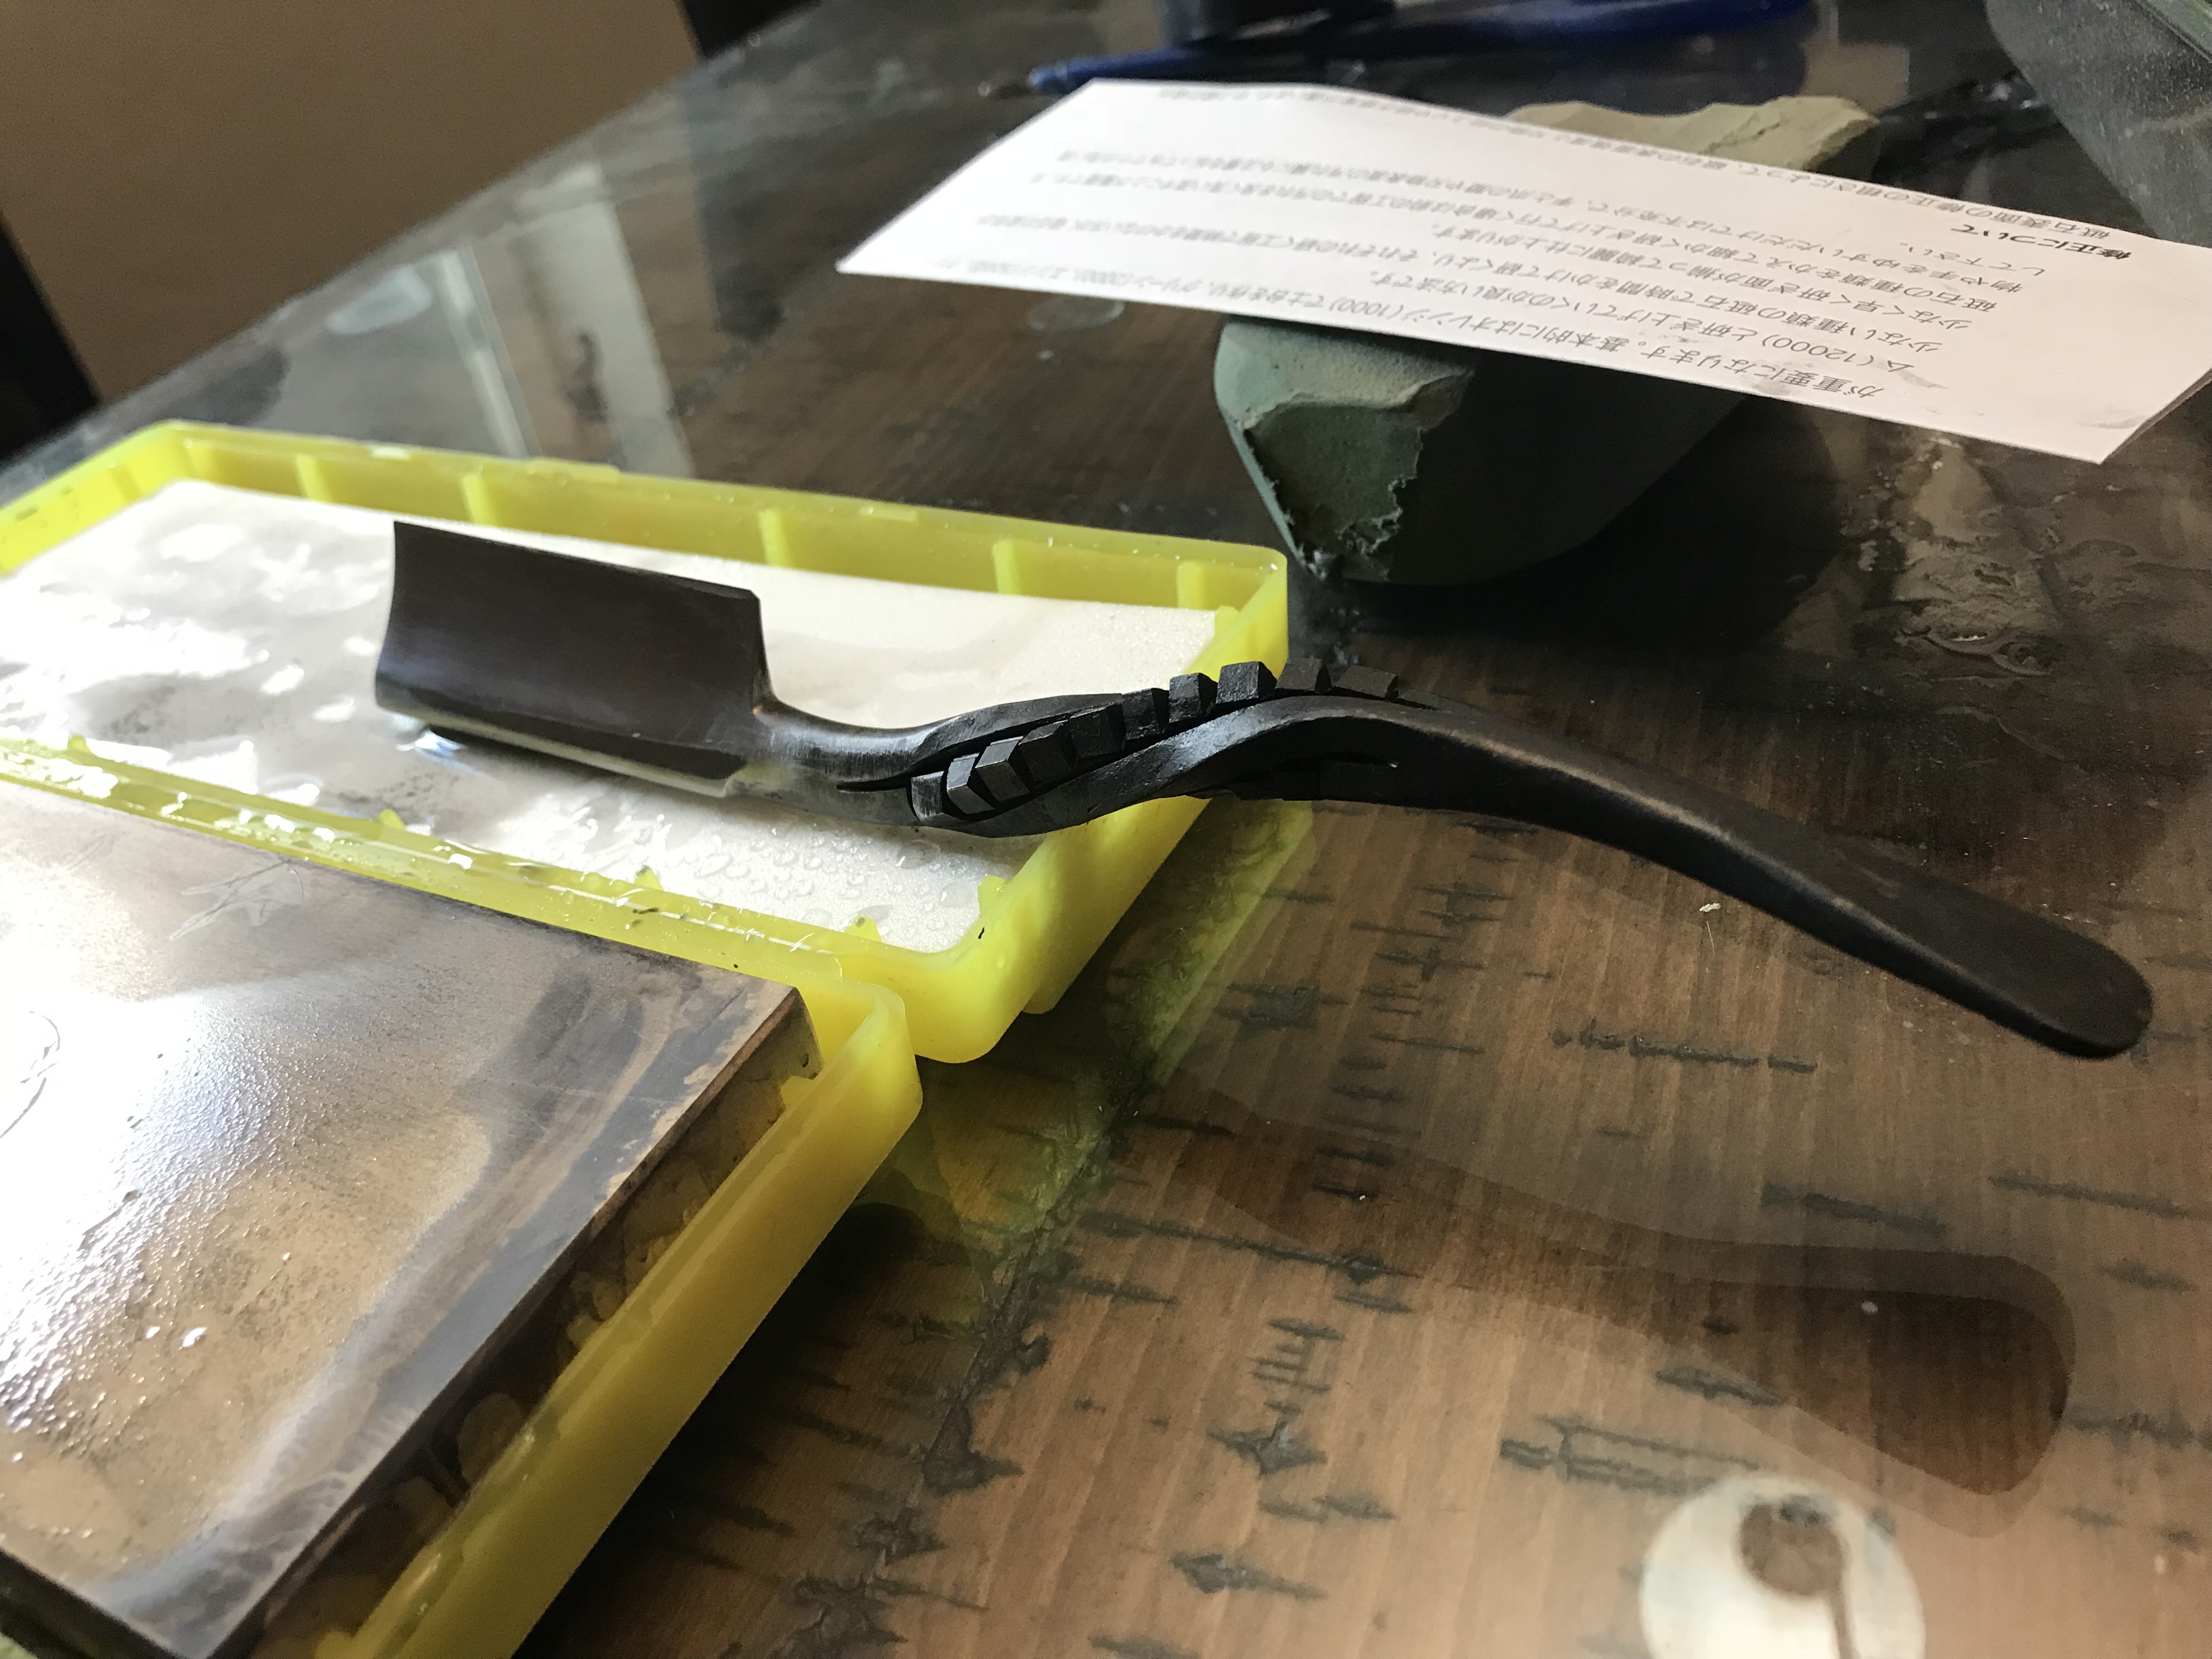
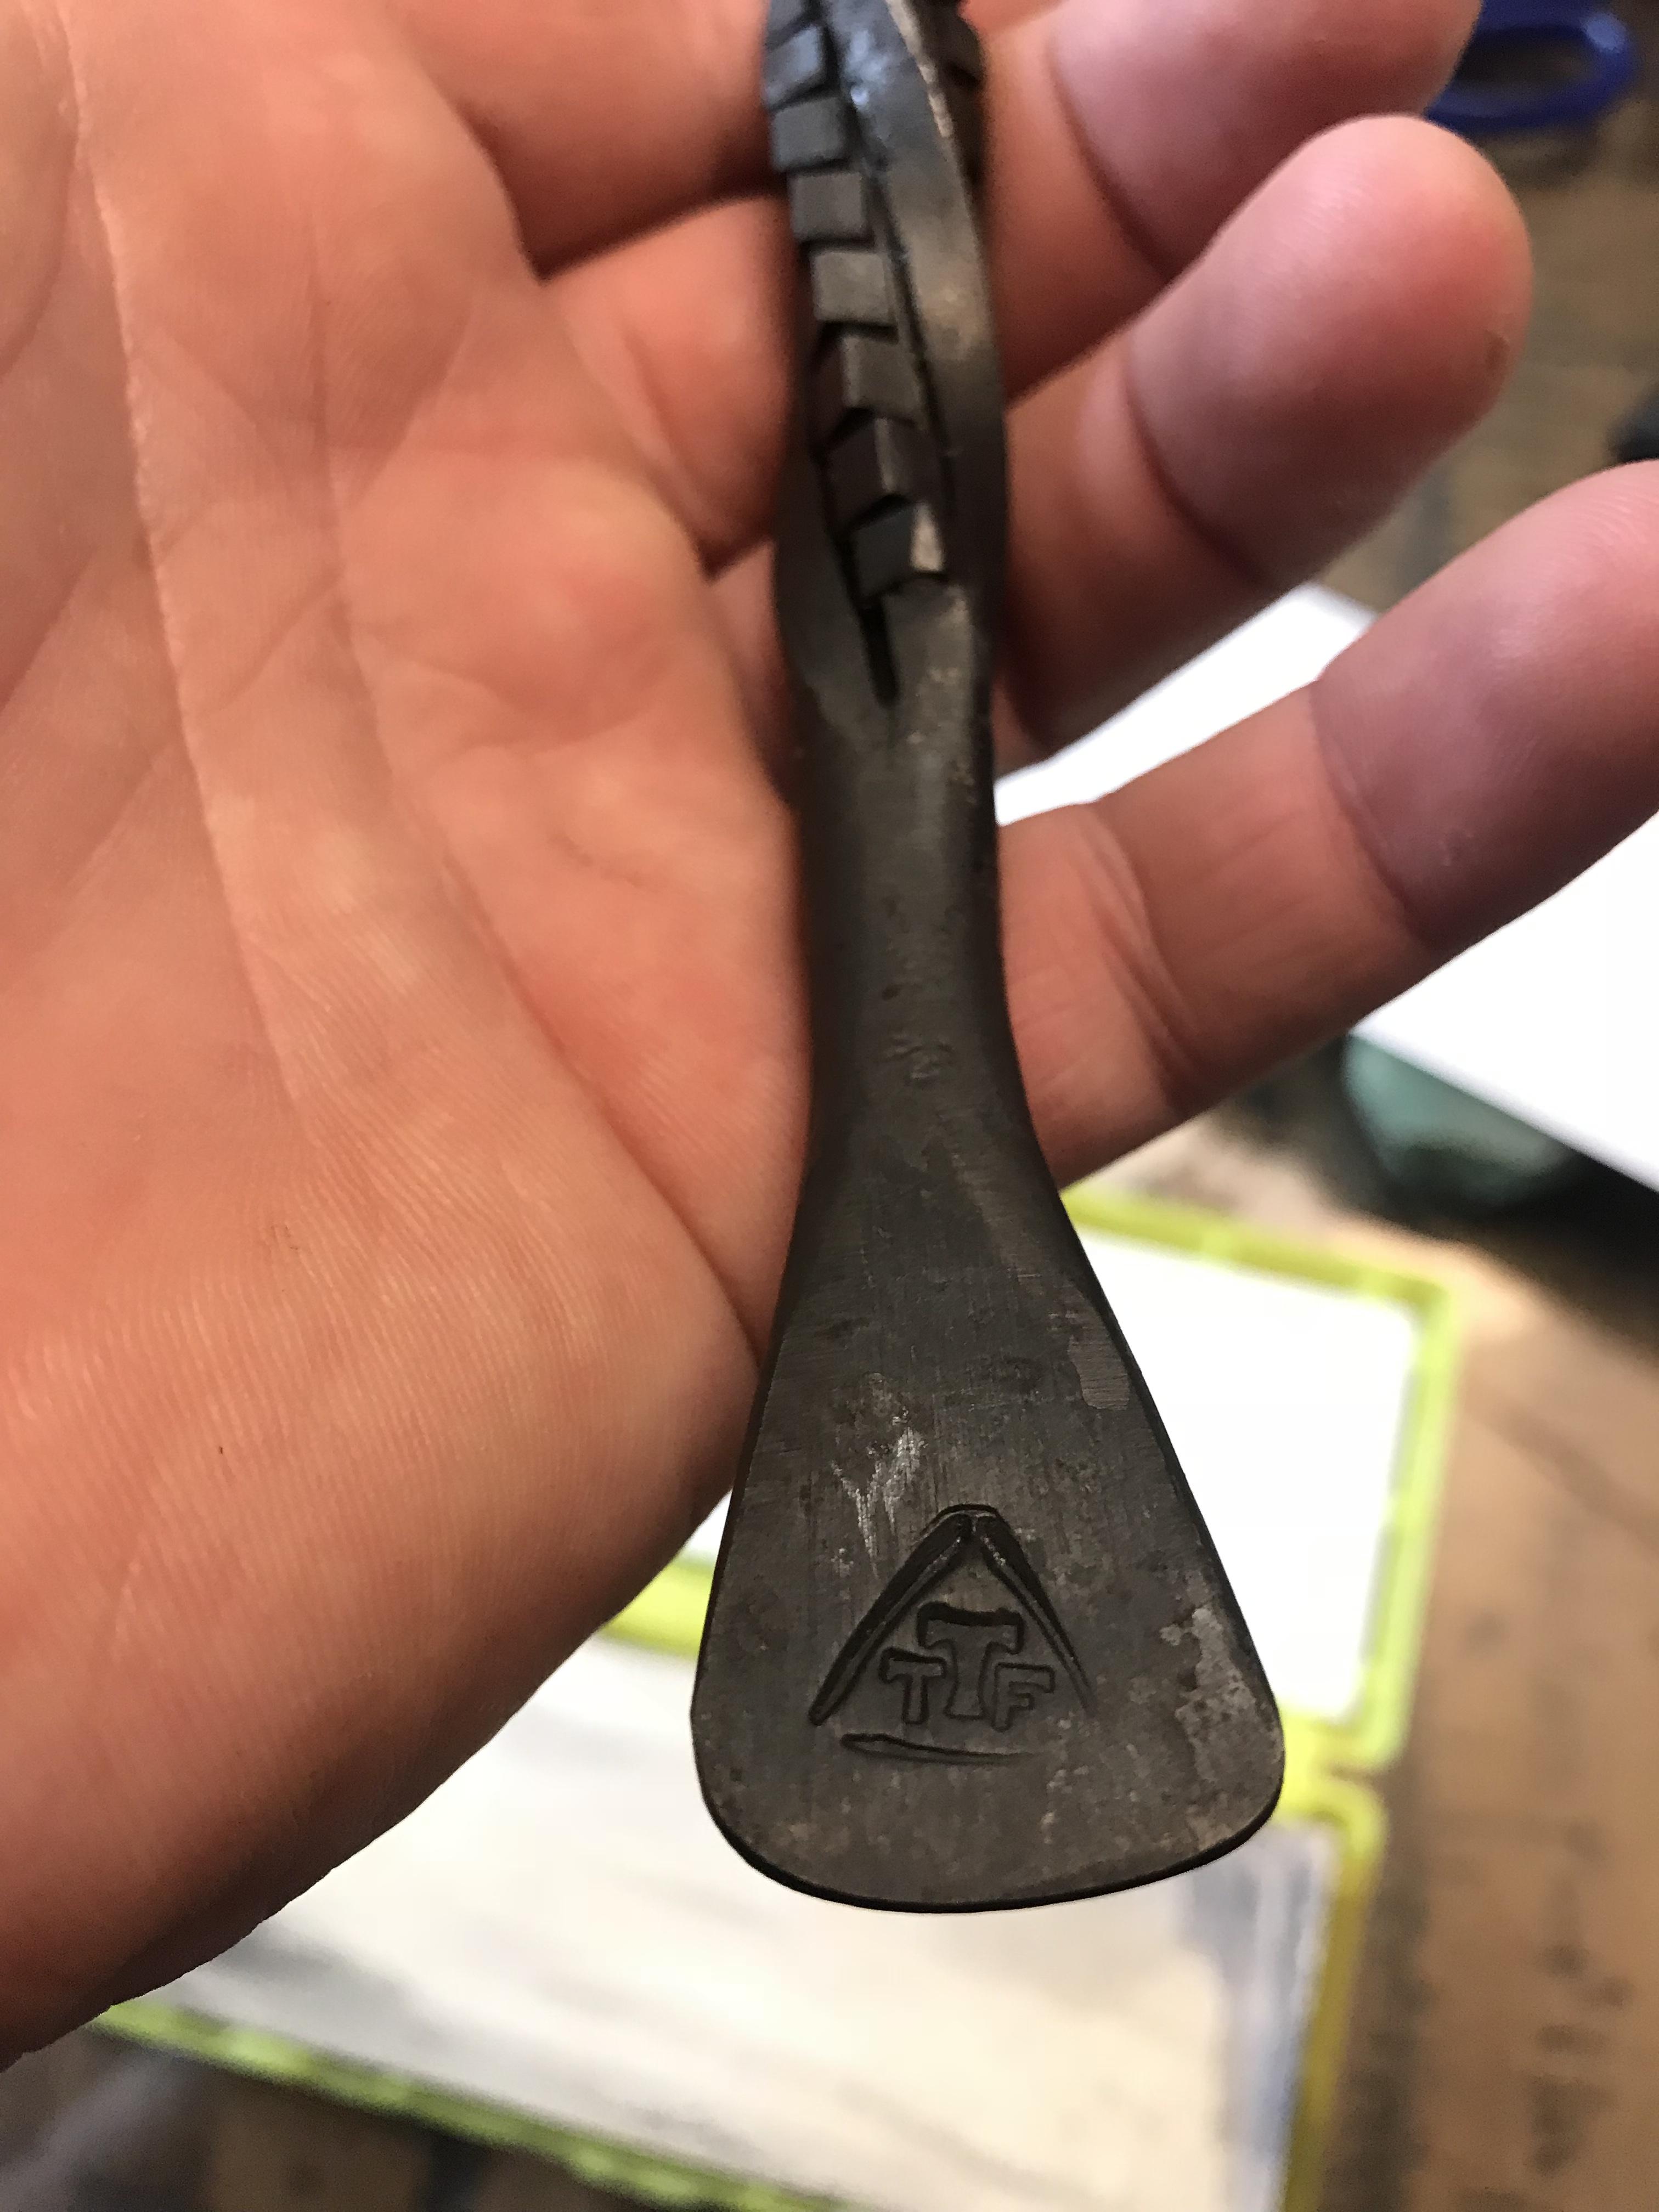
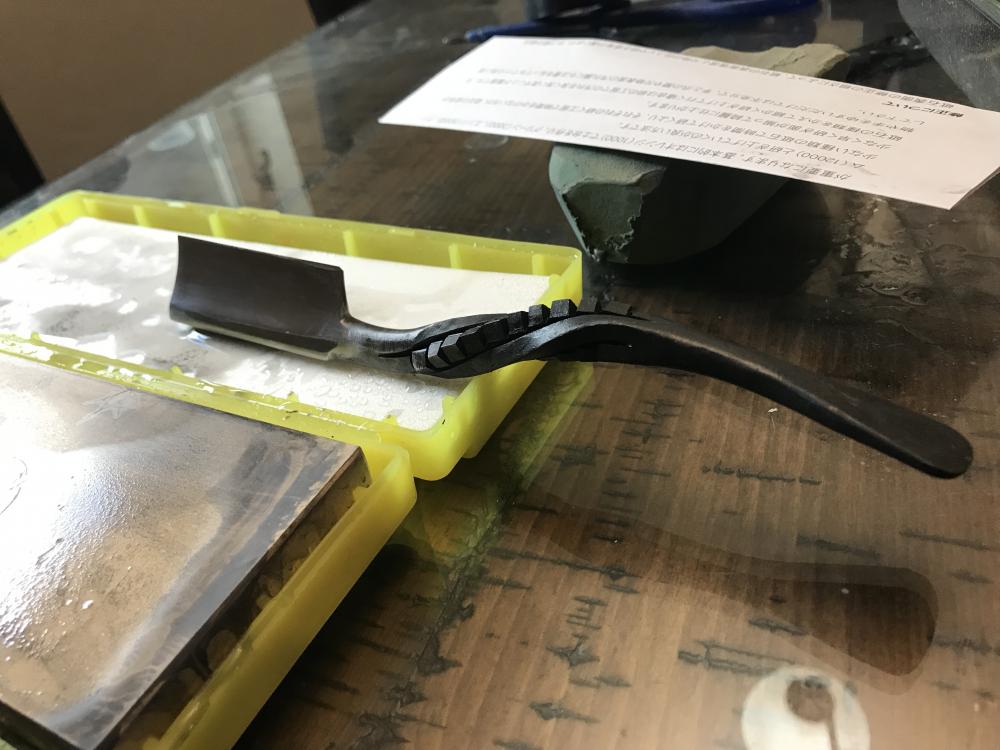
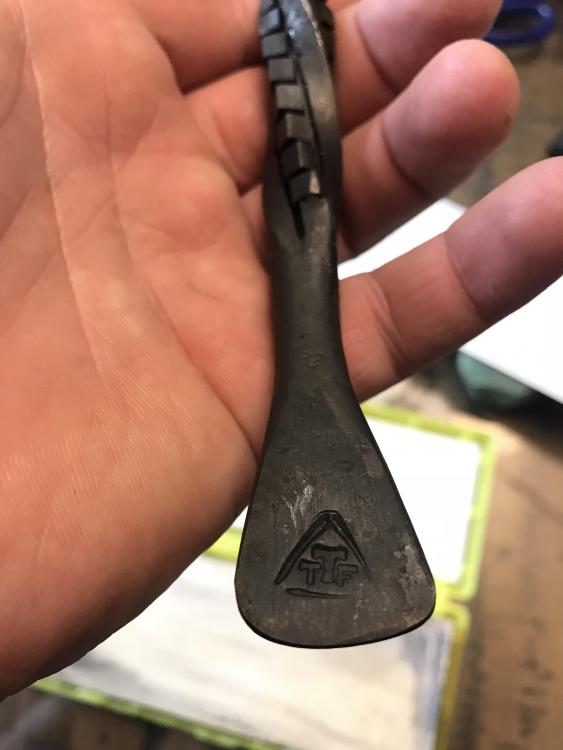
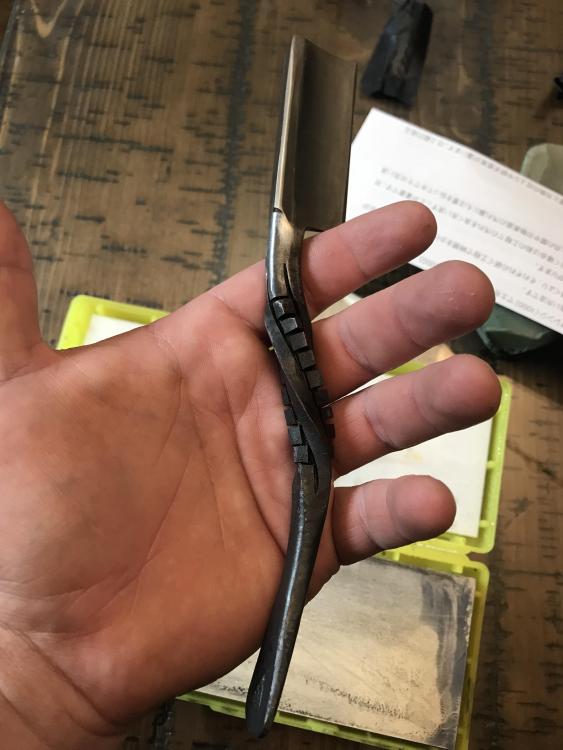
Gave it a go. A few things I would like to do different next time: better (ckeaner) transitions from handle to blade portion. Remember to use the checkering file on the proximal spine BRFORE you harden it... cant now, its too hard... Probably make the handle skinnier, though the guy who wanted this asked for a larger than normal handle, because HE is larger than normal. Lol Steel is O-2 started at 4mm thick, final dimensions are right at 1” spine to edge and almost exactly 7mm thick. I had to upset a bit to get the thickness up in order to make the 3.6:1 length : thickness ratio that from my research and reading is the generally preferred ratio. Cube twist with a hot chisel for the long cuts, dremel/cutoff for the side cuts, then adjusted for an ergonomic grip. Kept a good even heat while forging, rough ground, 2 normalizing cycles, then held at 1475 +/- 15 deg F for about 10 minutes, quenched in 140 F McMaster Carr 9-11 sec oil. Tempered at 360 for 1 hour. From the literature I could find, SHOULD be Rockwell of about 60-61. Ran up the stones from 1k-3k-8k-12k, flat strop with green Cr2 O3 and shaved to see if it passed the test. I don’t have a proper contact wheel on a grinder, have a cheap-o 4x36 and a big 4x10⁶ belt grinders. The 36 only has the top tracking (crowned) wheel accessable so that doesnt make for a good hollow grind. But I DO have an old 1950’s Shopsmith with a 2.5” drum sanding attachment that, with a little rocking and patience. gave me a 1/2 decent hollow grind. (I’m on a waiting list for a NorthRidge 2x72 *thumbs up*)

-
yeah, I use arc welding to denote en electrical arc is providing the heat, whatever the source (mig/tig/gmaw/smaw)
-
I think he might be asking about arc welding with the wd-40 on it. It wont be too much of a problem, if you dont mind a little bit-o-fire after starting the weld. 6" in a little long for my personal tastes, but if you work quickly, you can cover the entire length in overlapping hammer blows. As TP said, firm, solid blows. we are not hammering in a grounding stake here. I recently learned from a Master Smith that once he gets the billet to flux melting temperature, and has it fluxed really well (good liquid layer all on the sides of the billet), he likes to take it to a vice and squeeze it very gently. This will draw some heat from the outside layers as they tend to get hotter than the middle does at first, it will also straighten any bowing from heat expansion during the heating. When it goes back in the fire its more close together, and when the whole thing gets up to welding temperature, it tends to do it more evenly.