
JHCC
2023 Donor
-
Joined
-
Last visited
Everything posted by JHCC
-
I think I'm going to go with a Lively forge, once I can scrape together a few bucks for the washtub (unless I find one at a yard sale for cheap). I've already got a couple of lengths of black pipe I can use, although the one that's long enough isn't threaded for an end cap and the one that's threaded for an end cap isn't long enough. Maybe I have a friend with a pipe threader....
-
A lot of it flaked off already when I was bashing the bucket into shape, but the chicken wire and clay suggestion is a good one.
-
-
(And don't worry, I'm not going to let him. At least not until he's thirteen. )
-
Since his site is down, here's the WayBack version: https://web.archive.org/web/20140829131114/http://www.timlively.com/washtubforge.htm
-
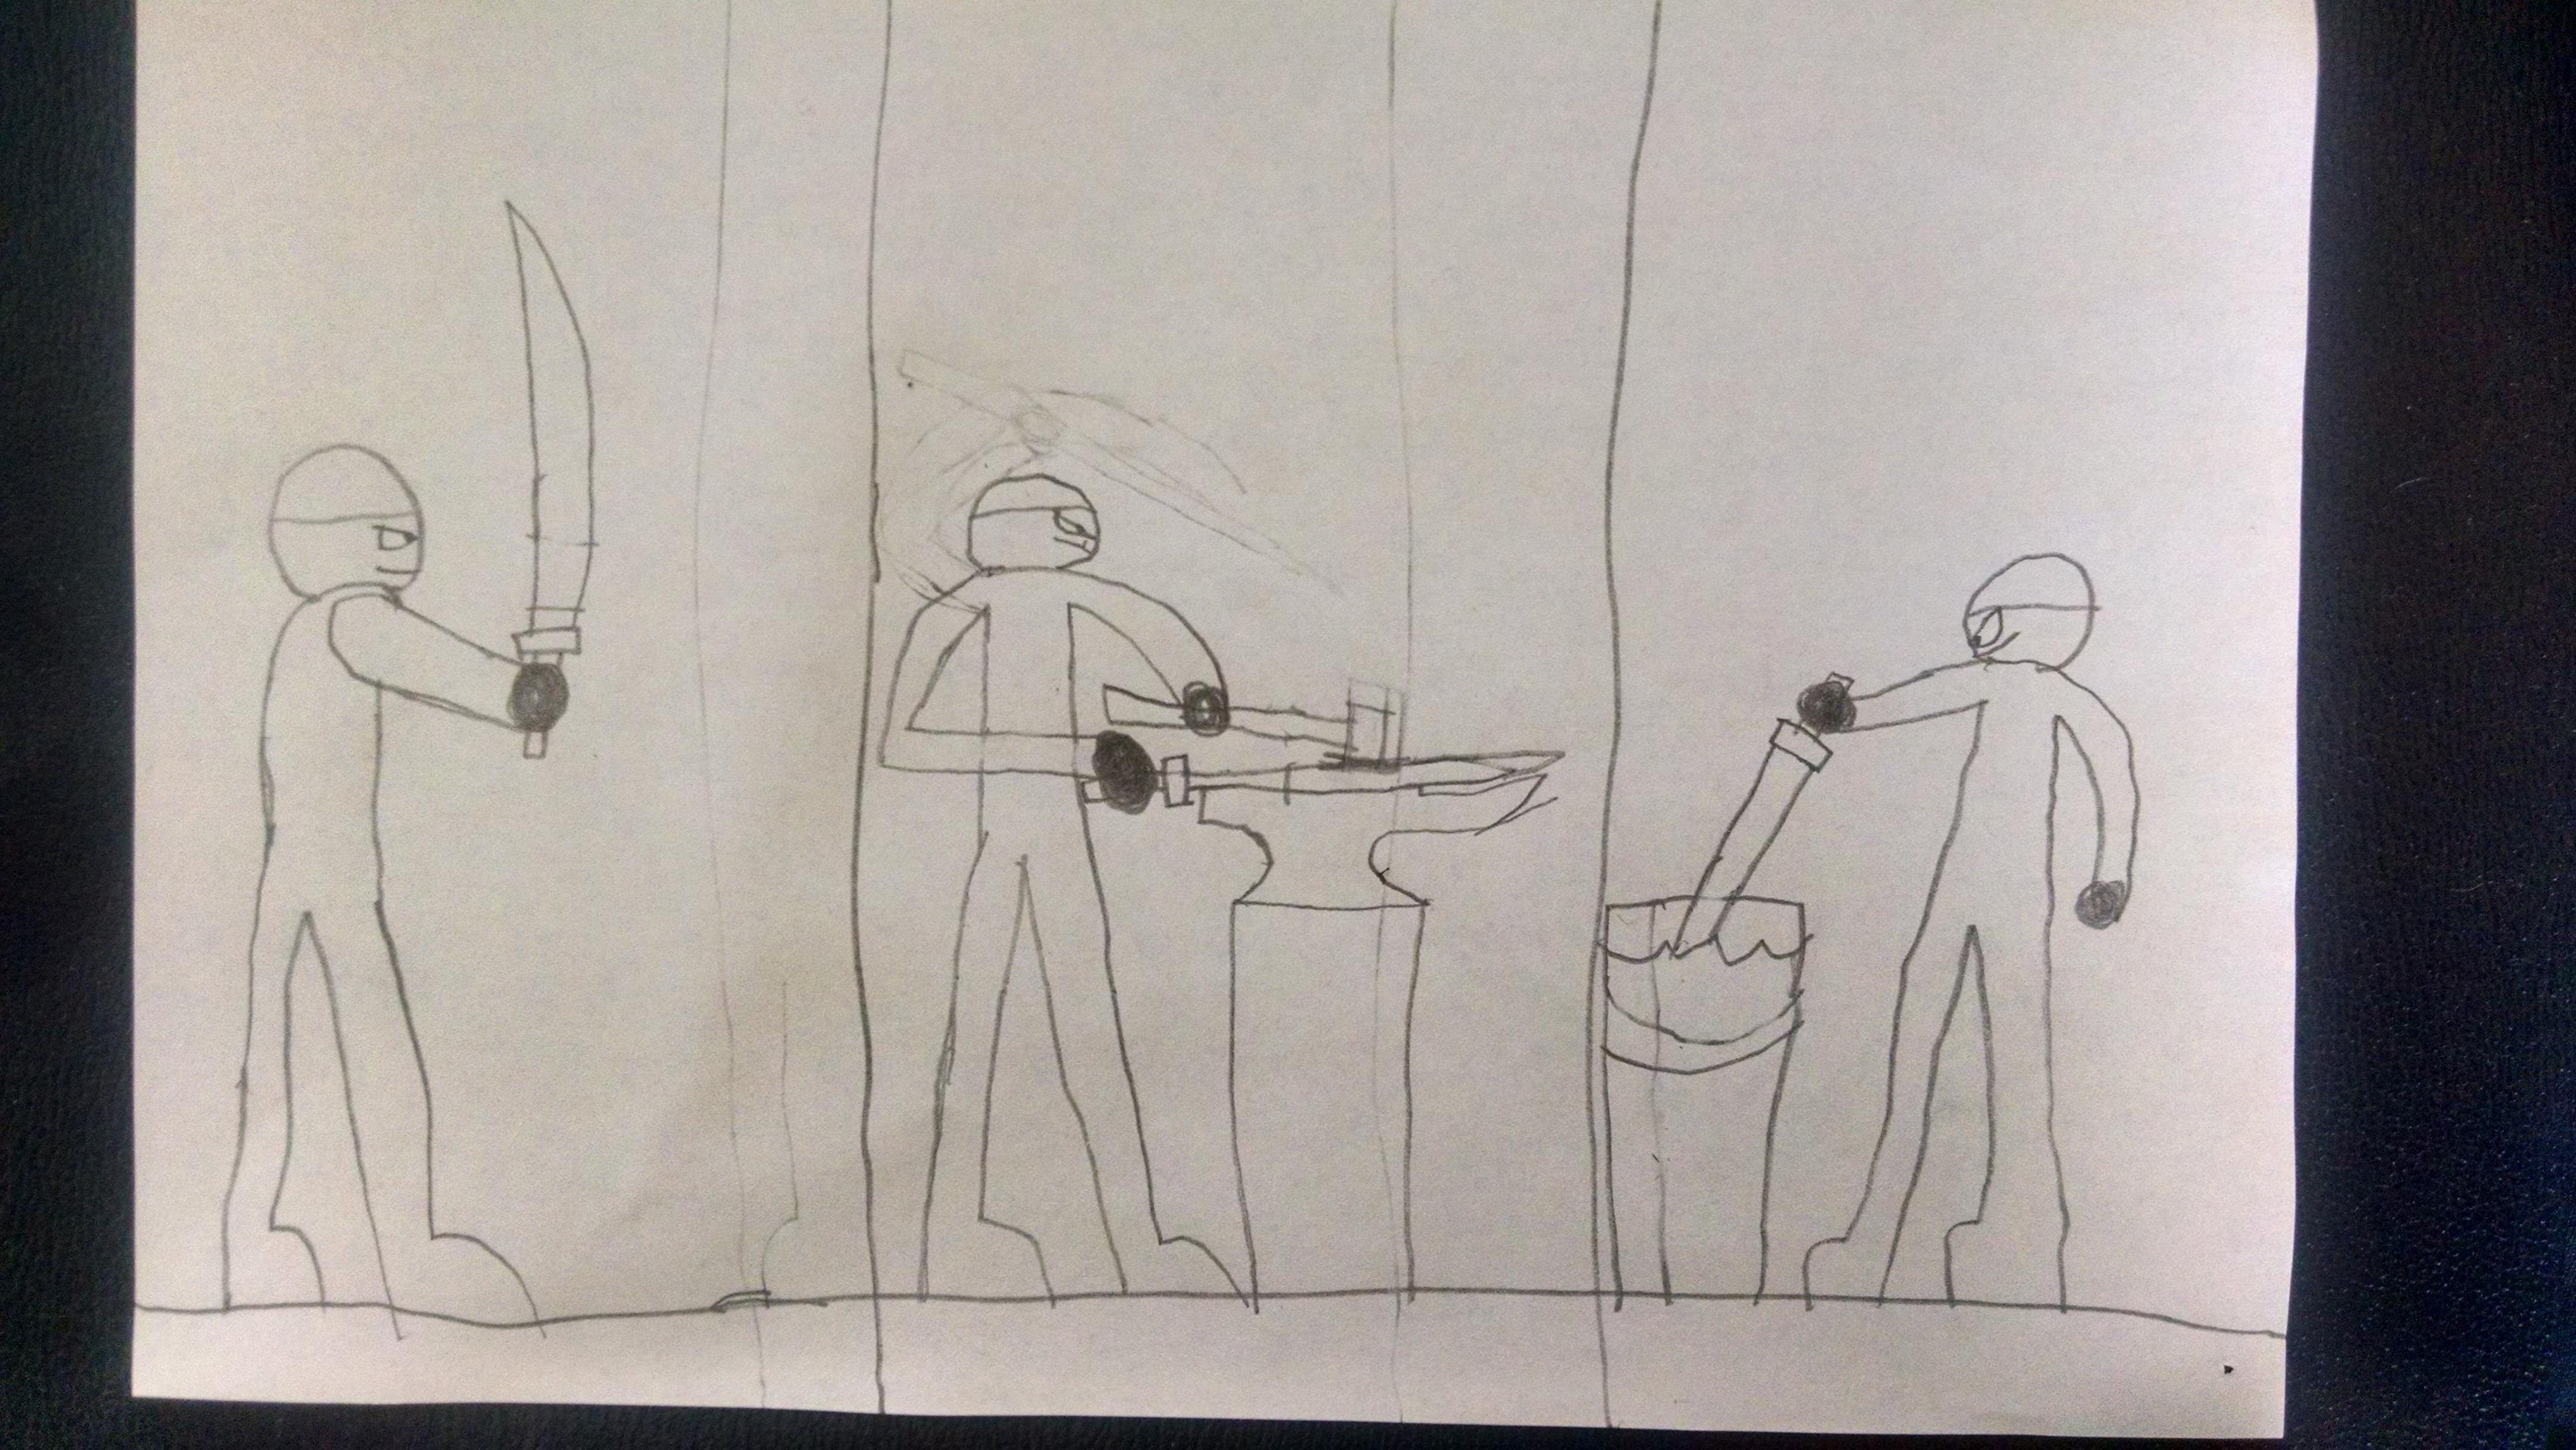
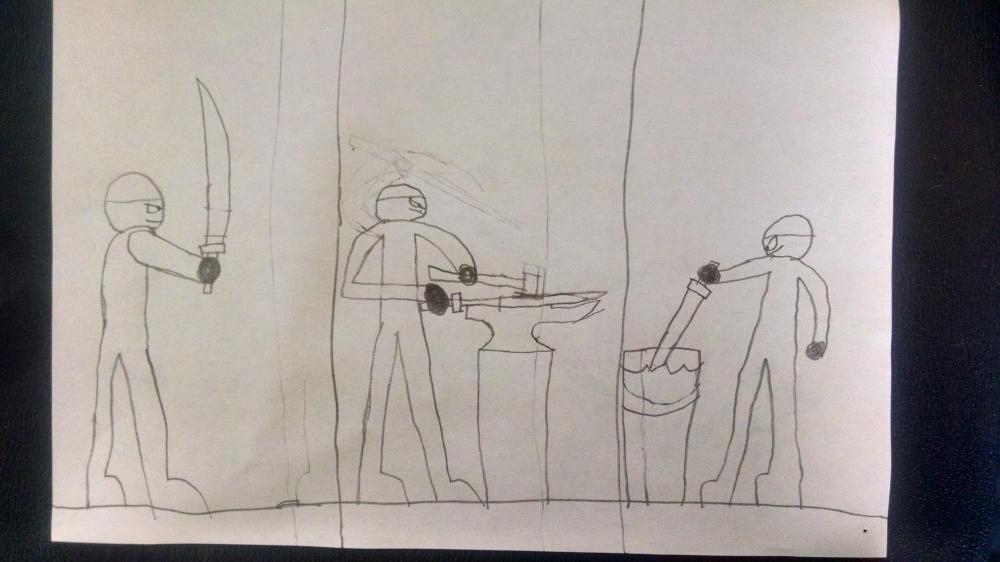
By the way, being autistic, Bubba is also extremely visual and loves to draw. This is a sketch he made to show me that he really wants to make a sword.
-
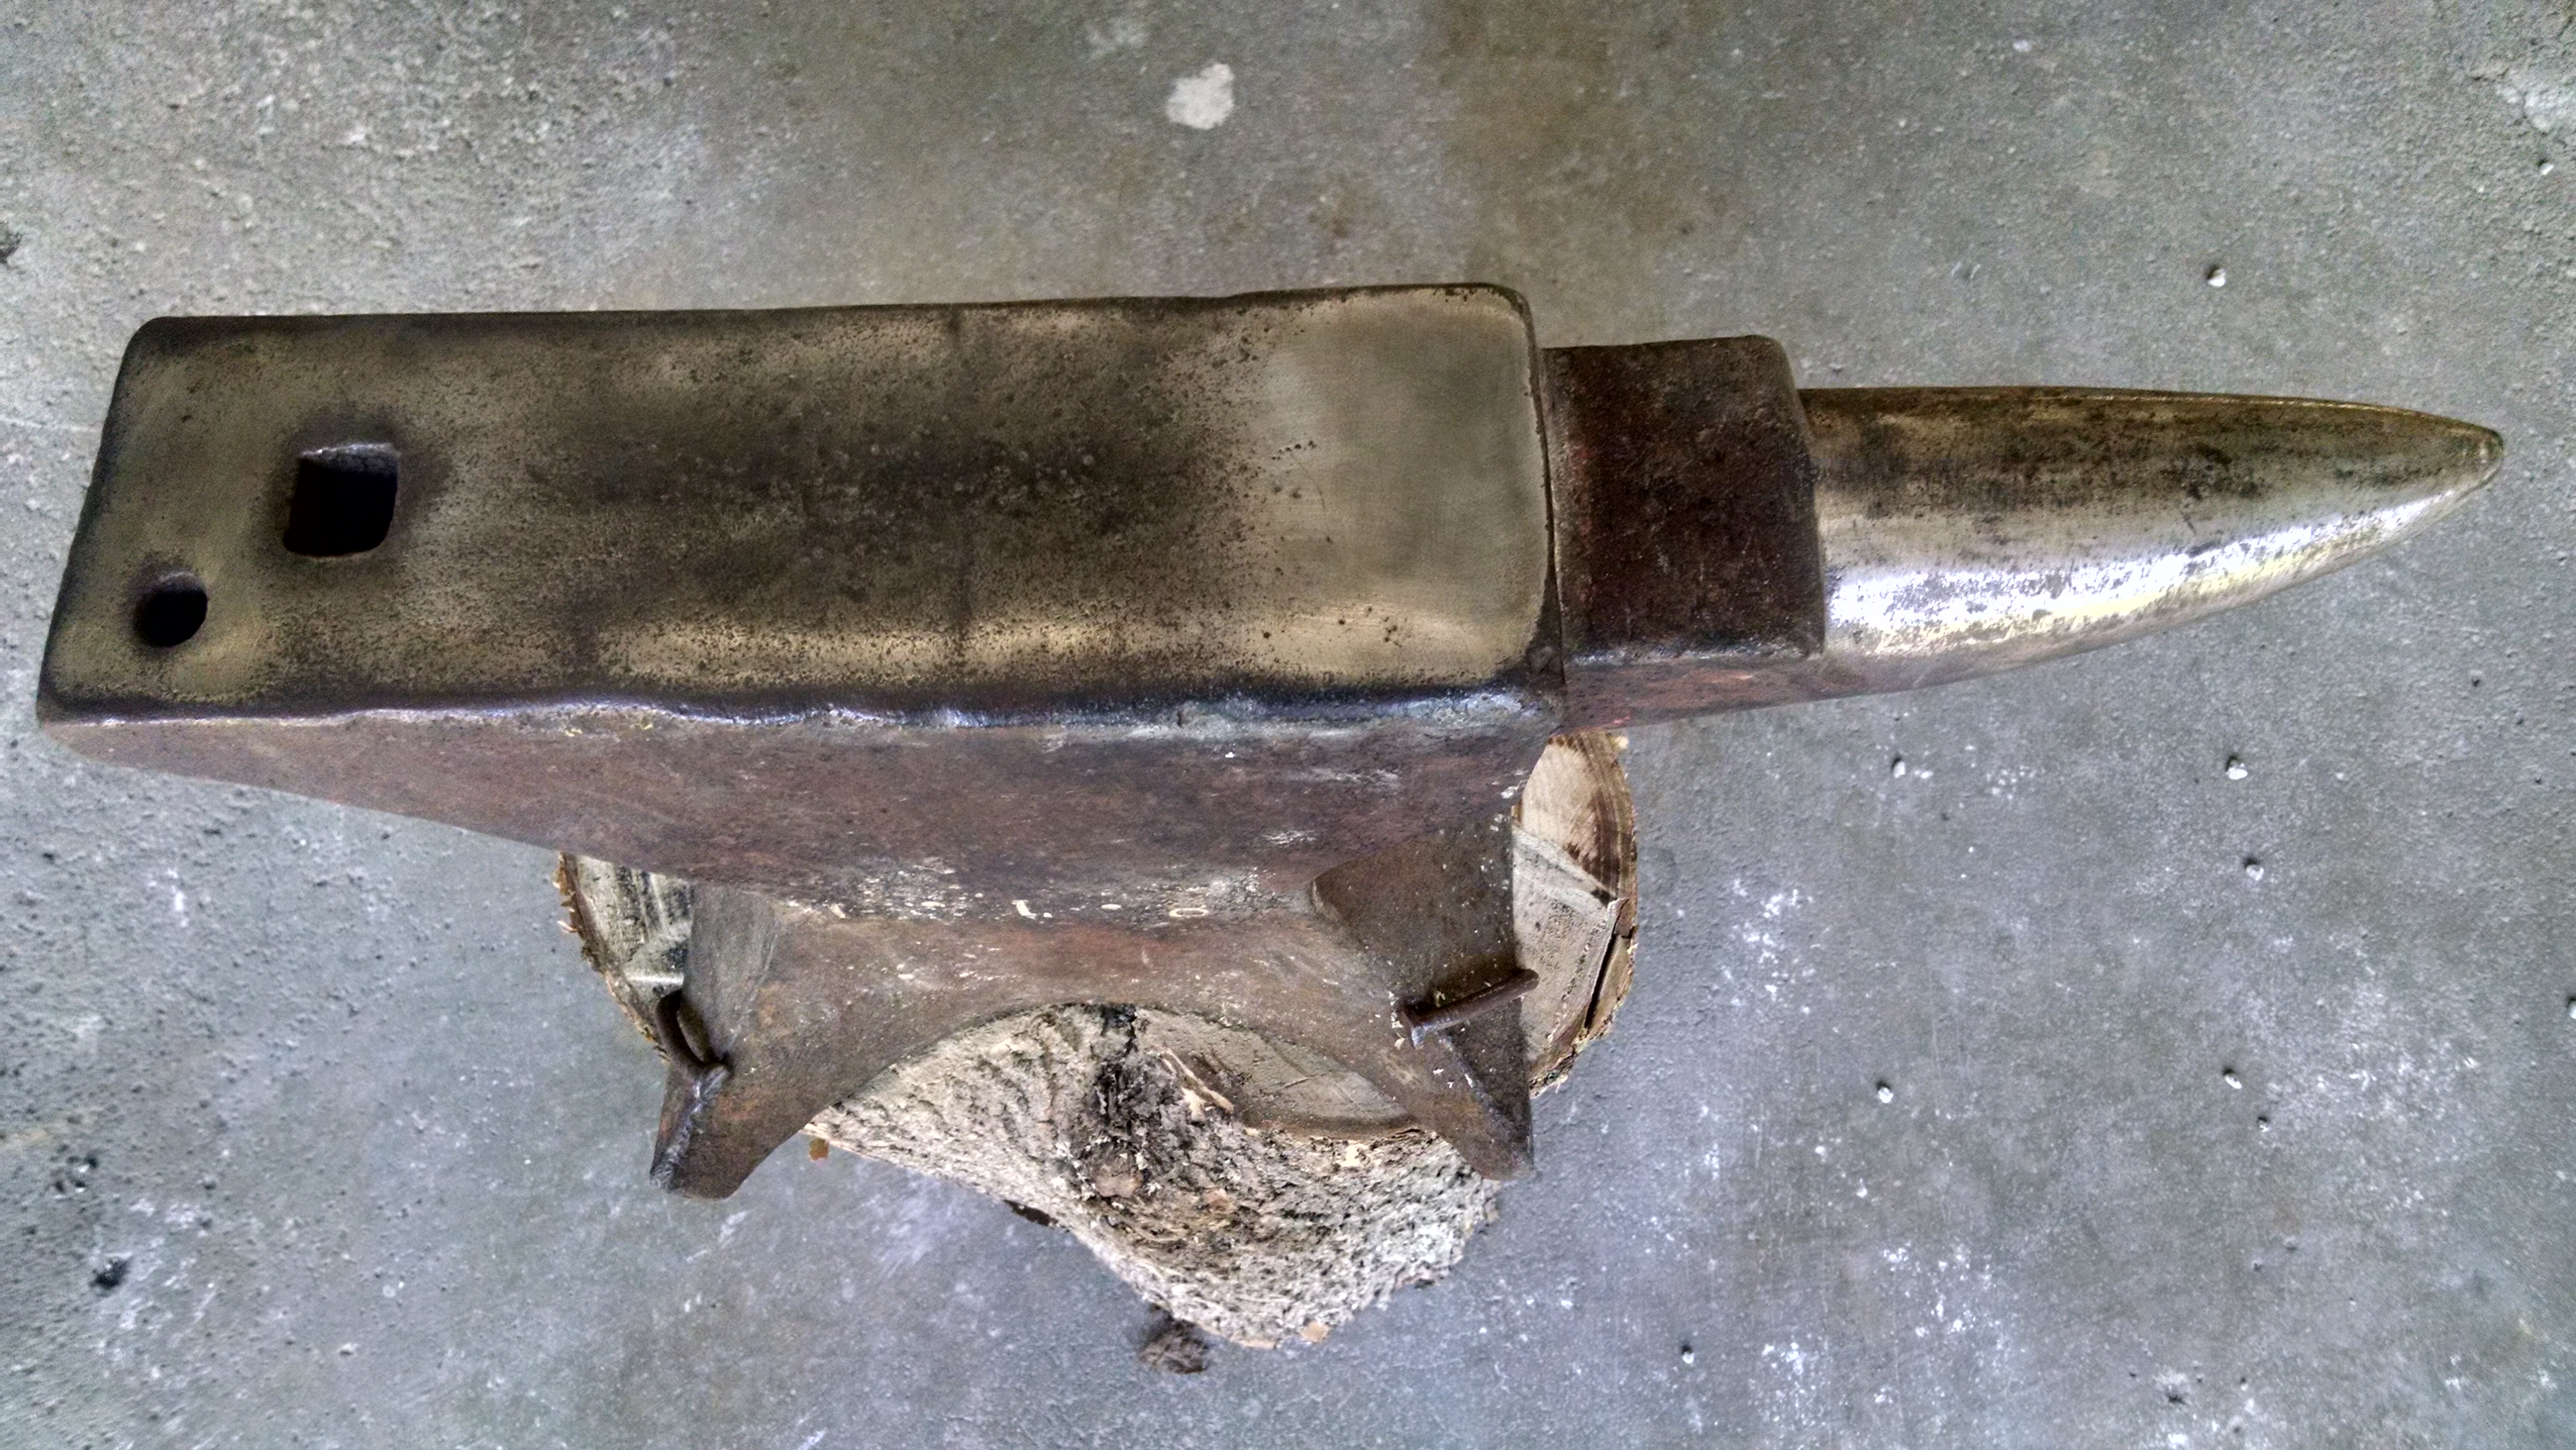
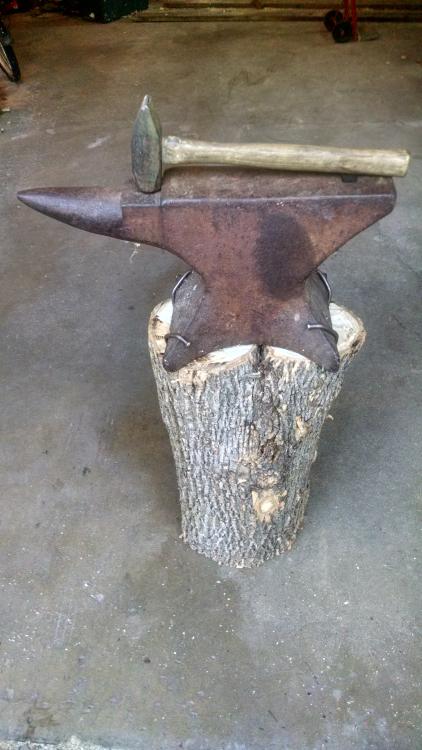
My own M&H Armitage Mousehole, which I've had for over thirty years but only identified and dated today.
-
-
Interesting. Well, if necessary, I suppose I could build the sides up more. I've certainly got plenty of clay around here. My old forge back in the day was for coal, so I suppose I'm influenced by that memory.
-
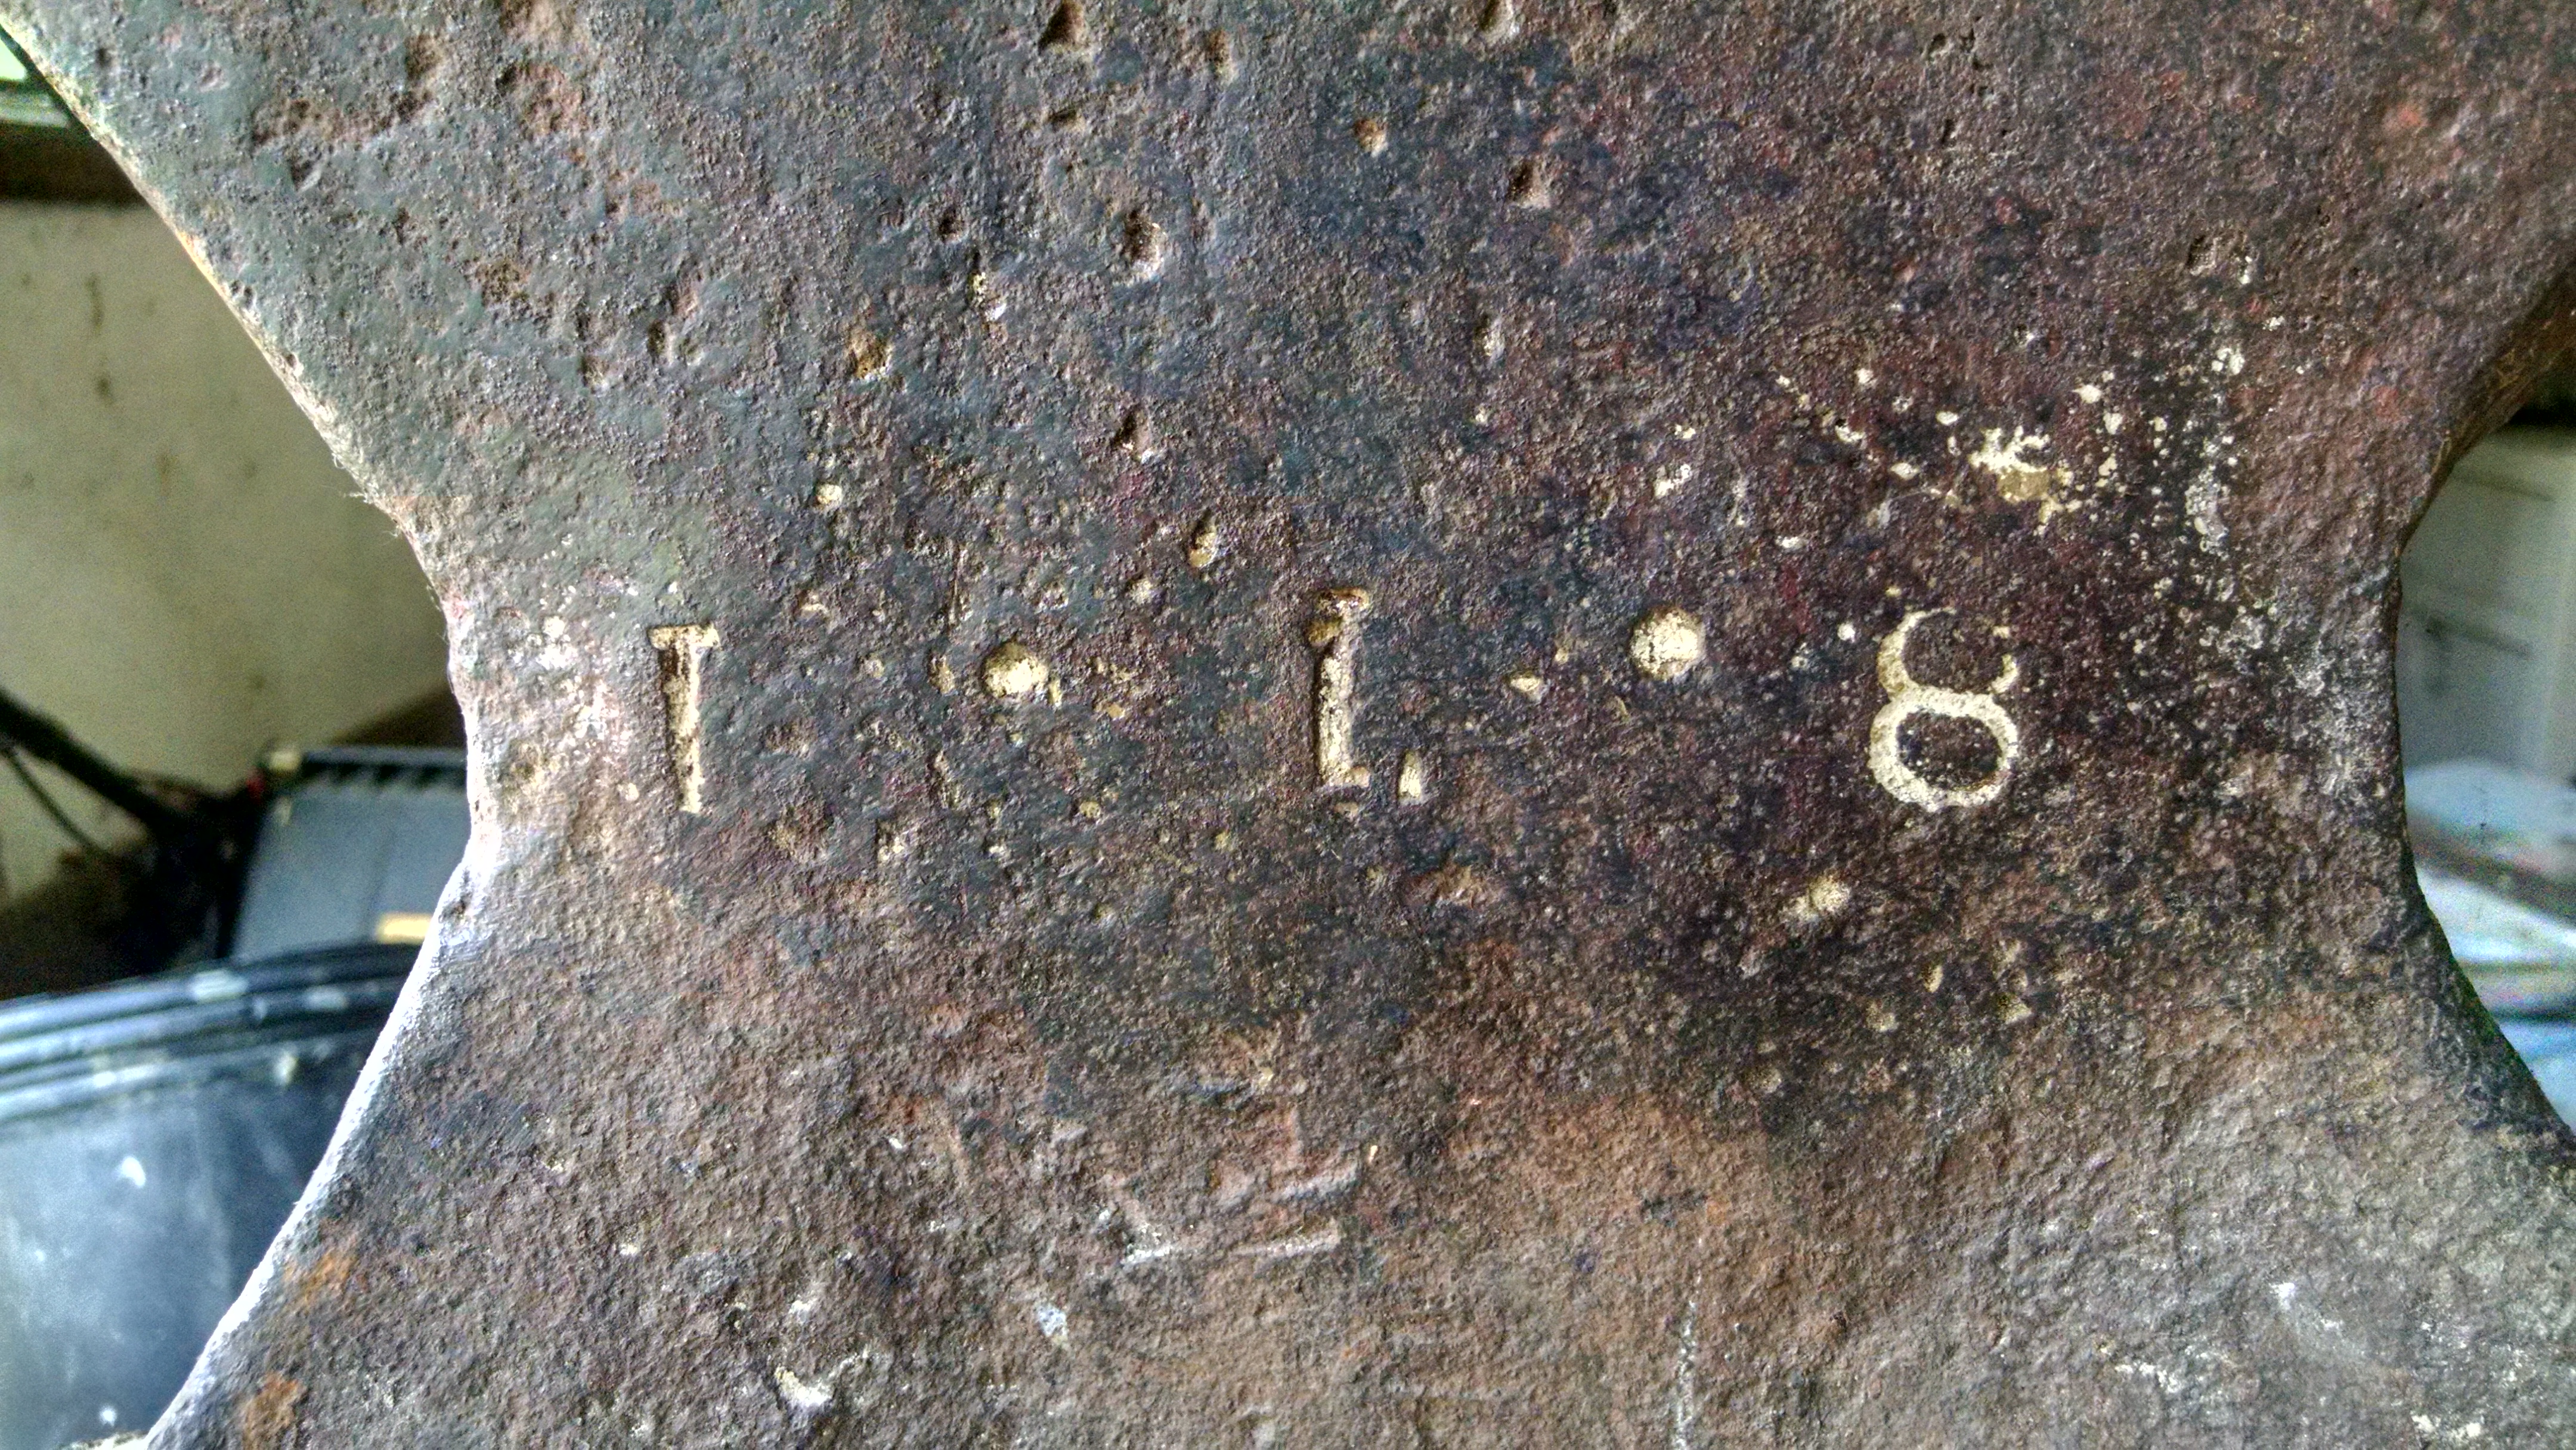
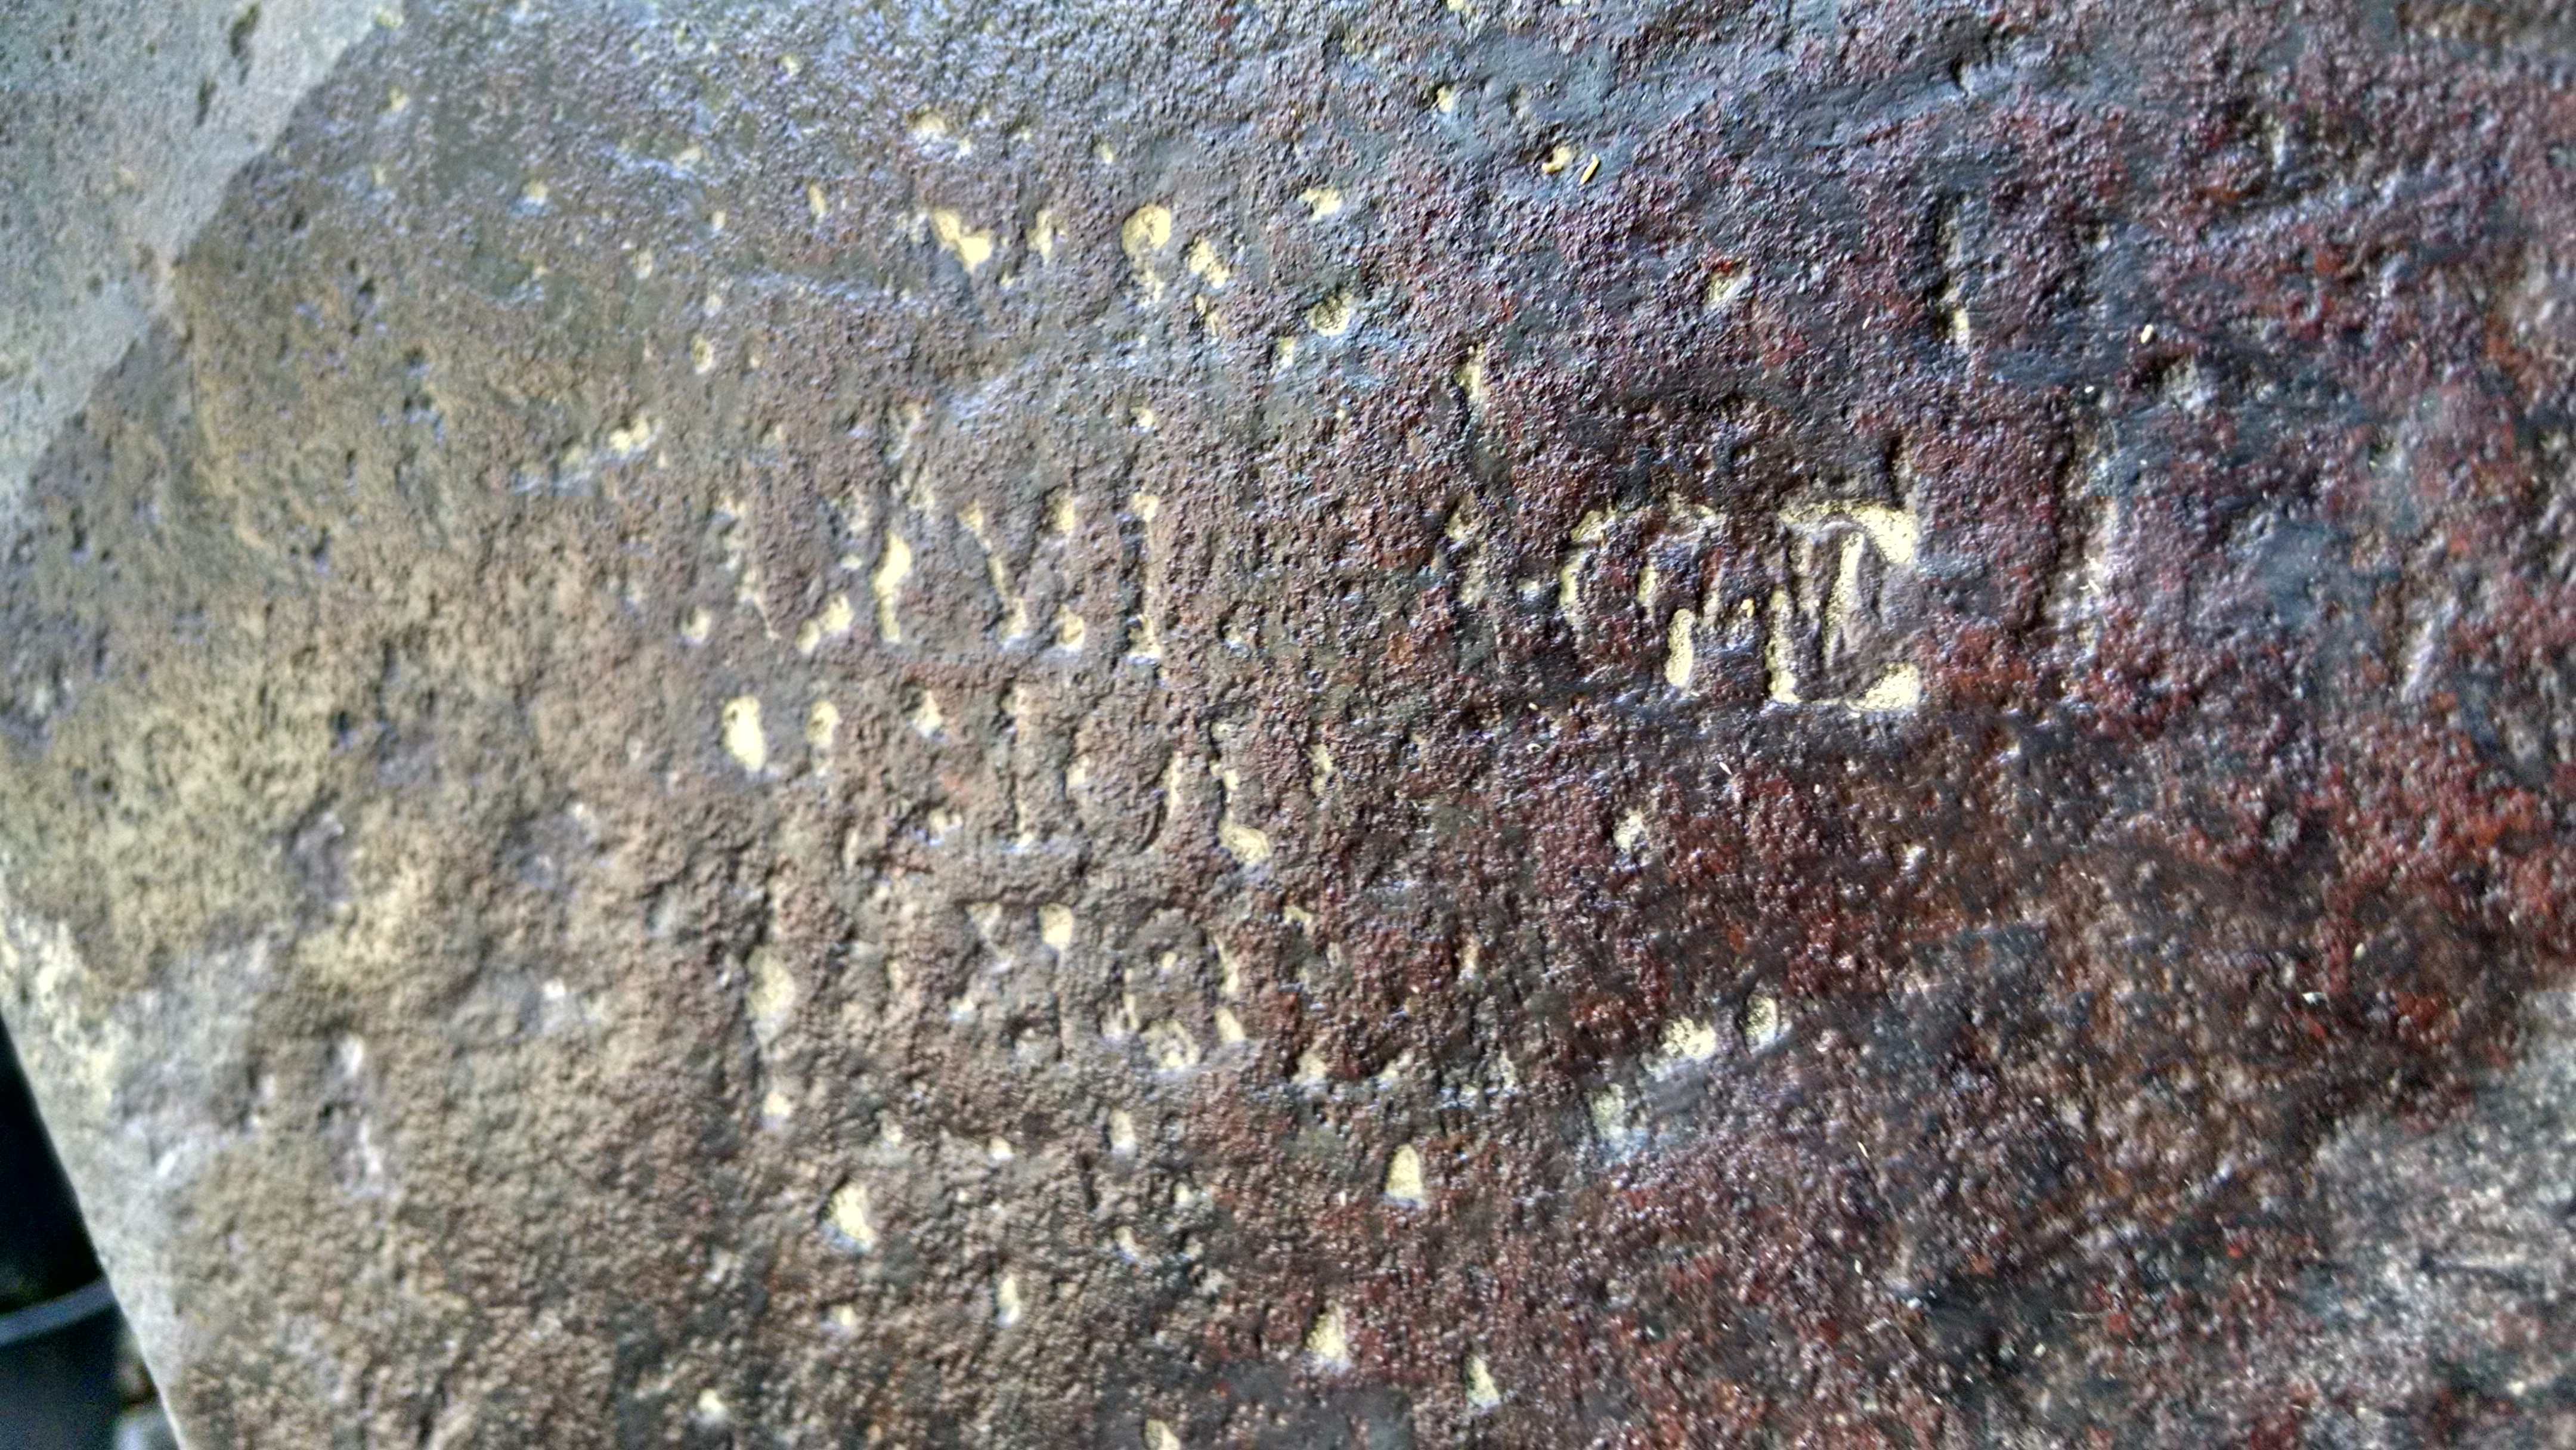
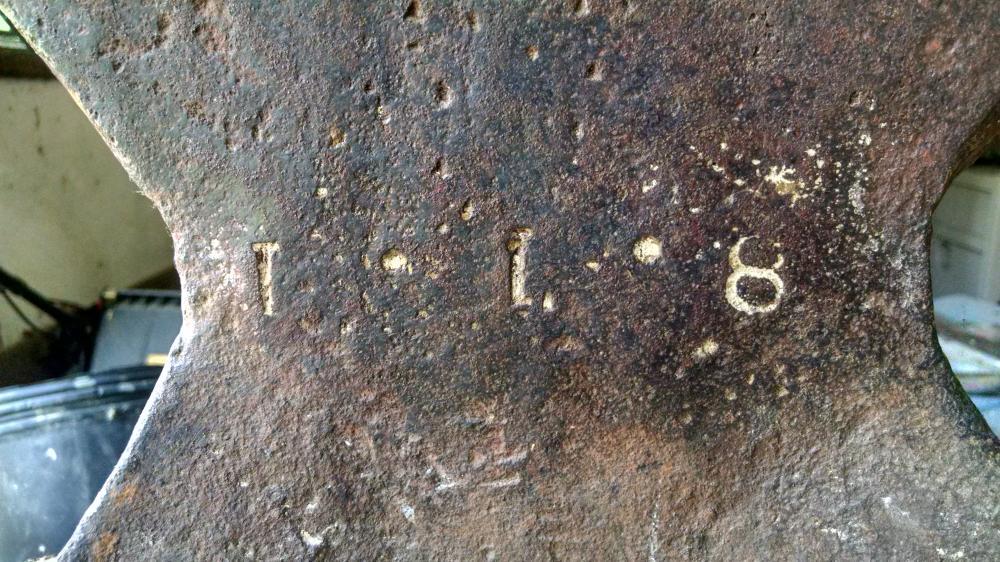
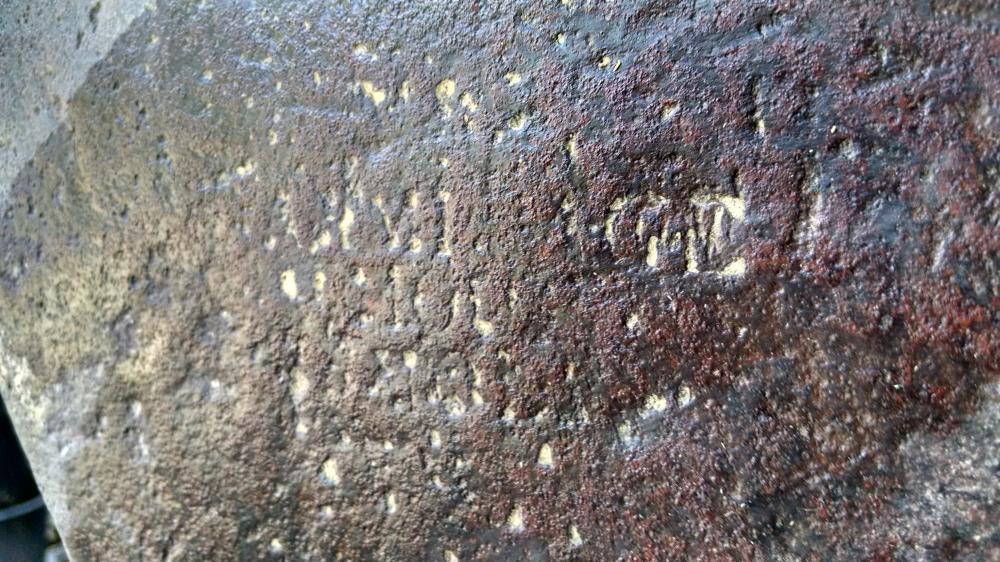
Okay, I take it back: it is NOT a no-name anvil; it's a Mousehole! Here are the weight markings (with a little clay rubbed in for contrast) complete with the dots between numbers. And here's the maker's mark. It's so faint, I never saw it before. I guess this means it was probably made ca. 1830 - 1835. M & H ARMITAGE MOUSE HOLE
-
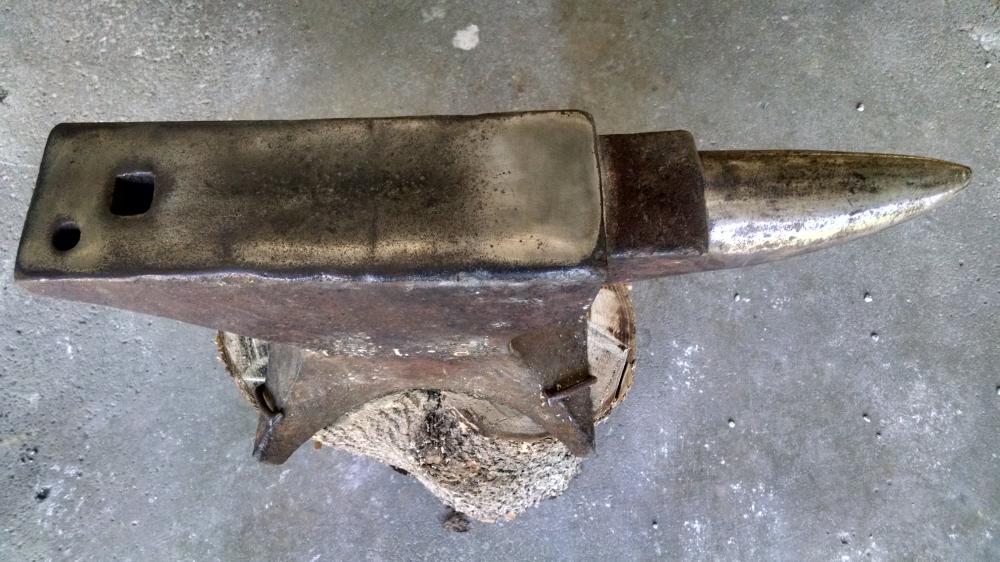
There was some pretty deep pitting, but I got a nice smooth area next to the step and the rest of it pretty well cleaned up. Not planning on doing any more than this.
-
Yes, I had something like that in mind, but I only had a round bucket! (Maybe next time.)
-
The charcoal forge project is documented here. Frosty's busting my chops already.
-
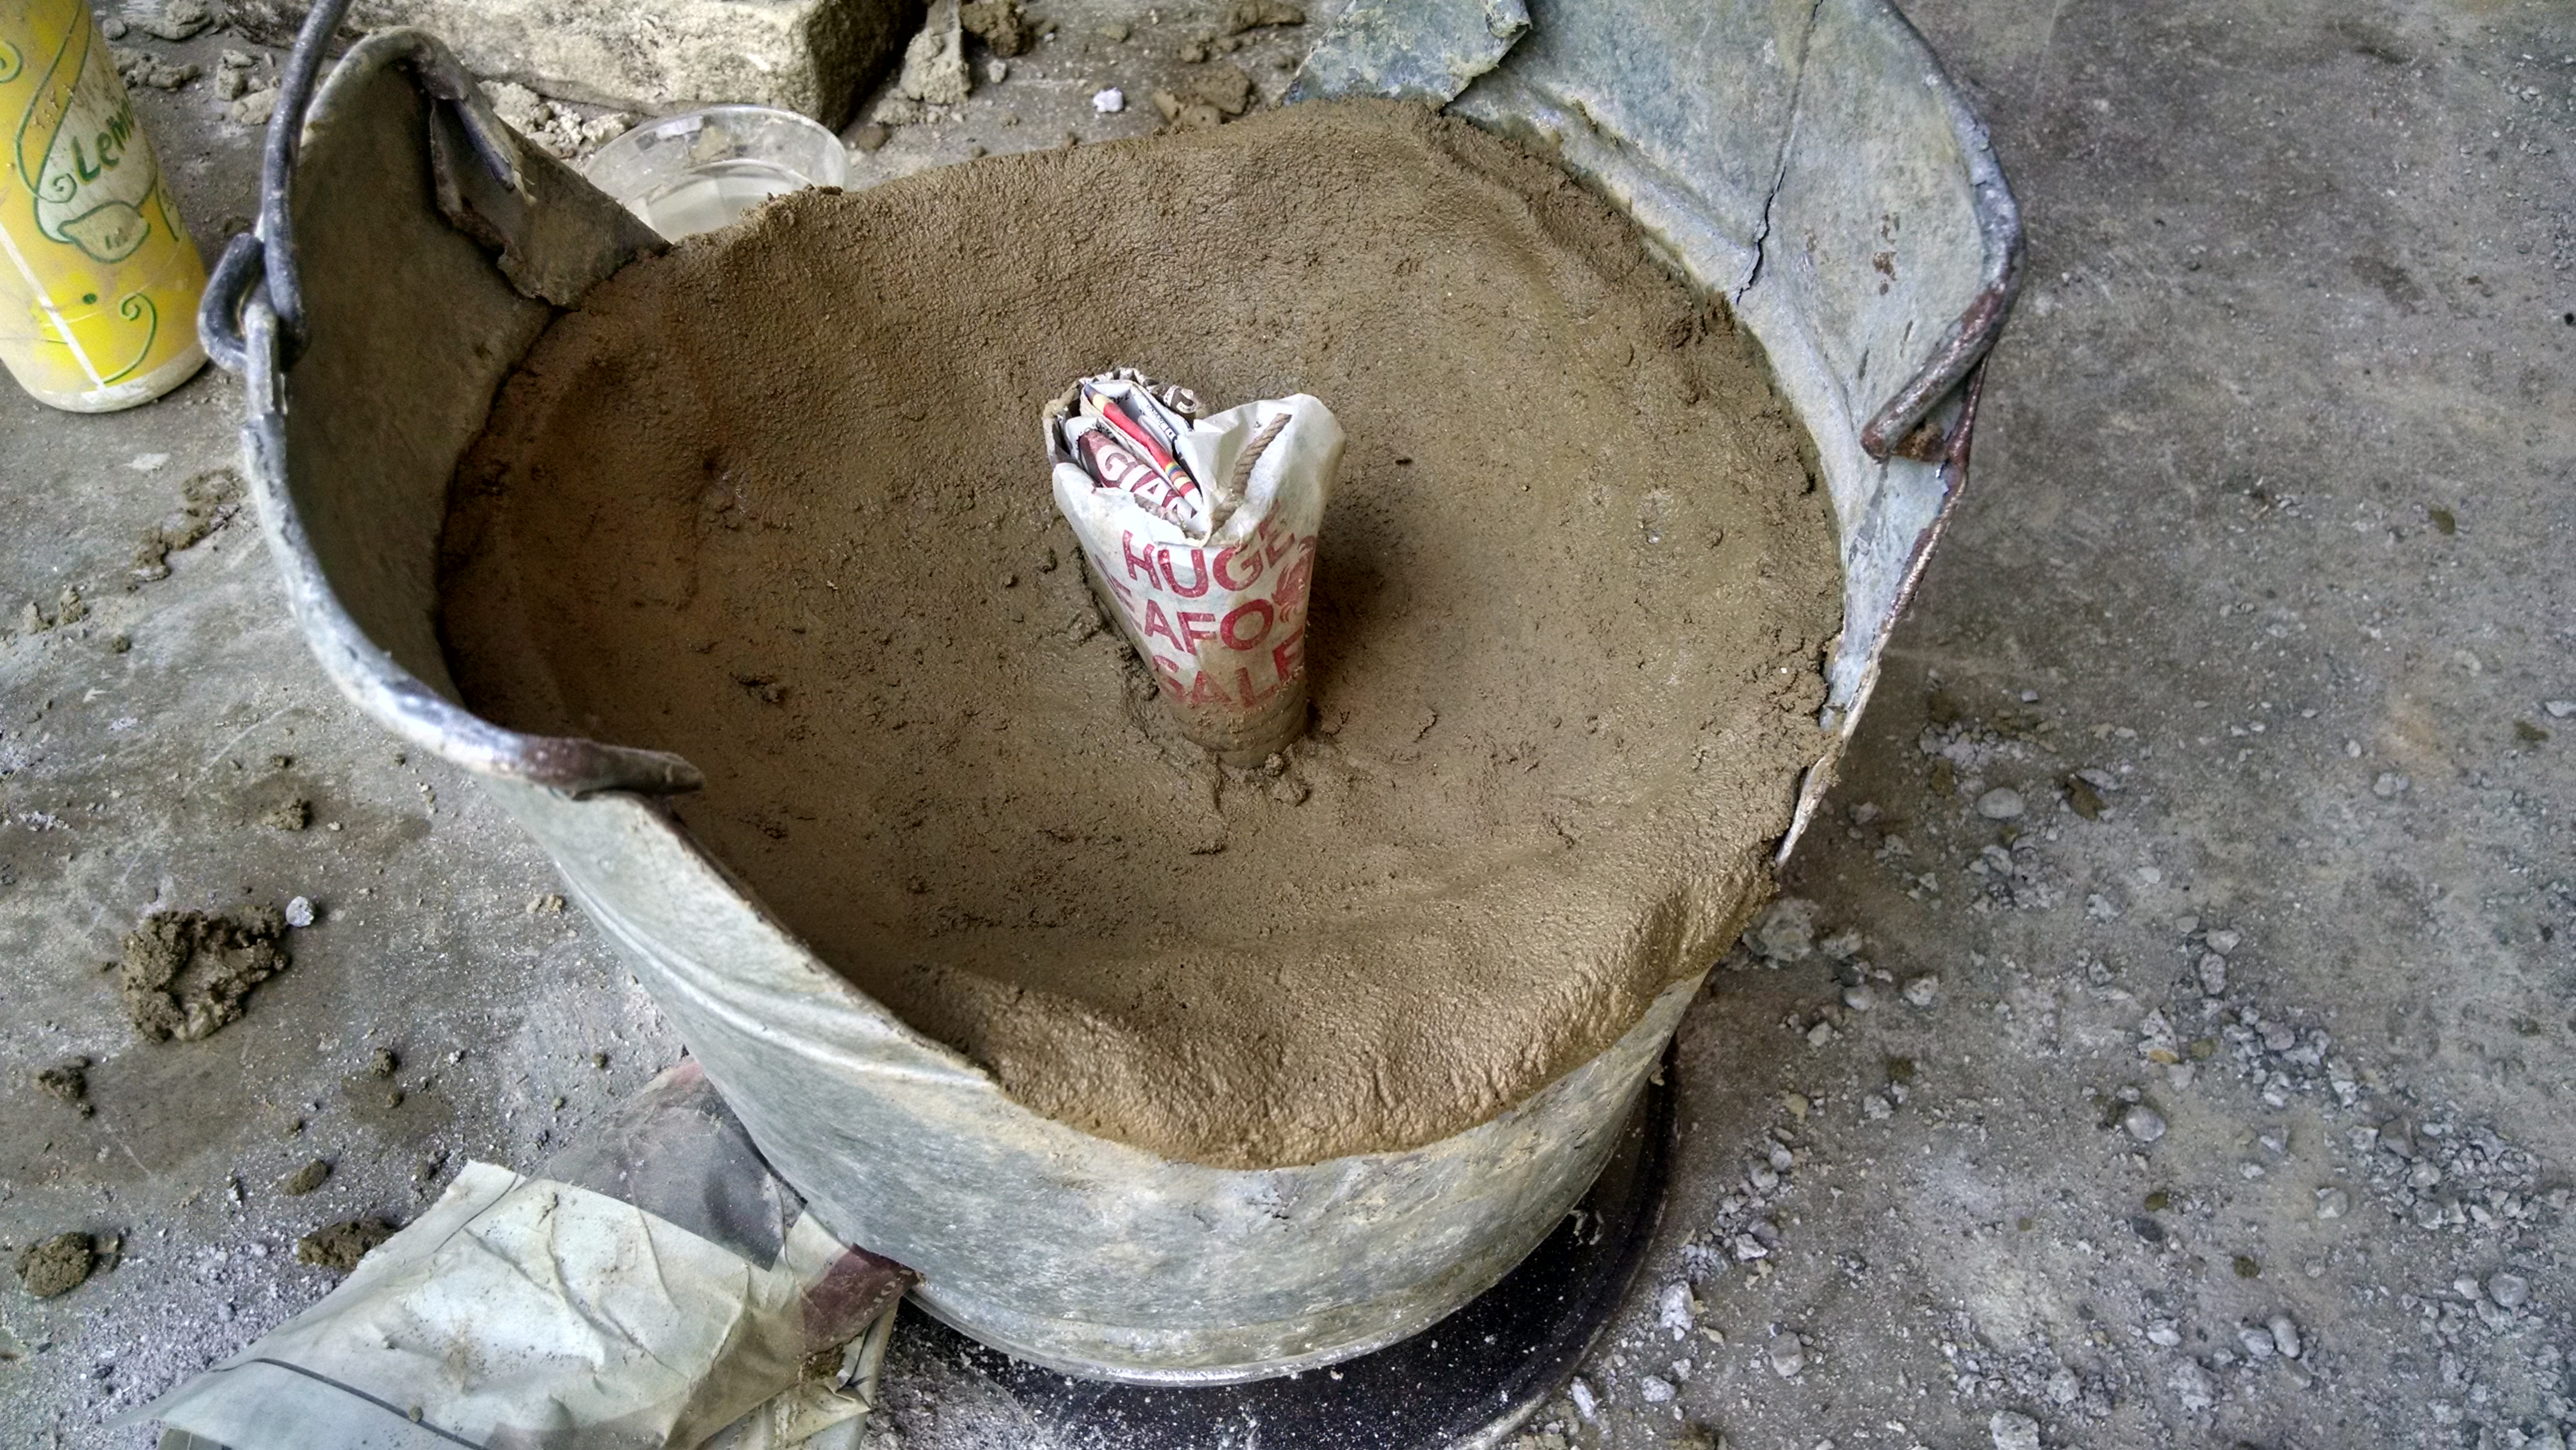
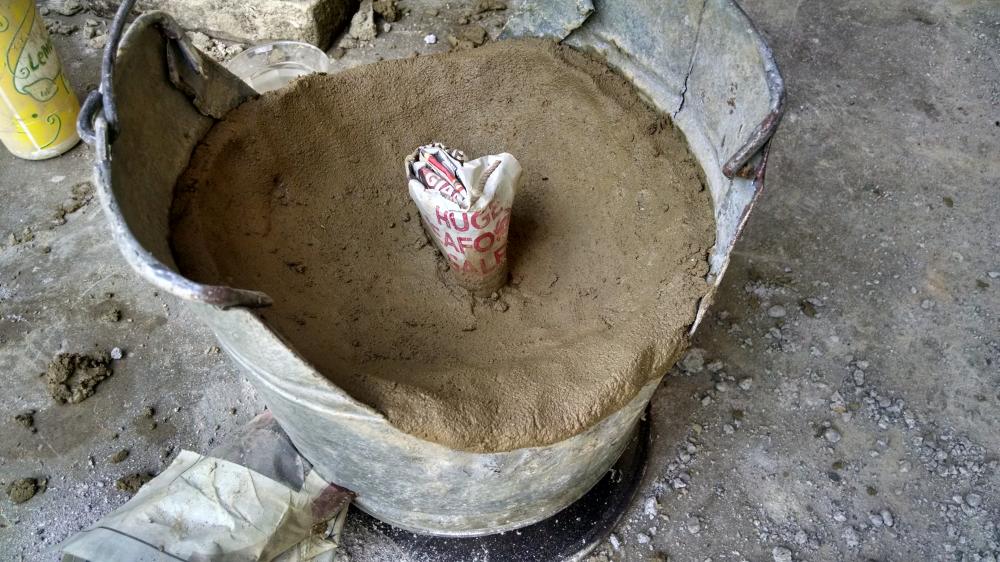
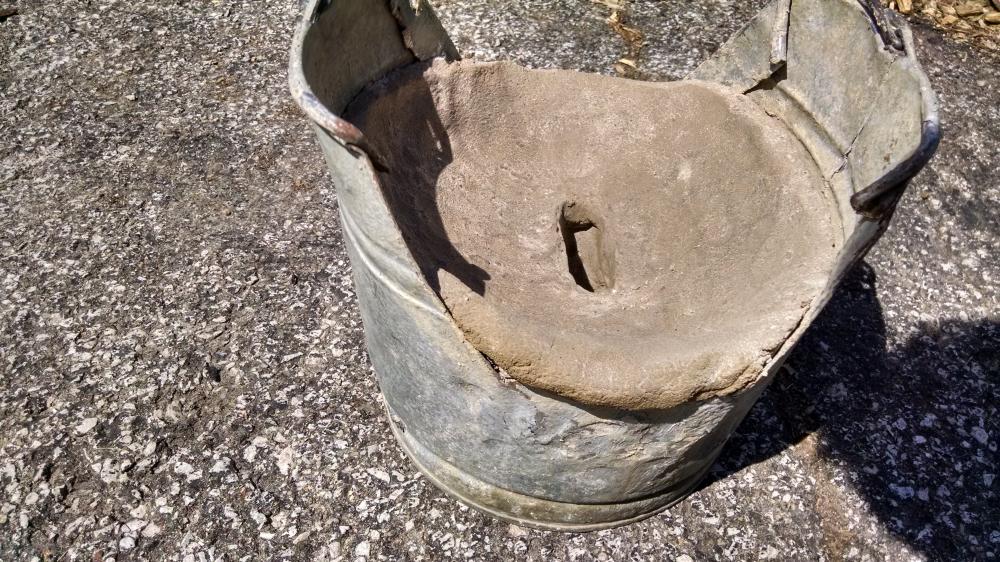
Hang on; that's only halfway. Here's the forge with a LOT more ash added and tamped down and a layer of adobe over top. The wad of newspaper is keeping the air intake from slumping. And here it is set out to dry. The vertical distance from the top of the air inlet to the lip of the adobe is a bit less than two inches.
-
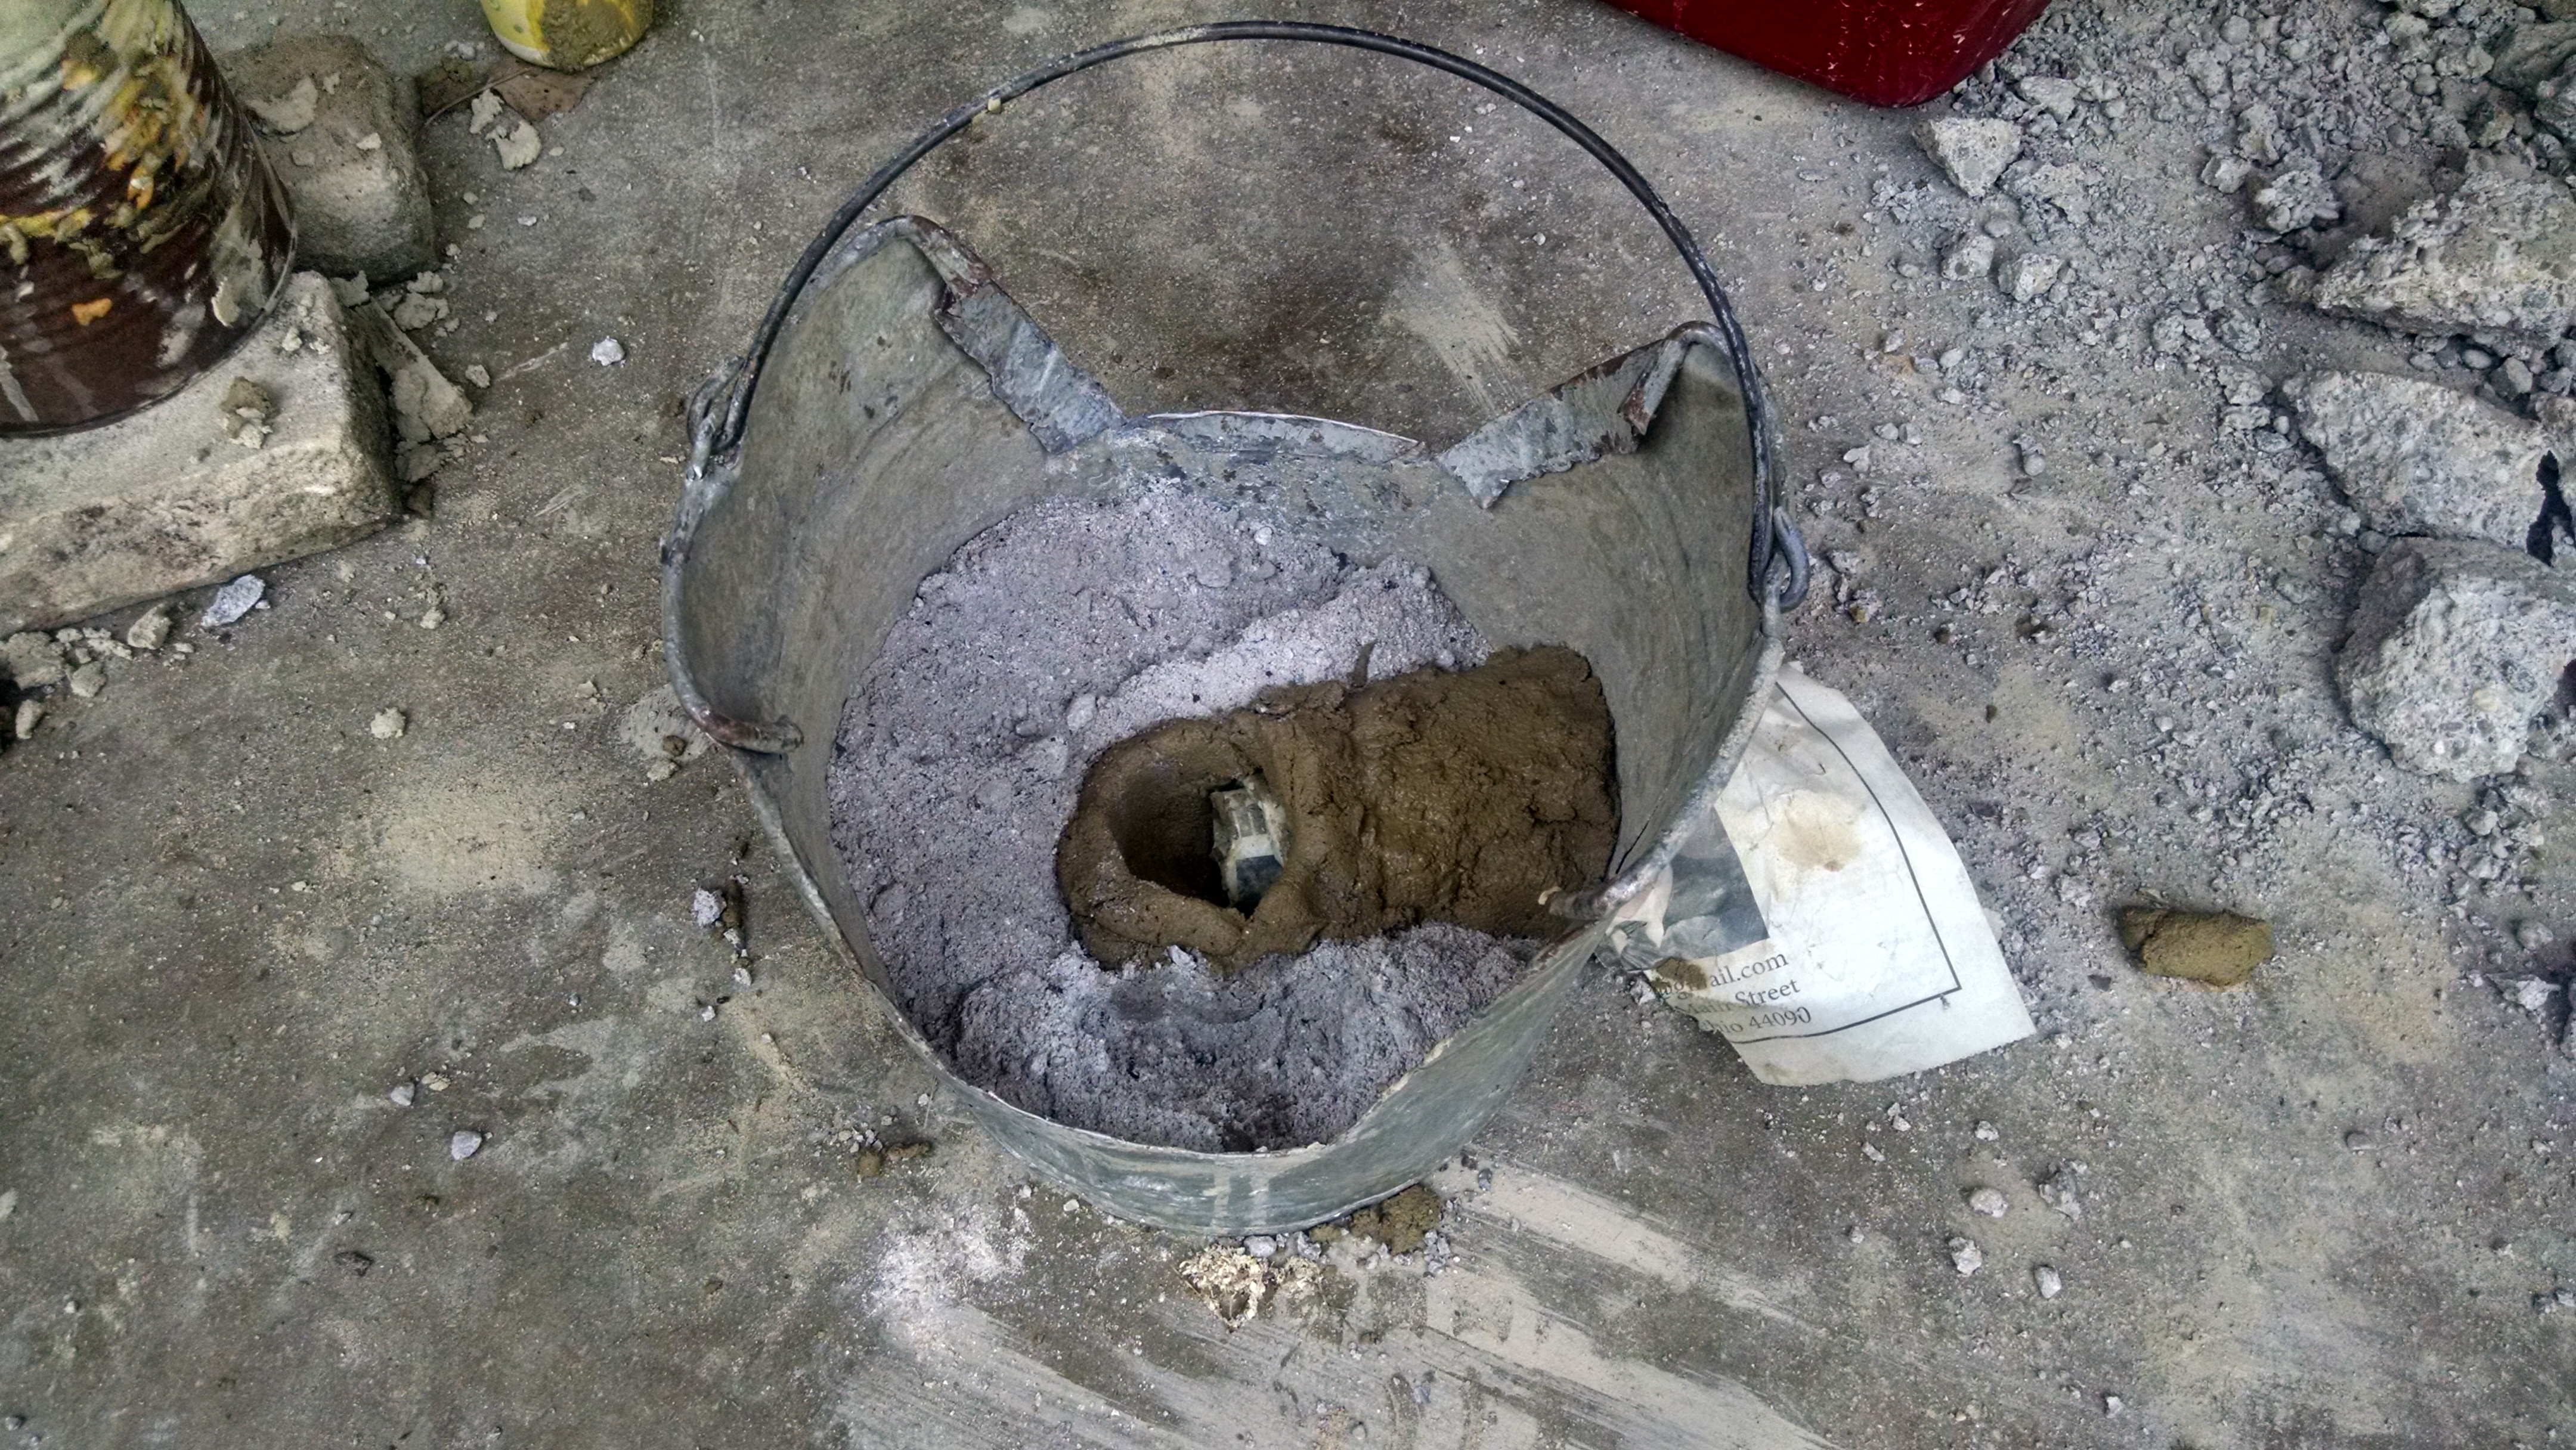
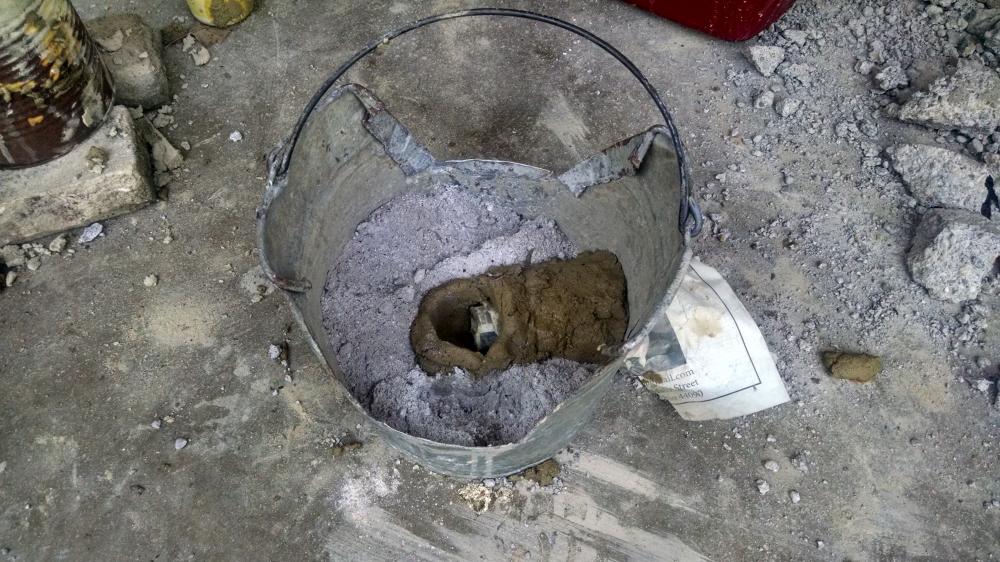
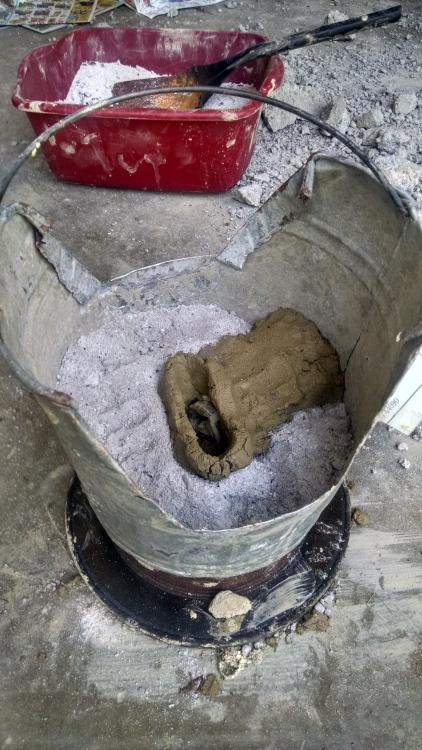
After an abortive attempt to make a coffee can gas forge (documented here), I decided to use an old metal bucket as the basis for a portable charcoal forge. Here's how it went down. This is the bucket with the sides deeply notched, a hole cut in the side for the air intake, and the air intake fashioned from adobe. Wood ashes have been added to the bottom for insulation and to support the sides of the air intake. The air intake finished and surrounded by ash. The vertical section is a slot rather than a round hole.
-
The leaf blower I have in mind has a damper on its air intake. I've always thought it was pretty useless for a leaf blower, but I suspect it will work well for regulating airflow for the forge. (Sorry I was a little grumpy yesterday, by the way. Nothing personal; I do appreciate the advice.)
-
Further thought: on observing how long the adobe is taking to dry (not surprising, since there's no air circulation), I've decided to go a totally different route. I have an old metal bucket kicking around somewhere, and I think I will line that with ash and clay (as Dave Budd suggests) to make an open-hearth charcoal forge. I've got both a shopvac and a leaf blower that I can use for forcing air, so let's see how that works.
-
I had thought about that, but I've never forged with gas and wanted to give it a try. I'll probably end up making a T burner around the same time that I change the lining. Or I'll tear the whole thing apart and use the brake disc as the foundation for some kind of open hearth forge. Who knows?
-
Thanks, Buzzkill. I'm hoping to scrounge some better material soon, but it I can't, I'll keep the perlite/sawdust/wood ashes idea as a backup.
-
Of course not. However, if I had no car at all but did have a can of gas sitting around and someone gave me a beater that I could drive for a while, sure, why not? Similarly, the torch -- a general purpose Harbor Freight torch I already had -- isn't perfect and probably will cause some scaling, but it will work a lot better than putting the iron out in the sun and waiting for it to heat up enough to forge, which AT THE MOMENT is my only other option. Here's the deal: I joke about it, but I am on an extremely tight budget, and I don't have a penny to spare on anything. If a flawed design and crappy execution POS forge gets me and my son (an autistic twelve-year-old with a short attention span) working some metal while I work on scrounging better materials or scraping together the cash for a better setup, great. Frankly, I'd rather be doing something than doing nothing, even if it's not up to anyone else's (perfectly reasonable) standards. (And another thing: Bubba and I had an absolute blast working together on this. Even if the forge is a total failure as a forge, the project has already been a total success.)
-
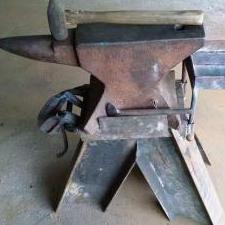
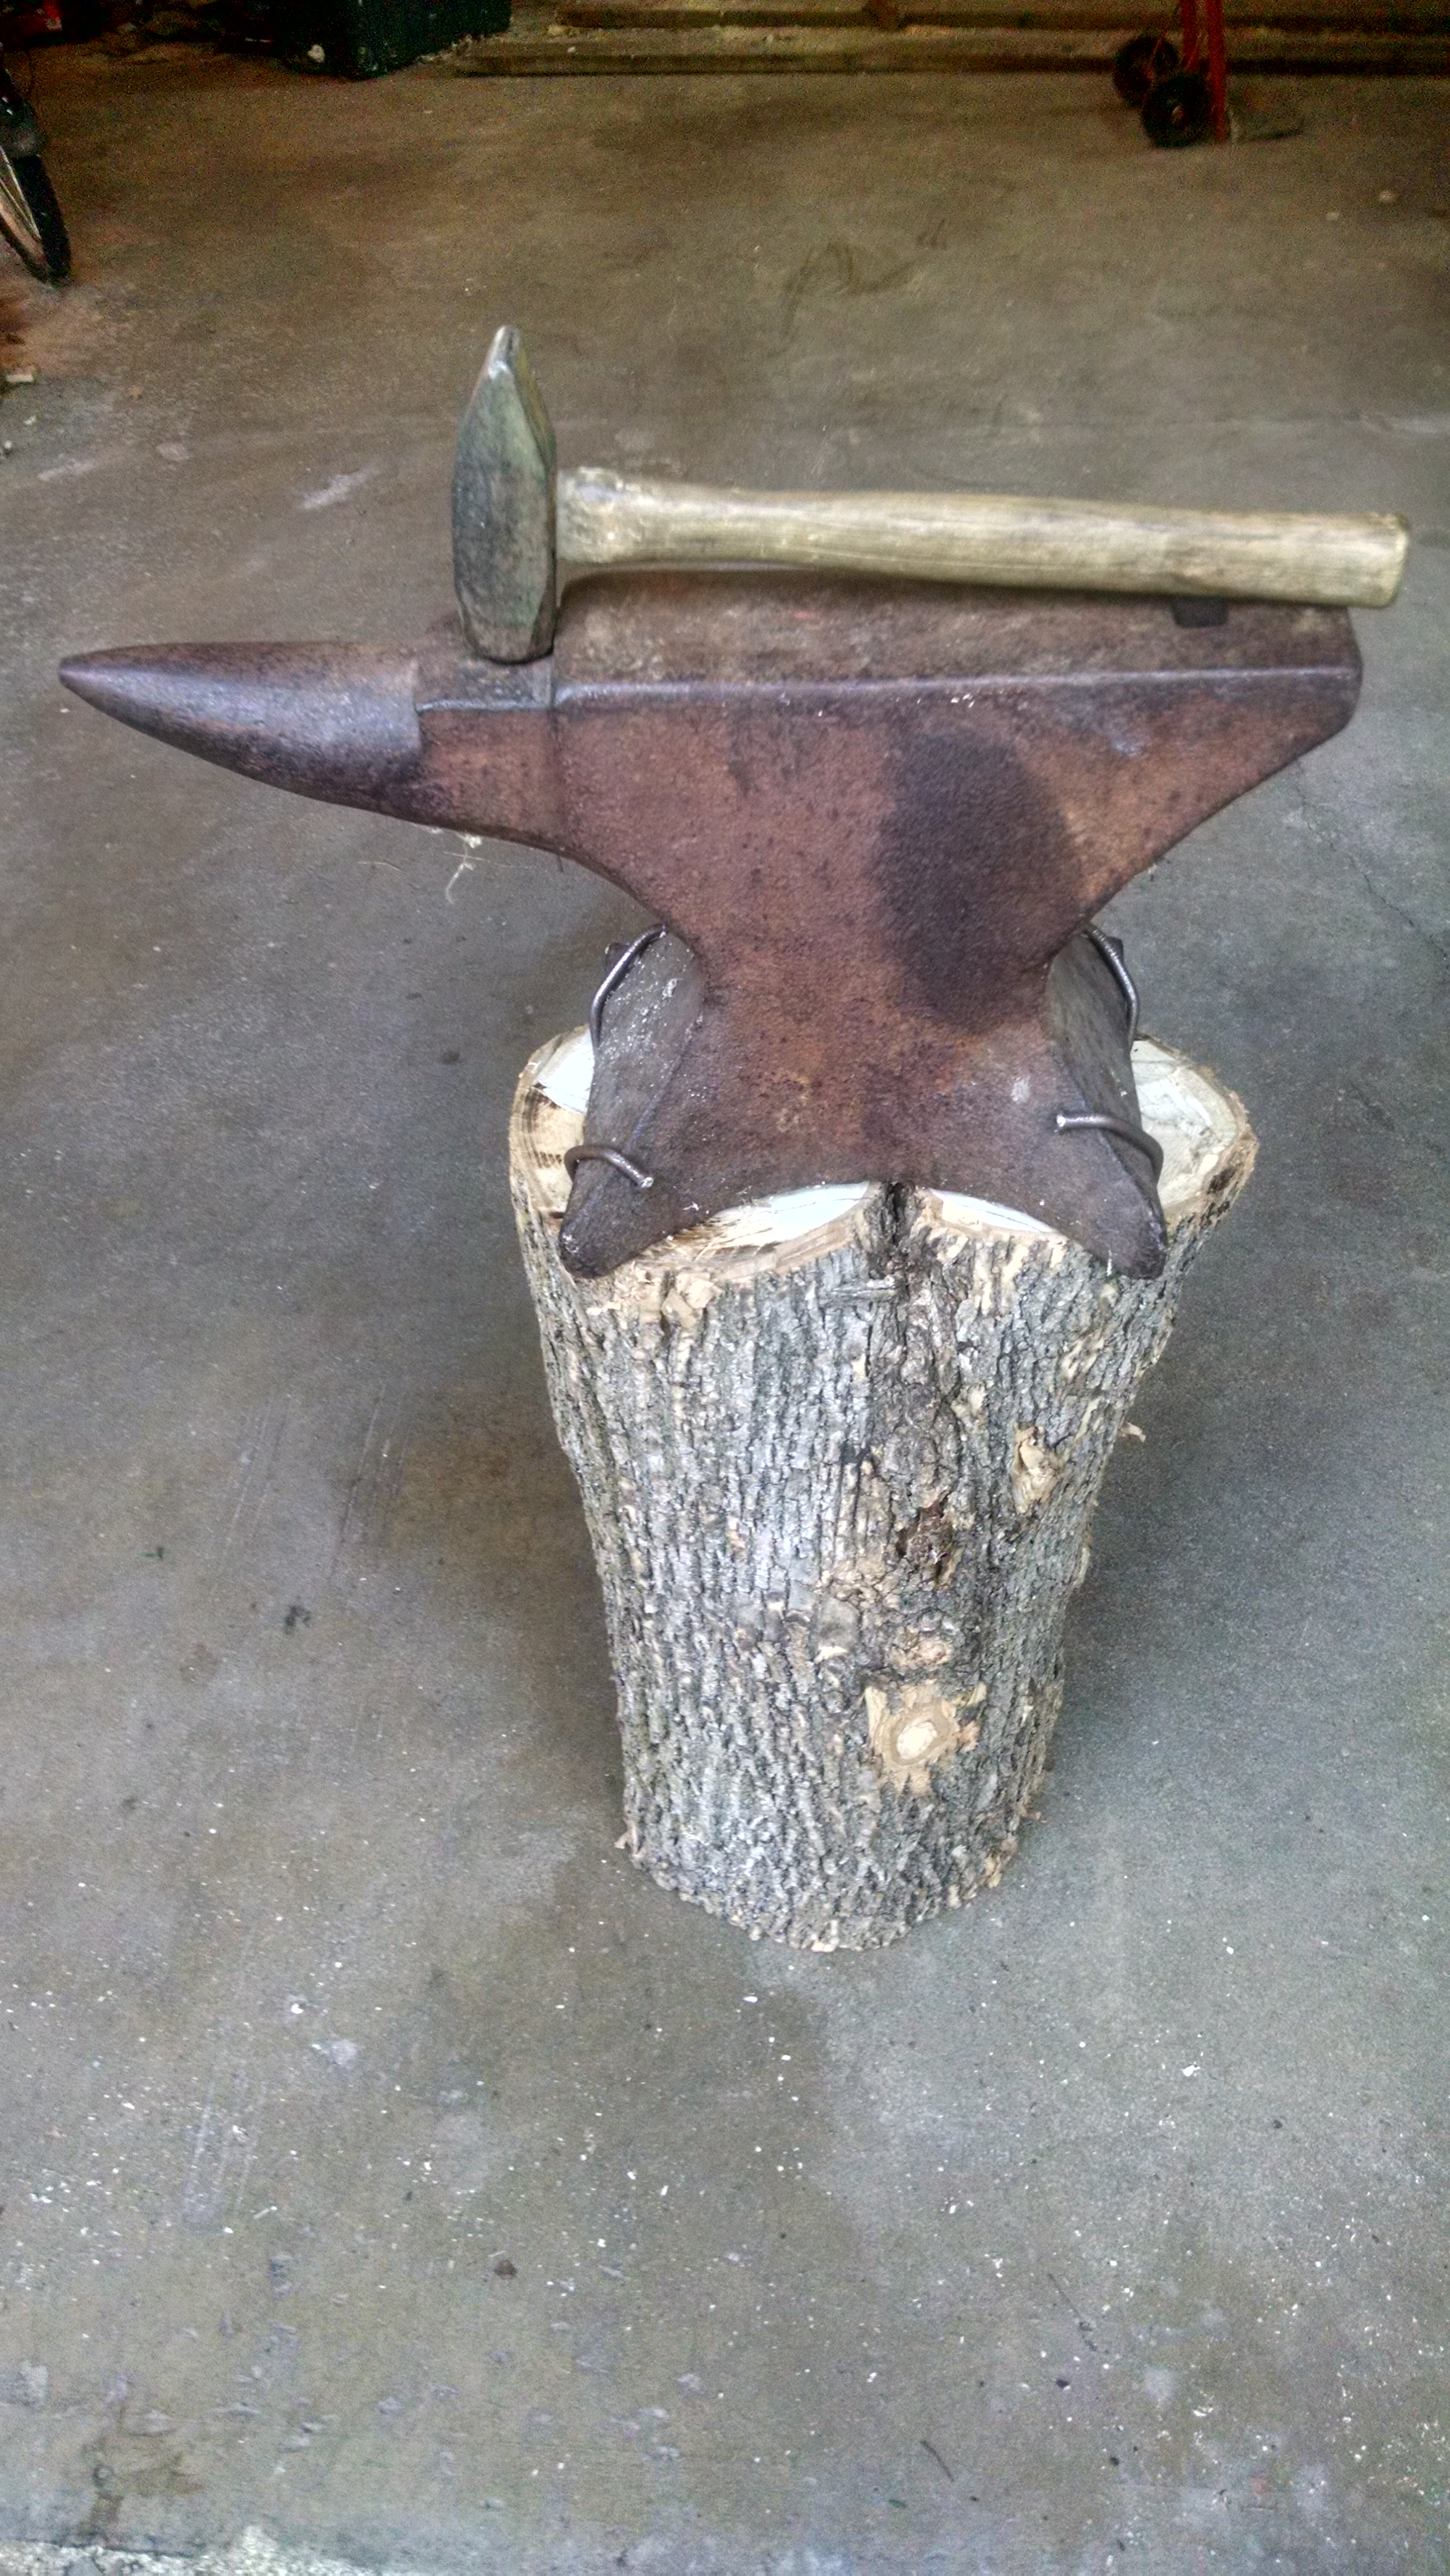
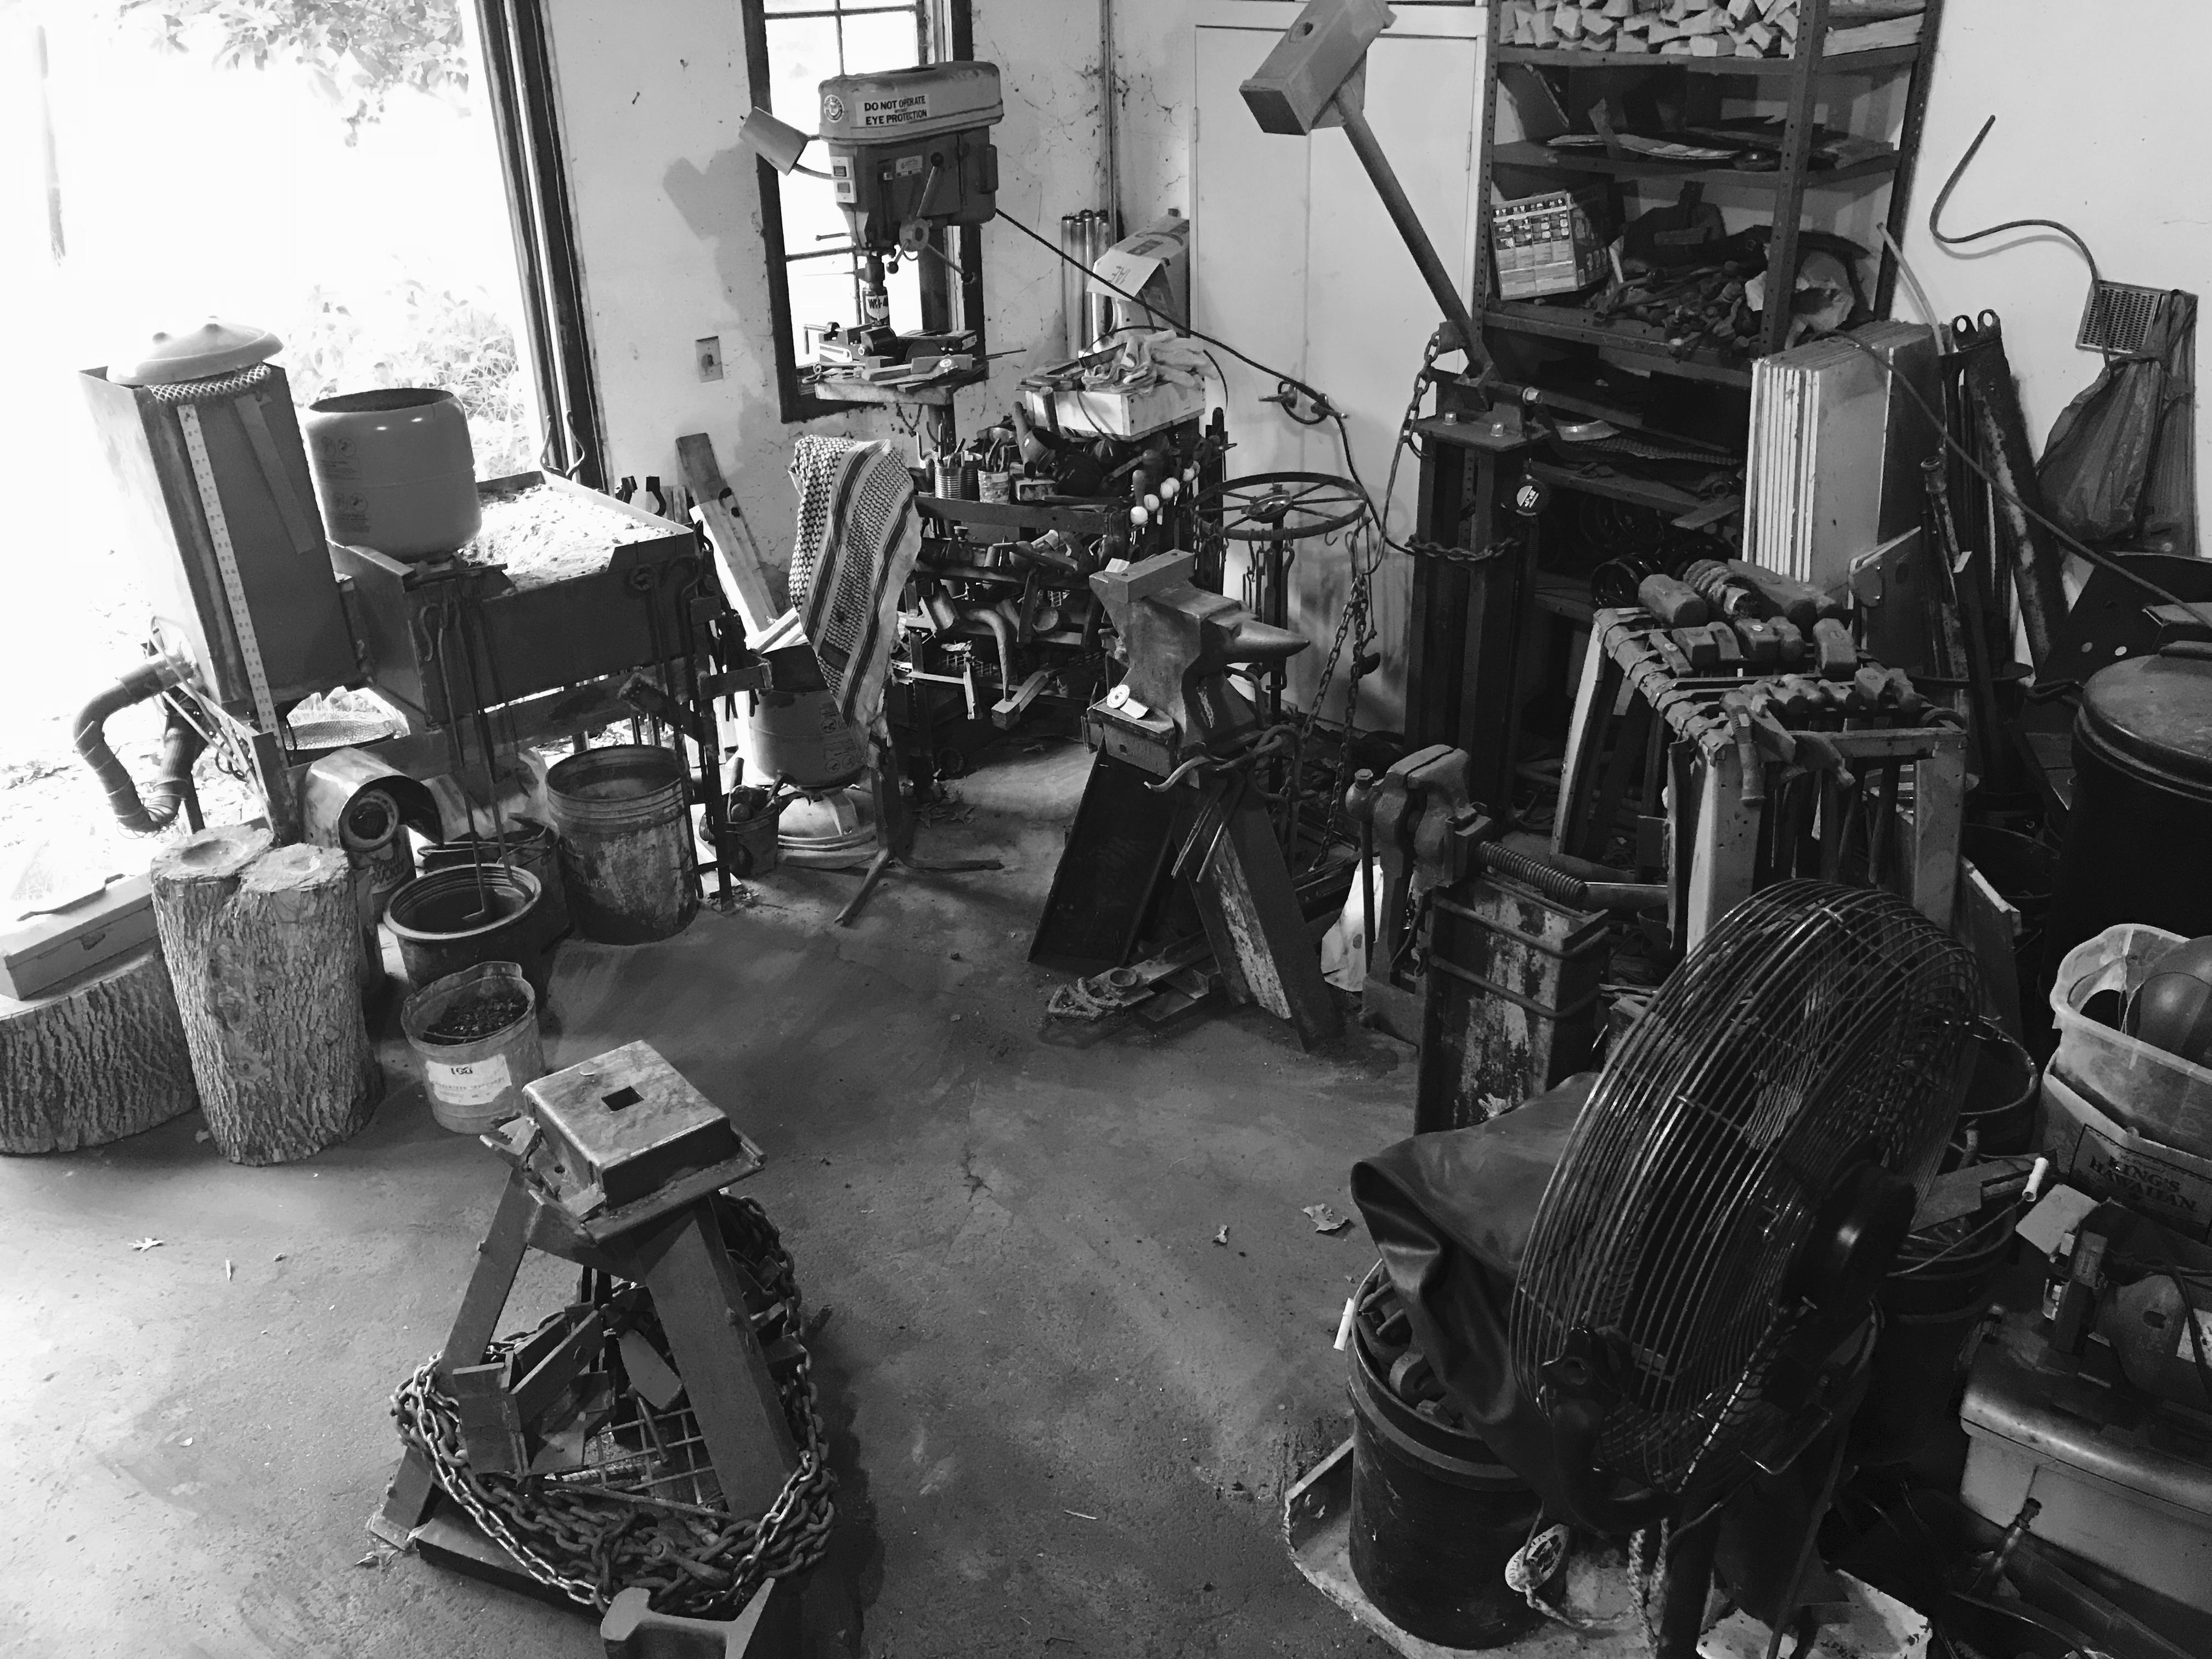
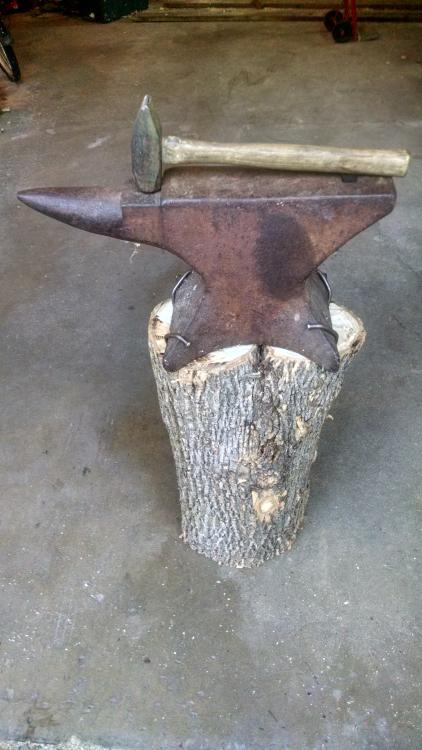
My no-name 150-ish lb London pattern anvil. I've had this since I was a teenager in high school, and it's followed me ever since (even though my wife never could see the point of an anvil in the living room of an NYC apartment). I just remounted it after twenty-three years off-block, and I'm hoping to teach my son on it the little blacksmithing I know. (N.B.: since this photo was taken, I've started cleaning up the face with an angle grinder. There's quite a dip in the middle, so I'm looking to clean up the rust and pitting and create a good flat area at the end next to the step.)
-
Frosty and ThomasPowers: Thanks for the input. I certainly don't intend for this to be a permanent forge; just something to get started. If/when the adobe craps out on me, I will hopefully had time to scrounge some proper materials. The advantage of this particular setup is that it's entirely made from things I had on hand that didn't cost me anything. My wife can tell you precisely how cheap I am! As for why documenting this on the net? Well, it's fun, I've already gotten some good advice about the next version, and it gives you the opportunity to warn other newbies about not repeating my foolish mistakes. You're welcome!
-
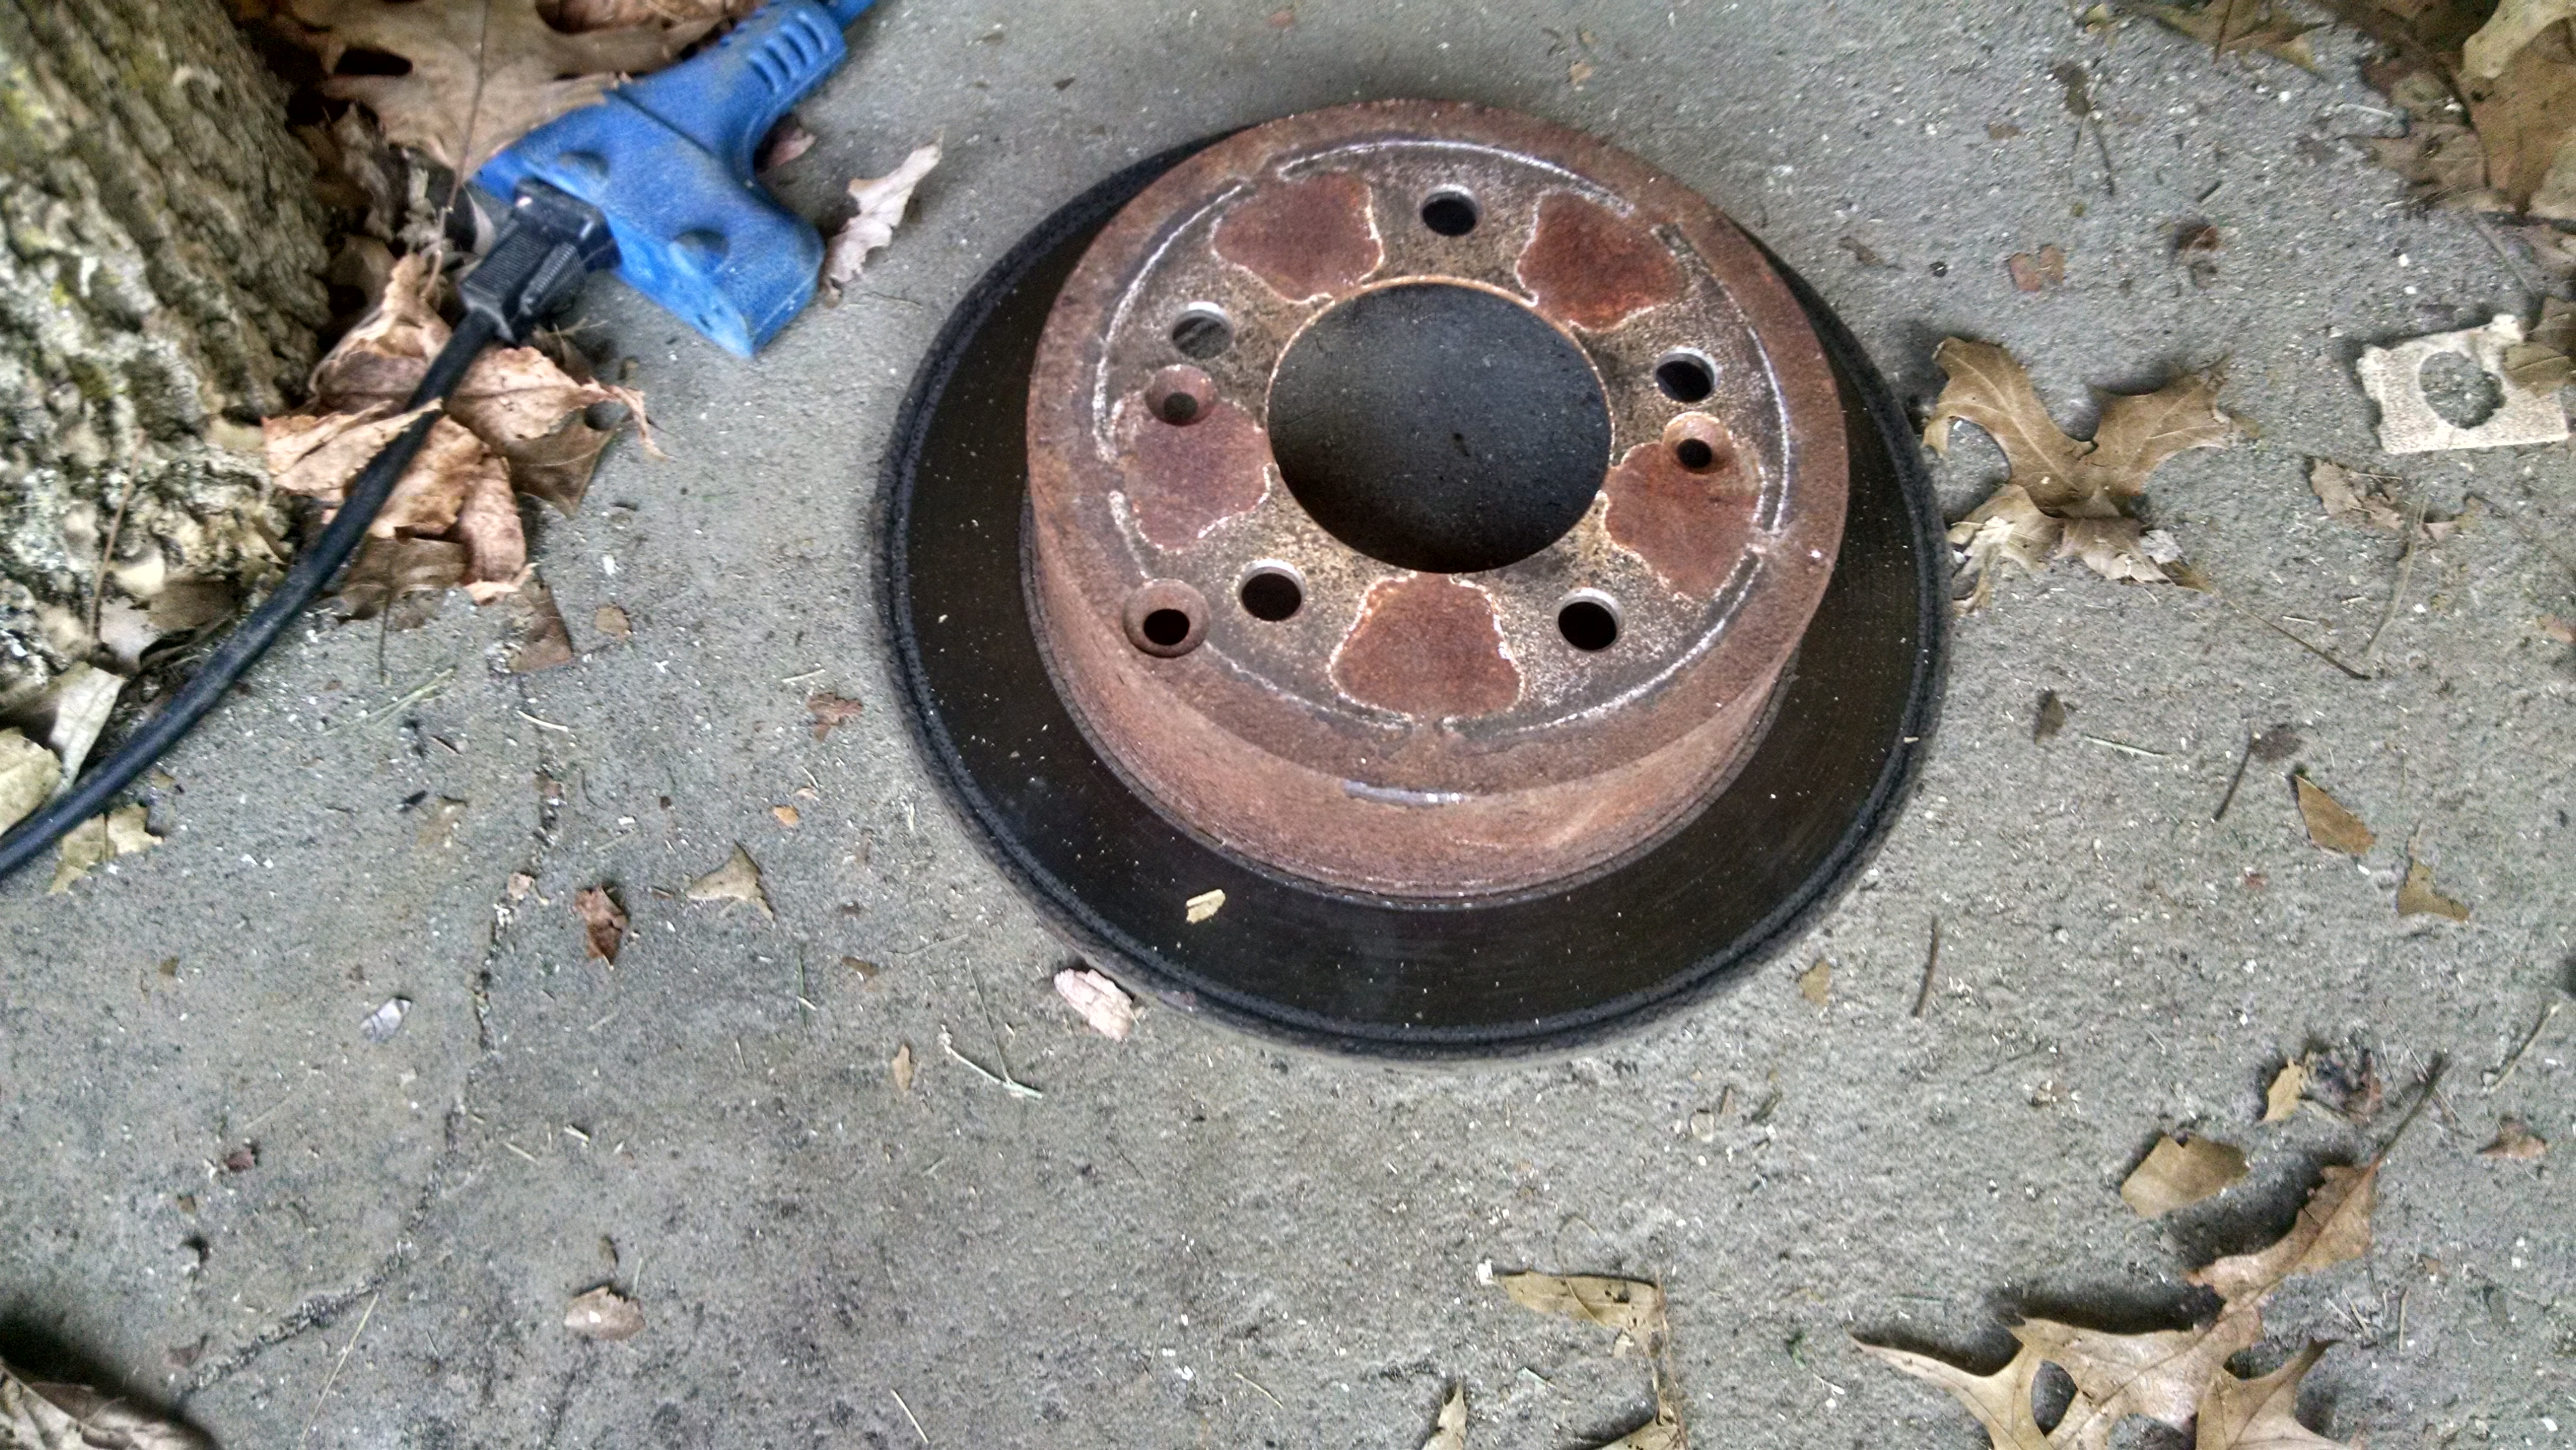
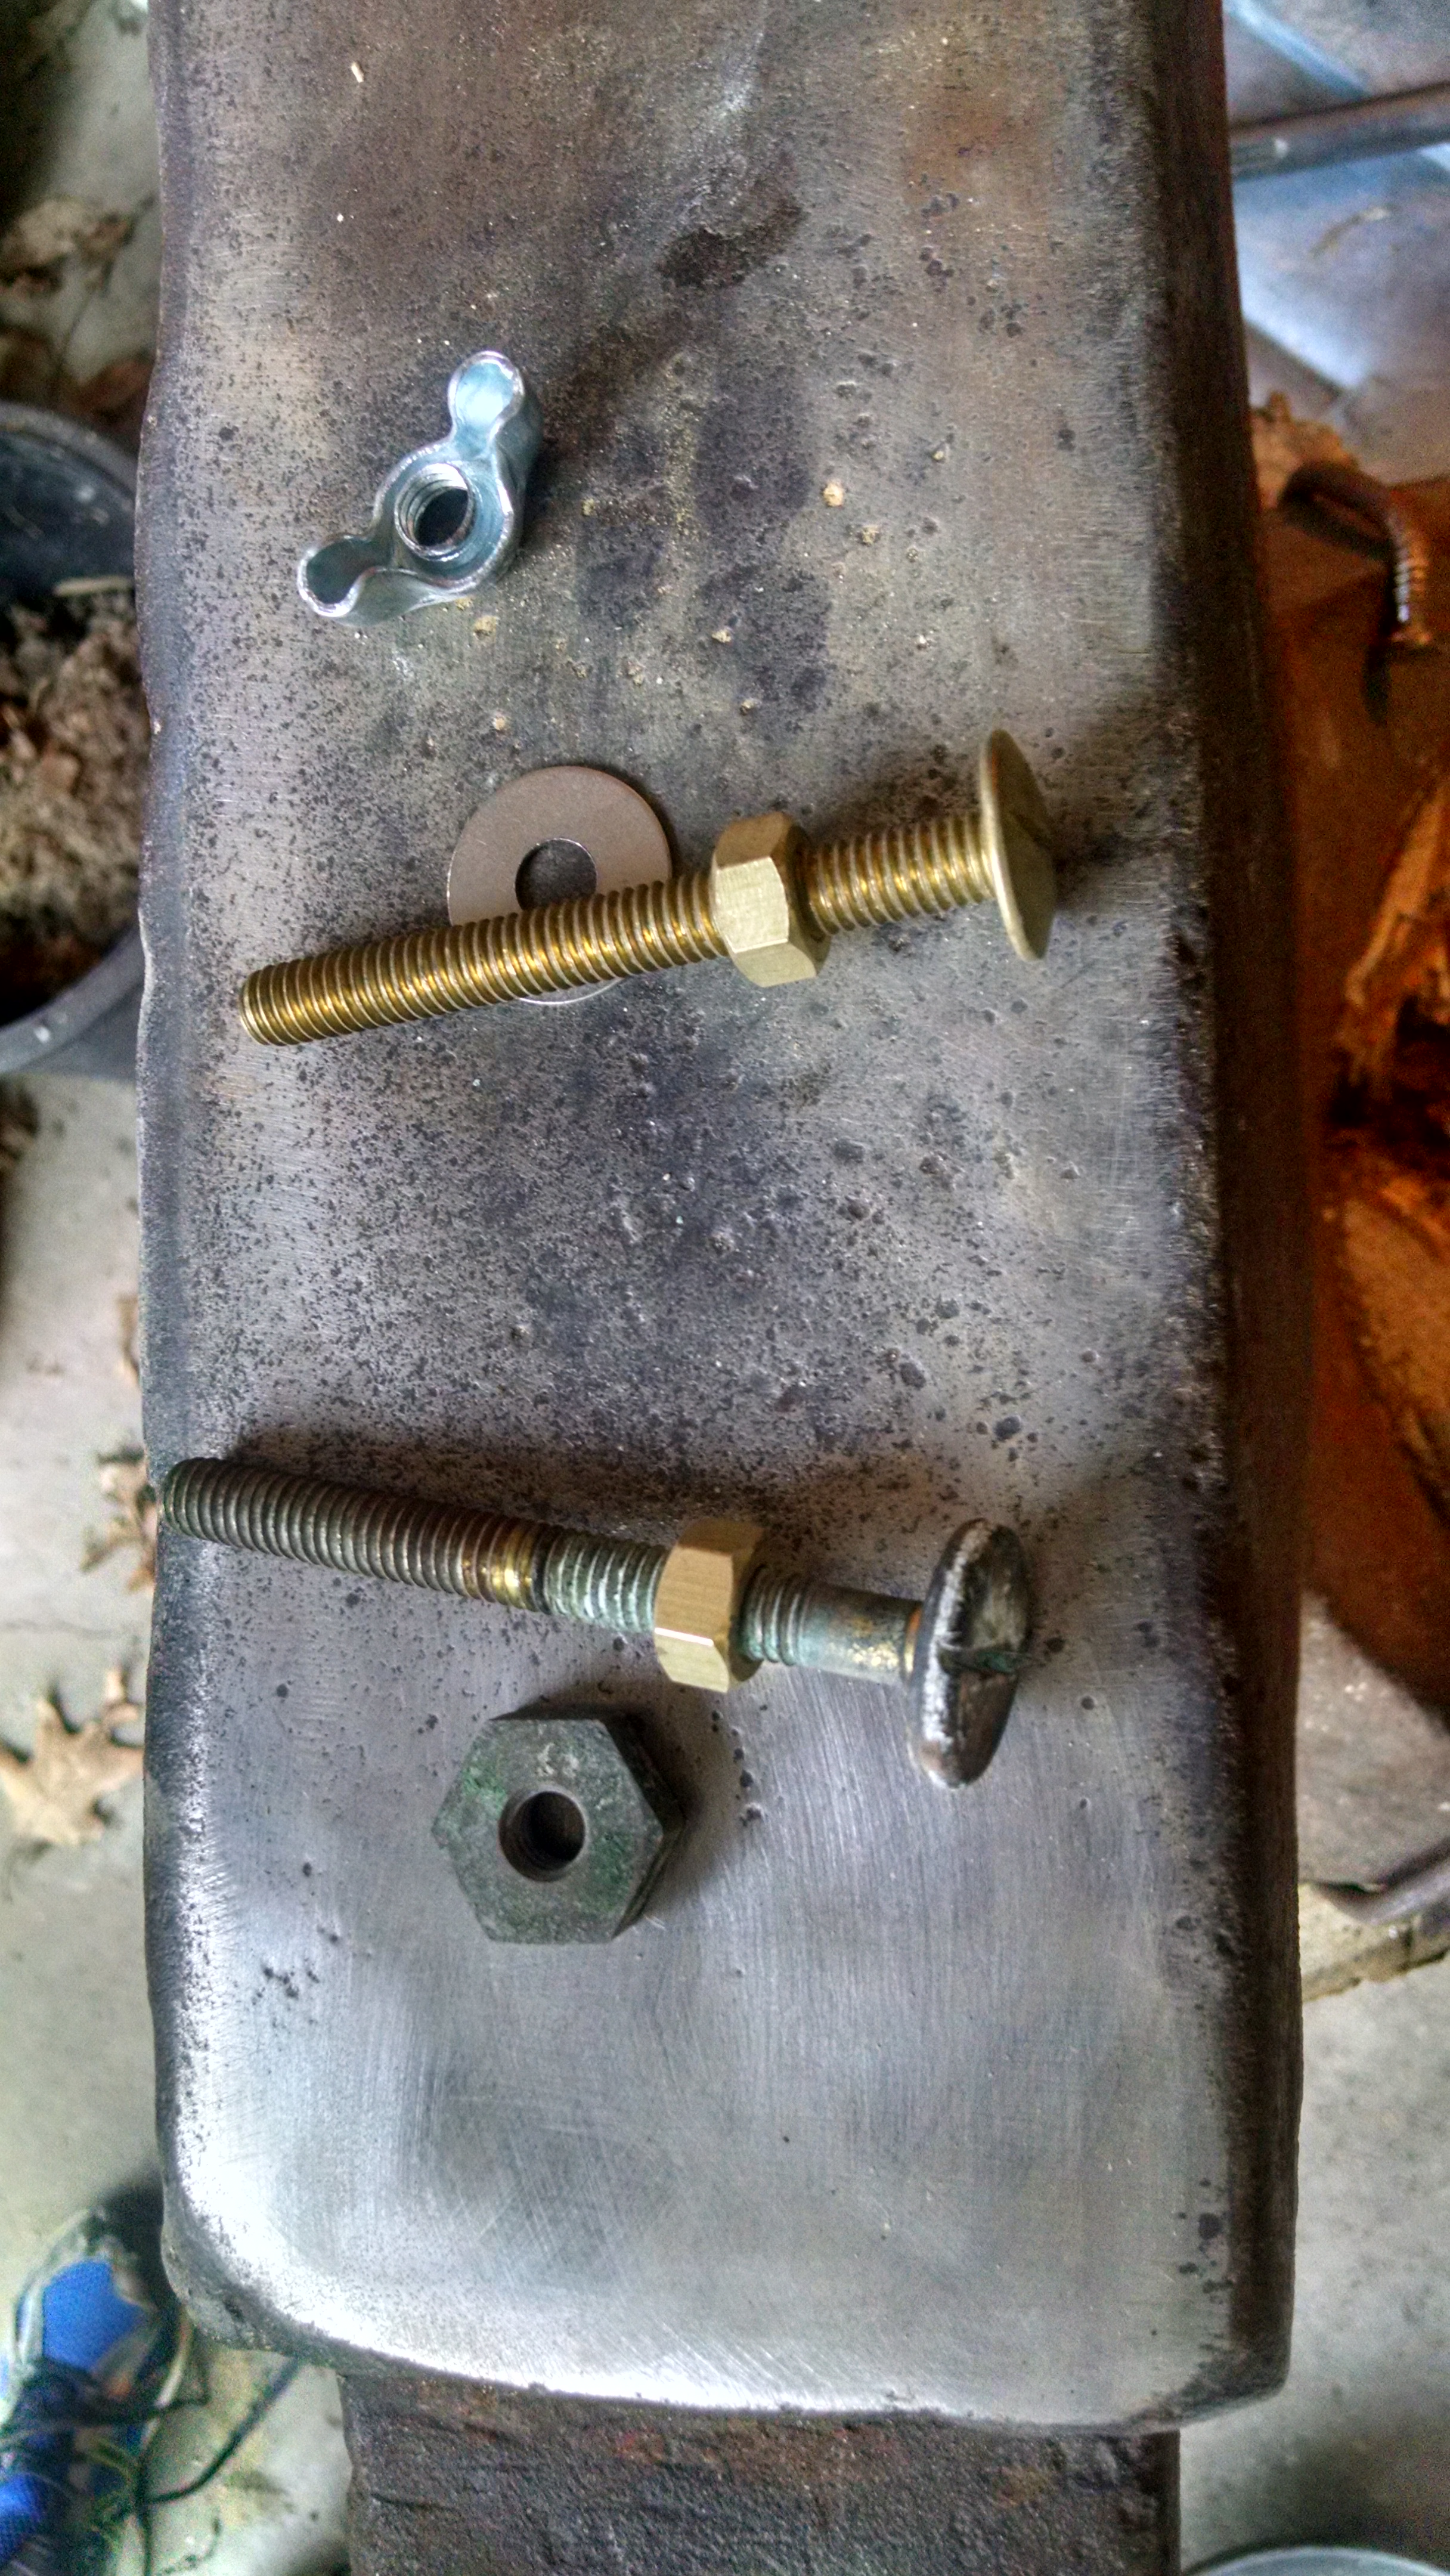
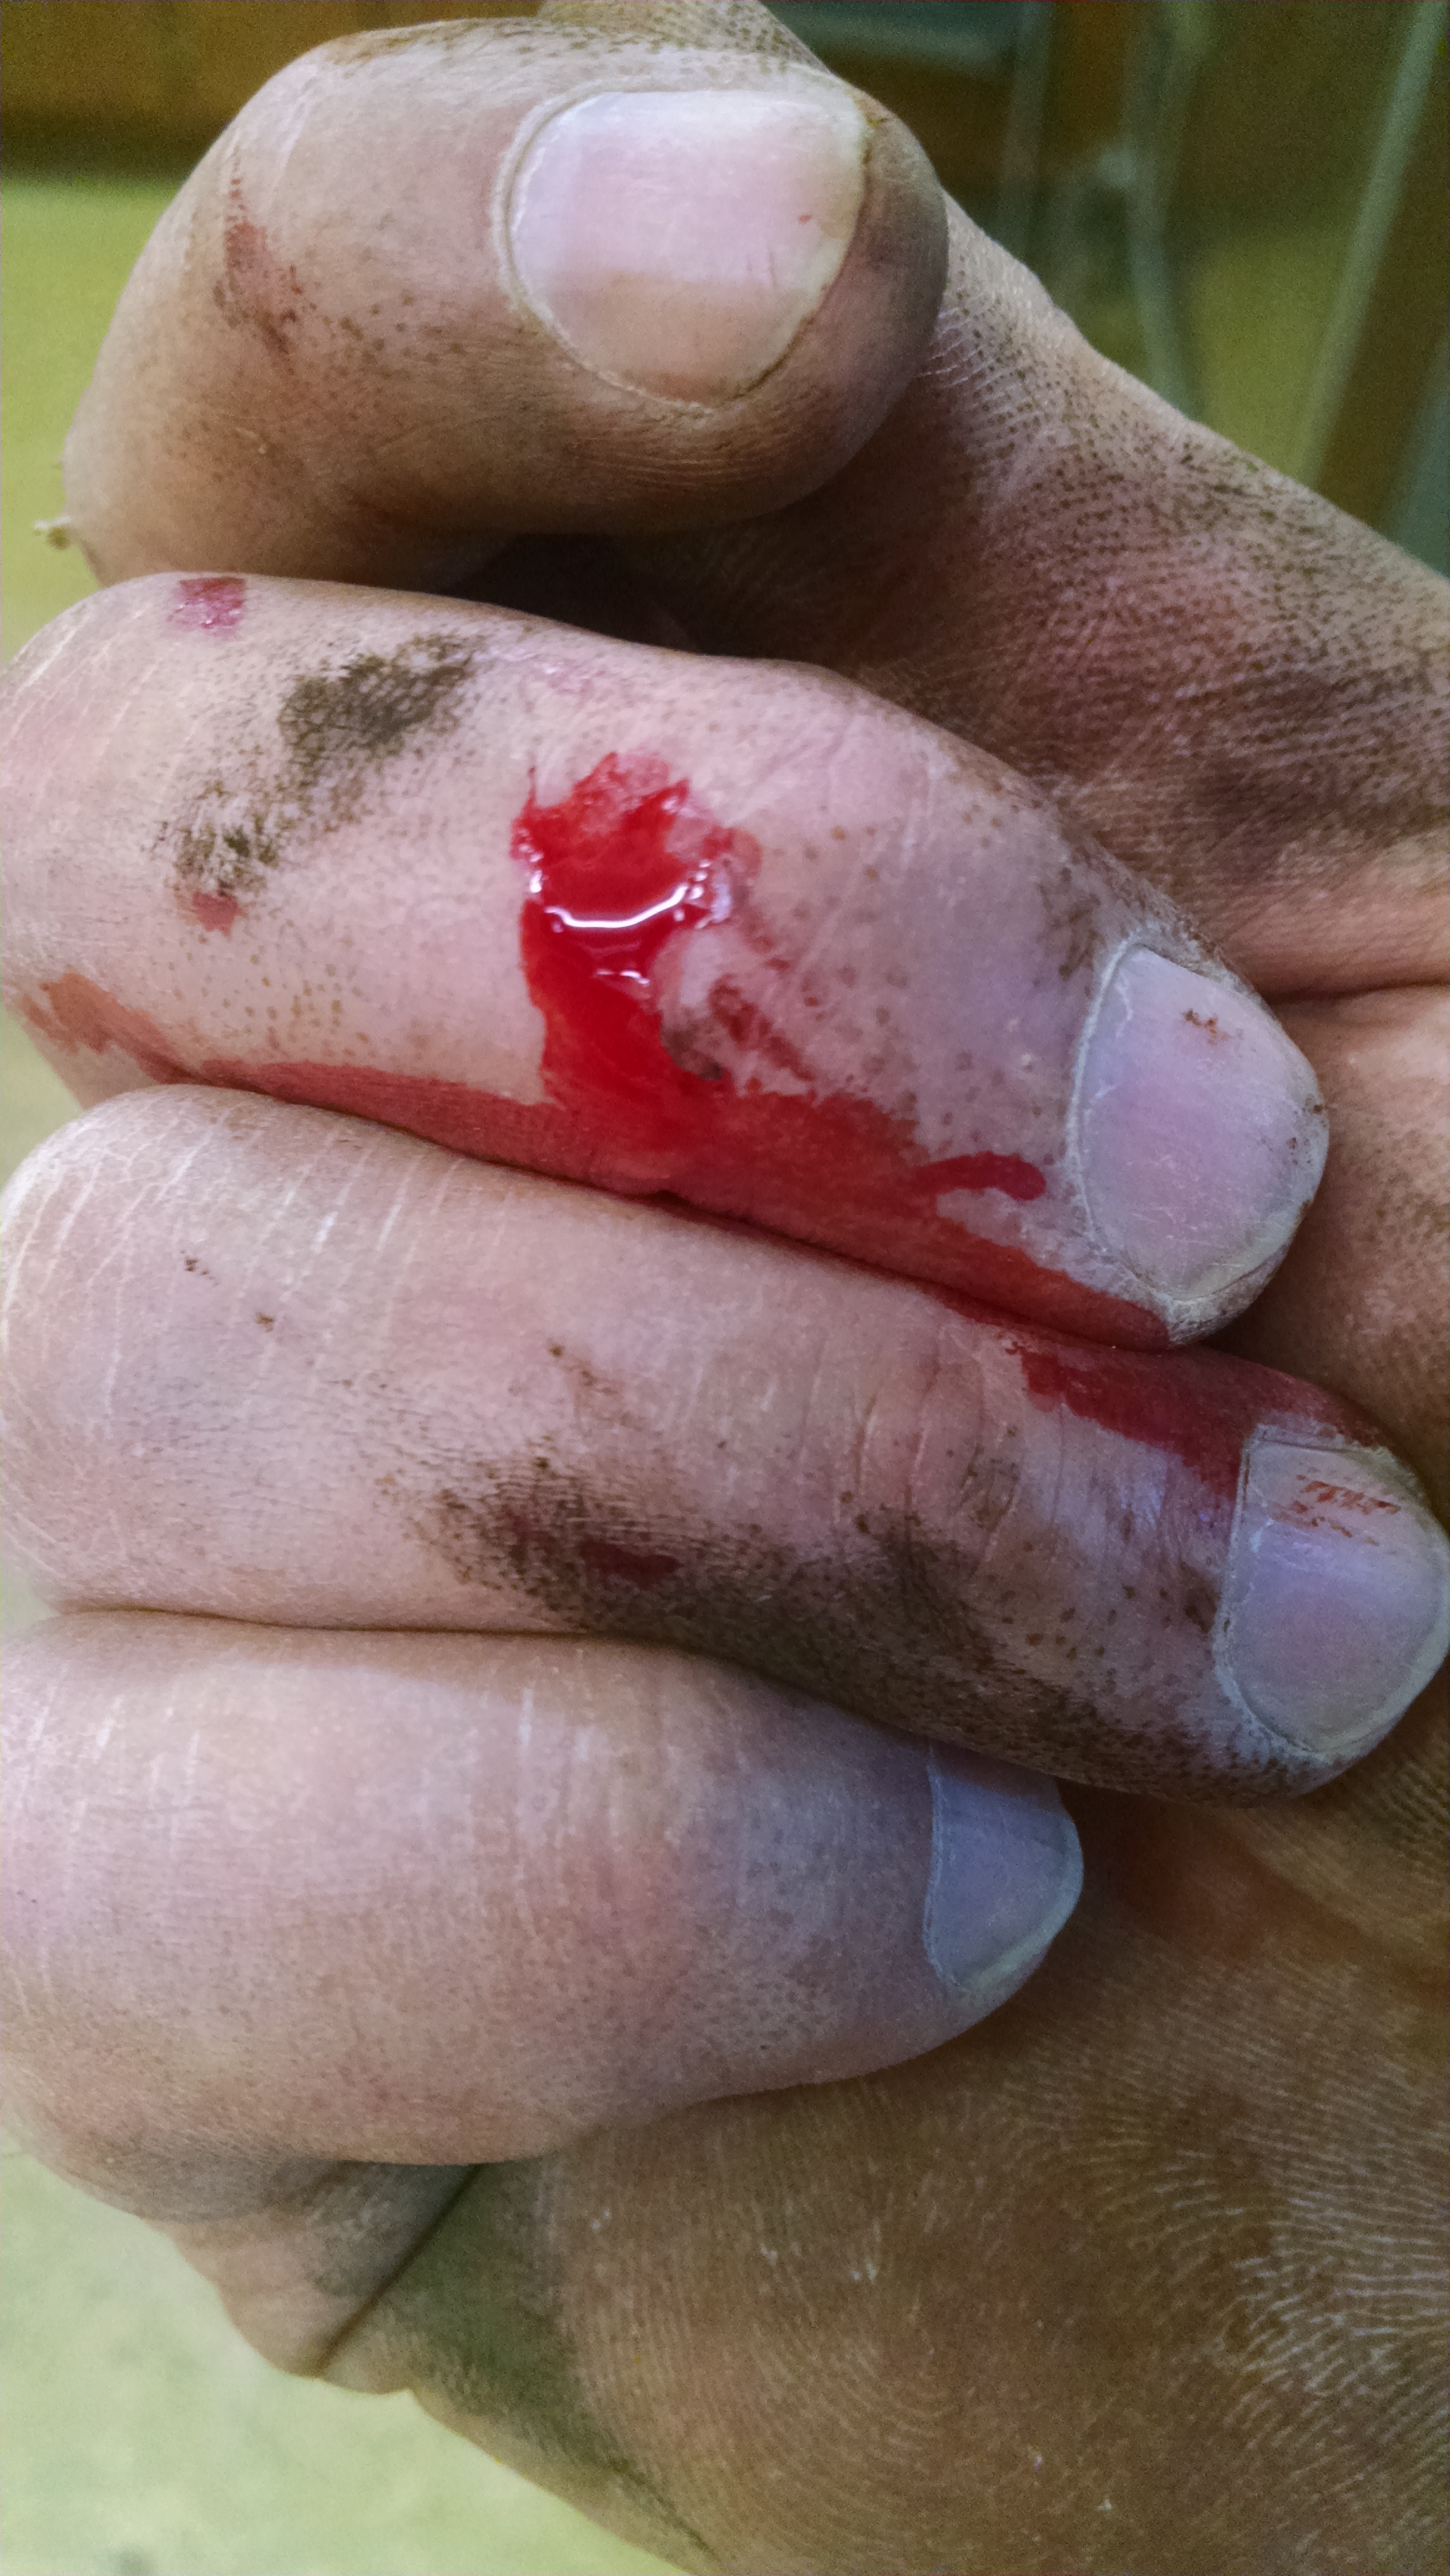
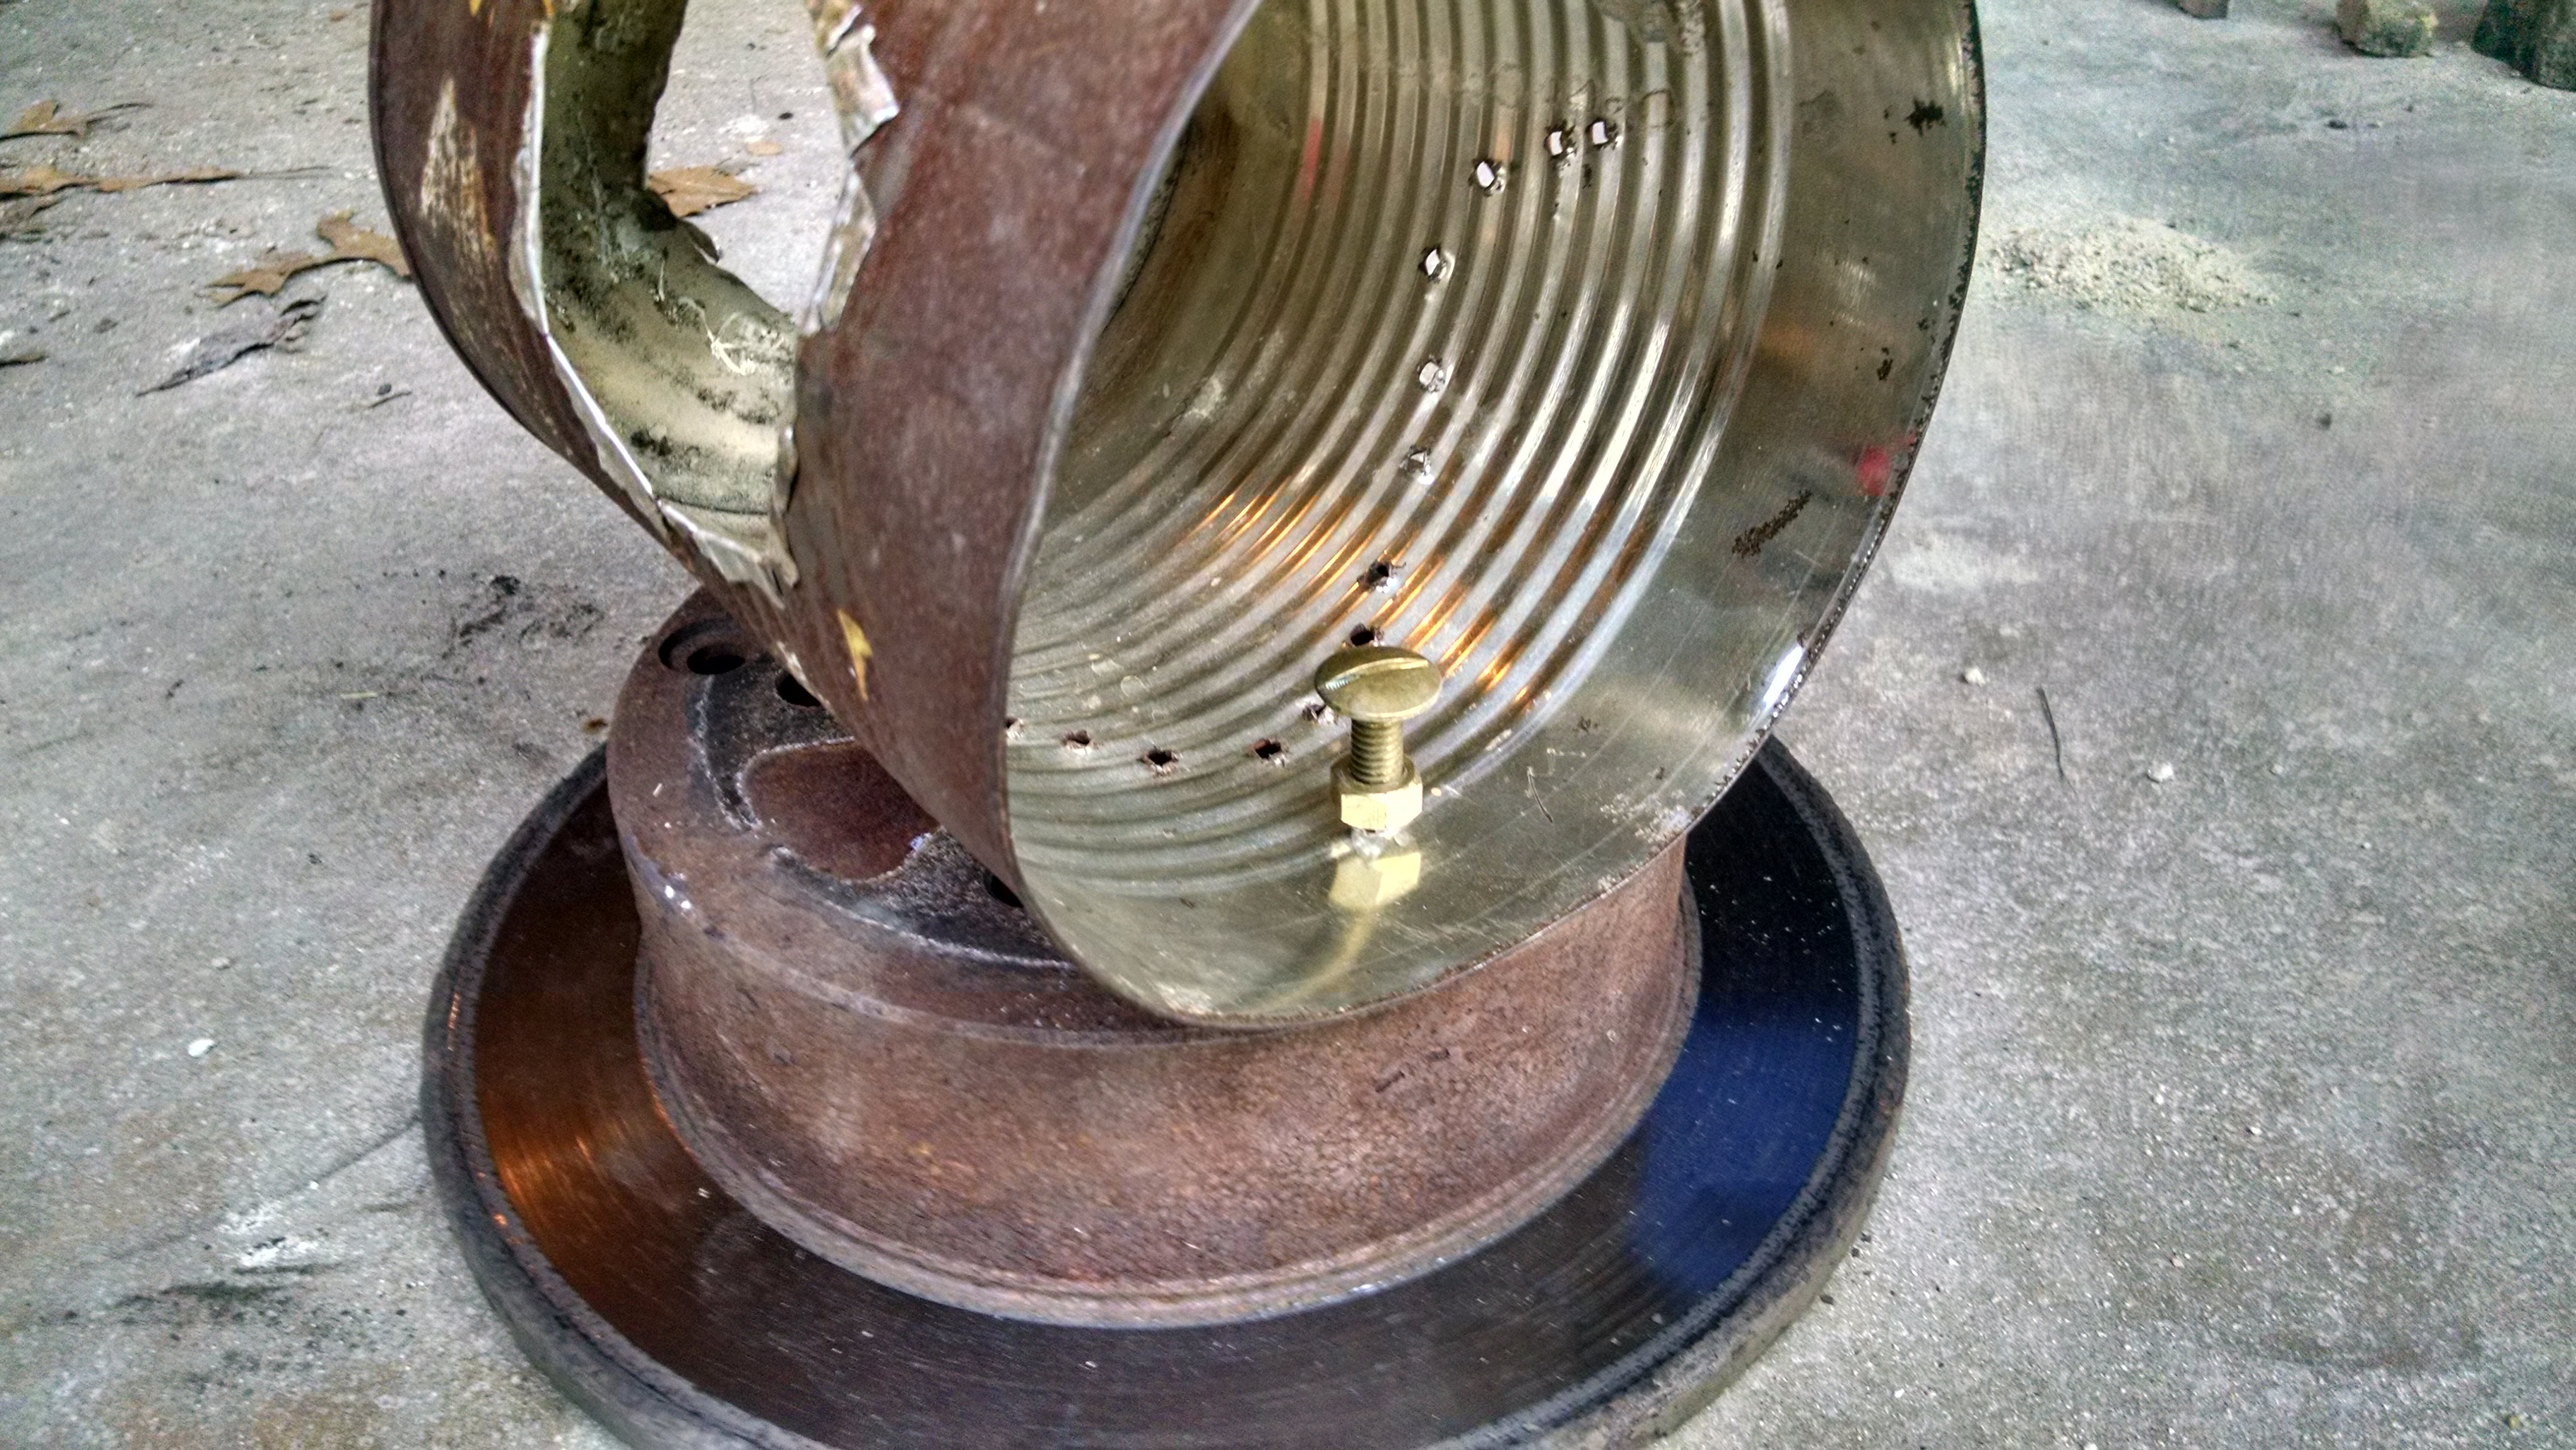
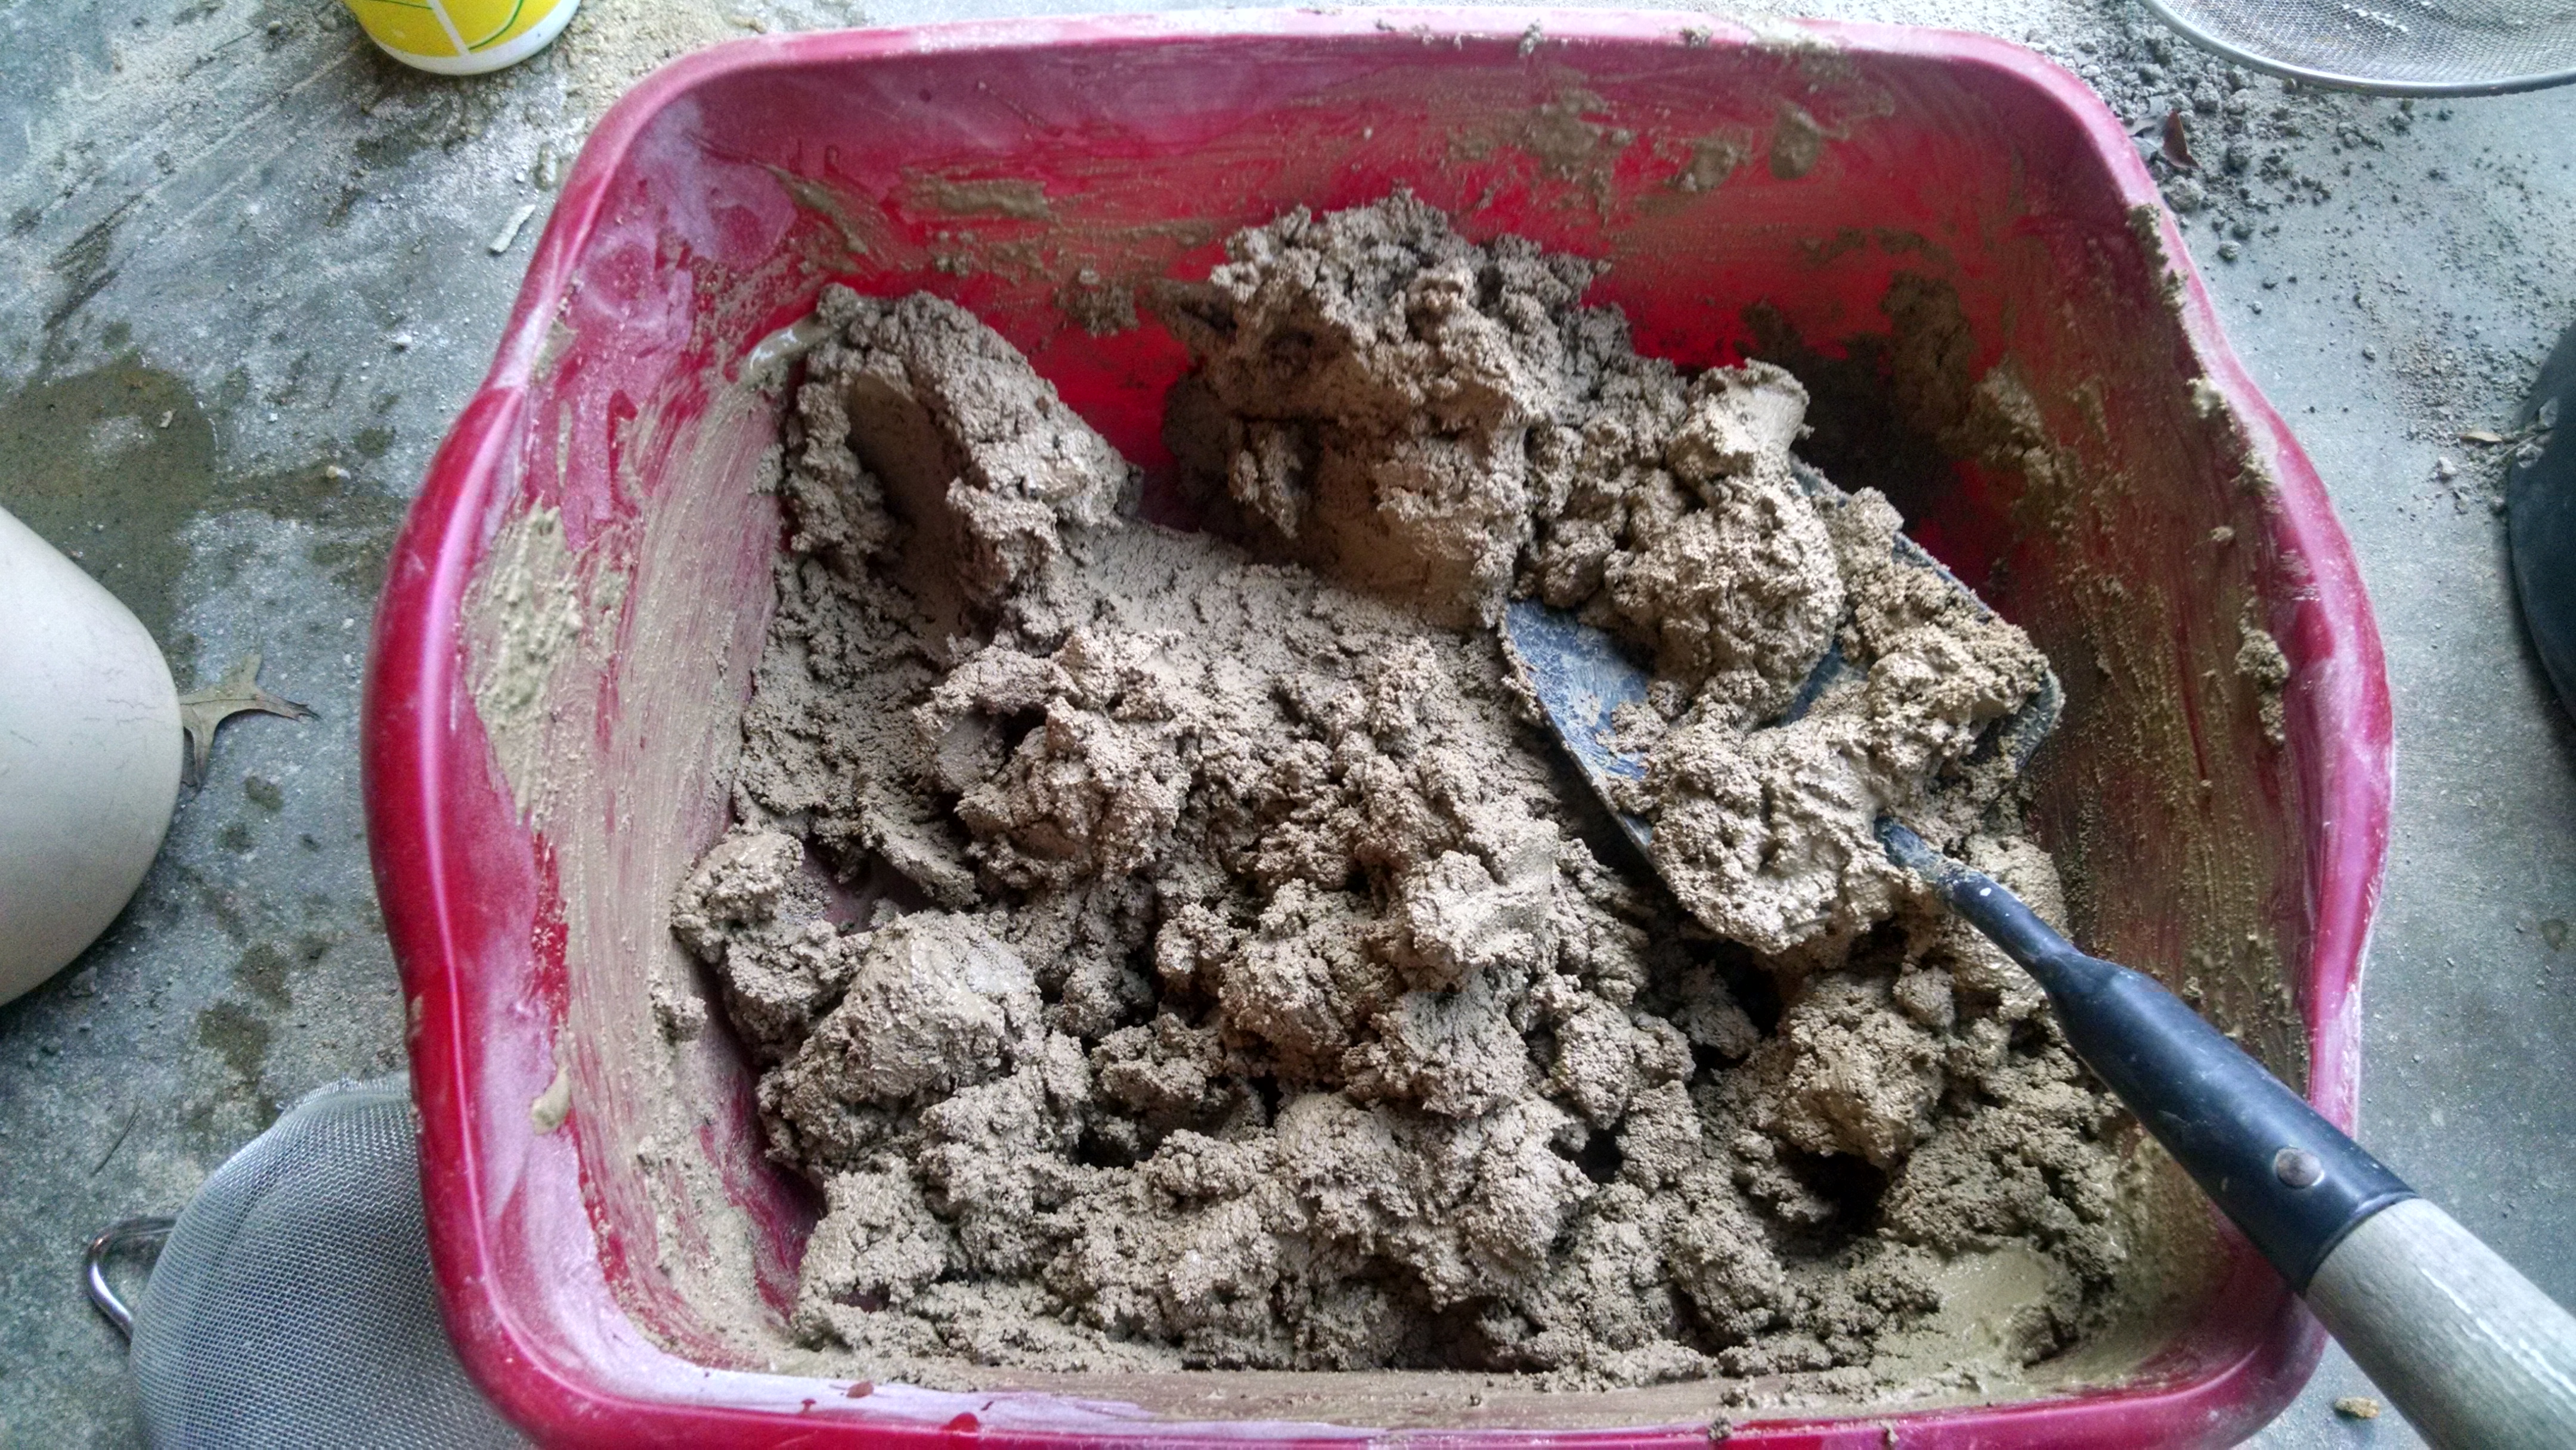
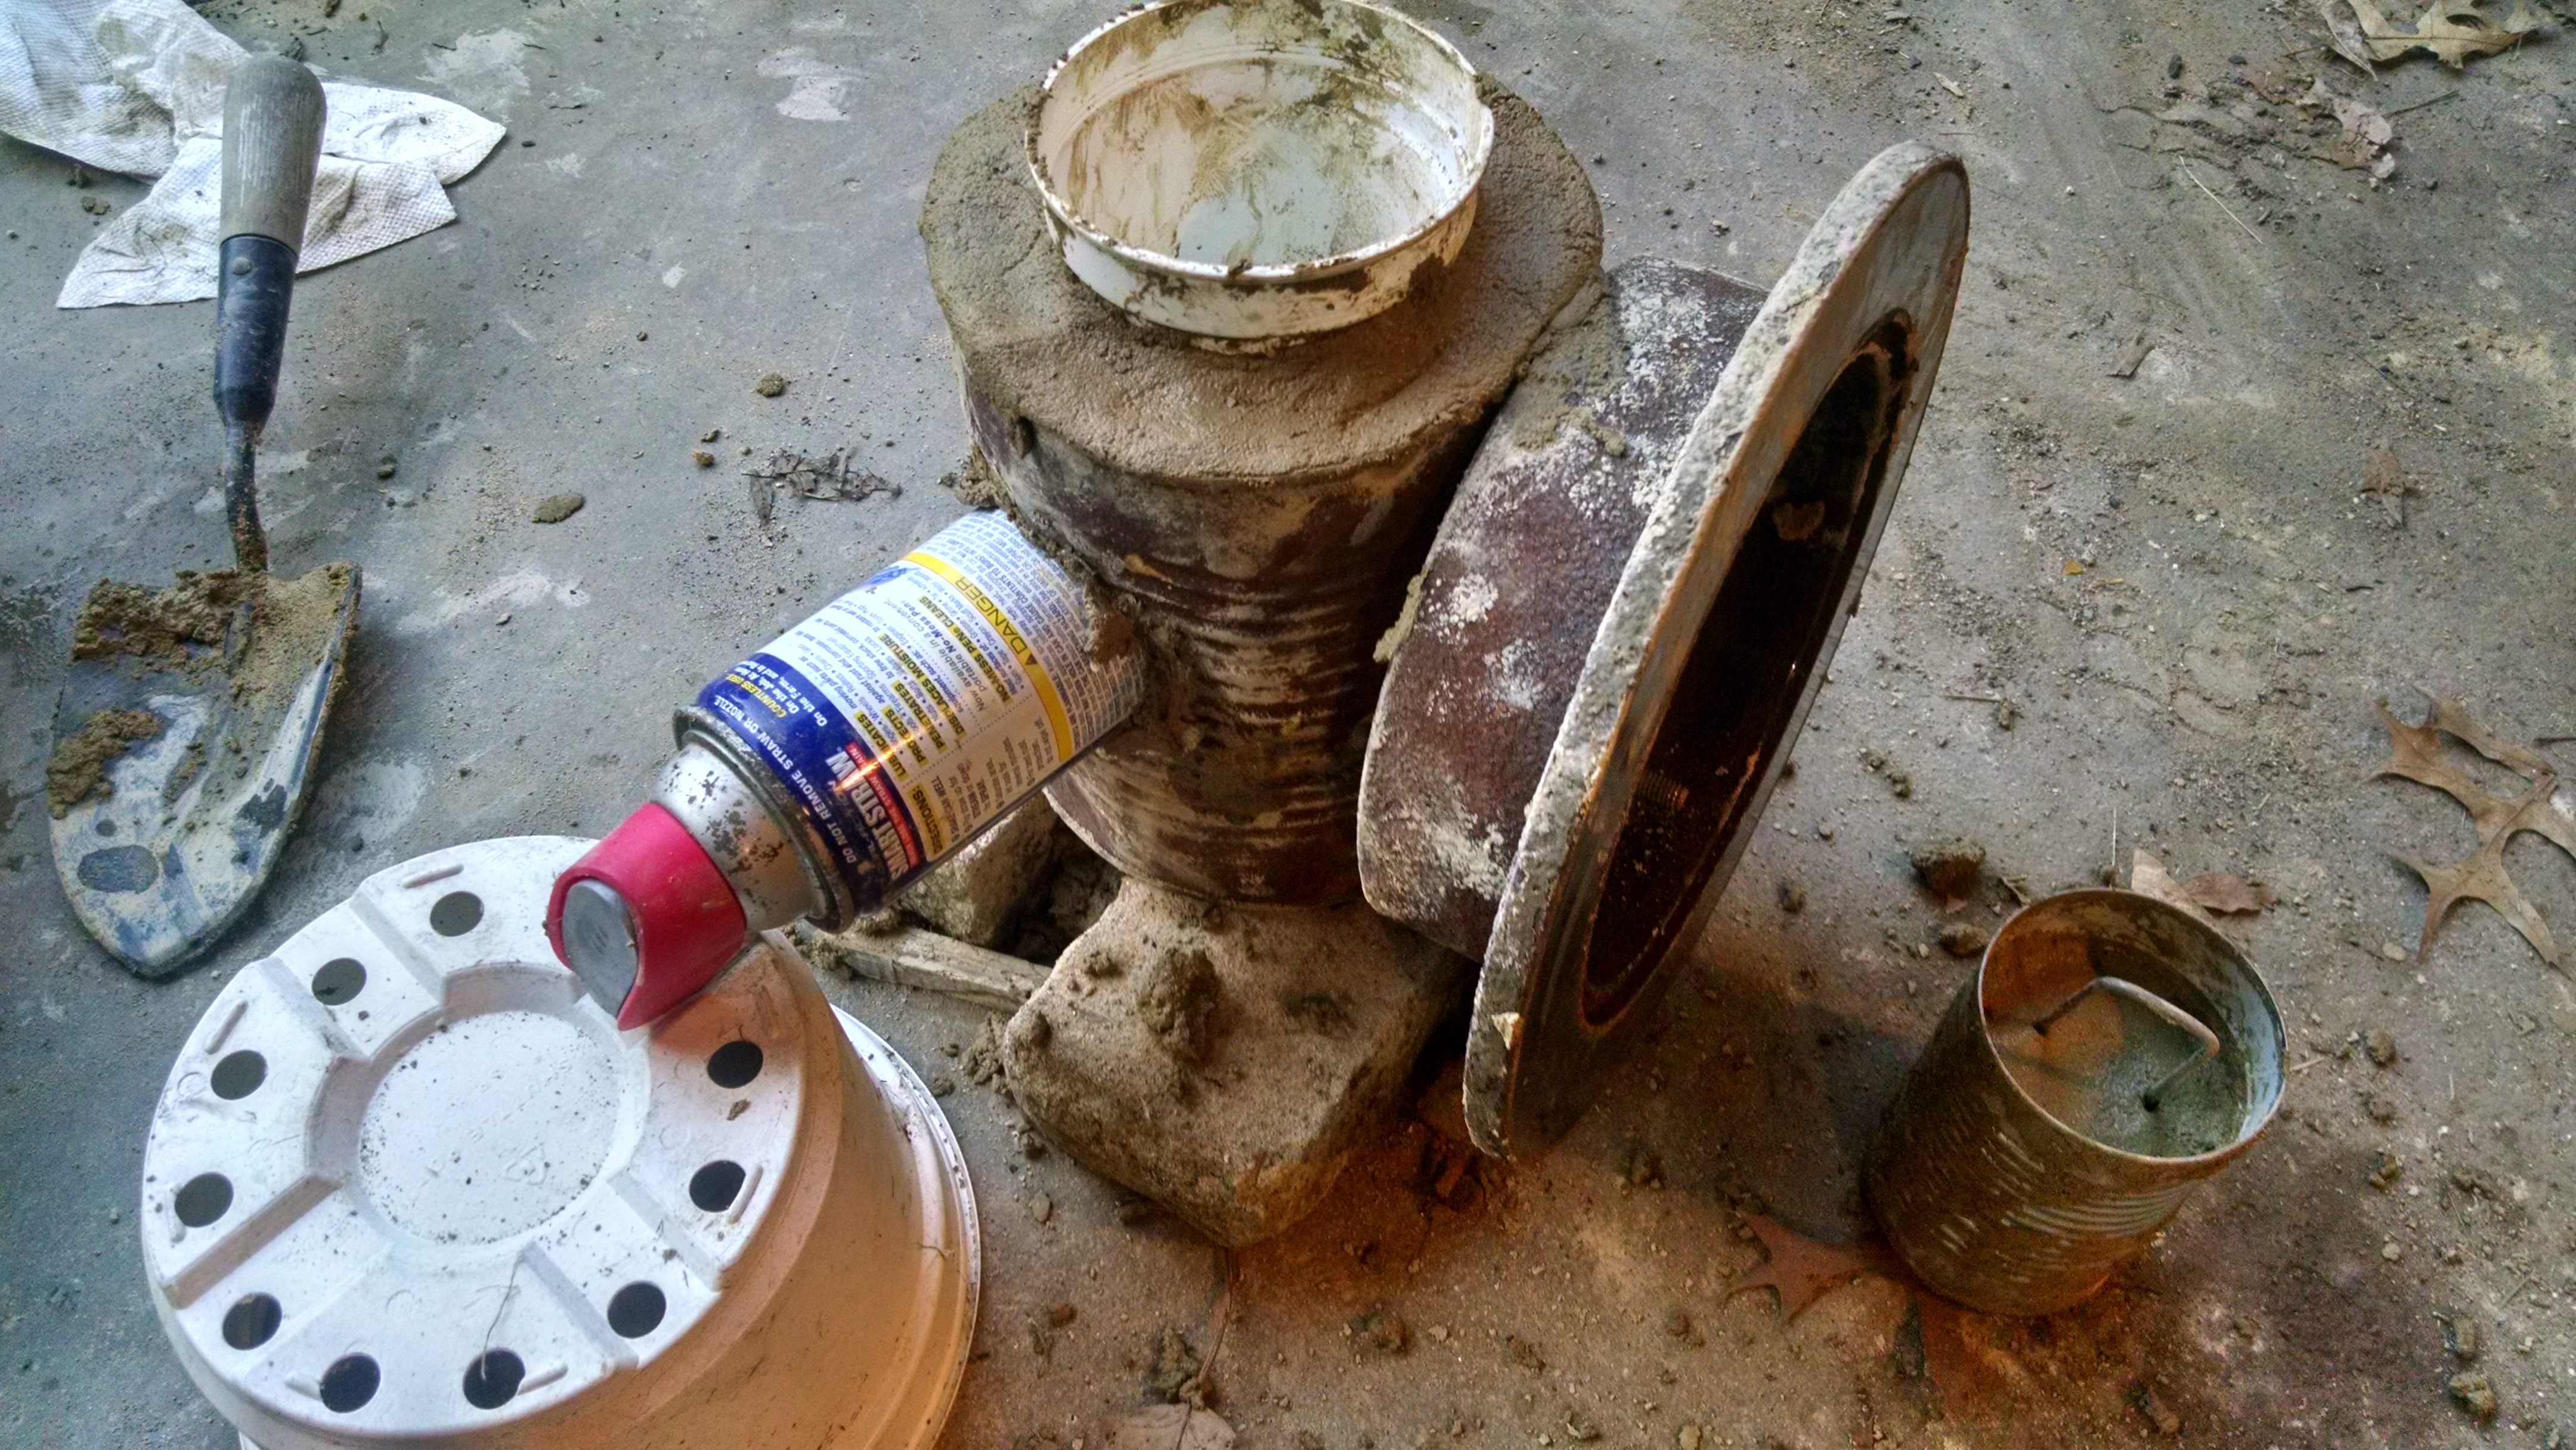
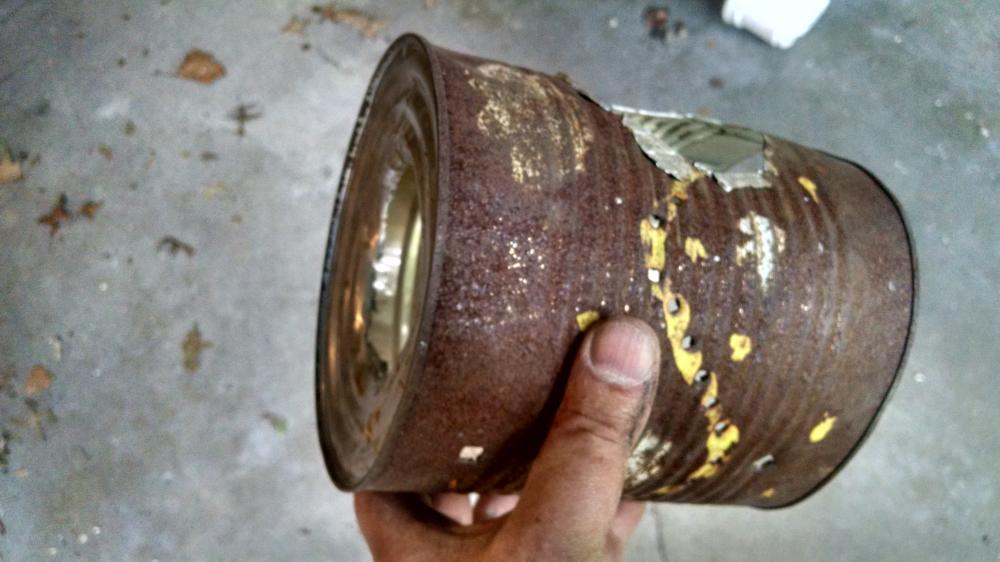
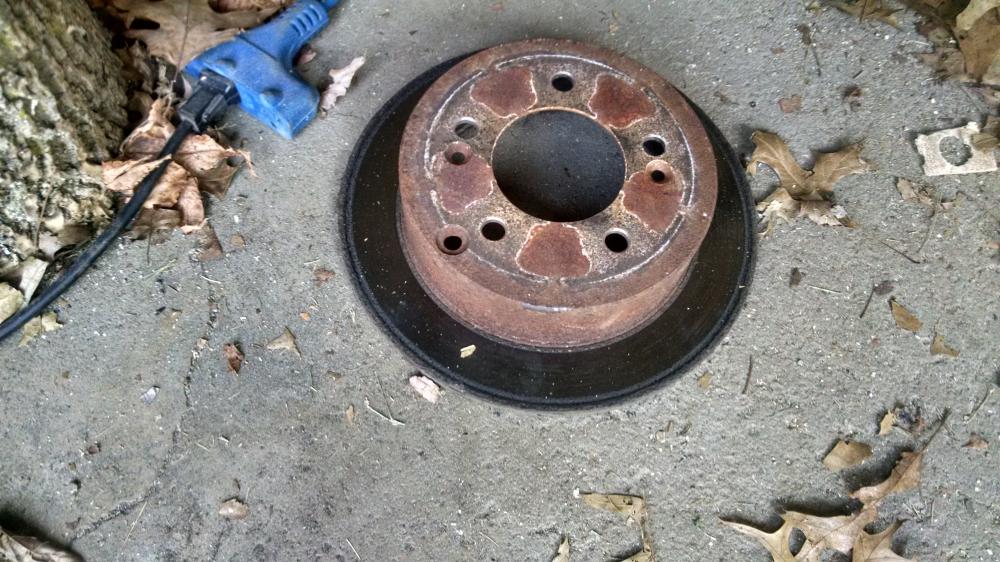
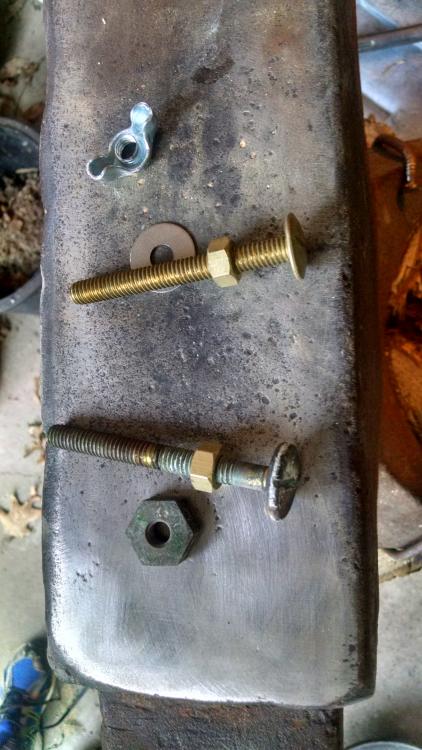
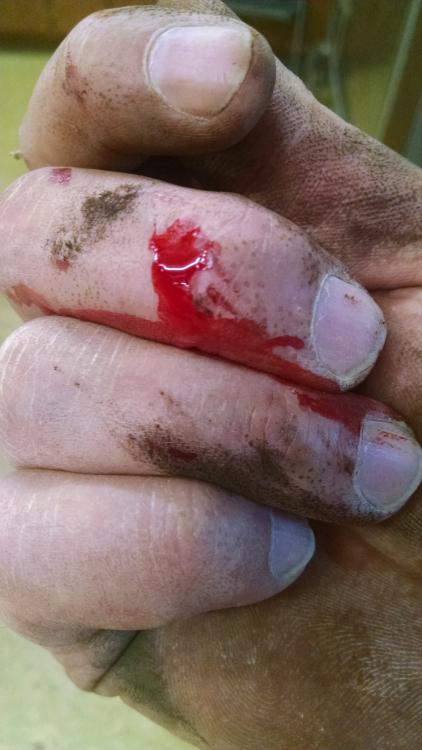
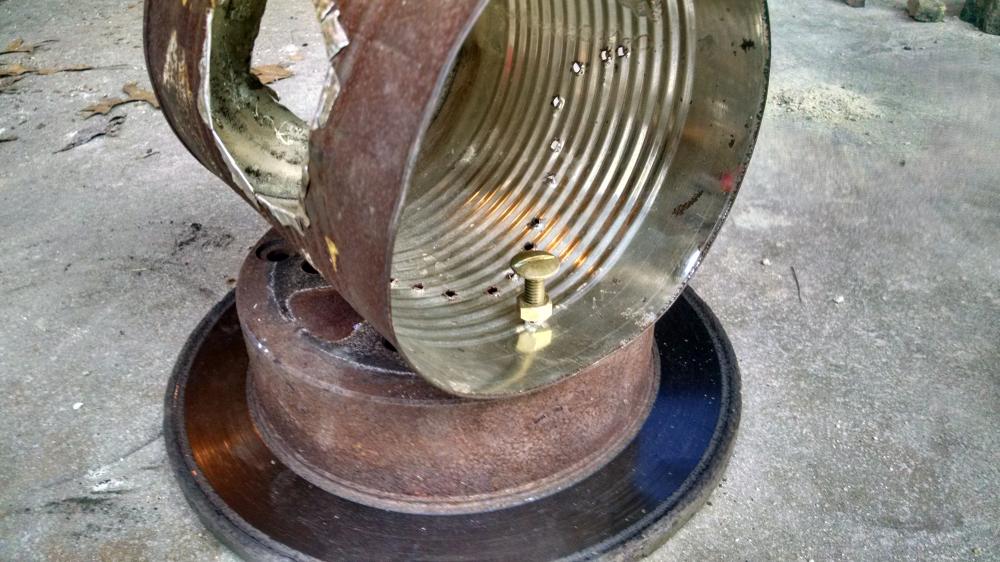
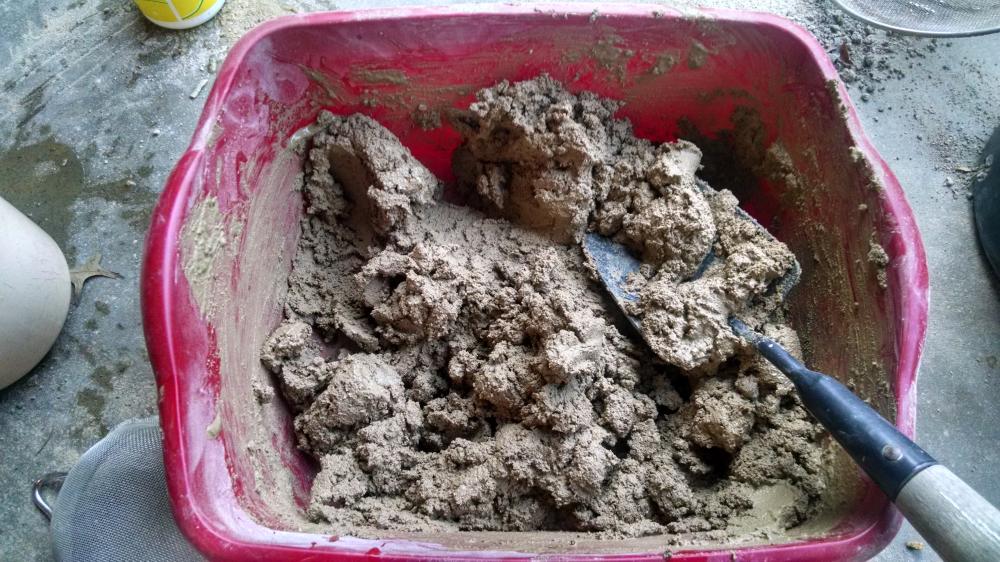
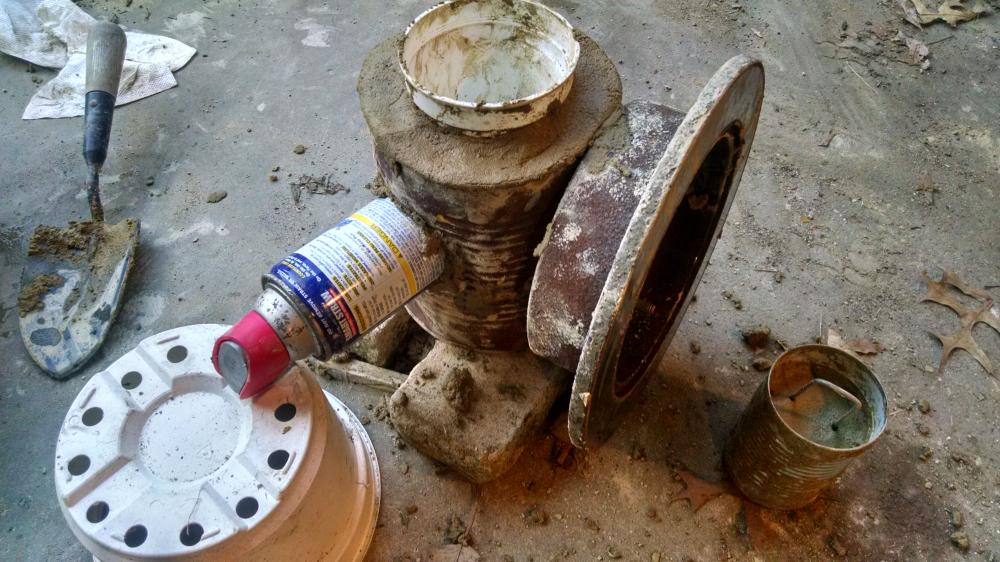
So here are all the holes. A salvaged brake disc for a base. And some toilet bolts to attach it. Of course, it's not a project until someone bleeds... Everything bolted together and ready for adobe. Half sand, half clay, enough water to make a pretty stiff mud. And adobe in. The white plastic thingy is a drinking cup that will act as a core to keep the adobe from slumping while it dries. The WD-40 can is similarly intended to form the hole for the burner. I'll let it dry for a couple of days, and see how things are going.
-
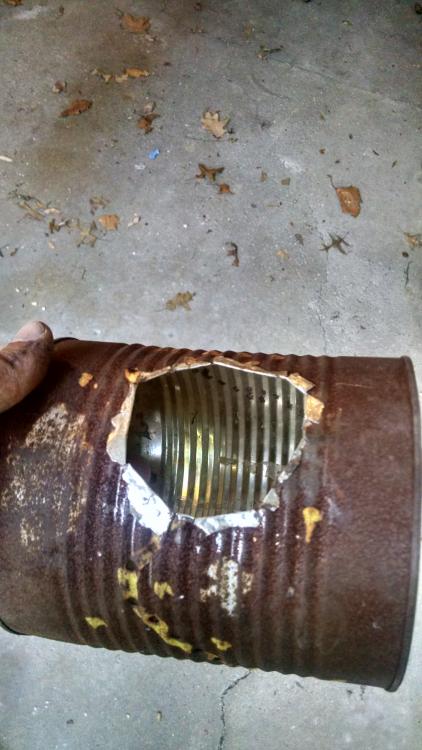
Side hole bashed out as well.
-
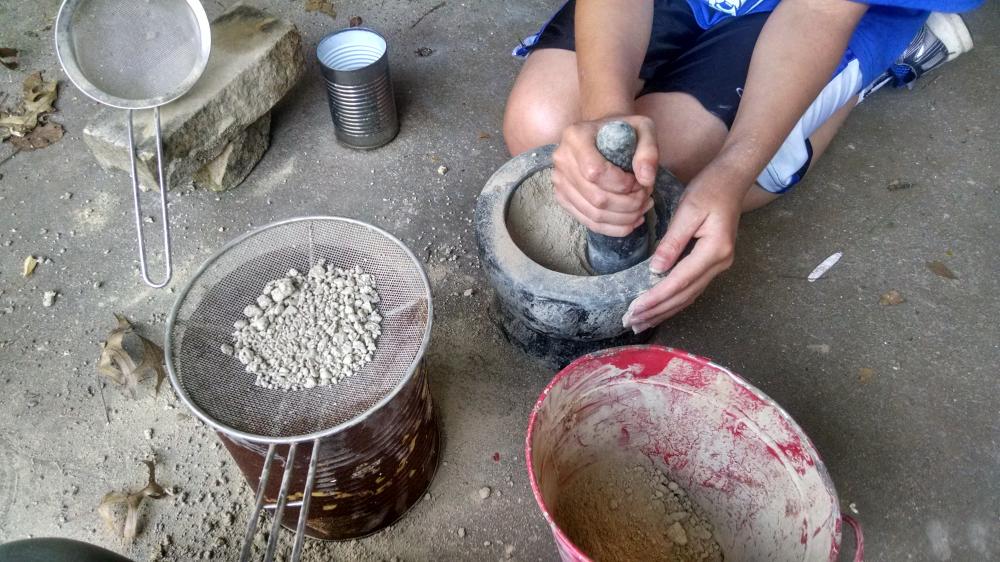
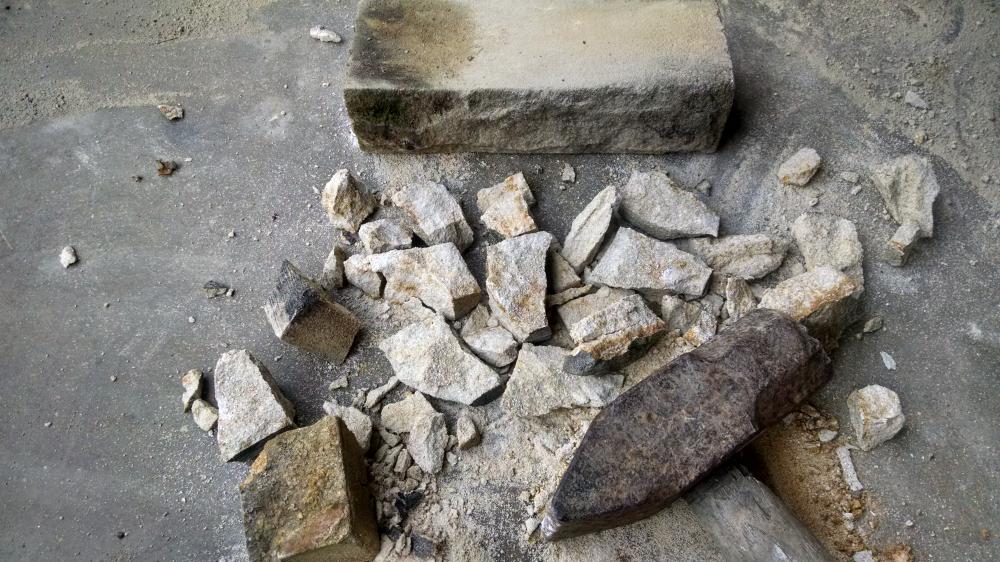
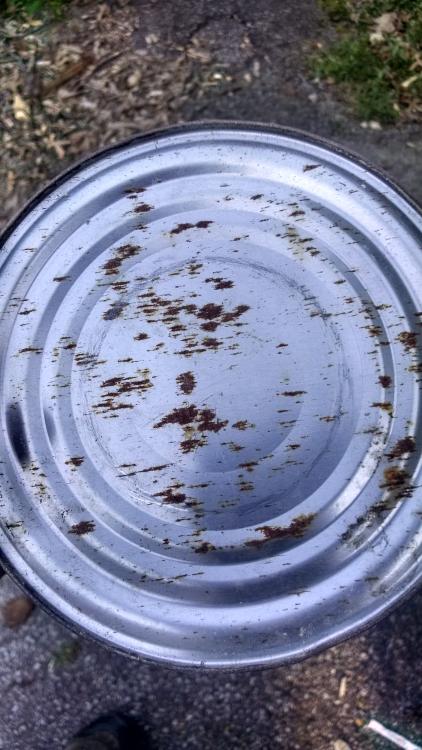
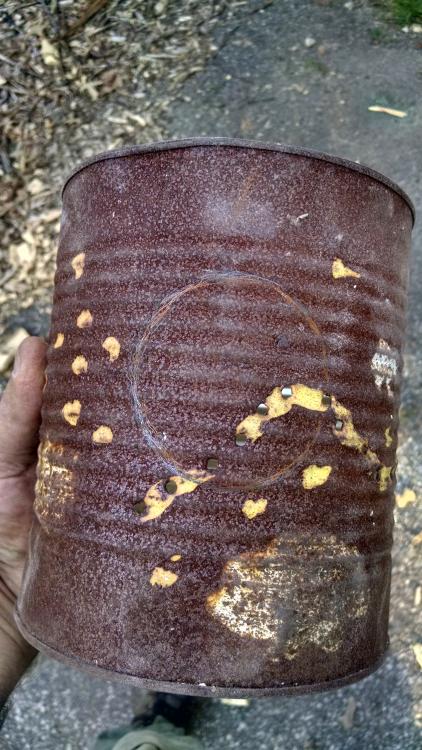
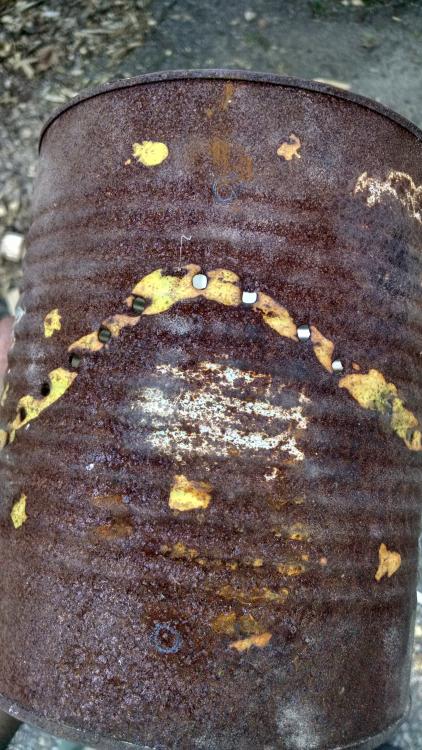
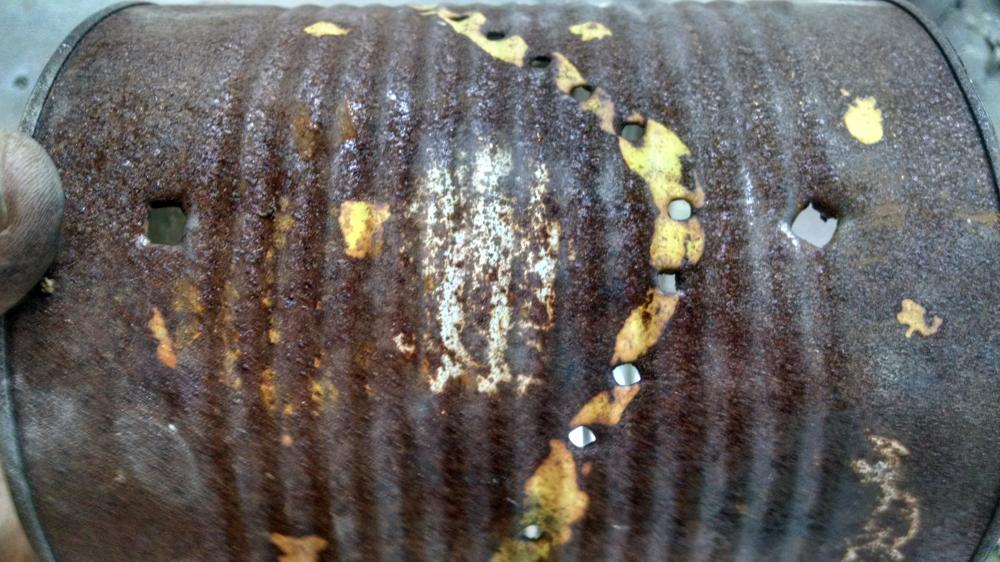
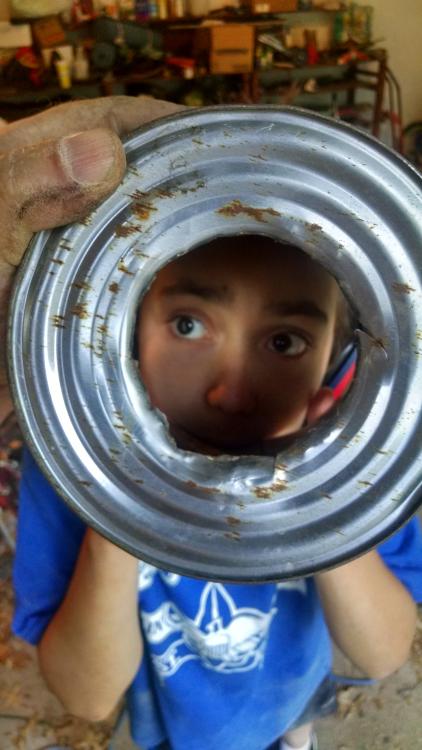
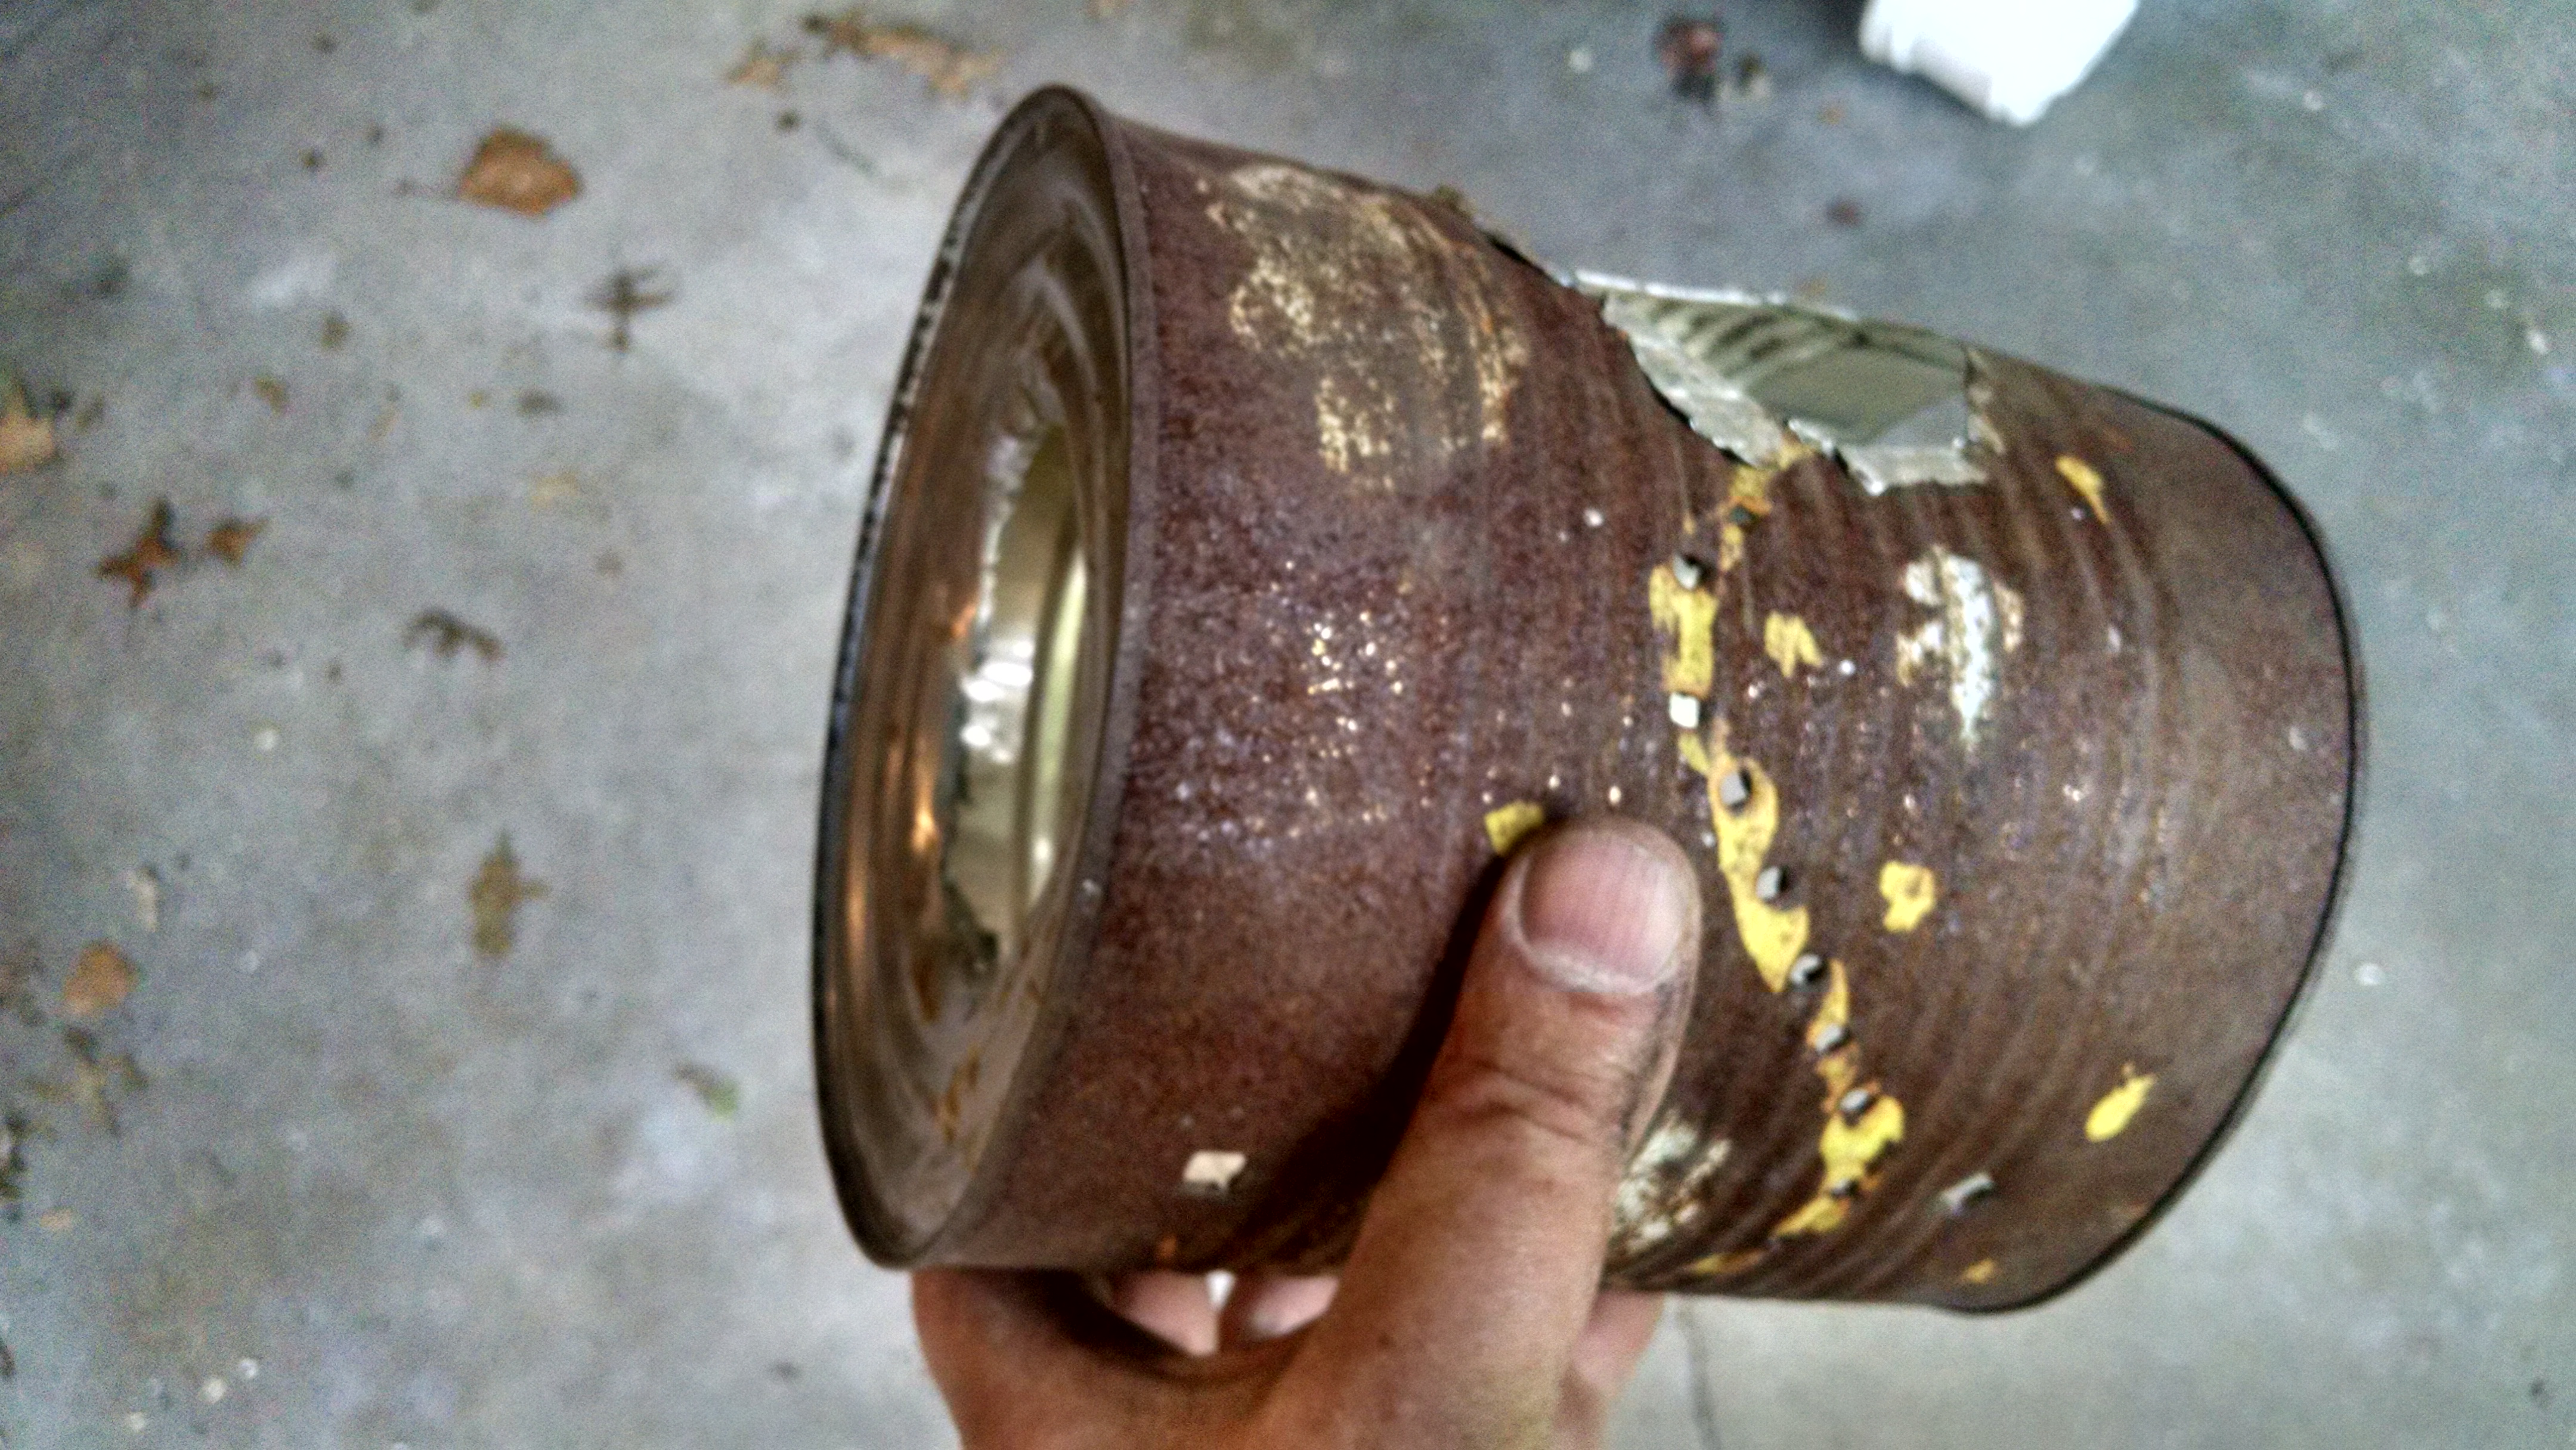
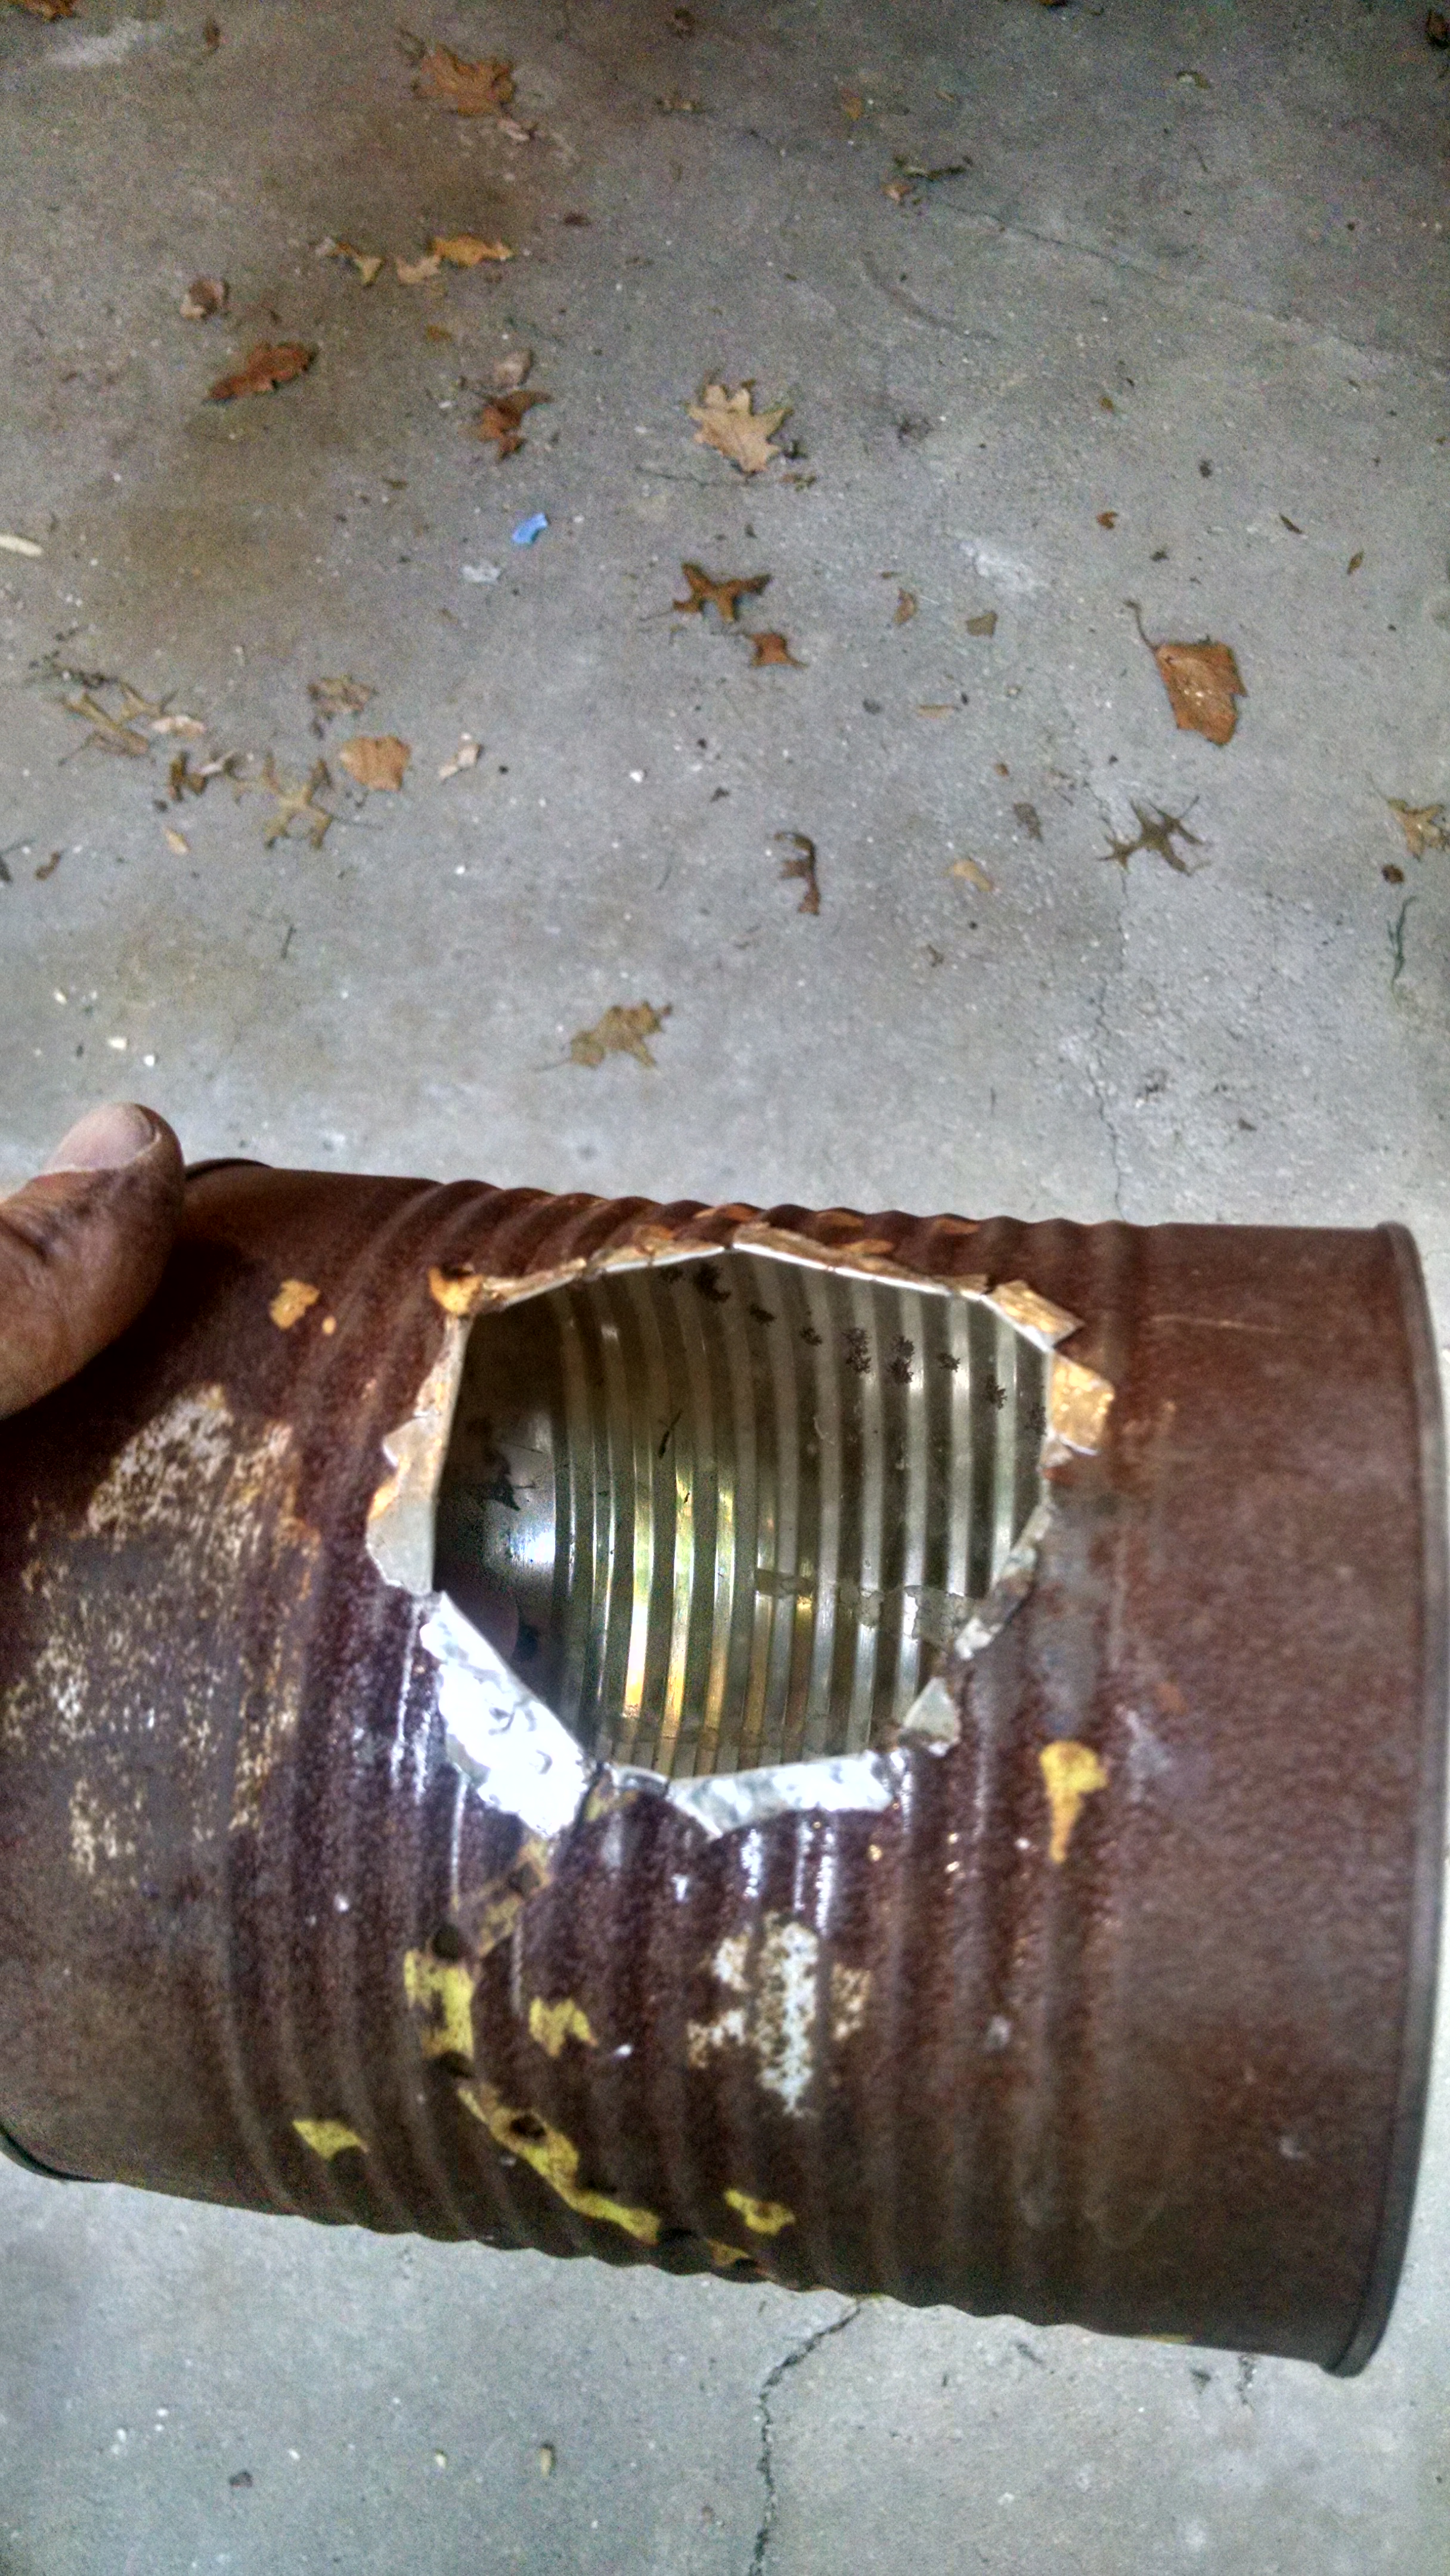
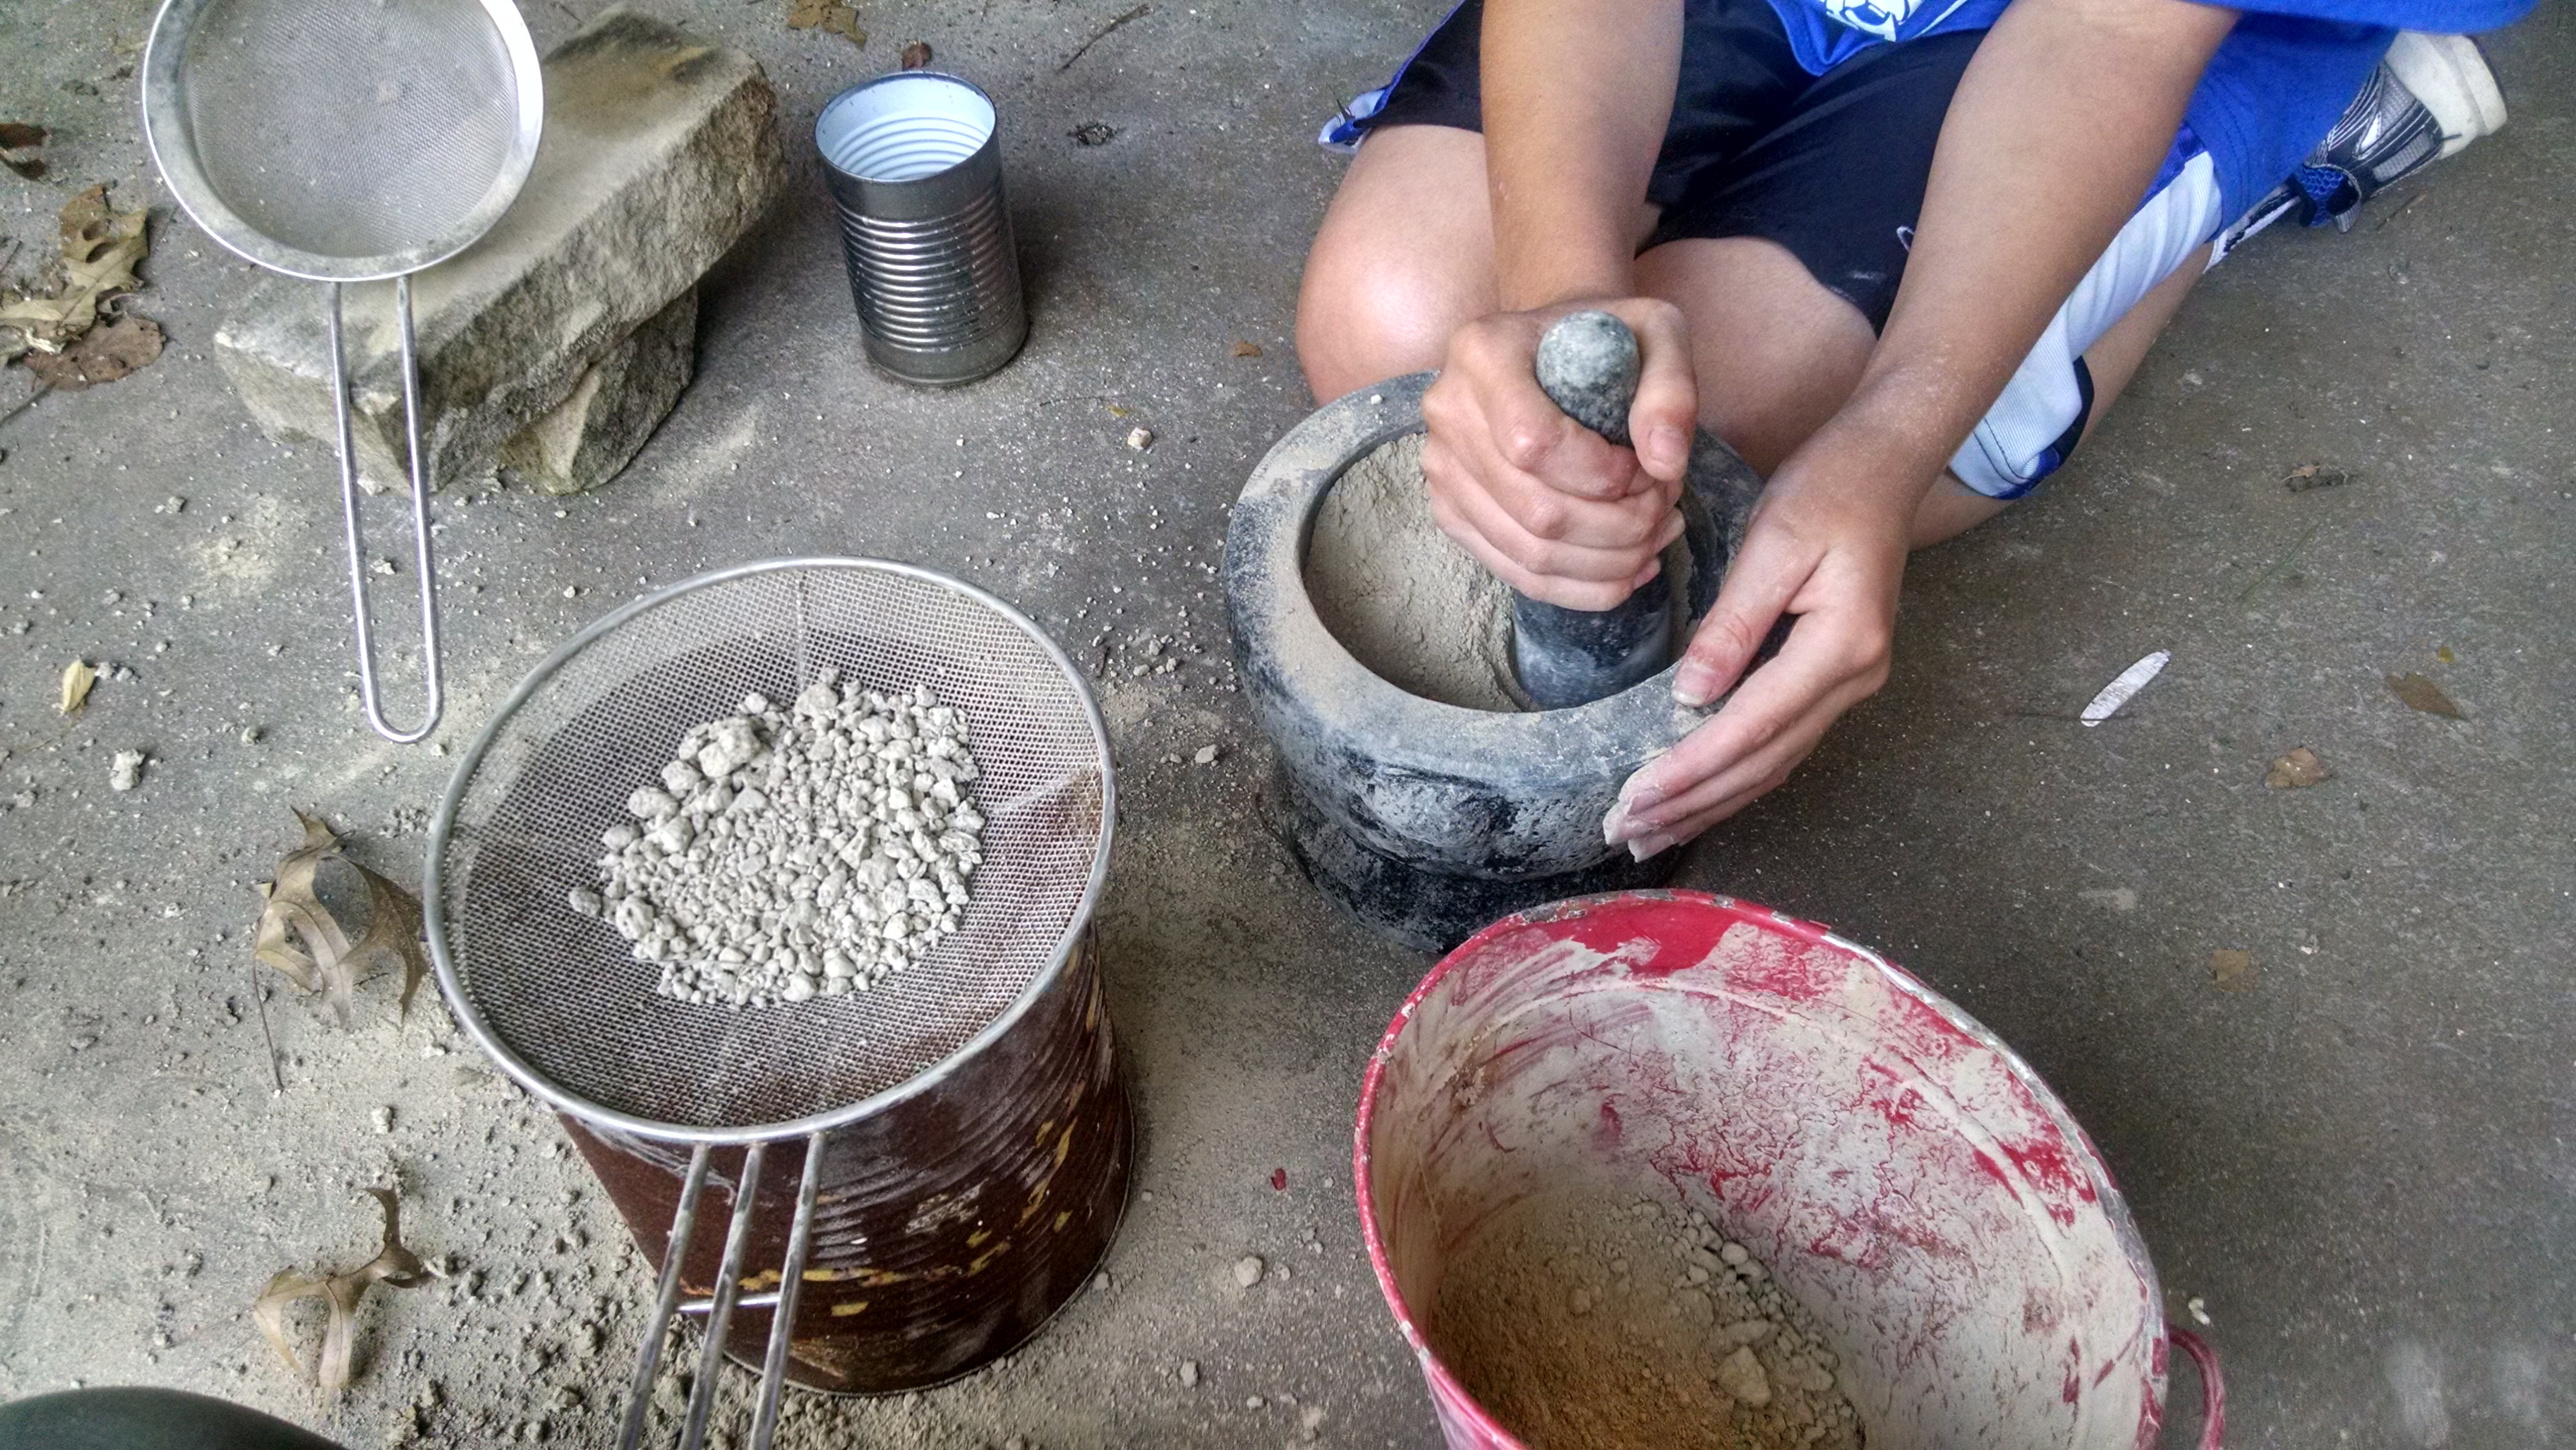
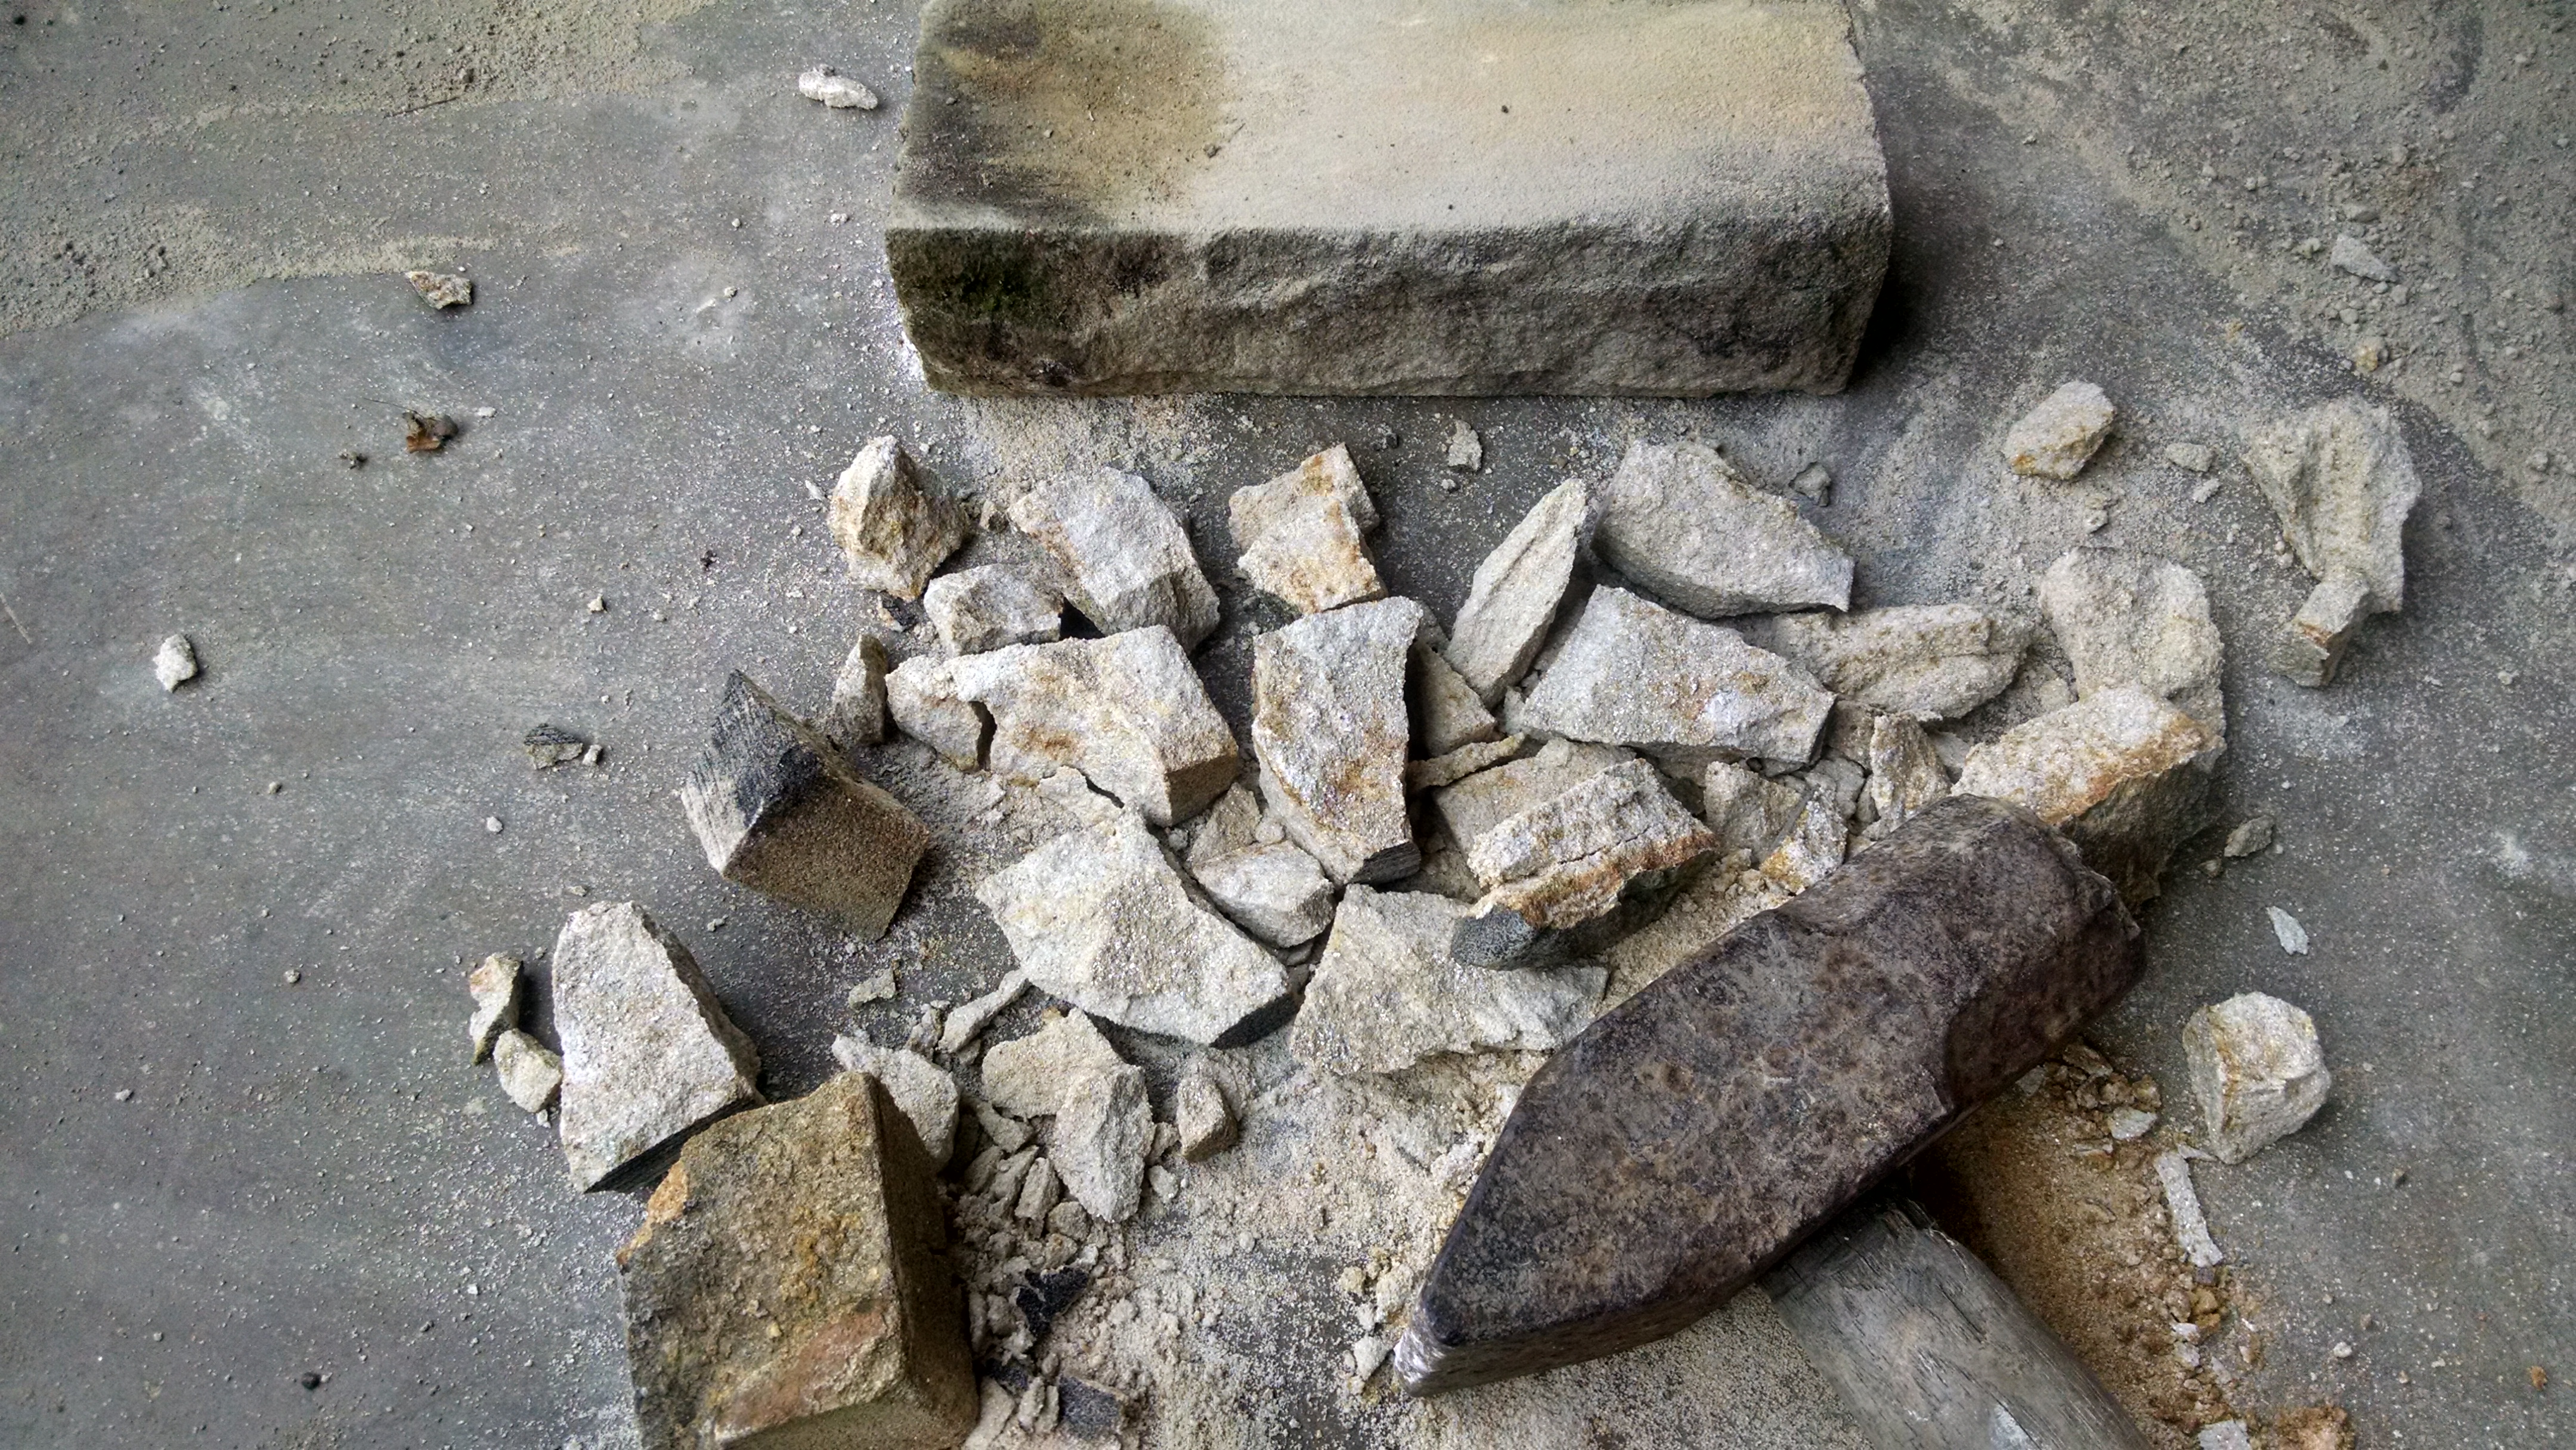
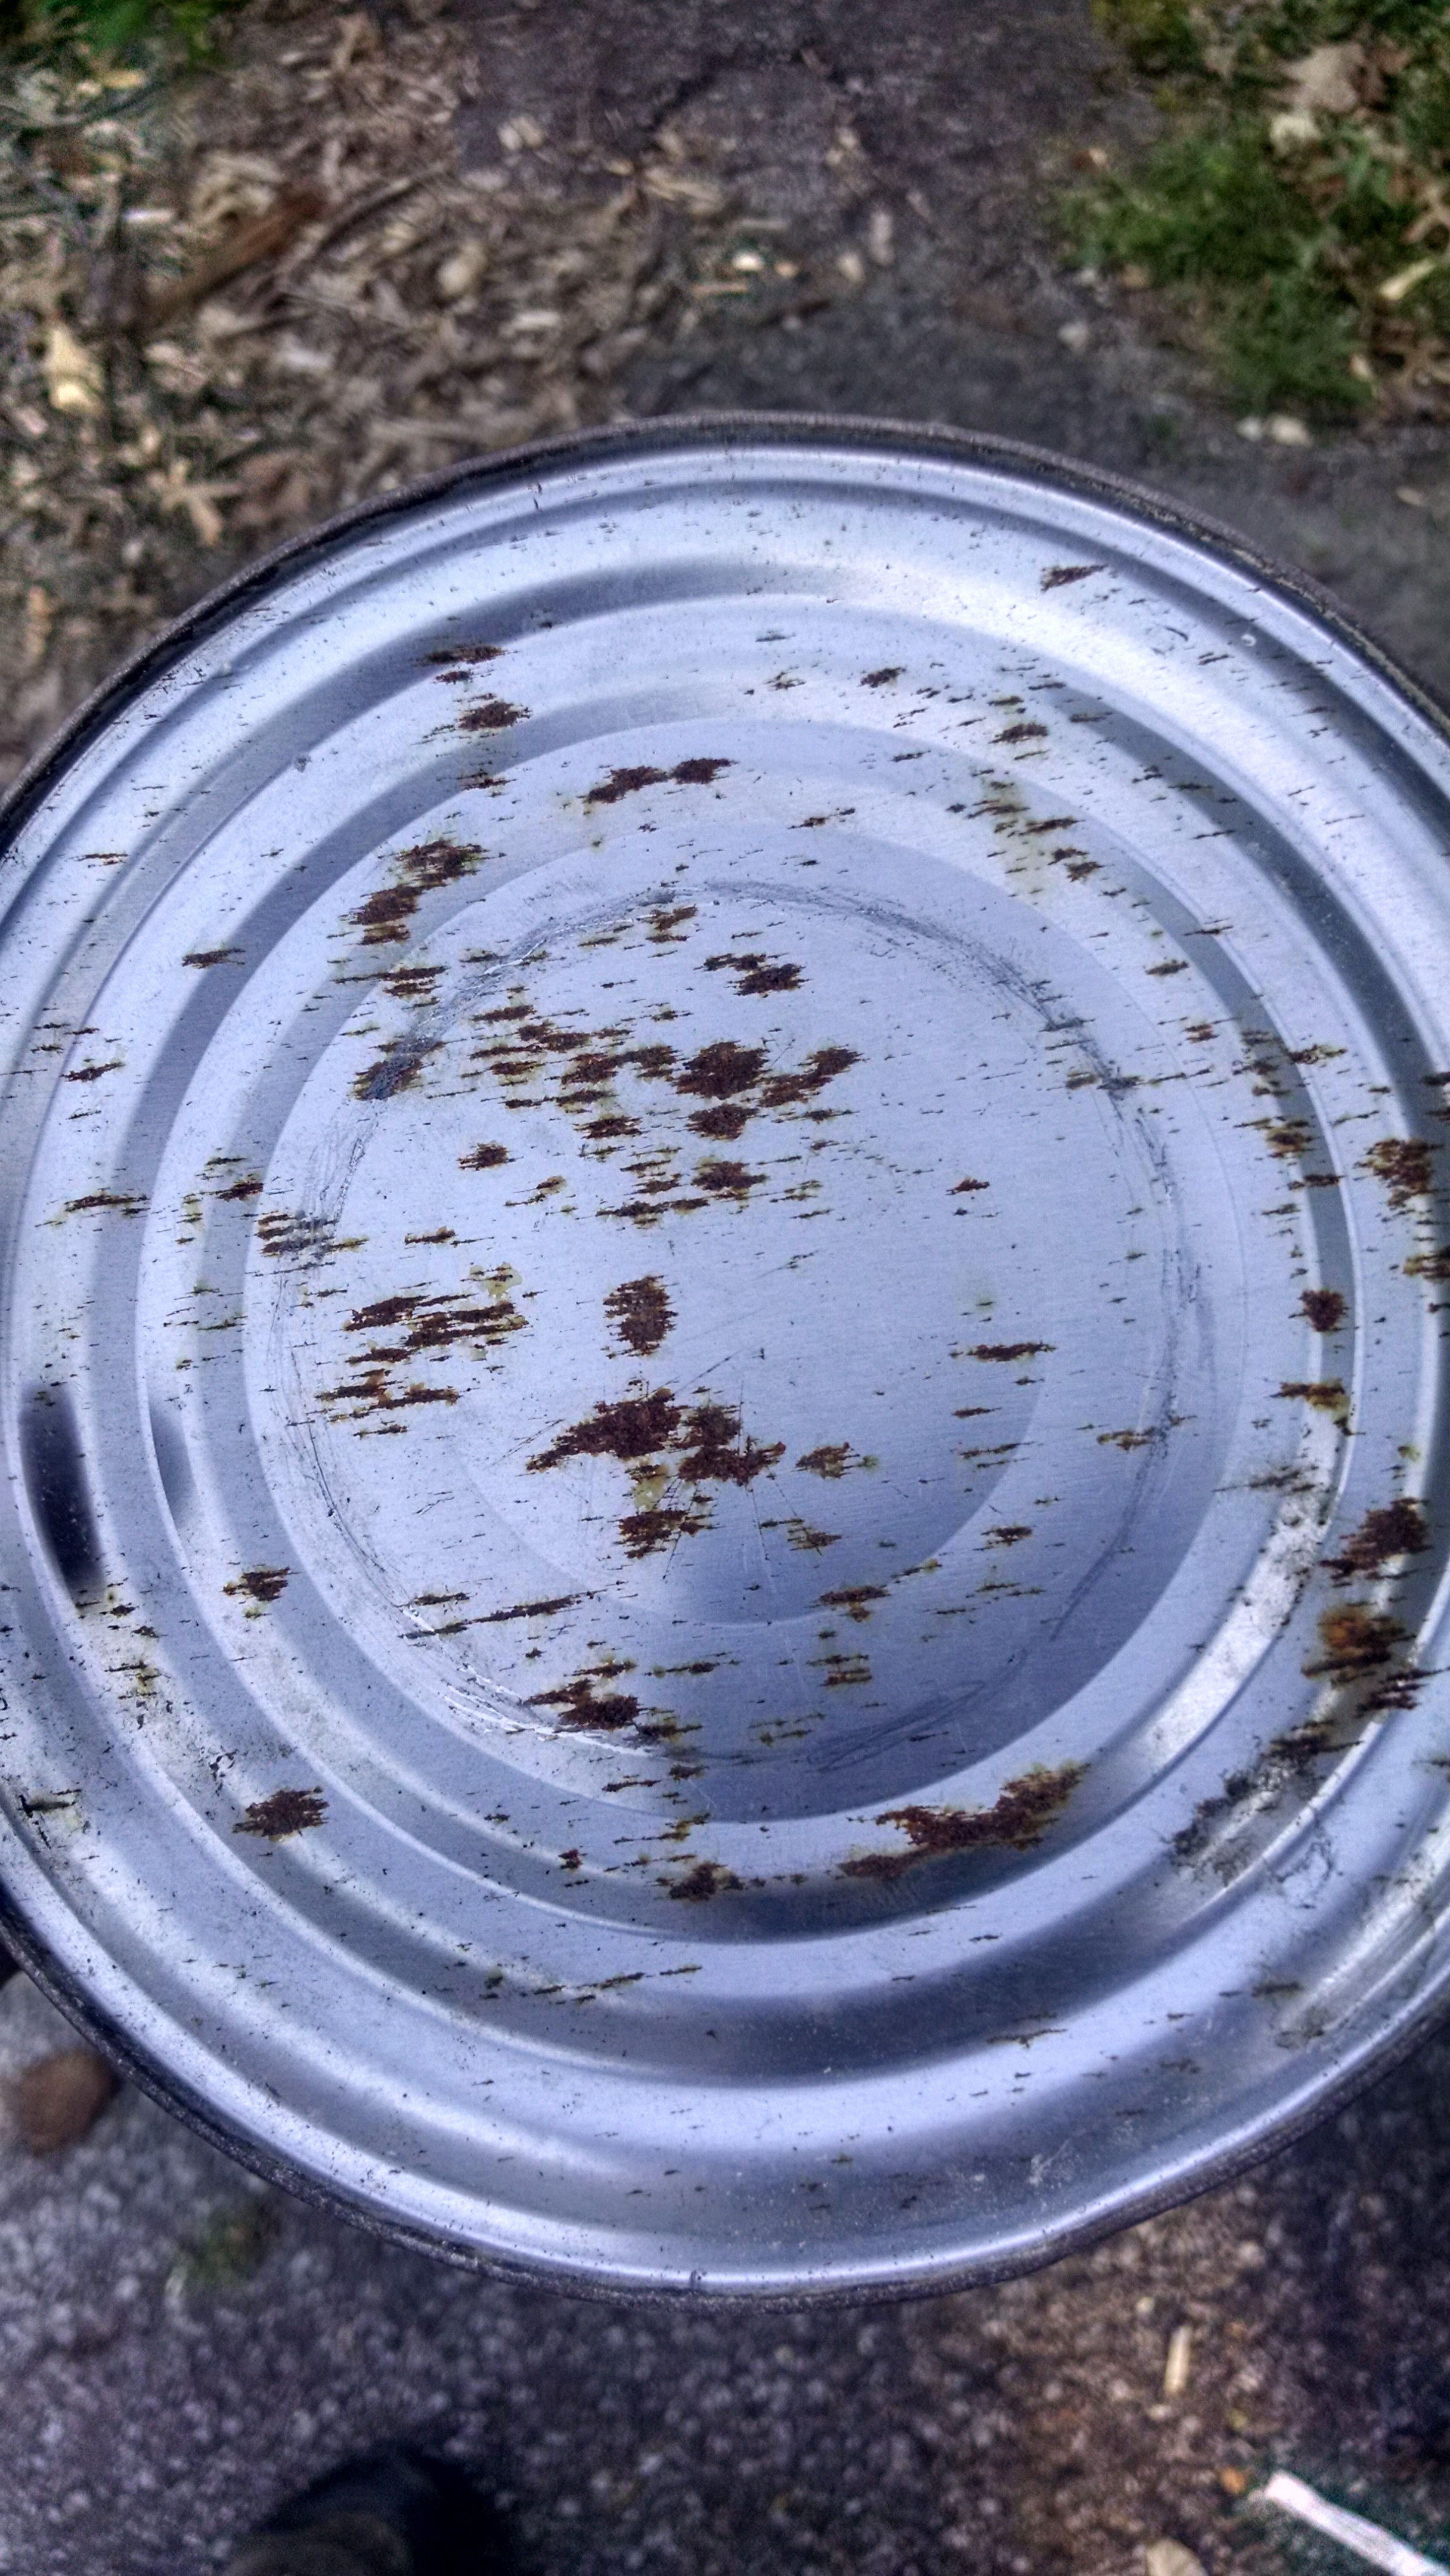
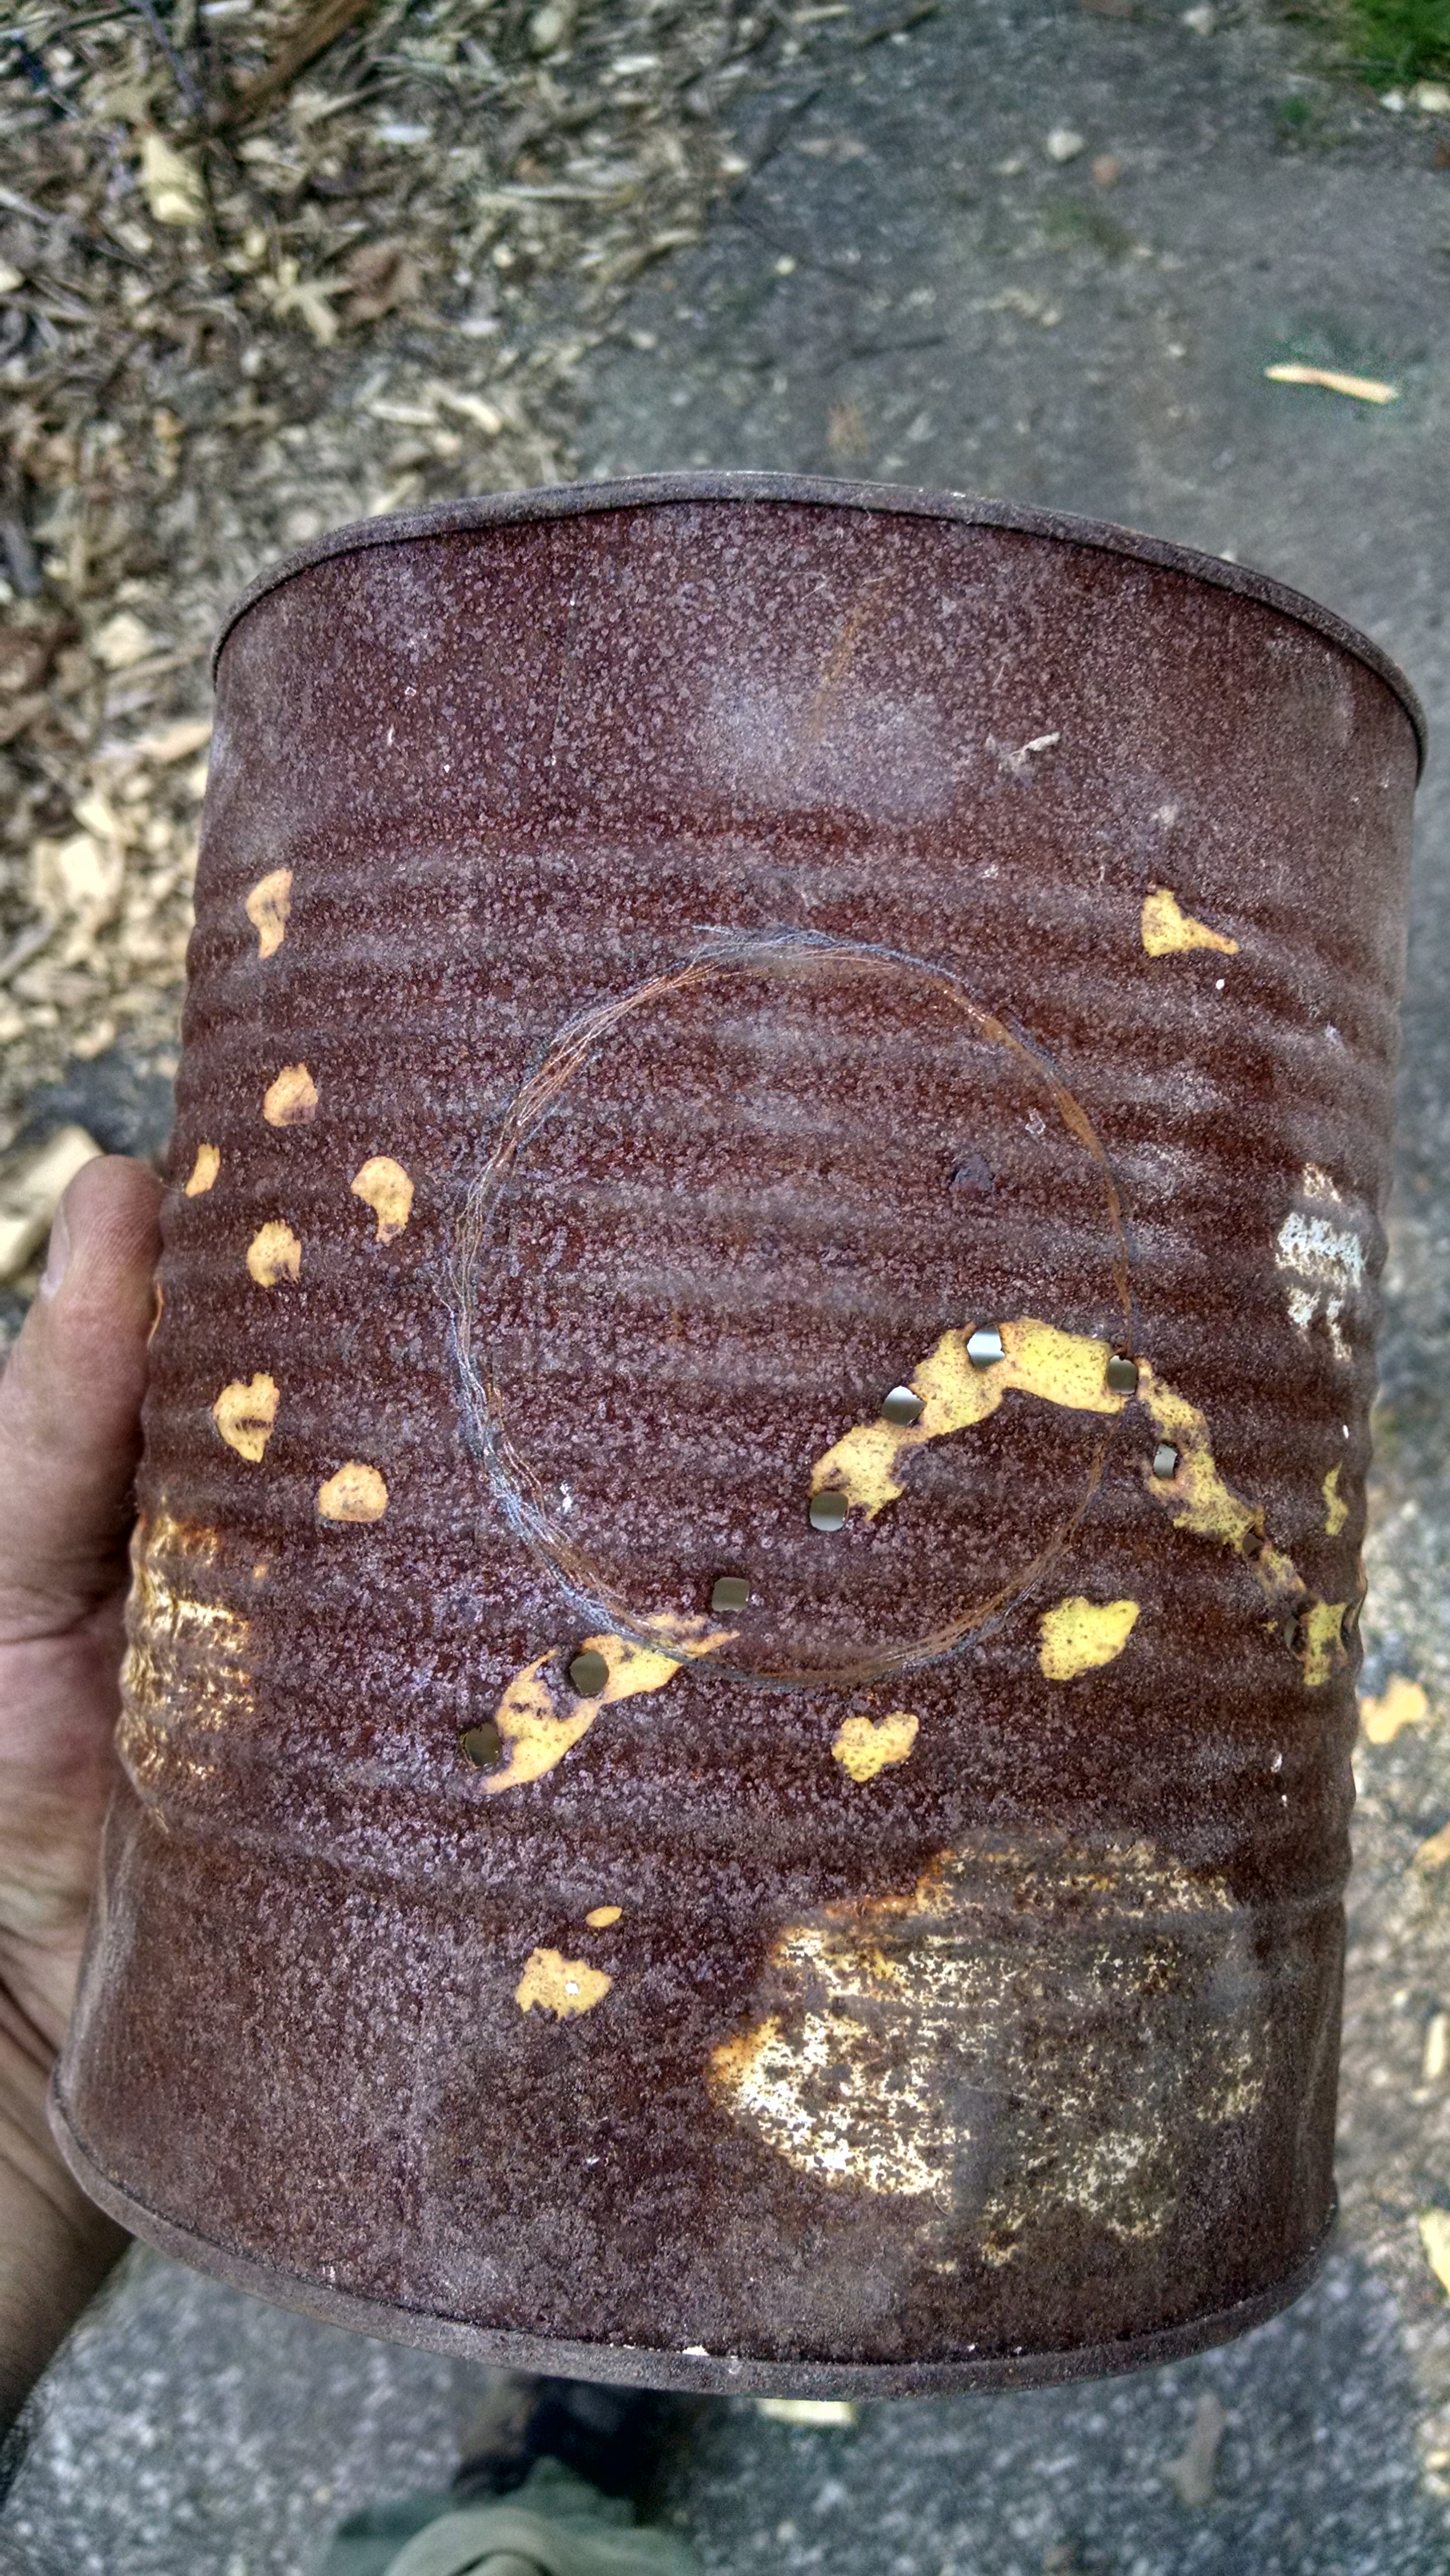
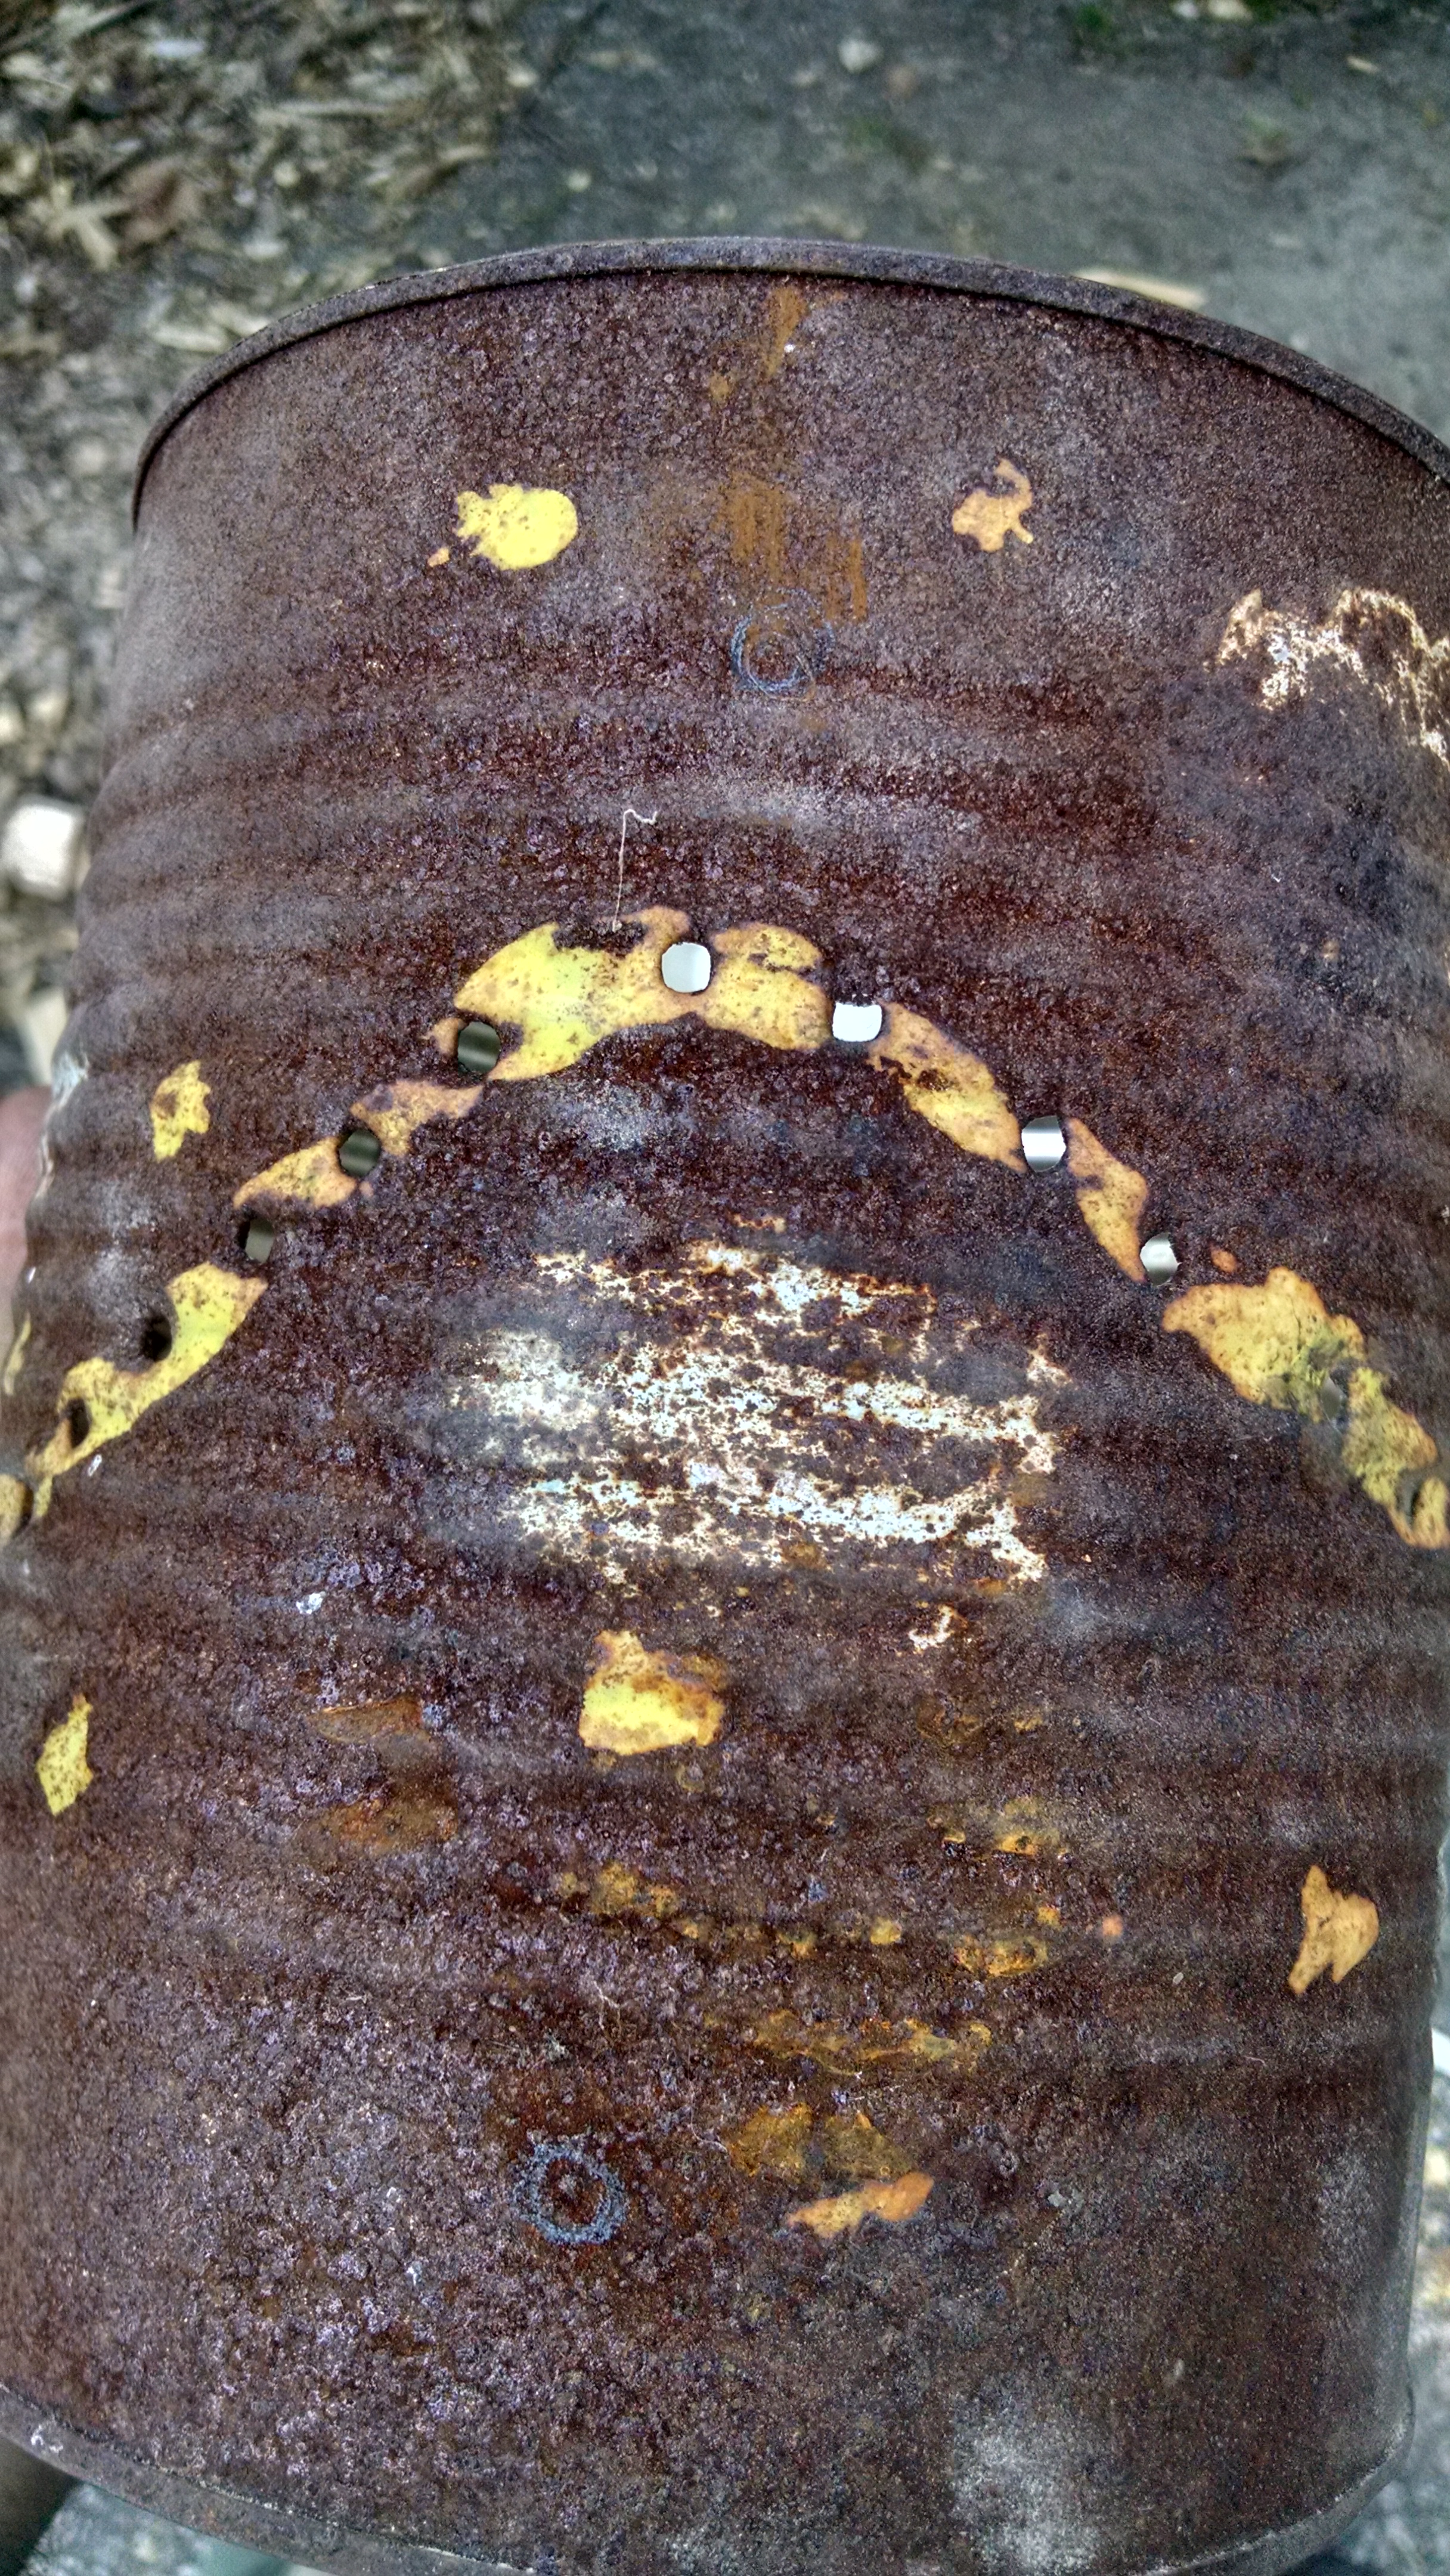
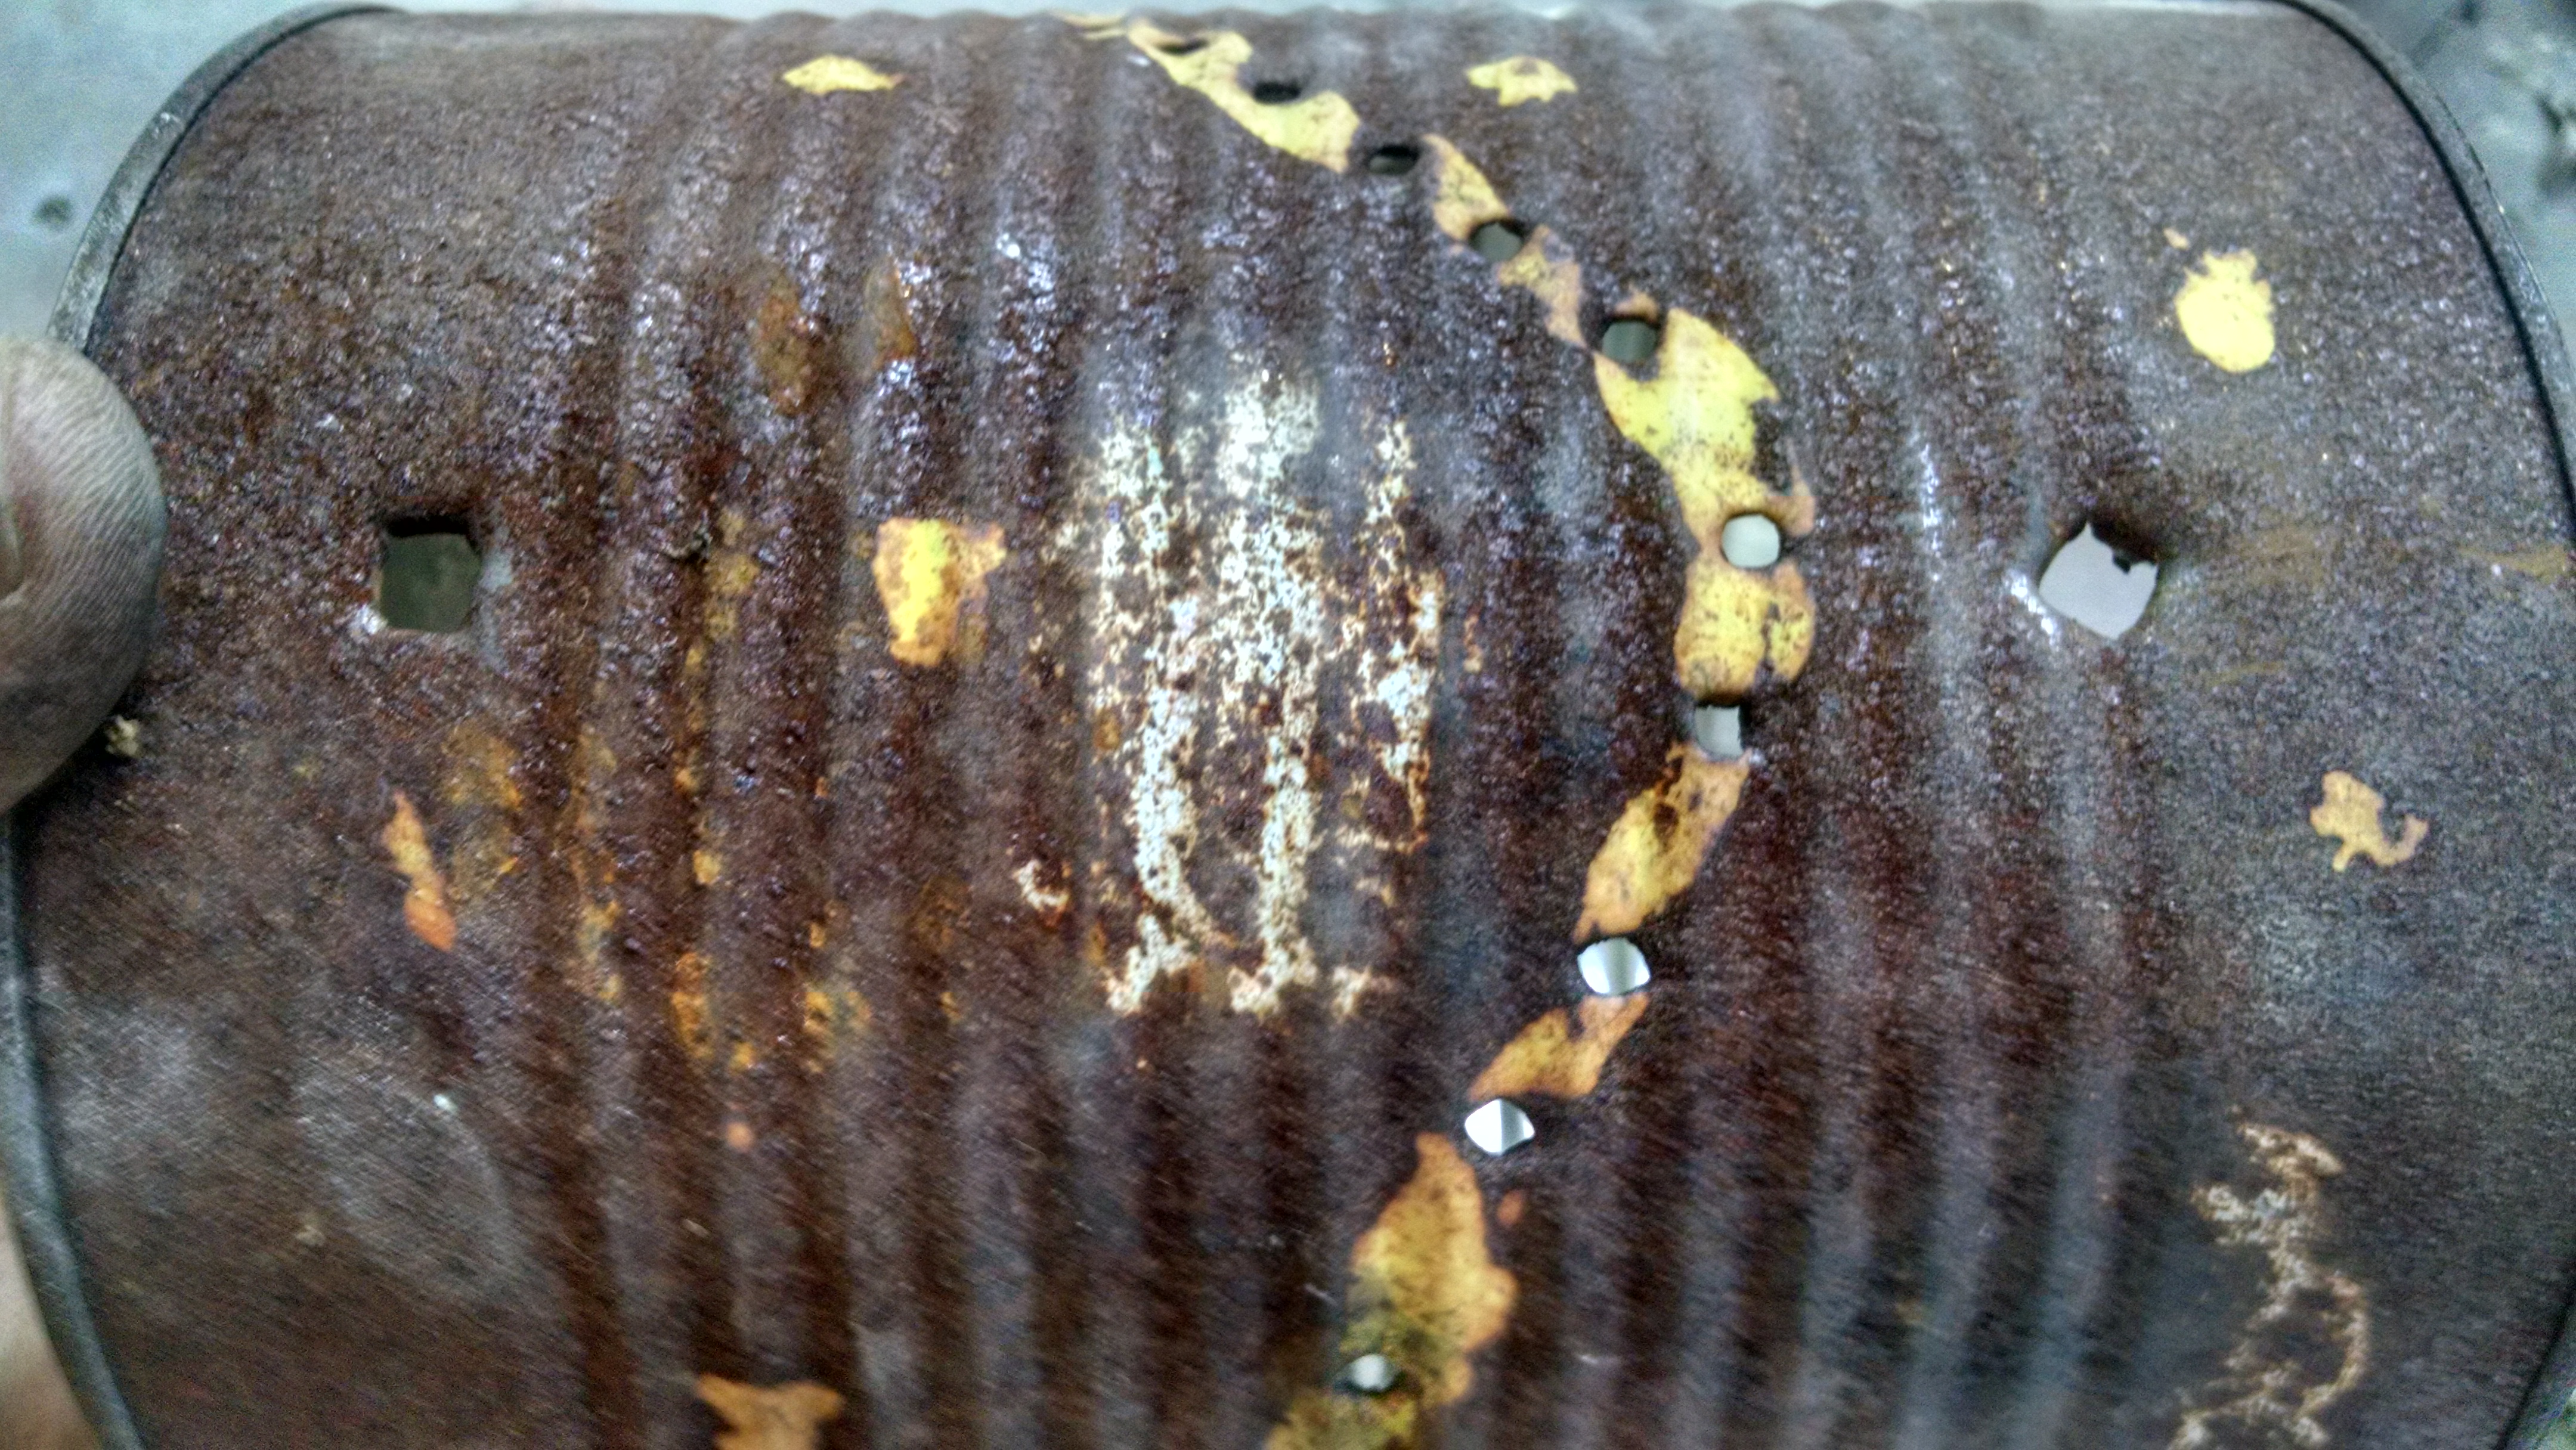
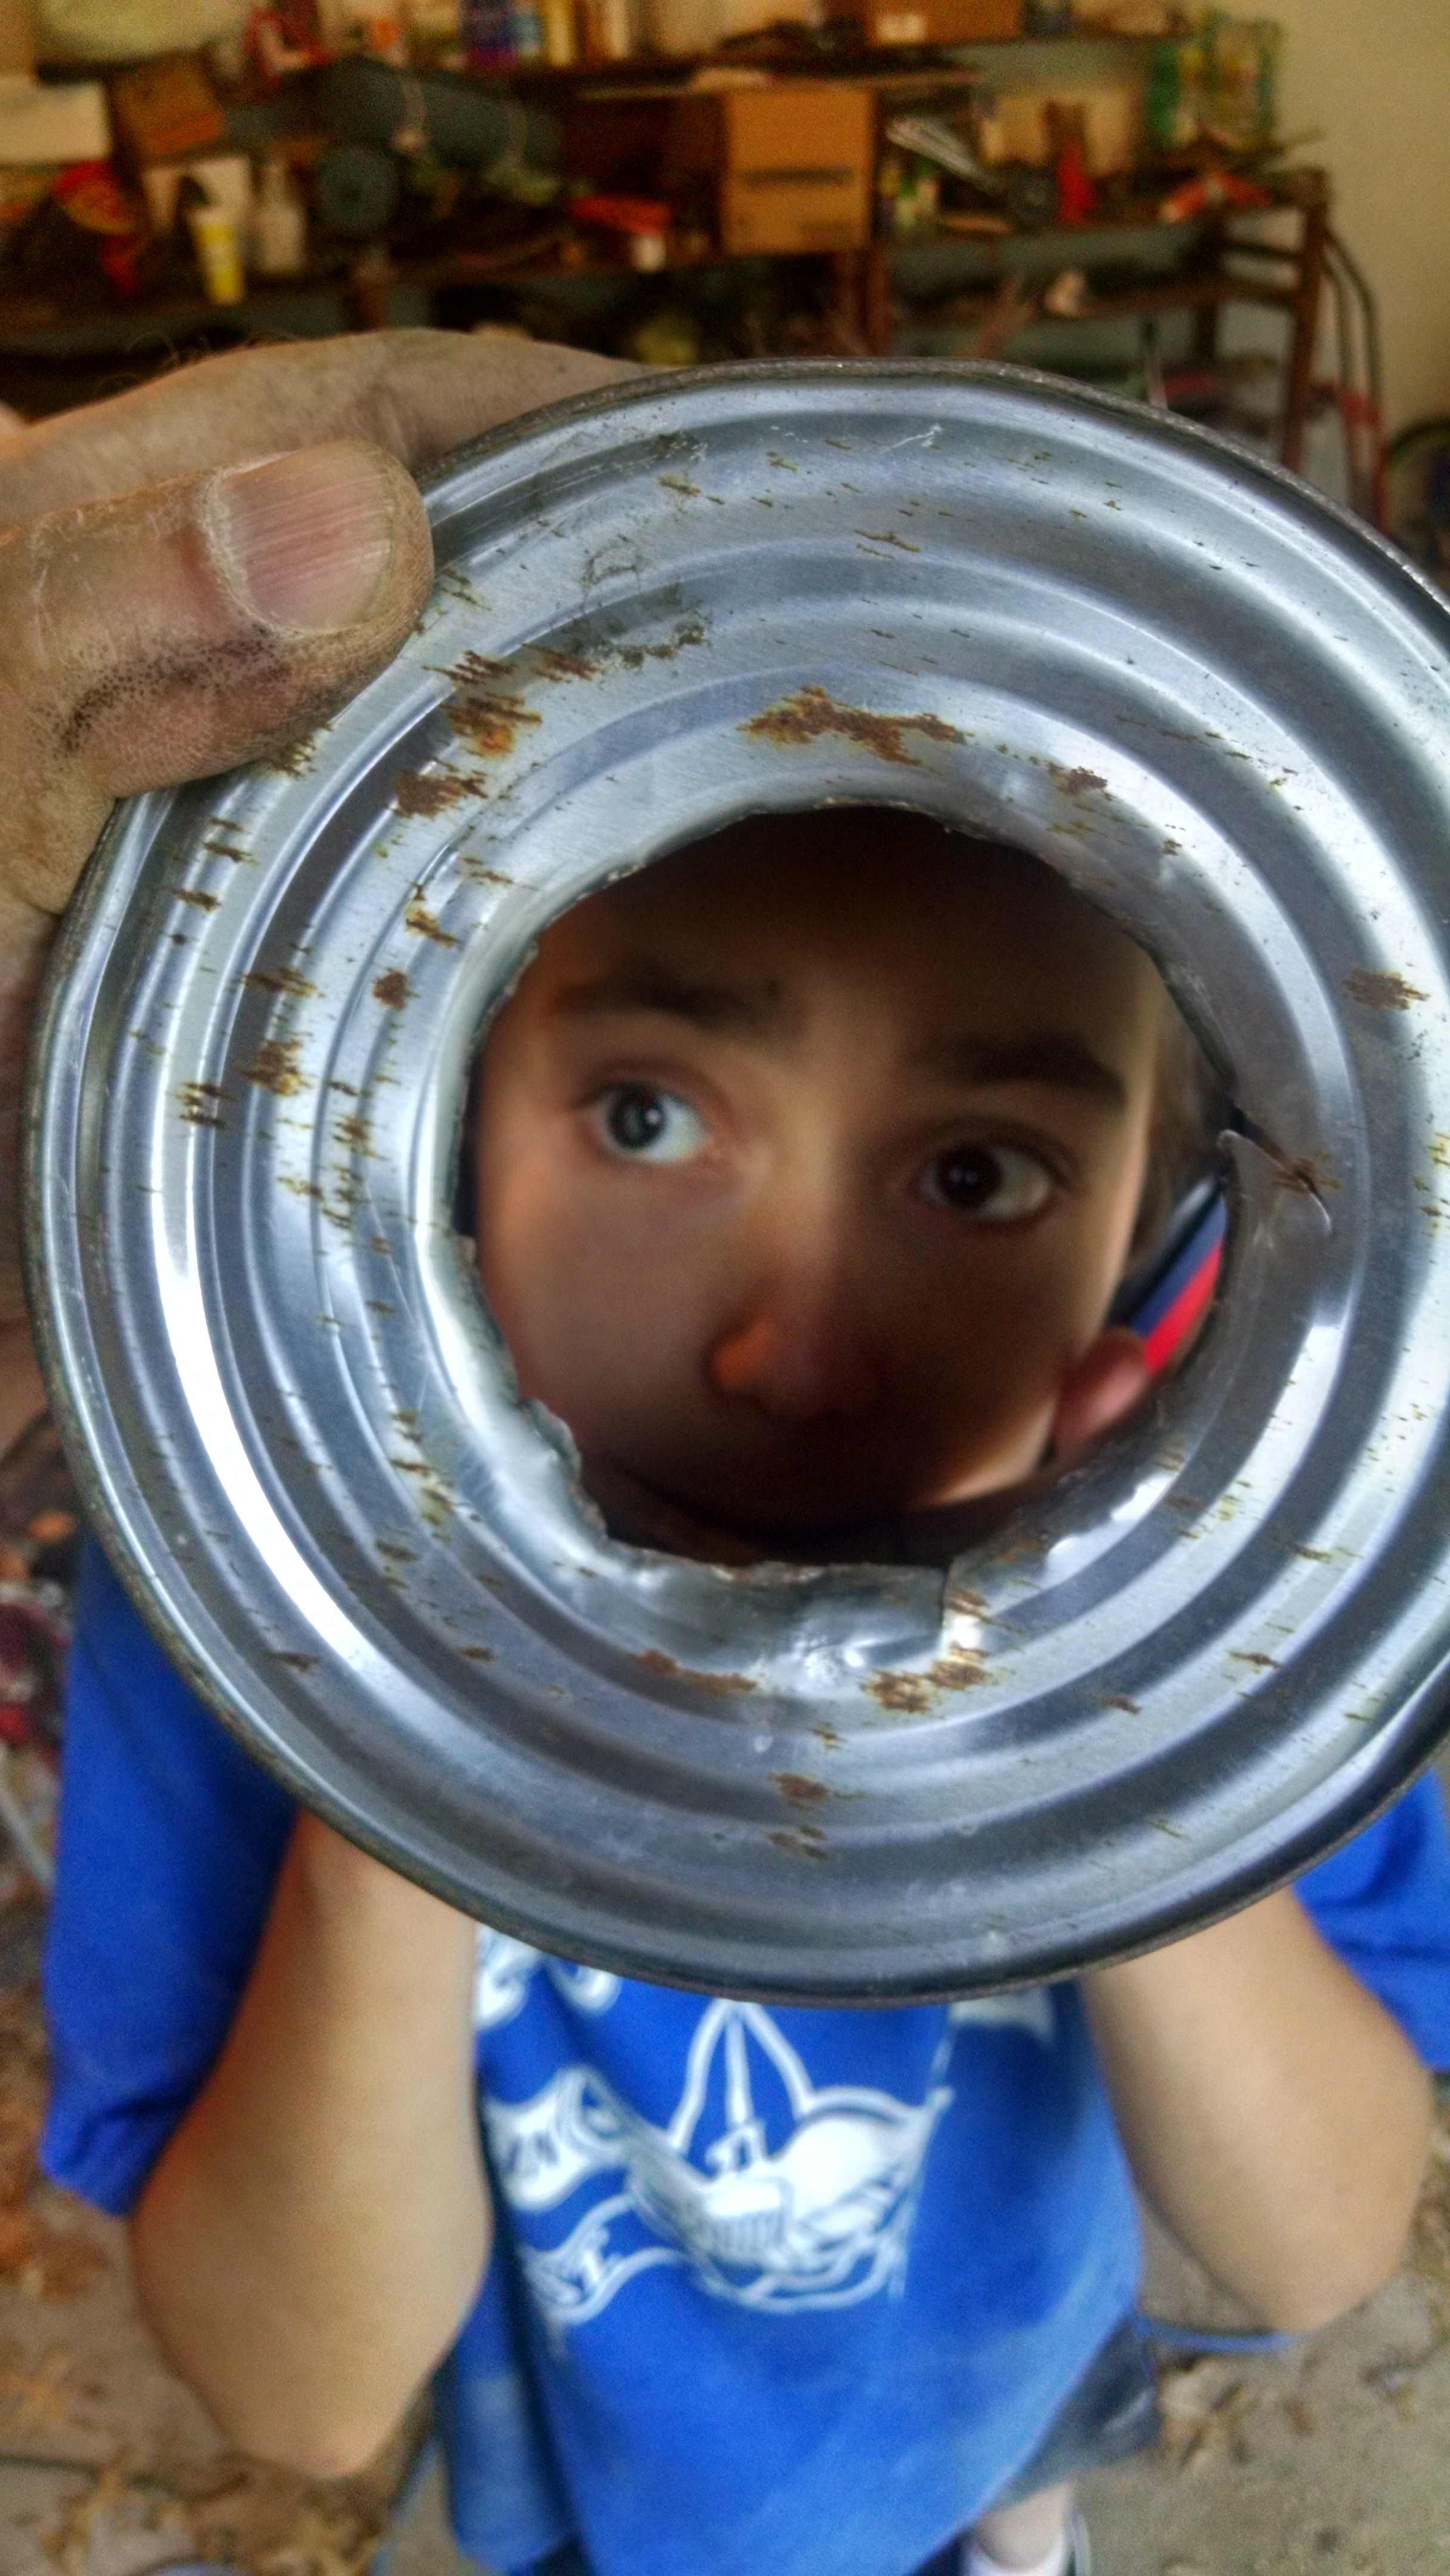
Hi, all. As noted elsewhere, I'm restarting my old blacksmithing hobby as something to do with my son. The modus operandi at this point is to start with what's left of my old setup (my old anvil and some hammers) and making, modifying, and MacGuyvering everything else. Cheap is good; free is better. So, I looked around at what I've got to actually heat the metal and decided to make an adobe-lined coffee can forge to use with an existing propane torch. This post is to document the process and record the mistakes for me to fix next time! So, I have plenty of clay here in NE Ohio. Here's my son grinding up some dried lumps of clay I'd set aside for a pottery project that never materialized. I didn't have any sand, but I do have some sandstone that crushes easily. I figured that I could cut a hole in the bottom of the can for longer stock and make an adobe plug to close it off if necessary. Here is the bottom marked for that hole. Here's the side marked for the burner hole. And the other side marked for the holes to mount it to the base. Holes punched for bolt holes. Used a big nail I had sitting around. The hole cut in the bottom. I don't have tinsnips, so I bashed out the hole with a cold chisel. Bubba looks through the hole.