jdawgnc
Members
-
Joined
-
Last visited
Everything posted by jdawgnc
-
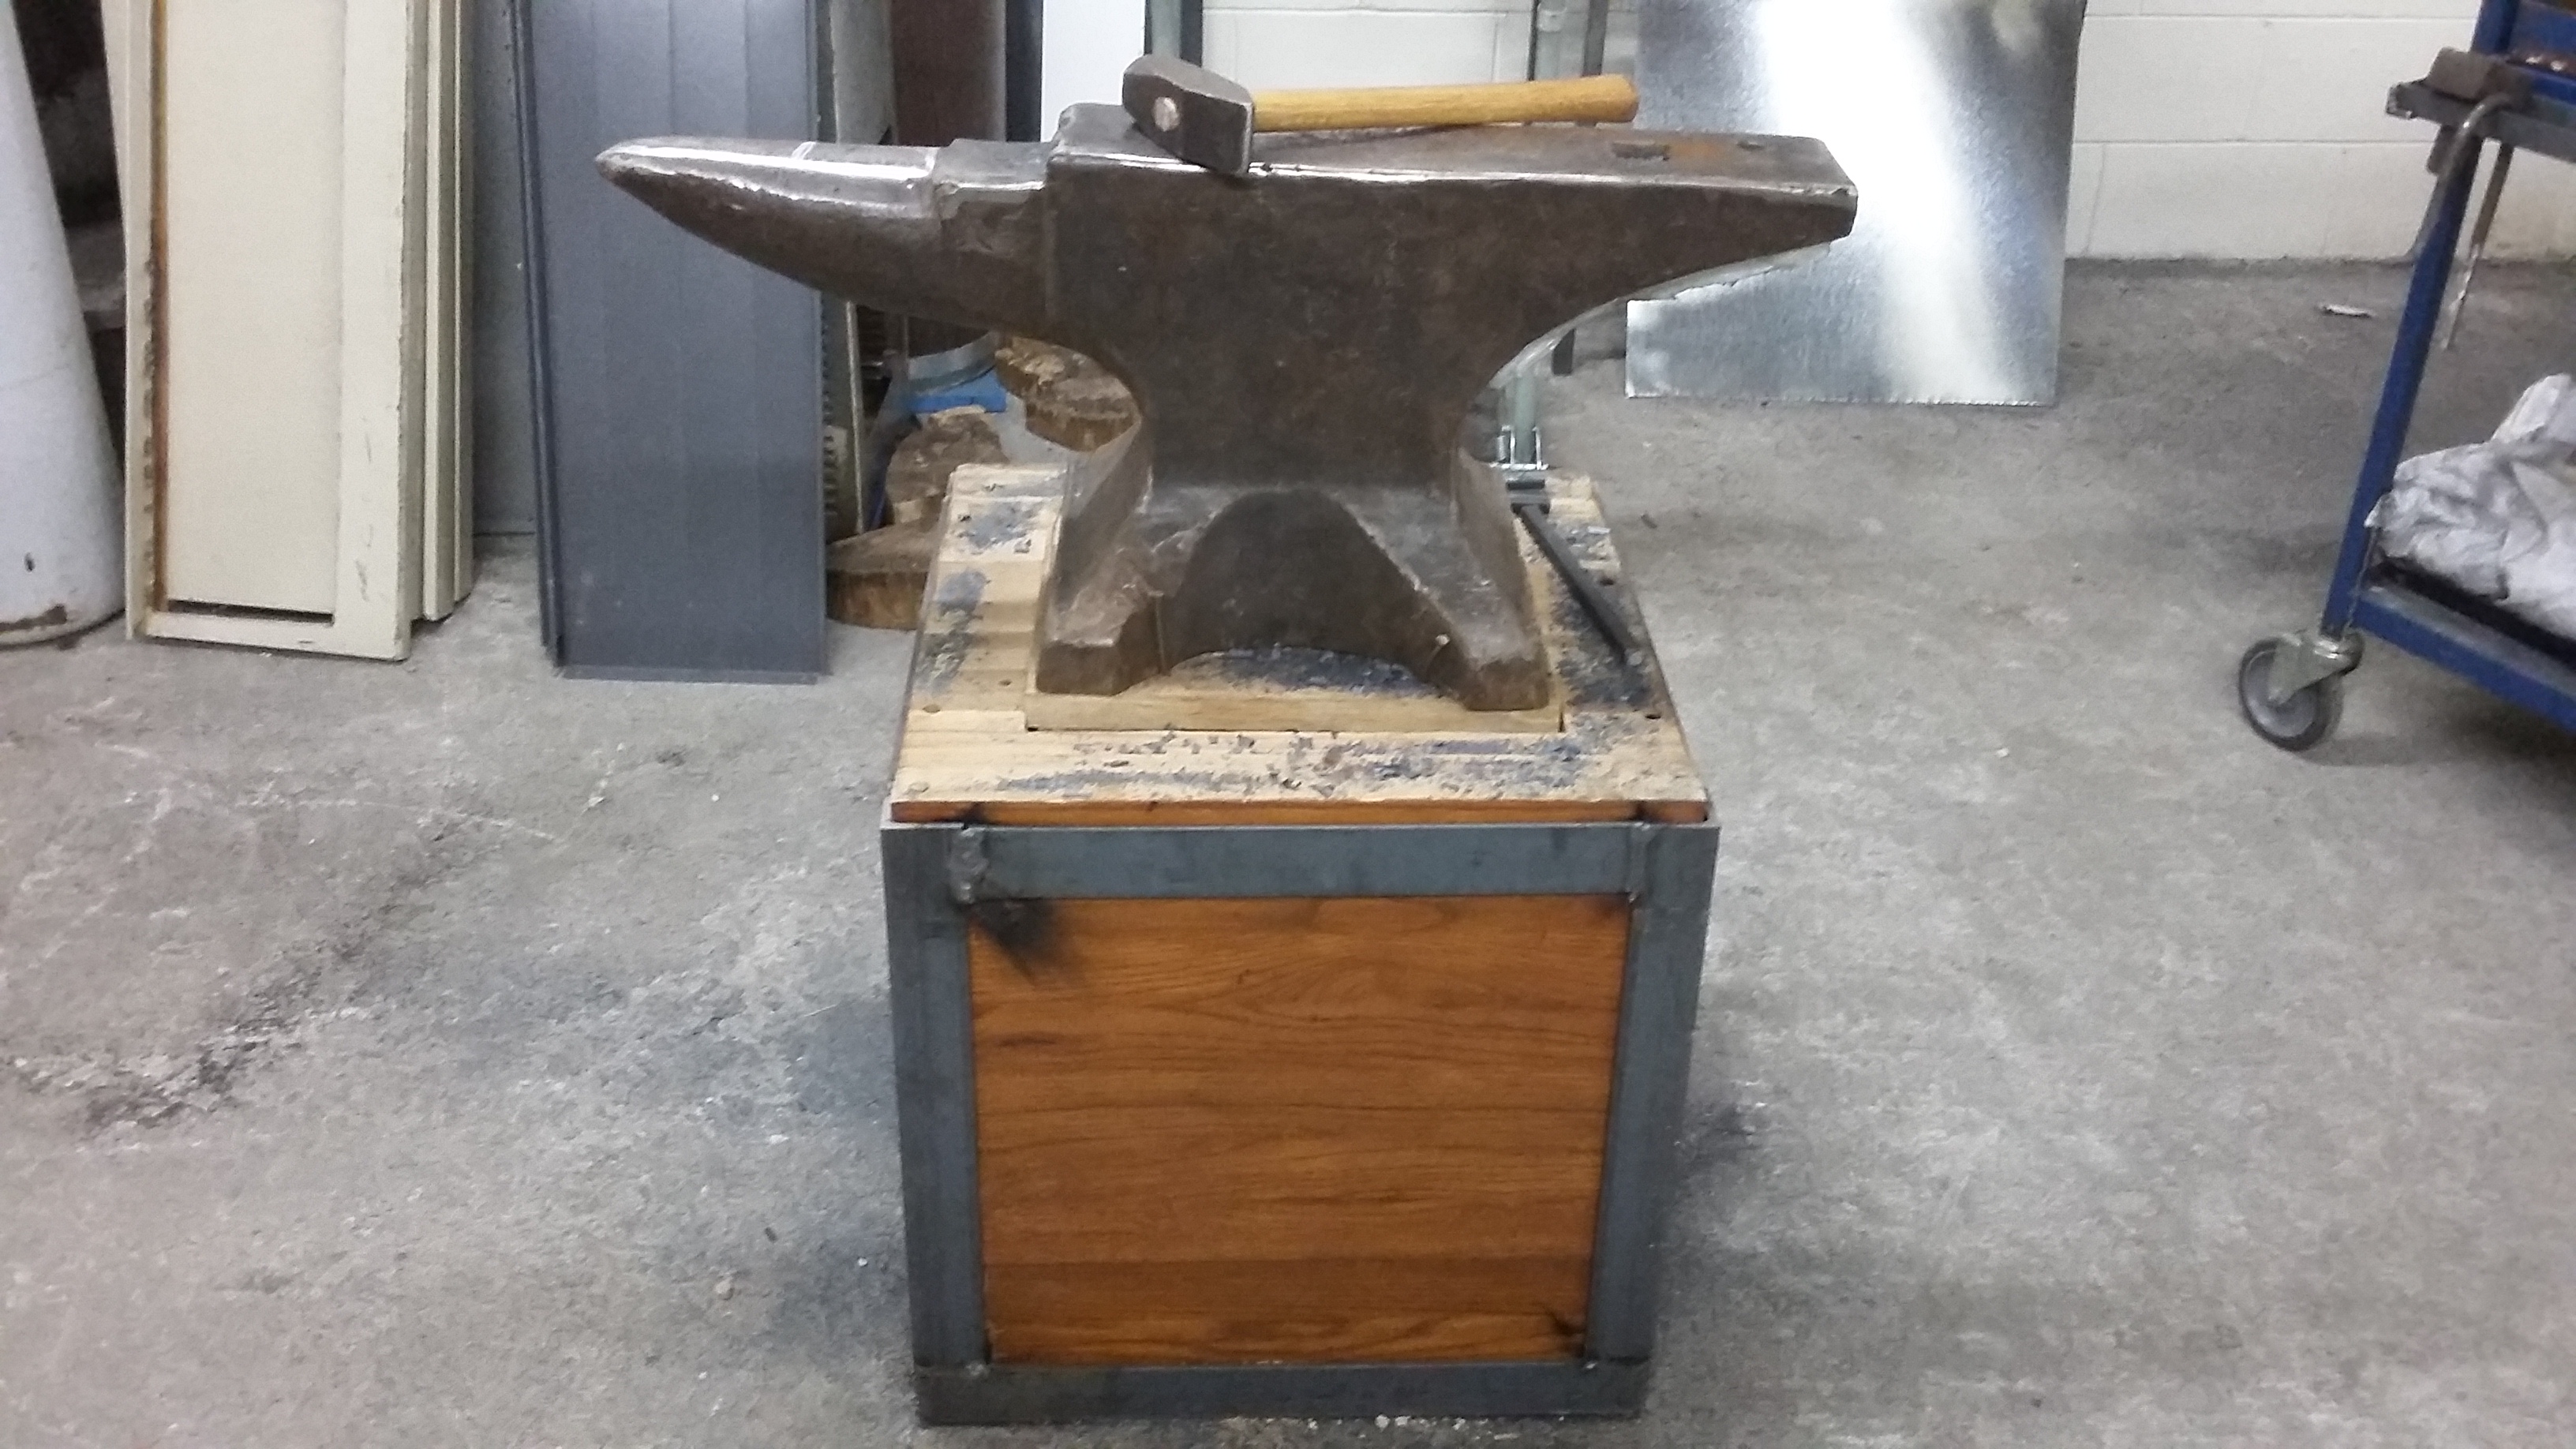
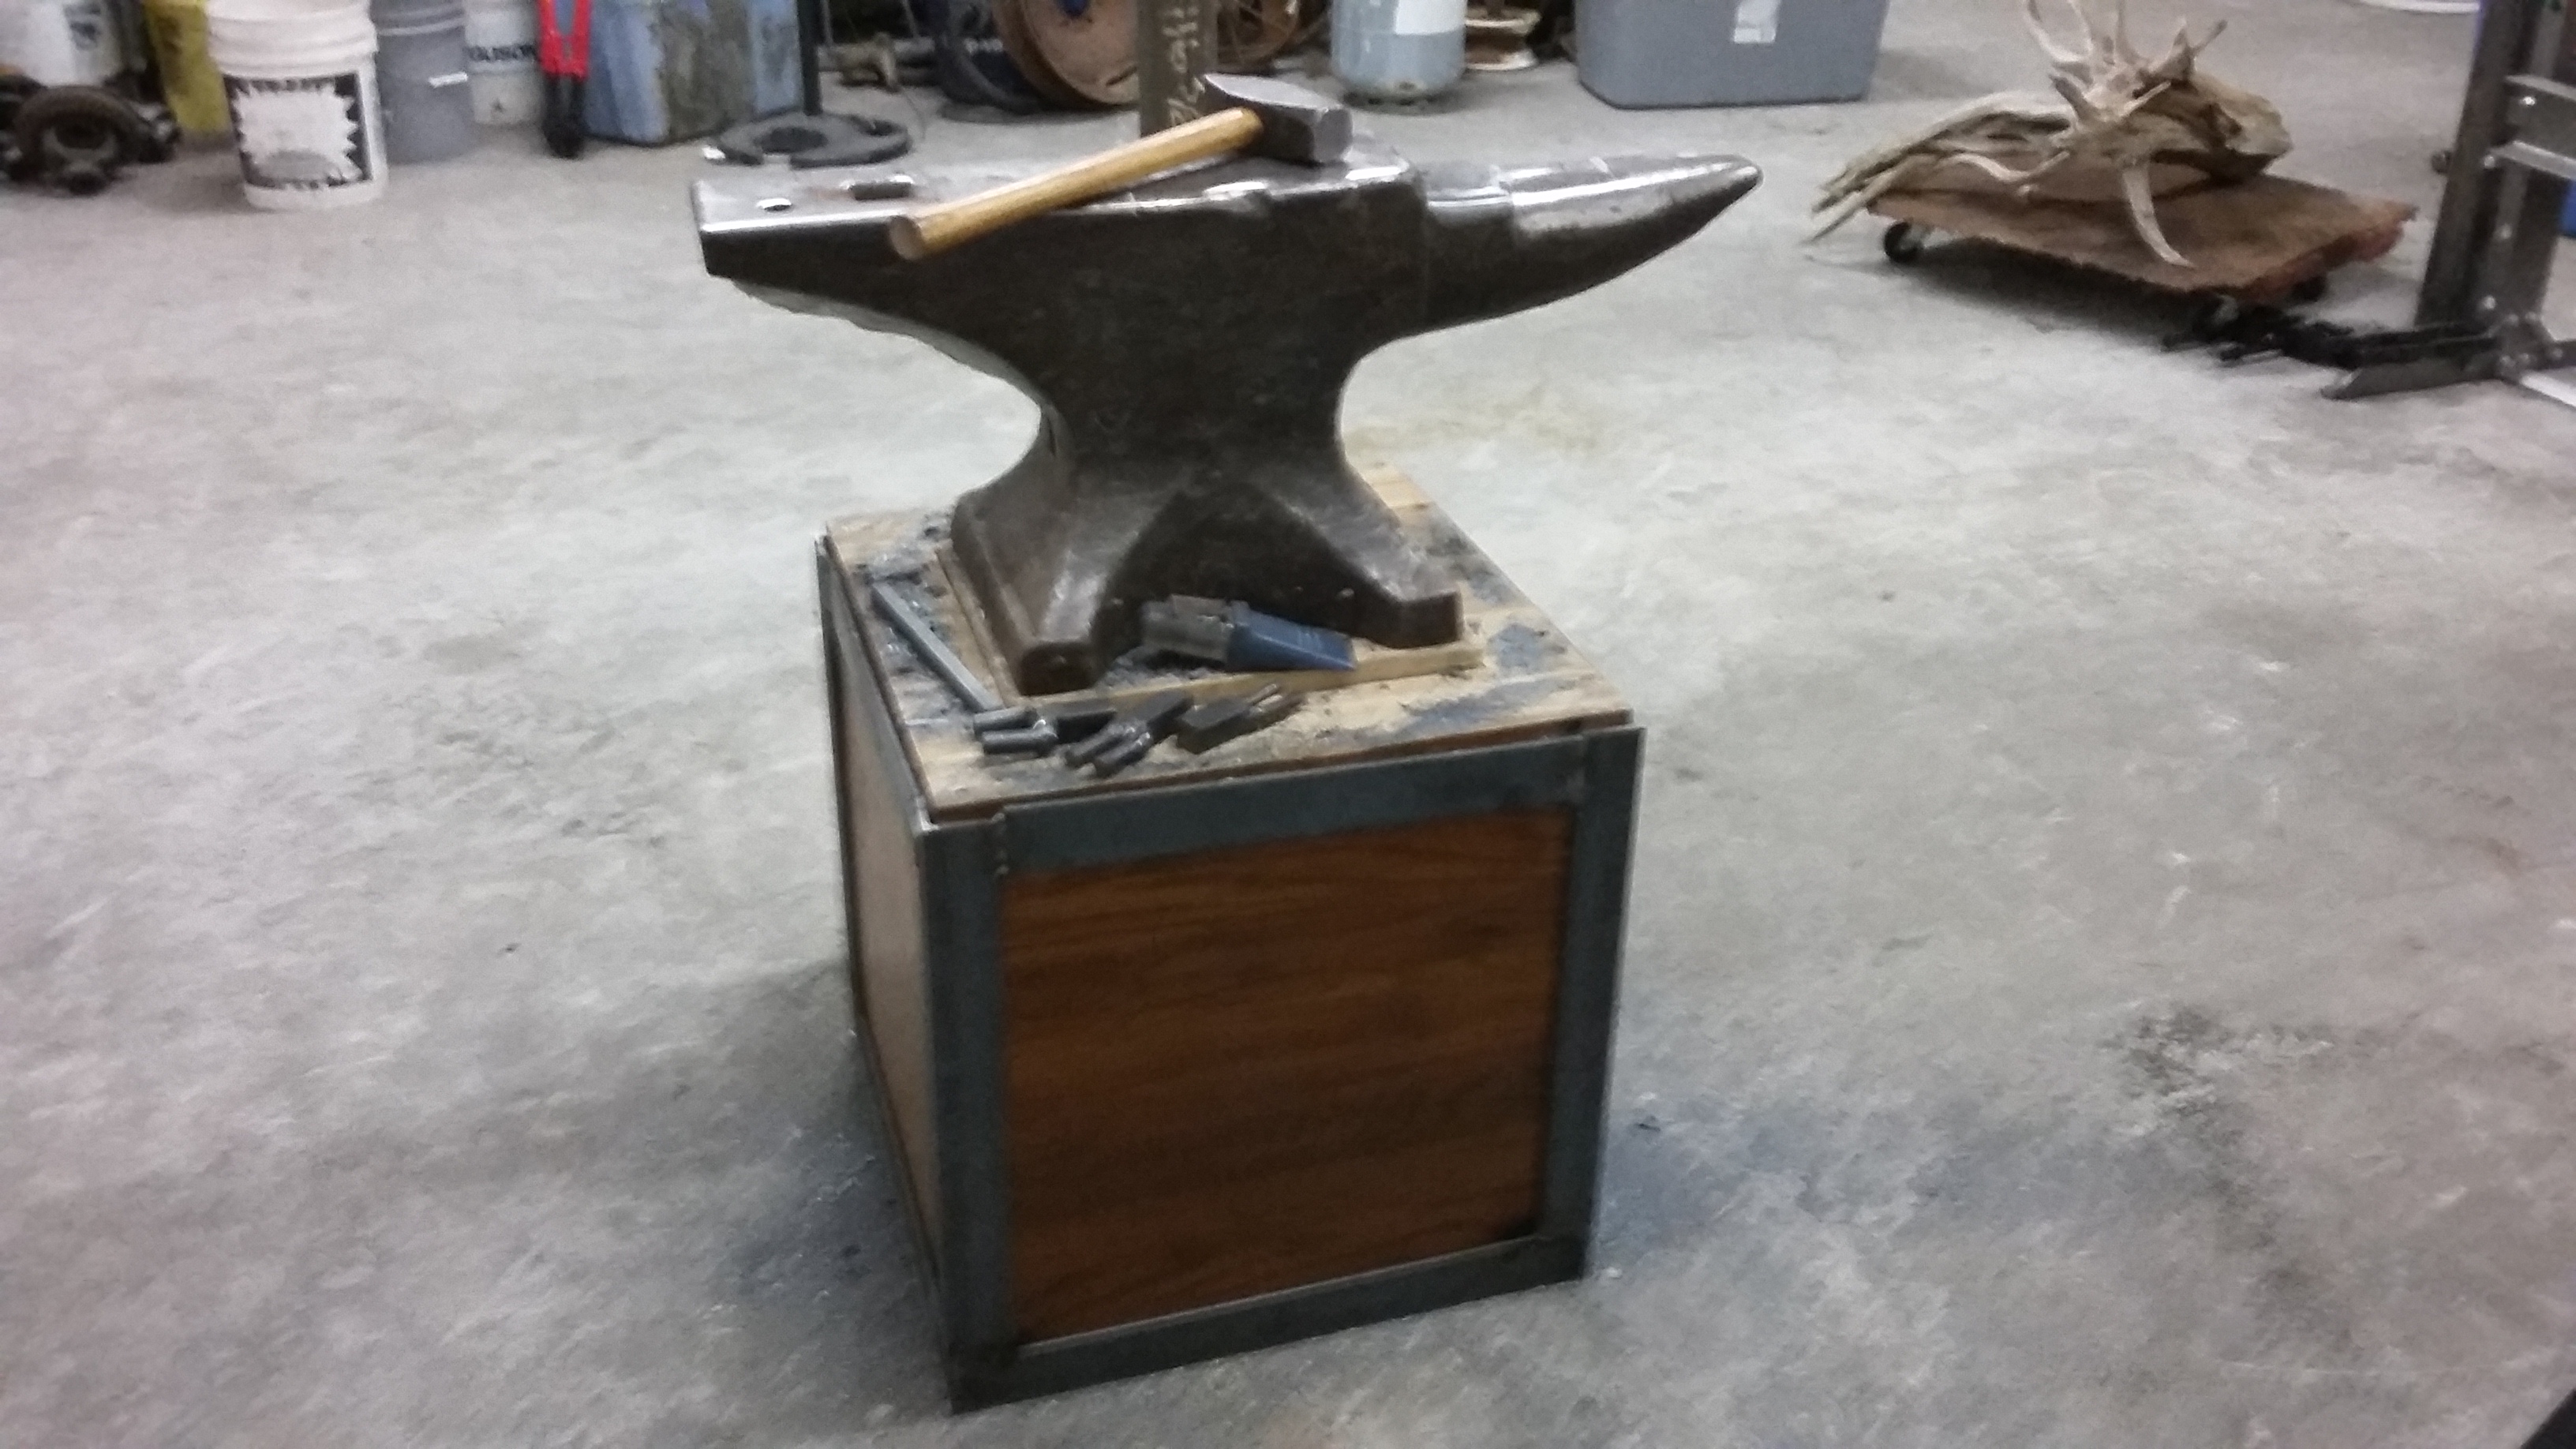
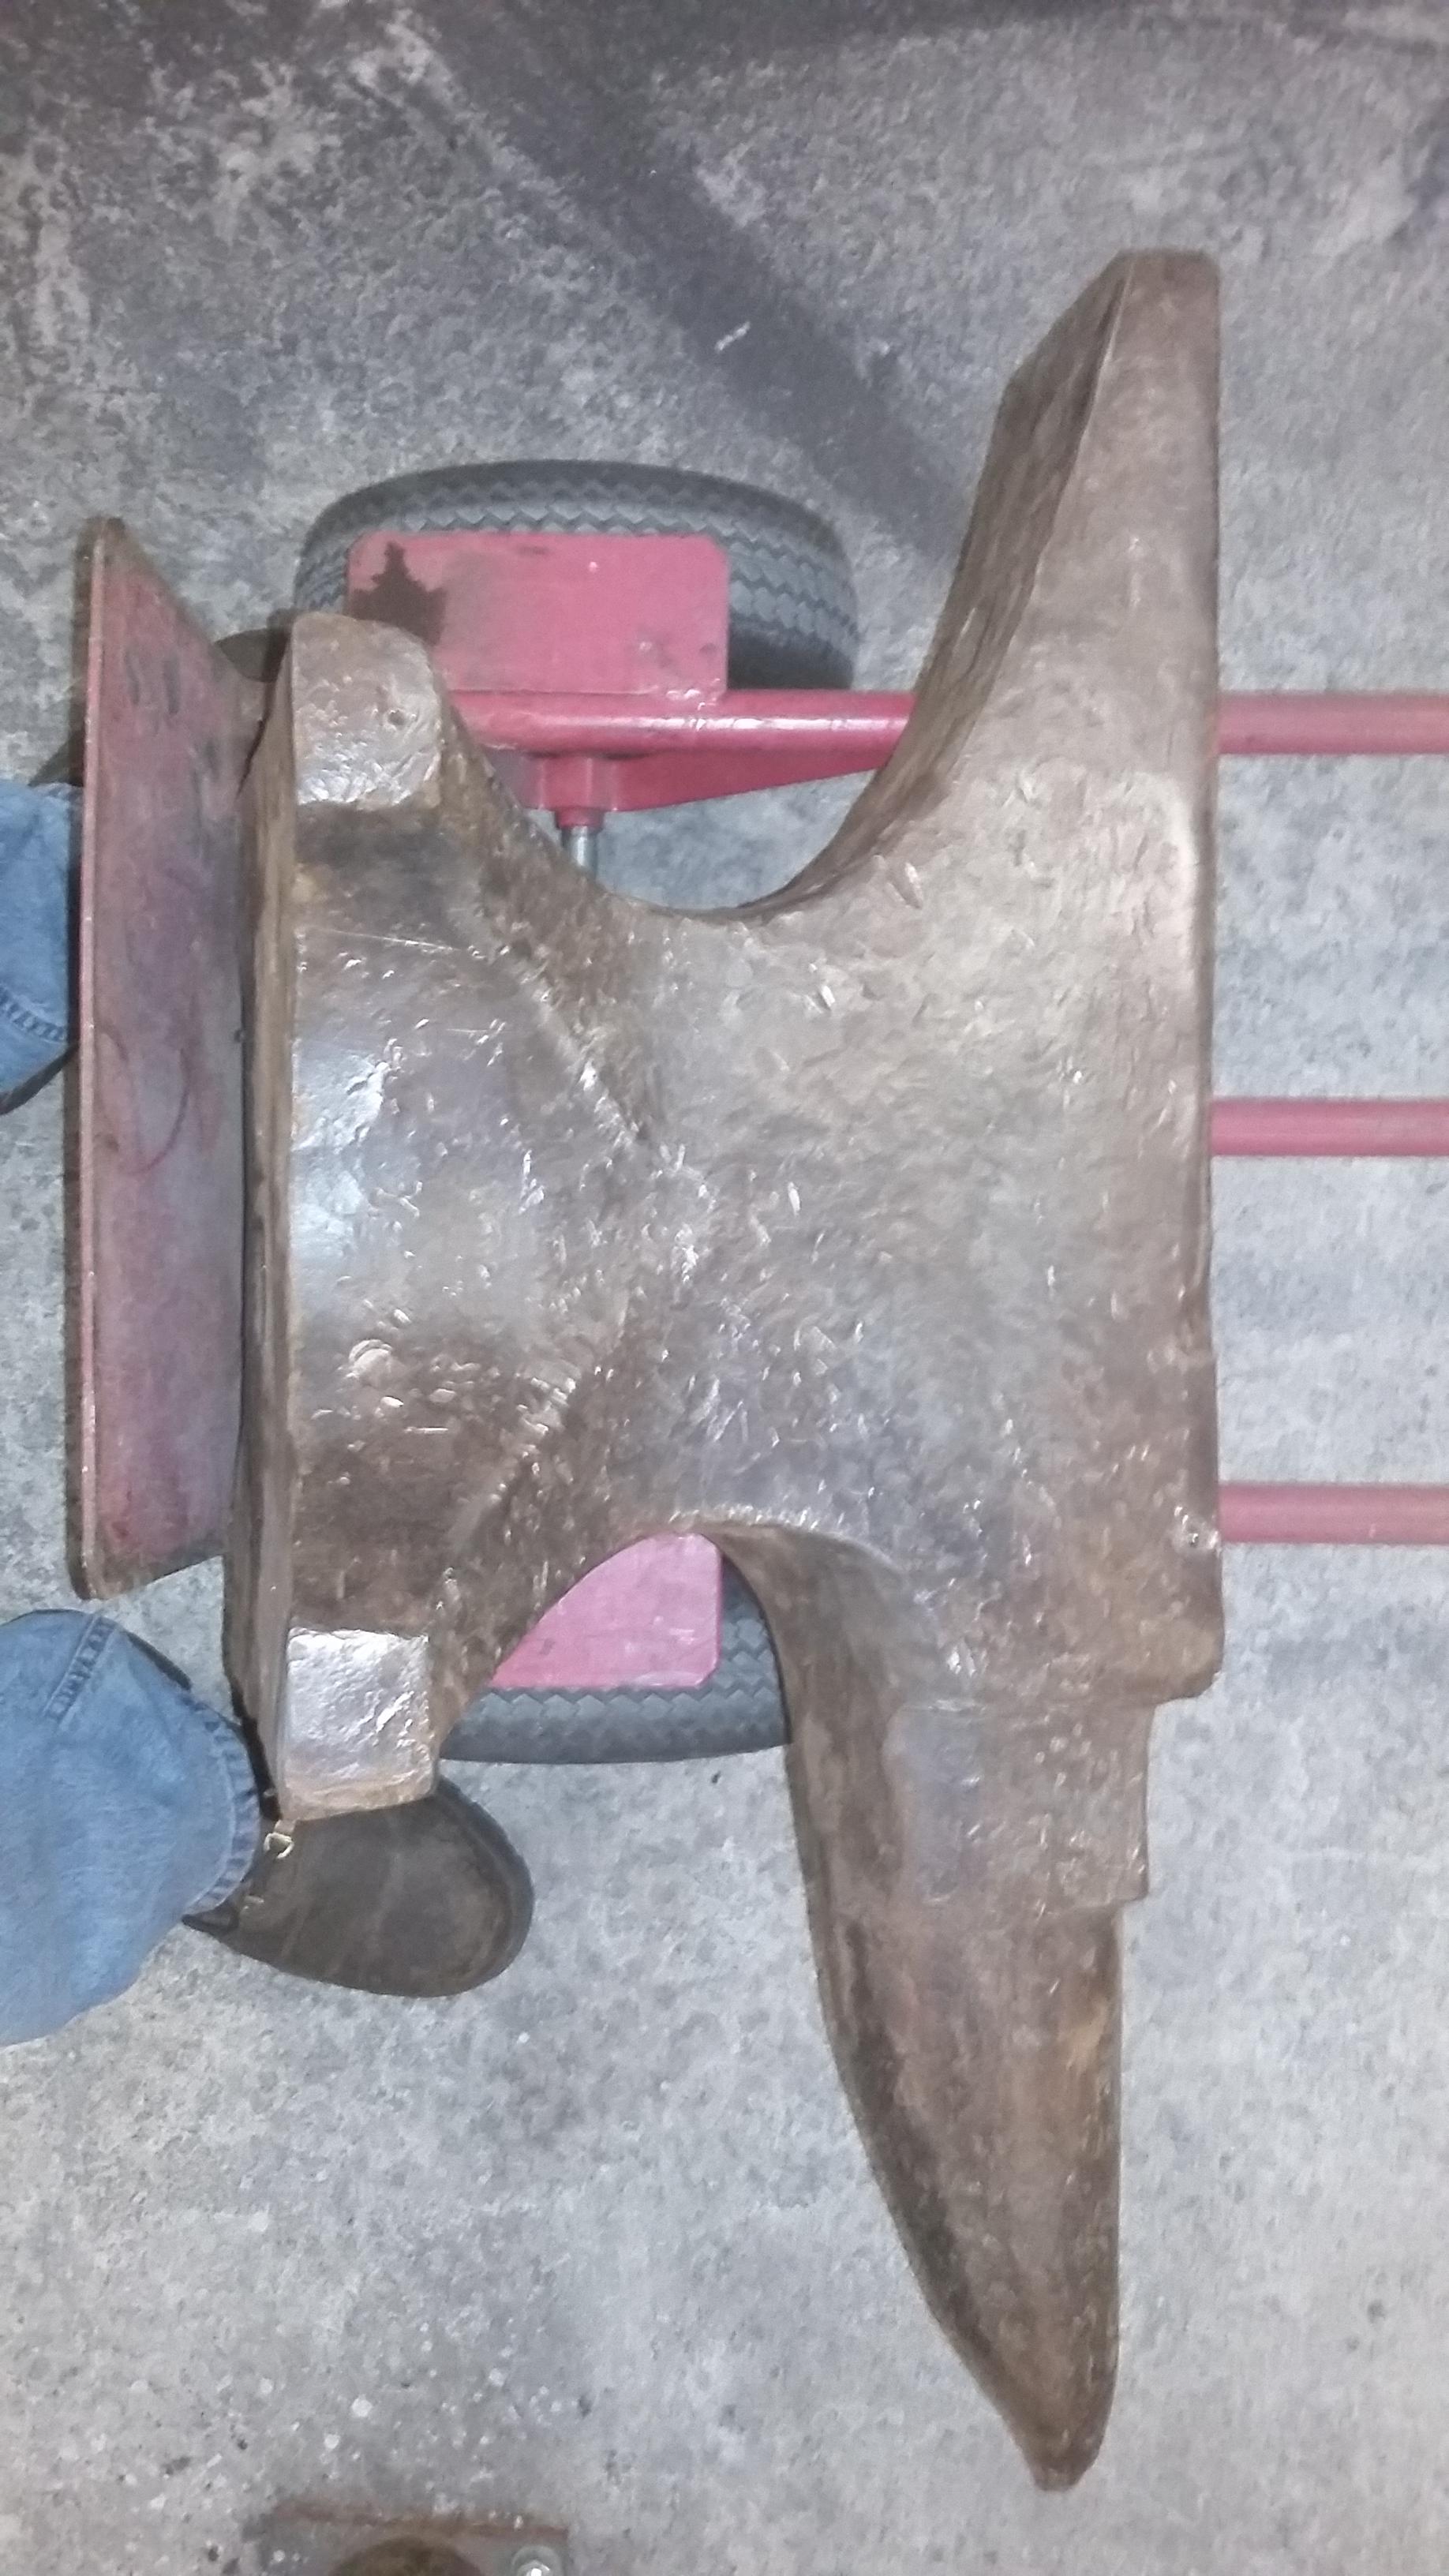
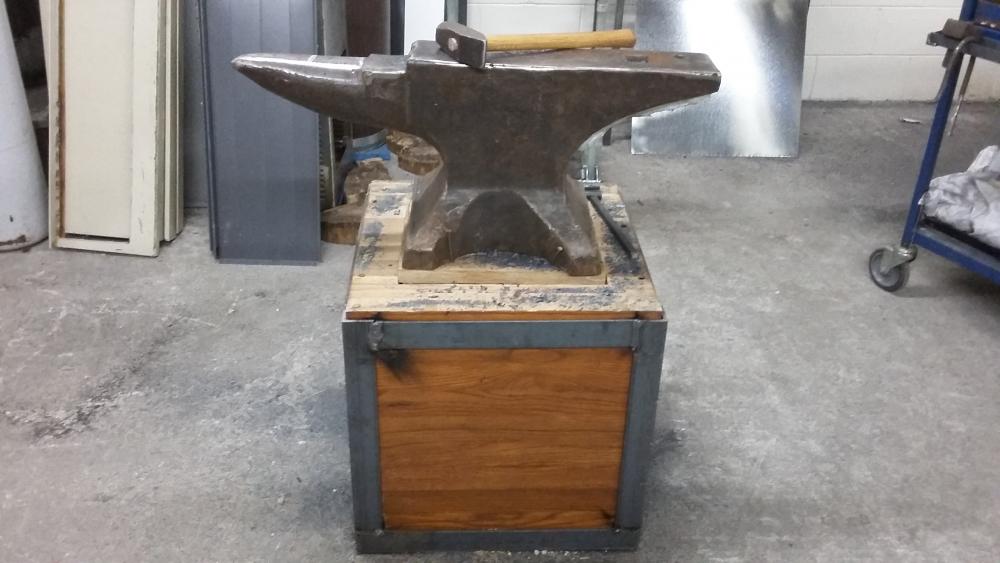
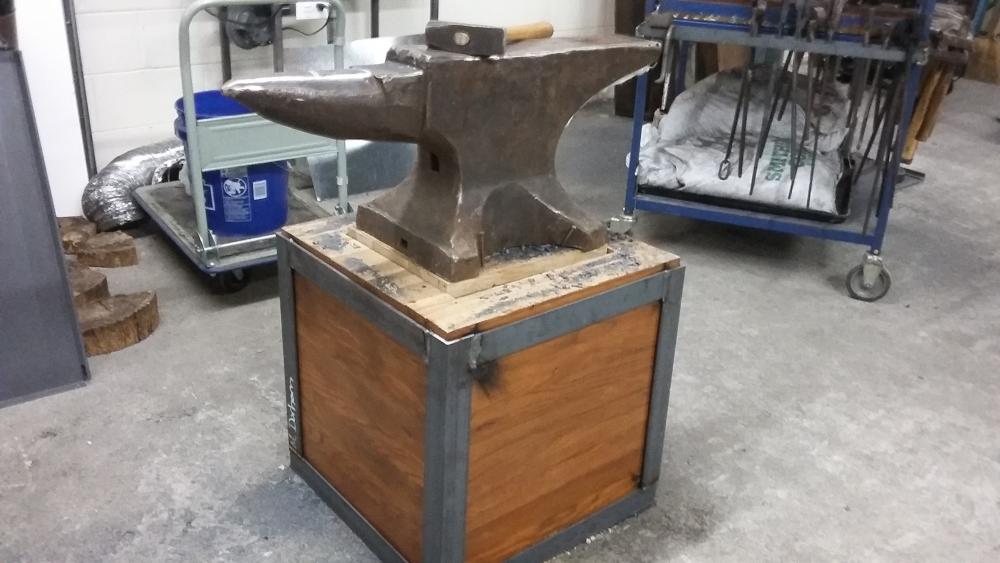
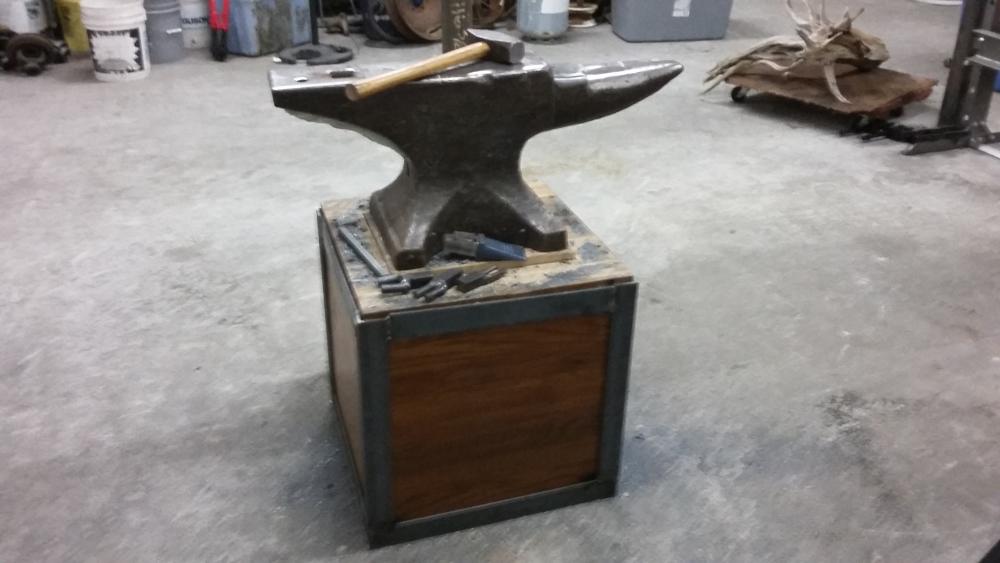
Here's my 300lb PW(I think) and it's little brother the 100lb mousehole. Check out the stand for the big guy, it's filled with sand and the anvil rests on a floating board so I can raise or lower it as necessary. Between that and the silicone on the heel I reduced the ring to a somewhat bearable tone. Before it was totally deafening. I did notice the rebound suffered a bit when I dropped a ball bearing on it after sitting it on the sand. It still moves metal just fine though, and I'll take a little less rebound in exchange for my eardrums!


-
Yep, now I just have to build it a suitable stand and get to work. The stump I have my 100lb mousehole on isn't near big enough! I'll take some pics once I get it all done. Gotta build a new coal forge too to go with it. I think the shop is about to get a MAJOR facelift! Woohoo!
-
Haha, I got it! Weighs in at 296 pounds. Took some finagling, but I got a scale that seems reliable.
-
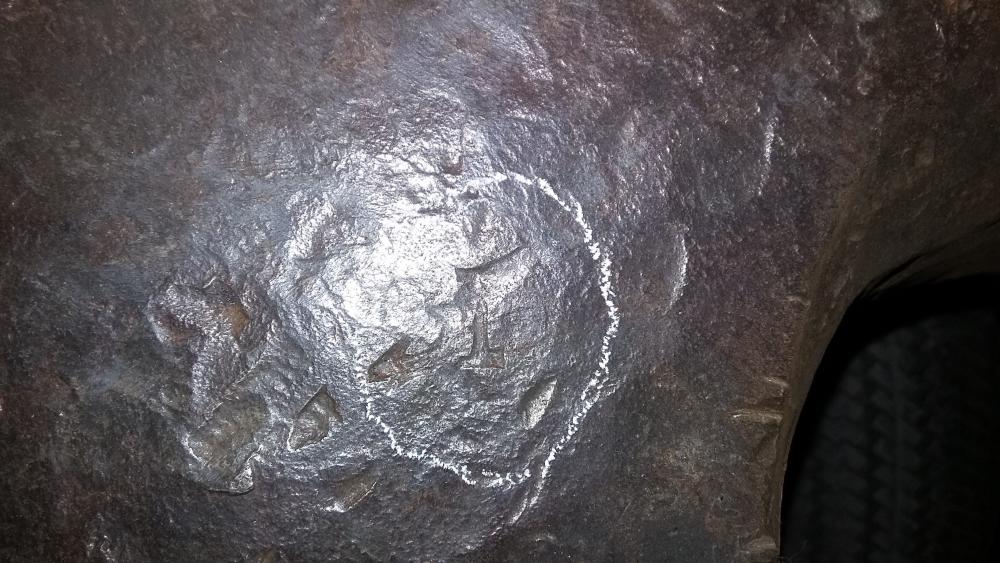
I checked out that mark and I'm pretty sure it's just a gouge... That middle area is just so beat up it's hard to tell for sure though. It's funny, bathroom scales all weigh over 300lbs now, but they are also all made of glass. Gently sitting a 200-some-odd lb anvil down is kinda hard! I'll let you guys know as soon as I get it weighed though (I'm leaning towards the 281 myself,) thanks again for all the help and insight.
-
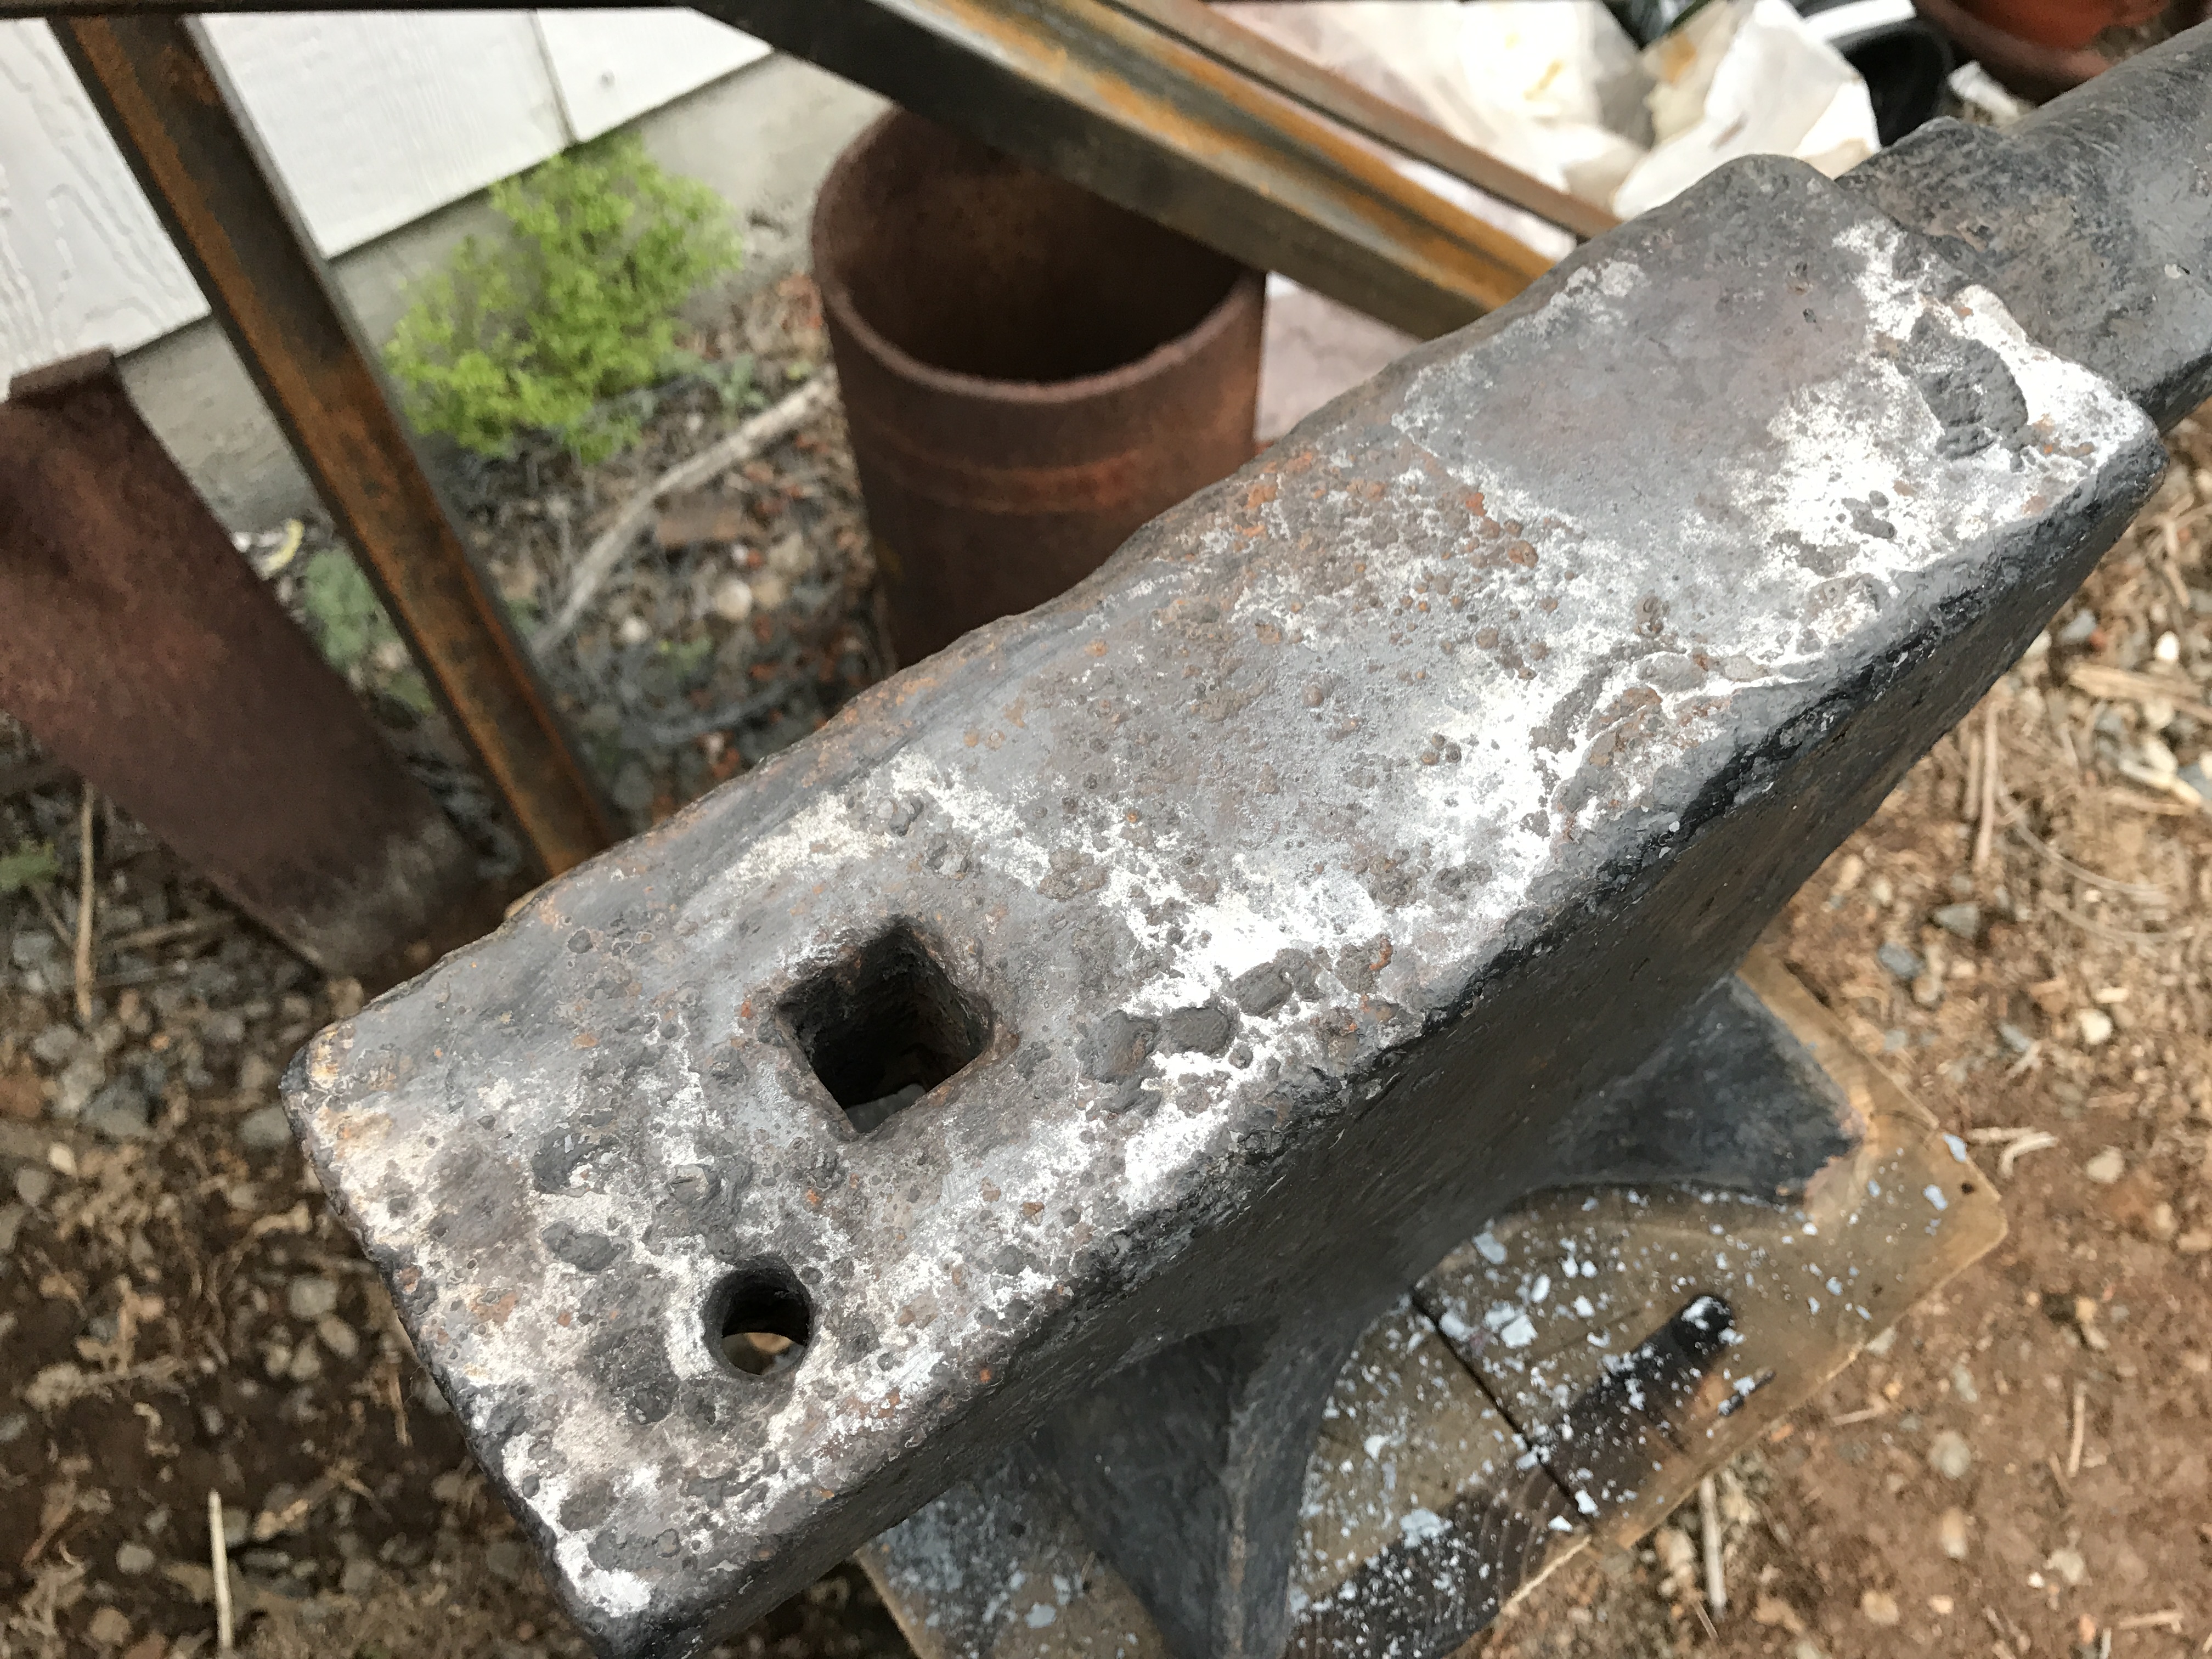
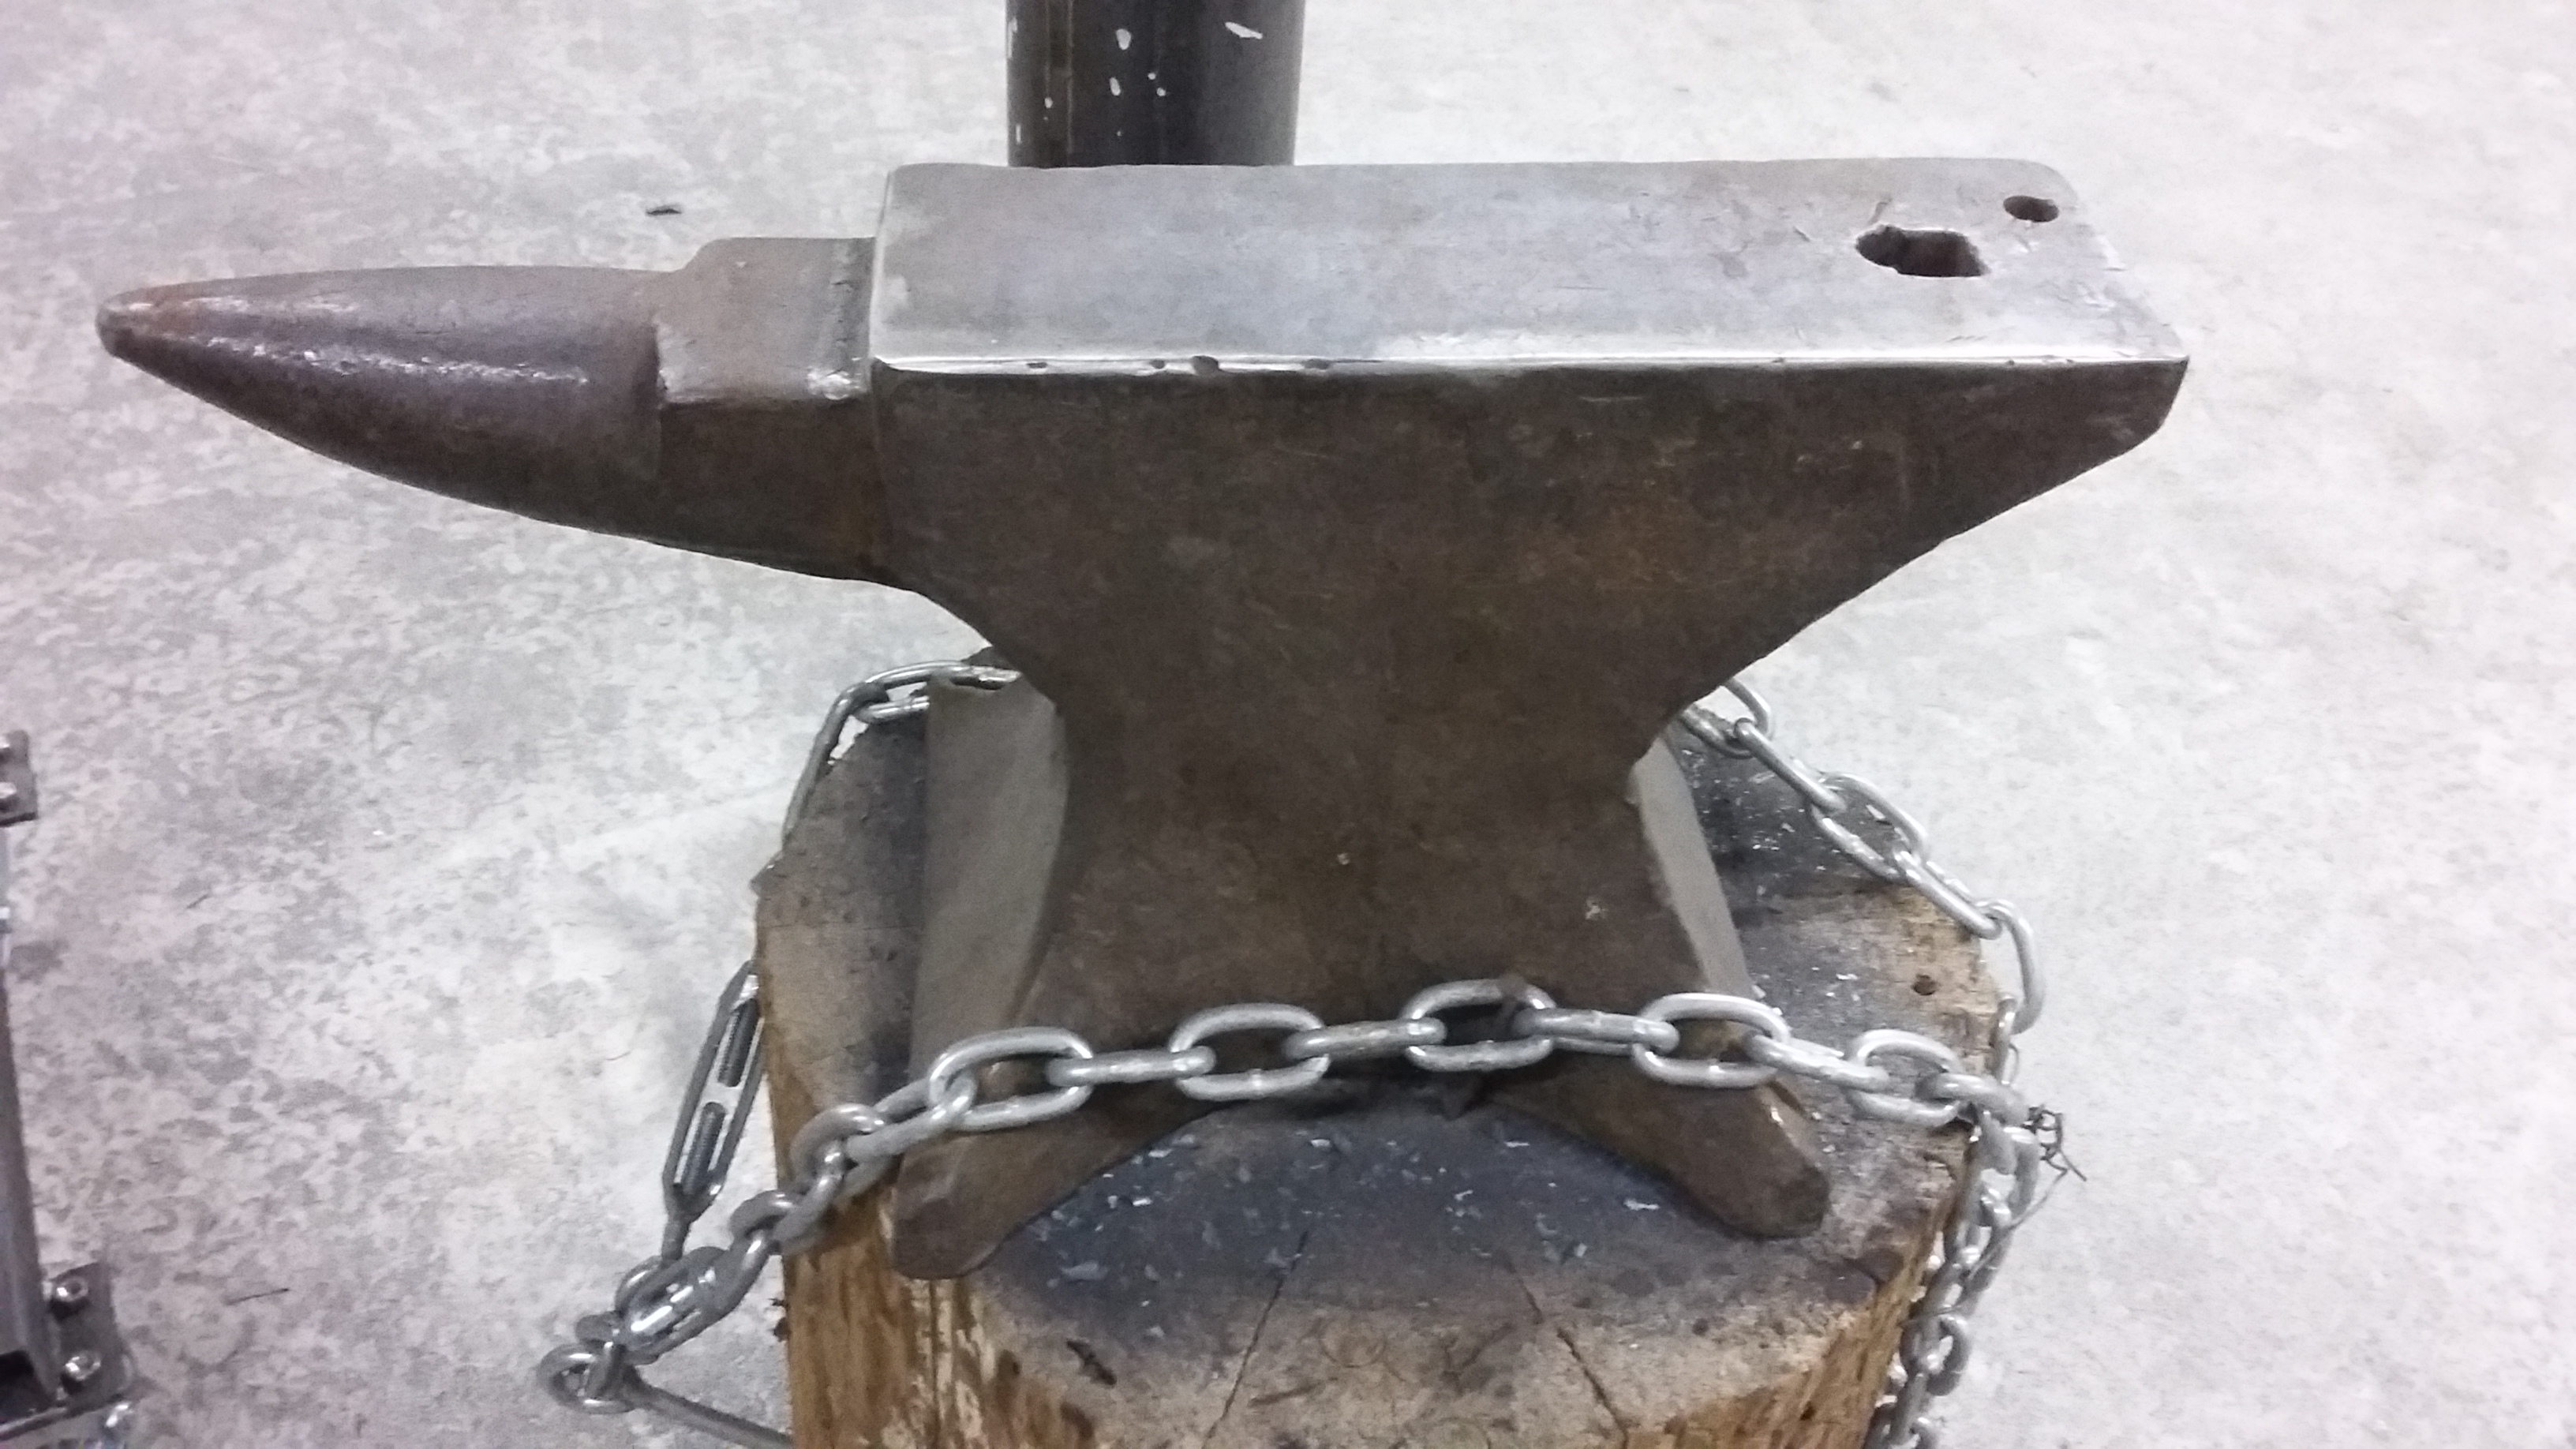
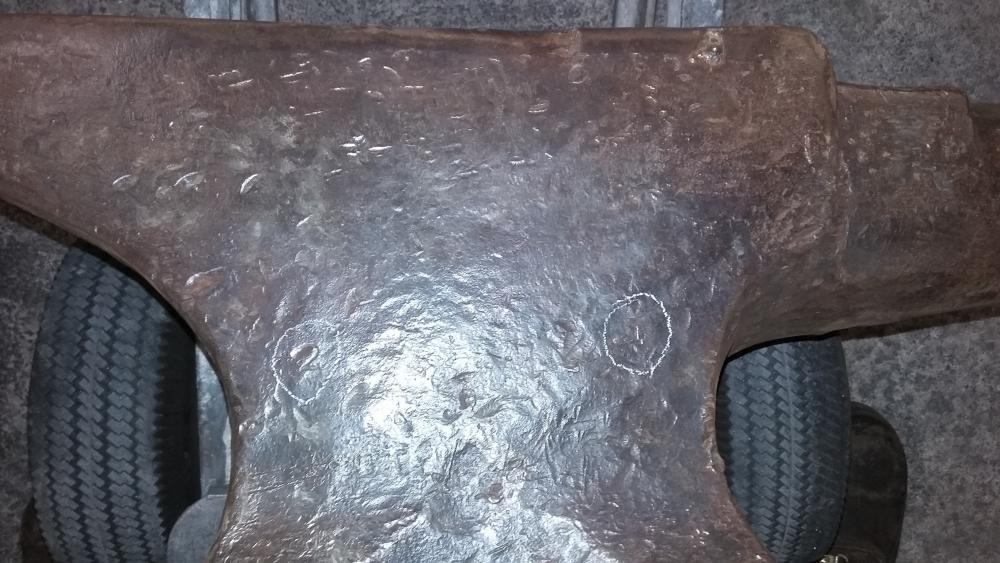
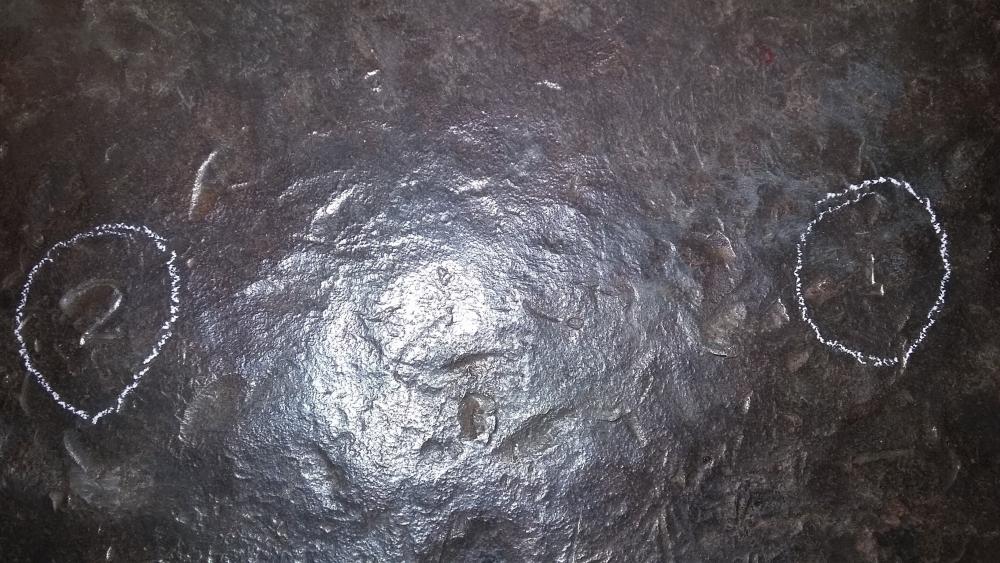
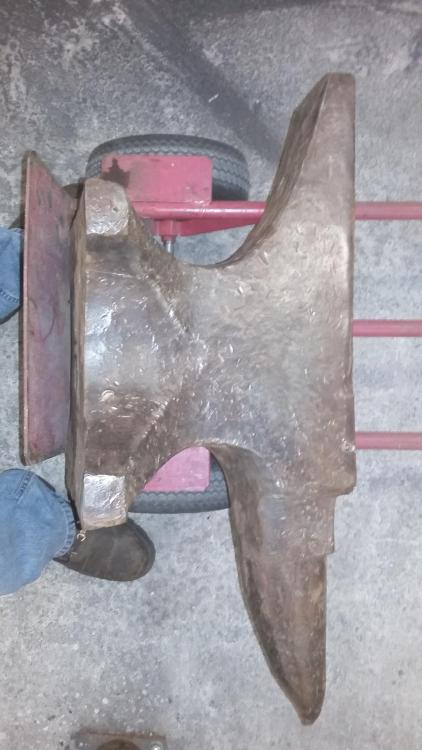
Yeah, there are literally no surfaces on this anvil that don't have hammer marks. I swear they must have had it on a swivel or something and laid it over on the side at times to use it. Given that though, it's still in remarkably good shape. Only one bad gouge on the side of the face near the horn, not even much sway. Maybe all that side work kept the sides from compressing... Anyway, it looks like its a pre-1850 Peter Wright from what I've been able to mine from the interwebs. Around 1850 they started marking them as "Solid Wrought" and there is no lettering at all on this bad boy. I'm sure SOME of it would have survived if it ever existed. Anyone know much about pre-1850 PW's? I appreciate all the help so far, this has been a fun little adventure
-
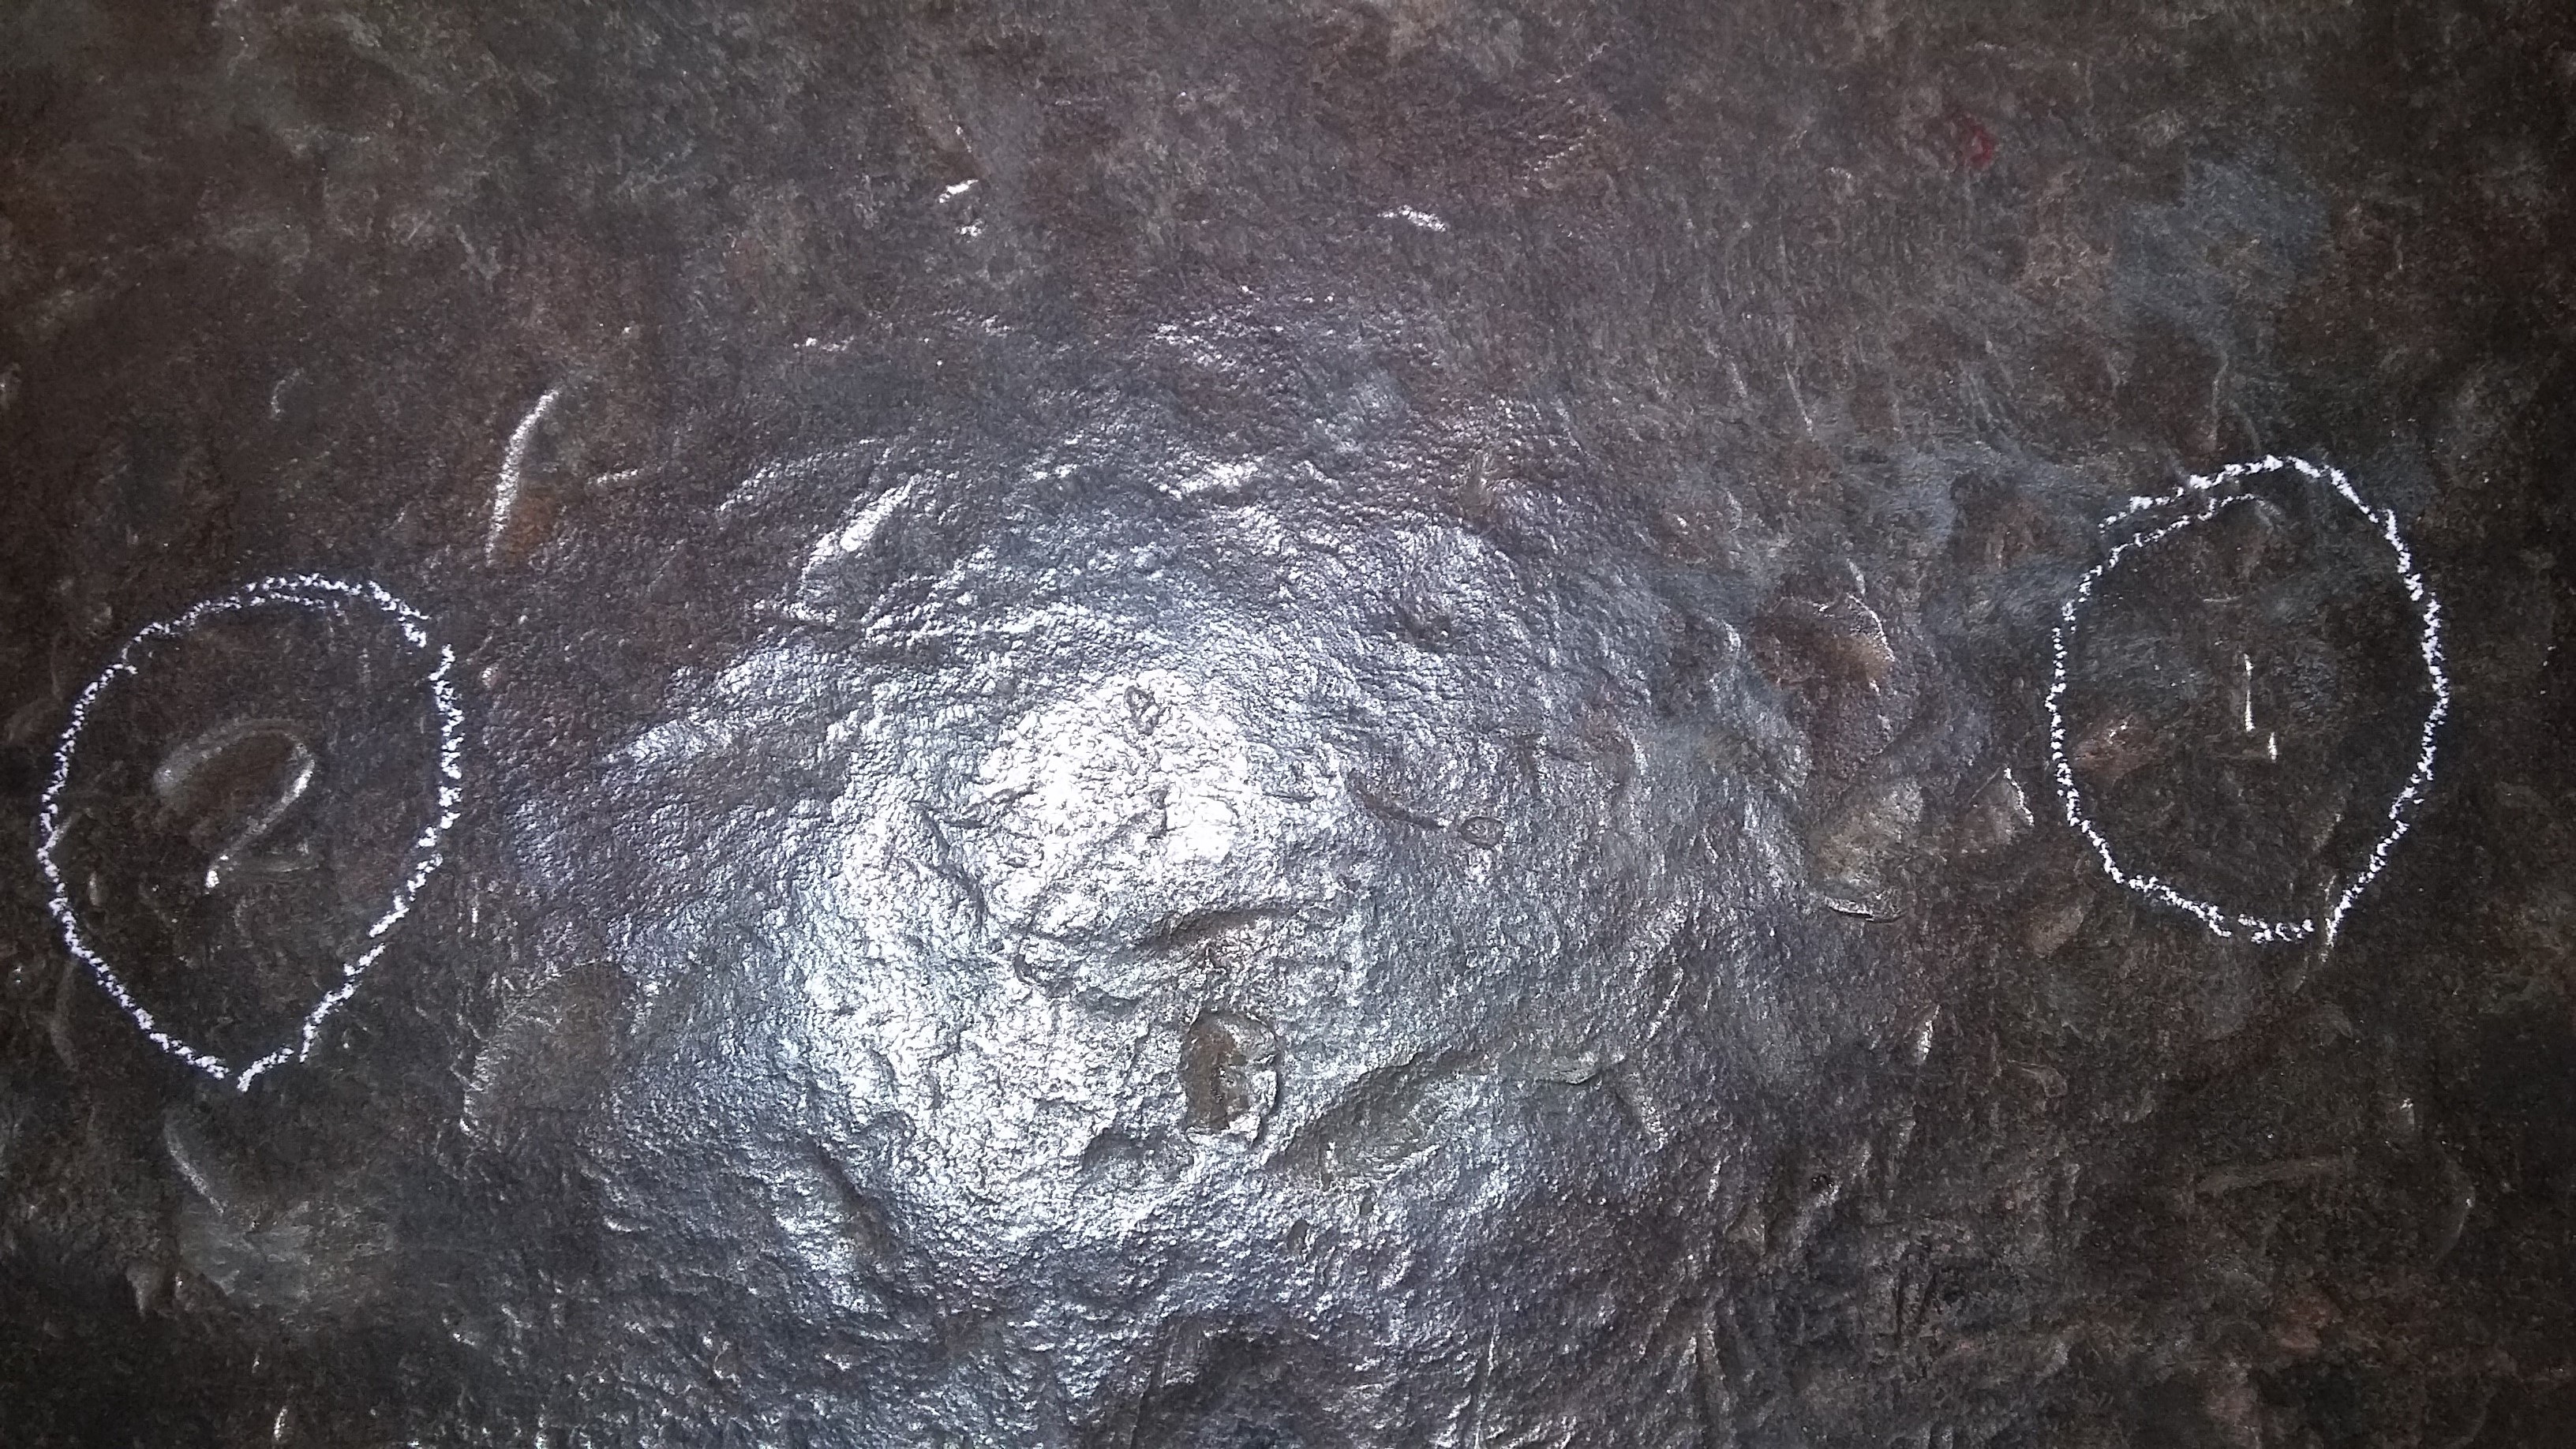
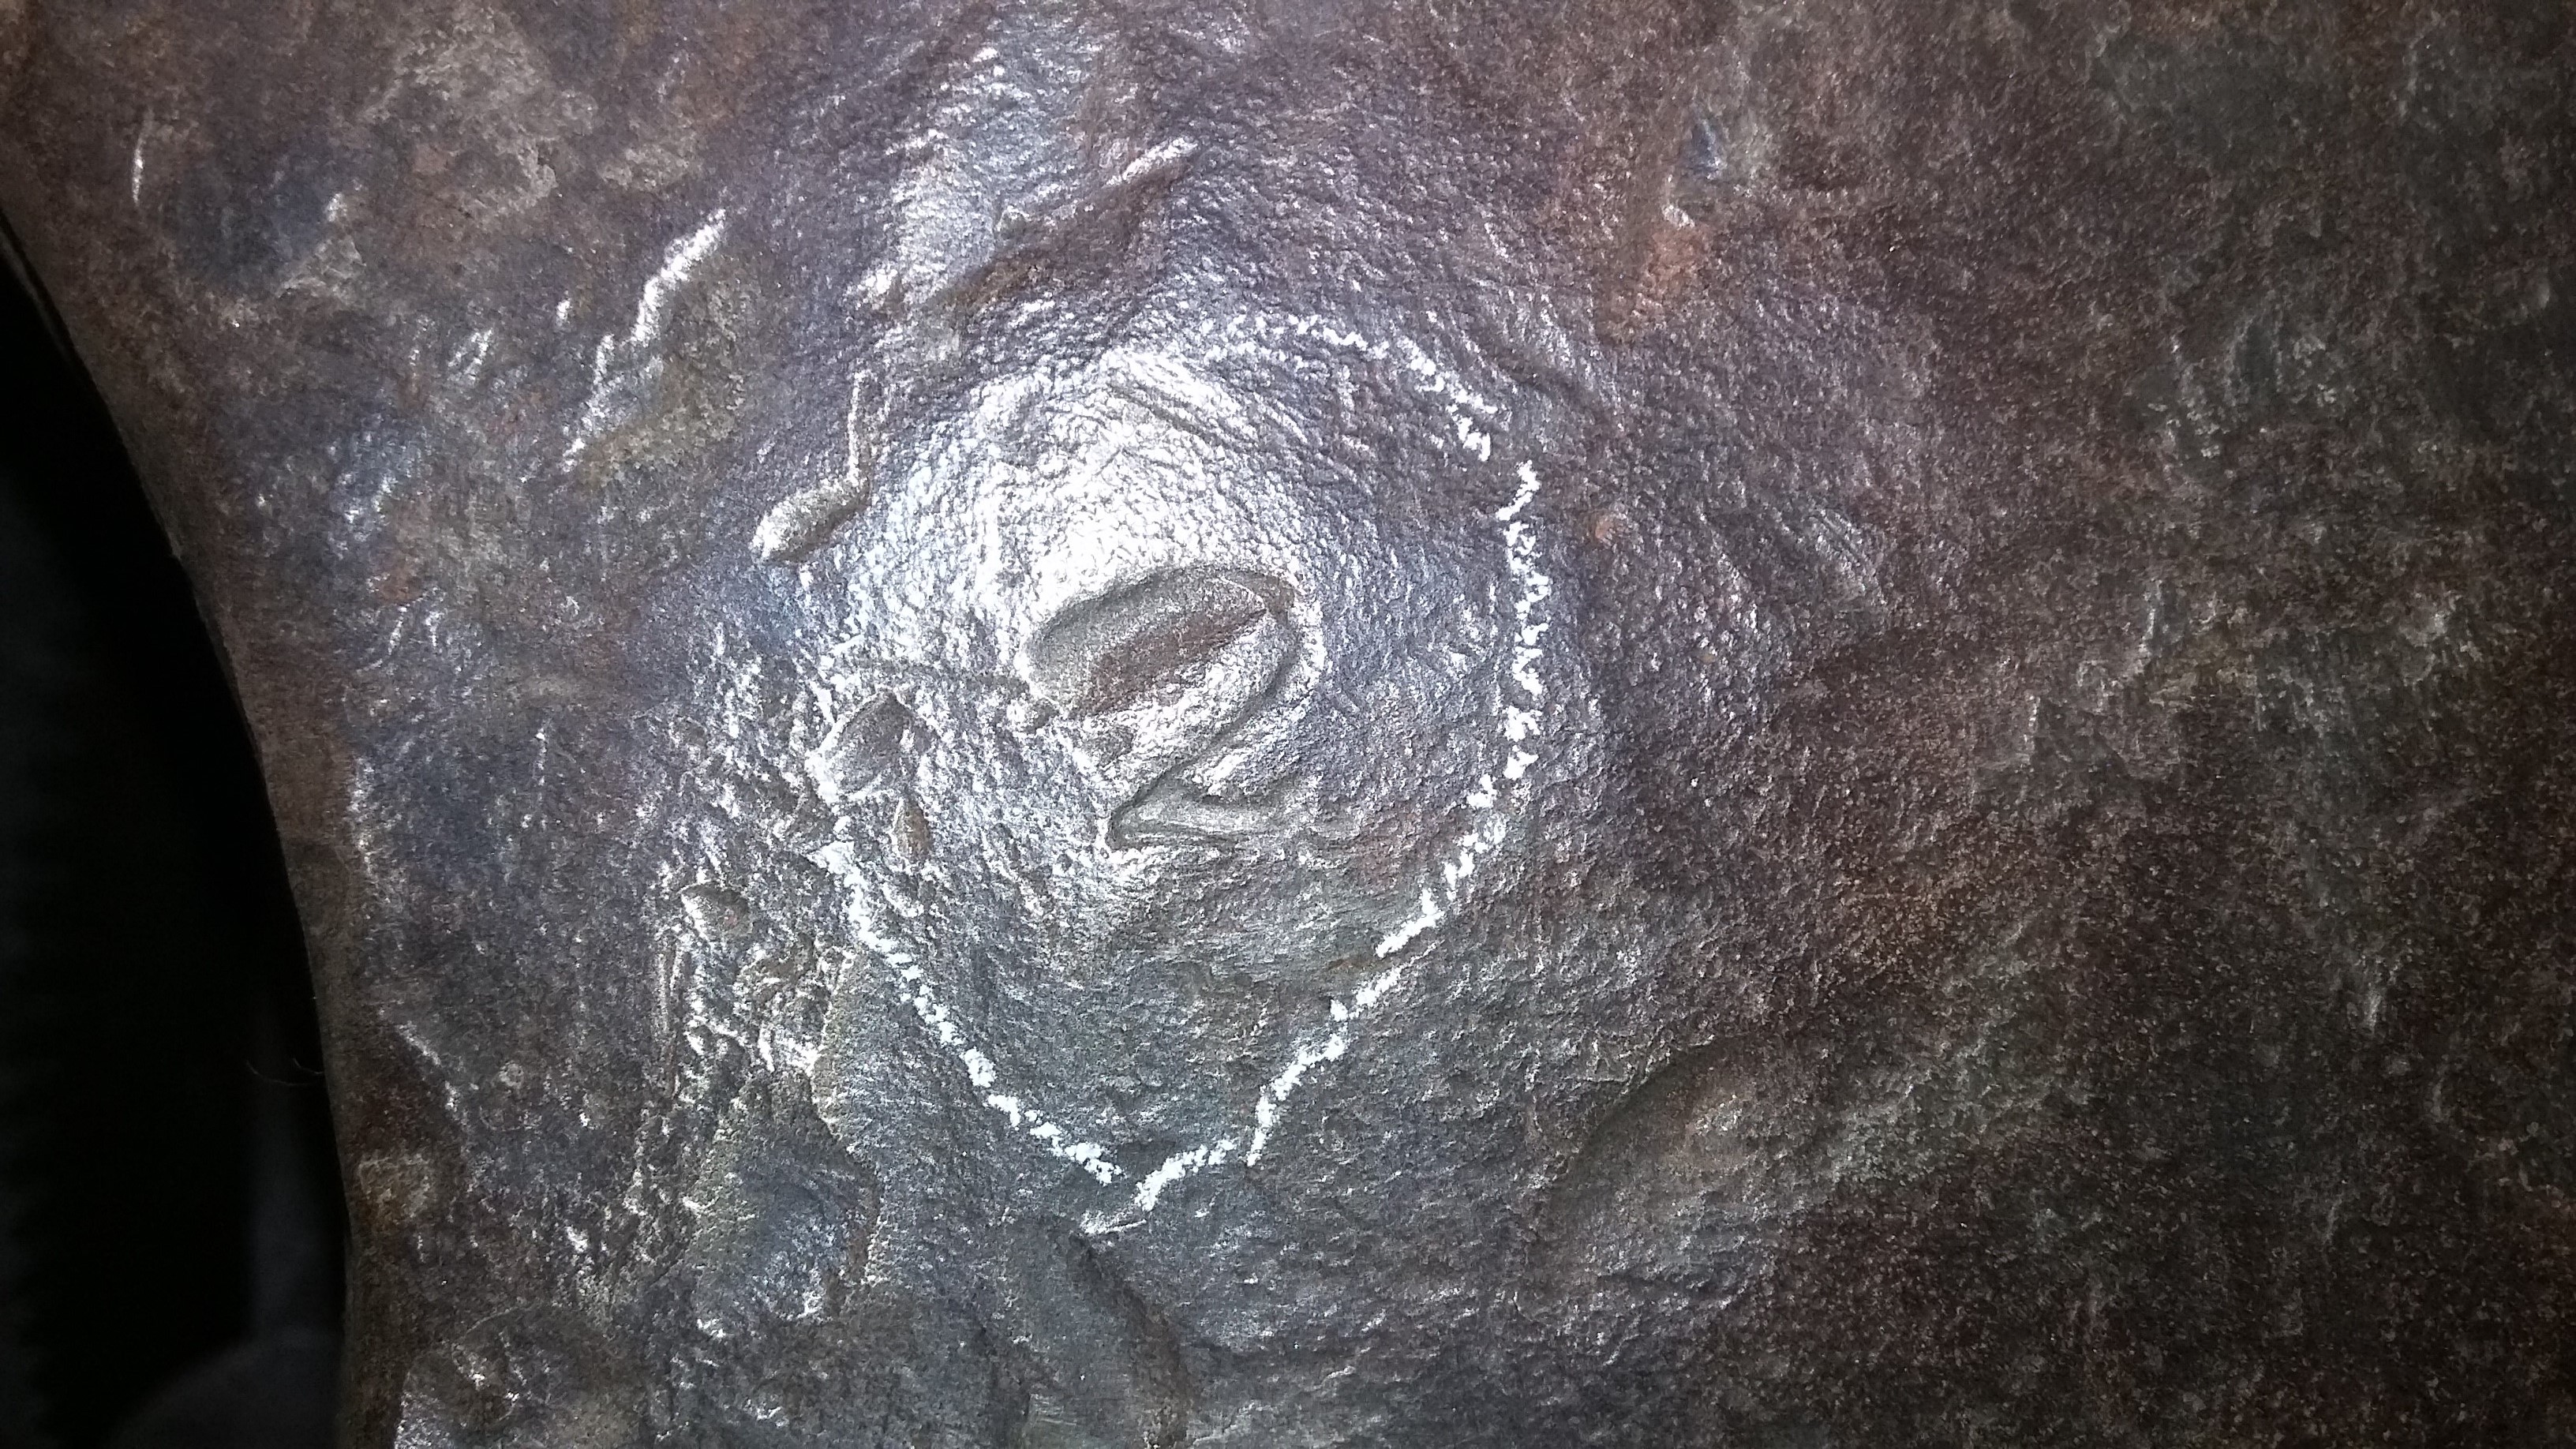
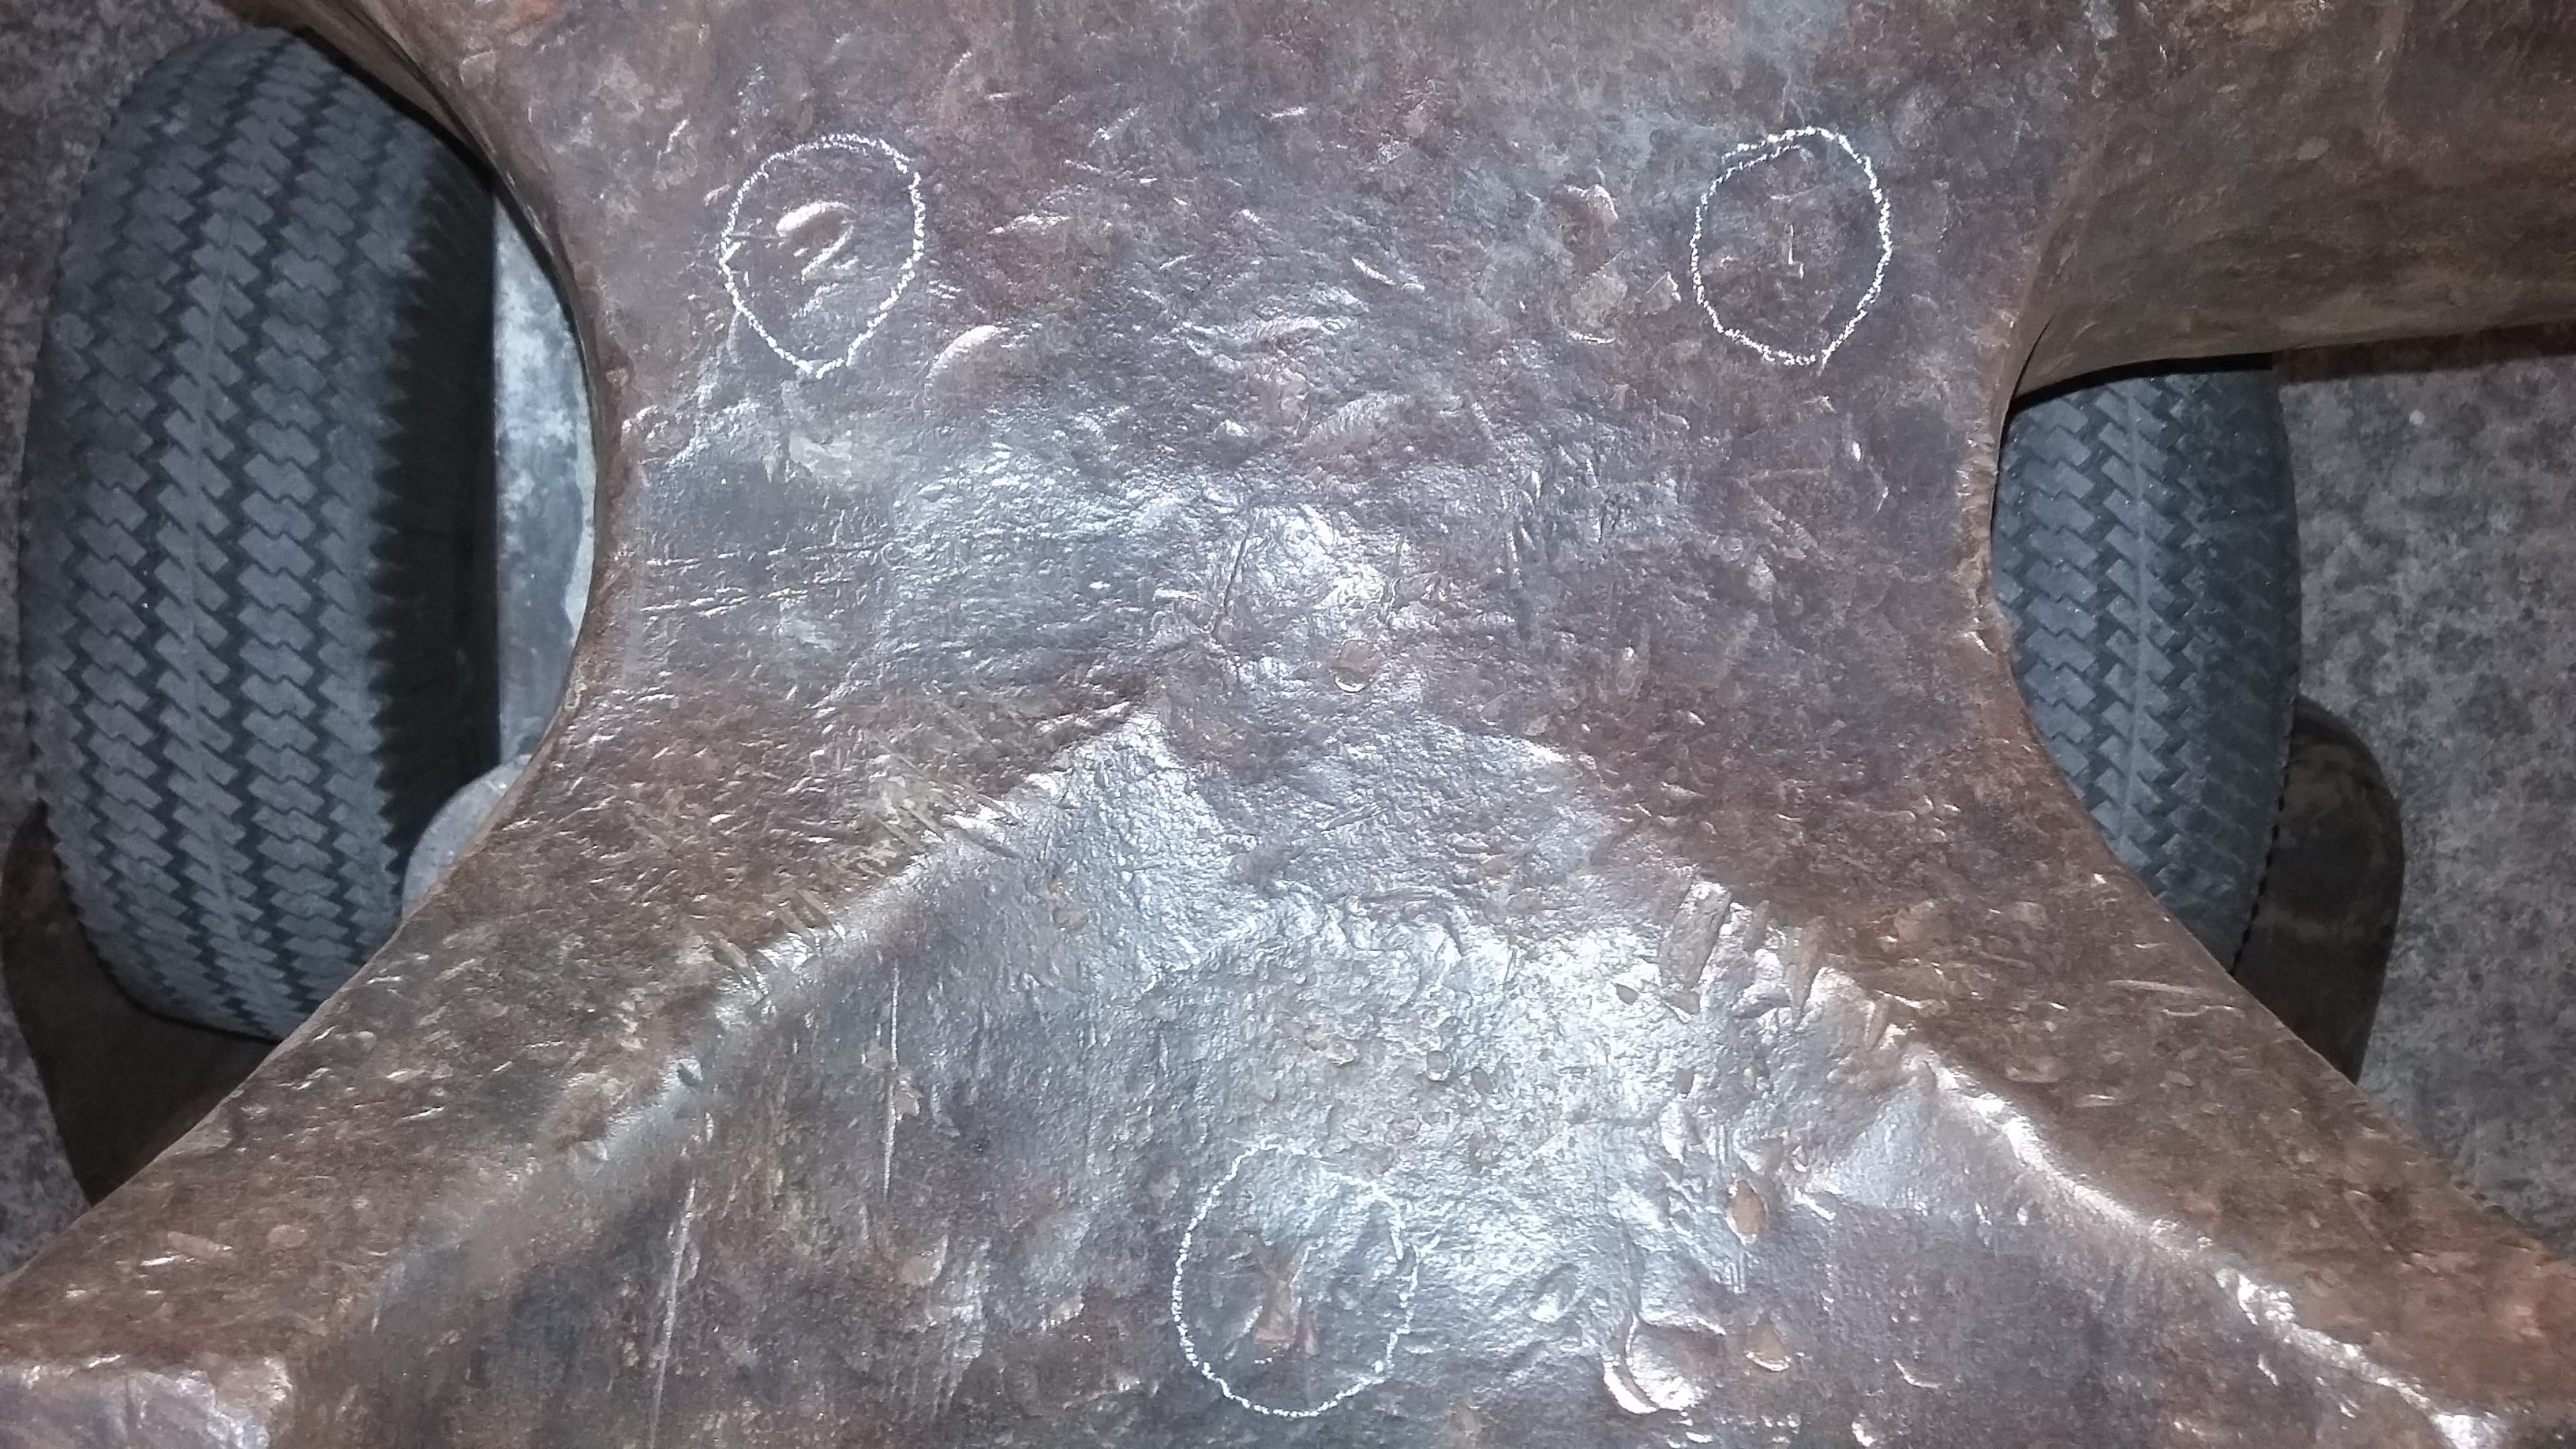
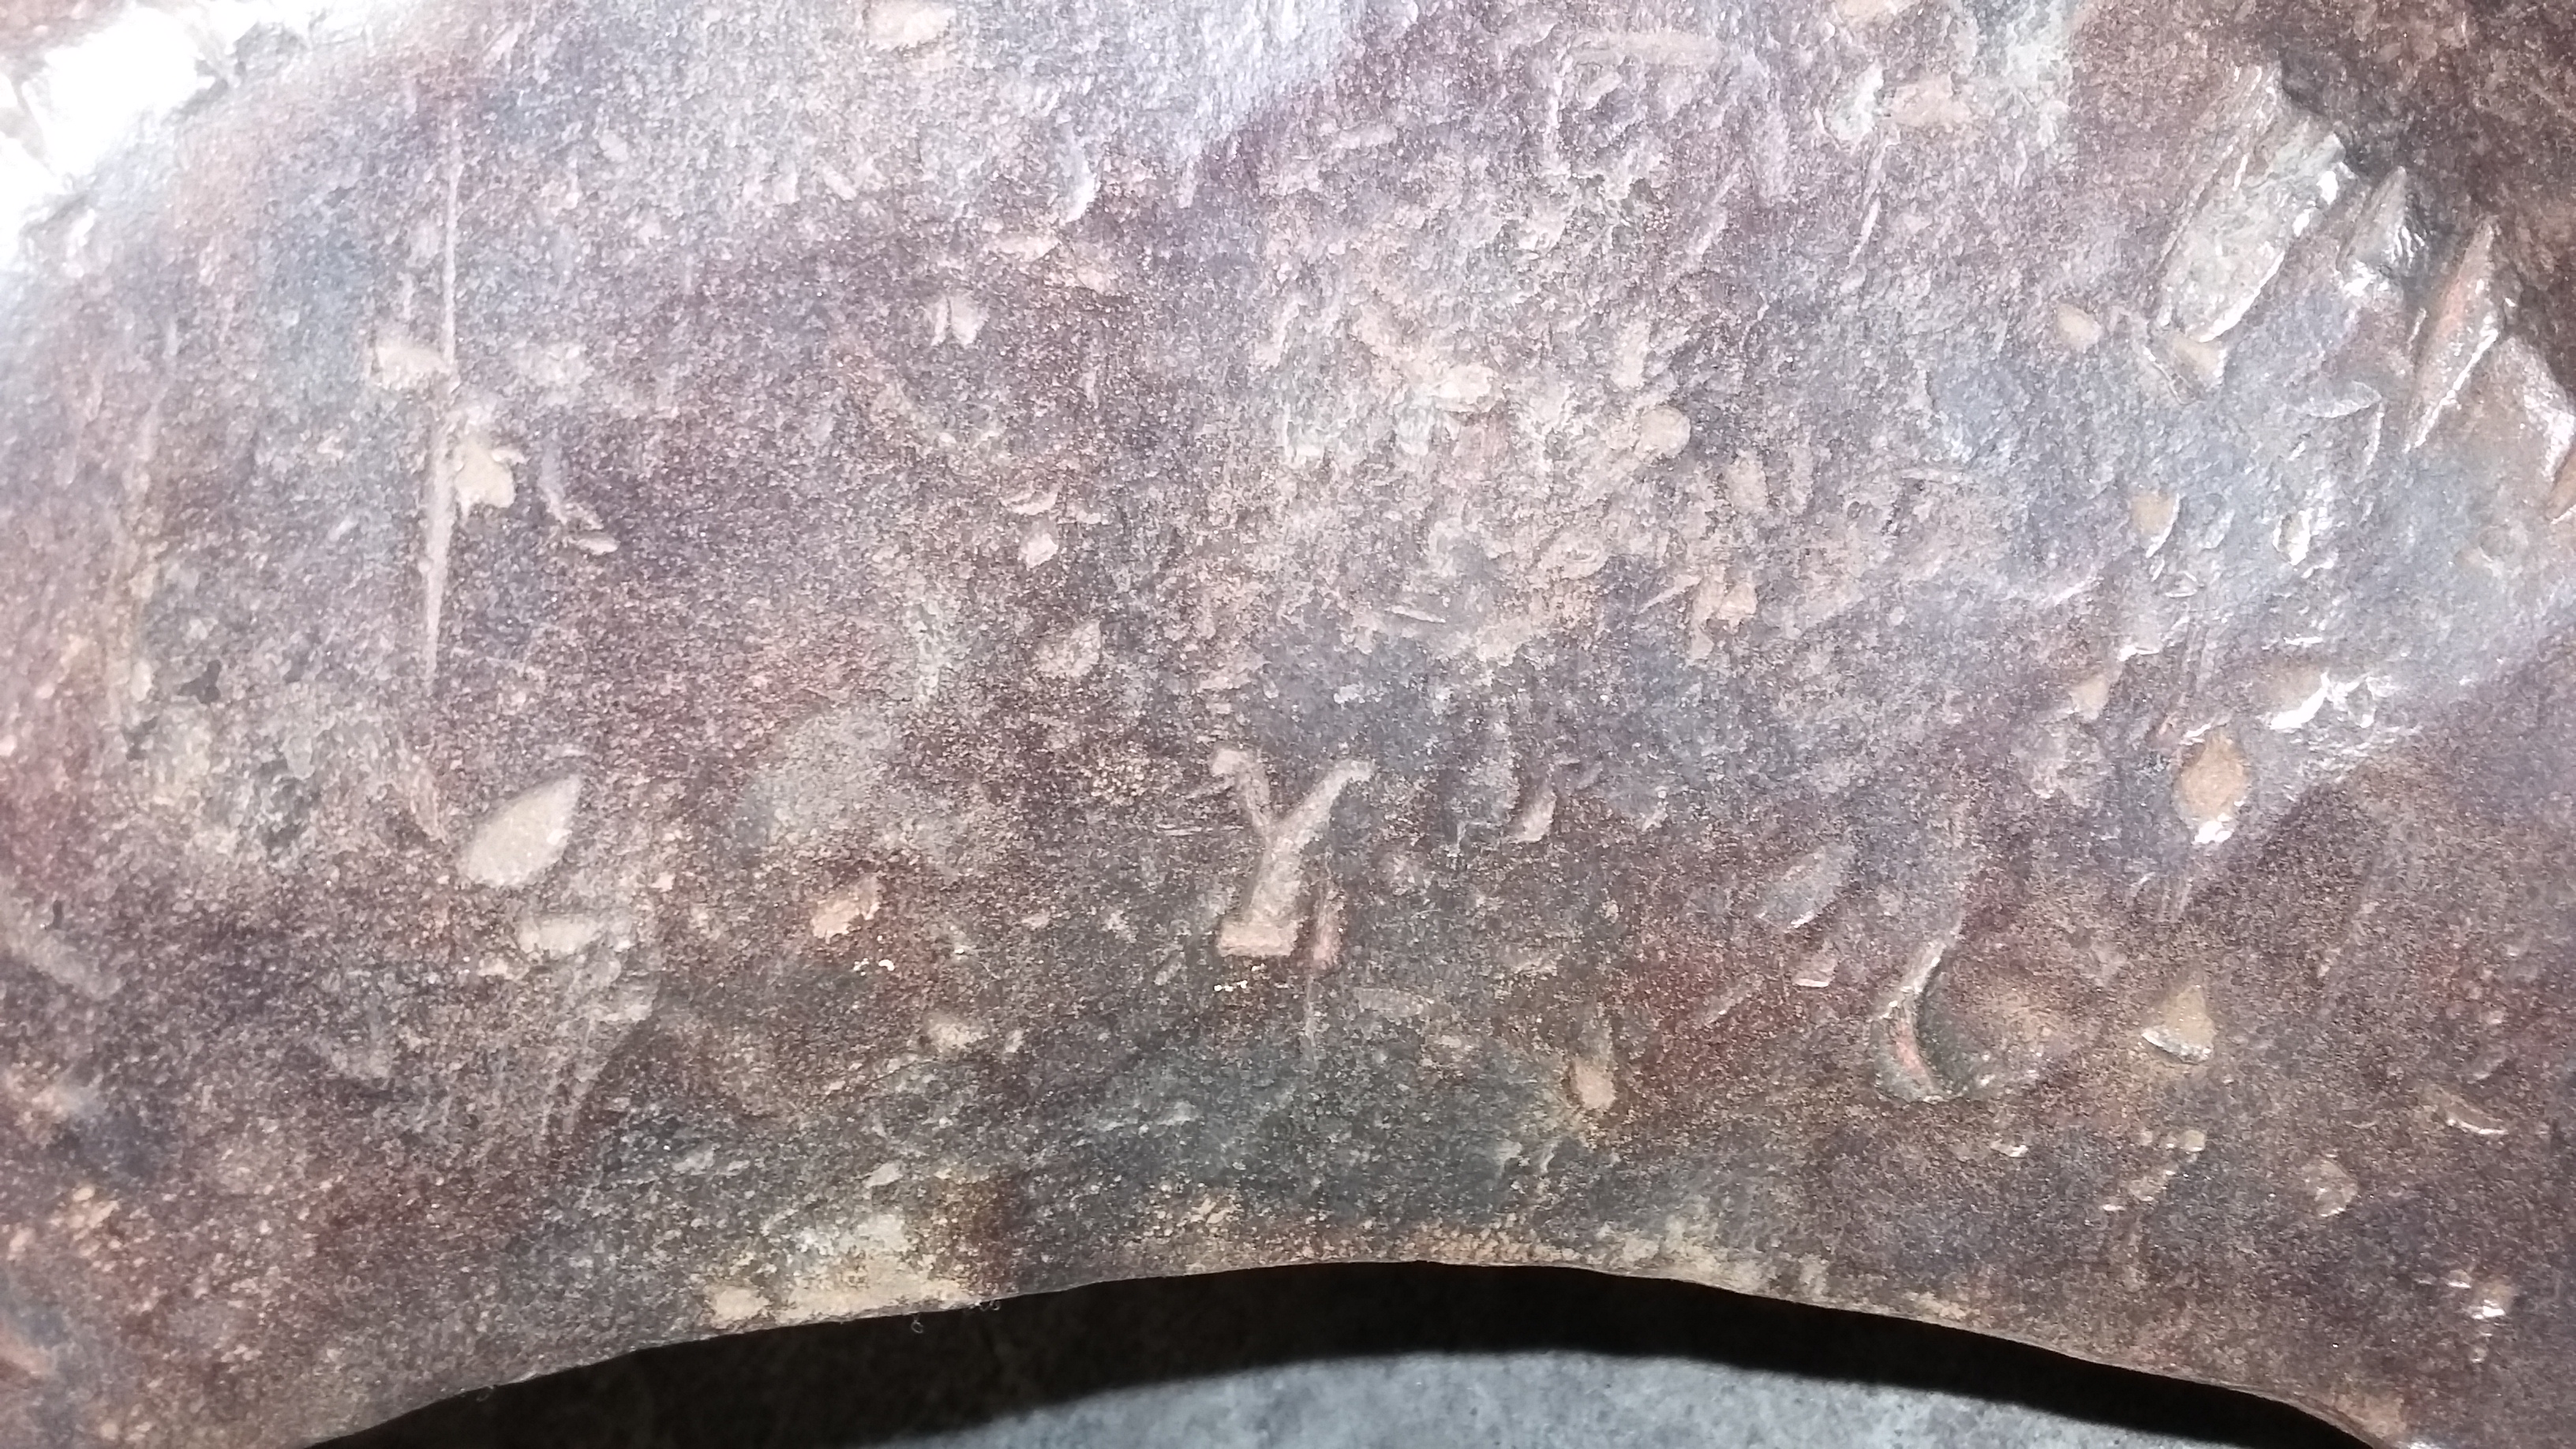
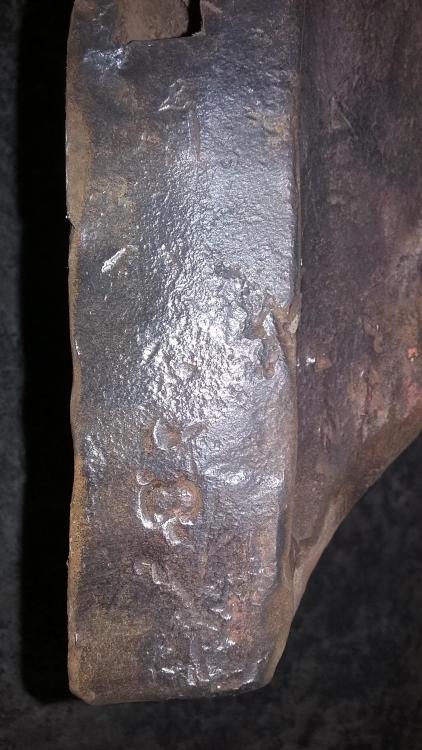
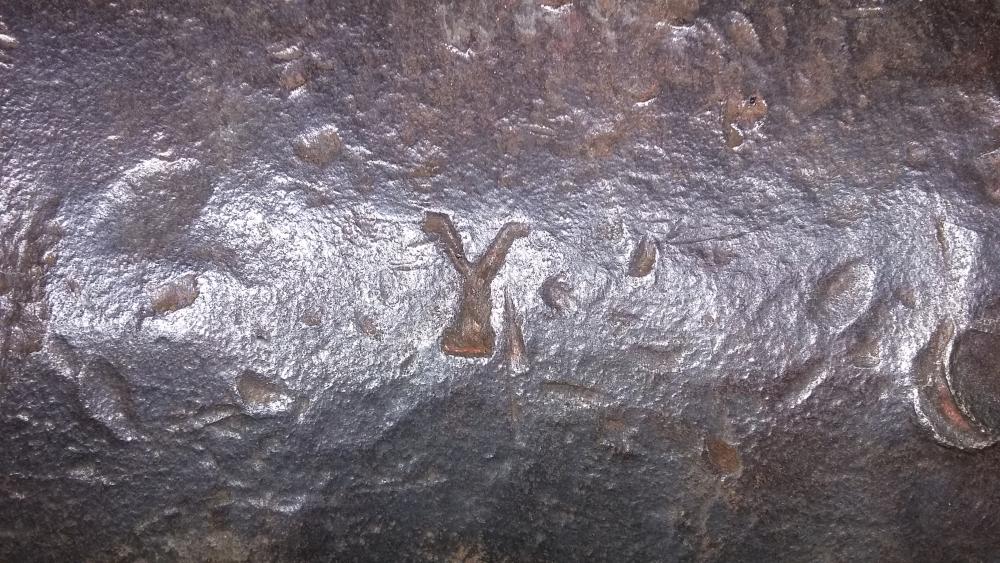
Found a couple more marks! They are totally spread out and still make no sense... although the 2 could signify 200 some odd pounds. The "I" and the "Y" still baffle me though, same style of lettering on punches though, so at least there's that.

-
Thanks Black Frog! After looking at other pics those handling holes do look AWFUL similar to other American's. With as much abuse as the sides have taken I could totally see that emblem being slowly ground away, even the pics of nicer ones I've been able to find tend to have a pretty faint "American" mark. Anyone with more knowledge on them maybe? Not a lot on the net I've been able to dig up so far, but I'm at work...
-
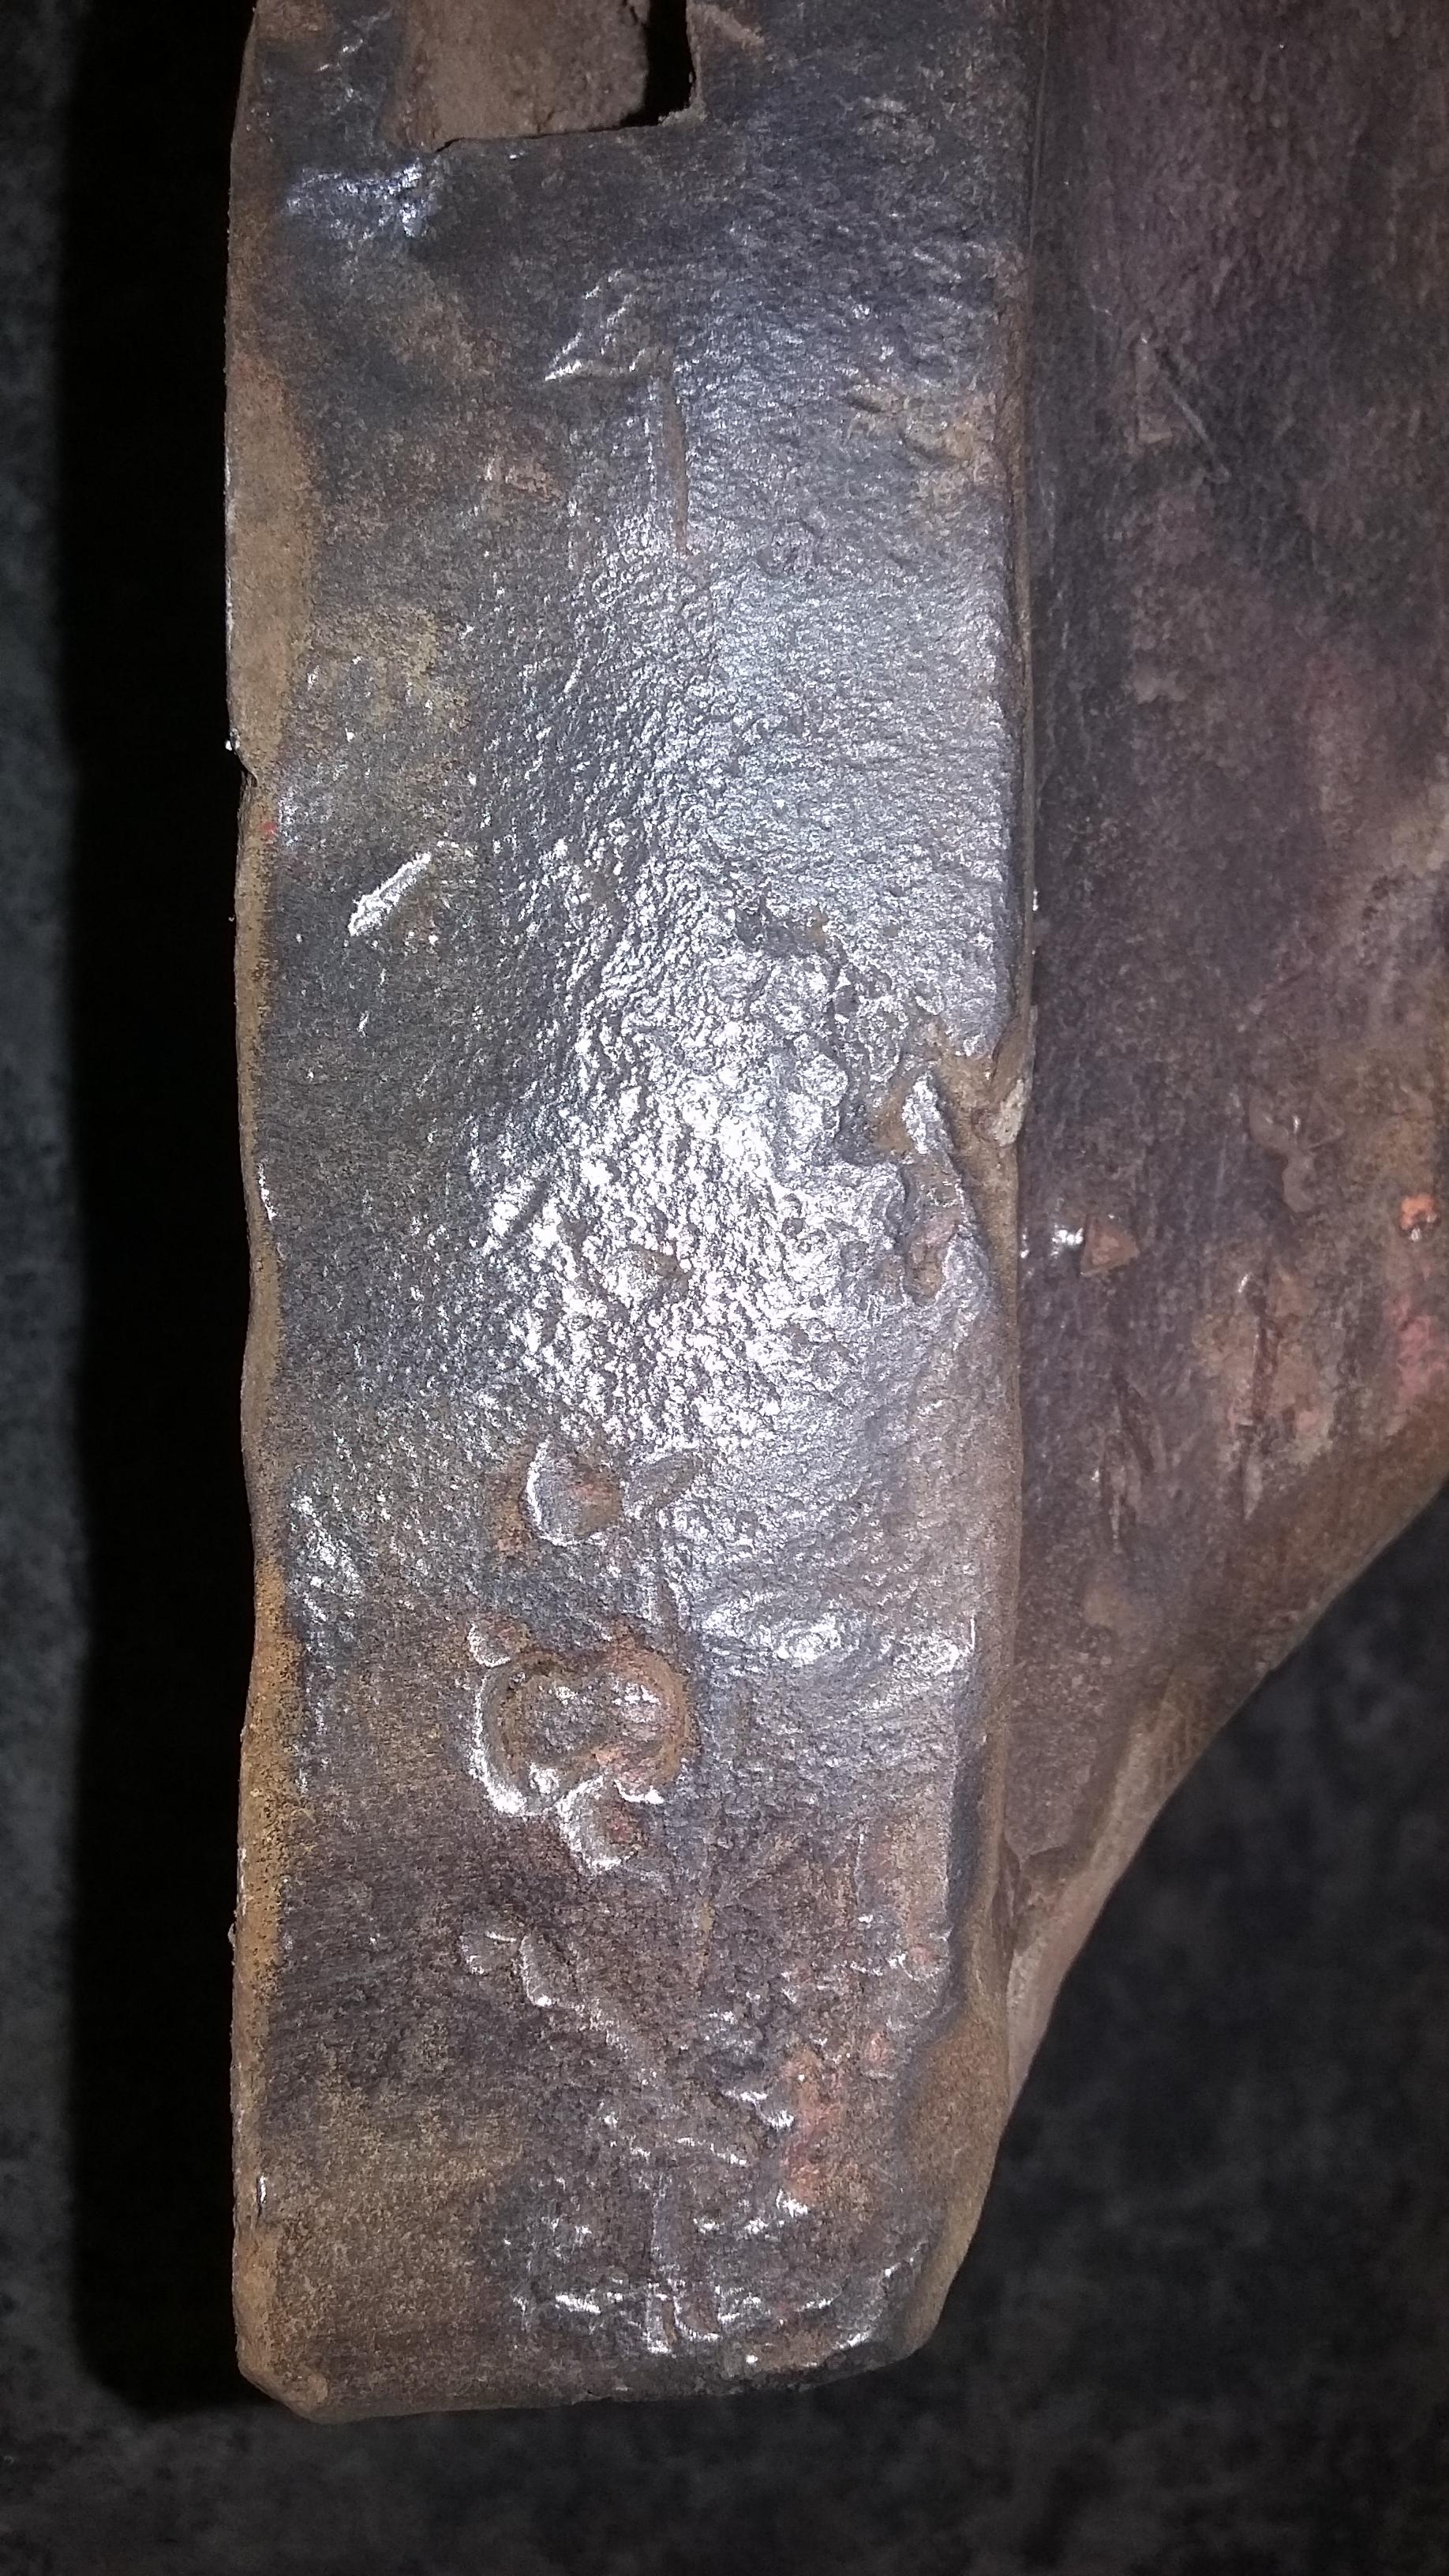
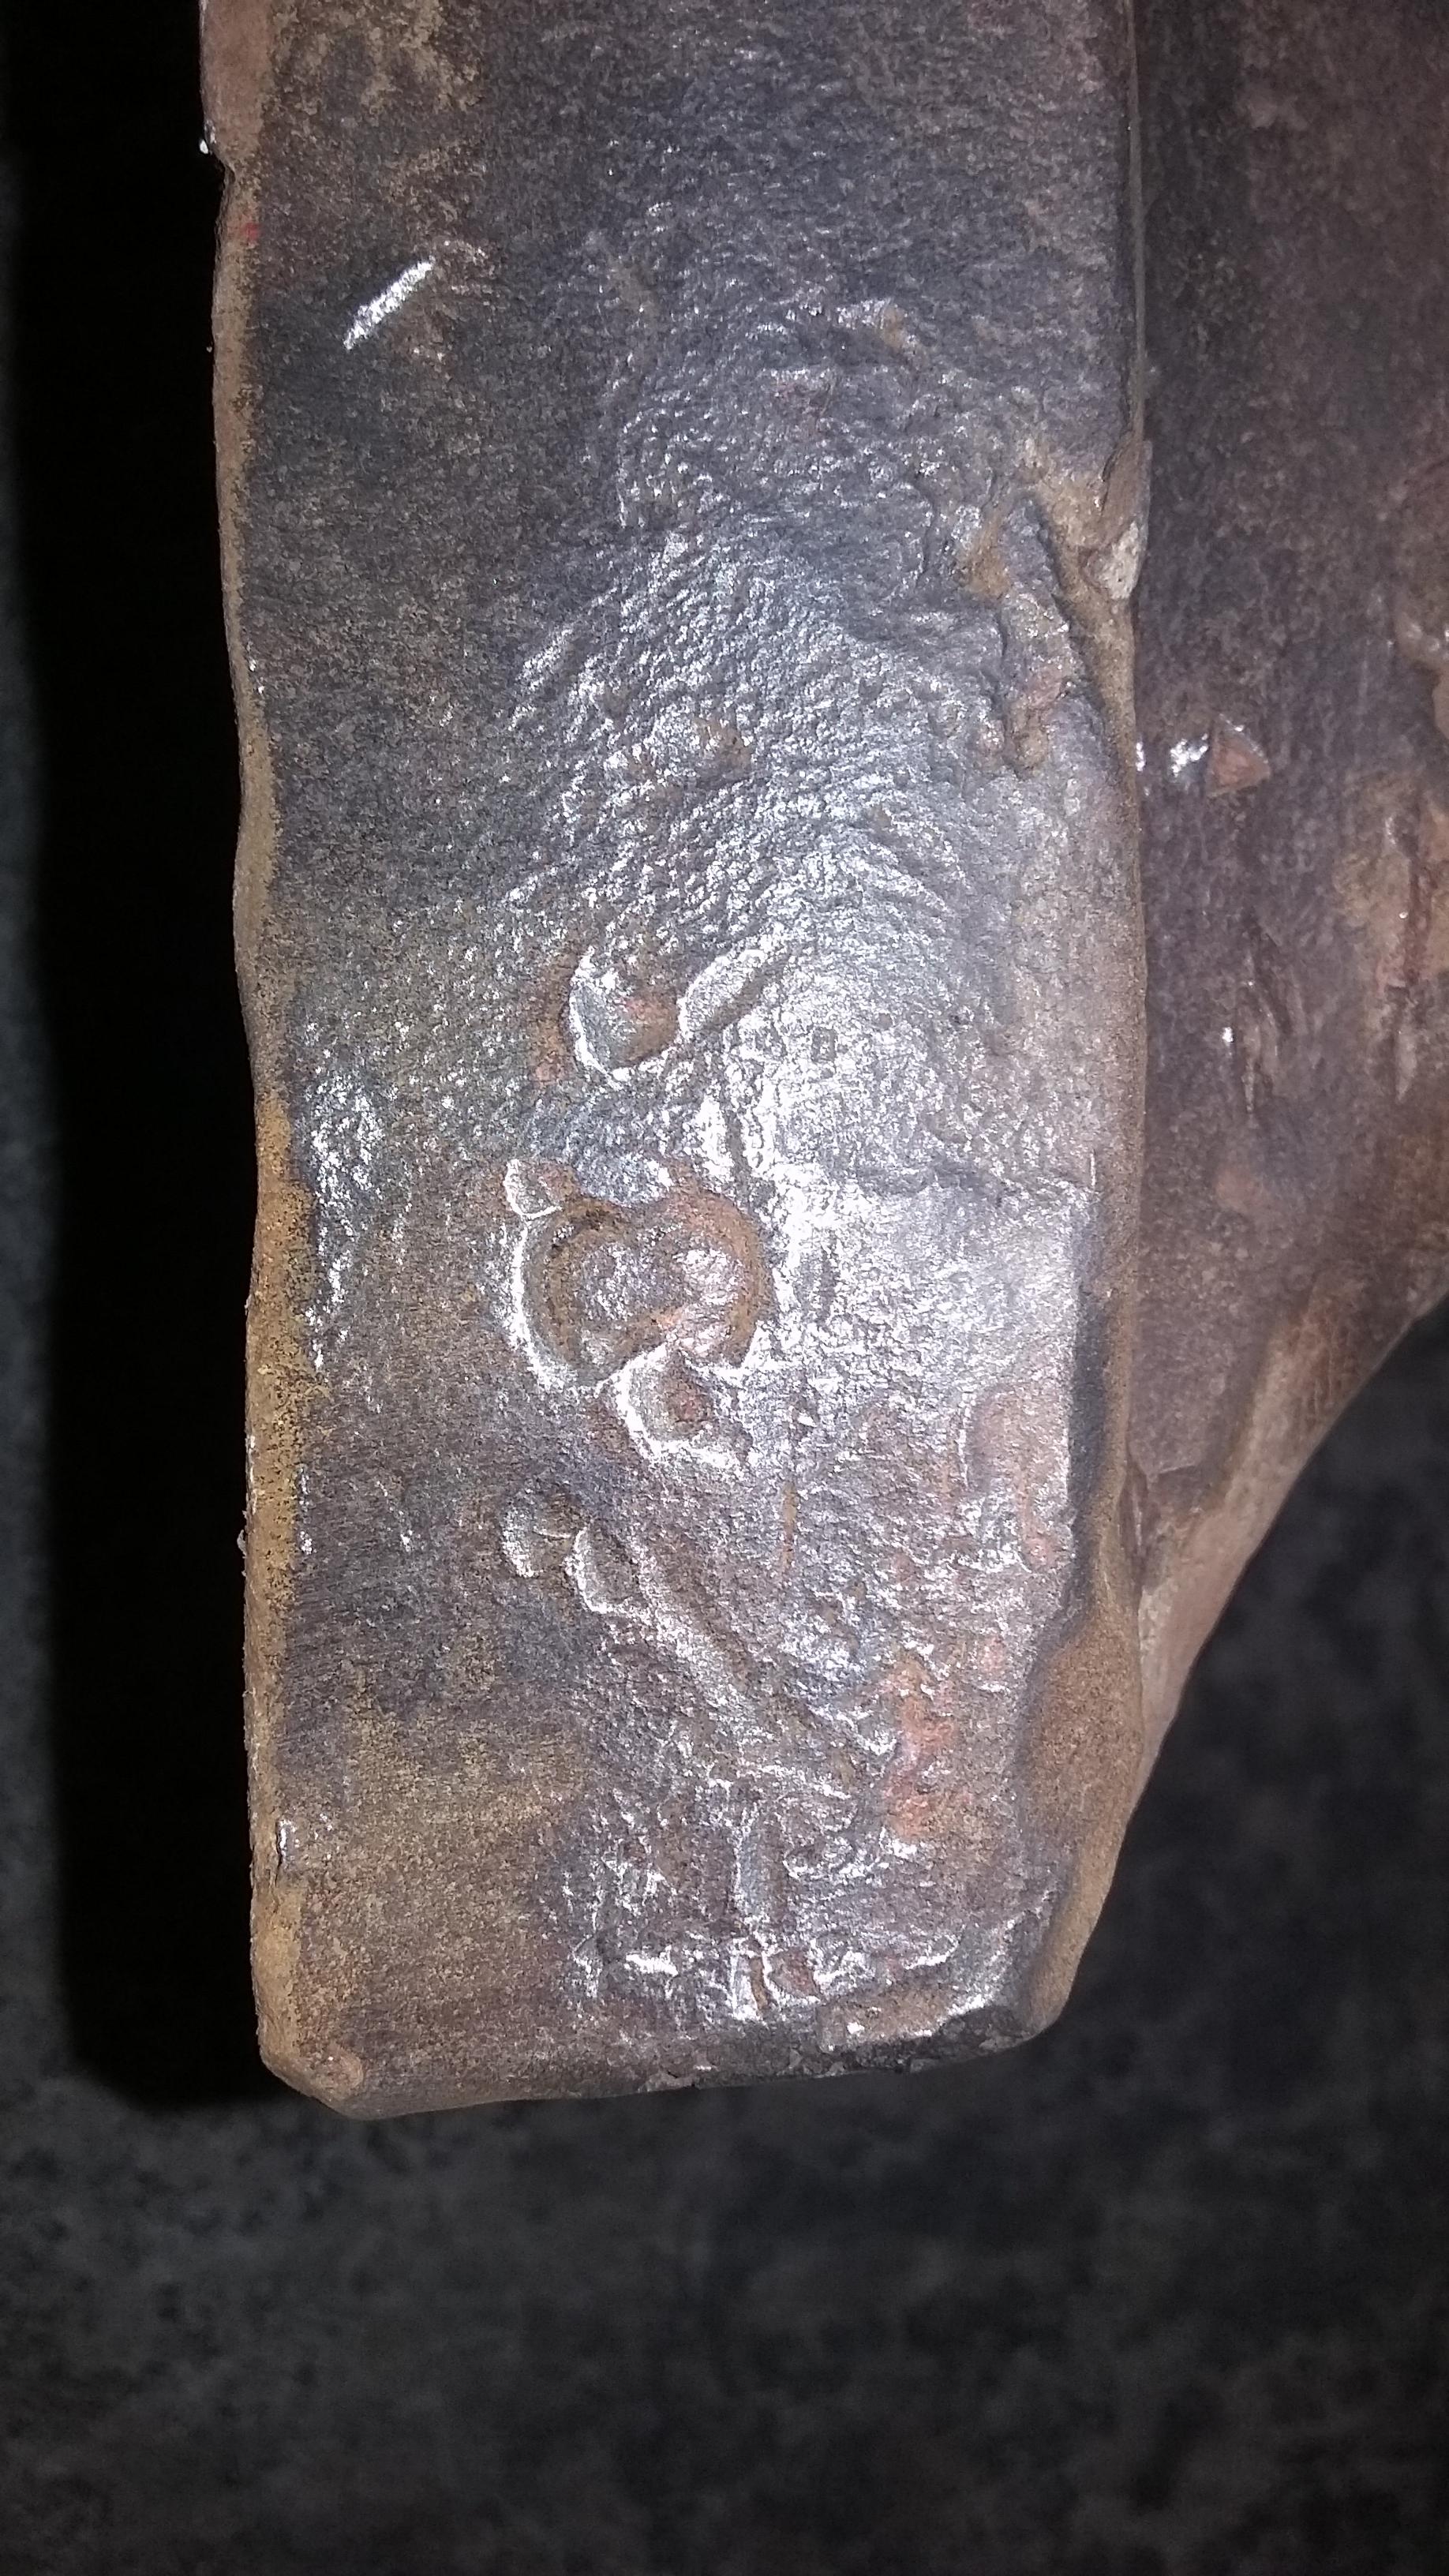
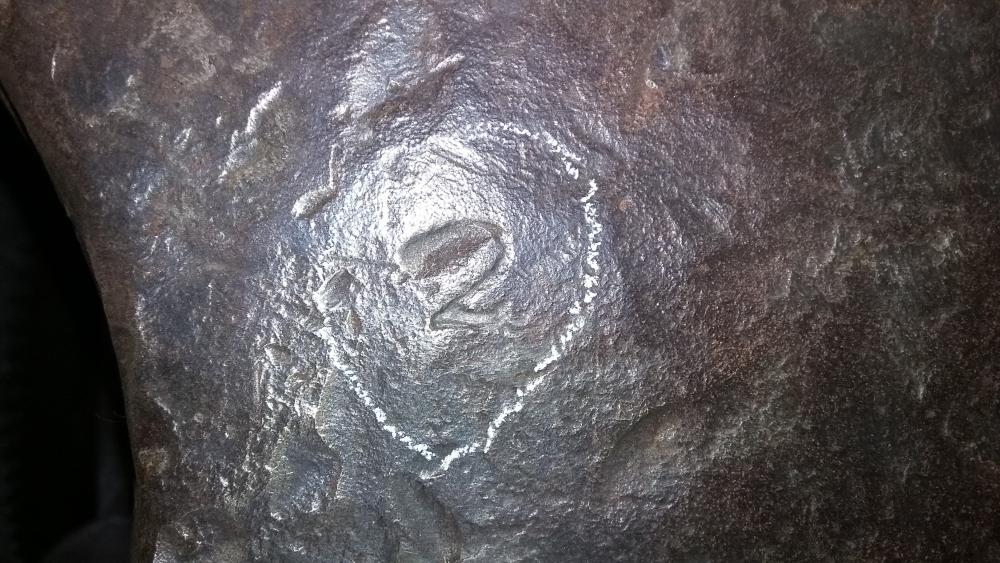
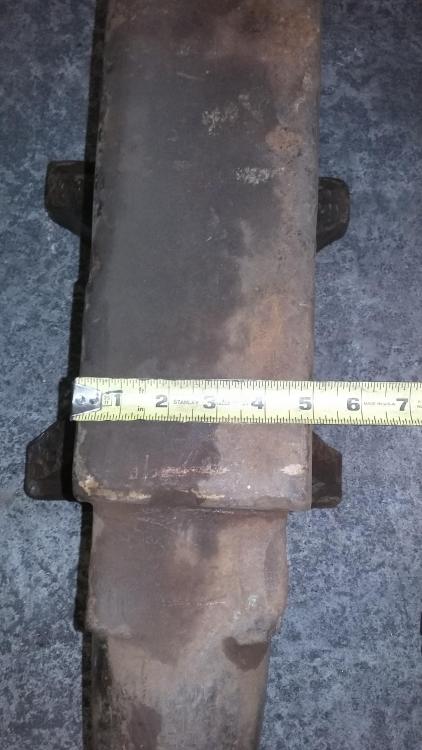
I just brushed it some more and couldn't find anything that resembled a number. There are a couple nice dings that theoretically could have obscured a number, but I don't think so. It's beat up, but not THAT beat up if you get my meaning. Although in a hundred plus years of hammering you never know... I did manage to find this though on the right foot as you look under the horn. It may have been an 8, or something similar, but nothing on either side, and there are no big dings that look like they may have hidden anything

-
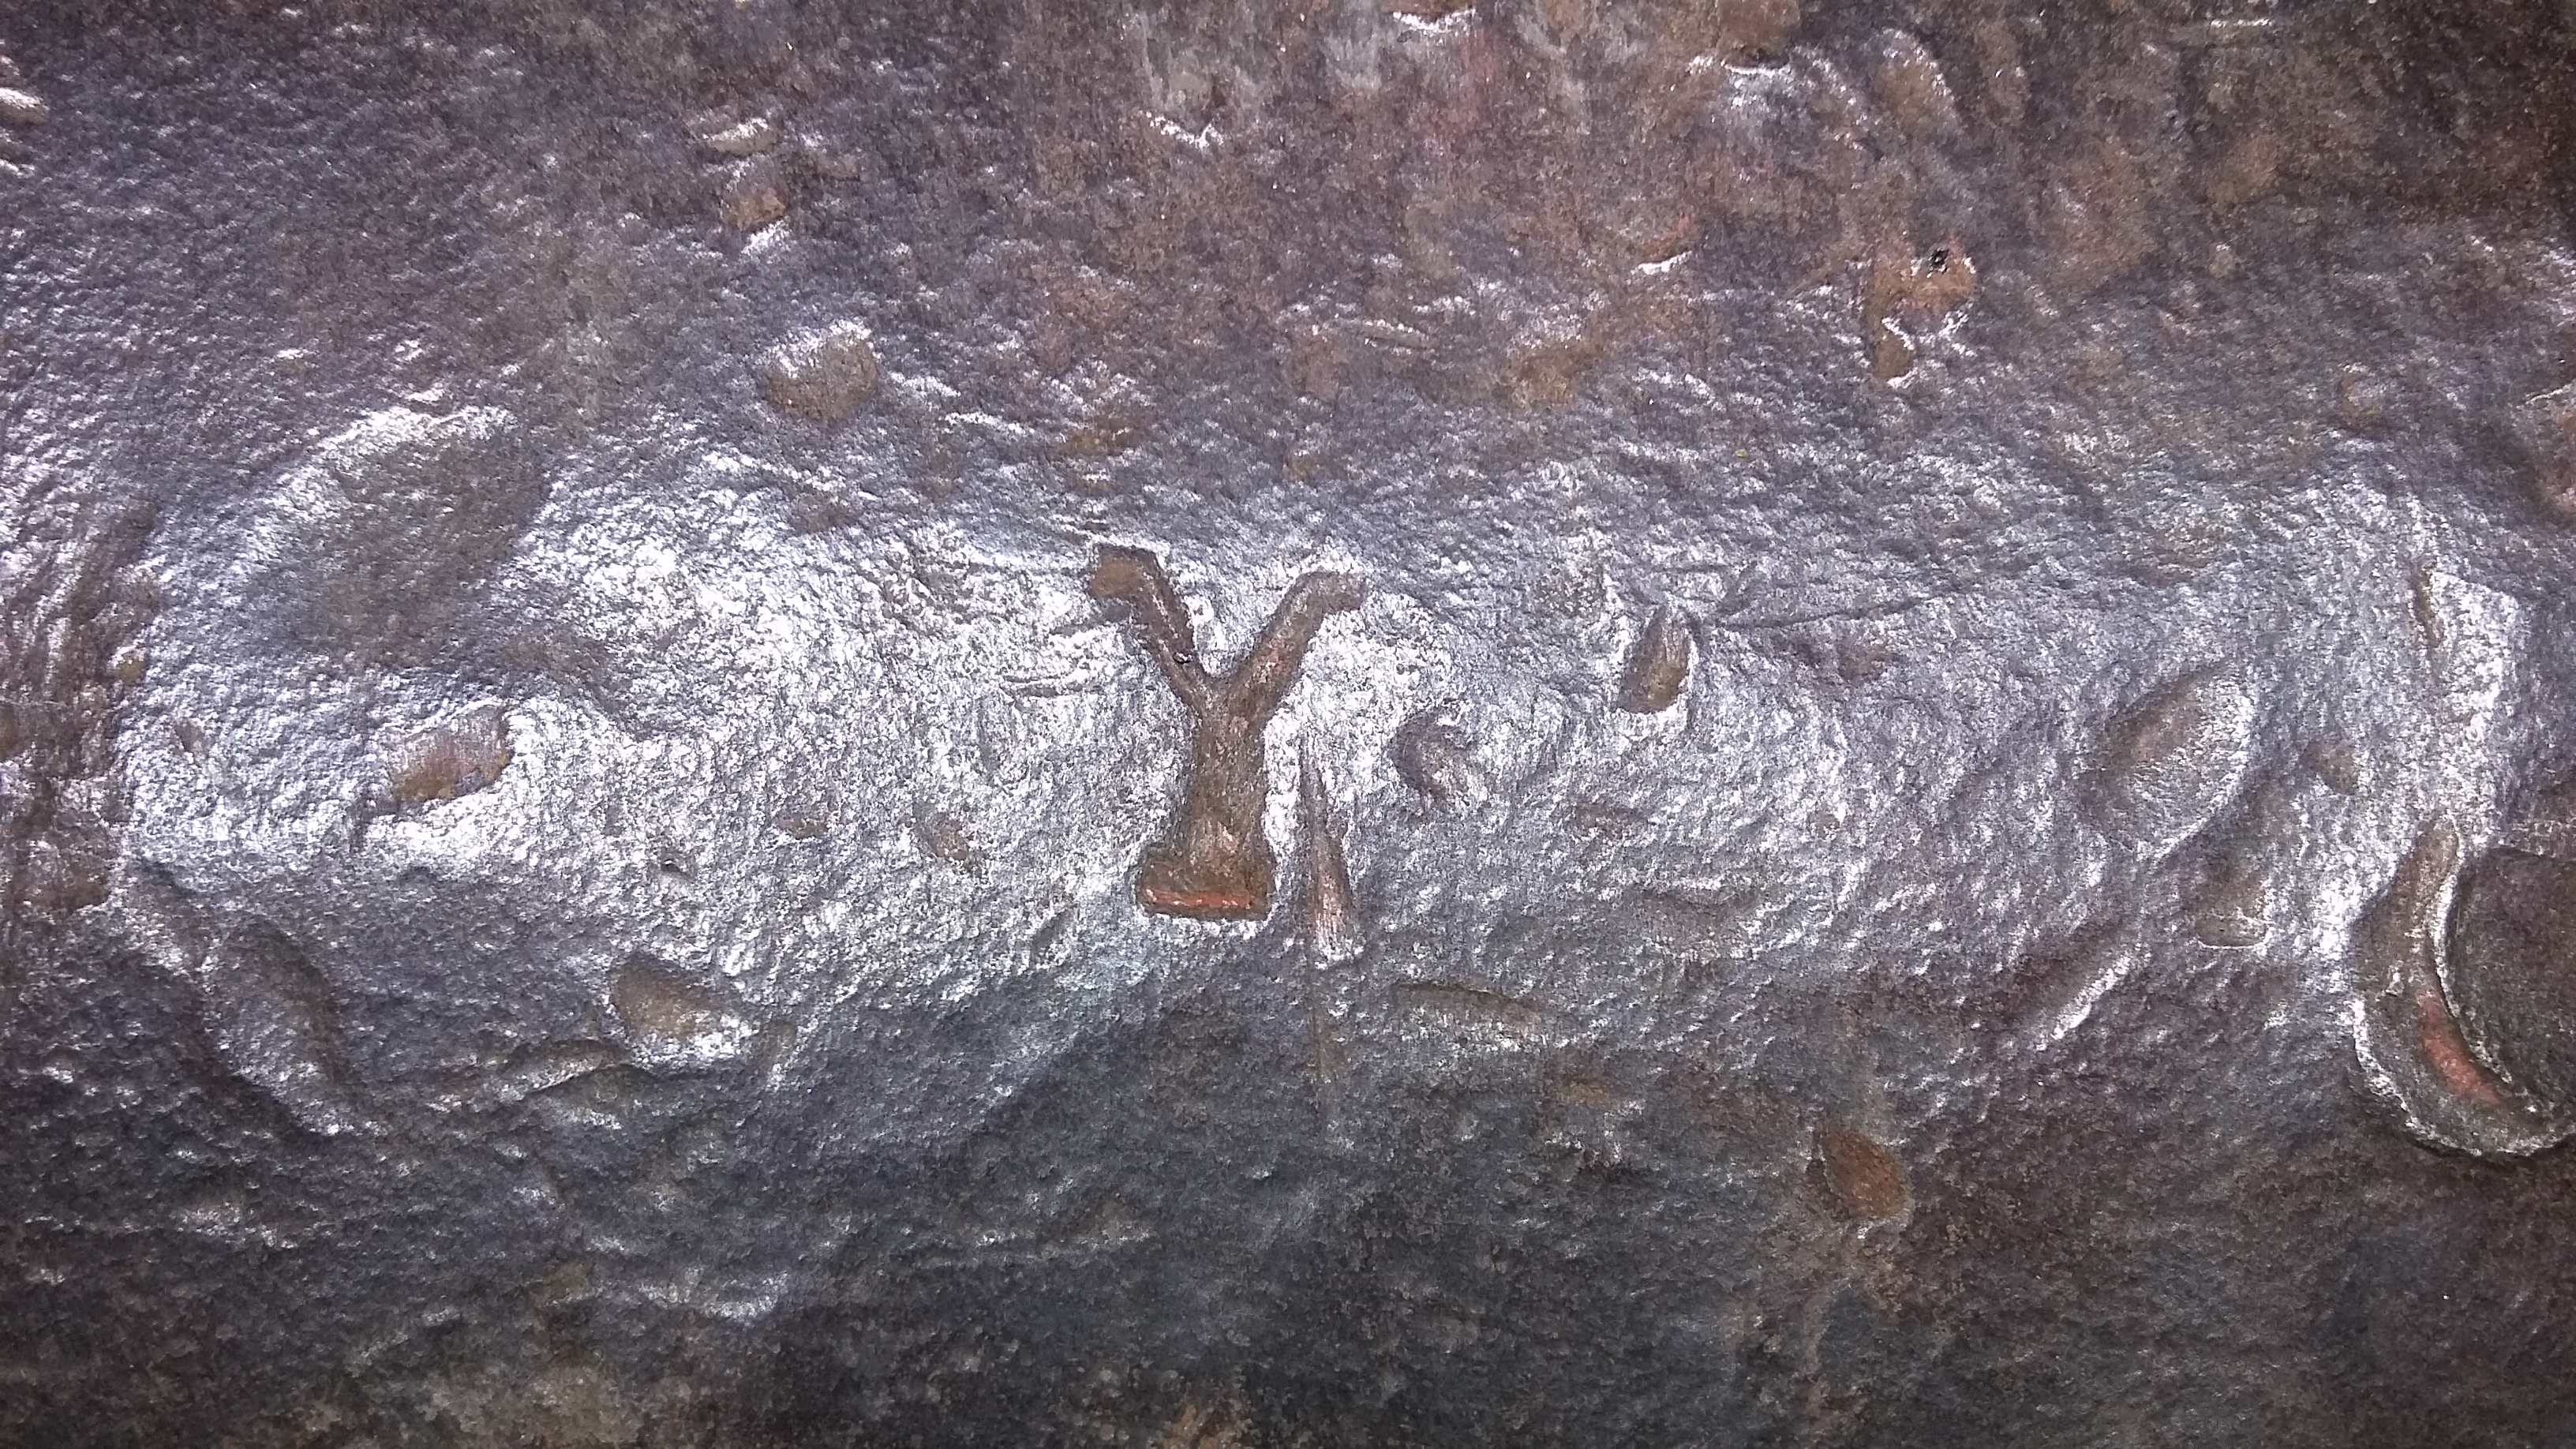
Not that I've been able to find. I know that's a typical place they might have put one, but after a lot of cleaning nothing has popped up. I'd be really surprised if there was a string of numbers anywhere there as at least one or two should have survived. It's seen a rough bit of side hammering, clearly whoever owned it before was a firm believer in using every spot on an anvil, not just the face... but still, unless it was deliberately removed I don't think it has a serial #. Could it just be so old as to not have one? Anyone seen that Y before?
-
Thanks for all your help! Looking at pictures it does seem to have more in common with the HB style, and with the total lack of other distinguishing marks it would make sense that it's pretty early. The sides are pretty beat up and worn, but I think SOME trace of a serial number would remain if there ever was one...
-
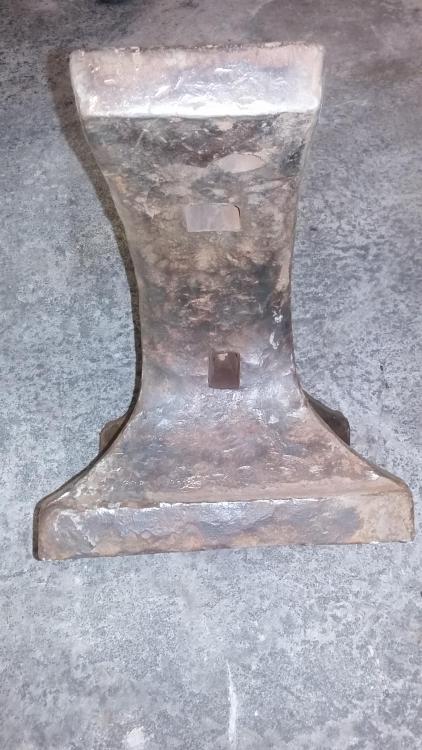
I'd say a total of 4 handling holes? There are the two under the horn, one on the bottom and one under the back end. The bottom is pretty flat, not concave like some I've seen I looked a little closer under a light and you can definitely see where the face is a welded plate that looks to be around 1/2" thick. Nowhere have I been able to find anything resembling a serial # or anything other than the one nice and fairly neat "Y"


-
I'm pretty sure the O shaped thing is just a gouge. There may have been a letter there though, but if so it's been obscured
-
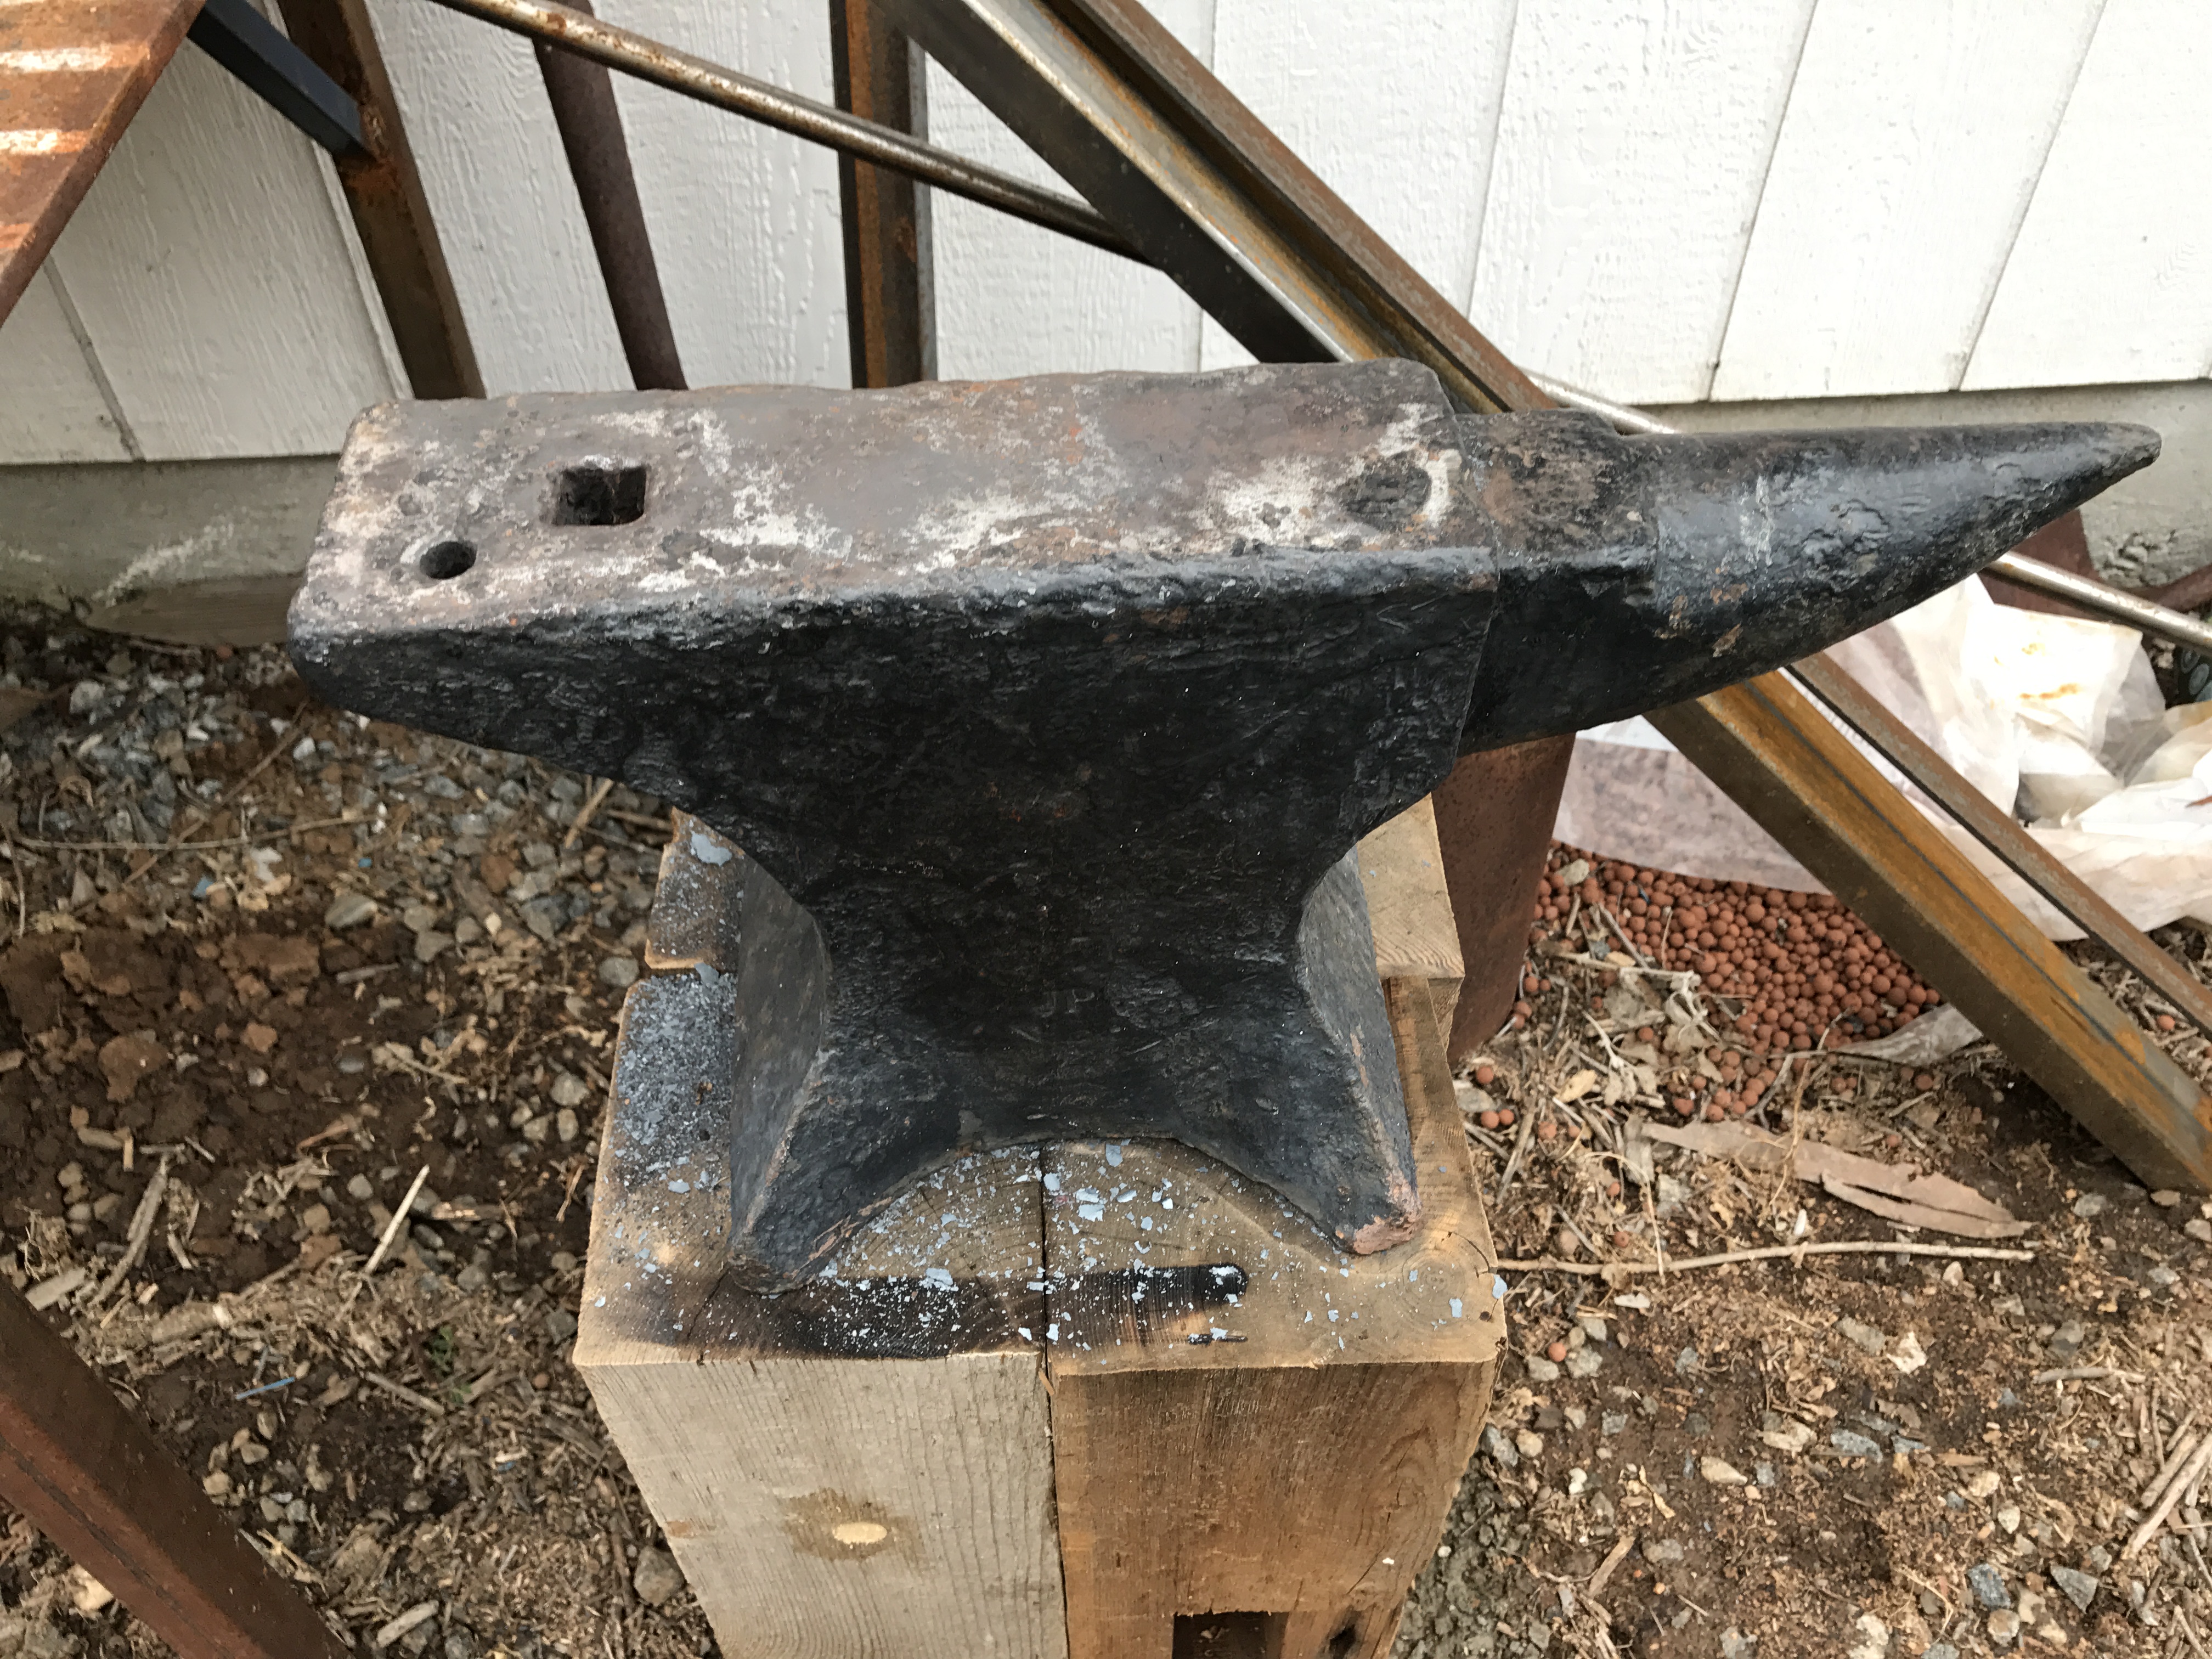
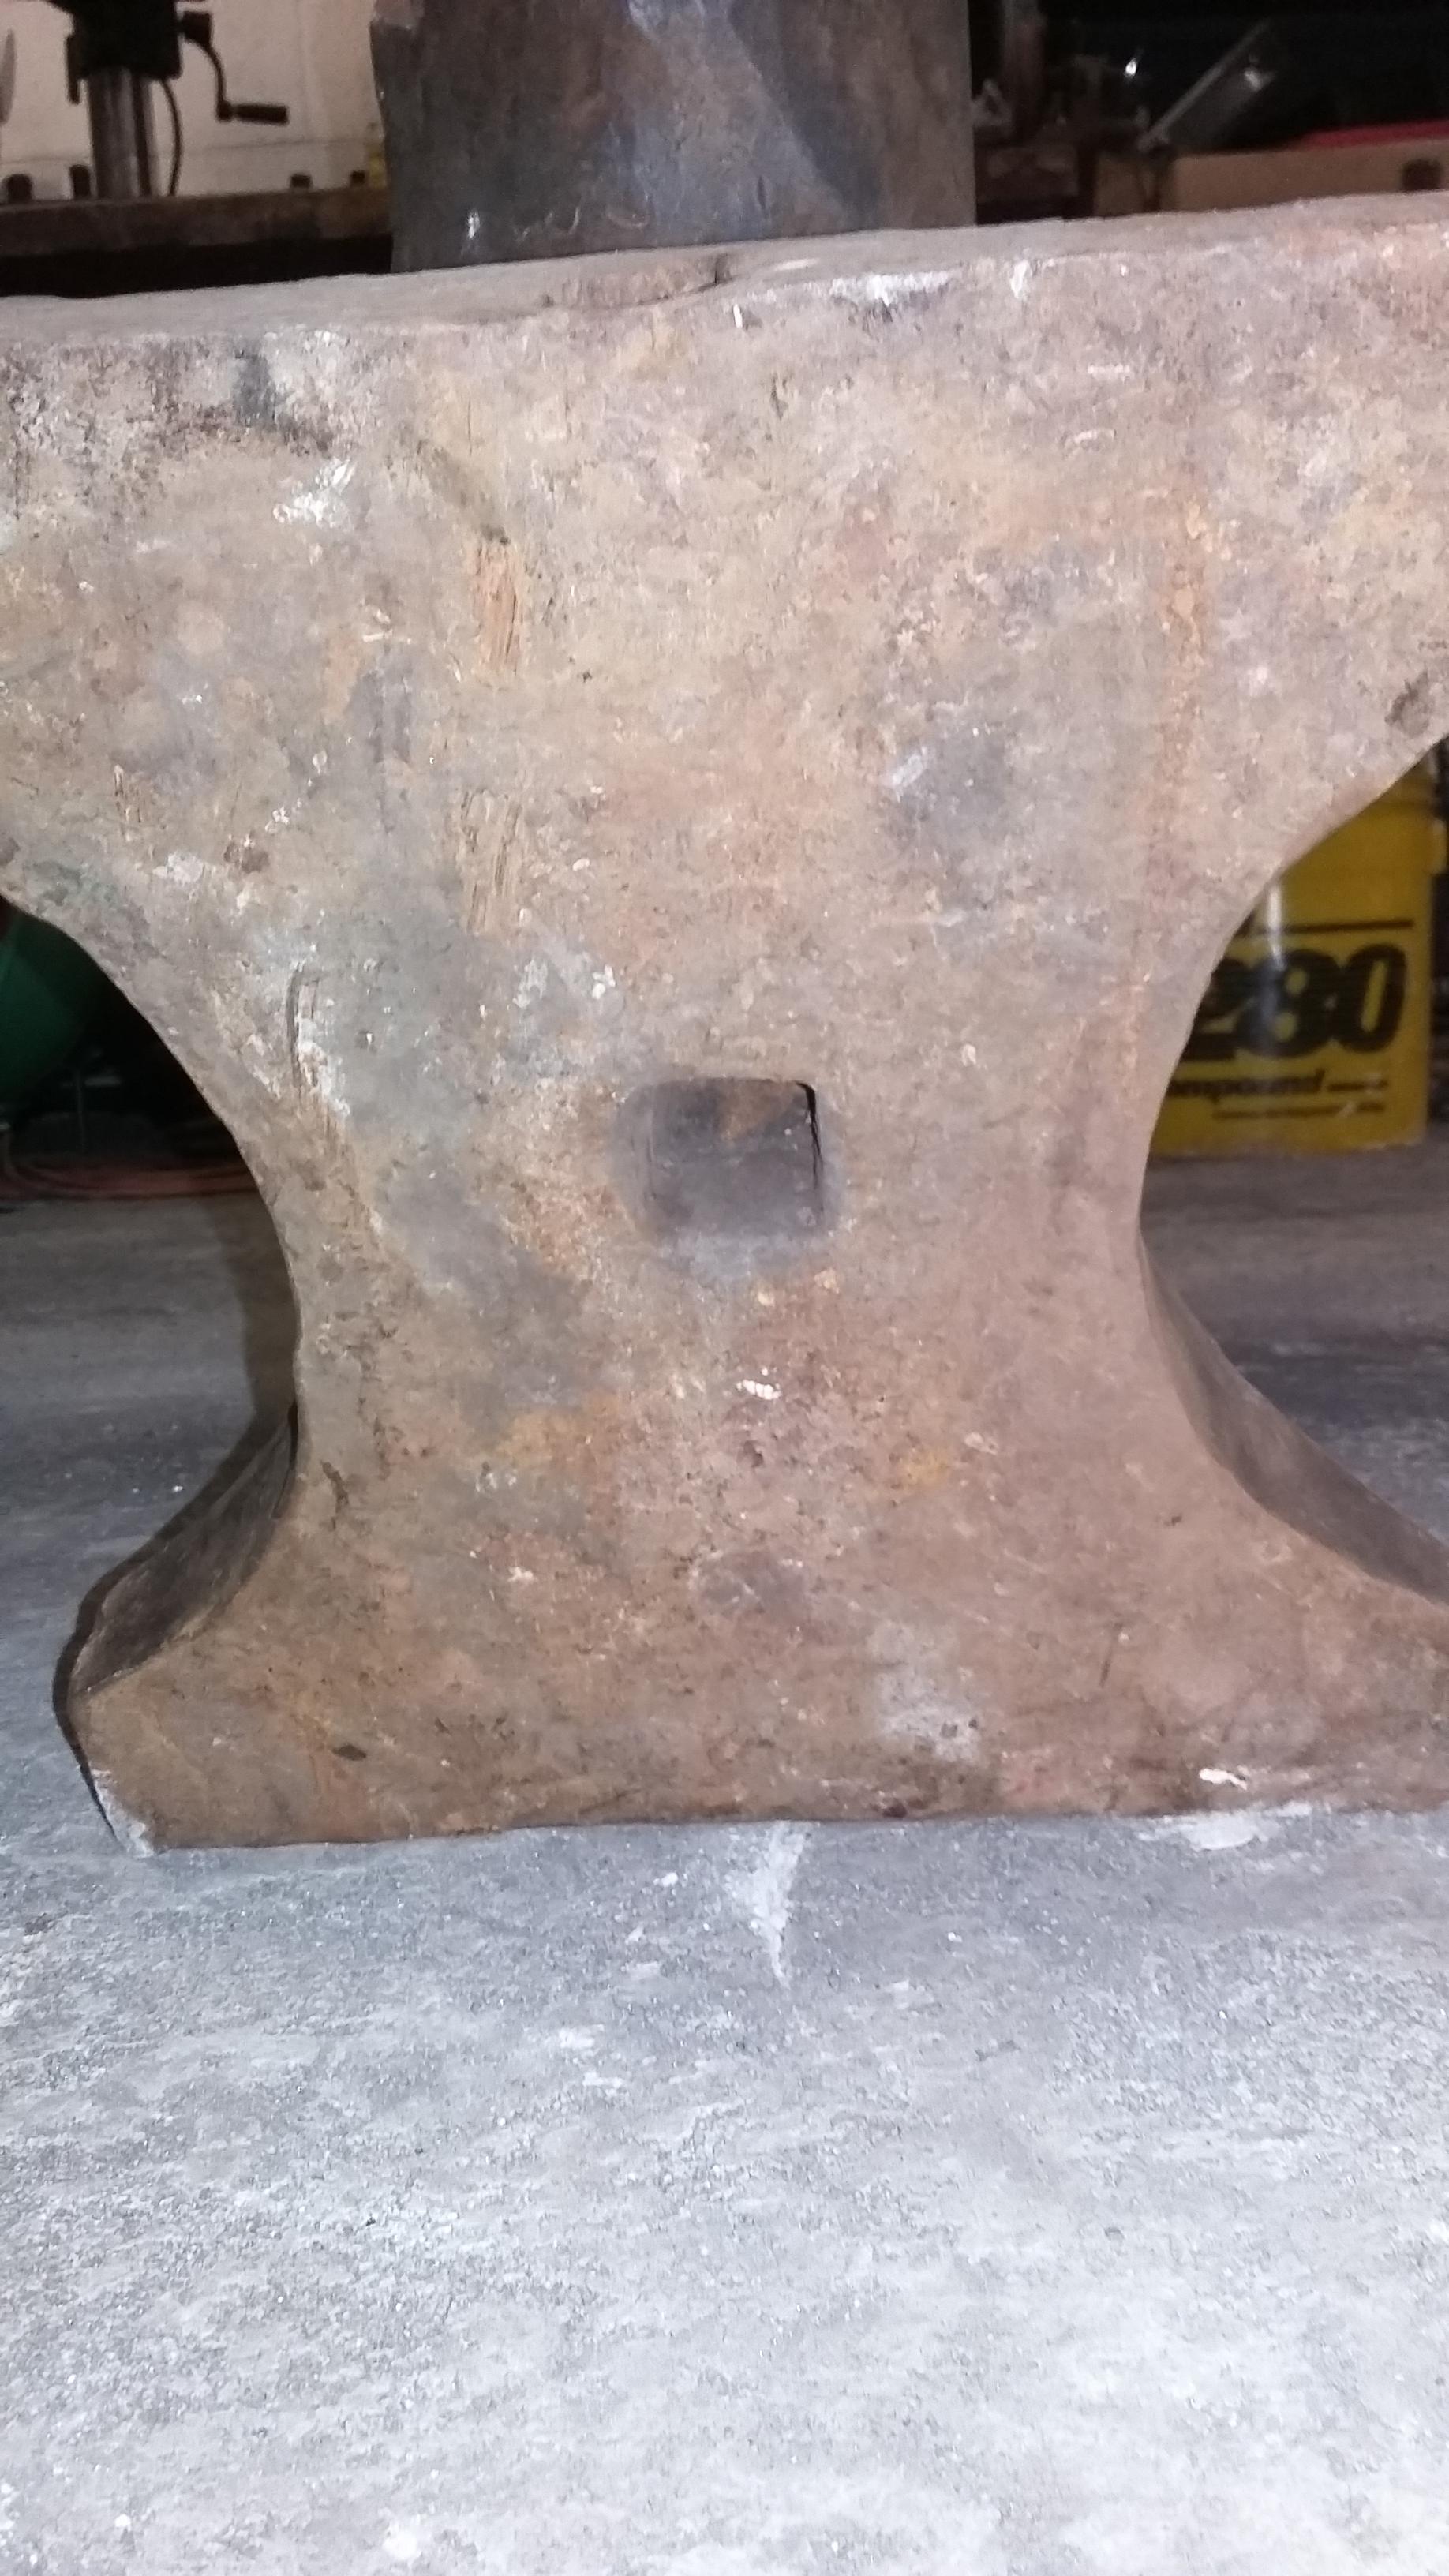
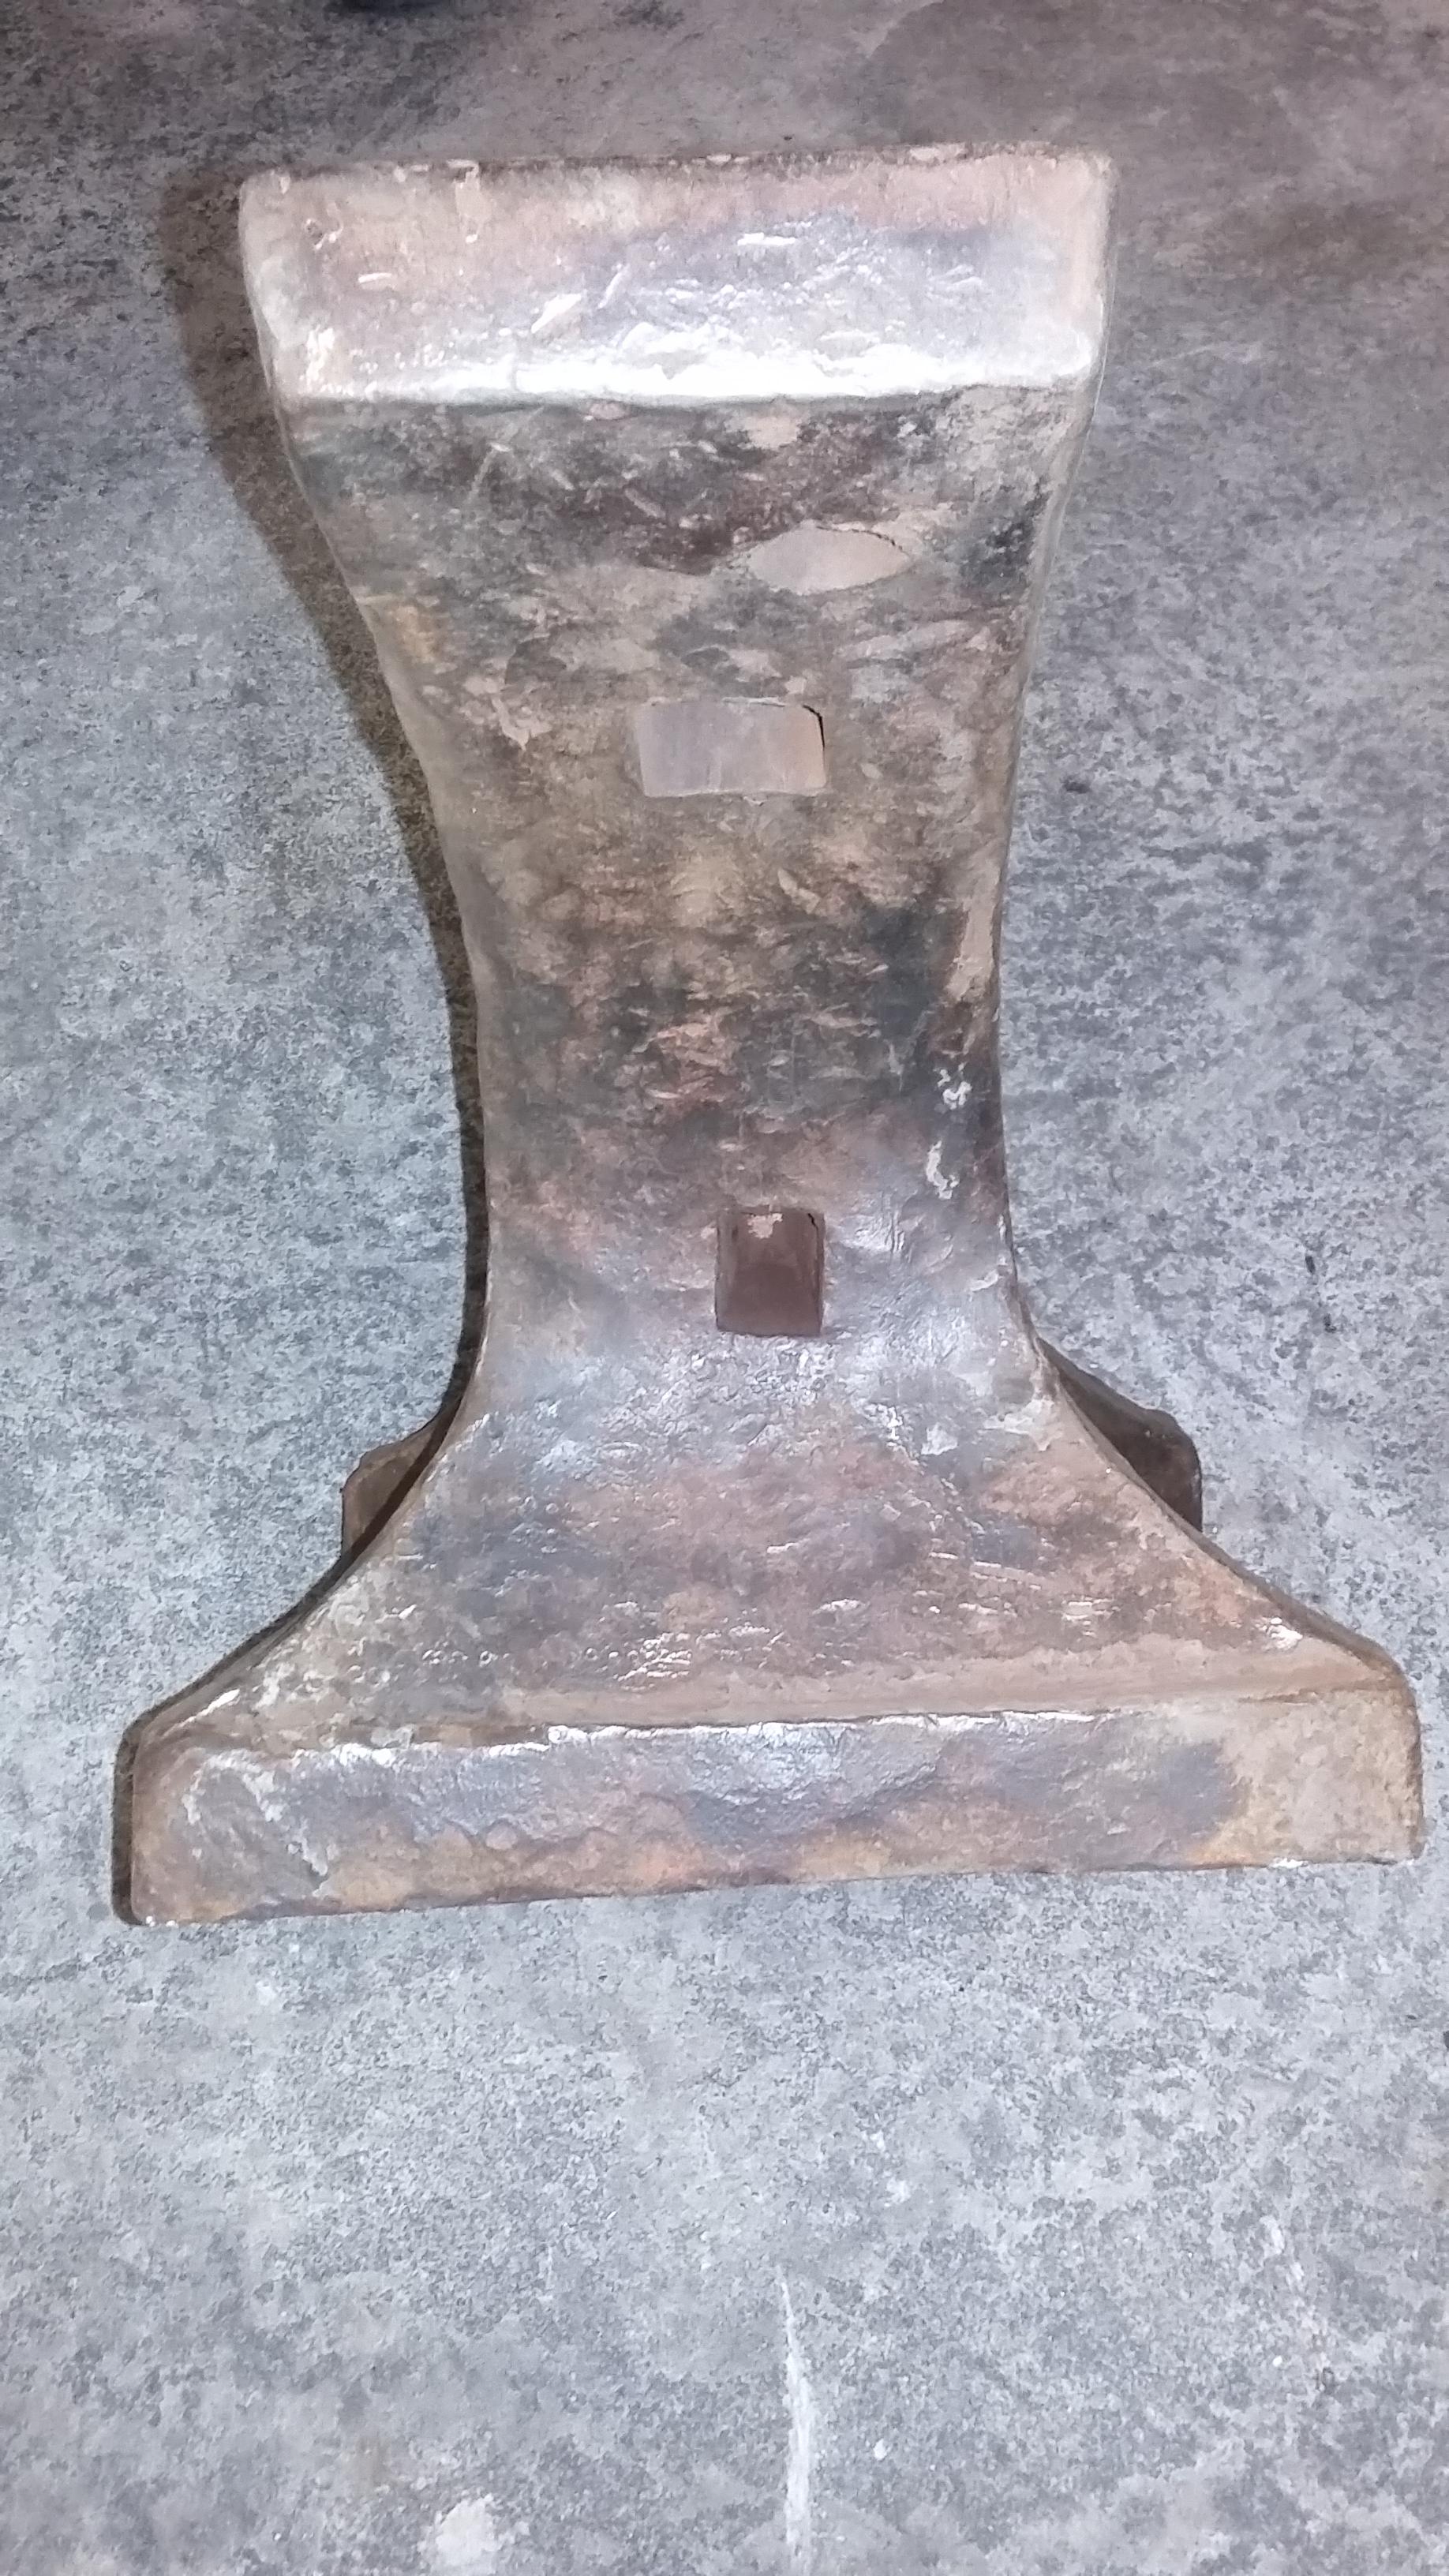
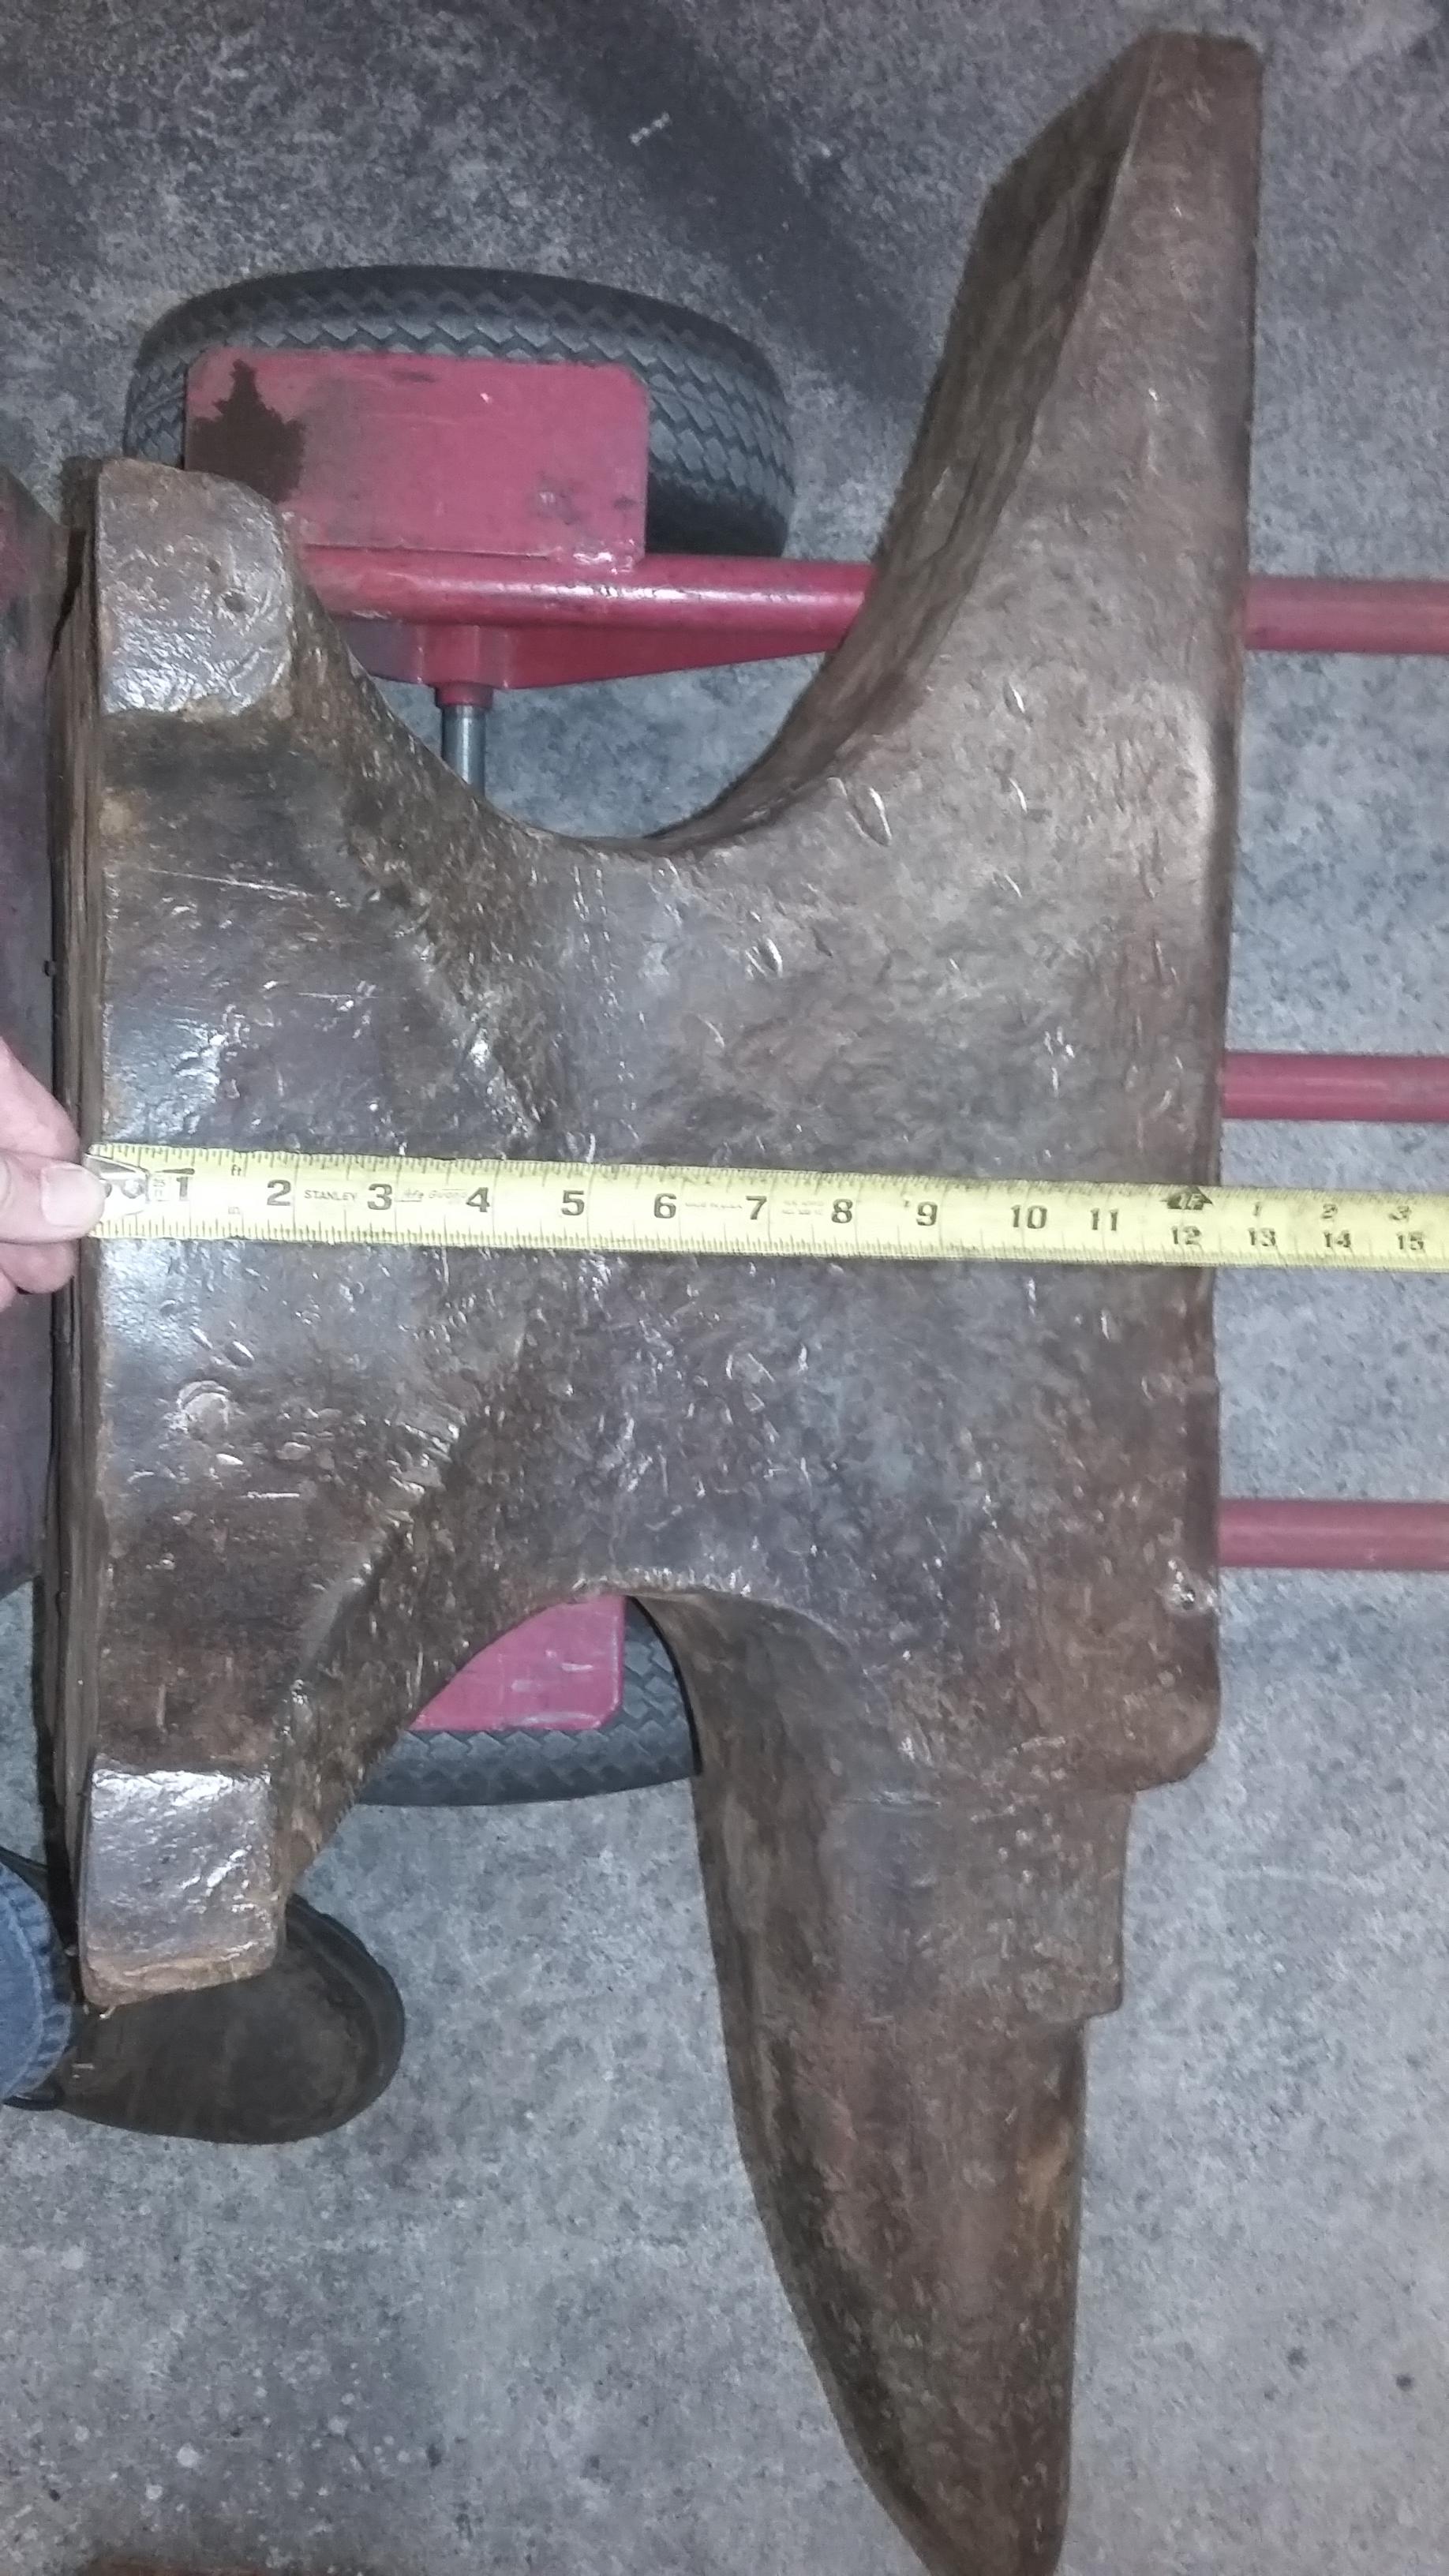
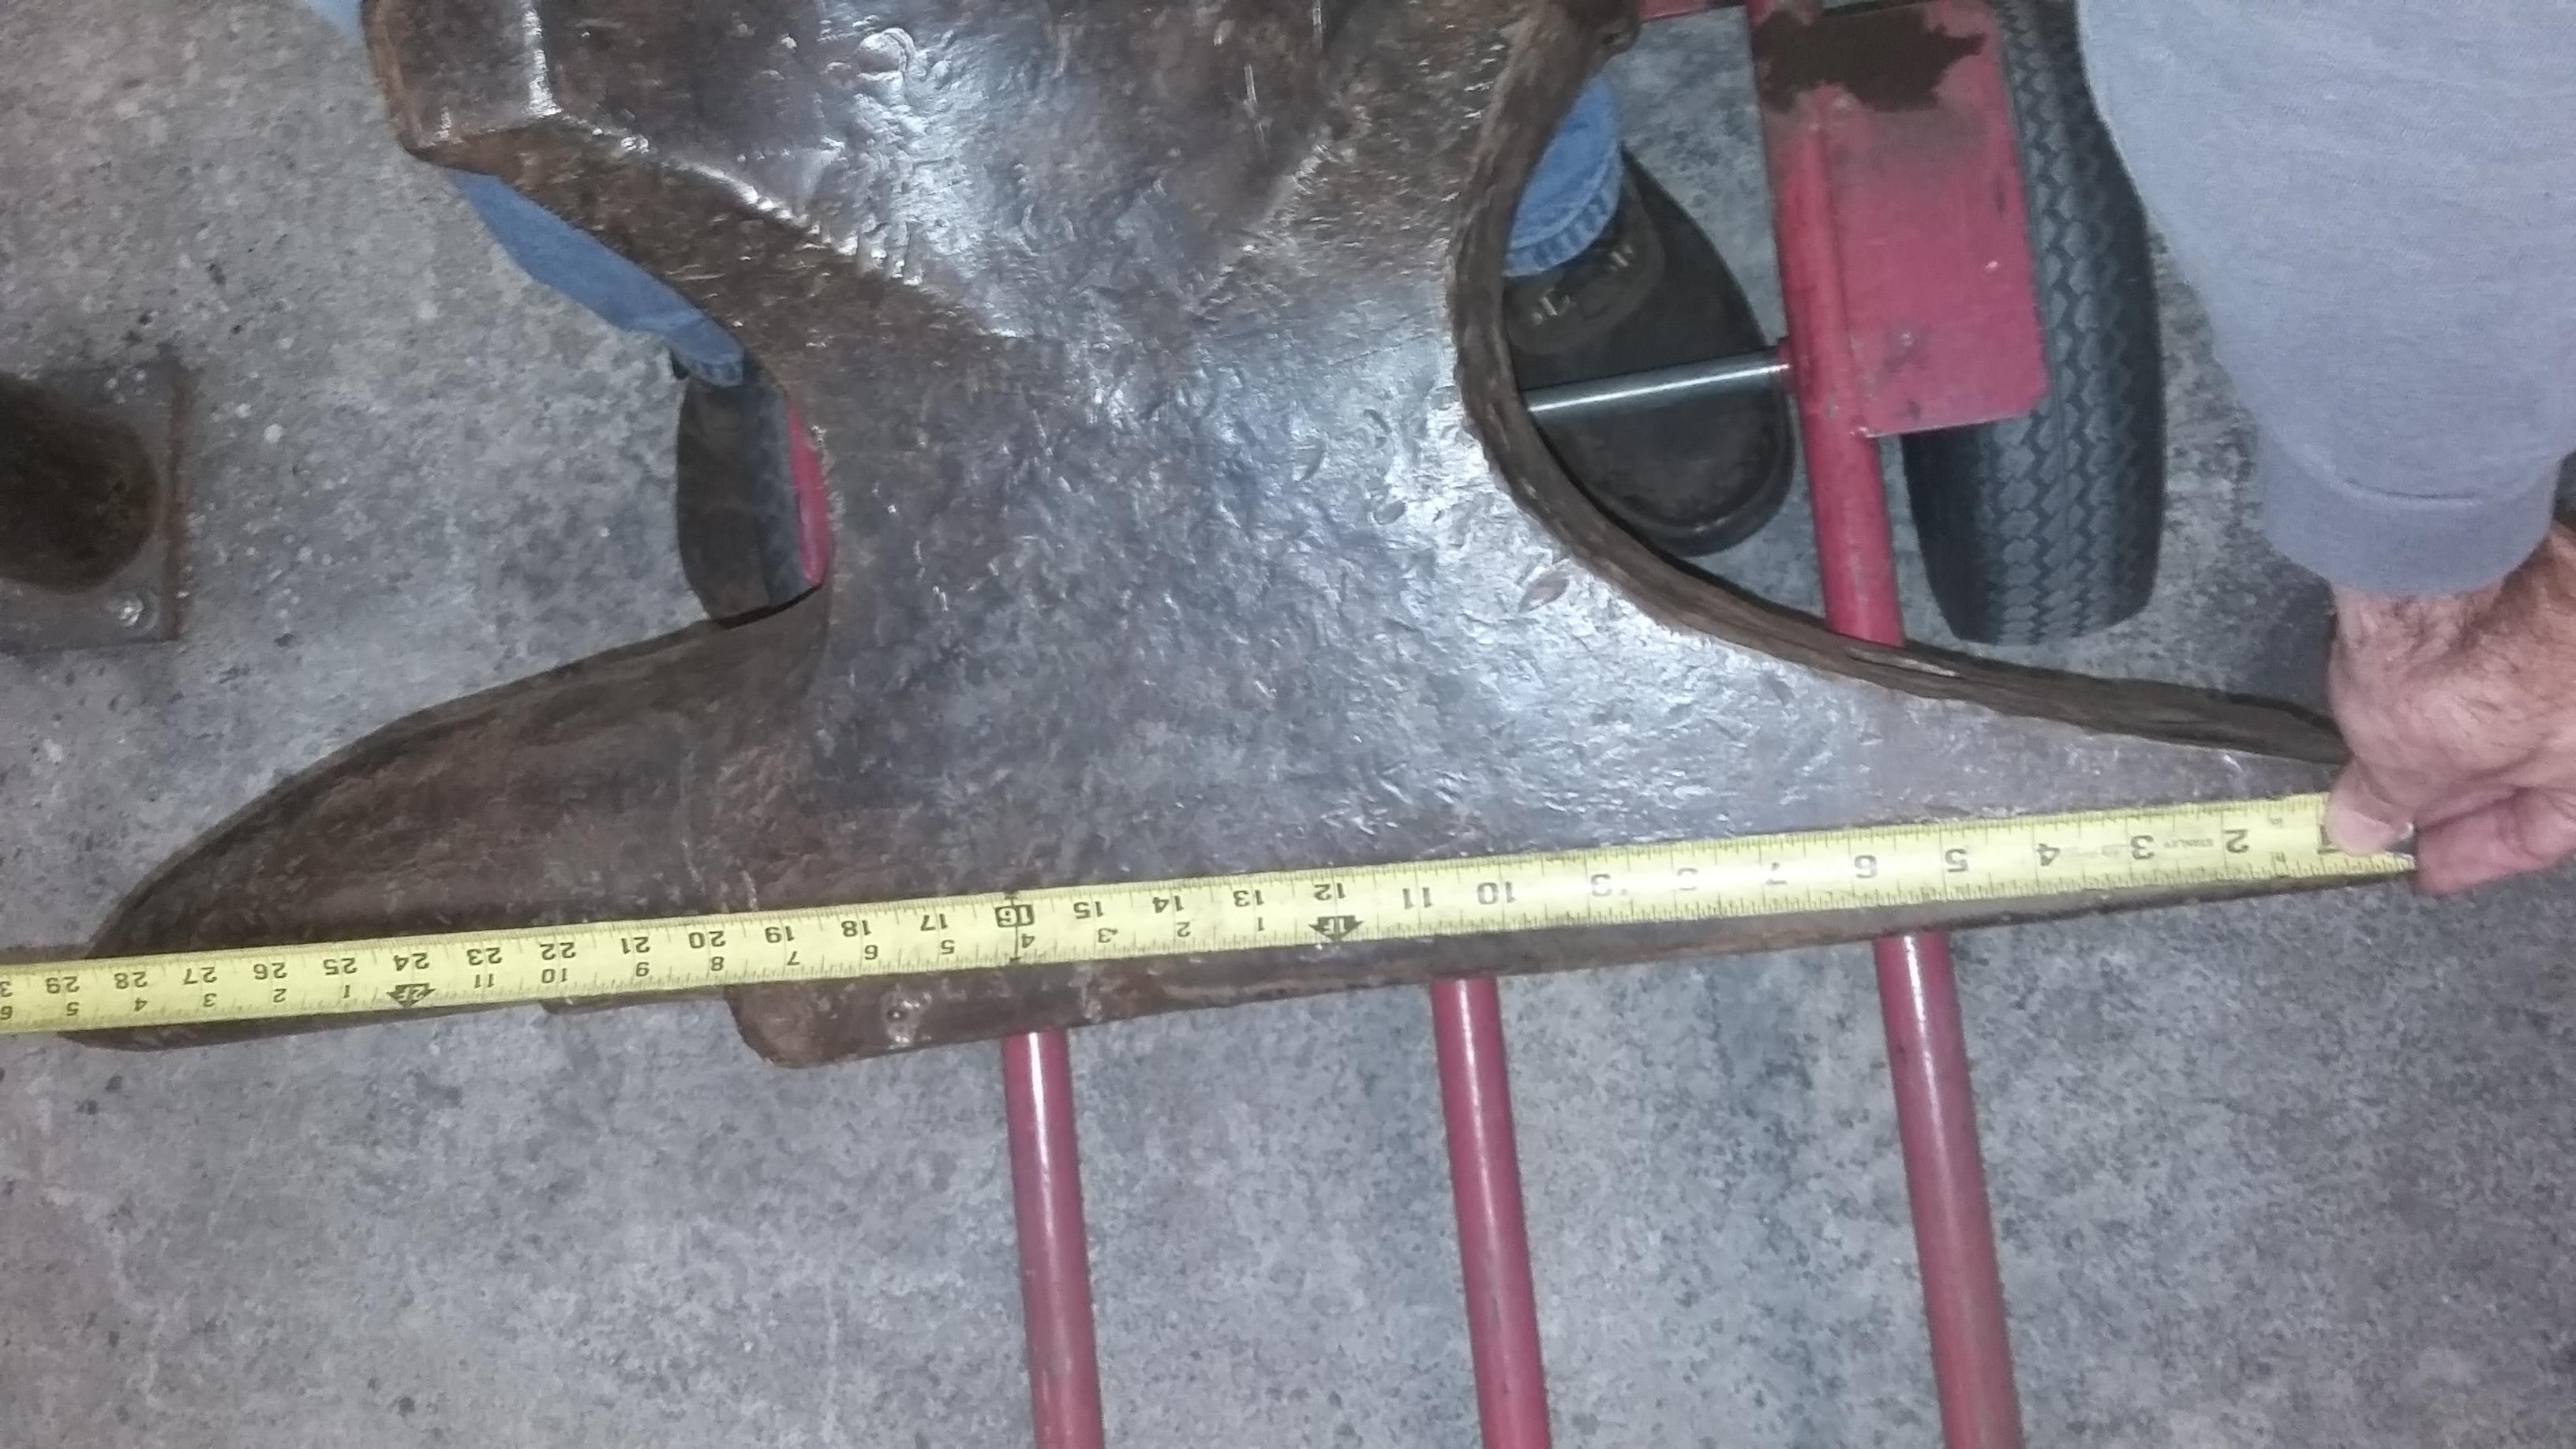
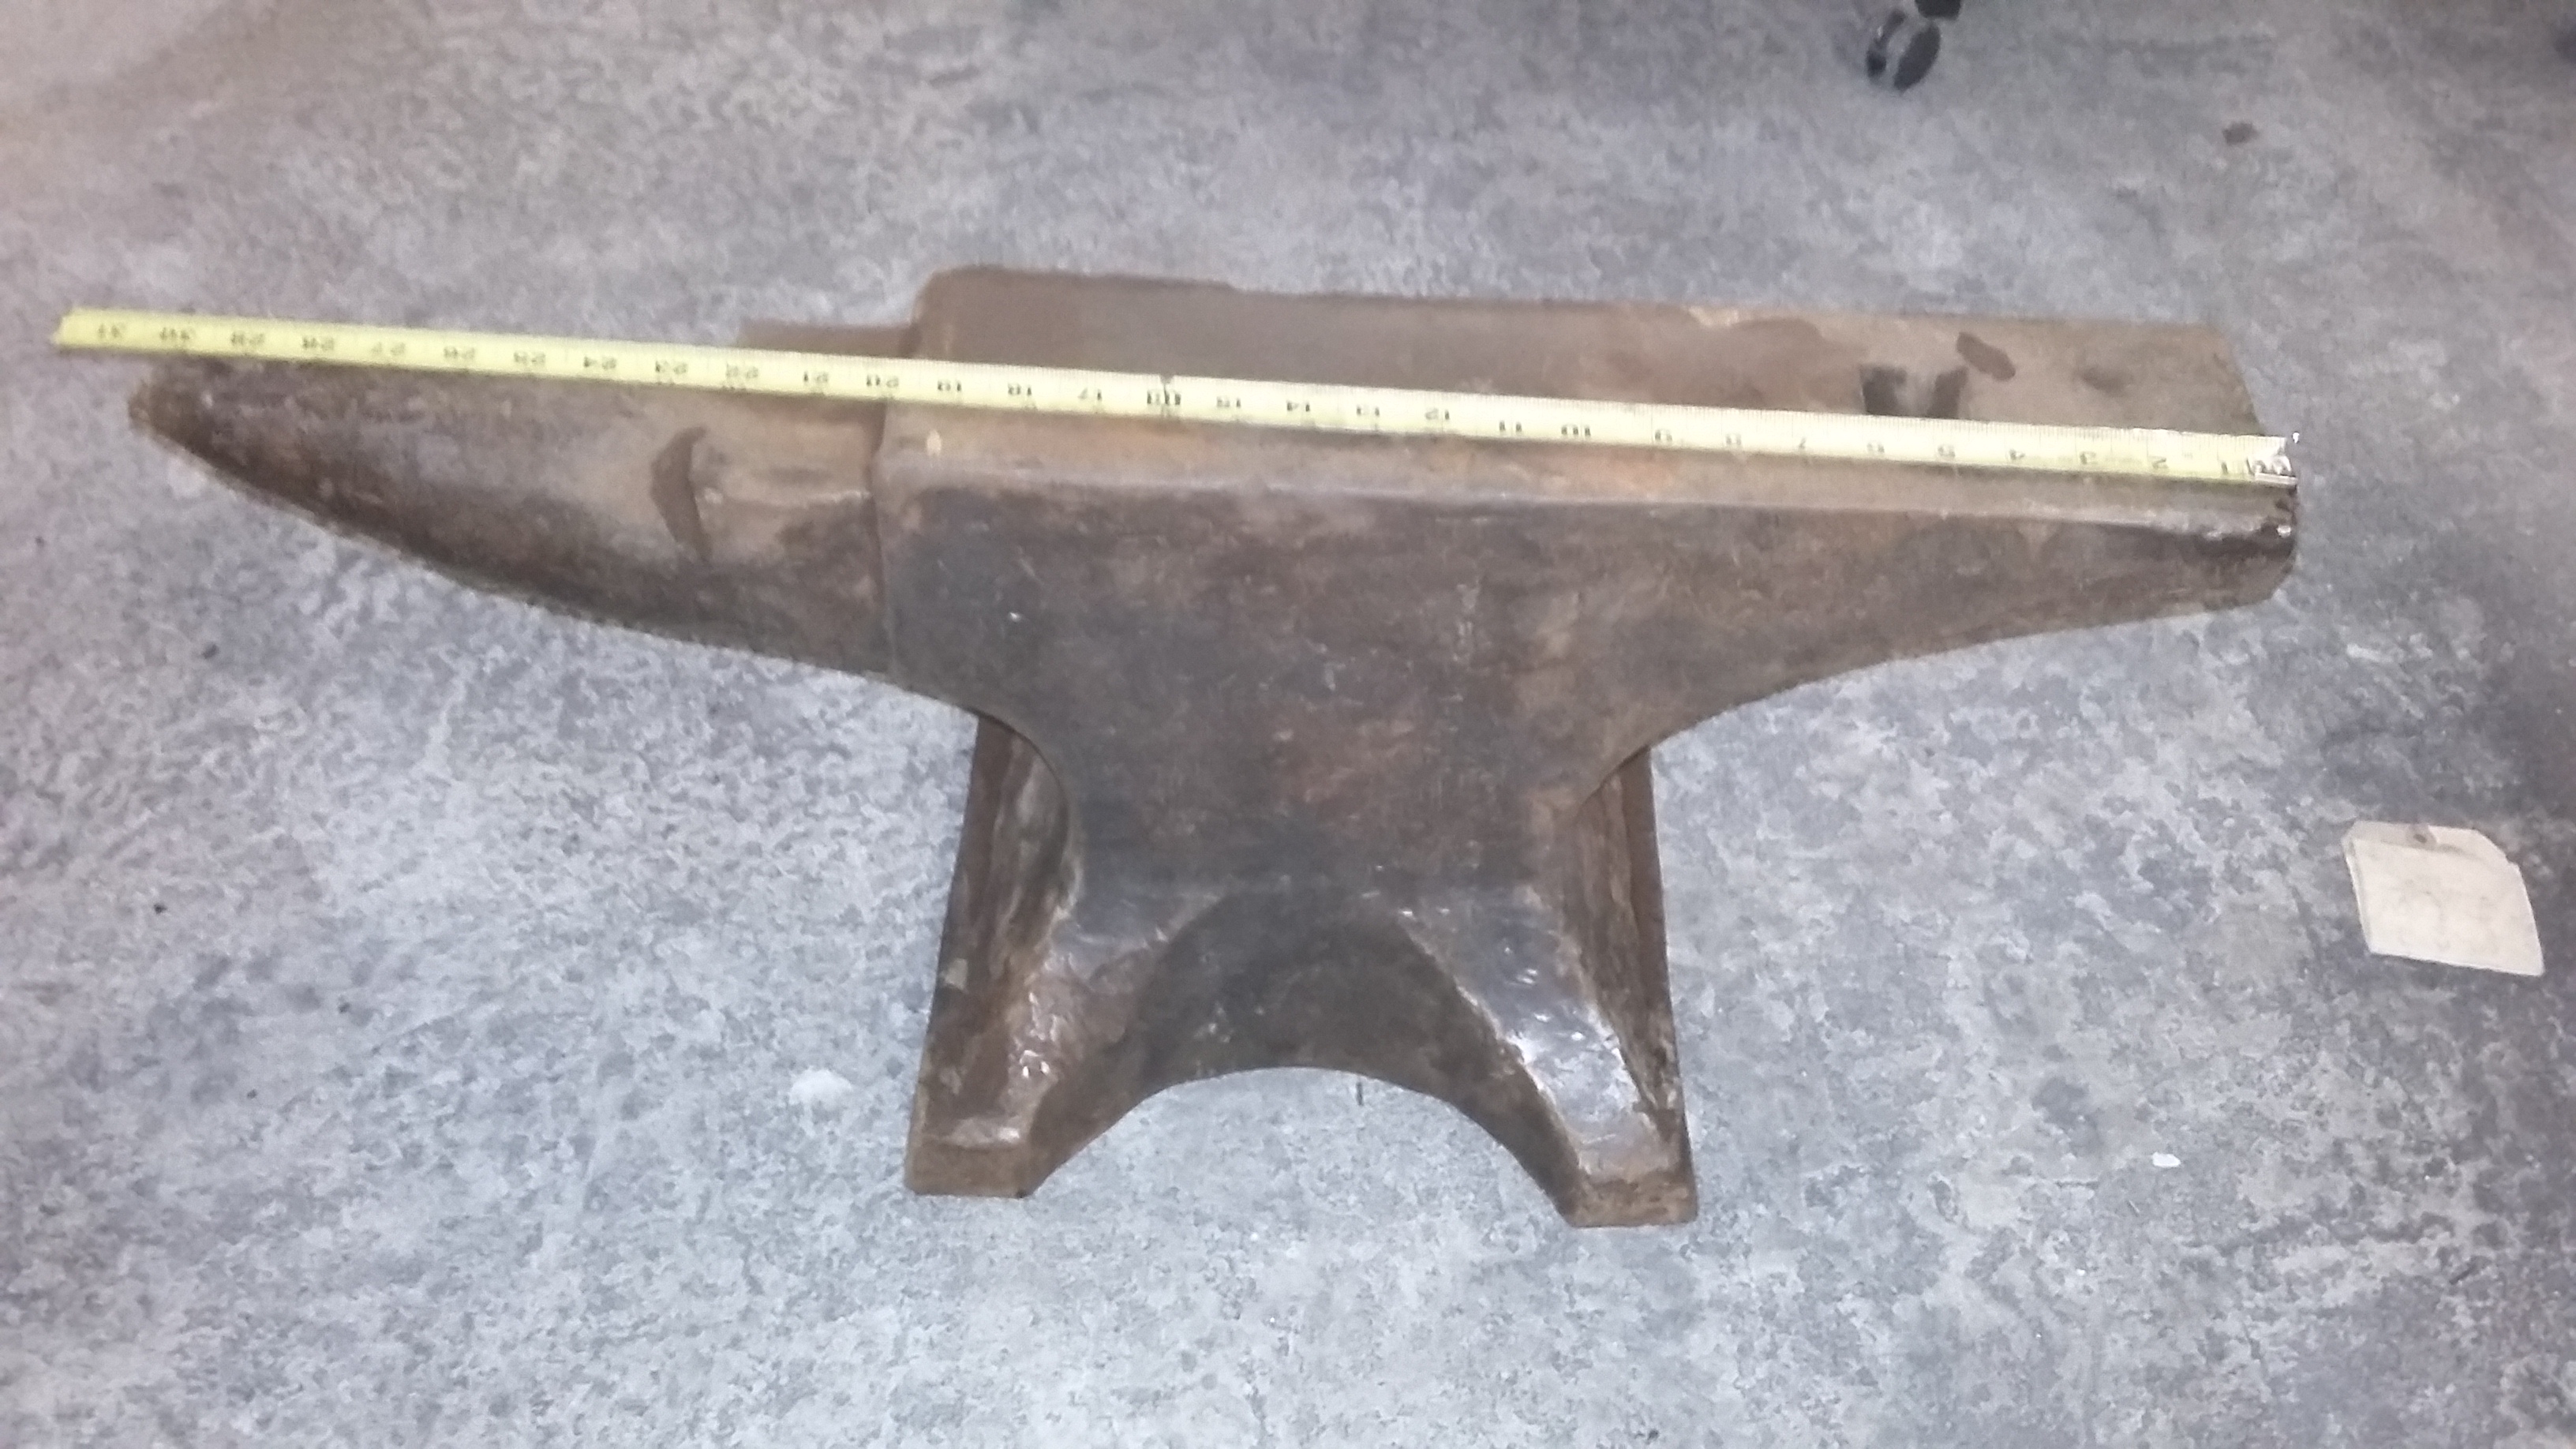
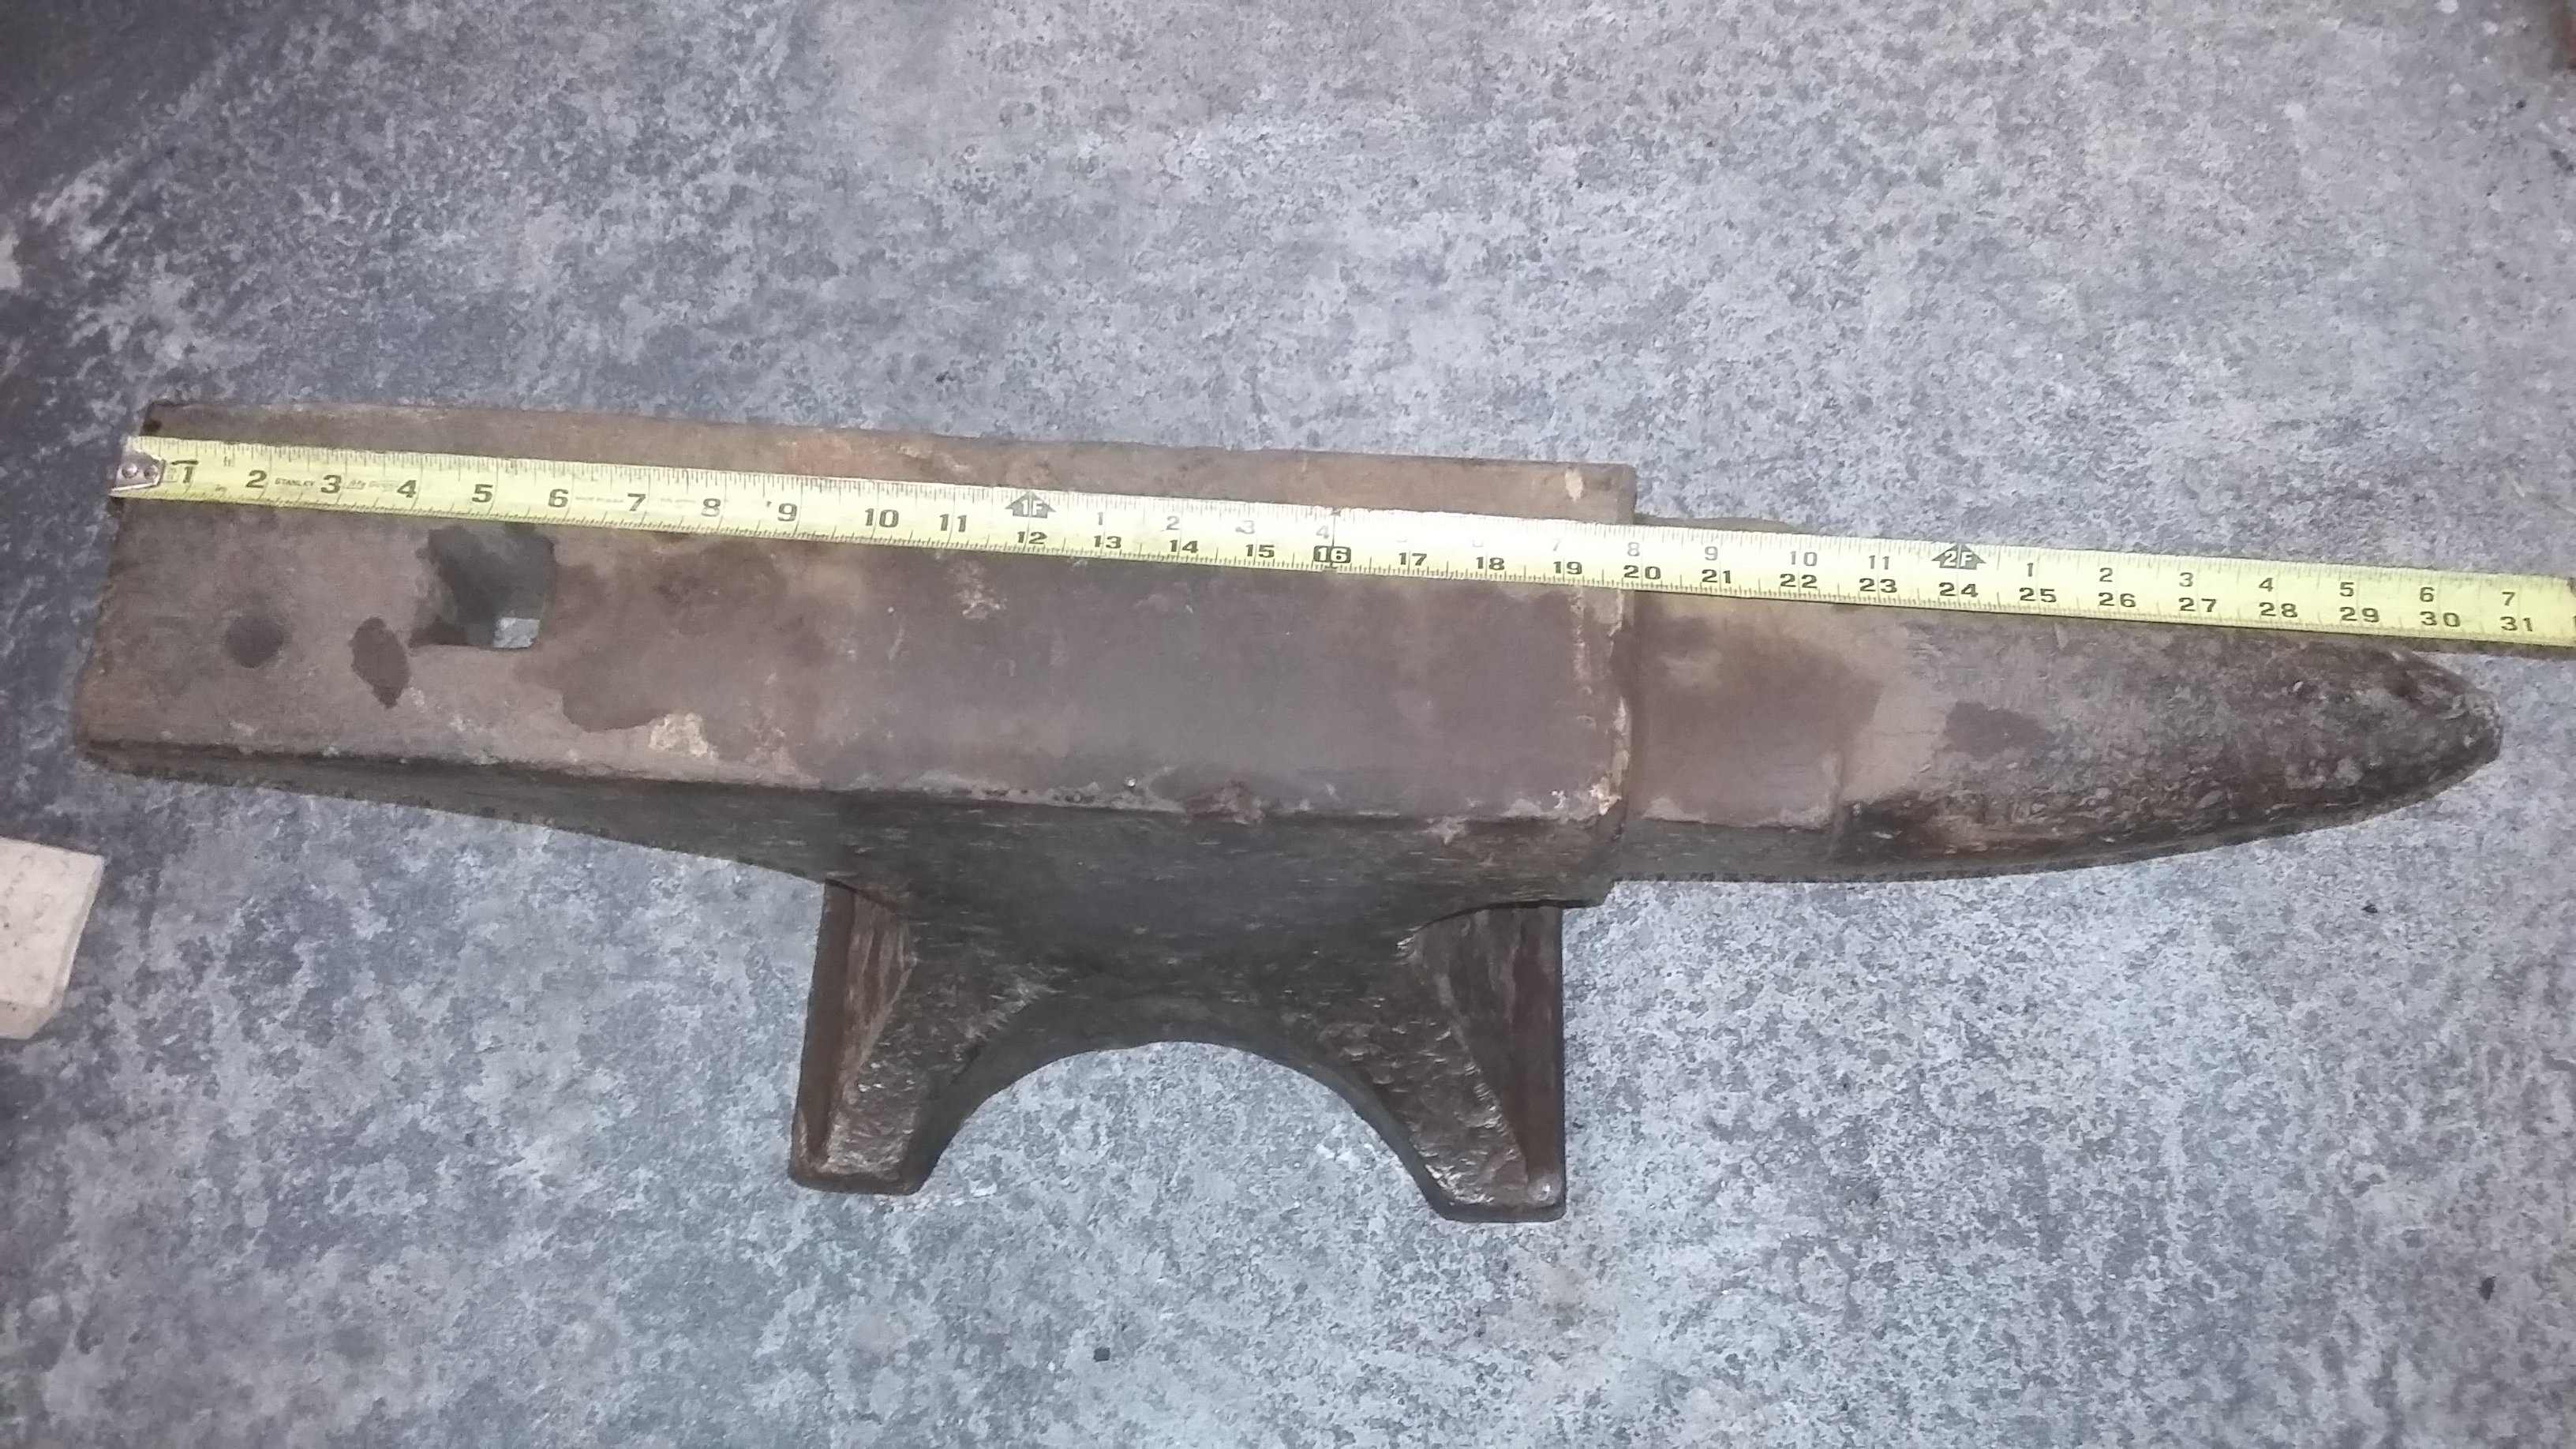
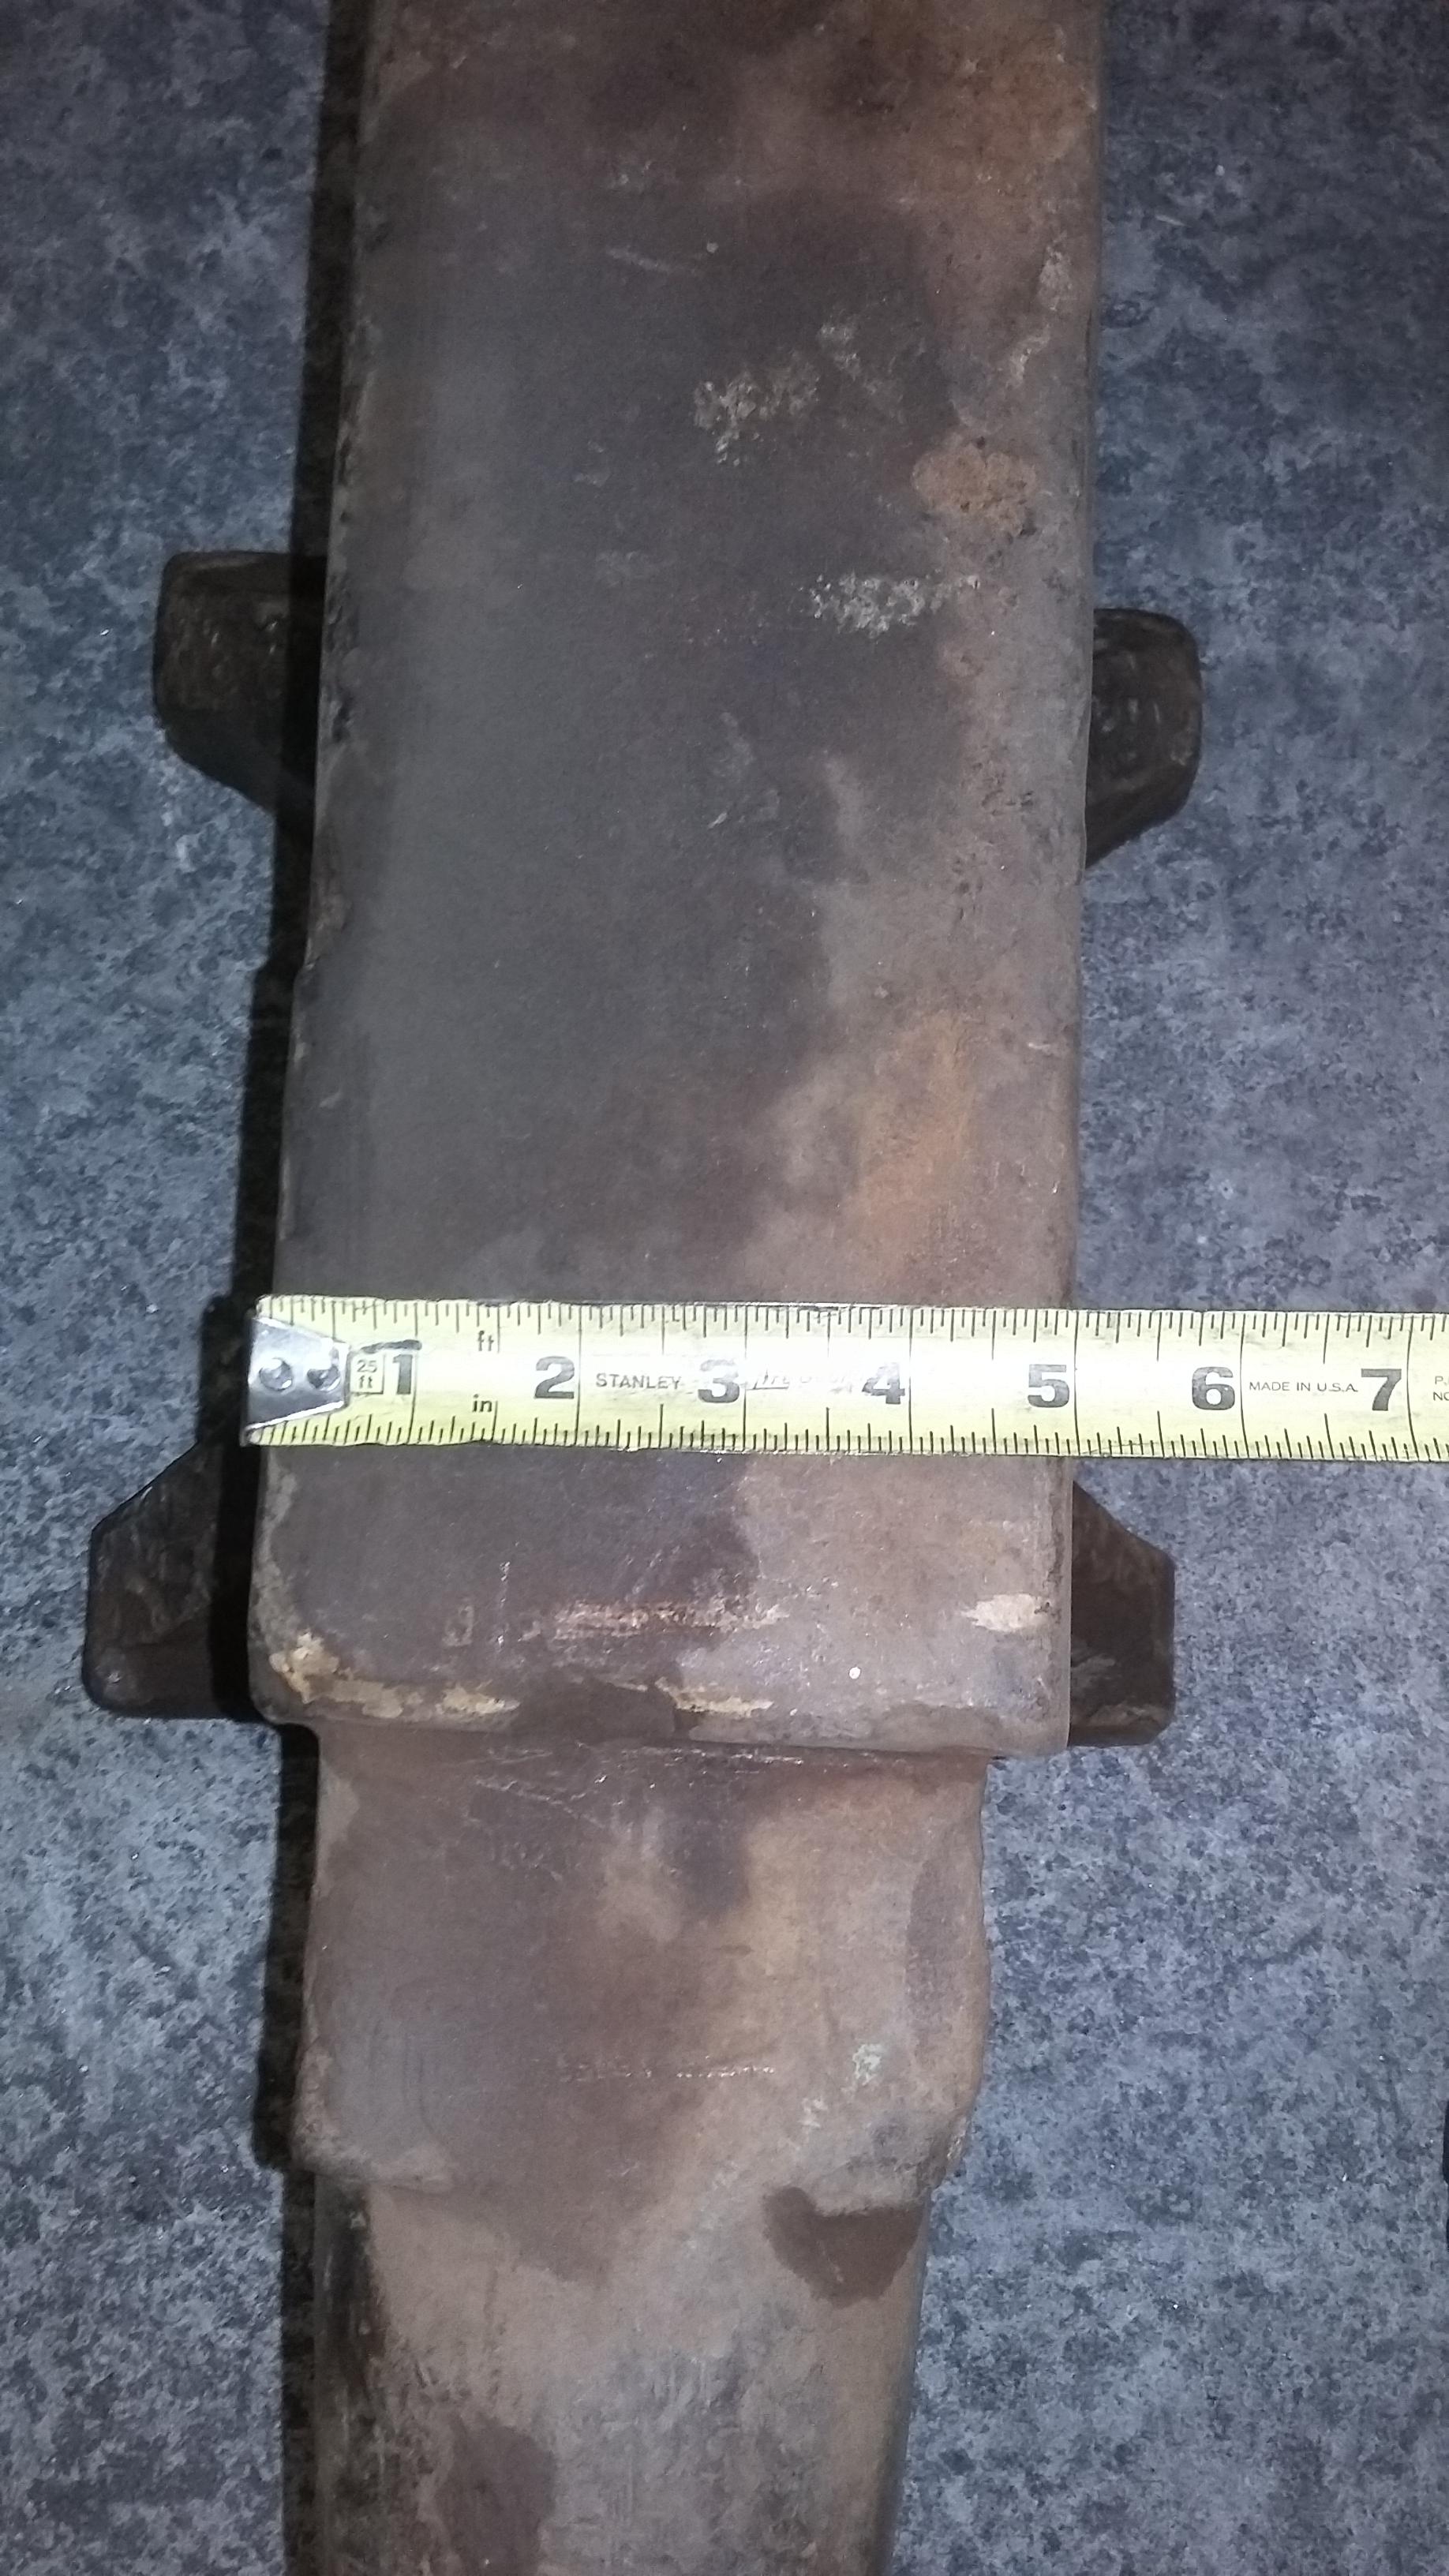
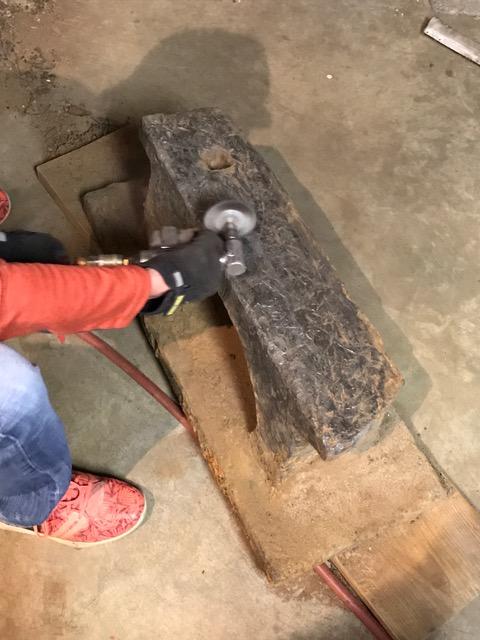
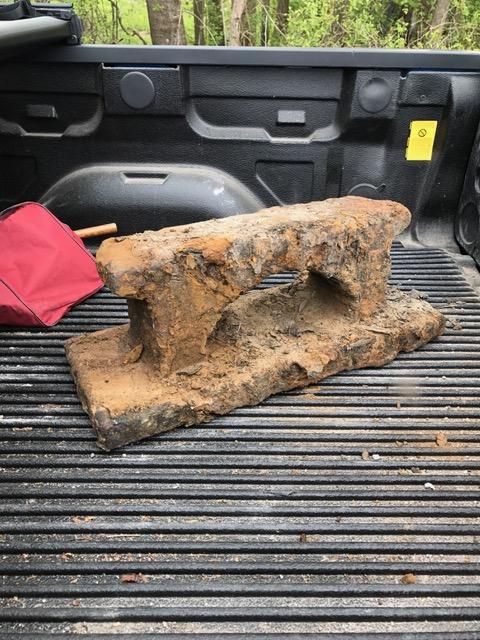
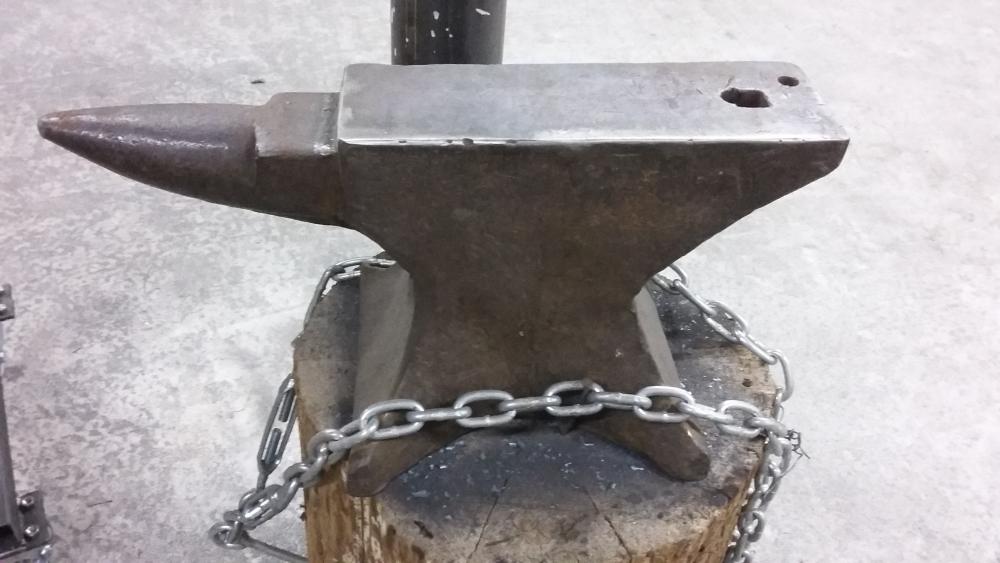
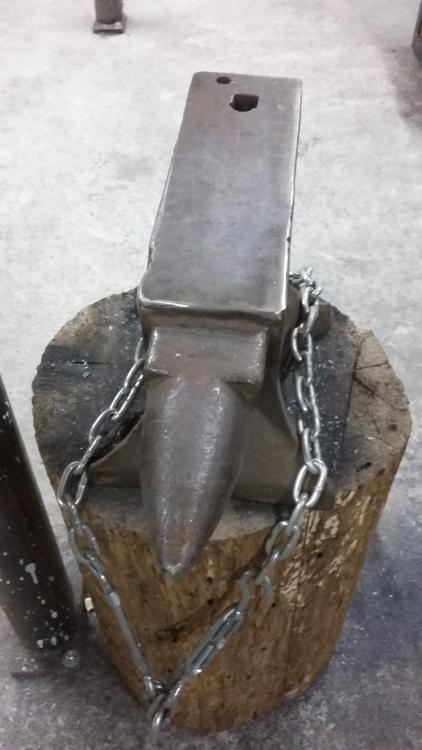
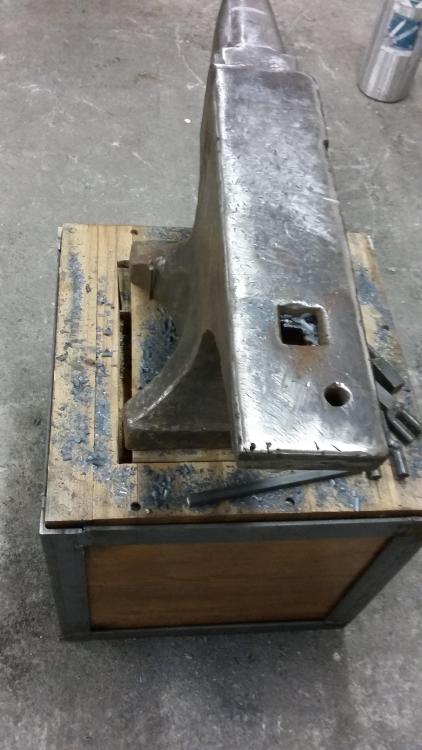
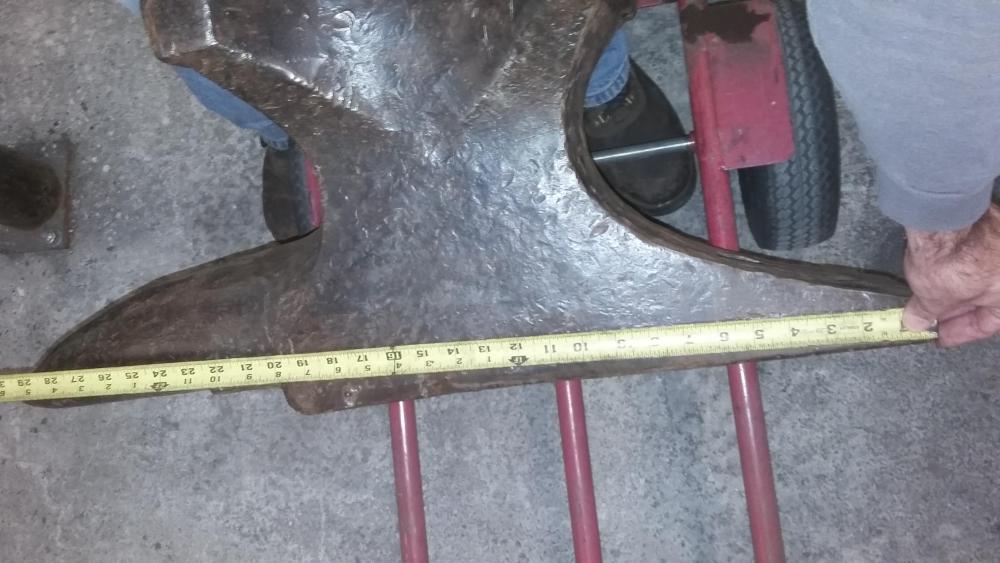
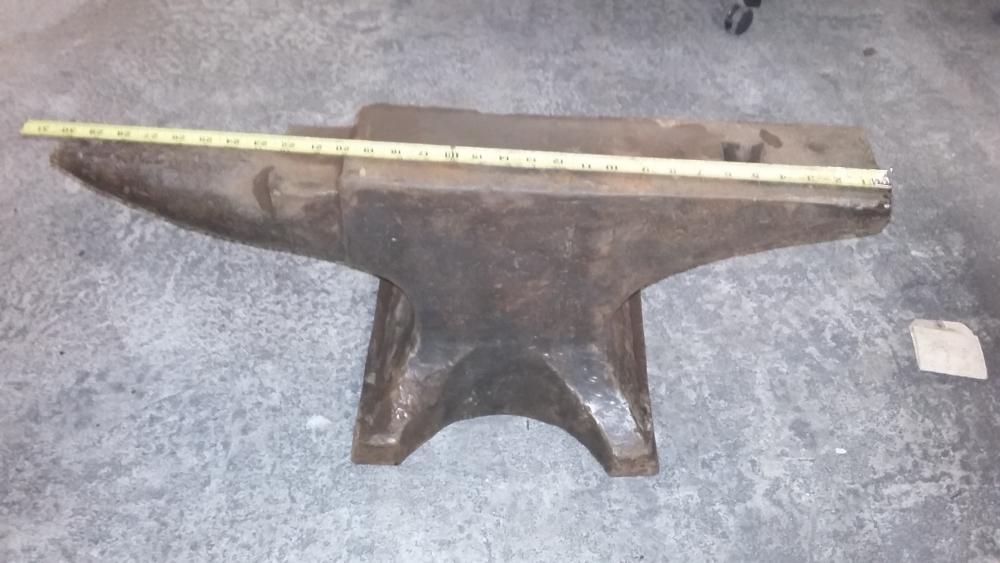
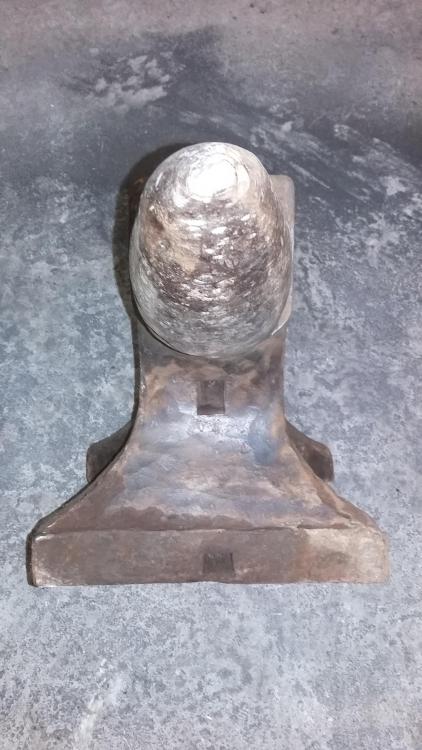
So I just picked up this anvil to upgrade the old shop a little and was wondering if any of you anvil identifying geniuses could give me any ideas about this beast? The guy I got it from says he calculated the weight to between 280-330 lbs, which from handling it seems about right. I don't have a scale that goes that high... not that it really matters all that much anyway. It sings beautifully and aside from a few dings and a decent gouge on one corner of the top plate it's in amazing shape. It did have some paint and years of grease on it as well, but once I wire brushed all that off the only marking I could find was a Y stamped near the base on one side. It's been pretty abused on the sides though, as you can see, so it's very possible there were more markings that were beaten off. If you can't read the tape, it measures 12" tall, was probably 30" long originally before it got dropped and smooshed a bit on the tip there, and is 5" wide. If there are any other pics or measurements that could help let me know and I'll be happy to post them. Thanks again for any help,


-
Well, had to step away for a minute. I WAS asking a very basic question, and thanks Frank, that was actually the exact response I was looking for. Sorry if it was too basic and not using the proper terminology, but I think a lot of heat treatment varies so much and so many people have their own methods. The advanced books I have assume you have an already extensive knowledge of metallurgy, and the basics seem to vary so much as to be a matter of personal preference at times. All I was looking for was the "normal" steps taken to make and treat a punch or other tool out of a piece of S7 steel. A relatively simple question, that needed a very simple answer... As for my "cryo" question, it was based off of an earlier thread and is considerably more advanced... I was just wondering if anyone had any further experience with this. From what I've read, S7, being air hardening, is a prime candidate for cryo treatments of this sort? It's not something I'd be interested in, except that the lab I work in has a virtually limitless supply of dry ice so it is easily sourced and used. I'm not just trying to do something fancy, but to use the tools I have readily available to make the most functional and durable equipment I can. If you have some information or advice I'll gladly listen and learn as much as possible, but if you don't... I know there are a lot of idiots on the internet, don't make the assumption that because I ask basic questions I'm one of them. I needed to cool off after reading this... I thought I was pretty clear about why I was interested in the cryo treatment using dry ice... Maybe if you had read my question instead of just adding a useless 2 cents? Sorry for any misunderstanding there... So for a design punch like I'm wanting to make would you just harden the work end and leave the struck end softer or would you treat the entire punch as one unit? I have read opinions going both ways, and it seems to be a lot of personal preference. To me it seems that having the struck end a bit softer would allow it to mushroom more, but may help it prevent chipping or breaking? Again, this isn't an atomic clock or something my life is going to depend on, so is it REALLY that big a difference?
-
Sorry, the eye I was speaking of is a shaped end. Different ovals to make eyes that are stern, happy, sad, etc... Or leaves, simple rounded ends, or a hot punch even. All different tips I can grind into this already annealed 1/2" S7. For the chisels and hot cuts, do they need to be treated any differently after letting them cool after I forge and hammer the basic shape, then grind it to the final bevel? Can I just go straight to the hardening and tempering then? Thanks for your help!
-
So I have a few lengths of S7 I am planning on making some punches and other hot work tools out of. After a lot of online research, I have what I believe to be the proper way to do this, but I'd like a little more clarification of a few points. The steel I have is from Mcmaster, so is already annealed and in it's ready to work state. For shaped punches, like eyes and such, all I need to do is grind them to shape then heat treat, correct? The heat treating of S7 is where I have found so many different methods that I am a bit confused. To heat treat it, I take my new formed punch, heat it up to a nice red heat (I don't have an accurate thermocouple or thermometer for that high but know it's supposed to be ~1725 and is NOT the non-magnetic Curie point) and then let it air cool (which is technically the quench for S7?) Immediately after is is air cooled (to where I can touch it I guess?) I temper it to around 1000 deg and then what and for how long? What is the best way to temper it without an oven that goes that high? I do have an oxy/acet setup, but have read there can be issues from the oxygen in the mix causing problems when it is used for heating. I'm certainly not building an atomic clock here, but would like my tools to be as good and hard as I can possibly make them. Also the difference in tempering and hardening the whole punch versus the "business end" that will come into contact with the hot metal is a concern to me as well. I see the appeal of both, but would like some opinions there too... What about pieces that I forge out to make chisels out of. After forging it into shape, the whole thing has been subjected to a lot of heat and stress. Do I need to normalize it or re-anneal it, or can I just proceed with the heat treating from there? They are just small tools, so not a ton of mass to deal with... Lastly, but not leastly, I have access to a lot of dry ice here at my shop. I've seen a few things about S7 being one of the tool steels that responds well to dry ice treating. Anyone have any experience with that? Is it even worth my doing it, and how would I go about interacting a hot (or cold) piece of steel with a block of dry ice anyway? So for myself and any other novice toolmakers out there here is my step by step plan... please let me know if I've got it right! 1) Take my nice piece of shiny new S7 and grind an eye on the end 2) Place it in my gas forge (don't have a coal one) til the whole thing is a nice red heat, then remove and set aside to air quench 3) Polish up the working edge so I can see the colors move and use my oxy/acet torch to heat it from the middle and watch the colors run out to the working edge til it is just past blue 4) Once it is at room temp I sit it in the cooler of dry ice for an evening and see how it goes from there Anything else? Any extra steps for pieces that have been forged?
-
Very possible. His name was Hermit Fink, so definitely not his! He purchased another blacksmith's entire shop at one point so it very likely could have been made or purchased by that guy too... No idea what his name was. I was just hoping one of you encyclopedic type of guys might have a brainstorm! Stranger things have happened on here...
-
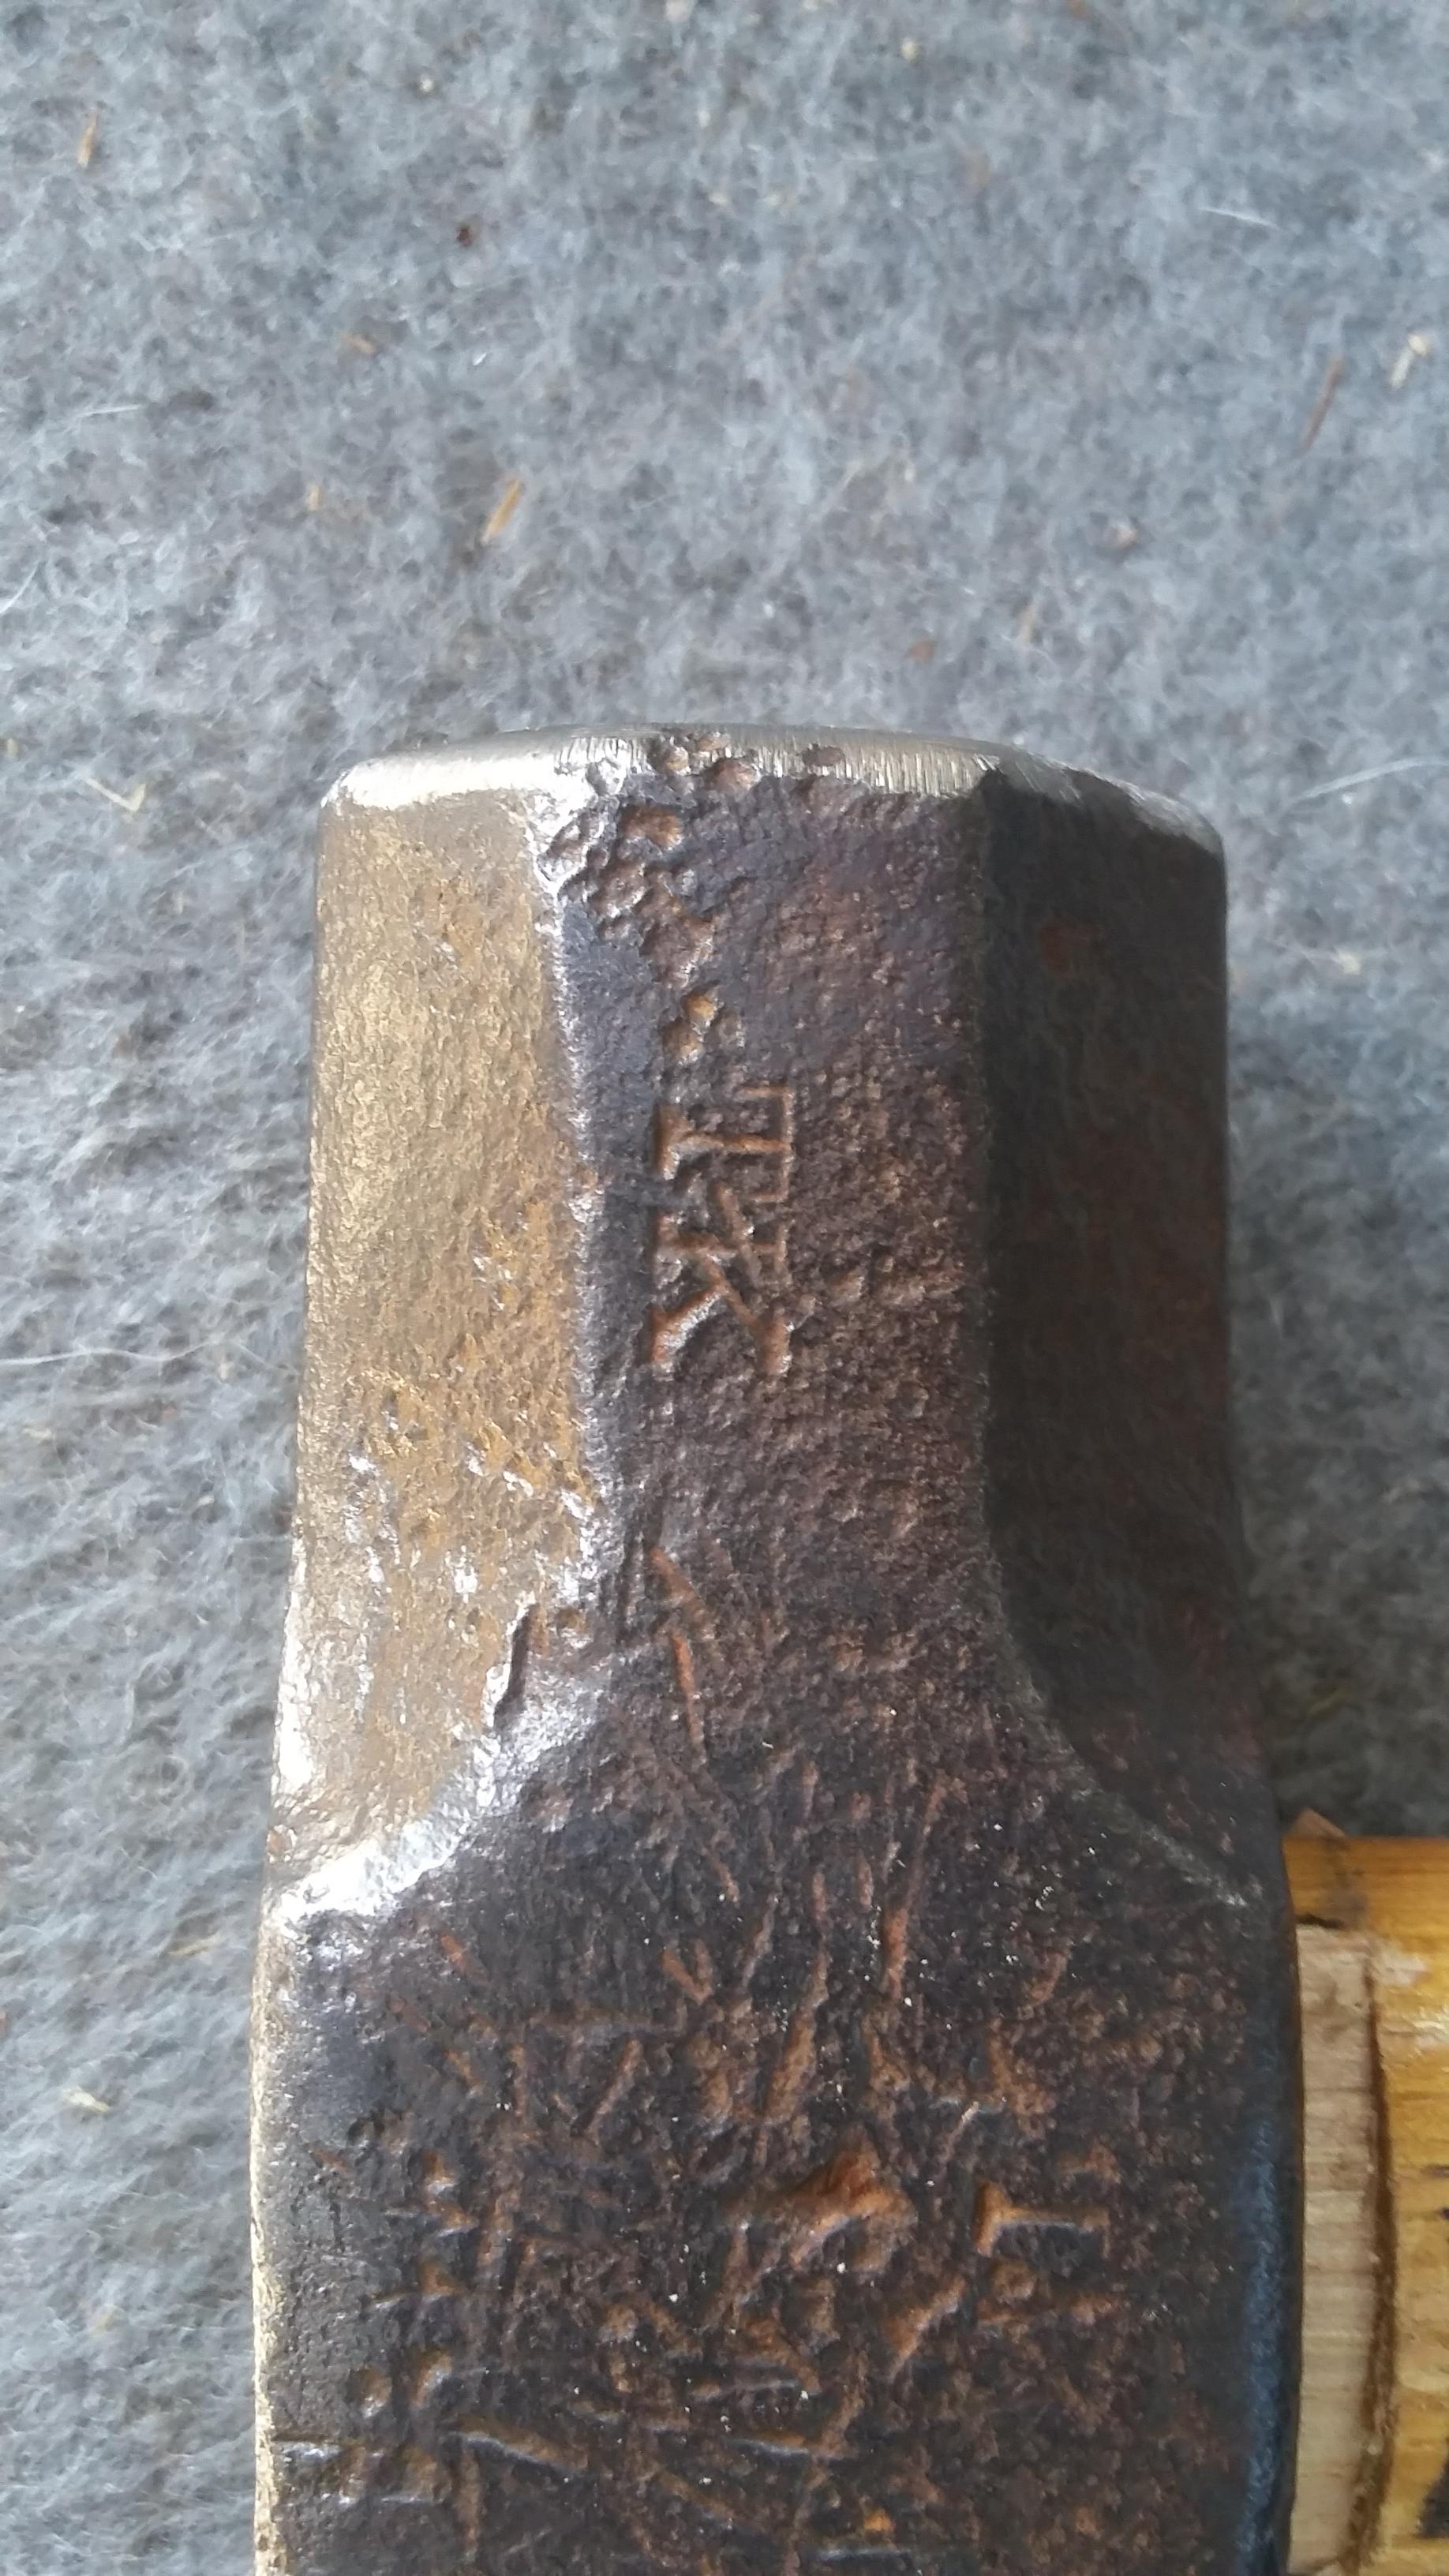
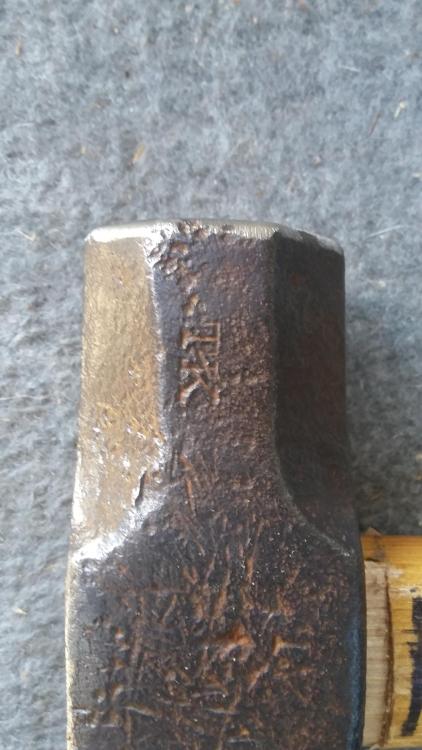
I just cleaned up a couple of my great grandfather's hammers and re-handled them and while I was at it I noticed this one had a TK stamped on either side of the head. I know it's well over 100 years old and was wondering if any of you hammer aficionados out there had any idea who the maker was or a possible age range? None of the other hammers had any identifying marks, which isn't surprising as he was a farm smith in the back woods of West Virginia... I'm not expecting any miracles, but it would be neat to know where the old boy's hammer originally came from.

-
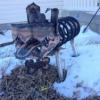
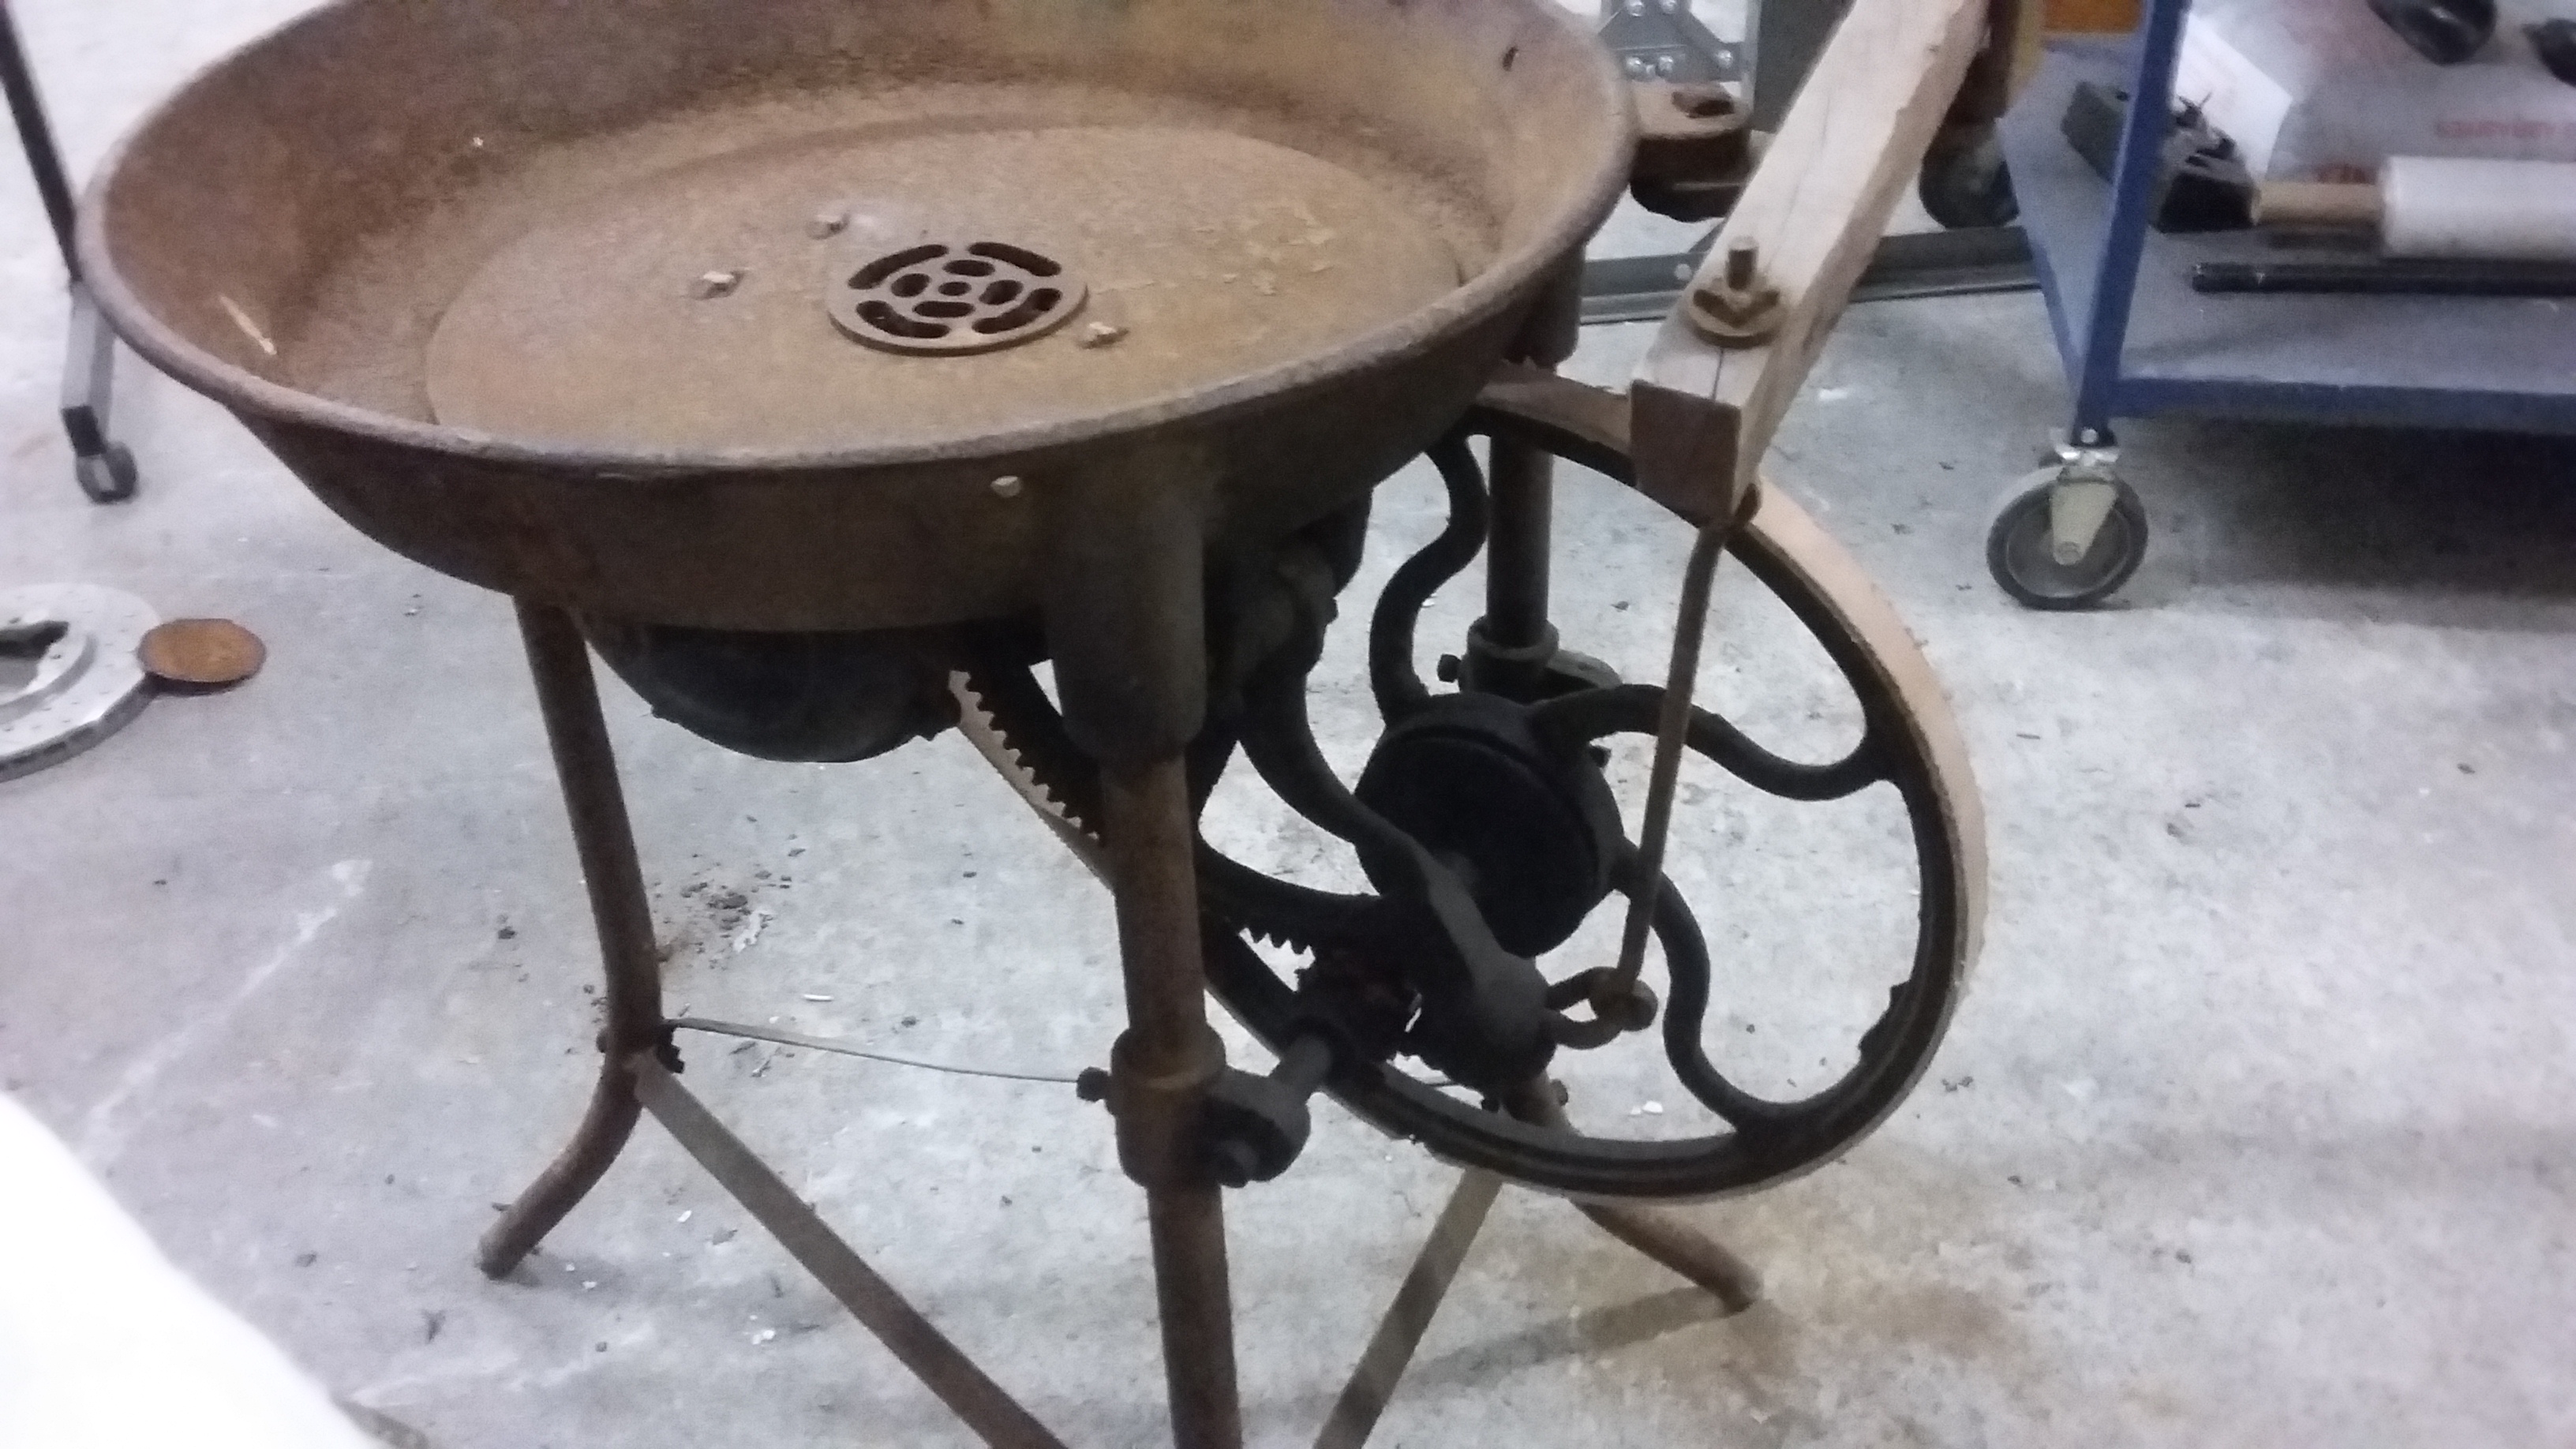
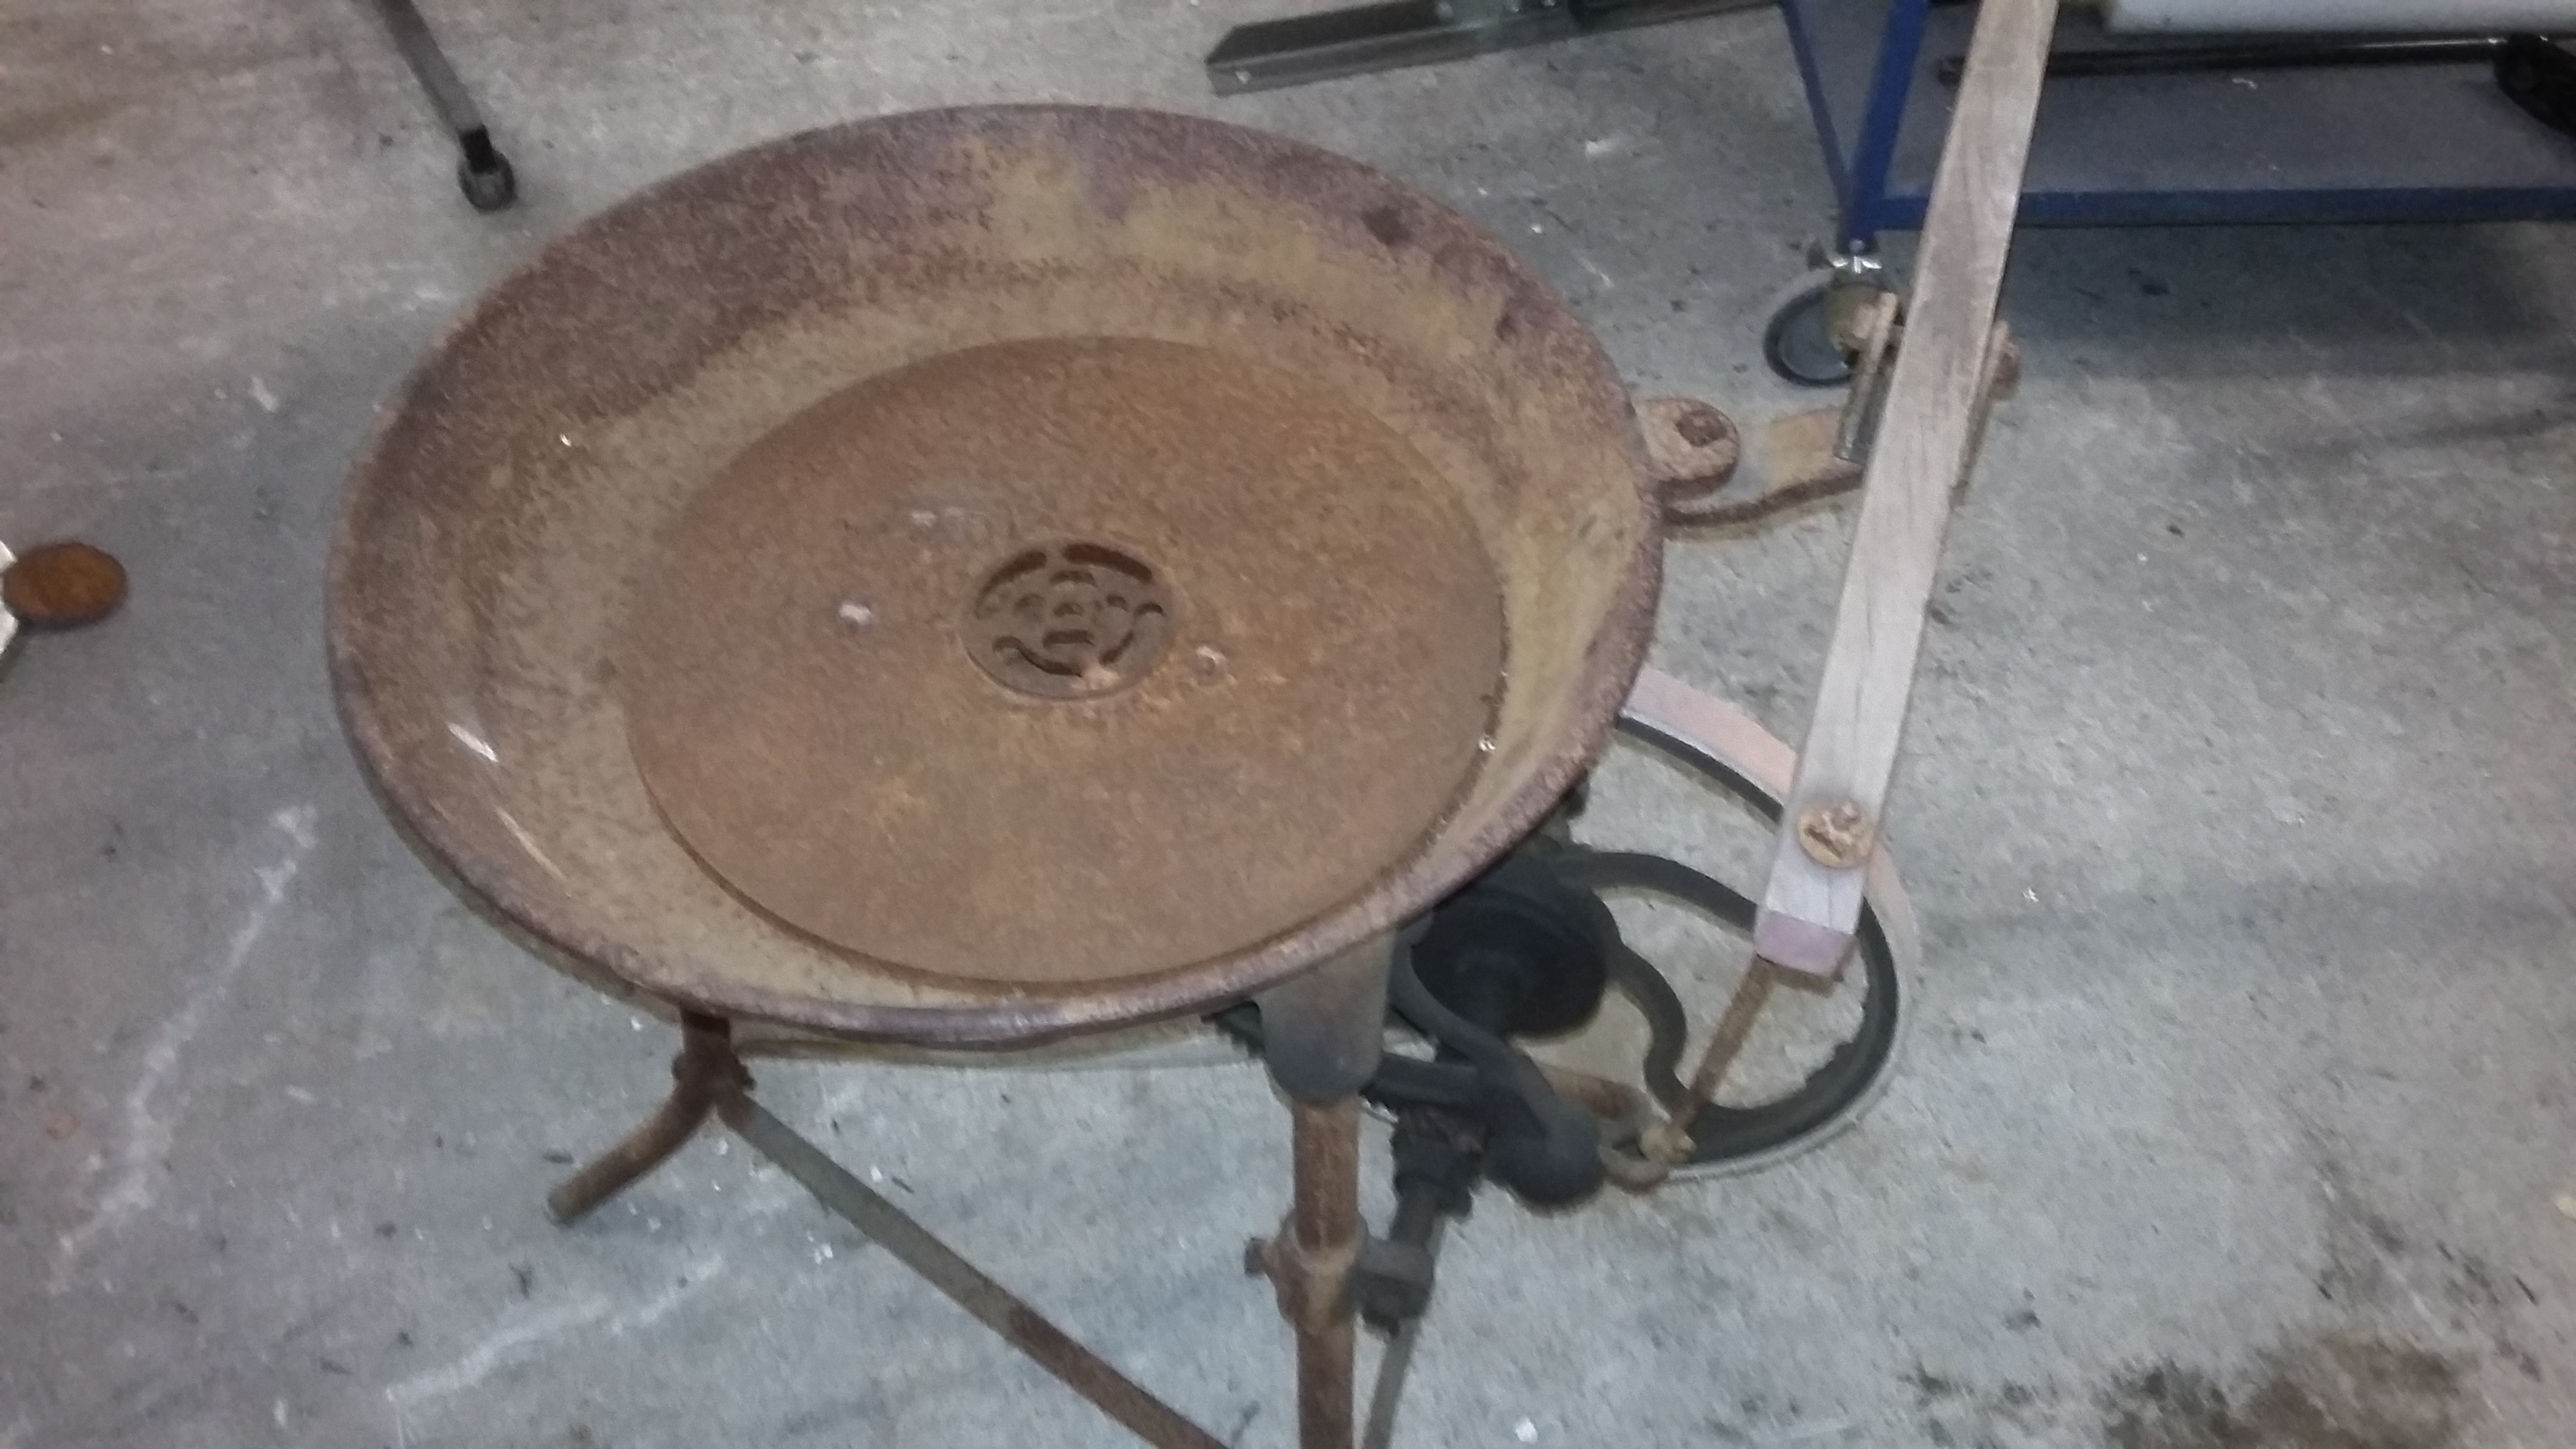
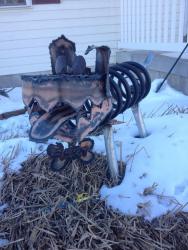
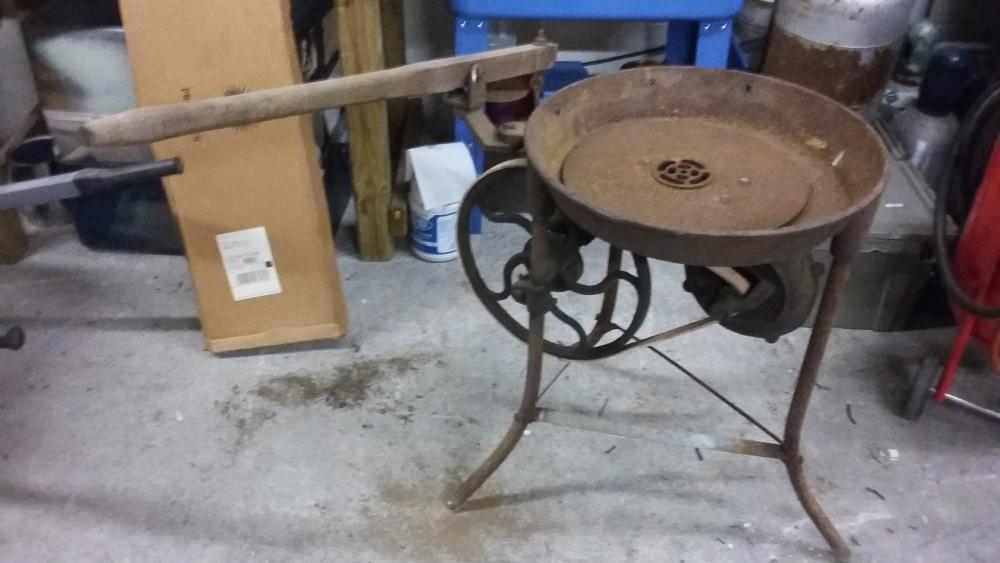
I'm looking for some help identifying this forge I recently picked up. Instead of a hand crank, it uses a lever/pump action to move the blower. It's definitely been repaired on top at some point over the years as it looks like the pan probably rusted through. Everything else is in original shape and works great, although the legs are pretty wobbly at this point. Should I restore them and make it usable again or leave it as-is and sell it to someone who needs a decoration? The hand crank mechanism works, ie. it blows a bit of air, but it's a lot more work than turning a hand powered version, even one without a flywheel. Just seems very over complicated and inefficient, which is why I'm wondering if it's not somehow "special." I can't find any identifying marks anywhere except for a 526 and 527 on either side of the tuyere. I hadn't ever seen anything like it and figured it had to be worth something!


-
Oh yeah, I already have a O/A torch and cutter set up and agree 100% on it's utility. They have already come in incredibly handy on several occasions, especially since my forge is too small to do larger bends and such. Really the only thing I'm missing from a total fabrication set up is a plasma cutter and CNC machine (now I have a power hammer to add to my growing wish list of BIG tools. :D I made my first two sets of tongs, and agree that I get a lot more satisfaction out of them than I would out of a store bought variety, even if they are a little out of square. I have a steady supply of scrap coil springs out of humvees and large 4WD trucks, so that's where all of my punches and such will come from. If I can get a few straight leaf springs my magician may get homemade after all. It's all about what you have available and your skill set, and making stuff always improves the skills. I guess I was just sticker shocked at some of the newer stuff, especially since a good bit of my gear is over 100 years old, built way better, and cost far less... but I luckily live in NC where there is still a lot of that stuff hiding in old barns just waiting to be found by someone willing to scrub off the rust. That and I have a few mechanic buddies who love my work and keep me supplied with good scrap. Again, I appreciate the input!
-
Thanks for the great replies, I'll definitely be looking into yesteryears version. As I'm sure most of you can relate I often feel the need to make my own tools but realize my skill level is lacking sometimes. Especially here in the smithing arena! That's why I ask you experts and value the great response newbies asking the same questions over and over get. Vaughn I definitely understand your point. I have several similar items I wish I had could sell and can understand the dilemma, that's why I asked this question. Some things are worth the cost, and I realize my own fabrication ability, planned usage, and access to materials make a HUGE difference here. After looking at plans, I'm sure I could make a perfectly serviceable magician, but at my skill level I think I'll use a little of that Christmas money and splurge on a pro model. I can always get froggy and build a "better" version down the road. Any other must haves you can think of in the couple hundred dollar range?
-
So I just got my shiny new ABANA membership for christmas and I'm looking to buy a few new toys to get my workshop a bit more efficient. I'm a decent welder, and have taken a few smithing classes so I know enough to know that good tools are very important to making a good finished product. I've got a nice little two burner gas forge, a great old mousehole anvil, a solid post vice, couple hammers, and a couple pairs of tongs. All the basics, plus a more than decent welding set up. As I shop around I notice that actual new blacksmithing tools are crazy expensive, which brings me to my question... What tools are worth buying and what should be cooked up at home? My main question now is about the guillotine, specifically, anyone use a smithin magician and is it worth it? I'd love to expand this to other tools though, like hardies, why is something that seems so simply made $60? I feel like I can heat treat and weld a cut off together pretty well. Sure it may need to be sharpened or re-treated more often but that's a lot of money saved... Making something as complex as a guillotine though, I can see where tight tolerances would come in very handy with making good clean cuts and fullers. So basically, what do you think of the "magician" and what other tools would you absolutely buy before you build?
-
-
It all depends on what you are welding and whether you are setting up from scratch. Admittedly I've never forge welded, just seen it done, but so far most of the things I am welding are far too large and/or complicated to do in a forge. I think both have their uses and disadvantages, but to do something like this in a forge would be impossible... I also make bottle trees out of 1/2 & 3/4" rolled bars... after a twist or two and a couple branches there's no way to fit a tree in a forge! I get what you are saying about forge welding though. I'm a firm believer that having the right tool for the job makes life infinitely easier, which is why I can see that I'm going to end up with as many forges as I have welders by the time this is all said and done. I'm gonna need a bigger garage!
-
I understand that forge welding is a much different join than electrical welding, as forge welding is done on a more molecular level throughout the piece. I'm sure something will come up eventually that I will want to try, but for the most part I am more interested in forming shapes and bends. As for the coal/coke question. There is only one place that is even close to local that sells coal and that's all they sell. The more I go round and round it seems I am just going to have to make two smaller forges, one gas and one coal. I'm still researching the various burners and wish I could find someone who has done a side by side comparison of a homemade version versus a manufactured one. Working in a lab myself, I understand the difficulty in getting good data from an experiment like that, but since there is just so much variance in each forge it would take someone literally swapping burners and doing a time/fuel use/and temp test. I've found several threads where people discuss this, but haven't found anything yet where someone actually has. If any of you know of one, please point it out... The search function here isn't exactly the greatest. So far I'm leaning towards one of the Zoeller type forges made out of an 5 gallon shop vac housing (basically a metal bucket, not aluminum) and a break drum style coal forge. Both should give me enough space to get started, and if I need something more I guess I'll just have to make friends with someone who has a larger forge nearby...