Crazy Ivan
Members
-
Joined
-
Last visited
Everything posted by Crazy Ivan
-
Good, I don't want you to hit my anvil. I want you to hit the hot steel that's on top of the anvil.
-
If you ever find yourself in my neck of the woods (farms?) The shop is always open. Partially because we work too much, partulially because we love visitors/distractions. Especially when they bring a case of beer by.
-
Ssshhh! I like it when their circuits fry from knowledge, tricks and tips overload. Watching their eyes twitch trying to process info is great! Lol
-
If anyone is curious as to what the forge is, it's the side blast JWS used for years for his bladesmithing along with a blower. It's a clayed and bricked forge table, side blast with a side sucker hood. The anvil is an A2 block anvil myself and J make. Just goes to show you why it's useful to put your location in the header of your profile. We are an hour away from each other and now Medy knows a nearby shop to come visit and get help from/learn a thing or two.
-
You're a bit far but normally I'd say bring it by my shop and we can forge weld a new leg on and forge all the parts you're missing. Fixing post vises is on of my favorite things to do! What size is the jaw? If it's beefy, the leg may have been cut down to use the vise at a better height for hot work. We love pictures here if you've got any!
-
I also forgot S series. Lol
-
For future reference, steel used on a tool does not nessesitate tool steel. Tool steel is a specific class of steel. A, D, H, and O series are some common ones. If you decided to use a crowbar for steel it could be anywhere from mild steel to 1075 to 41xx or 43xx. "Crowbar" is not specific. Allow varies depending on manufacturer.
-
Looks like you also have it choked out. Doesn't seem like you are getting much air thru your venturi. Try to open the choke a bit at a time until you get a neutral flame. Too much fuel and not enough air will keep the temperature down. Too much air and your steel will rapidly oxidize in the forge.
-
Started out in that cliche abusive inner city household, ran away after a shattered arm at 14. Homeless for many years after that but I kept going to school (trade school saved my life). Learned metallurgy, blacksmithing, welding, and fabrication between 14-18. Fell into the stereotypical opiate trap that is inner city Boston. Struggled with that for too many years. Started hopping freight trains to travel/get out of my toxic environment and most of the time, it worked. In and out of jail for a while since my lifestyle wasn't quite "legal". Worked as much as I could on the road (do you know how hard it is to get a job while youre homeless!?) and I'm still trying to get myself stable. Started riding freight trains around again a couple years ago but this time to work with other smiths and get more inspiration. Ended up settling in Lancaster PA in January and working for myself here with some subcontractor welding work here and there. Constantly struggling but constantly pushing forward even harder. Hobbies include archery, dogs, punk and metal sub genres of music, and constantly learning more and more about steel applications, processes, and compositions. P.S. can I still list blacksmithing as a hobby even though I do it full time?
-
Not a problem. At any given point between 9AM and 9 PM, at least one of us is usually around the shop. Sometimes earlier, sometimes later. I'll send you a PM. Stay in touch. -Pete
-
Welcome back. I used to live in MA as well and also live in PA (Lancaster) now. I lived in Boston and still managed to sneak my shop by for years. Keeping your neighbors happy with trivets and bottle openers etc from time to time went a long way. The house next door was 15' from my shop lol. Anyways, you're only about an hour away. Stop by the shop sometime if you're in the area. Myself and JWS can help you get yourself set up on the cheap. We're here every day.
-
Regardless of the translation flaws, tobjiorn is an outstanding blacksmith. His work is always clean and consistent.
-
There's already a thread on this. Search (cooking on the forge) and it's the 1st thread that comes up. Add your photo and check out the other ideas!
-
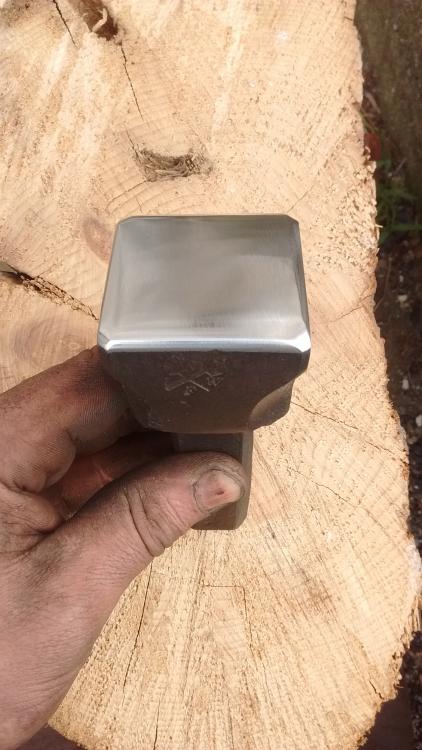
That rattling was the bolster and shims between the anvil and the work. I needed to have a larger hardy hole to get the drift to fully set since the hardy in the anvil is just a hair shy of 1". It allowed me to sink the drift without it binding in the anvils hardy hole.
-
I'm a tall one. I've got it at a comfortable 30" . The weight is around 100 lbs w/o chain. I haven't gotten the chain yet, or the new anchors. Took yesterday off for a change and this morning I was running a table and networking. I've been taking more days off lately so I don't hurt myself again. A day off here and there is better than 2 weeks off with back spasms. Lol
-
Never mind your space set up. I hope you didn't forego the particulars of zoning laws, insurance, and have a decent business model/plan. What is your intended product? How much sourcing and outreach did you do to look into your proposed market? If you want to do this full time, those are very important details not to be overlooked.
-
Lol, yup. That spellcheck/ worn down fingers/numb nerve damaged hands got me again. I also said " radio" instead of radii too. Oh well, y'all get the idea.
-
Lay flat and hold your rod straight out of the stinger. Never run vertical down on a structural weld. If your weld is convex with most of the fill in the middle then you need to hold on the sides of the weave longer.
-
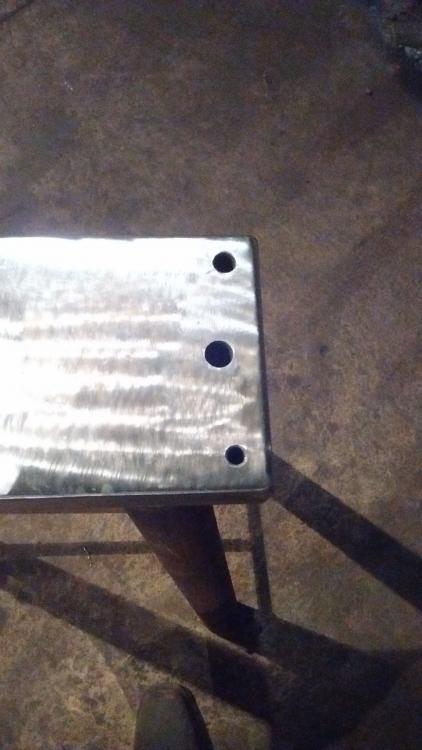
All of the above in fact. On an anvil, I use every feature as a tool. Some people don't pay much mind to the fact that every anvil has built in angles, measurement's, radii, and acess for tricky spots. I like to study and memerize these to use to my advantage. I chose these locations with minimal, but still some, thought as to where it would be easiest to heat. Next I thought about what each hole would frequently get used for. Both hardy holes are spaced from the edges of the anvil so that I have a guide when upsetting flatters for when to stop forging/squareness to the shank. Same goes for hardy tools. The pritchel holes are spaced close to the edge so that when punching near isolated material, I do not need to worry about which side I start my punch/back punch from. Think tongs for example. If you start your punch with the jaw facing upwards, you may not be able to clear the plug when you back punch because the jaw would get in your way from that side. This way I can drift from either/both sides to finish my hole over the pritchel. The radio are located over the center and leg of the anvil because that's where the heaviest forging will take place (aside from heavy upset applications). For upsetting ove the hardy, the legs are as close as possible to the Hardy's to transfer the shock to the floor. If they were located inside the legs, the hardy corners may act as a stress point for when I am doing heavy work over the center mass of the anvil. Also, keeping them outside means I can use a roubo style holdfast in the hardy and still have plenty of face in the center to work the held piece from. I'm not worried about stability in the least bit since I had planned on bolting the anvil to the floor anyways.
-
I agree! Or maybe I just hit like Thor . I still plan on wrapping the legs with at least 30' of heavy chain which will help with its top heaviness and the ringing. I used plain old er70s FCAW .035 as hot as she burns. Took it slow and built up a 5/16" fillet focousing heat on the S7. I'll be sure to let everyone knows if my welds fail. Here's hoping they hold up! If not I'll try either nickel or silver.
-
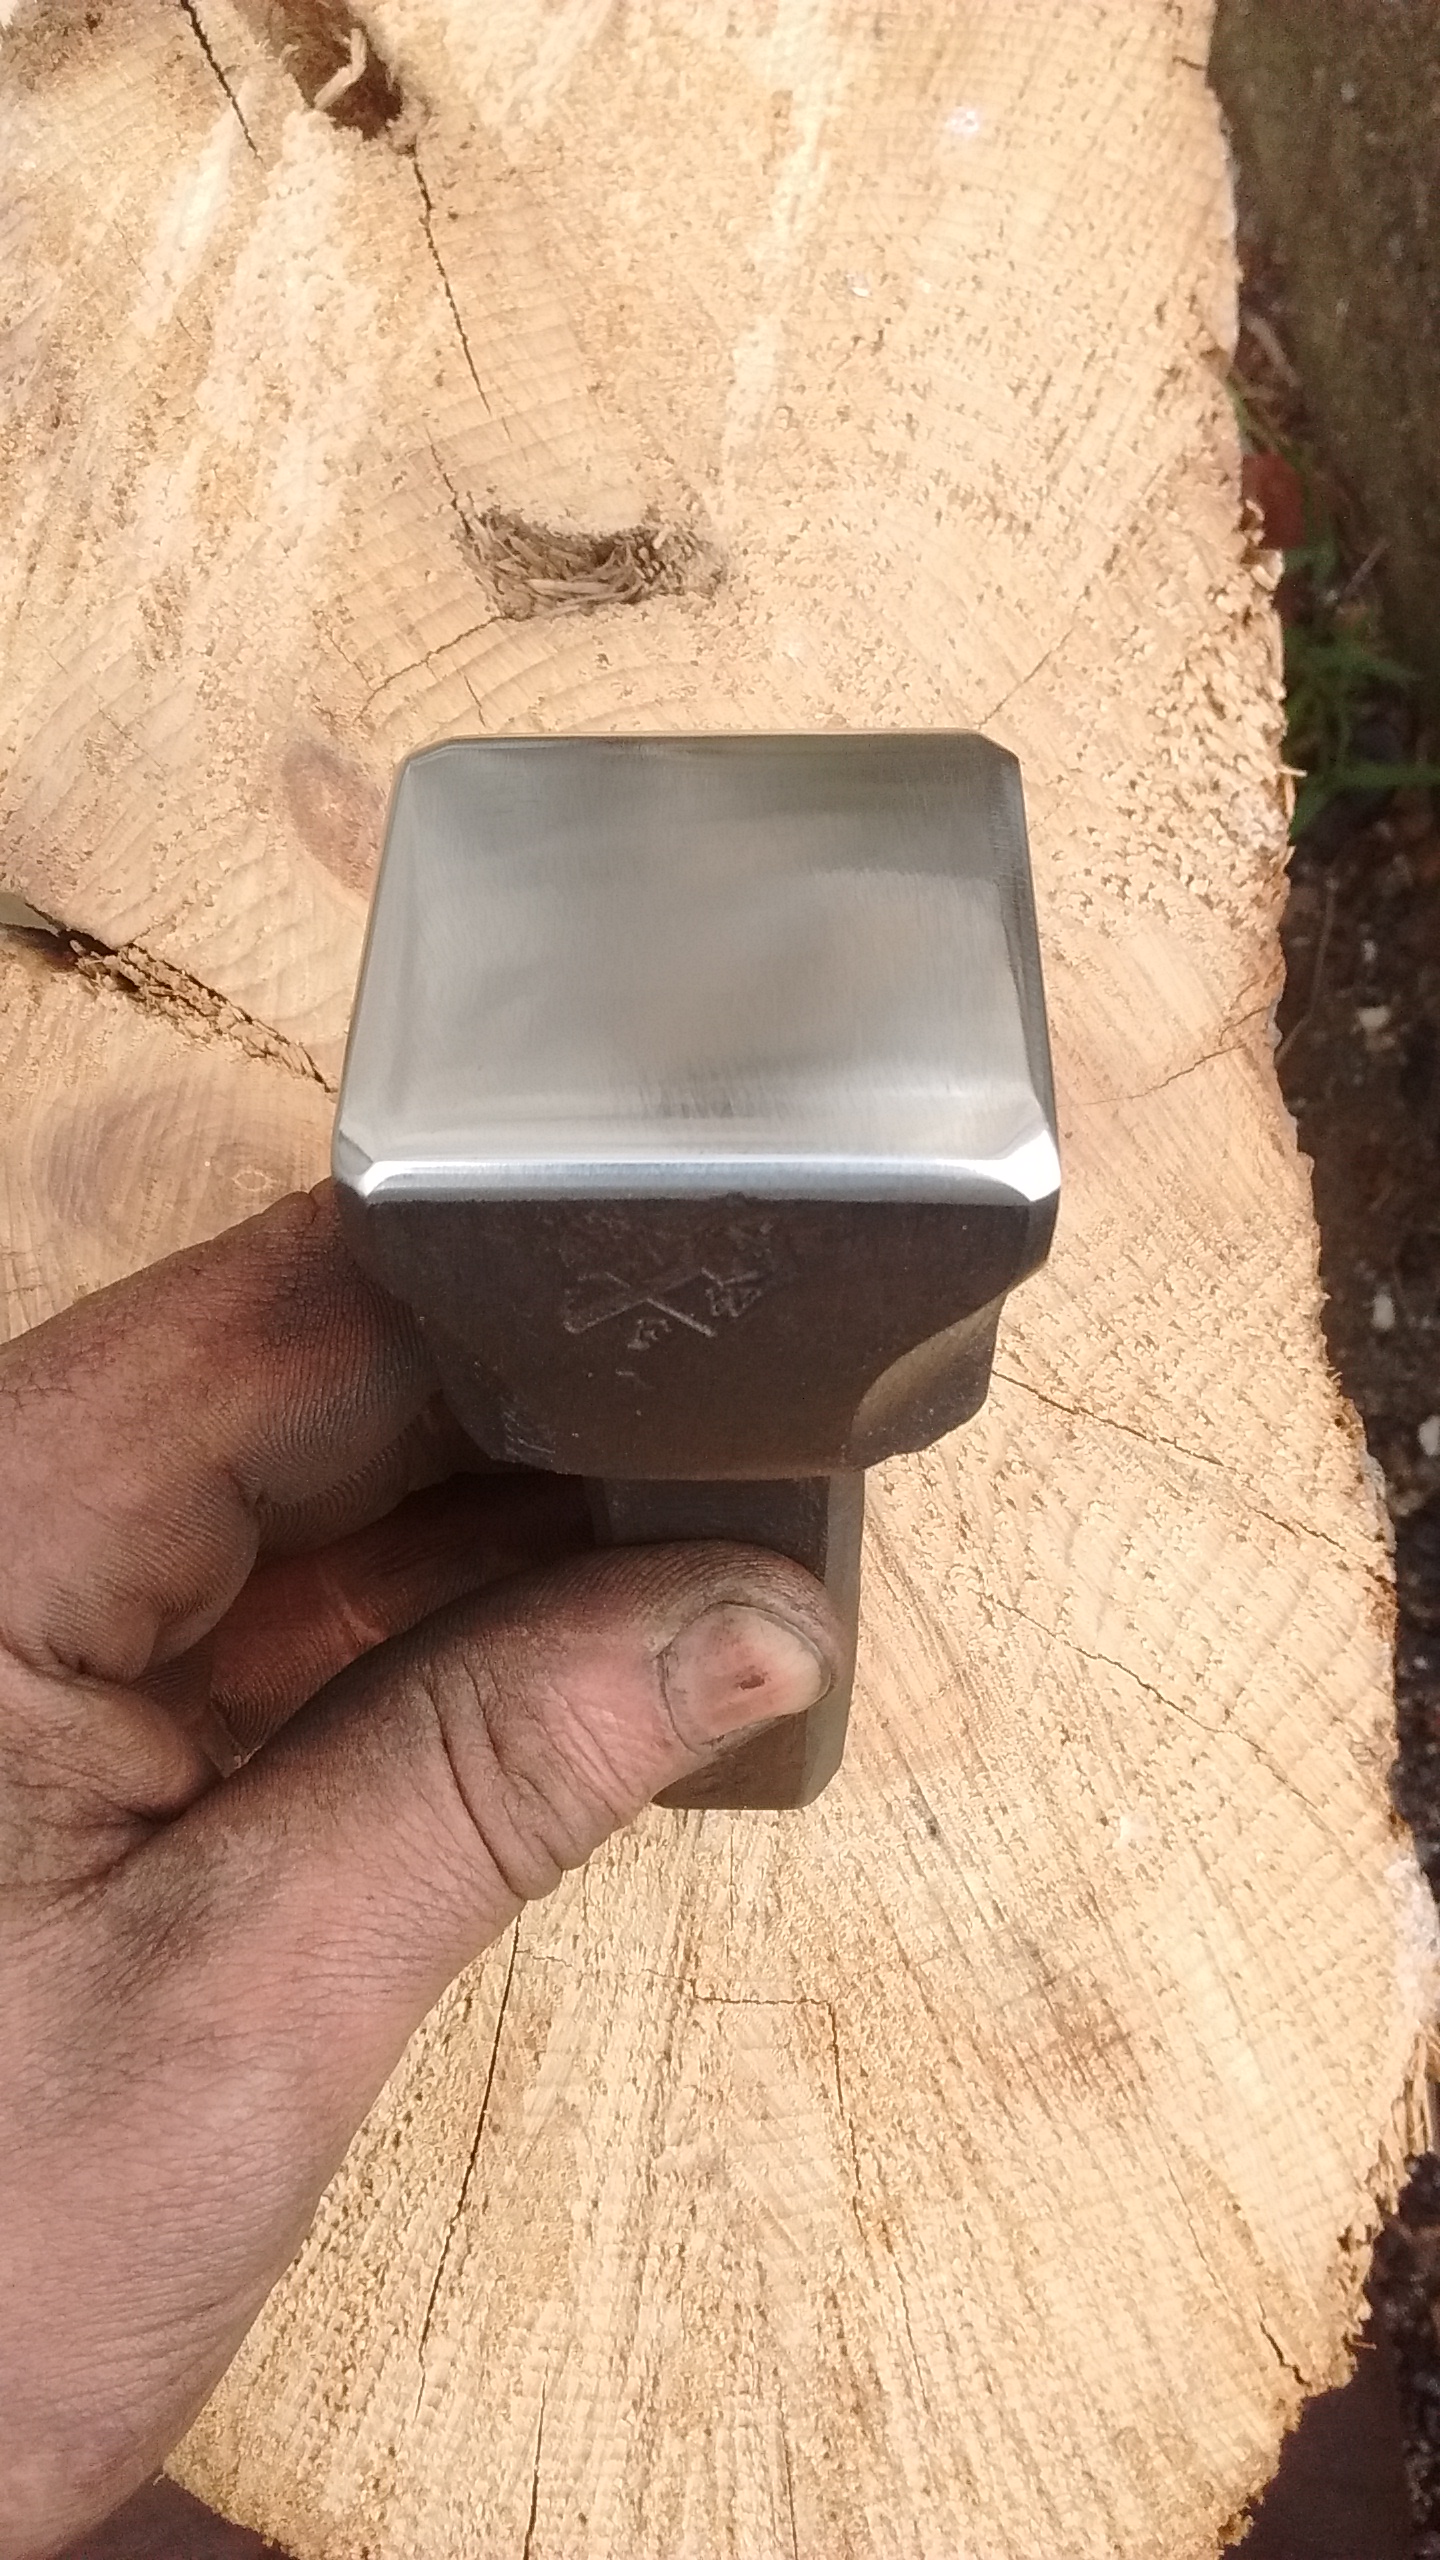
Preheat 400*, weld, peen, post heat slow cool. It was cool to the touch after about 1.5-2 hours. I would have ideally silver brazed it but since that's more expensive I figured I'd try this method first. If a weld breaks I'll spend the money on the silver. Used it today and made an ugly radius block. It works like a dream. Only problem so far is that the tapcon anchors don't cut it. They do keep it from walking but it does jump a bit. I'll have to replace them with some 3/8" red heads in the near future. Here's that radius block. It's ugly, I know haha

-
Matto has the easy way to find the video. I don't know the name of the YouTube channel since I'm tech stupid and don't know how to edit/make video. I just have things on JWS youtube channel when he takes video of things. My firepot is a brake rotor from a truck. 3.5" deep and about 6" in diameter. 2" tuyere coming in and the large forge table I built around it. I had no trouble getting it up to a good heat and this is a fair bit larger than a forklift tine so most coal setups shouldn't have much trouble I wouldn't think. The initial heat took about 40 minutes to an hour since S7 likes to come up to heat SLOWLY or else you will have problems due to its alloy. After that it was about 10 minutes-20 minutes to bring it back to heat. Thanks. I couldn't get the darn thing to post the other day.
-
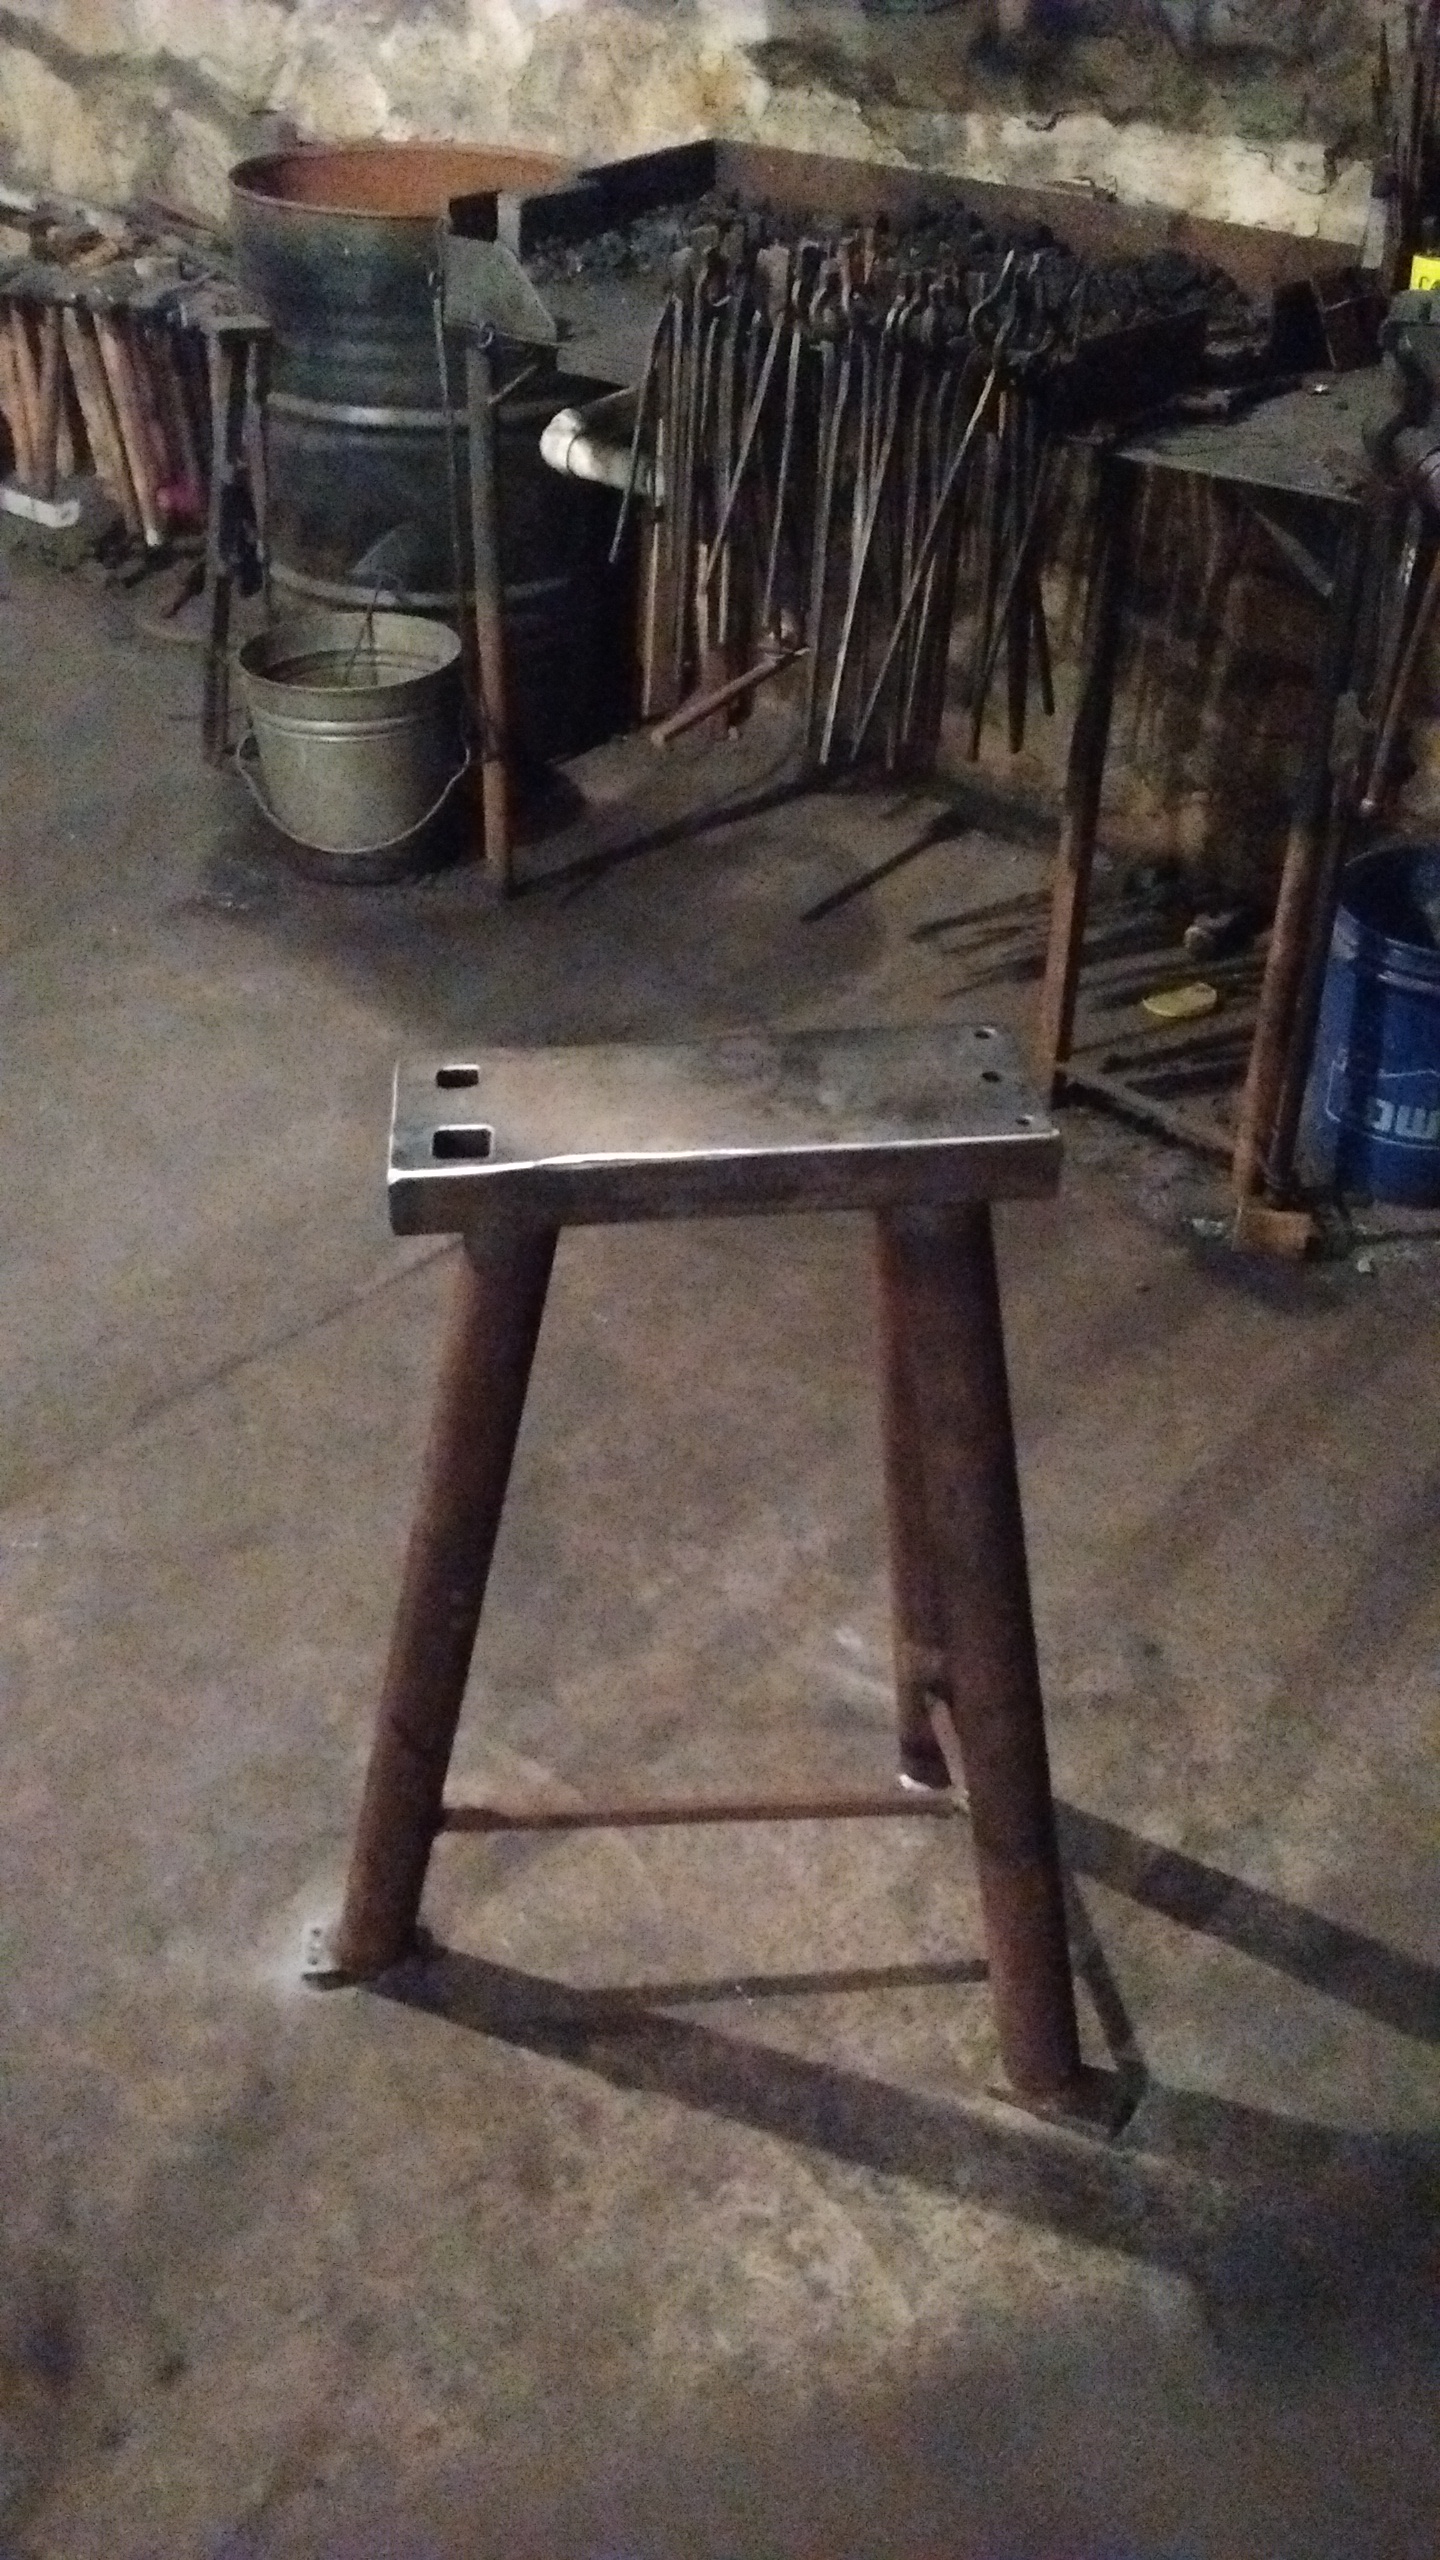
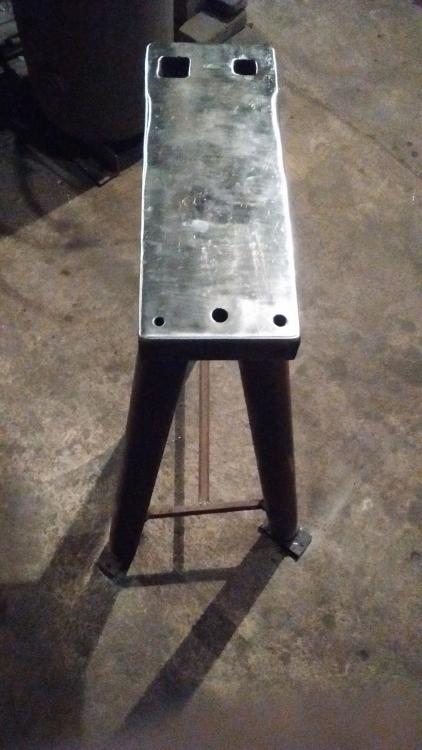
Here is some photos of the completed set up. I need to get out and grab another 30' of chain to deaden the ring a bit but its not too bad as is now. Still, couldn't hurt. I didn't fill the legs with oil and sand so the chain should help a bit. I ground different radii onto the edges to aid in drawing large stock over the edge and there is a 1" and 1 3/8" hardy hole on one end. Also a 1/2", 3/8", and 3/4" pritchel holes. I used tapcons to bolt it to the floor. Hopefully they hold well, if not I'll swap them out with some 3/8" red heads.


-
This might work, just copy and paste the link and take out the space before pressing enter. https:/ /youtu.be/8ZT-M3Qj00k I'll post pics of the anvil tomorrow once everything is welded together. I have on one end a 3/8", 1/2", and a 5/8" pritchel holes. On the other end I have a 1" and a 1 3/8" hardy holes. The 1" hole is for making and using hardy tools and the 1 3/8" hole is for drifting hammer eyes and such. I have different radii ground on the edges and the whole anvil will be bolted to the floor once finished. I wanted to cut a dovetail into the face for specialized tooling but that wasn't a cheap option this time around. I'm very happy with it so far.
-
Okay, I ended up drifting the holes against my better judgement. I was feeling fiesty so I threw the plate in the fire and drifted the 2 holes with the help of JWS and Jason, the cabinet maker whos shop is above ours. Yes JHCC I did manage to get video. It looks a bit odd and jumpy for 2 reasons. #1....don't trust a woodworker to control a 65 lb 2000 degree piece of steel (they aren't used to it). #2. I hit a bit harder than JWS does so we were fighting each other a bit trying to make sure the drift went in straight. All for all it turned out straight and square so everything worked out well. I'll have the video up in this thread ASAP. Having trouble posting the video. I'll try again later