

FieryFurnace
-
Posts
2,106 -
Joined
-
Last visited
Content Type
Profiles
Forums
Articles
Gallery
Downloads
Events
Posts posted by FieryFurnace
-
-
I'm sorry I couldn't get to the BP today as I mentioned. Will try for this week!
-
I'll try to get the BP tomorrow afternoon.
I made that same mistake Newman. Trying to use a treadle hammer for drawing! HAHAHAHAHAHA! LIKELY! That'll kill ya!
Power hammer is the way to go or the edge of the anvil/hammer. -
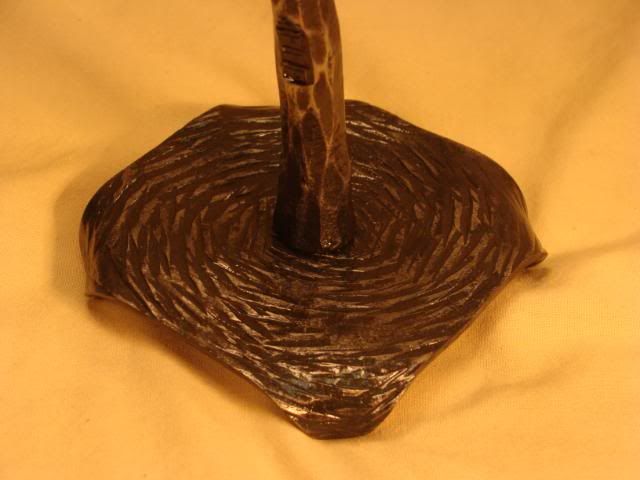
The big mark on the side is my FFF stamp. I think that one was a first off with the textured base. I forgot to put the mark on the base so I marked the side. LOL I tend to texture heavily on anything with a leaf.
As always, the kind compliments to my work and work ethic are much appreciated. If I have excelled, it is only largly because of the help of each and every one of you all.
Oh and BTW "Dave's School of Blacksmithing" officialy starts Tuesday. If all goes according to plan, there is a local guy coming for a few hours after work to take a short class.
:D -
I am using hand held tooling under. (Hence the safety chain.) I've been busy, and still am, but will try to get the BP up ASAP.
-
I was thinking the same thing this would take me alot longer and not look as good on the first few trys. very nice work.
LOL
It's been a while since I made that piece. After fighting with the split root system for a while I changed that part. Now I use a tenon and textured steel base. I'm not sure that it's faster....may be slower, but it is much more enjoyable.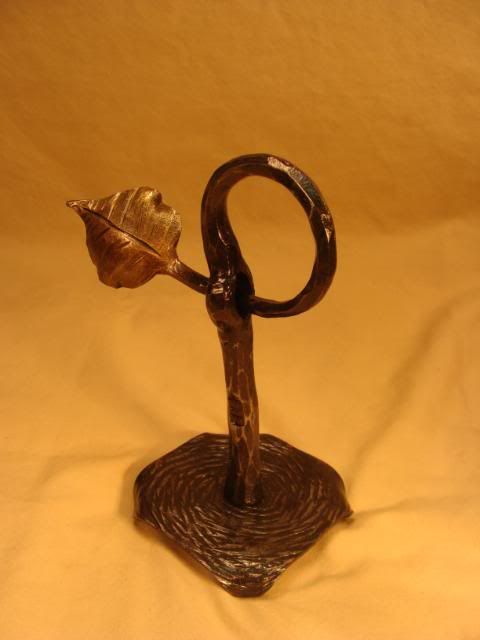
As far as schooling, there are plenty of more knowledgeable smiths that offer classes at reasonable rates. However, if someone did want to come learn beginning to intermediate blacksmithing, I am up to the task. I've taught classes on other themes before, and blacksmithing would be a lot of fun to teach. I know enough to teach, I have the equipment to do so, and I believe I am capable of being a teacher.
(The only time I have ever stepped foot in a public school was to teach a class. LOL I taught a highscool Civil War History class to kids older than I was at the time. LOL) -
Back when I started the craft show curcuit, I used to have nightmares about forgetting matches, paper, coal, or leaving all my small tools behind. LOL My confidence level must have increased because it's been a while now.
I don't recall any about breaking anything, though! -
Clay Spencer donated the inline hammer plans to ABANA. I believe you have to go to the ABANA website to purchase the plans.
-
Just for fun, I tried what I mentioned above. My general opionion is that I'll not be incorporating that design in anything anytime soon. LOL Actually it looked ok until I went square with the hole.
I used 5-inches of 1/2-inch square and slit and drift a .5-inch hole. The stock grew .25-inch.
I modified my V-block with a .75-inch hole, and also square up the curved inside corner of the angle iron that my v-notch is made out of. I chamfered the edges of the hole as well.
Here we have the v-block, the 1/2-inch square drift, the 1/2-inch round drift, and the opener.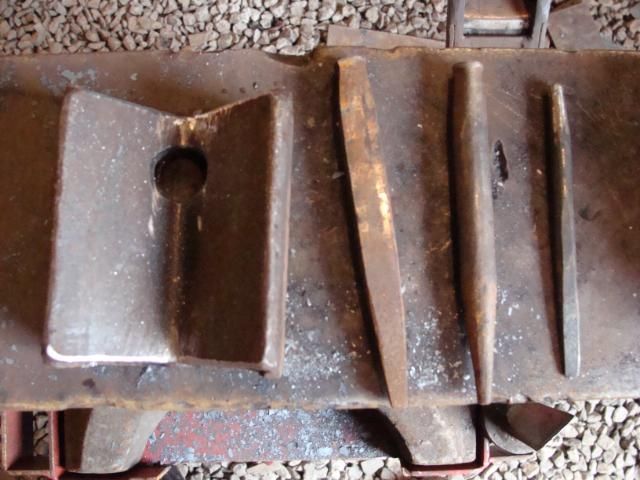
The first thing I did was flatten a small area, front and back, over the horn.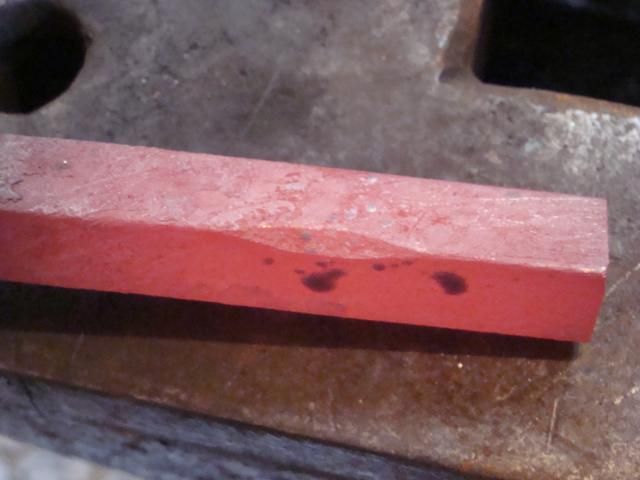
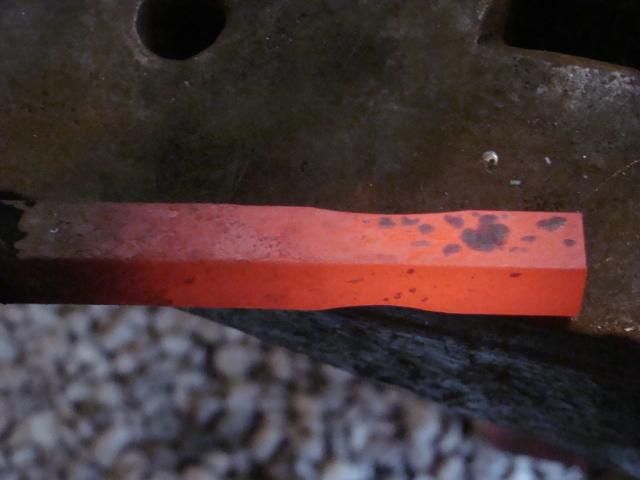
I marked and punched using a v-shape punch.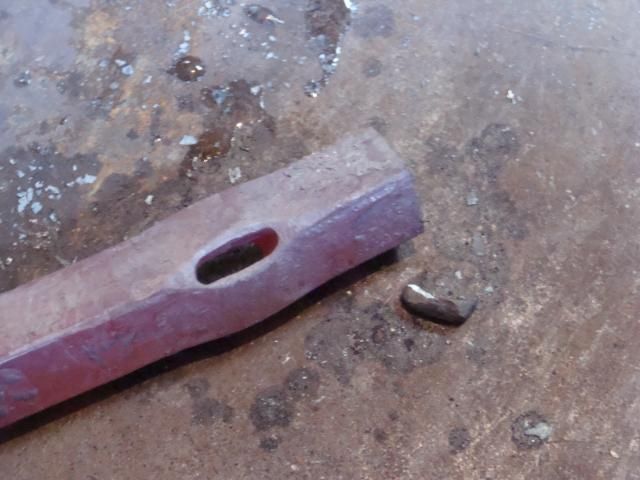
After the opener.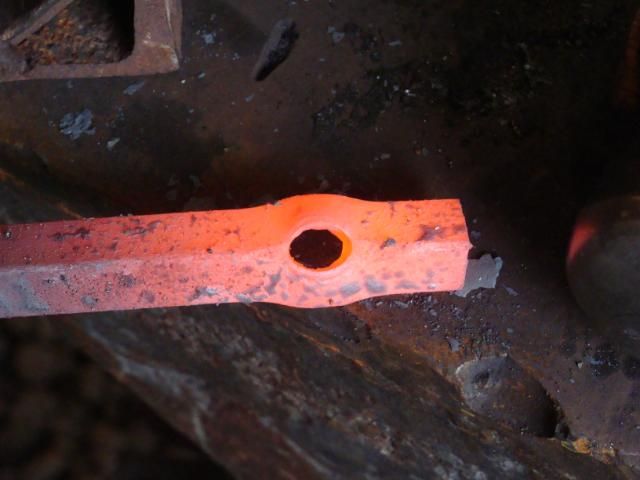
After the .5-inch round drift.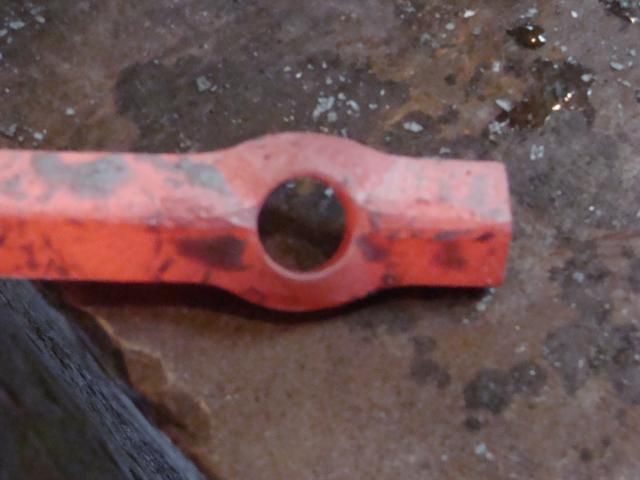
After the .5-inch square drift.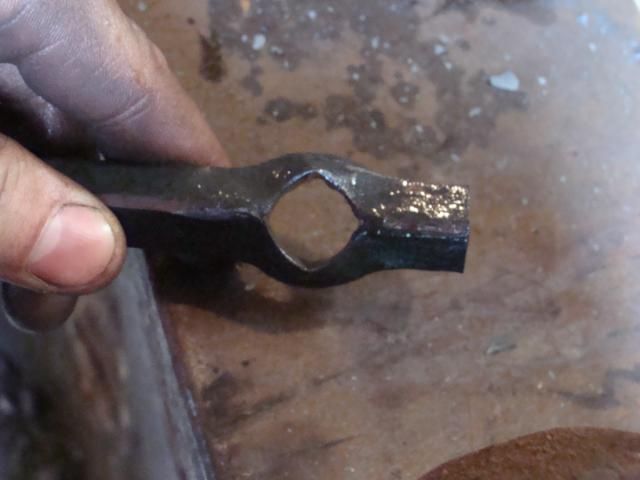
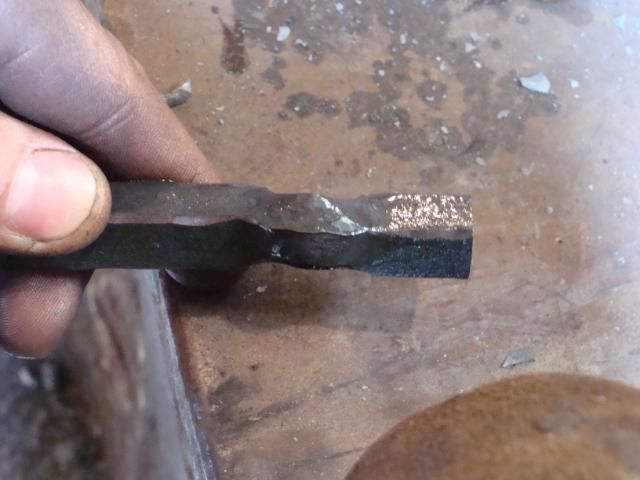
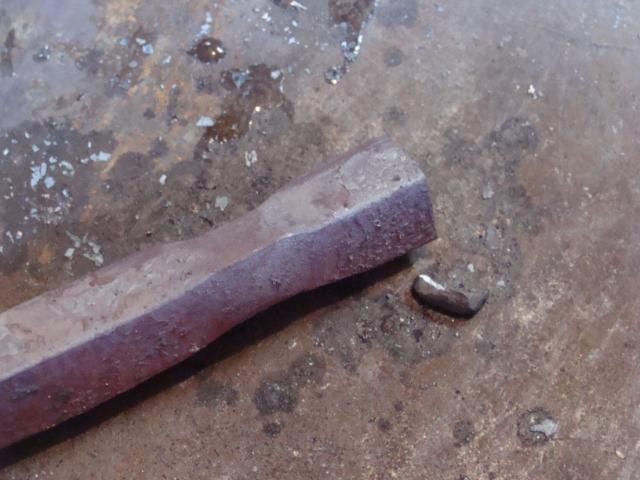
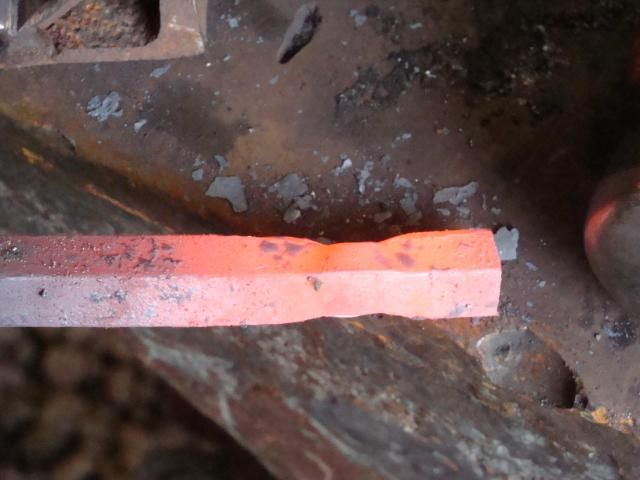
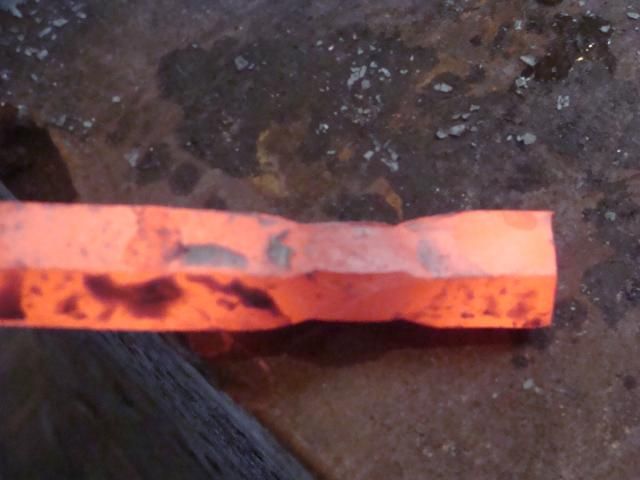
The side view shows the distortion of the stock. The stock could be upset like Rory May mentioned, and this would compensate for the distortion, but we still run into the problem of how to support the stock with a bulge in the center of it.
I started by trying to use a short v-punch held in a pair of v-notch tongs. Well I hit a sour glancing blow which promptly sent the punch at great speed, through the window next to my forge. :(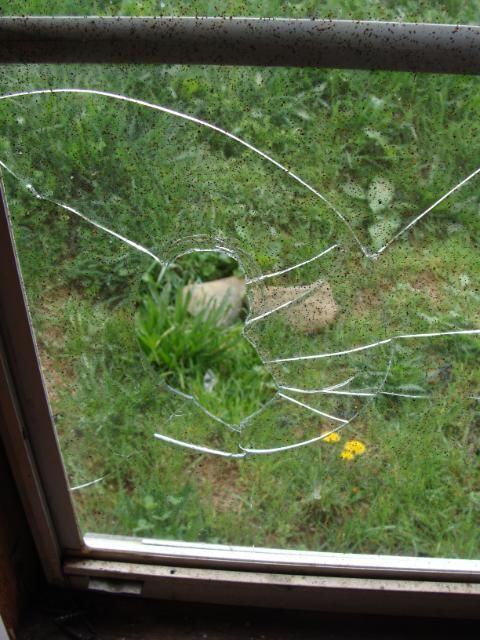
Bummer!
It was fun trying it out. I'd be interested to see what other folks come up with. -
I don't know that I can help at all.
I would slightly flatten the exact area of the hole to allow some traction to the slitter. Then use a v-block to slit to the center. Then use a v-block like the one you pictured that supports the bulge, to do the drifting. I would not upset first as that will prevent the metal from laying flat in the V-block and distort your bar.
Let us know how you do it and post some pics of the results when you get done! -
Thanks for all of the kind comments all all of the threads Lyle started.
I had a great time and learned a bunch. They way I've been describing it is, "I've learned more in the past seven days of forging with Brian, than I have in the last six years of smithing." (No offence to any of my past teachers at JCC and to those who have helped me on here. There just is no comparison for one on one instruction in forging techniques.)
Brian was a great teacher! Him and his wife took real good care of me and made me feel right at home. -
That looks / sounds like the leaf I'm wanting.......I'll give it a wirl in a couple of weeks. I'm going out of town tomorrow and won't be back for a while.
Thanks for the info.
(Oh and thanks for the memo that you posted on my thread......I about forgot I posted here! :D) -
Oh dear!
I hope he doesn't drop that nail out of his mouth.........that's gonna leave a mark! LOL
See ya Monday! -
No need to explain you obviously need a hammer with more throw so your head *will* fit between the dies. Perhaps a sow block model? In the meantime just handing your apprentice a sledge and telling him "when I nod my head you *hit* *it*!" should work fine.
LOL Yeah the tire hammer doesn't have a lot of space between the dies....tools have to be kept short. My other hammer has more room and I'll probably use that one for all of the tooling.
Apprentice......hmmmm well I need to get enough work to keep my busy all the time before I take on one of those! LOL -
[
There is no entitlement, in my humble opinion. I have been blacksmithing for 6 years on my own. The first 4 years or so was spent learning on my own, through books, and through this website.
The reason people helped me on here was, not because I was entitled or had a right to their help, but because I tried things, posted results, asked questions, and then altered my method based on the advise given. I worked hard to PROVE that, if you chose to give me advise, I would use it!
There is NOTHING that rubs my skin the wrong way more than watching some student in a class, back-talking, ignoring, and constantly disputing the teacher. That teacher is taking his time to instruct the student and he doesn't HAVE to. I don't care if my teacher calls me the dumbest student he's ever had, I am going to take that information and better myself based on it. Not get mad and get this "you owe me" attitude.
I think that a smith should be WILLING to share his knowledge with students that have proven that they are truely willing to learn and to work hard.
No student should expect that, no student should act as if he has a right to that information. -
Could you post an upclose picture of one of the leaves? I was trying a few weeks ago to make long slendor leaves and didn't come up with anything that looked good. Your's look GREAT to me. What material did you use?
-
That grin explains why this site exists.
LOL -
I'm leaving Monday to go spend SEVEN days of class with Mr Brian and LDW.
SOOOOOOOOOOOOOOOOOOOOOOOOOOOOOOOO EXCITED! -
Thanks all!
Iron Quake, look for the BP before starting to build. I like the inlines but there are some design features from this hammer that make a lot of sense, so you might want to consider carrying those features over to the inline if you build one.
If you are wanting to do chasing and reppouse and have a treadle hammer for hard hitting, this hammer will do both. -
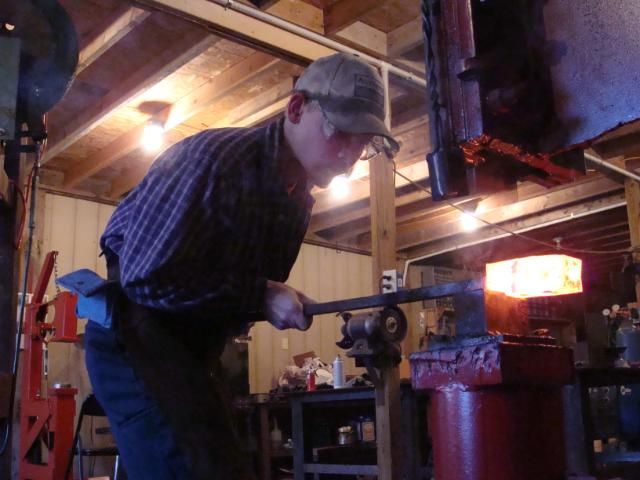
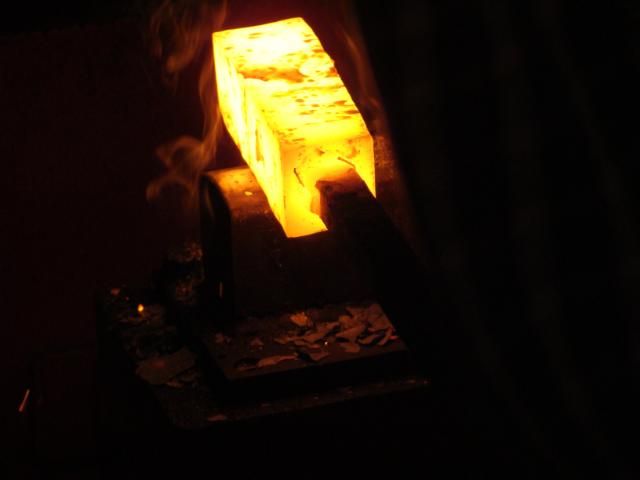
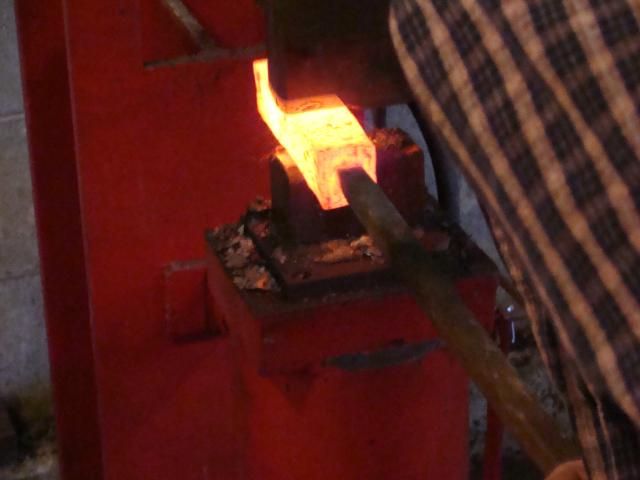
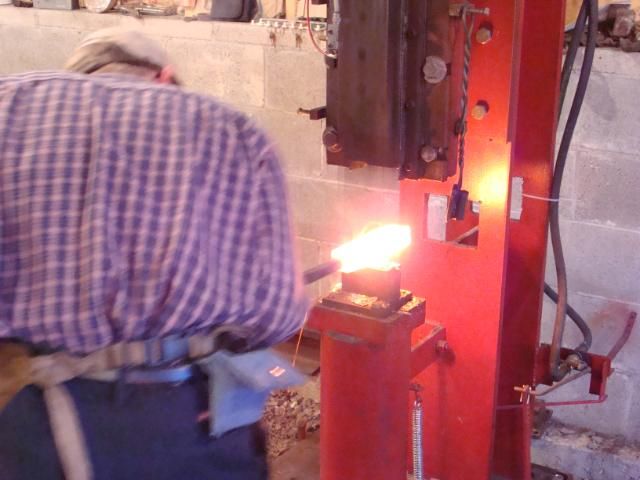
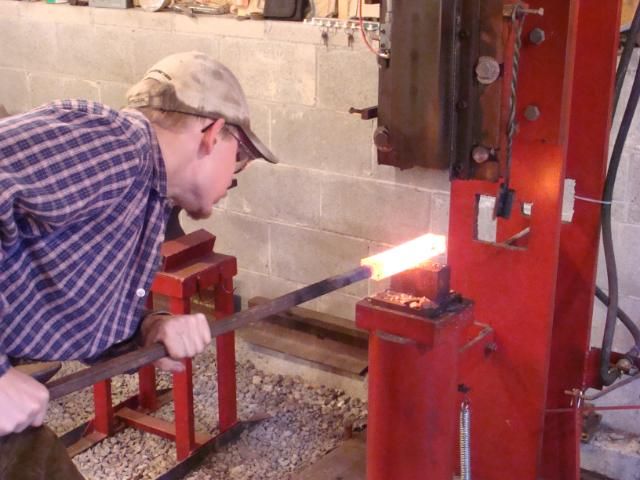
I snapped these pictures while forging out 4-inches of some 2-inch solid square 4140. That's the biggest stock I've ever heated or hammered. It took about 10 minutes to heat it up the first time. I'm thinning the stock down to make some swage tools for the new treadle hammer, as well as some spring tennon swages
Anyway thought y'all would enjoy. The pictures are from working under the Kinyon air hammer. I don't have any taper dies for the tire hammer yet.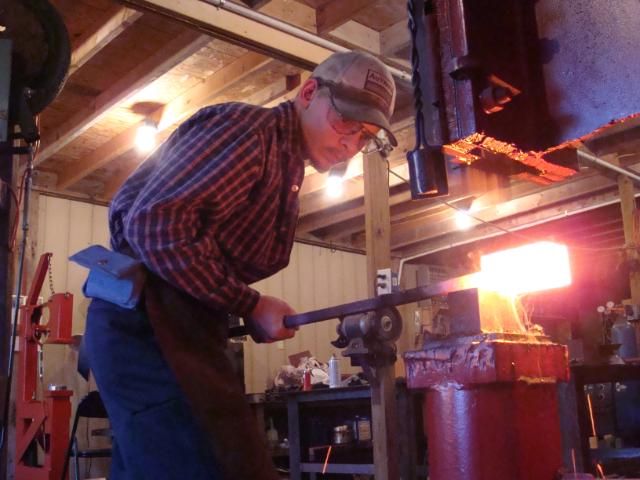
Not sure what happened here.
And here I am.......uhhhhh not really sure there are words to explain!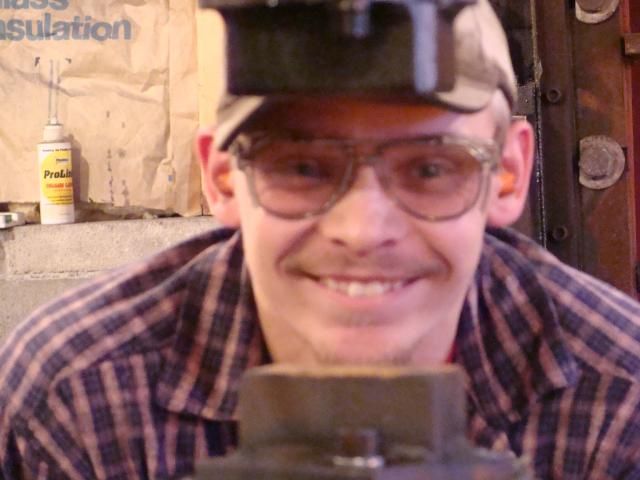
-
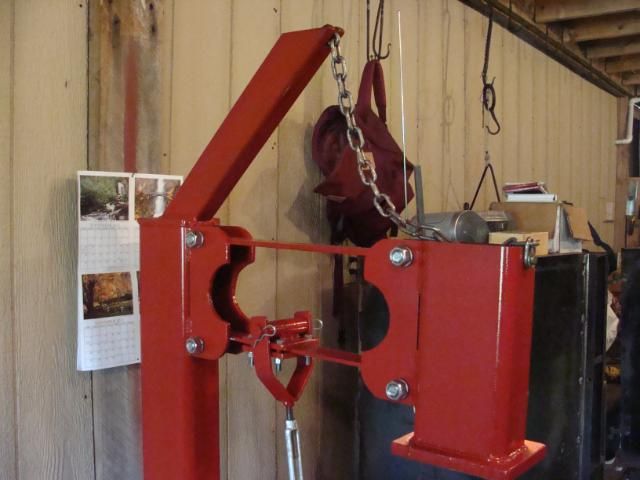
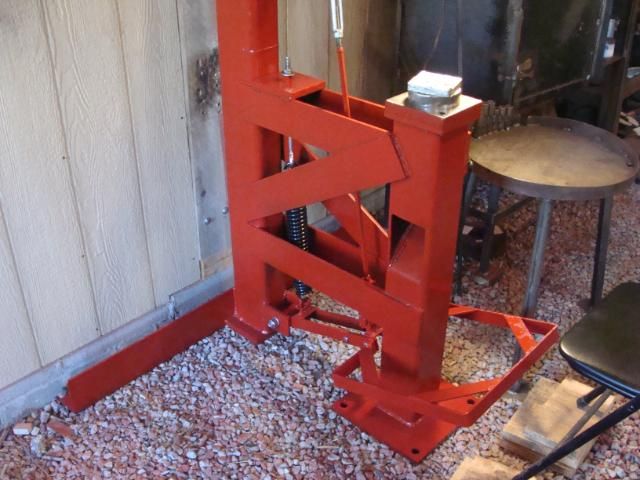
This is a treadle hammer built specifically for chasing and reppouse. All major pivot points have bronze bushings and oil holes for extremely smooth movement.
I built the hammer for a total of between $400 and $450 and about five days of work or less. That price includes the cost of the materials I had on hand as well as the welding, cutting, and grinding supplies.
The immediate outlay of money came to $290.
I am guessing the hammer weighs somewhere around 300 pounds. The hammer head is steel tubing without any added lead and probably weighs 30 pounds.
I am not going to list all of the information here. I intend to organize and double check all of my pictures and information and then write a blueprint thread for the hammer. It may be a month or so before I can complete that task.
The hammer is based off of the measurements of Mark Gardner's chasing and reppousse hammers. The materials I used are different sizes, but the important measurements are (as far as I know,) all the same as Mark's hammer. He gave me permission to share the info in a blueprint on this site.
I am SUPER pleased with the results of my hammer, it works great, and I look forward to putting many hours of proper use on this new tool. It works so smoothly that I can operate the hammer with my pinky finger.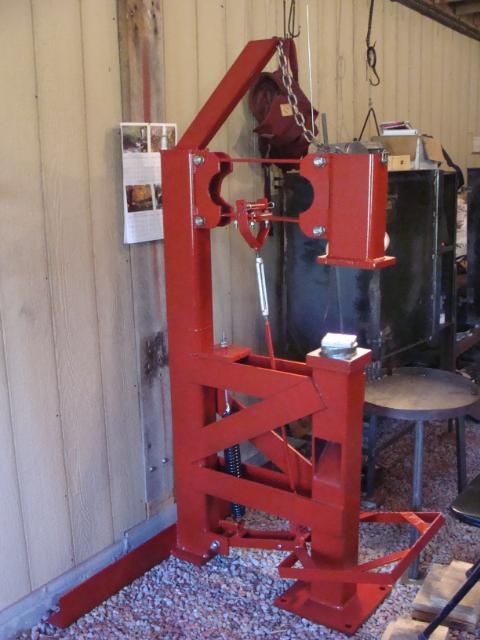
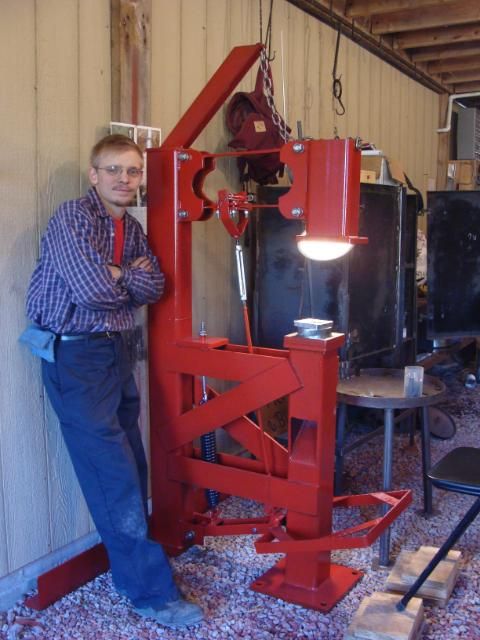
Thoughts? -
Bravo!
I often make a really good piece to start with, and then it goes downhill from there....that happens occasionaly with everyone and the newer you are the more often it will happen. The important thing is that you got a much cleaner curve on all three of your hooks, and especially on that first one.
Your finial scrolls look much nicer as well!
I like the finial scrolls on the far left and far right hook the best. I like to sometimes leave the finial a bit more open like the one on the right, and sometimes close it up really tight more like the one on the left. I also sometimes like to curl them around more drastically, sort of tucking that tip inside the circle.
The places for improvement would be as follows:
Towards the ends of your hooks, you are having one of two issues. You are allowing too much material to hang over the edge of the anvil when you first hit the material, or the end of the material is too cold and isn't moving properly. If you alter one or both of these, it will start to eliminate the flatter area on the tip of your hook.
On the mounting bracket area, are you punching or drilling those holes?
It looks like you tried to keep the mounting bracket area the same width as the stock when looking at the hook from the front! (I could be wrong.) Allow the metal to spread out wider than the original stock, and practice using your hammer to control where and how far the material spreads. Also, thin it down more drastically. Make it about 1/8-inch thick or maybe 3/16-inch. I usually make my mounting brackets so that the screw holes can be 1/2 or 3/4-inch apart.
Good job! It's great to see your progress! Keep it up! -
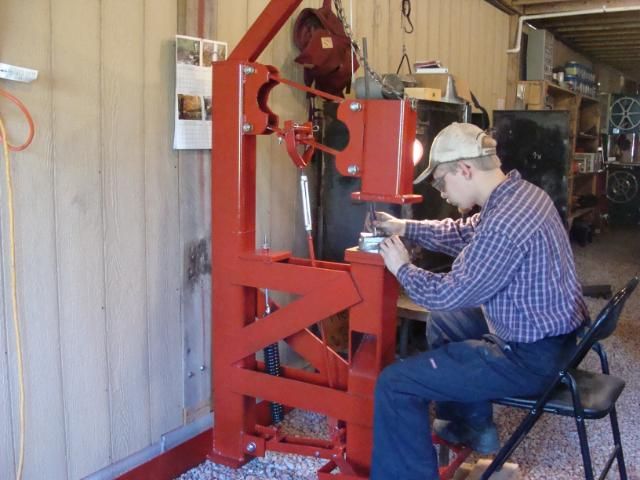
I just finished my new chasing and repousse treadle hammer. I've been working on it for four or five days now. It is patterned off of Mark and Mindy Garnder's style of chasing hammer.
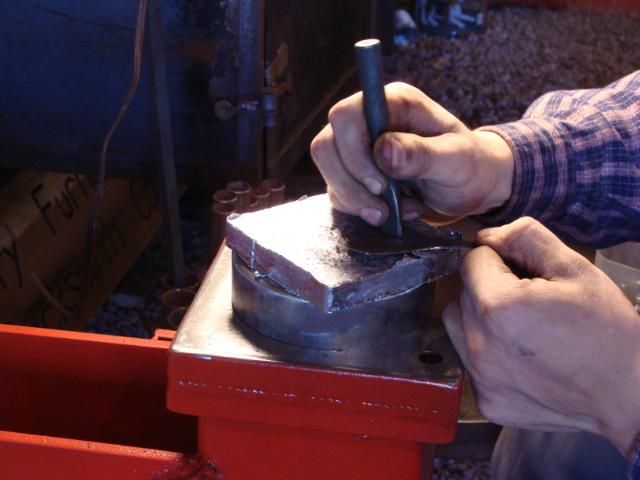
Anyway, I got the final piece put on and since I've been dying to do some more chasing ever since I took Mark and Mindy's chasing class several months back, I did a funny little piece freehand right then and there. I didn't have time to scale or sand the material so this is like NO FINISH at all. I normally wouldn't leave so many obvious tool marks either. I had to get done and get to the house. However, I had a lot of fun, the hammer works great, and I am SOOOO excited about getting it put in position and doing some REAL chasing and repousse pieces.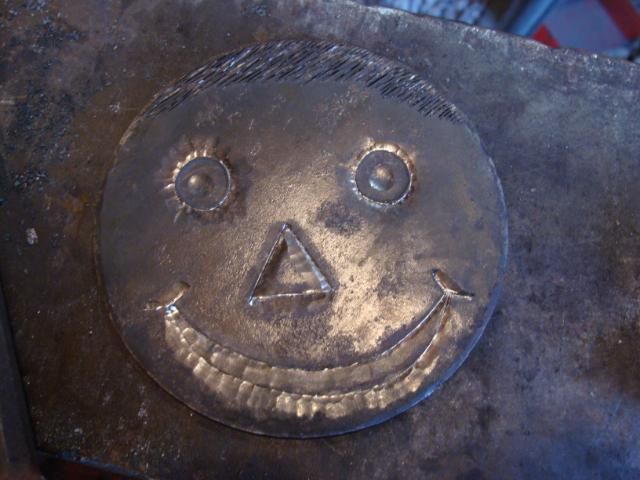
I'll be doing an extensive thread showing how to build the chasing and repousse hammer once I complete all of the info. -
In my experience, grease slowed my hammer down. I have a Kinyon air hamer with brass guides. There is one guide on each side of the hammer head with the front and back open. I used grease for the longest time. When I switched to oil, there was a NIGHT AND DAY difference in how it operated. It hits faster, harder, and has more control.
It could be different on an electric drive hammer. -
Here you go! Hope it helps! :D
http://www.youtube.com/watch?v=32Rd8QBfchI&feature=youtu.be
History of Blacksmithing & Demo video
in Blacksmithing, General Discussion
Posted
If anything is wrong "TRIP" told me to say it! LOL That's my disclaimer!
Naw I'm just kidding! We had a great time! Thanks for having me over......that masonry forge is AWESOME!