


IForgeIron Blueprints
Copyright 2002 - 2008 IFORGEIRON, All rights reserved.
BP1042 Forging 1-1/4 inch ball and Fabricating the Spring Tool
by Uri Hofi
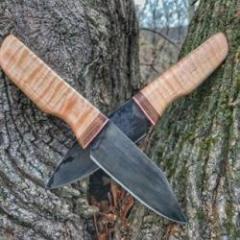
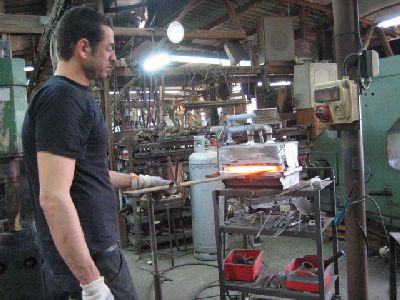
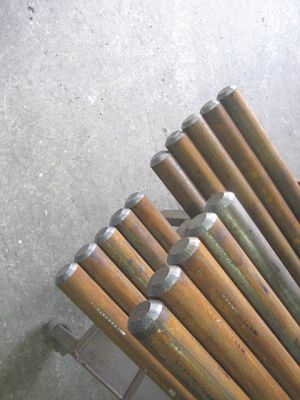
I had an order for many railing pickets (50) forged of 1-1/4 inch round steel with a ball on the end with taper forging to the ball.
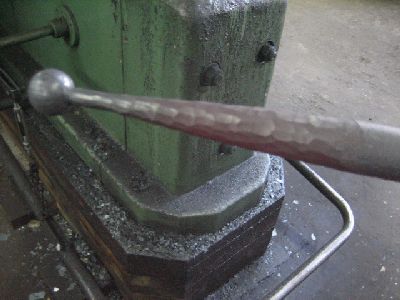
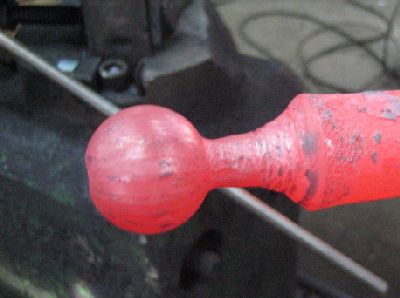
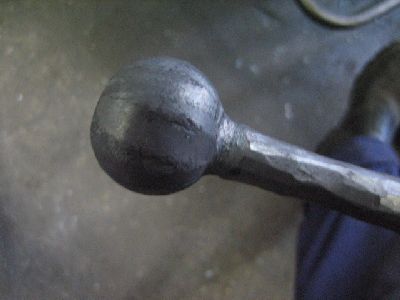
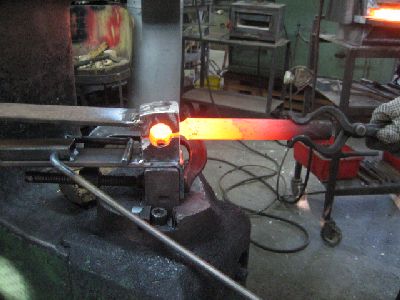
The ball element.
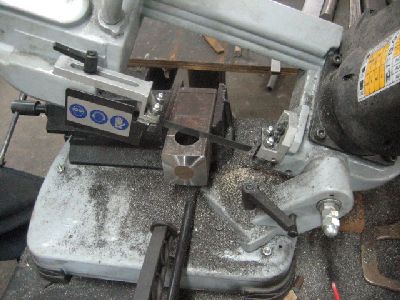
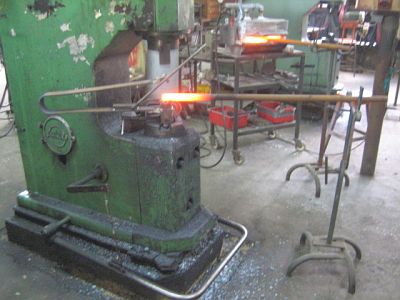
The spring tool attached to the bottom die of the air hammer.
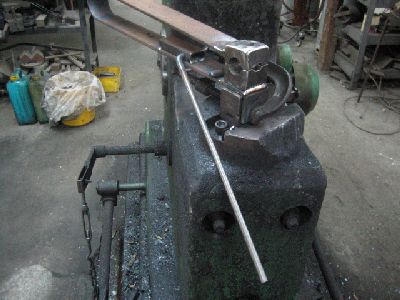
In the next photo's I'll demo the fabricating of the tool and the forging technique.
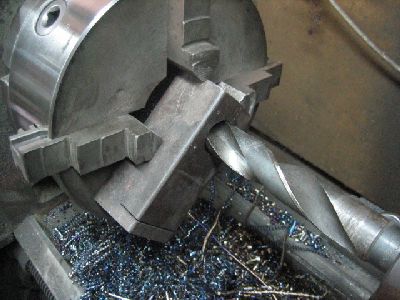
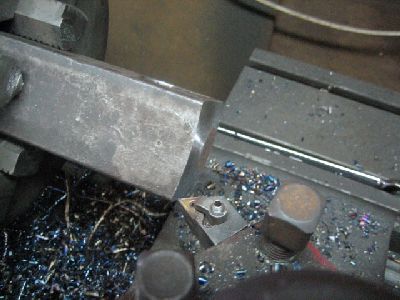
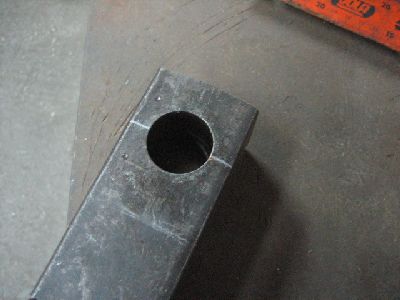
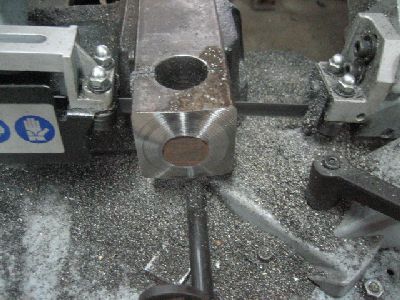
A piece of 2-1/2 inch x 2-1/2 inch steel from an old farming frame which is known as a very good steel. On the lathe, drill the 1-14 inch hole and cut 10 degrees off the face of the upper side to get a crowned form for the air hammer upper die hits. This will be explained later.
Marking the middle cutting line.
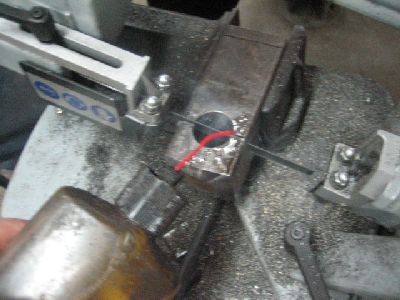
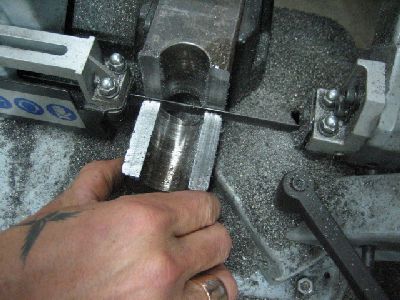
Cutting on the middle line with my little band saw.
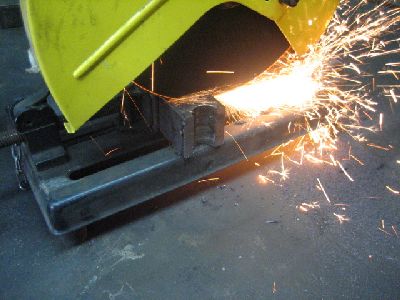
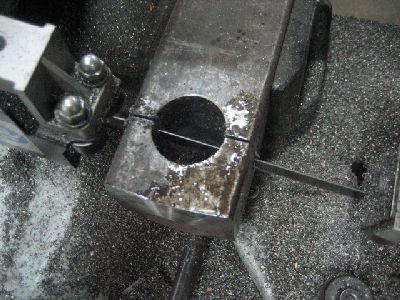
Cut the bottom part on the line.
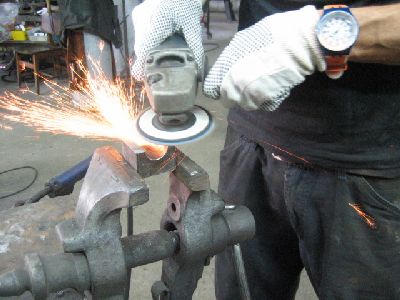
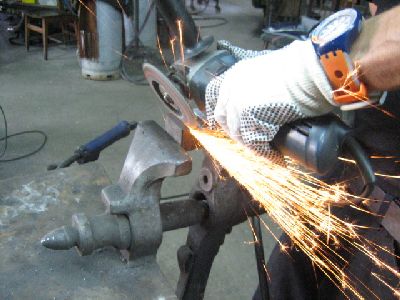
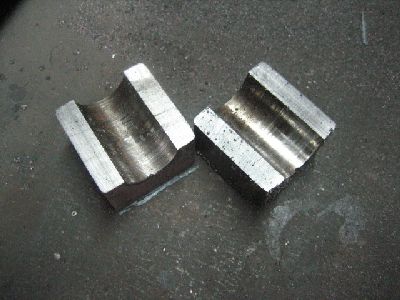
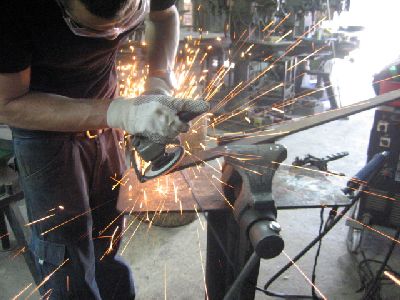
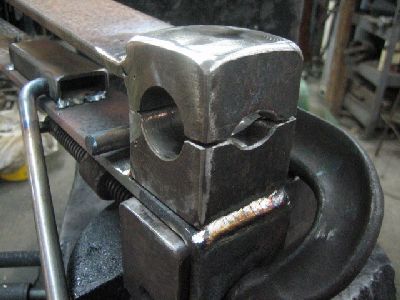
Grinding the cut and rounding the sharp corners.
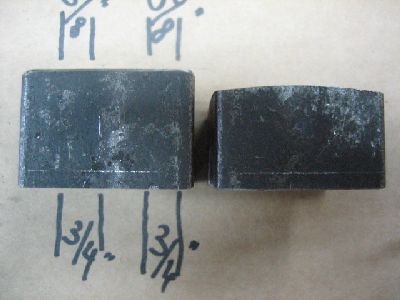
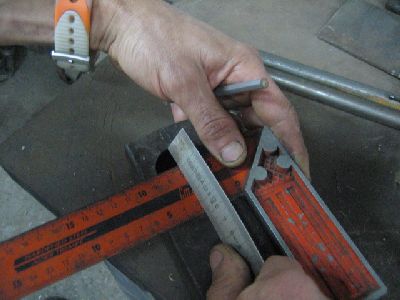
Marking the neck bays (opening) and the neck depth. I want the size of the ball neck to be 3/8 inch on the end of forging, so I grind 1/4 inch on every side (will be shown and explained later).

Preparing for the spring. The steel is 3-1/4 inch x 5/16 inch the length is 52 inches. Incising the groove for the bend with 5/16 inch fuller.
Shay my student and helper that comes to study and help. 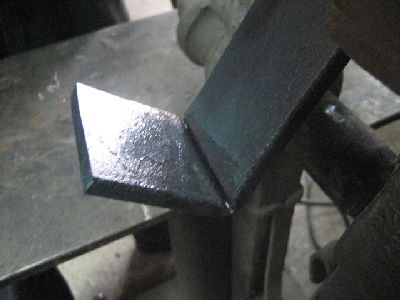

The bend. Welding the corner. Grinding to fit the inner radius of the bottom die.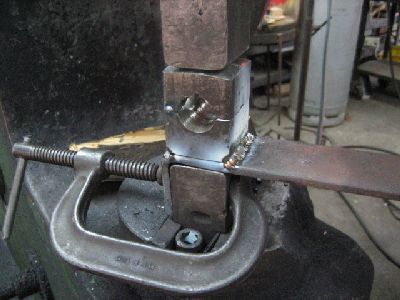
Holding the parts together under the upper hammer die to press the parts together while welding with 2900 rod sami ss to hold the vibrations and hit of the hammer.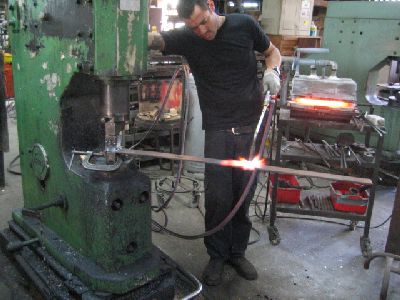

Mark the center and heat with a rosebud and fold the flat into the upper pert of the tool.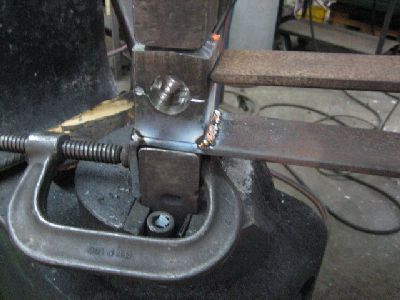
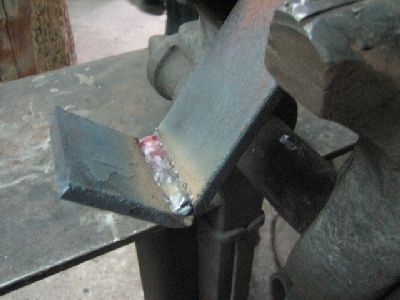
Ready for weld. Again with the special electrode.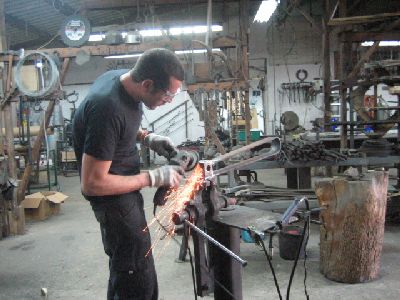
Finishing the weld. Final grinding and polish.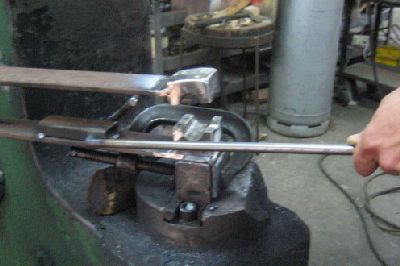
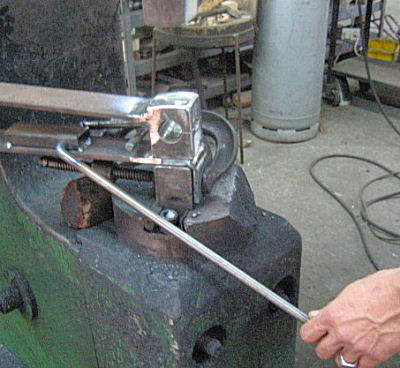
Fabricating the spring opening system. Close and open view.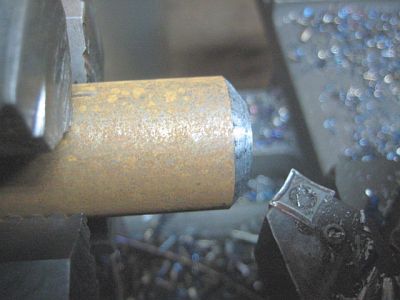
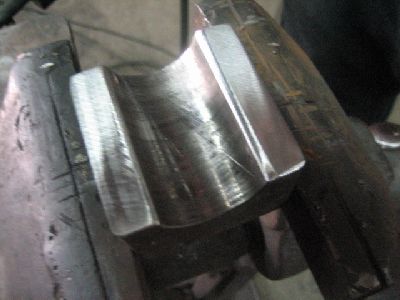
We must camfer the bar to get max forged volume to have a full nice ball. If you do not have a lathe, you can grind it.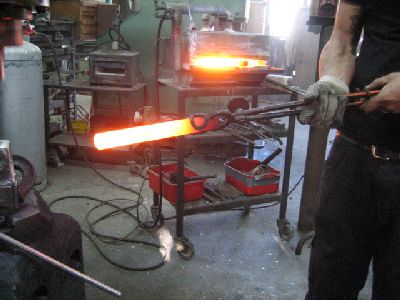
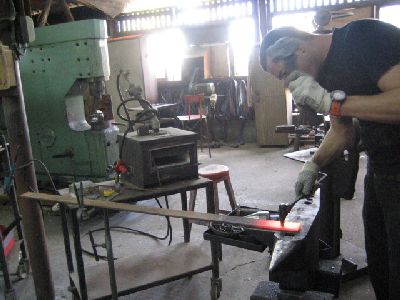
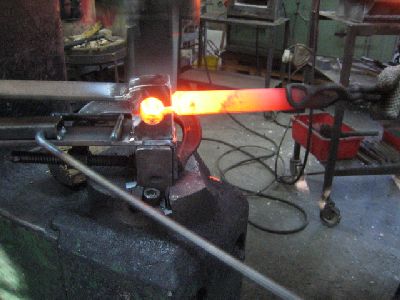
Out of the forge. Open the tool to insert the steel.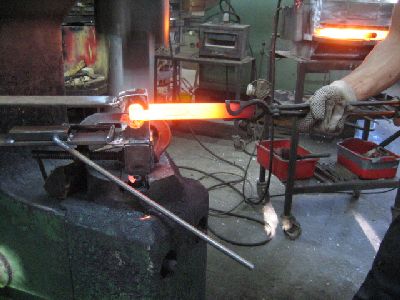
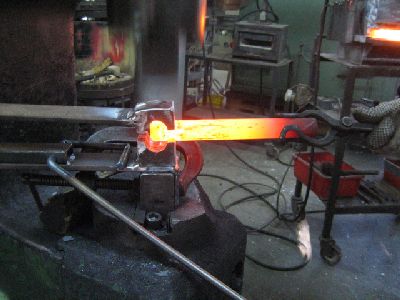
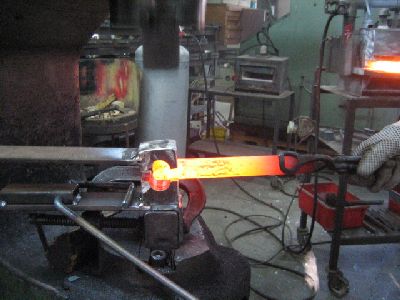
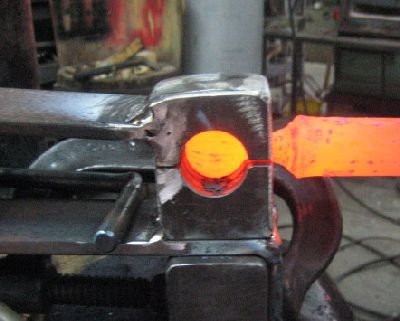
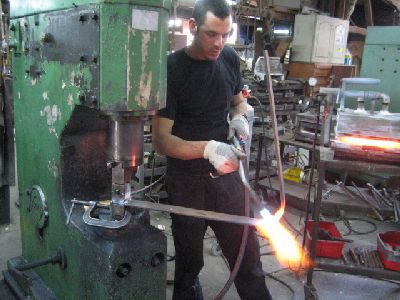
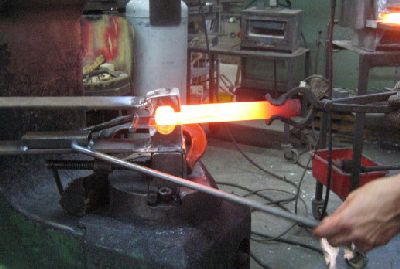
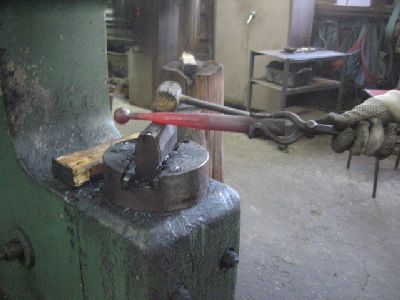
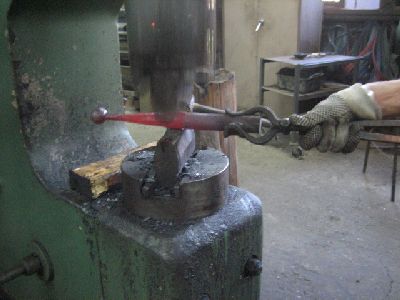
Forging while rotating the steel. 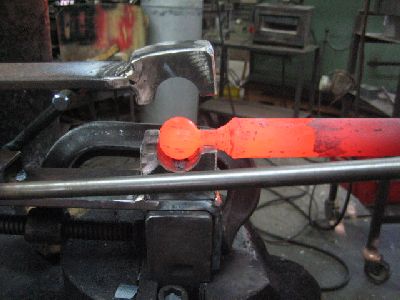
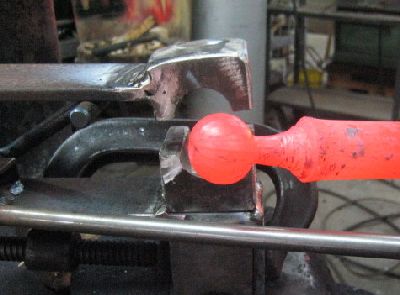
When finish open with the handle and take the finished ball out. One can leave it that way but according to the order I had to forge taper to the ball.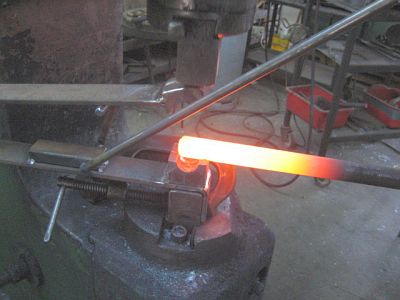
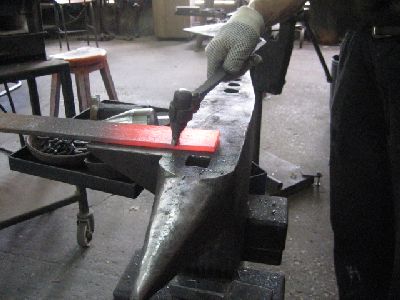
WHEN FORGING LONG AND HEAVY STEEL (1-1/4 inch X 4 feet). The tool is open before hold itself and after inserting with only a touch on the handle it jumps close to forging position
The set with the hot steel and the suporting leg.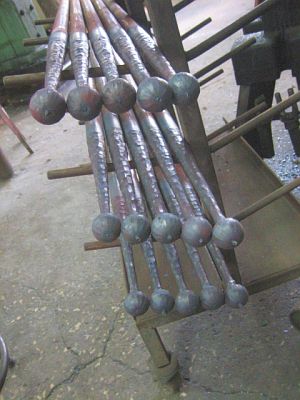
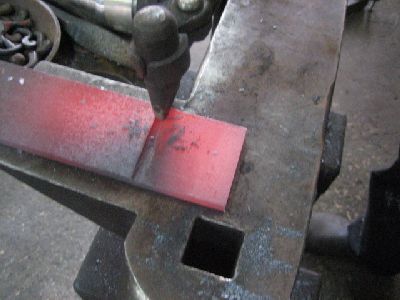
Finished forging.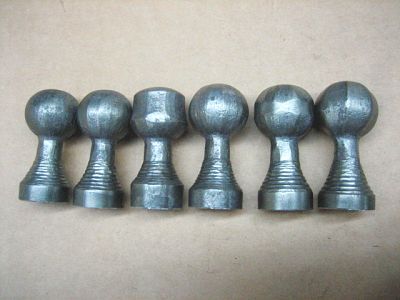
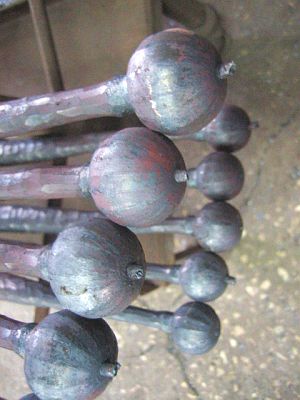
6 different forms forged with the tool in different speed of turning and power.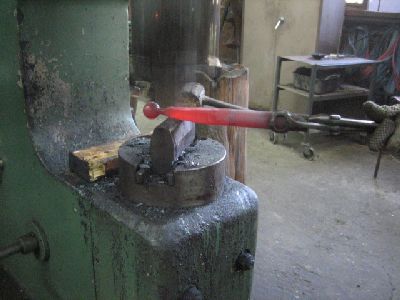
With the other hammer forge the taper acc to the design.
The final form.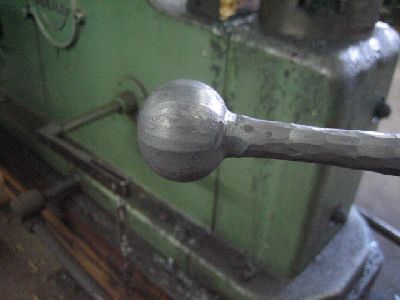
When forging, one can rotate faster or slow to get different texture.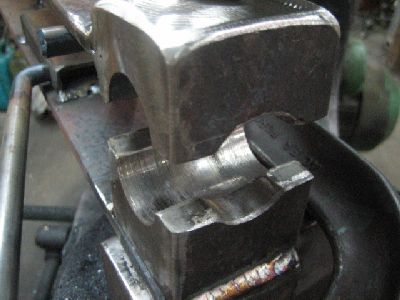
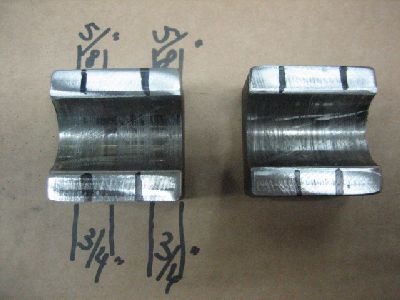
The spring tool again. One can see the 1/2 inch bay from the front side to get the 3/8 inch neck and the 1/32 inch bay or opening on the other side to let surplus material to flow out and fall. The opening system is a must because the spring is strong and it eases the inserting of the hot steel (You do not have to go around and to open the tool).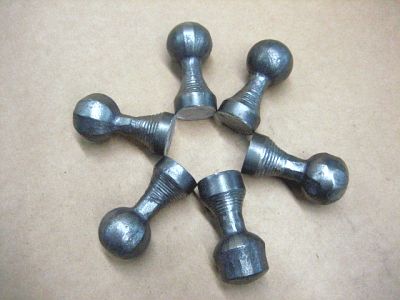
Hope every thing is clear
Recommended Comments
Join the conversation
You can post now and register later. If you have an account, sign in now to post with your account.