SubterraneanFireForge
-
Posts
26 -
Joined
-
Last visited
Recent Profile Visitors


-
The most useful blacksmithing ideas
SubterraneanFireForge replied to Glenn's topic in Shop Tips n' Tricks
I have a little gas forge that I use now. But before I did I would melt and cast aluminum and zinc in a ladle with progressive amounts of things around it to hold the heat better. id like to get get/make some sort of furnace for casting eventually. -
The most useful blacksmithing ideas
SubterraneanFireForge replied to Glenn's topic in Shop Tips n' Tricks
Make/buy/find the right tongs for what you are doing. It will save you a lot of time and effort and your face for hot flying metal. Also if you are melted something with a propane torch it is very helpful to put a brick or something to cover the top of your crucible or whatever you use the metal. Even just a brick makes a big difference in holding heat. -
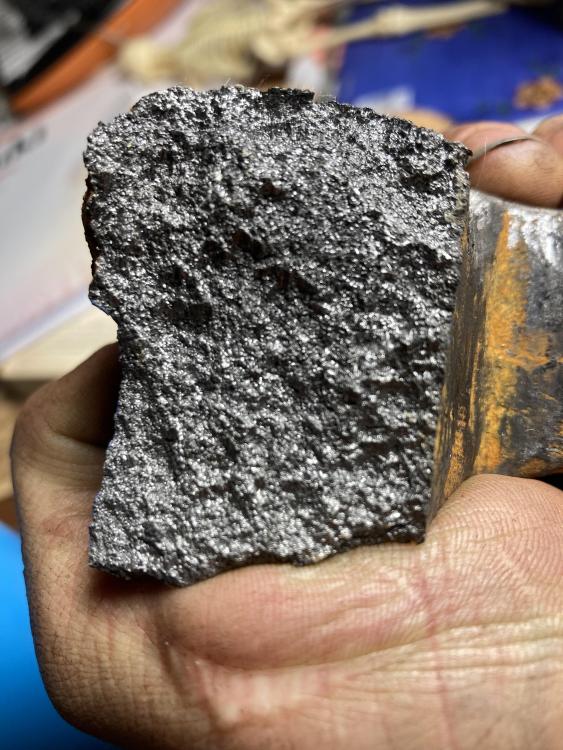
bloom from scale.
SubterraneanFireForge replied to bluerooster's topic in Smelting, Melting, Foundry, and Casting
Yeah I’m also curious as to how you are getting that much scale. I’ve been thinking of trying a similar thing with all my lil bits of scrap metal. if it you blooming works out I might have to start hoarding scale to. definitely let us know how it goes and take pictures if you can! -
I didn’t see your post before posting my last one but that makes sense pat that the face of the anvil would be more efficient because of the mass behind it. I don’t think this should matter as much for little things because they don’t require that much force. and efficiency is more limited to how much metal you can can get forwards versus sectioning of metal when doing larger work. again I havet really worked with horns so my opinion is partially theoretical.
-
A benefit to using the horn for drawing out (brought up by someone that has never really done this in there life) but it seems like using a horn instead of the sharp edge of the anvil would result in Les lumpyness that has to be forged down later. well said frosty probably the biggest killier of time resources and tools is, using to big stock so u have to find your hot cut to remove your super long rat tail then you rush it trying to get the cut done in one heat and bonk your hardy tool and have to resharpen it and maybe reface your hammer like learn ing a new song buy effectiveness comes before speed
-
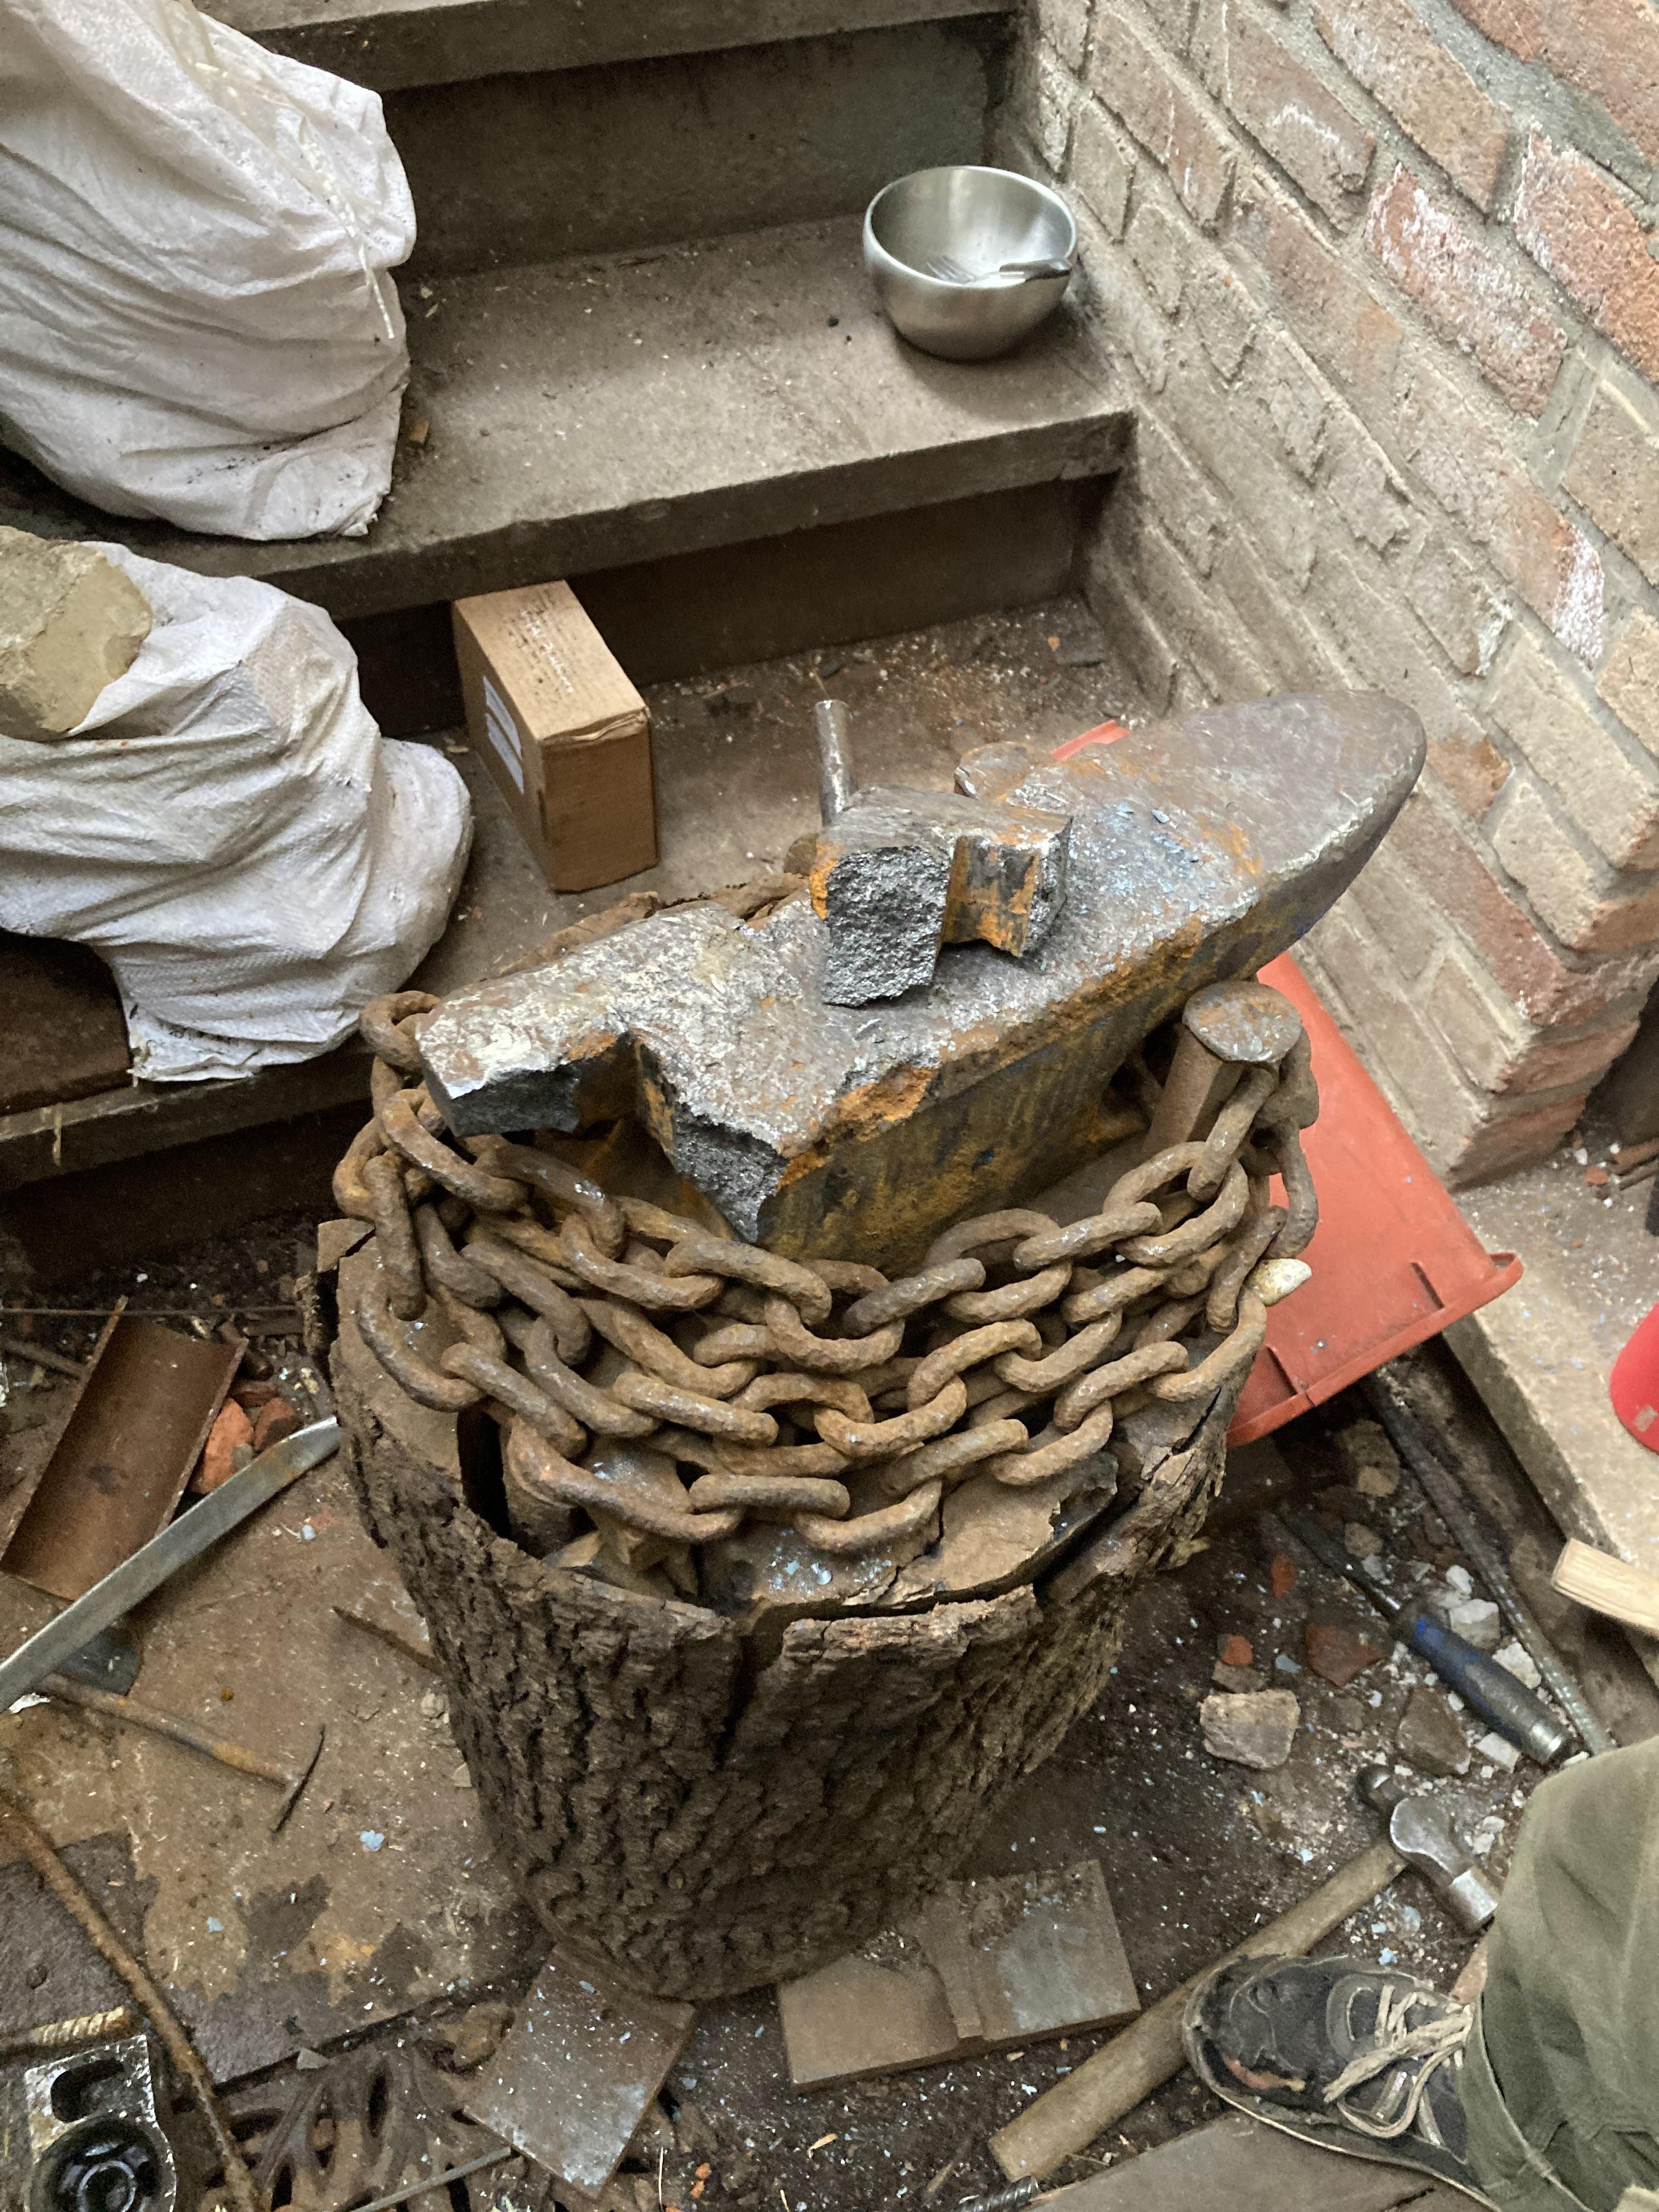
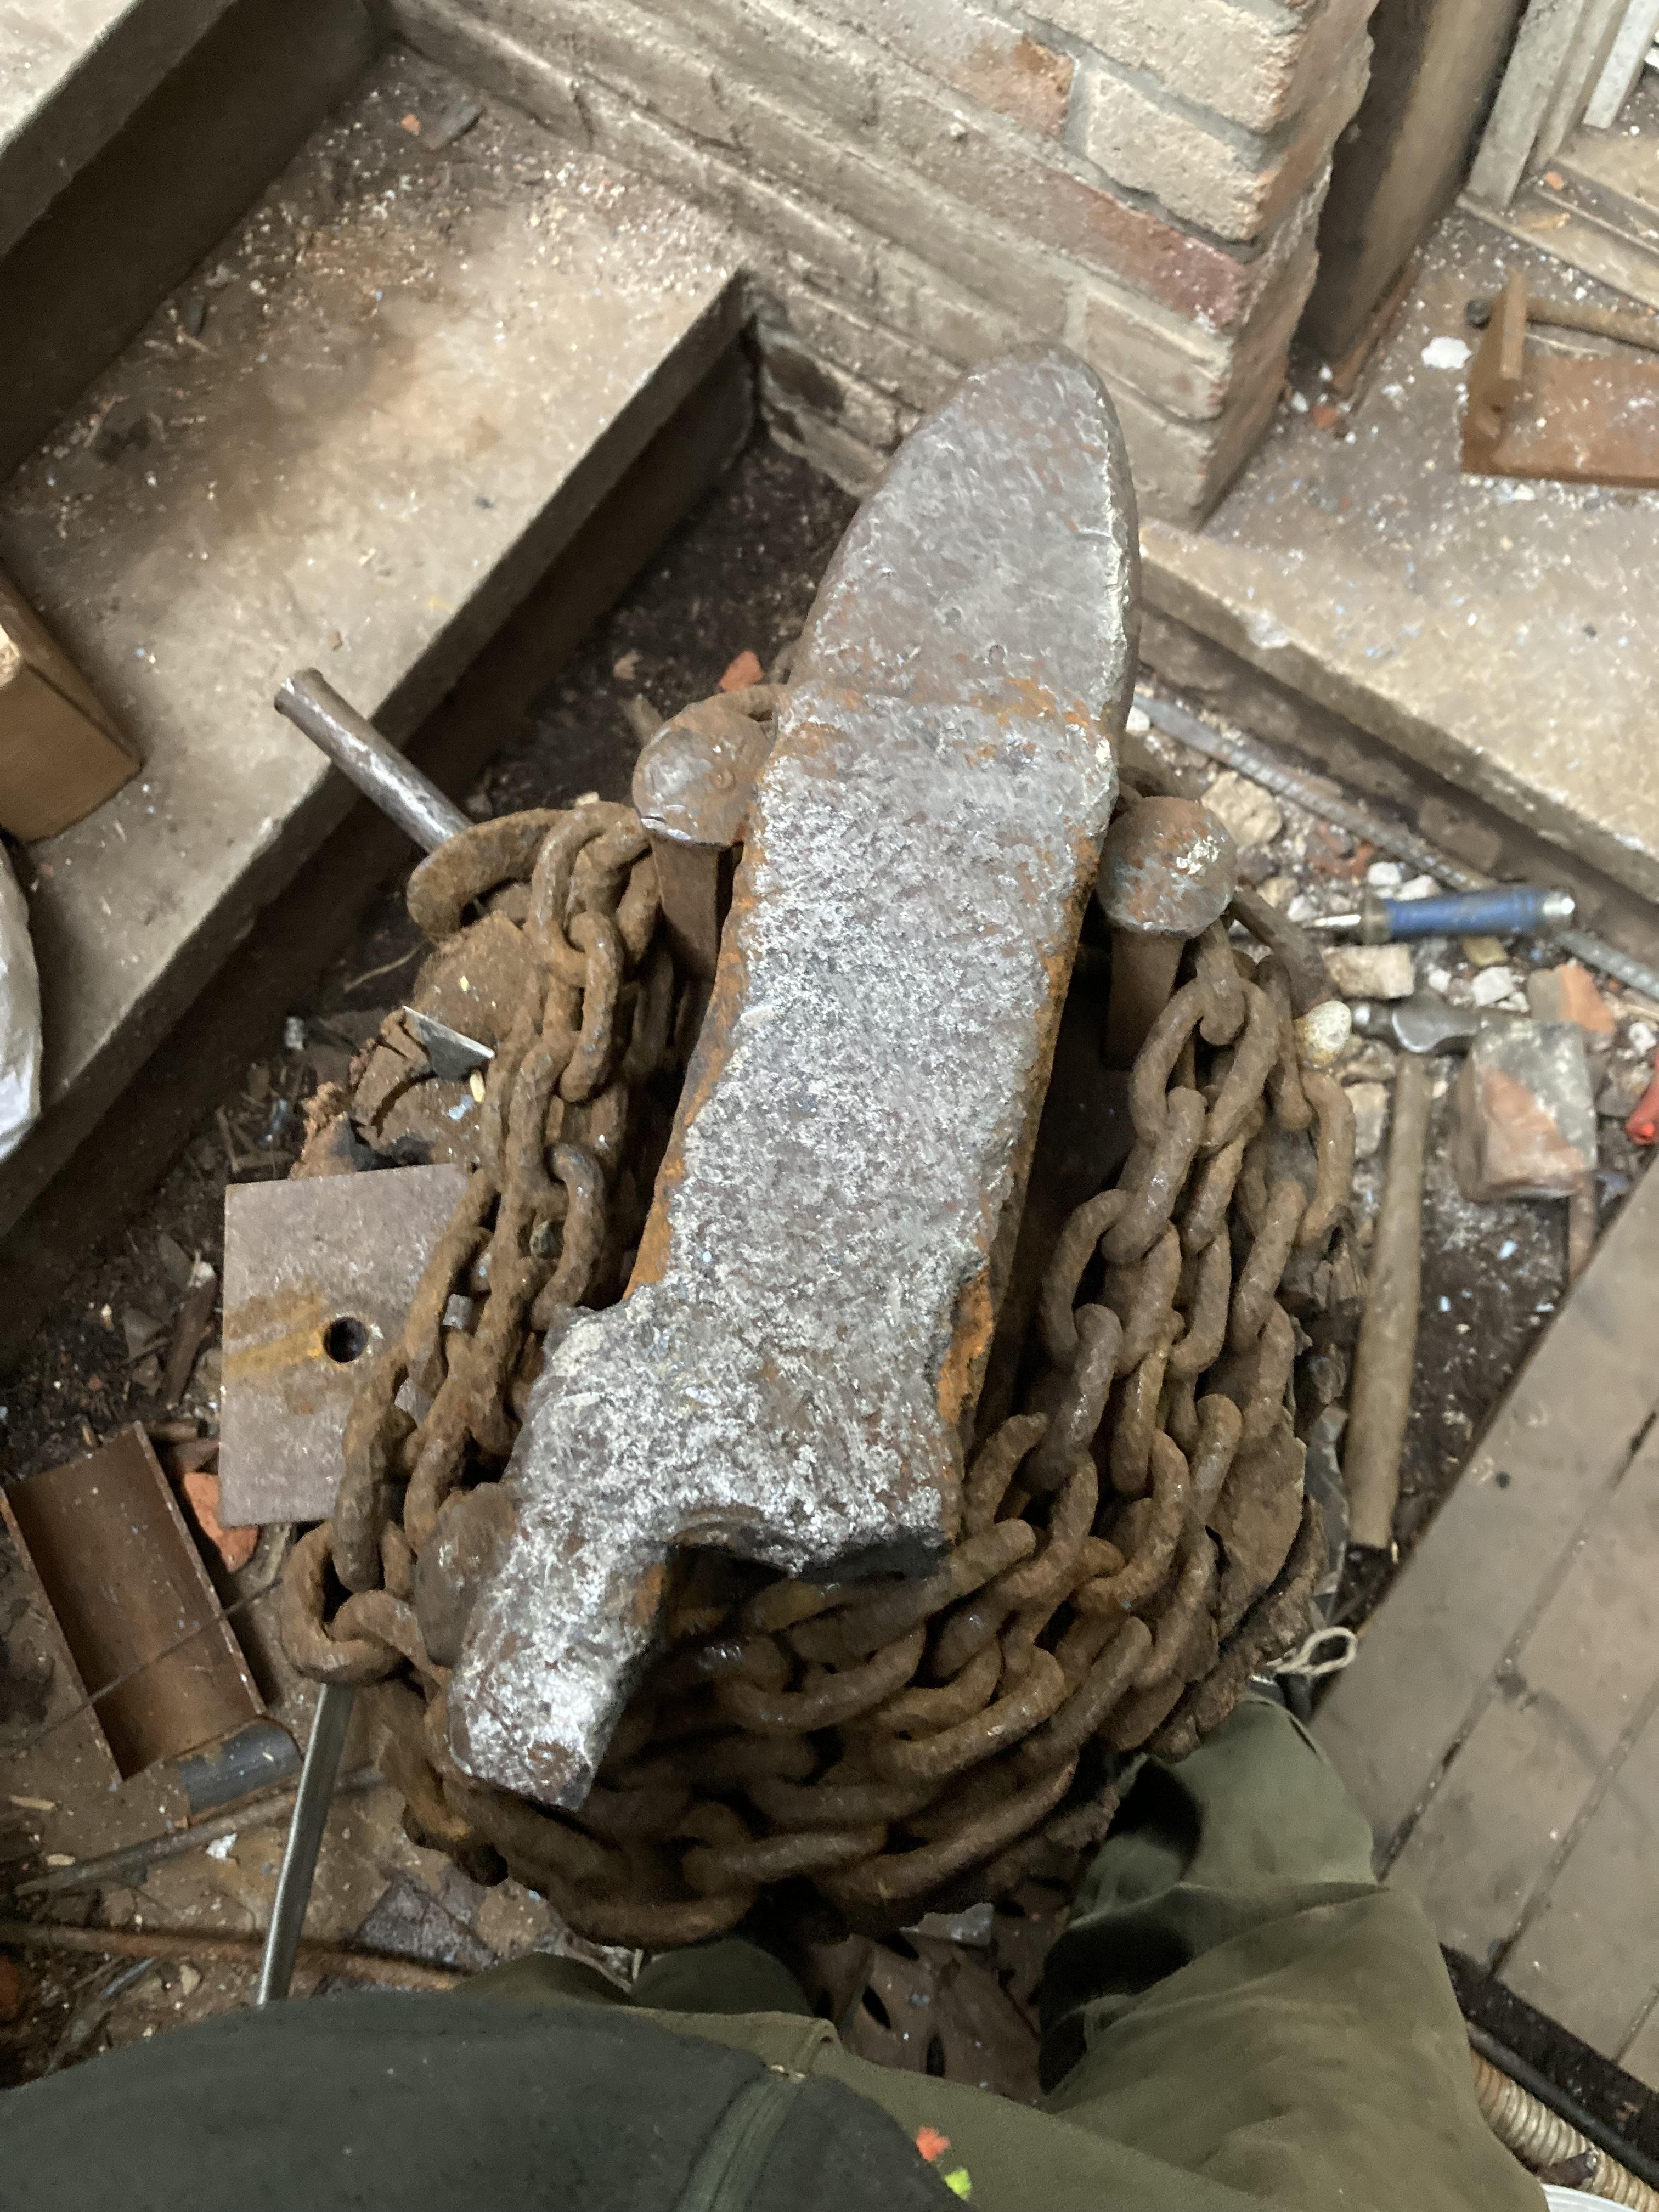
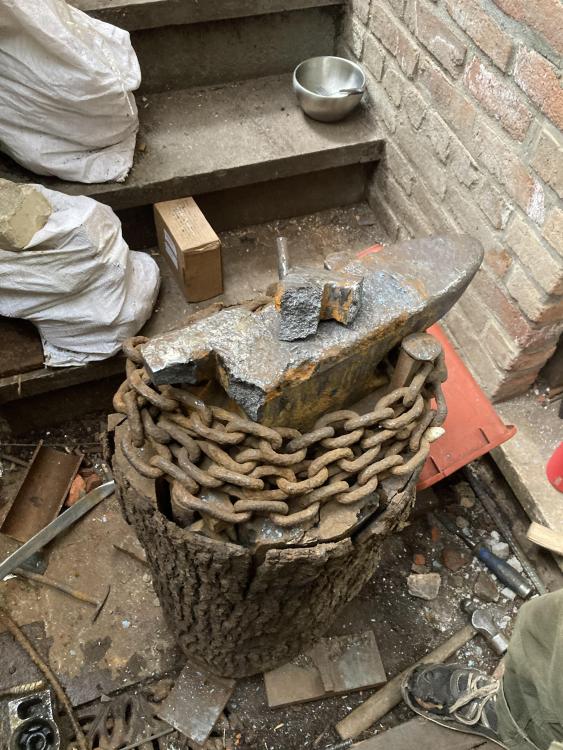
From what all you guys said it sounds like a good anvil to check out hammer and maybe in hand and if all is well that looks well a good anvil to adopt im surprised about how little you guys use your horns. I always thought it was a big part of blacksmithing that I was missing with my anvil blob. thanks for all information! haha my harbor freight served me welll (mostly) for about a year of sledgehammers poor hammer control and probably to cold metal. (I would have definitely picked up a smooth boulder though!) I’m really looking forward to an upgrade. thanks again everyone!
-
Thanks everyone for the input! Unfortunately there are no markings on the side. From everything that all you guys said it seems it’s worth checking it out in person and adopting if everything is good and I don’t find anything better. It’s not the best anvil but it will definitely be a step up from my harbor freight. In the pictures below

-
The horn definitely was there at some point.
-
There’s this 150lb that someone’s selling not to far from me farly worn stump included for 200$ with one big catch IT DOESNT HAVE A HORN. I’m very curious to hear everyone’s thoughts on this if it’s or good deel or not and how important really is a horn? My last cheap harbor freight anvil didn’t really have a horn either so I don’t have much experience with horns. Thank you for your input!
-
Work-hardening a sickle question
SubterraneanFireForge replied to SubterraneanFireForge's topic in Cold Worked Iron and Steel
it looks so funny it’s like someone dropped a anvil on a clay hammer. ill be looking out for stray claw hammers that look like they want to try something new. “…and I don’t want tickle id rather ride motorsickle…” -
Work-hardening a sickle question
SubterraneanFireForge replied to SubterraneanFireForge's topic in Cold Worked Iron and Steel
Thanks Frosty, I’ve found plenty of pictures online of flat, mostly Japanese sickles. some with spike tangs. From what I gather the curved sickles are more for gathering while the flatter sickles are more for just cutting stuff down like when your weeding. I did welcome any general advice about sickles, but my original question was about combining work hardening and heat treating, which I couldn’t find information on in other places. -
Work-hardening a sickle question
SubterraneanFireForge replied to SubterraneanFireForge's topic in Cold Worked Iron and Steel
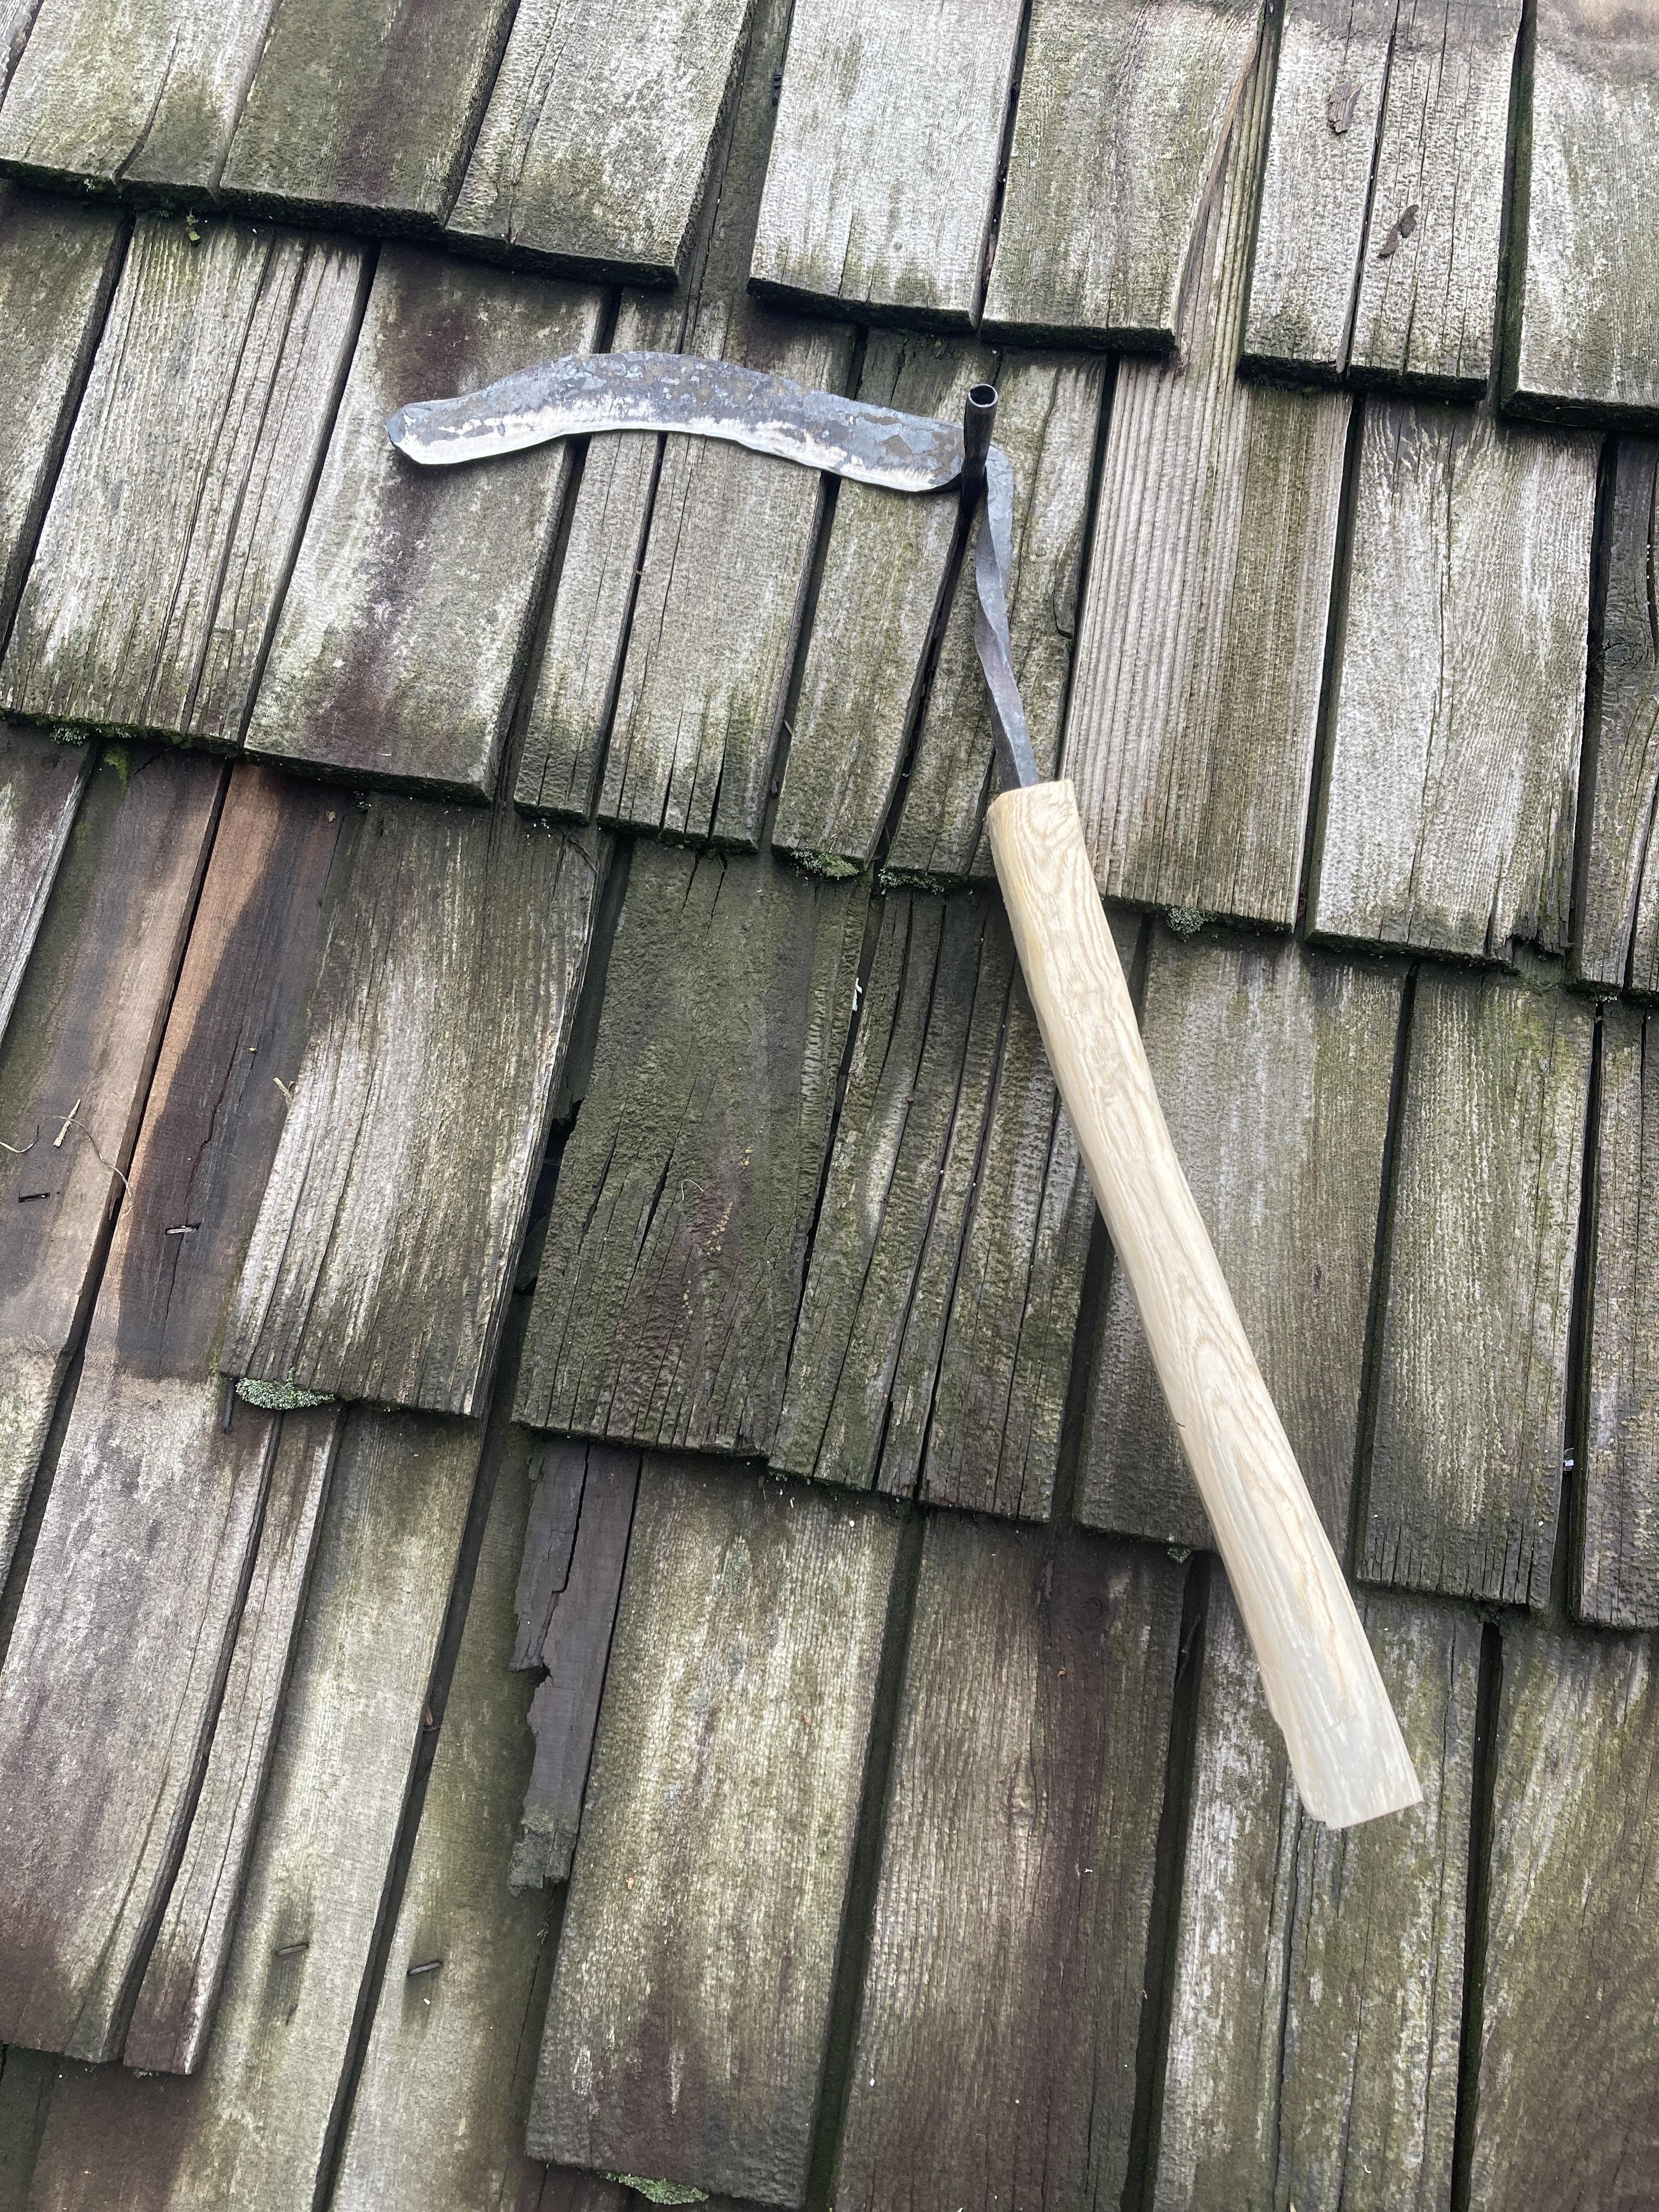
I just finished temping and sharpening the sickle. it was all forged to finish apart from the last little bit of sharpening. That’s a good point Jhcc I hadn’t thought of that we normally turn over the dirt and sift out the bits of roots and little weeds so it might not matter. a weeding claw might be a fun next project! Gorge I haven’t seen any tangs so small to u know how they would have to mount to a handle??? after watching that video I might have to try making a scythe next.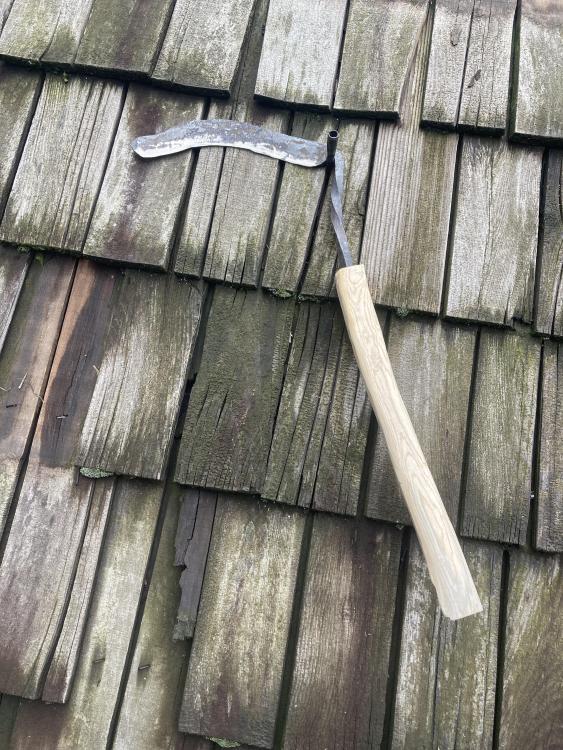
-
Work-hardening a sickle question
SubterraneanFireForge replied to SubterraneanFireForge's topic in Cold Worked Iron and Steel
Thanks for all the information everyone! im making a sickle because I volunteer at a garden and pull mugwort by the hour, so I was thinking a sickle could come In handy and be a fun project that I can forge and test. The springs I got are pretty new but I’m just curious. would normalizing a piece of steel or heating it to forge welding temperature before working it fix any micro fractures. -
Work-hardening a sickle question
SubterraneanFireForge replied to SubterraneanFireForge's topic in Cold Worked Iron and Steel
Thanks for the information Gorge. I’m always surprised at how fast people respond on this forum. Having a lo carbon practice piece and a high carbon take 2 sounds like a good idea. i recently acquired a car springs that I’m assuming would be good for a second shot. the yellow blade/ blue spine temper is a good point I’ll definitely try to temper it like that. Thanks again! -
Hi I’m not sure if topic should be in cold working or quenching and tempering so if this is in the wrong place please say so. I’m forging a sickle out of rebar this particular piece seems to have some carbon if I make a piece thin, quenched it in cold salty water and give it a bonk it will snap. im thinking about work-hardening it my question is would u work harden and quenched and sneak a piece, the same proses as with carbon high carbon steel? minus the normalization? Or world u just forge it into a black heat and call it done? Any general advice about sickles is also welcome! Thanks!