Kelly R
Members
-
Joined
-
Last visited
Everything posted by Kelly R
-
Thank you for the info. I’ll check it out
-
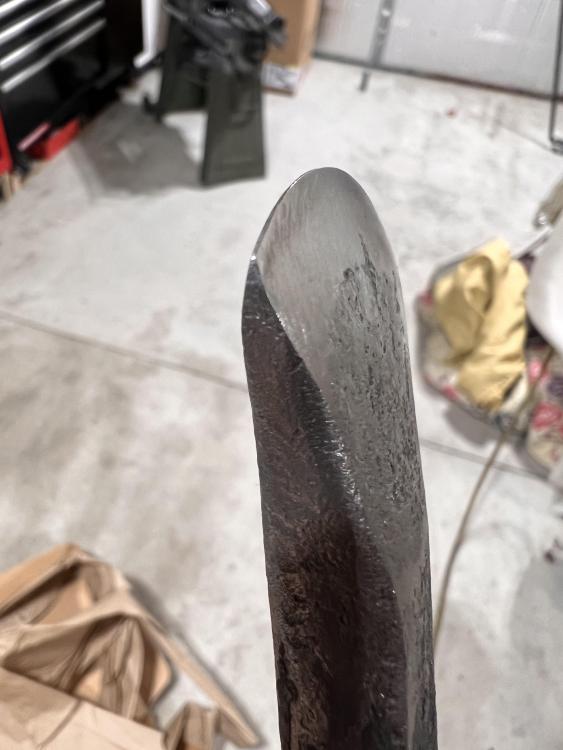
I just used hot cut today and I would agree that maybe a flatter chisel with radius more on the outsides would work better. I guess I get to make another one.
-
Just a quick question. I’m playing around making railroad spike knives for practicing hammer control and the handle portion is about right for my hand. But I was thinking about adding a twist, but wasn’t sure if I would lose any length by adding the twist?
-
My day job is a HVAC technician and have been on many service calls where furnaces or fireplaces weren’t burning right and everything sooted up. I’ve cleaned a lot of soot in in my trade but never thought about keeping it. (If I only knew?)
-
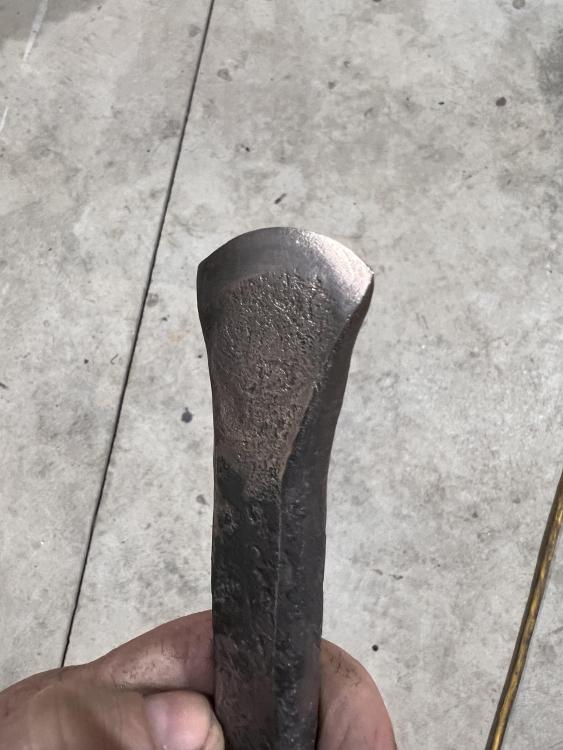
Thanks! I did harden it. It seemed to work well but time will tell.
-
I planned on doing a hardy hot cut but haven’t decided on what shape would work best because I’ve seen it both ways. It would seem easier to cut stock with a straight edge. How wide are they usually? As for having a chisel with a blunt end might be what I end up with due to this being the first time I’ve ever heat treated anything. I made about for cuts into cold 3/4” round and the edge hasn’t changed. Finger crossed I did purchase and use that type of brush but not on every heat. Which I should start doing.
-
Thanks guys. I’ll try the vinegar when I try making a hole punch. Do you usually take a brush to it on every heat before working it?
-
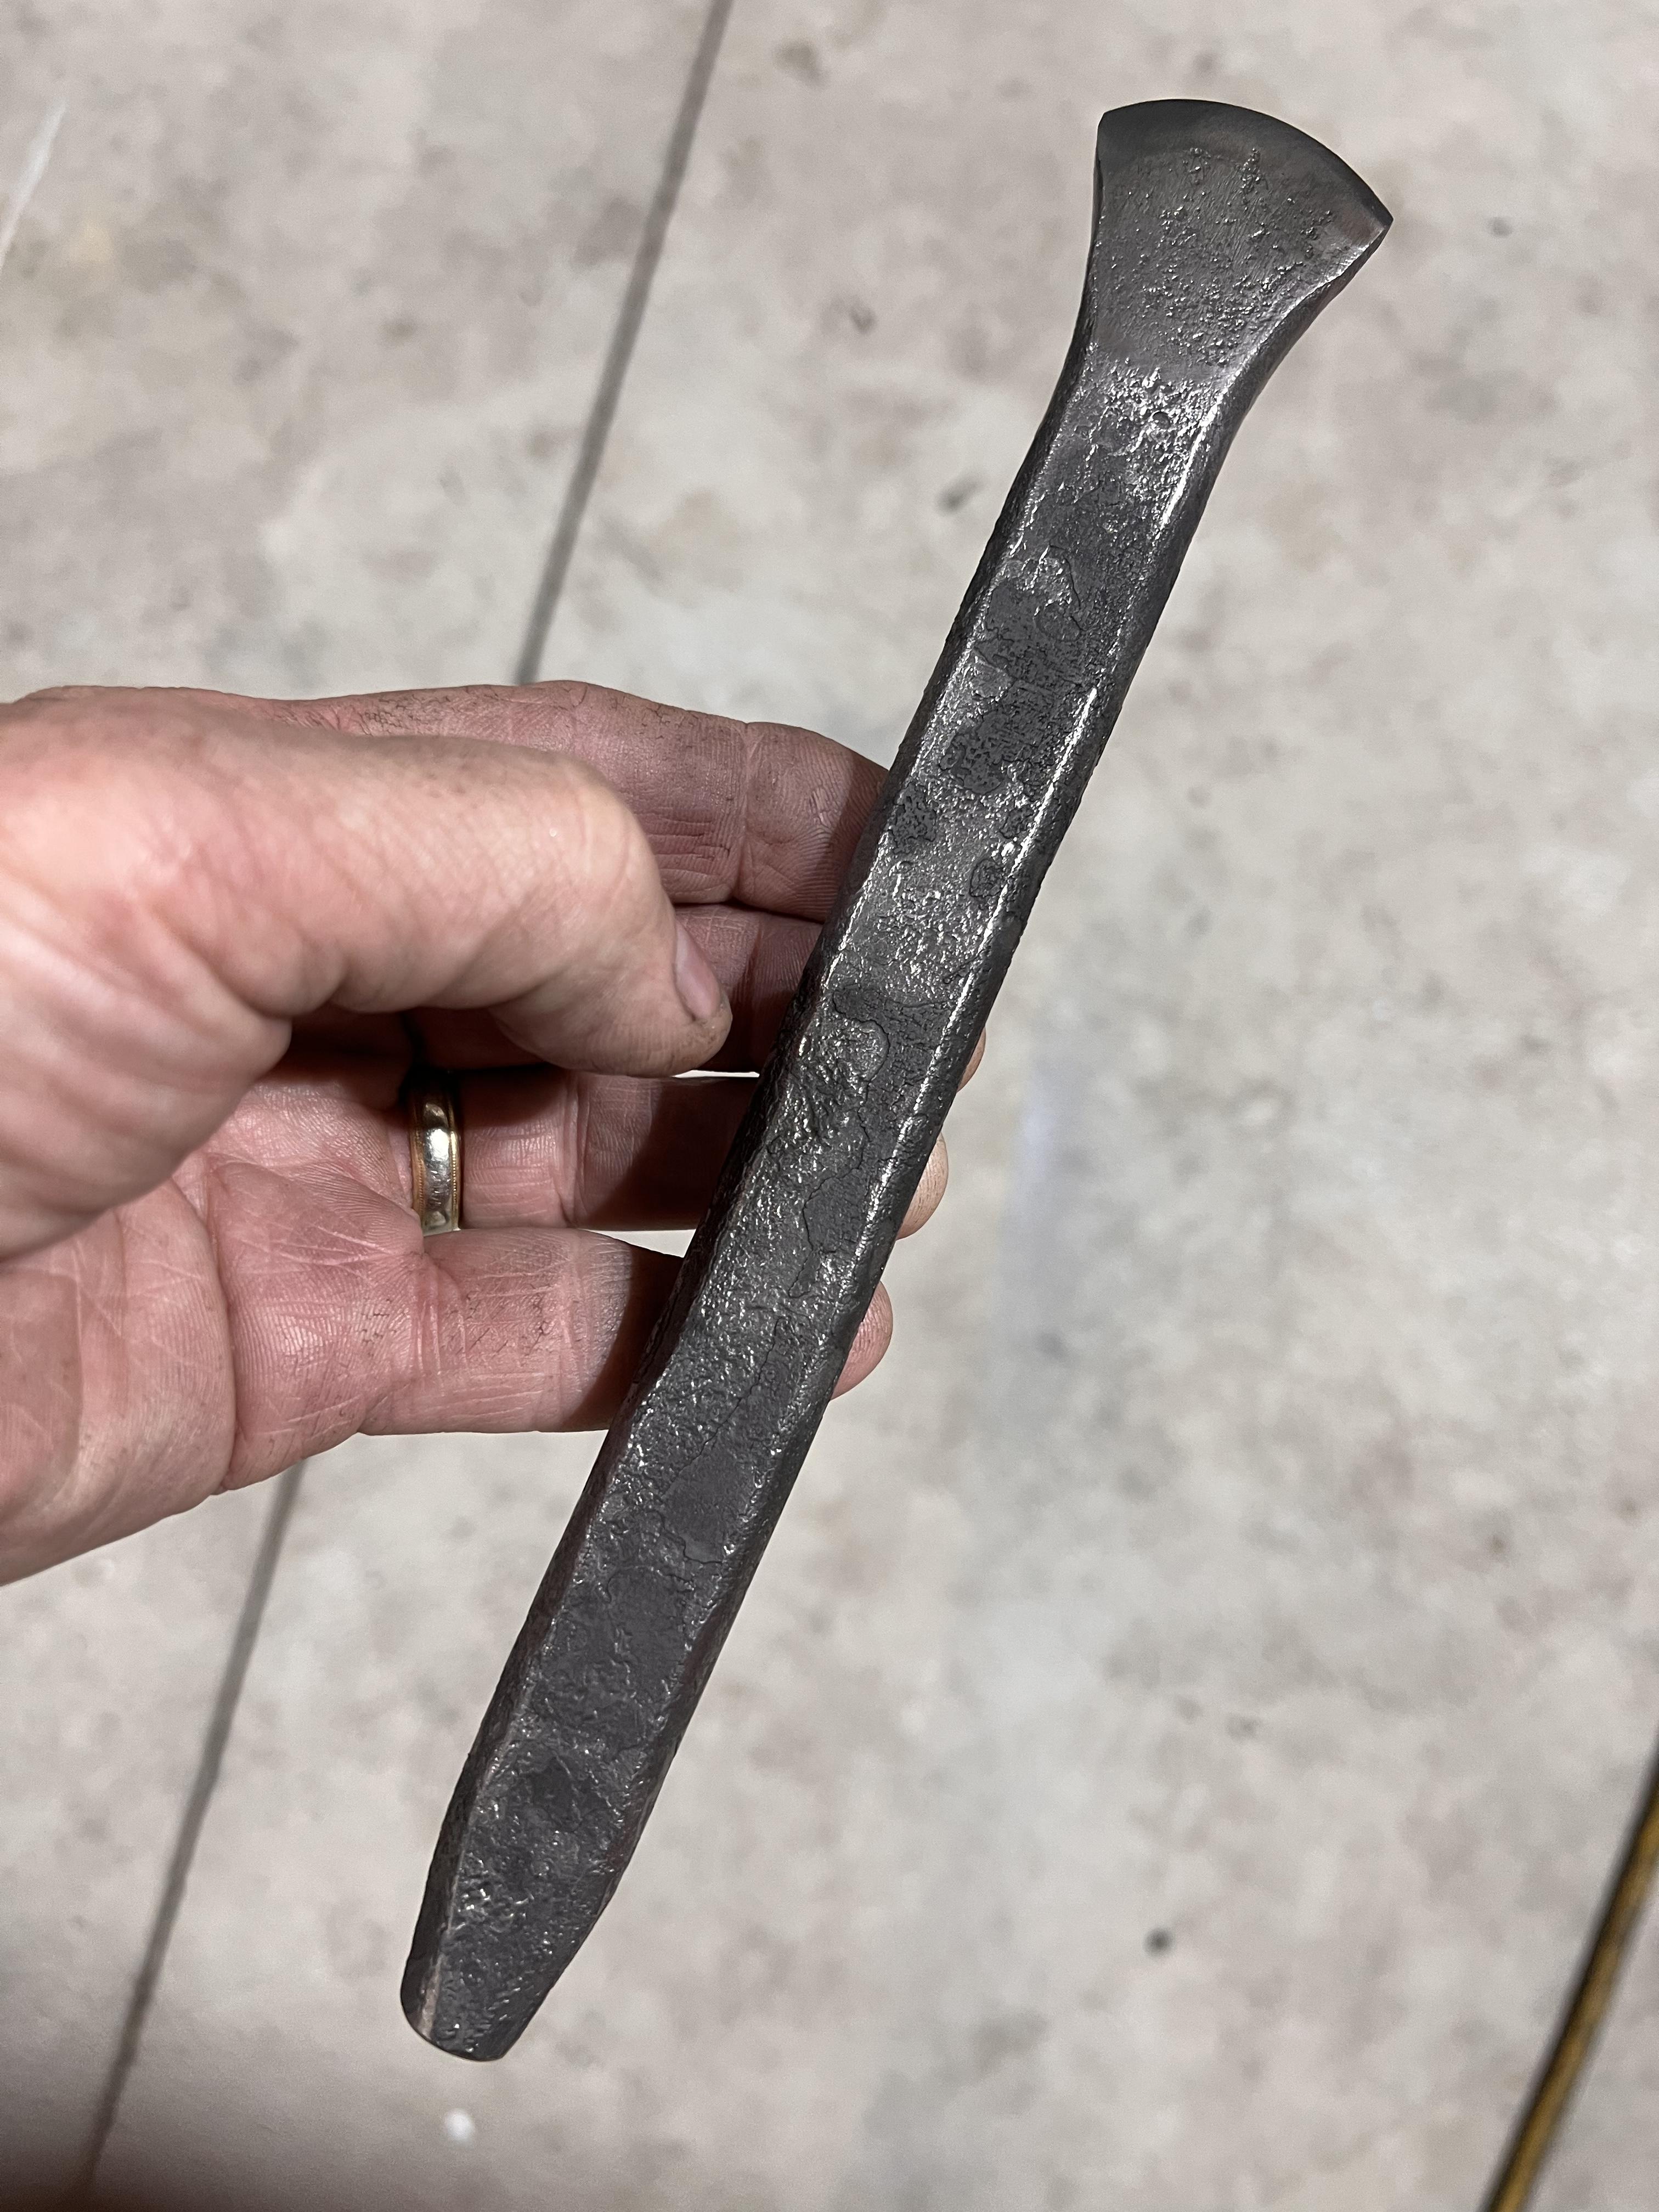
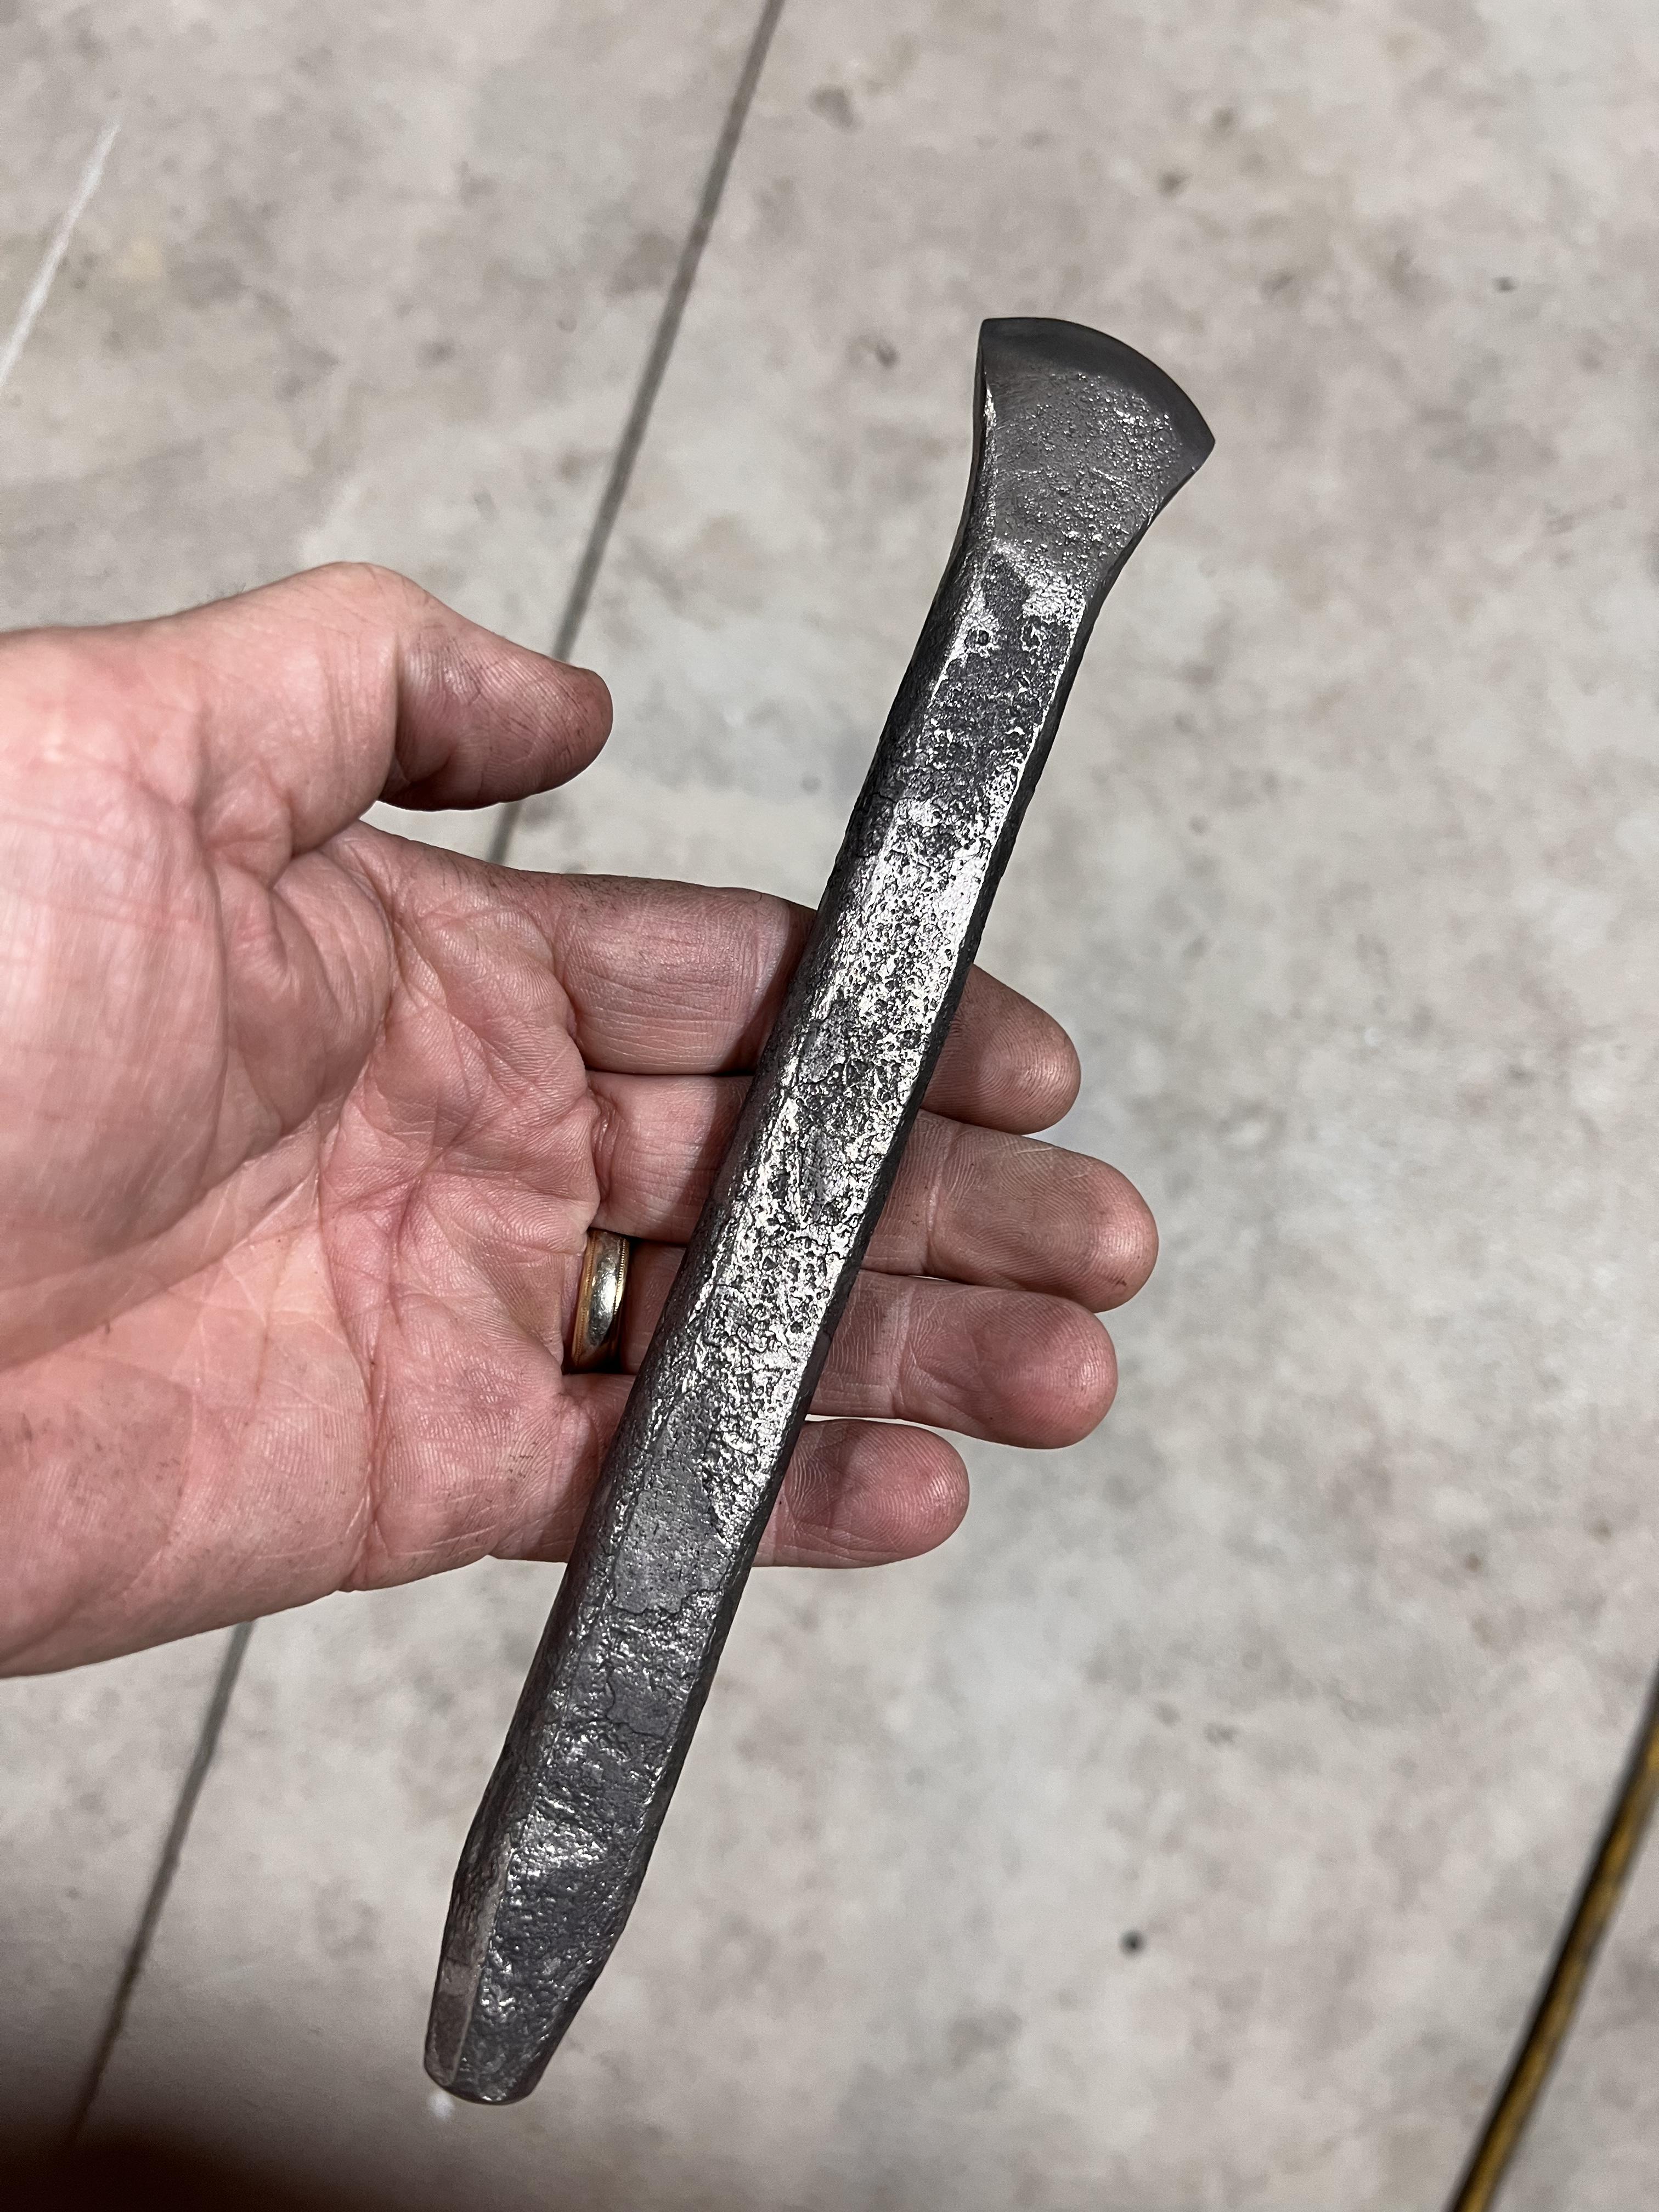
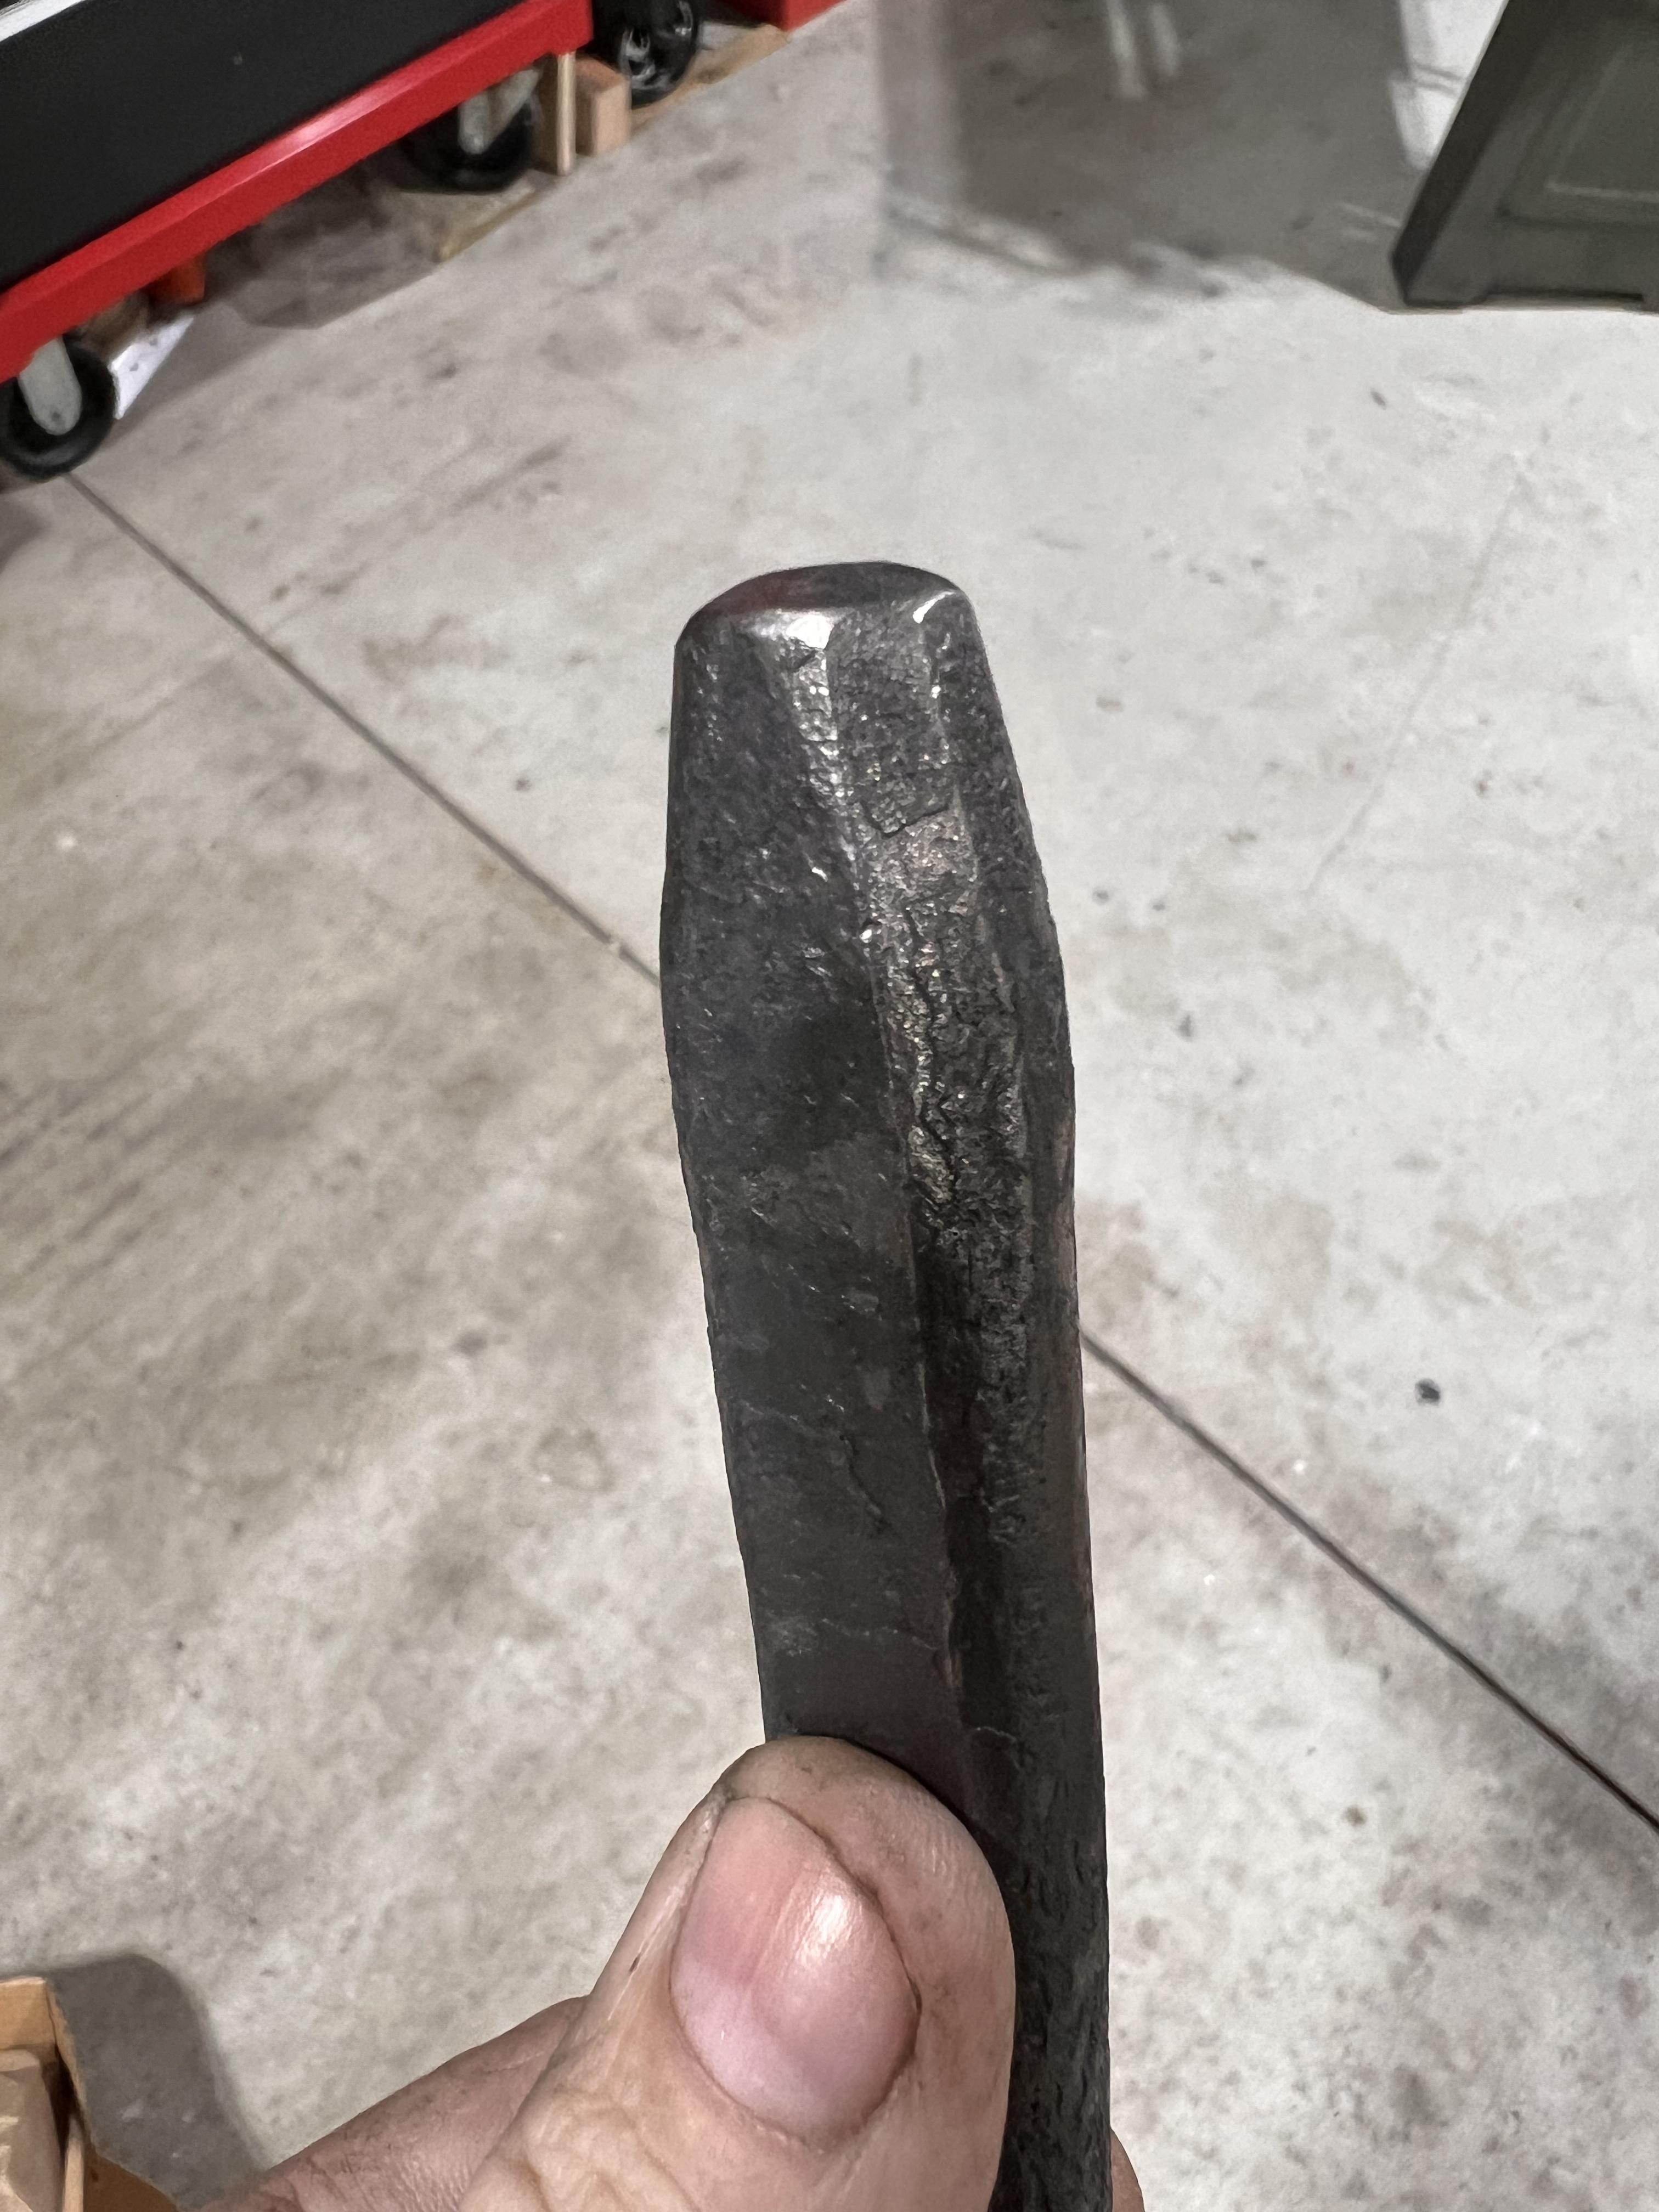
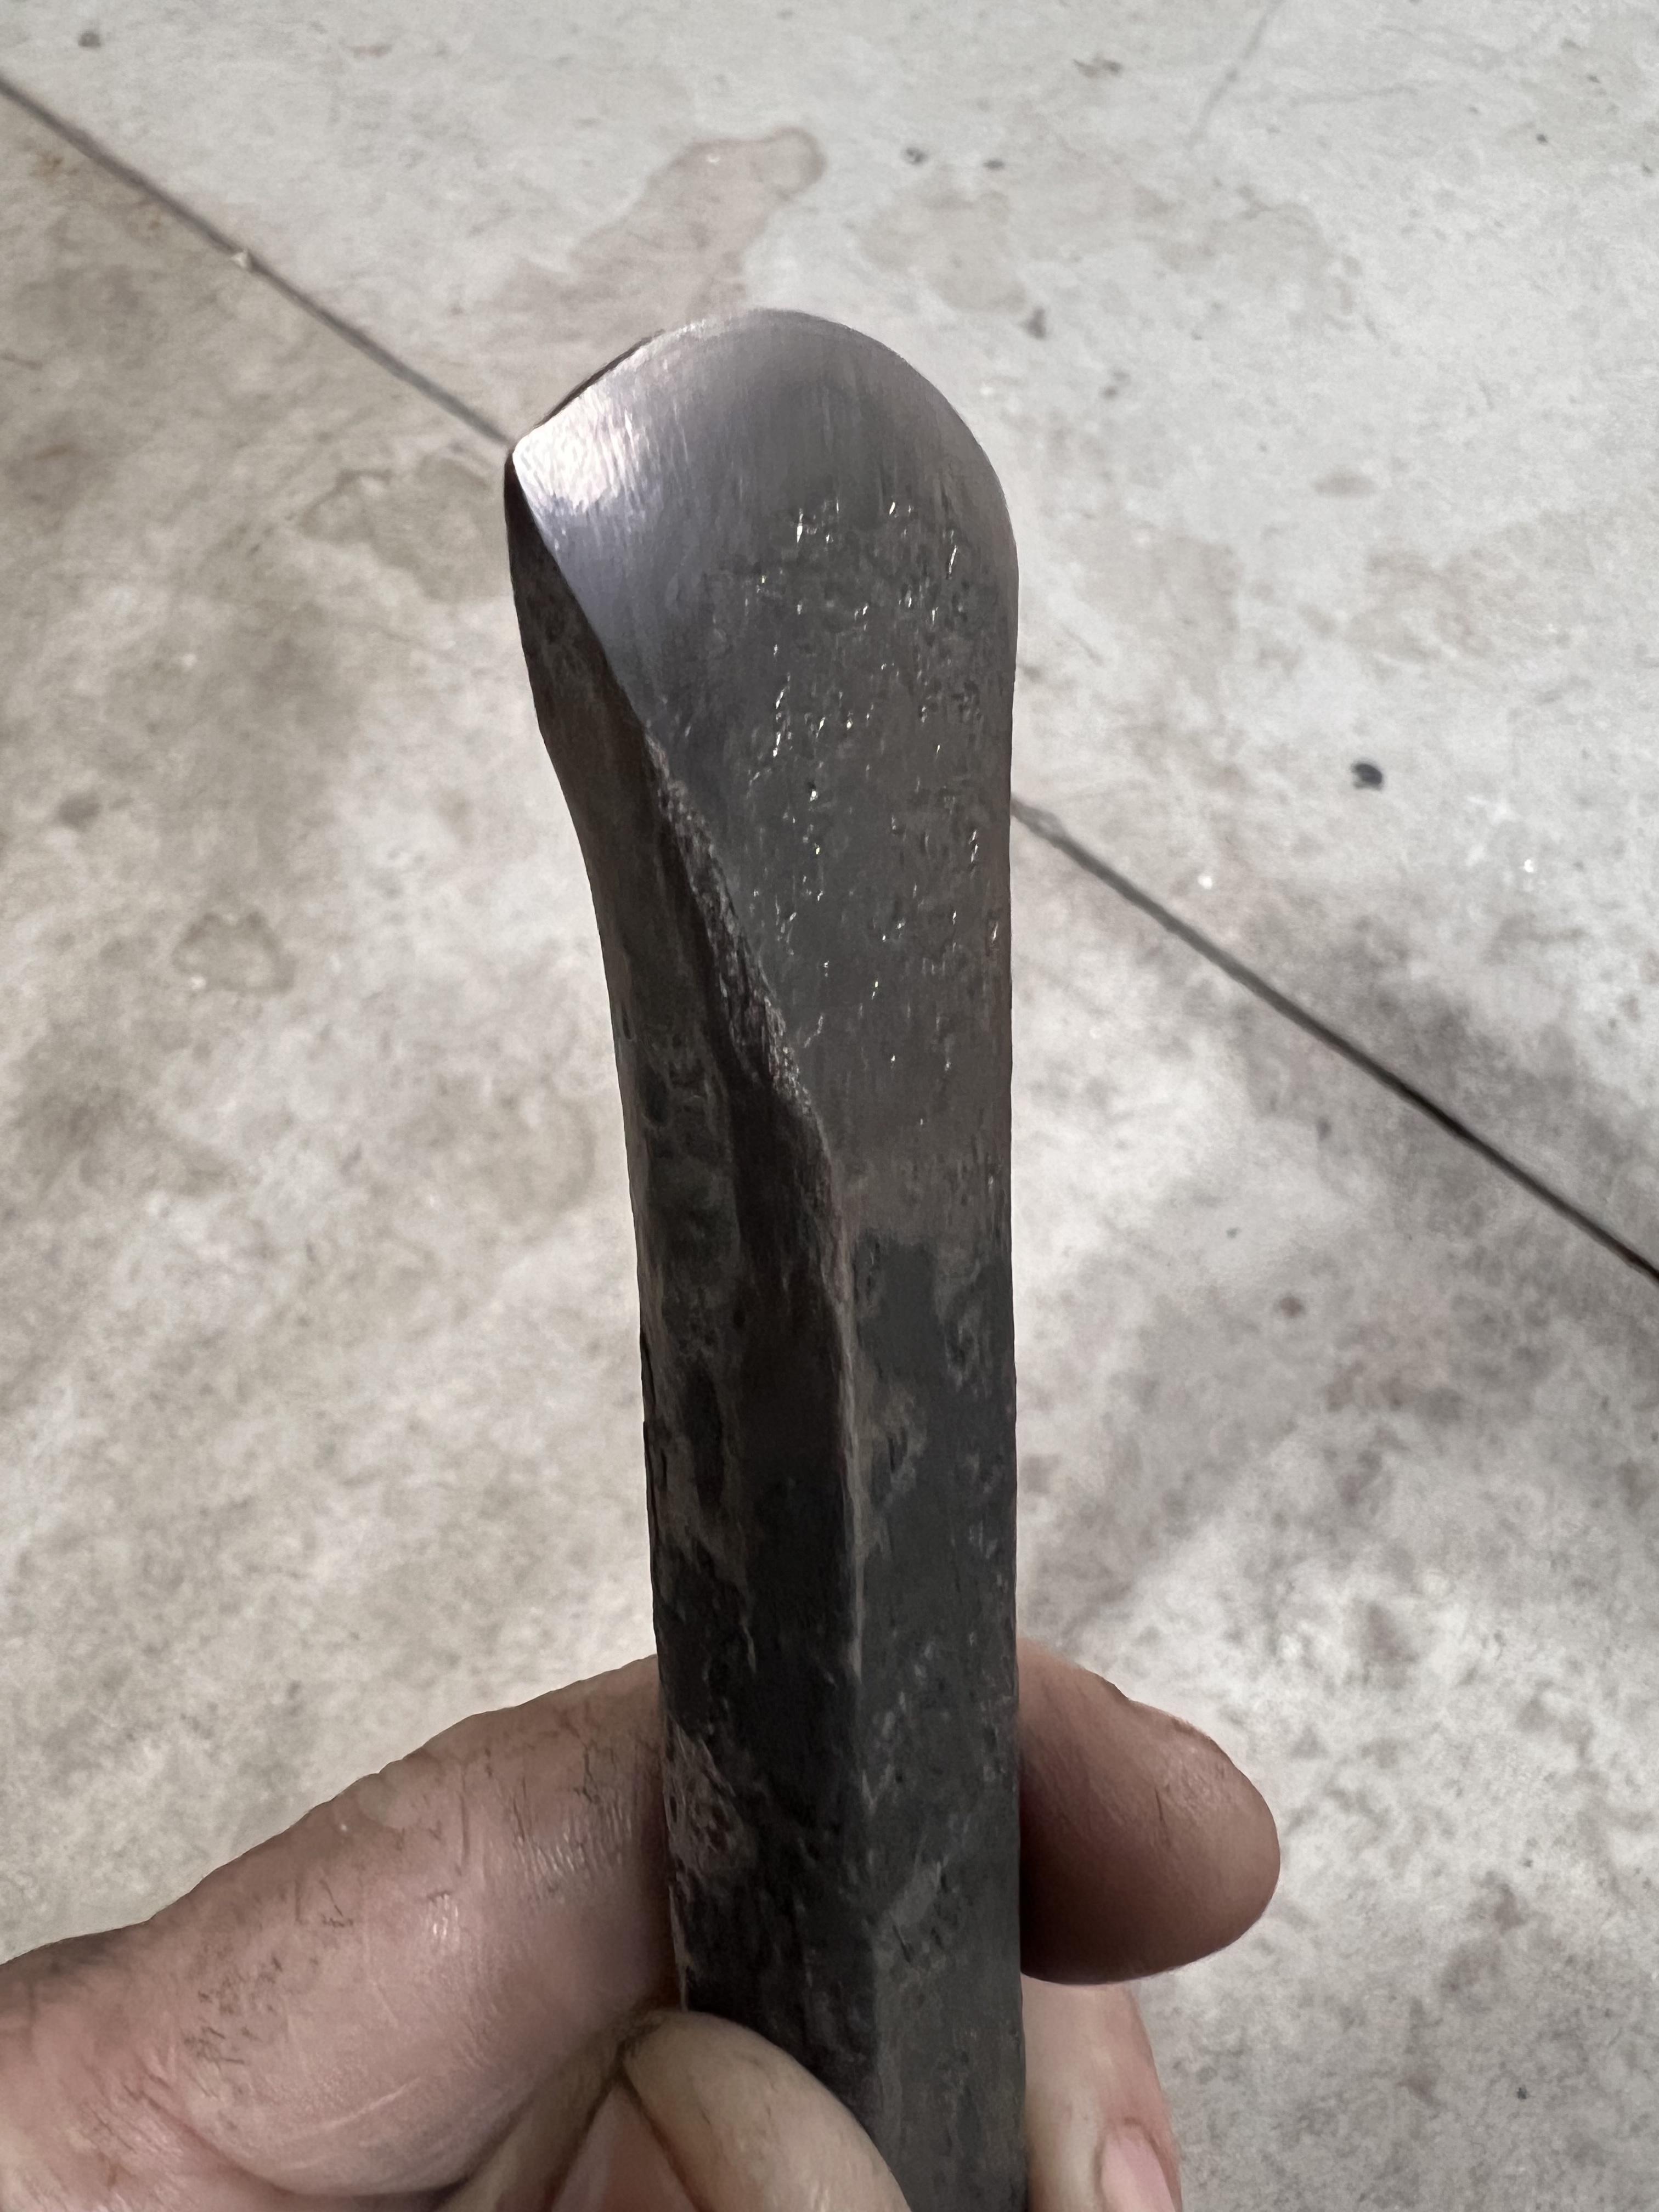
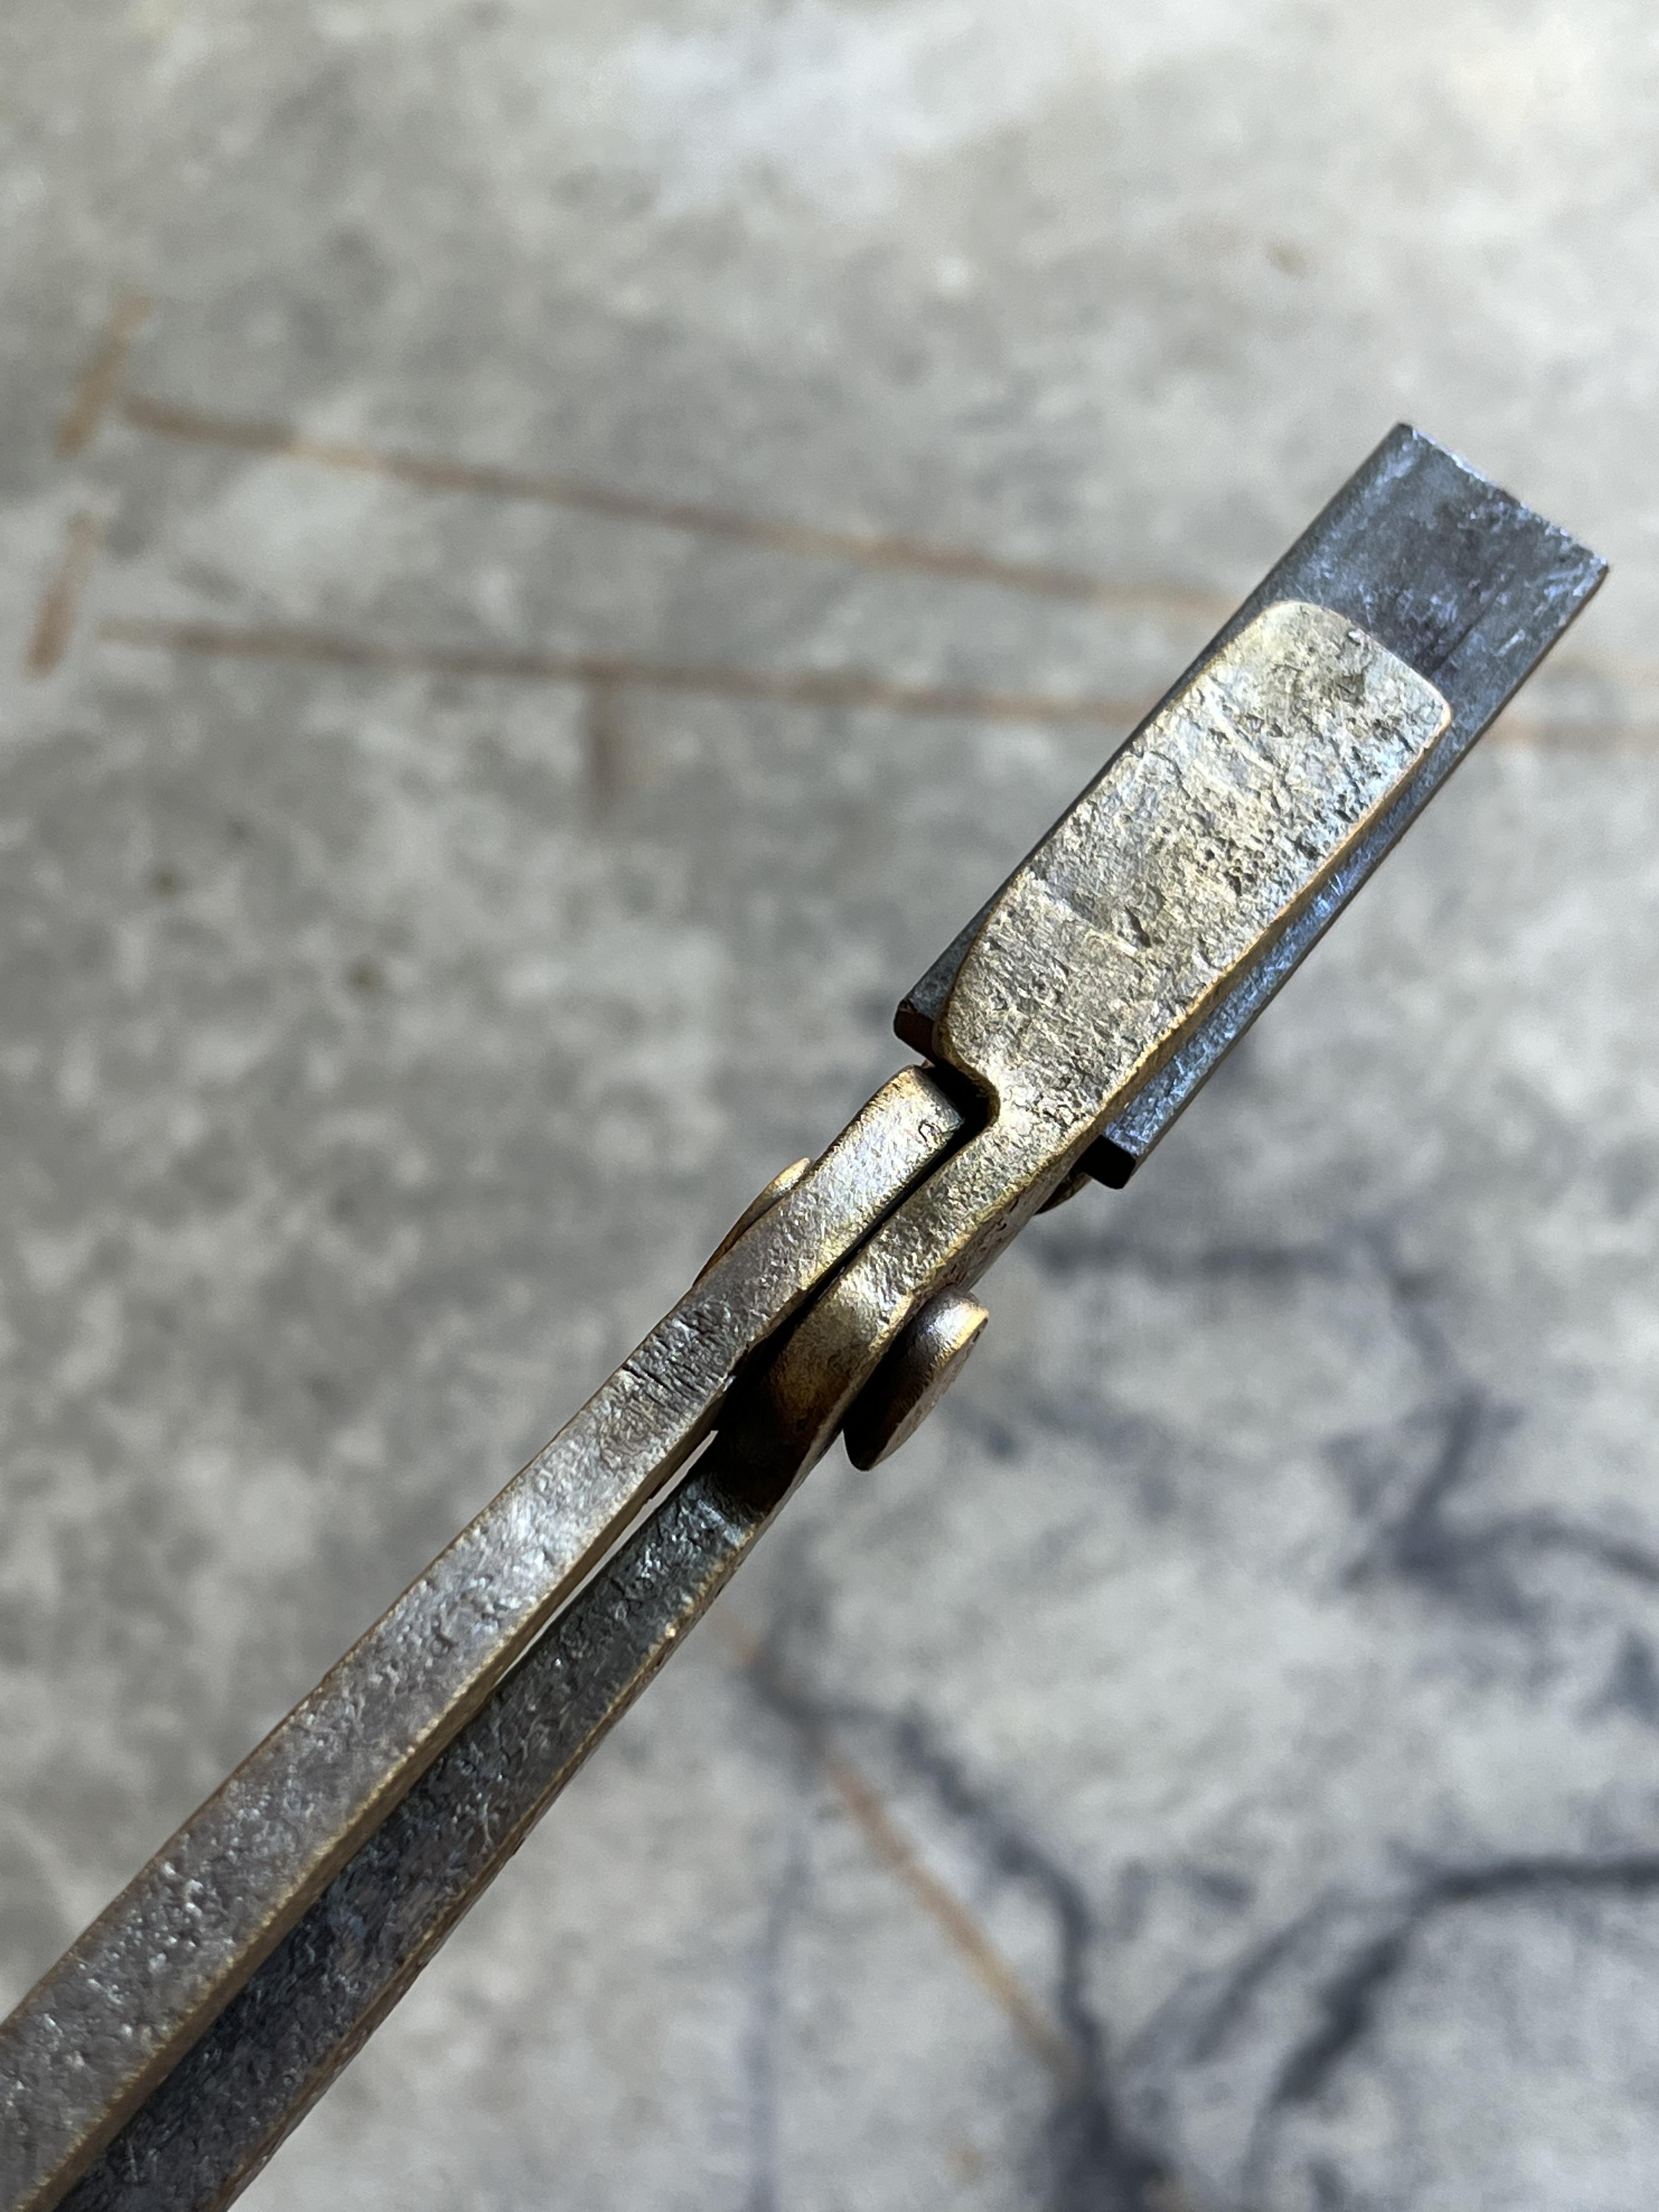
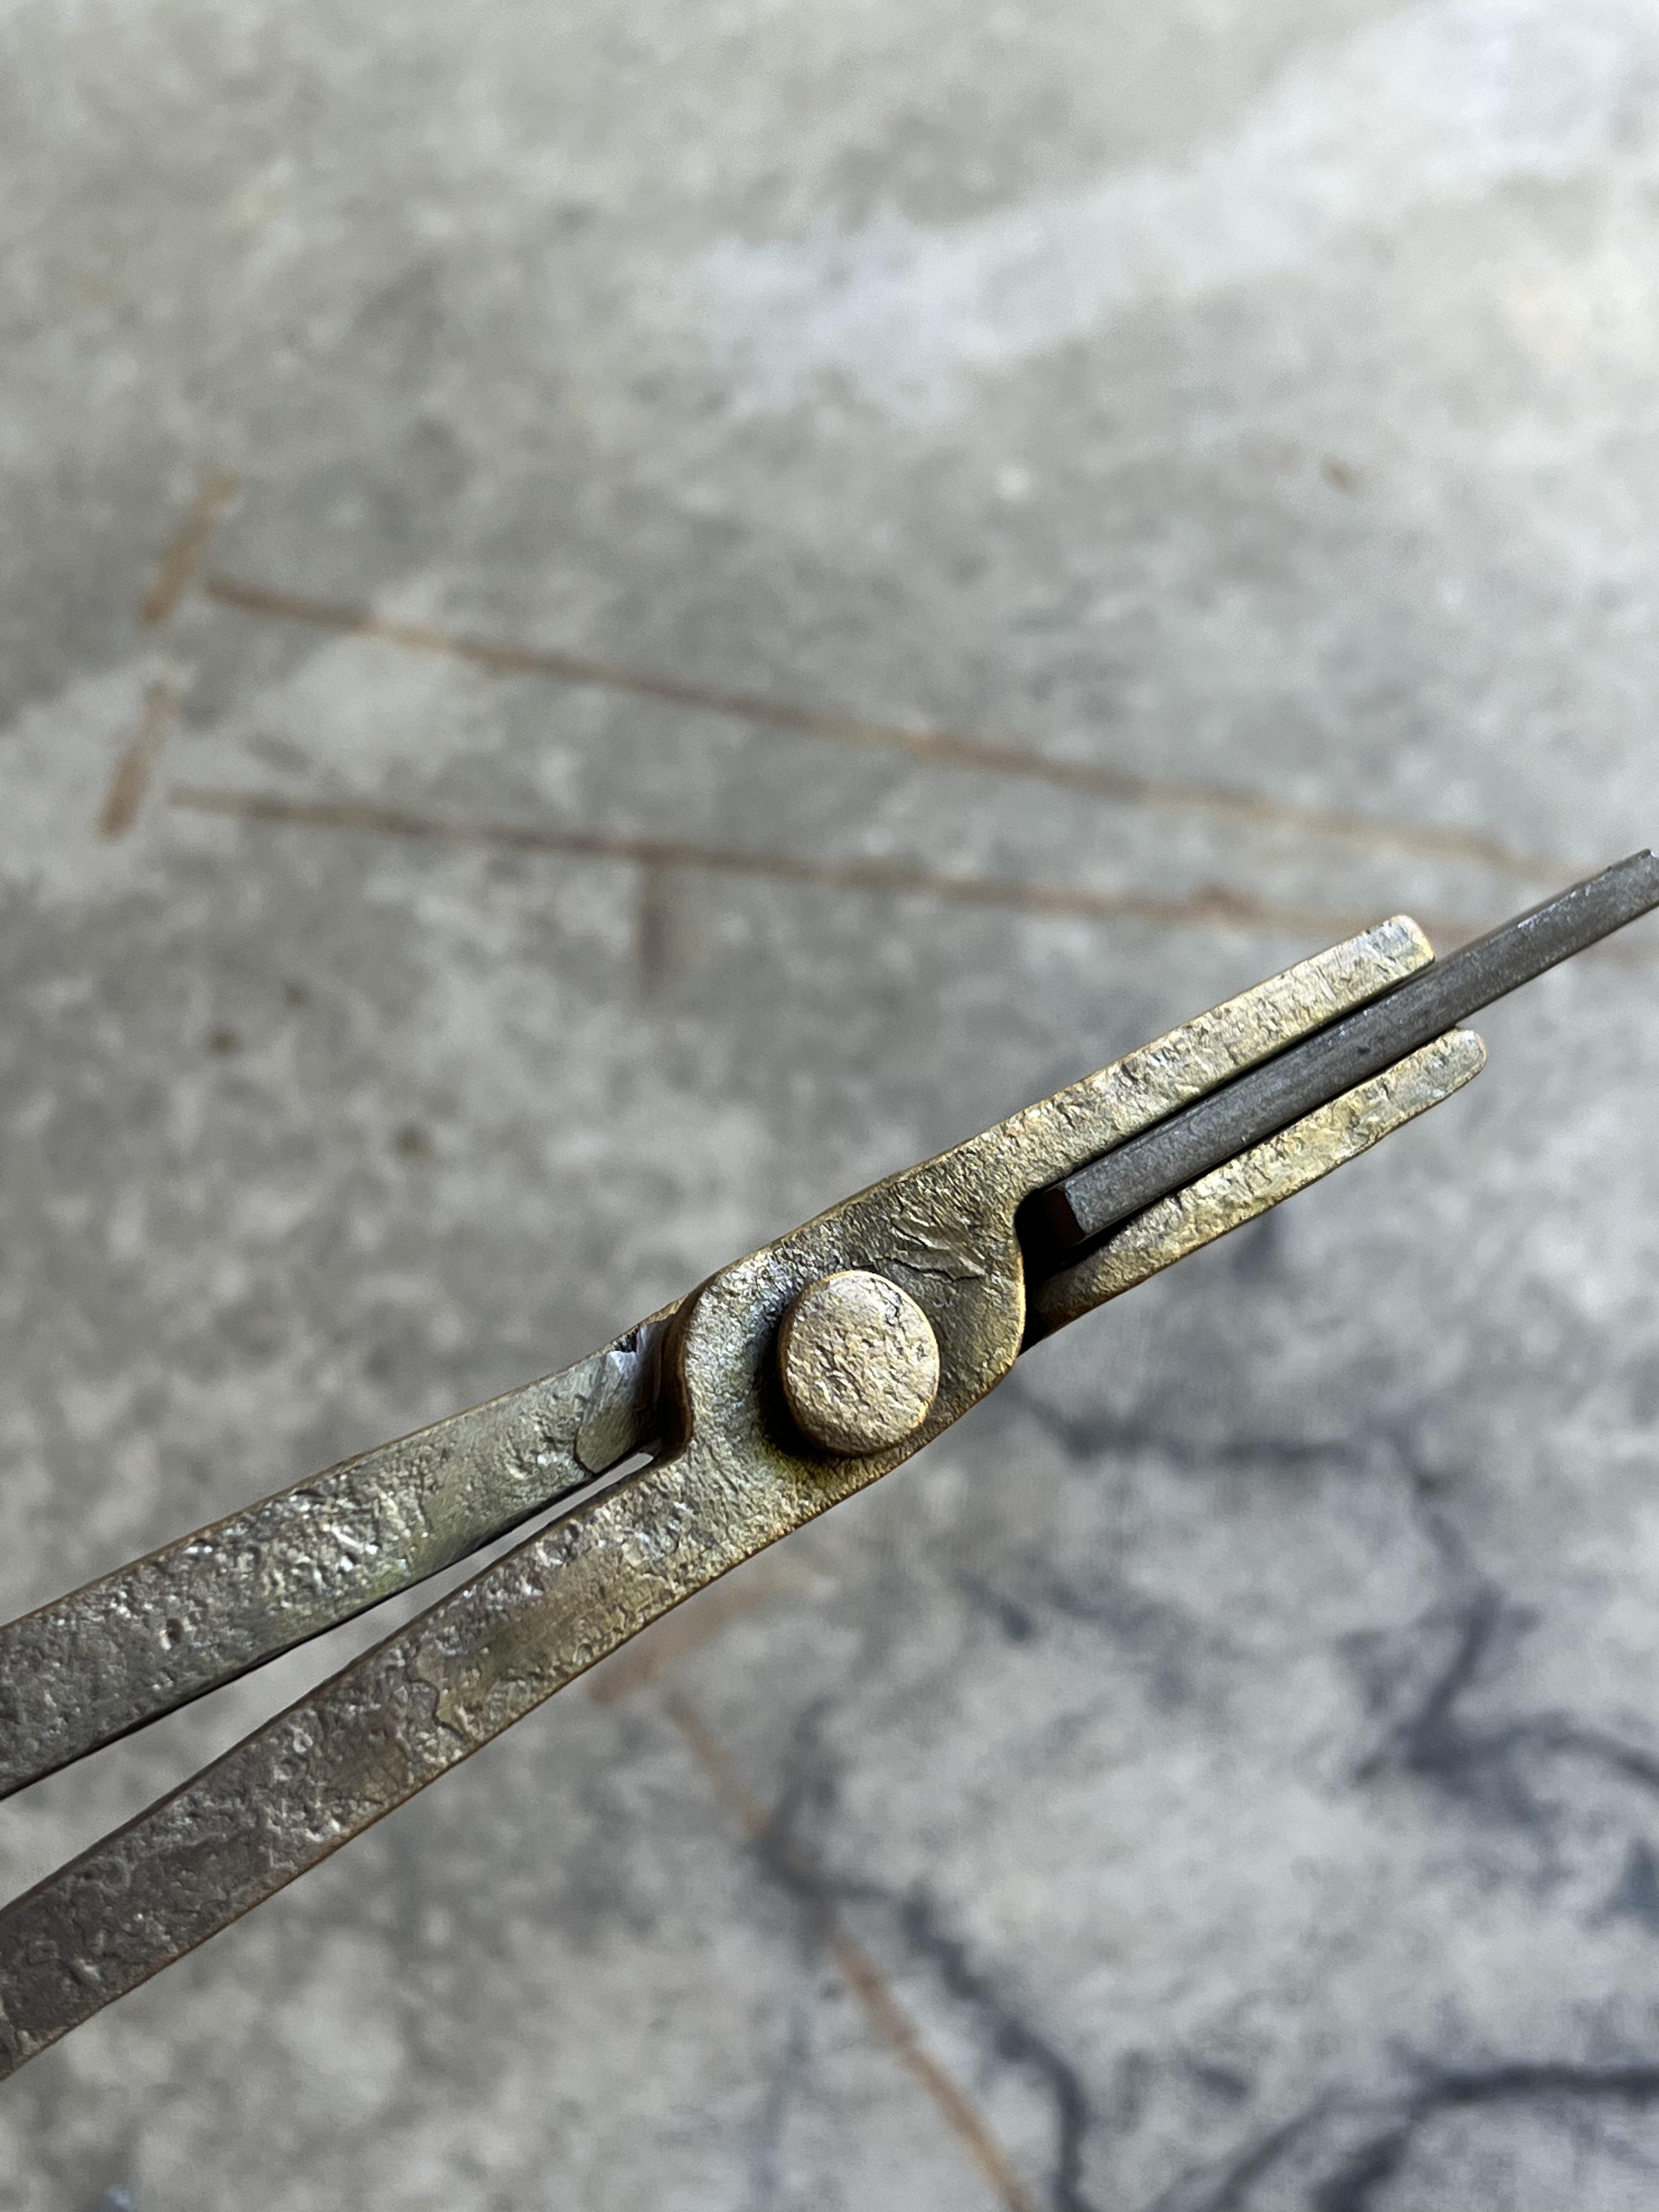
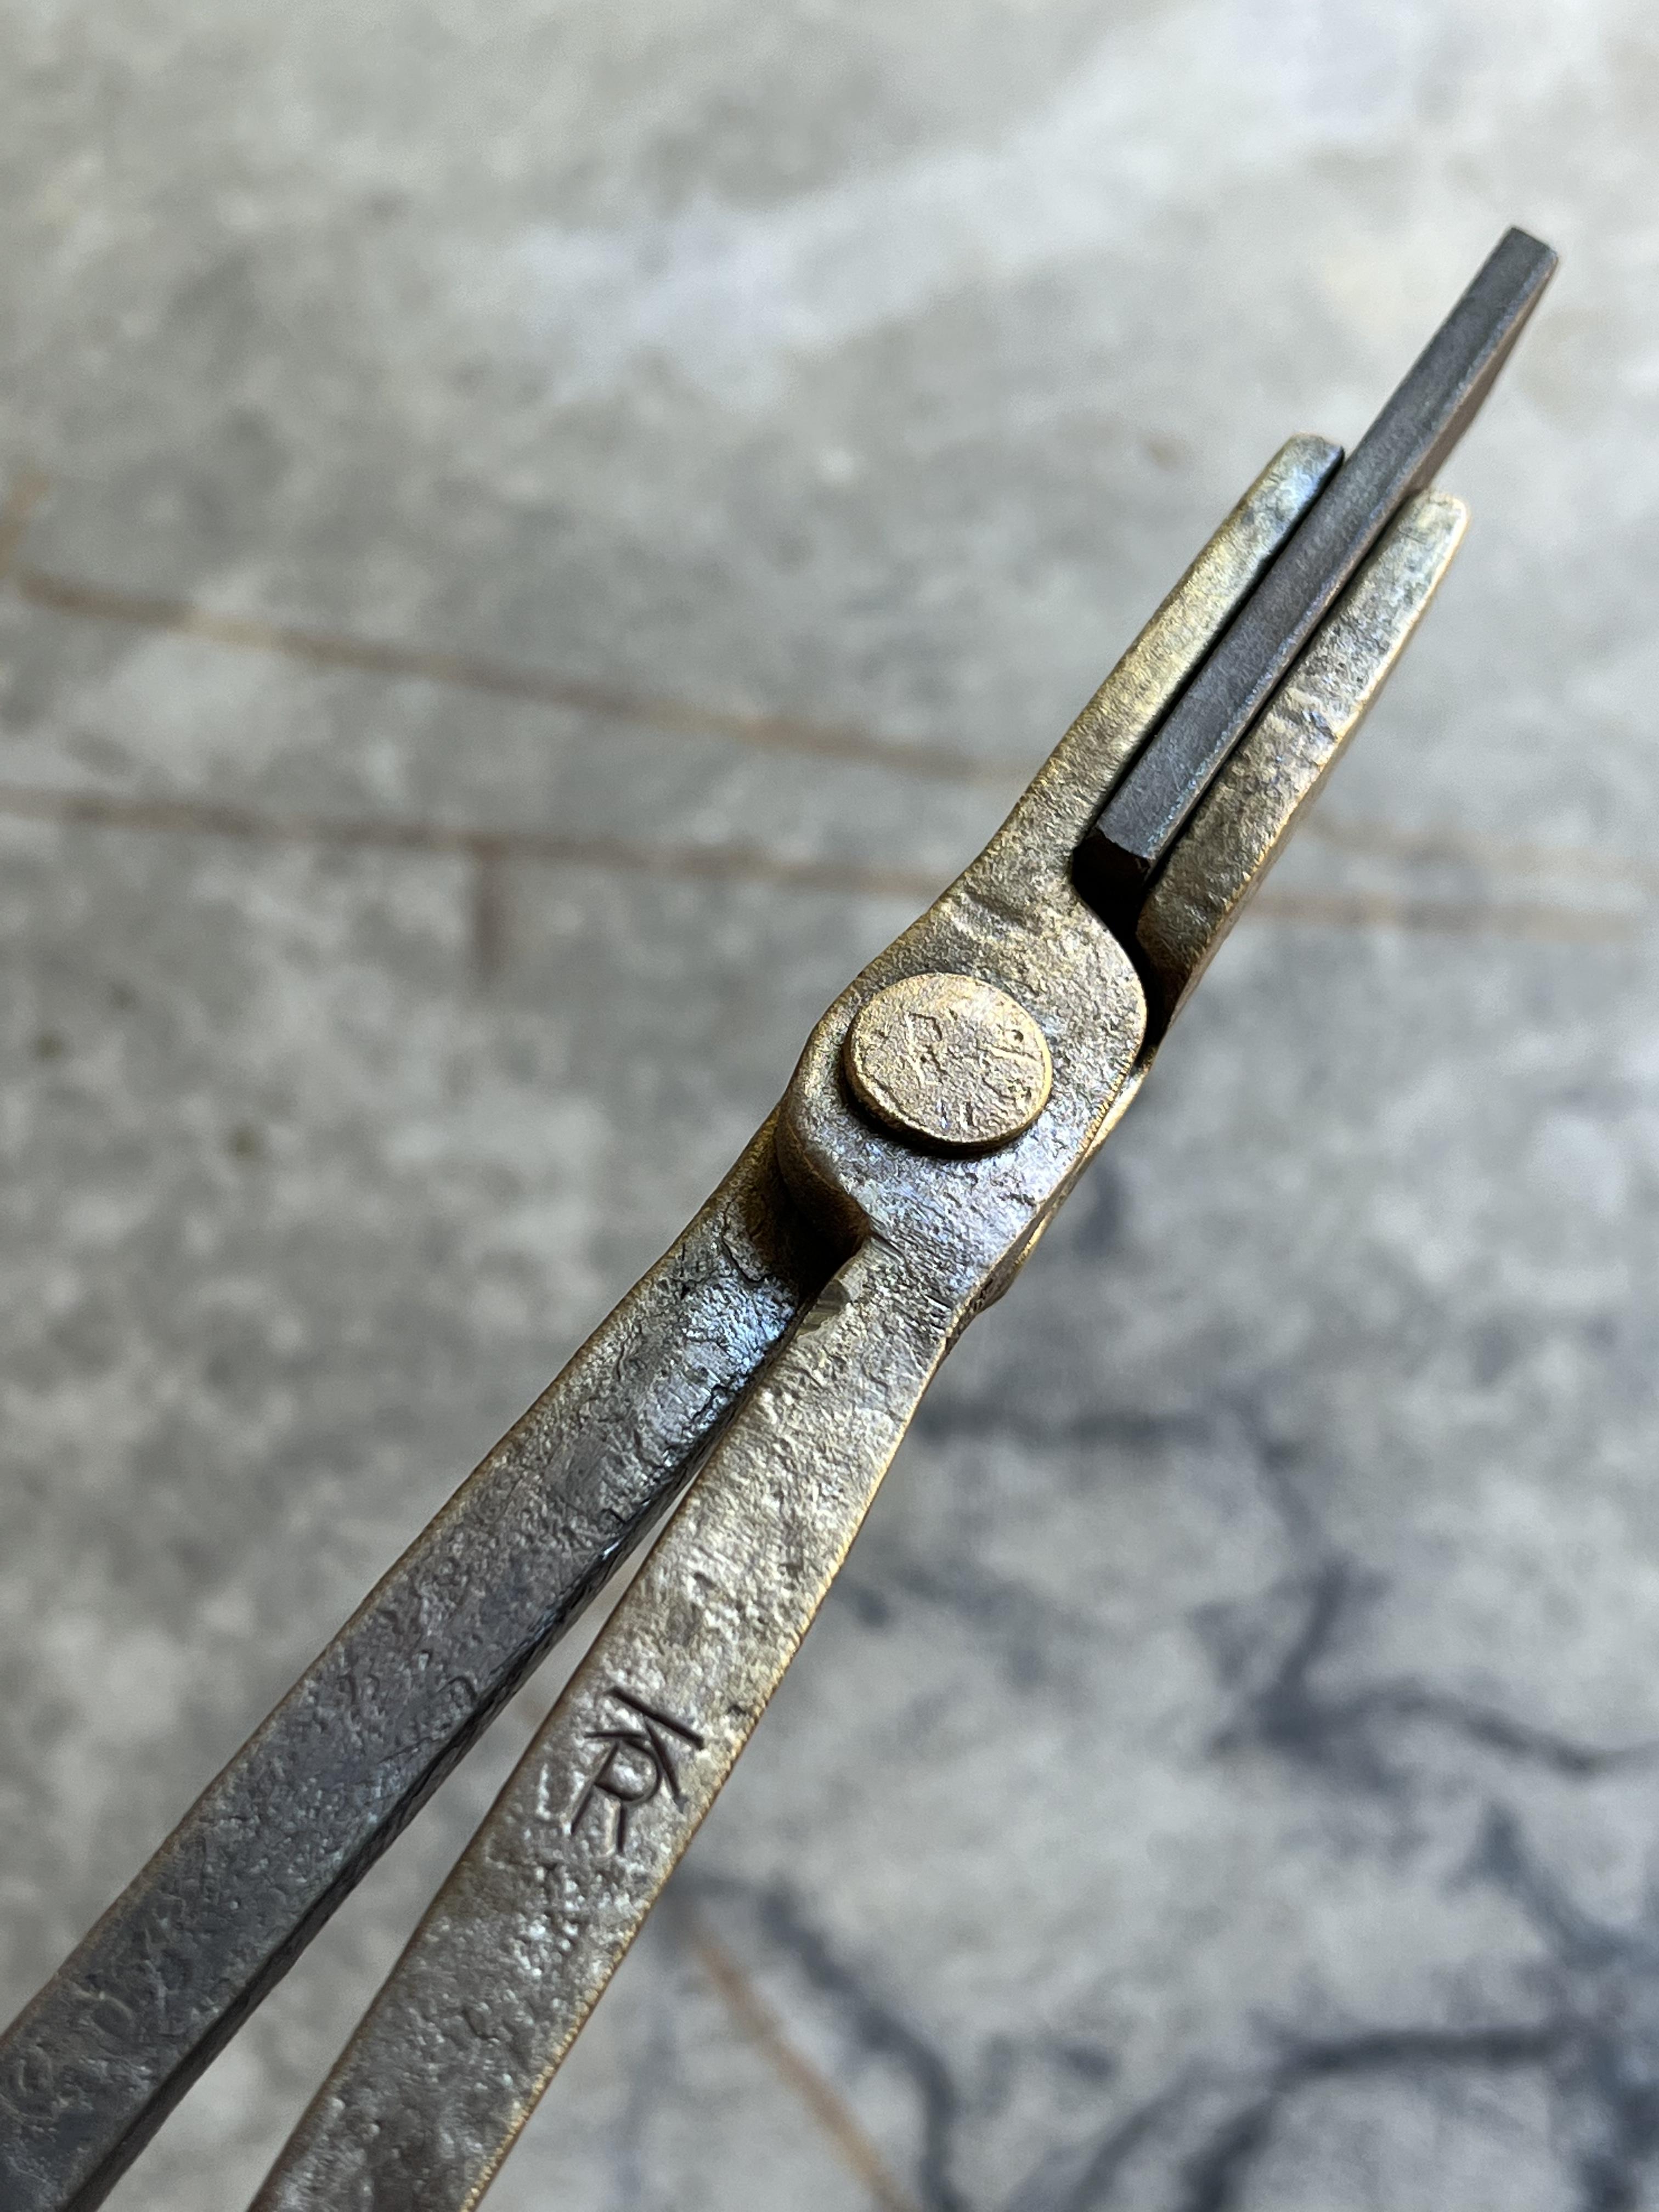
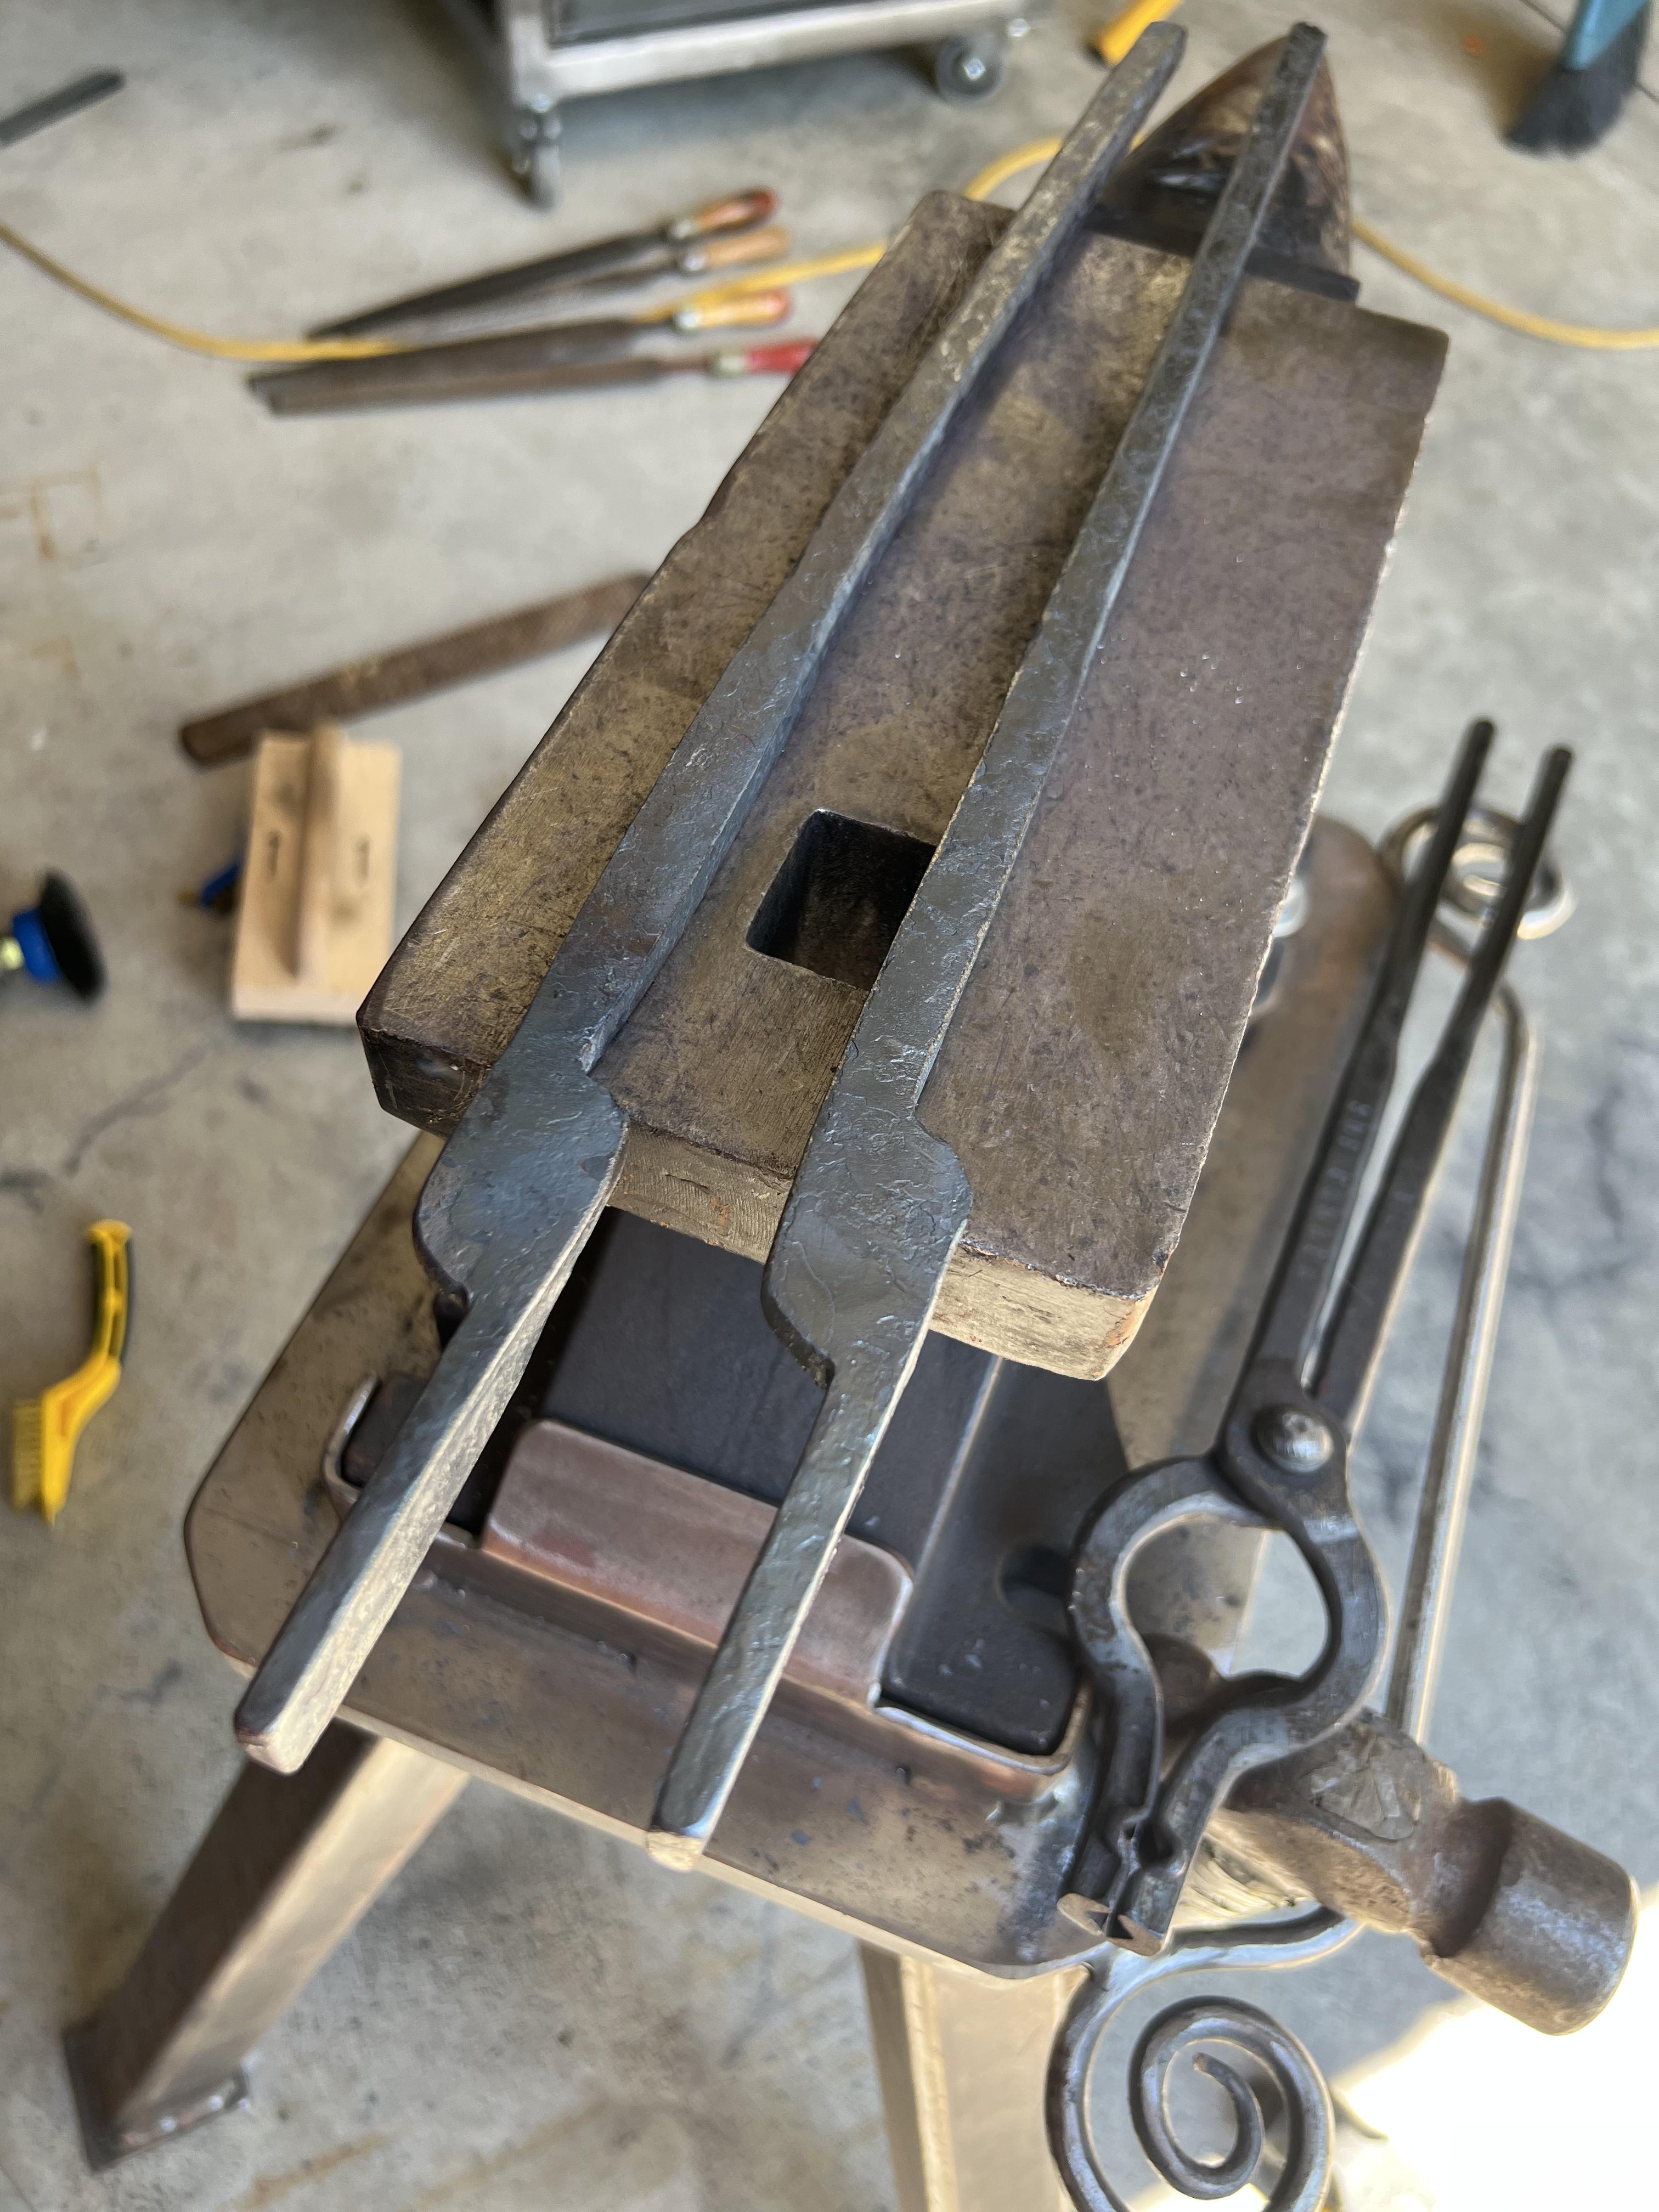
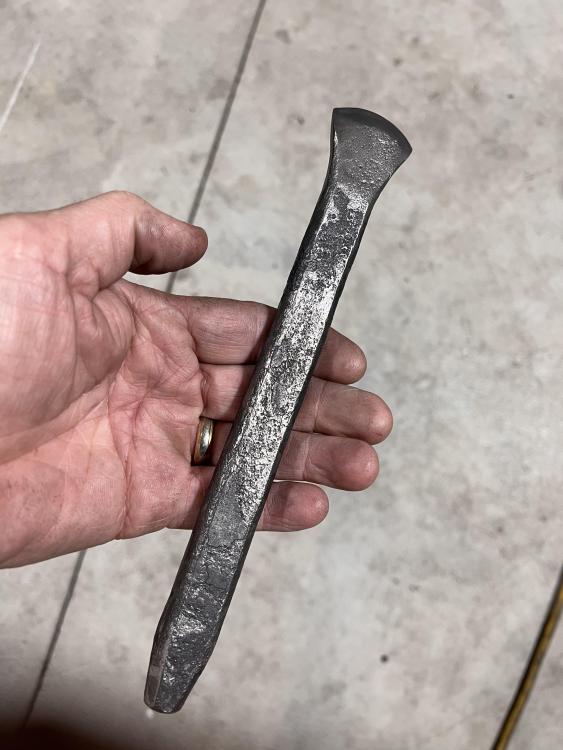
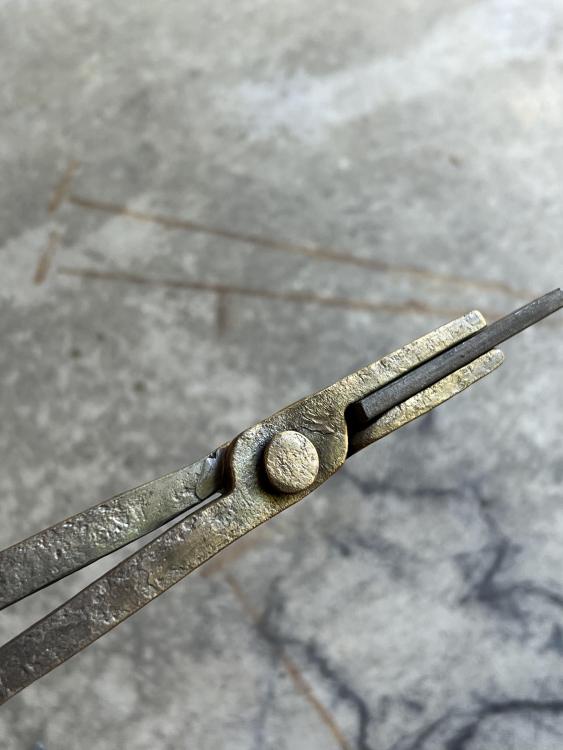
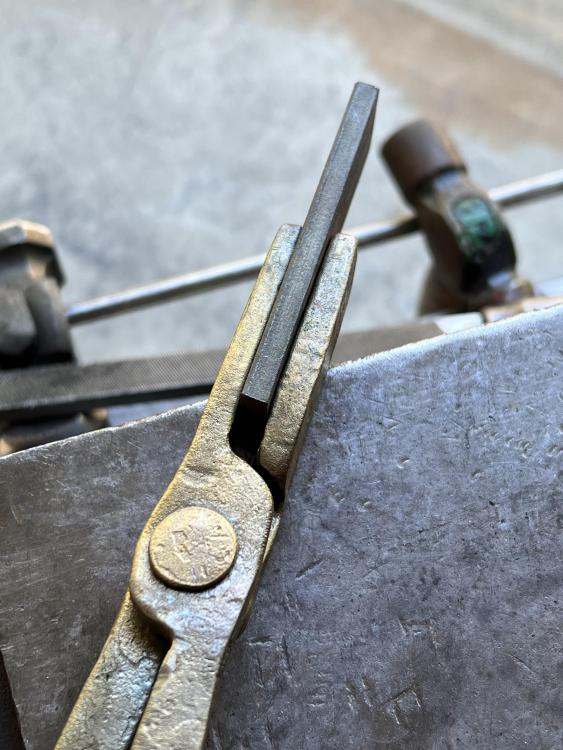
This was made from 3/4” coil spring. Looking for feedback on anything that could be improved on. There is a lot of forge scale on it which I’m not how to remove. I brushed it each time I pulled it out of the but couldn’t remove it all. not sure if the edge if supposed to be completely sharp?


-
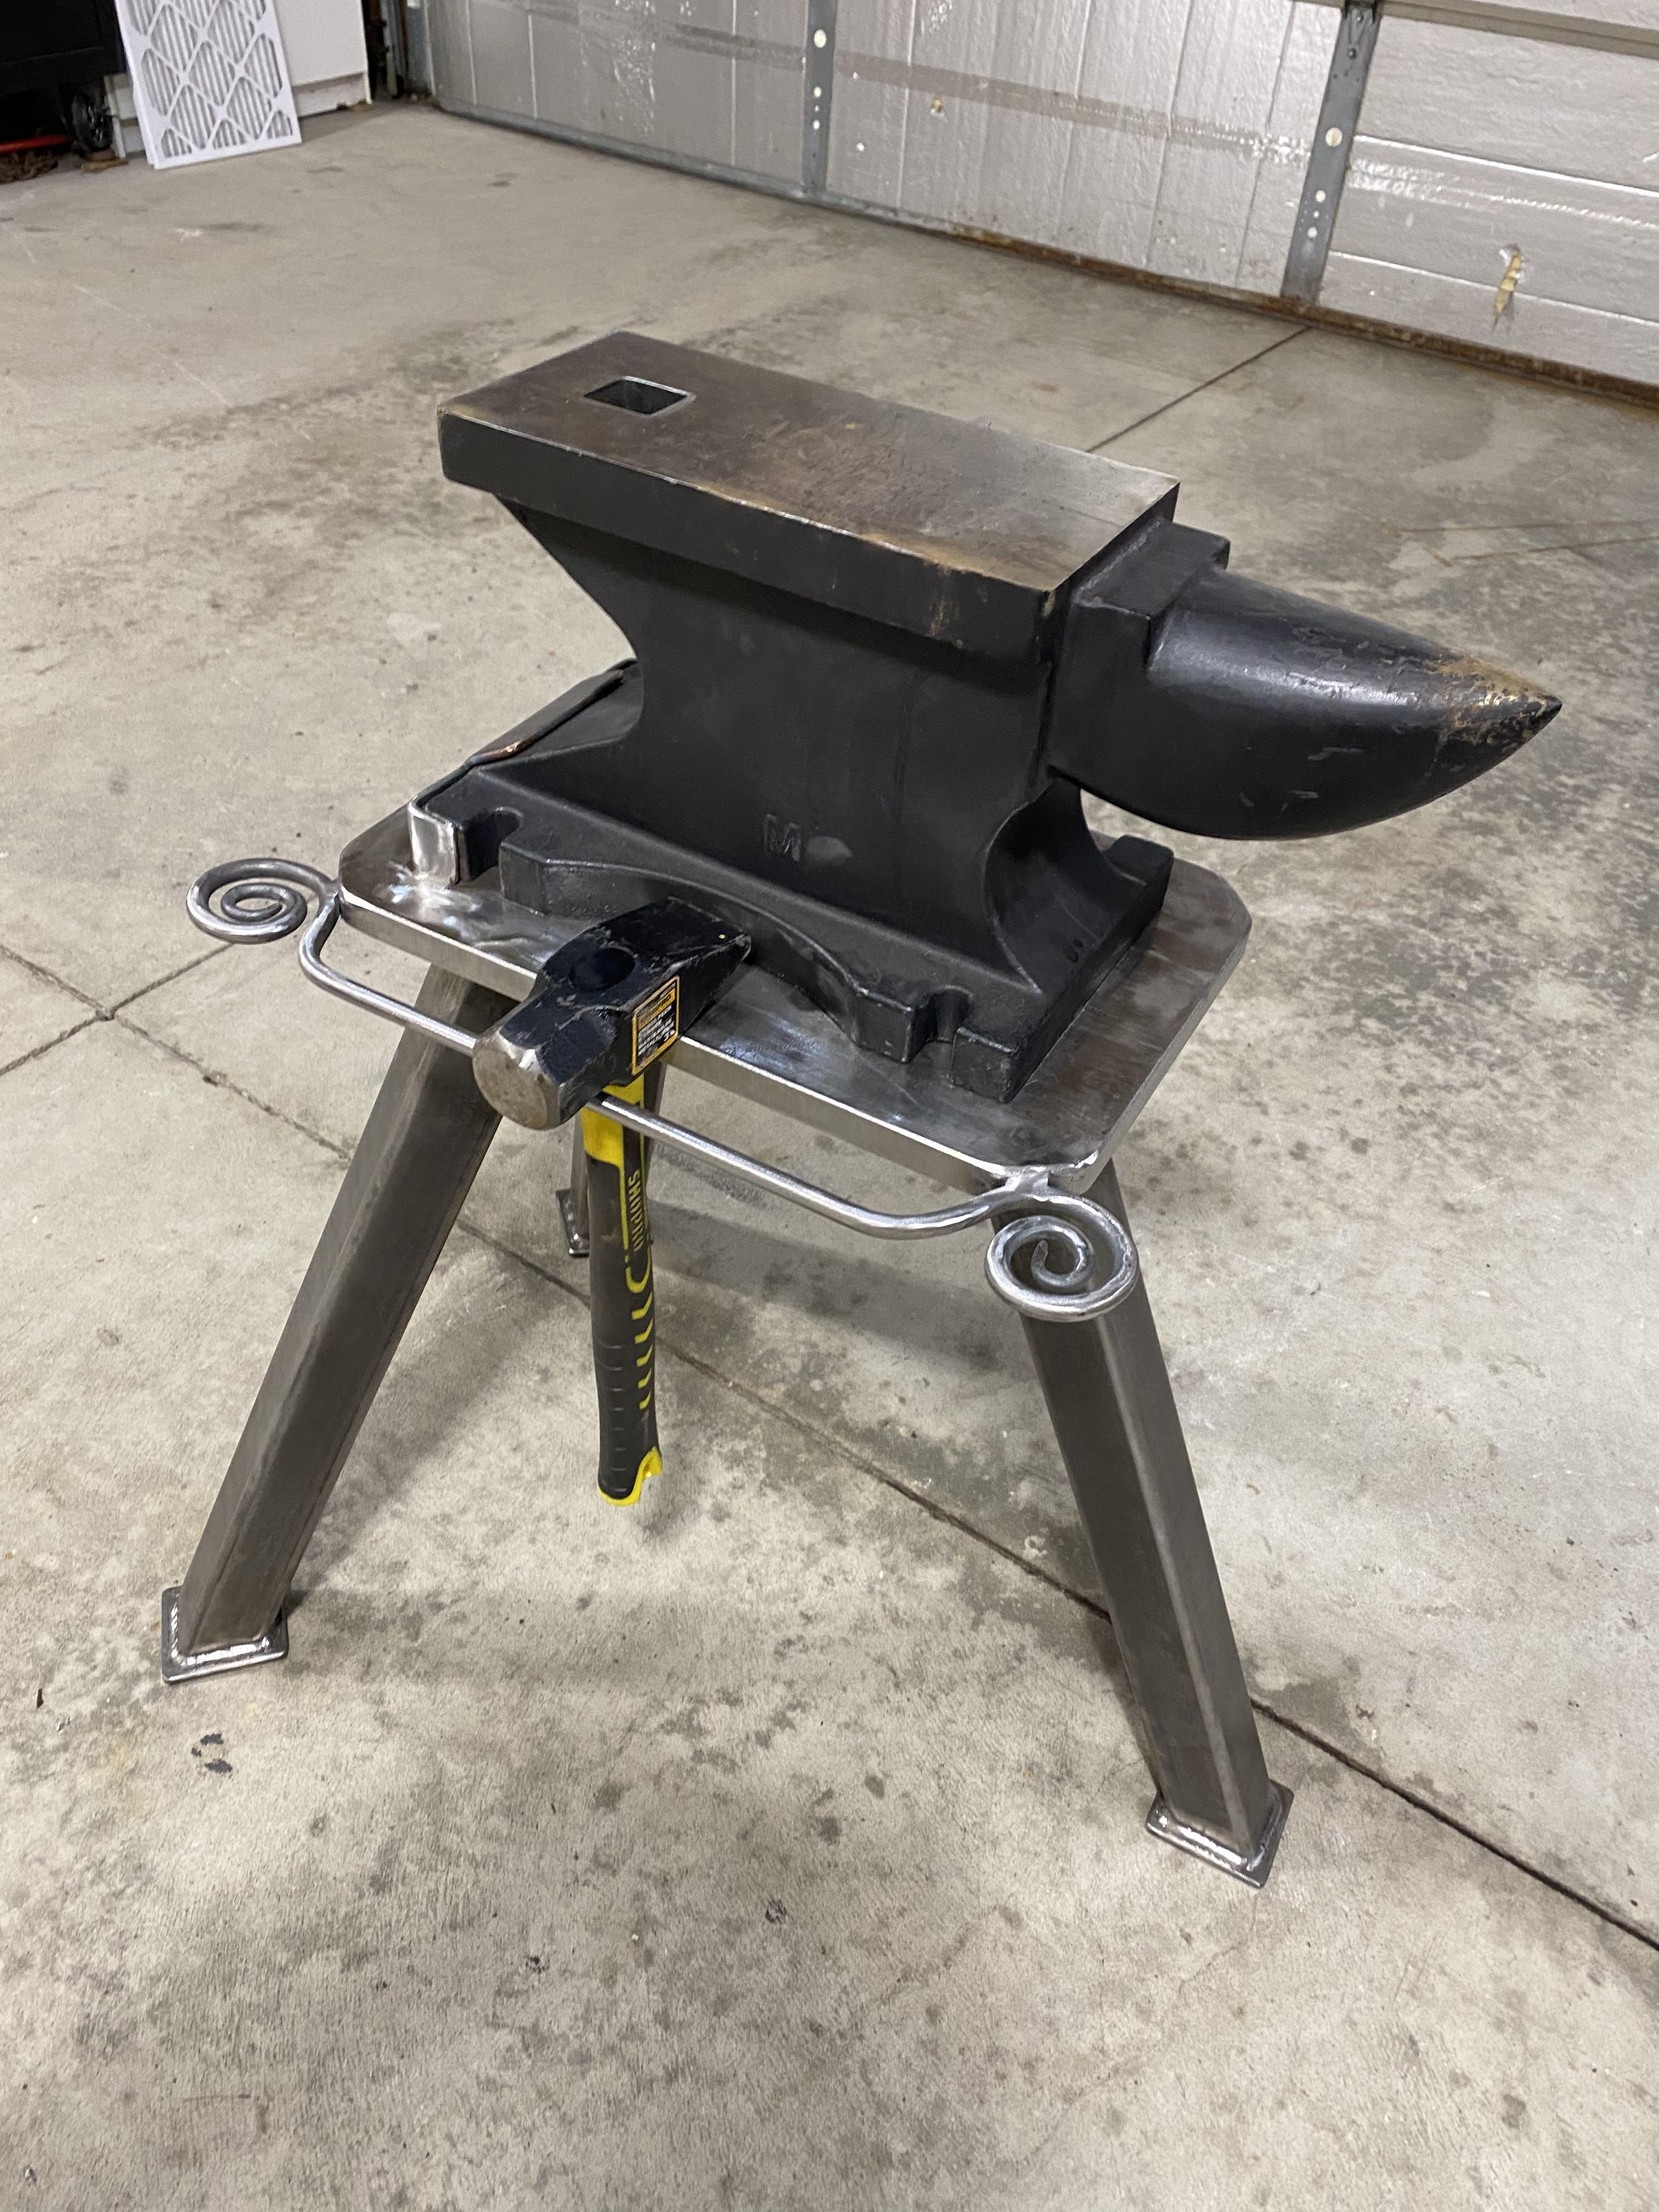
Hi everyone. I currently have a cheap 95lbs anvil which is not that hard and receives dings and dents easily. I should be receiving my new 155lbs hardened cast 4140 anvil soon. I’m not sure what should be done to it? I’ve been told it will come with sharp corners and no treatment from corrosion. Just a light coating oil and machined flat surface. I’ll list some specific question, but open to hear any good advice. 1) I see that smith will treat there tools some how that gives it a blackened look which looks great but also gives it some protection from corrosion. I’d like to know how this is done? 2) Dressing (softening) the edges. How and where should this be done? 3) Do I also dress the hardy hole? 4) When treating for corrosion. Do you also do the face and horn?
-
-
-
My hammer handles are more rounded and I see that yours Frosty have flat sides which probably make it easier to control. With mine, just after I strike, I do find that I need to readjust my grip because of turning in my hand (which is also why I’m gripping tightly). Also as I mentioned I find the handles were too small where my fingers wrapped completely around the handle with my finger tips are pushing into my palm. I’m definitely going to put thicker handles and flatten the side a bit.
-
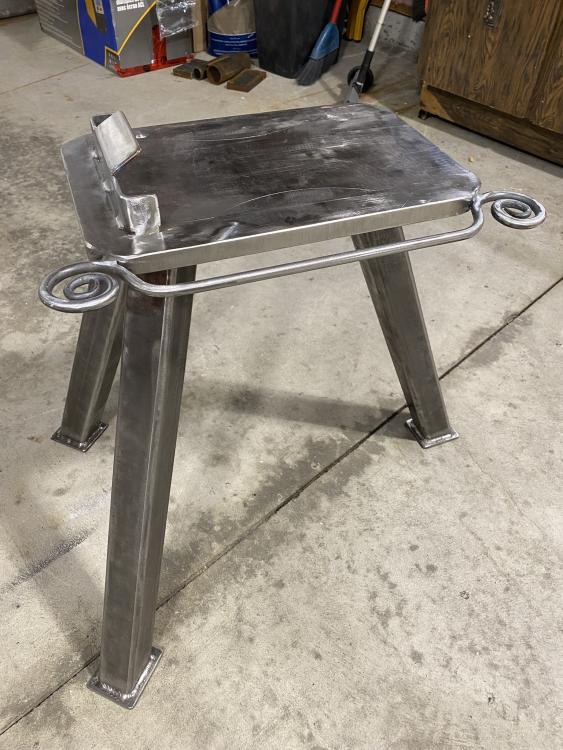
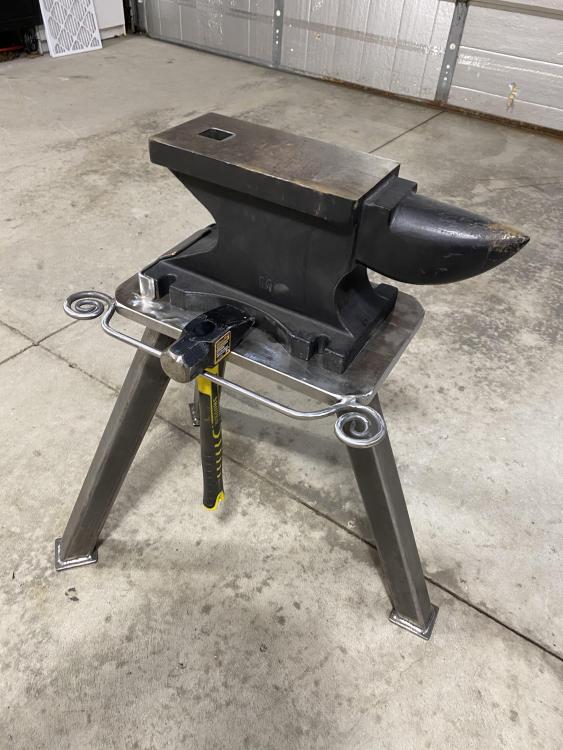
I built a tripod for the anvil I have now. Even filled the legs with compacted sand to quiet the sound. My only problem is it’s a pain to move. Looking to build a block and I corporate wheels on it or leave a slit on one side to use a dolly if needed to move it.
-
To run through your questions. 1. I used a 4lbs. to do most of the moving (choked up on the handle at times to get better control) and a 2.5lbs. trying to make things look smoother. 2. I know the grip was too tight. I felt it in my forearm. I feel the handle is too thin for me. I’m going to change that. 3. They are professional hammers that I bought but even using the flat (flatter) side it was hard to get thing flat. On the bigger hammer when holding a straight edge on it there’s only about 1” that is actually flat then it begins a bit of radius. The smaller has only a half inch of flat spot. Should there be more flat surface on these? 4.I did use the horn with the rounding side of the hammer when drawing out the reins. No peen. 5. The anvil is a cheap used 100lbs with very little rebound. I have just put an order in for a new 155lbs 4140 hardened anvil. 6. I did concentrate over the sweet spot until my arm turned into a spaghetti noodle and had a hard time controlling it. This was my first time doing this so I’m sure my technique needs a lot of work. Thanks. I’ve been mentally ready for a while now. But physically, it’s a task that I wasn’t expecting to be so difficult. You watch guys do them in videos and with only a few strikes they created the bit part and I’m at about 30 hits to get close to their results.
-
-
Definitely not putting it into the ground. But I will be installing anchor’s into the concrete so I can bolt it down but if I need to move it I can just retract the bolts. I do like the idea of sorting insetting the anvil a bit into the base. Tanks for your input!
-
-
-
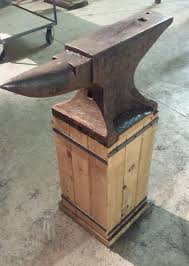
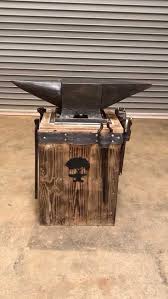
If I’ve posted in the incorrect location please let me know where to post. I’m still a newbie with the forging and blacksmithing. I currently have a cheap 100lbs anvil but have just put an order in for a new 155lbs hardened 4140 which is 26” long with a base that is 10x10”. I do have about 20 48” oak 4x4 which I would like to build the base for the anvil. My question is. Is there a standard for dimensions for how far the base should extend from the base? How far out to go towards the horn or the back. I know I don’t want it too deep where I’m having to be reaching over to the anvil. Also, do you guys typically work on both sides of the anvil or is it typical to usually work from just one side? looking for suggestions, ideas or role of thumbs which pertain to this topic? The two images are screen shots off the web. The first I would think would be unstable. The second is more of what I want to do with storage around for tongs, hammers…….etc.
-
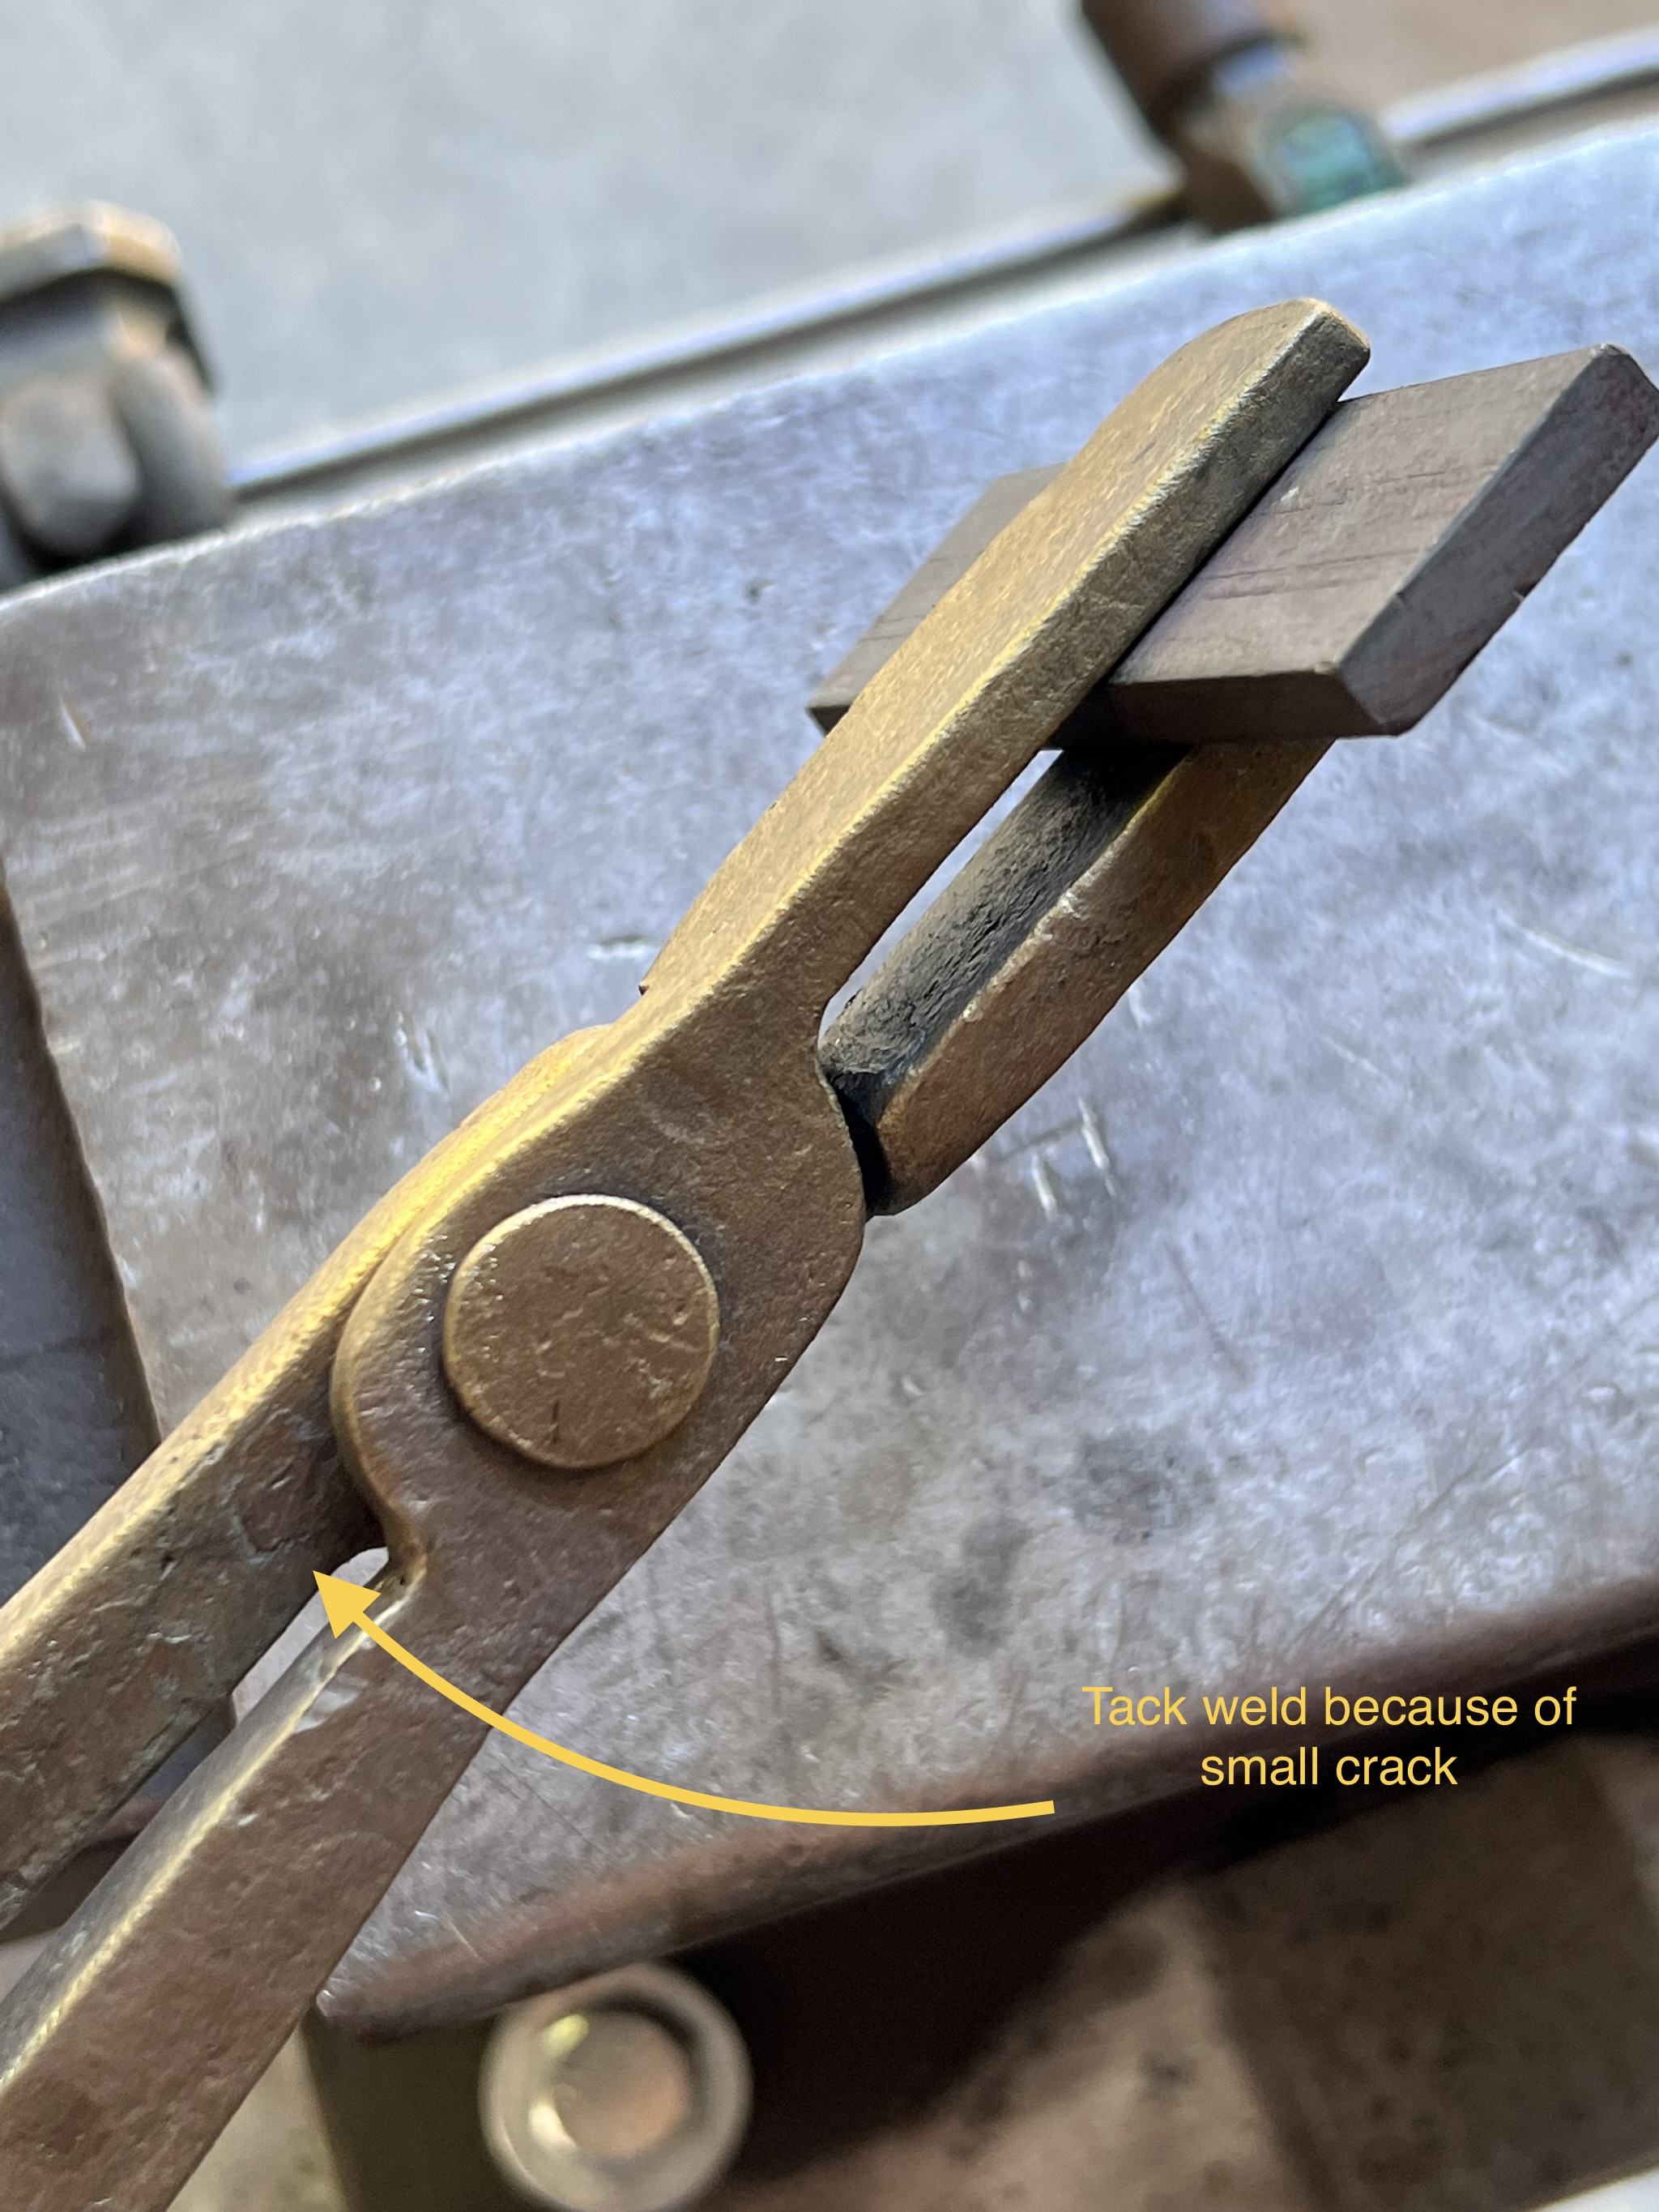
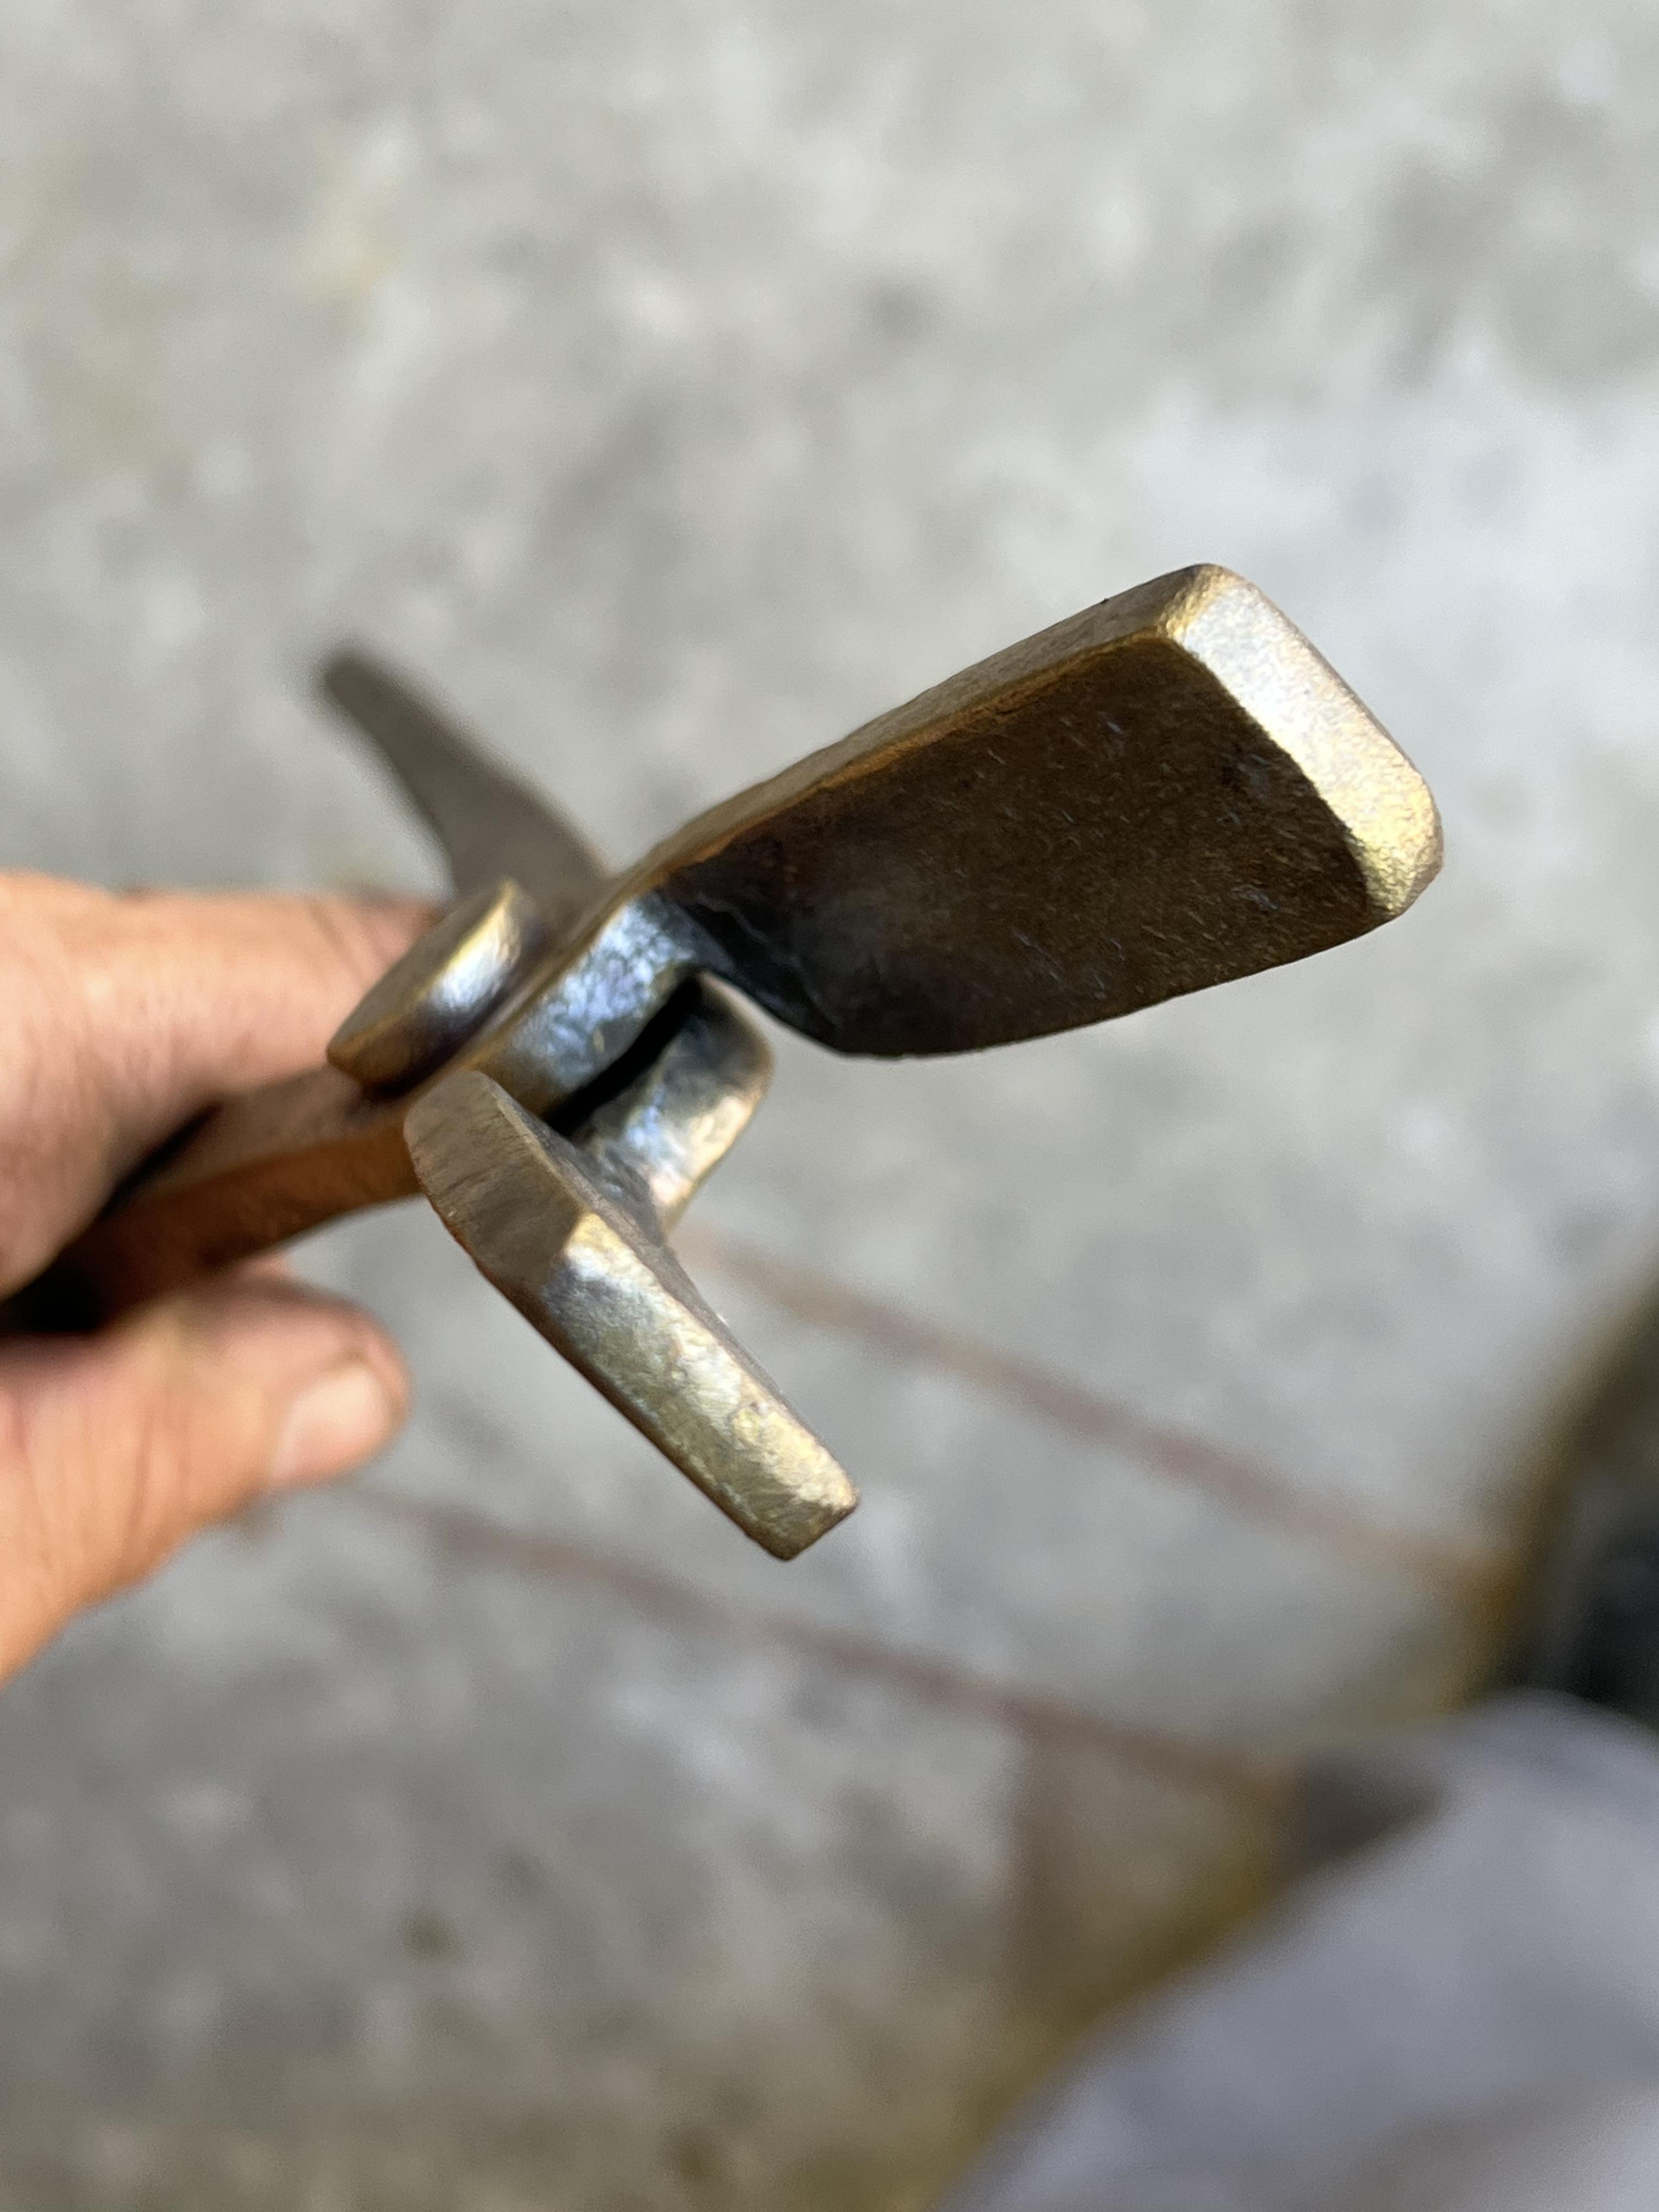
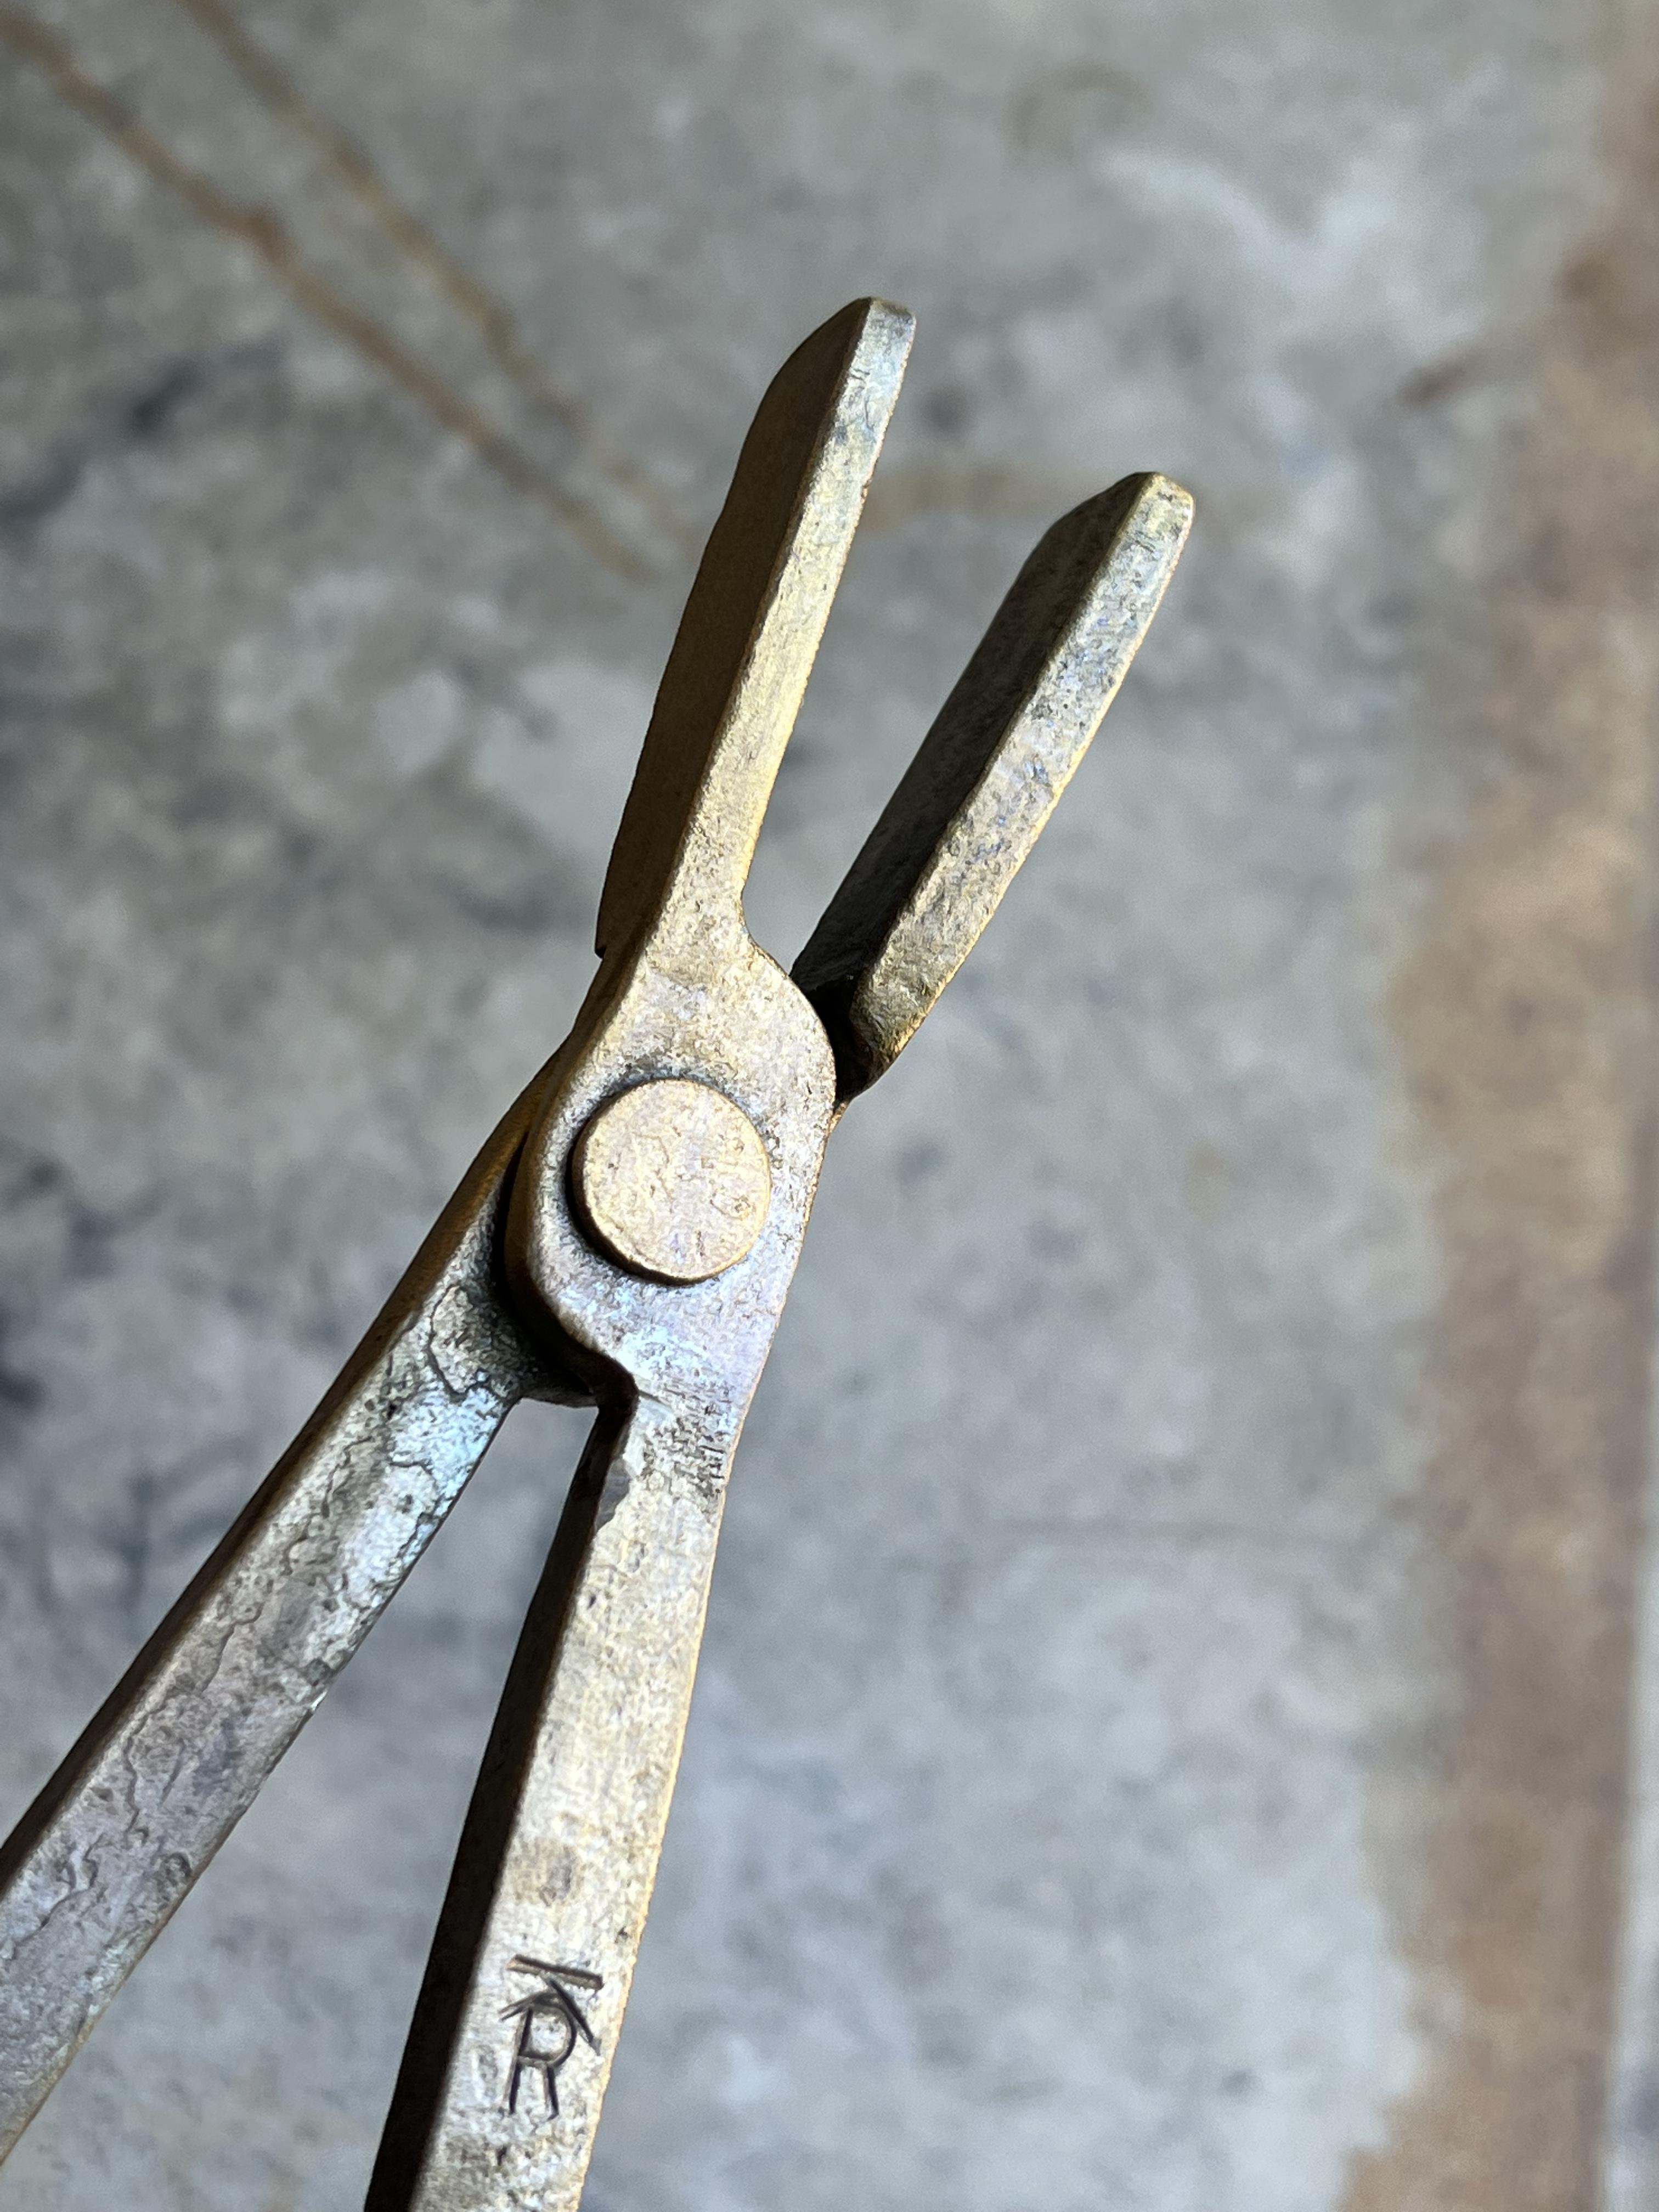
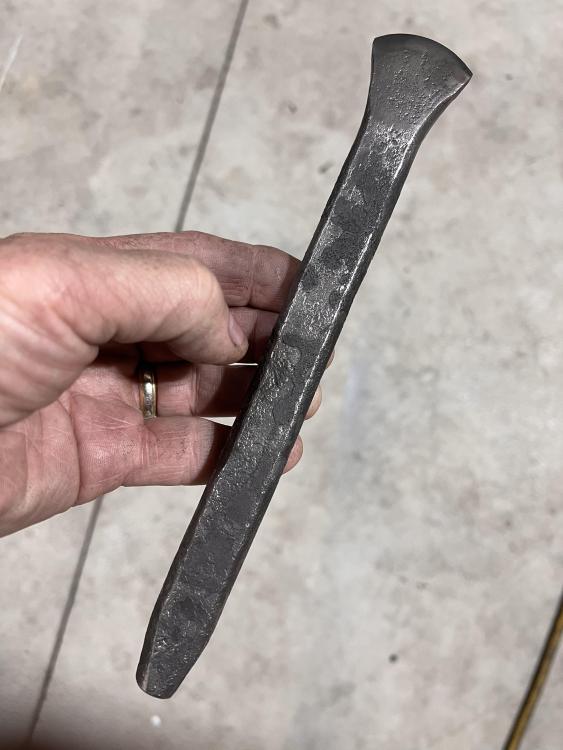
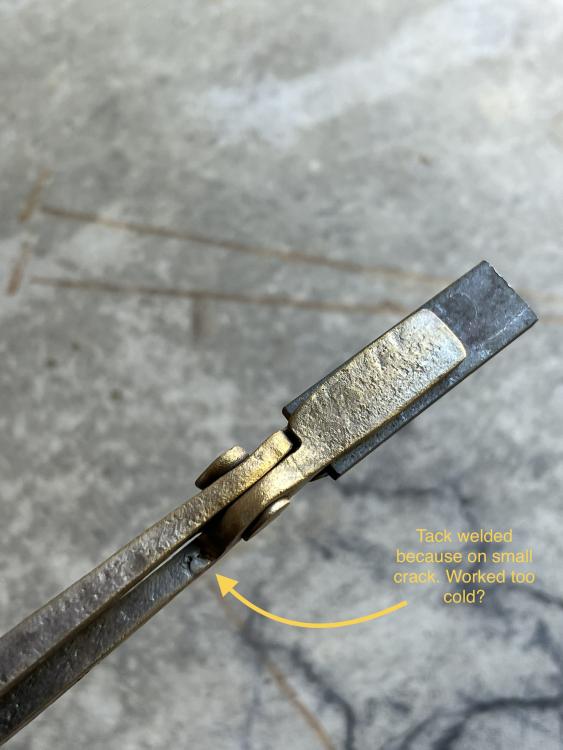
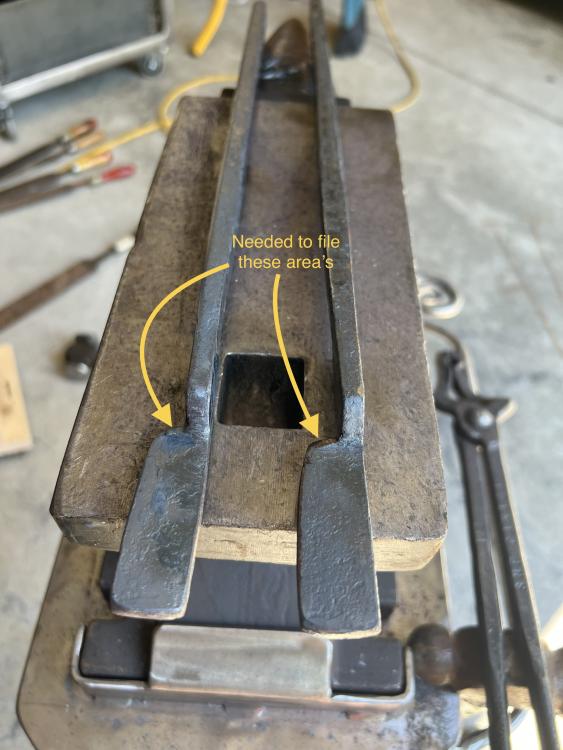
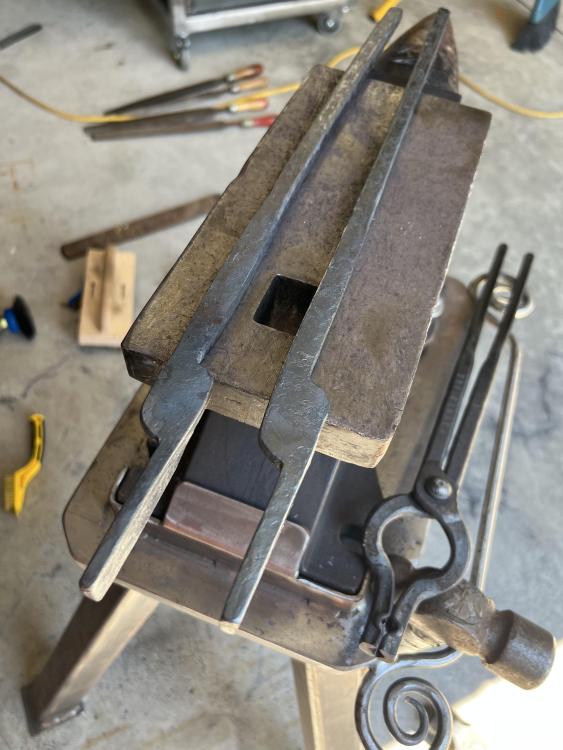
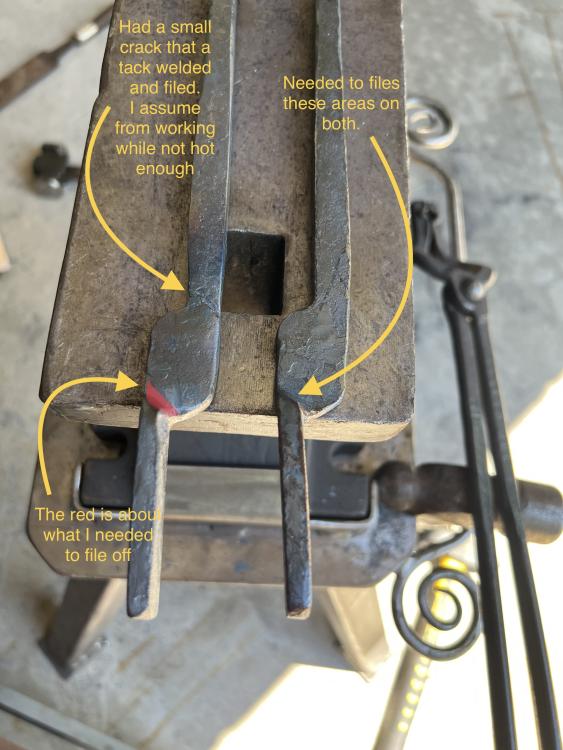
The forge isn’t completed yet but it is functional. But I couldn’t wait to try out forging for the first time. First I need to give credit to all blacksmiths that forge with a hammer, I was wiped out after making these which took about 3 hours (per side). This has only made me more impressed with what can be achieved. Definitely need to work on hammer control. I think i wasn't heating the metal enough and i shouldn't have started with 3/4 round bar. Drawing out the reins almost killed me. After watching more videos of smiths being able to do this in much fewer heats than it took me (1 heat to my 12 I need to do) and the metal seemed to moved so much easier than it did for me. While trying to adjust the reins l noticed a small crack which I assume was because i didn't have them hot enough so l had to tack weld it on one of them. Any advice, suggestions, point out the good, the bad and the ugly will be appreciated.


-
I will check that out.
-
Thank guys. I wanted to make sure there wasn’t something specific that was for forges. Being that I just started welding about 3-4 months ago and this is my first ribbon burner and forge build, I’d like it to last as long as possible.
-
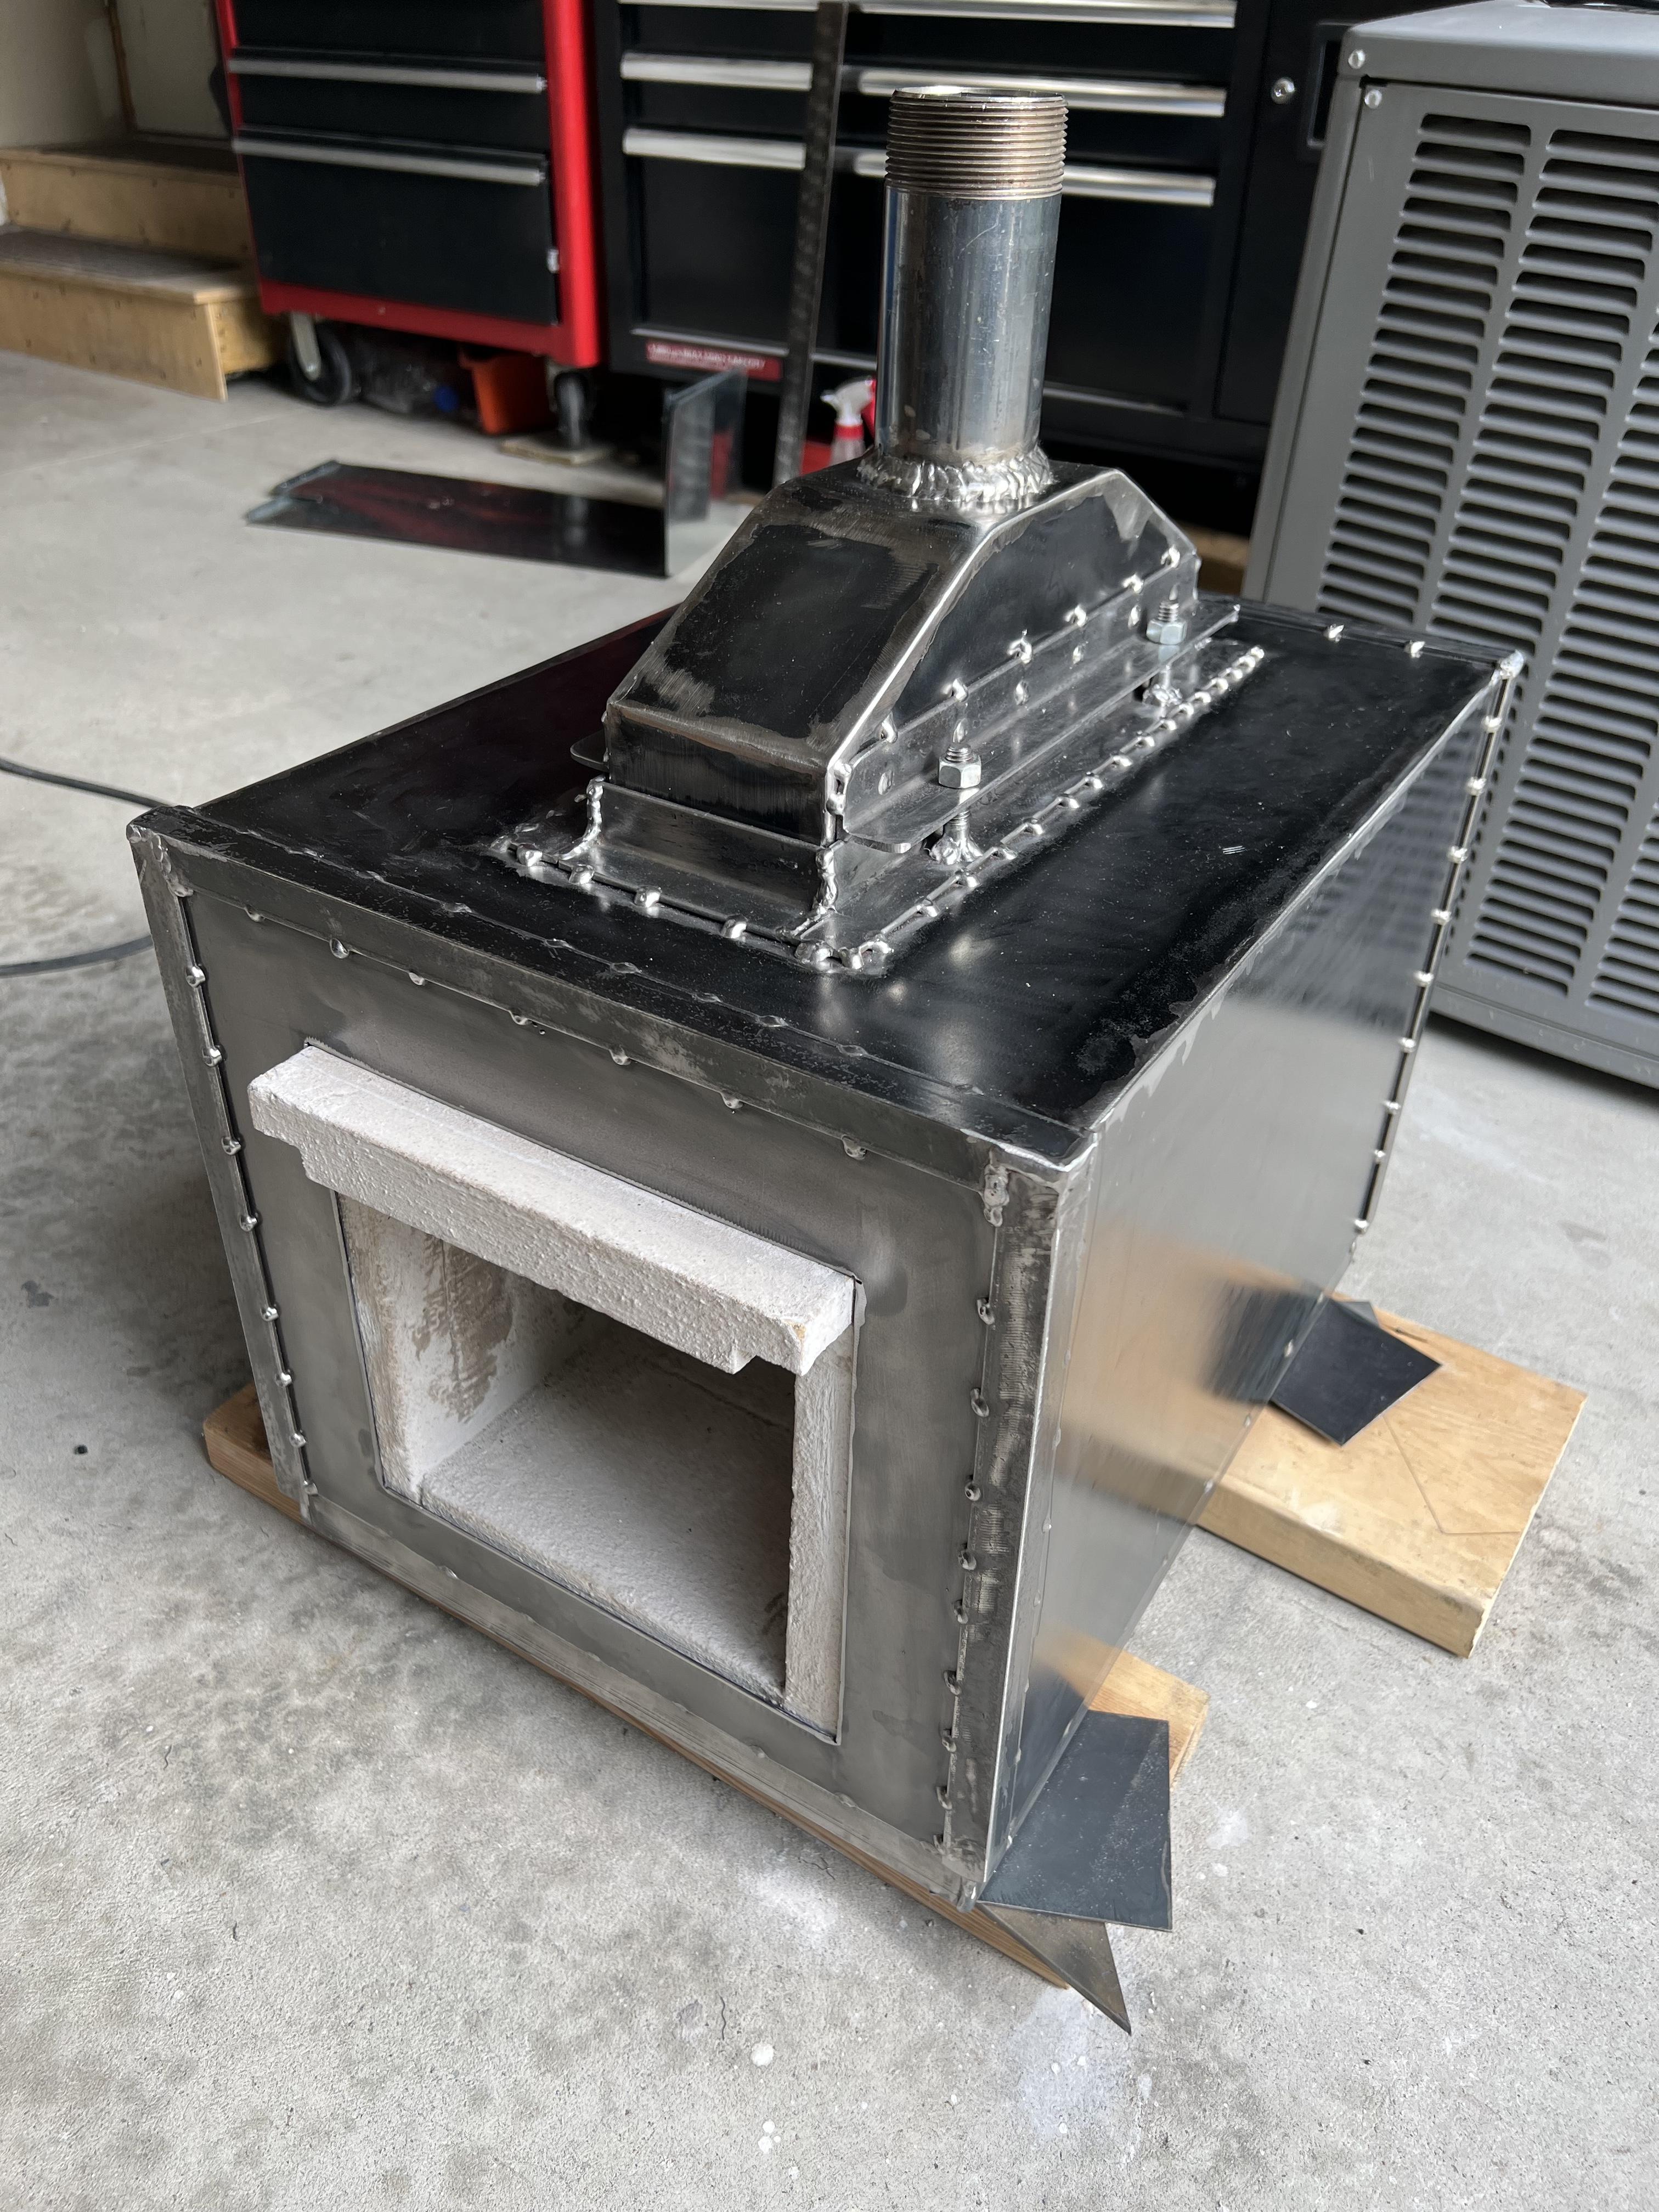
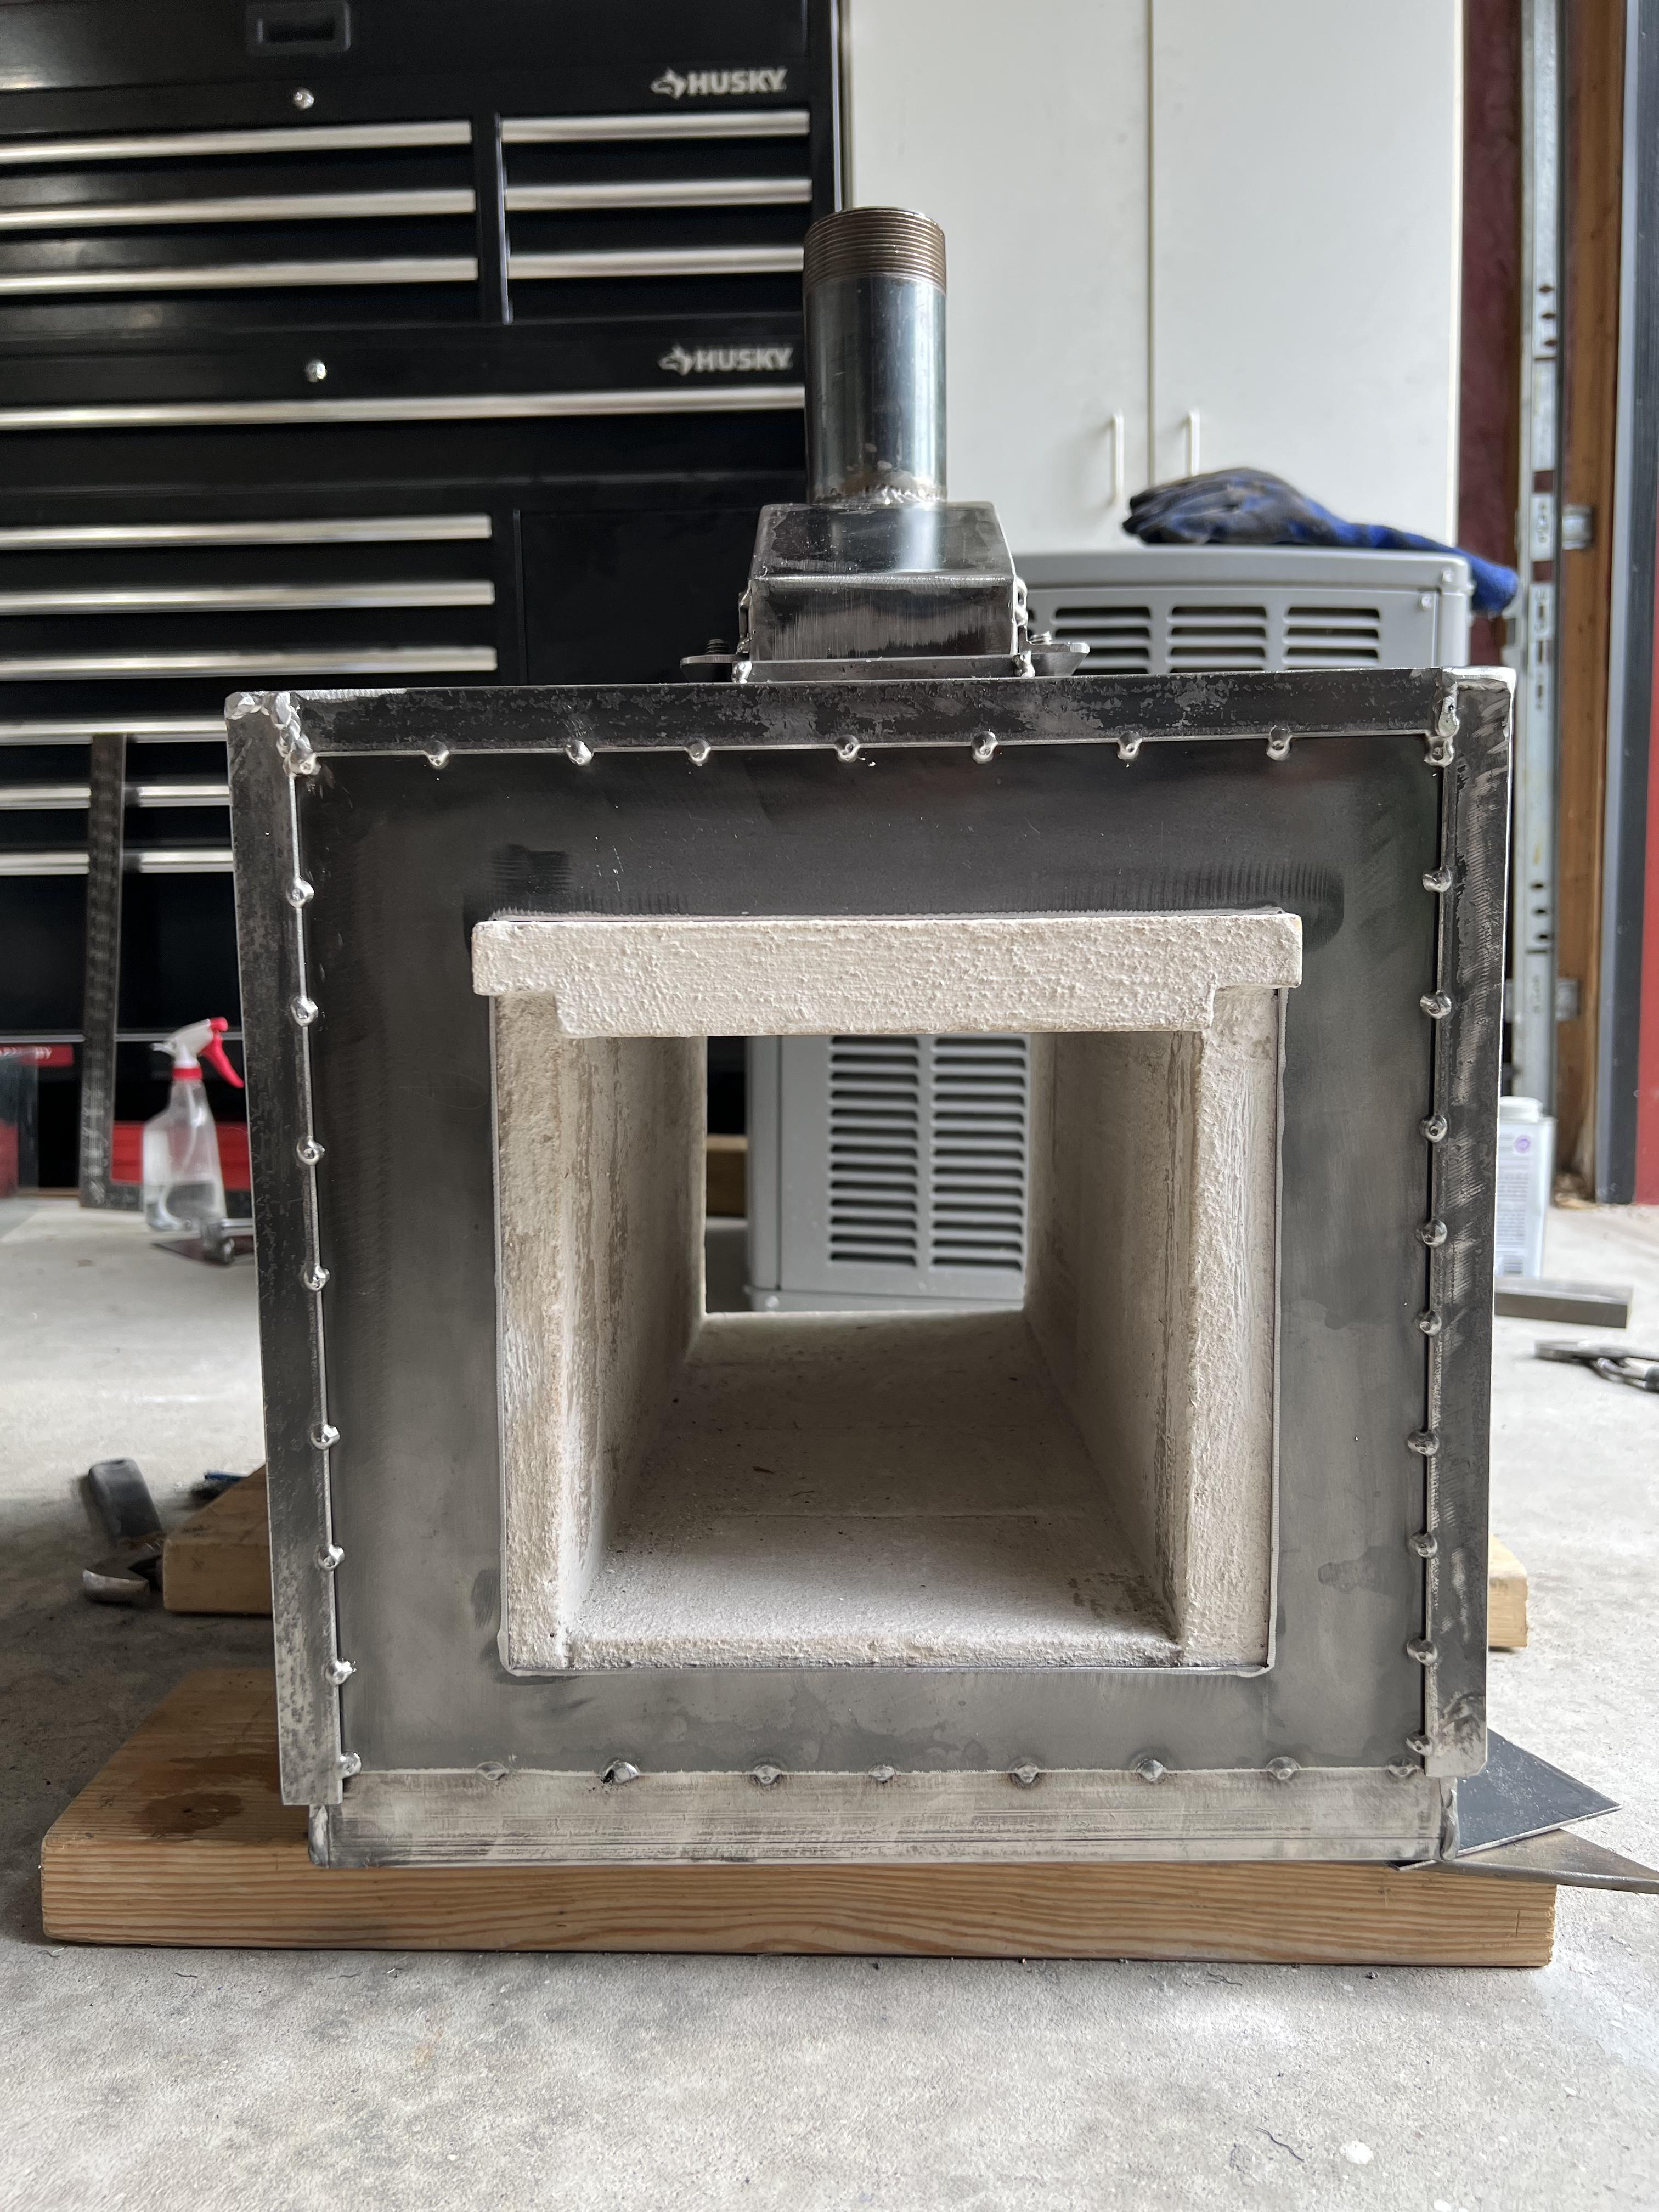
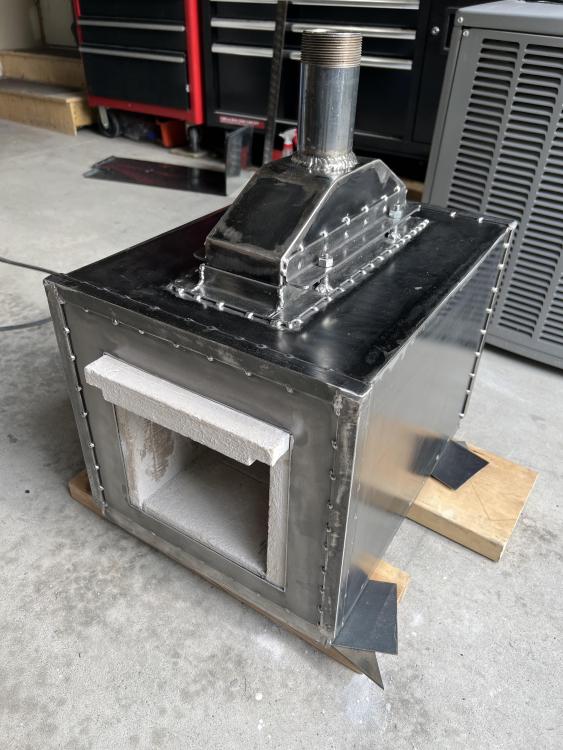
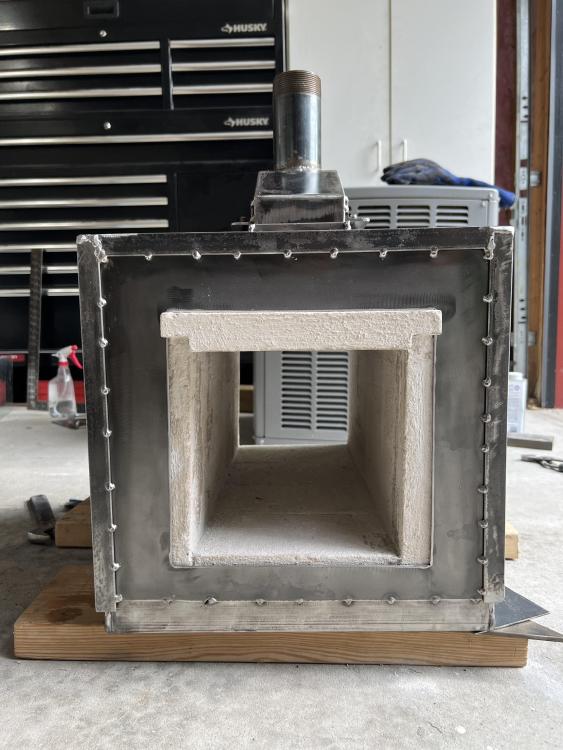
Just finished building my forge. It’s a mix of refractory bricks and cement incased in 14 metal with angle iron. what type of paint should I use and should I used a primer as well?
-
I appreciate the information. Still have a ton to learn about metals and what types are good for various things.
-
Sounds good. I’ll definitely go take a look at what’s there.