Will Brouwers
Members
-
Joined
-
Last visited
-
Hello everyone! Like most people here, I have gained a great deal of respect for Darryl Nelson. Being in North Central Kansas, I am definitely not in his circles, but if I was ever to be out that way I’d love the opportunity to meet him and potentially make something under his guidance. Does anyone know of a way to contact him, like his email? Could you share it? Thank you so much!
-
Do you have a welder or a friend with one?
-
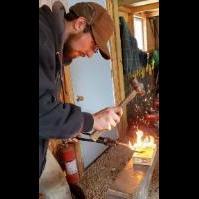
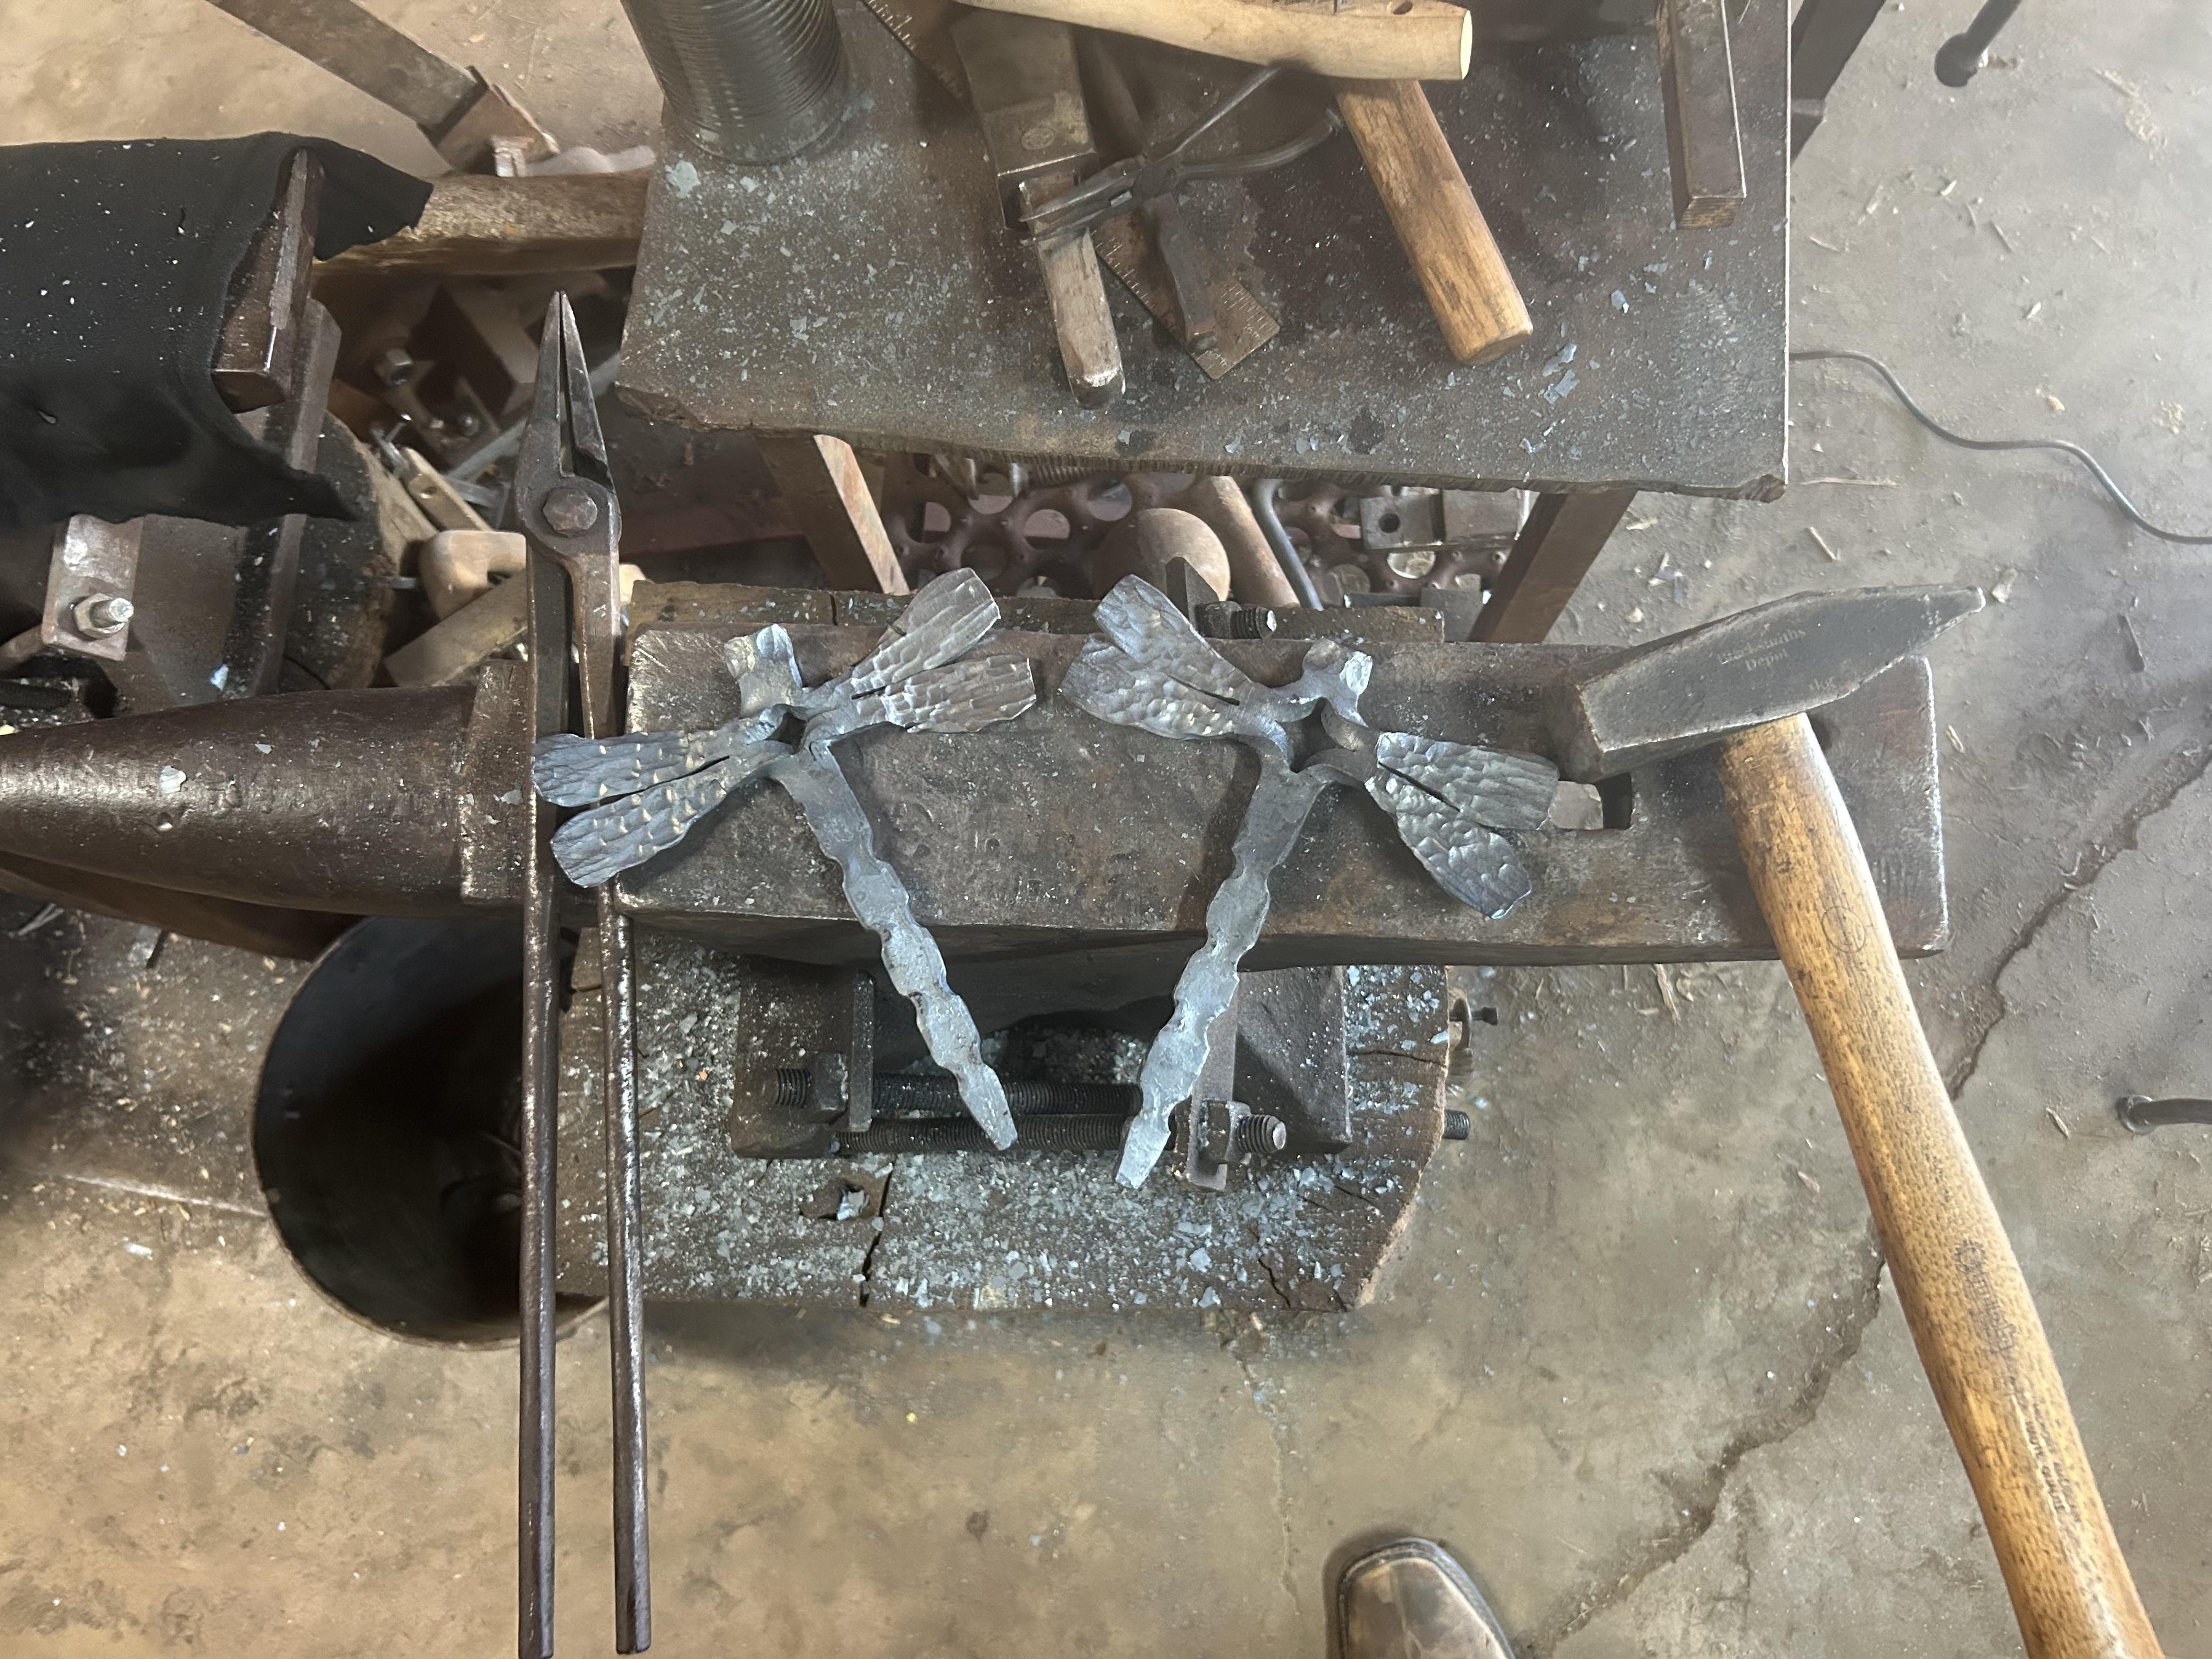
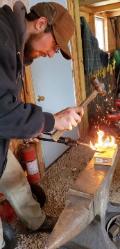
First time making some of these today (my favorite insect.) I am pretty pleased with how they turned out!

-
Wow! Good score! Although the circumstances might be more than desirable. I have always been interested in how to prep a bearing race for forging. Do you grind out the ridges that the ball rides in, or forge them in? Wouldn’t that make a cold shut?
-
I thought about doing that, mostly so if I actually did make it into a rack it would spin, but I see now how it still gives me good options!
-
Ok! Thanks Frosty! I’ll hang on to it and ignore all the voices telling me to do something with it!
-
I know I have posted about this gear on other threads, so I’m sorry if I am obsessing over it. I wonder if a tong/hammer rack is it’s highest calling? I wonder if it might be a little overkill?

-
Thanks for the ideas on that gear and wheels everyone! I also recently thought about how one could use the wheels, or wheels like it for a torch cart.
-
Mike, are you thinking of selling it?
-
Both of these beauties have followed me home. Still mulling over ideas for them. Make a table out of the big gear? I know I recently posted about the wheels. I am thinking of making a wheelbarrow or rolling cart out of the wheels.


-
Cool! Thanks for sharing George!
-
Cool finds and follows everyone! I am currently in the process of tearing apart an old International #10 grain drill, but partly to make it easier to move, and partly because I am a blacksmith and am interested in old things, a couple things have followed me home including some cool cast iron setting indicators, 13 feet of 1in square and 16 of these, 11 inch diameter wheels for putting the soil back over the planted seed. The issue now is: what to do with all of them? I don’t want to scrap them, they seem too big to make a decent cart for moving stuff around the shop. Any thoughts or suggestions? I should add that while I love the idea of making carts like these, with 180 square feet of shop, space is a premium. I thought about making carts like these to sell, but I am not sure what the profit would be, if any.


-
Billy, I think you should reflect on your post and somehow add in the word reflect one more time!
-
Thanks guys! I had researched reflective tape, and even though it is used in heavy wear applications, like semi trailers, for whatever reason I felt like it would be too flimsy, or that it might get chewed up by rocks hitting it from the lawn mower. But I hadn’t thought about disassembling or cutting reflectors to make the project work! Thanks Billy! I had thought about crosses. Maybe it is because I am trying to reject what could be seen as cheesy Christianity, but that idea was thrown out of my mind pretty quick. I am thinking of keeping it as simple as some kind of twist on the bar and the reflectors on top.
-
Hey guys. I hope this is in the right place, and I hope you don’t feel like I am simply here on this forum for you to solve my problems and act like a sounding board. But that is what this post is… My family and I currently live in North Central Kansas on a rock road on the property of the church I am a pastor of. At the end of our driveway are two reflectors marking the width of the driveway so when it snows and is dark out, people don’t drive into the ditch. The markers are plastic pvc pipe with a reflector on top placed over some rebar stuck in the ground. Early this spring someone hit a marker with the lawn mower and ever since, I have been dreaming of ways to use the tools and limited expertise I have to make something more elegant. Recently, I came across some 3’ + lengths of 1 1/4 square bar at the scrap yard that I think would work well there! The only thing is: how to make this square bar reflective in an elegant way? Any and all thoughts welcome! Thank you!