Pat Masterson
-
Posts
244 -
Joined
-
Last visited
Content Type
Profiles
Forums
Articles
Gallery
Downloads
Events
Everything posted by Pat Masterson
-
Thanks!
-
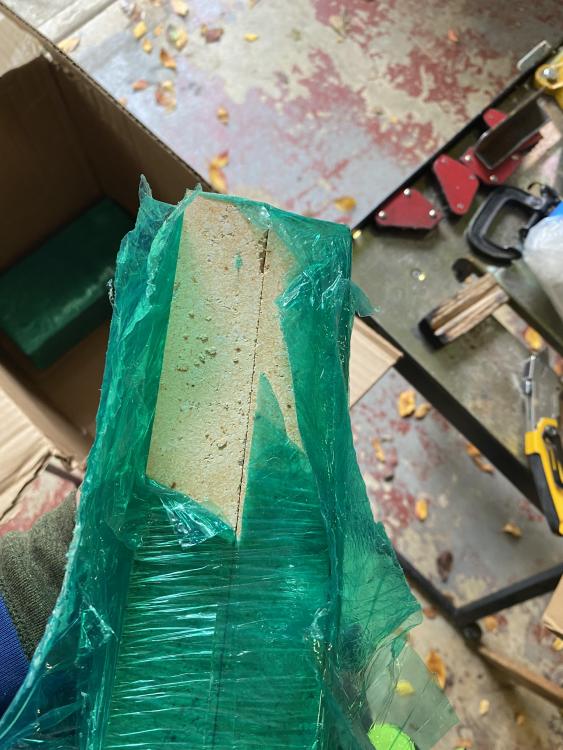
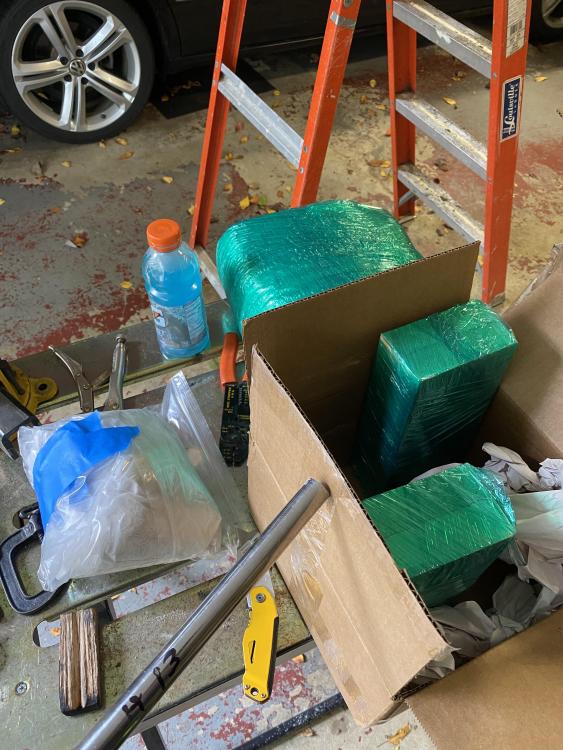
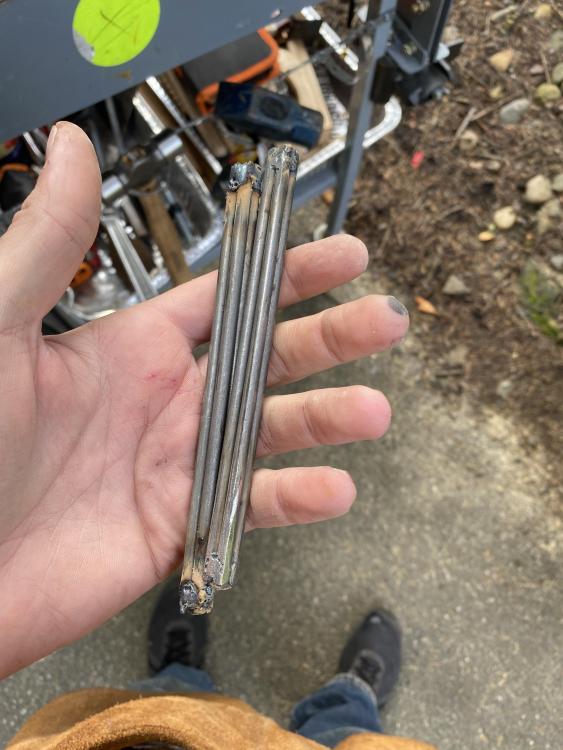
Delivery front Iron Dungeon Forge yesterday. Kaowool, kastolite 30 and fire bricks. These fire bricks seem way more substantial than the cheap ones I got with my forge but still a really great price. They’re like 3 times heavier. Hope they work well. Have to use one as the new forge floor and then I plan on welding some brackets to my forge so I can turn a couple of these bricks into sliding doors on both side of the forge. Probably going to try to finish up the forge welds on the Christmas gift basket twists before I use all of this. And then the best part…some H13! 3/4” x 12”. Probably going to make a couple chisels or a drift but not sure yet. Air hardening steel…how do you temper it if it hardens in air? Rhetorical question - metallurgy is just some crazy stuff though. This will be my first time working a known tool steel…should be fun.
-
What did you do in the shop today?
Pat Masterson replied to Mark Ling's topic in Blacksmithing, General Discussion
Ha, oh man I better get to work. -
What did you do in the shop today?
Pat Masterson replied to Mark Ling's topic in Blacksmithing, General Discussion
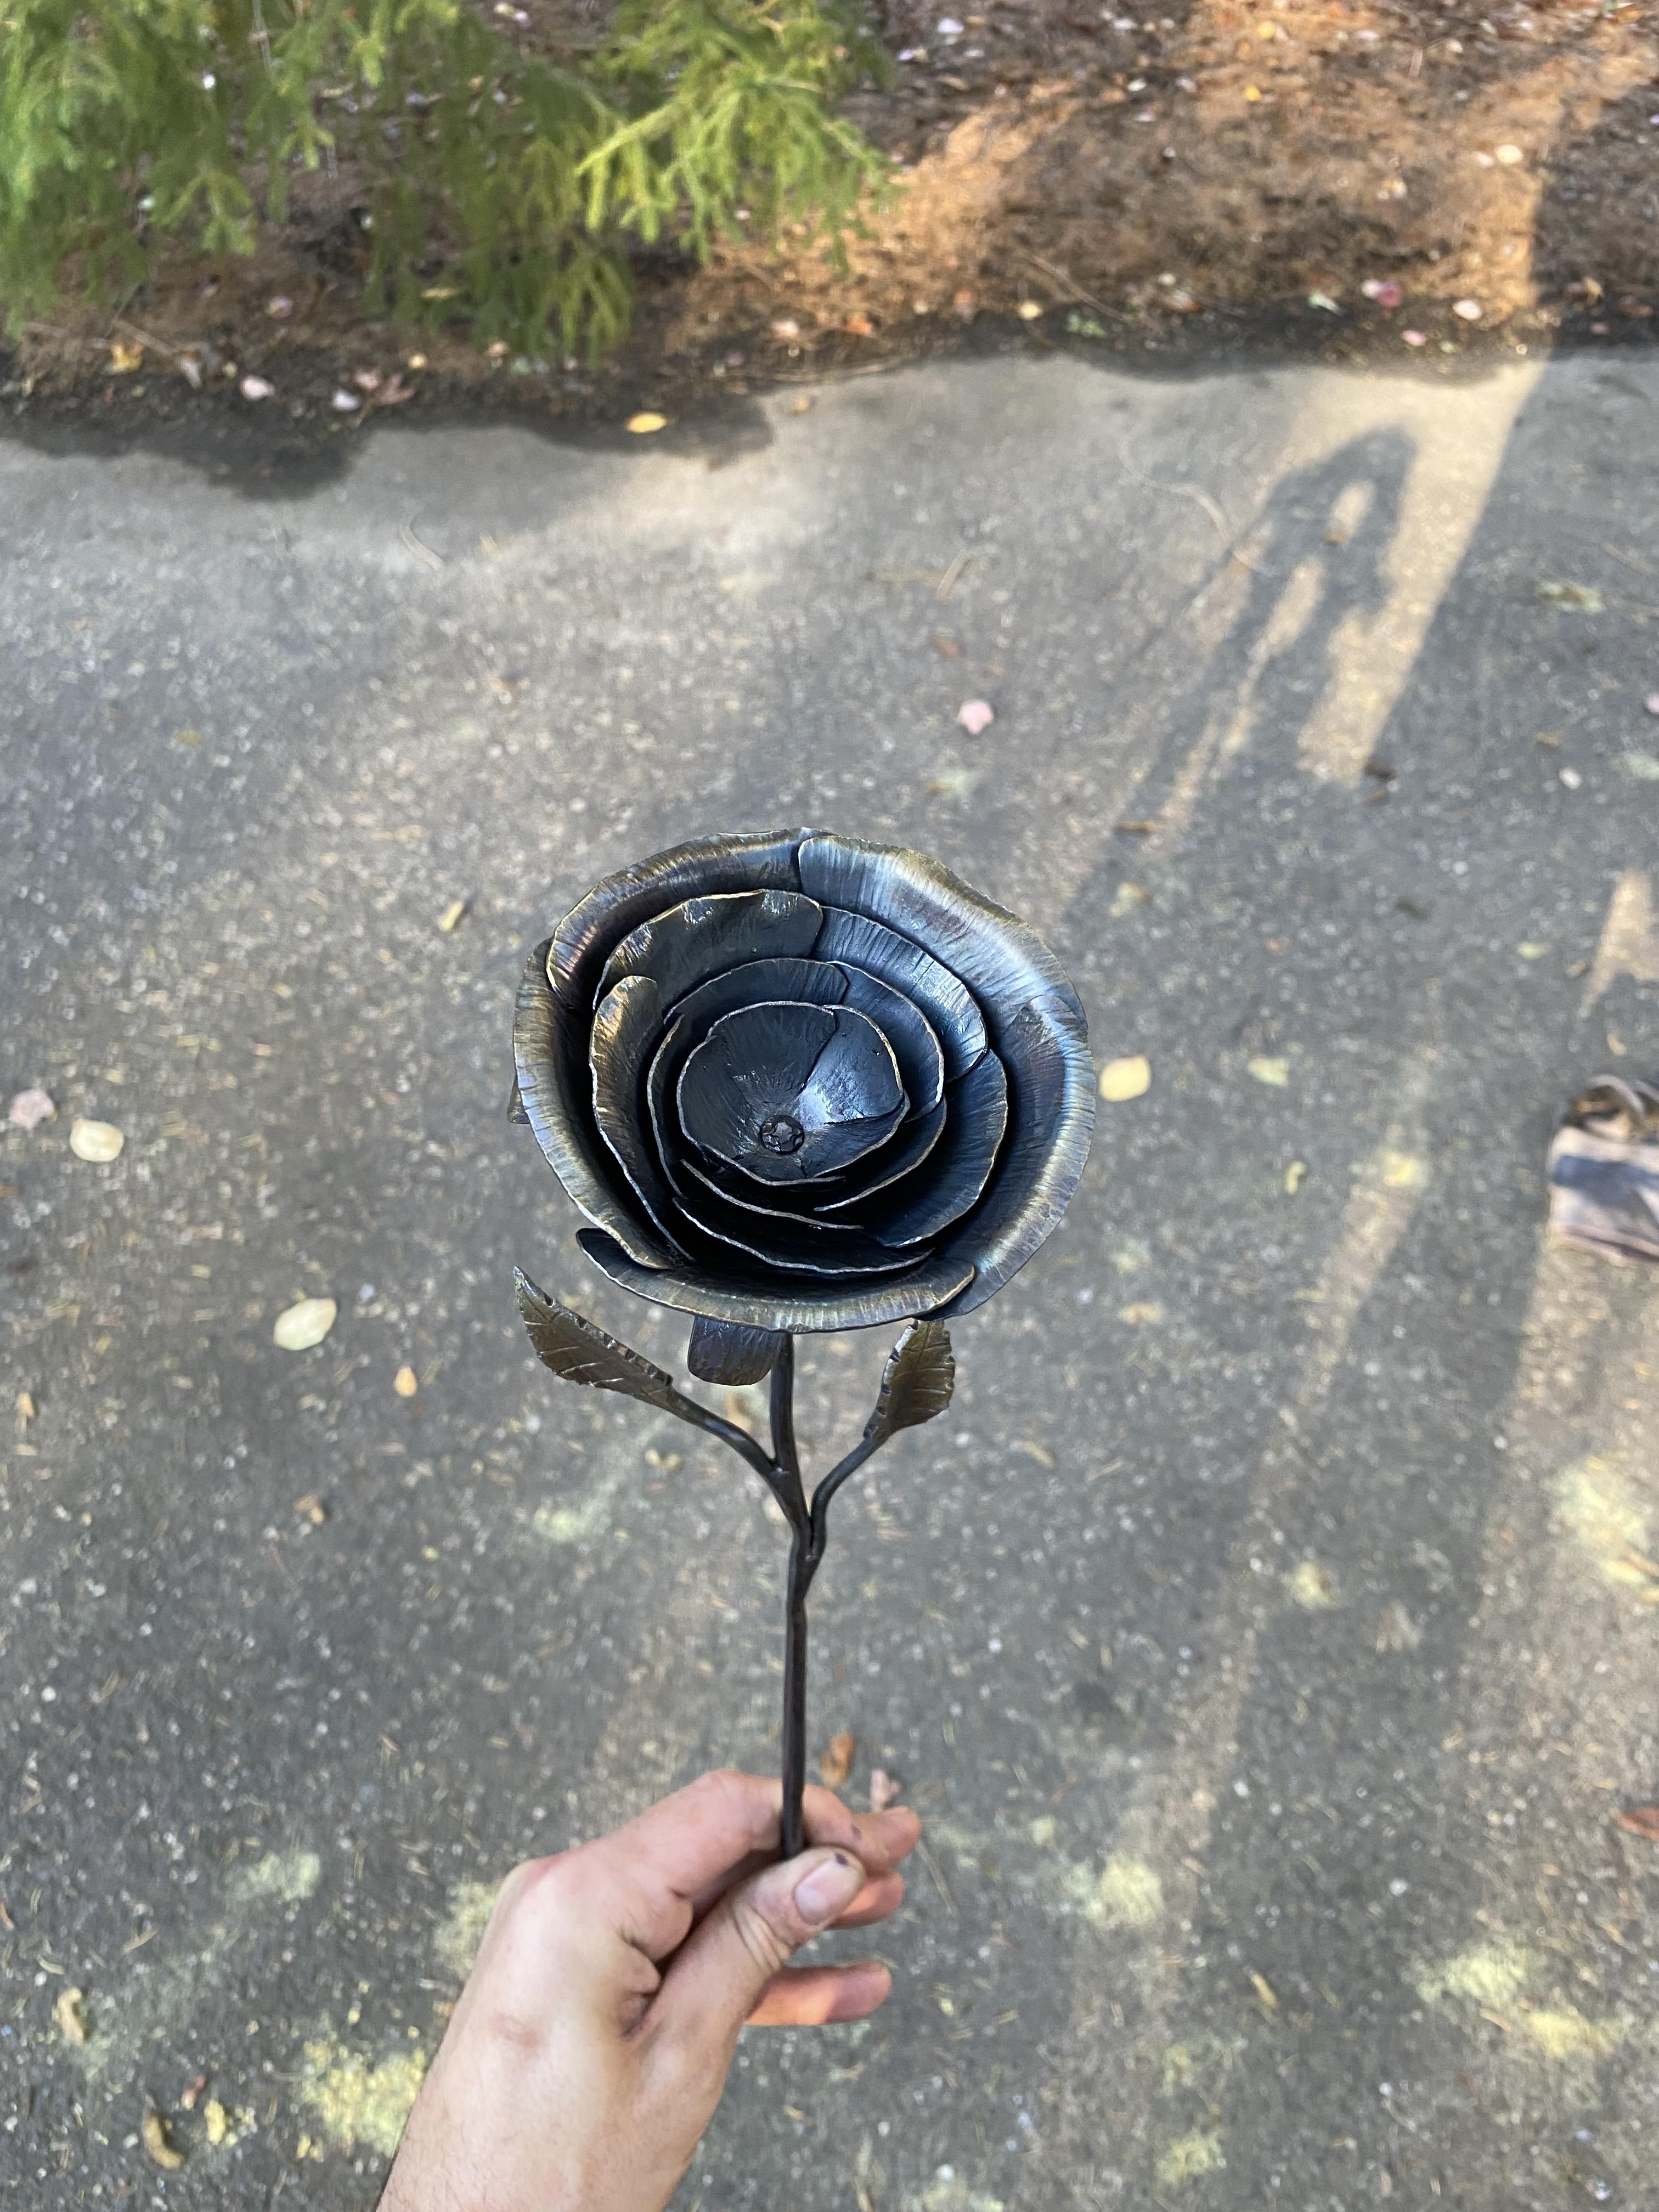
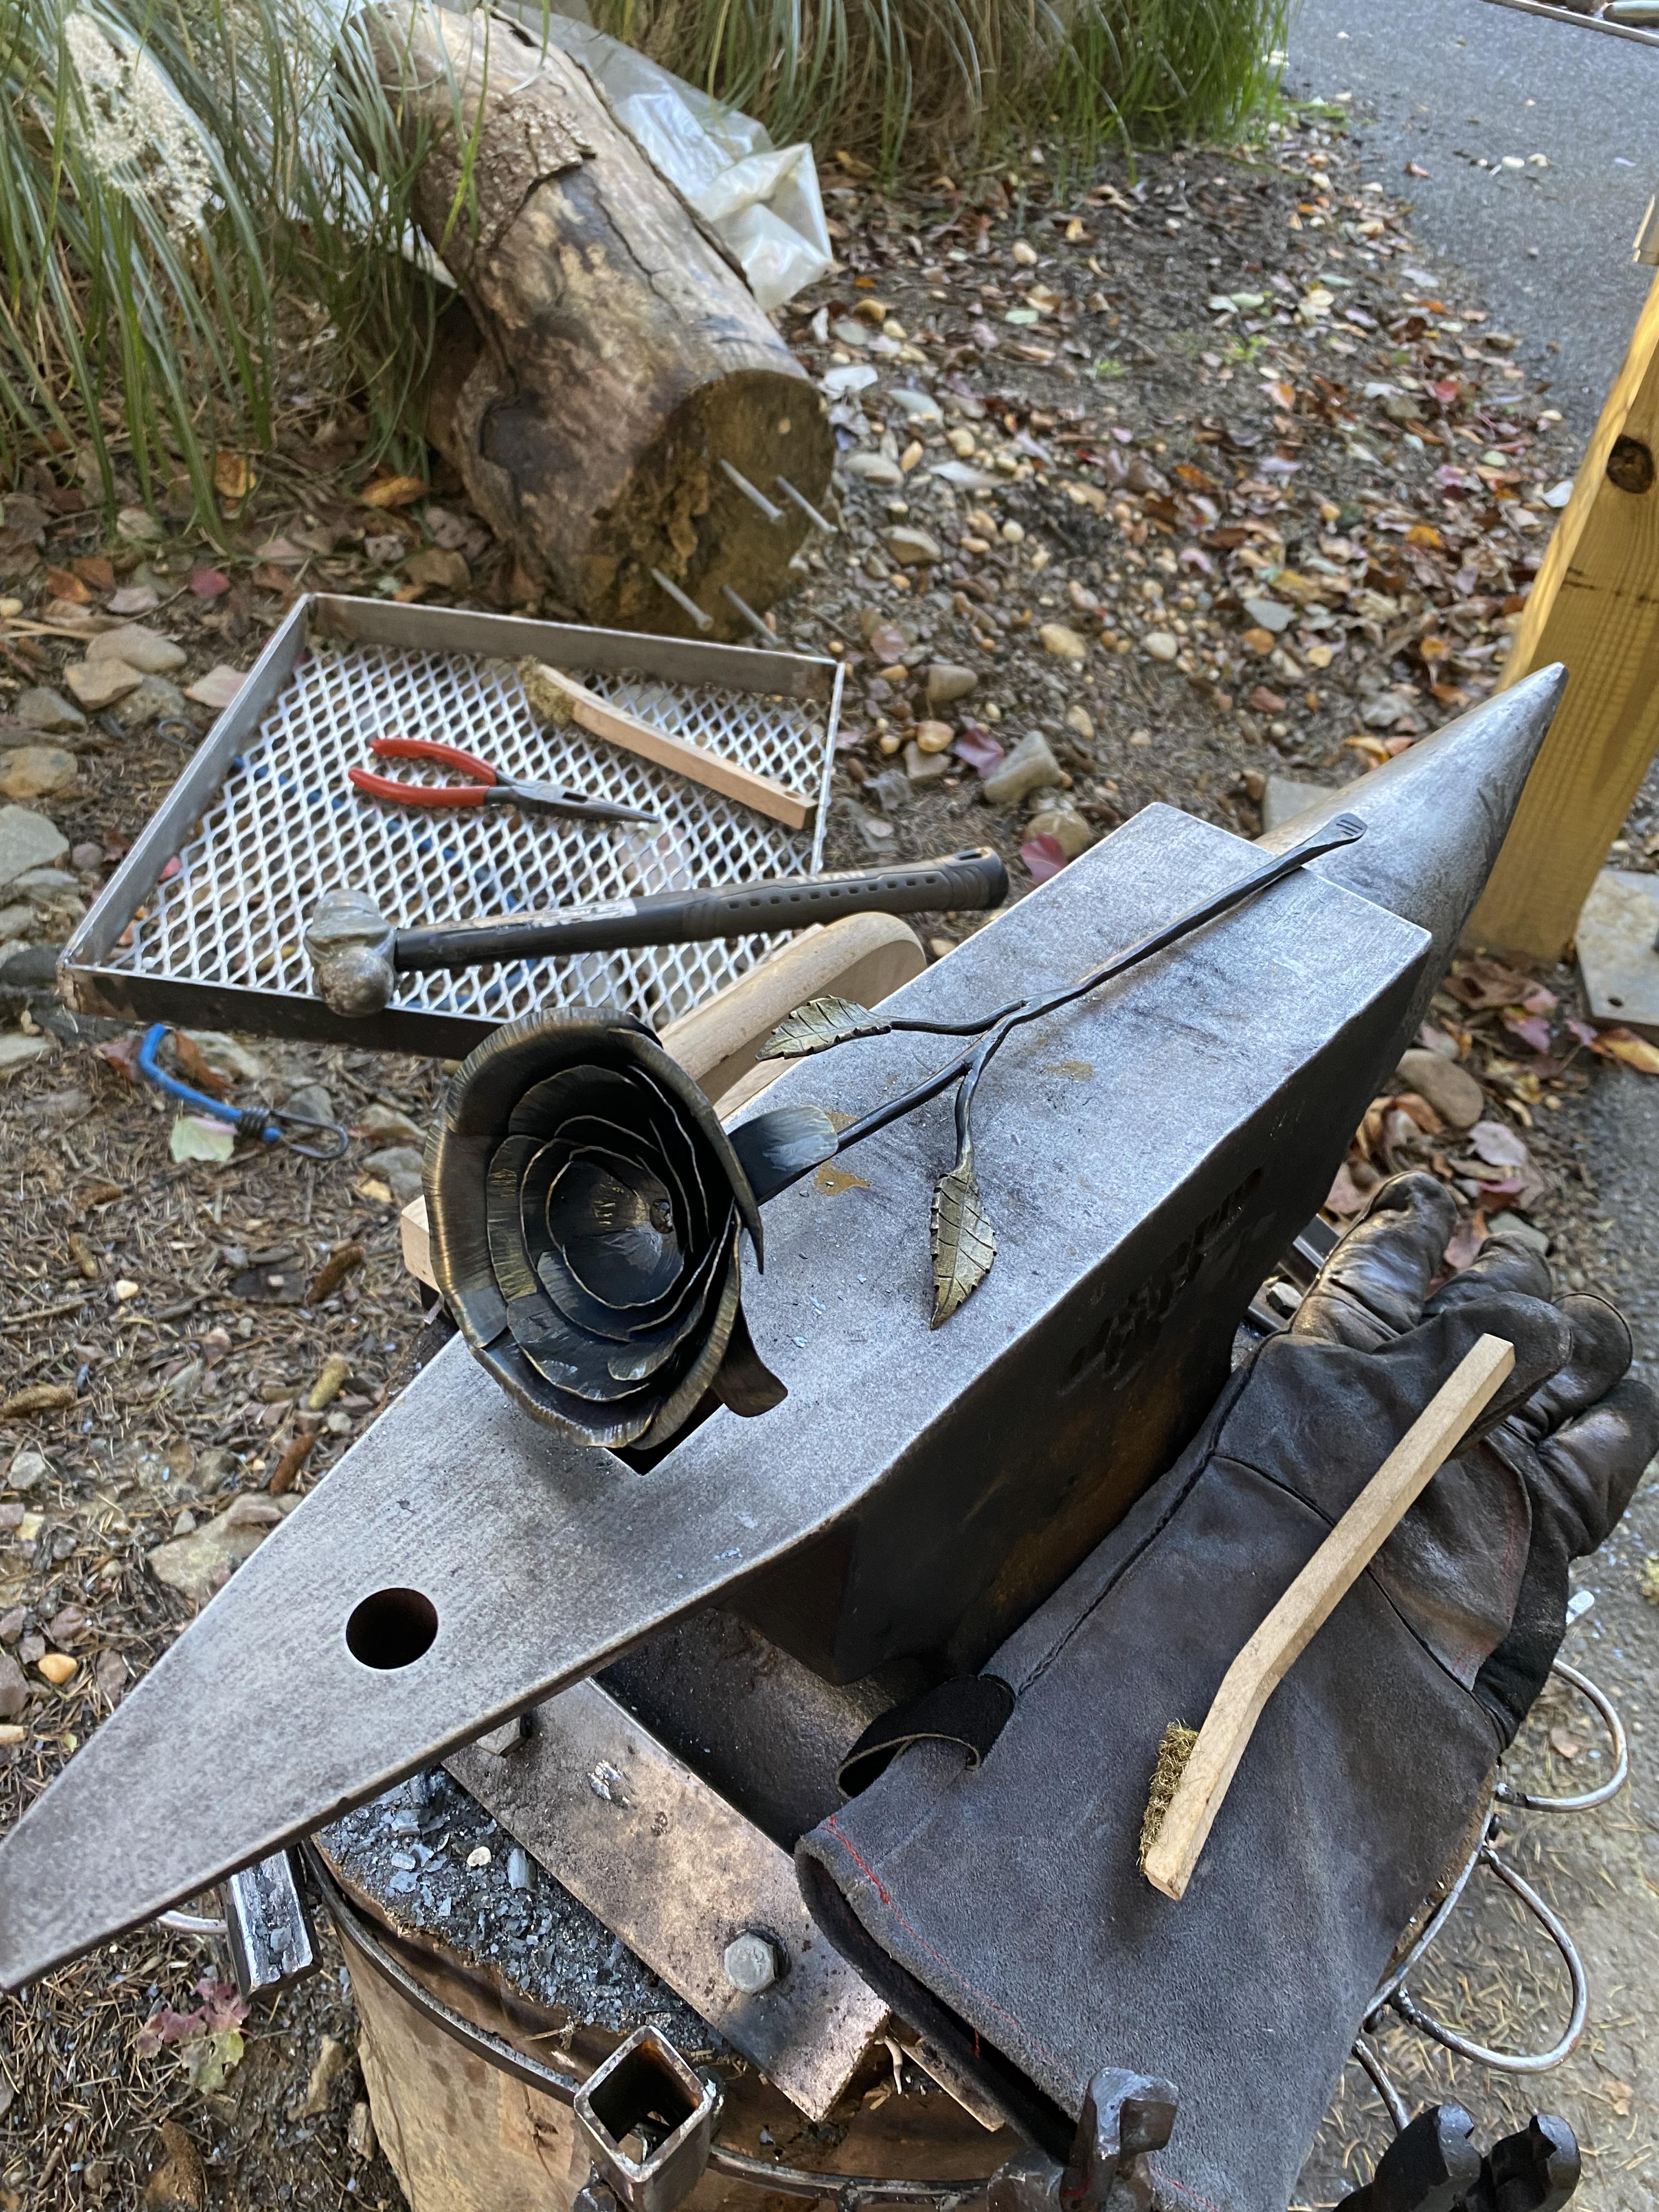
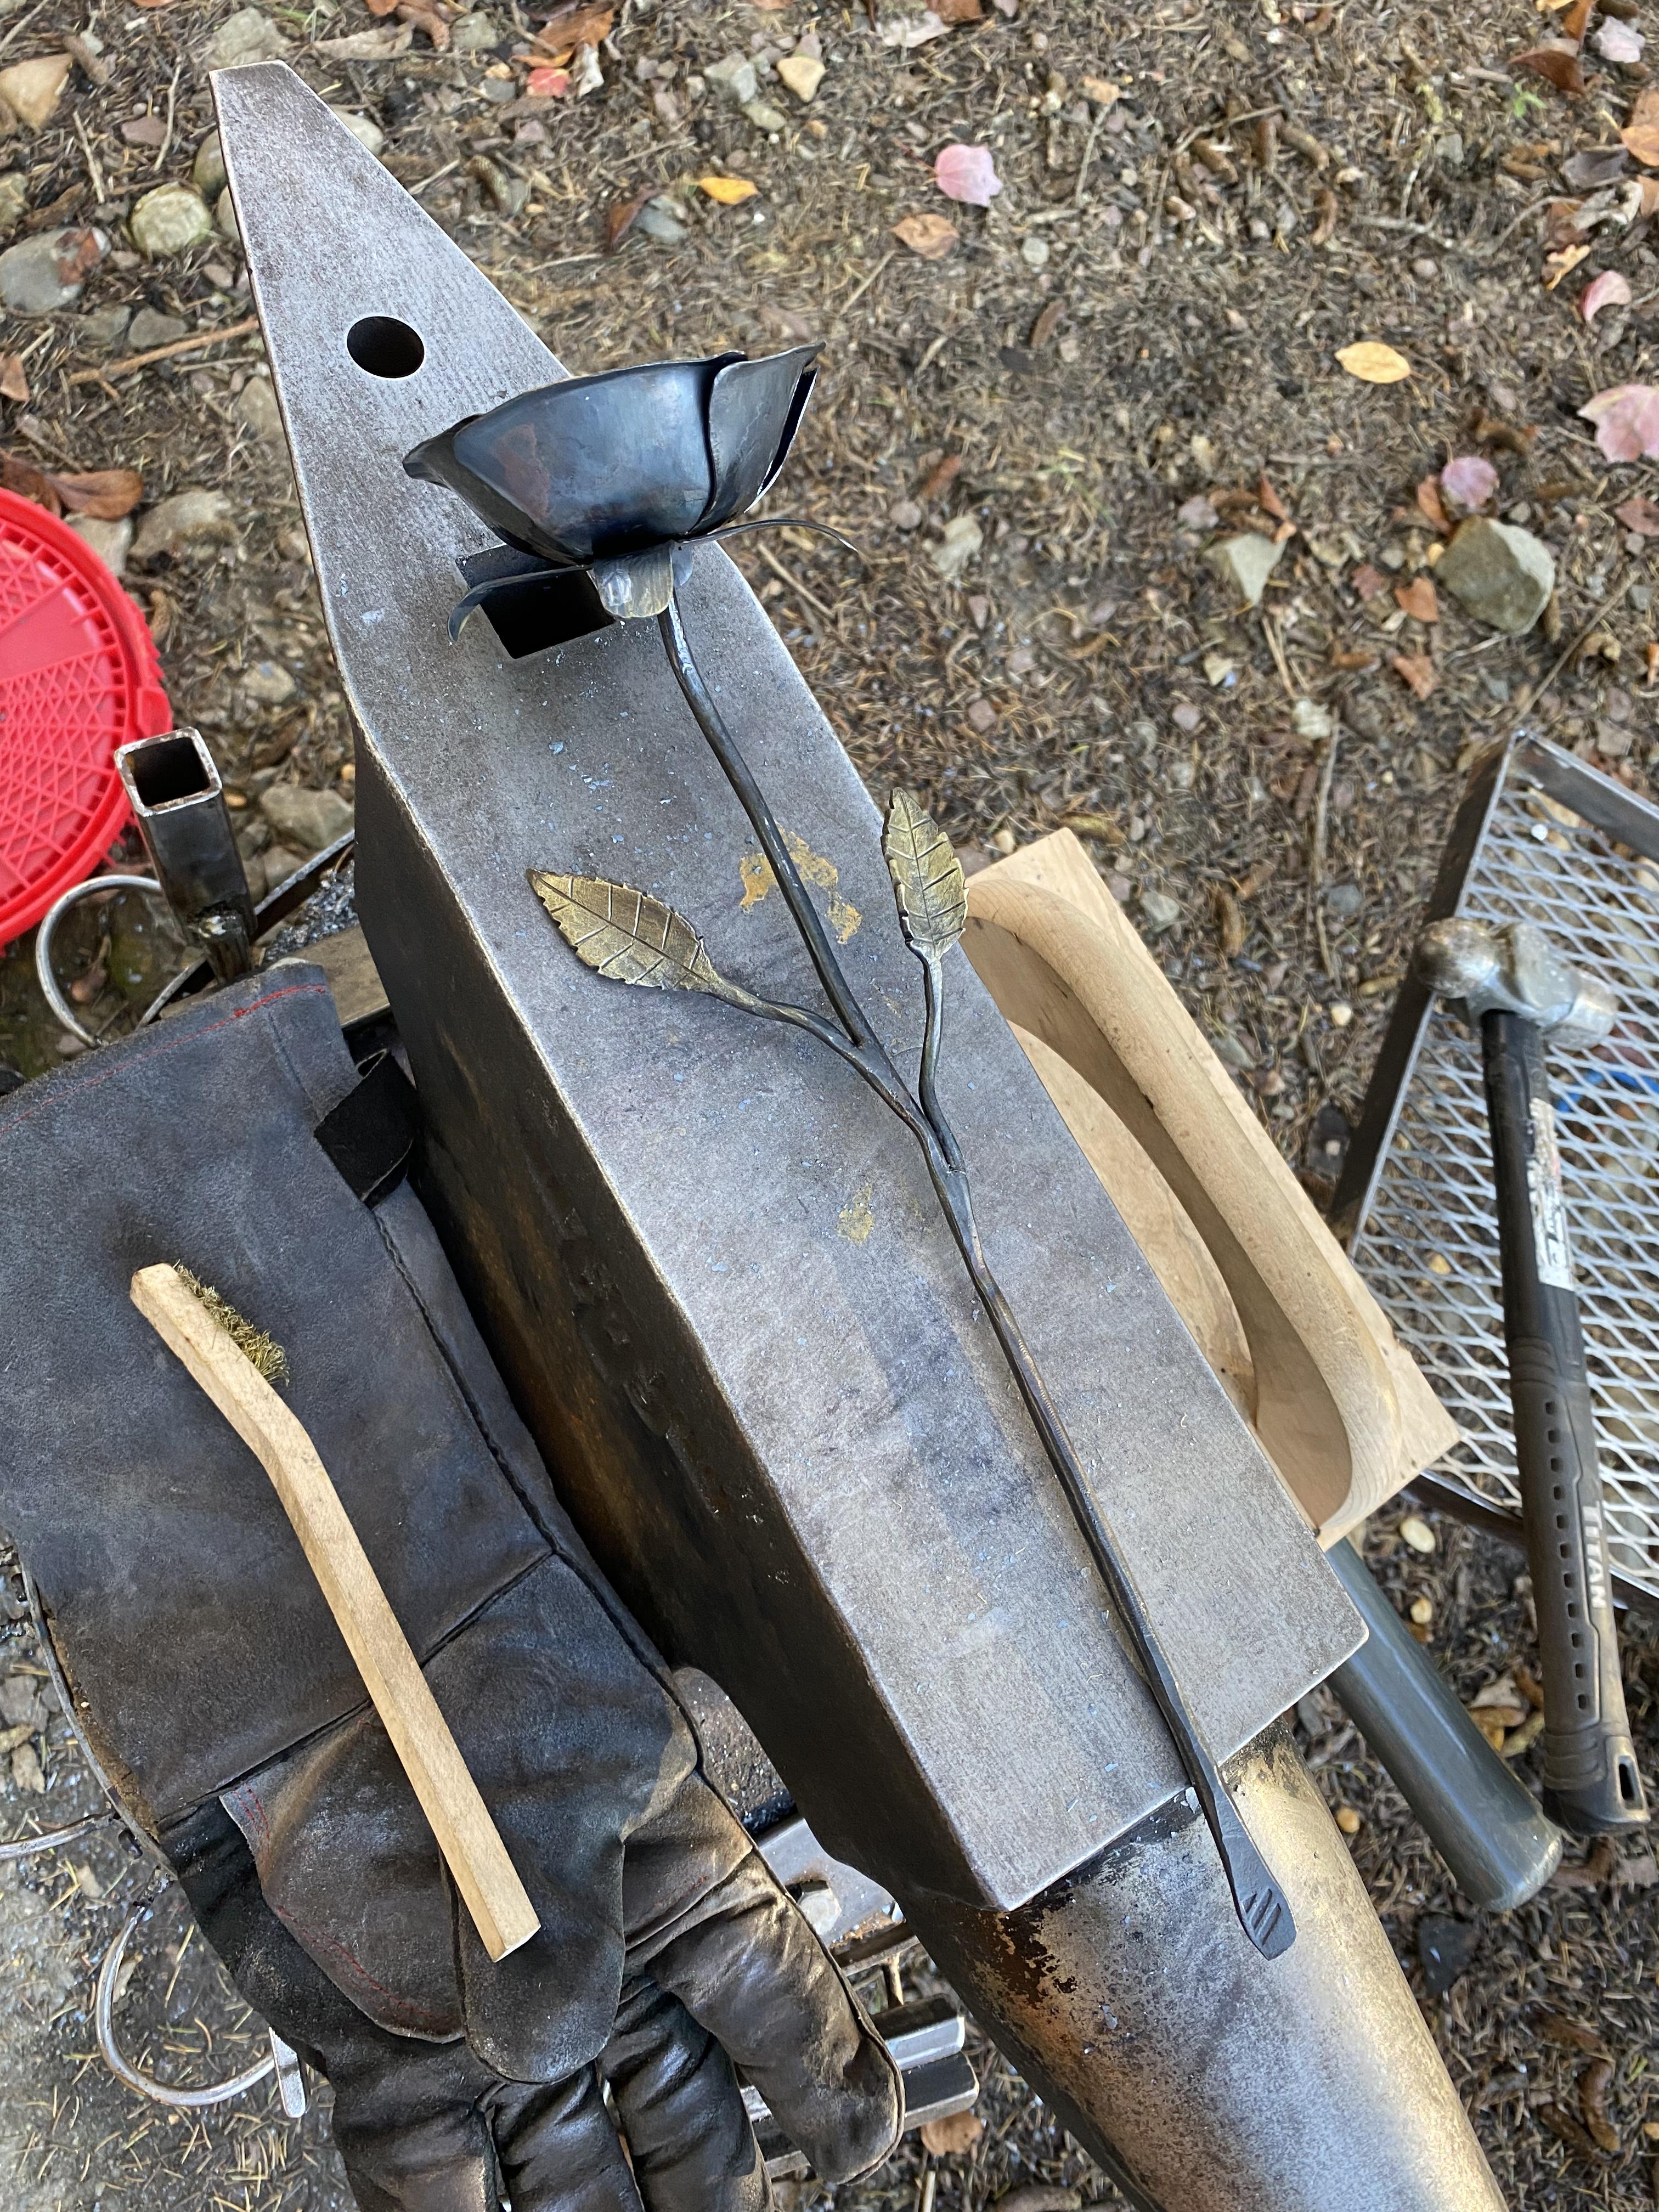
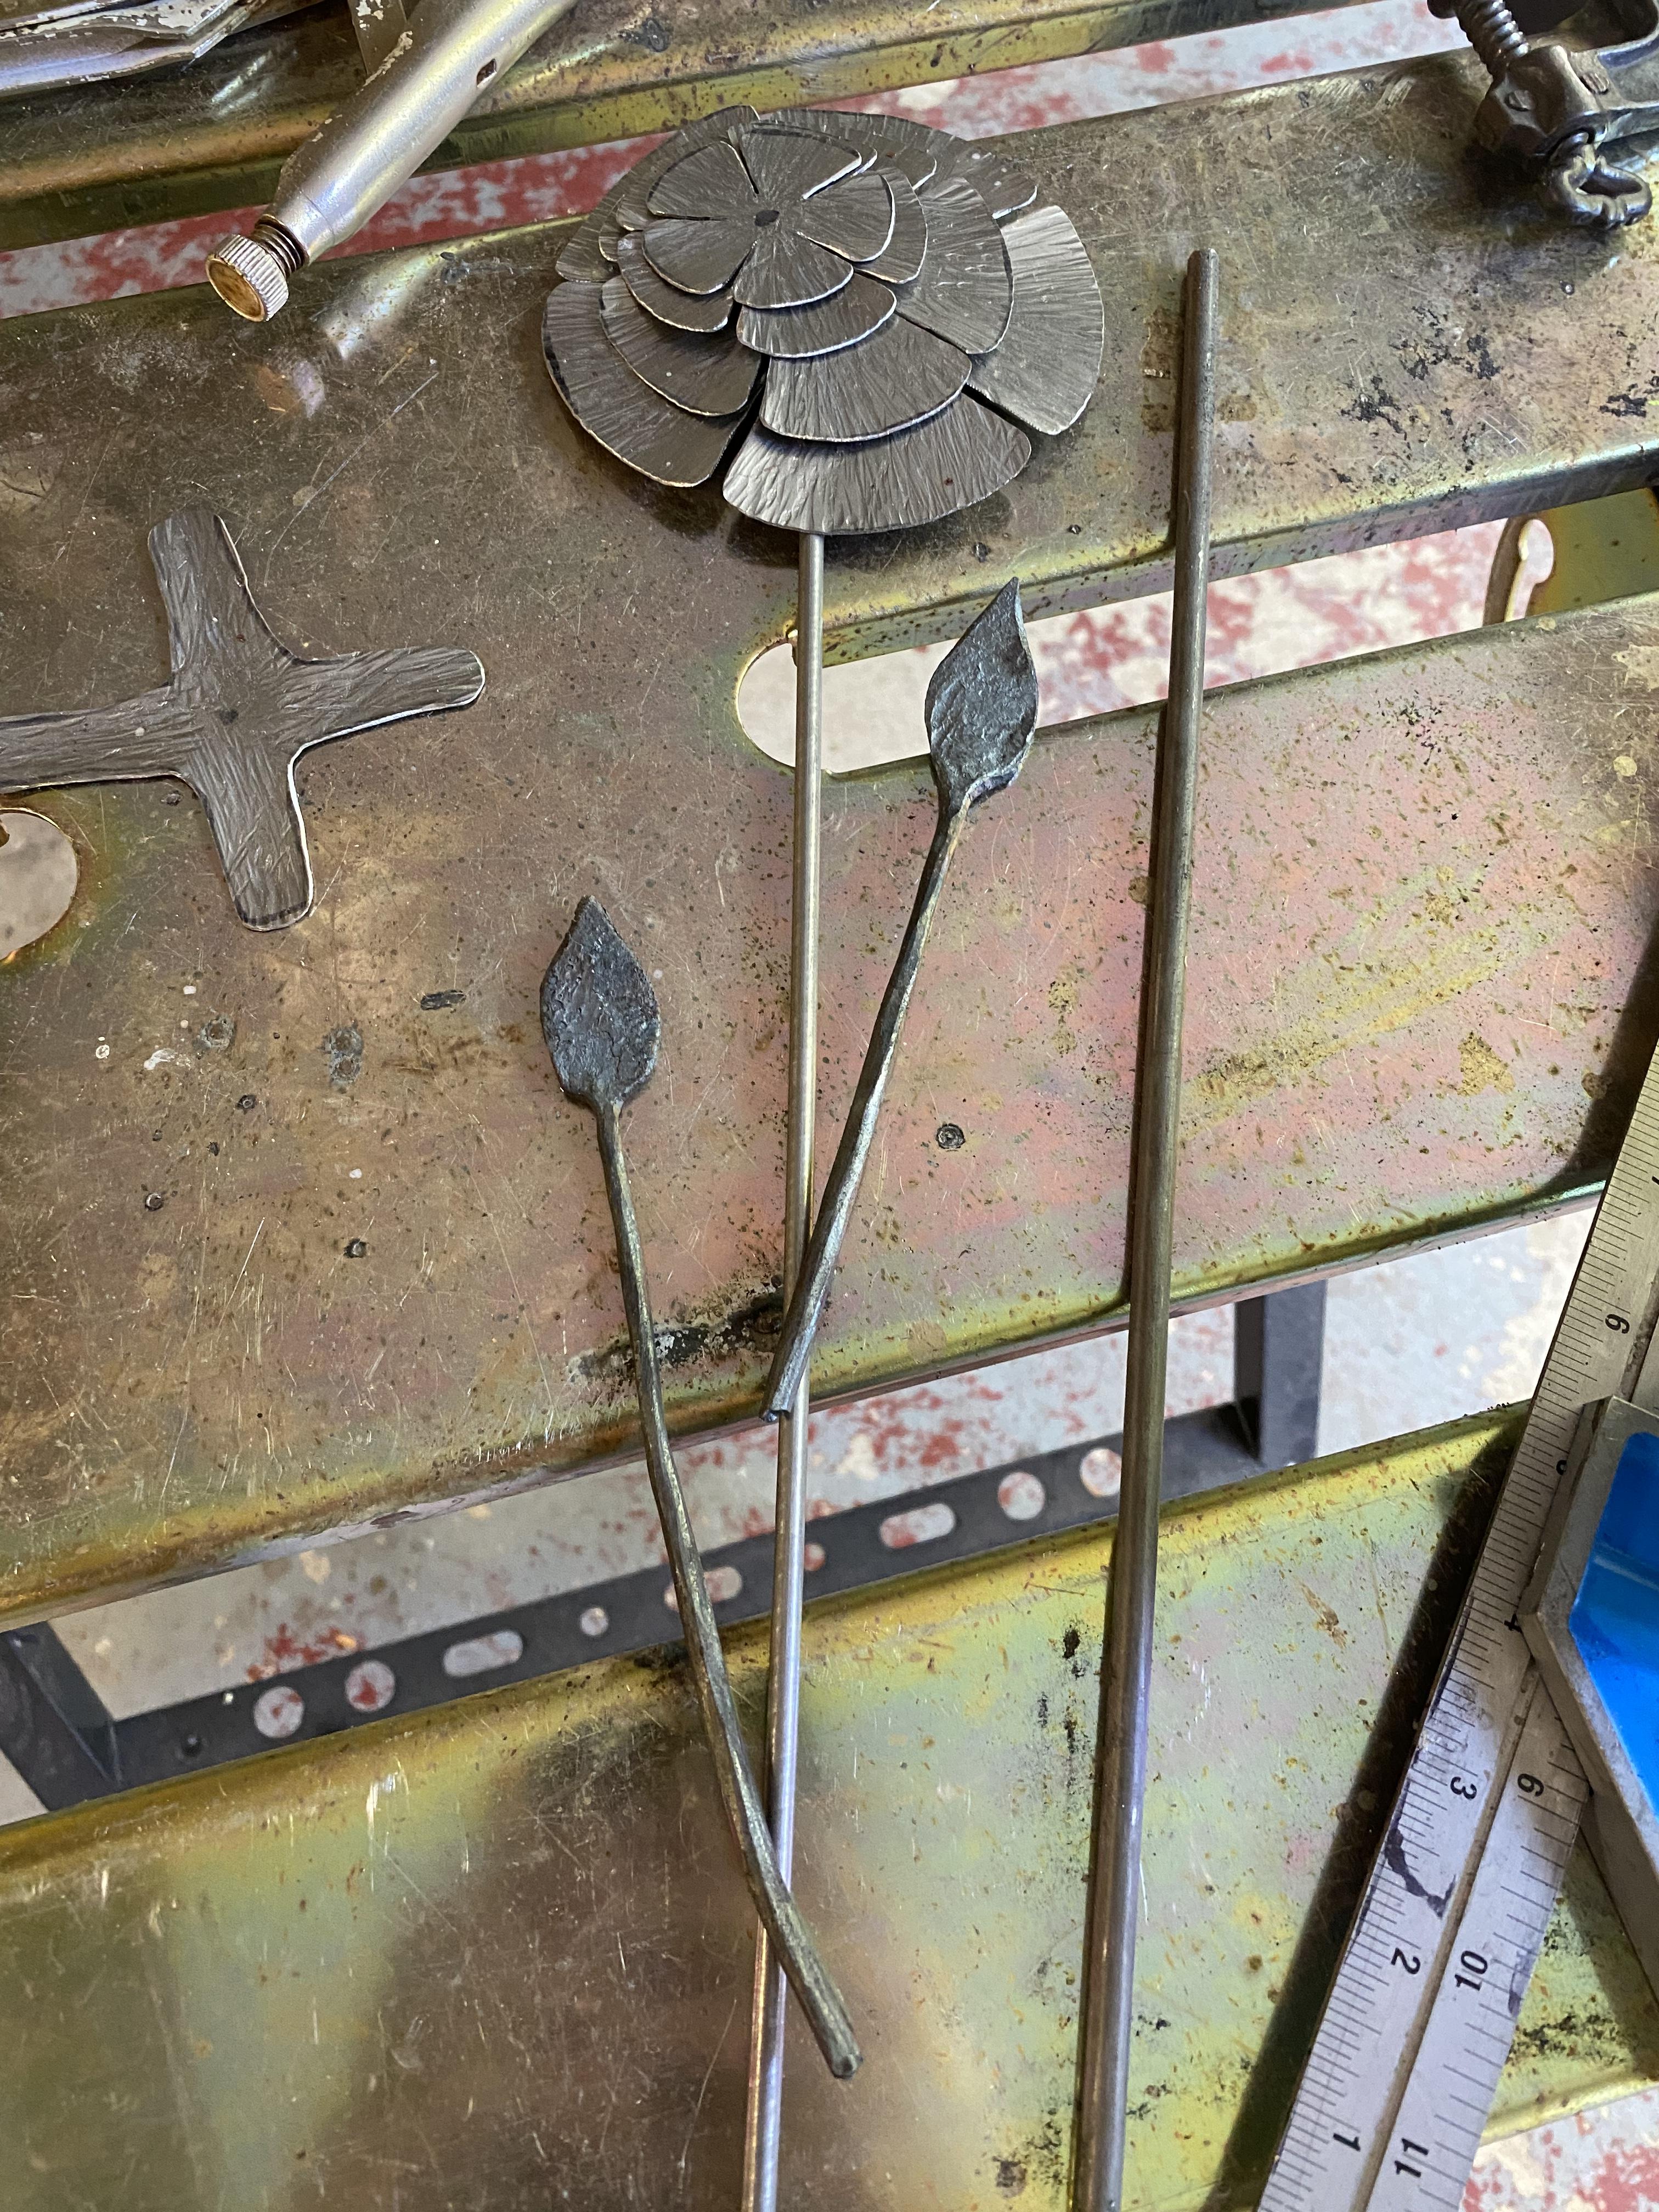
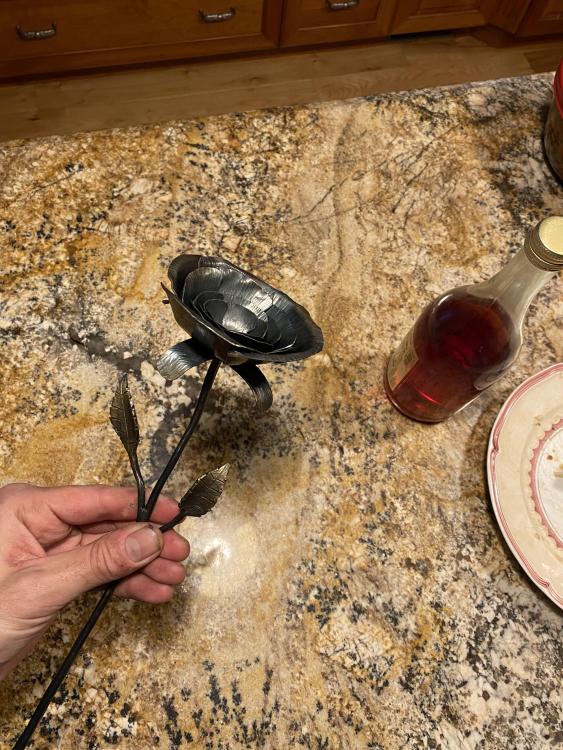
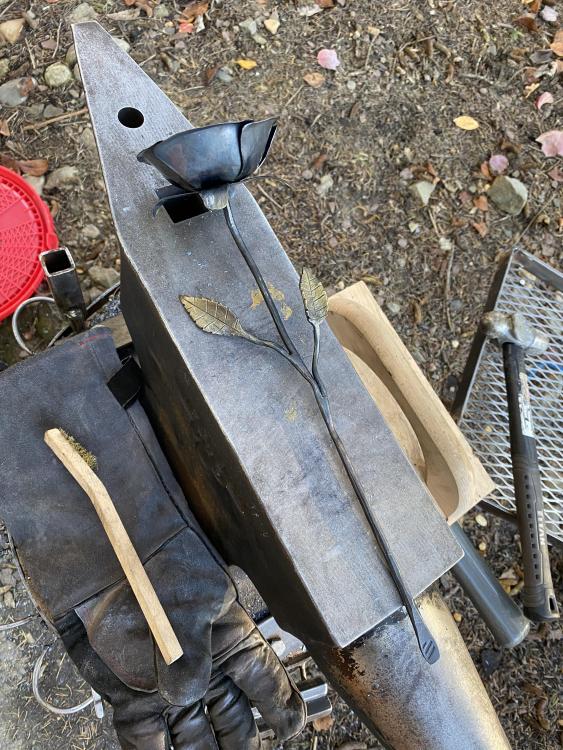
I should wait until we make it to next page so this isn’t on the same page as Les’ roses but oh well. Same issue as last time setting the river part to hold everything down. Got everything all bent out of whack while trying to do it. I just don’t have a way getting that localized heat - the little 14oz propane torches just won’t do it. Finally used a very small ball punch and pushed down the sides. Had a real nice five point flower type pattern going but ended up ruining it to get it tight enough. Had the leaves and stem in much more appealing positions at first but once I got it here I decided to just leave it alone. All in all I’m not thrilled with it but it’s a major improvement from my last try. I’m sure my mom will like it as her Christmas present. Ended up arc welding the leaves as well.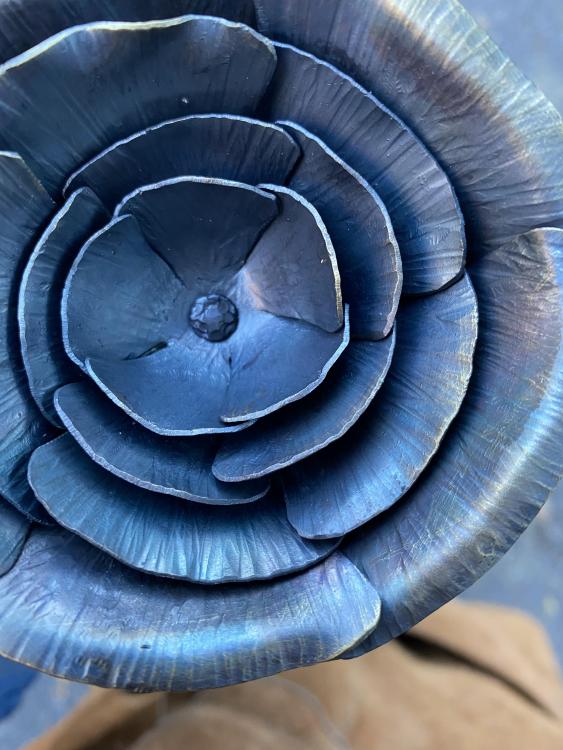


-
What did you do in the shop today?
Pat Masterson replied to Mark Ling's topic in Blacksmithing, General Discussion
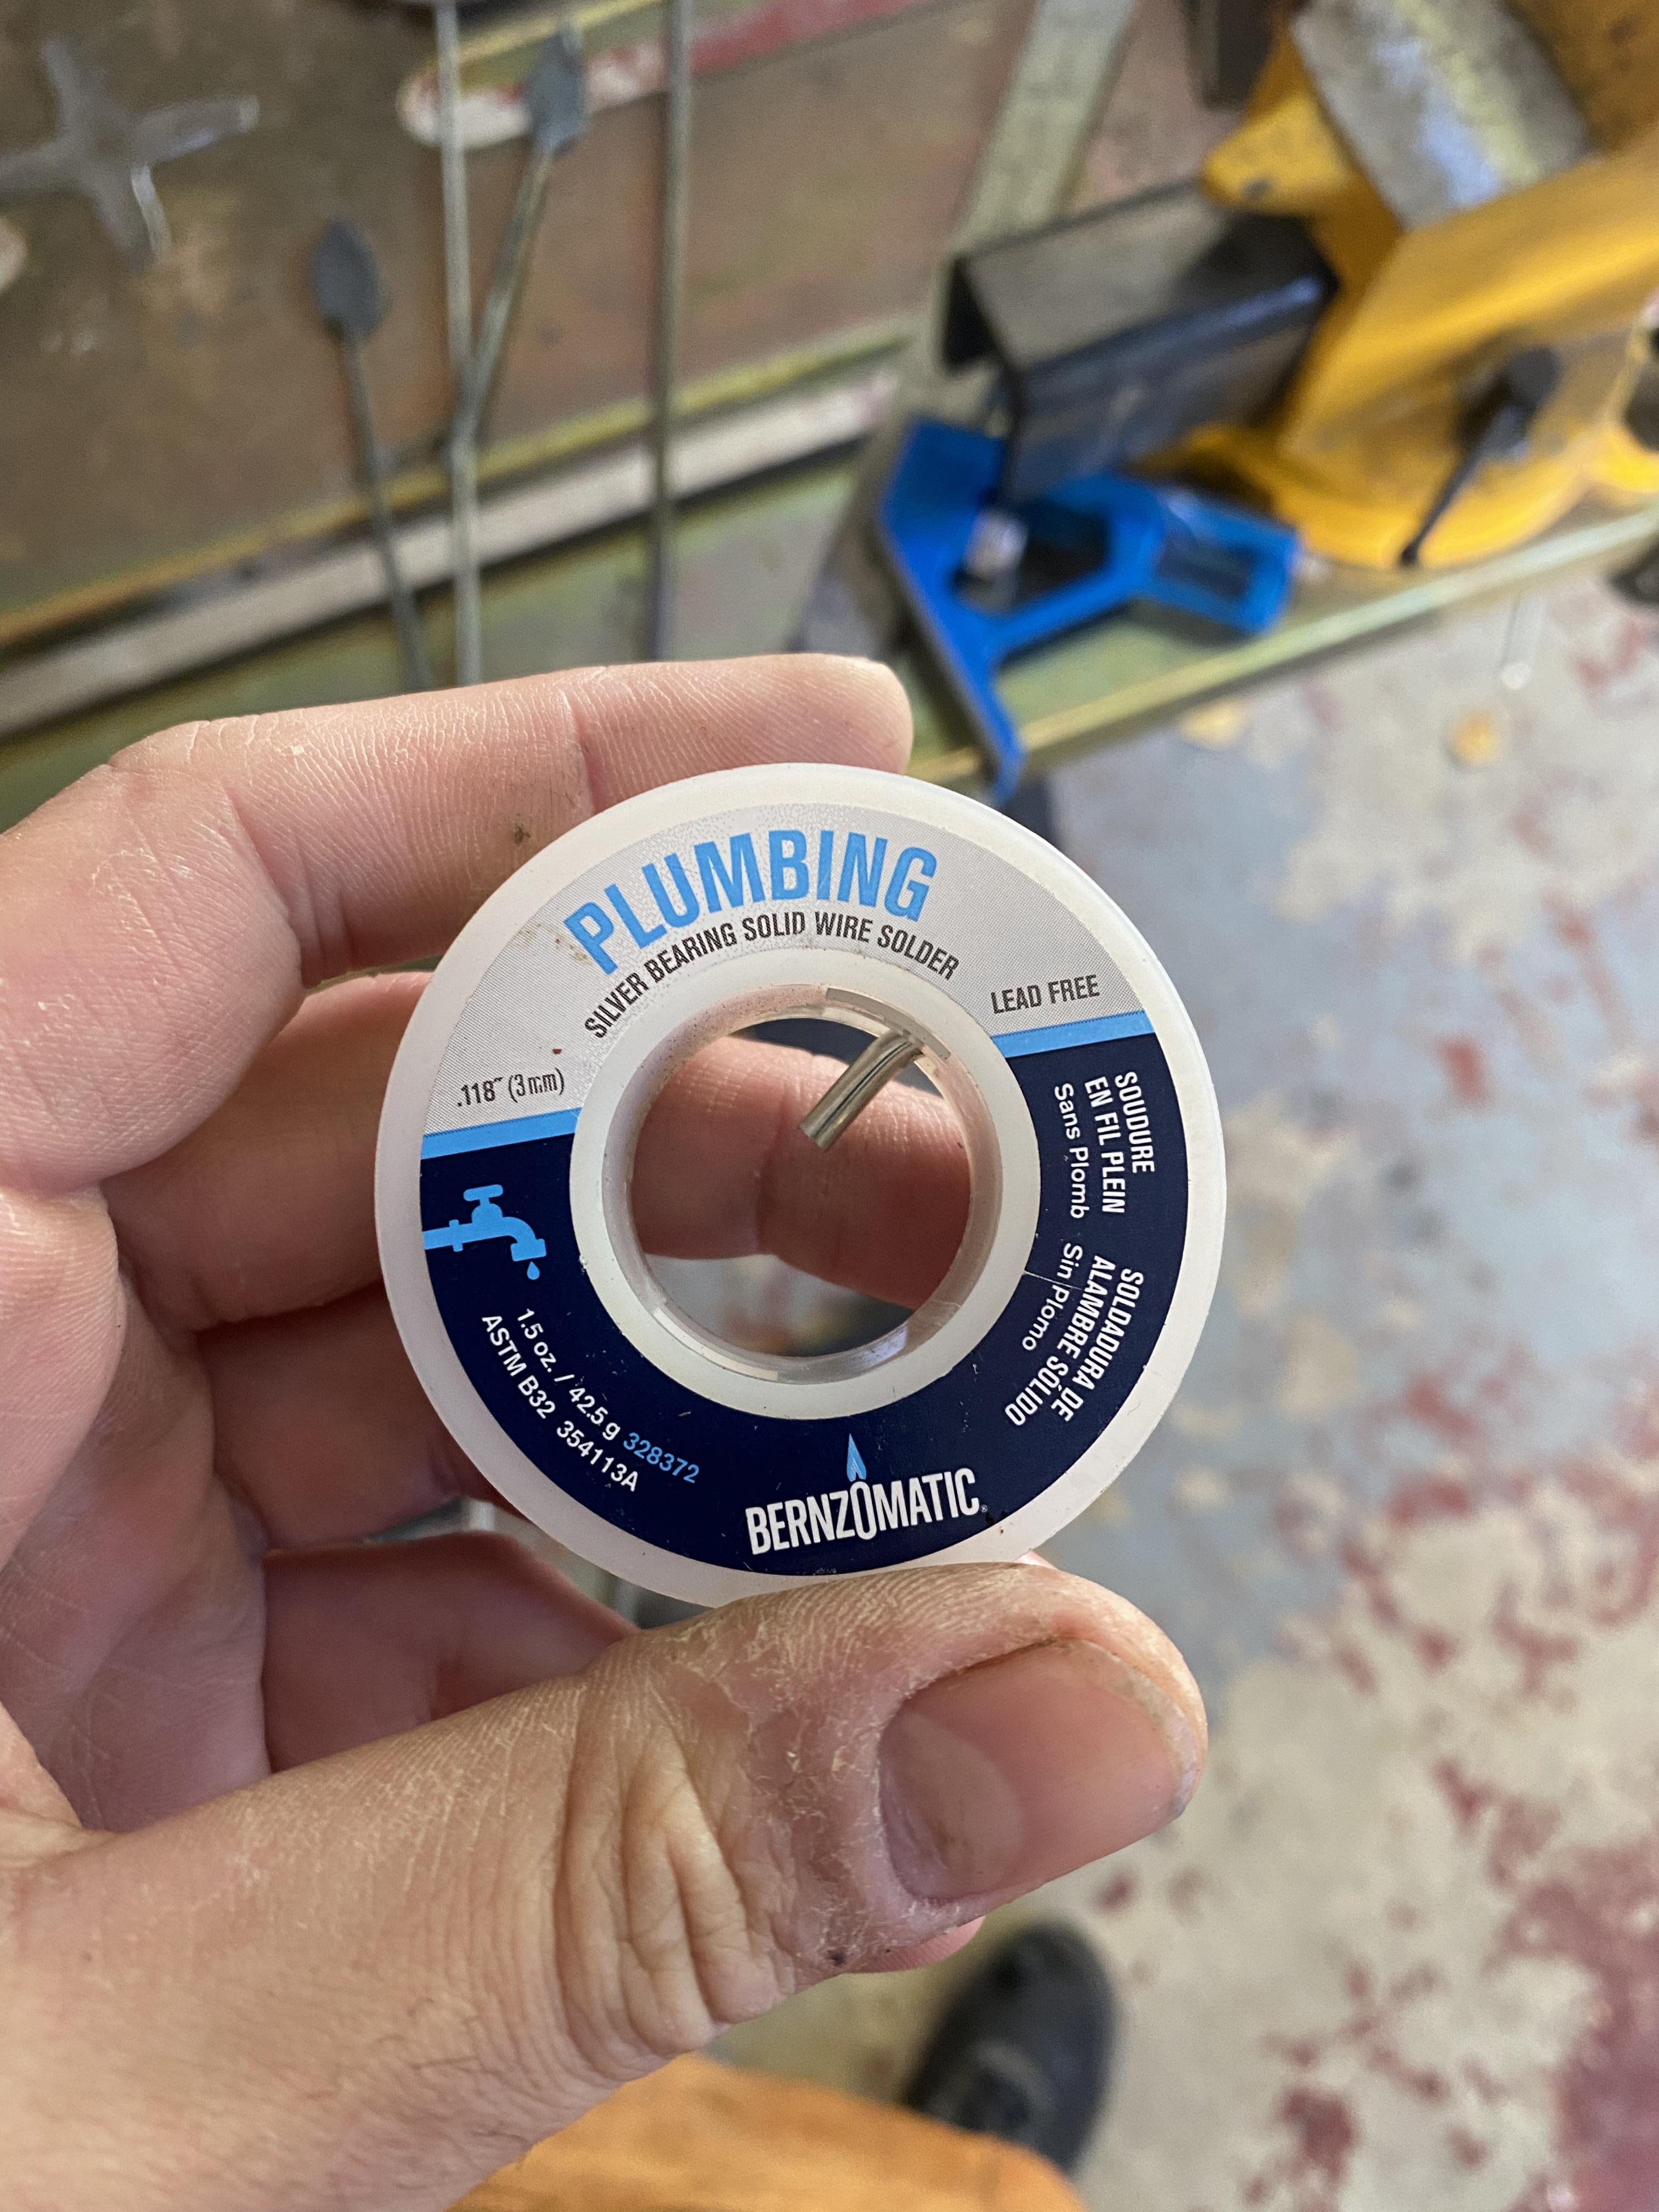
Funny I came on here to ask about the rose I’m attempting from the pattern Les sent me and it’s already being talked about. Question about welding the leaves on - although after looking at the pic Les posted I think my leaves may be a bit too small. But is there a certain forge welding technique for this type of joint? Stem lengths will most likely change from pic. Considering just going with a regular arc weld or this solder stuff that comes with the plumbing torches which I feel like would be best for blending the joints. Never tried it on anything before. Anyone know if this stuff would hold? And great, now I have to look into copper sulfate because those roses look amazing Les!

-
What did you do in the shop today?
Pat Masterson replied to Mark Ling's topic in Blacksmithing, General Discussion
Gandalgreen is that a Hell’s Forge single burner or an entirely homemade forge? I ask because I can see a small chrome looking logo type thing in one of the pics that looks similar to the ones on hells forges but can’t make out what it says. If it is Hells Forge did you not go with the lining materials they provide because you just wanted something stronger right off the bat? I have a single burner Devil Forge which looks basically the same as the hells and the refractory they sent lasted quite long - I guess it’s almost a year now and it only really started going down hill quick after I started using flux. I now have new kaowool and kastolite on the way so I’m curious to see how yours comes out as I’m guessing mine will be a very similar process. Did you rigidize the kaolwool first? I believe my forge originally came with the kaowool already installed and rigidized, then I just put the included refractory on it but I could be remembering wrong. -
What did you do in the shop today?
Pat Masterson replied to Mark Ling's topic in Blacksmithing, General Discussion
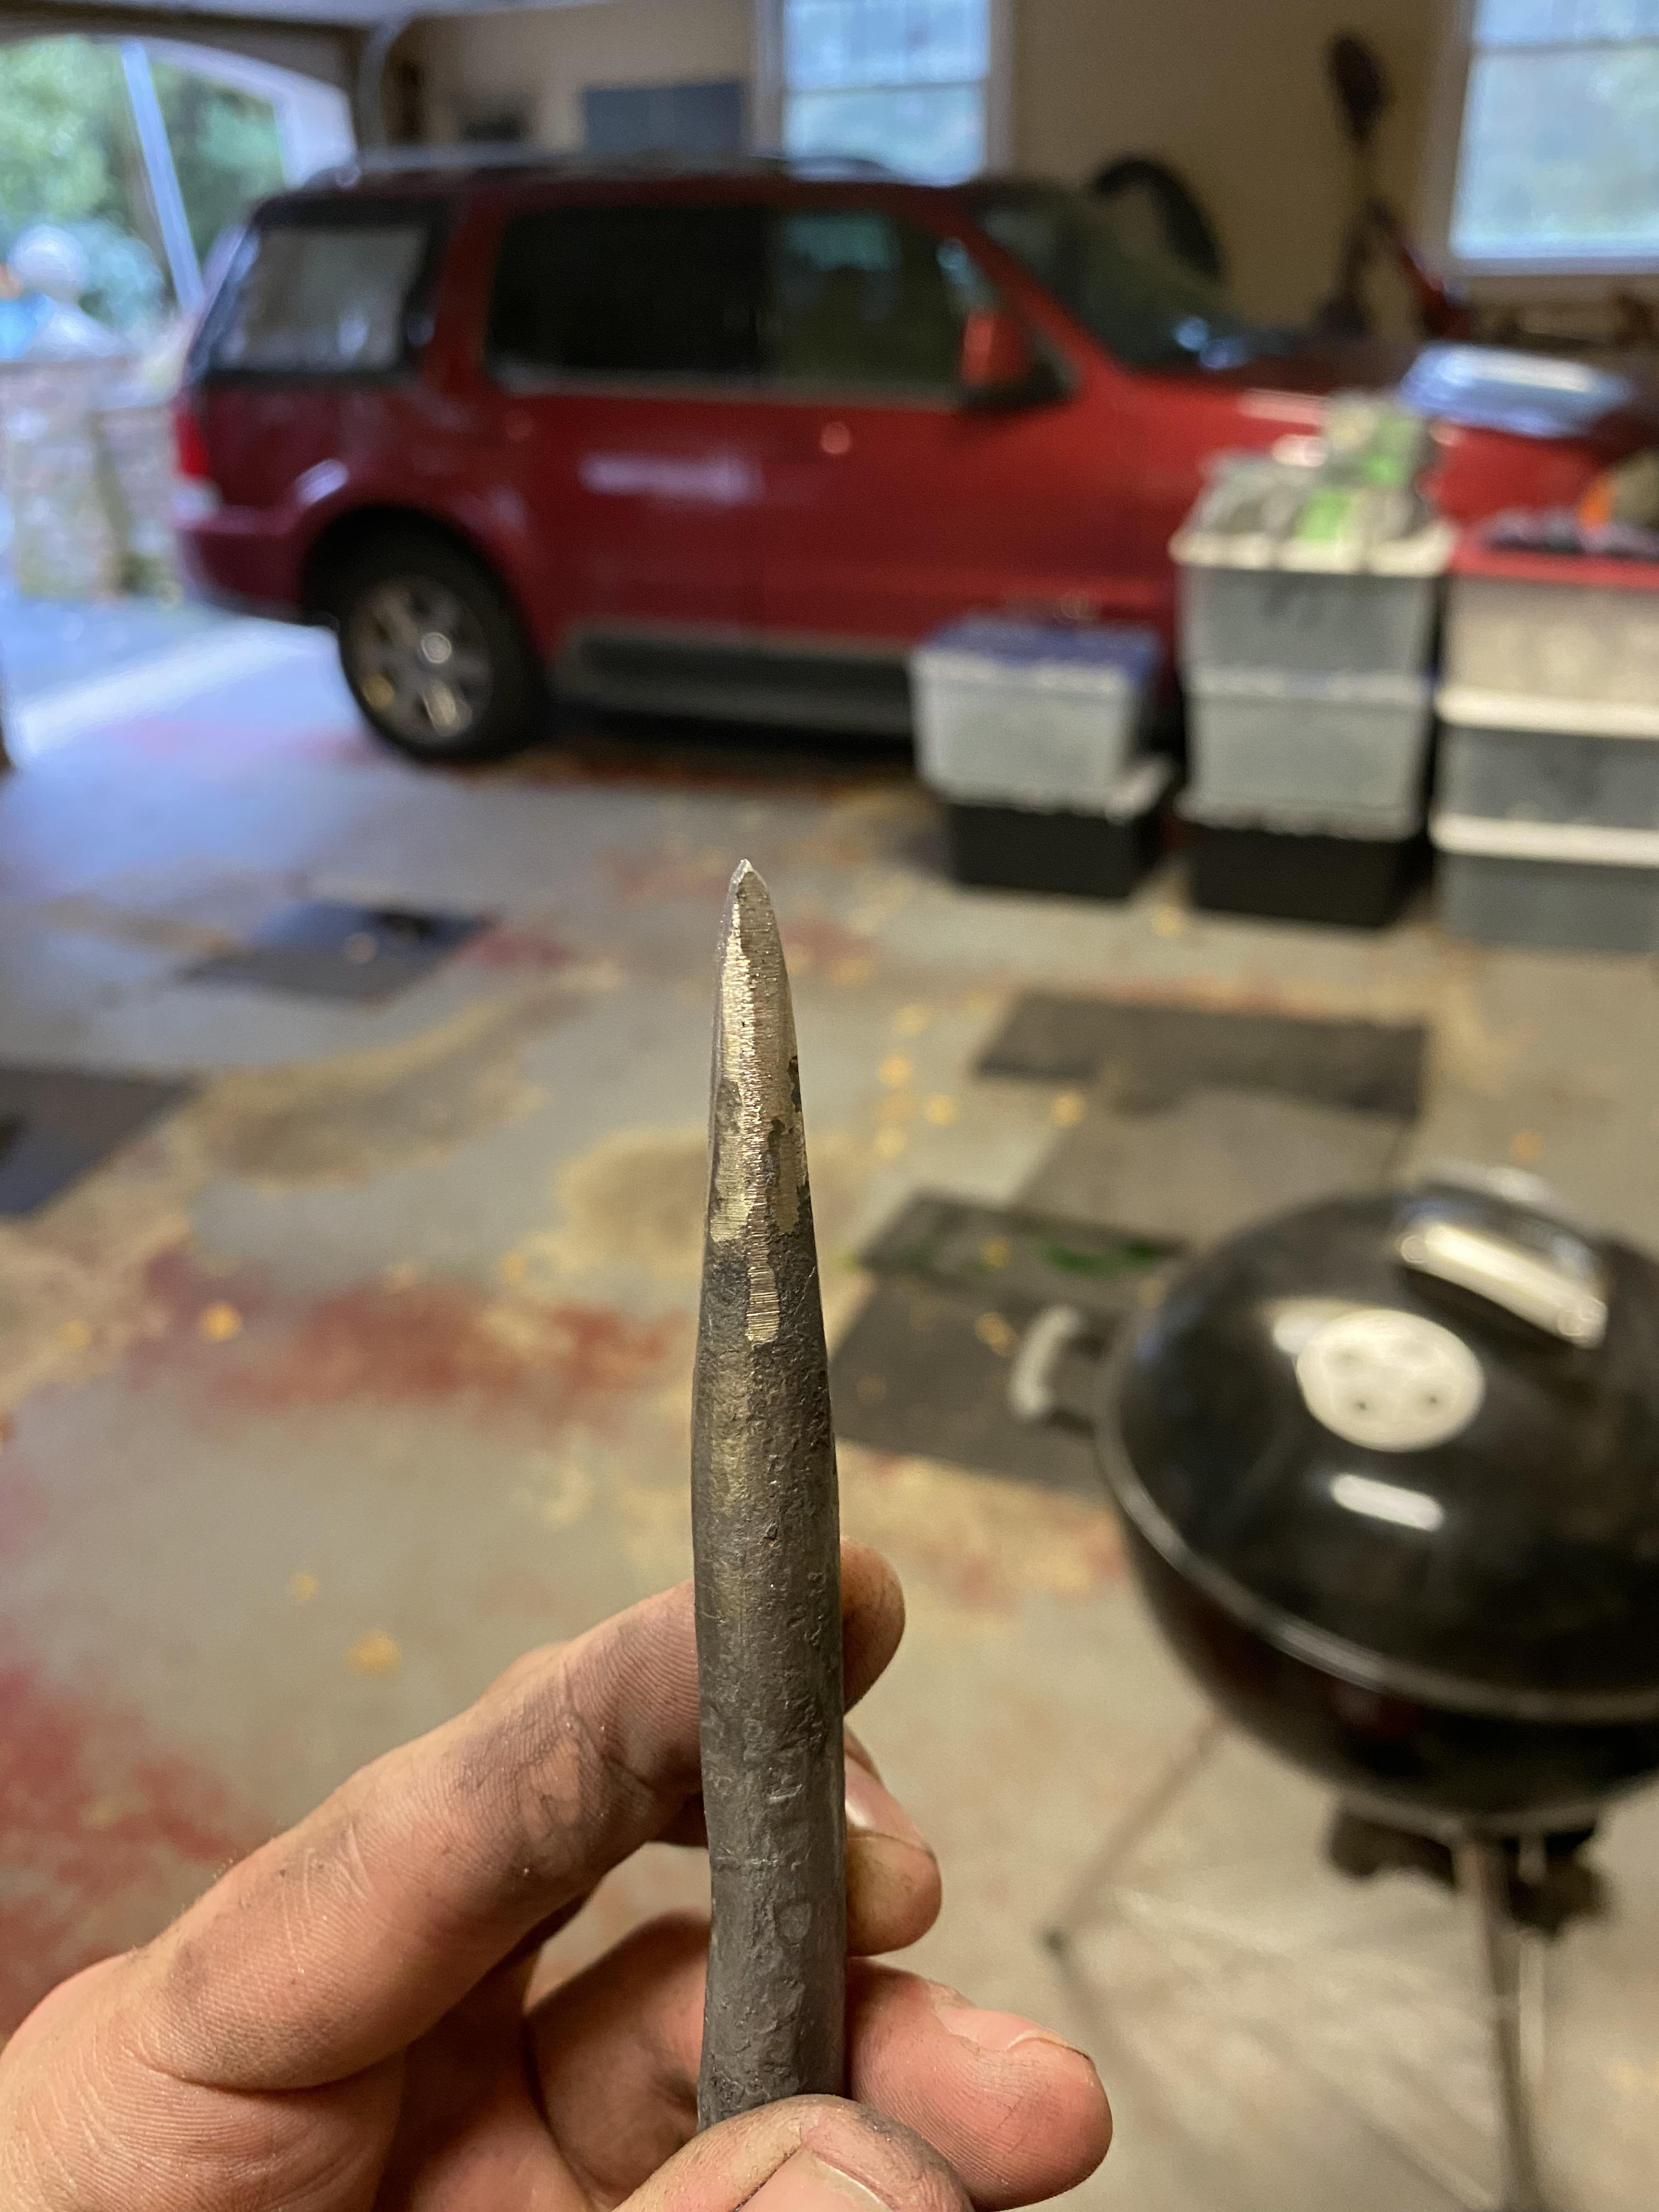
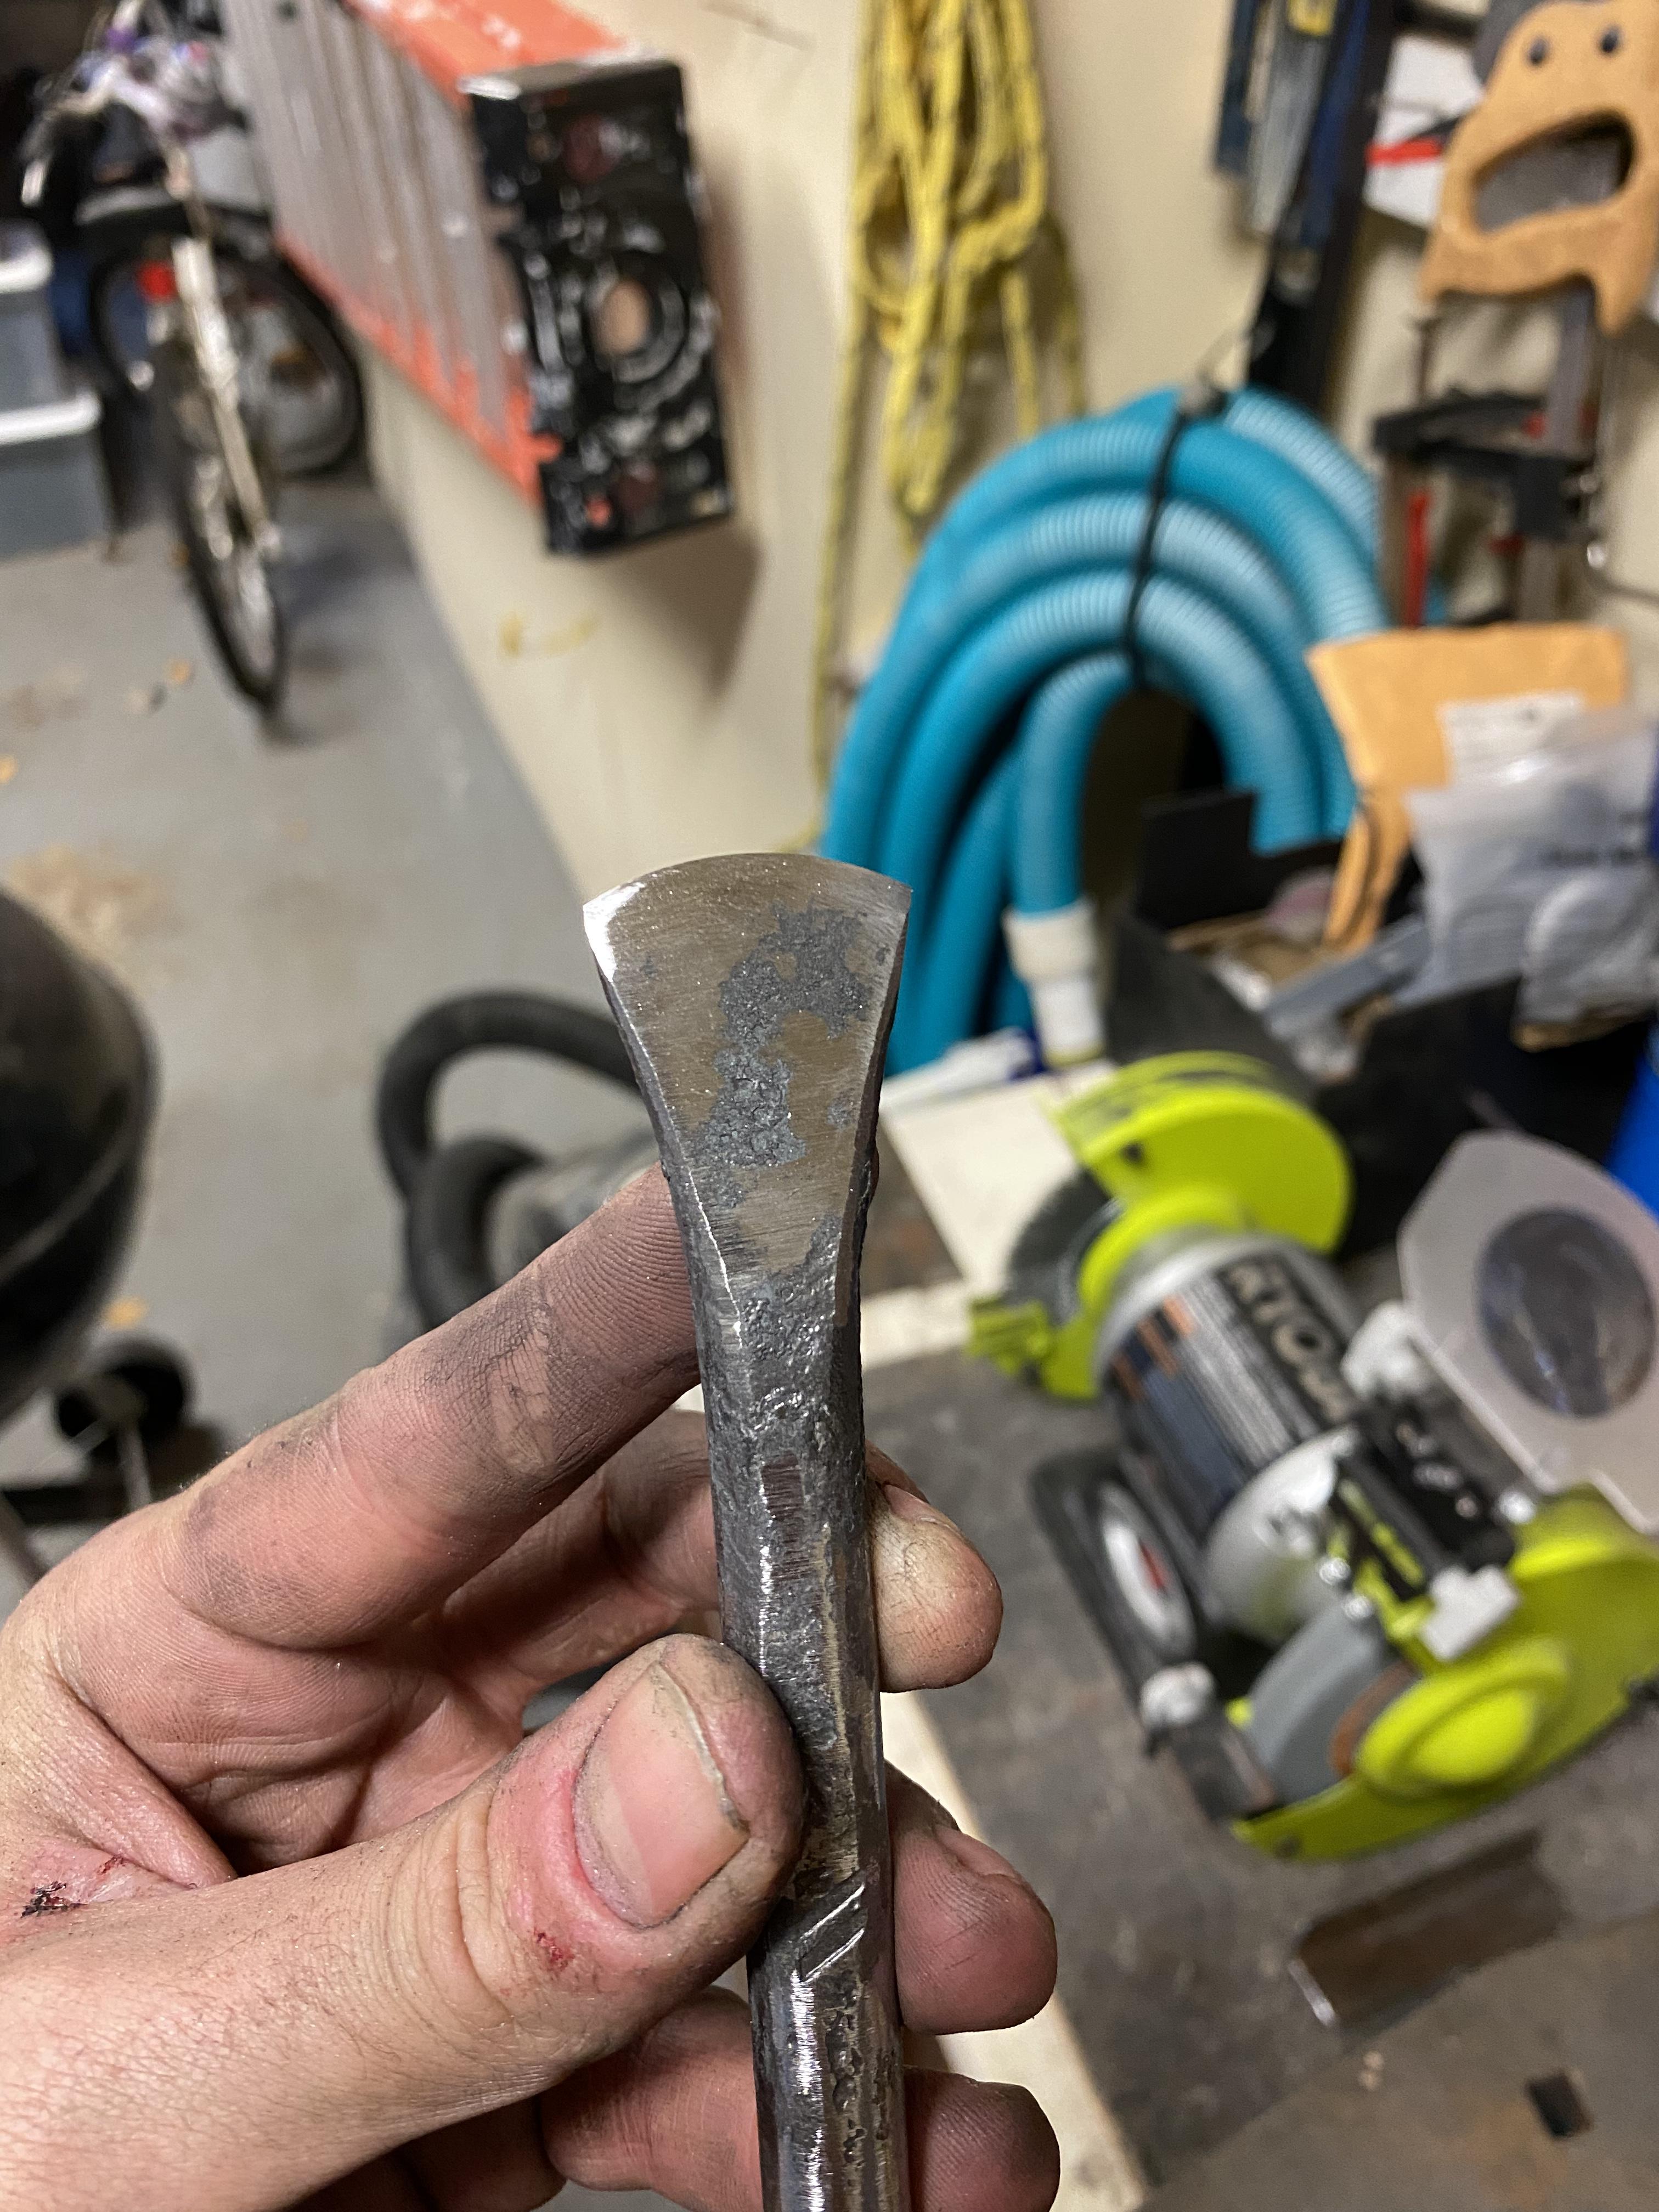
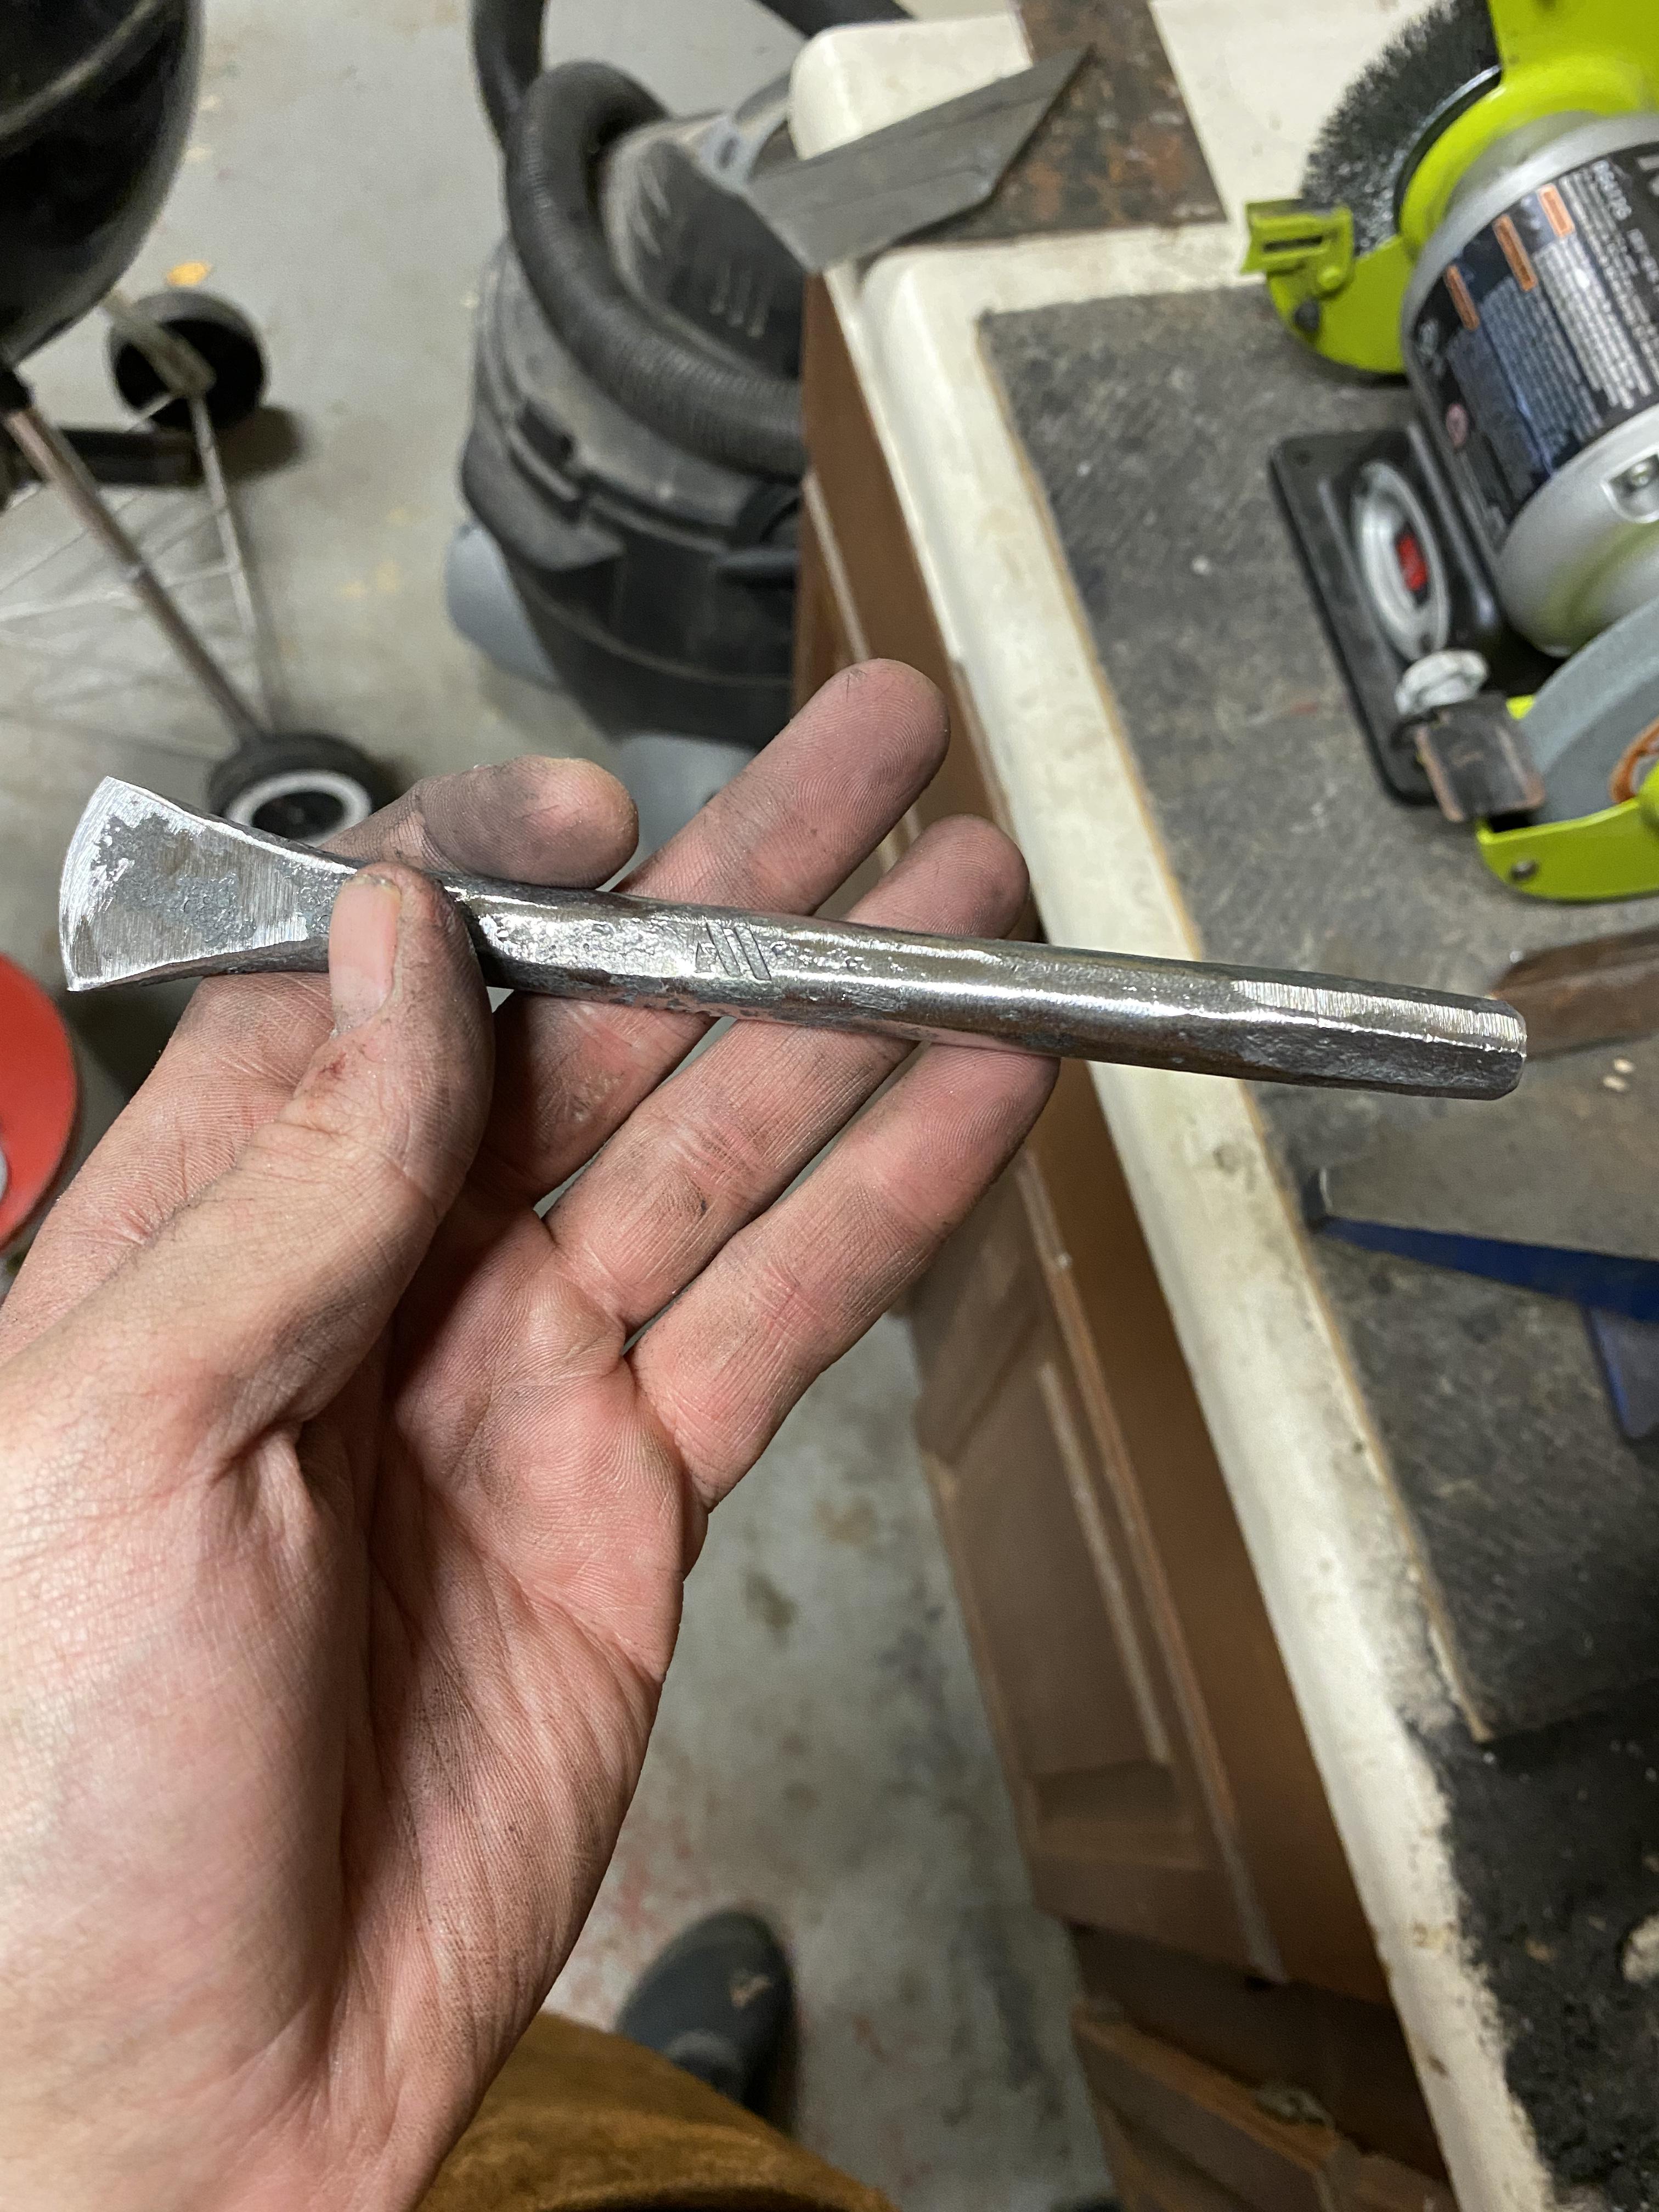
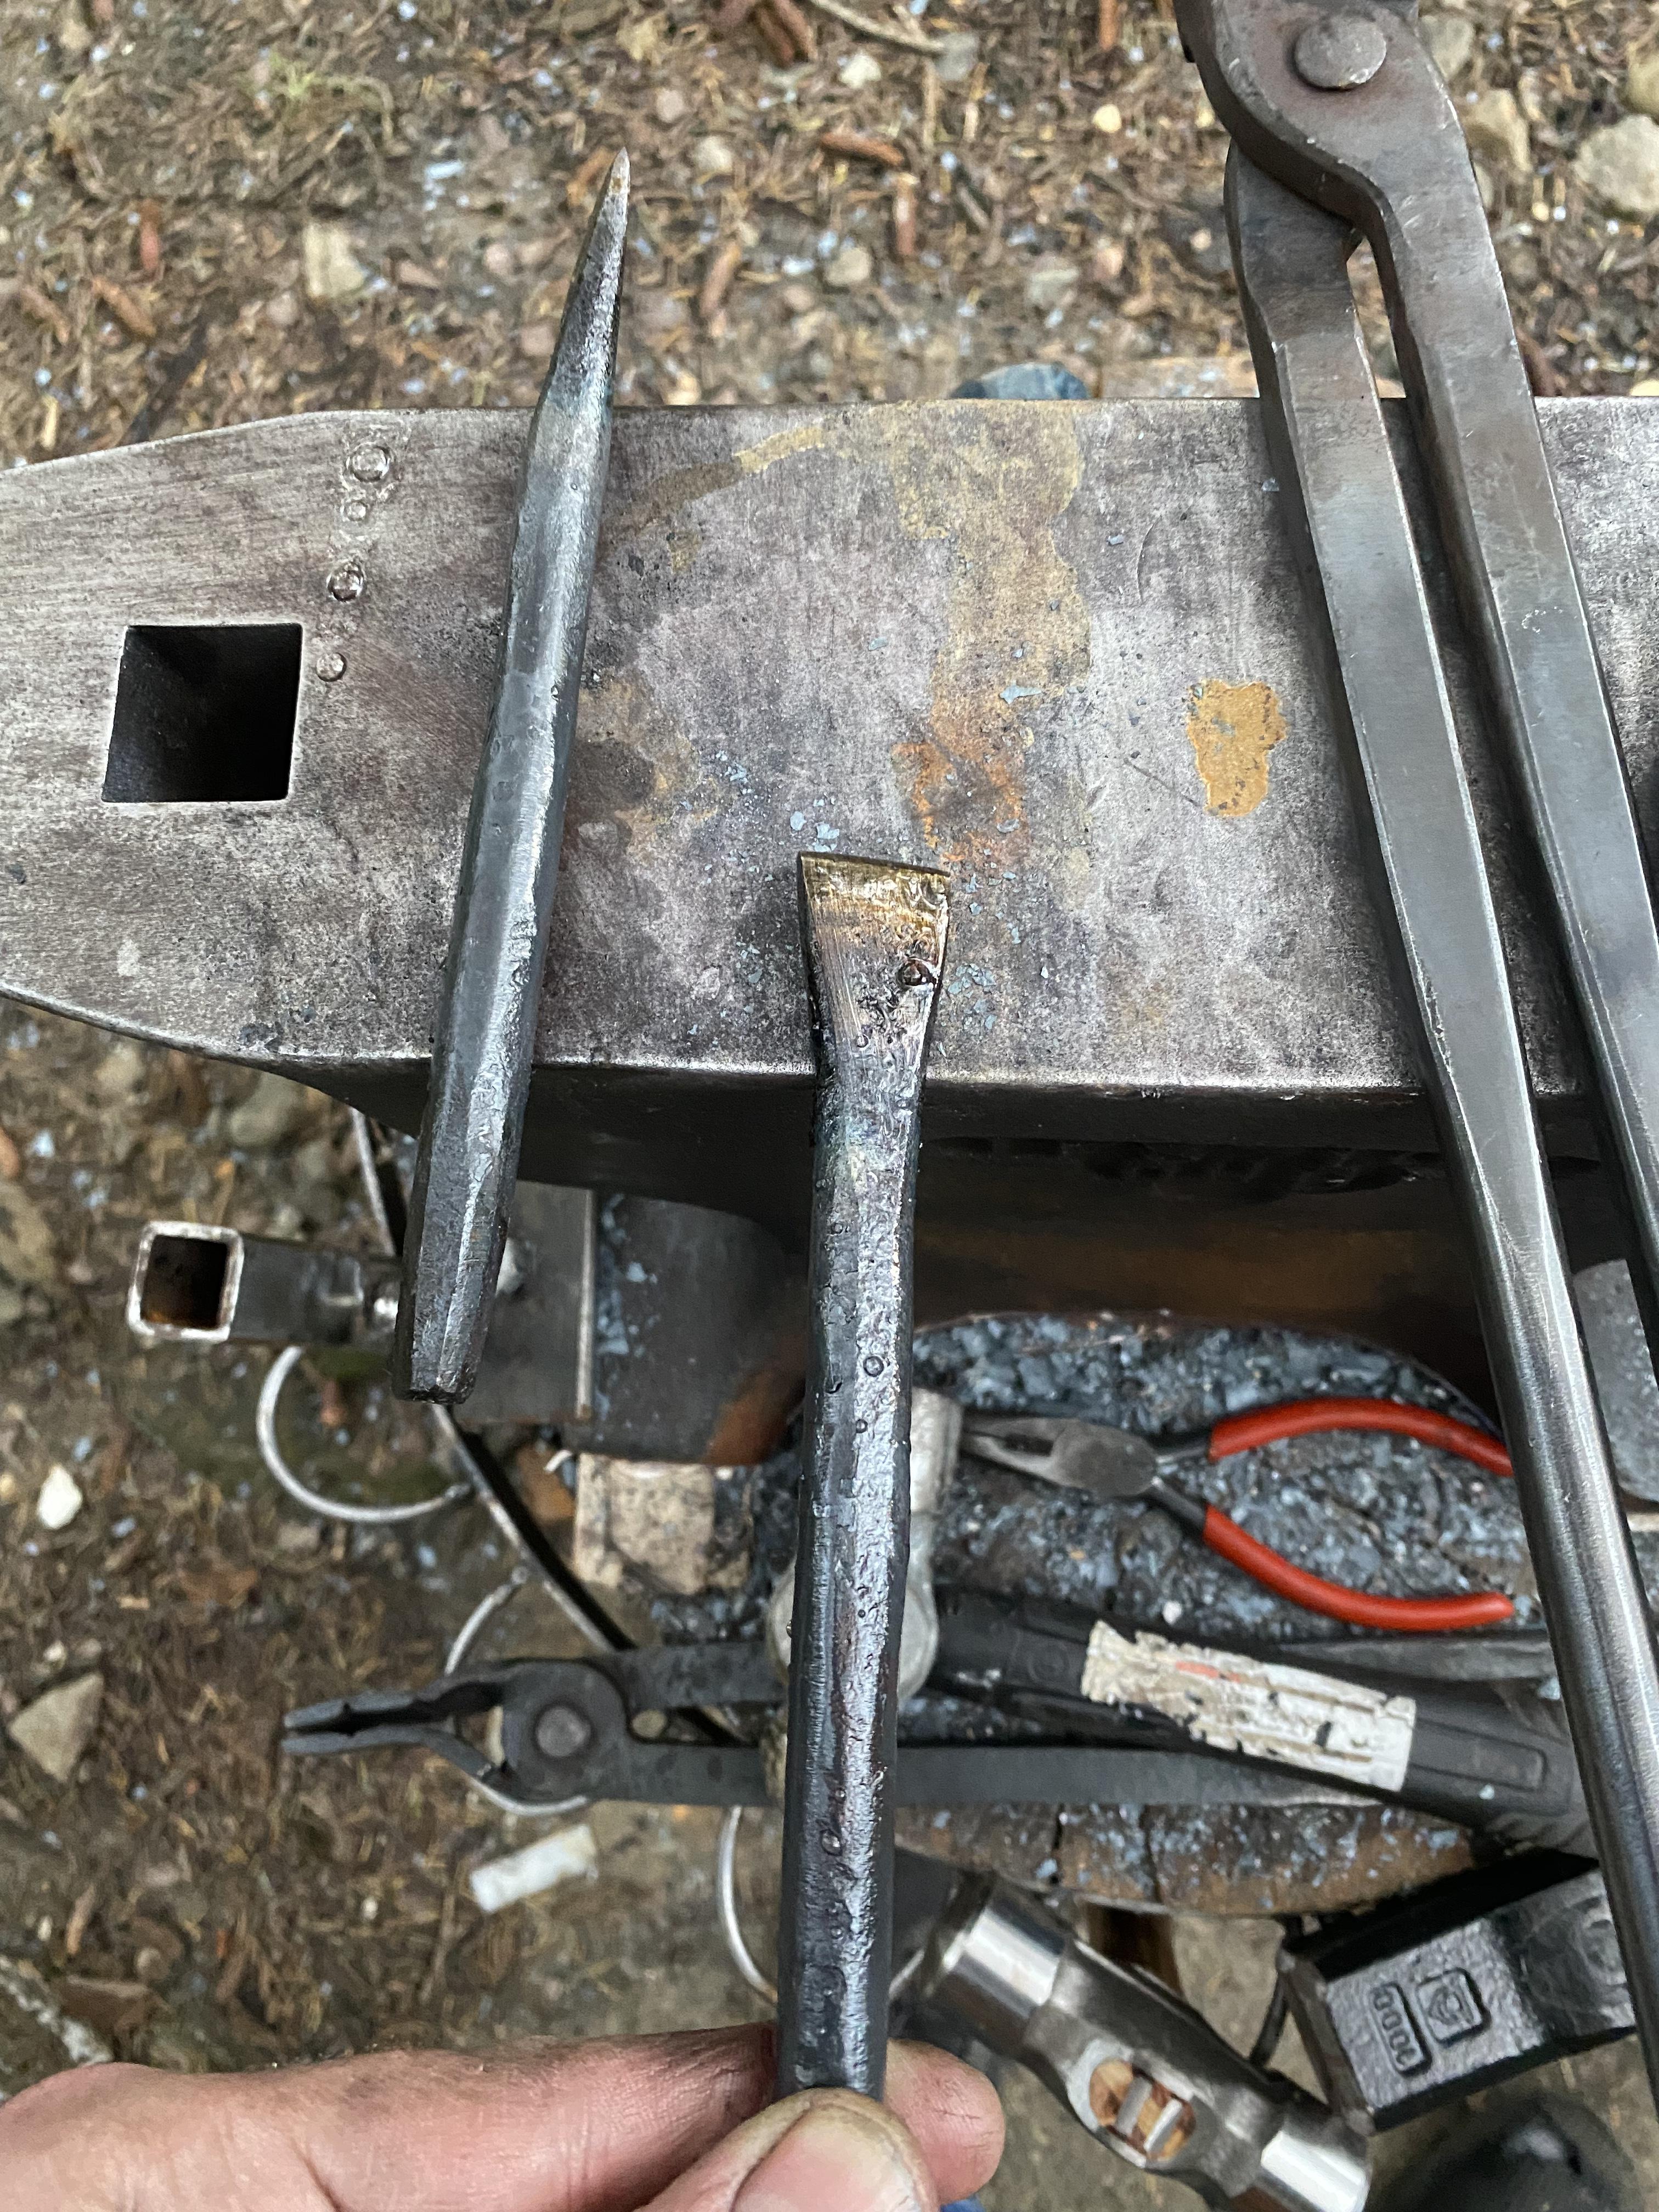
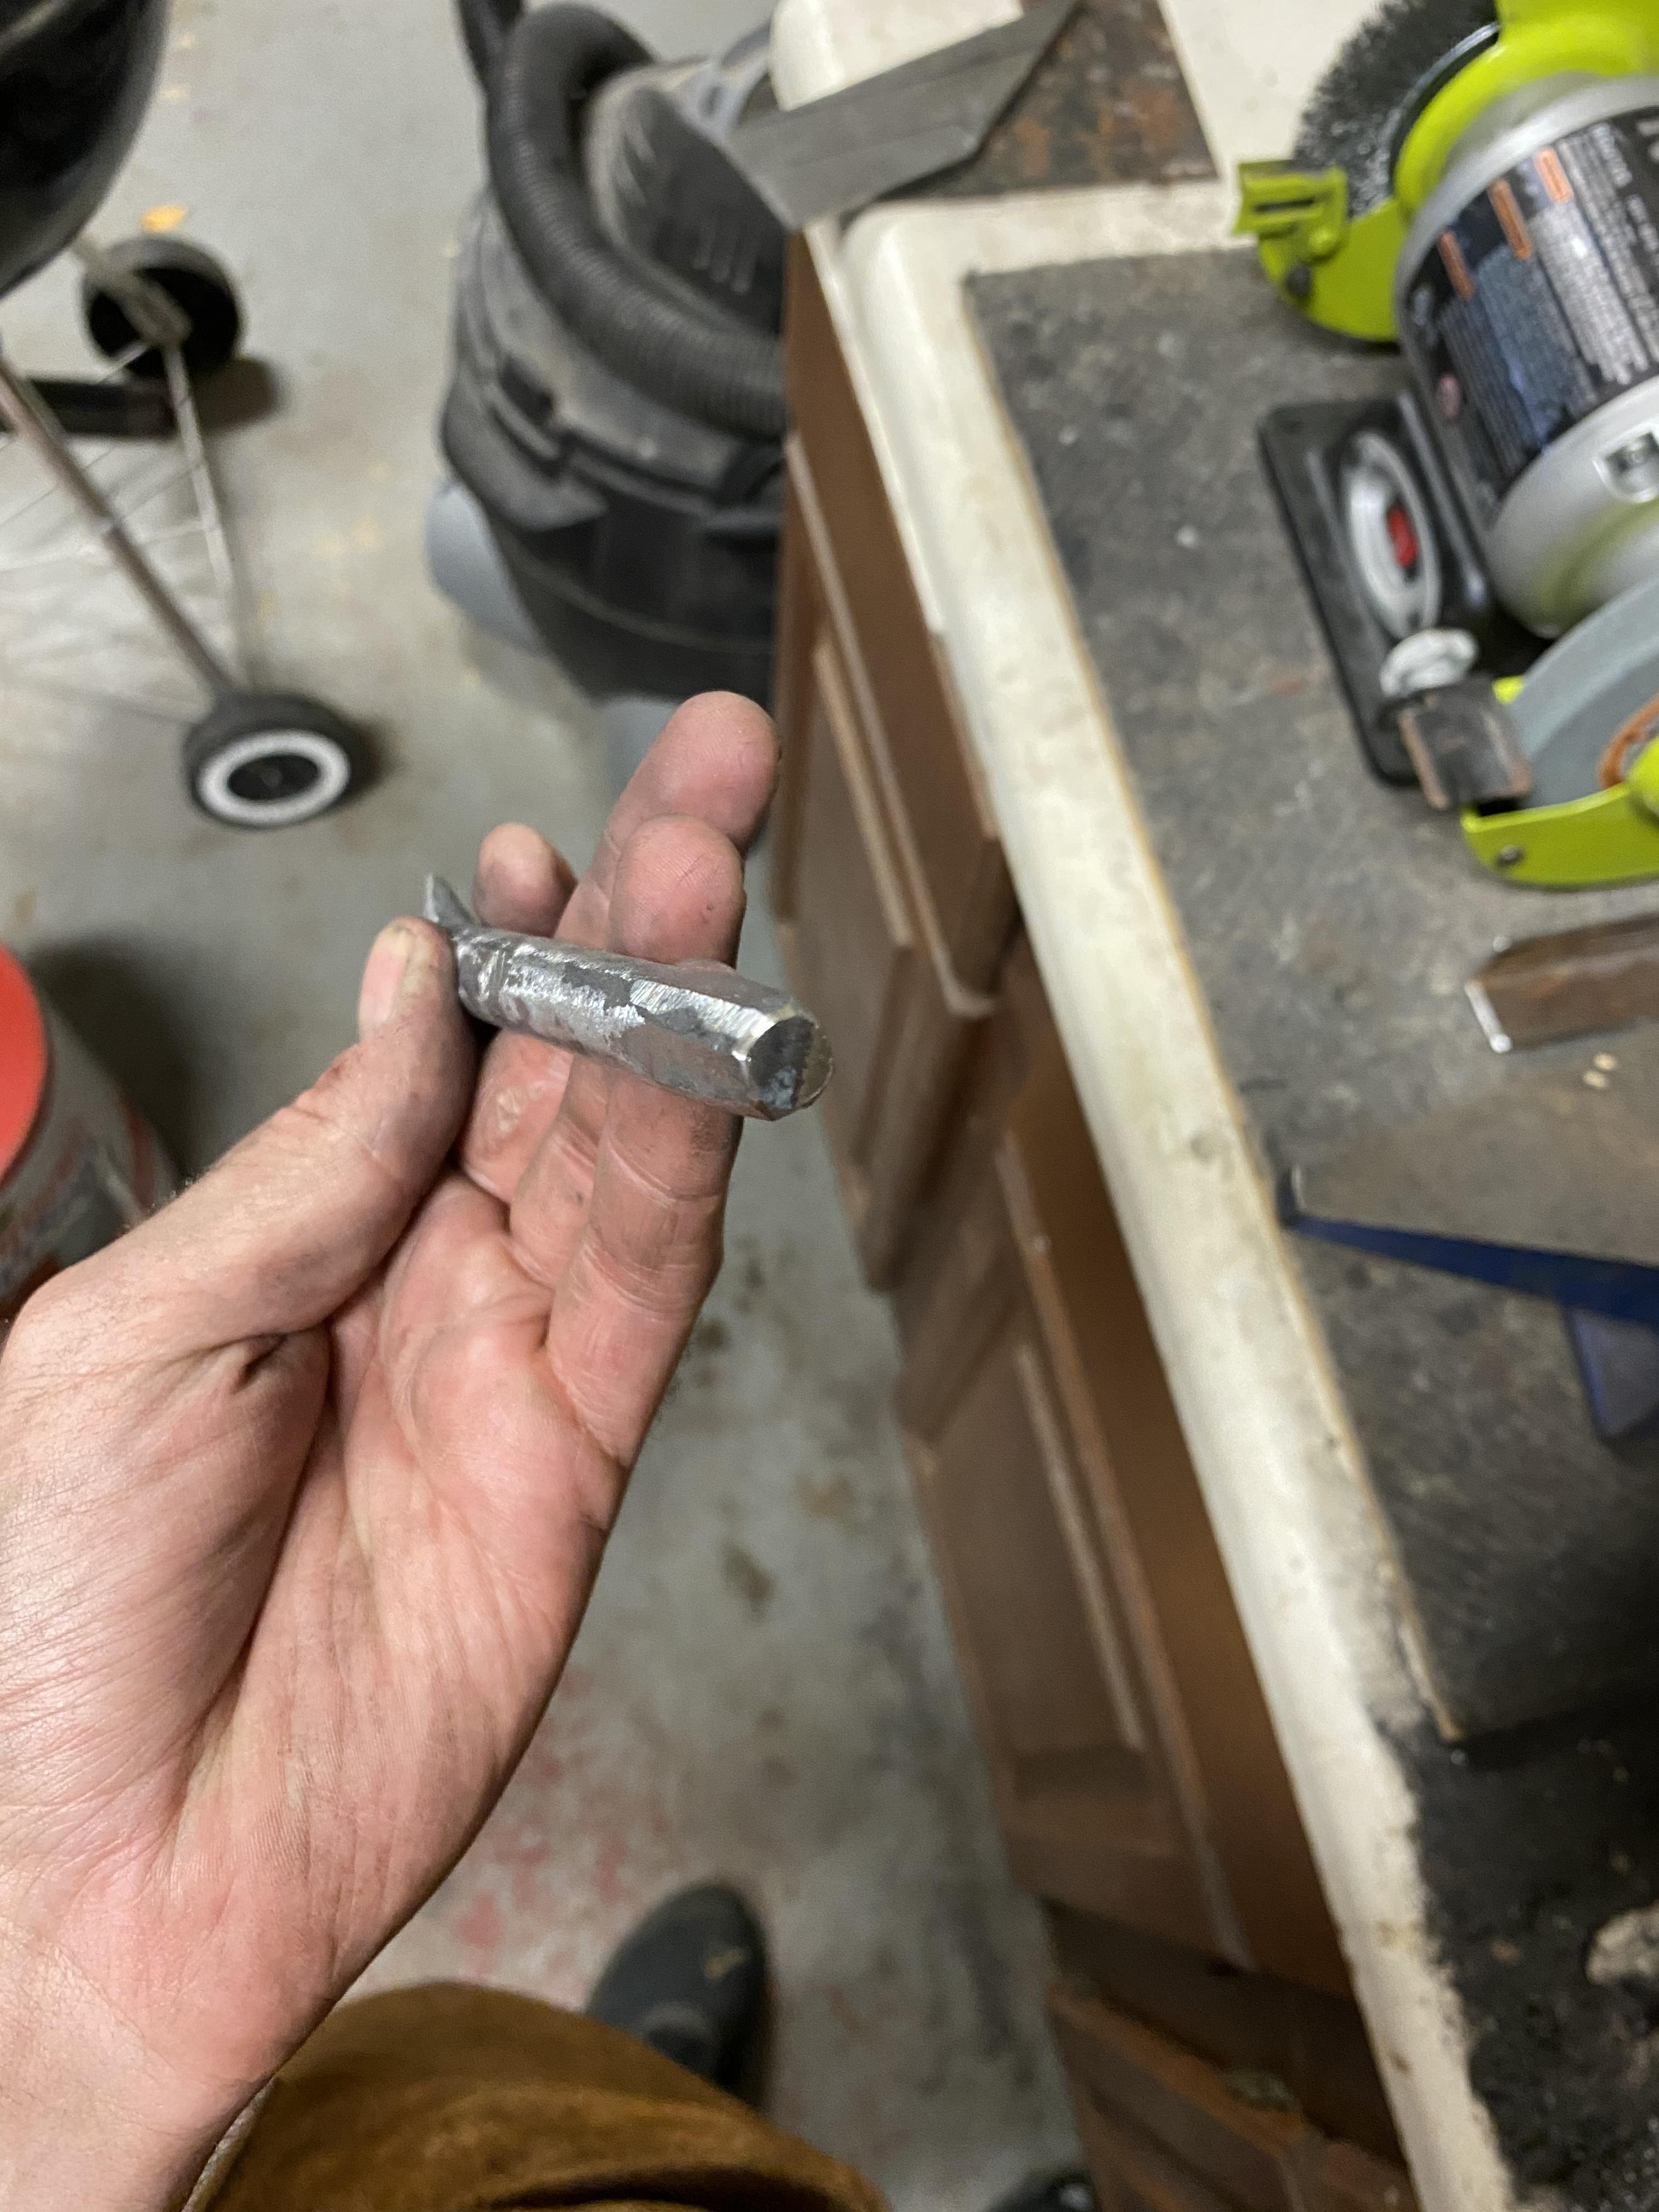
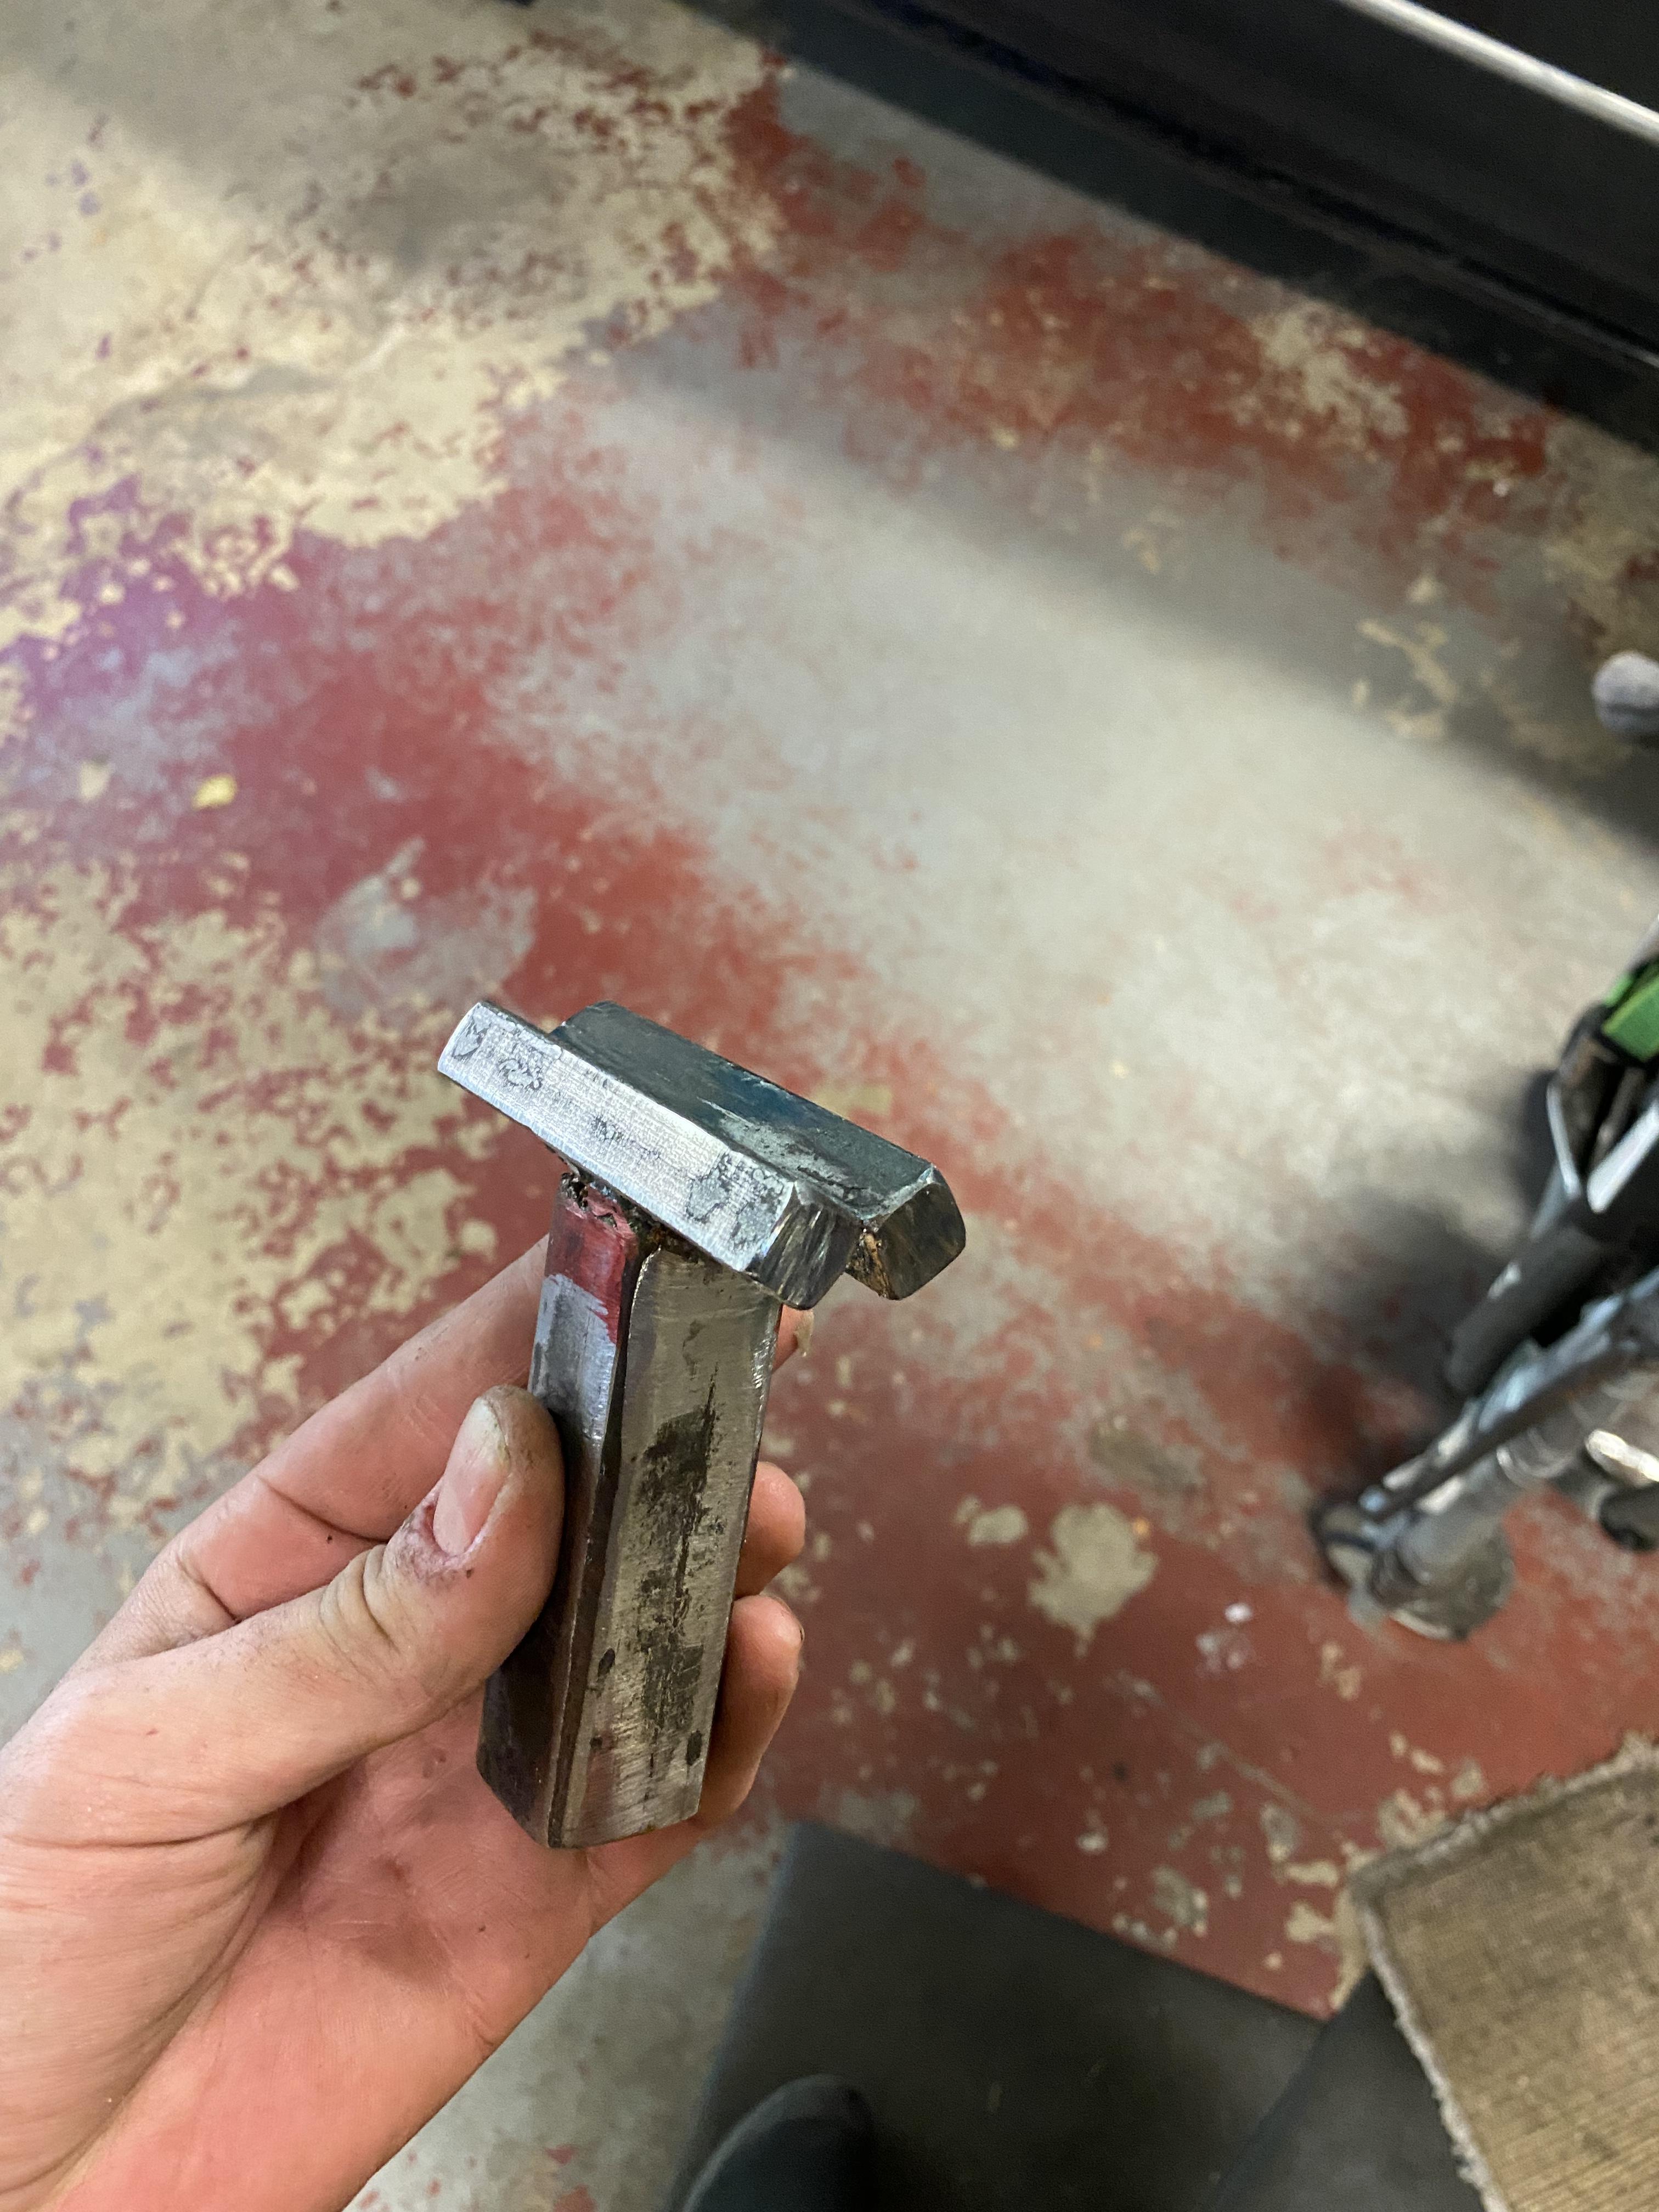
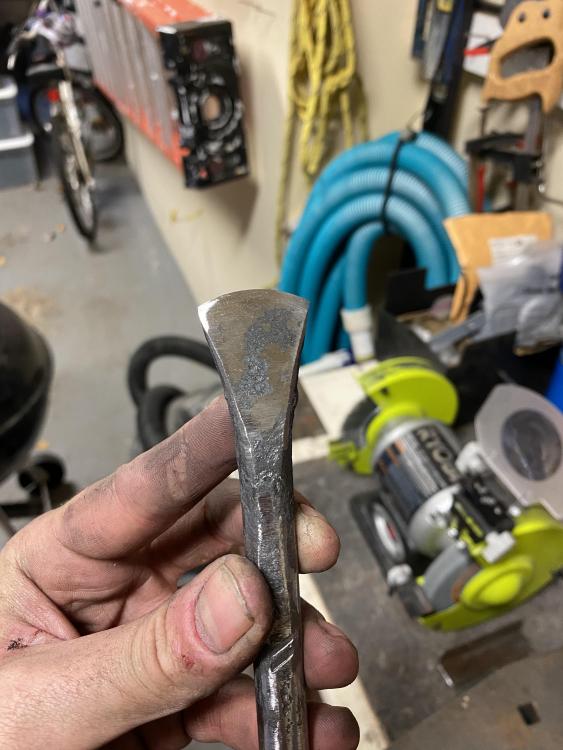
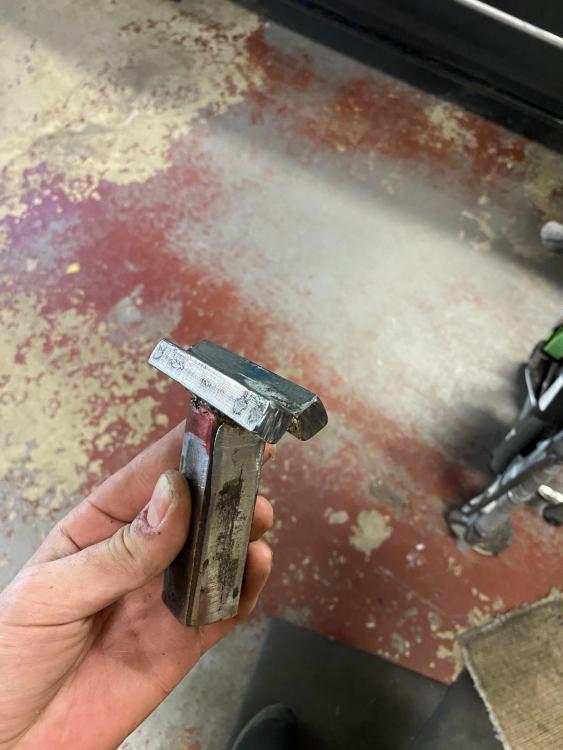
Agreed - outside tang is very unique. I think one of the coolest parts of smithing is being able to make a tool if you don’t have the right one - well at least sometimes you can make it. I’m working on a rose and I only had a large chisel and a very small chisel that are good for doing the veins. So I cut a couple coils off the springs I got from work and made one in between. Also made a small slitting chisel. I got a set of chisels from County Line Forge when I first started and they’re awesome but the chisel he described as a slitting chisel doesn’t look like most of the other, more squared off ones I see. Not sure I have the right shape on it but I guess I’ll find out. Wish the spring was 5/8 instead of 1/2” but for the small stuff I do these are going to be very useful. Heat treated already but they need some touch up grinding I think. Octagon striking end is a little uneven but I can grind that correct I guess. I was feeling quite proud that these only took me an hour or so all said and done so I put my touch mark on them even though they’re just for me lol.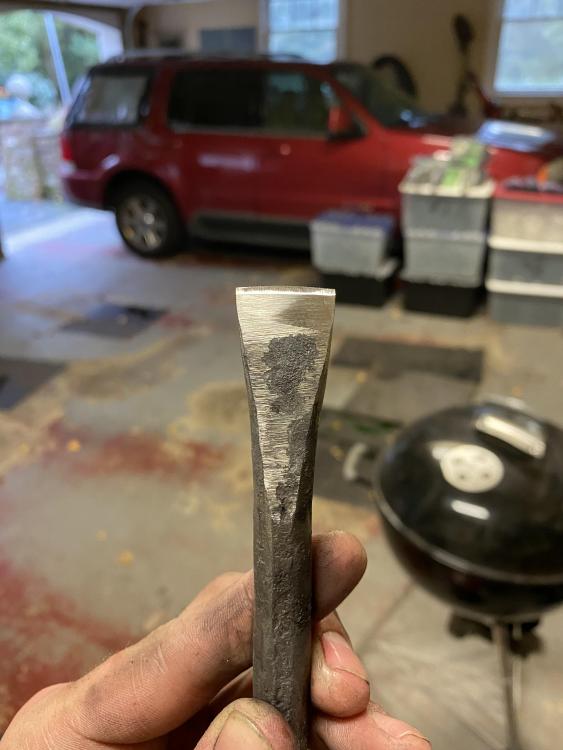


-
Refractory Choice Question
Pat Masterson replied to Pat Masterson's topic in Insulation and Refractories
Thanks JHCC those were helpful. Went with the Kasto-lite. -
Good morning everyone. So I finally started forge welding - which means I finally learned what flux does to the inside of a forge…wow. Commercial link removed. I’m ordering the kaowool, some firebricks and refractory. But they have a few different types of refractory. Kasto-lite 30, Mizzou, and this stuff called Green Patch. I’ve never heard of the last two. Green Patch, as the names implies is made more for patching cracks and holes but there’s some description by the guy who runs the site I guess that the Green Patch can be used to line the whole forge and works really well for that. Has anyone here used the Mizzou or Green Patch? They’re all priced right around the same amount. The site claims the Kasto-lite is less prone to cracking than others so I’m thinking that’s my best bet but figured I’d ask first. Any advice is very much appreciated. Have to order tomorrow so I can get it relined and finish Christmas gifts. Thanks. Hope it’s ok to post this link here so anyone willing to read through them can do so. Commercial link removed. Edit: I just read what sounds like a pretty good idea on that same site too. To reduce the damage from flux line the bottom/side that’s most affected with a piece of dished stainless steel. I guess the flux has a hard time getting through that stuff.
-
What did you do in the shop today?
Pat Masterson replied to Mark Ling's topic in Blacksmithing, General Discussion
Very cool handling concept. Is it inlaid into that side of the handle or was it thin enough that it wasn’t necessary? Really like how the manufacturers stamping was left. -
What did you do in the shop today?
Pat Masterson replied to Mark Ling's topic in Blacksmithing, General Discussion
Very helpful with the pictures Glenn, thanks. -
What did you do in the shop today?
Pat Masterson replied to Mark Ling's topic in Blacksmithing, General Discussion
Cool, thanks guys. -
What did you do in the shop today?
Pat Masterson replied to Mark Ling's topic in Blacksmithing, General Discussion
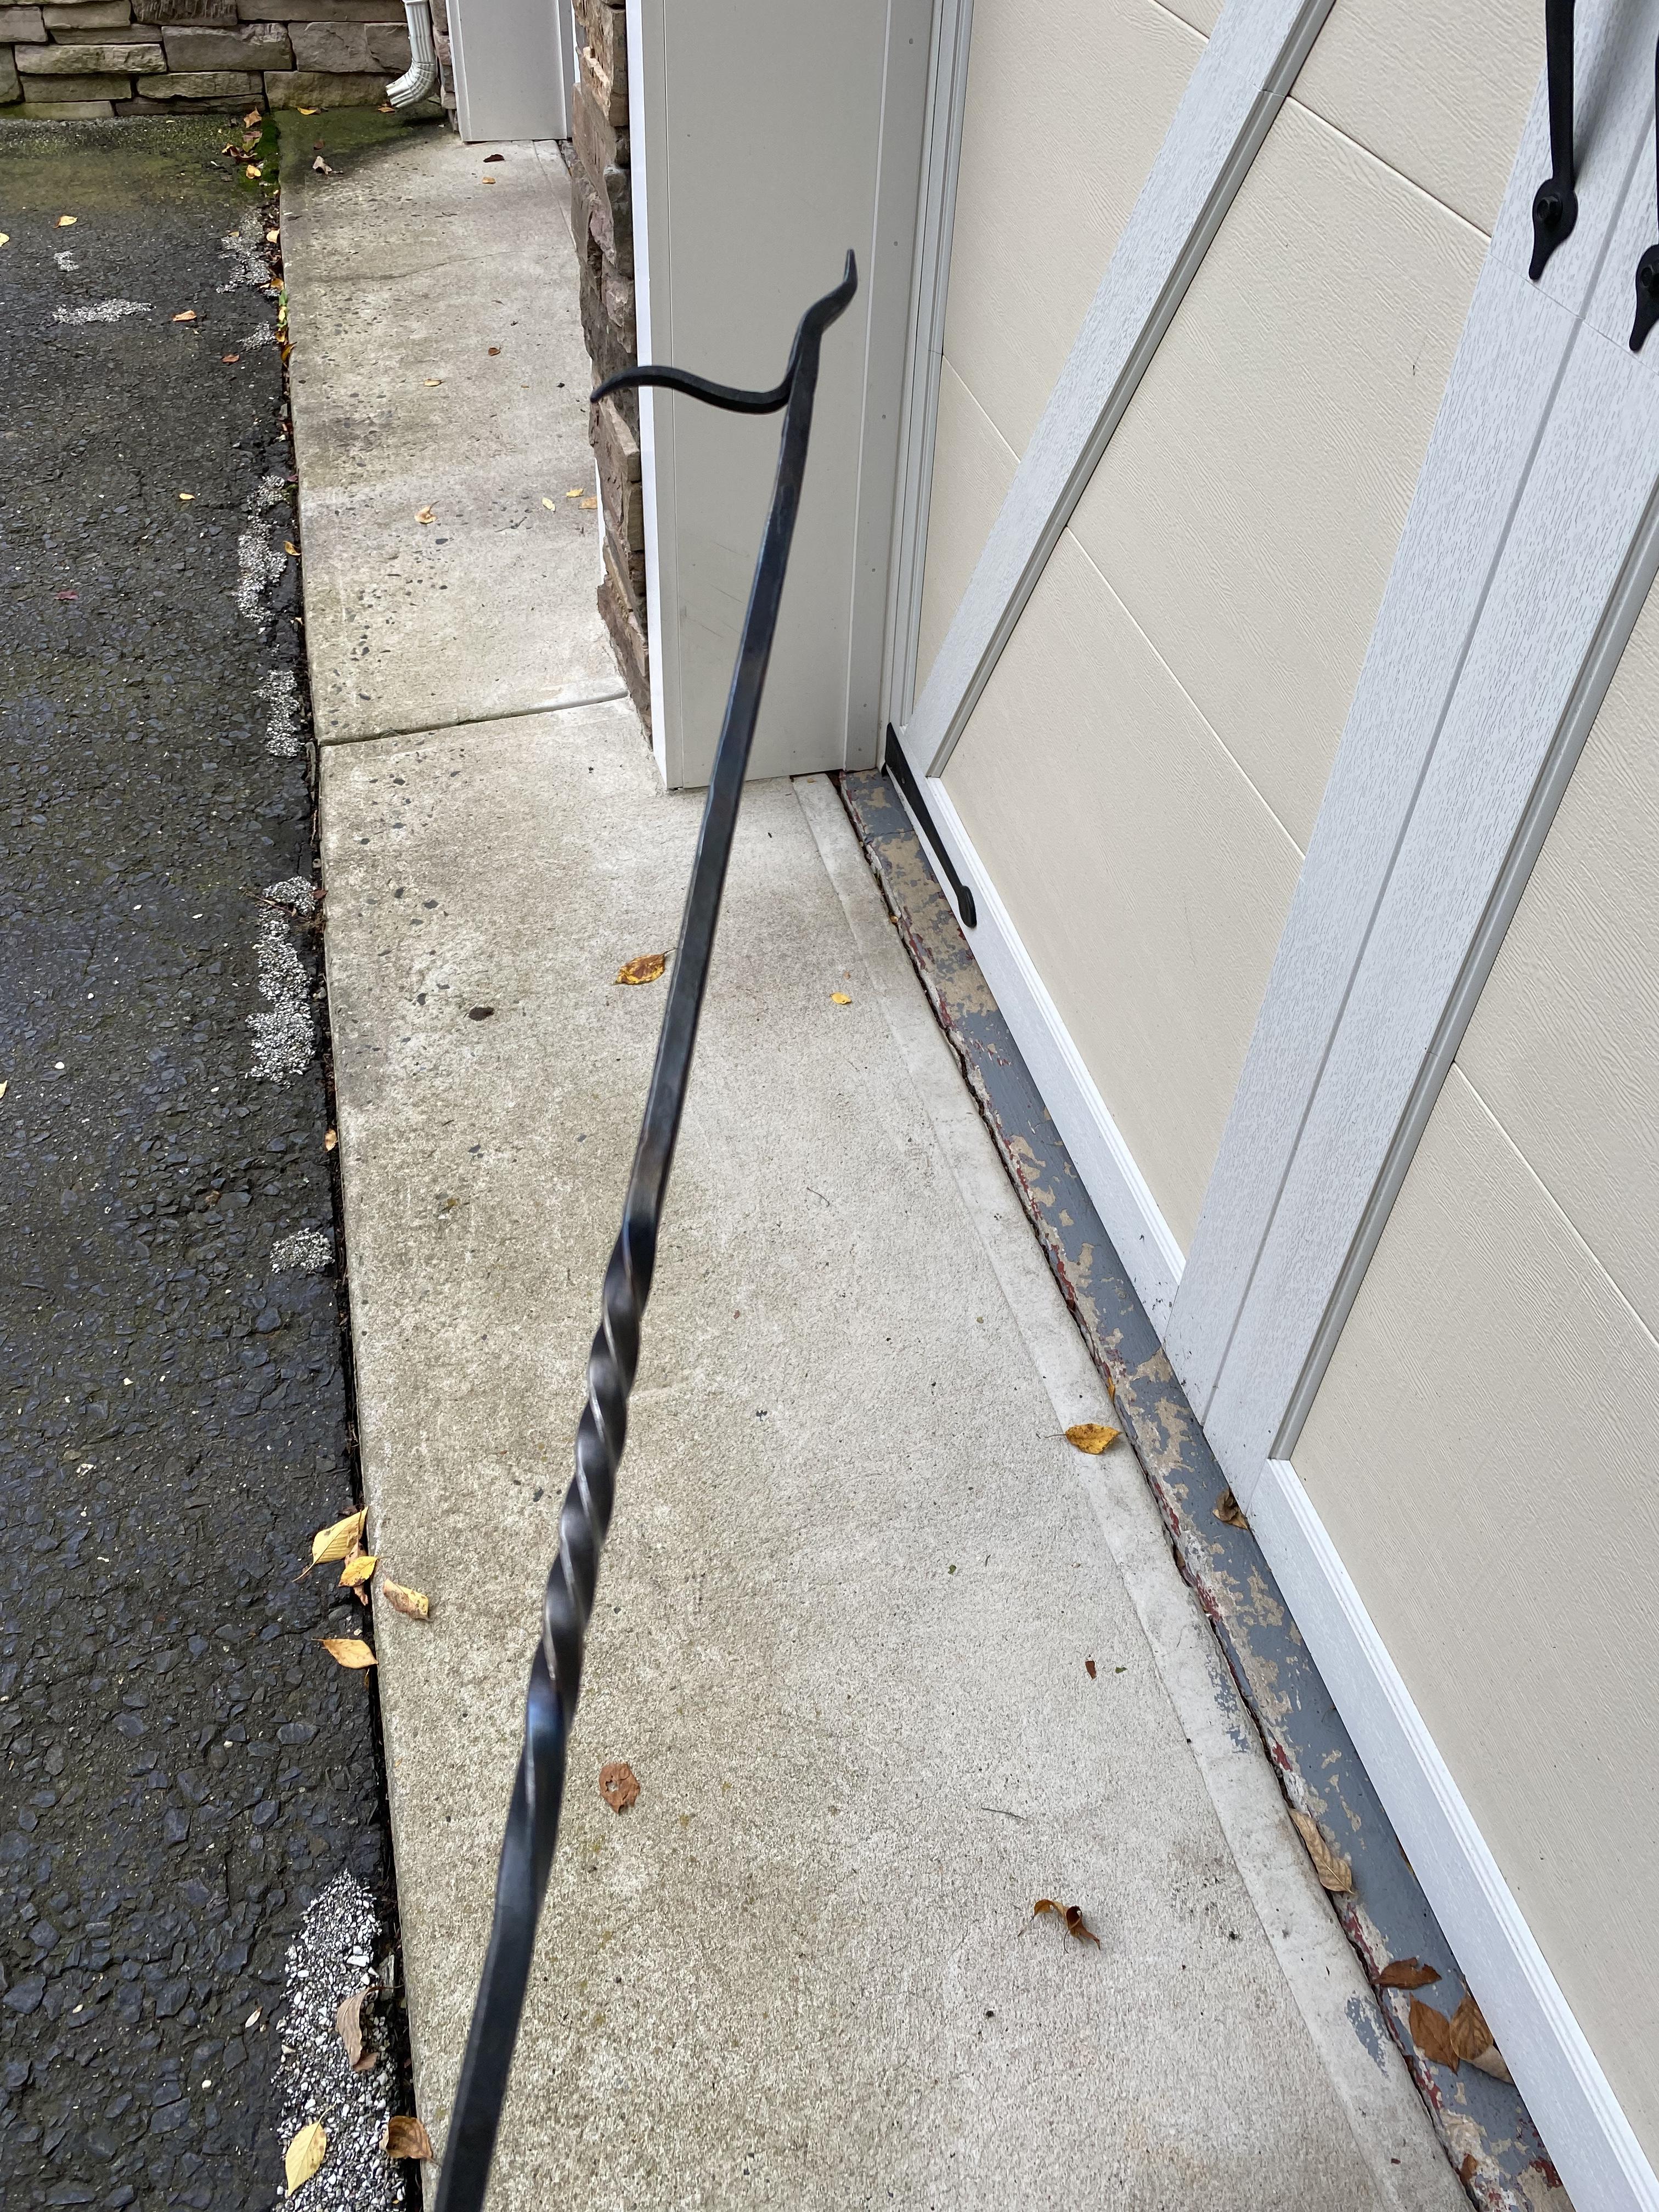
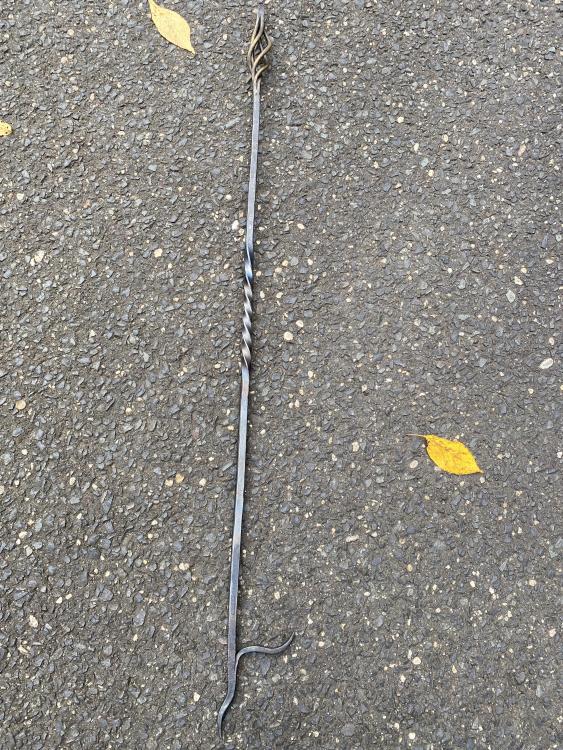
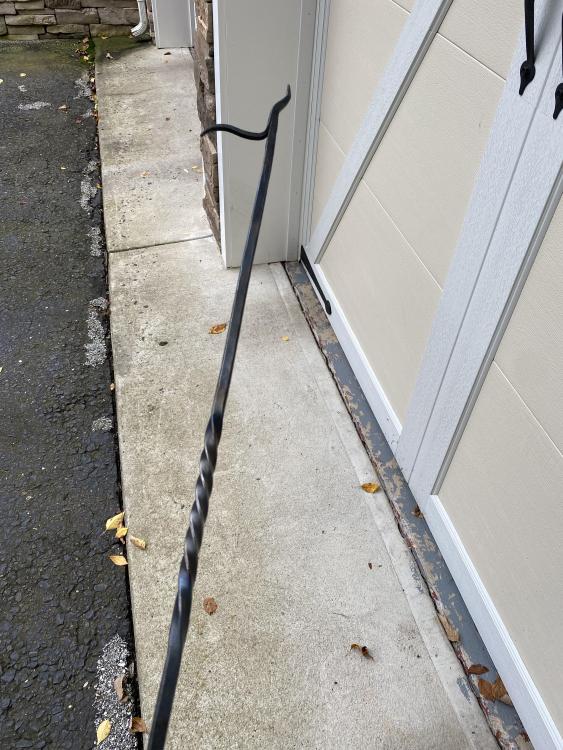
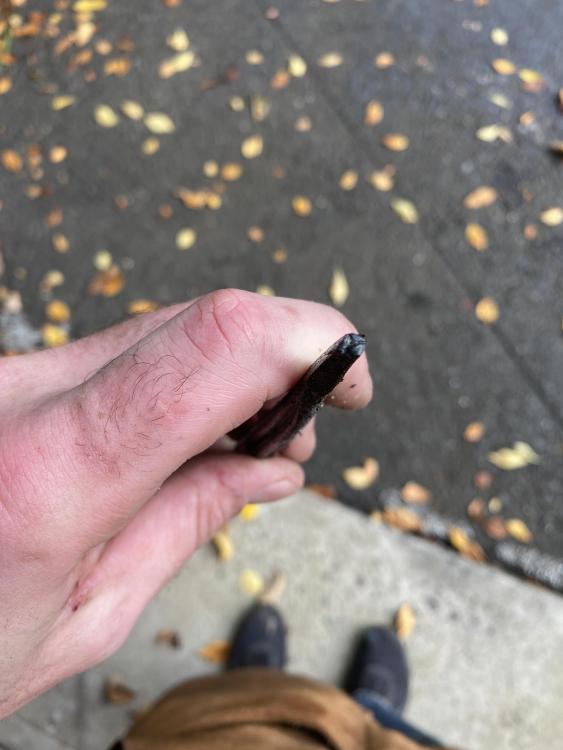
So while I was making that fire poker this weekend I realized I’ve gotten in the habit of holding my hammer with my thumb up in line with the handle. I keep thinking I remember someone, either on here or in some YouTube video, saying that this grip is bad for some reason and my thumb should be wrapped around…any truth to this? If so I have to get rid of a bad habit now before it gets much harder to do so. I feel like I have more control with my thumb up though…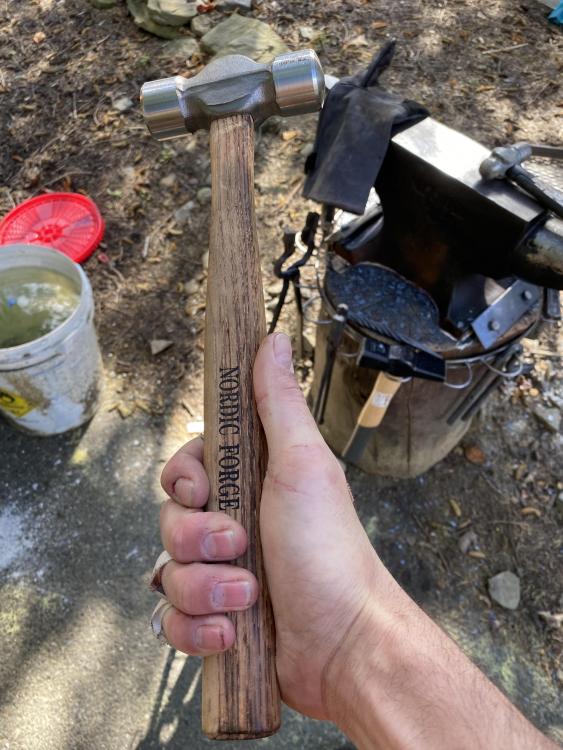

-
What did you do in the shop today?
Pat Masterson replied to Mark Ling's topic in Blacksmithing, General Discussion
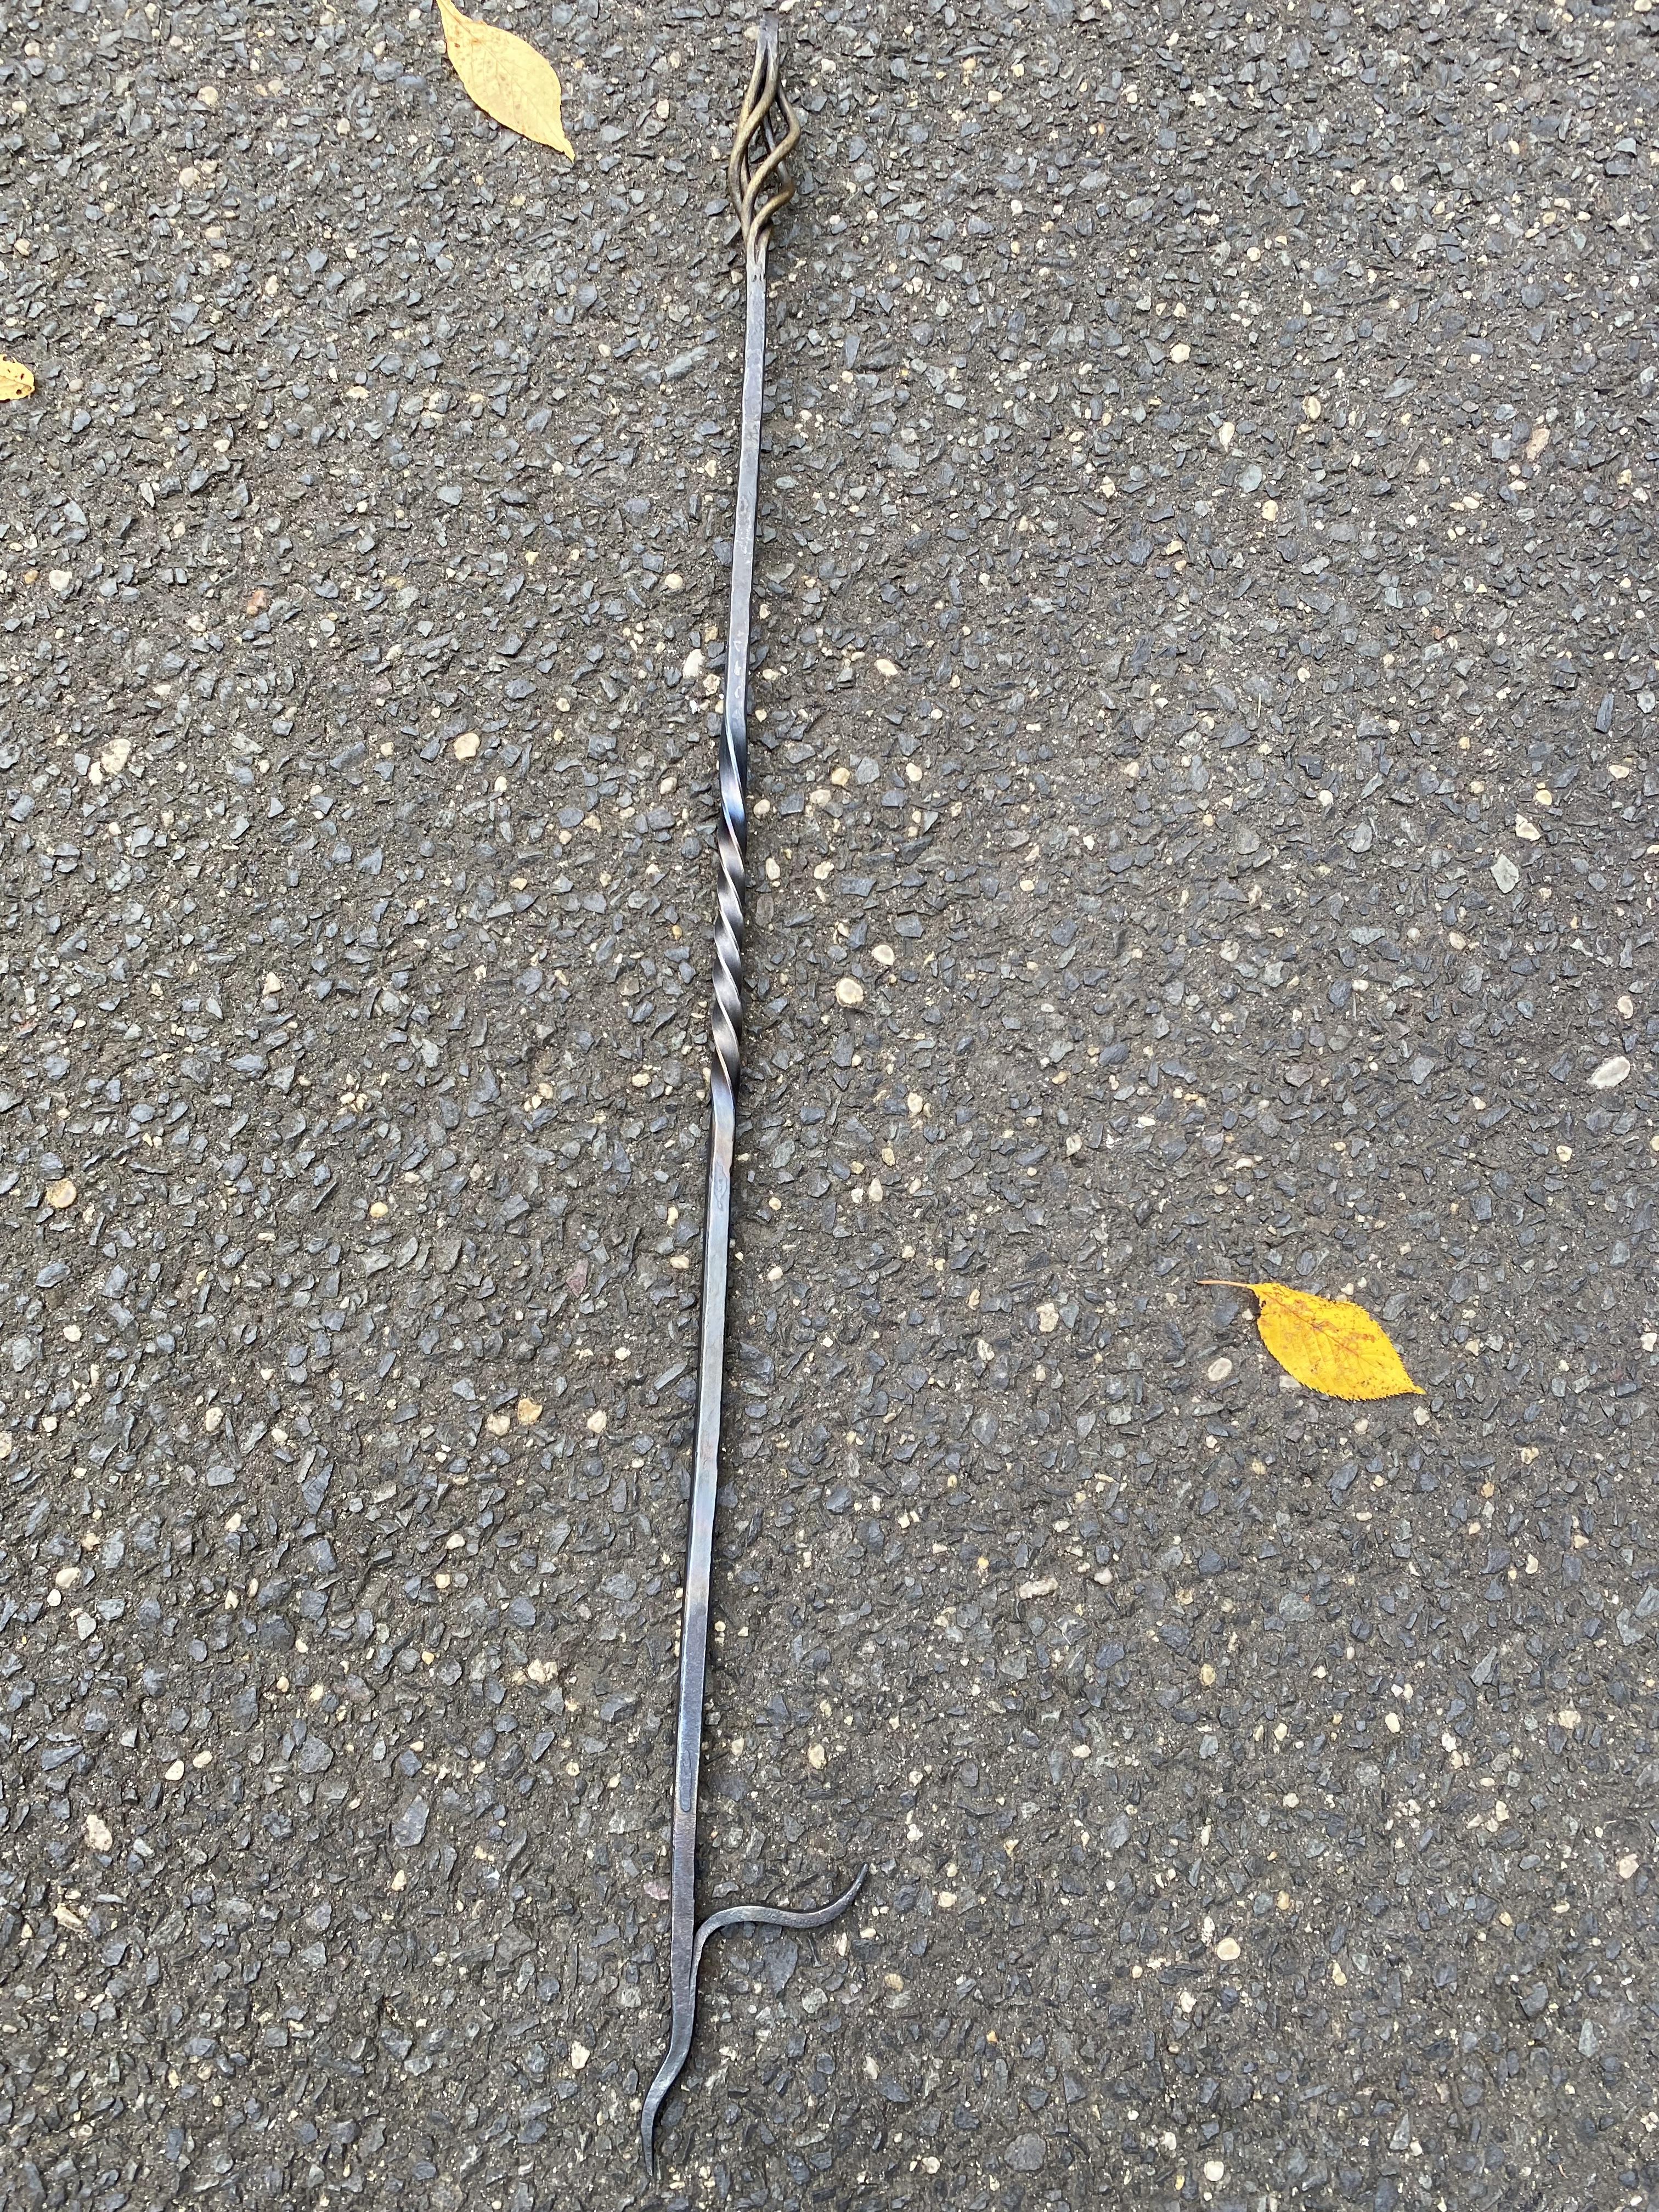
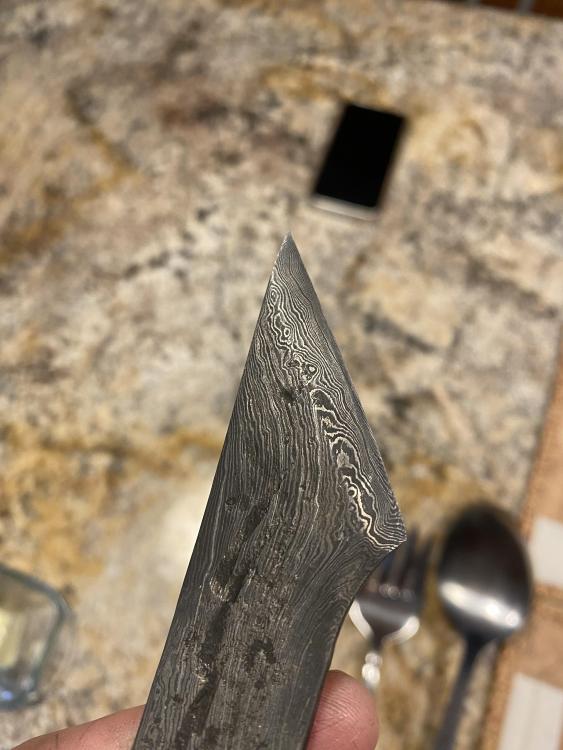
Had a pretty productive weekend. Finished up this knife for my brother. Came from a damascus billet that was gifted to me - was a little unsure about it but it hardened and tempered ok. Doesn’t really matter though as this is more of a show knife. I just couldn’t get it sharp. Pretty sure it’s because the blade is perfectly straight. But I have another piece of damascus left and I made a jig for grinding the bevel on the next one so hopefully he’ll get a good one for Christmas. Also tried my first scarf welds. “Drop the tongs” weld - had to try it about 6 times before I got it lined up quick enough but still wouldn’t stick enough to be confident in it. I ended up hitting it with my flux core and you can barely tell where it’s welded. Really happy with this poker though - Christmas gift for my step dad.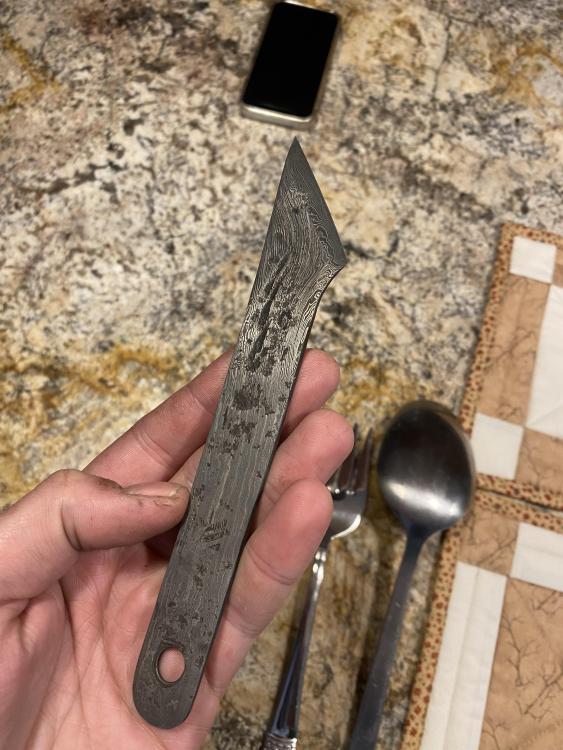

-
What did you do in the shop today?
Pat Masterson replied to Mark Ling's topic in Blacksmithing, General Discussion
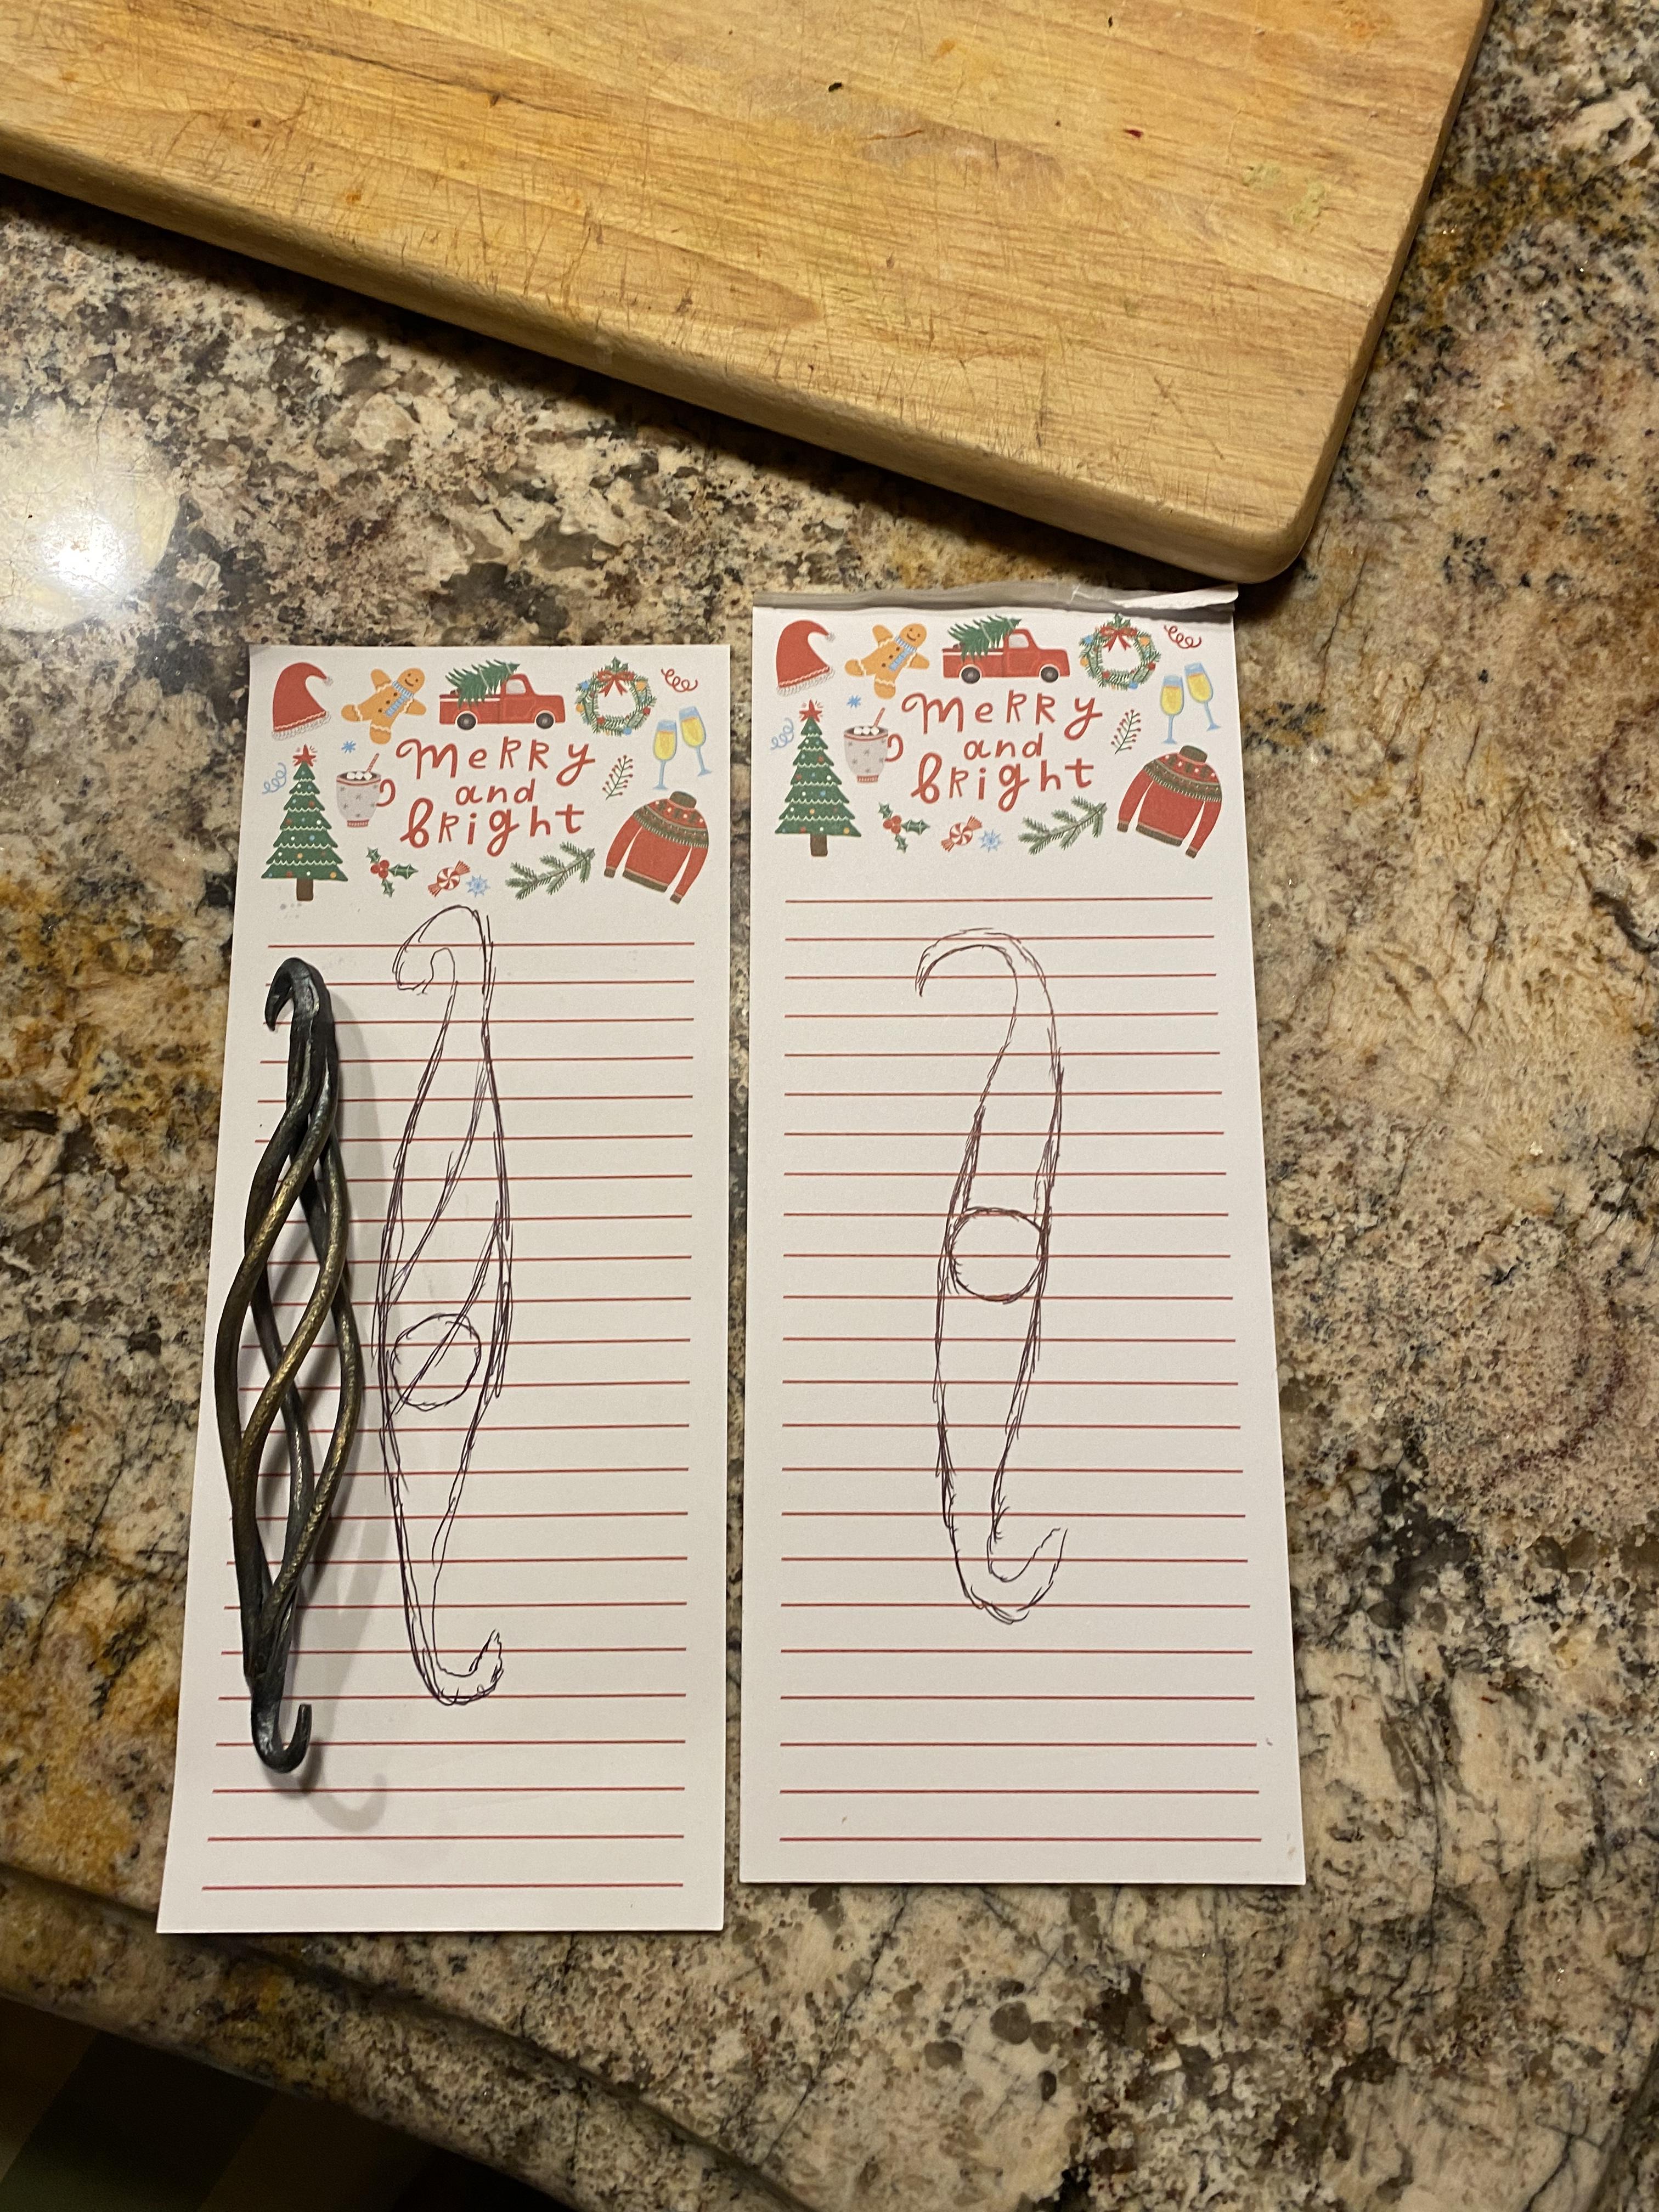
Wow Alexandr- this is some of the nicest work you’ve posted here, in my opinion. Something about the part holding the bulb - I can’t stop looking at it. Amazing man, really amazing work - thank you for sharing it here. Now for my own stuff that I wish was one tenth as good as Alexandr’s stuff haha - I’m not the religious type but I’ve been wanting to make a split cross or Friedrichs cross as I’ve heard it called before for a gift. I wanted to try to make it look different than all the rest. I was thinking twist it first then do the normal steps…? Or maybe doing the cuts on the corners instead of the middle of the bar so each “limb” of the cross would be triangle shaped? Anything stand out to any of you guys that would make either situation not work? -
What did you do in the shop today?
Pat Masterson replied to Mark Ling's topic in Blacksmithing, General Discussion
Are those old forge blowers in the background? They look pretty cool… -
What did you do in the shop today?
Pat Masterson replied to Mark Ling's topic in Blacksmithing, General Discussion
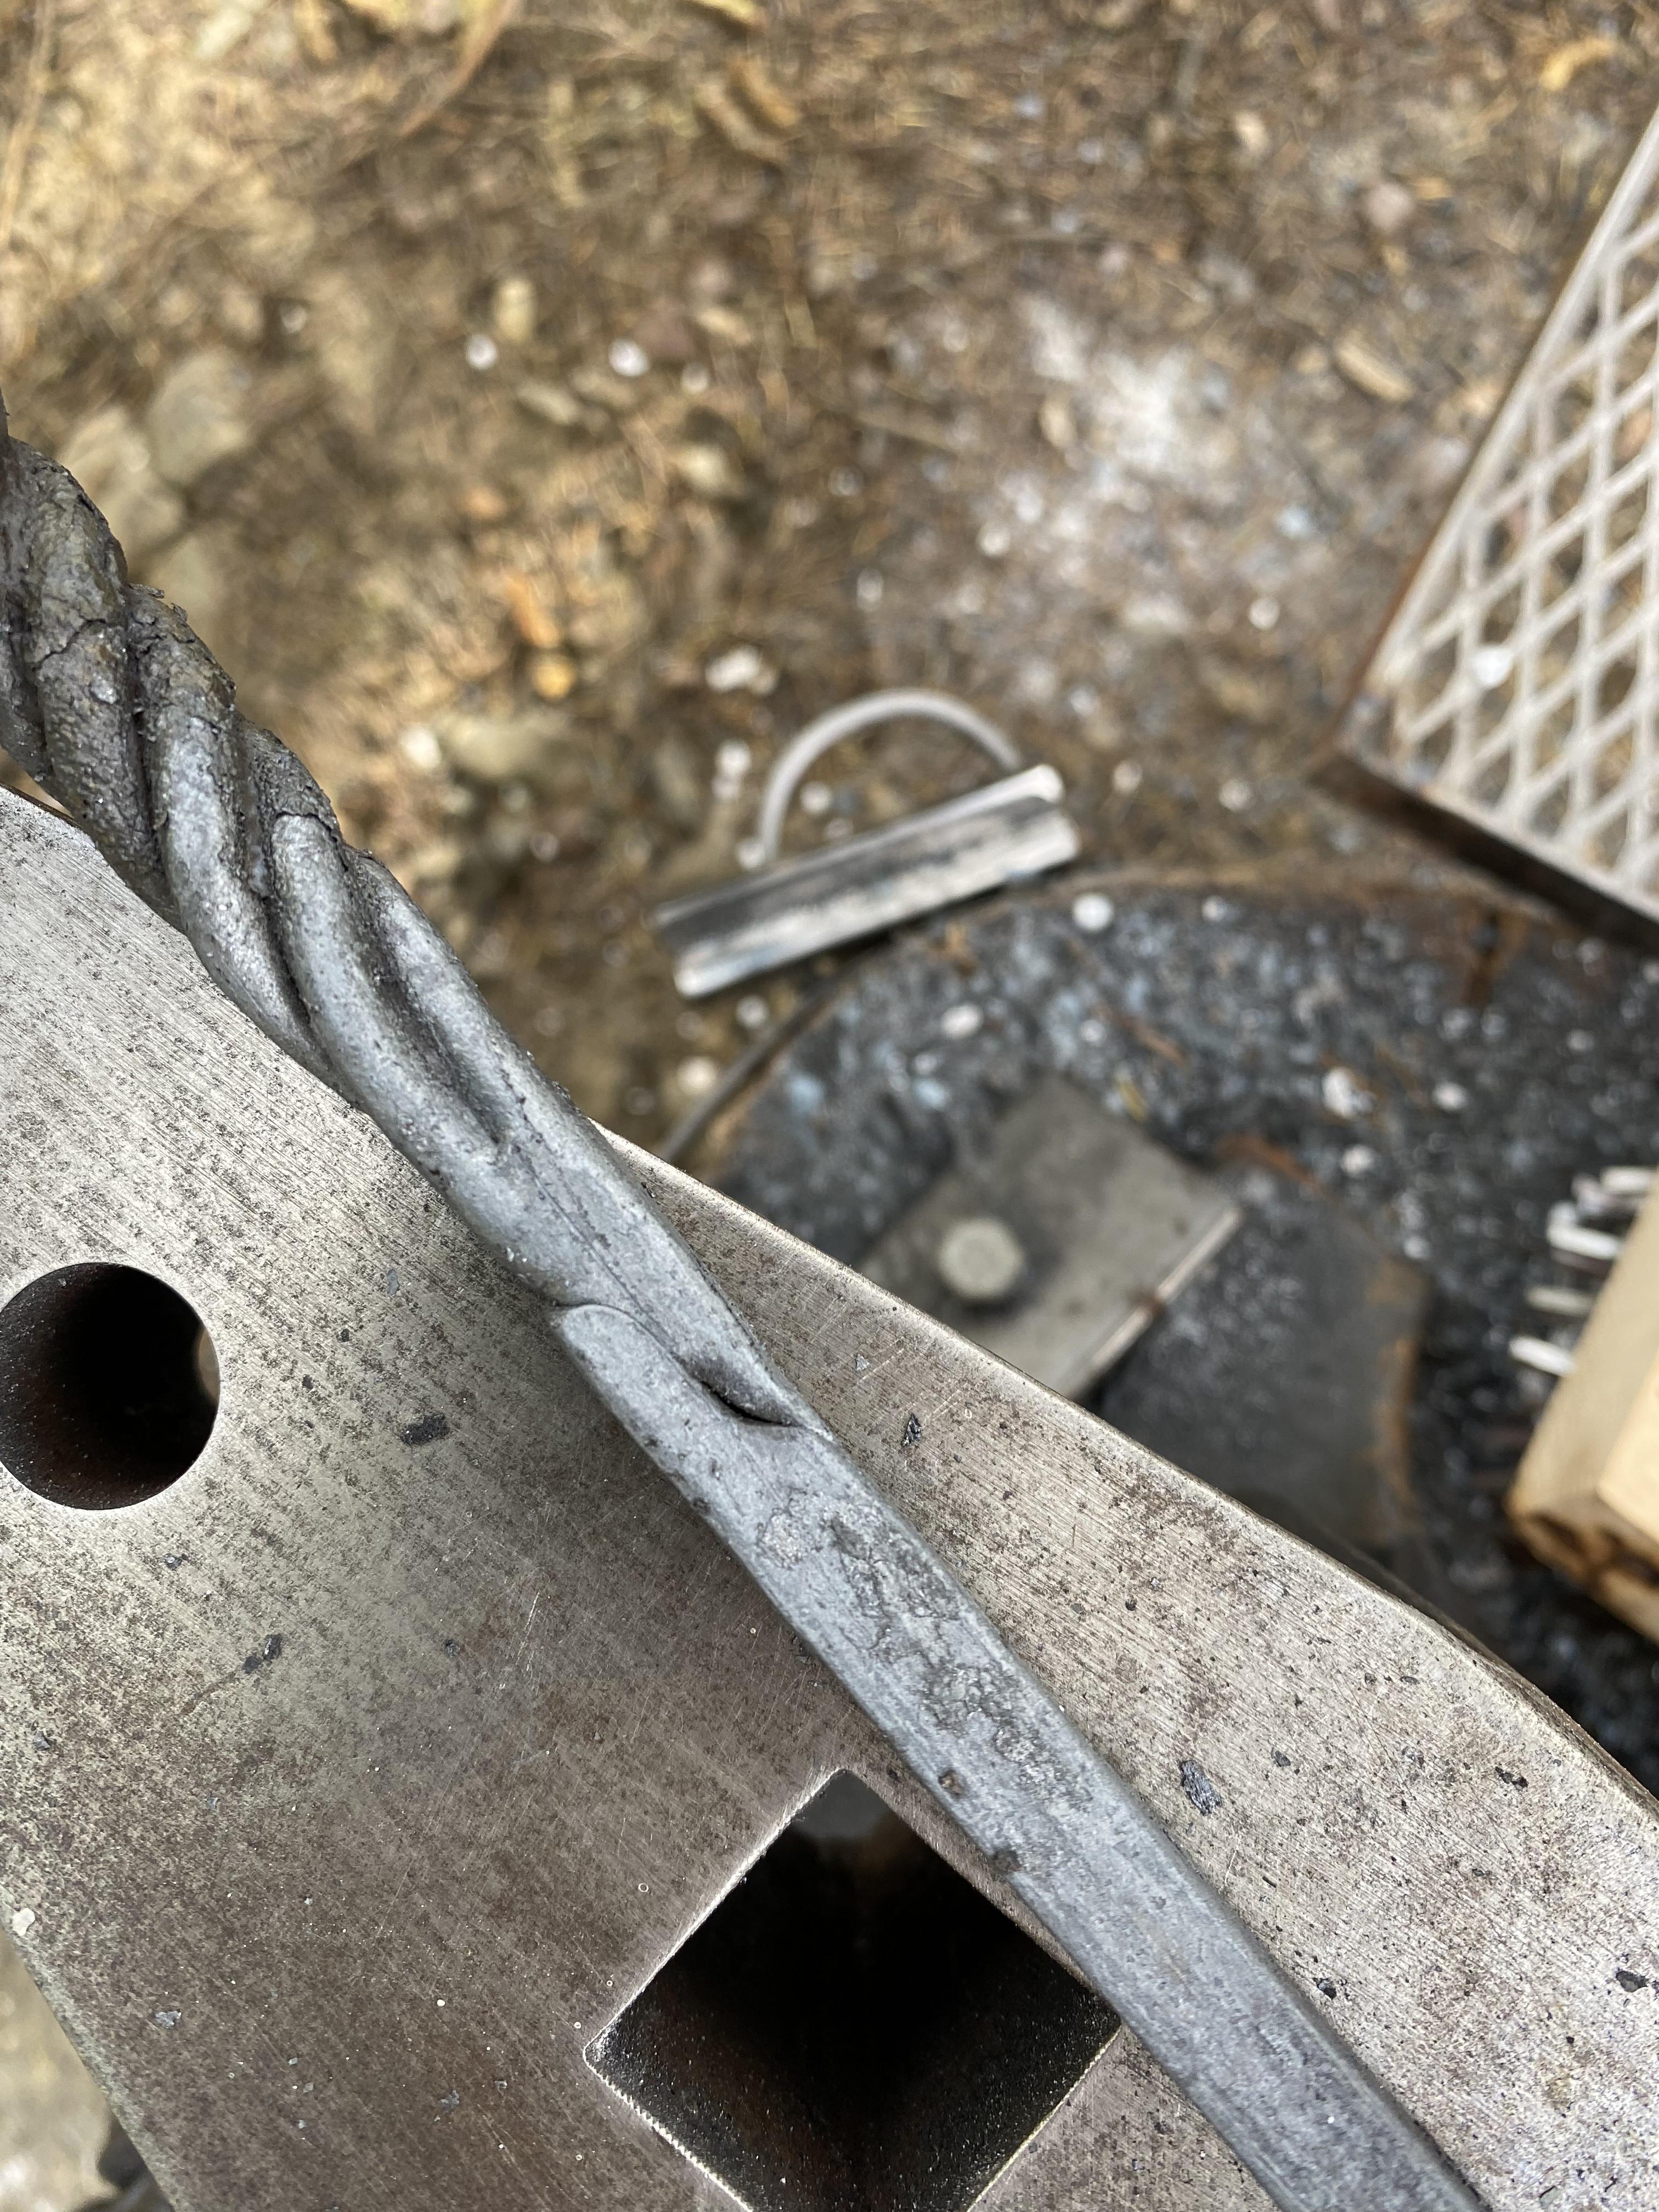
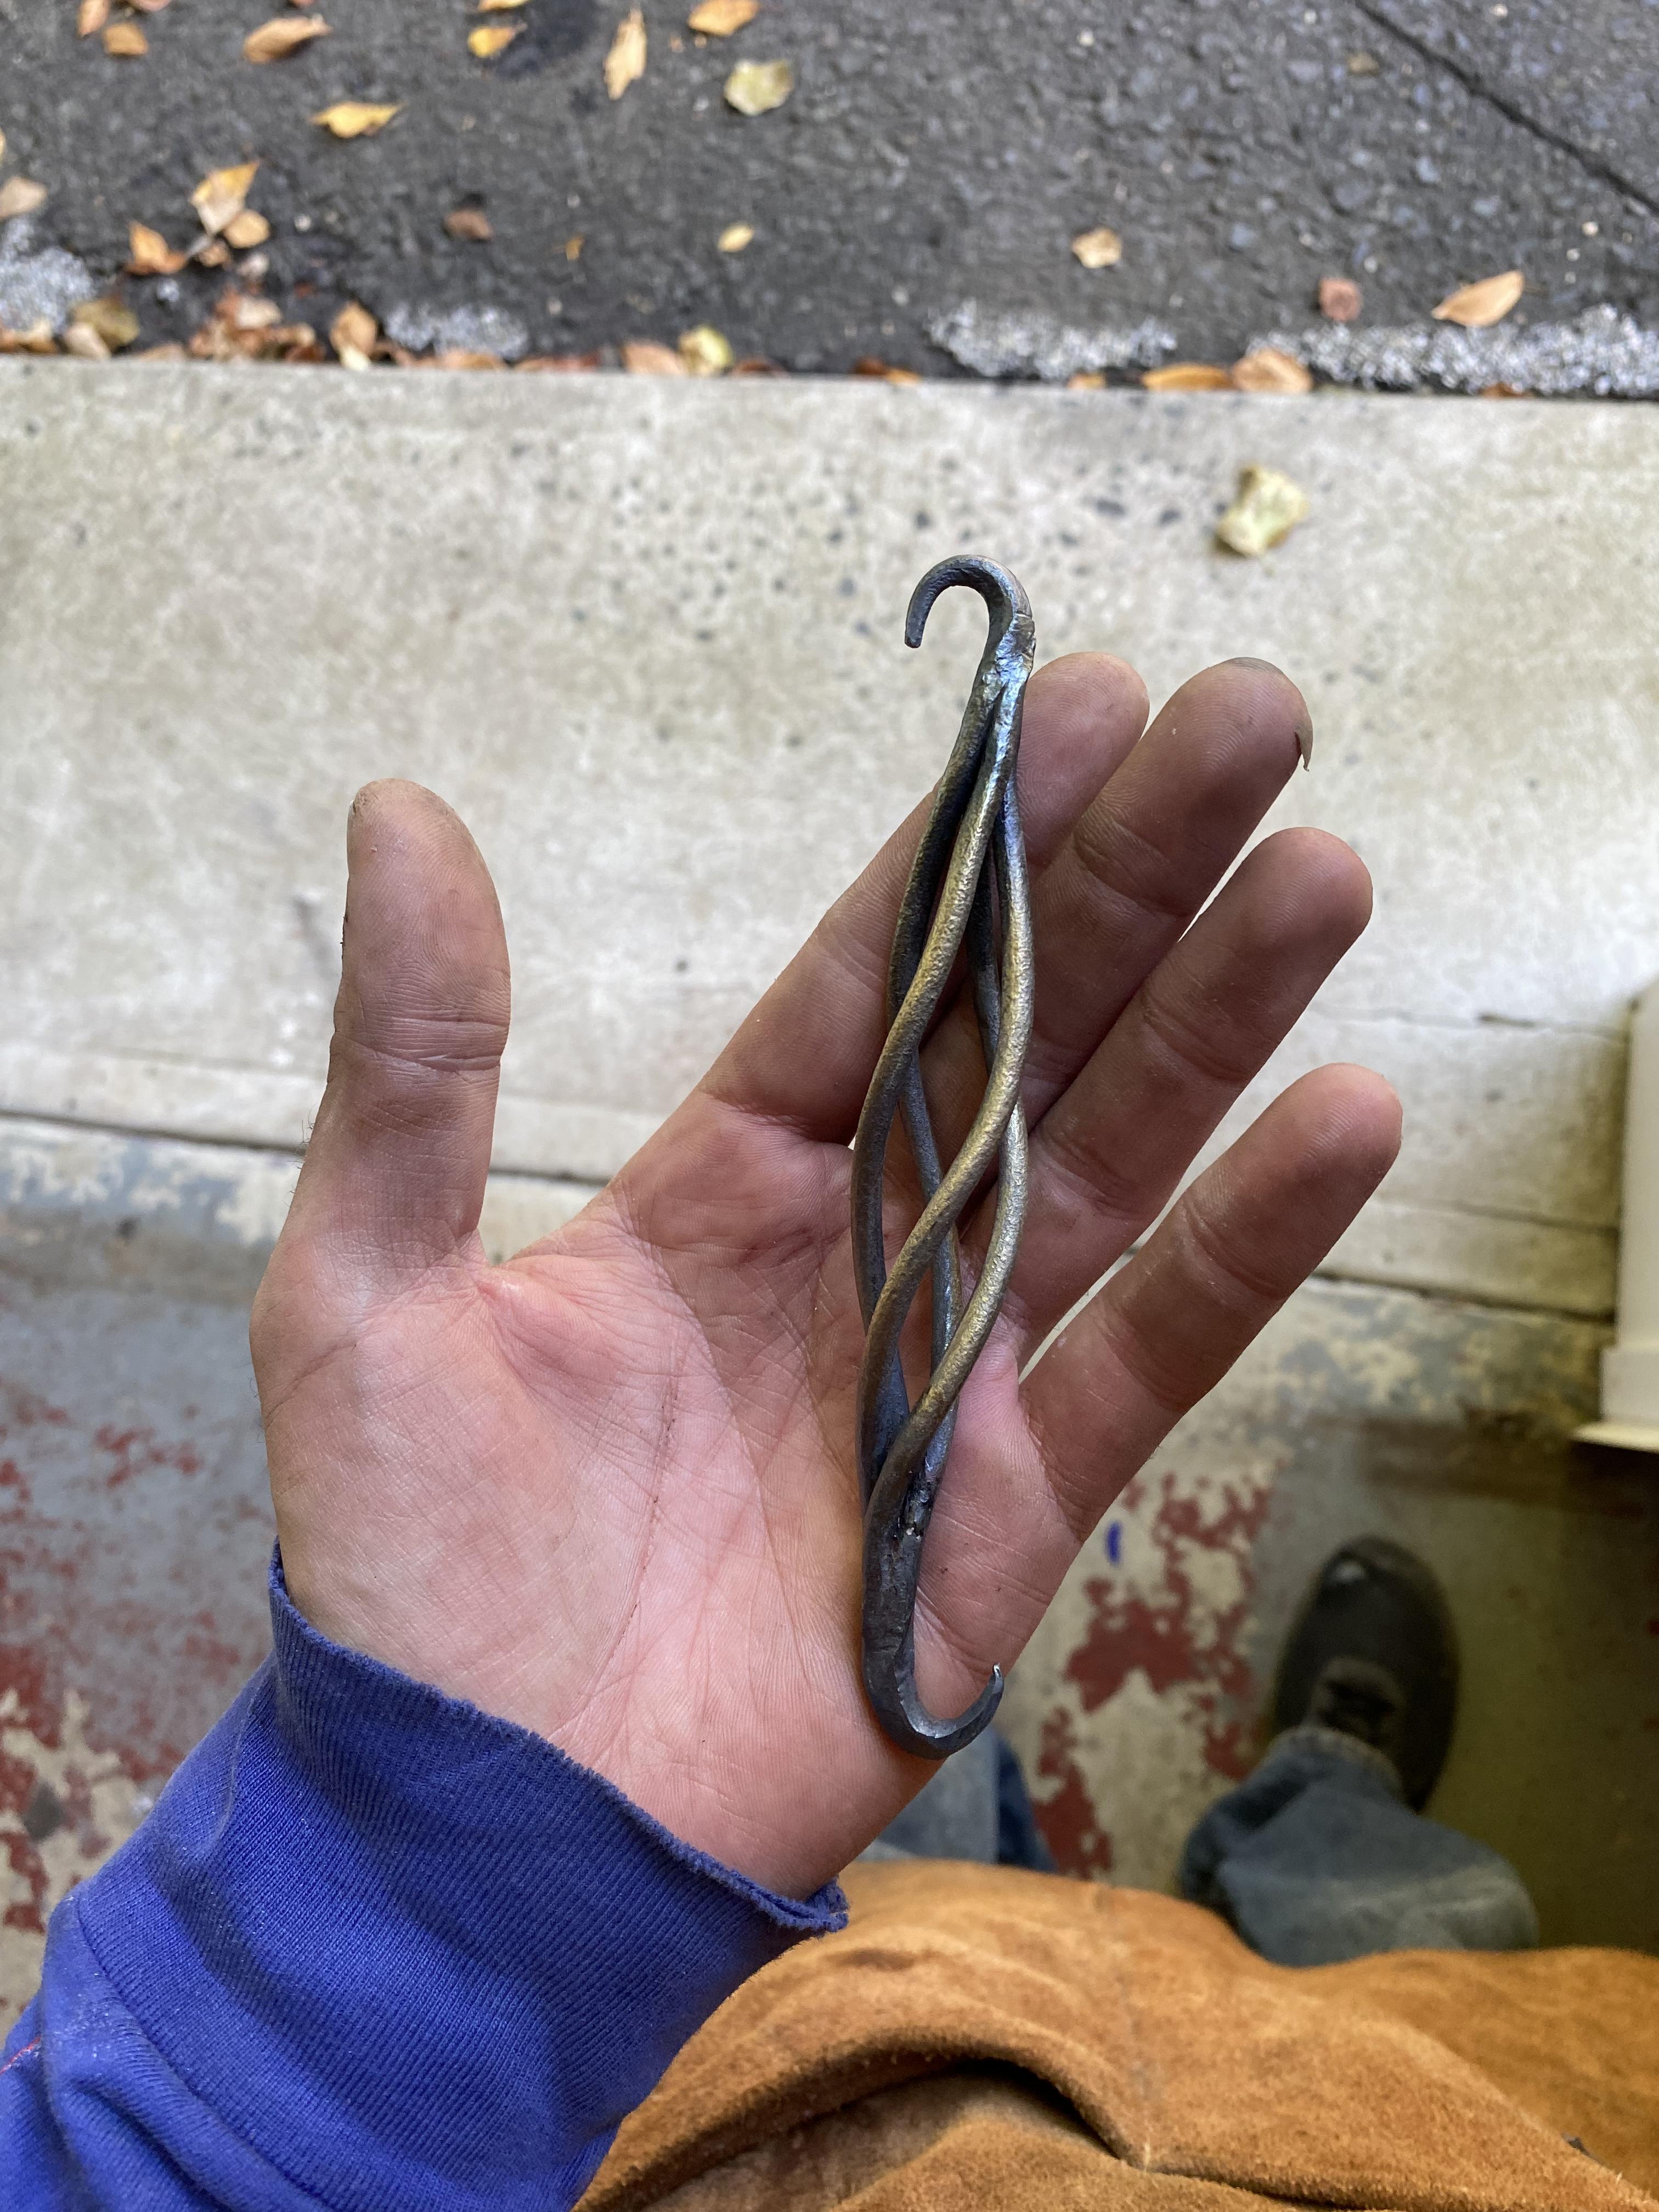
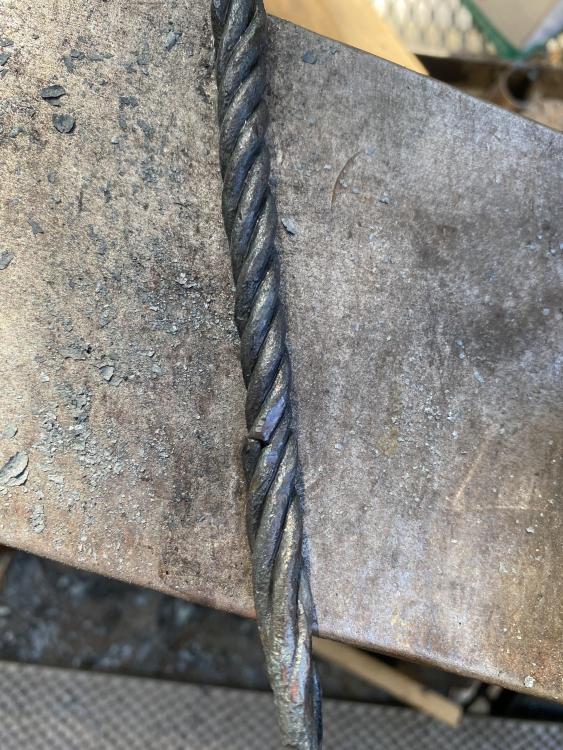
Nice scrolls JHCC and that chipping hammer looks great too Jobtiel. After finally doing some forge welds last week I decided I would make a bunch of these small basket twists for Christmas gifts and one larger one I’m going to attempt to weld as a handle to a fire poker. But my mothers birthday is next week so I wanted to make one that was a little more special. Tried doing one with 2 square bars and 2 round bar opposing each other and twisting the square bars before putting them into the basket twist. Went great until the untwisting and I just couldnt get it to look right. Finally had to toss it after like 4 hours so I got next to nothing done when I had planned to have half of my Christmas gifts done. I didn’t have 3/16 square so I took so 1/4” square and took it down to 3/16 with an angle and belt grinder. In the middle of getting the next set ready to try again I realized this is probably why I had so much trouble untwisting bc I obviously didn’t get the square bars EXACTLY the same size as the 3/16 so even with even heat they’ll untwist differently. I already have them tack welded so I’m going to trying again but I have a feeling the same thing will happen. Also had an issue with the ends not forge welding completely like the first ones I did. The first ones I put tacks on the actual end of the bars so this didn’t happen. I’d like to eventually be able to do this without tack welding at all. Am I just not spending enough time getting the ends welded or is getting this fish lip type thing just what happens regardless? It wasn’t a big deal to just grind that part off but didn’t know if it’s something I’m doing wrong.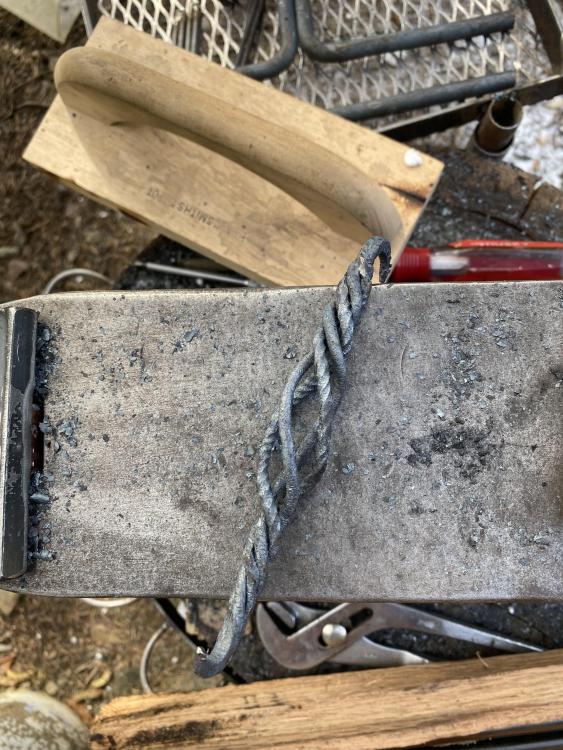
-
What did you do in the shop today?
Pat Masterson replied to Mark Ling's topic in Blacksmithing, General Discussion
I definitely want to try this. Did you do anything finish wise or was it left as is after texture/shaping etc? Did you have to anneal at all due to work hardening? -
What did you do in the shop today?
Pat Masterson replied to Mark Ling's topic in Blacksmithing, General Discussion
Rojo that is really nice. Where did you source the copper from? Thomas you always have good ideas that are so simple - at least a handful of times you have made me say “why didn’t I think of that”. Thanks. LeatherBill are you suggesting I use a small propane burner in place of a torch for the localized heating I’m going after? Maybe I’m confused… and JHCC did you buy a full new setup or a used rig? Brand? -
What did you do in the shop today?
Pat Masterson replied to Mark Ling's topic in Blacksmithing, General Discussion
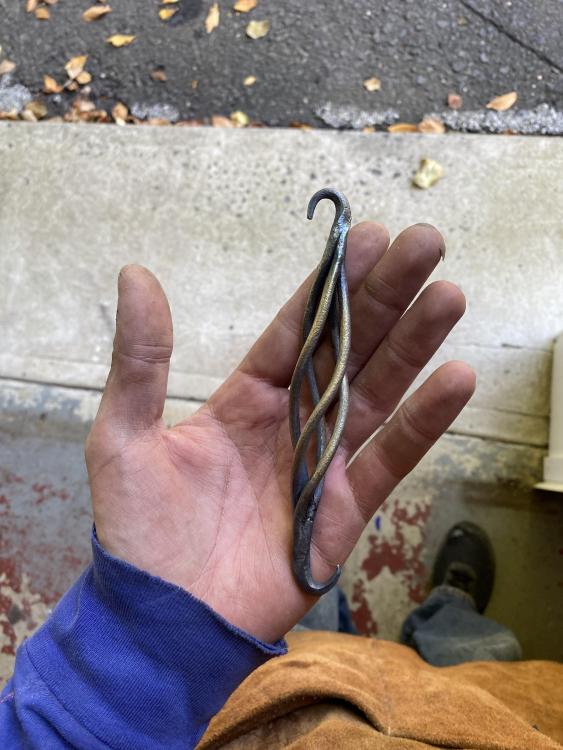
I saw John Switzer from Black Bear Forge do this. Definitely a cool idea but I don’t like how the marble obviously sits at the bottom of the twist. I shouldn’t say I don’t like it - I do. But knowing how I am i wouldn’t be happy with it knowing how much cooler i think it would be if the marble stayed in the center like it was suspended. After looking at this twist I did I guess I could pull that off if I size it right and then heat just two of the bars the minimum amount to squeeze the marble in and then pull them back so they trap the marble. Actually this reminds me - while making that globe I did I was trying to peen over the ends of the center rod that it was spinning on where it went through the holes in the half meridian thing - the flared ends are all that’s holding it together. But I tried using a little benzomatic torch to heat them so I could be a little more gentle when hammering them but it would not heat a 1/4 inch long section of 3/16” bar to even a dull red. I couldn’t believe it - I think it was because of the angle I had to hold it at though which maybe made it so the hottest part of flame wasn’t on the spot I needed because I had used it to get the 1/4” spokes to a black heat pretty easily. But for this part I had to keep it away from a piece that was held on with JB Weld so I could only hold it a certain way. Anyway the point of this whole novel I’m writing - I didn’t know there was such a thing as an “air acetylene torch” which is cheaper and from what I understand less dangerous than an oxy acetylene set up. Does anyone know if these get hot enough for the kind of stuff I’d need it for - small localized heats on small stock usually 1/2” being the largest? Anyone ever used one? Kind of funny - forge welding has been this hugely daunting idea to me ever since I started smithing. I watch a lot of Black Bear Forge and he always says it’s such an essential skill to have. But now that I actually did it I find myself doing a lot of staring at this basket twist where it’s welded. This simple little thing is becoming one of my favorite pieces just because I pulled off the welds lol.
-
What did you do in the shop today?
Pat Masterson replied to Mark Ling's topic in Blacksmithing, General Discussion
-
What did you do in the shop today?
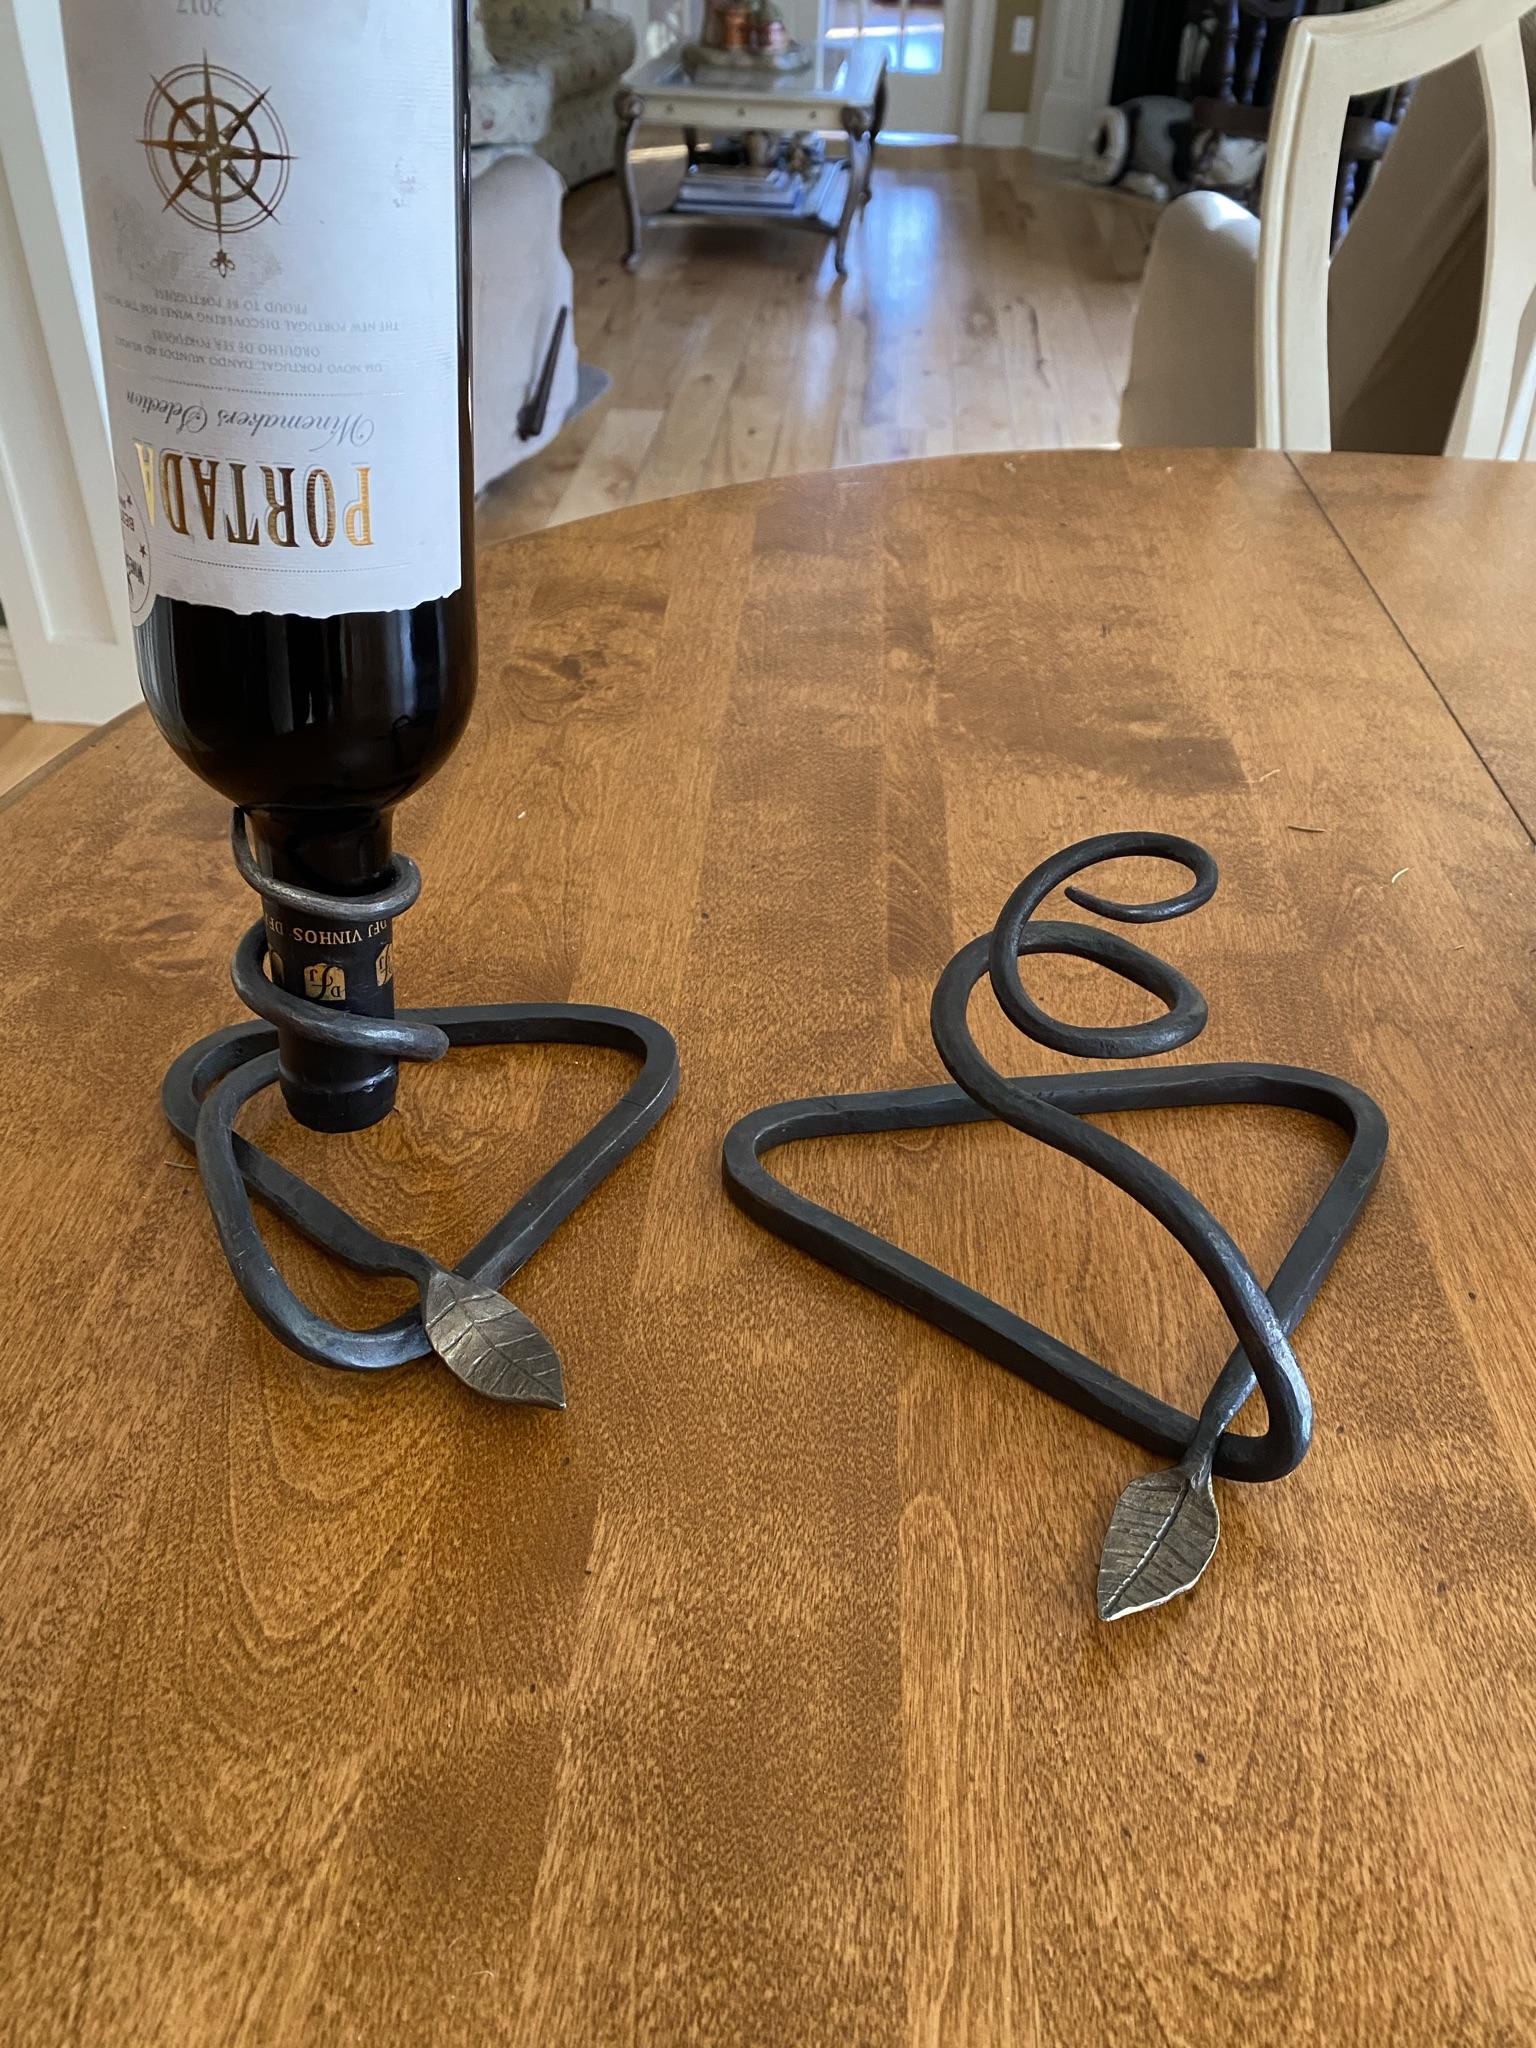
Pat Masterson replied to Mark Ling's topic in Blacksmithing, General Discussion
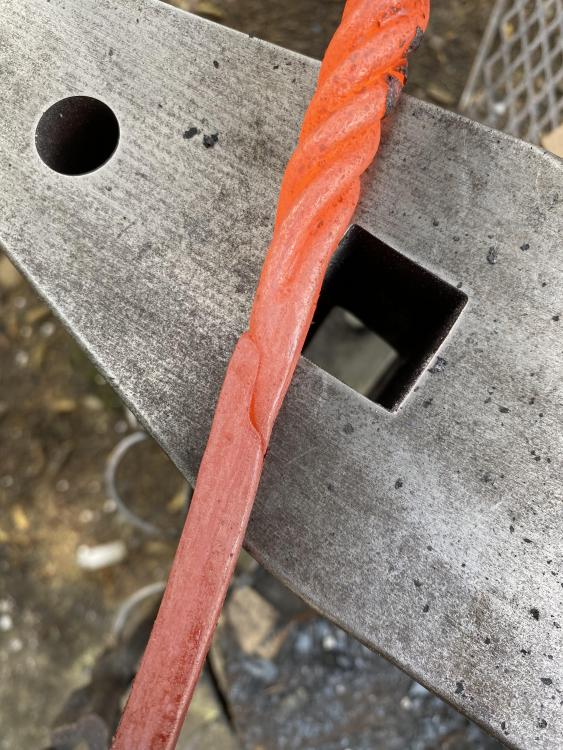
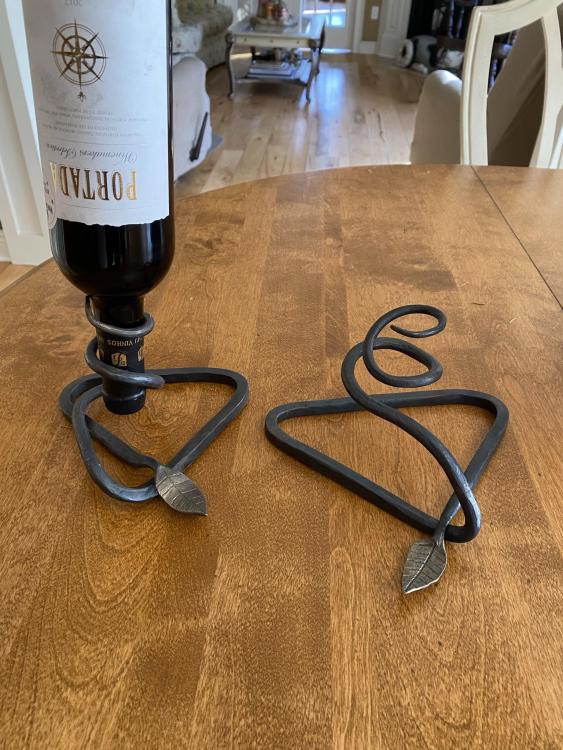
Very cool. I did a couple wine holders a while back too. Really like this concept for it though. I’ll throw the pic in with the other. I did my first forge welds this weekend. Ok I cheated a bit with some small tack welds to hold the four bars together but whatever - I’m still really psyched I was able to do it and that my little forge got up to temp which I was unsure of. I probably should have tried something a little easier for my first try but I’m the kind the kind of idiot that’ll try pattern welding for his first knife. The first attempt I guess I twisted and untwisted too many times (I realized I needed to pull back as I untwisted to get the look I wanted on the second one) so one of the four broke so I just left it twisted. Also made this little hardy swage to help keep everything from spreading apart while setting the welds. Plan making a bunch of these as tree ornaments for Christmas gifts.
-
What did you do in the shop today?
Pat Masterson replied to Mark Ling's topic in Blacksmithing, General Discussion
Thanks. For cutting them out I started with a Dremel but that quickly became aggravating so I went with the angle grinder which cut through the 22 gauge sheet like butter obviously. Just did rough cuts and then I was able to get the finer shapes on my little belt grinder and some filing and then a lot of shaping with a ball peen and stump with a bowl impression I hammered into it. And yes - if the term “winging it” was in the dictionary it would have a picture of me holding this globe. Definitely want to make another one. Next one I’ll use a uniform size for all of the spokes instead of two different sizes which I just did because it was what I had on hand. As far as the continents go I’d probably do it basically the same way except without trying to get so much little detail - once the whole thing is together I think the little parts that were very difficult don’t really make it much better looking. Attaching the continents was my biggest problem. Tried welding first and blew right through cuz I’m terrible at it. Tried JB weld then it melted when I wanted to blacken everything, then the wrong type of gorilla glue and then finally got it with the right gorilla glue. I forget who but someone on here suggested attaching them with brass rivets and I think that would look really awesome so that would be my next try. Thanks again for that suggestion whoever you are! -
What did you do in the shop today?
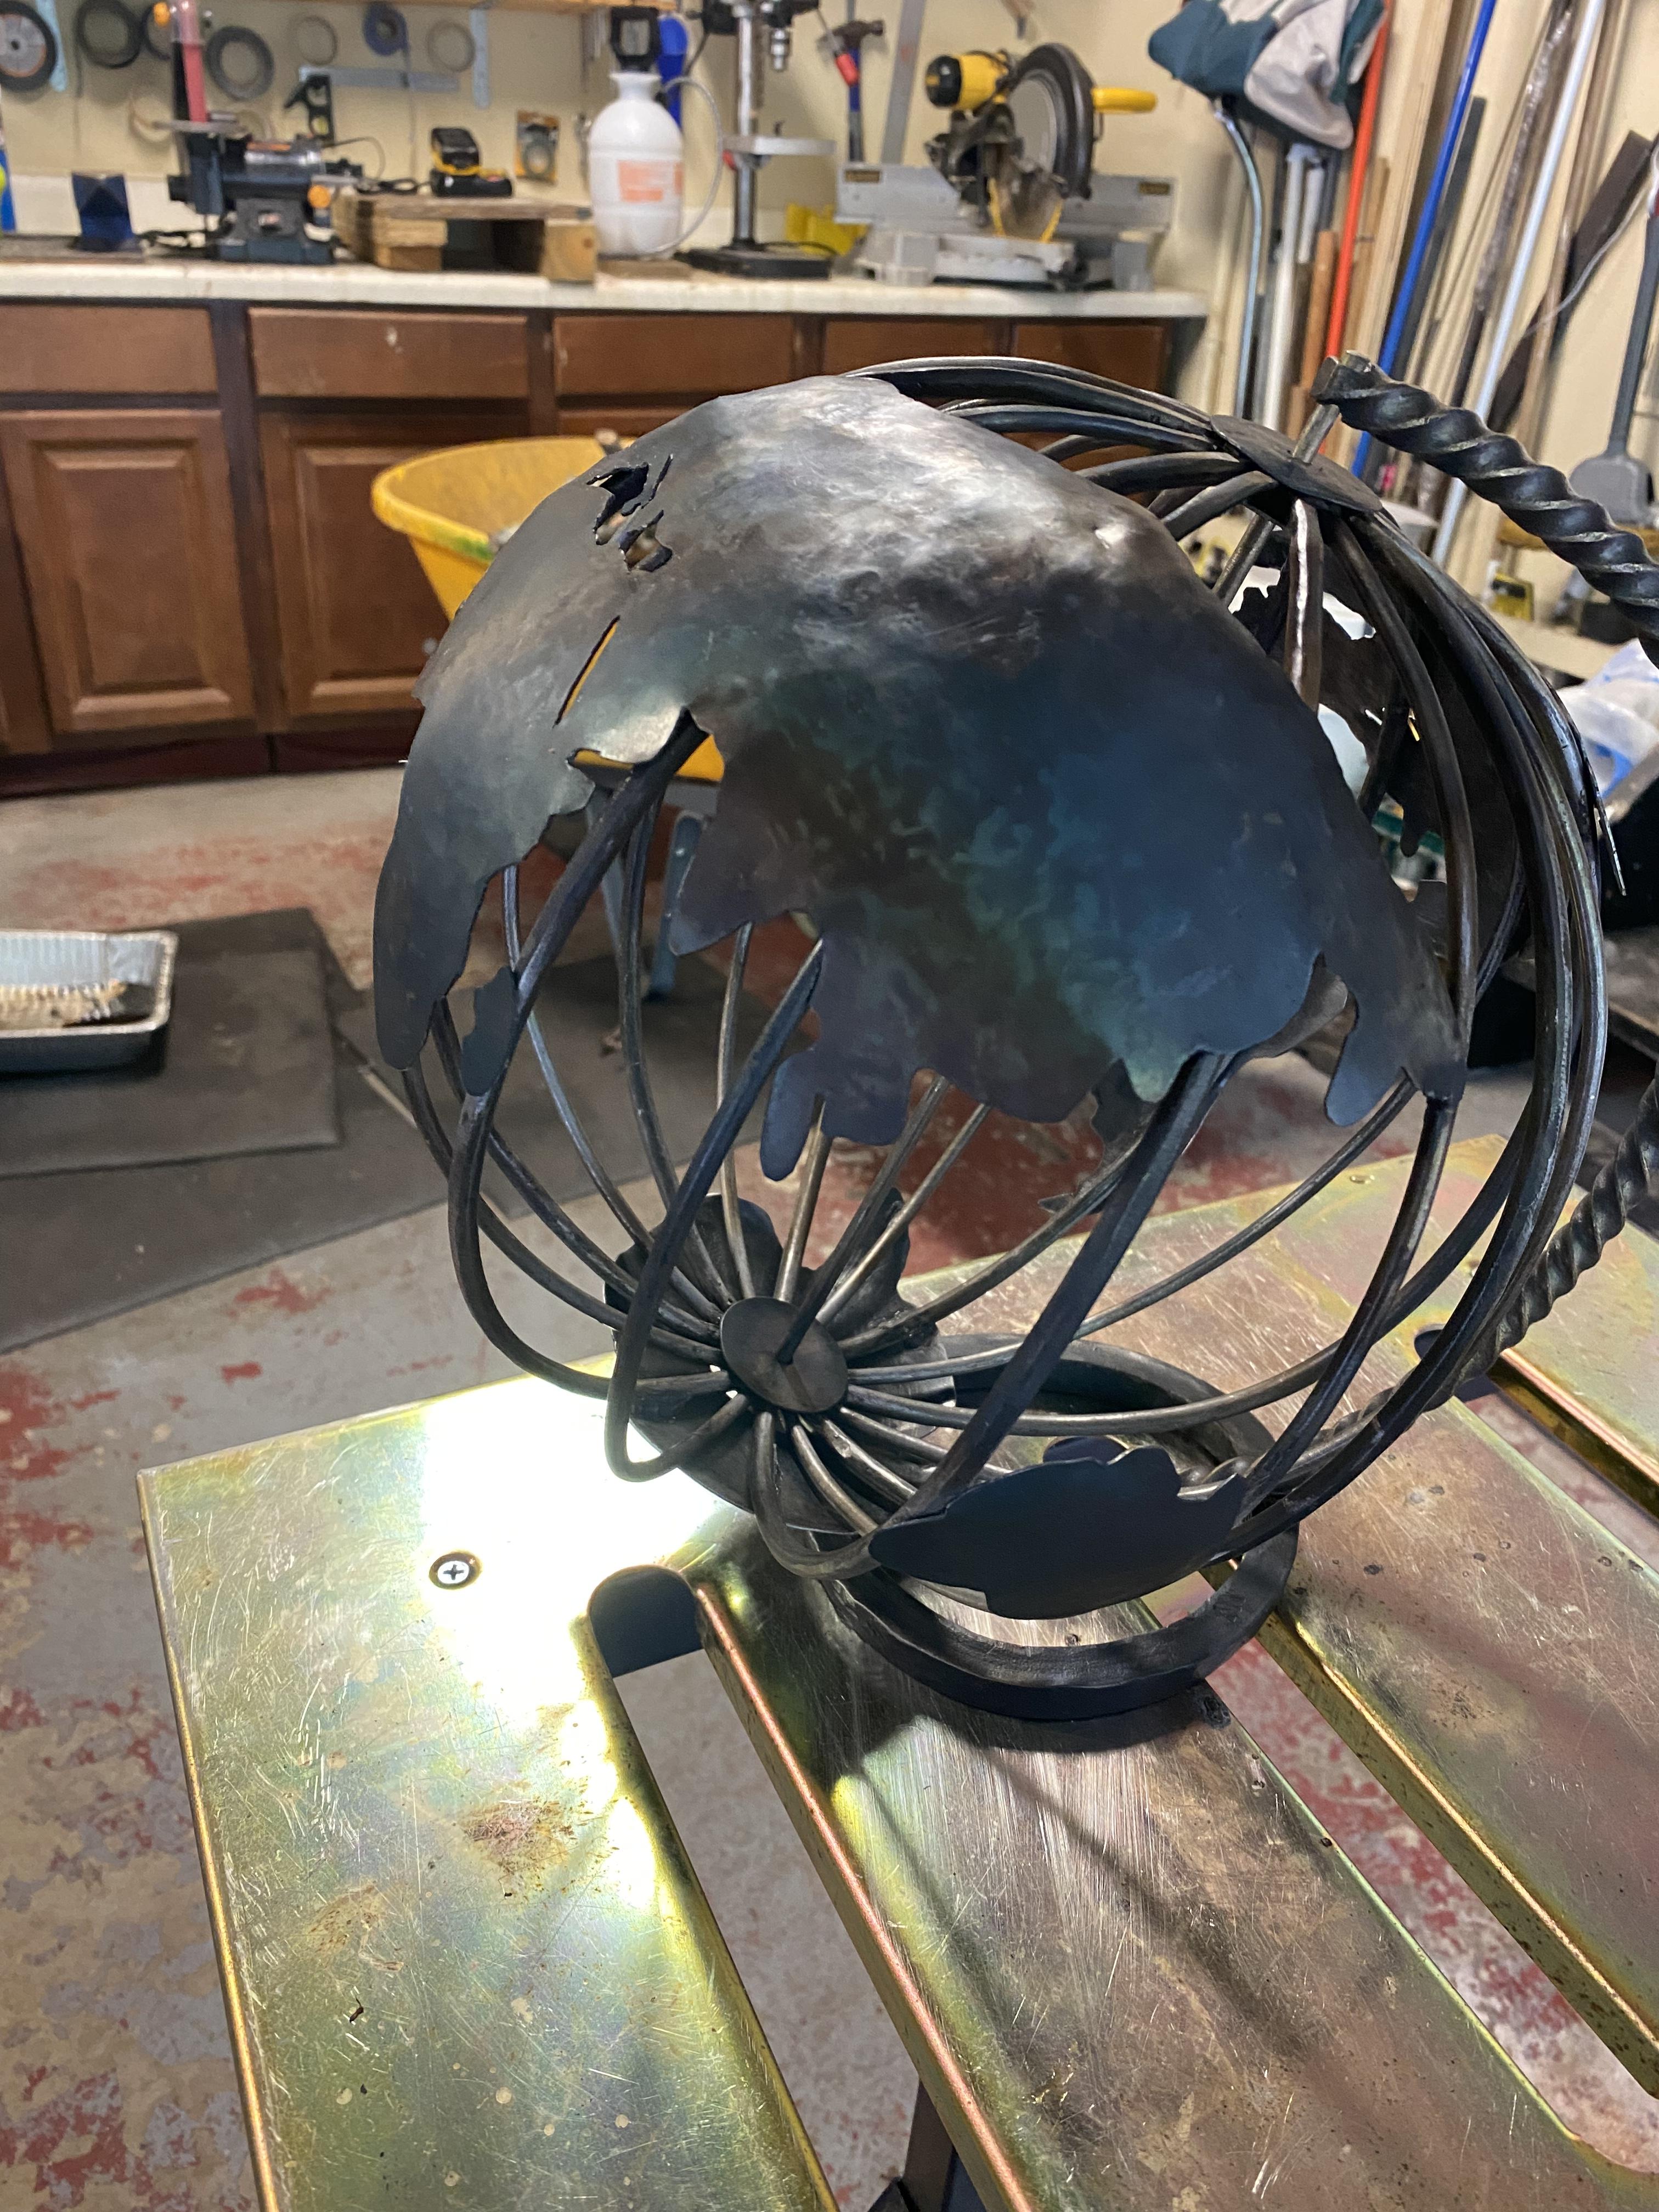
Pat Masterson replied to Mark Ling's topic in Blacksmithing, General Discussion
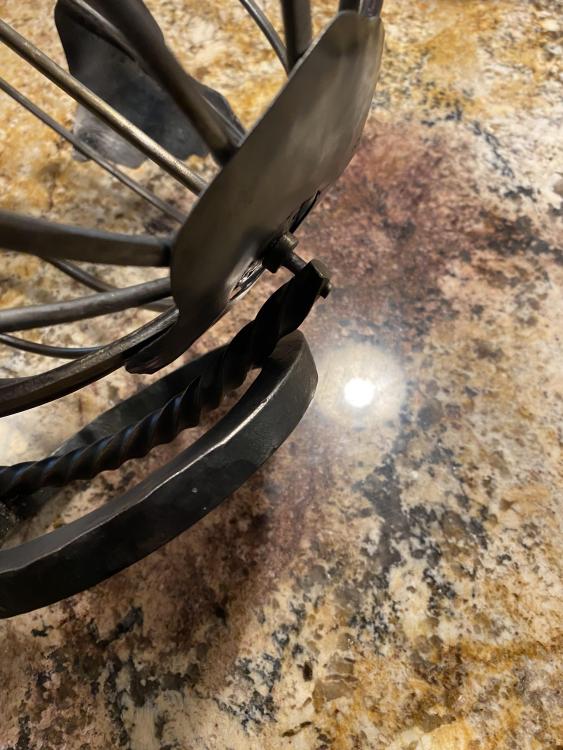
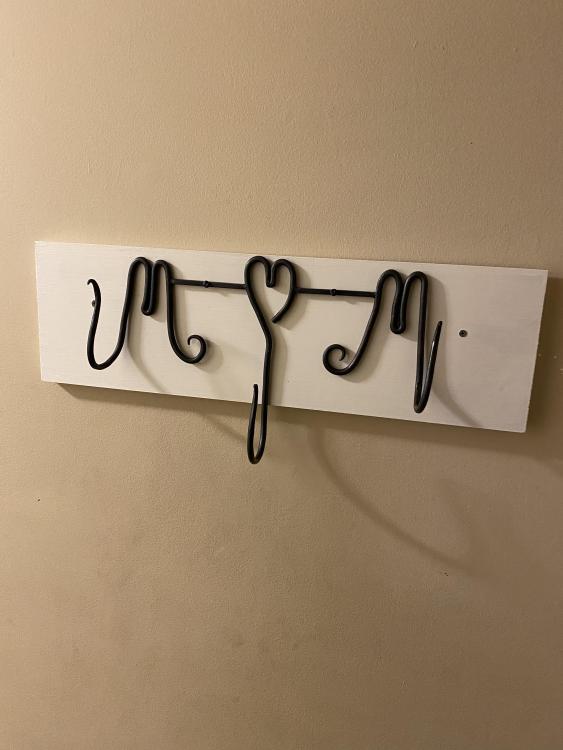
Haven’t gotten on here or really been able to work on any projects for about two weeks…but the bright side is I get 20 or so pages of new “what did you do in the shop today” posts to go through. I got out of work a bit early today and finally, finally finished this globe. I don’t even know how many months work of weekends this took but I’m pretty happy with it - would do a lot of things different on the next one but still pretty cool. Strange thing - the sheet metal I used for the continents took the paste wax finish differently than bar stock…I definitely went past temper colors to a black heat then hit it with the wax when it got down to the right temperature but they still came out with all of these crazy colors - still temper colors I guess but they look quite - “earthy” so I’m actually loving that part. And it spins surprisingly well. I just made a little washer for the center post that went under the globe and that keeps it at the right height. So much trial and error with this thing I’m glad it’s over lol. And going with my normal theme I came to realize that this coat hook for Mother’s Day wasn’t very well though out either. The mourning holes weren’t spaced far enough apart to each hit a stud so I mounted it to this piece of wood and mounted to the board to the wall so it will actually hold some heavy coats. Hope everyone is staying safe, healthy and happy. IMG_1217.MOV
-
What did you do in the shop today?
Pat Masterson replied to Mark Ling's topic in Blacksmithing, General Discussion
Oh man - this is a good idea. Especially if they were brass Bluerooster. This globe is absolutely torturing me. So first try was the JB Weld but that stuff melted when I tried to blacken everything for paste wax. So Frosty suggested blackening everything separately then use clear epoxy and I actually had some. But like a dummy I didn’t hit the contact spots with some sand paper so the epoxy had something to stick to so everything popped right off from the slightest touch. So I pulled the continents off again and hit the contact spots but realized the epoxy I had was the type that people make jewelry and similar stuff out of on YouTube - wasn’t going to set up fast enough and I thought that stuff might end up being weaker than some 5min stuff. But I had Gorilla glue. Surely that would work as I’ve used it before. What I didn’t remember was what I used previously on steel was Gorilla Clear Gel Super Glue..NOT the original brown stuff which is what I had. So I was finally ready to glue them up and do the final assembly. Got everything clamped into place and started gluing away - some of you already know what happens next I’m sure. Original brown Gorilla Glue is an expanding glue so it bubbles and becomes a milky yellowish color. Needless to stay this looked absolutely awful against the the rest of globe. It literally looked like someone had blown a bunch of terrible sneezes all over it. So as soon as I realized why it was looking so terrible I AGAIN removed the continents and then spent around an hour removing the snot glue and hitting all the pieces with a wire wheel - they were just looking ugly after being handled so much to remove the snot glue so I’ll have to blacken everything again. So I went to Home Depot and got the correct clear gel super glue and 5 min clear epoxy both from Gorilla and both say non expanding. I just got home and Im completely exhausted as it’s now 3:30pm and I got out there at 6 this morning. This thing was supposed to be finished last weekend so this weekend I could start on Christmas presents. Going to try doing some forge welds and making some basket twist tree ornaments - hopefully next weekend. Sorry for writing a novel here but I figured at least a few of you would get a laugh at the misery today’s low attention to detail caused me. Hopefully I’ll be posting a picture of a finished spinning globe tomorrow. And I definitely plan on making more of these globes now that I know almost everything NOT to do. The rivets is a really really awesome idea. Thanks Les and Bluerooster again.