Chad J.
-
Posts
569 -
Joined
-
Last visited
Content Type
Profiles
Forums
Articles
Gallery
Downloads
Events
Everything posted by Chad J.
-
Steve, do you use lump or will briquettes work for this? Also, do you use any baffles to prevent direct heat? JHCC, I prefer a good spicy dry rub. Get a crust instead of forge scale that way.
-
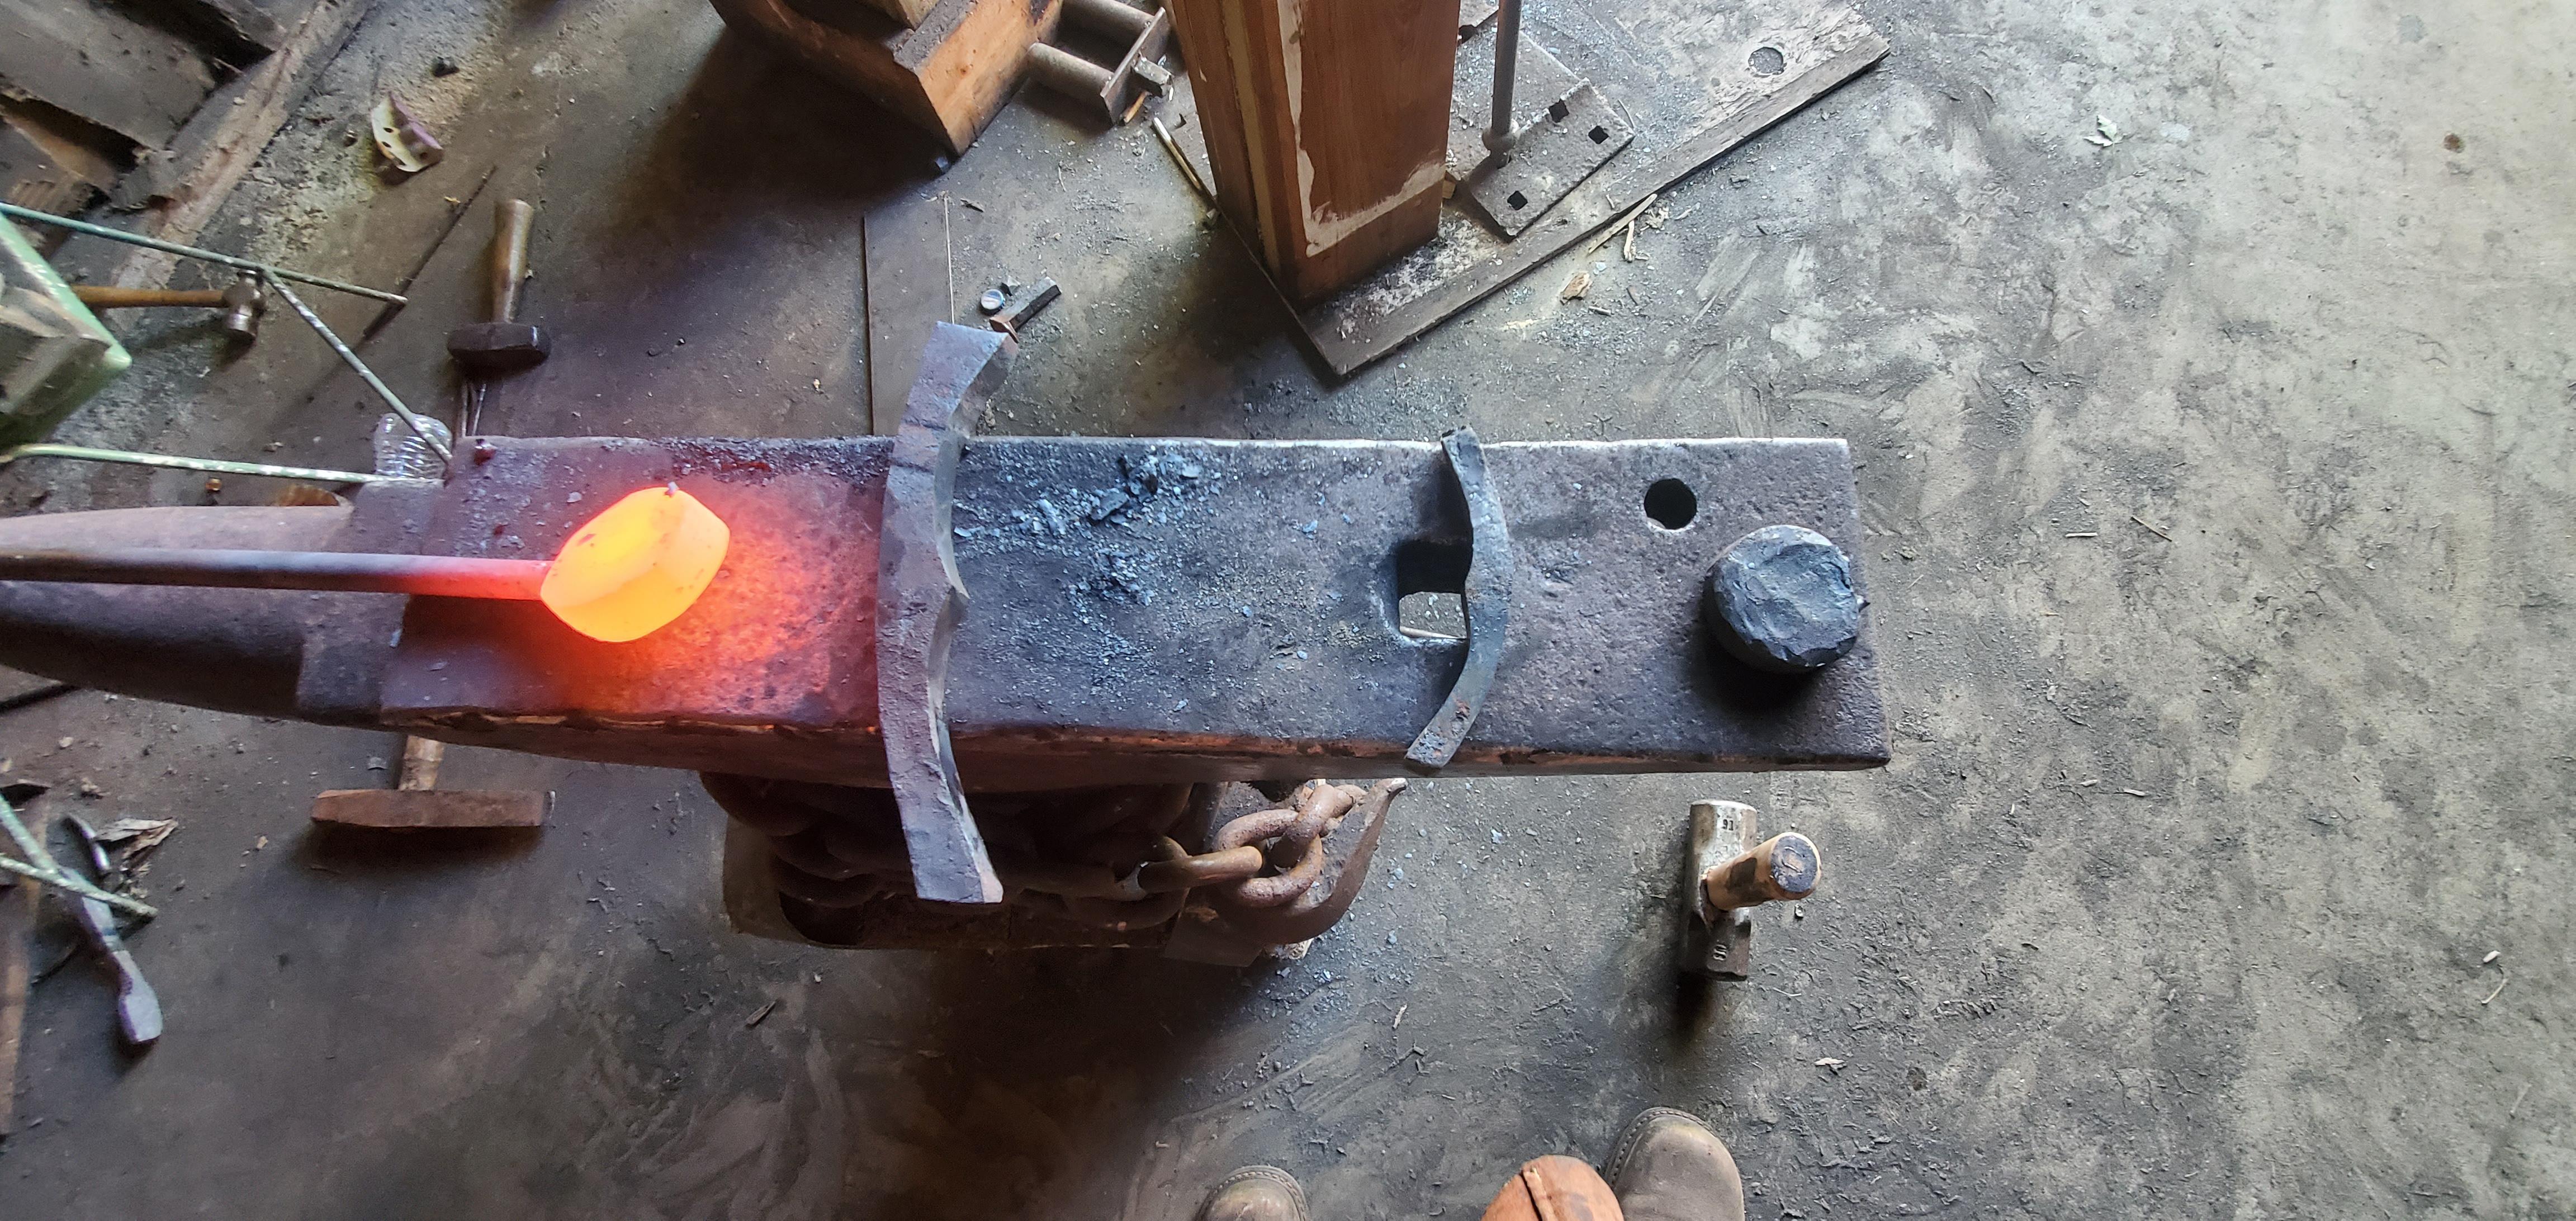
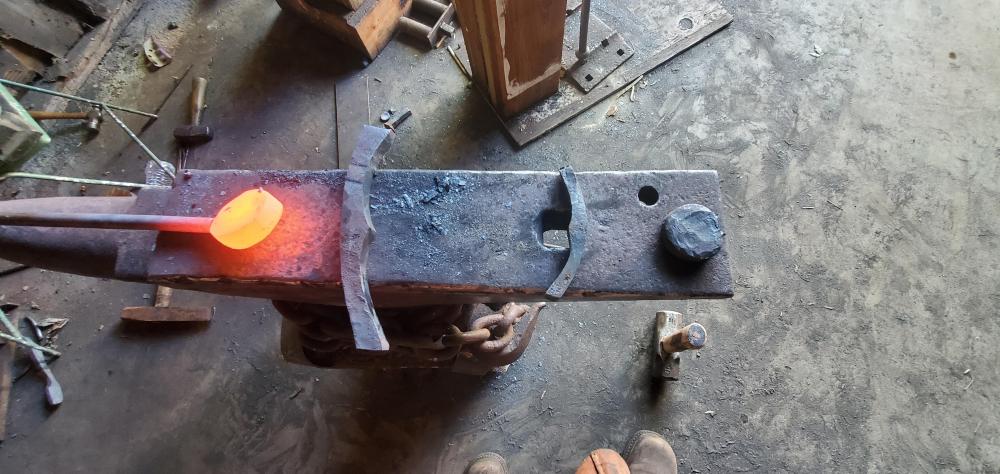
I'm ditching the idea of claying the blade but still need to figure out the best way to temper it. It's too big for my oven and I'm sure my GF would leave me if I decided to just cut a hole in it to fit the tang. (Hey, it's my house. Last year I was claying my coal forge in the kitchen). I'm looking at 3 ways, and since I've not heat treated the blade yet I figure I could practice on it without compromising it's structural integrity. (I think...?) 1. Fire up the coal forge, run minimal air through it and drag the blade across at an even speed and turning it over every pass. Pro; I have plenty of coal, it's getting colder out, I can build the coals into a trough across the whole width, Increase airflow if needed. Cons; could easily overheat the blade wrecking the heat treat, the blade is 33 inches long with a 6 inch tang It can be hard to handle when hot and tongs are annoying. Visibility for the colors could be a pain and temps could spike causing me to redo everything. 2. Throw it in my grill with a couple of steaks. Pro; lunch will be great, large flat area for the blade to rest Con; temperature control. My grill is an offset smoker I haven't ever actually put charcoal in the main chamber so I'm not sure how it would react. Definitely would put down bricks to help moderate heat fluctuations. 3. Hot iron bar; I need to study this one and practice this one as it seems to be what would work best for me. I have an inch and a half fuller and some nice 1 and 2 inch bar. Heat the bar to red and run it up the fuller watching the color run. Pros; steady heat source, controlled area where heat can be applied Cons; heat loss from bar stock might make it so it needs to be done in multiple heats. I know, long read but is there anything else I could do or any tips on these methods?
-
What did you do in the shop today?
Chad J. replied to Mark Ling's topic in Blacksmithing, General Discussion
Had a friend's son in law come over and I introduced him to smiting today. Had him make an S hook, bottle opener, and for fun a spike knife. Really hit home how far I've come being able to help him figure out what needed to be done. Very long way to go though on this journey -
Use a mask and a vacuum directly on the other side of where you're working. It'll keep the dust out of the air.
-
I can't say myself, at this point I'd likely grab a paint scraper, respirator, and a shop vac and see if any elbow grease will help it along but I am not recommending anything. I'm more curious about your stock, is there a possibility that it's wrought iron and not mild steel? Have you checked that out yet? I'm not sure how the others would feel but If likely spend a bit more time on it if it's wrought.
-
I was speaking of a gladious. My phone and fingers had a disagreement in which the phone usually makes a fool of my sausage fingers. Though I am one for fairly flowery speech.
-
When I was a teen, I carved a gladiolus from a 2 x 4, I said when I was a young Marine I wanted to learn how to make knives, even tried to cut one out while I was in Japan. I knew absolutely nothing about the process or even where to look to get started. It wasn't until FIF that I got the initial push. I looked at it as a starting point. I payed close attention to more of the technical aspects and started researching. For me a knife is the physical form of reliabilty. It does what you need it to do, no batteries, no charging, no loading. It's form is deceptively simple yet open to endless variety of design. That's what it is for me. Though other aspects of Smith do appeal, a blade is a tool that will be used. Decorative stuff in general doesn't appeal as much since I'm a spartan living kinda person.
-
What did you do in the shop today?
Chad J. replied to Mark Ling's topic in Blacksmithing, General Discussion
Hondo, if you have a 4 x 36 I may have some 36 grit belts I can send your way. -
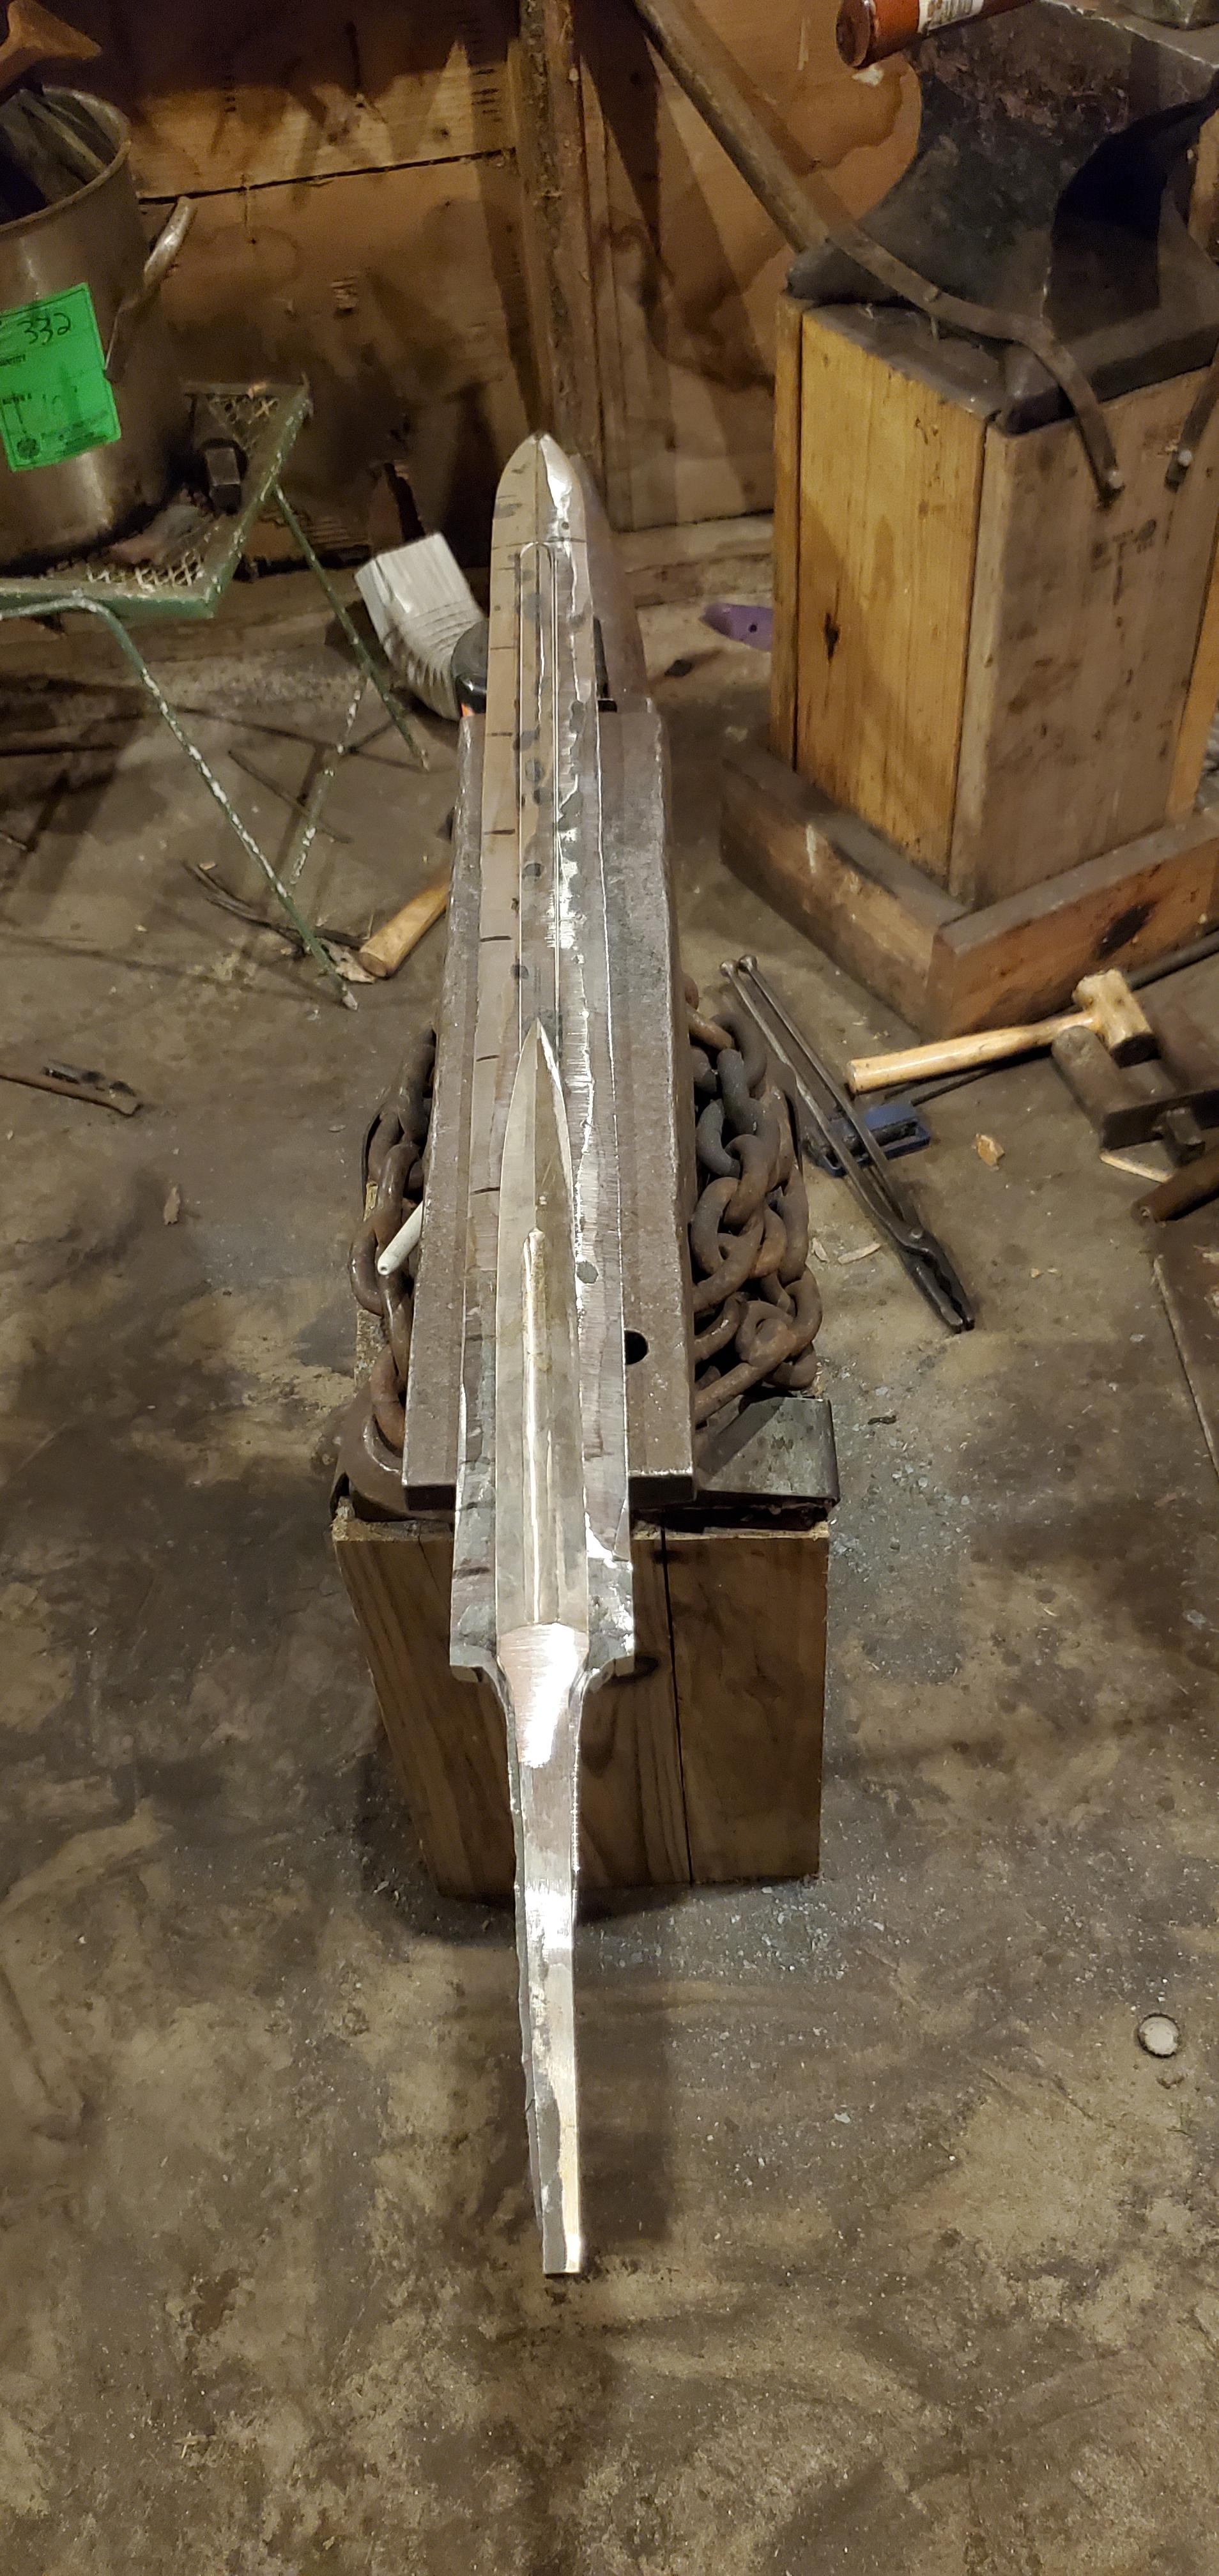
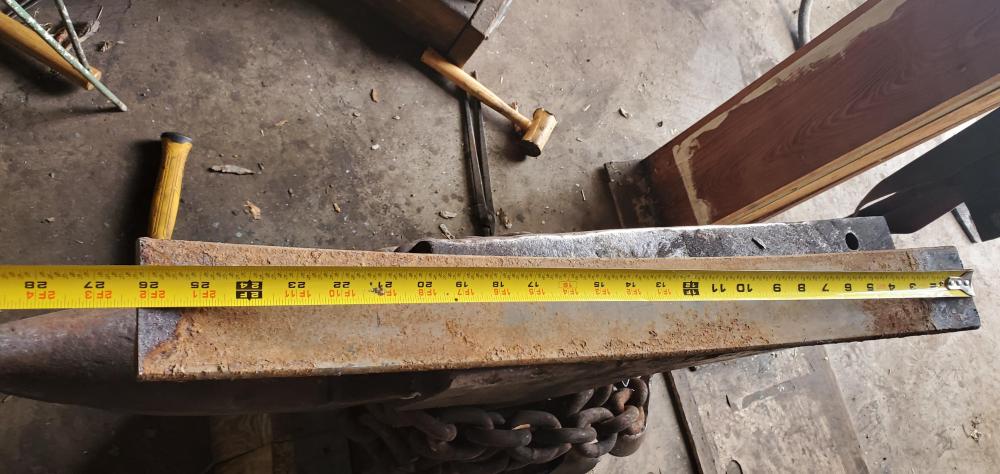
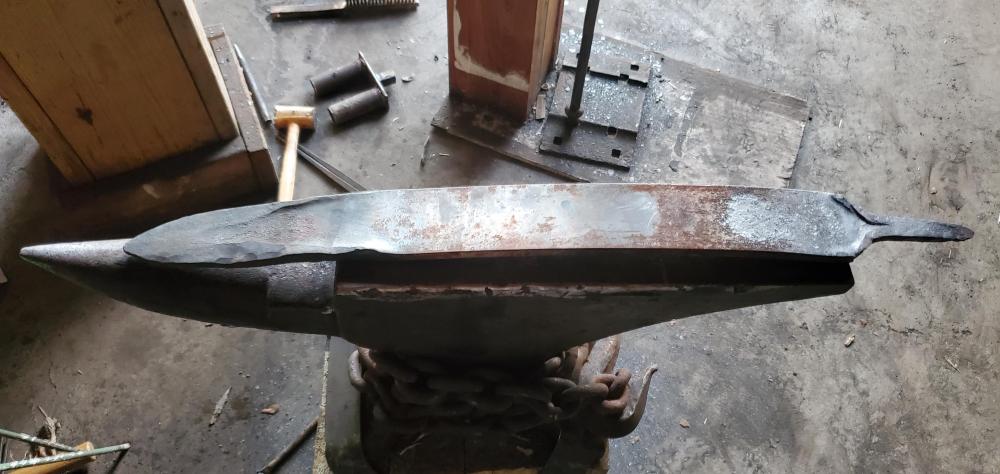
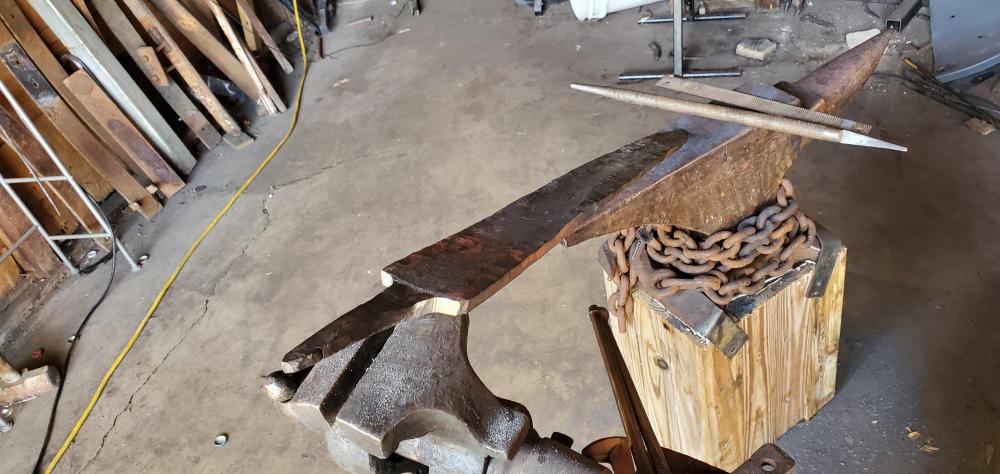
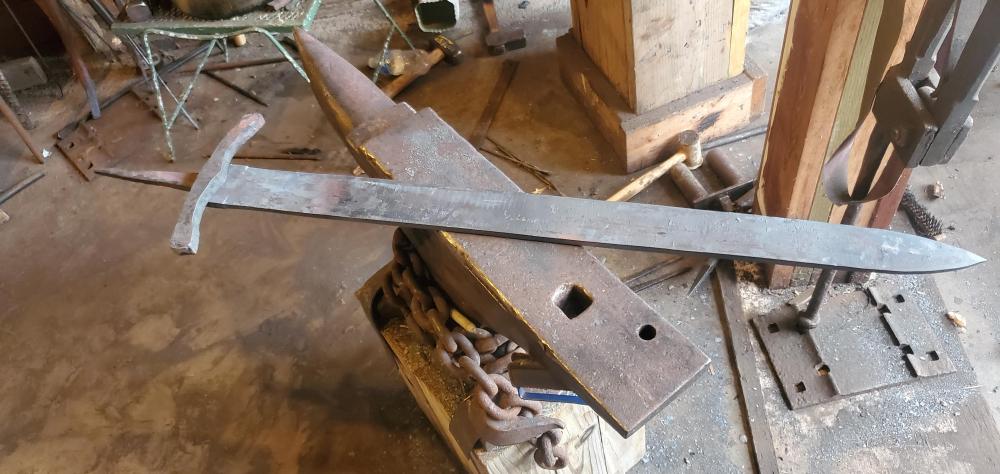
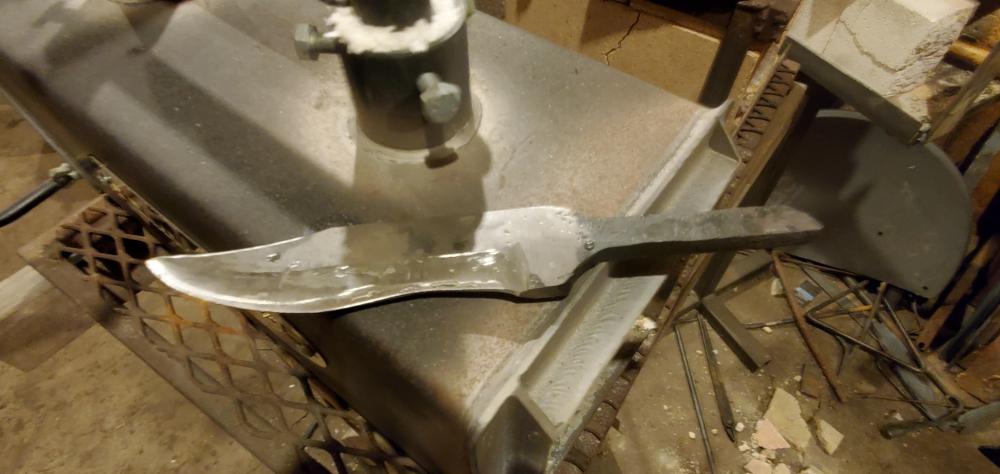
So I started this a couple weeks ago and I've already identified one annoying mistake. My steel was too big so its been some extra work. Currently the blade is forged and I brought it down to a reasonable weight prior to heat treating. I'm holding off on that until I get a tempering oven made or located big enough to handle this blade. I got into this because I was making a dagger and thought, what this is the side weapon without the primary. Anyway here's what I've managed to accomplish. I started out with a piece of 5160 26 inches long, 3 inches wide and tried to get it down to 2.25 inches. My thought process was I wanted to make sure I had enough material in case I screwed up. Next time same length but I'll start at 2 inches wide, 1/2 inch thick. I'm at 5/16ths at the base and 1/4 3 inches from the tip. It's weight is about 3 maybe 4 pounds so it has more weight to lose.

-
What did you do in the shop today?
Chad J. replied to Mark Ling's topic in Blacksmithing, General Discussion
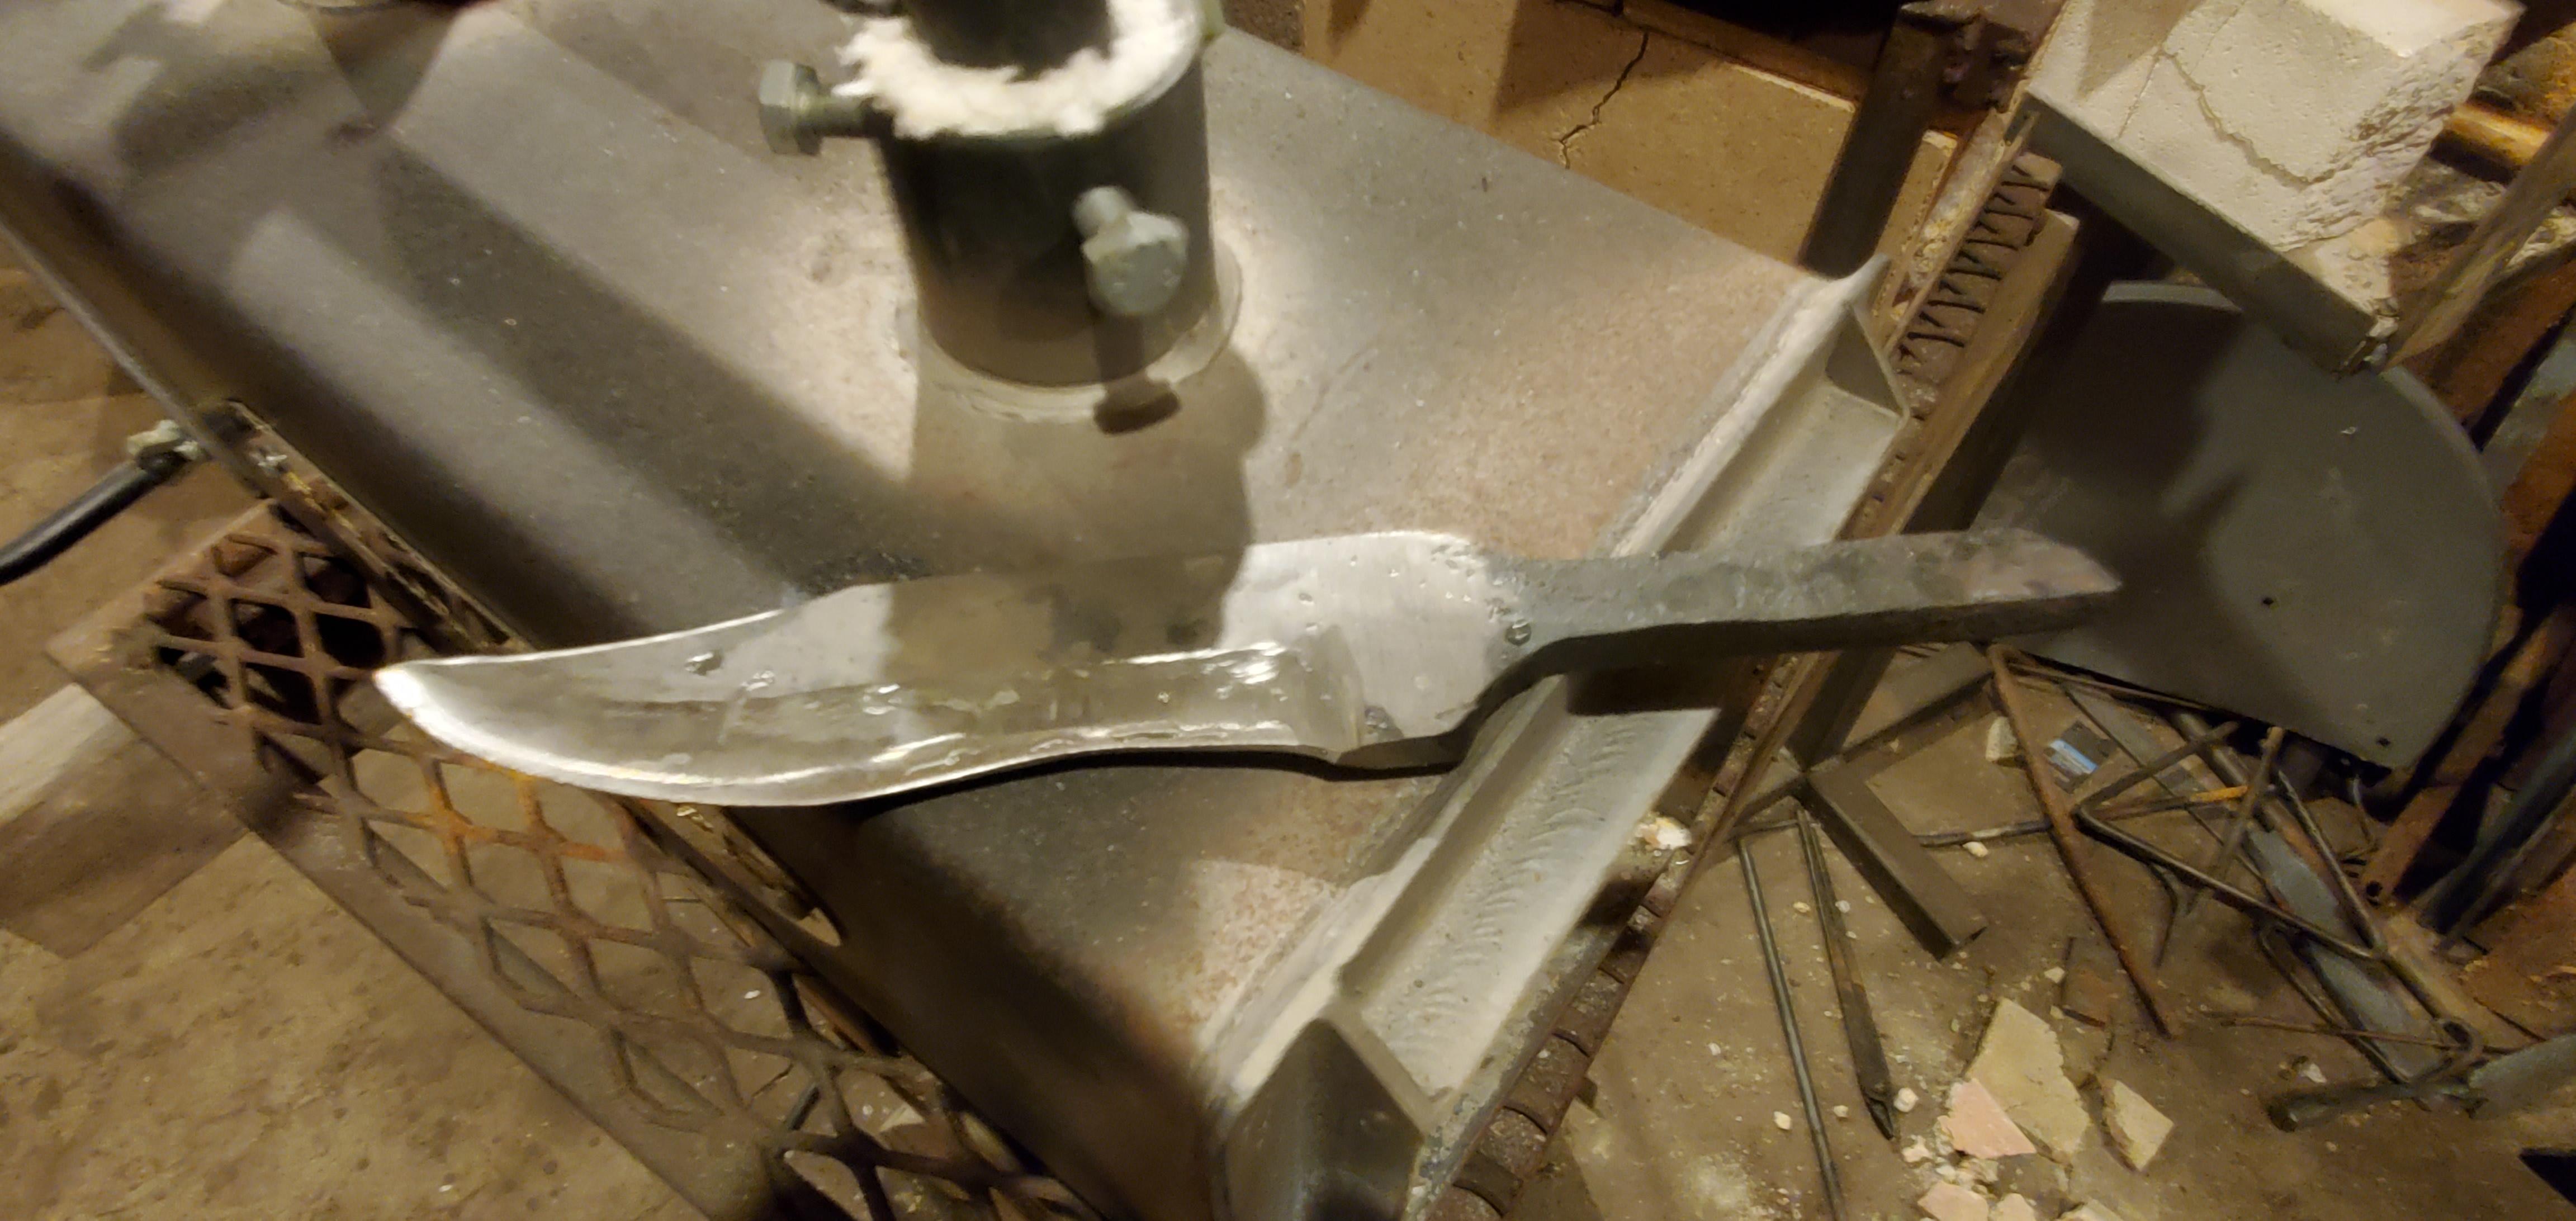
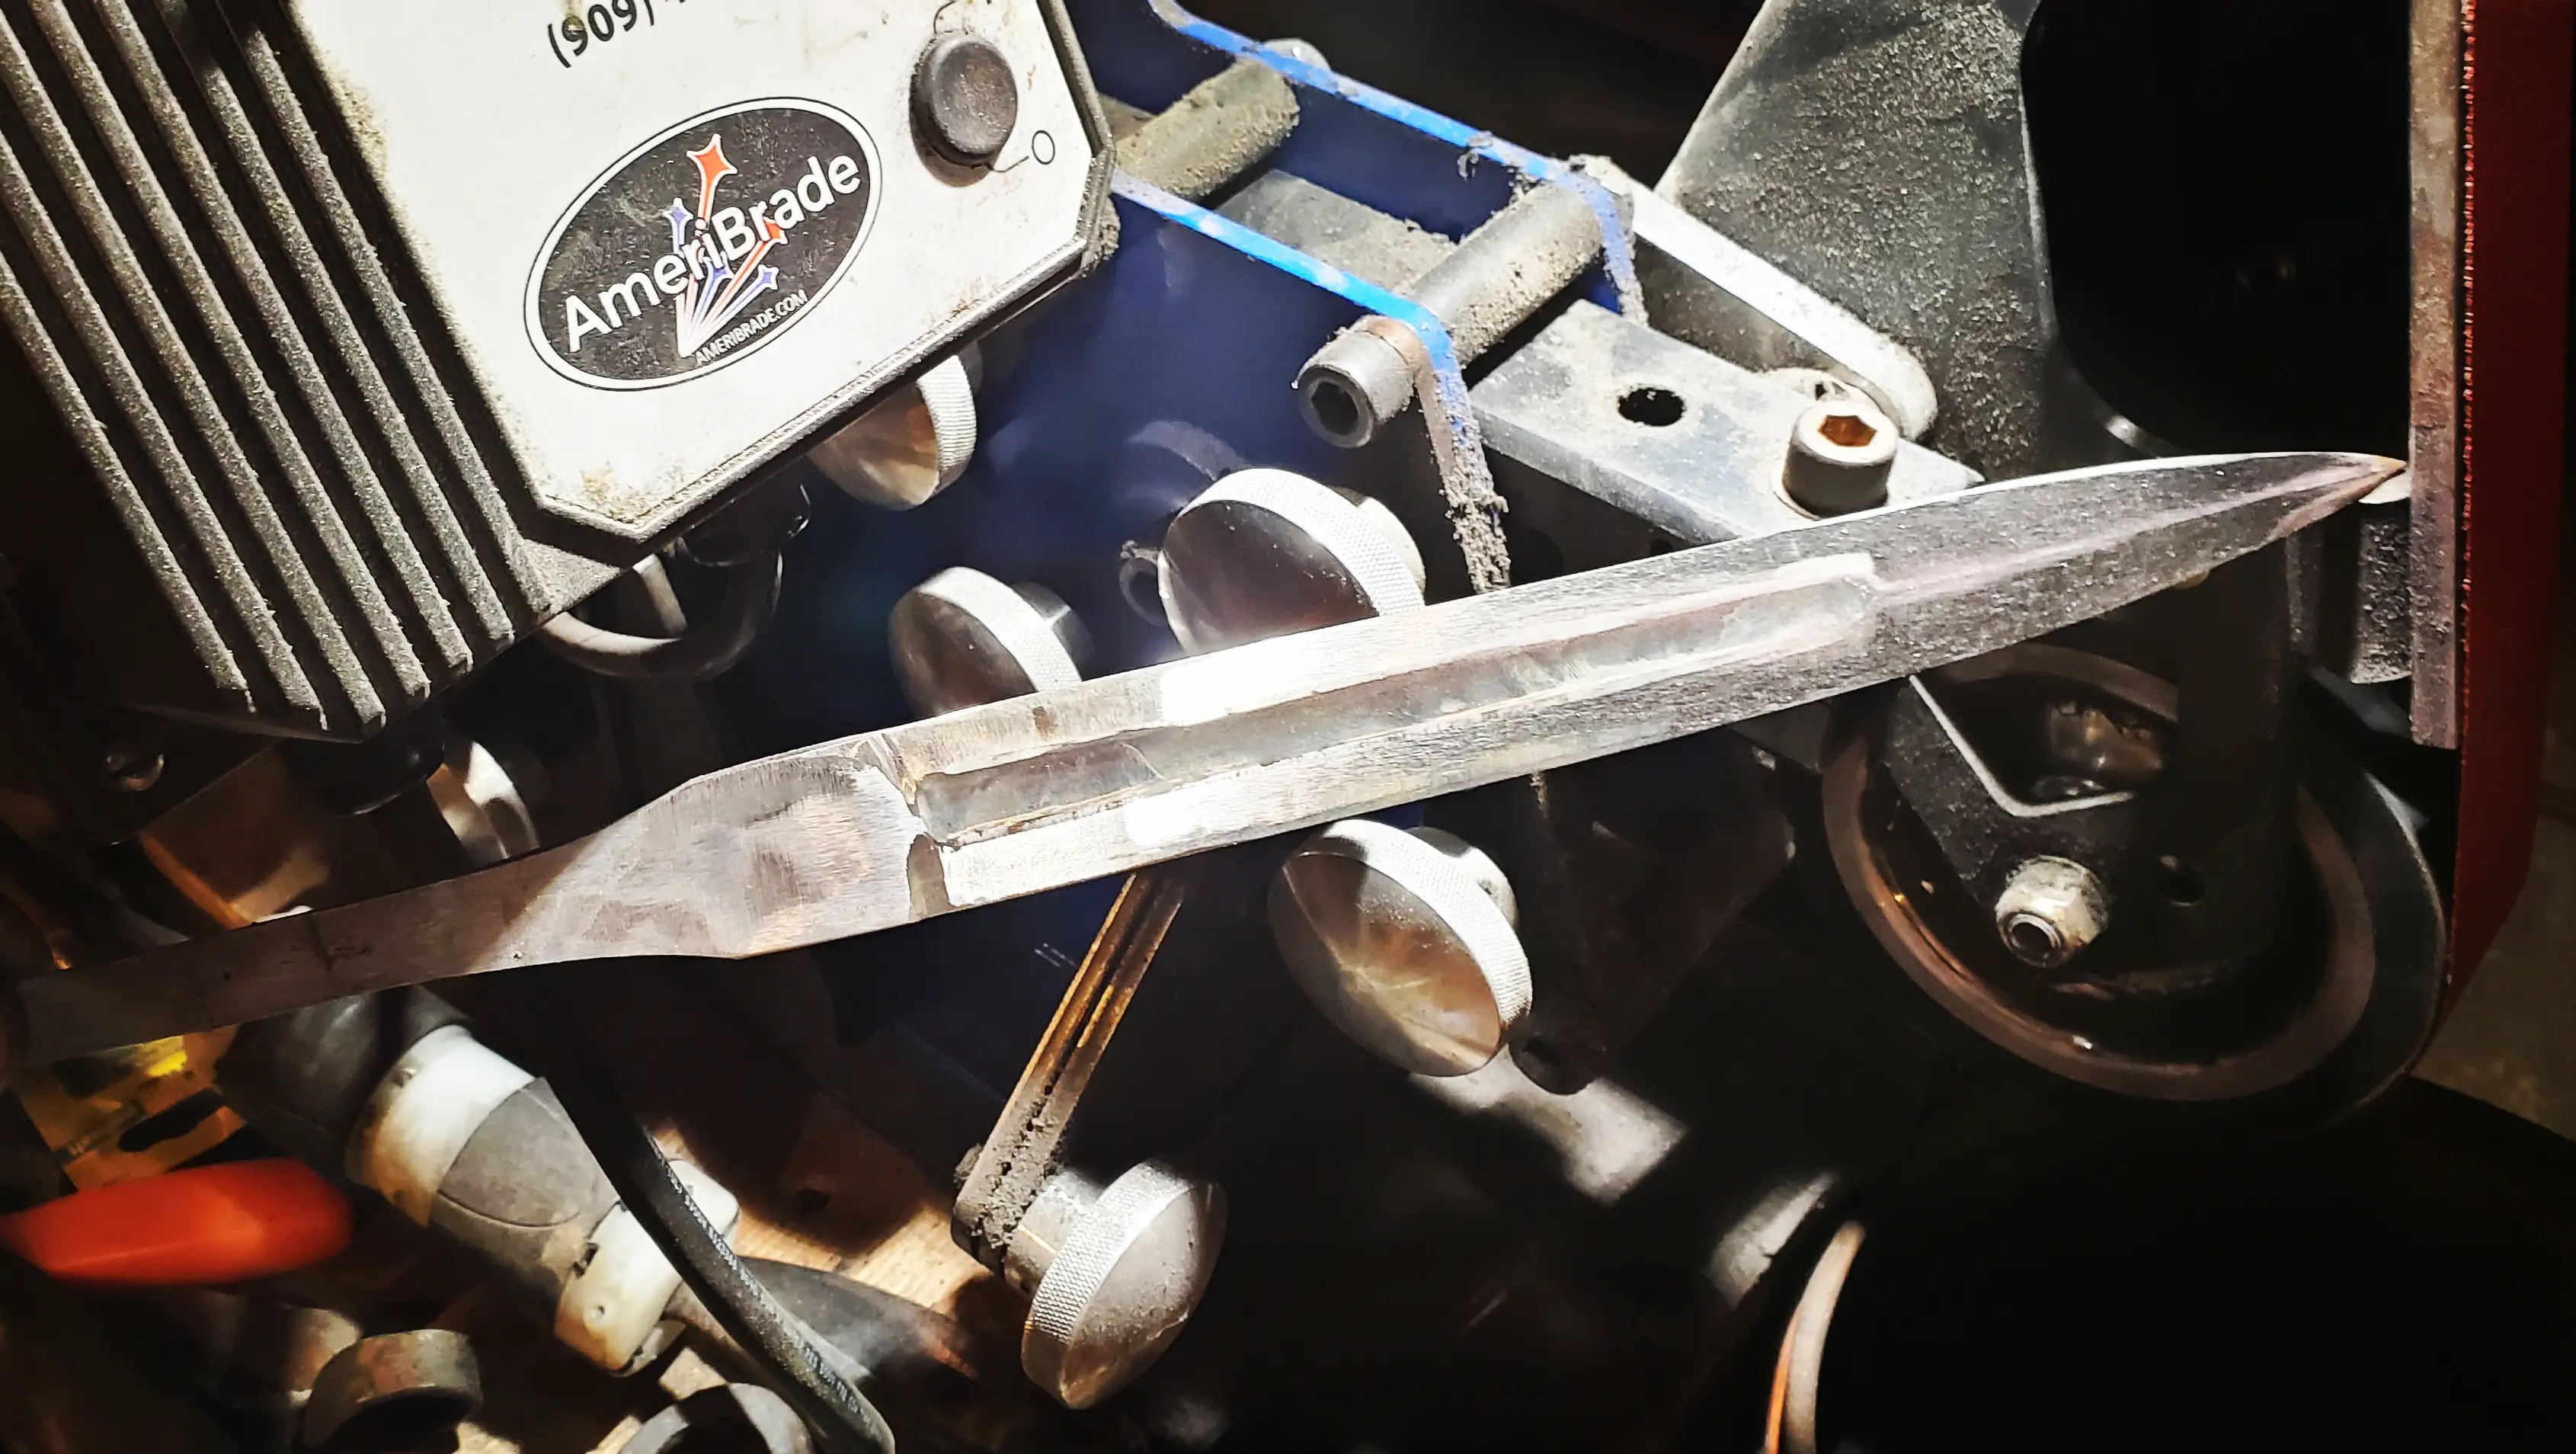
Made my first split cross out of a rail spike today, it was much easier than I expected but I need to tweak the stand I made. Knocked out a new knife, normalized it 3 times and gave it a nice quench. I have a piece of antler that I think will fit this nicely. Made a couple Butchers and took some 1 1/8 inch round stock and made 2 and 2.5 inch medallion pommels to go with the guards for the dagger and Arming sword. Oh and a punch to stimulate a hidden tang.
-
Forget the puns, you've got an Old Rasputin? I haven't even seen one of those in months, that's my favorite energy drink! You keep it at a critical temp and it'll still draw like a magnet.
-
Wait, which is what?
-
Sorry Thomas. I meant that as a follow up joke to your's and JHCC's banter and make light of my own shortcomings but it obviously came across totally wrong. Not what I intended. Every chance I get, I go to functions, we have UMBA here but they cover a very large area. I am working to develop contacts in my area to learn from and go to for resources. That has been a bigger challenge for me here than anything else and why I try to follow this forum so closely. There are many articles and discussions on here that I read that lead me to delving into many other aspects or I see something I want to try. Jennifer posting her competition piece made me want to try it and with the related pictures I was able to get some semblance of it for a first attempt. Other articles leave me totally perplexed and oddly enough I am reluctant to ask questions because everyone else seems to completely understand it. The articles on the states of crystallization of the iron atoms and being carbon centered, face centered, or whatever the third was is a fine example. One thing I can tell you is that I learn best by doing, observing, and asking.
-
I somehow seem to get the impression that I have upset you when I misspoke and want Ashmore to clearly articulate my question and thoughts, my apologies. The process of learning is always a bit rough, but as much as one may read of the process, the nomenclature, and the techniques one must eventually kick the training wheels off and, as has been said in so many times, just do it. It may seem I'm stumbling in blindly but the questions I ask are about things I am having genuine difficulty locating the answers to and thought best to ask. What better way to learn than asking in a location that has huge amounts of experience? To me this is a progression, I've been working on more daggers of late and have vastly improved my abilities at hammering in bevels, heat treating, balancing, drawing out the steel, and guard designs. I have a strong desire to push myself hard on developing my abilities.
-
I'm actually doing this as an extra credit assignment for my history class in high school. I've just been procrastinating for 28 years. This darn ADD.
-
Thank you, I'll do it.
-
I do plenty of that as well. I'm in the shop 4 days a week making mistakes. I've got a very nice start on a dagger that made me think I needed the matching blade. That one I was smart enough to start with the correct width. To answer your earlier question I plan on being about a quarter inch at the base of the blade droping to a hair under an 8th 3 inches from the tip. Width at the base is going to be 2 and a quarter and narrowing 4 inches down for a very aggressive point on the blade. Unlike my little short sword I made, I have a much clearer plan of what I want to do here.

-
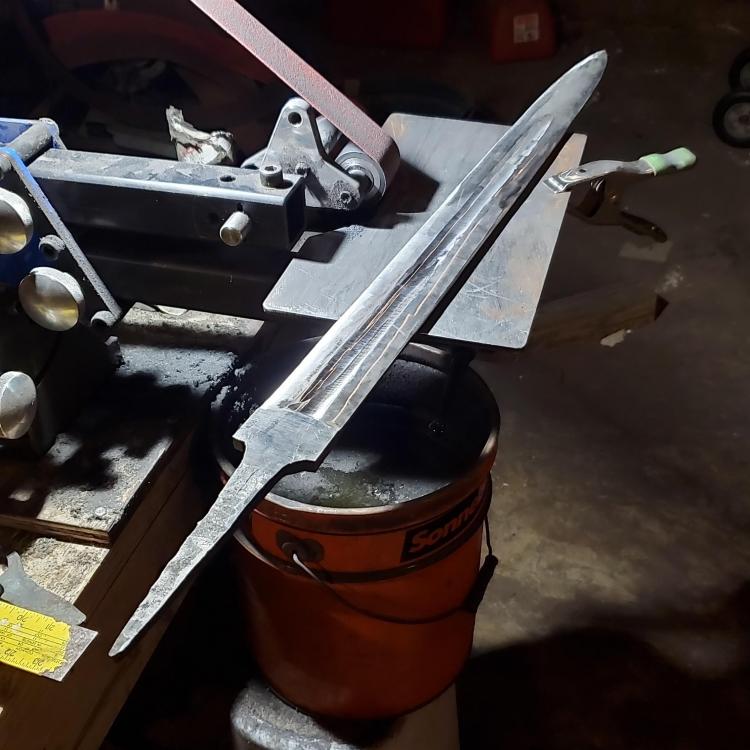
I have not read the book, I'll try to find it on that place that they named a river after. I have a smaller spring filter I had made but the truth is I started with s piece b of v steel that is way too wide and I'm working it down to the width I wanted. Part of this was intentional so that I could get a nice ridge and pay off it was born of inexperience when it comes to estimating material needs. I know that this blade, much like me, needs to lose a (lot) bit of weight and grinding in a fuller in this case will help me meet the goal. On my next blade I will go with narrower starting stock so I don't work as hard.
-
Pardon me JHCC, terminology is the trickiest part of this hobby for me so far. So I was planning on normalizing 3 times before I quench the blade, which will be tricky enough, but if I plan on claying the blade to help keep the central ridge of the blade soft. But I do plan on grinding in a fuller so is that a waste of time and effort?
-
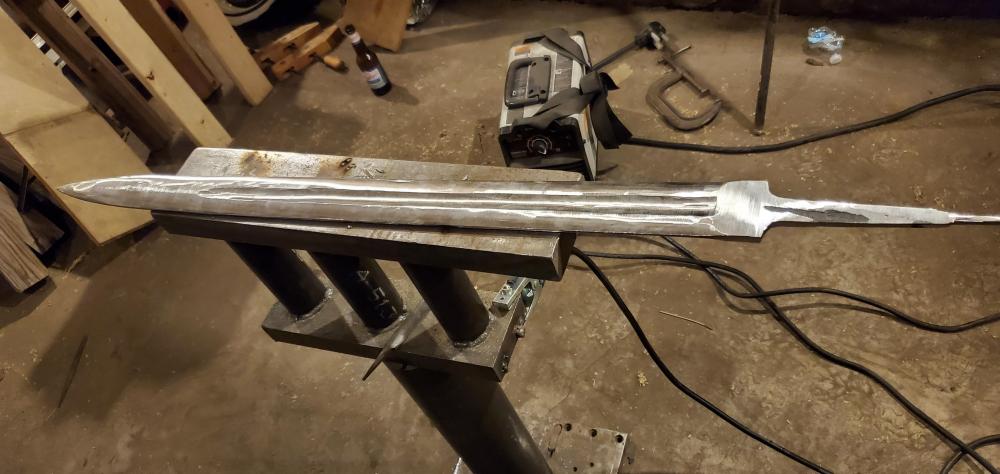
Still getting used to some of the terminology. I thought thermocycling prior to quenching was itself a separate process and normalizing was used prior to working but now I realize I'm thinking of annealing for that. I am going to try making an arming sword and wanted to plan ahead for heat treating. I was considering doing a clayed spine on it. I want to keep the spine nice and soft.
-
5160, my phone removed thermo from the cycling, but I am going to thermocycle several times before the quench and I'm not sure if 5160 is deep hardening.
-
I'm going to list what I've learned about it so far and if sometime would kindly tell me In wrong and how it should go I'd appreciate it. Take clay or refractory cement, type unknown, goo it into the blade's spine. Heat the blade to desired quenching temp and quench. Things I'm not quite sure about but I can't find the info; I'm going to cycle the blade several times, do I clay it for this? Unknowns; not sure. Once I'm done forging and grinding I'll be posting some pictures of this project. I'm wanting to really push my skills here and I want to keep it kind of close to the vest.
-
What did you do in the shop today?
Chad J. replied to Mark Ling's topic in Blacksmithing, General Discussion
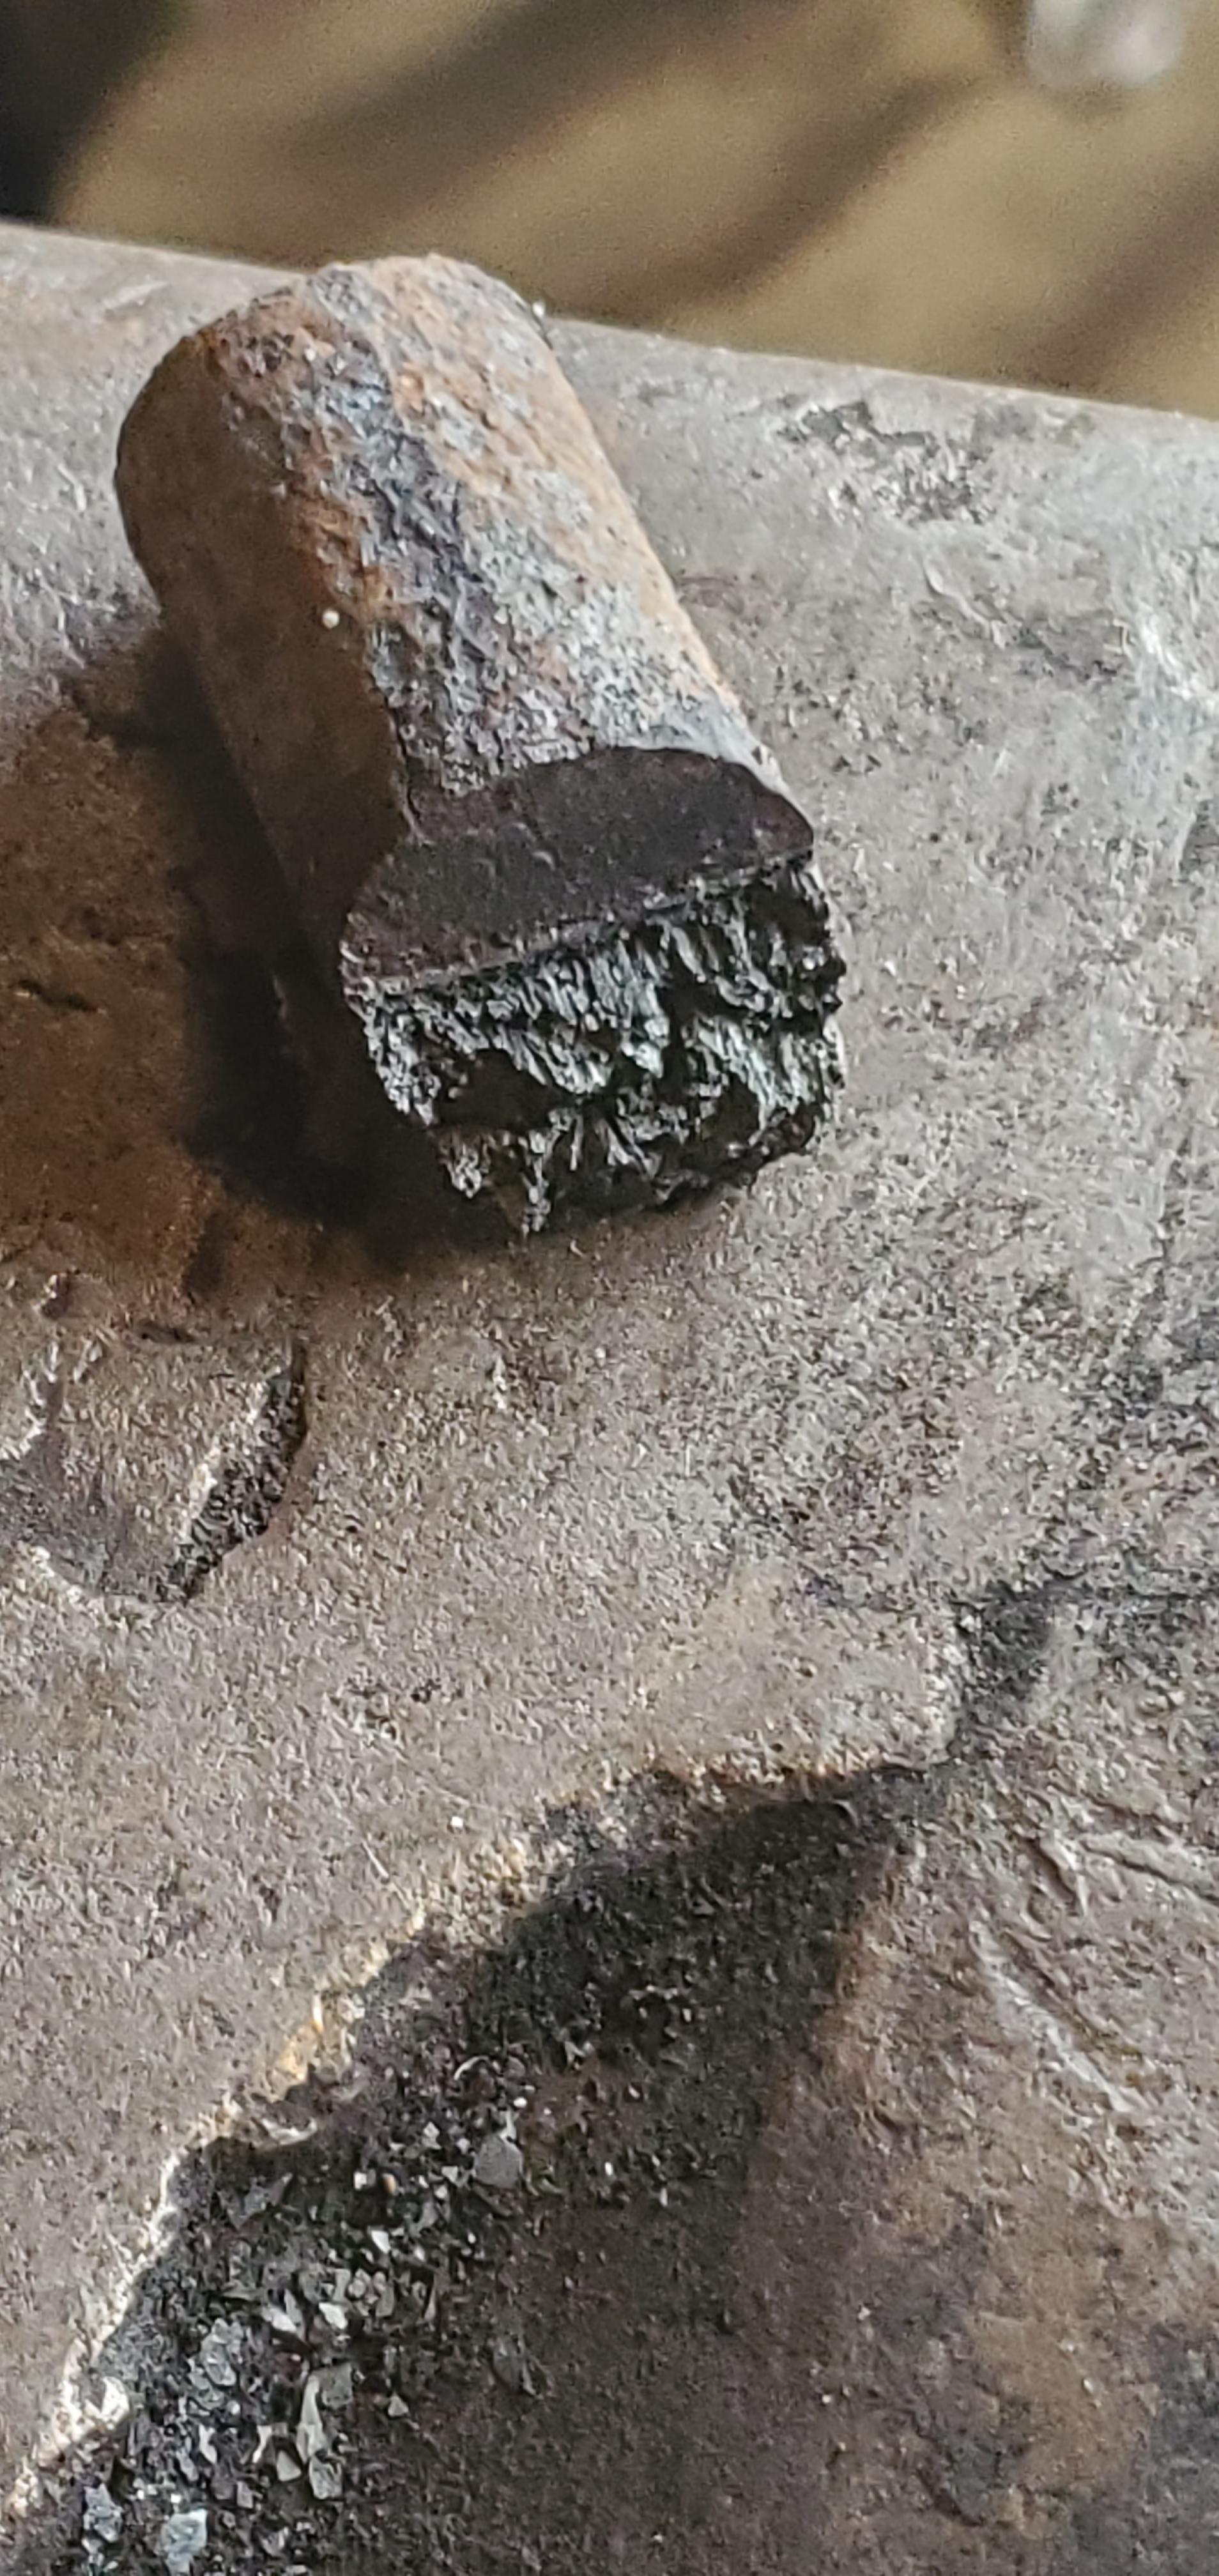
Did a break test on a piece today, heated it, cut out and bent it. Am I reading this correctly that is wrought?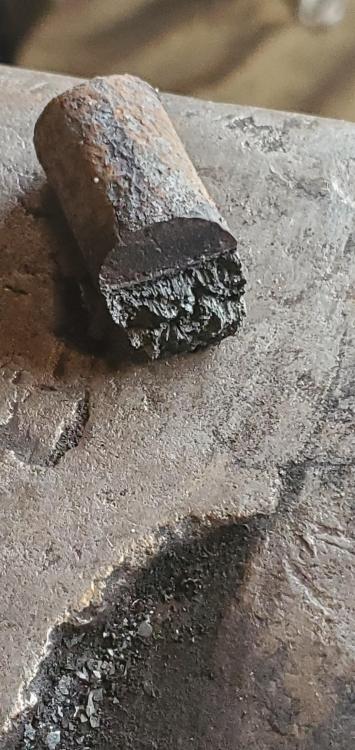
-
The other day I stopped some scrappers to give them a roll of fencing that was taking up space and they got a look in my shop. Yesterday one of them stopped by and dropped off a couple axle shafts, a hex shaft and a small leaf spring pack off a 32 ford rat rod. I offered to pay him for it and he refused. I'm going to hook him up with a few hand forged items as thanks I think. I was also invited over to his place where he had plenty of scrap I can choose from.
-
Frosty, I can't help it. It's ash after all. Thomas, if I understand your reference correctly, you'll clean up with that pun.