CtG
Members
-
Joined
-
Last visited
Everything posted by CtG
-
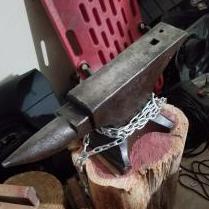
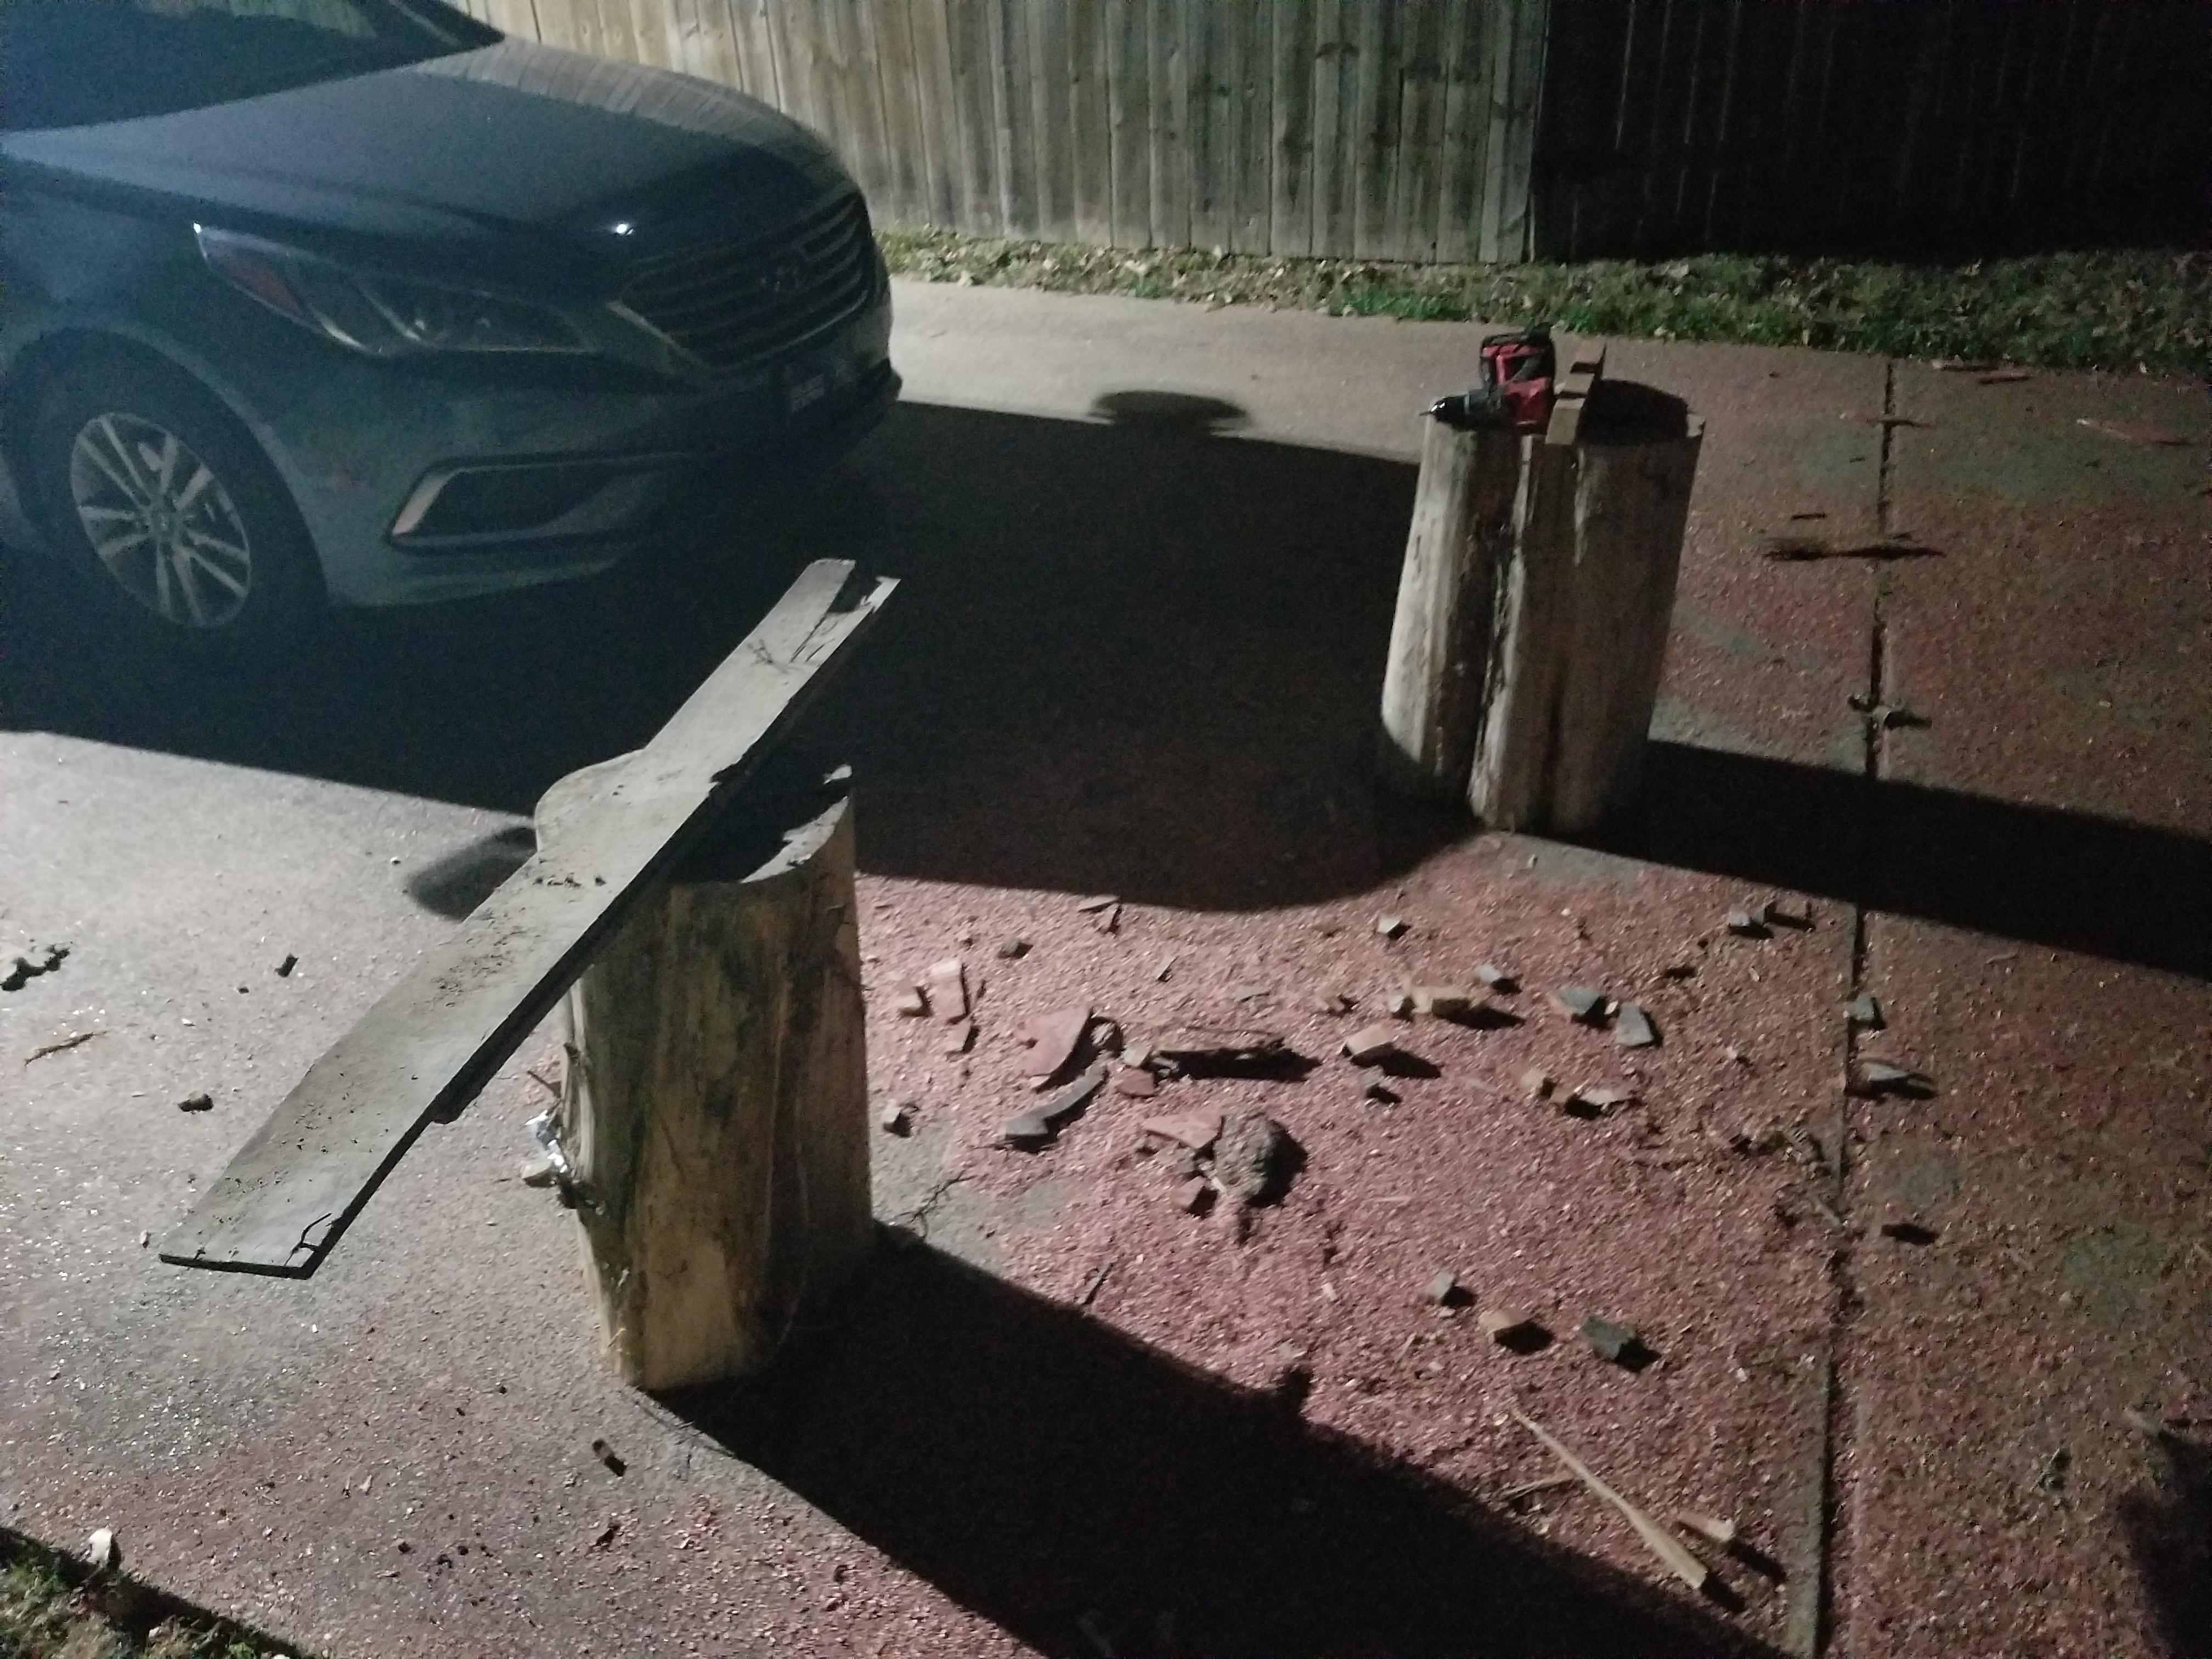
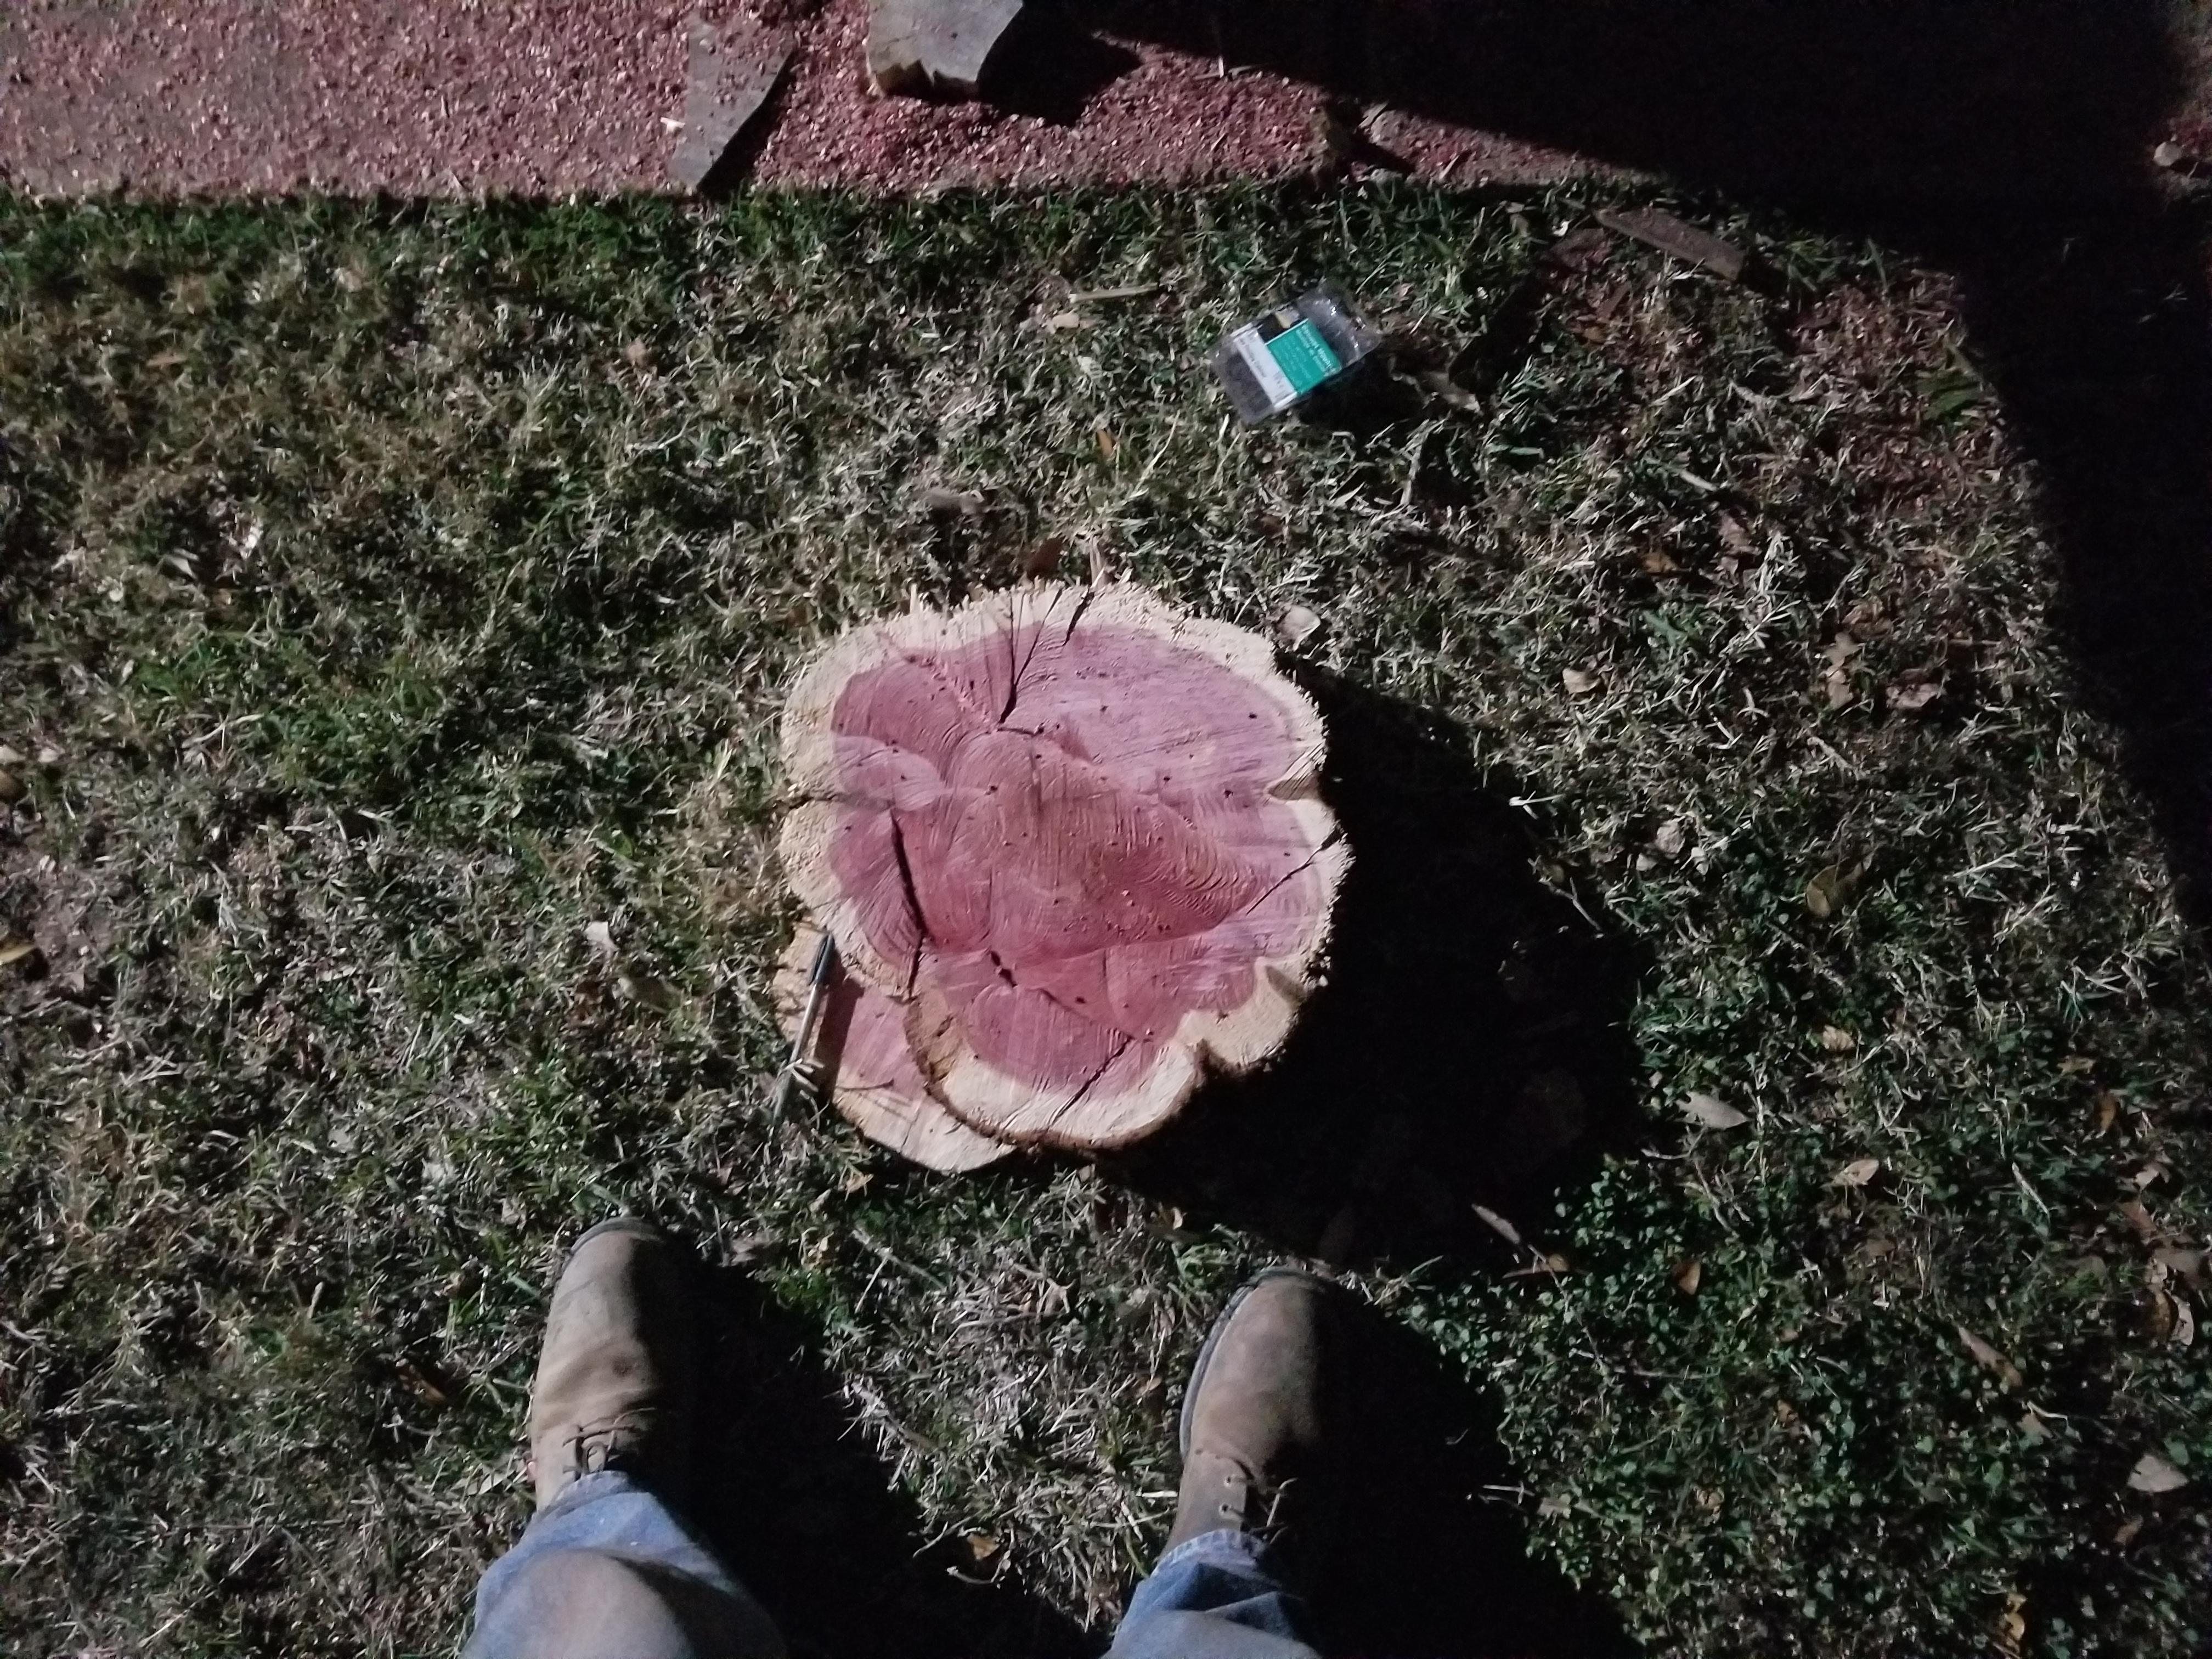
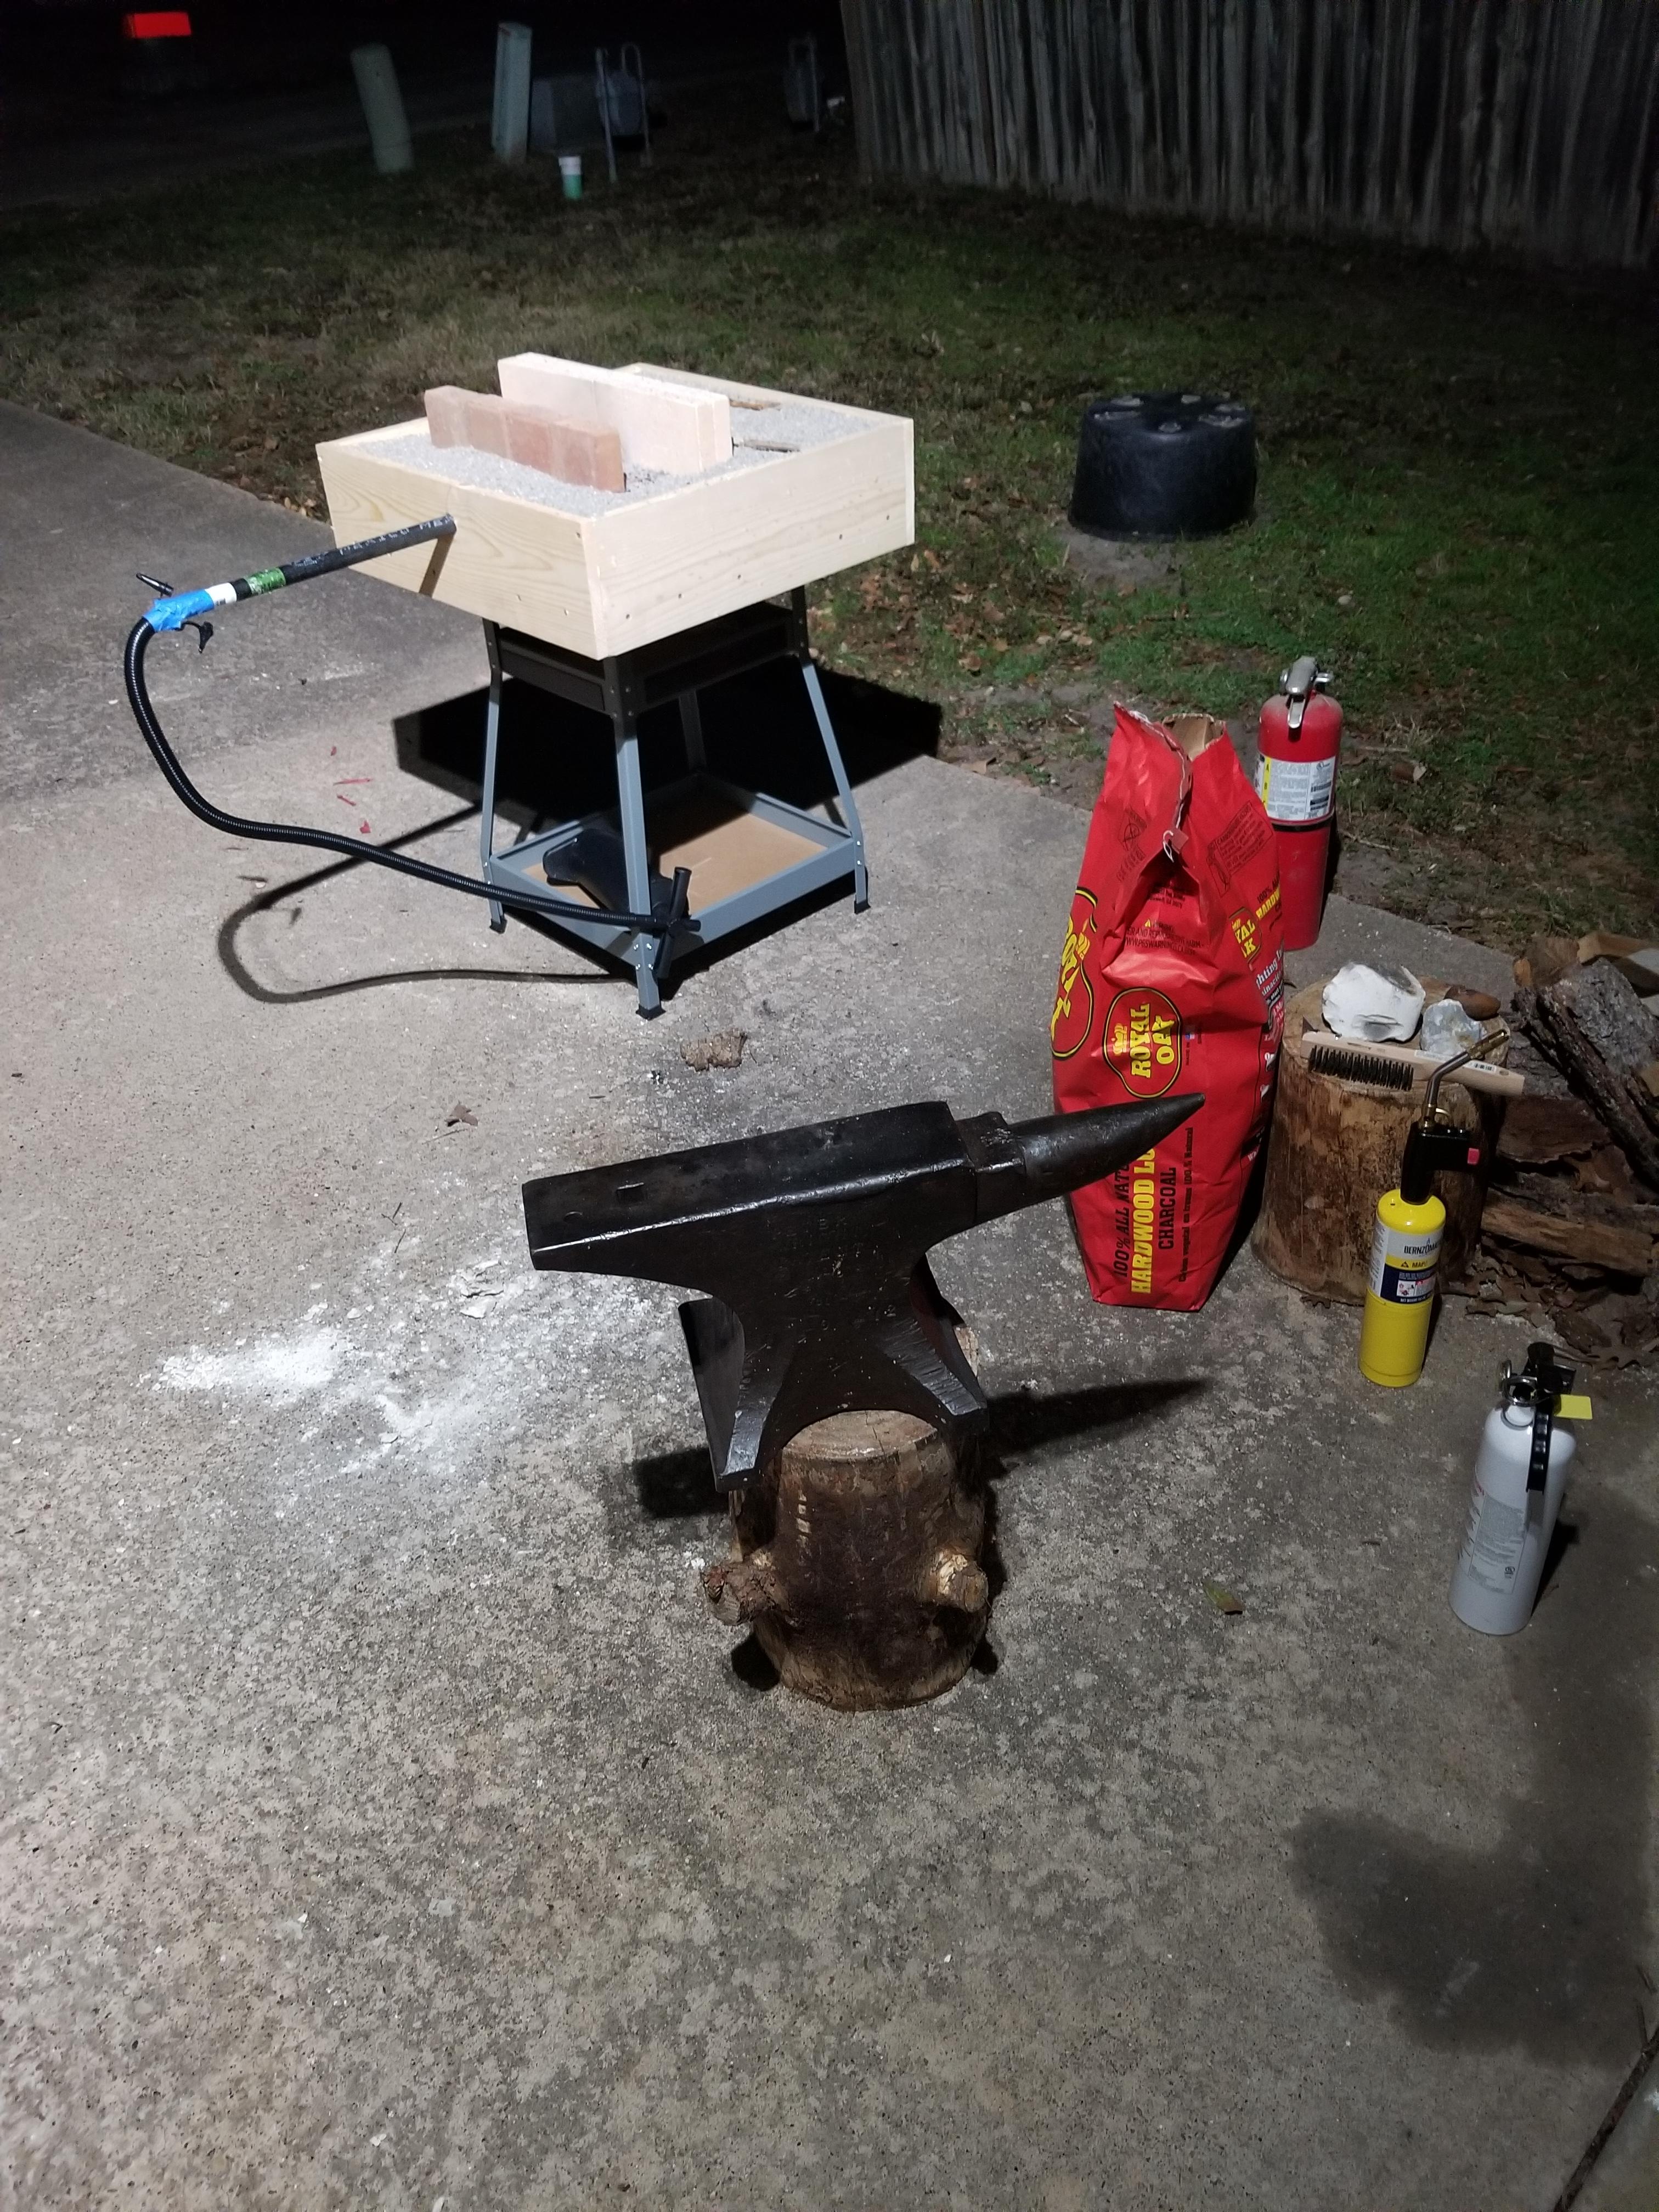
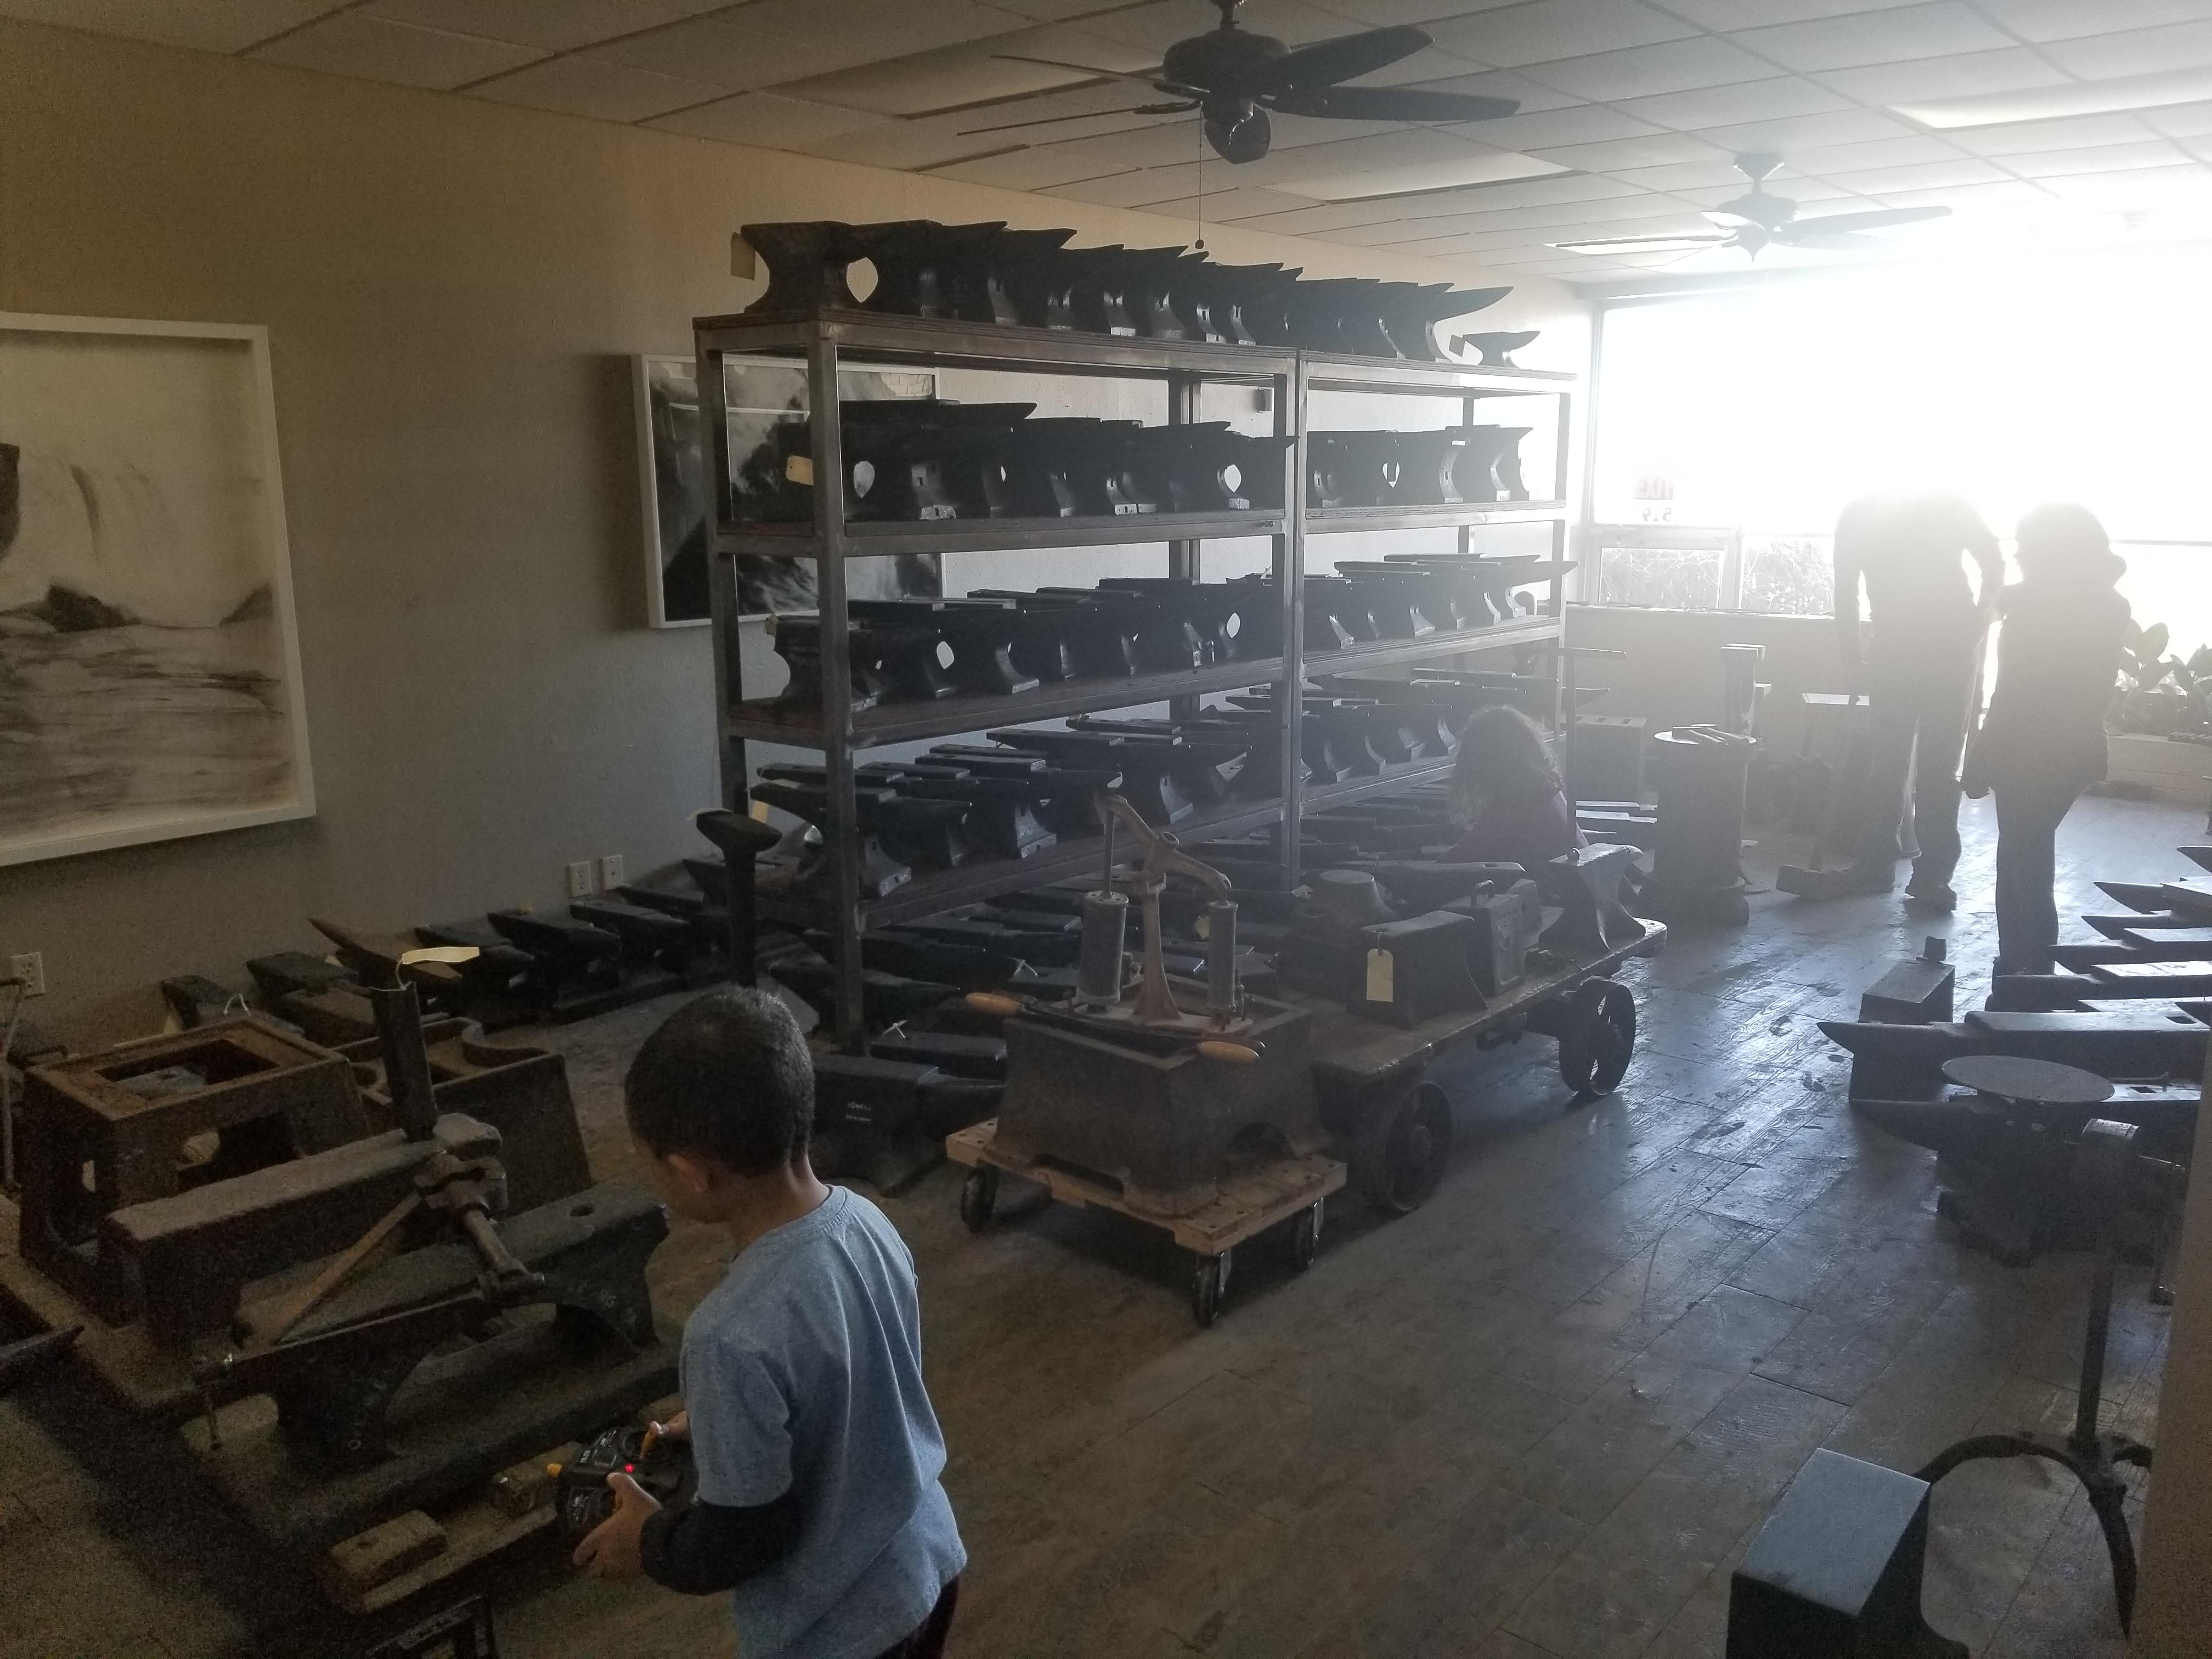
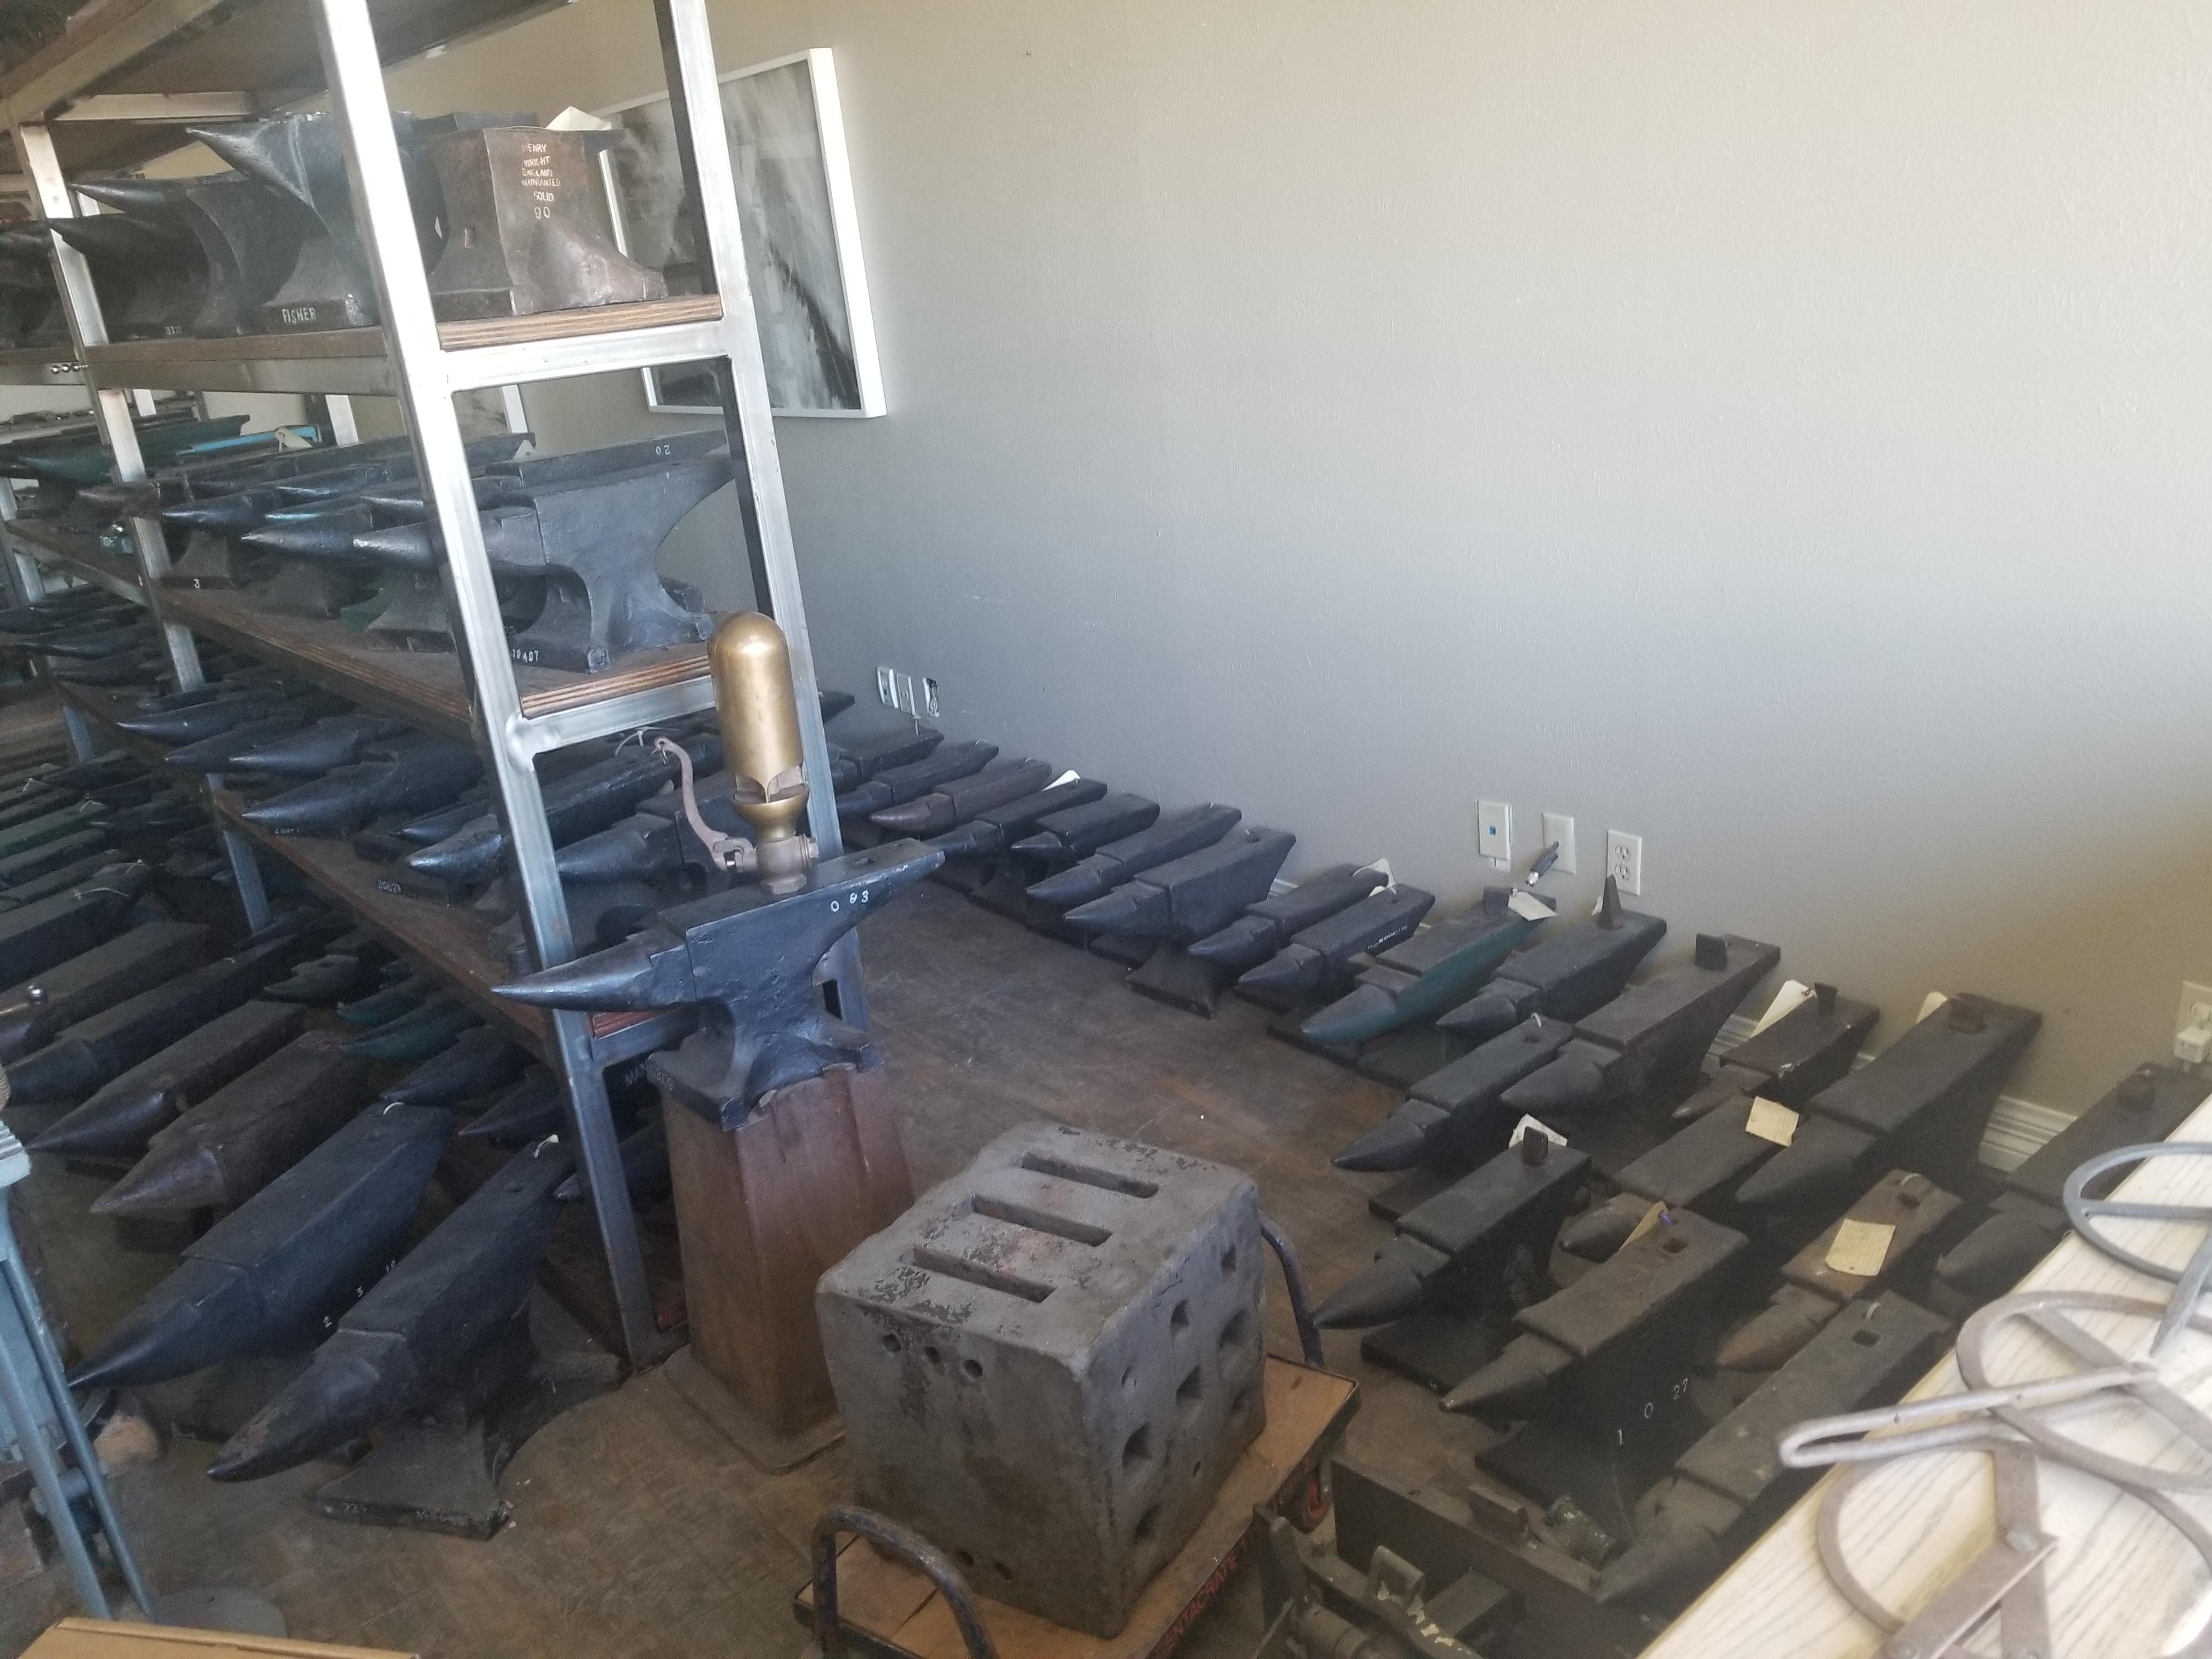
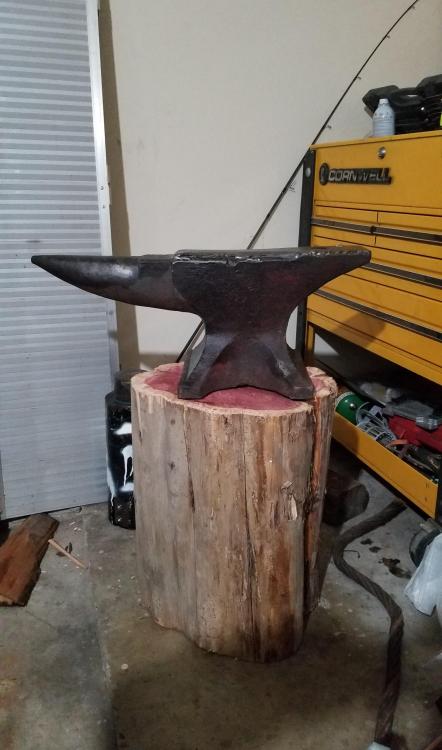
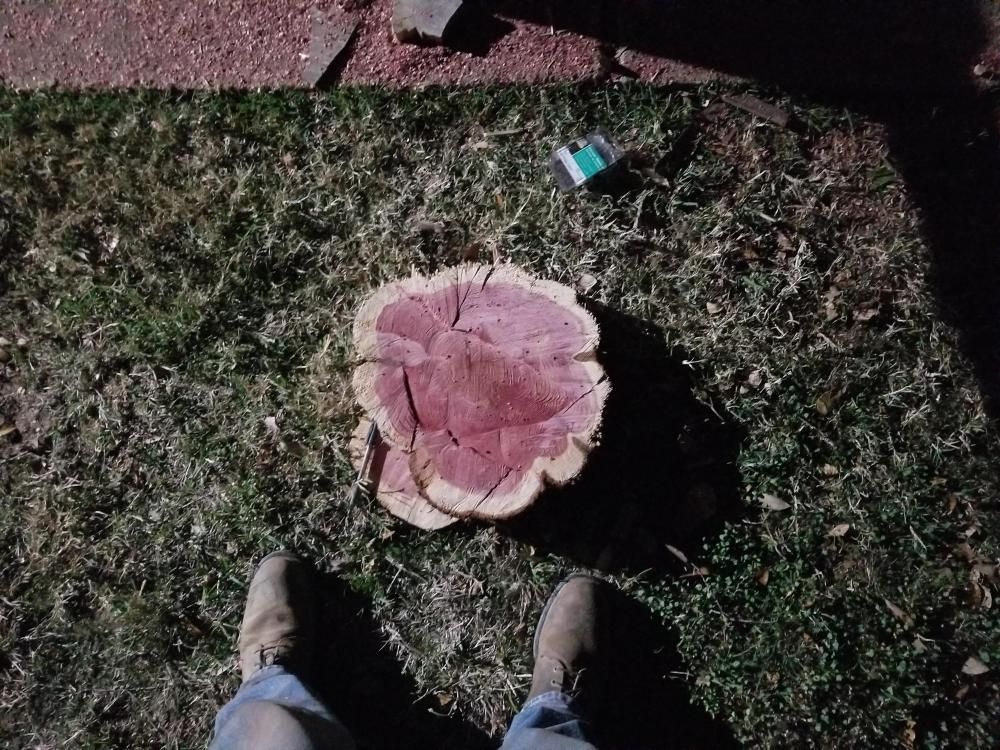
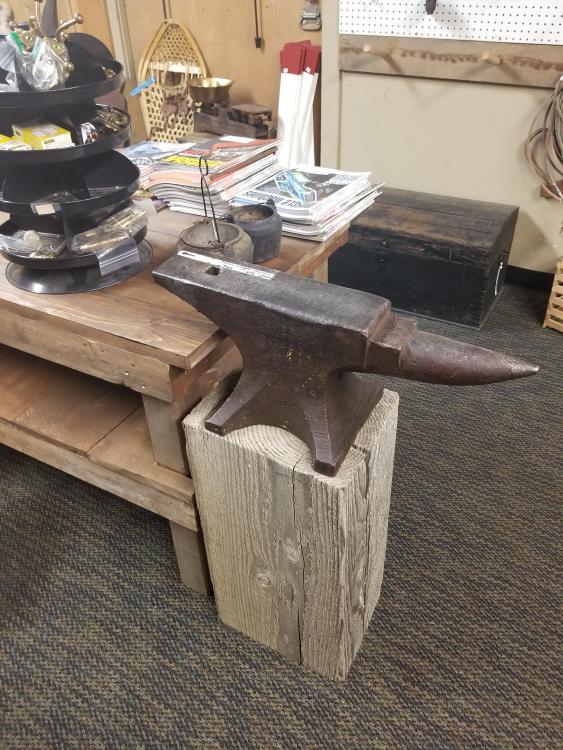
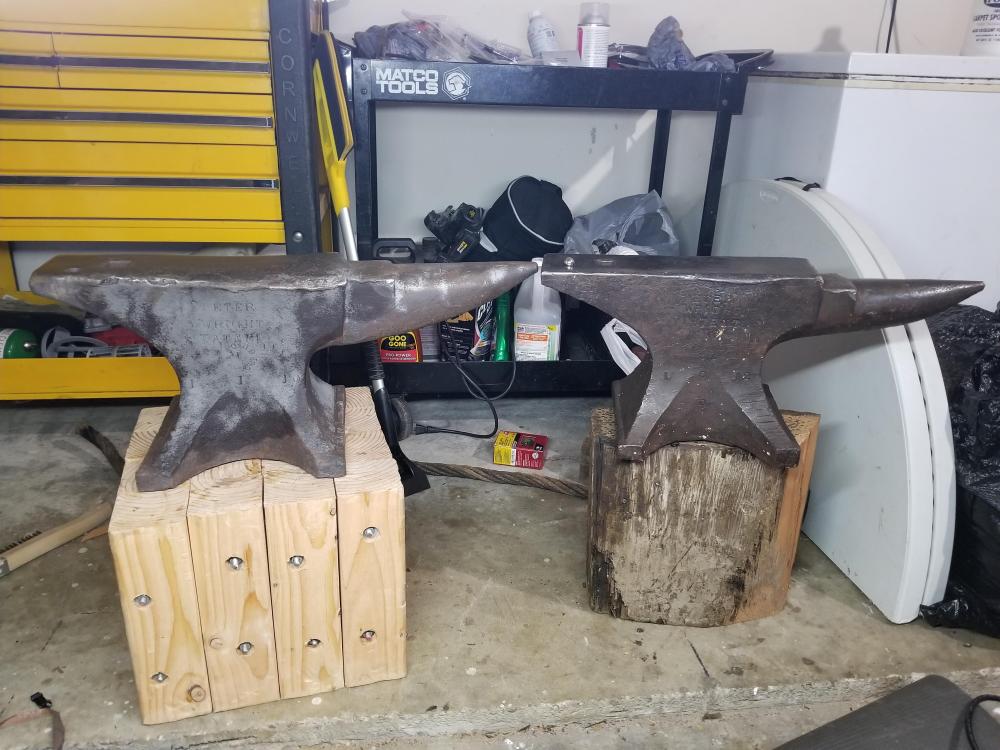
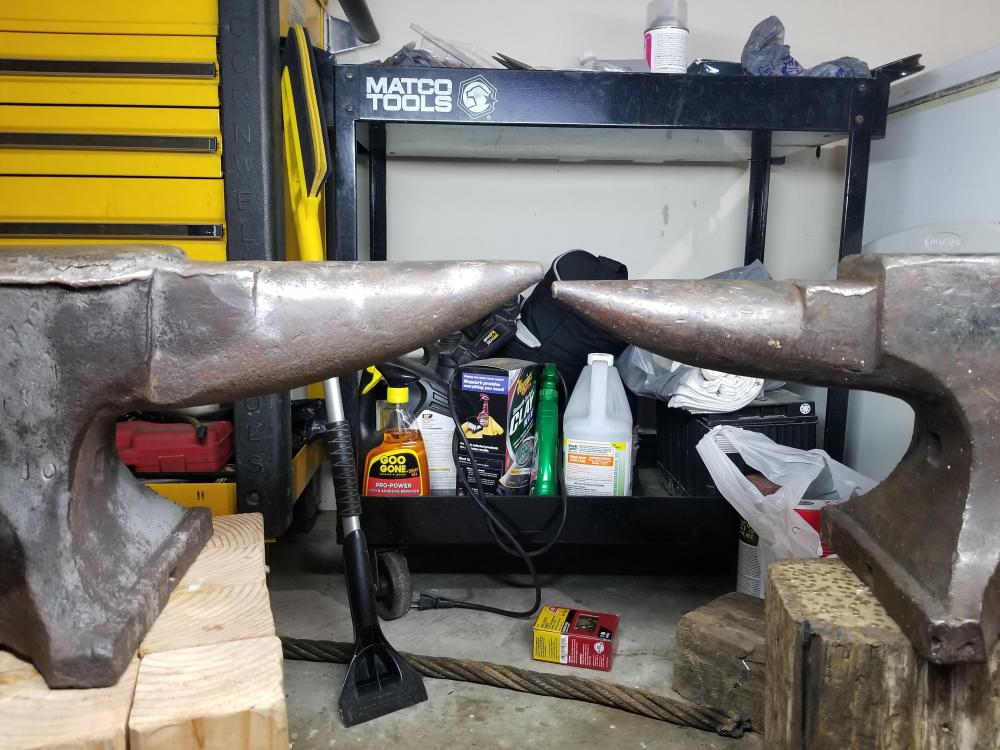
Oh man! Blowers, I think I see a tuyere.. parts to fix up the forge pan I'll be getting before too long! Not to mention vises, hammers, and lot of other good looking stuff that I'm too green to even know what it is haha. Pretty cool!! Well, anyway, a customer has several felled Cedars, I asked if I might have a couple of sections and he told me to go for it! I know it is fairly soft, but man is it pretty, and it is pretty dense for cedar. Tight heart rings, lovely color, and pretty heavy. I only had enough time to trim one up, no fine tuning, but either anvil sits happily on it and is right at the height to rest a fist with a straight arm. Hopefully that works. Now, to mount it sometime in the next month... Christmas season tends to eat the pocketbook alive haha


-
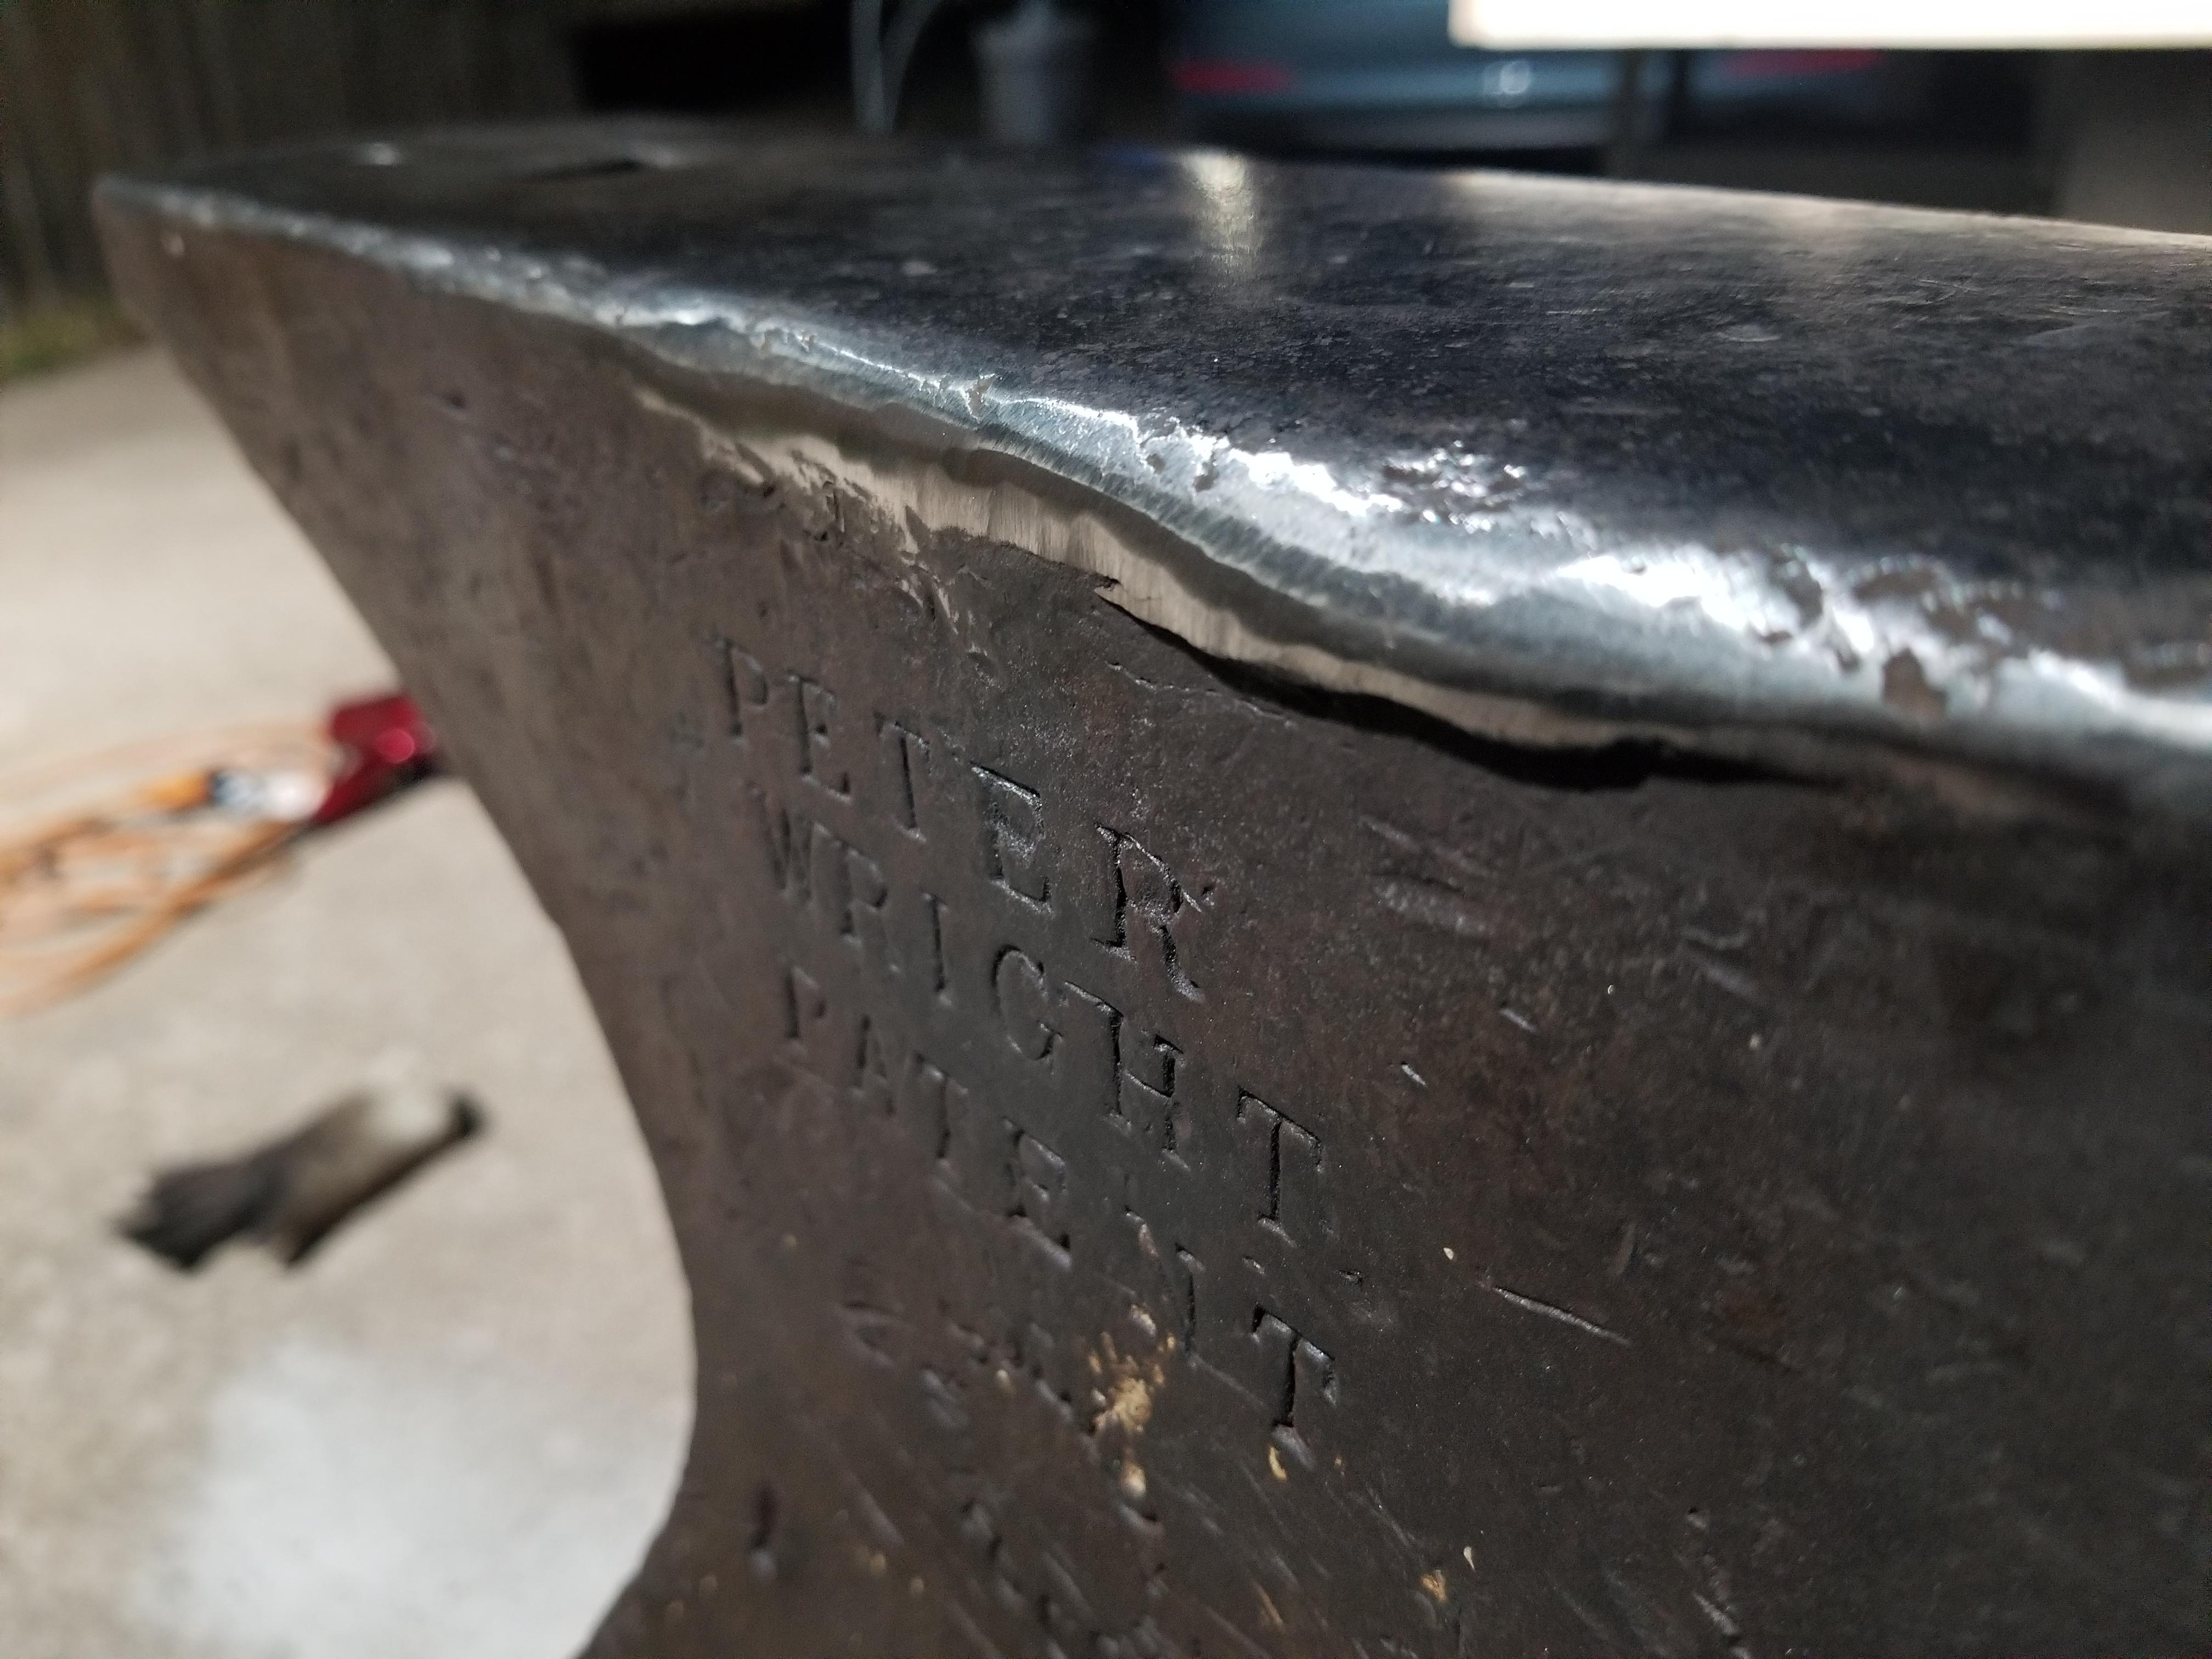
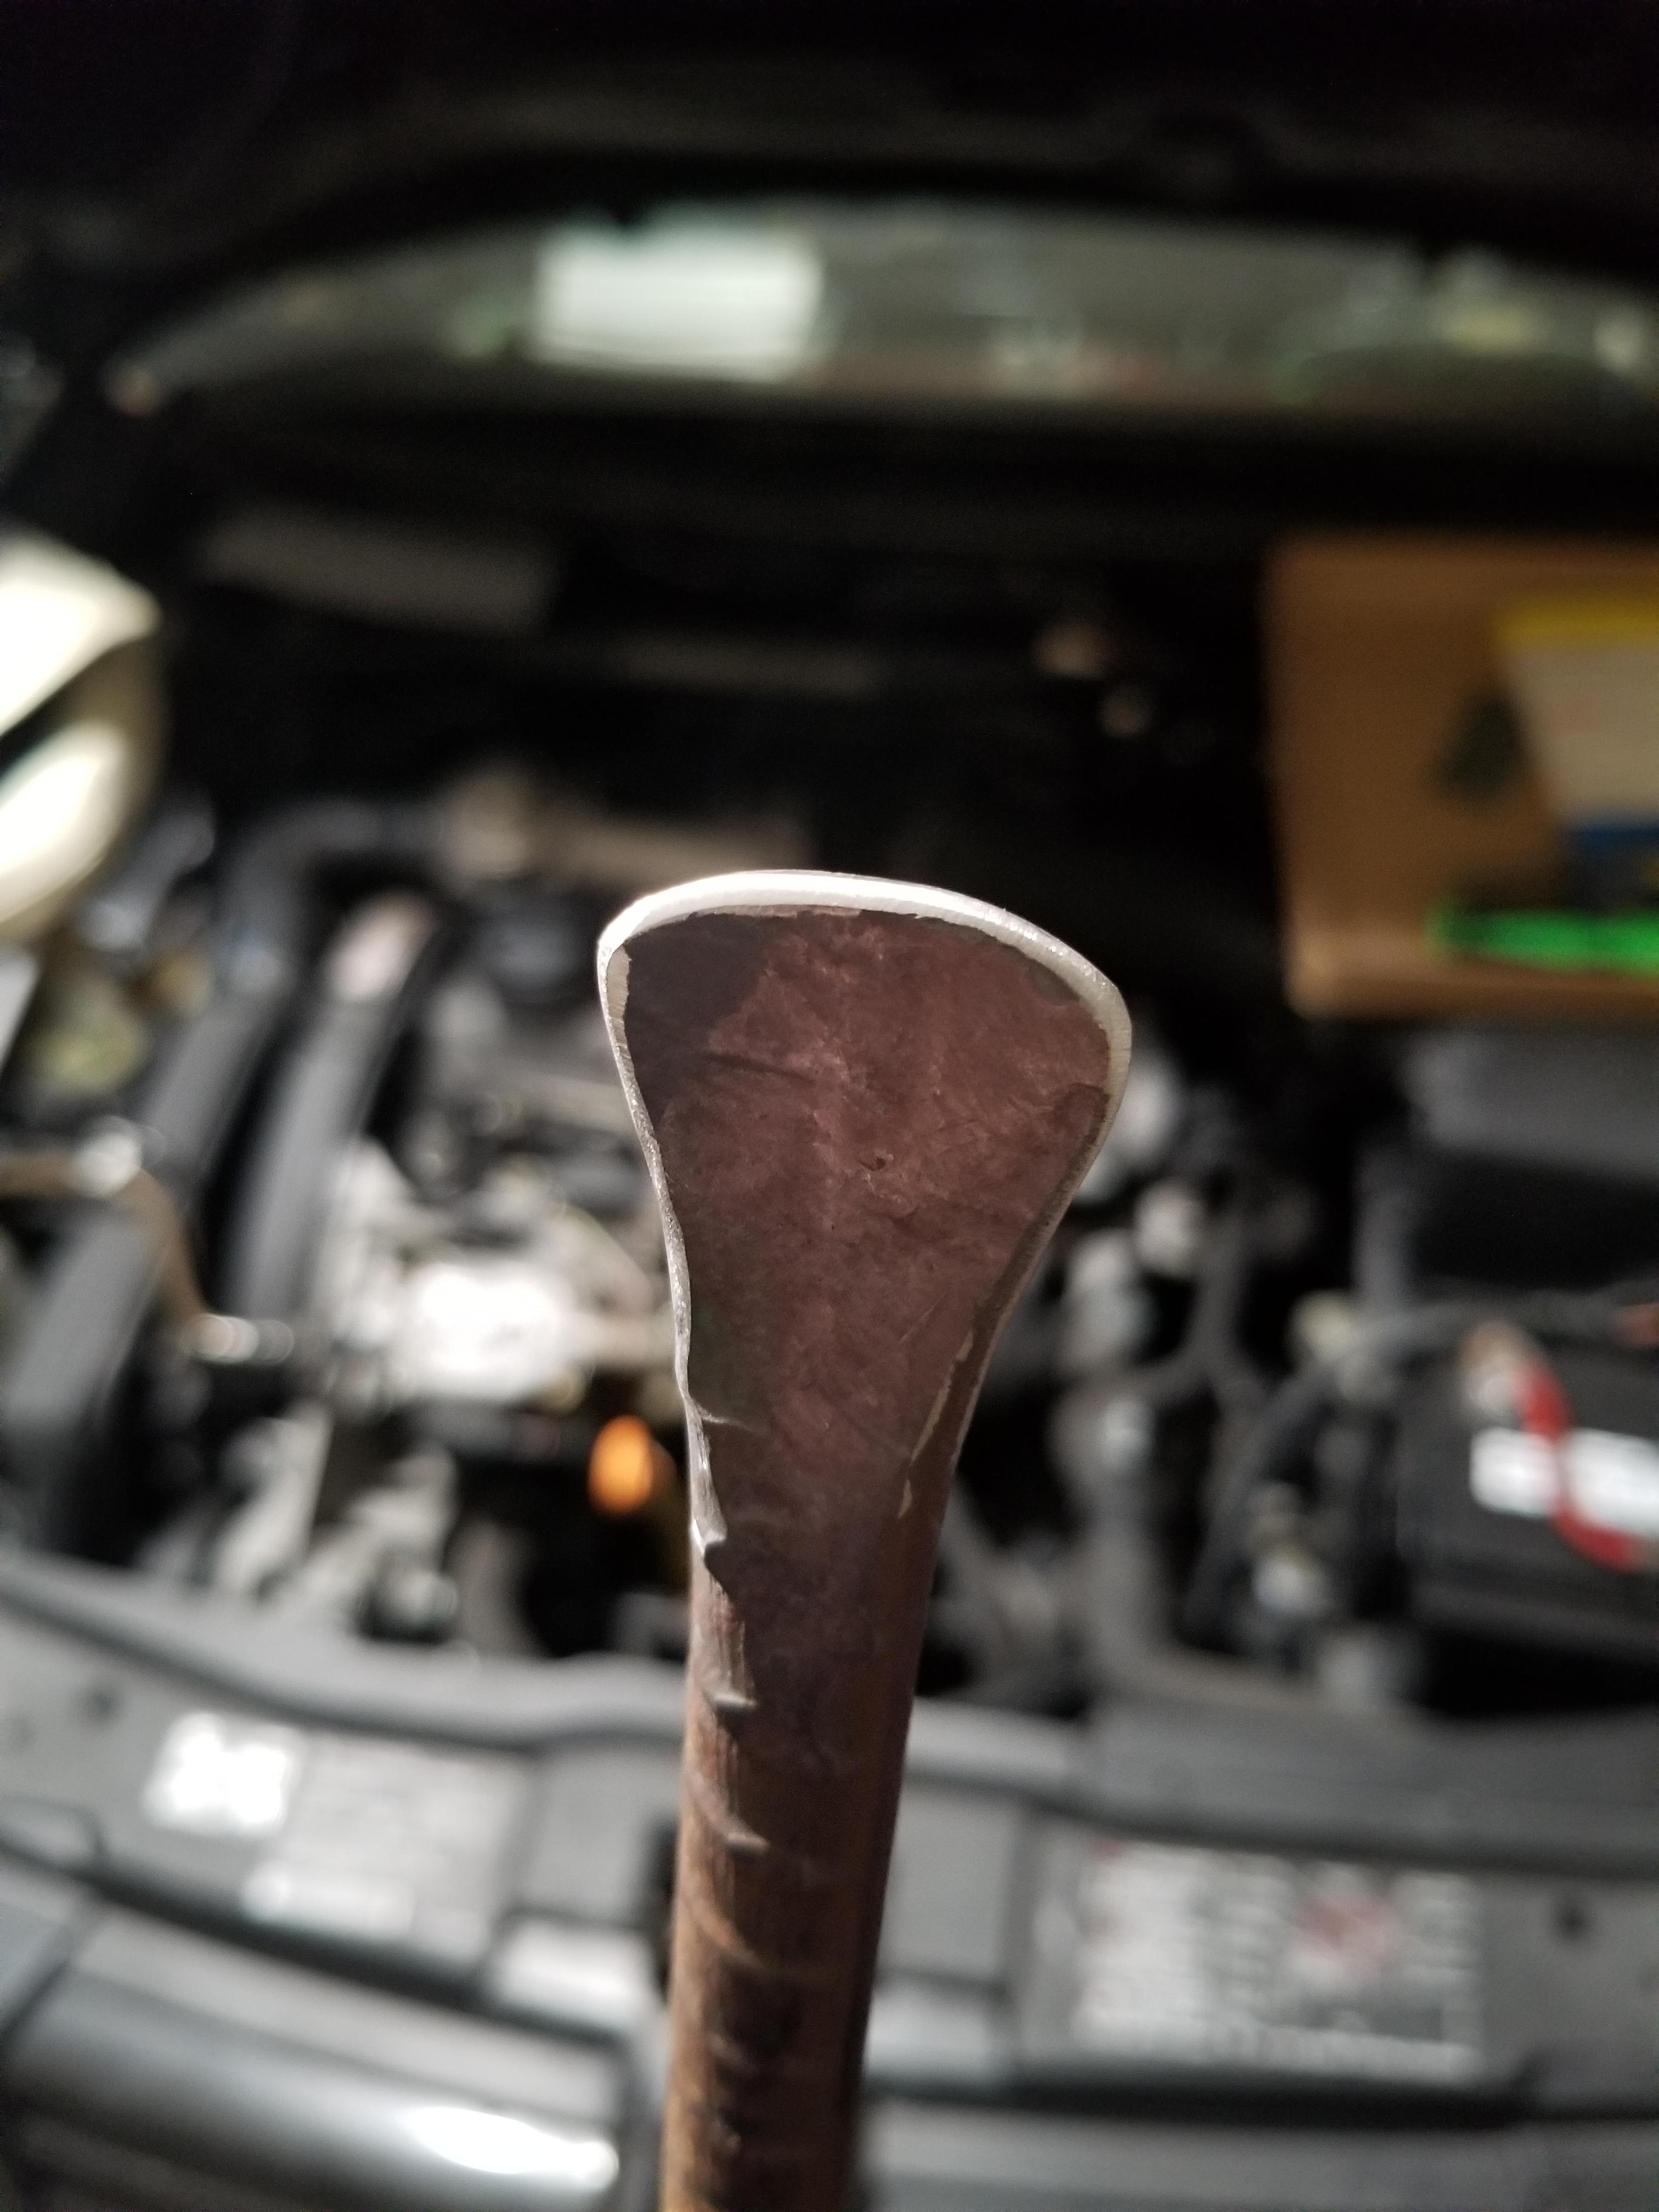
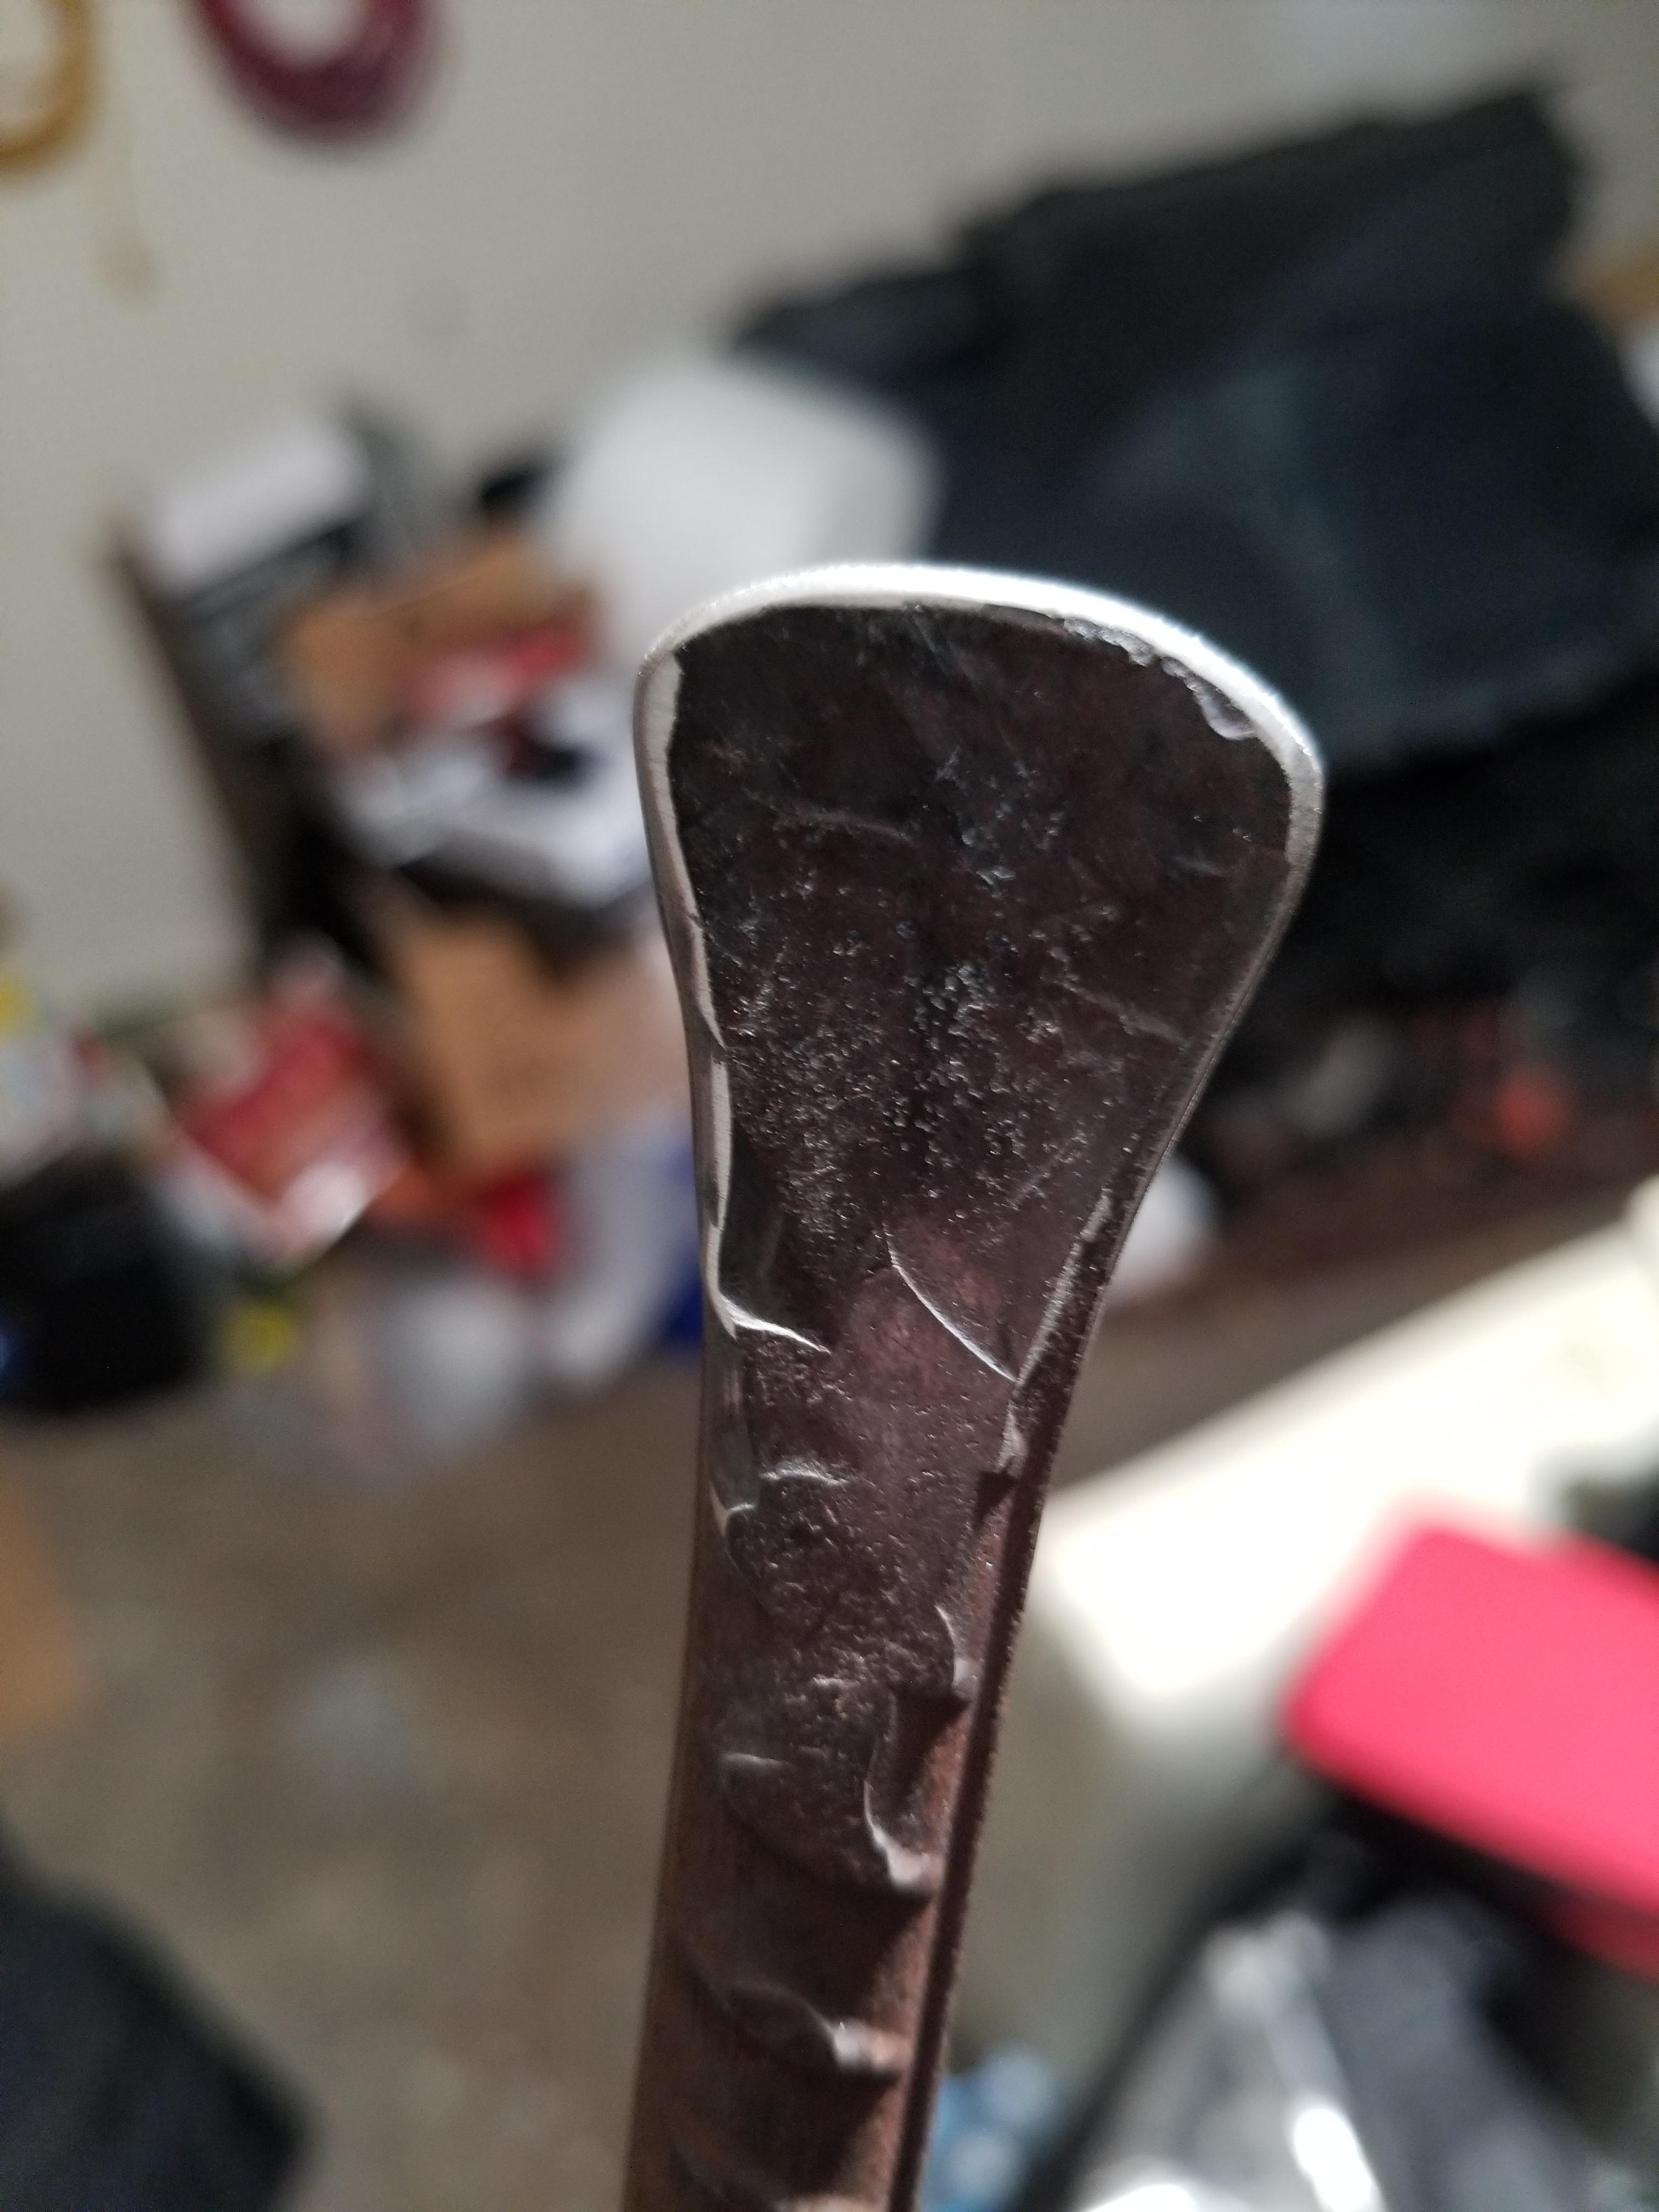
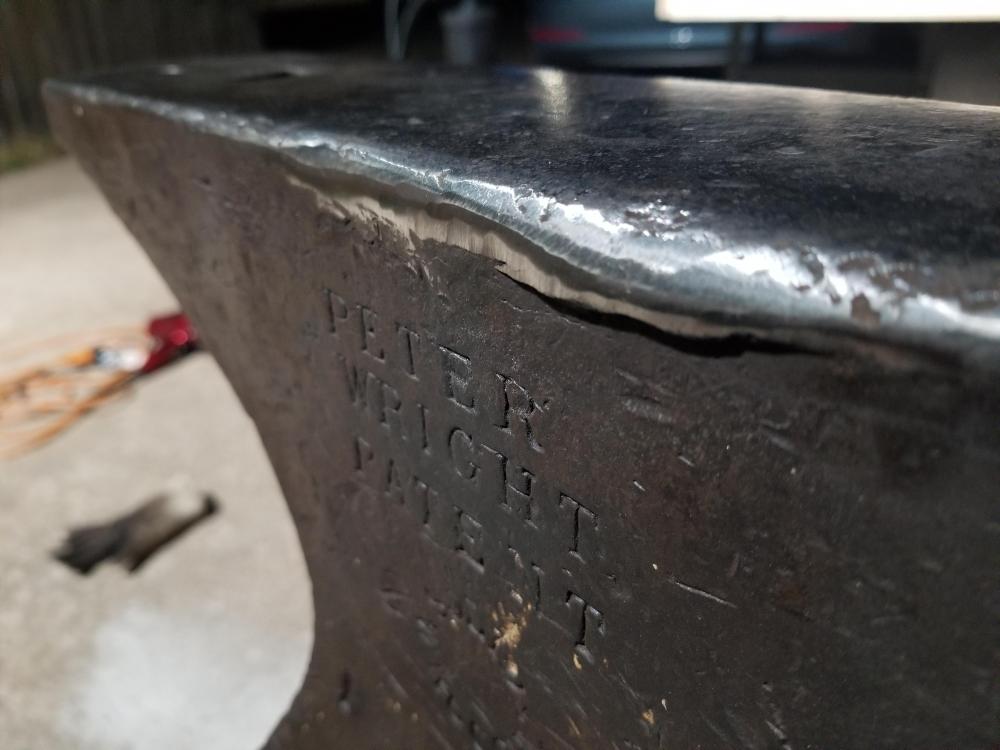
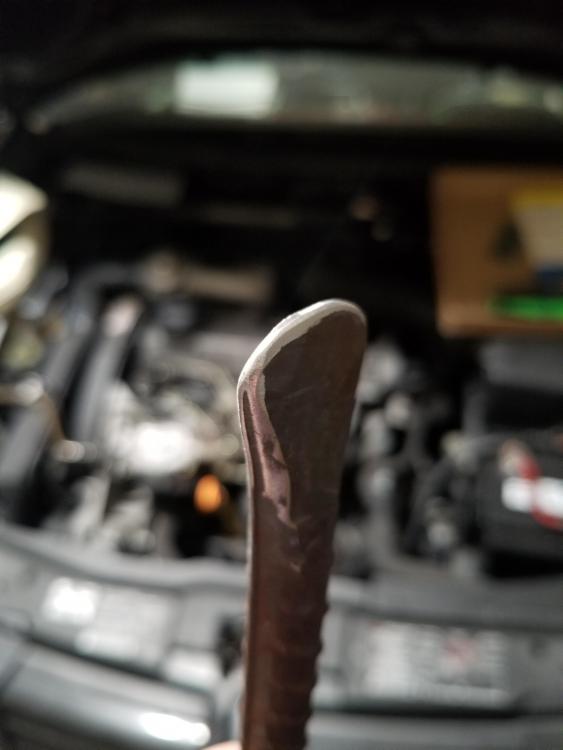
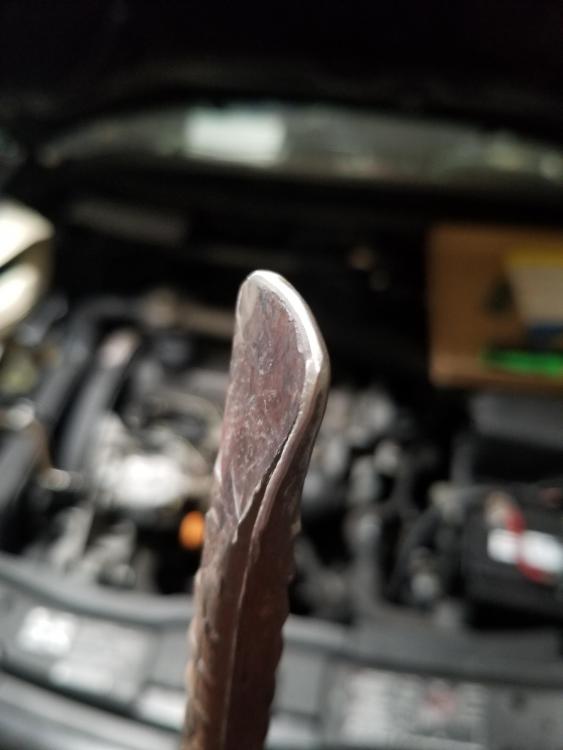
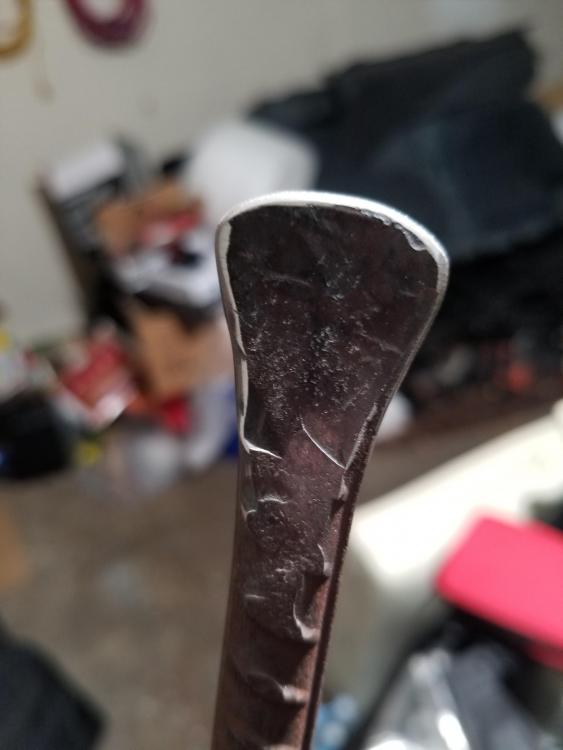
I decided after a few hours of working with her to blend out roughly half of the fold-over. I carefully trimmed it back and tried to give a nice smooth transition. Thus-far, I think it's just about right- the fatter edge towards the bench/shelf is useful in it's own way, and having the slightly crisper edge still over the meat seems to be working quite well. This old gal is working a treat so far!
-
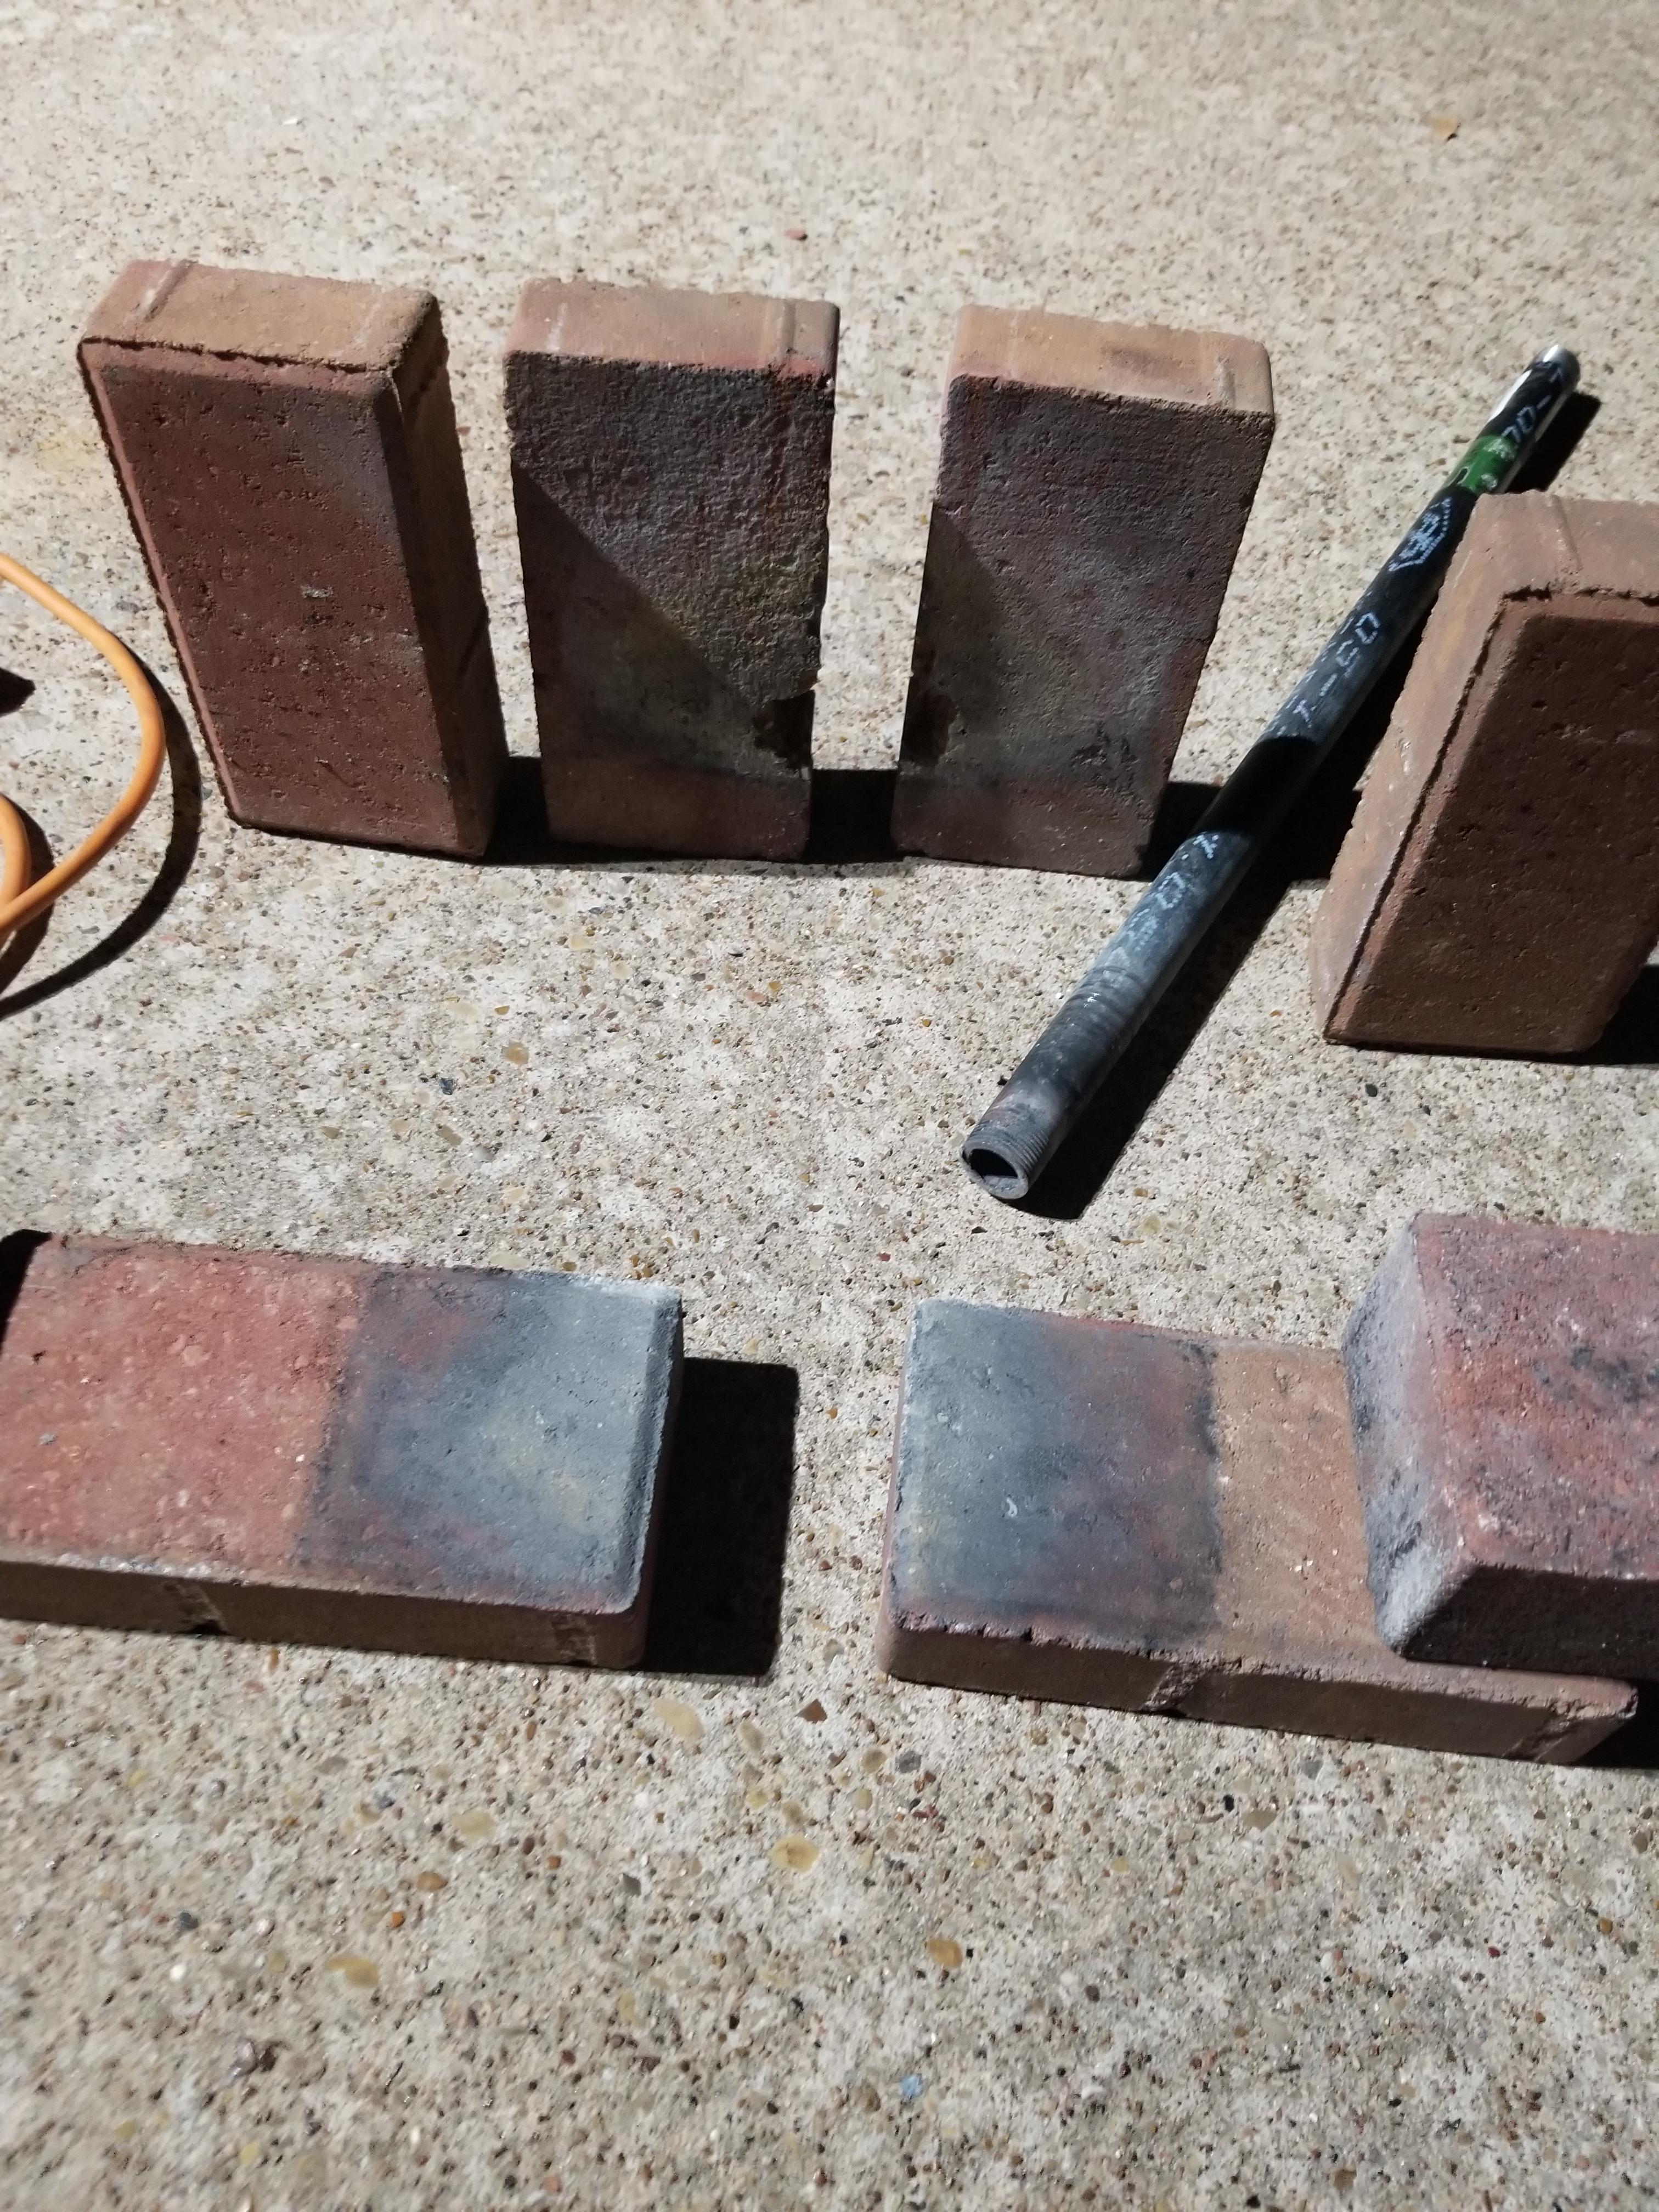
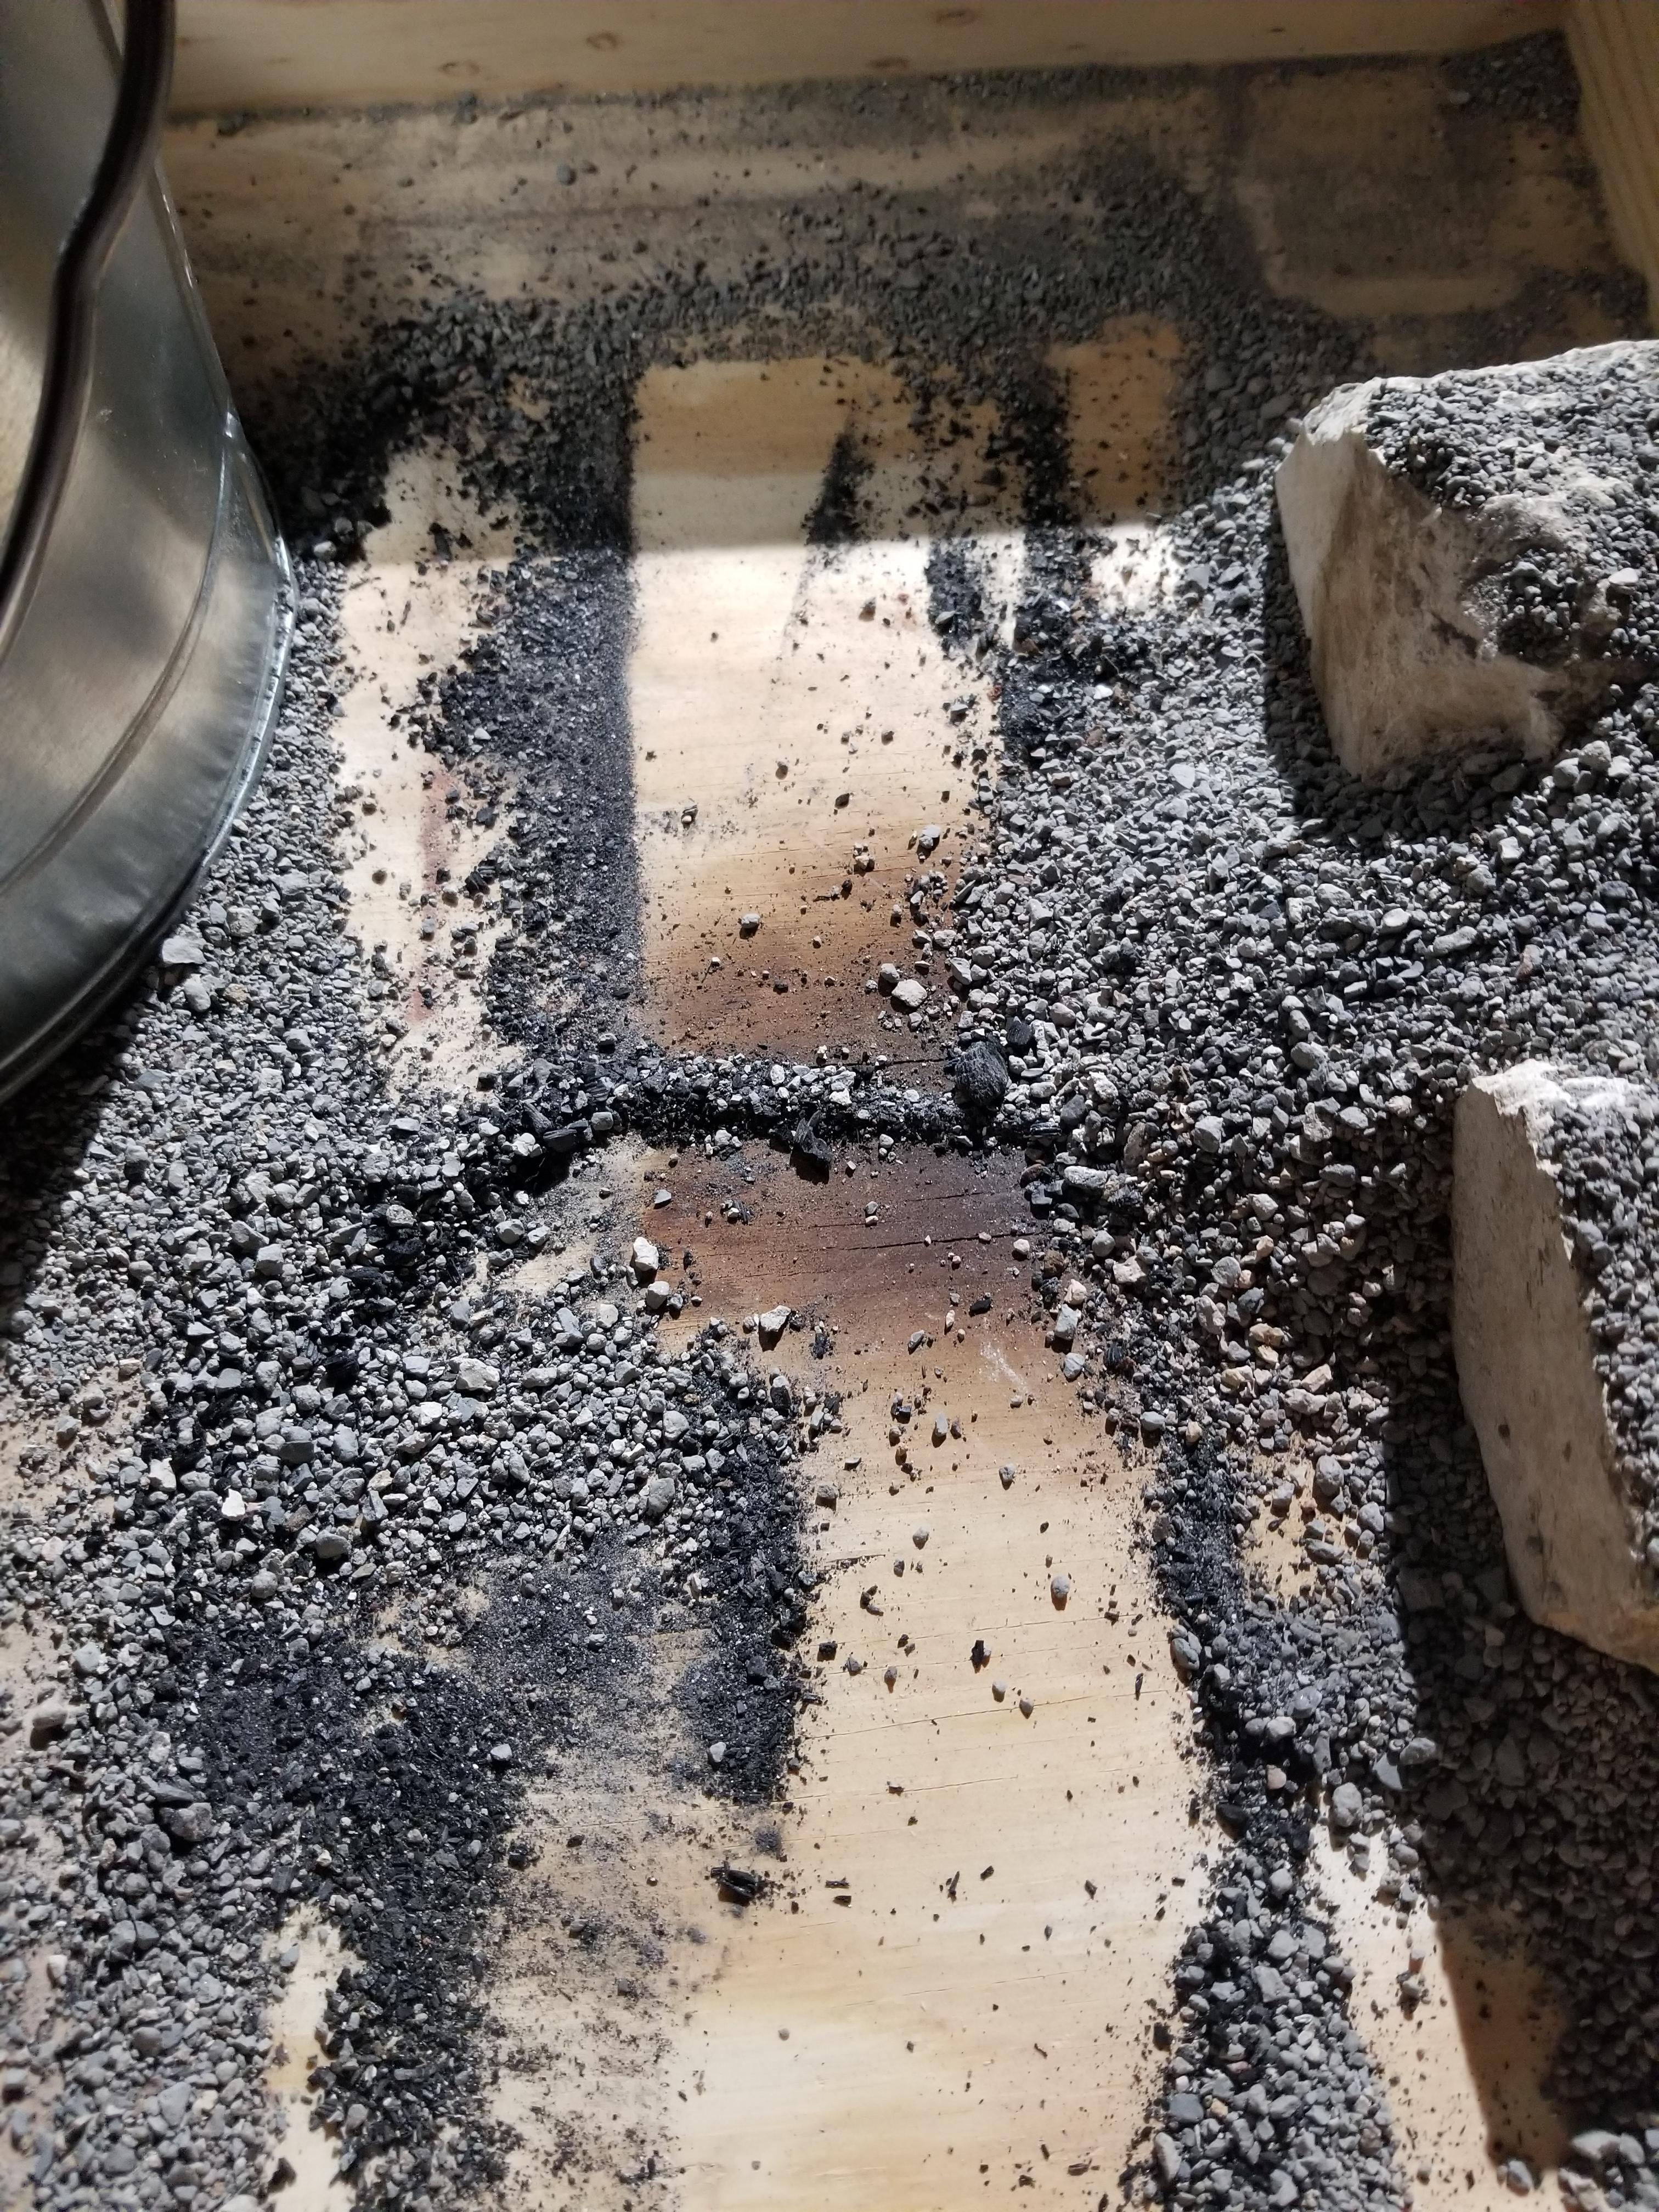
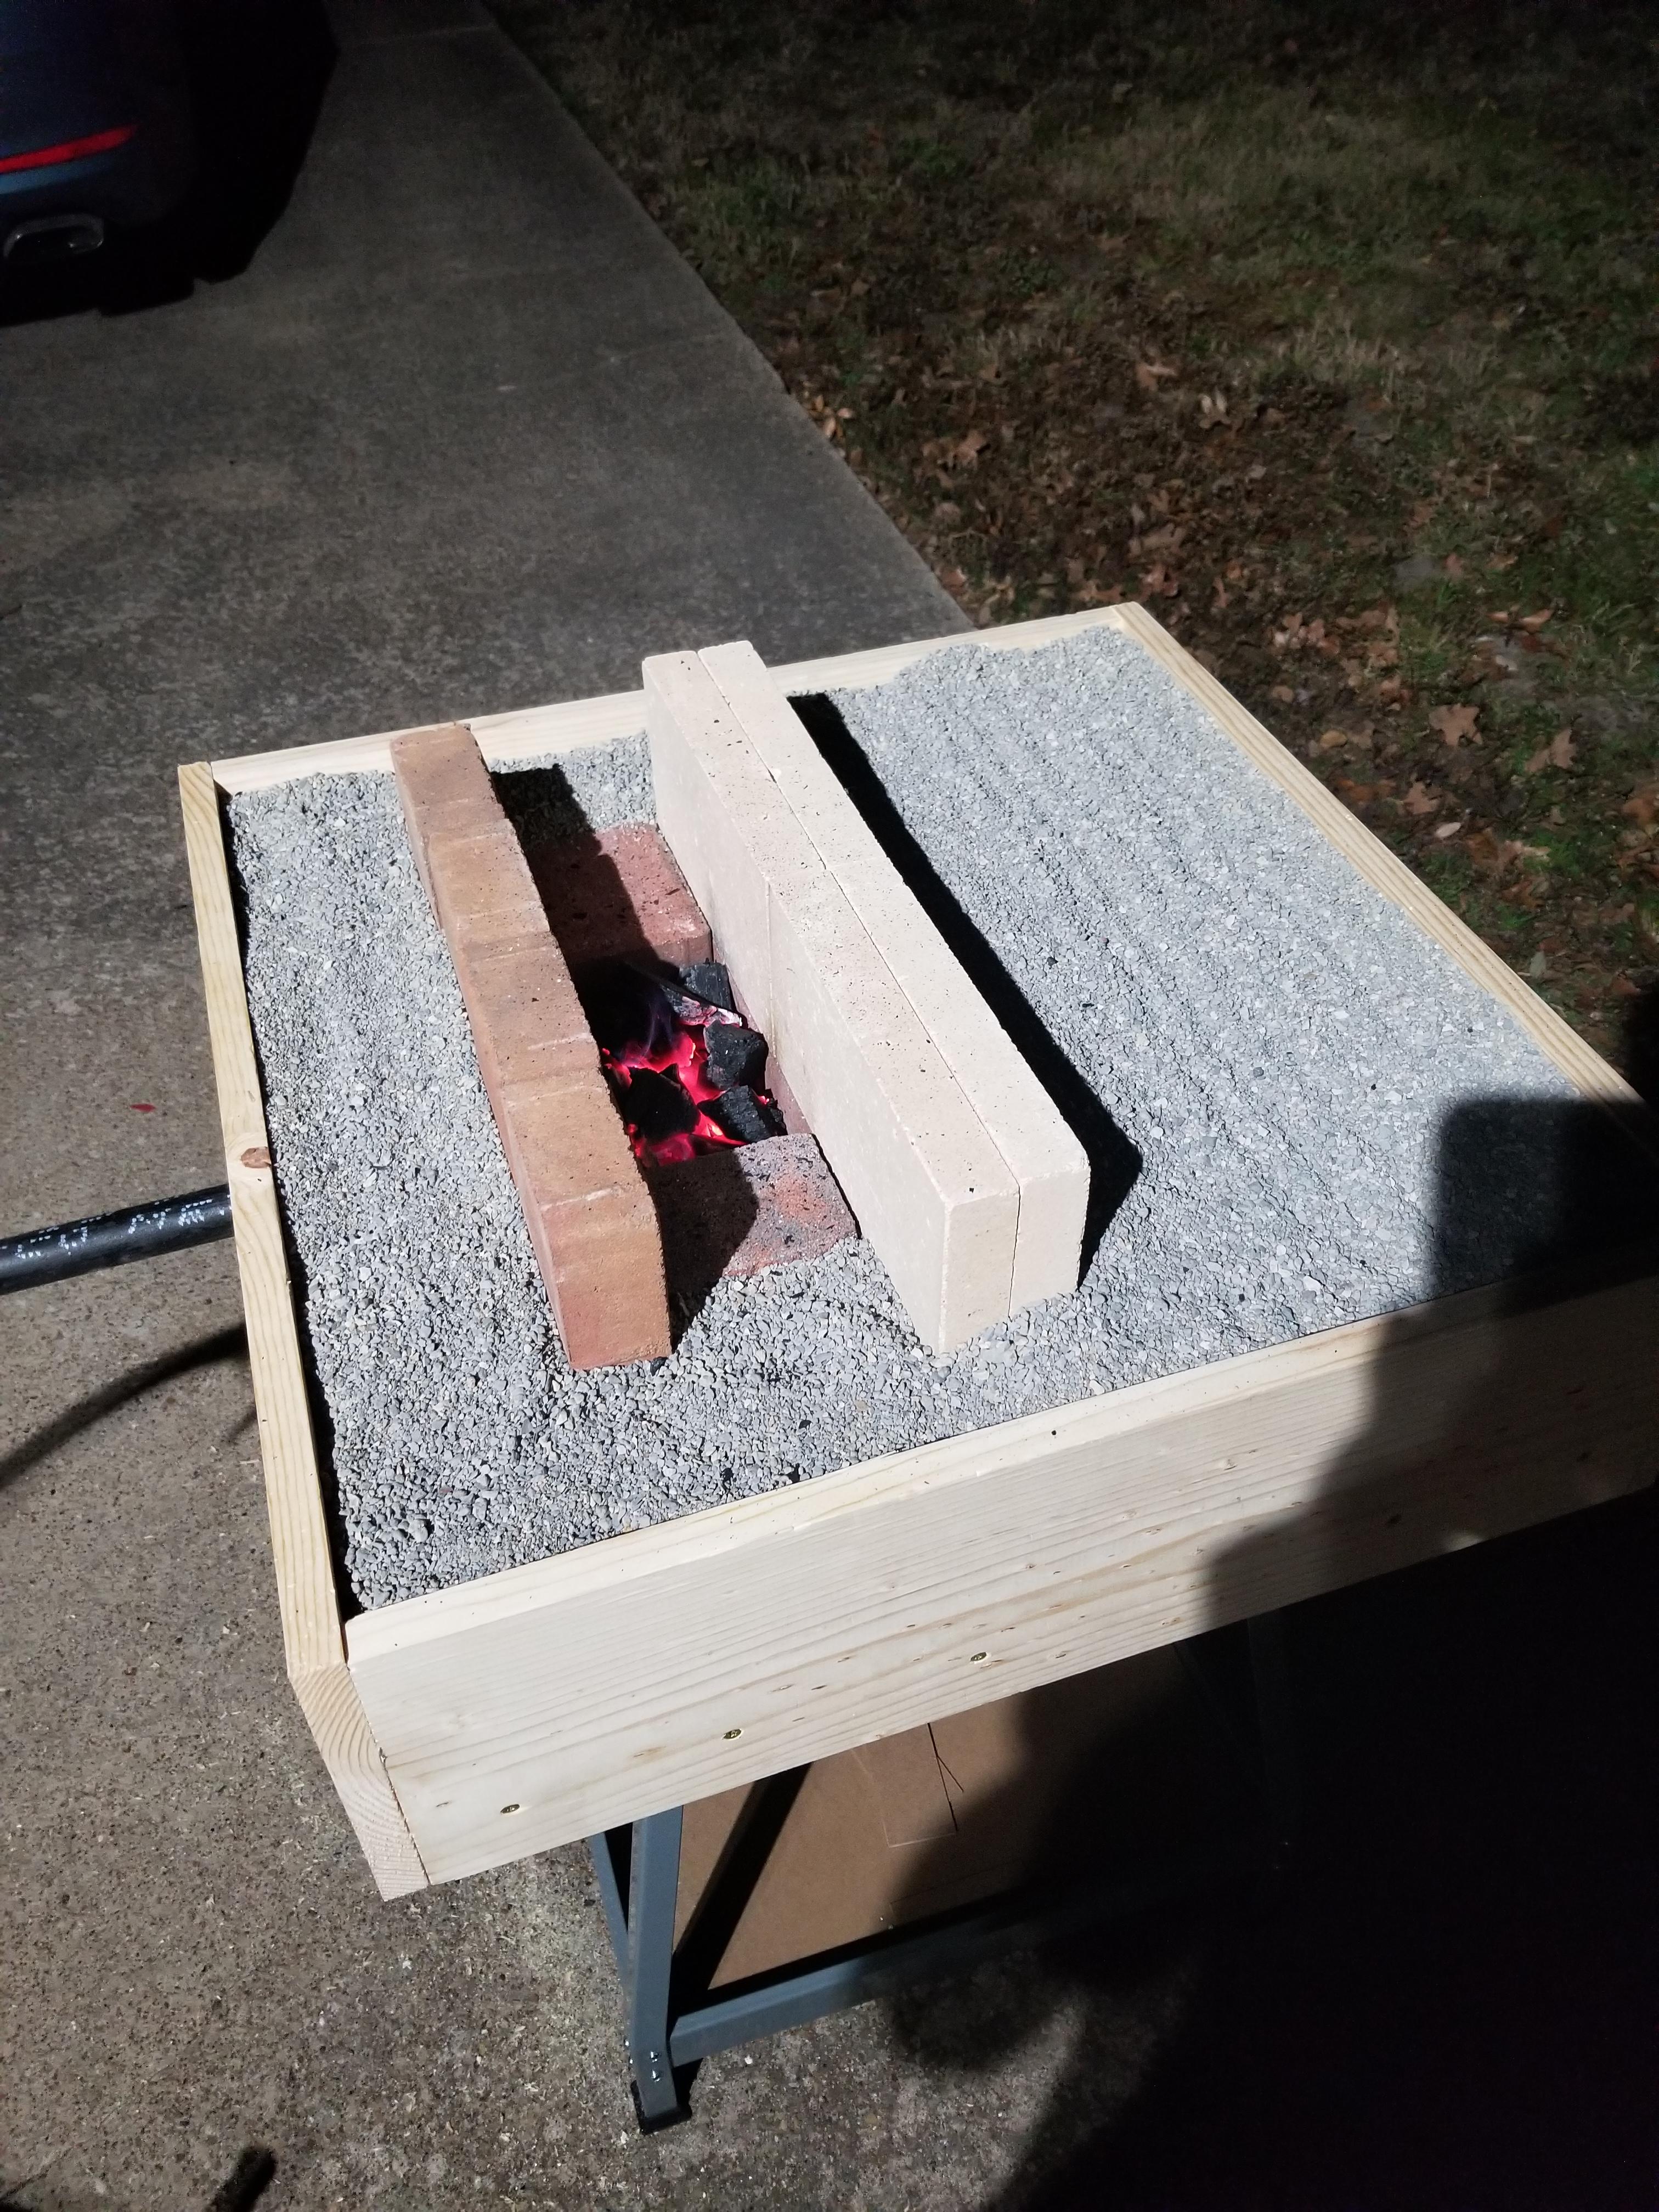
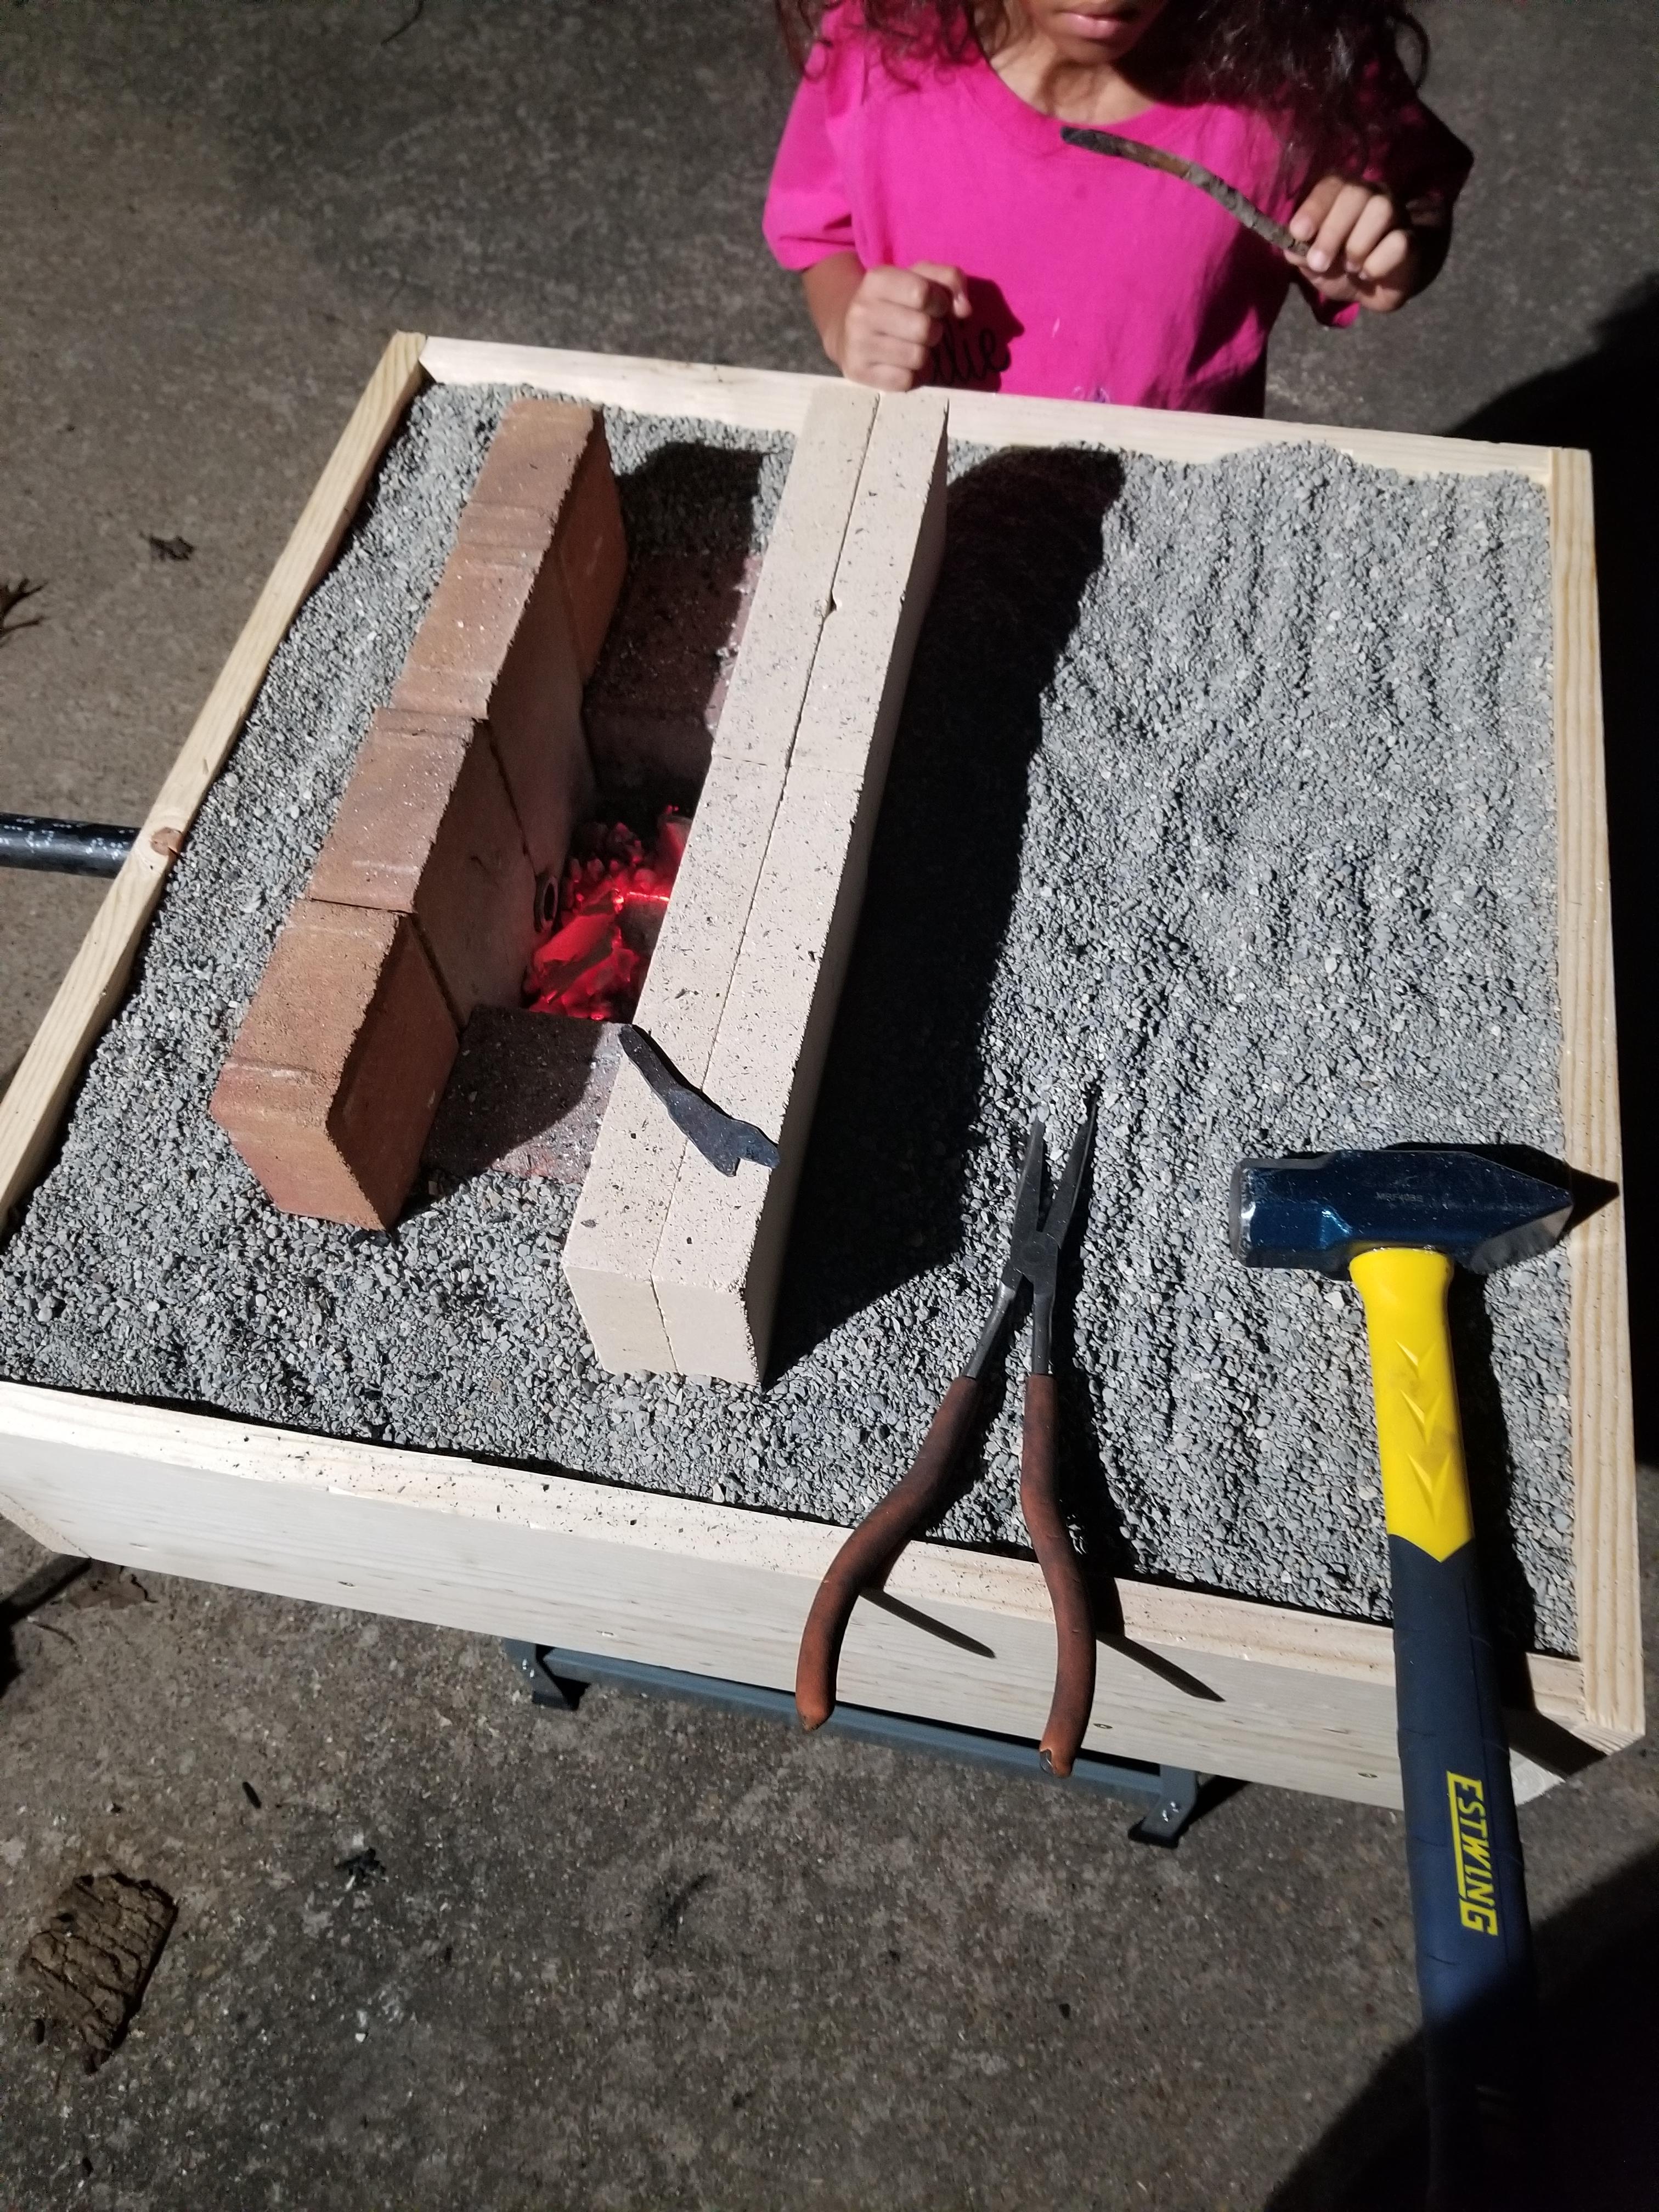
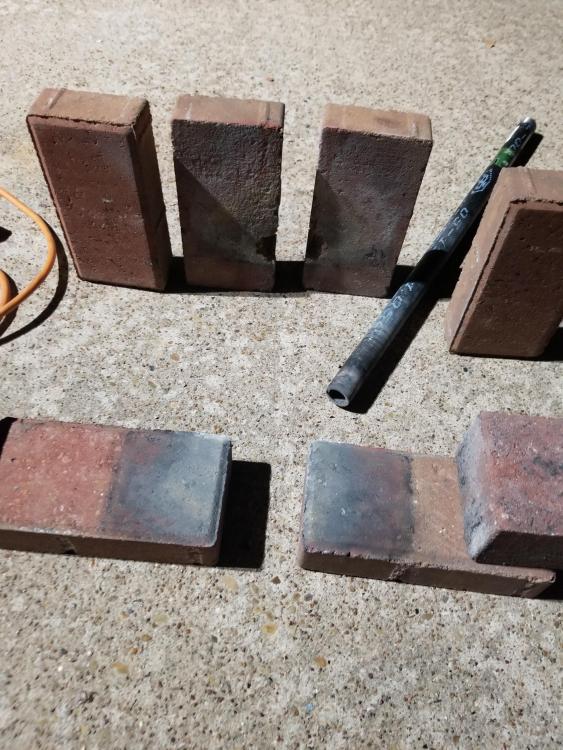
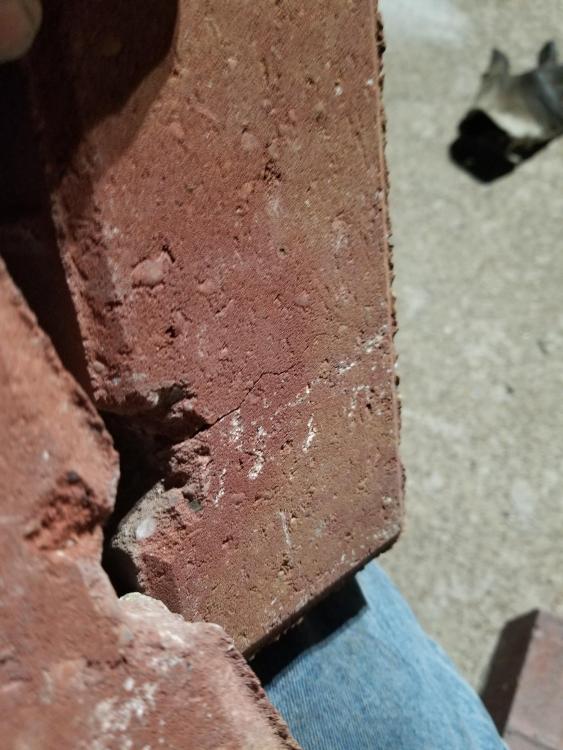
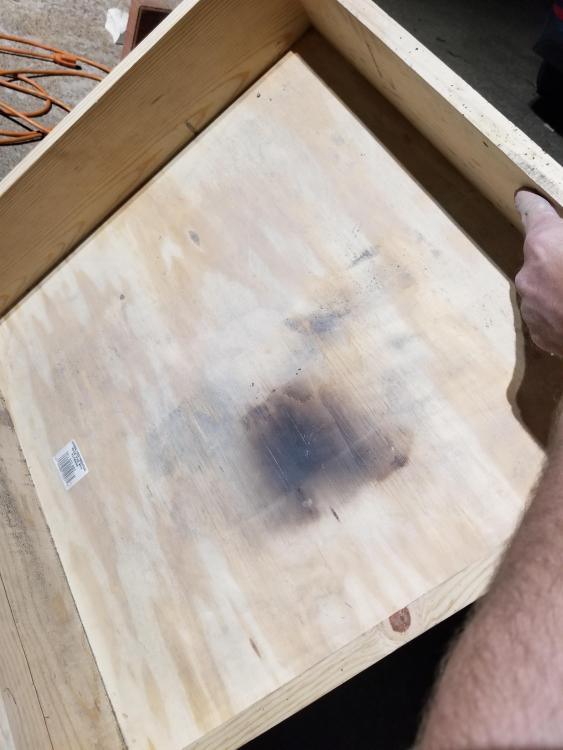
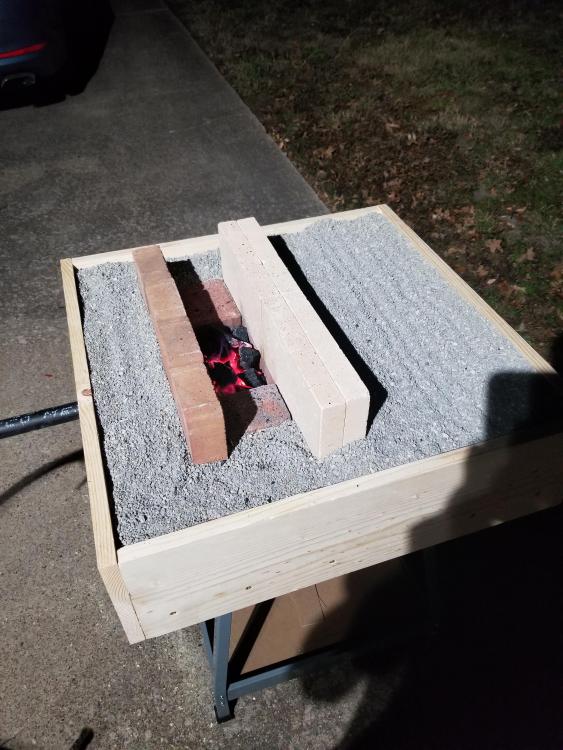
I did get to play for a couple hours today! Built the fire up a bit above the side bricks, I need to go even higher I think. Getting fuel chunk size closer I think, it is definitely small to massive in the bag. I hot-cut the "fuller" off using a Harbor Freight cold-chisel (I doused it every 3rd blow or so to keep it from losing whatever excuse for temper HF gave it- it never dulled though!) Then I formed a bit of a chisel profile in the rebar and cut it off. I then heated and quenched both, still need to temper them. They skate a Nichols Chainsaw File as is! So, work goodies aside... One of my tuyere siding bricks has already cracked- they were both glowing while I was getting after it. A fire-brick facing is probably in order. As for the floor, it held up very well, but I do have some mild charring of the plywood. It seems to be around the gap between the bricks, so I will likely play around with either a double layer of firebrick, staggered, or maybe a dovetail of the redbrick, though I think it will be more crack prone at that point. I would like to avoid tweaking the tuyere height too much if I can avoid it, as my box is already cut for it. Though in all reality, I can always make a new side-board. Or even fishtail in an adjusted piece. I purchased 2 small Behrens metal "trashcans" to put the litter and some bricks in- worked a treat, fit all but 2 redbricks and the firebricks. That way, I have a nice convenient breakdown size without having to worry about my cats using the litter for its intended purpose. I'm pretty happy so far! IF&C, I was considering that method amongst my options- the sawing motion mounting has its appeal, to be certain. Did I mention I already had a couple neighbor kids come watch? Already drawing a crowd and I barely know what I'm doing!


-
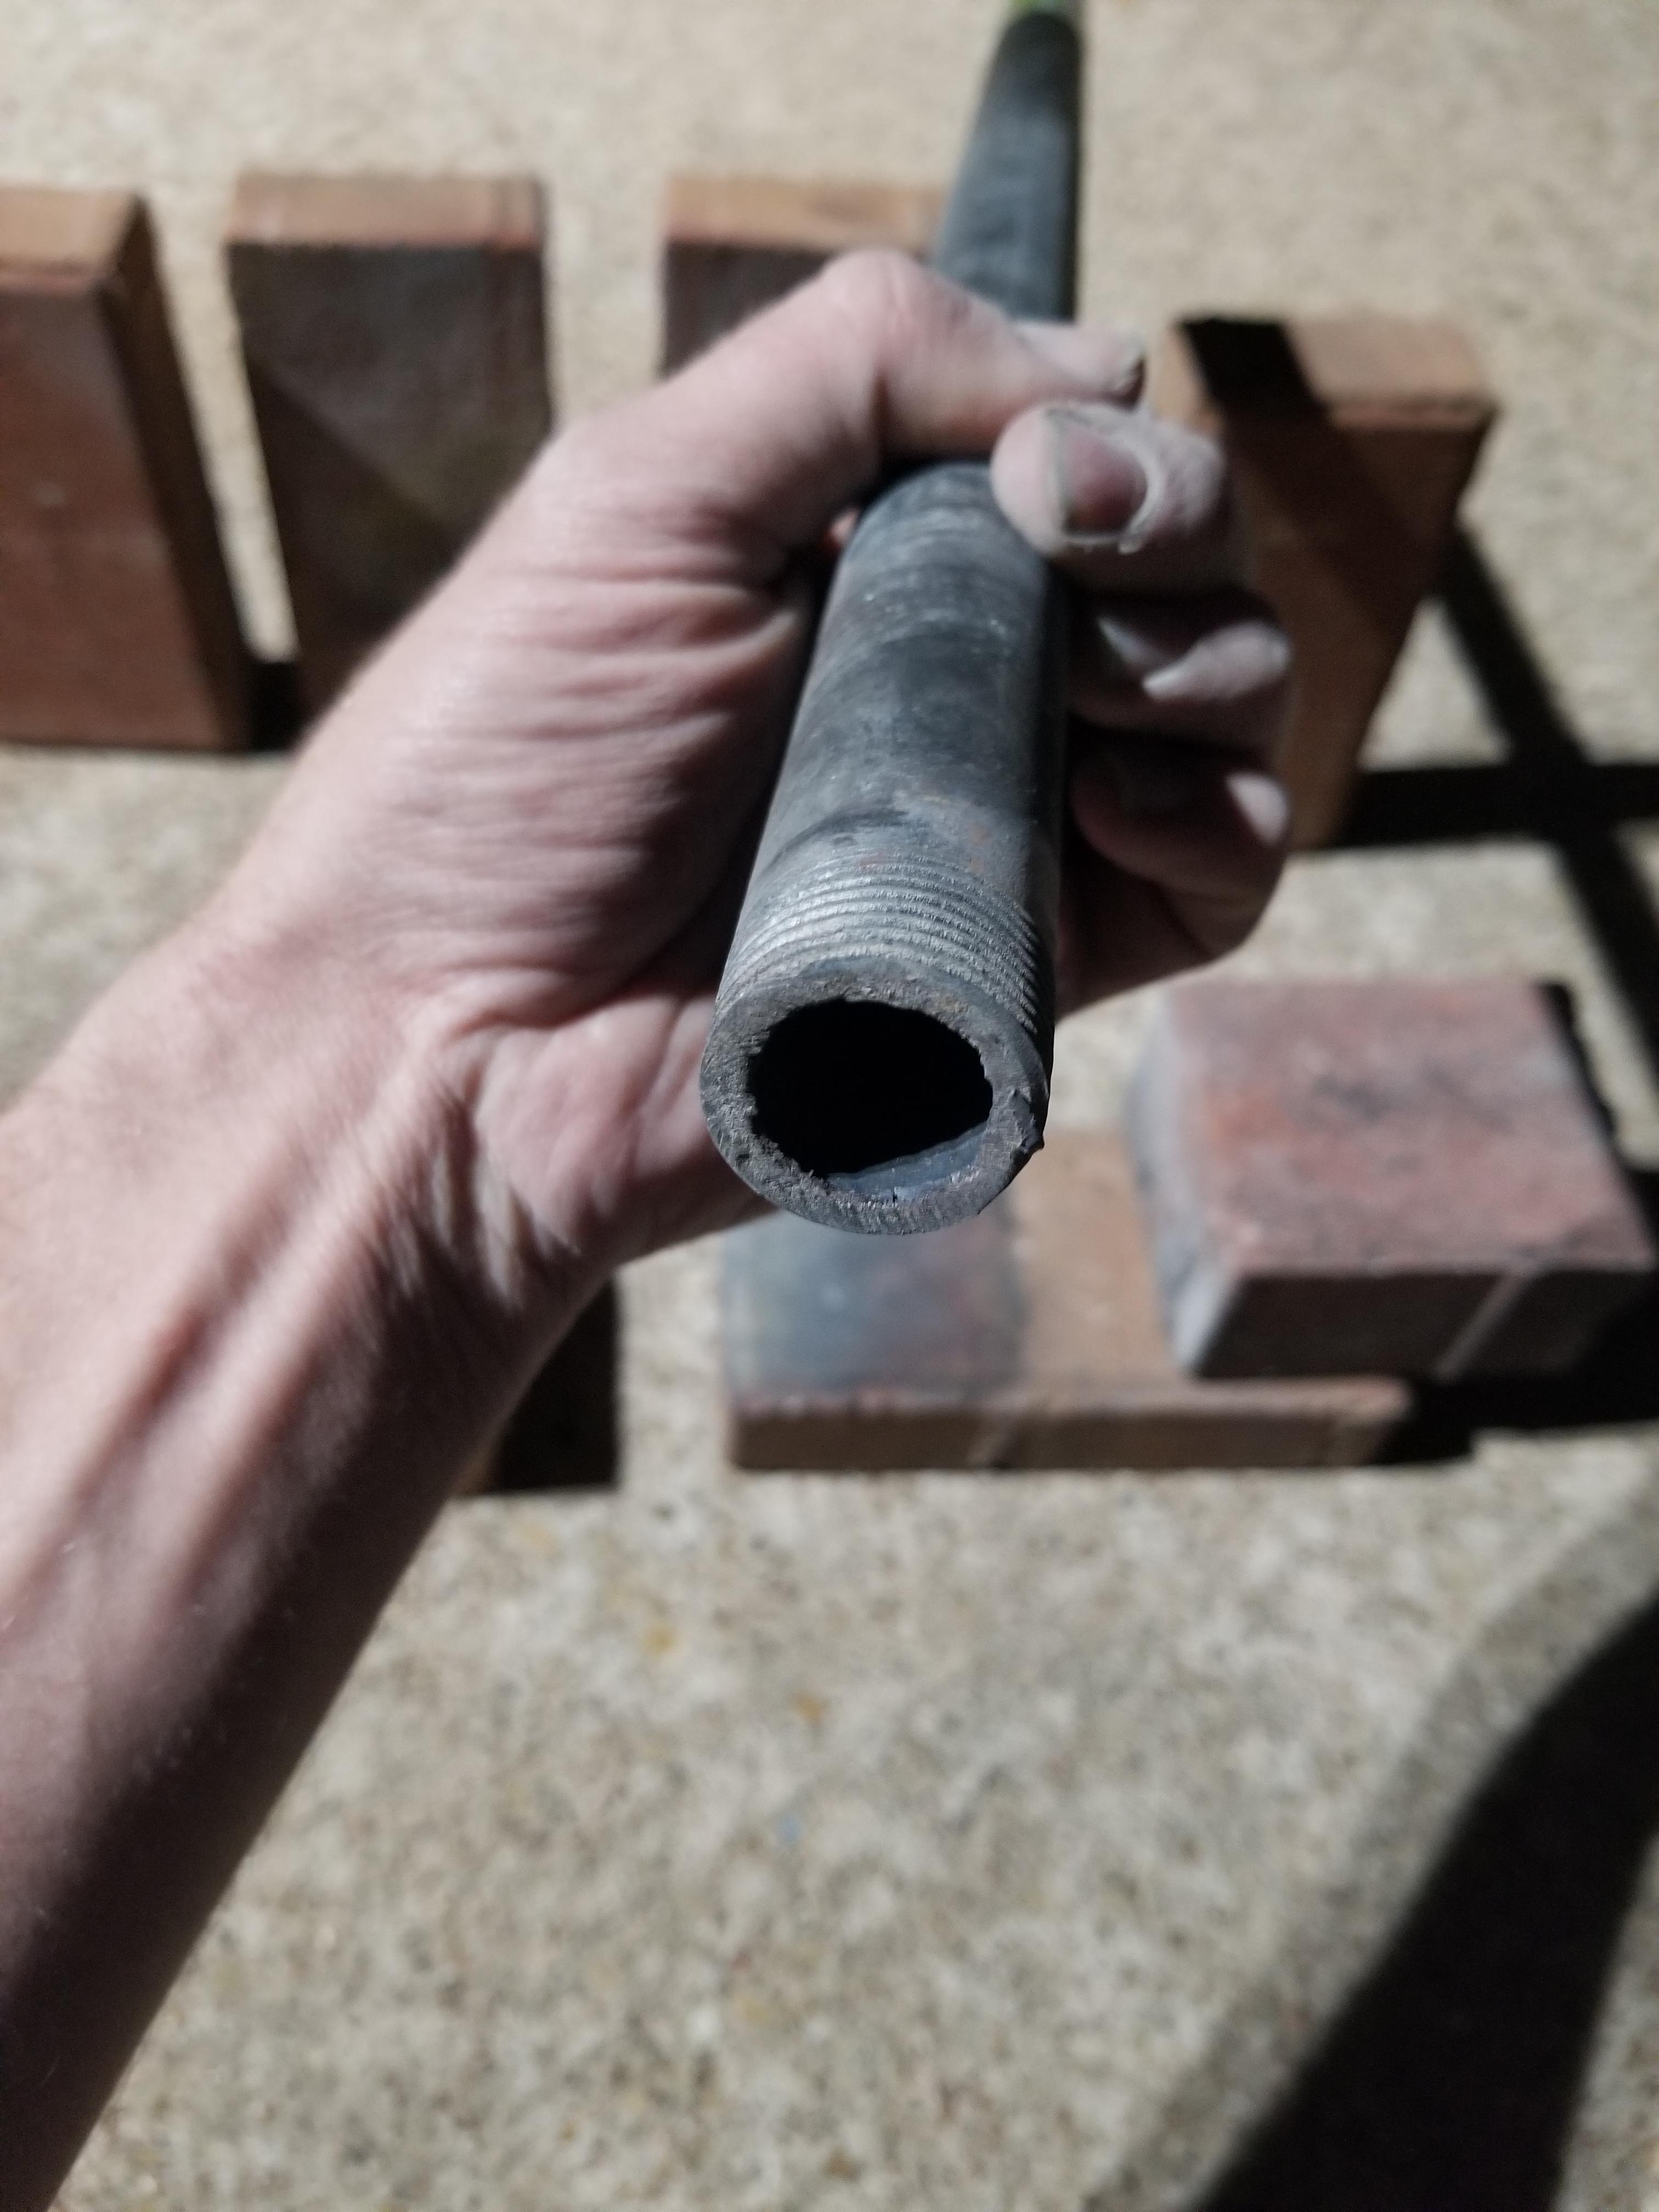
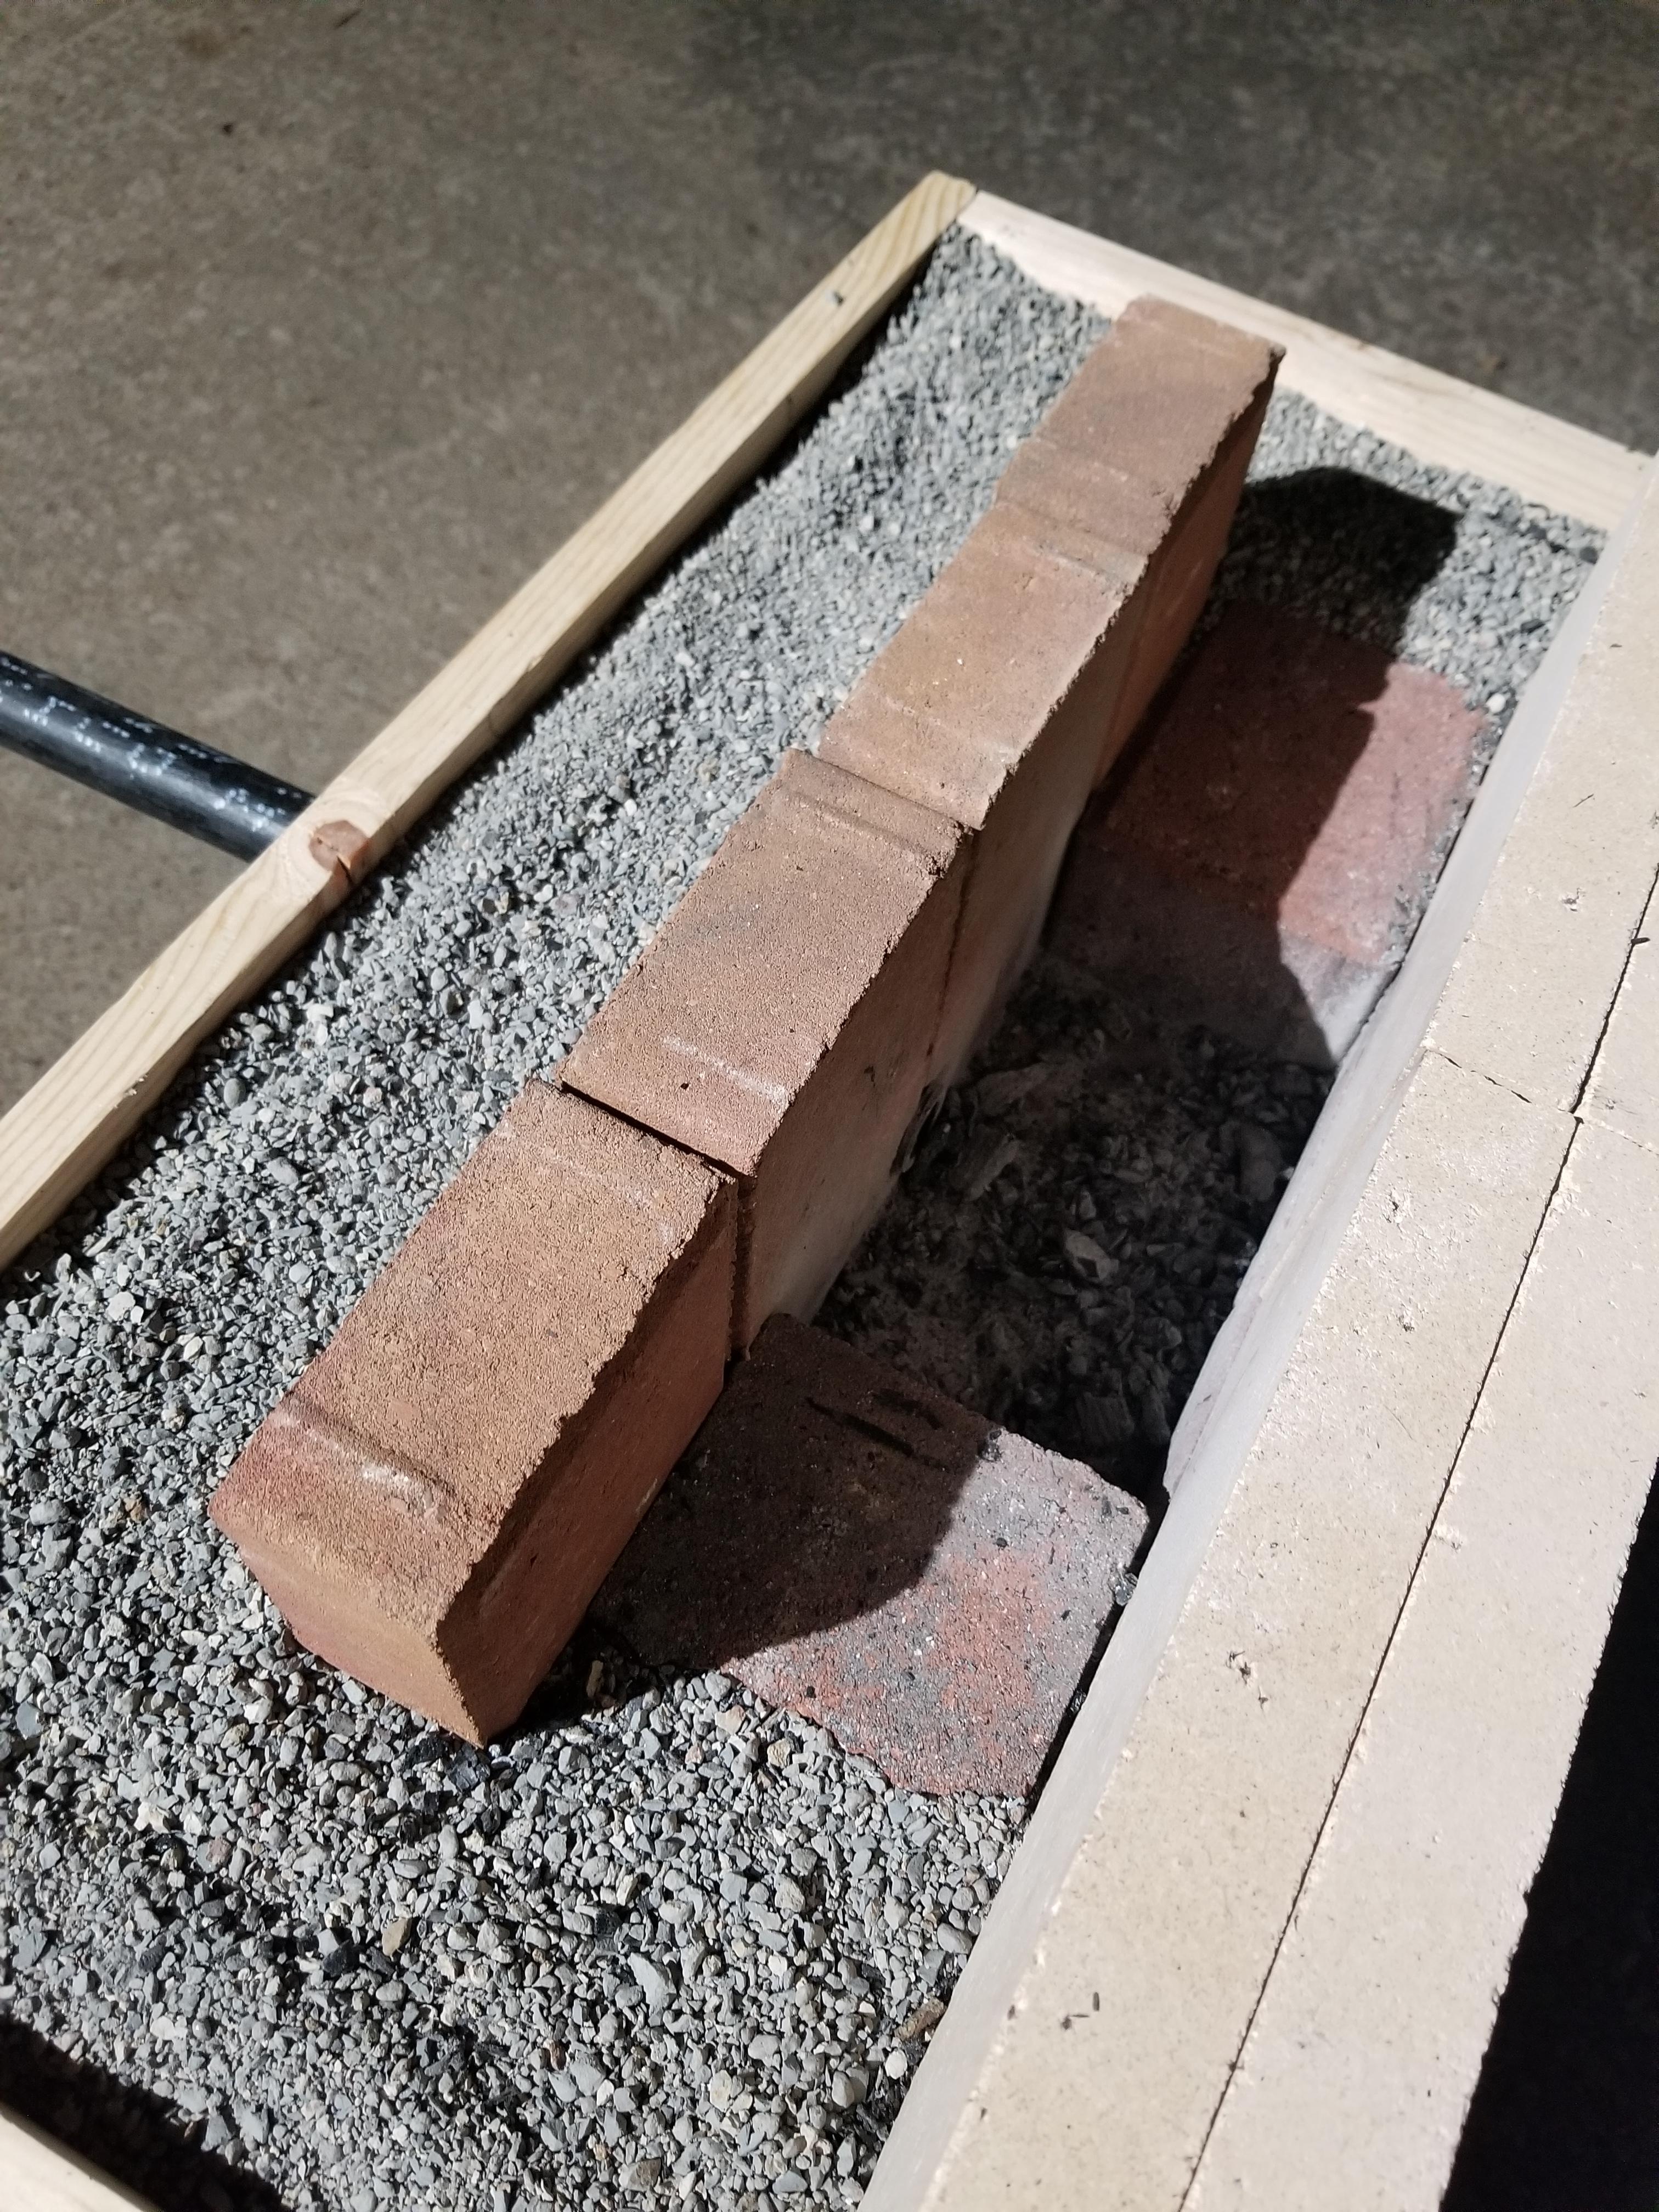
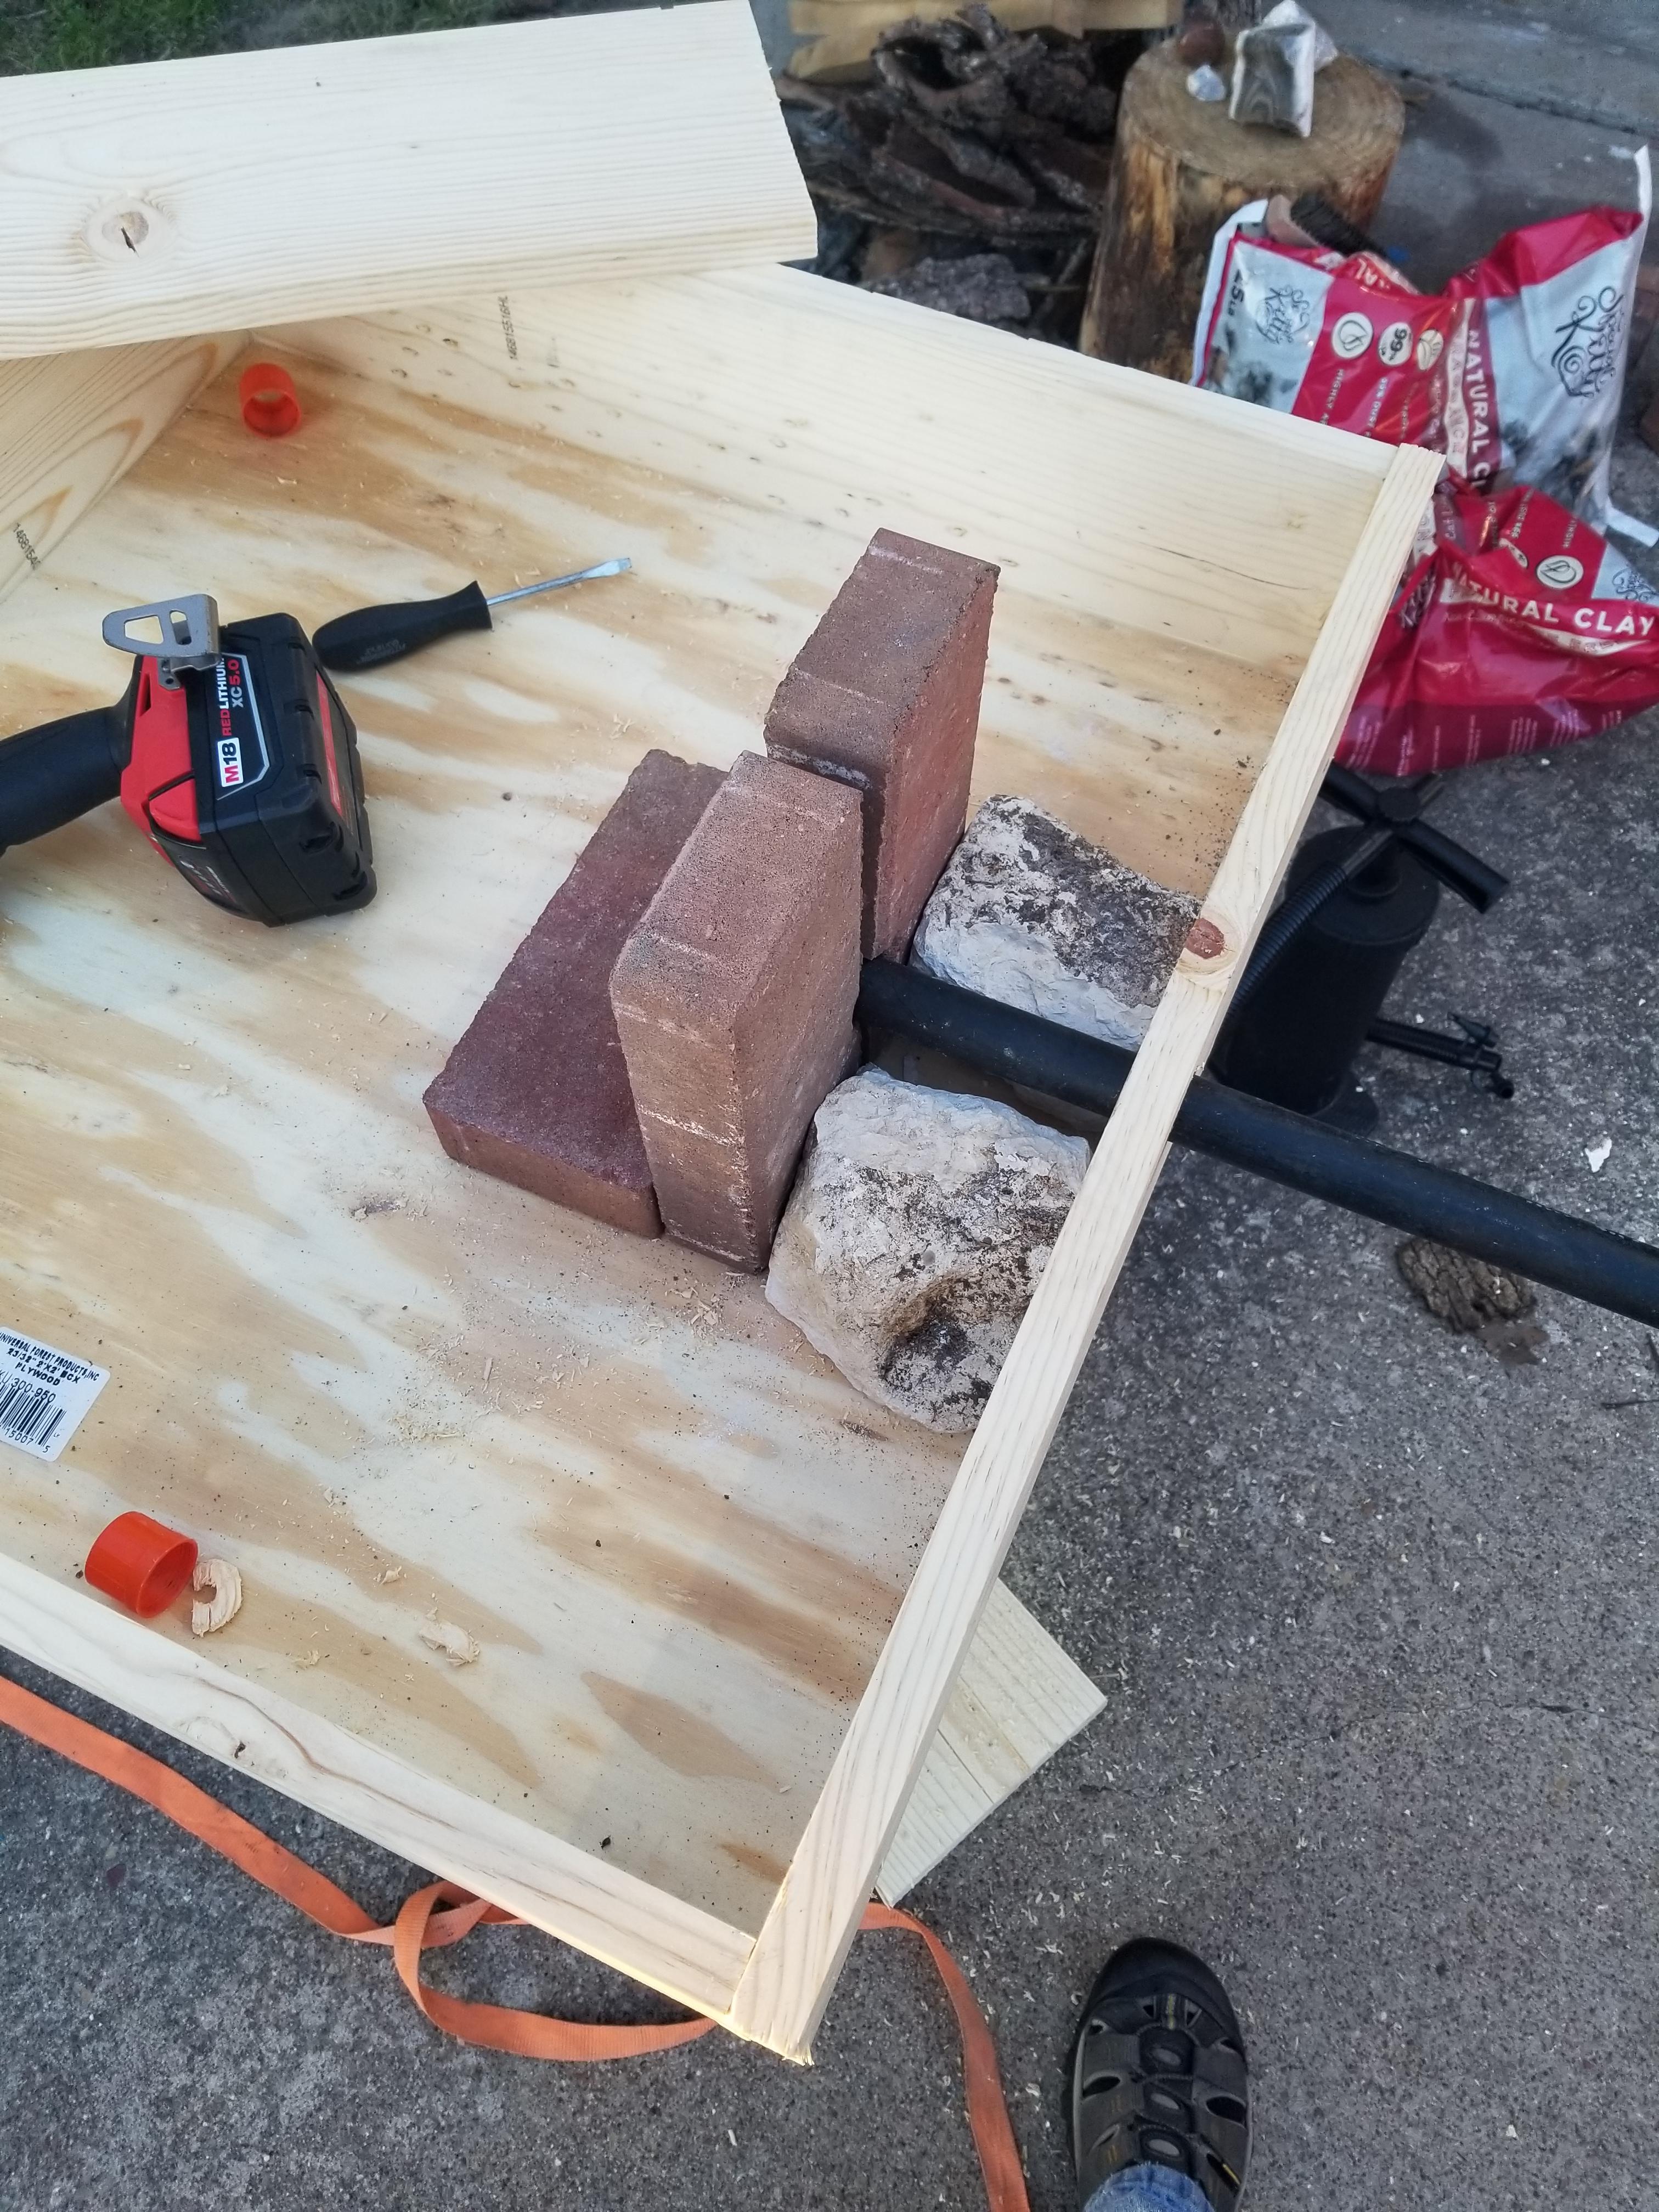
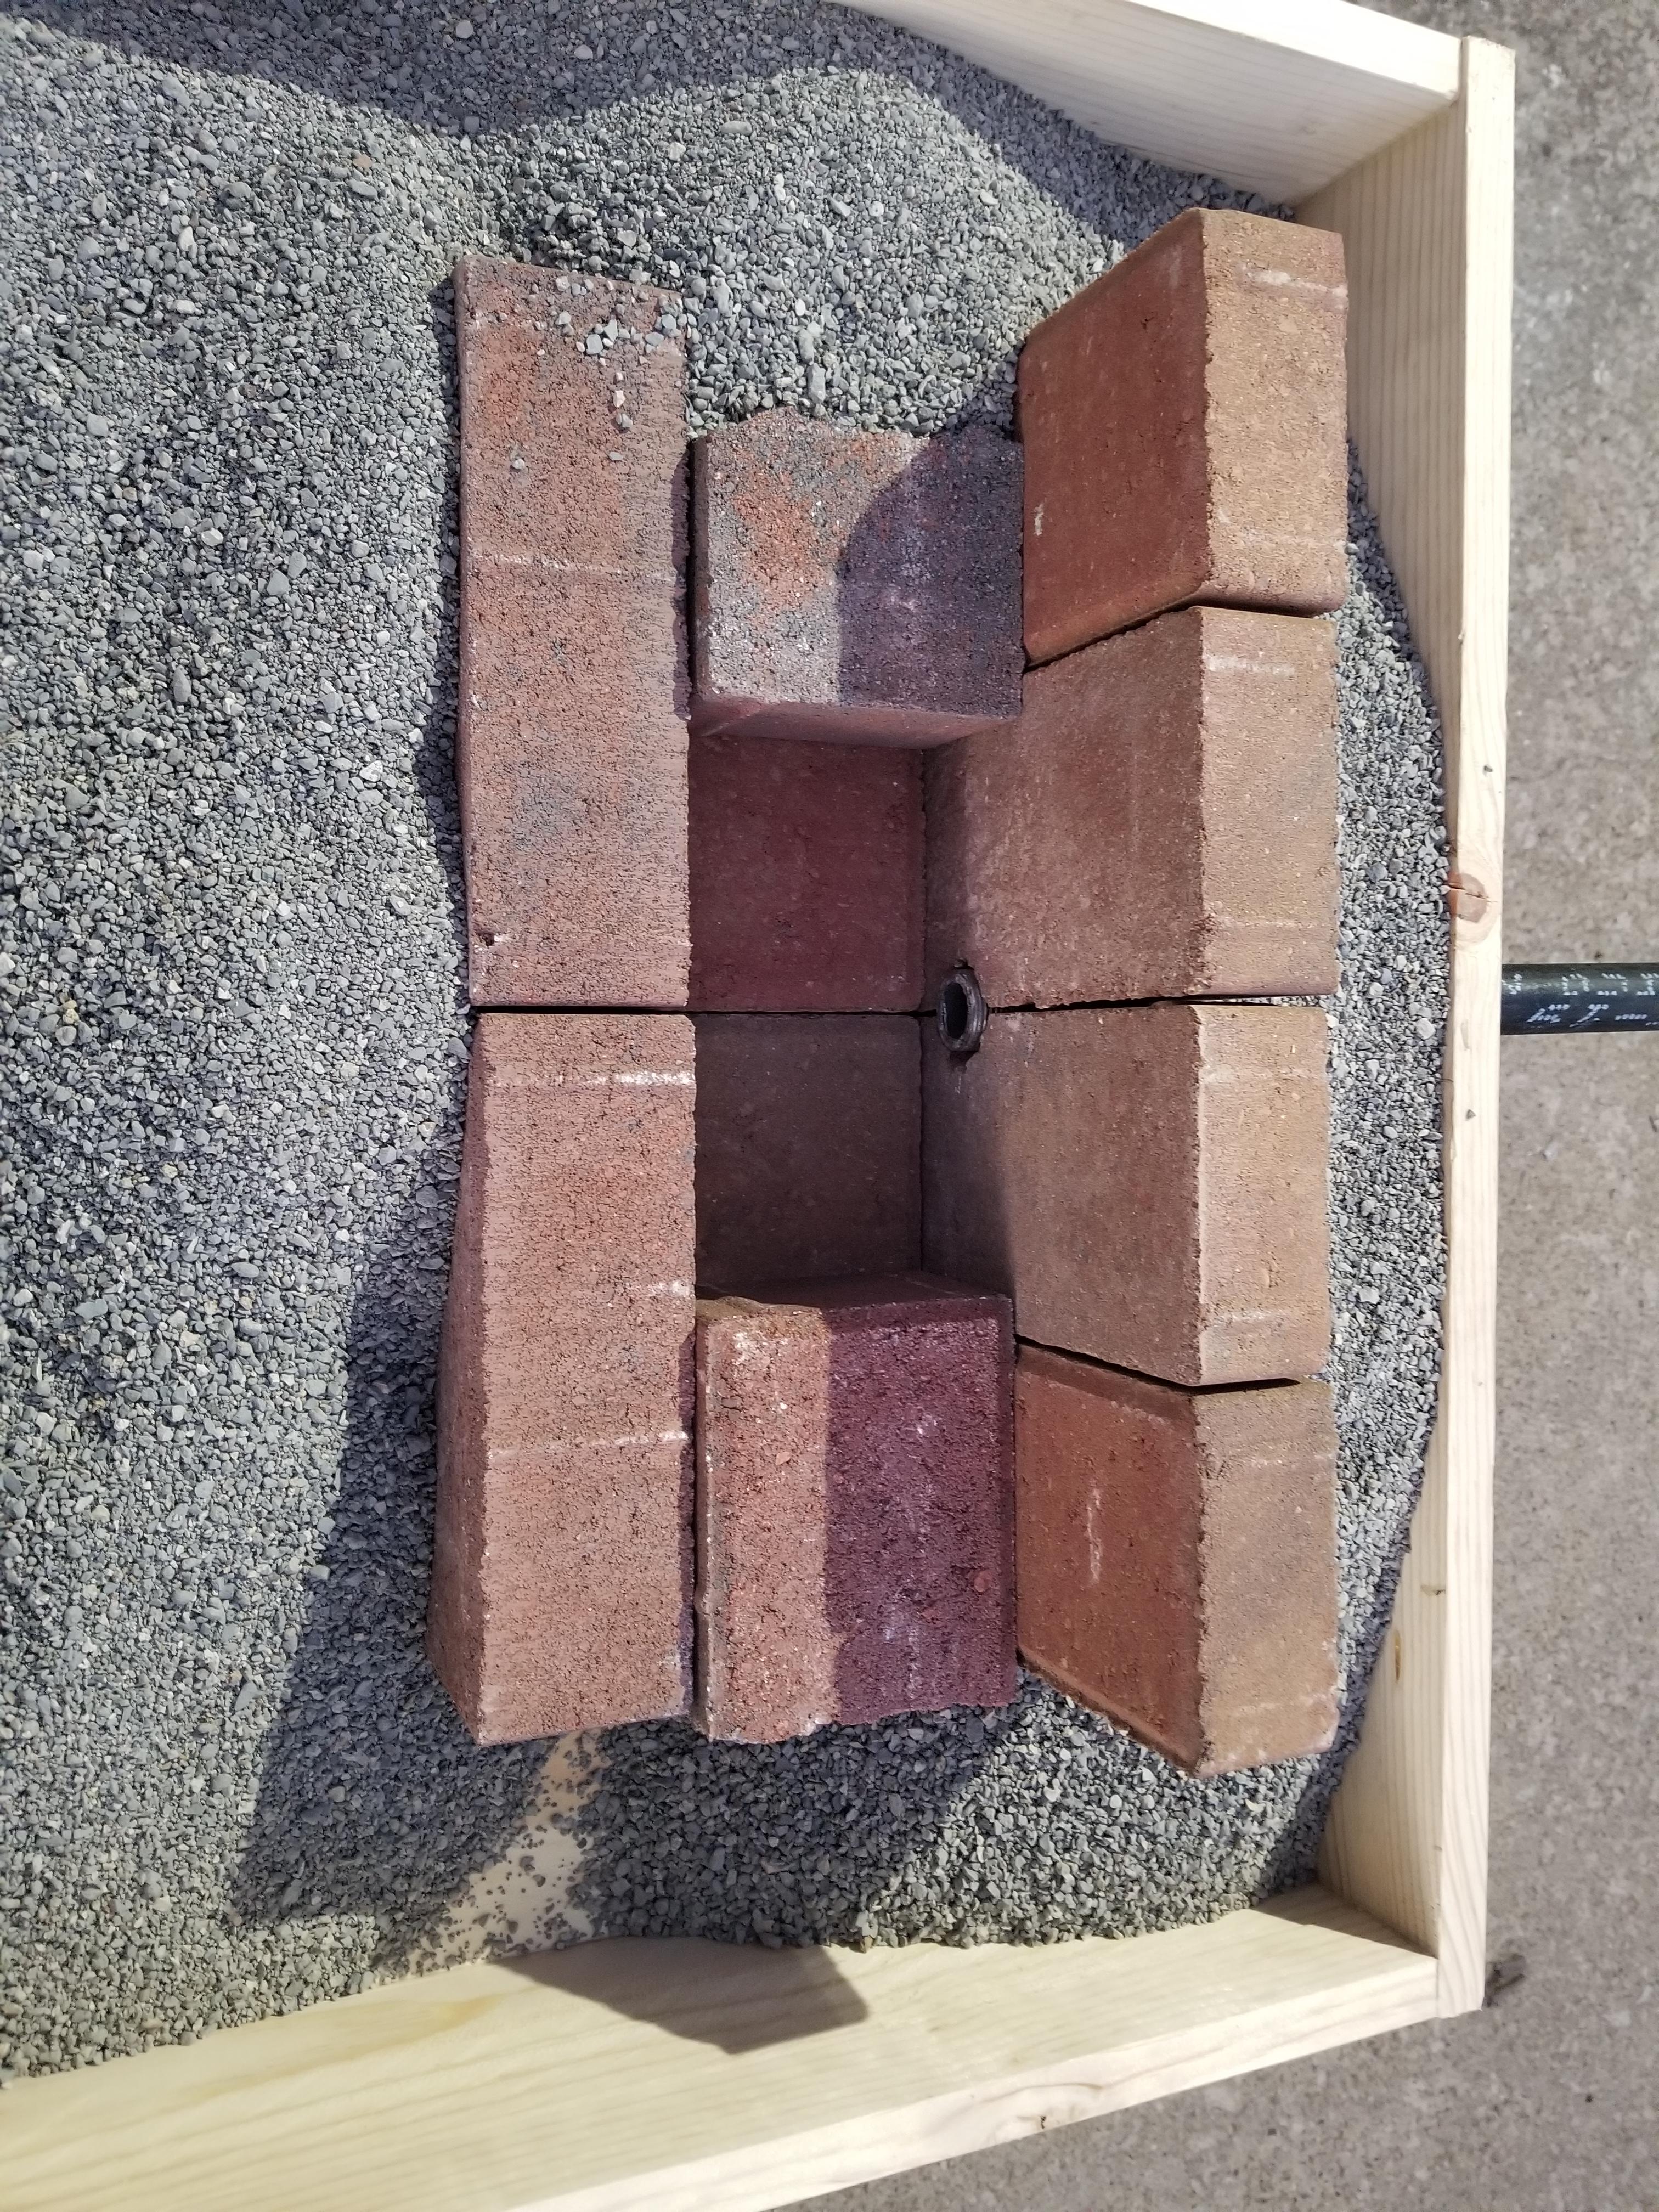
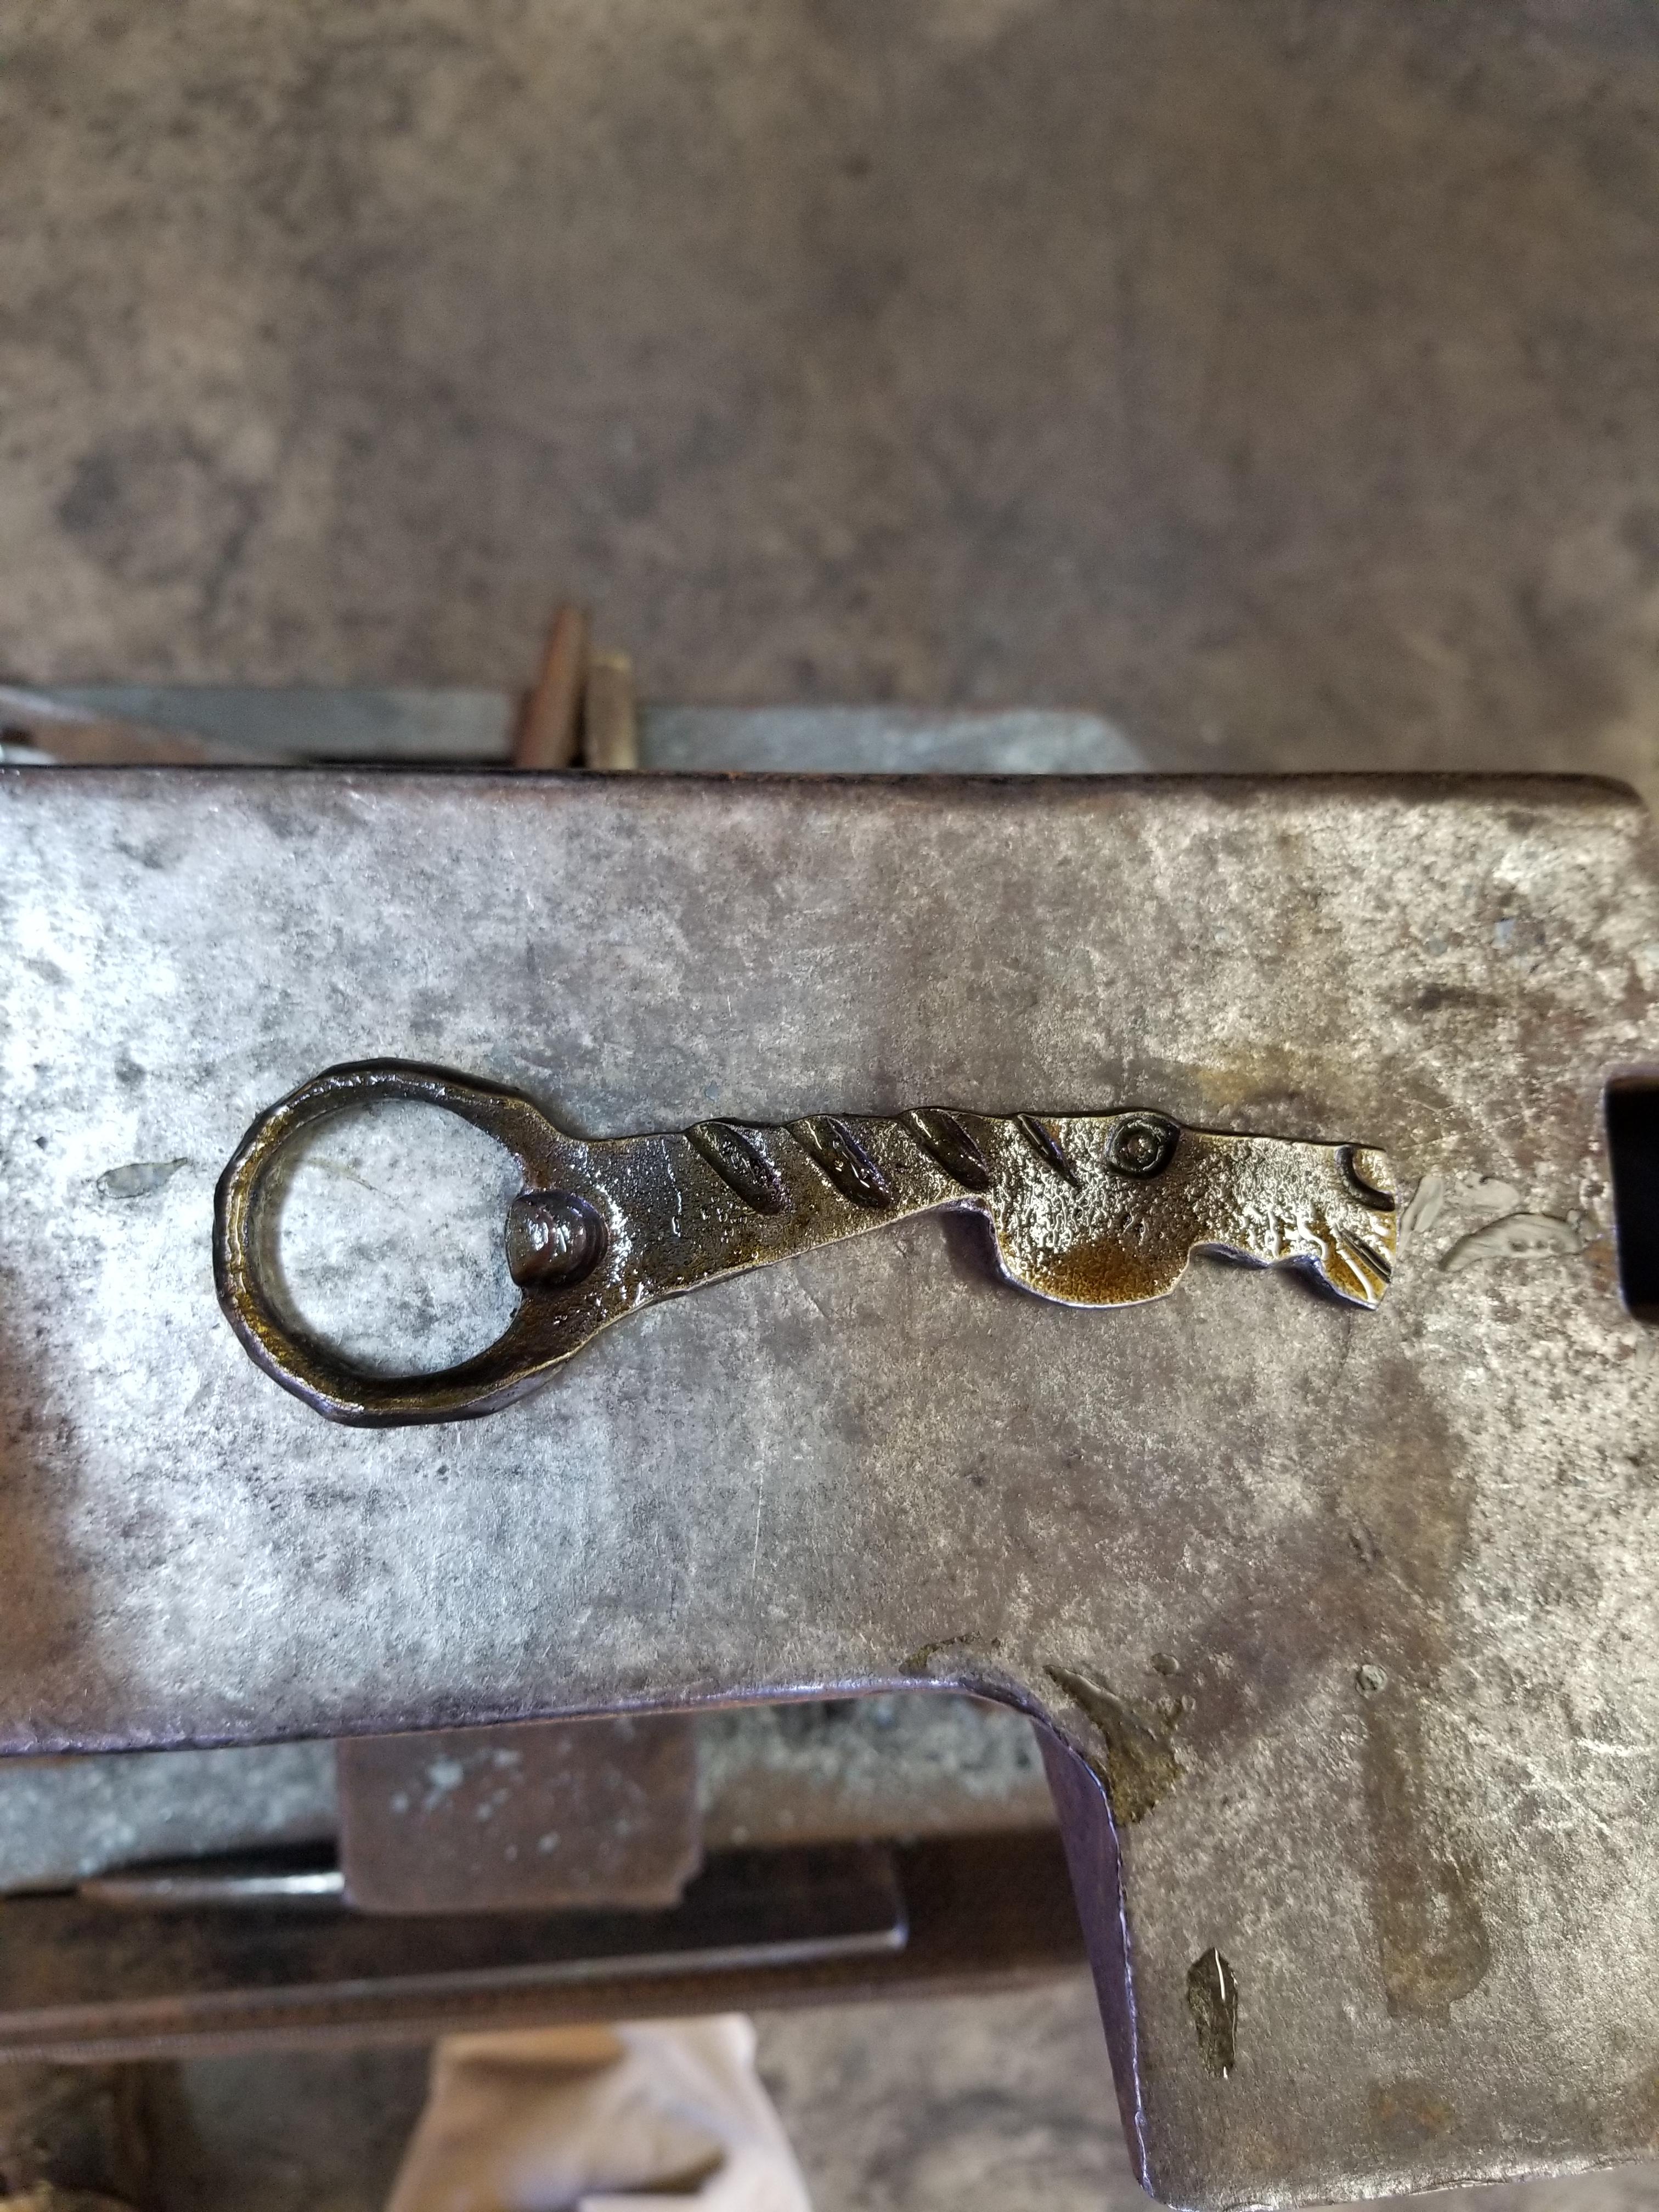
I have the pipe pulled flush now. The half bricks are longer and fatter, so I may need to do some trimming. They were on sale for $3 when I got them, so if they are still at that price I'll snag another handful so I can try to trim to fit. I believe my buddy has a masonry saw, I'll check for nice clean edges. The fire was most certainly low, I just didn't want to push it too late and upset the neighbors (hooray city life... I miss the country!) So I kept it at just a few handfuls to start. Oh, and yes that little pump puts you to work. I'll need to figure a mounting method. I have enough of that size rebar I may try to make some hand-held hot-cut chisels as well. That one has about the profile of what I used to make the mane on my bottle opener in class. I'll probably trim it off and try to get a heat treat in the hammer end, drawn back to royal-blue probably to keep mushrooming low but minimize spalling chances. Thoughts? I'd imagine straw would leave too much hardness in... but then again, I'm very green here (sooo green) so input is of course appreciated. I may not get a chance to fire it up today, still stuck doing errands catching up from being gone a week and a half.
-
A LOT of love went into several of those. Very nice!
-
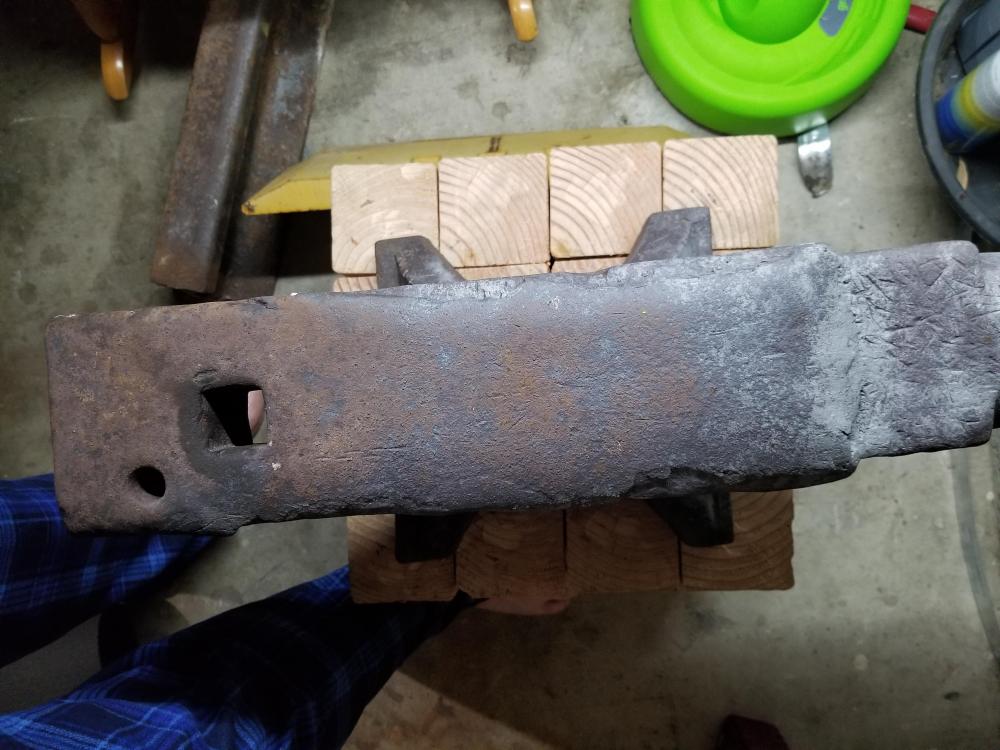
Might be able to make a fuller out of this- S60 rebar, supposedly hardenable carbon steel. I have maybe 10 feet of 1/2" and 4 feet of 3/8". Throws lots of bursts from the grinder and belt, and took quite some swinging to flatten out. Forge is cooled off. Man. Thanks folks. So cool.


-
Well, I officially made a functional JABOD. Then I heated a piece of 1/4" round and made a weird shape. Mostly just as a proof and so my wife could record it. The anvil is not on its proper mount (haven't made one up yet) and is too low. The forge height is pretty good for me! I only used a couple handfuls of charcoal tonight (you weren't kidding, these lumps are substantial!) So I could proof it. I need to build the fire higher next time, it was challenging keeping the rod in the right place with the fire so low. I wasn't able to start back on it until about 5:00PM, I had to help a buddy with a few of his projects. Depending how tomorrow goes, maybe I'll get more time on it! 50lbs of cheapo Walmart kitty litter, 9 red bricks (6 HD, 3 Lowes... oops haha) and 4 Tractor Supply firebricks. Some of it I had laying around, some I had to buy. As one of my nieces would say, "I did a learn!"


-
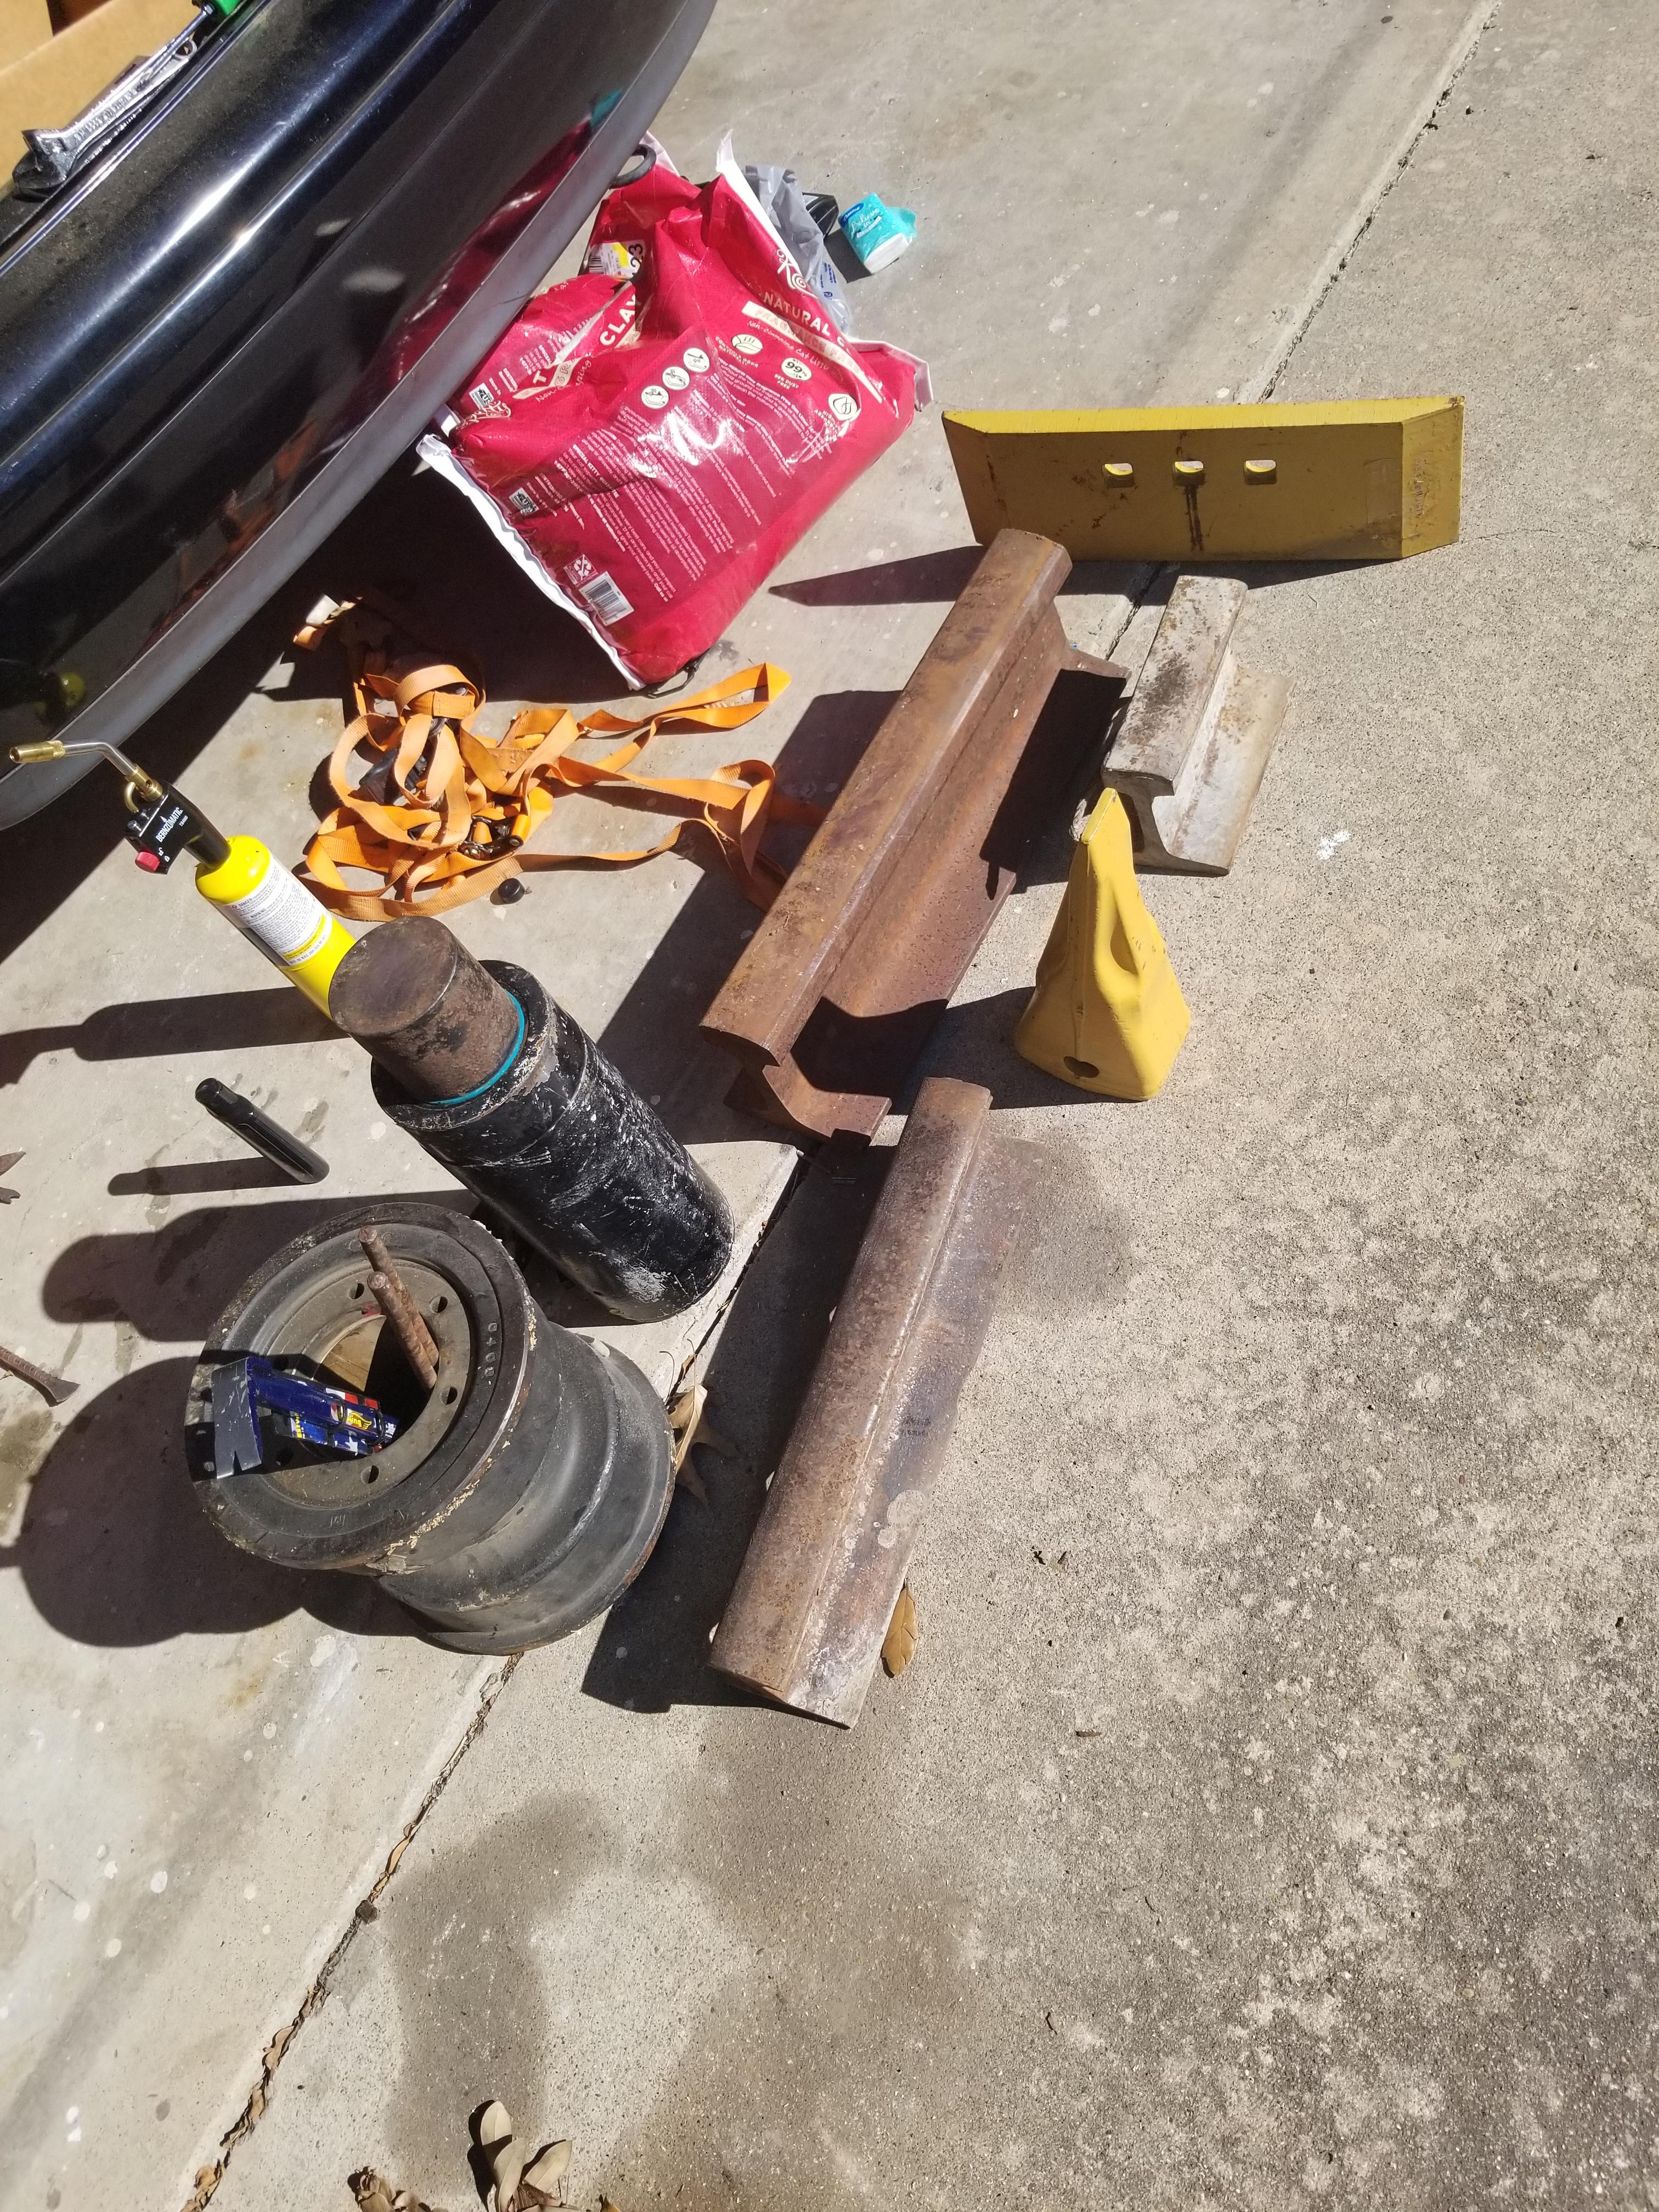
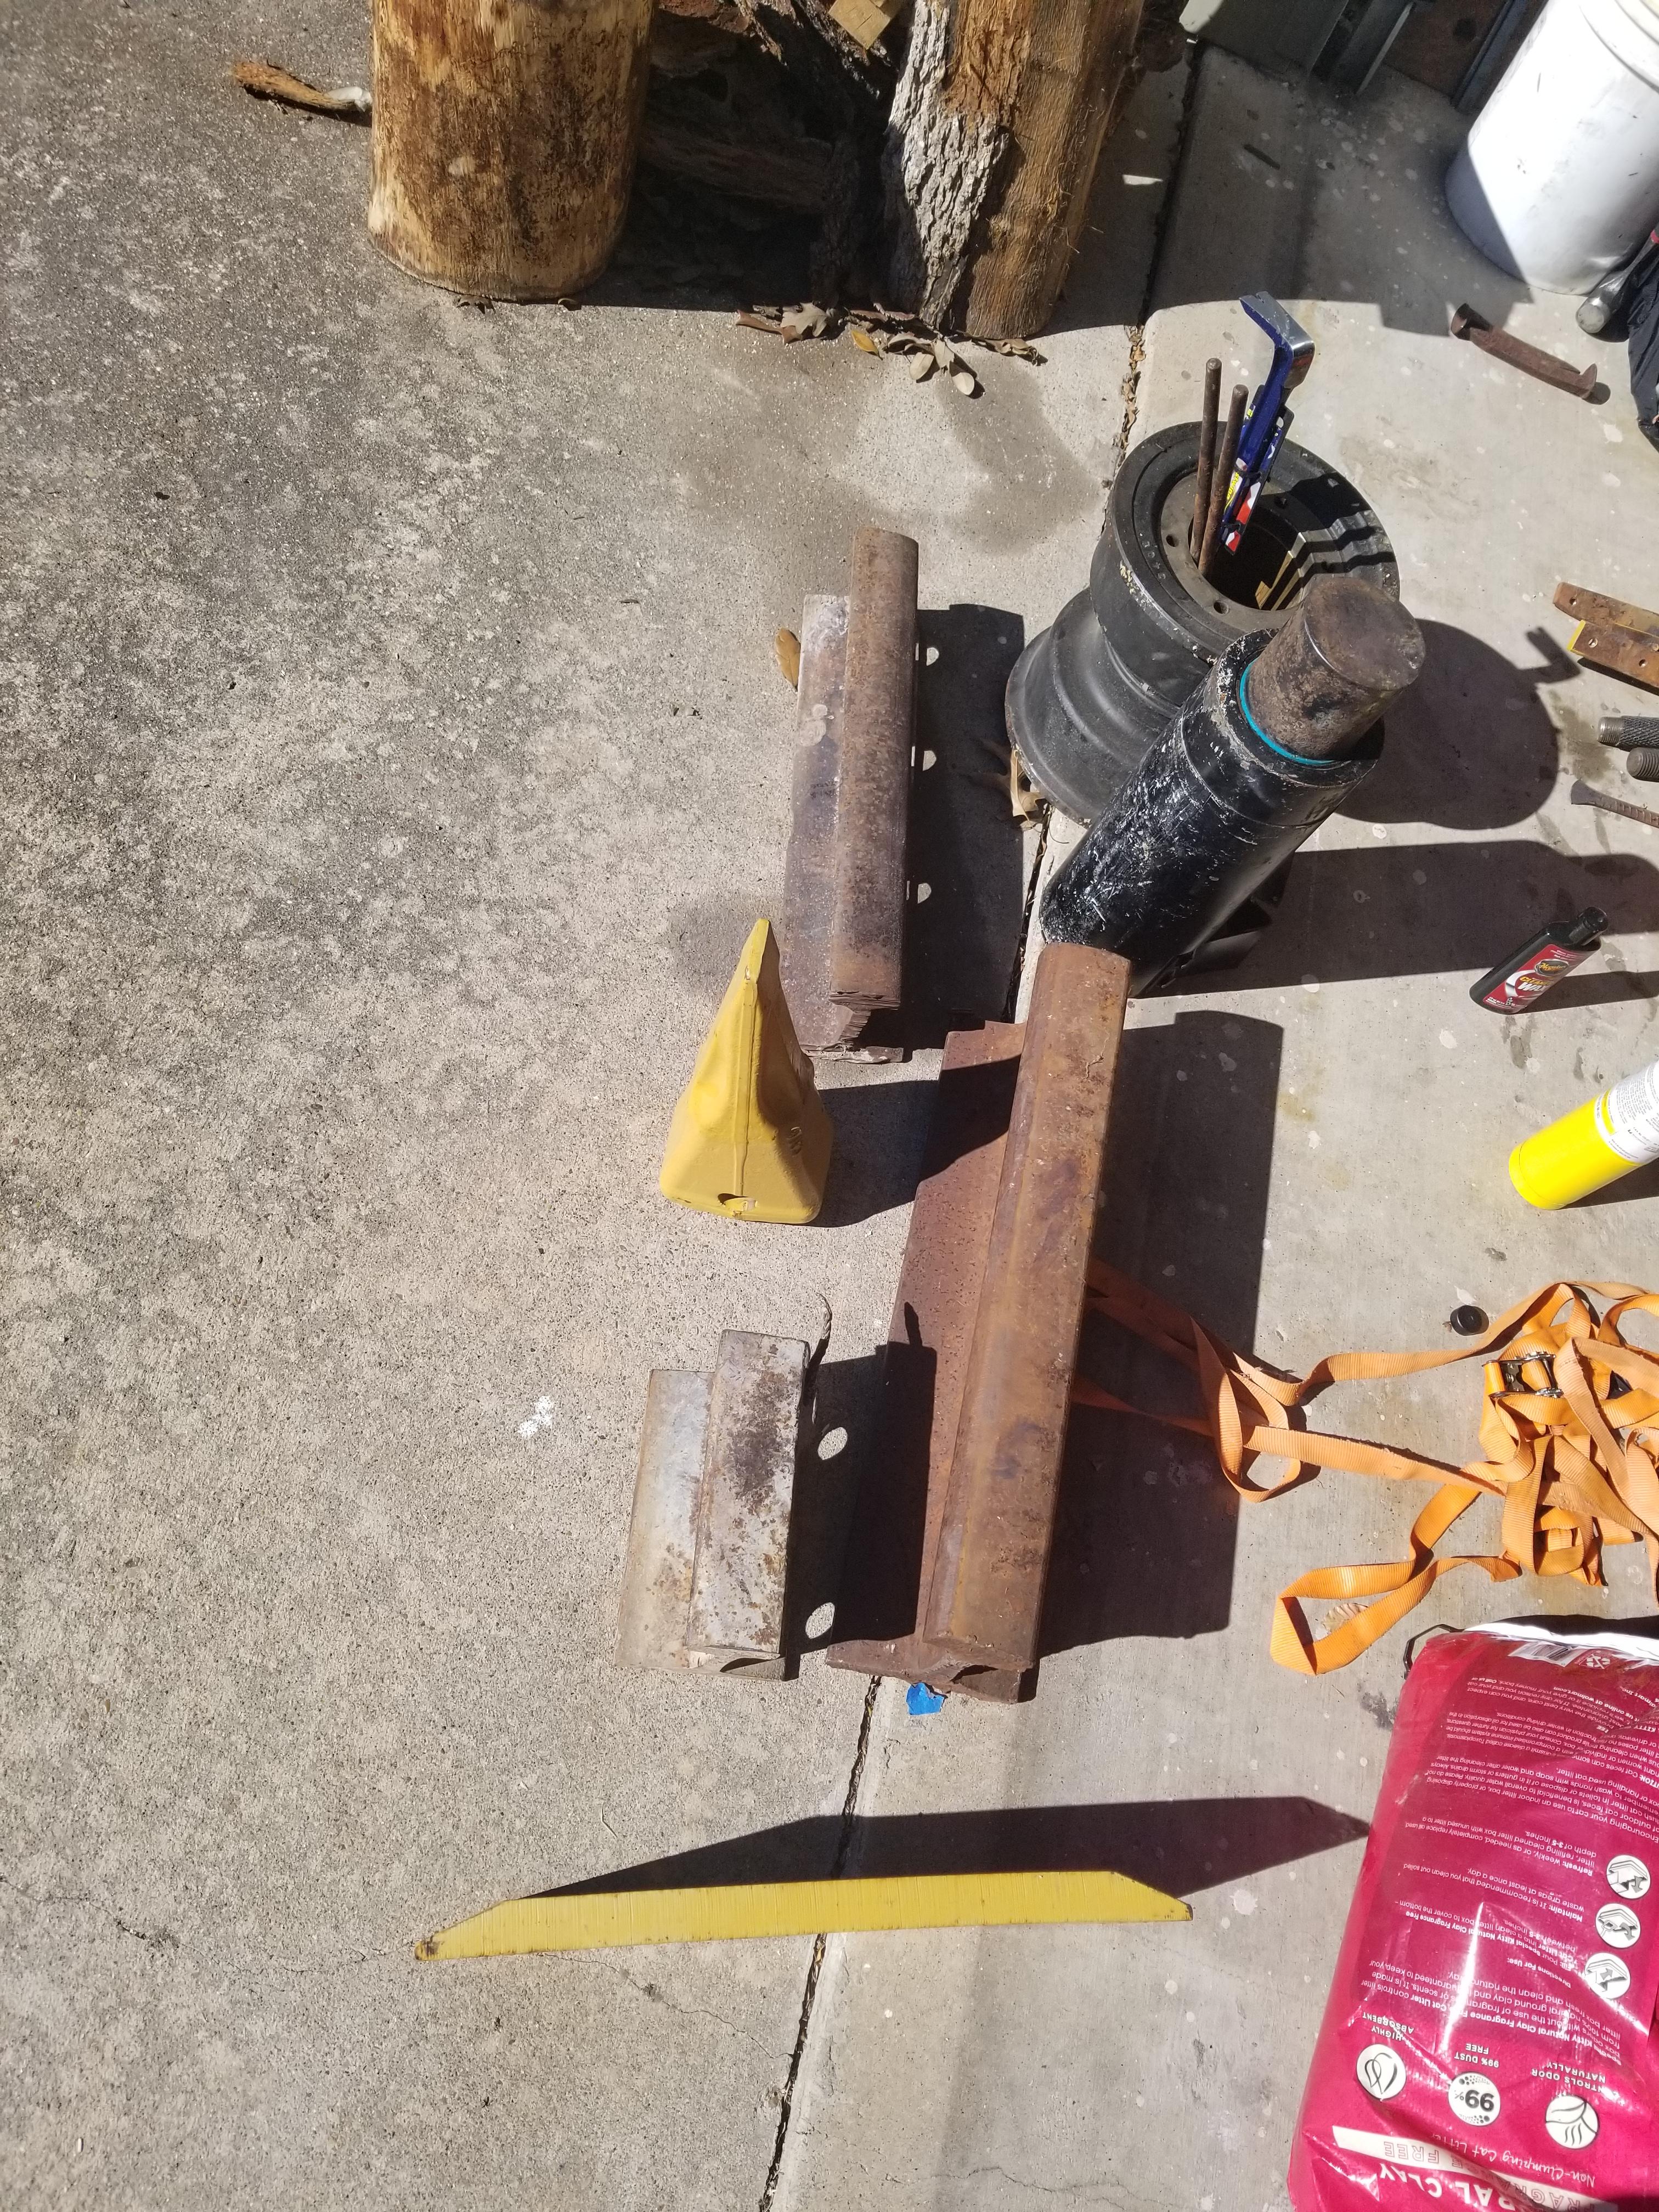
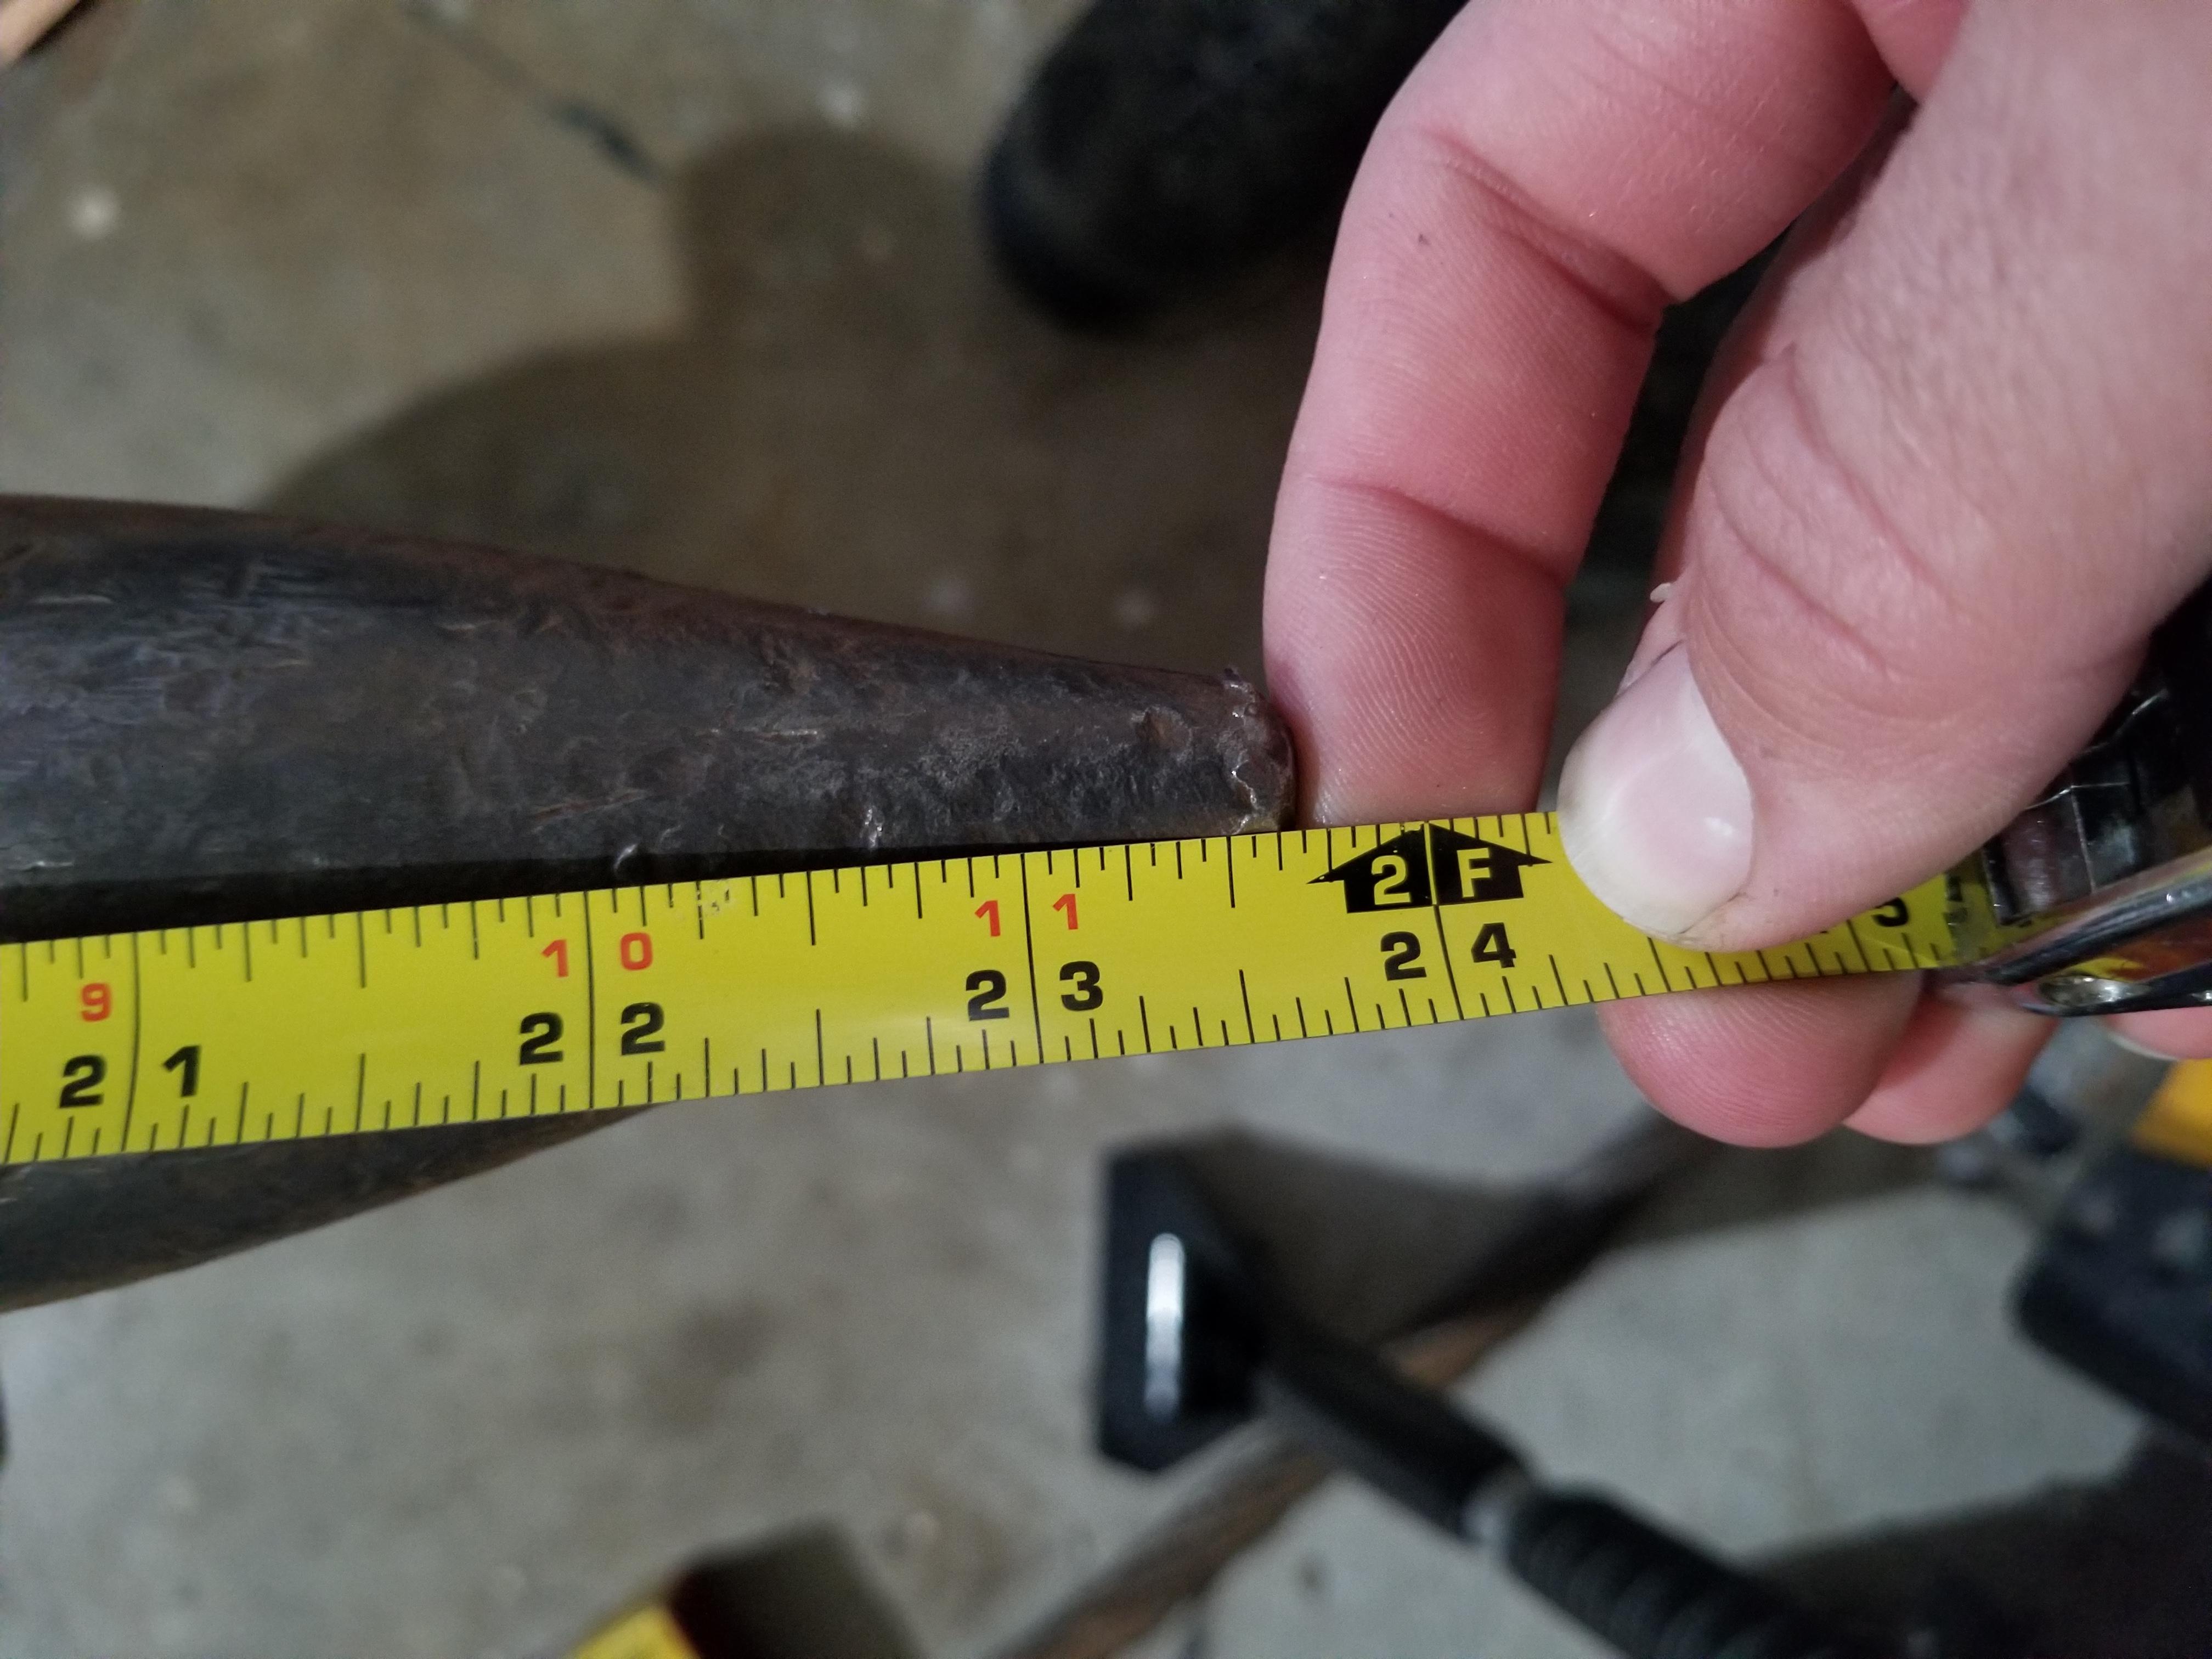
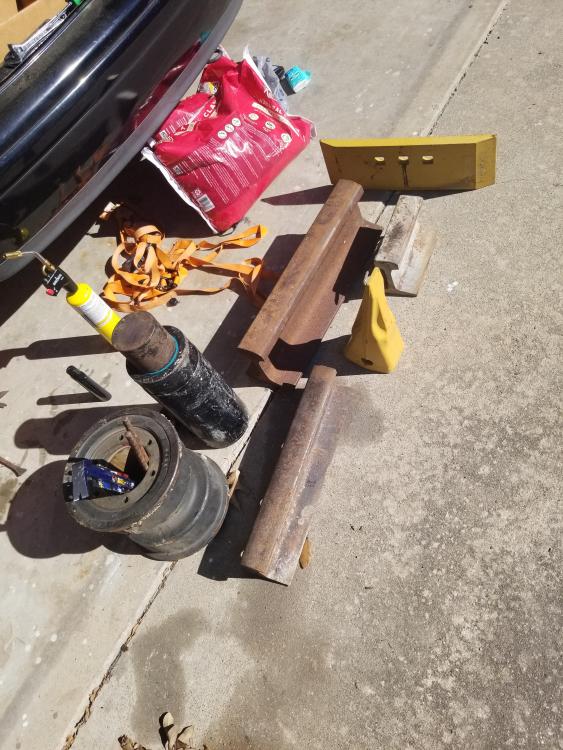
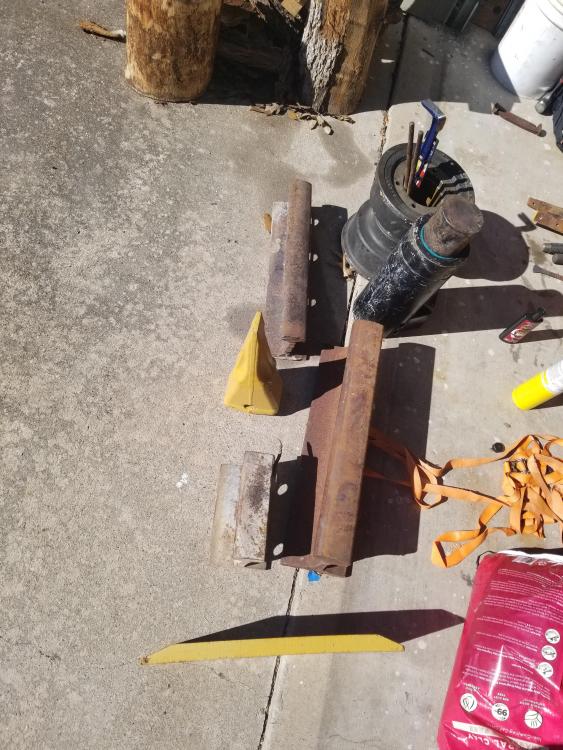
Here's the group of bits I pieced together before the anvils fell in my lap- plenty of potential in most of them, my son and I even did some cold-forming of sheet strap to make cup shapes with ballpeins on the medium track piece. (Only just now starting to piece together a JABOD forge) The tall black one is a track adjuster out of a 52-ton excavator. Its sister is at the front of the garage. The shorter black bit is a D8 bulldozer roller shell. The tall yellow piece is a bucket tooth, rock-bit style. The long, flat yellow piece is an end-bit off of a 950K wheel loader bucket. The 3 different sizes of rail are... rail. Haha. I got the small and medium pieces from a customer that makes rail ties. The full-size rail is from a line replacement job I went out to work on an excavator for, they let me have it. 22.5" long. All of the Cat parts were in the scrap bin at work. The brand new ones were parts discontinued. I had permission to take them.
-
I was thinking of doing the v.III style at first with loose litter and a brick pot. See how it plays out. The hand pump will probably be a fair amount of work, true enough, but I figure it's a great learning and starting point. I'm also limited by a single outlet in the garage of the house we are leasing, and one socket is occupied by the deep freezer. I figured manual wouldn't be a bad thing to get used to, though who knows, that may change in the first few hours haha I'm on a pretty tight budget, so I'm working around what I can make happen for now. I think that even once I can get my hands on the pan, experimenting with my little box may prove very useful- the pan and stand is basically a round rivet forge. Needs a tuyere, grate, and blower as well as a crack repair.
-
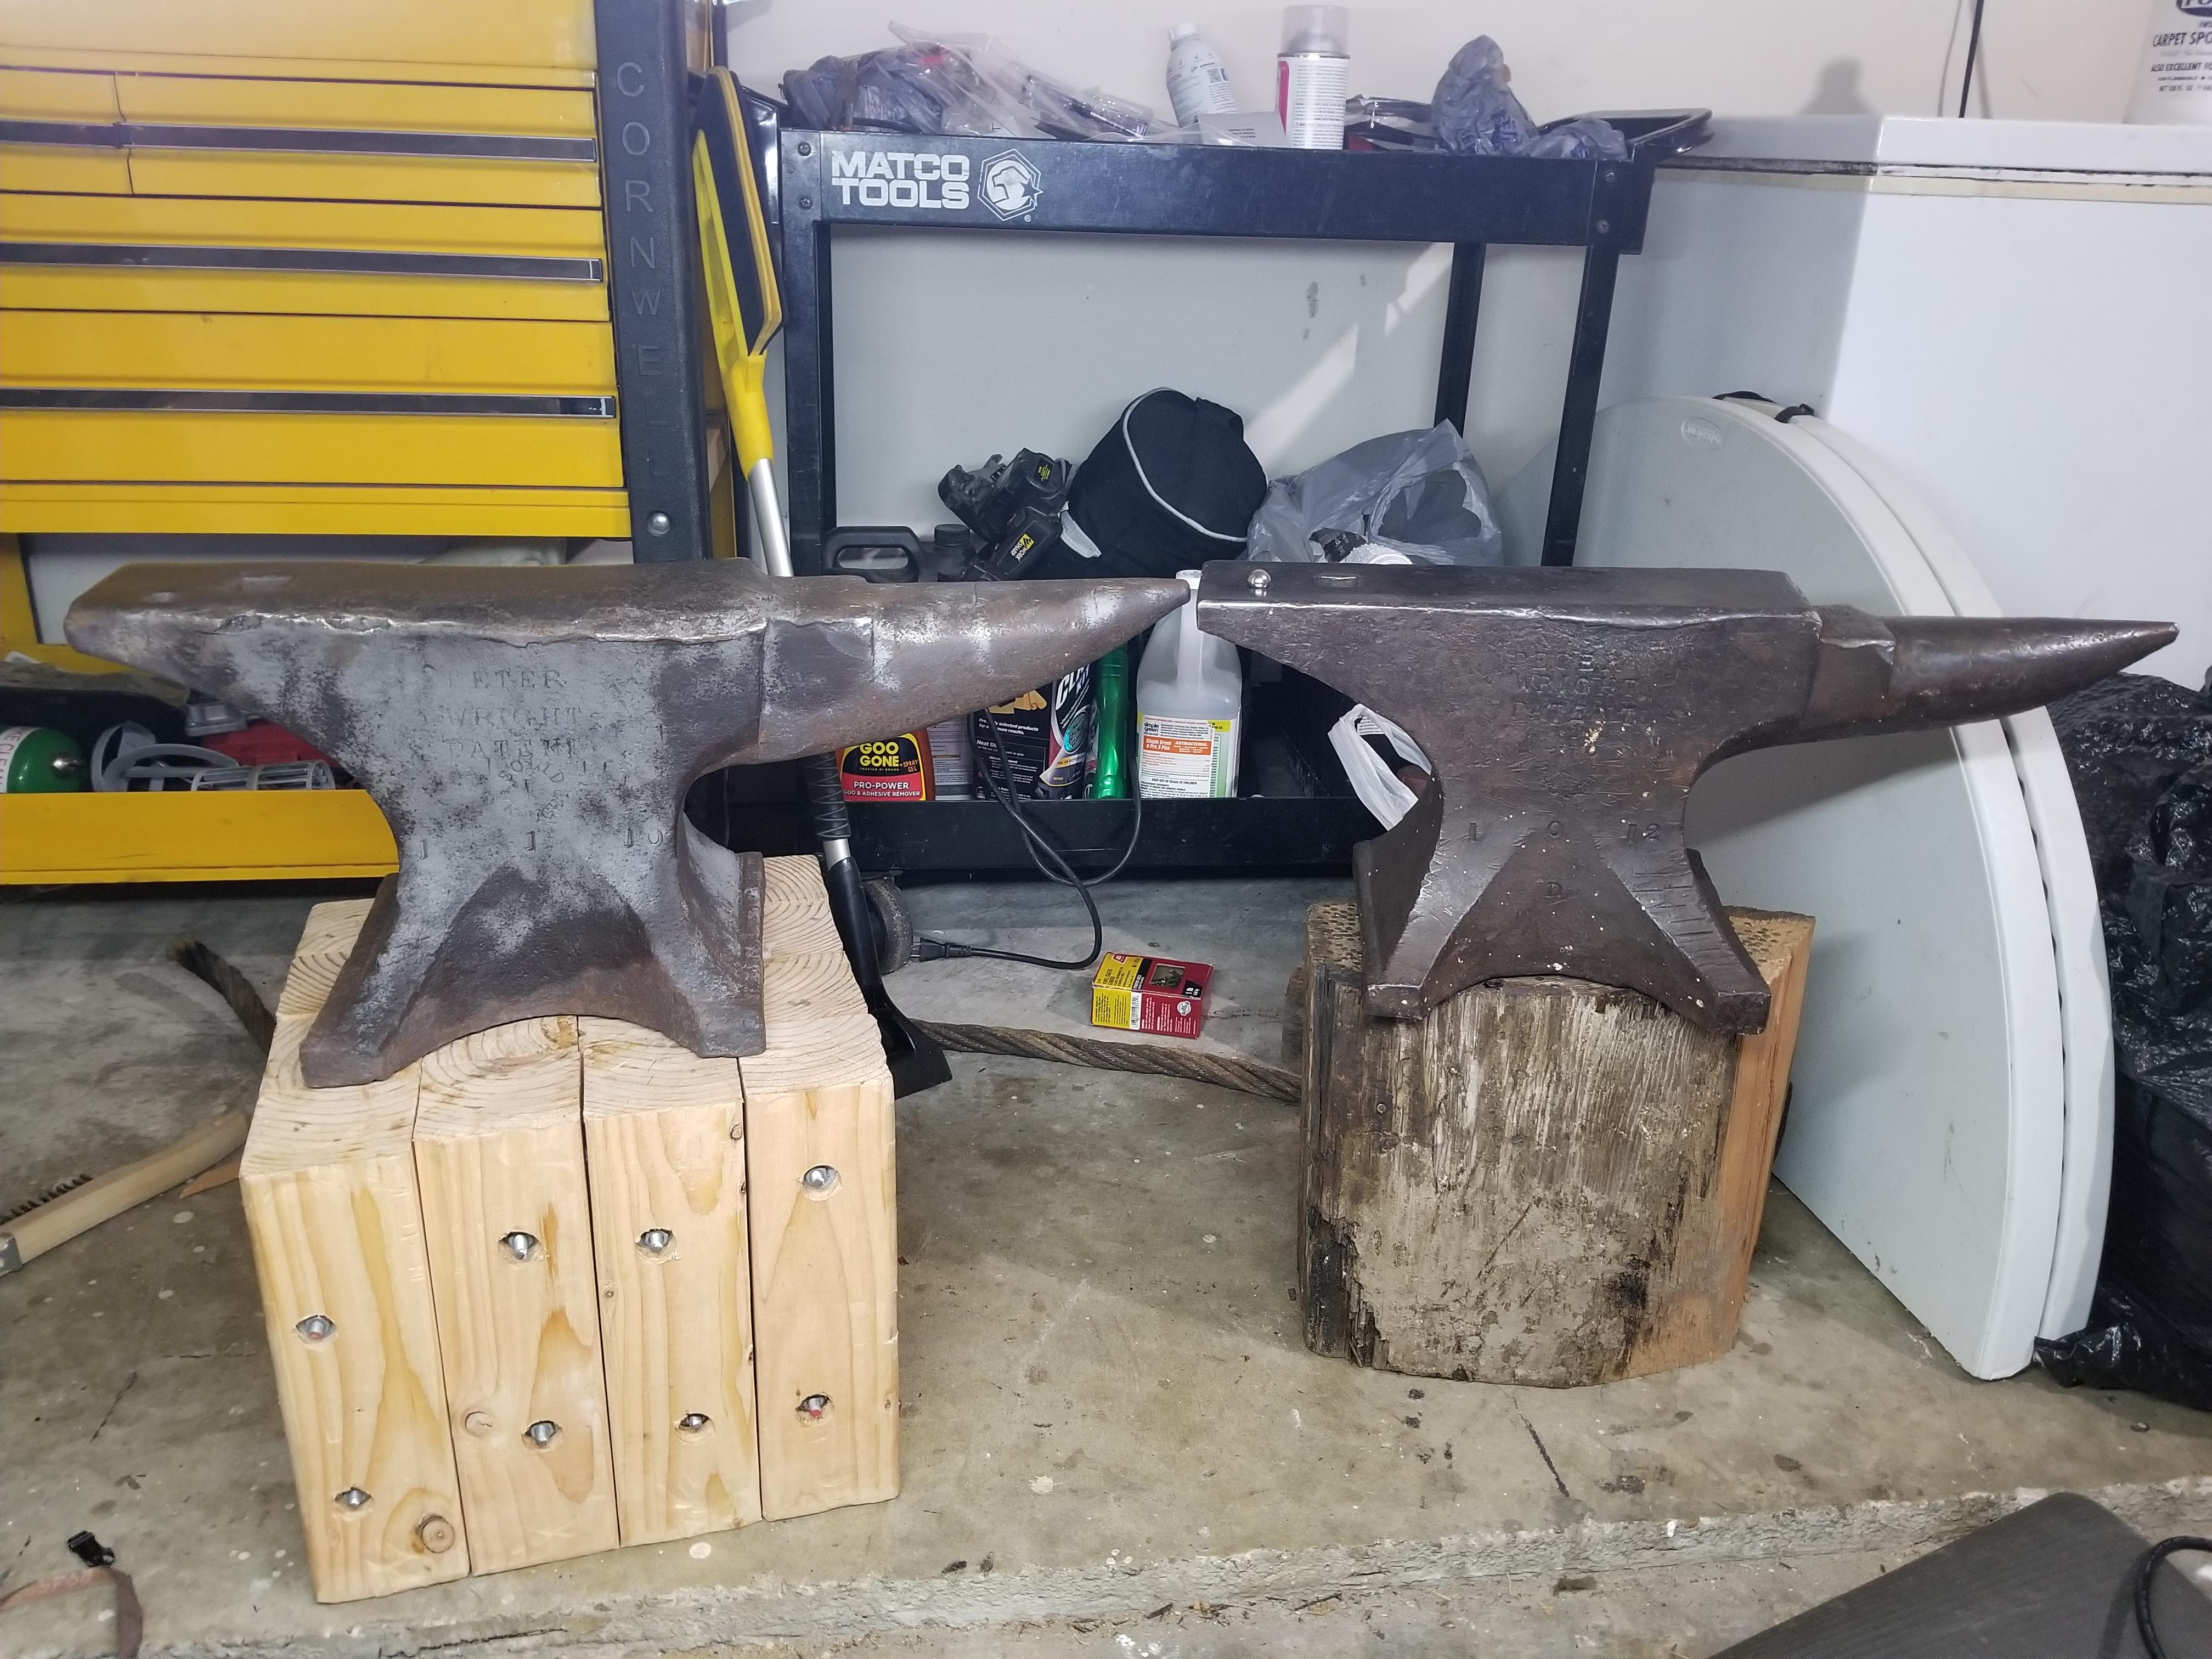
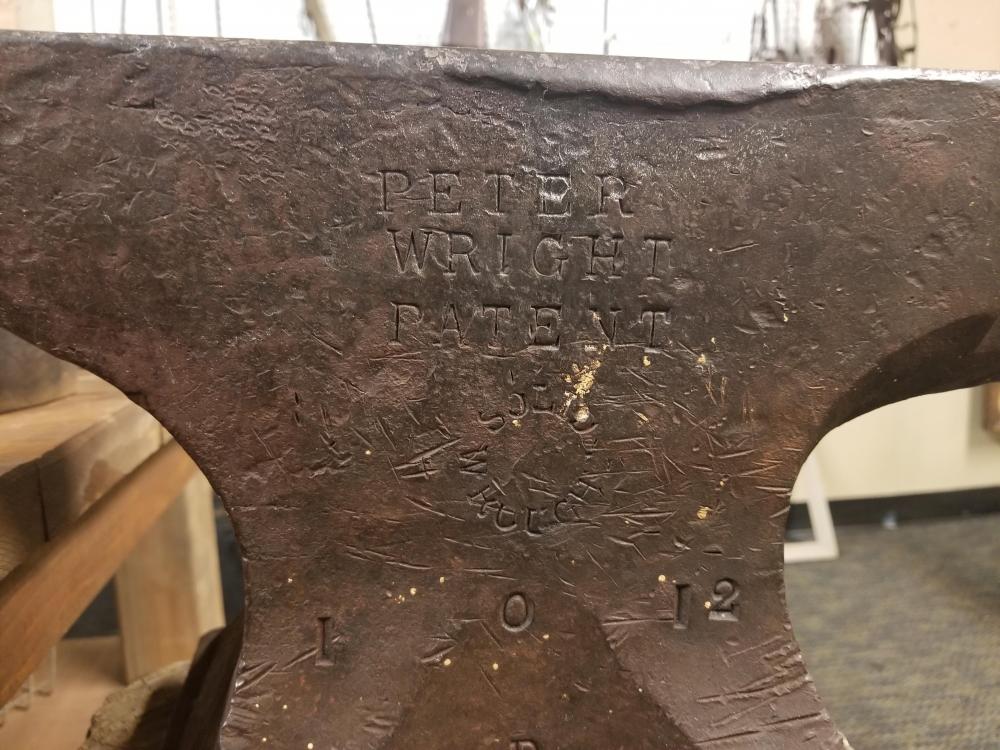
Purty! My 1-0-12 Christmas present got treated to an un-braided/un-knotted (so, standard crimp style) wire brushing via a 4.5" grinder followed by an oiling. Let's see some more pics of the girl once you freshen her up a bit!
-
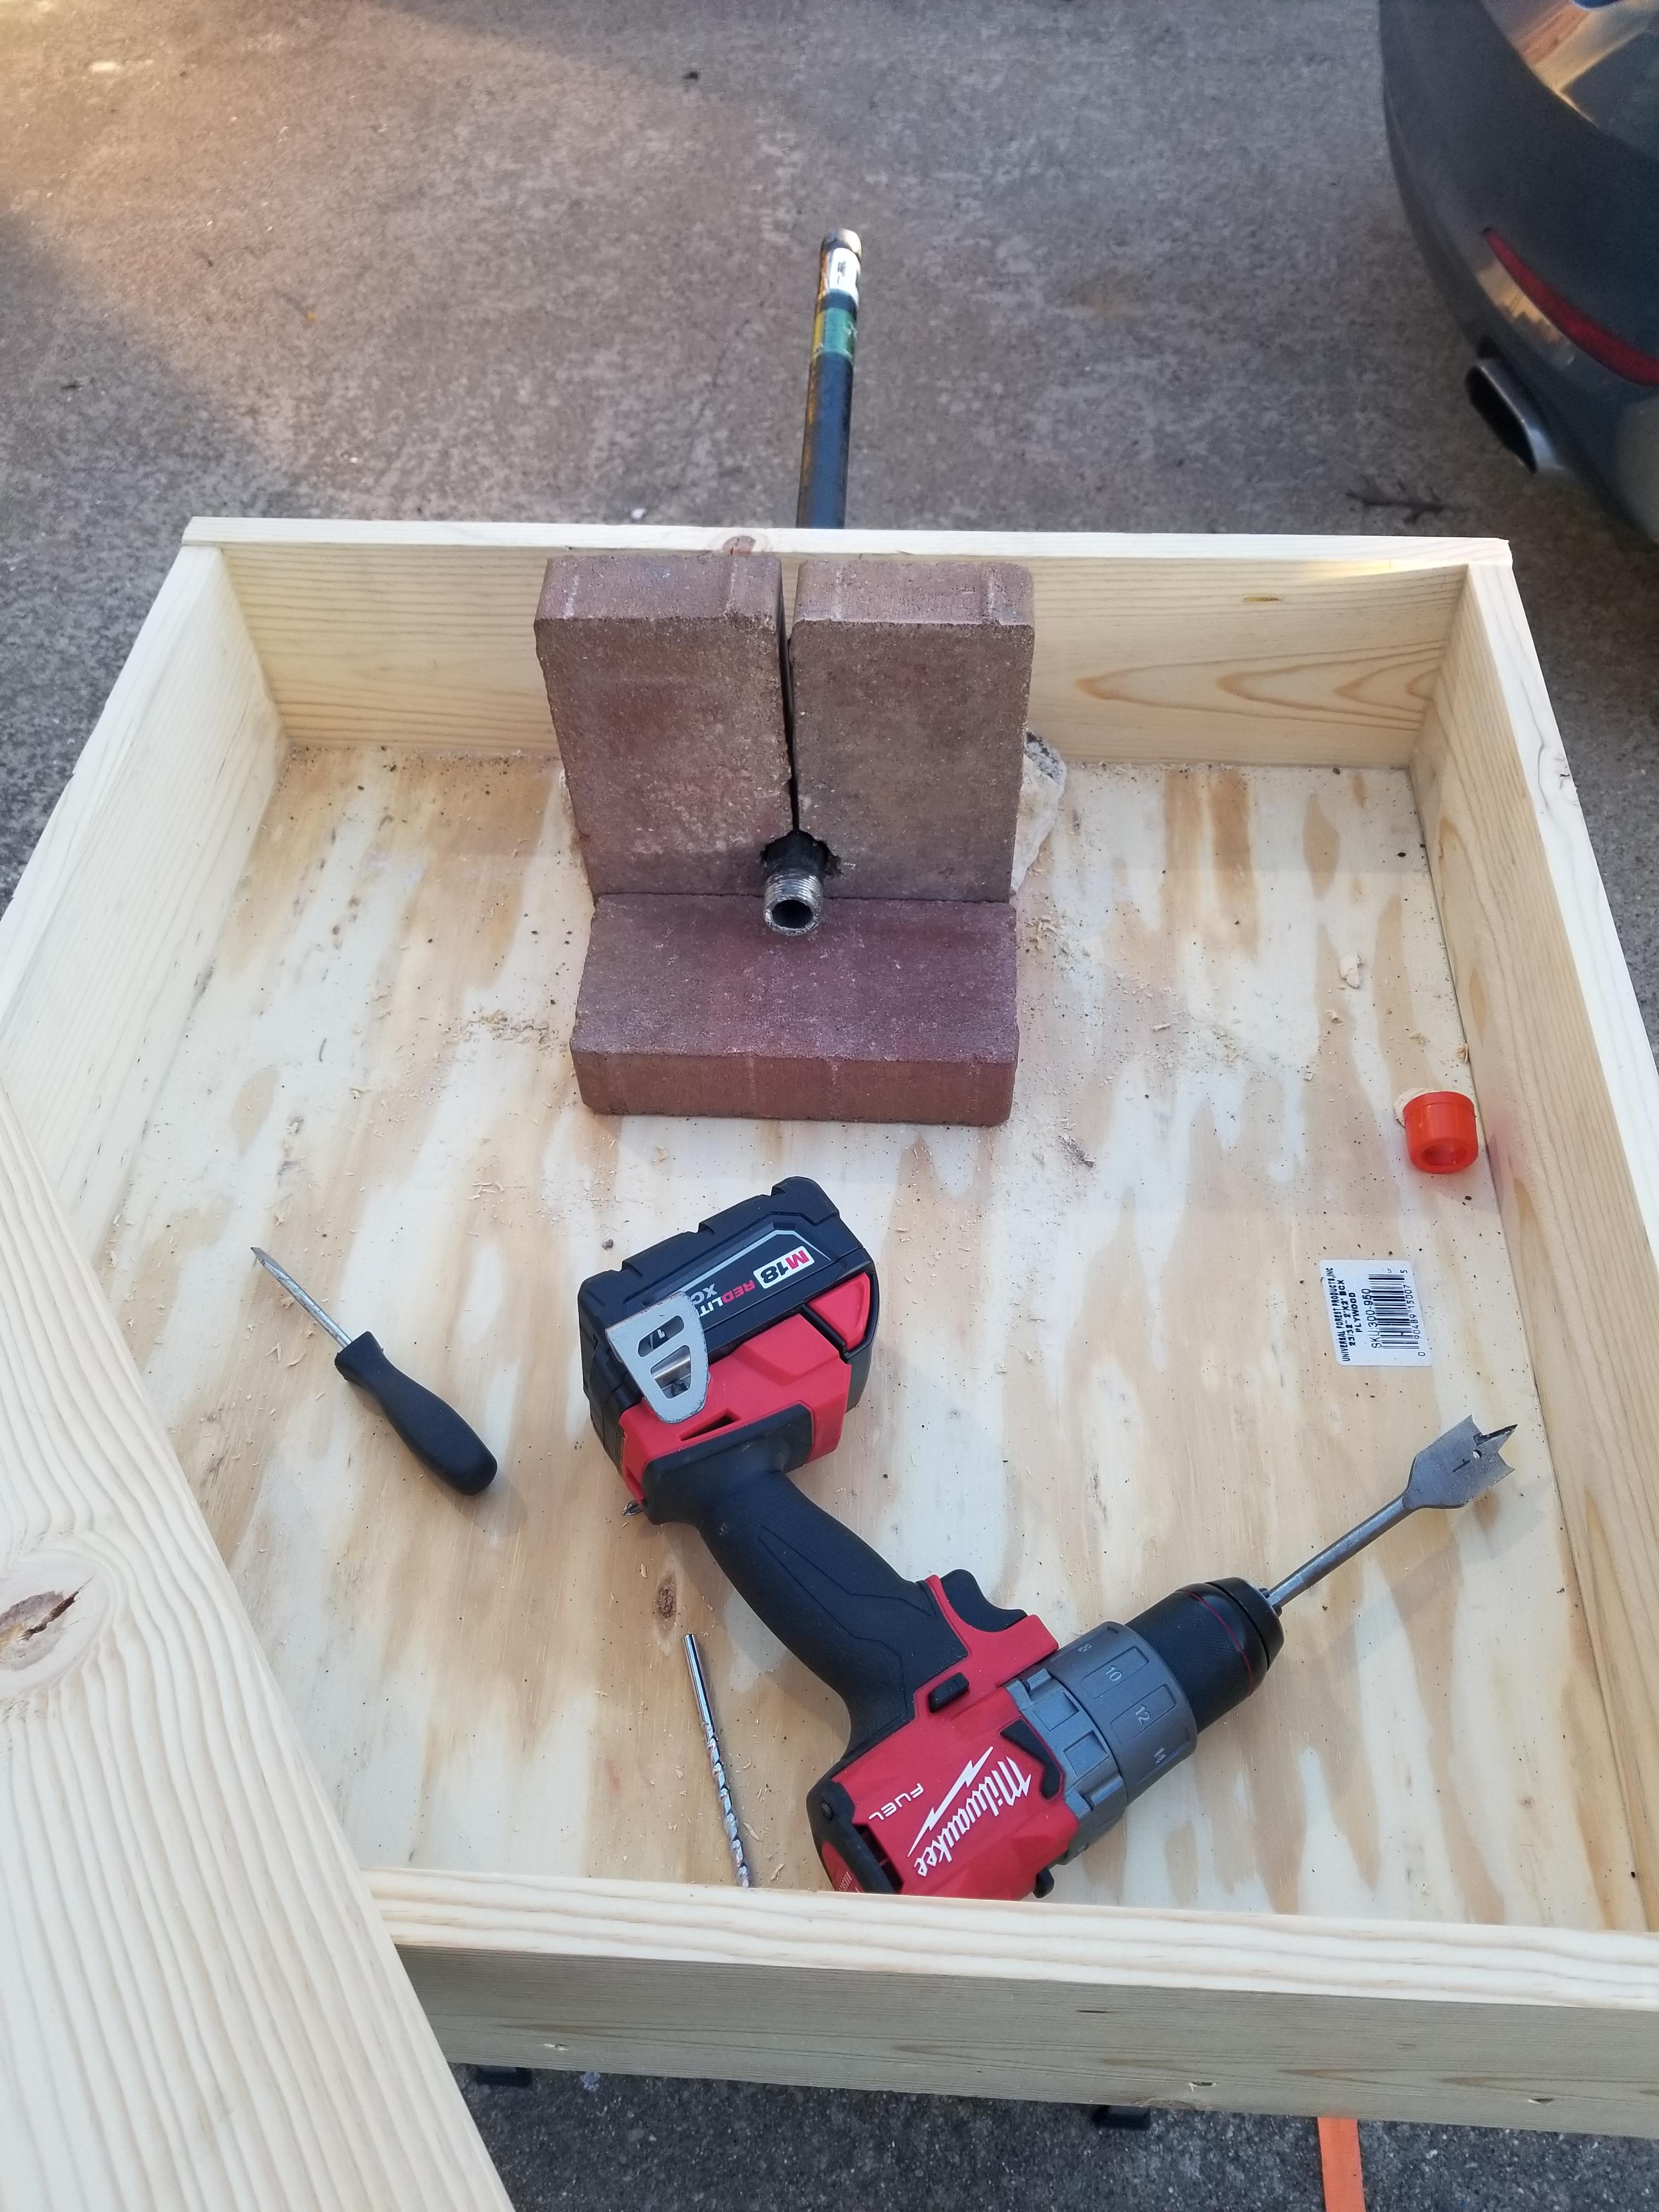
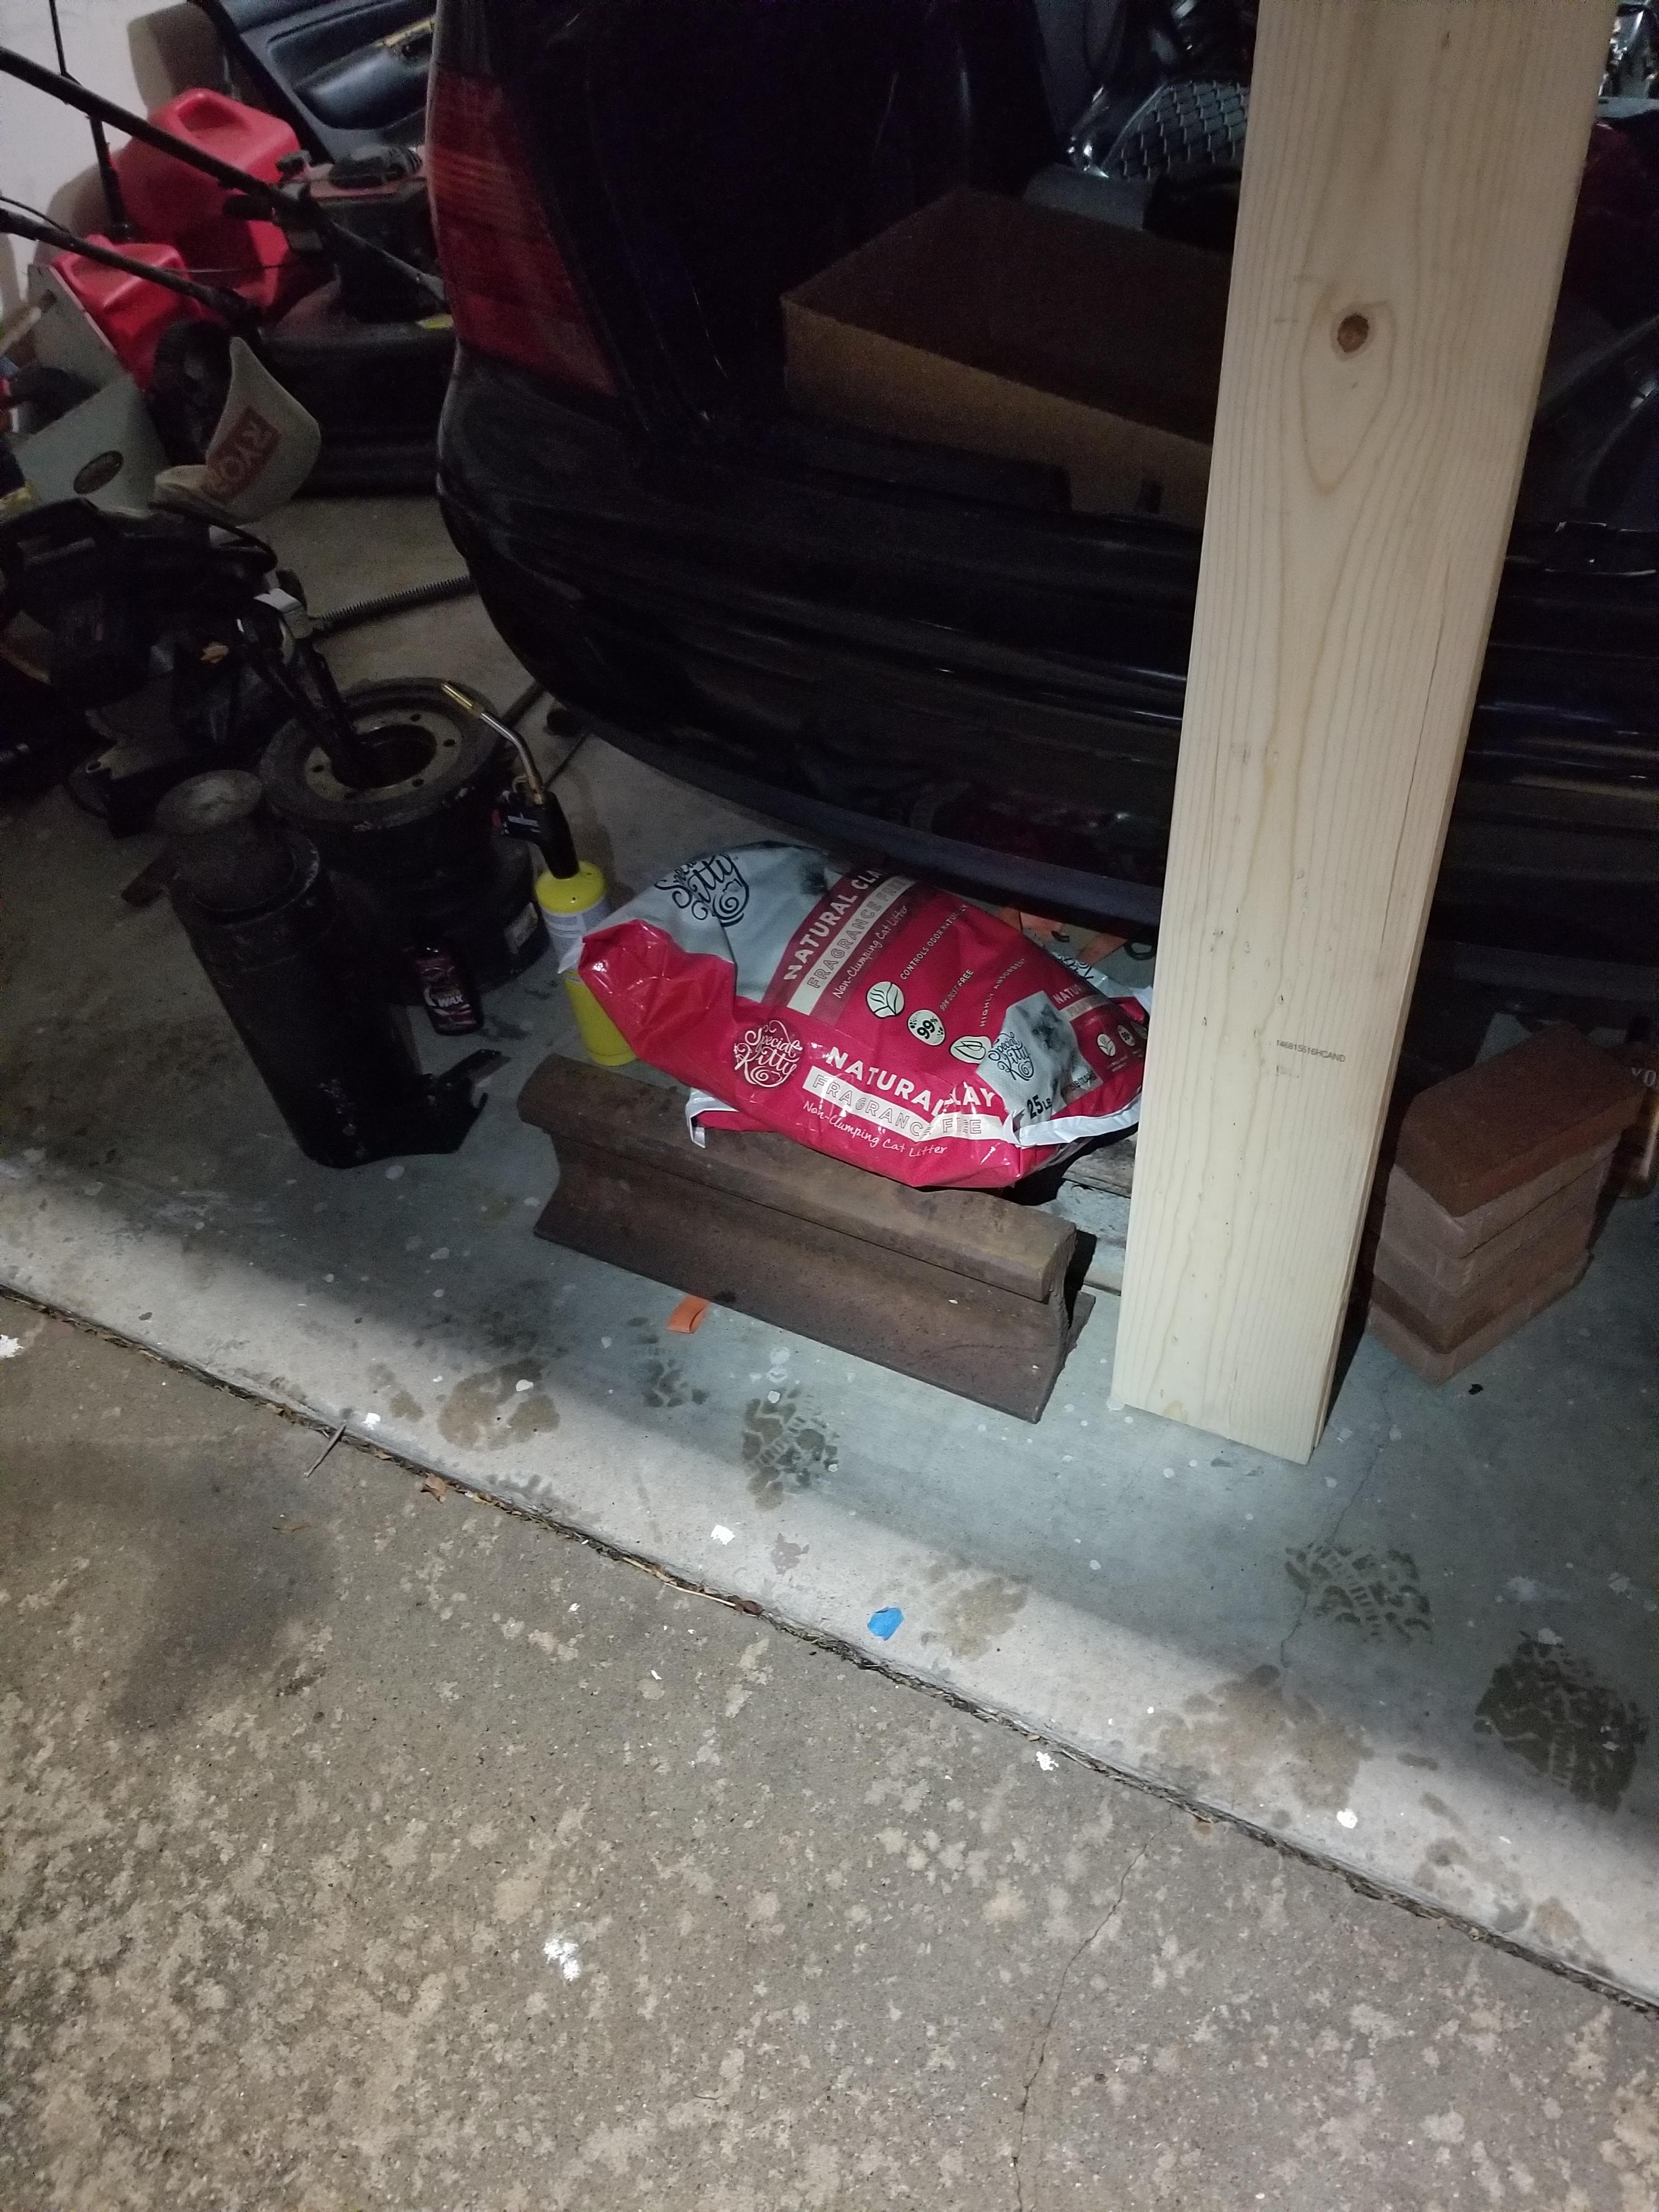
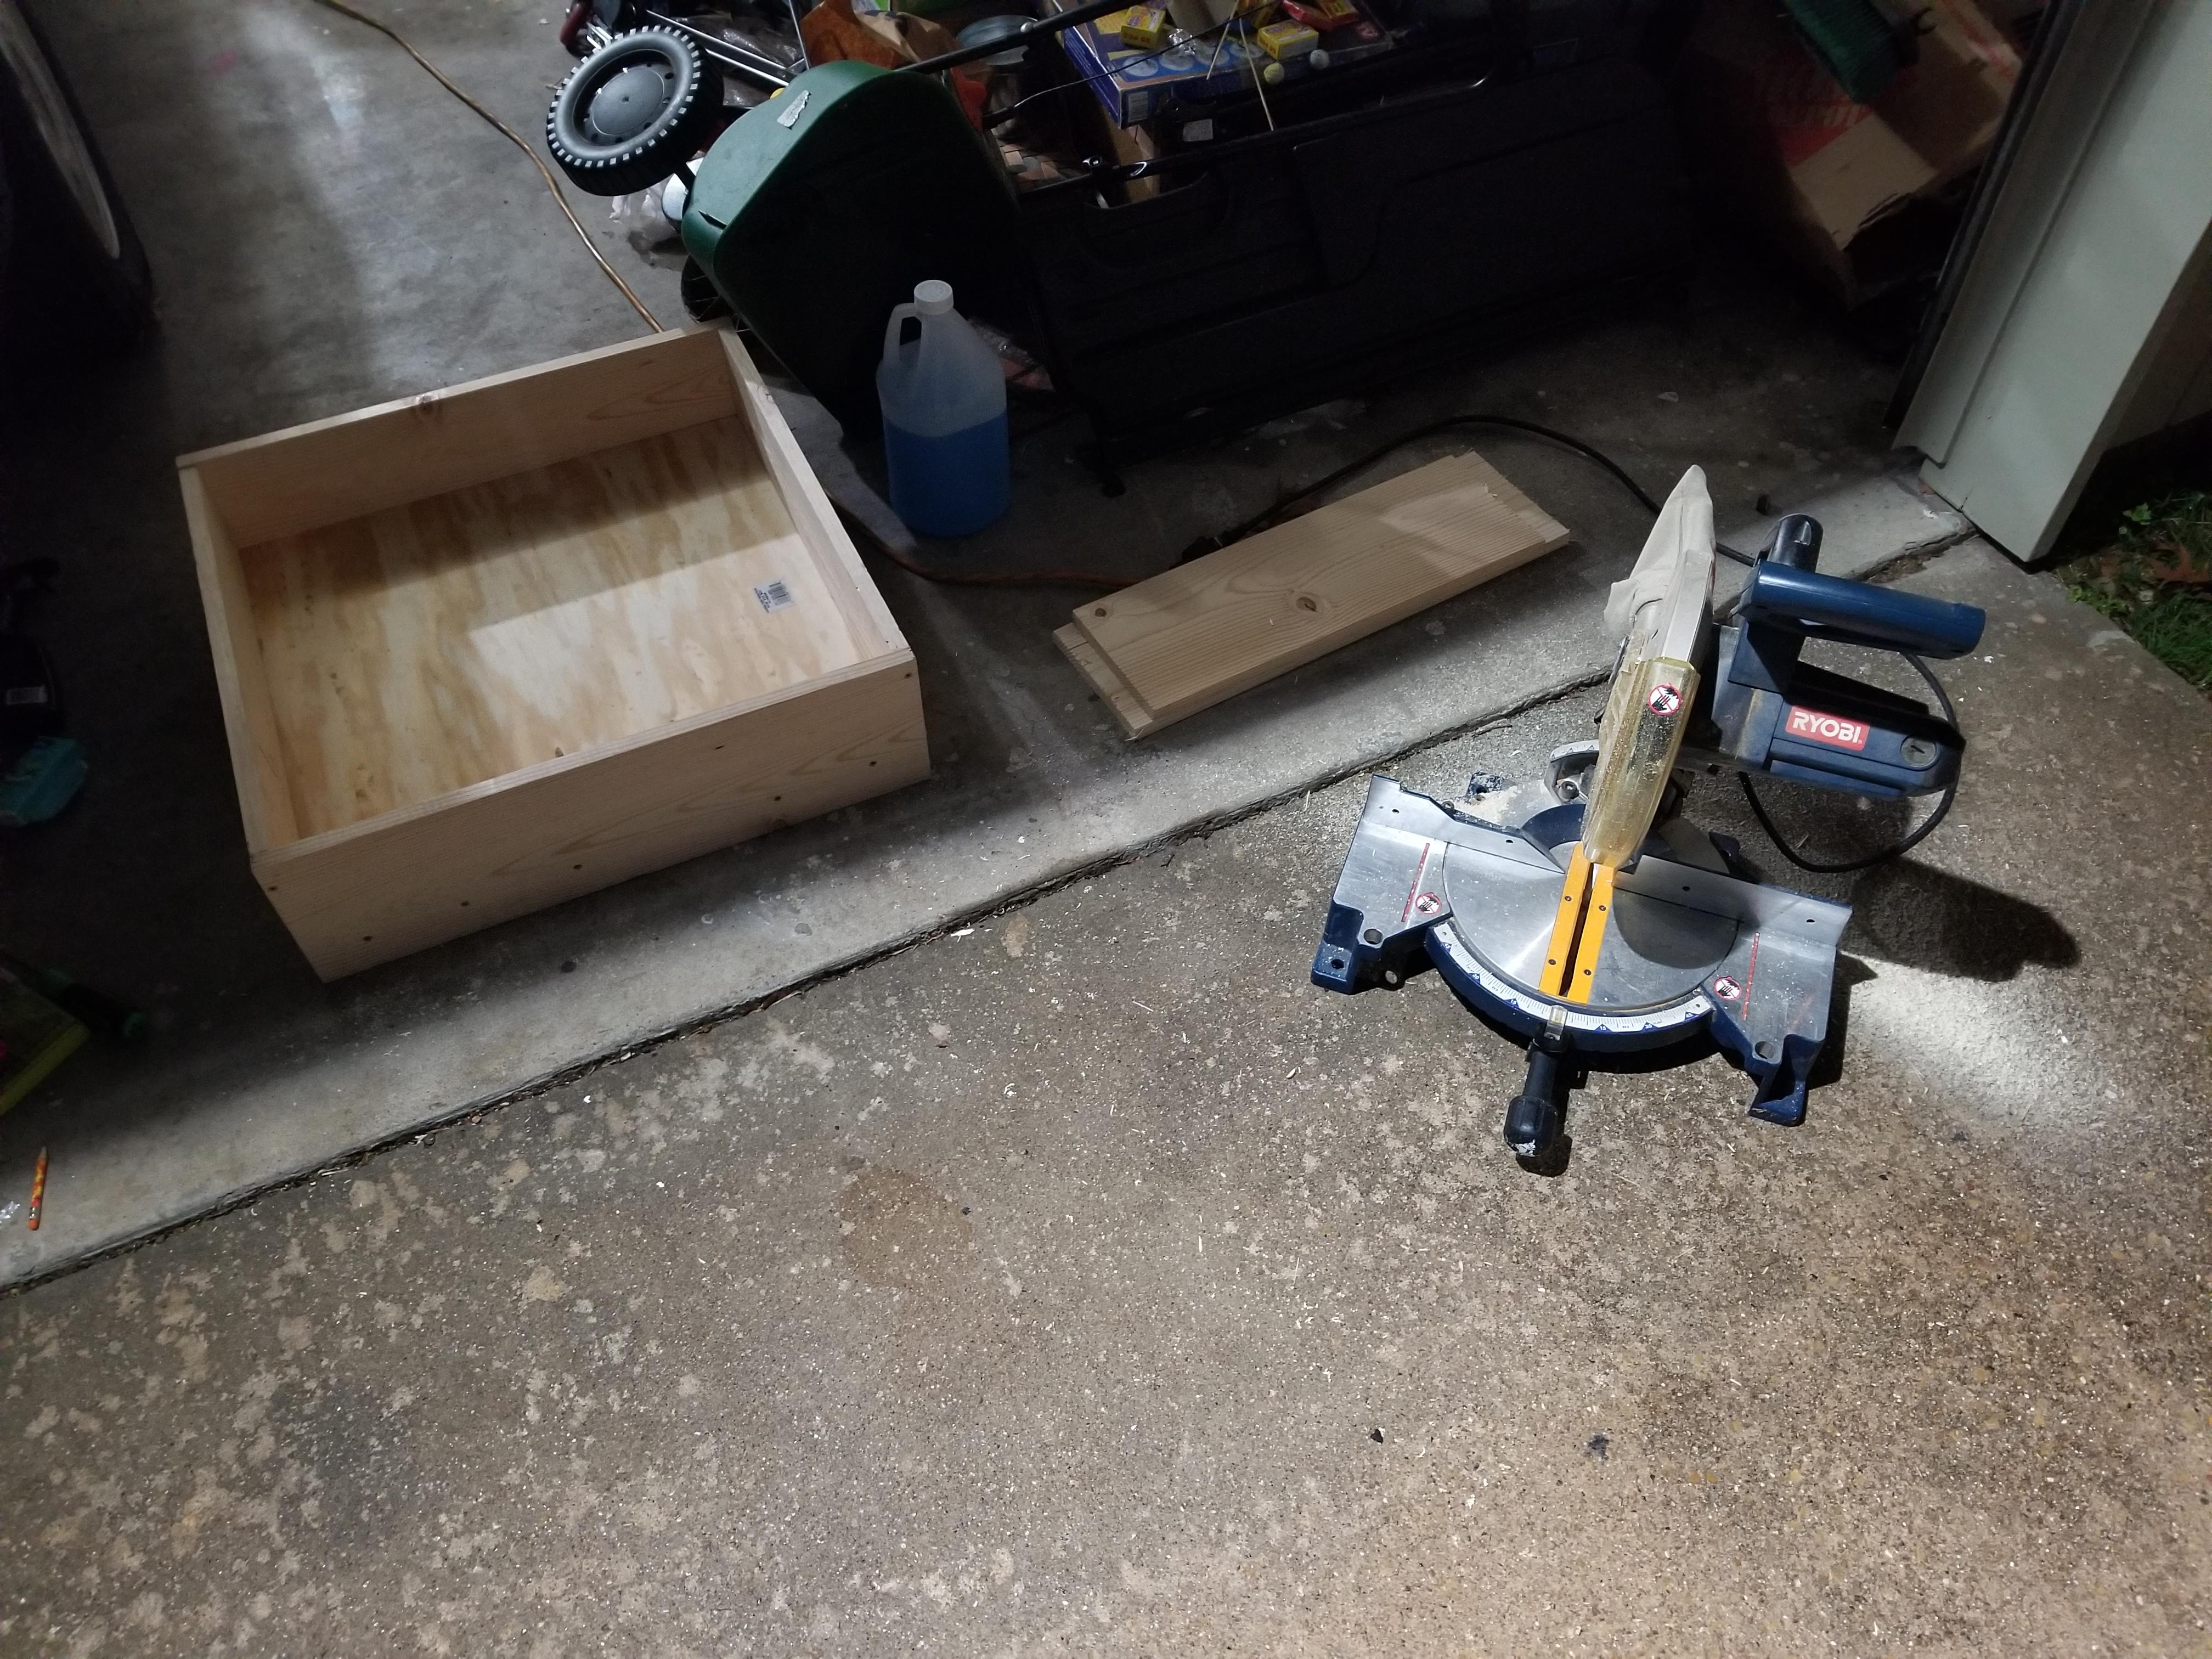
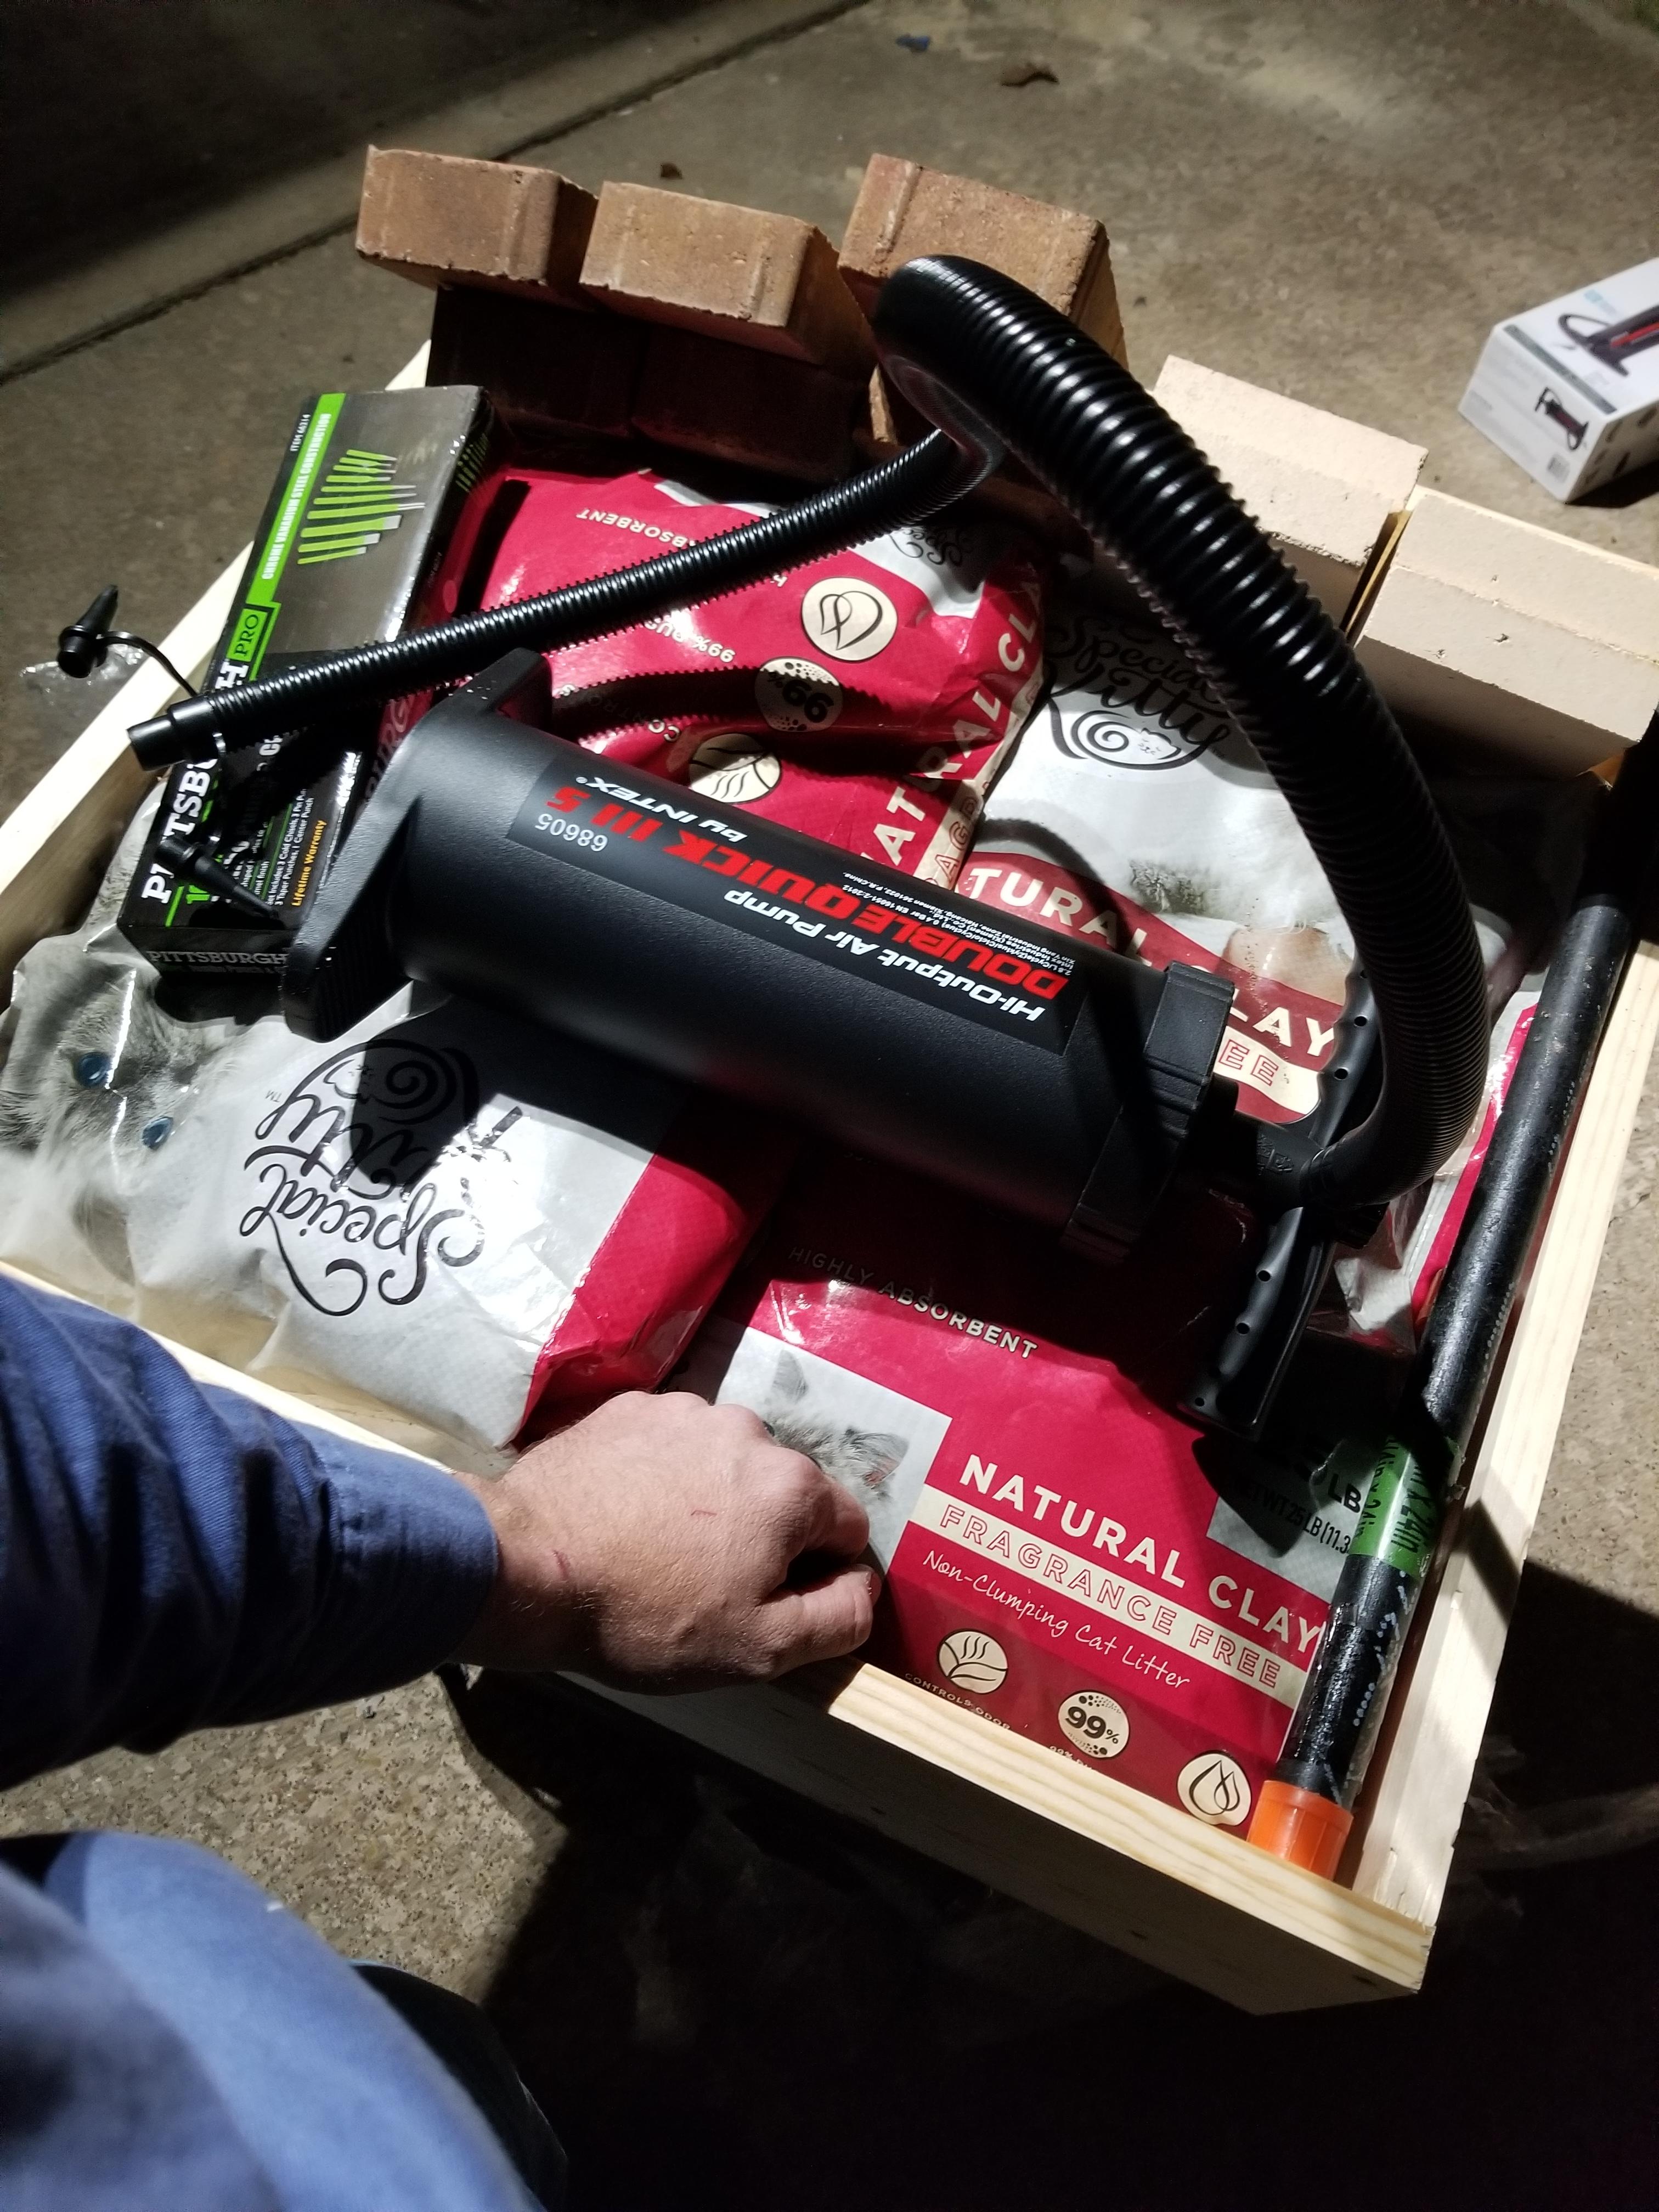
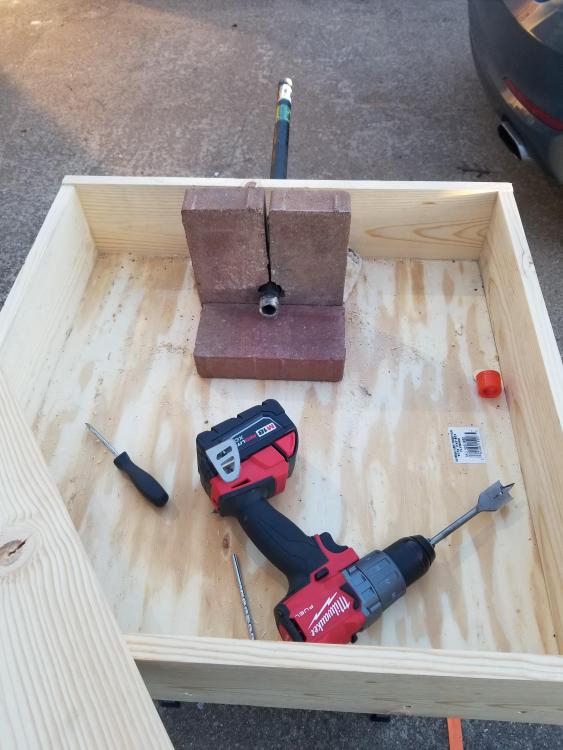
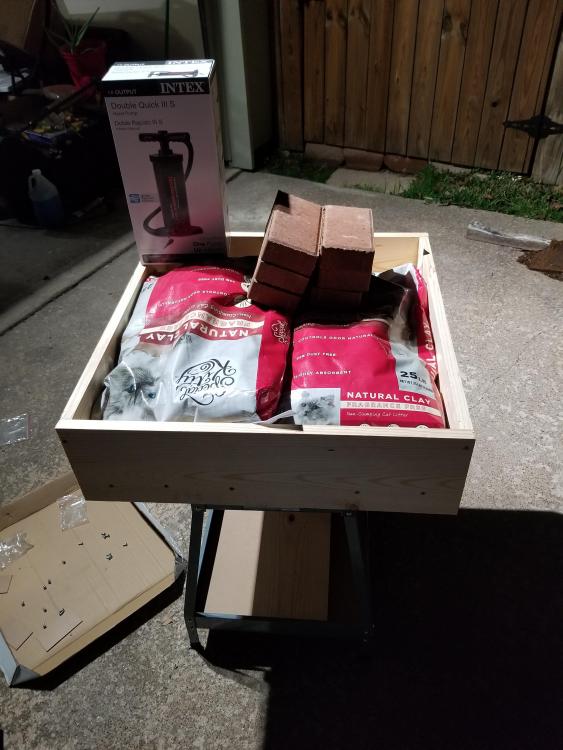
Hey all! So, I arranged for a gentleman to bring me a vintage coal bowl and stand next time he is down this way. But in the meantime, time to punch out some excuses. 1x8 common board from HD, 2x 6' lengths (was raining that day and I had to fit it in the car) 1, 2x2 plywood board, 3/4" thick. I got to use my 2nd hand chop saw my brother-in-law gifted me this Christmas, worked a charm! Tuyere is a 2 foot section of SCD40 3/4" iron pipe. Air mover is a Wal-Mart double-acting mattress pump. Base is a Harbor Freight "Work Station" that was open-box discounted. I assembled the floor of my box ~1.5" up the walls (I spaced the ply up with a pair of 2x4 trimmings) to help mitigate slip-off. Placed on the stand, the tops of the walls are ride at the wrist bump height. I have 6 red brick pavers and 5 fireplace-fire bricks. I have 100lbs of cheapo un-scented kitty litter. In the pictures, two 25lb bags are in the box. I have right about 100lbs of lump charcoal (the Walmart down the street had it on clearance, torn bags taped over for about $5.50/15.6lbs) I figure that is a good place to start and learn before I try to nail down a good source for bituminous or coke, if it goes that way. So... Any input, suggestions, critiques? I haven't gone any further than what is in the pics... till tomorrow anyway haha


-
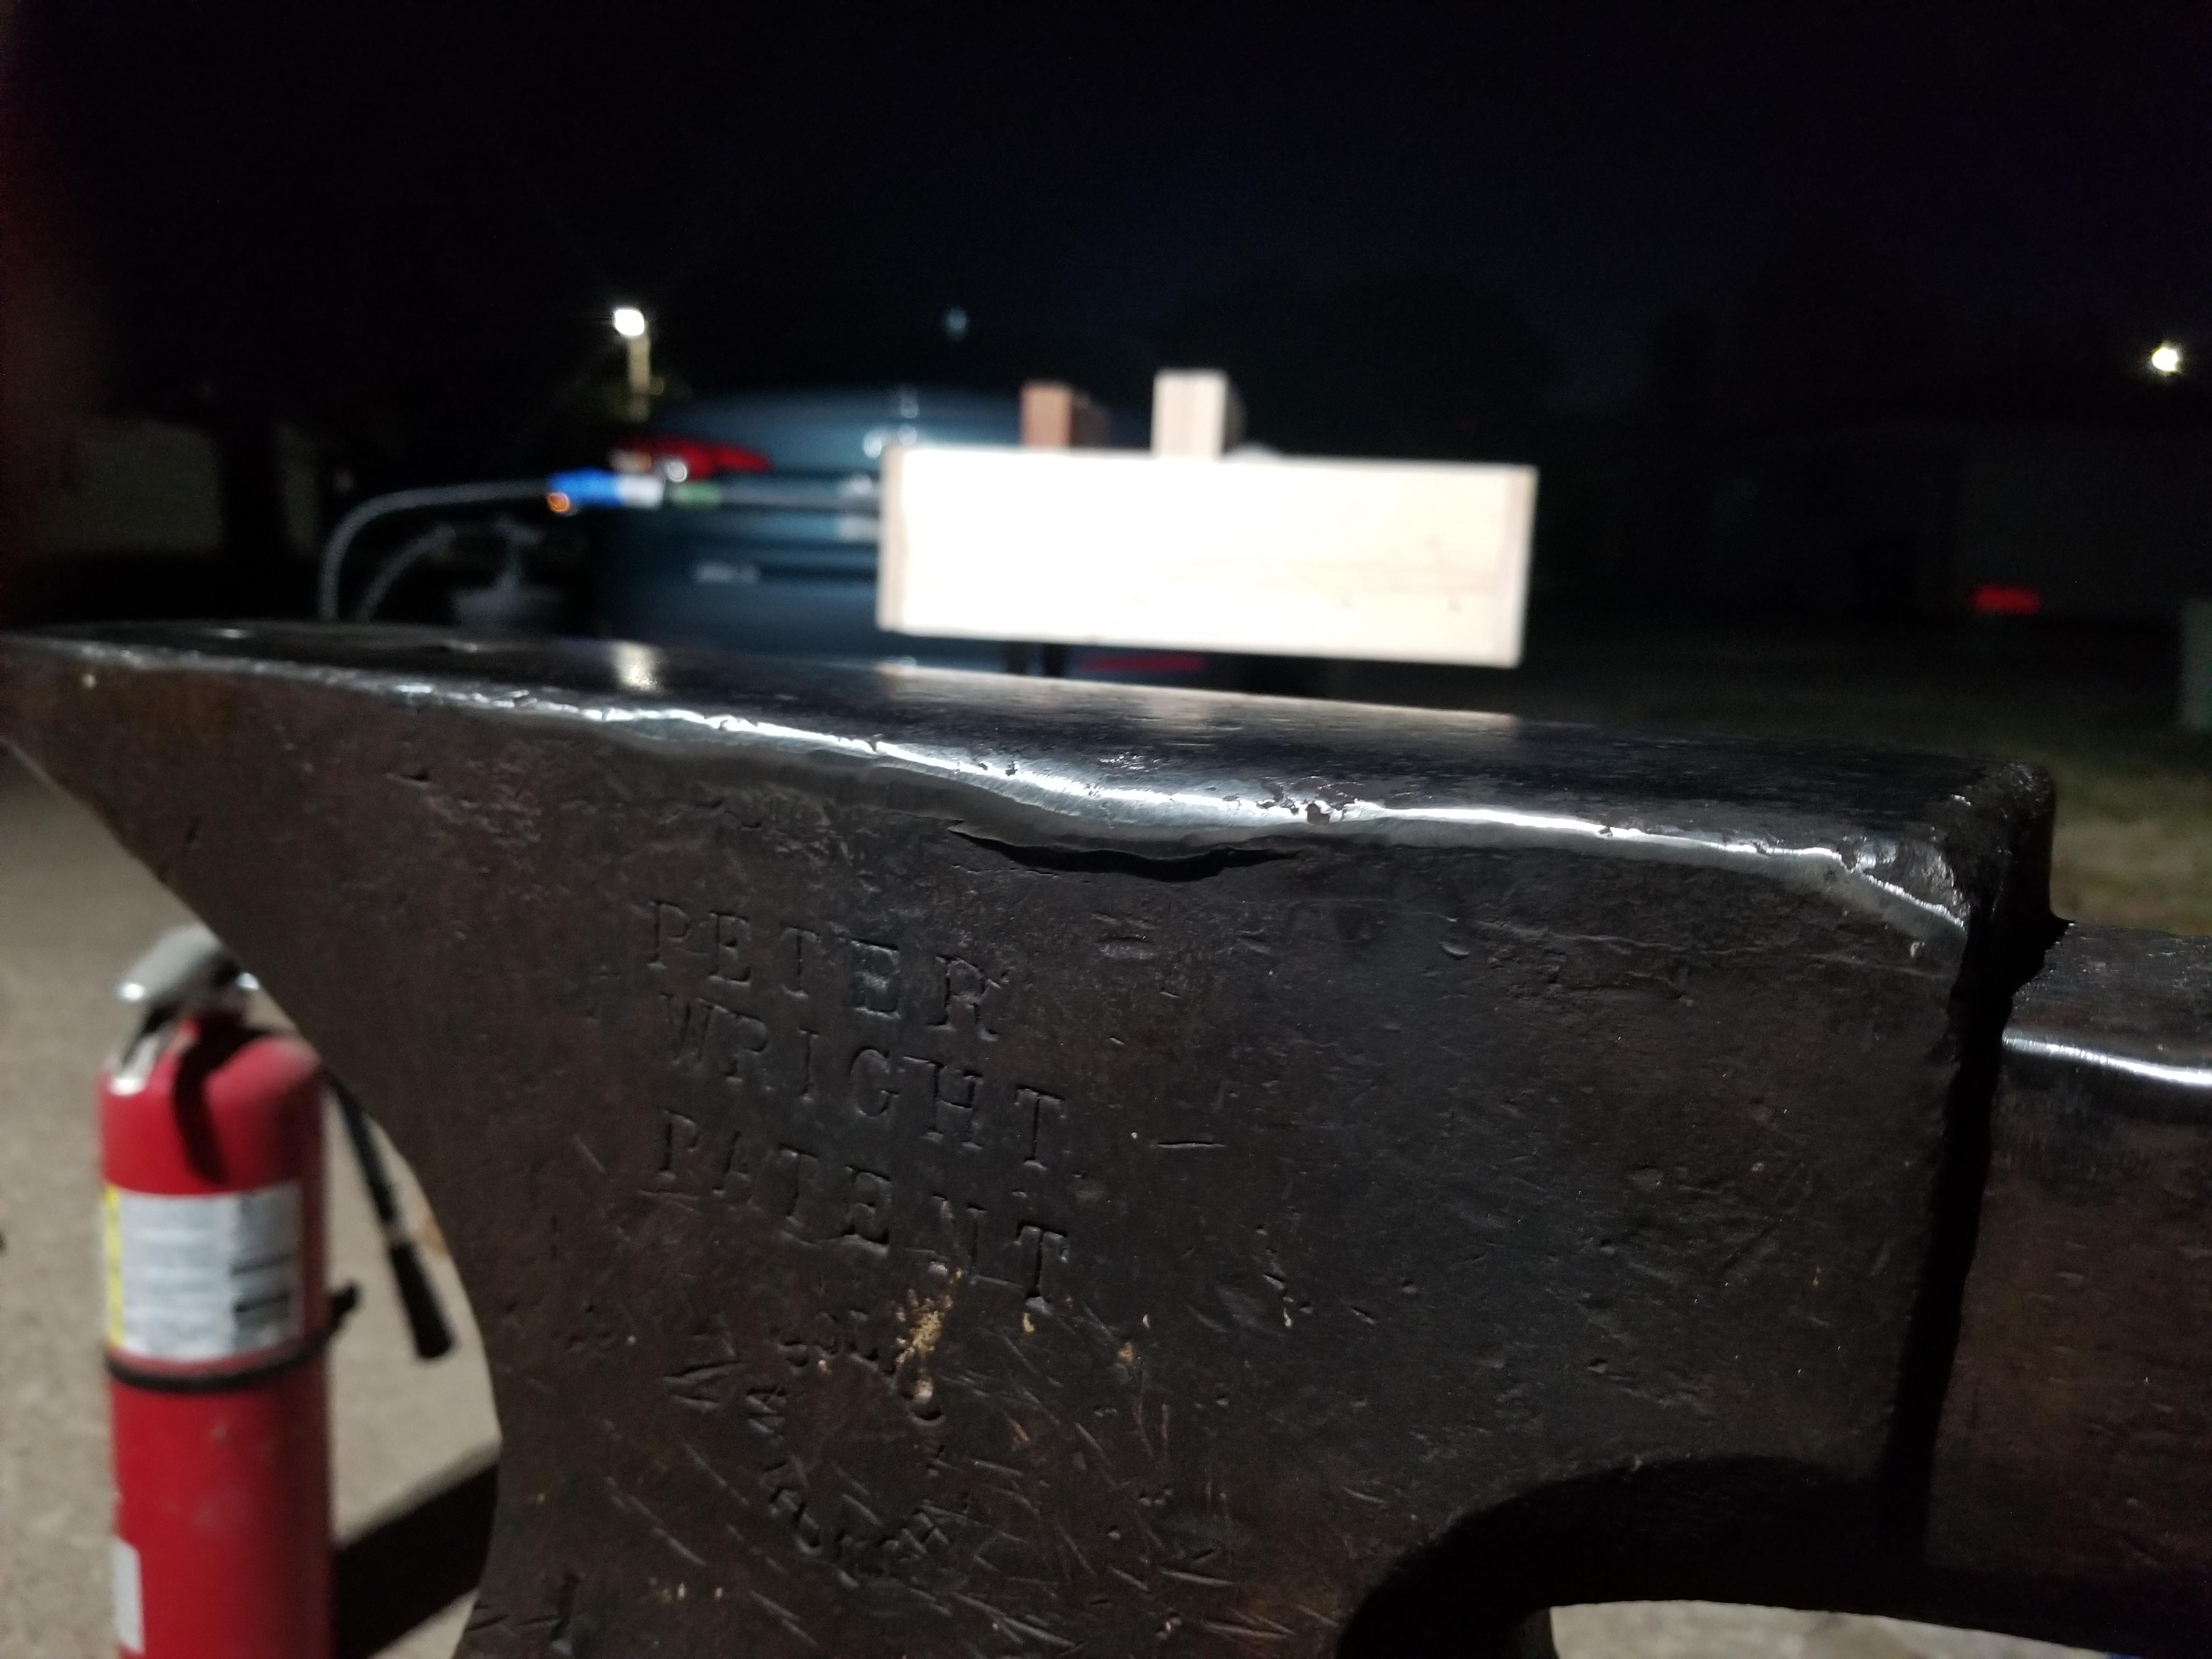
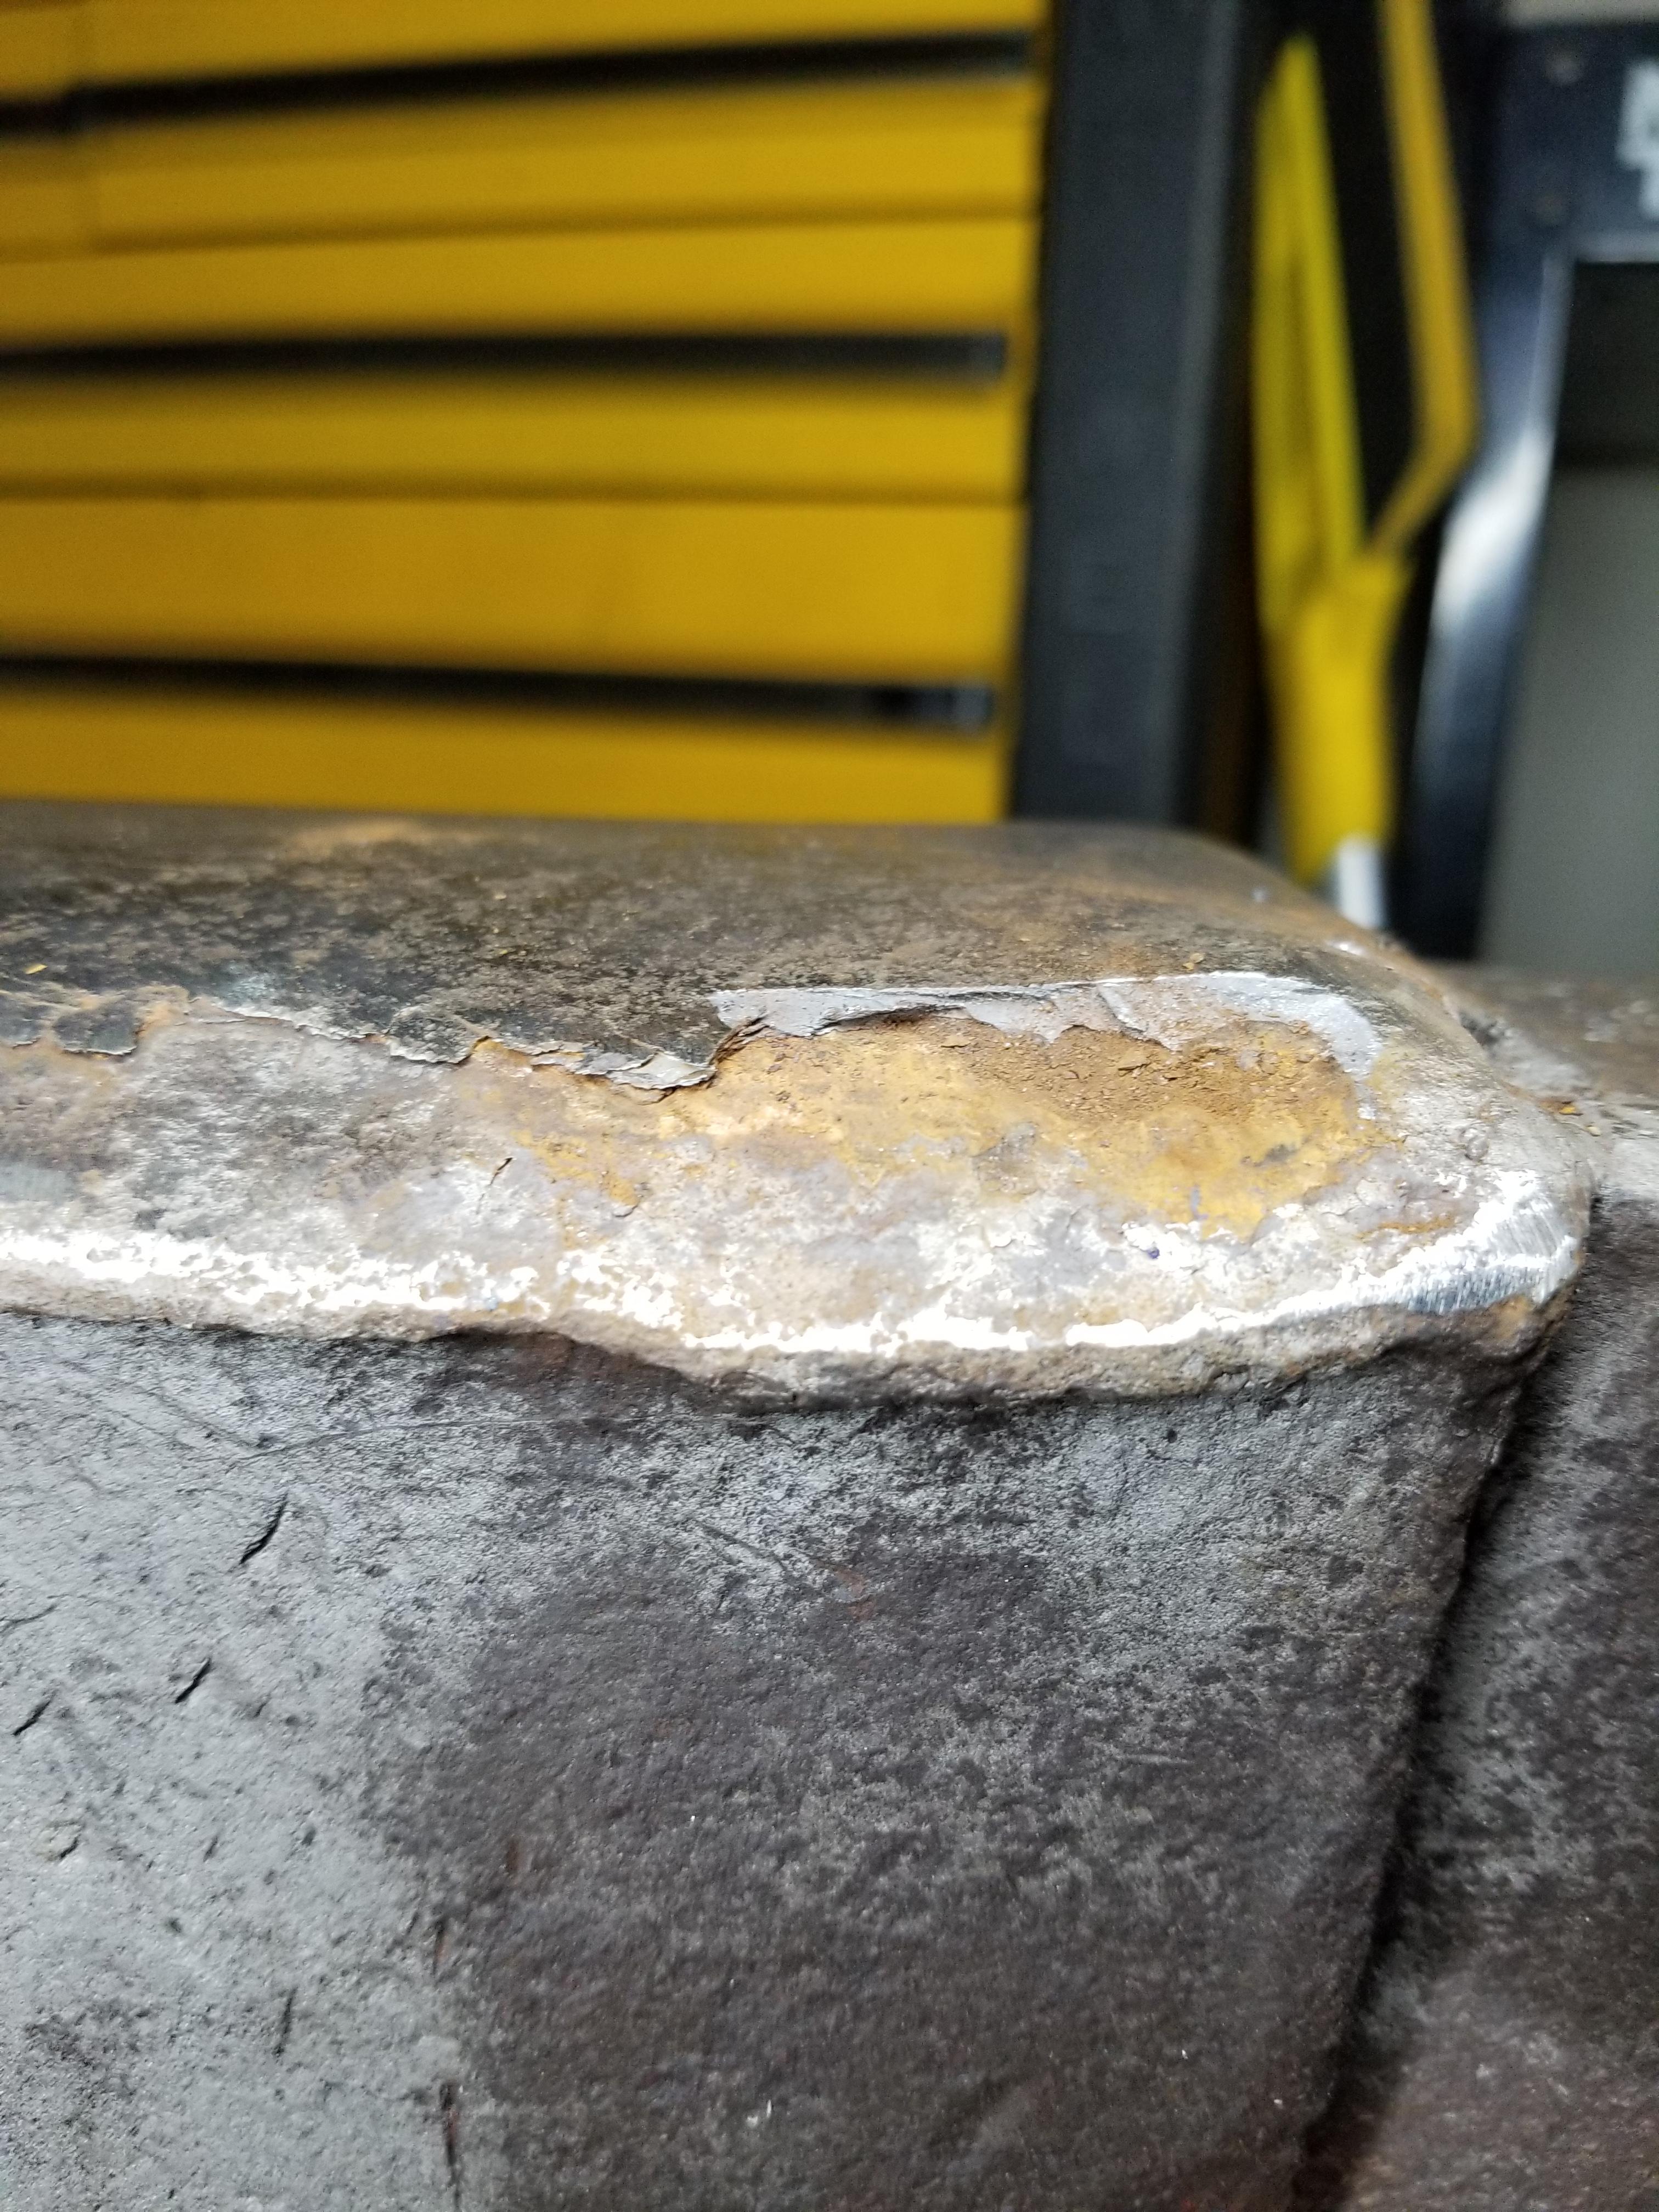
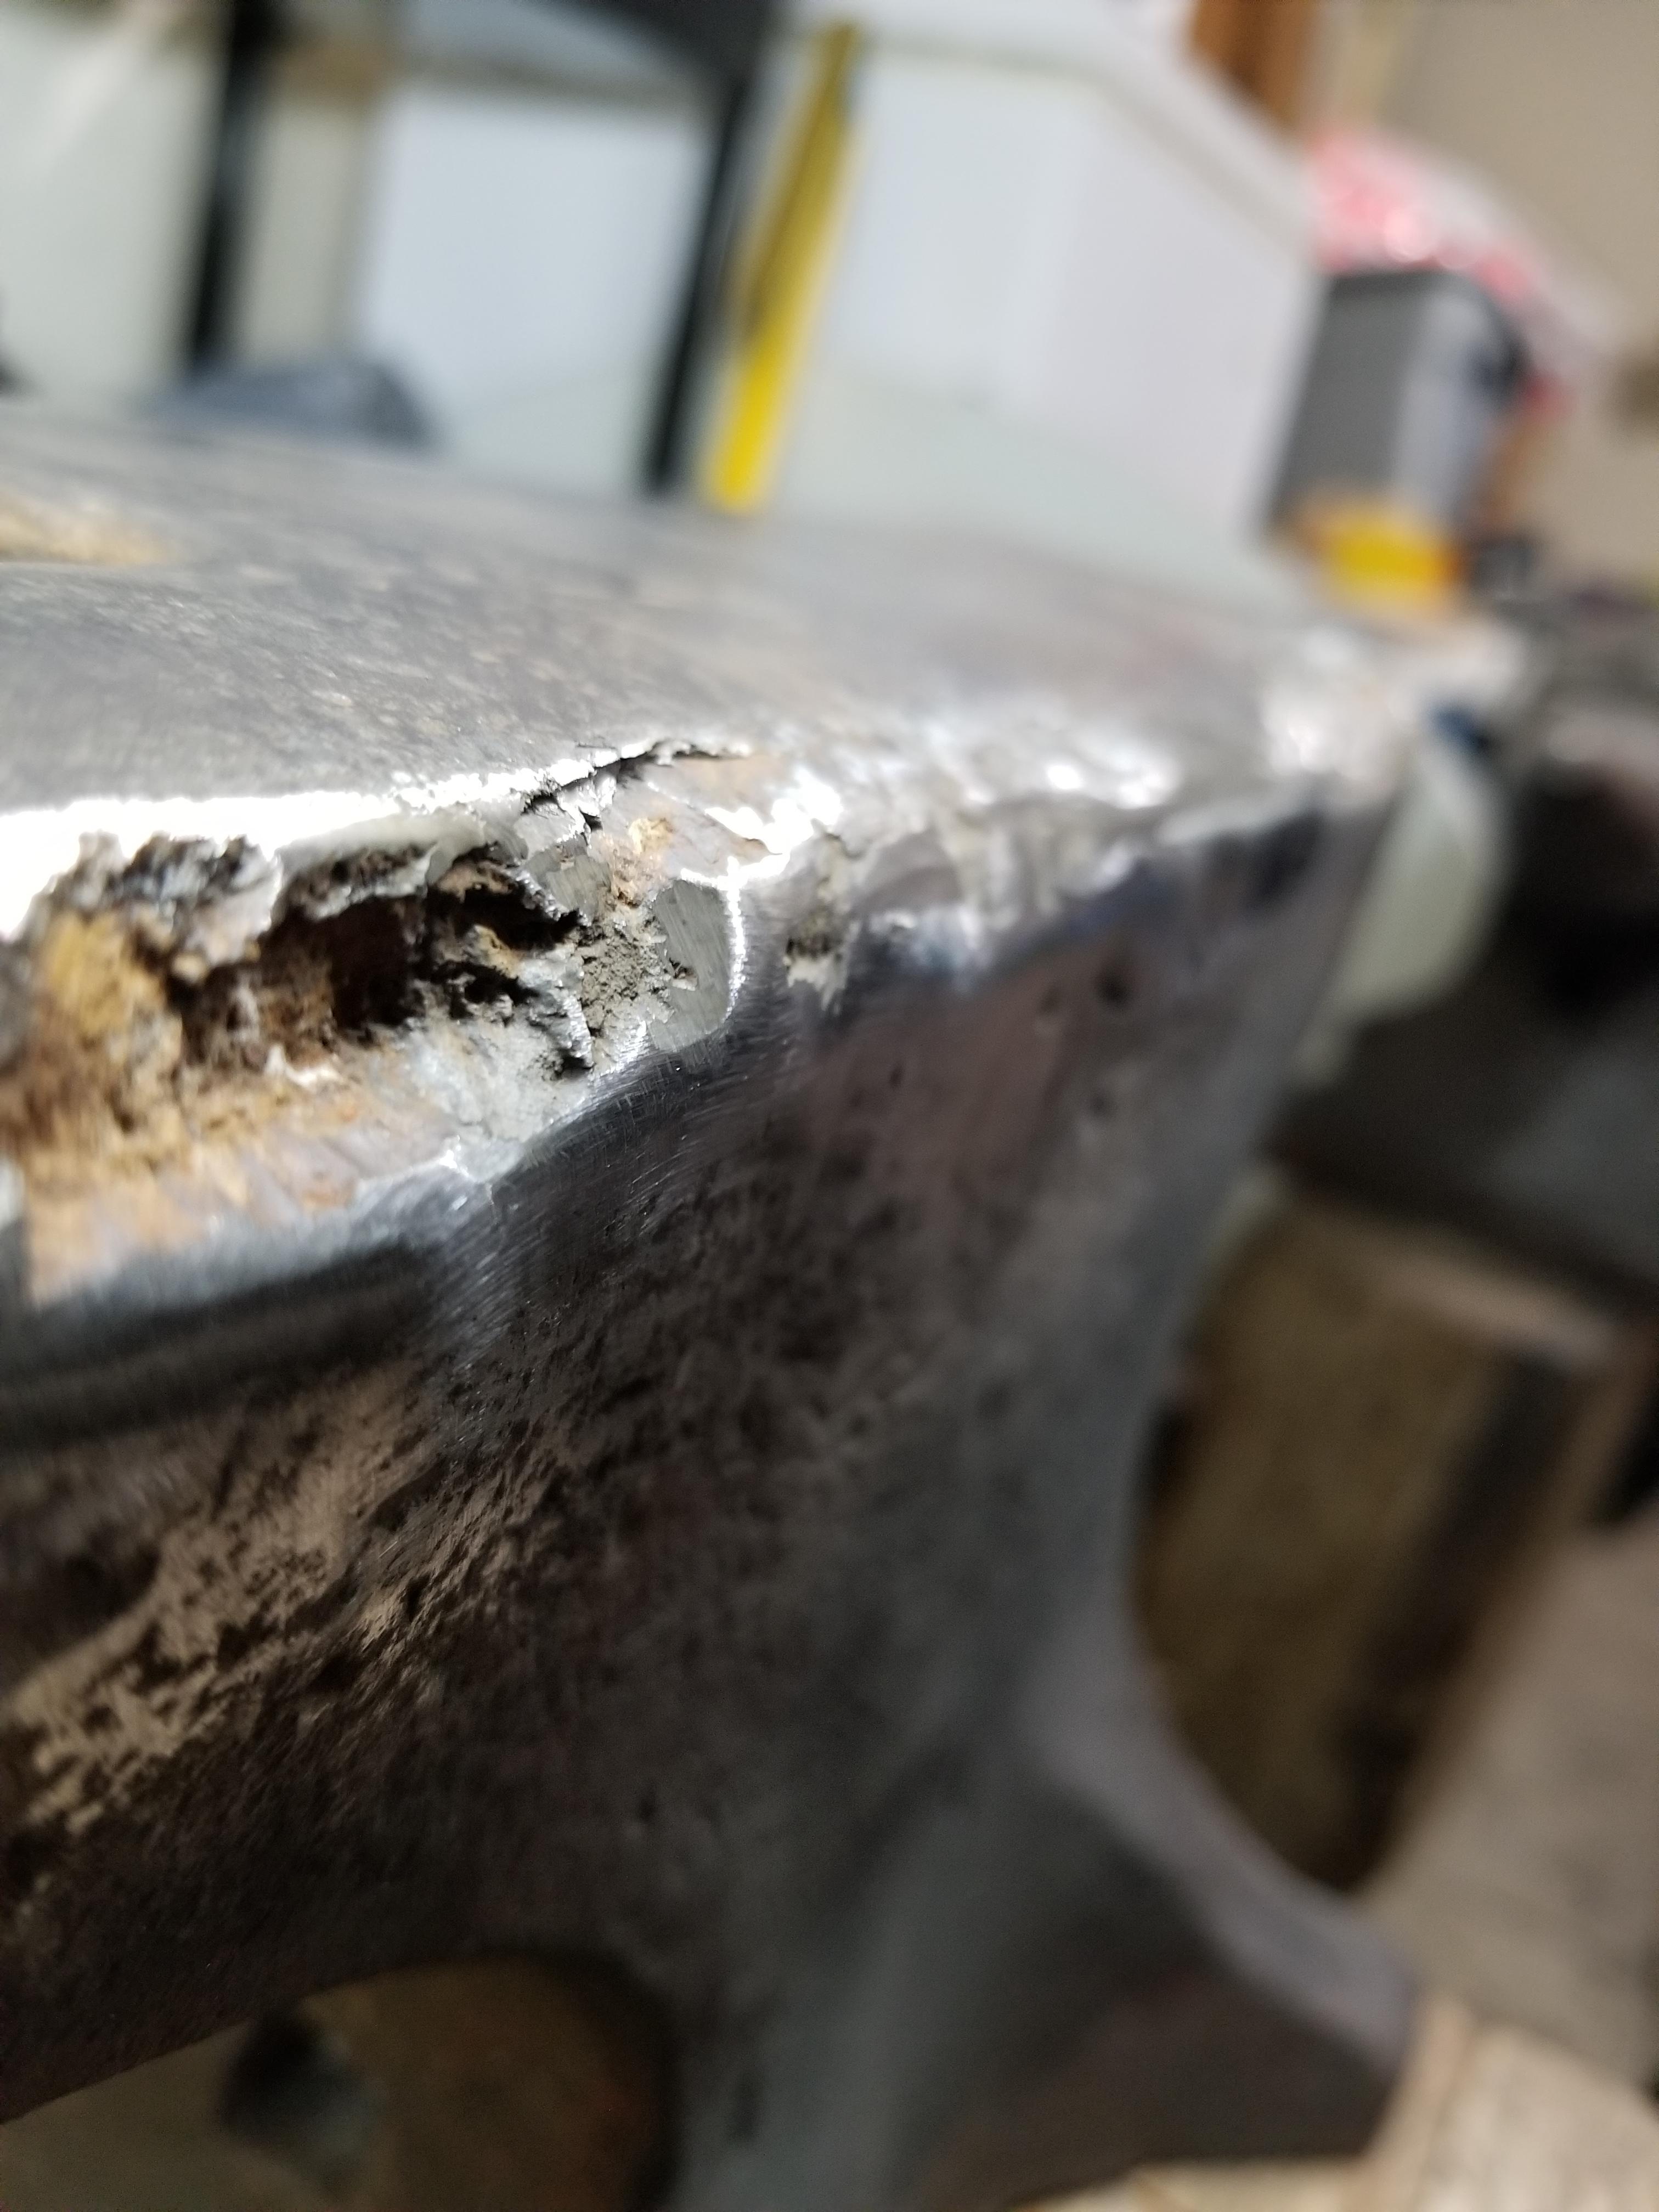
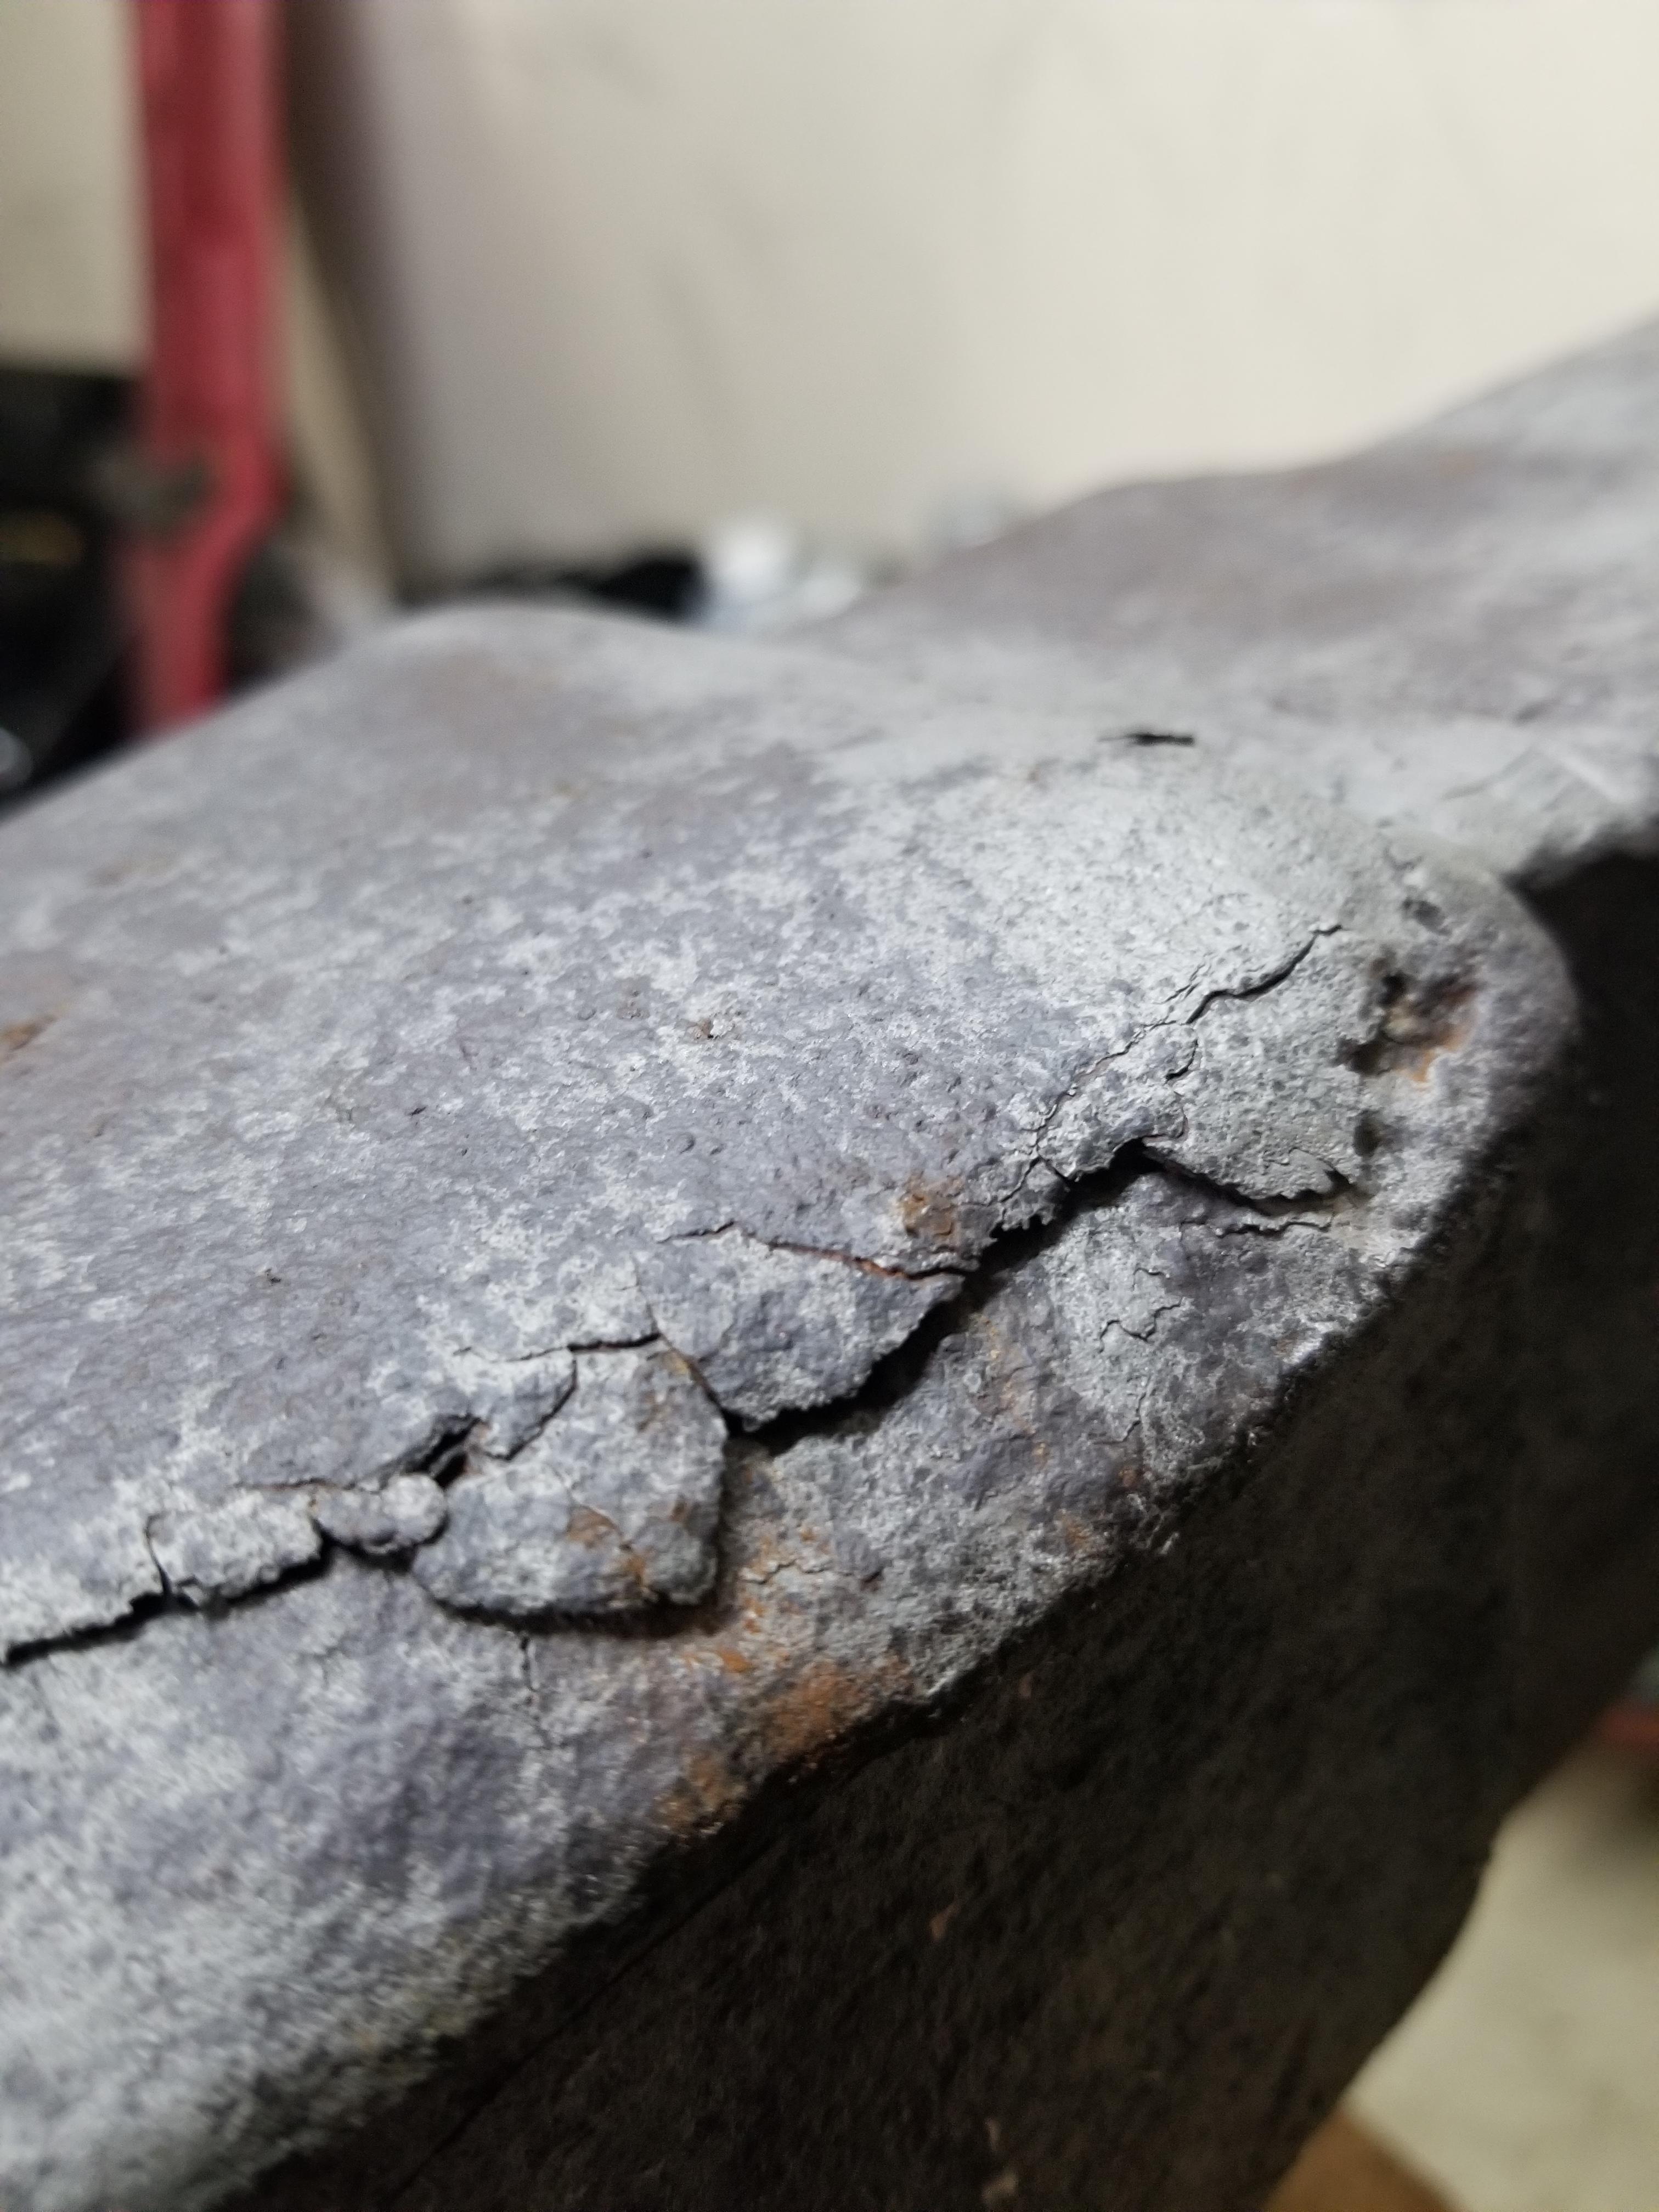
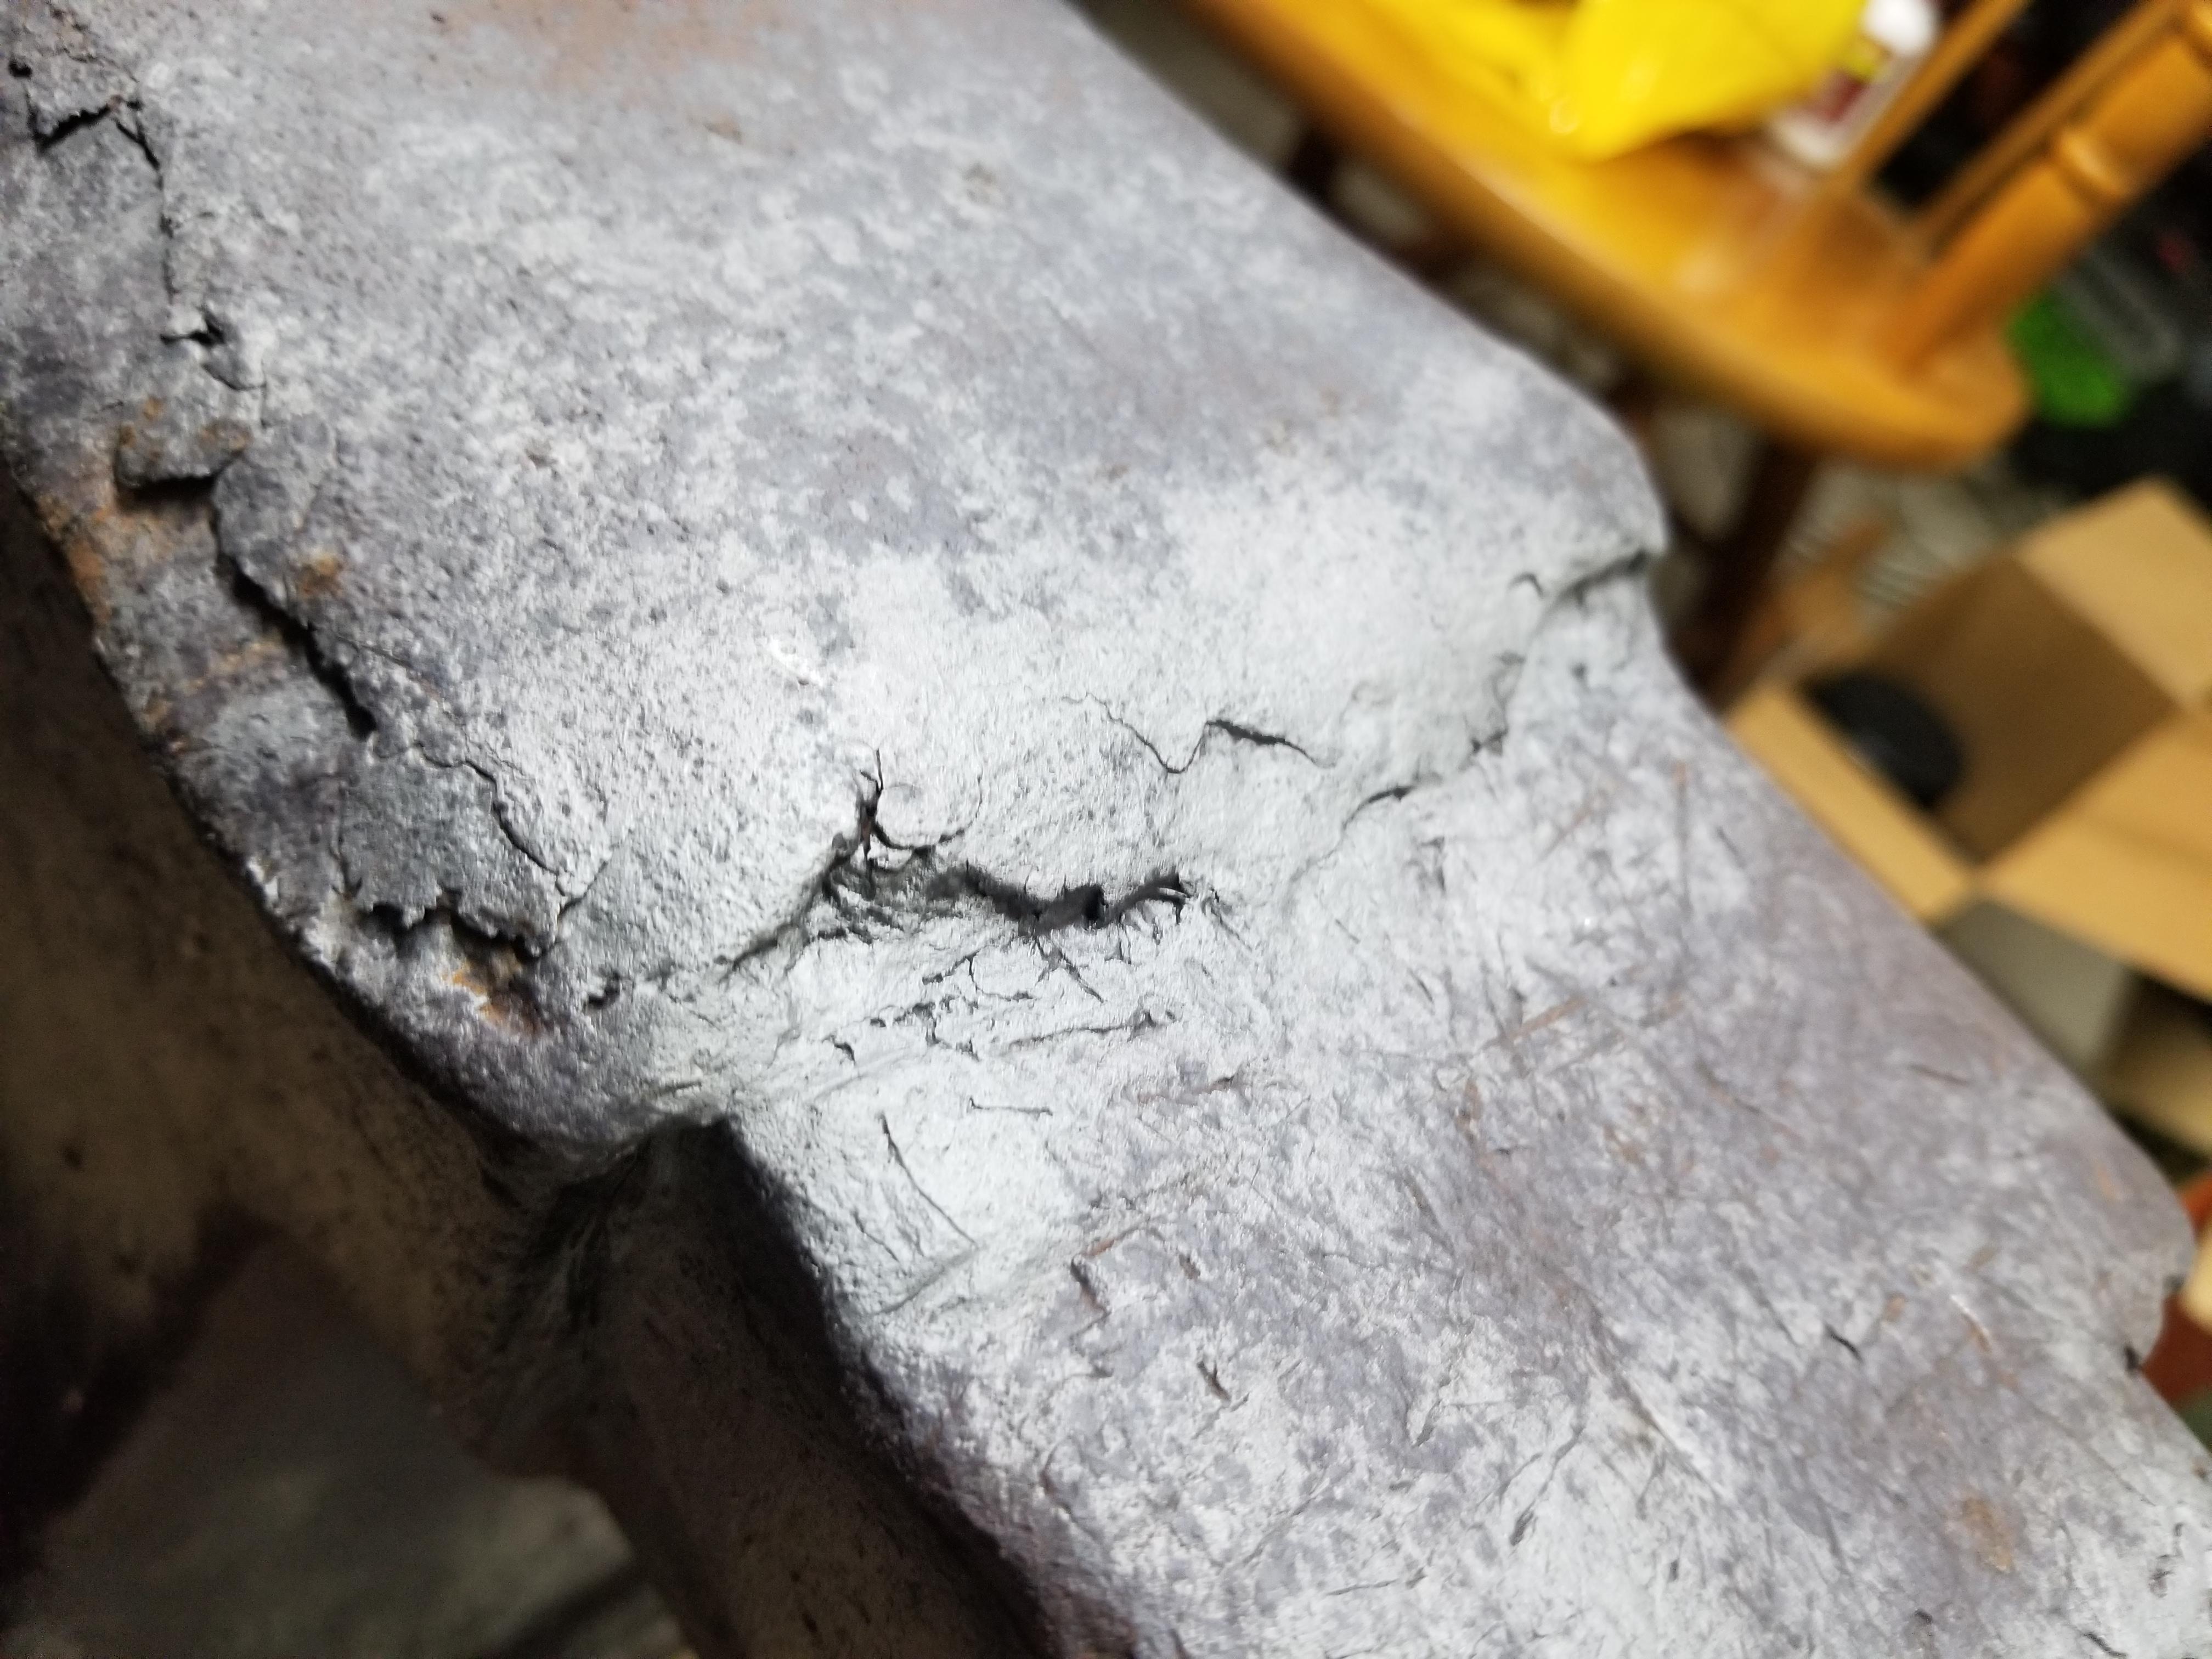
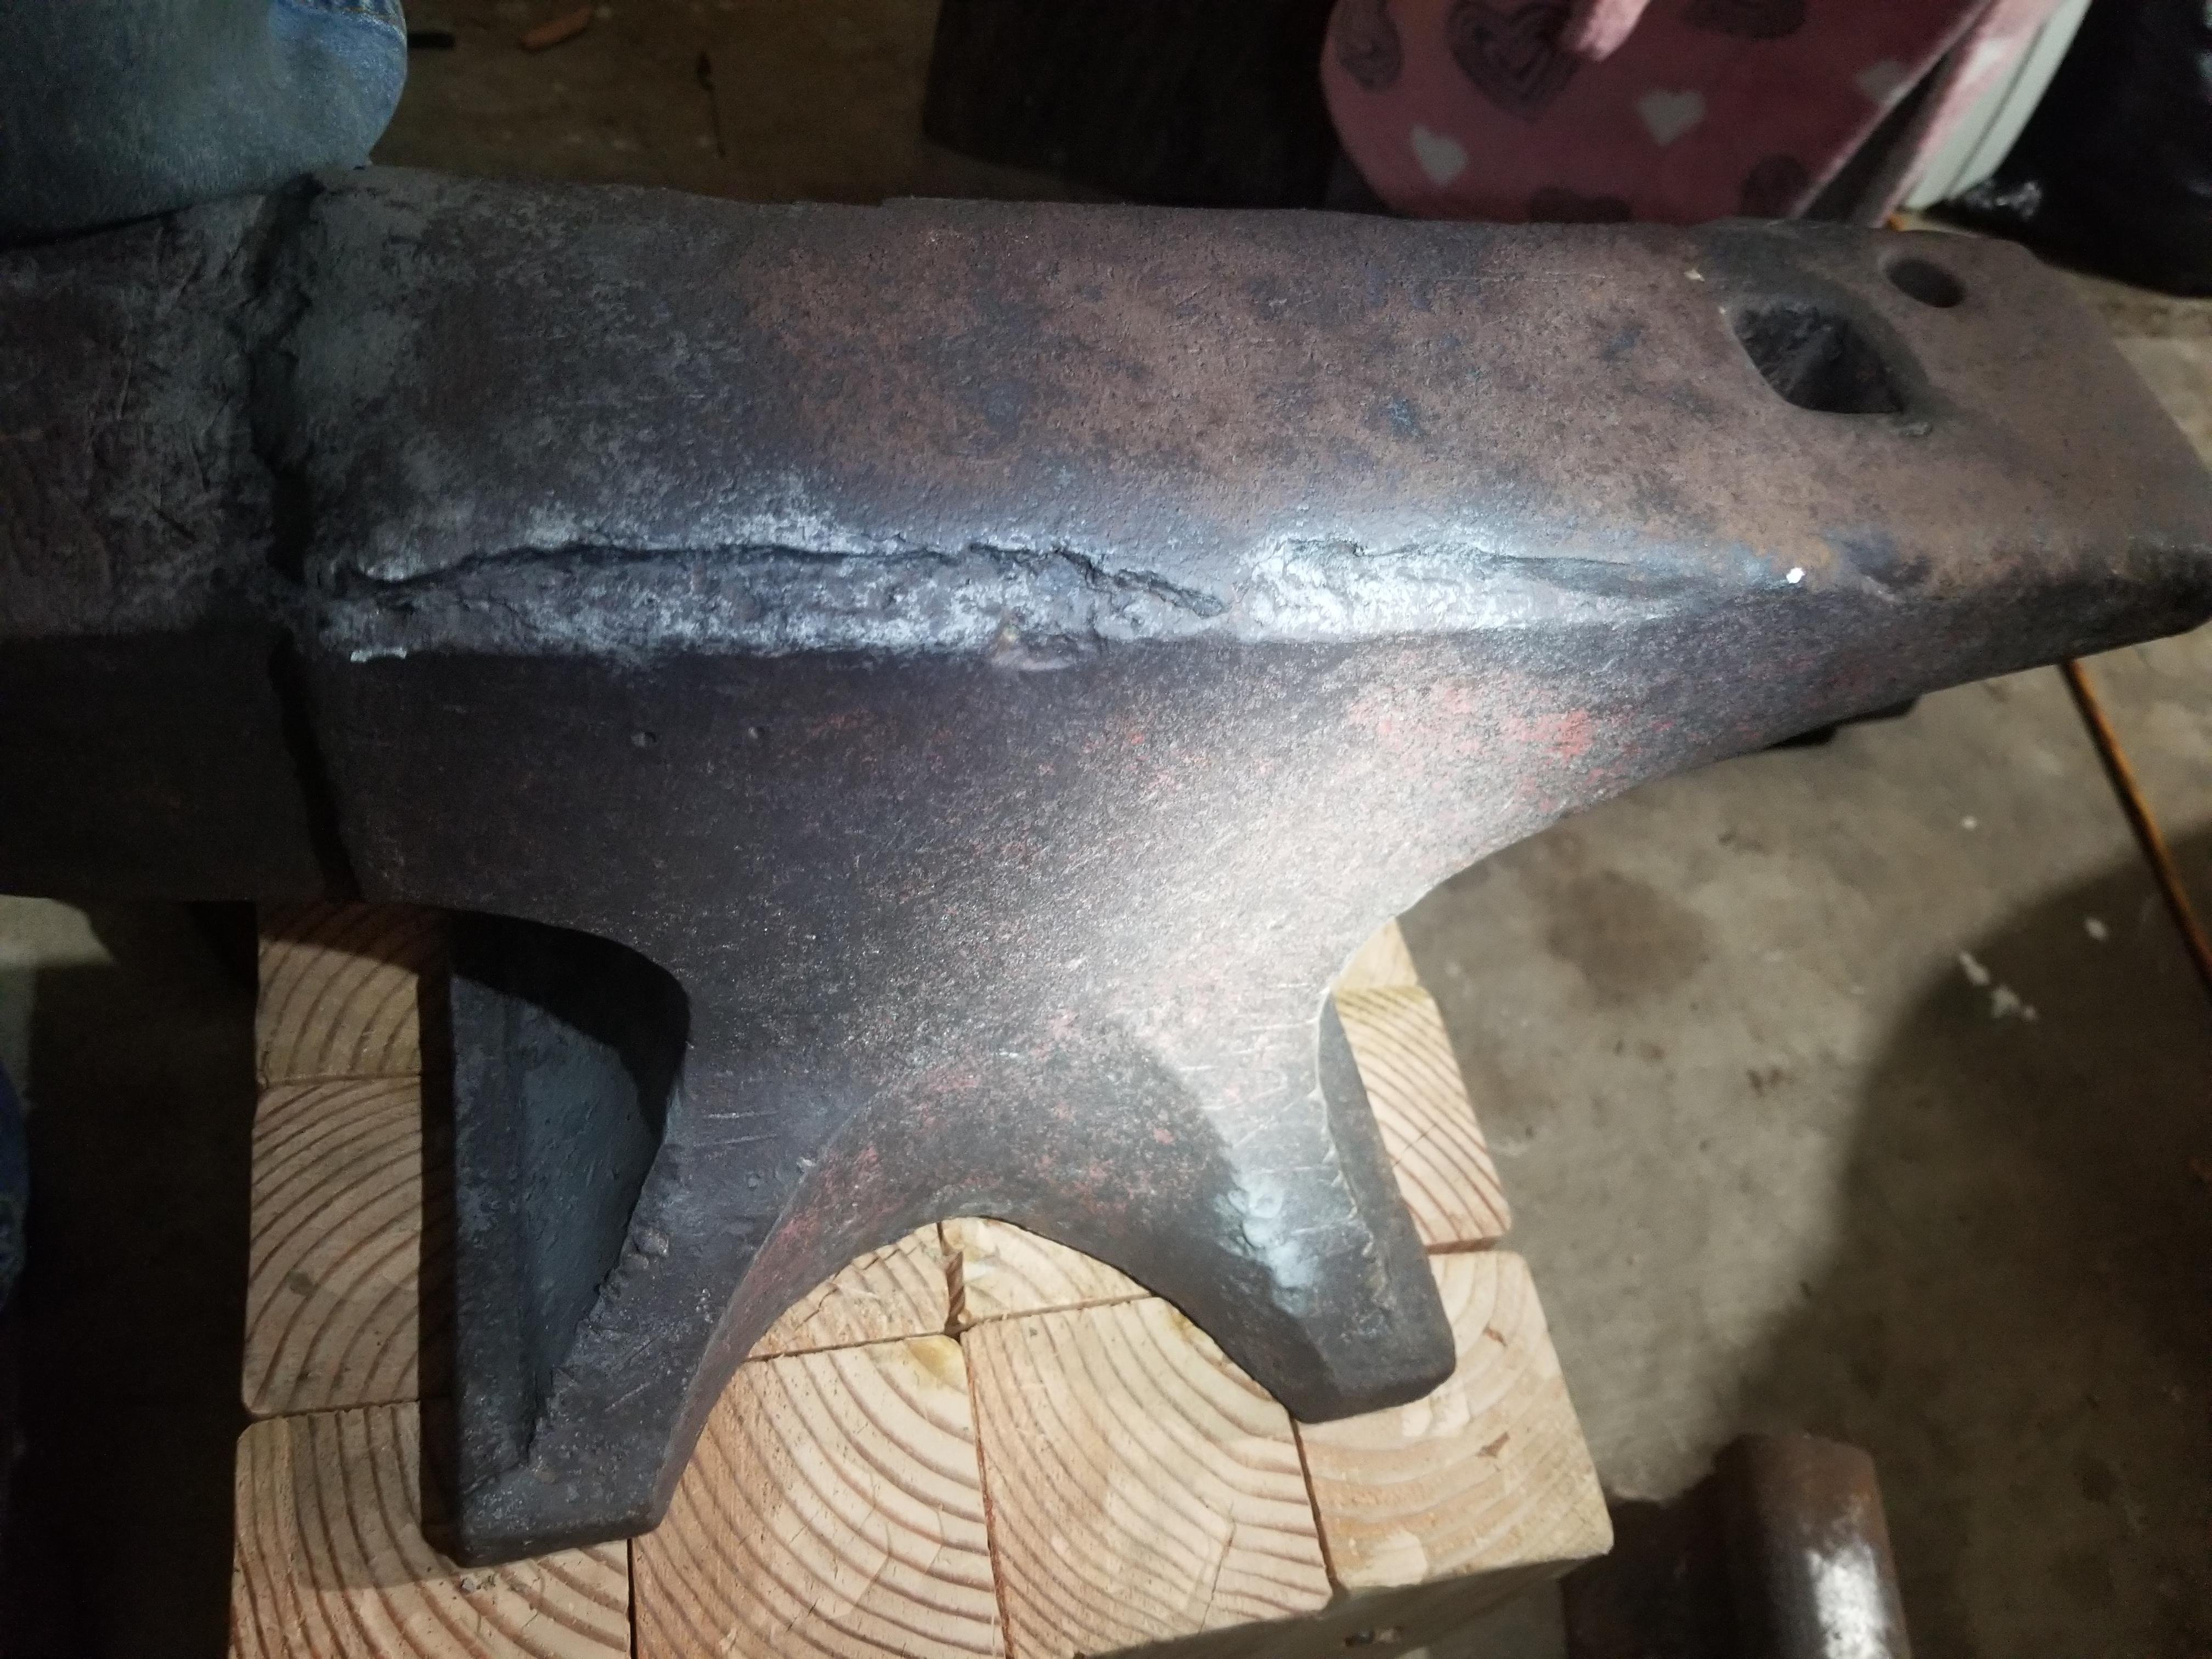
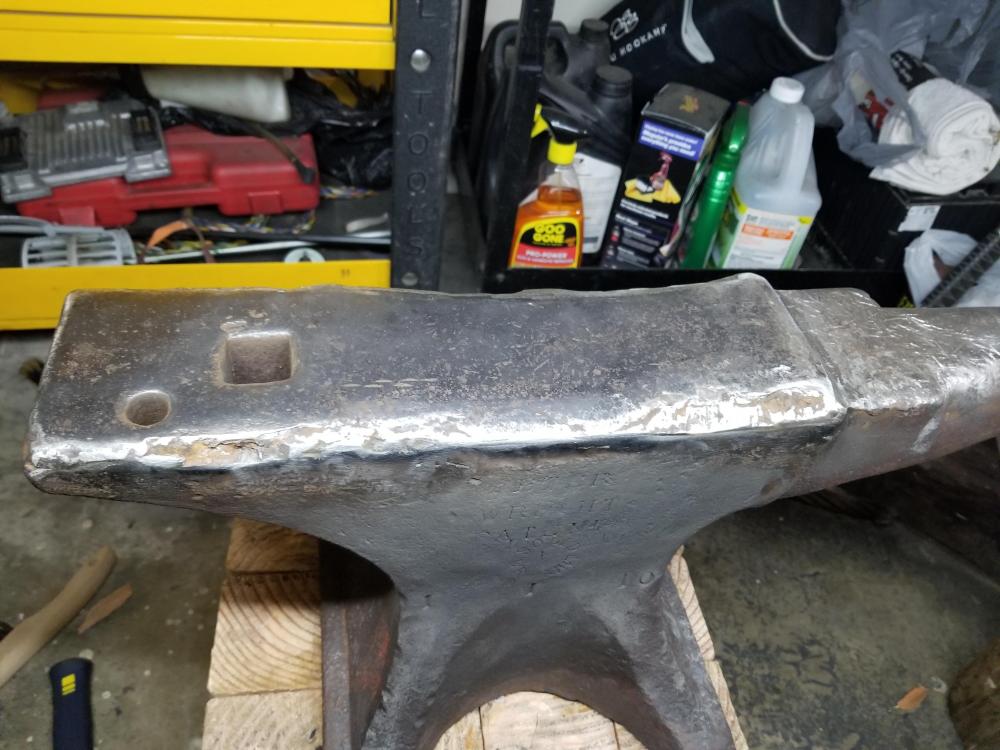
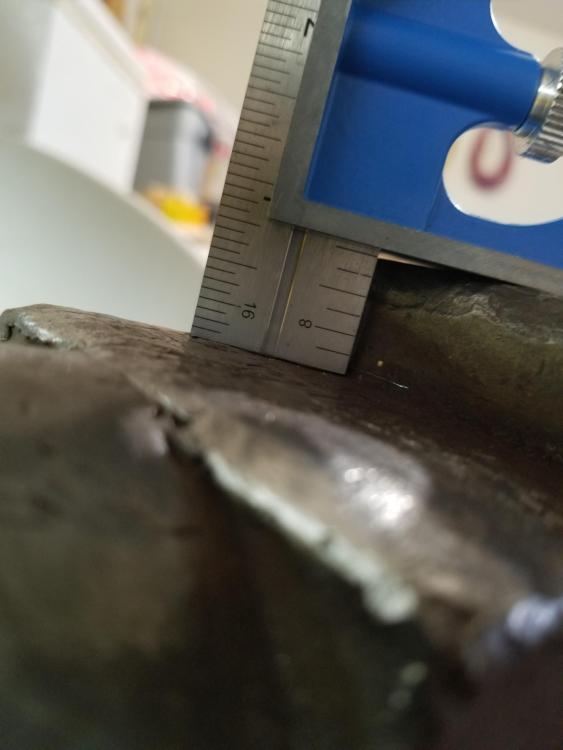
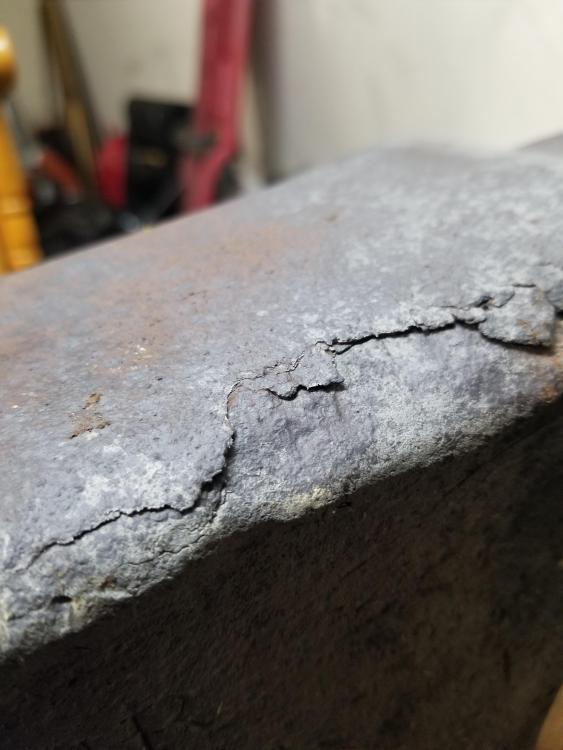
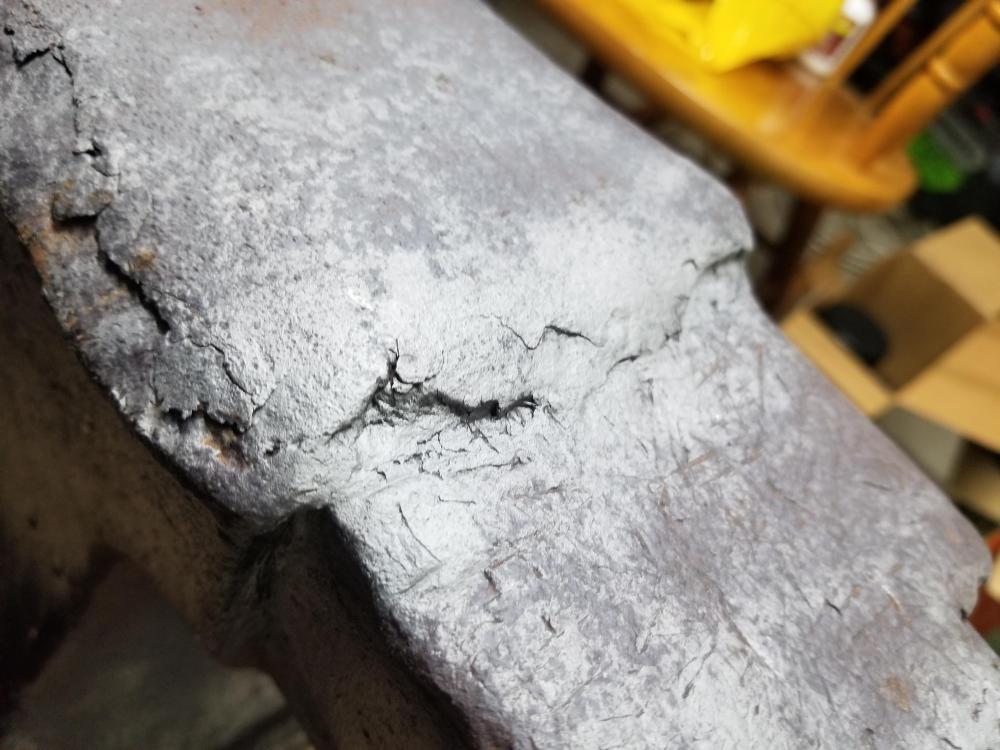
Started in on some cleanup last night to see how far back the delamination goes- its deep. No wonder the rebound is so markedly less than the 124. Ground the mushrooming back and knocked free some of the cracked out pieces- there is more delam to peel back still. Oiled her lightly until I have time to do more cleanup. This will be a long process as life is rather busy right now, but I'll try to keep things updated.


-
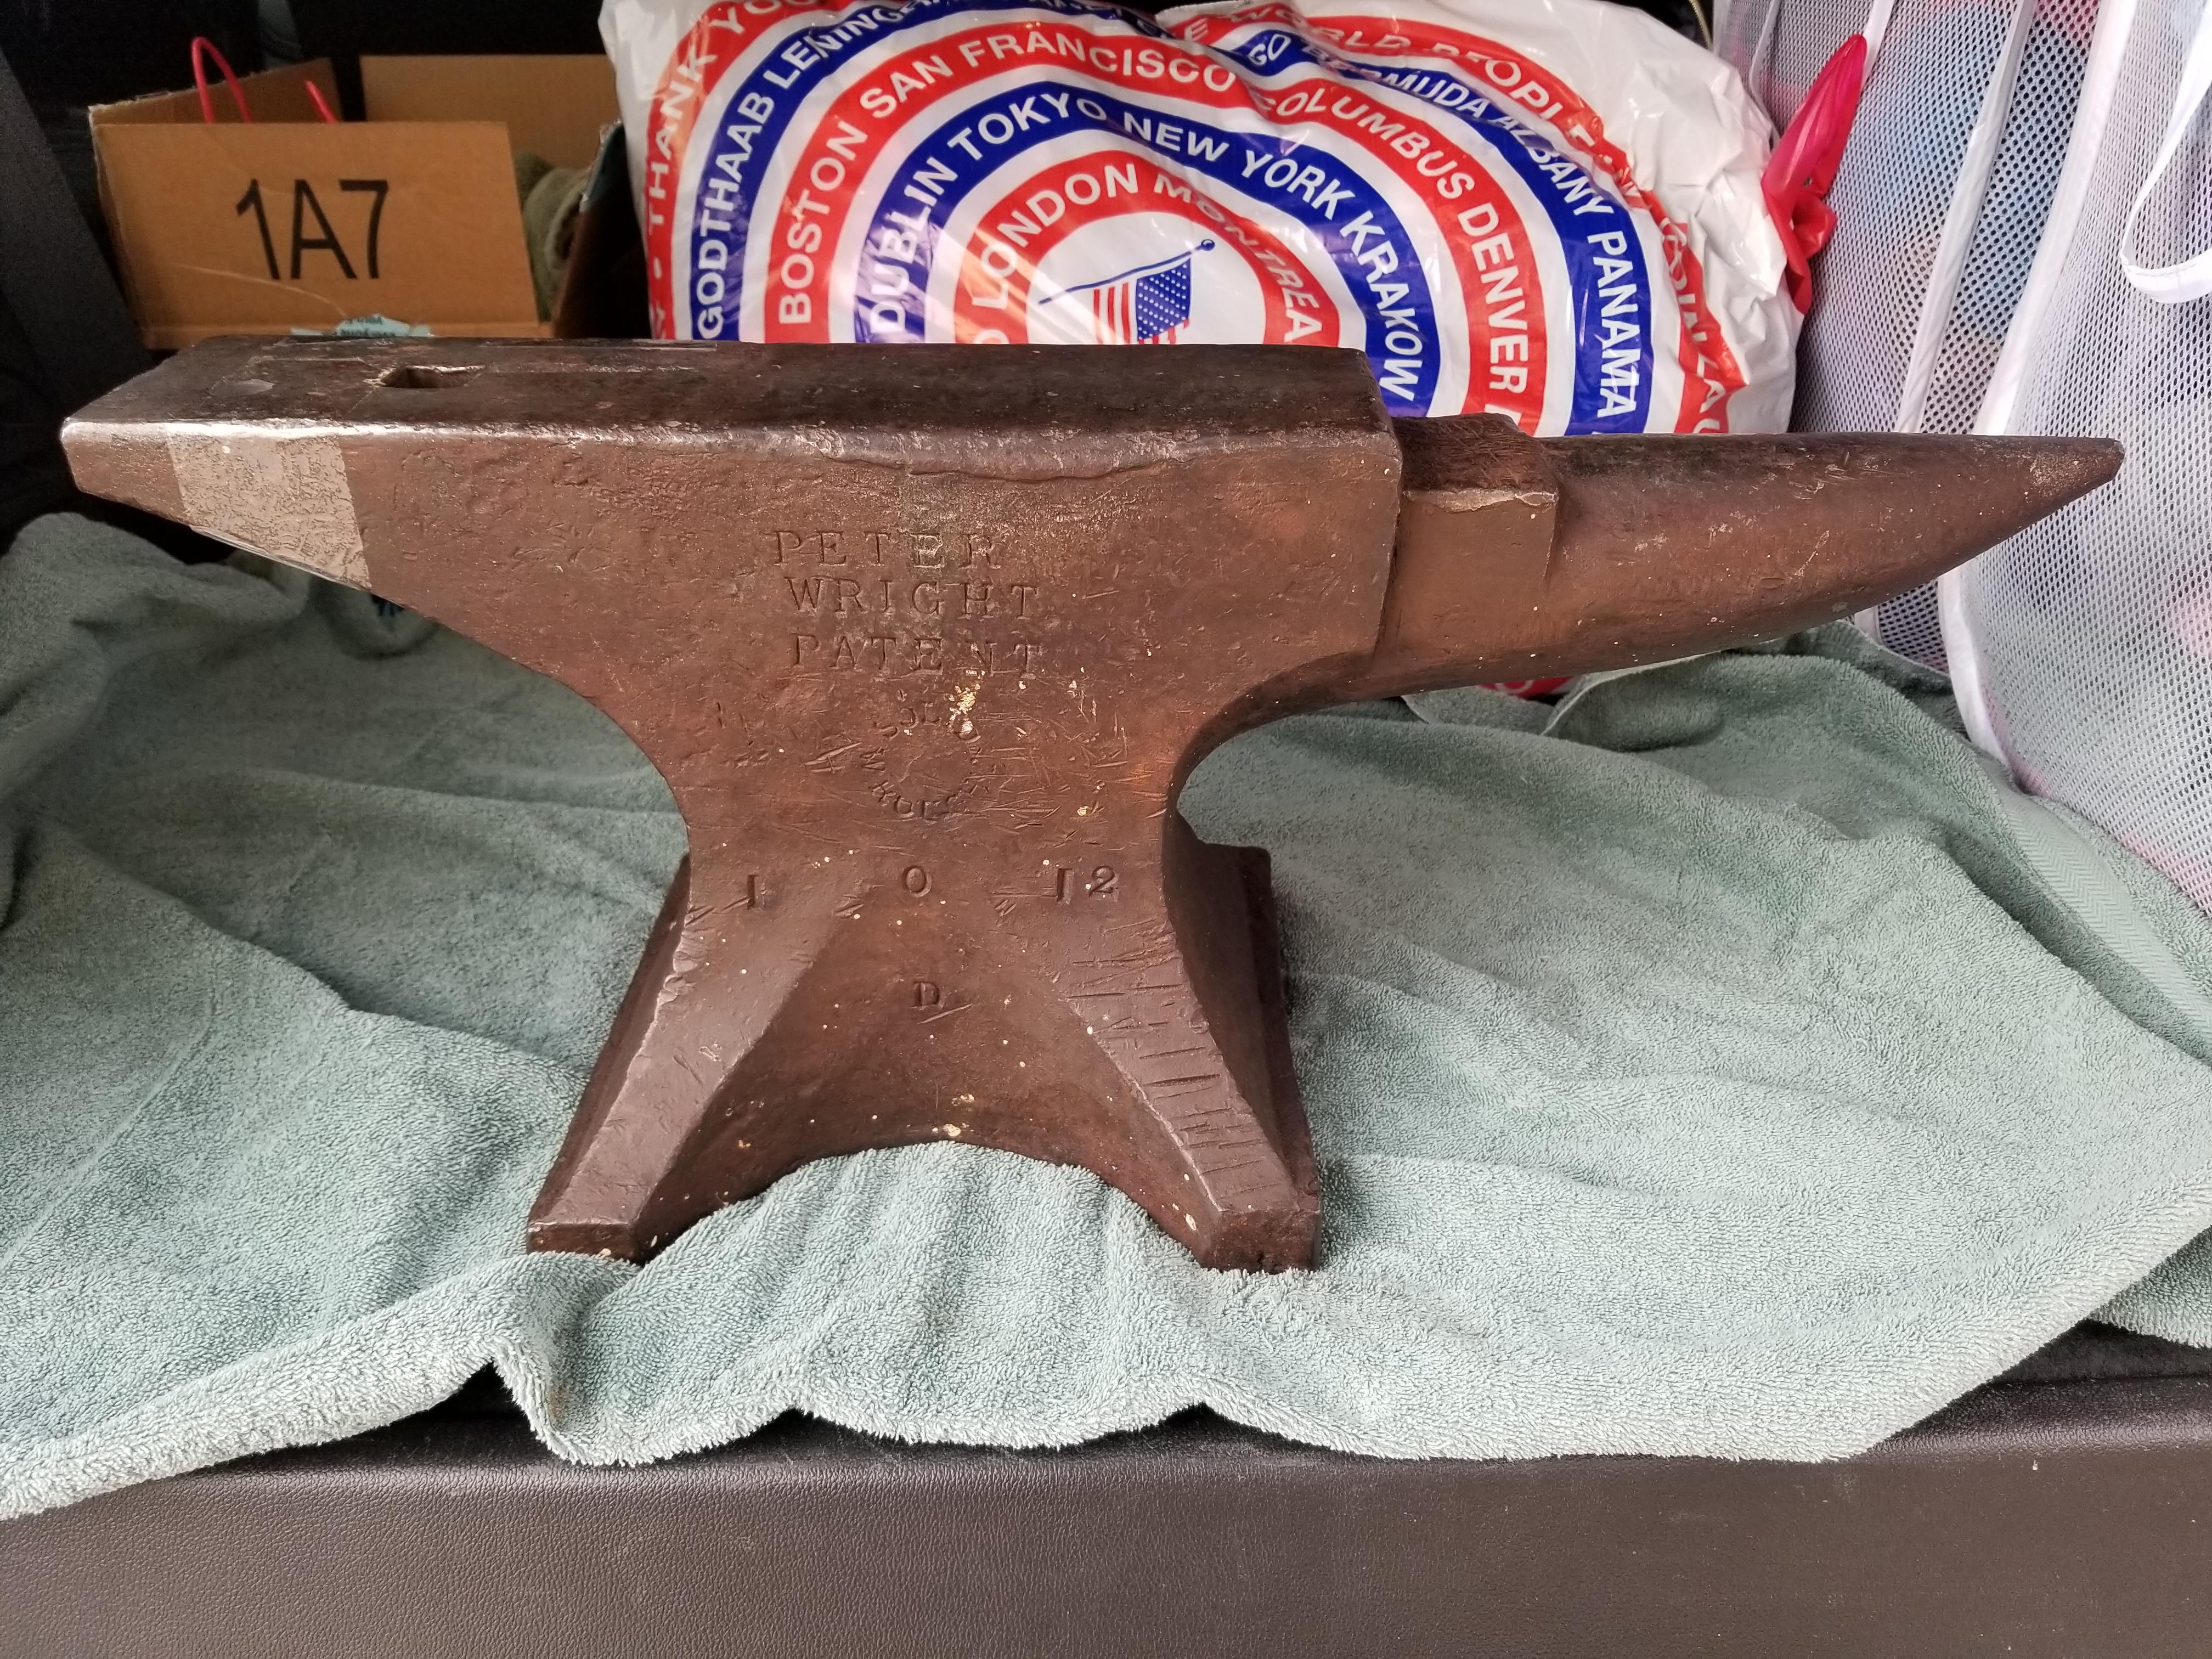
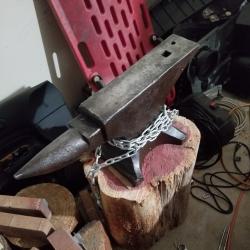
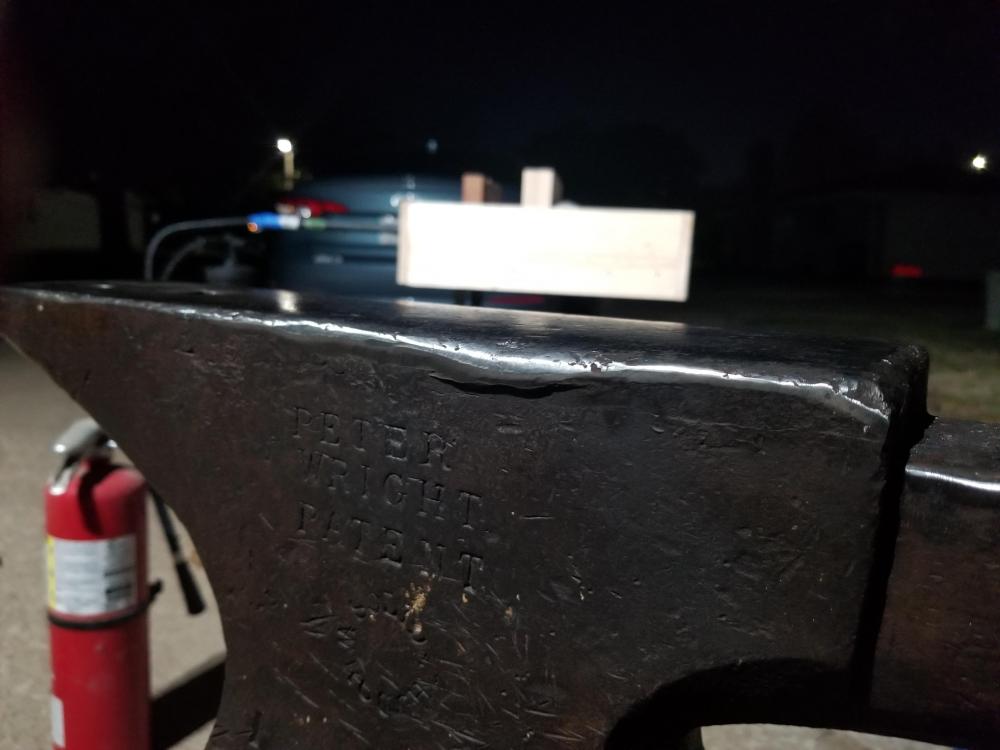
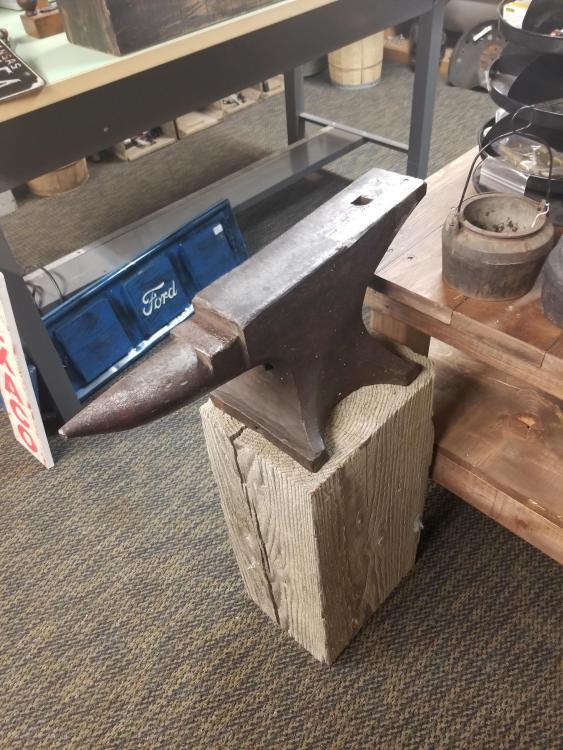
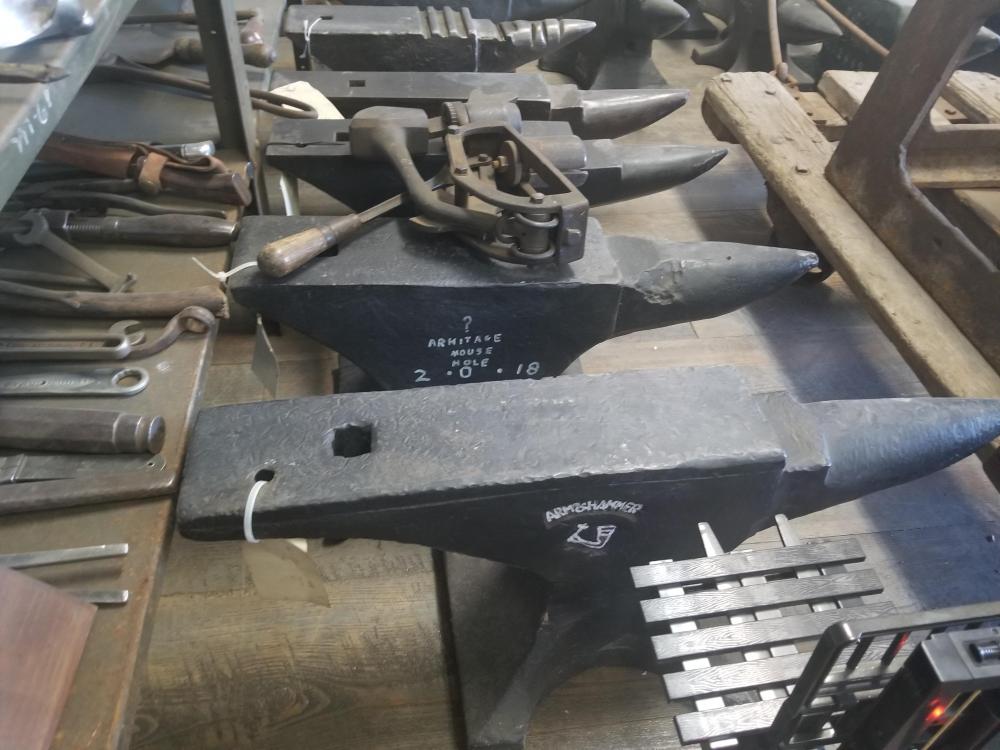
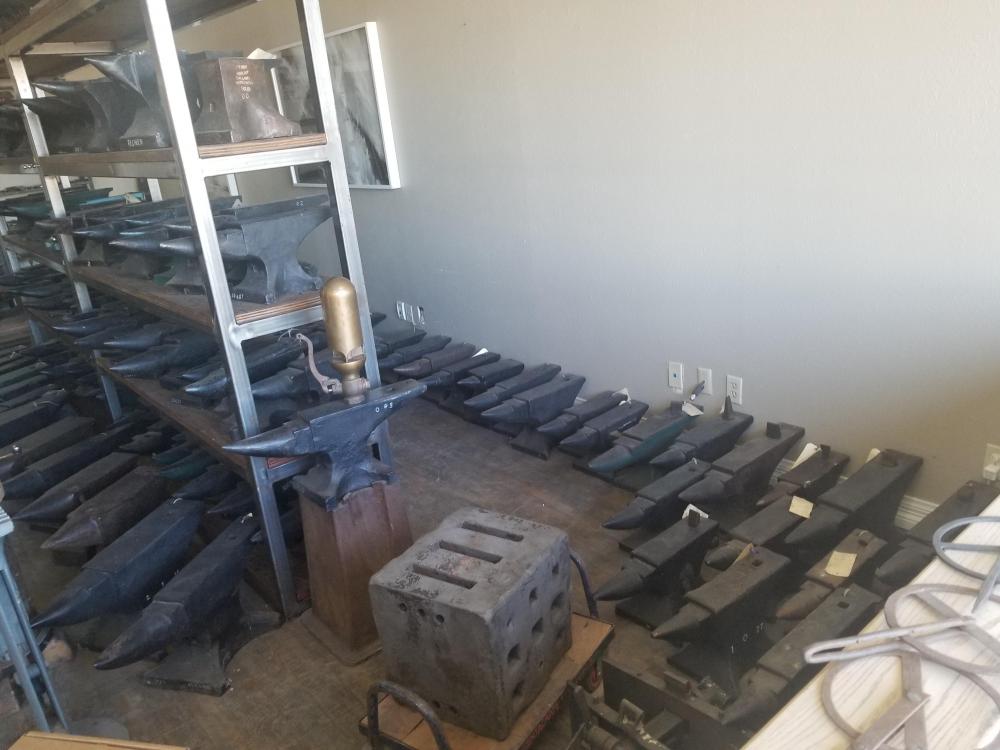
20200101_221926.mp4 Hey all! I went to CO to visit family for Christmas, and the short of it is... my father-in-law Peter bought me a Peter Wright that I found in an antique shop. I found it when my wife and I had a day to ourselves, she saw the anvil lust in me and talked to her dad about it- next thing I know, it's mine. Drove it home, and tonight I wire-wheeled it (non-knotted) and oiled it with some fogging oil to keep it happy until I get a forge sorted. I thought about cleaning up the fold-over, but I think I'll just leave it be until I have some time on it. This thing is gorgeous! I'm flippin tickled pink! Oh and yes, I will still be fixing the 150lb'er. Also... on the way back down I got to see the Anvils In America collection- so cool!


-
20191231_173820_1.mp4 (Son was in mid-stream about police cars and fire trucks when I took this) Well then, a Merry Christmas indeed! My father-in-law, Peter, decided to pay for 3/4 of what I found in an antique thrift store up in Colorado A Peter W. from Peter! Completely unexpected to say the very least! Has a beautiful ring, picked up some 5/8" ball bearings on the way home, will rebound it sometime in the next 24. (Done! Very nice rebound on the 124- the 150 is maybe 30% haha) Also snagged some rough tongs from the neighboring antique thrift store for $4, some cleaning up and adjusting and they will be totally serviceable! Now to work on that forge! Note: I still would like to fix up the 150lb- that blessing seemed to open up doors haha


-
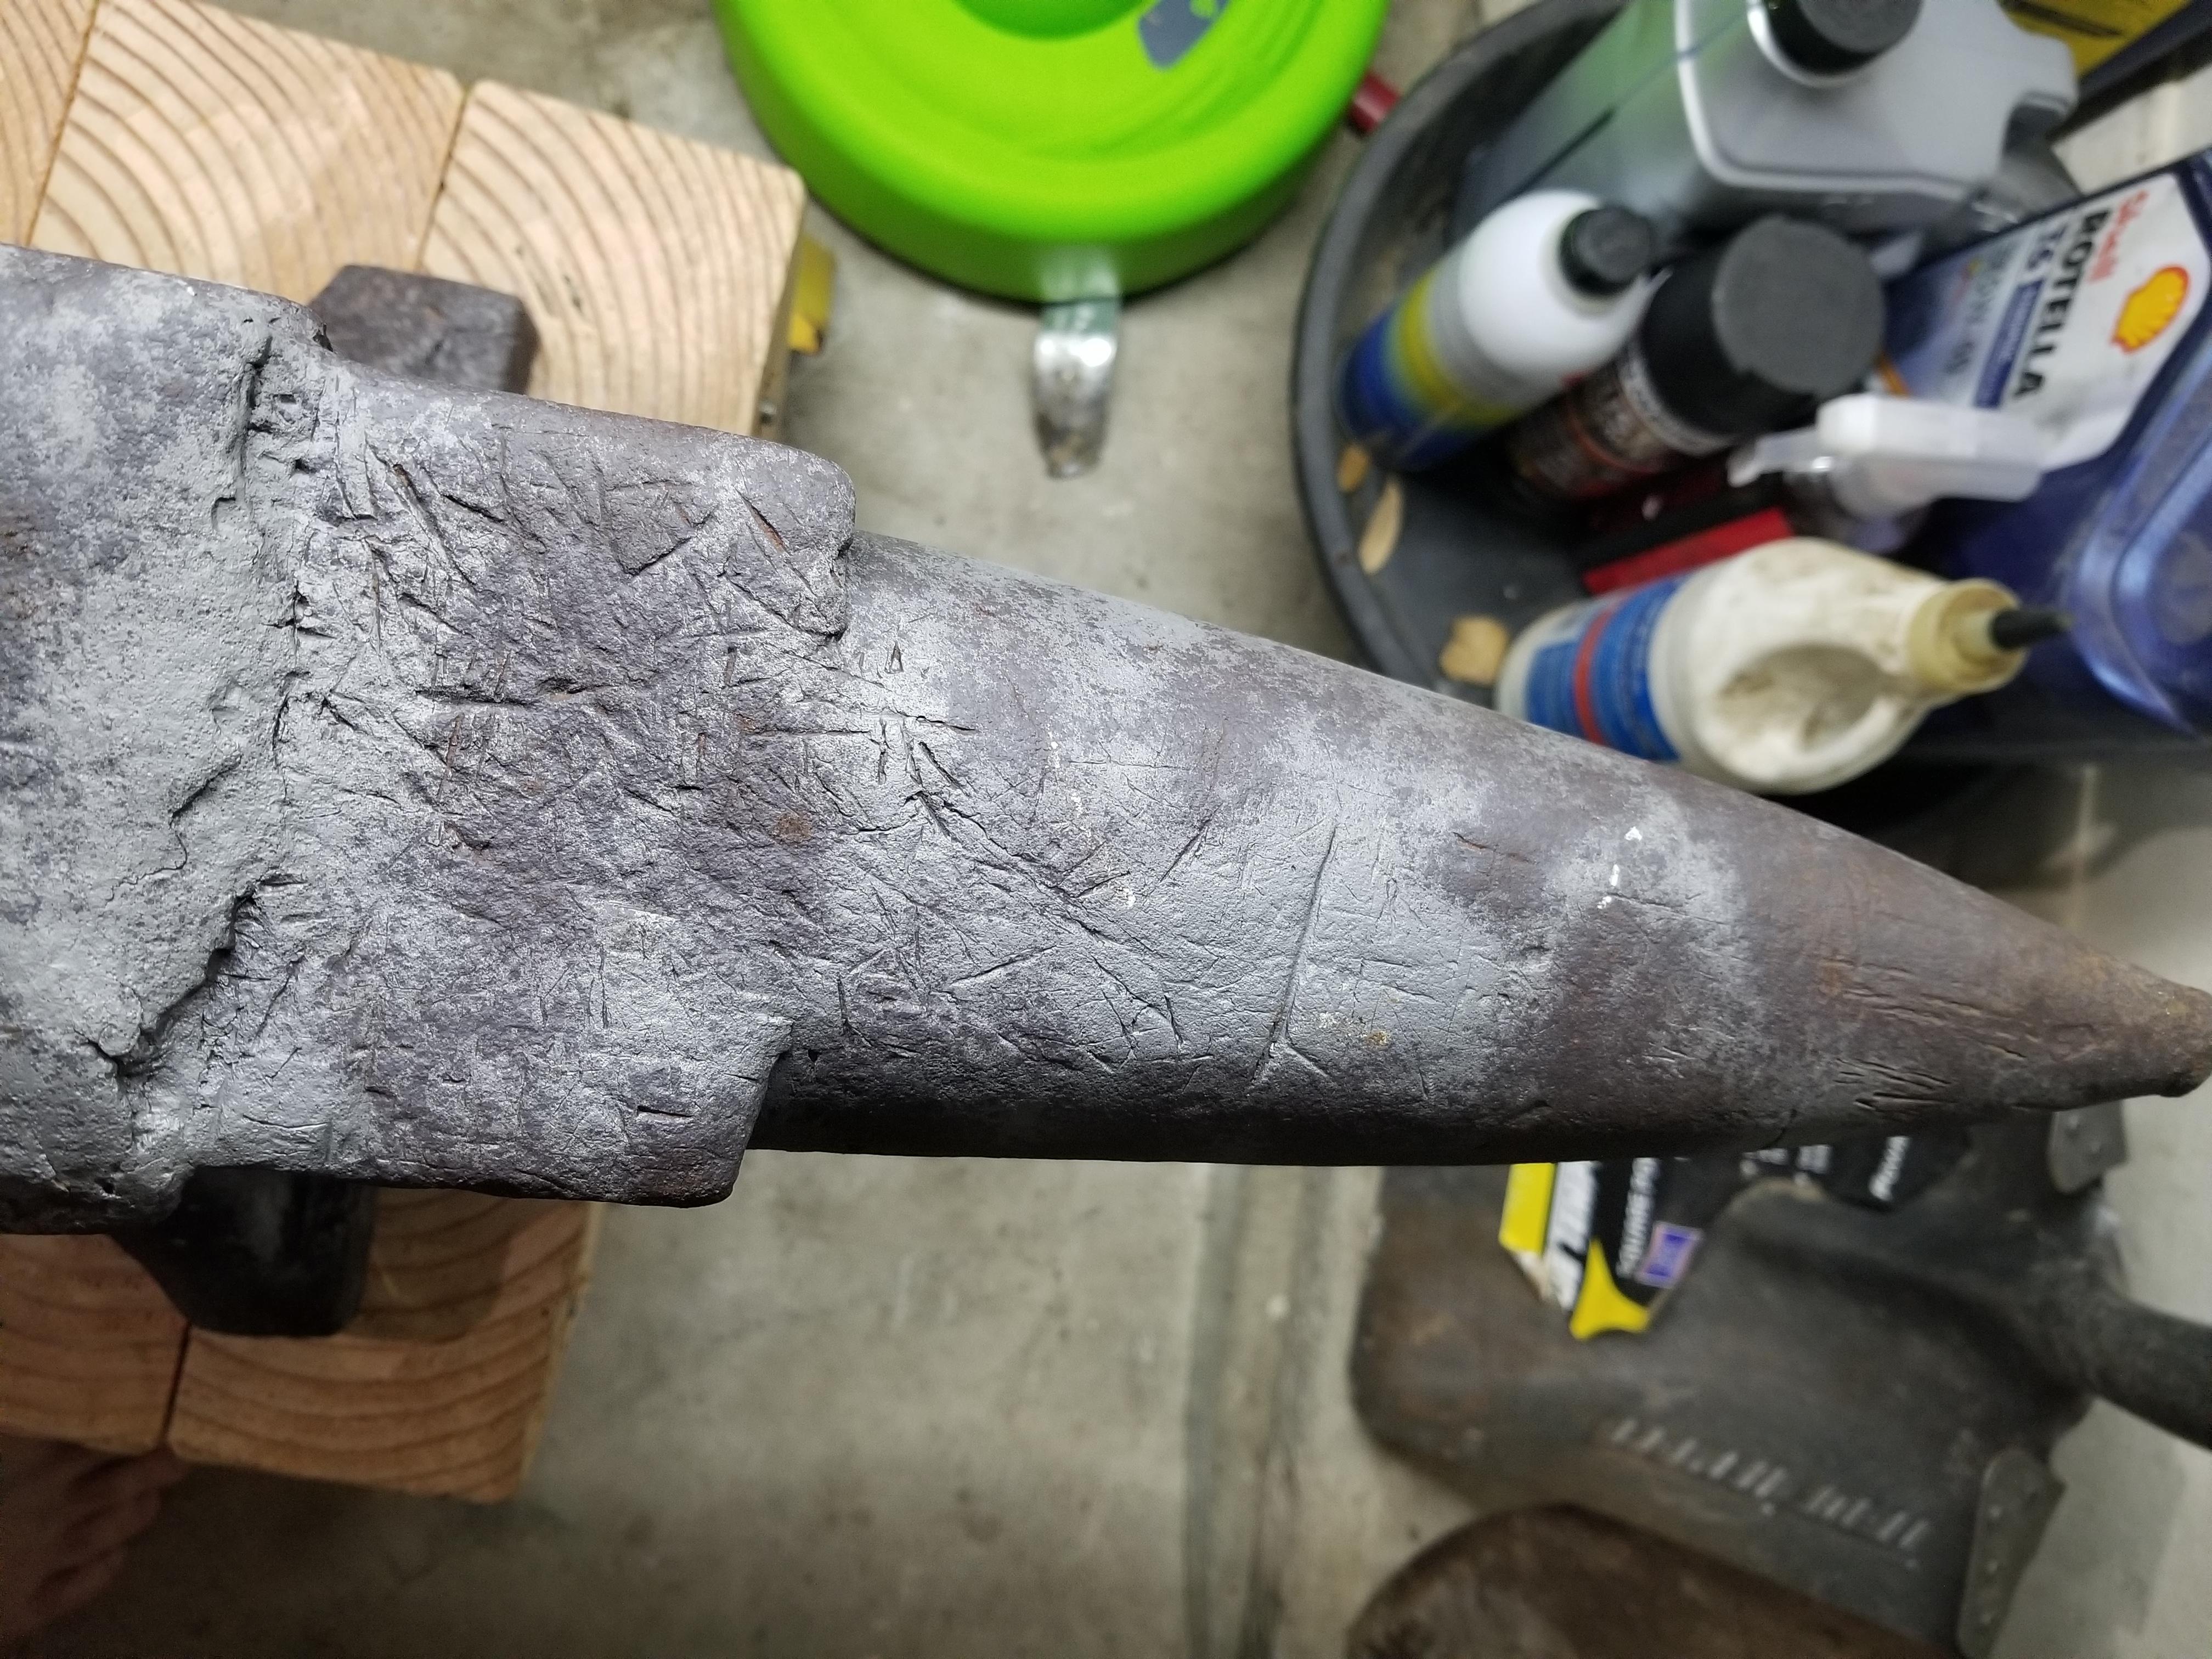
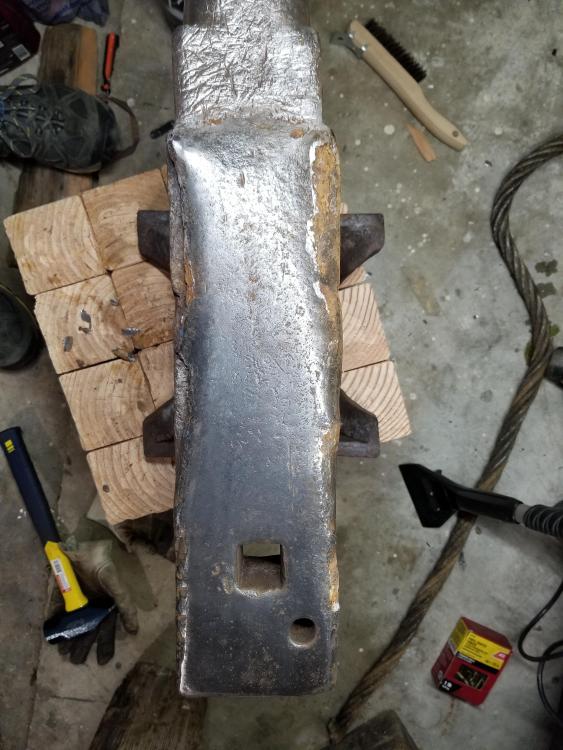
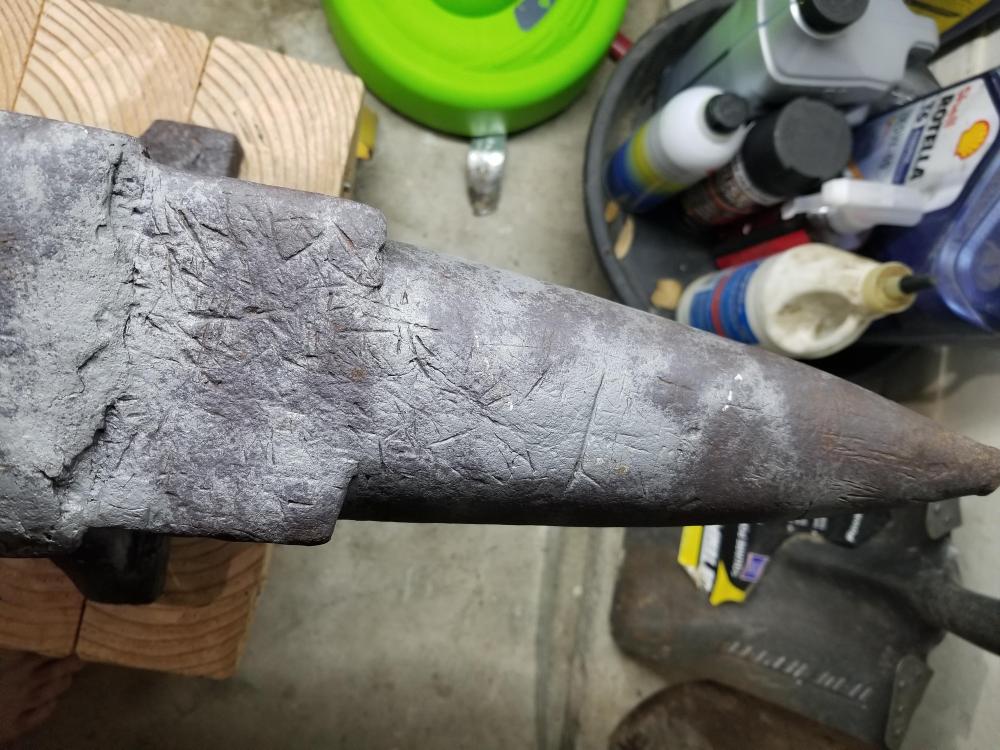
I'm not averse to work, nor trying hard to do things the right way. If it comes down to doing the repair process, I have the means grind/undercut, to preheat, to weld (the monster Miller at work is I believe a 600amp unit, so plenty of overhead room for clean power) and plenty of empty oil drums that could be cut down to house vermiculite and a toasty anvil. Not to mention chainfalls, overhead cranes, forklifts, etc to manipulate it hot. The bit of questioning room is in the rod choices- I have no issue with the combo suggested (outside of price) but am curious about alternatives. For example, would any of the aforementioned rods sub out for either of the Stoody rods. That may be a call for the welding rep. Dry as a dehydrated rhino skin? Lack of water? Color me confused haha The dull-iron-grey sections got gently hit with the sandblaster at work, I wanted to better assess the surface and such. I then rubbed a light layer of MMO just to stave off corrosion unit a direction is went in. Anyway, I am enjoying the discussion- always room to grow and learn. Hitting the highway for CO, long day!
-
I took a class at Steep Hollow Forge in Bryan. I saw a Craigslist ad for someone selling coke-fuel and doing classes, wonder if that is who you mentioned.

-
College Station, TX I was considering buying a lump of wrought to practice with before I try to weld anything- practice never hurts anyway! Any way you slice it I will need to practice making tools anyway haha
-
I don't have any ball bearings at this time, but I have gently rapped it with an 8oz pein. Out towards the heel it is crisp. Up towards the shelf and in general around where it has developed a belly to it, it still rings but is a bit deadened. You can tell the delamination is there. I'll try seeing if I can wrangle up a ball at work before we leave for a week for Christmas I at the very least would like to remove the bits that look prone to flying off in a couple of hits (they are small and only 2 or 3) and maybe clean up the mushrooming of the iron. I've had hardened steel embed in my arm before, I'd rather not repeat the experience if it can be helped. When I get home I'll snap some closer and better lit pictures of the worst of the flaking.
-
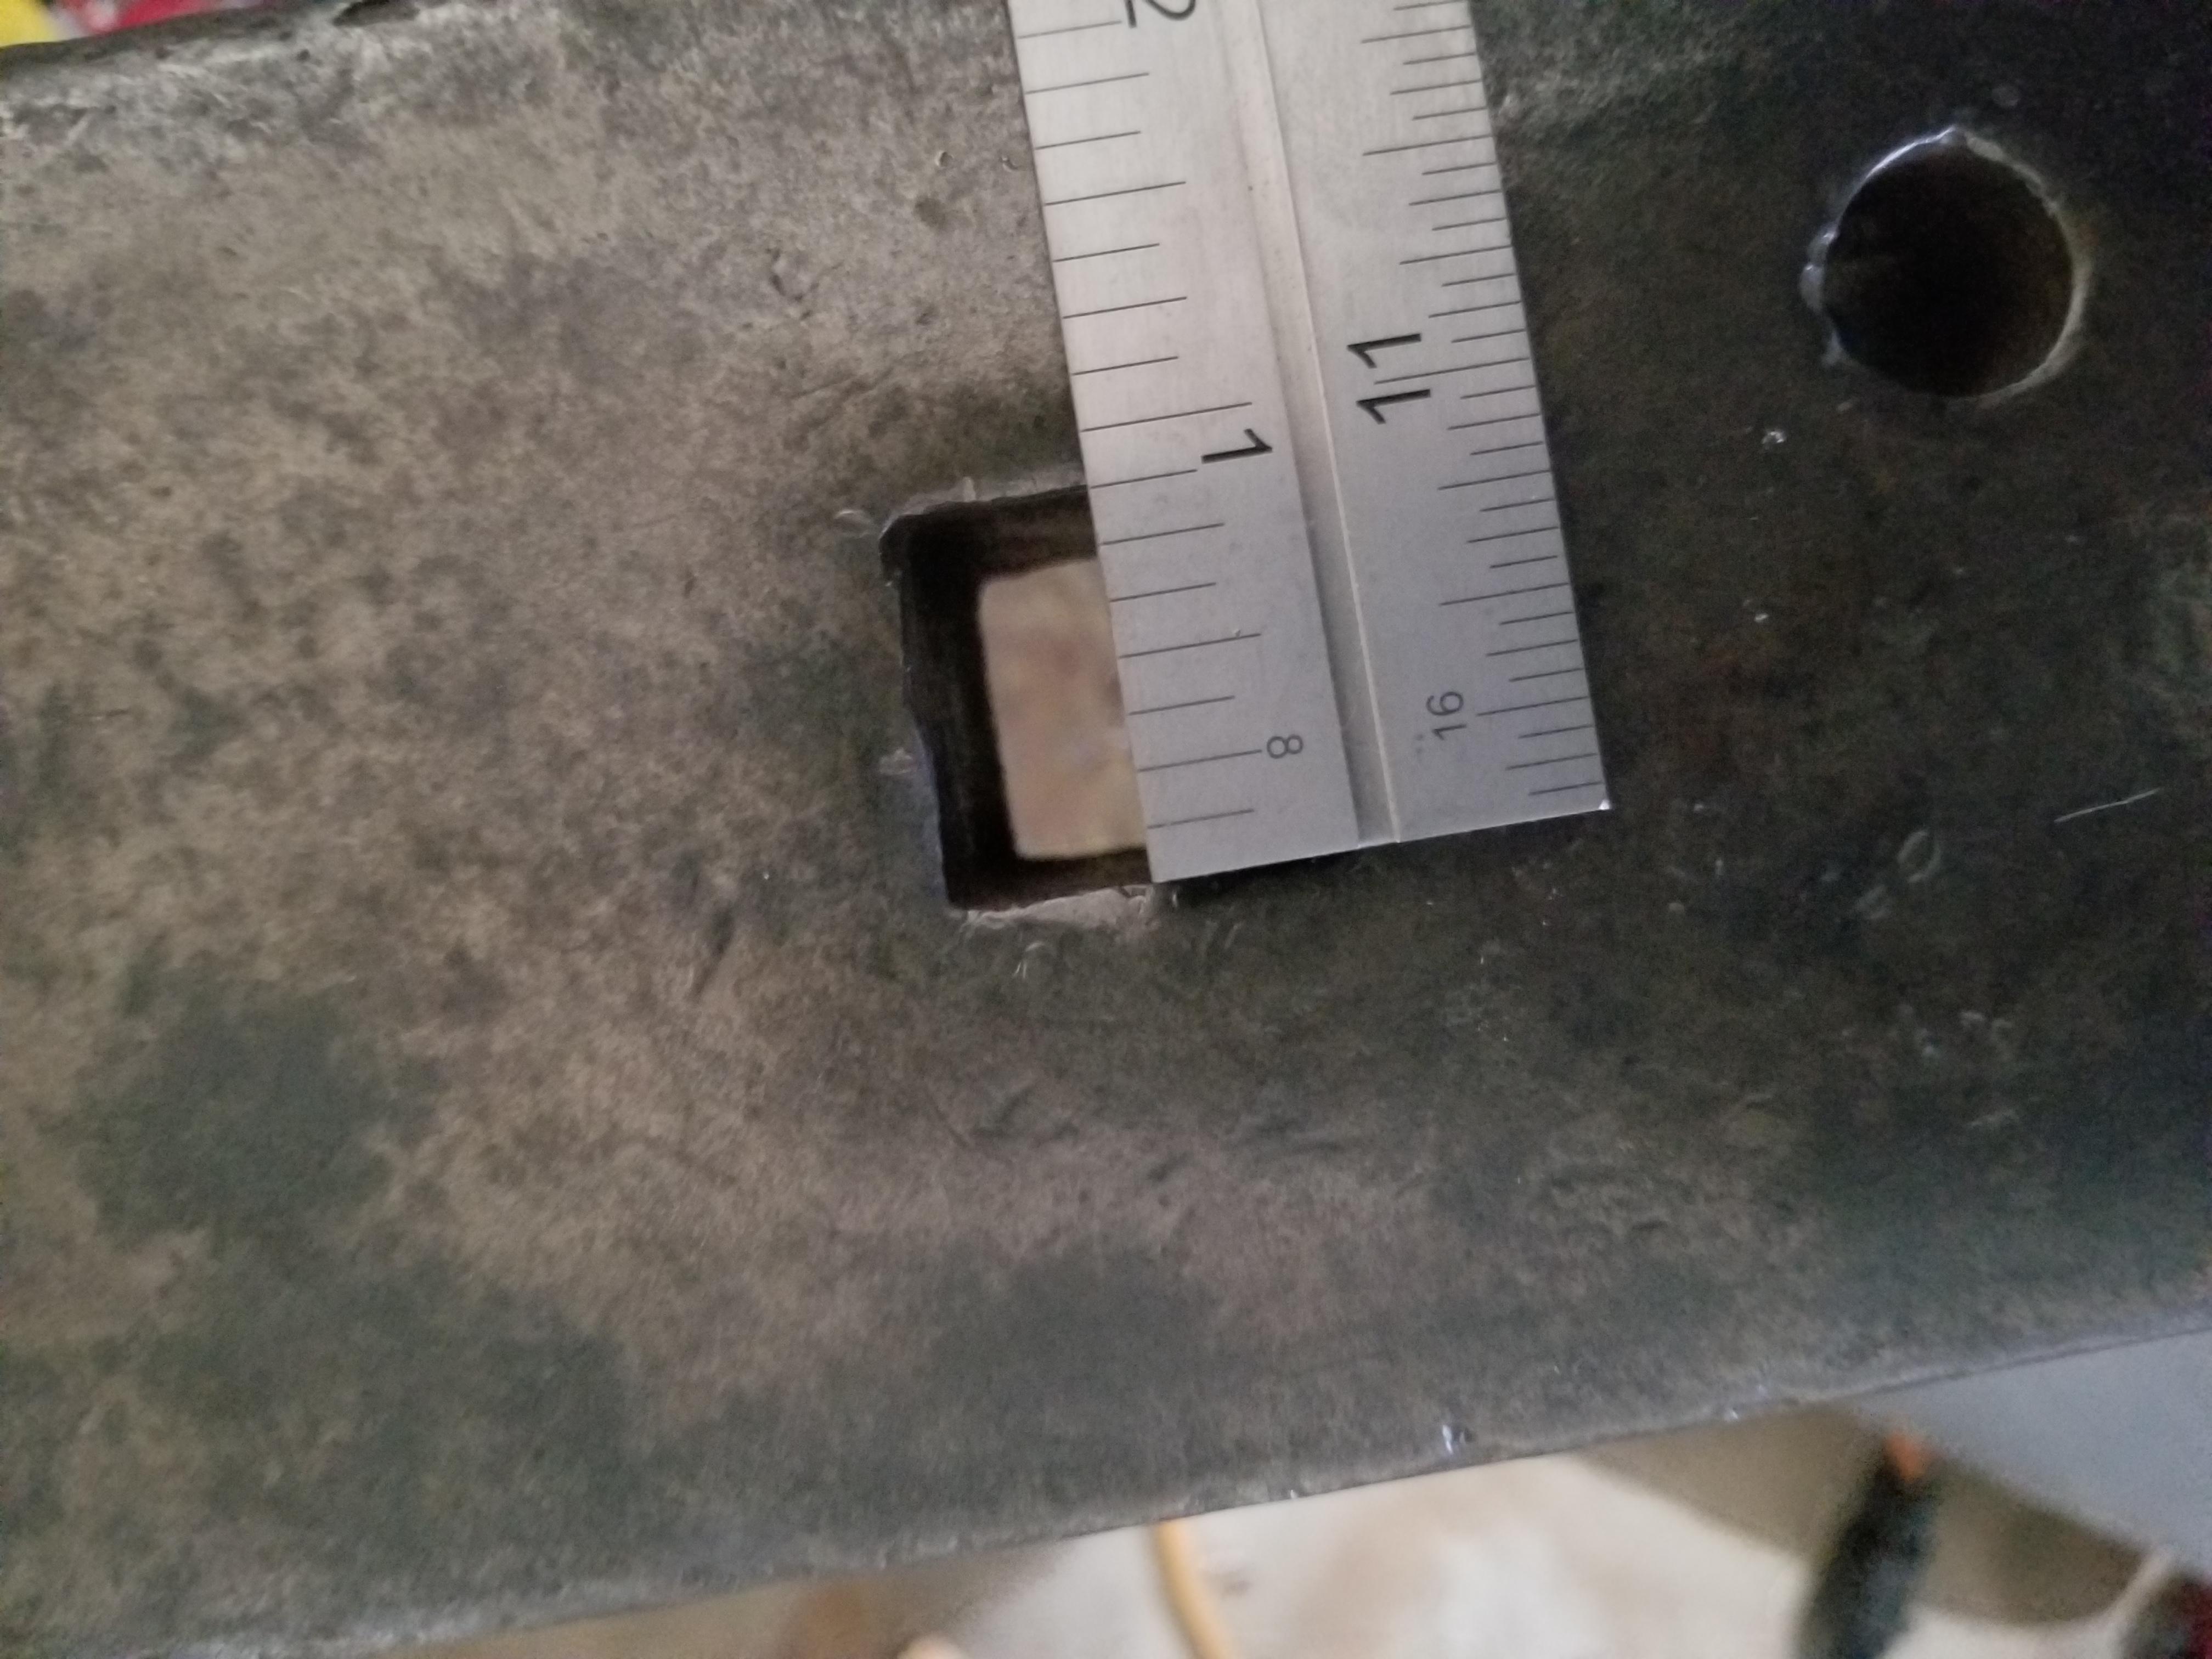
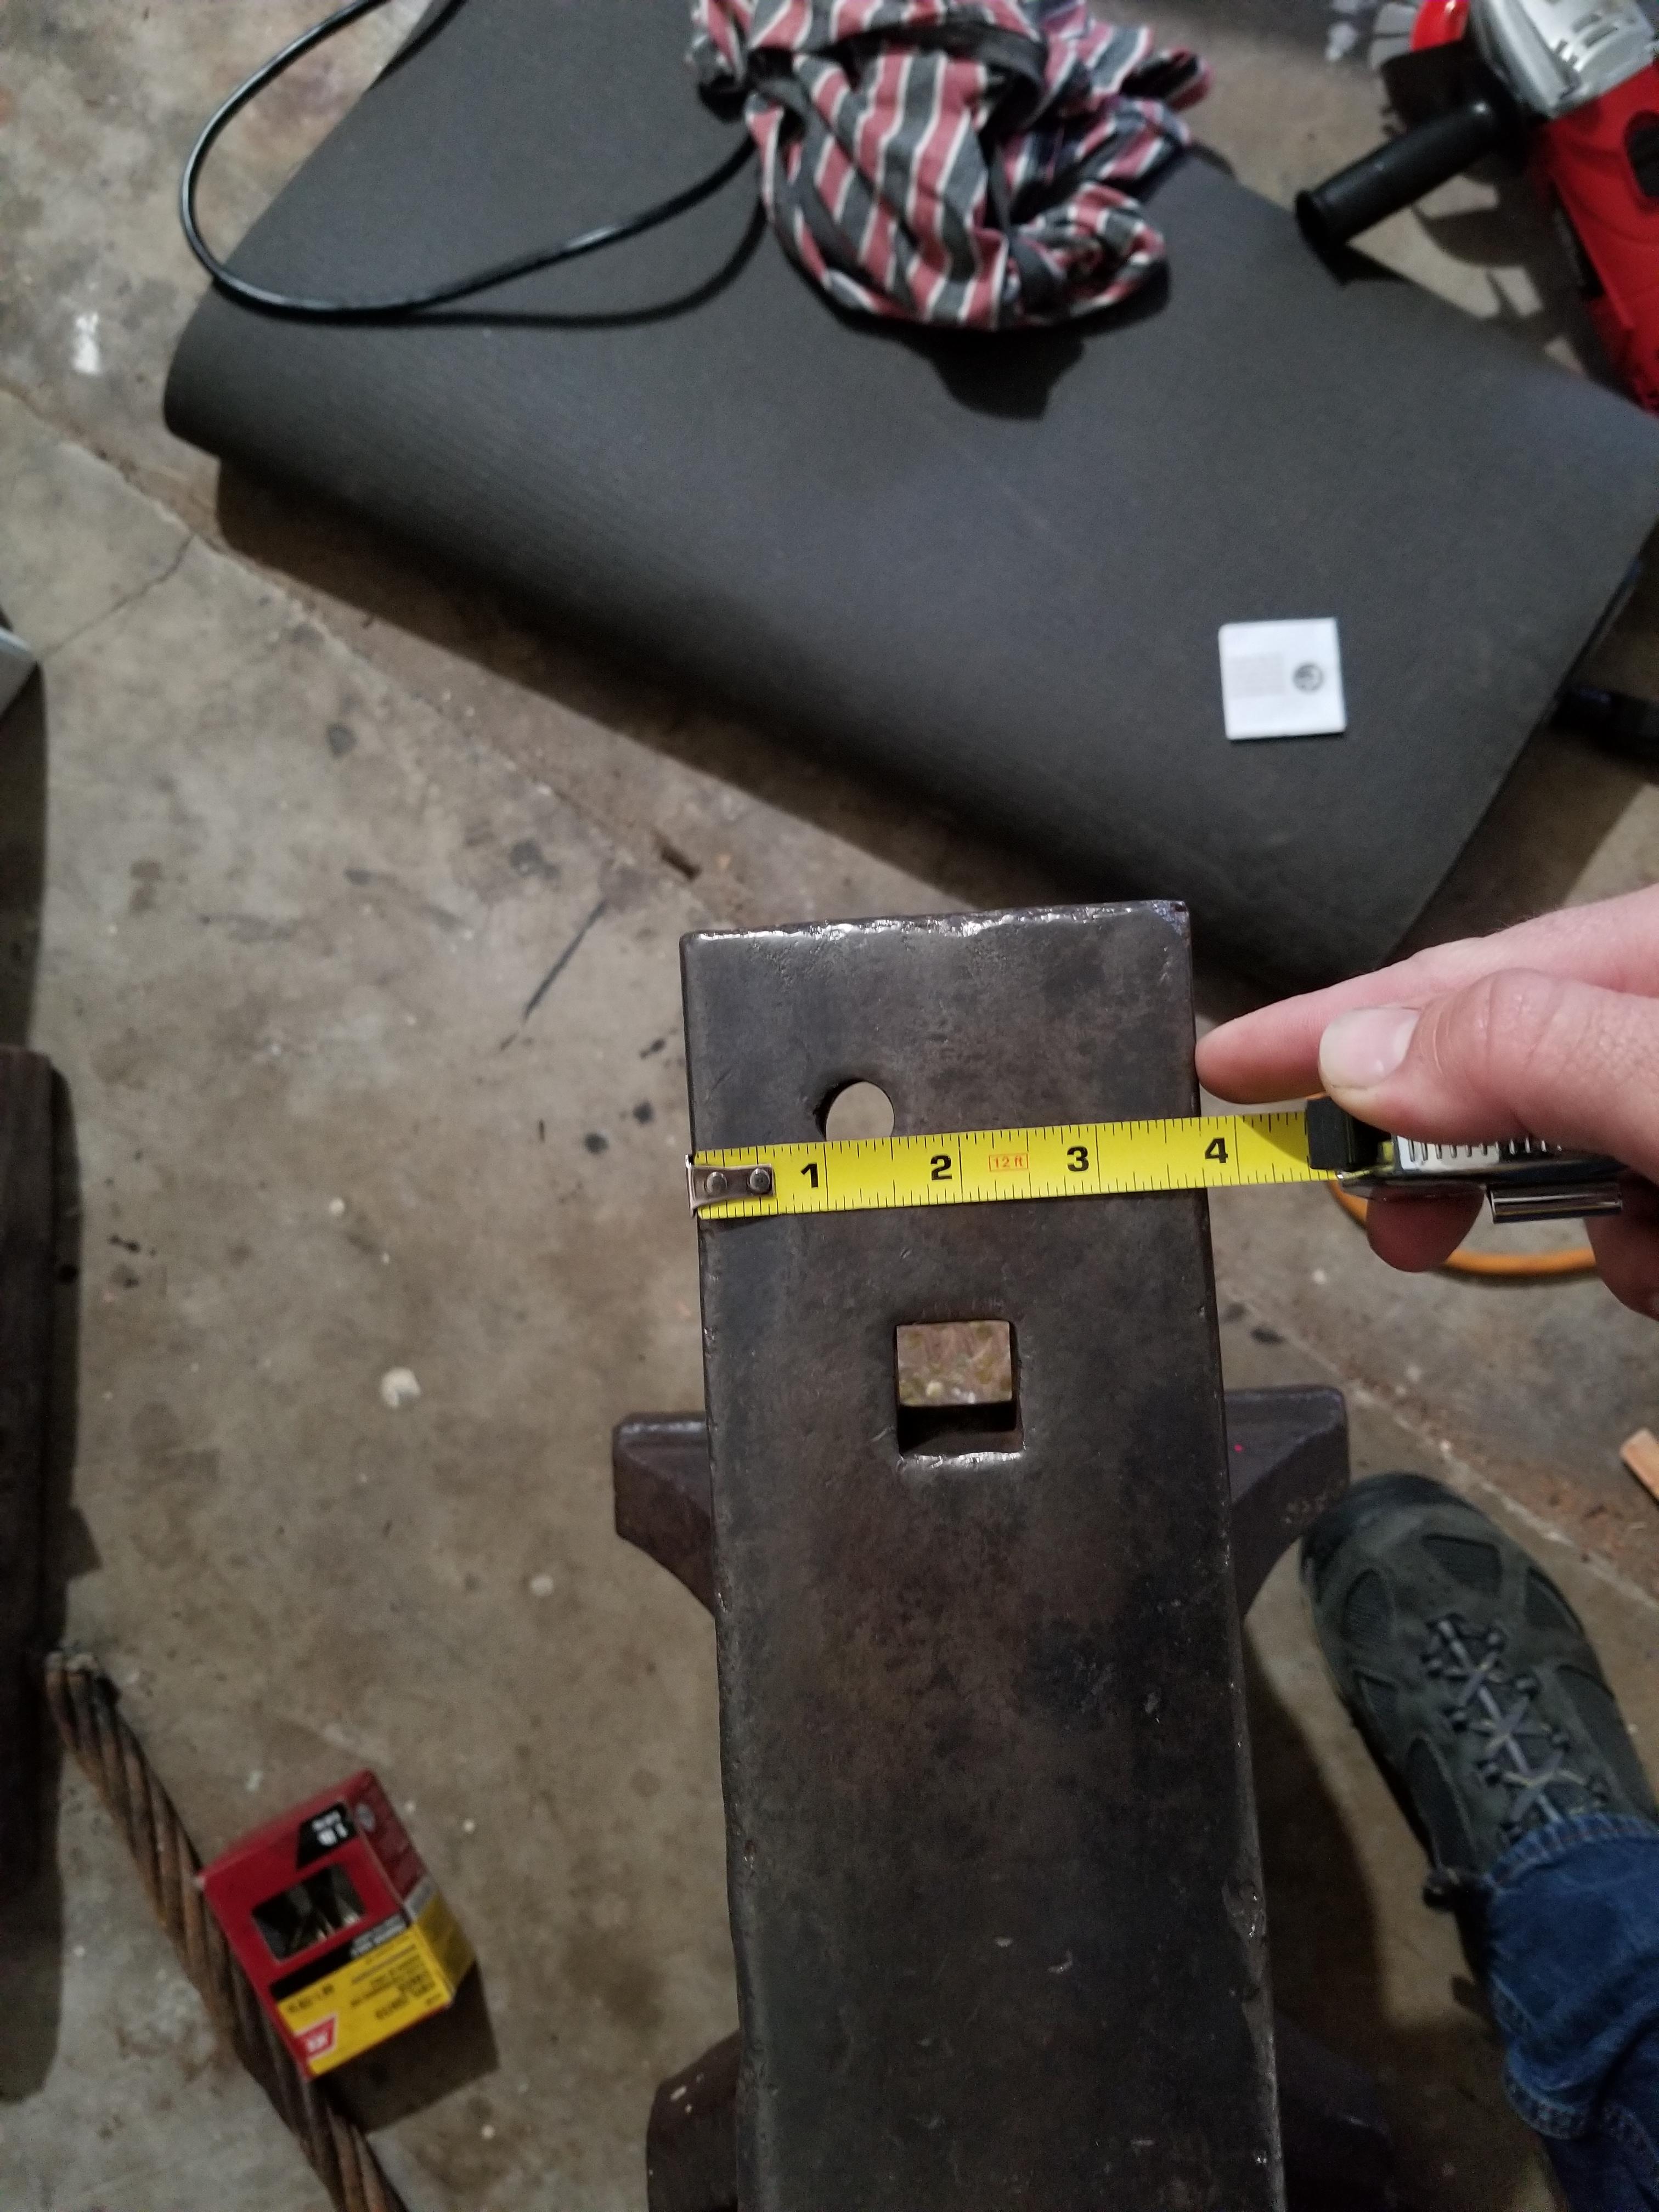
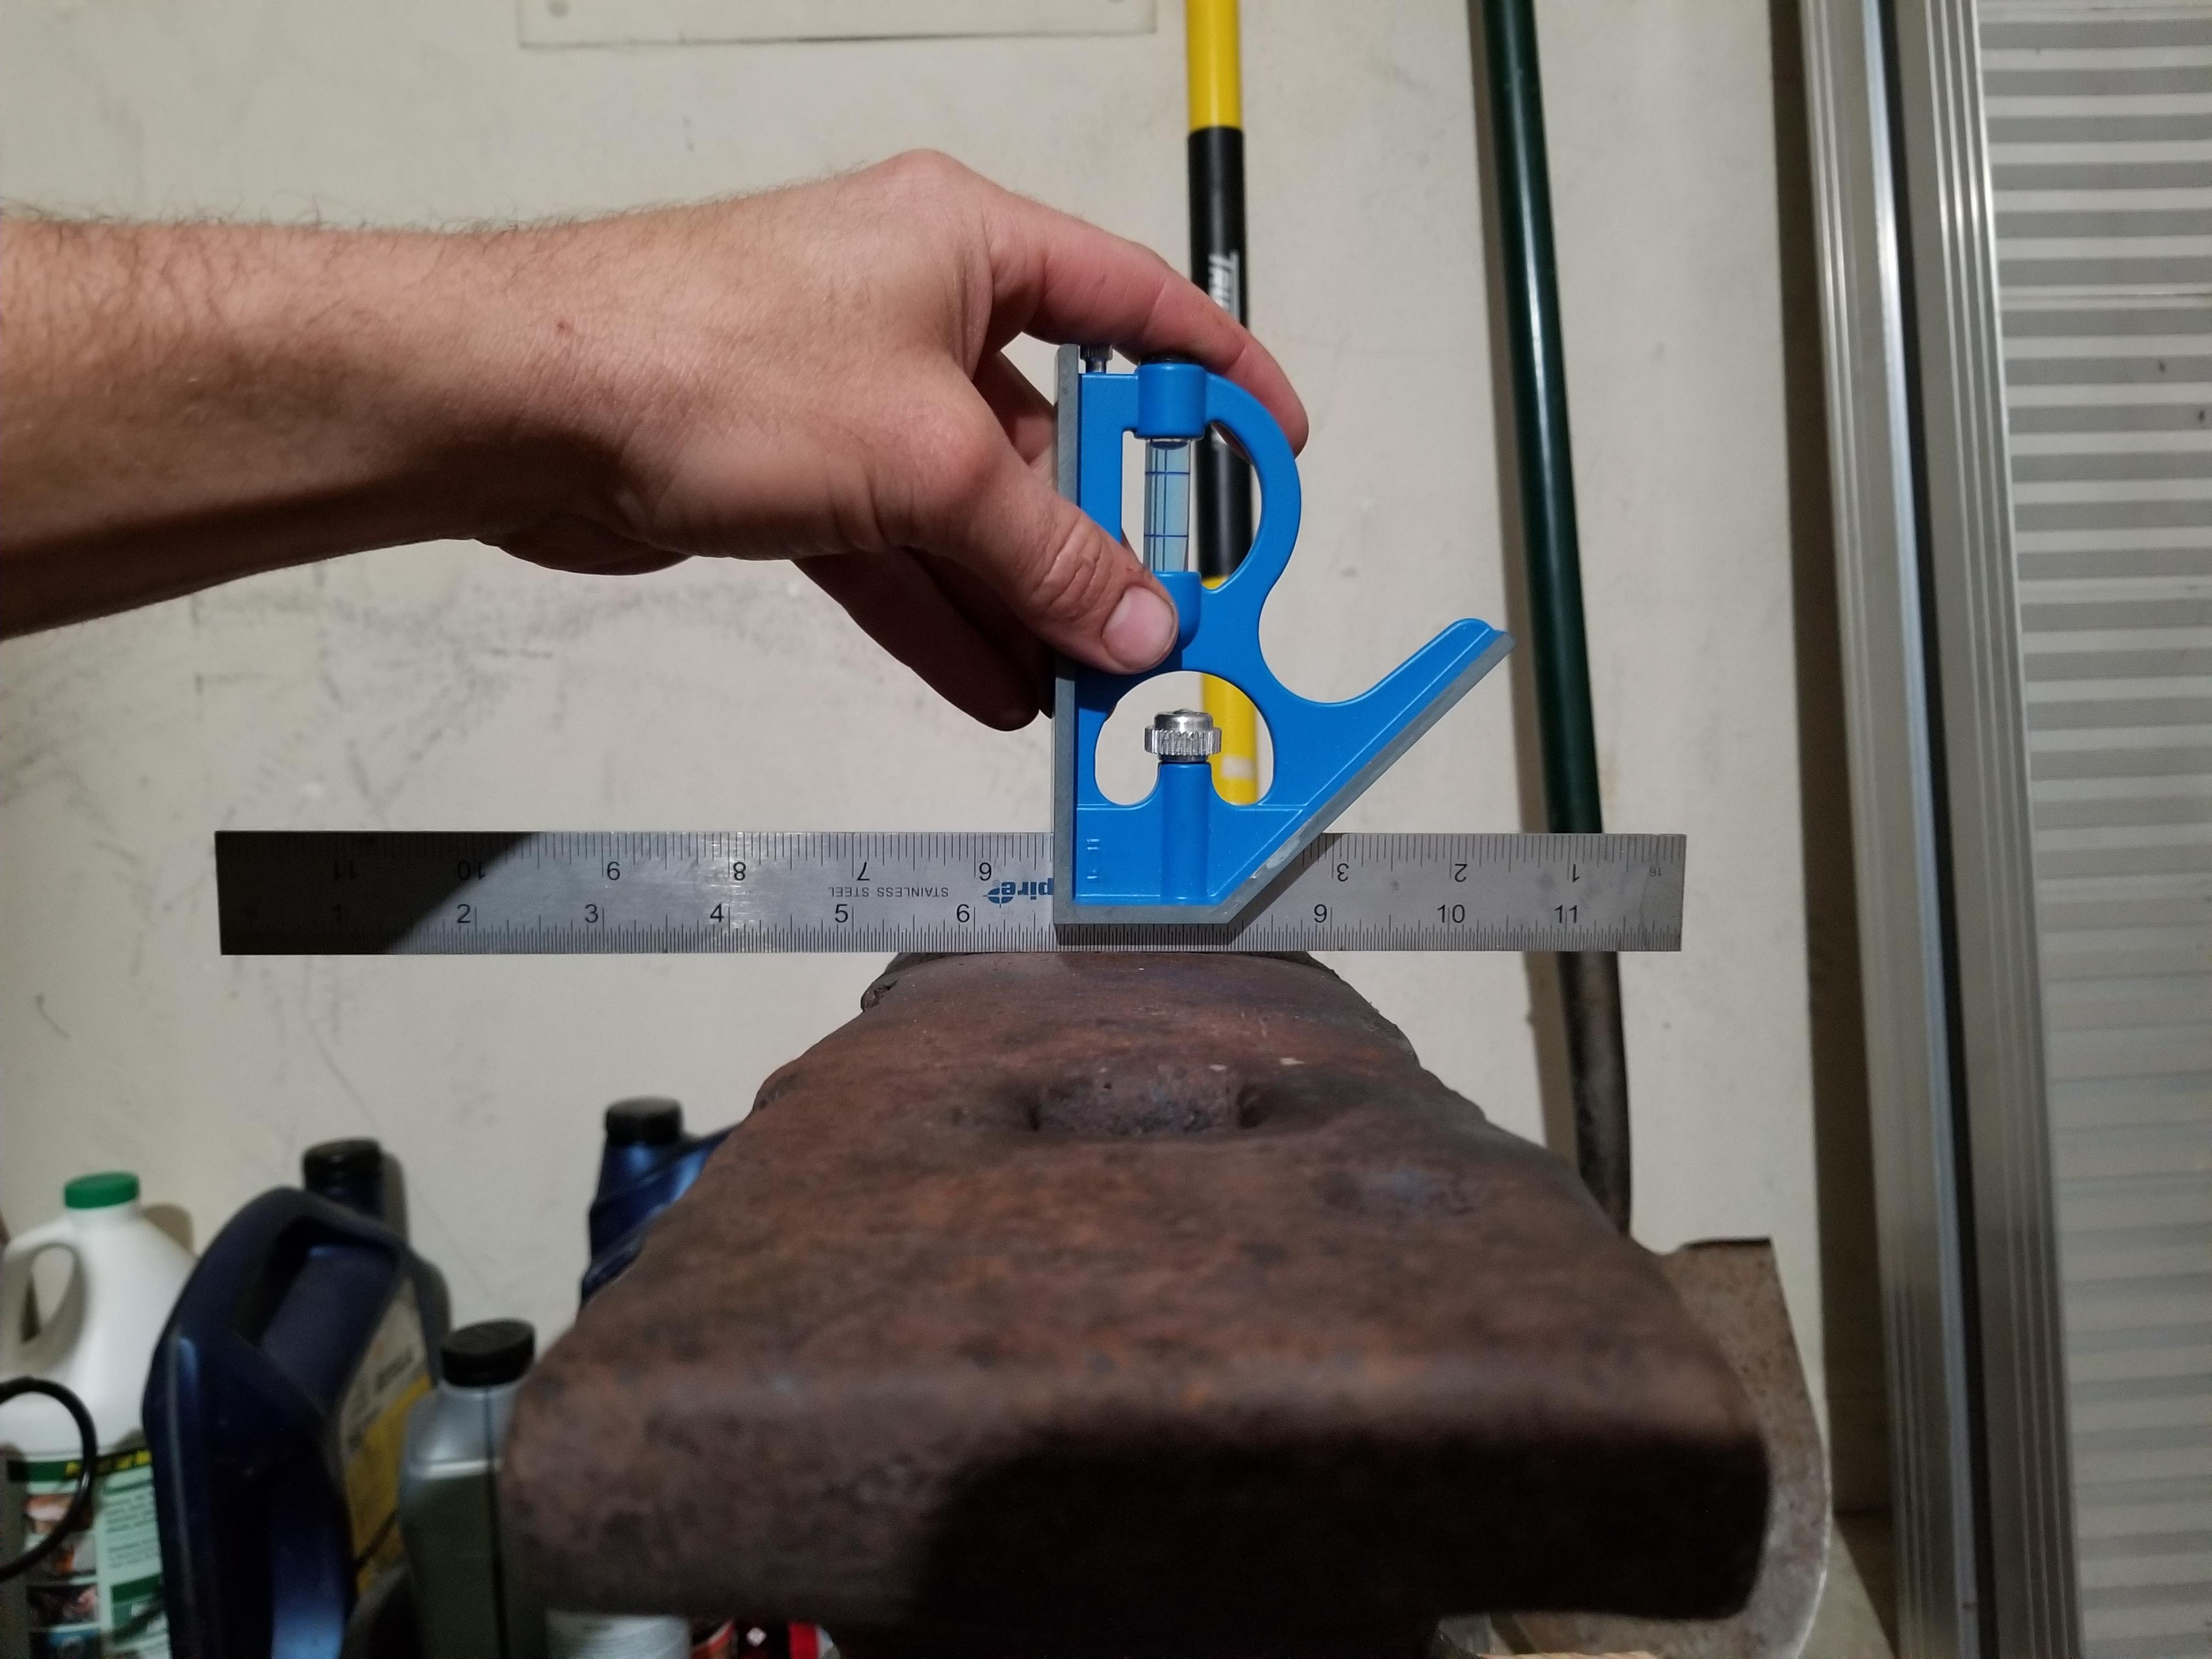
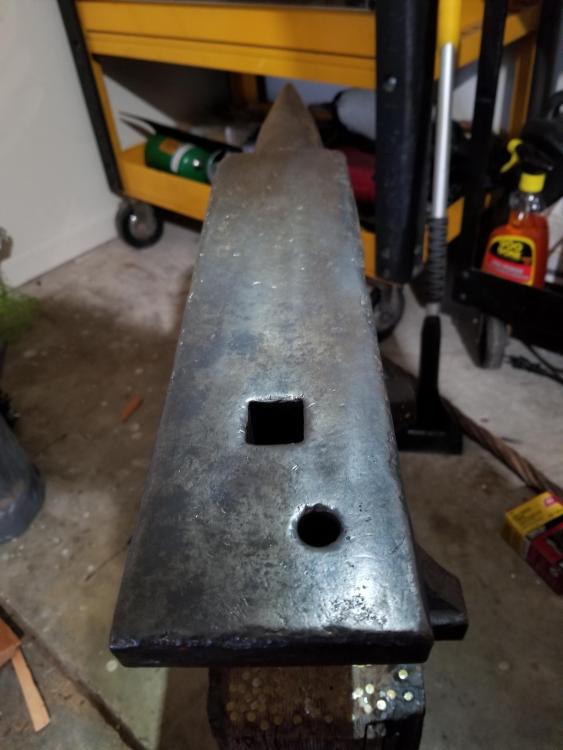
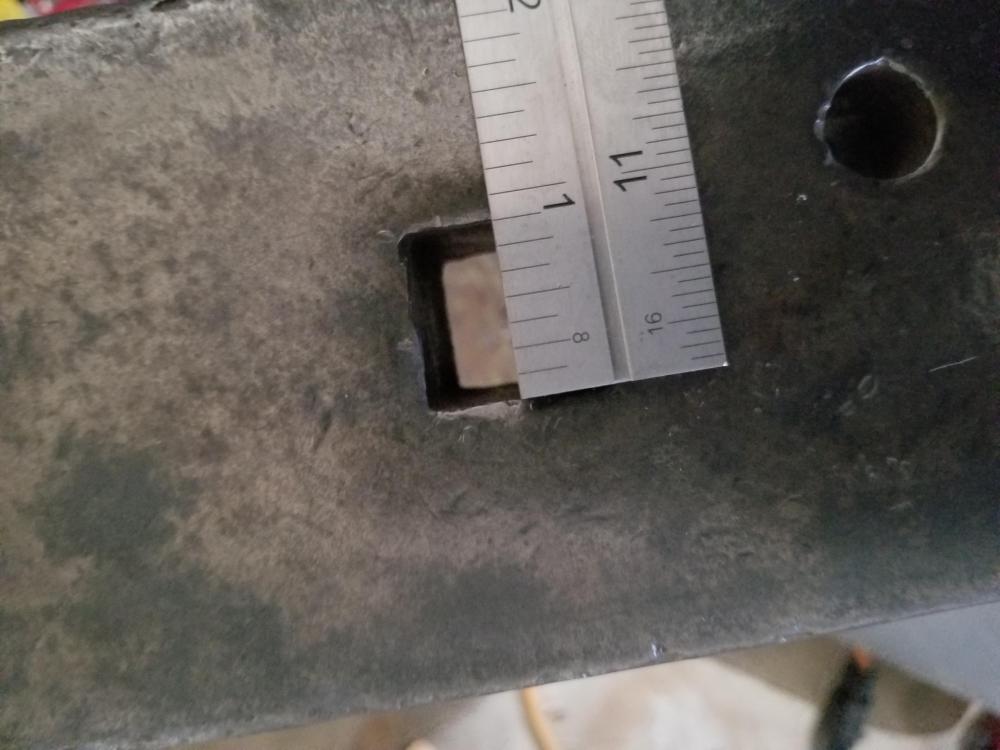
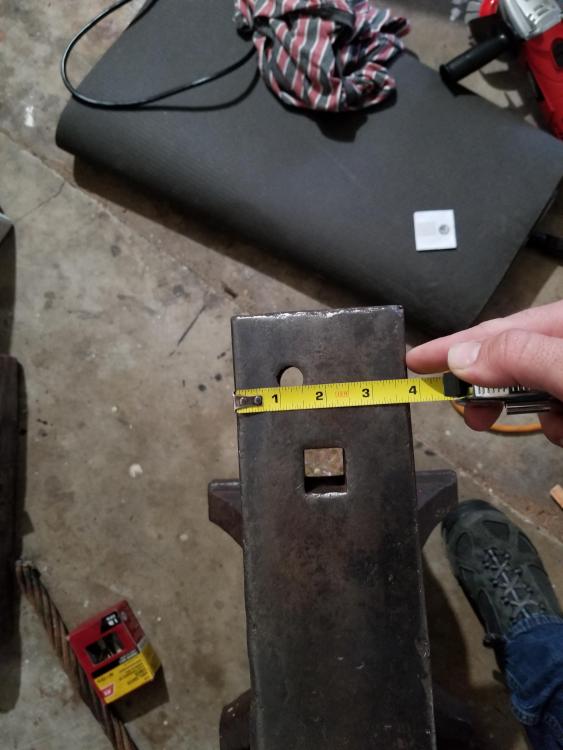
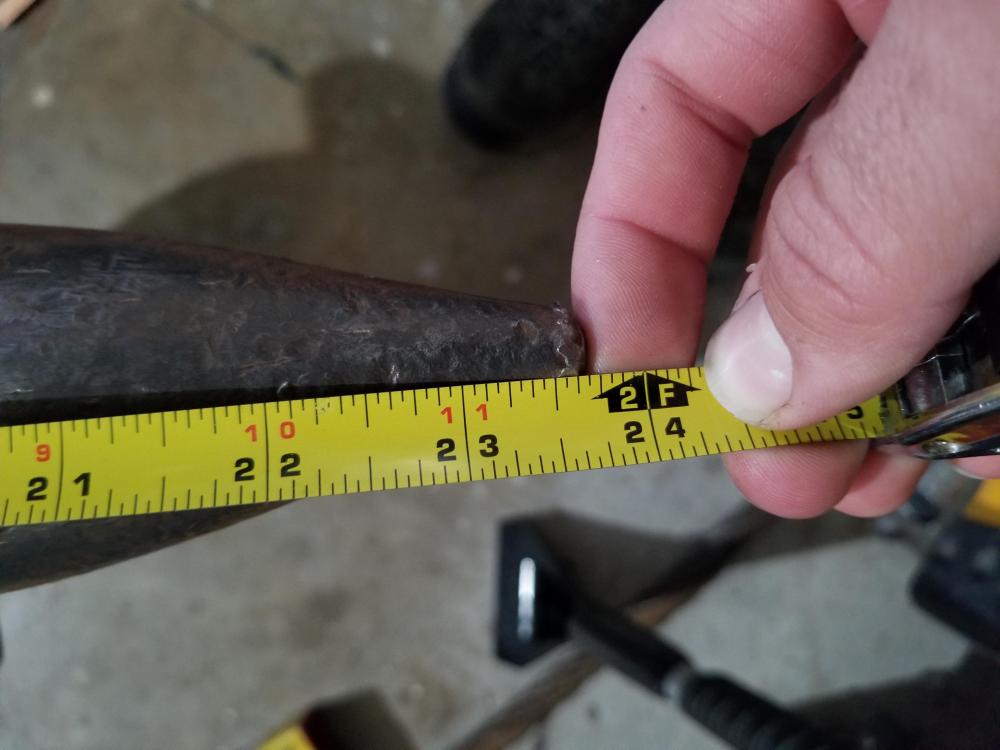
Well, then all of that being said, what WOULD you do for the time being? Knock back the flakes of delaminated hard plate? The hardy SEEMS to measure about an inch and a sixteenth, though it is fairly worn at the very top. I have a variety of pieces I was planning on using before this beauty showed up- old seized track adjusters, lengths of rail, thick cutting edges (stupid-hard steel with wicked abrasion resistance, couldn't speak to impact) I need a forge now... hmmmmm.... I have a good friend who is intent on building a waste-oil burner powered forge but I rather enjoyed the coke forge at my class. That and propane is much cleaner than waste oil.... decisions decisions... That, and the fact that of my 20 or so hammers, I still need a rounding hammer- the one at class was forged from old hydraulic cylinder rod. I loved the way it felt and did work. Probably going to have to wait till the new year, we will be driving up to CO to visit family for the last week of the year.
-
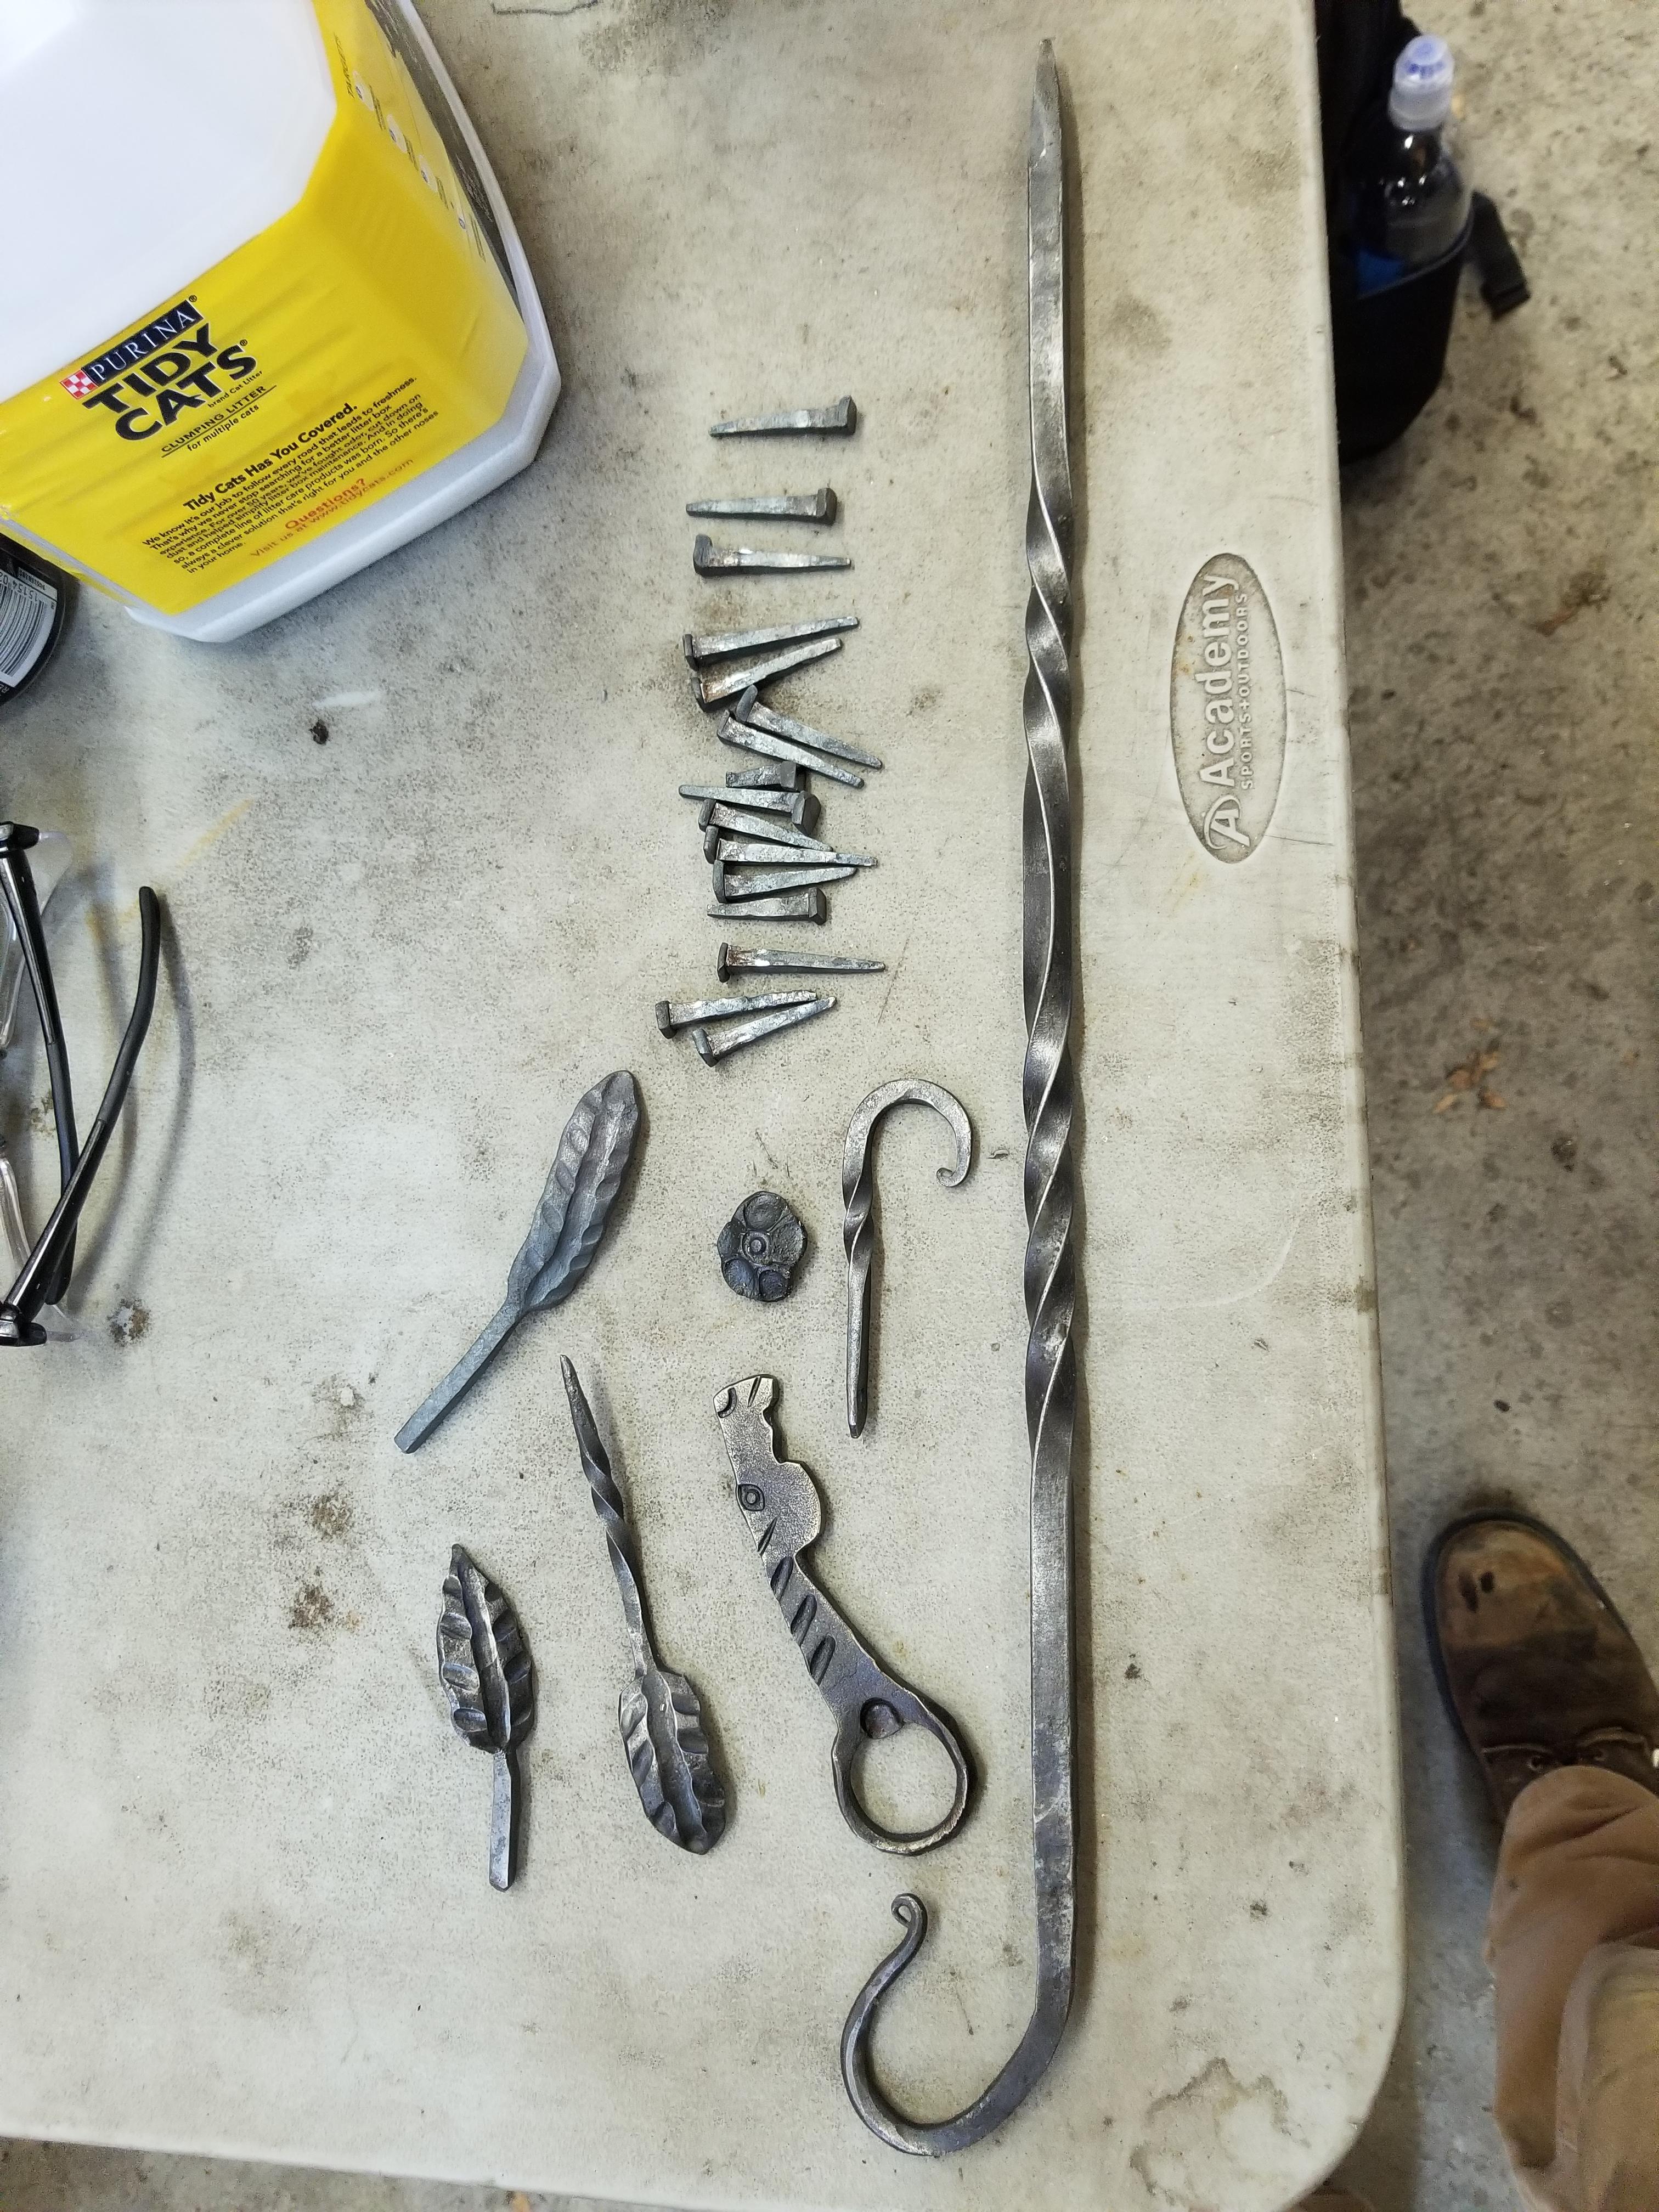
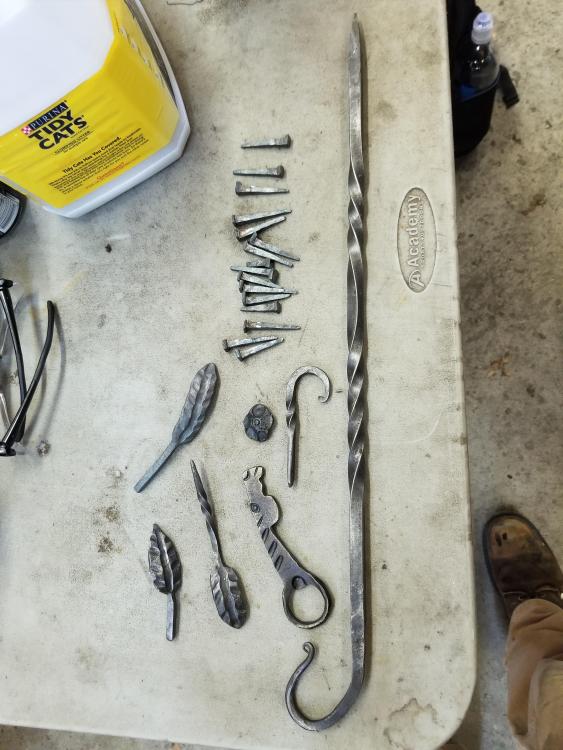
Fair enough, but do you think there is enough meat left to fuller (words... wrong??) I think that even out at the heel the radius is a bit much to try and draw out for, say, another bottle opener such as the ones I made (I know it's a bit crude, but by golly, I made that!) I may be wrong though. Like I said, I may be a capable HE Tech, but a Smith I ain't (yet)

-
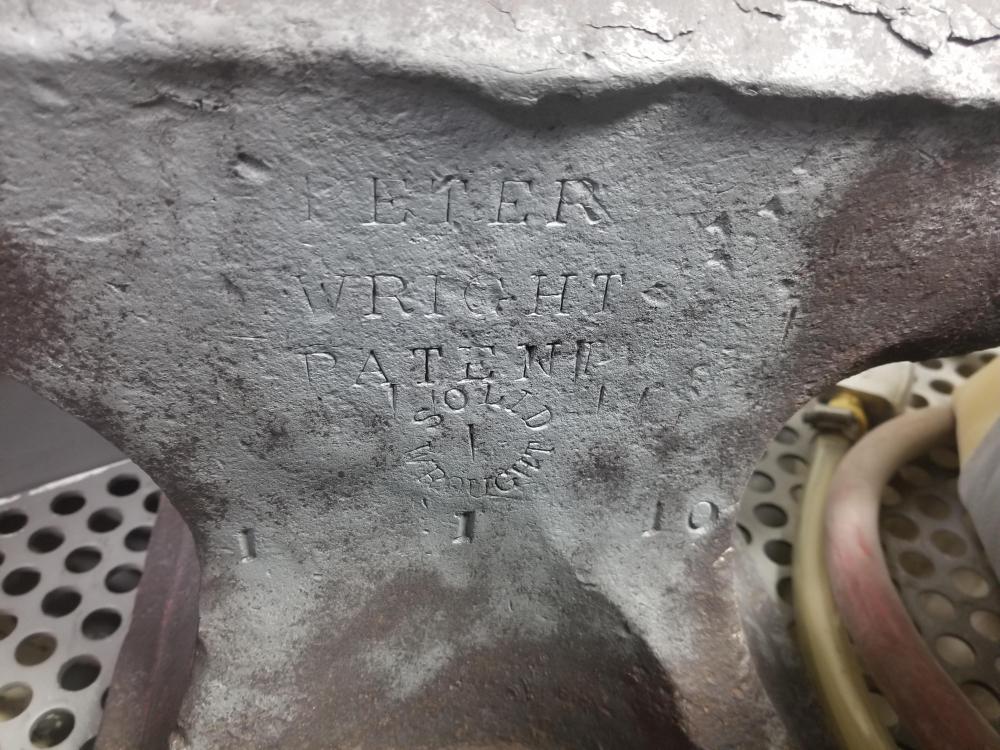
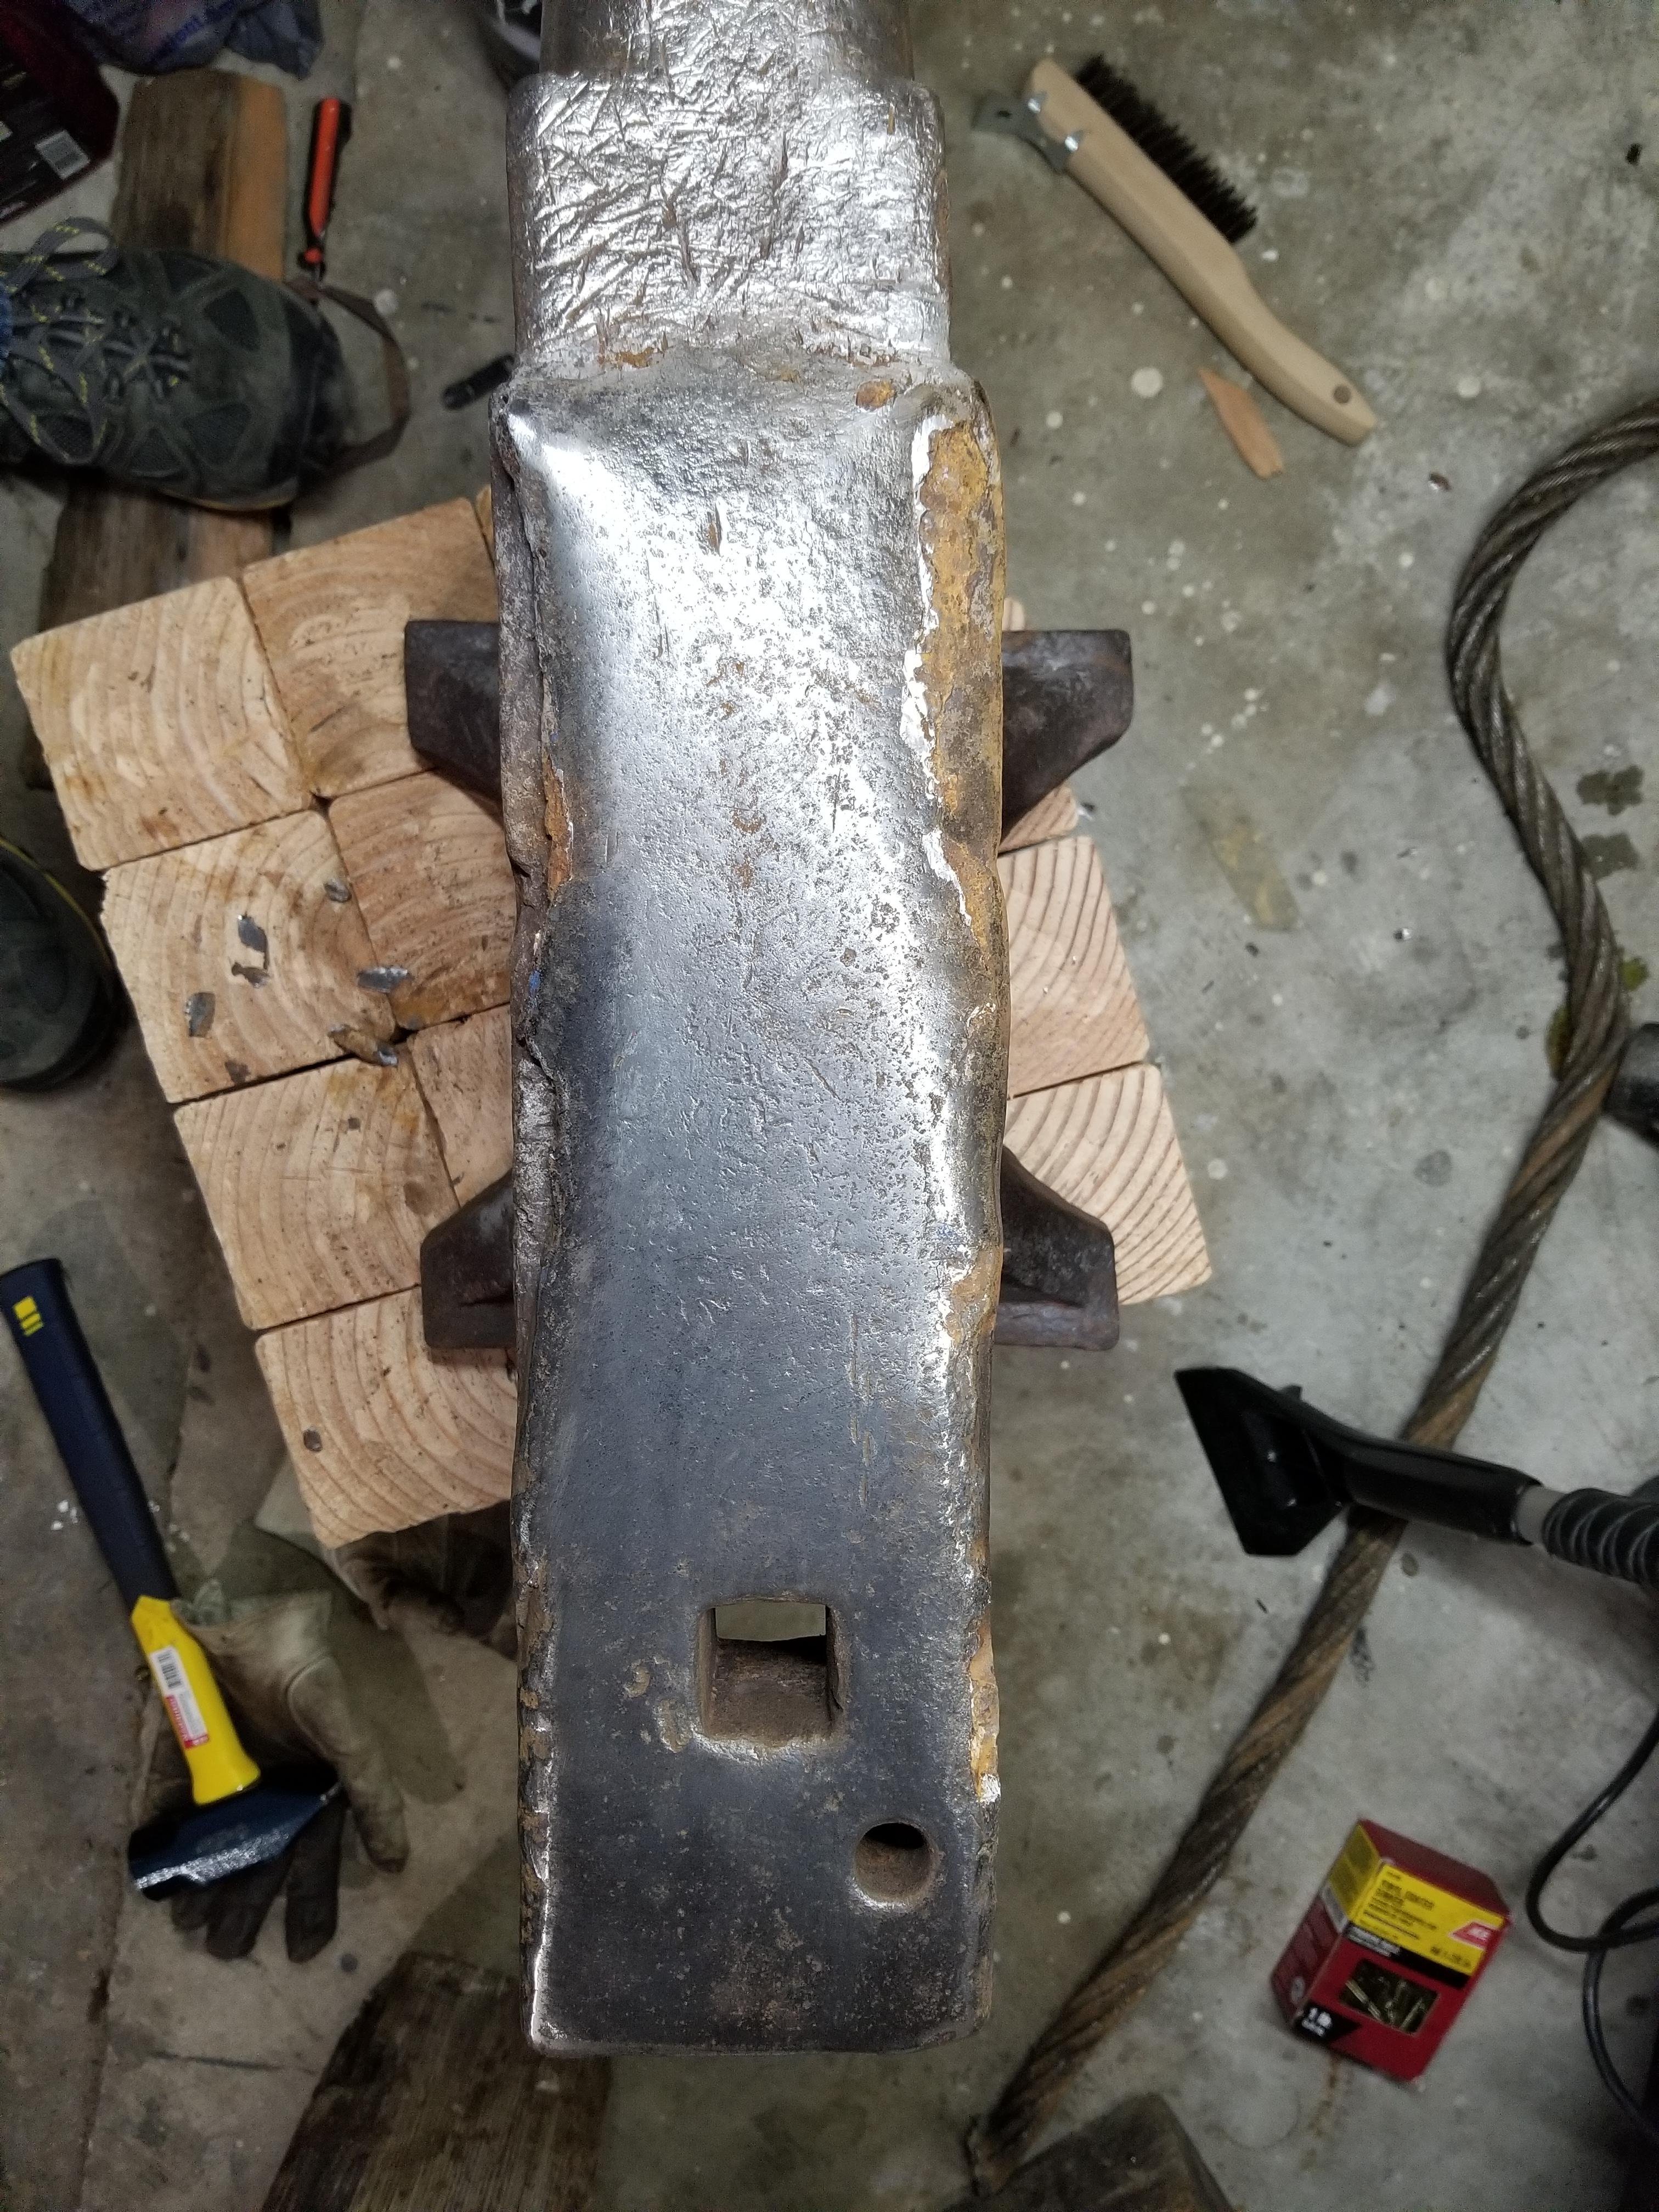
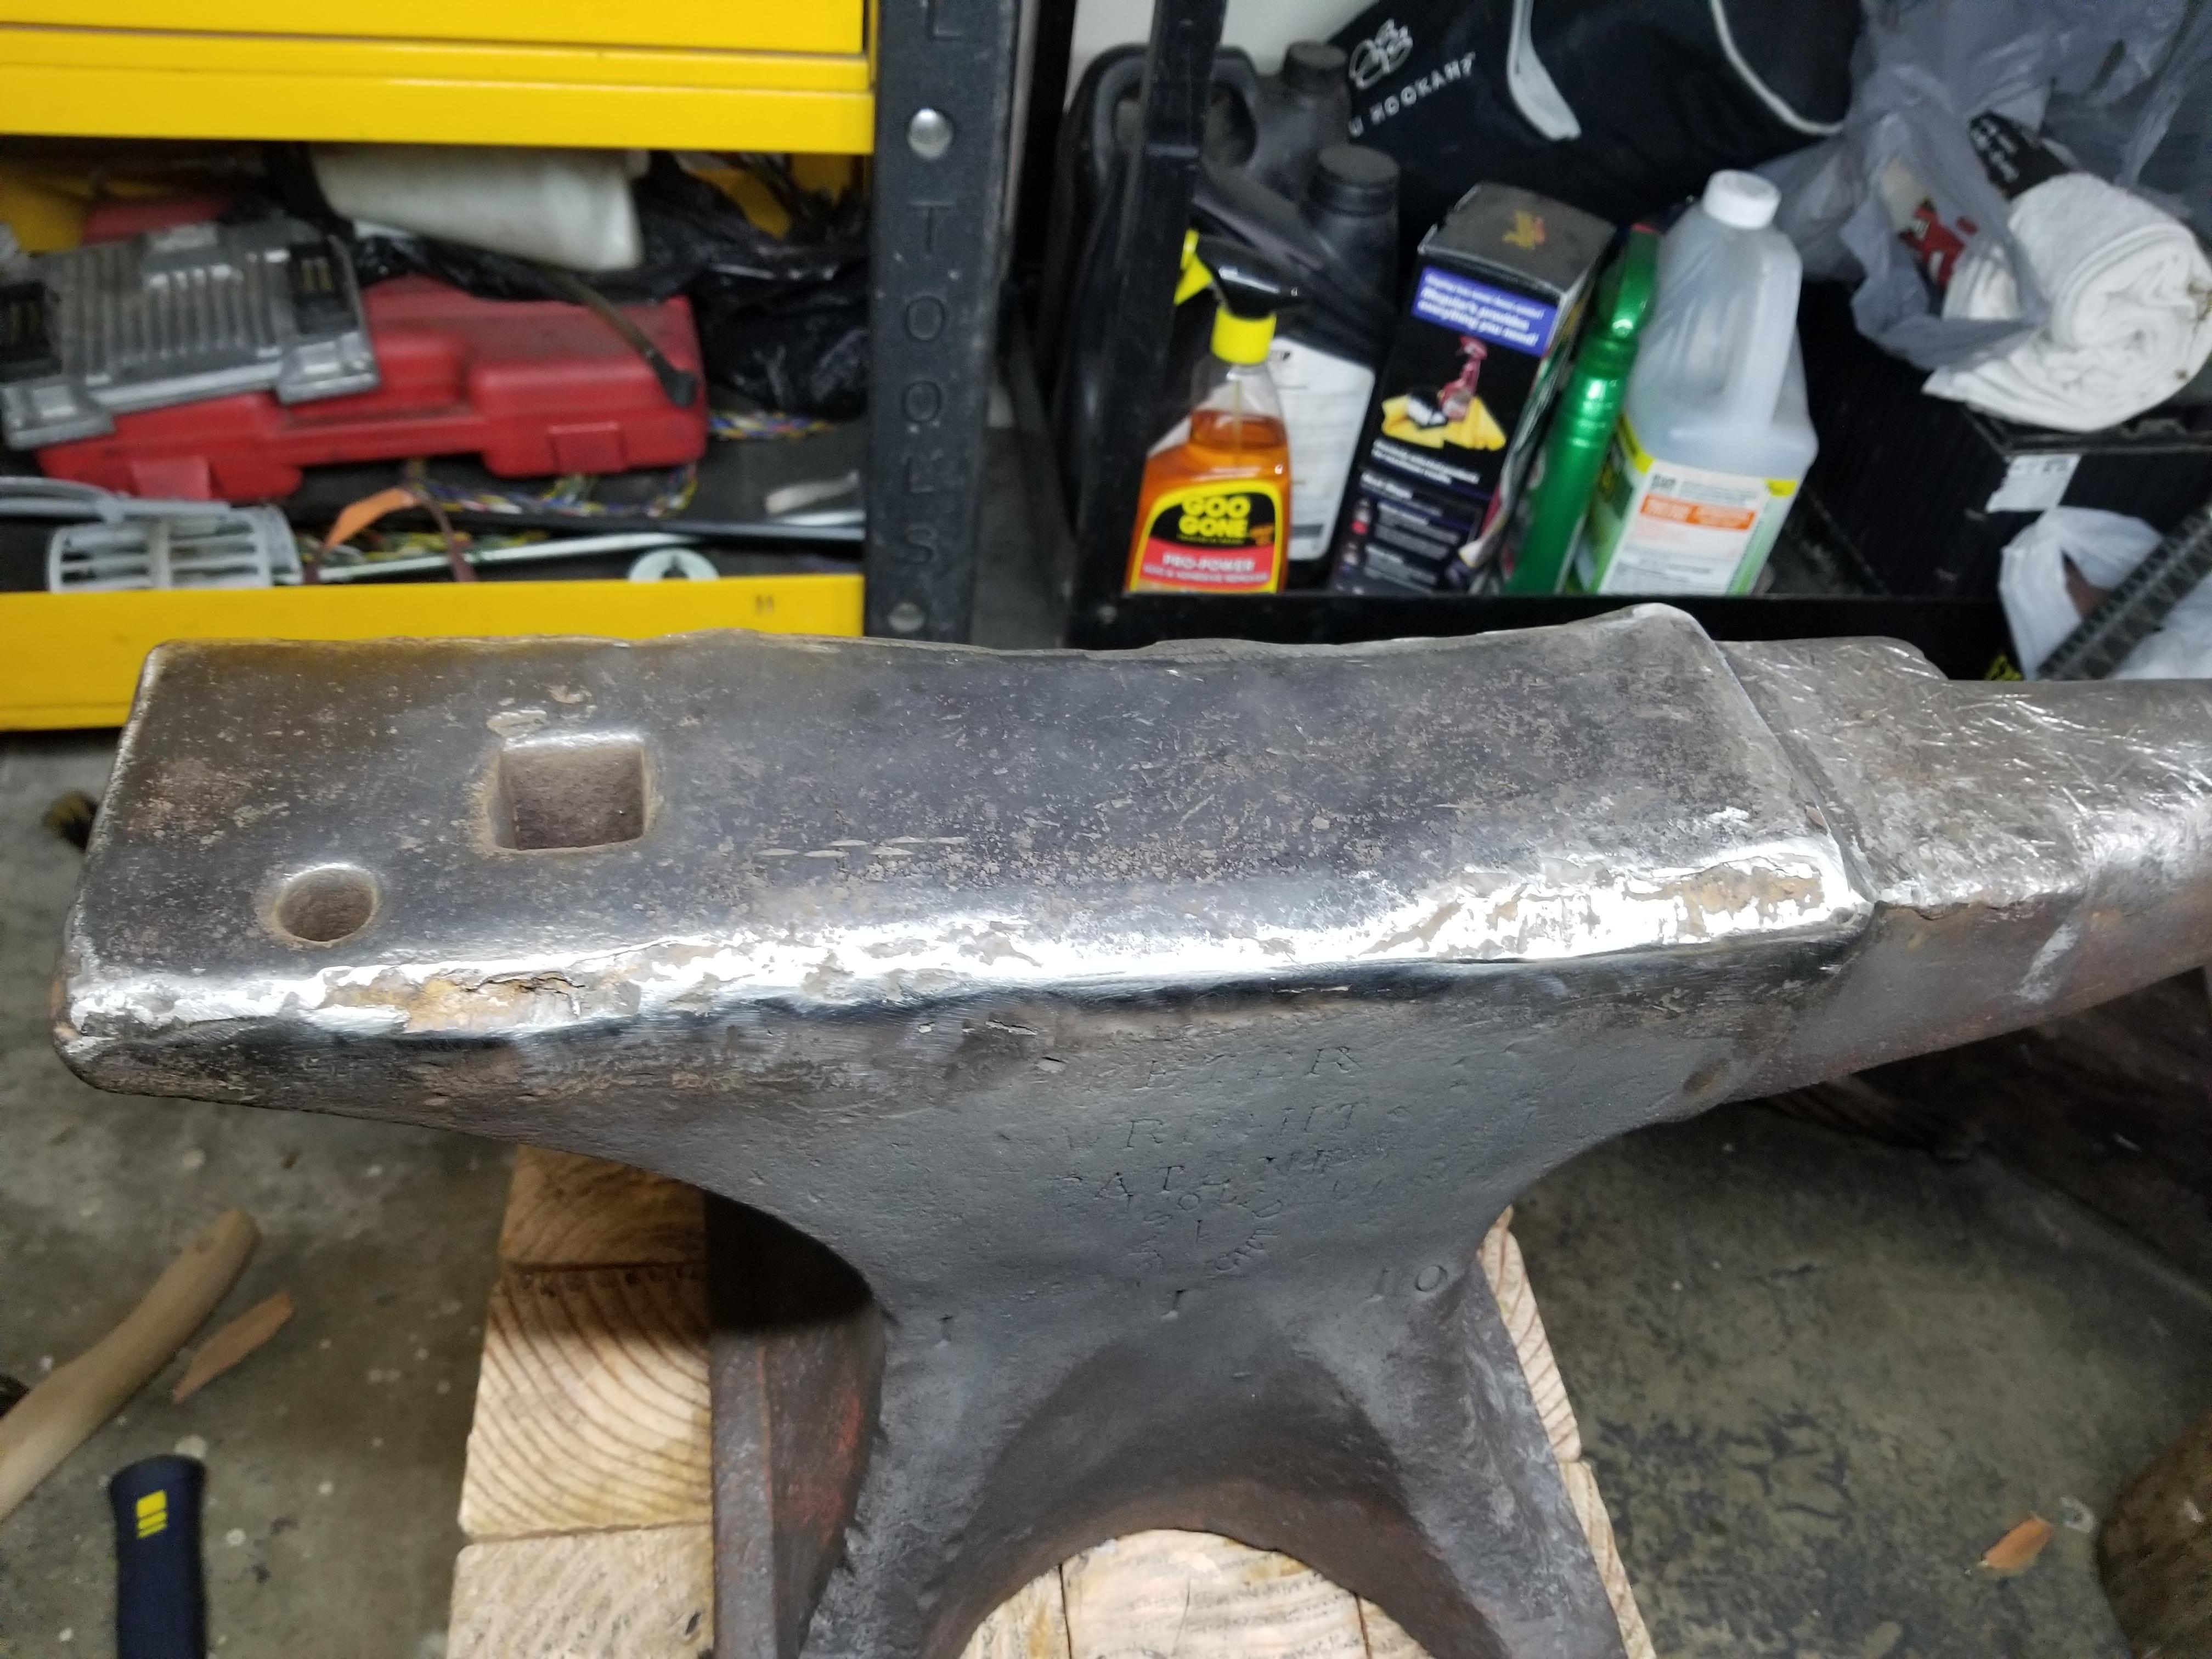
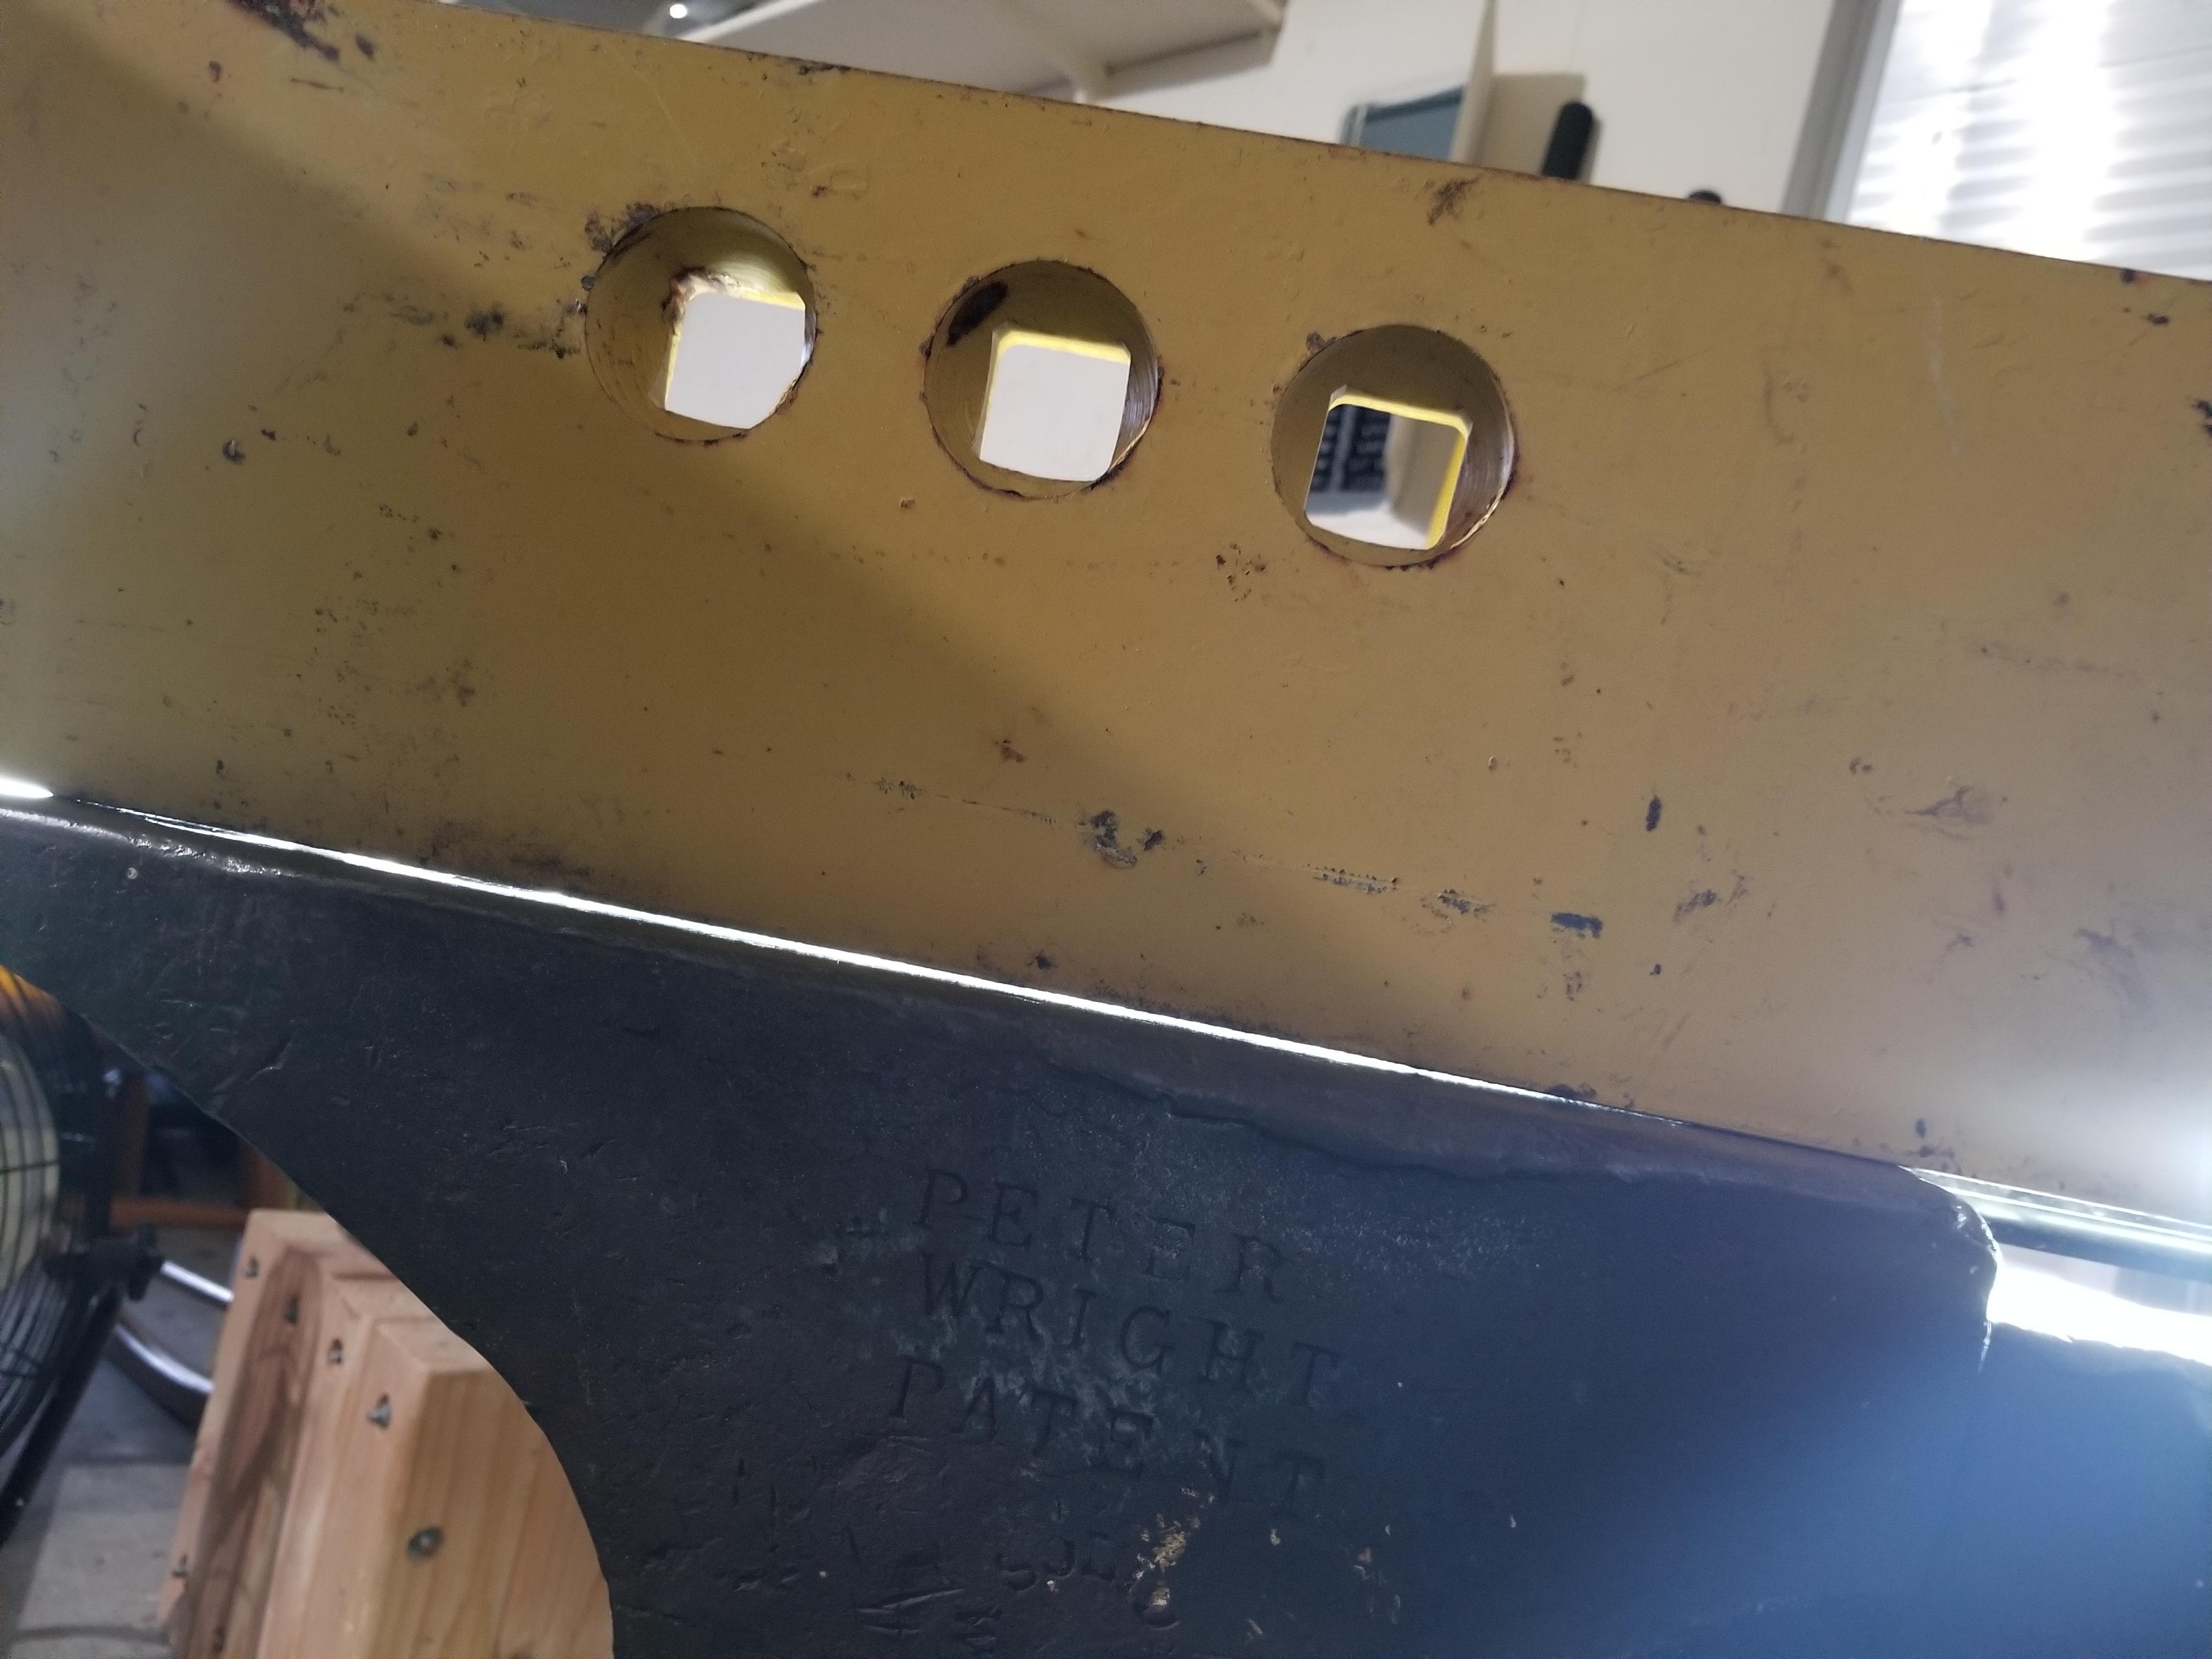
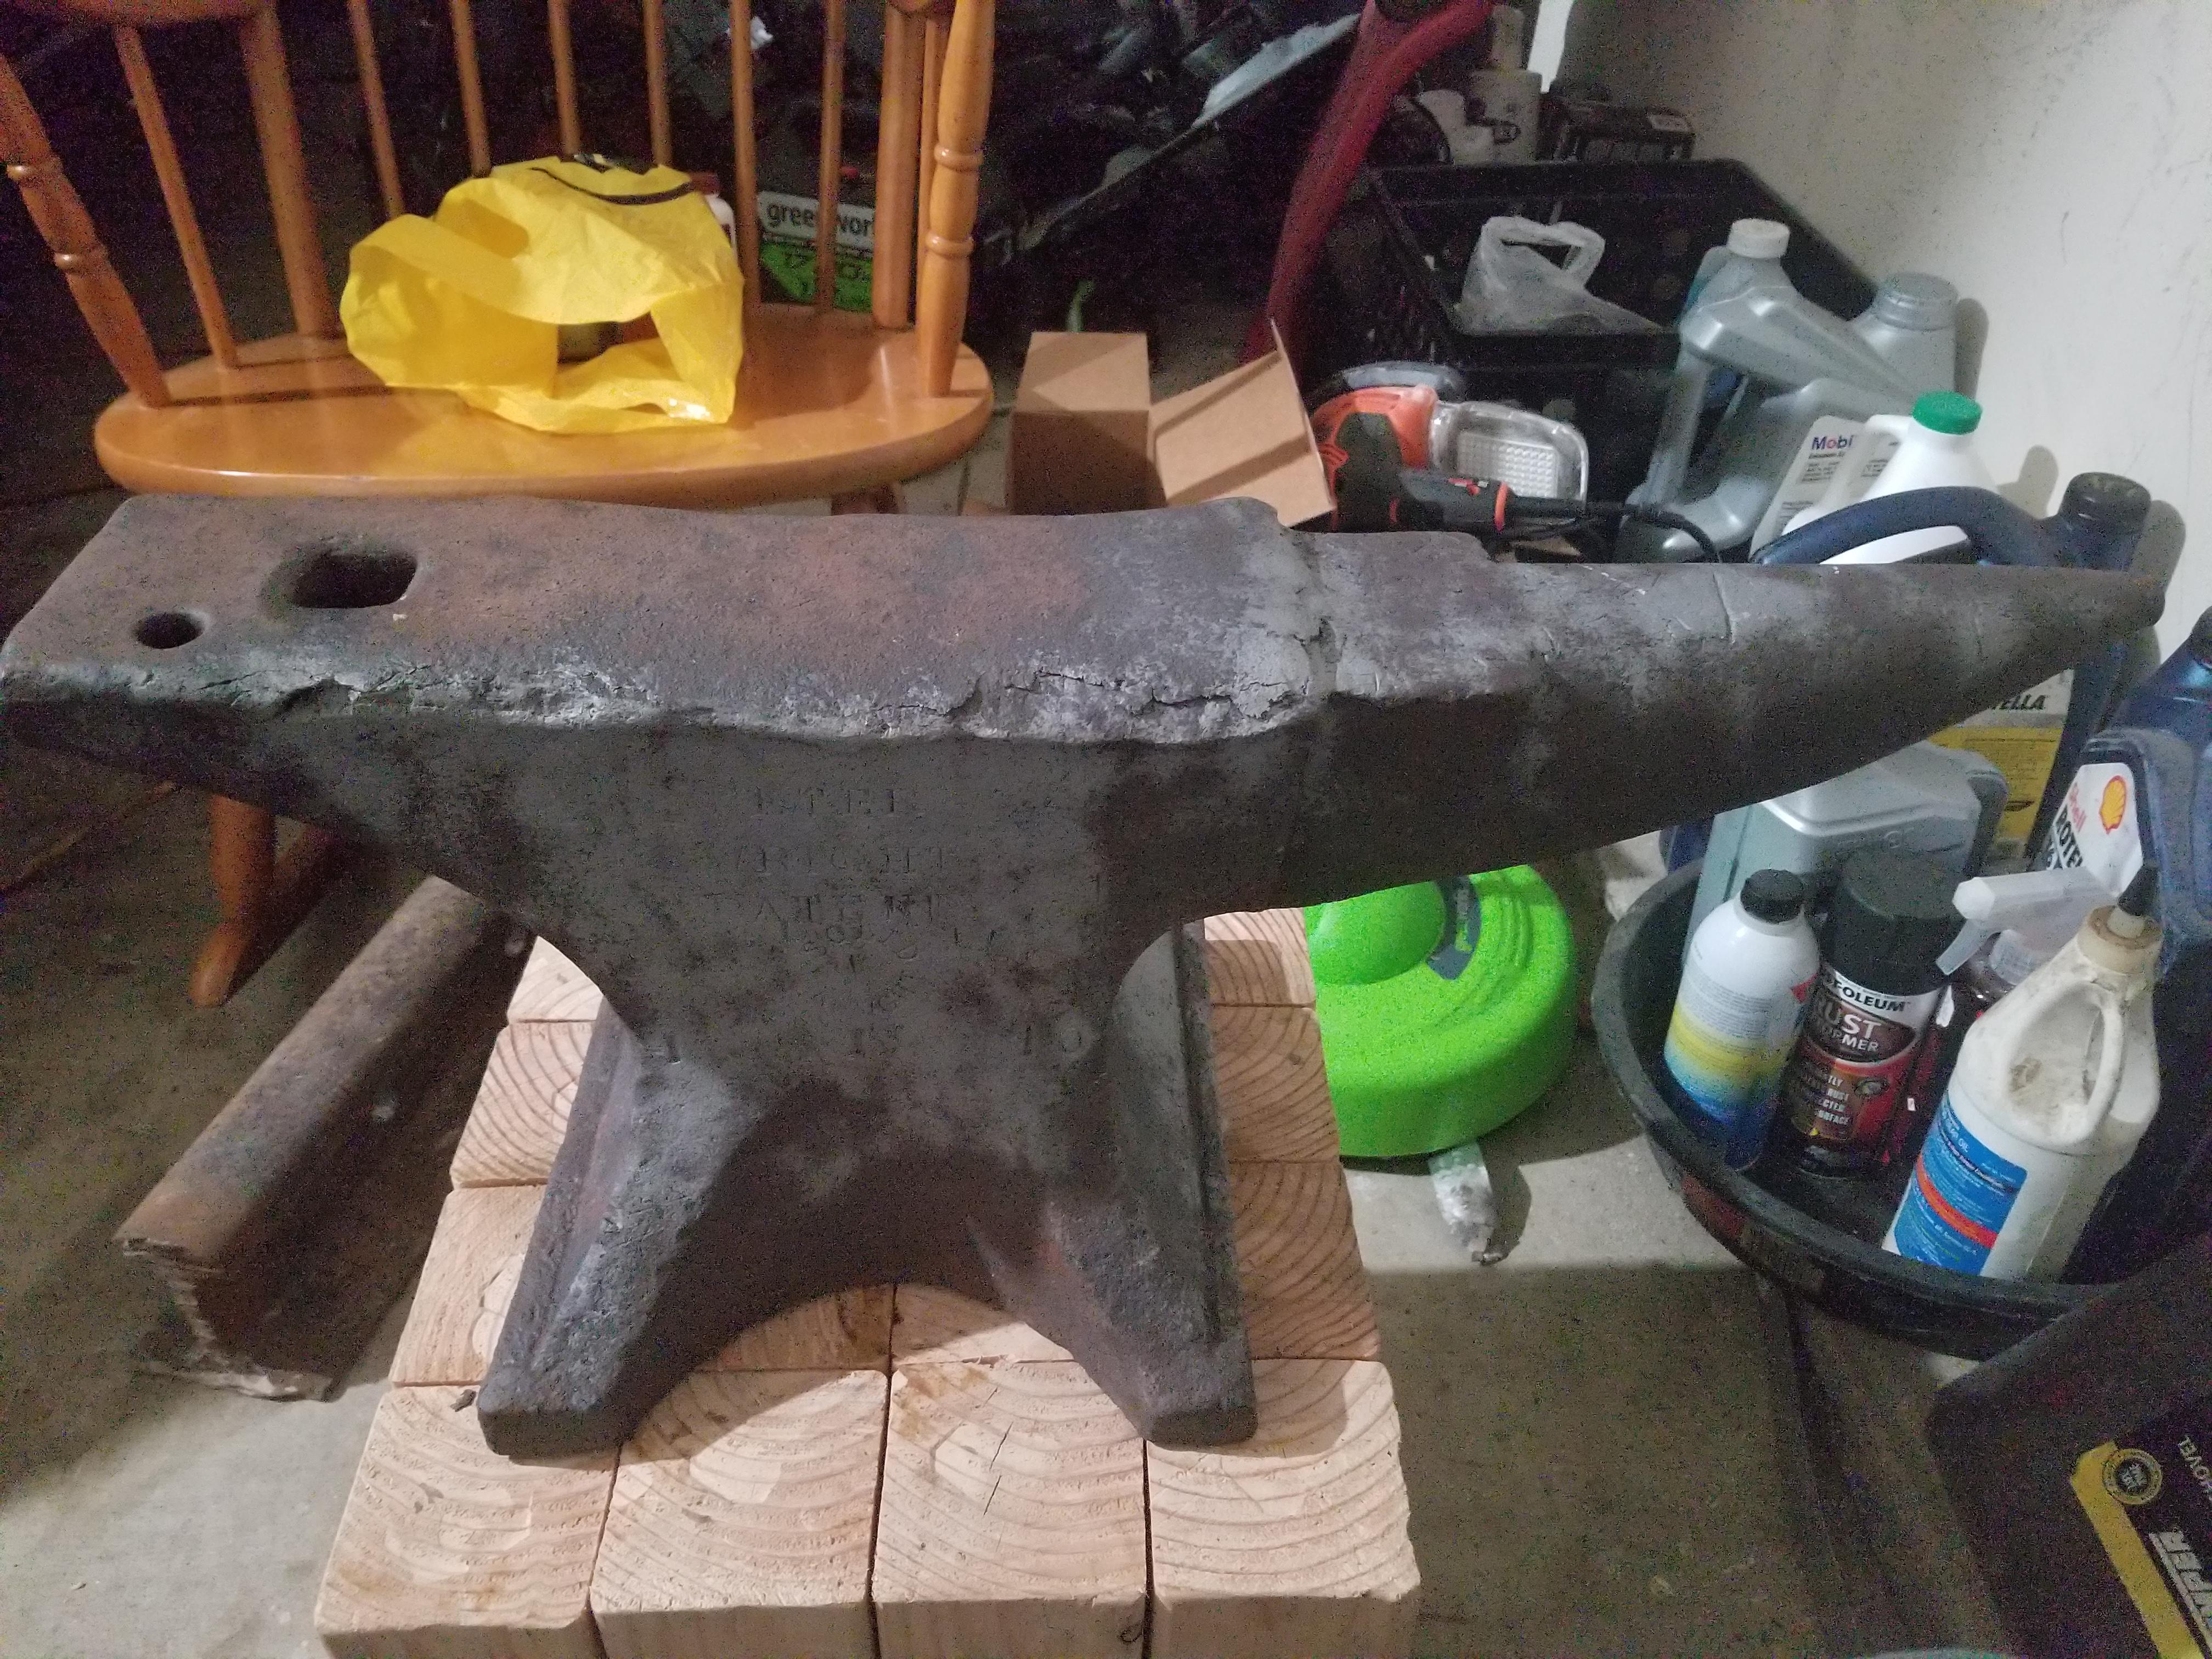
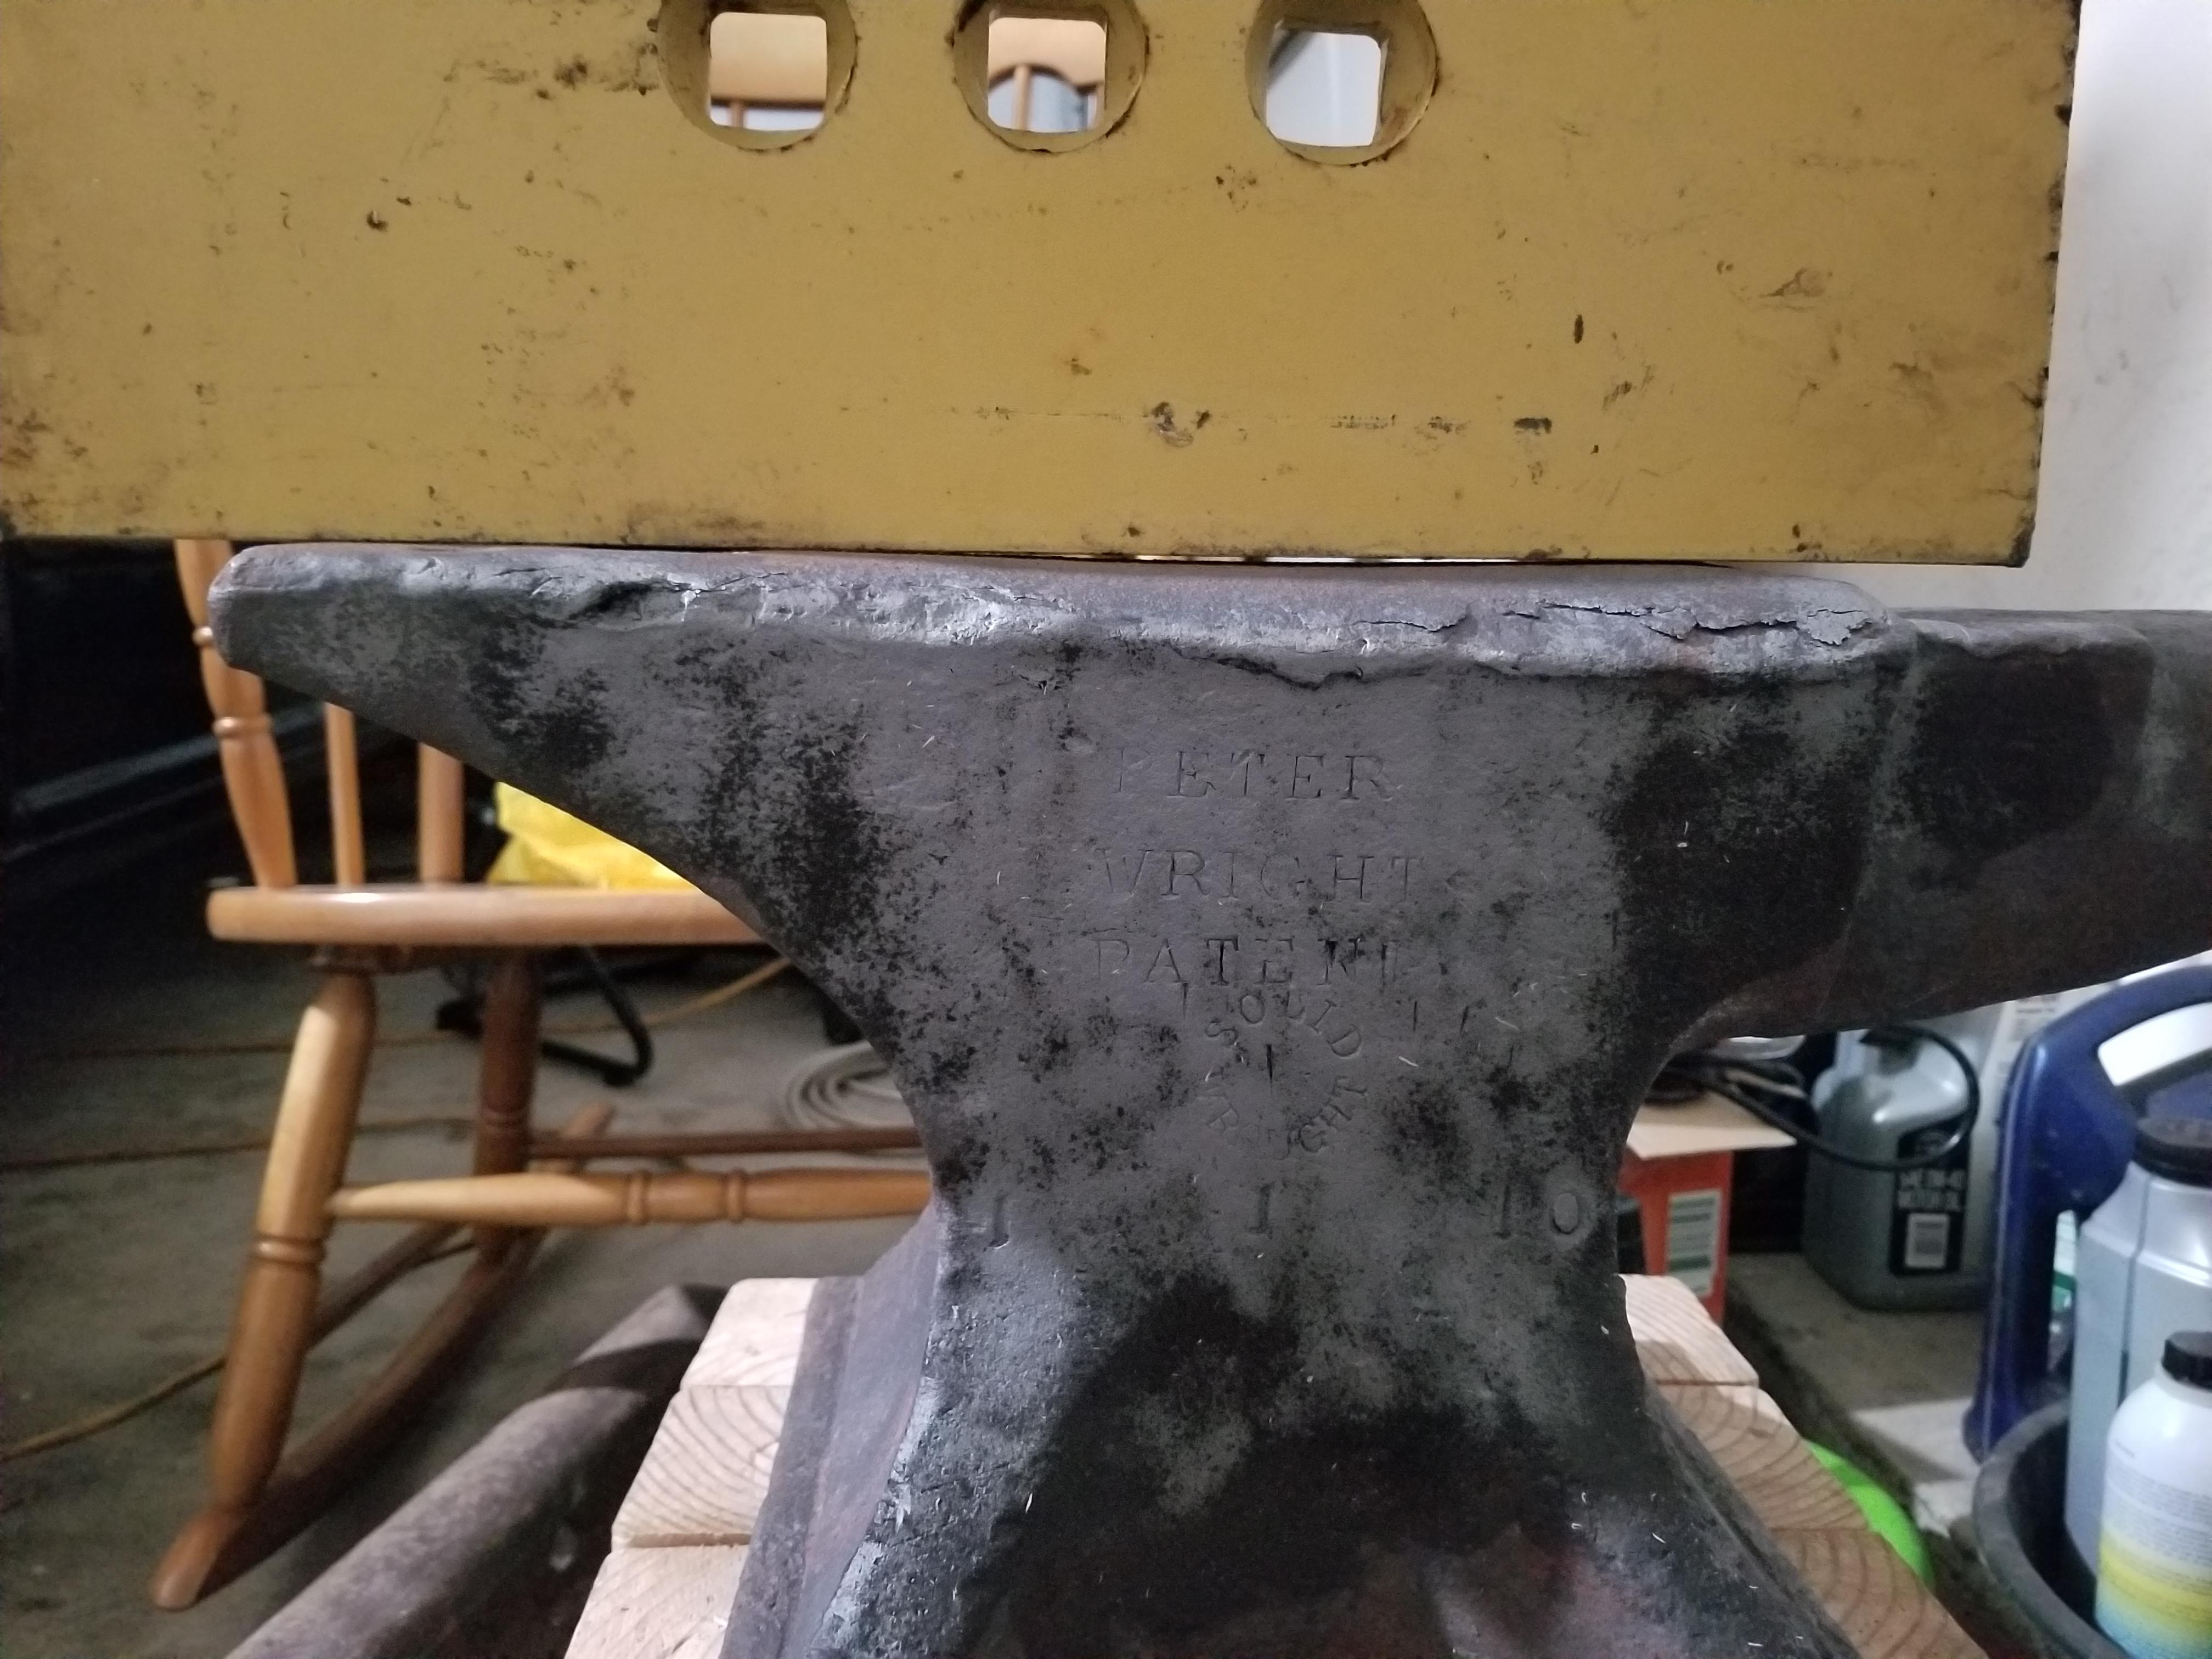
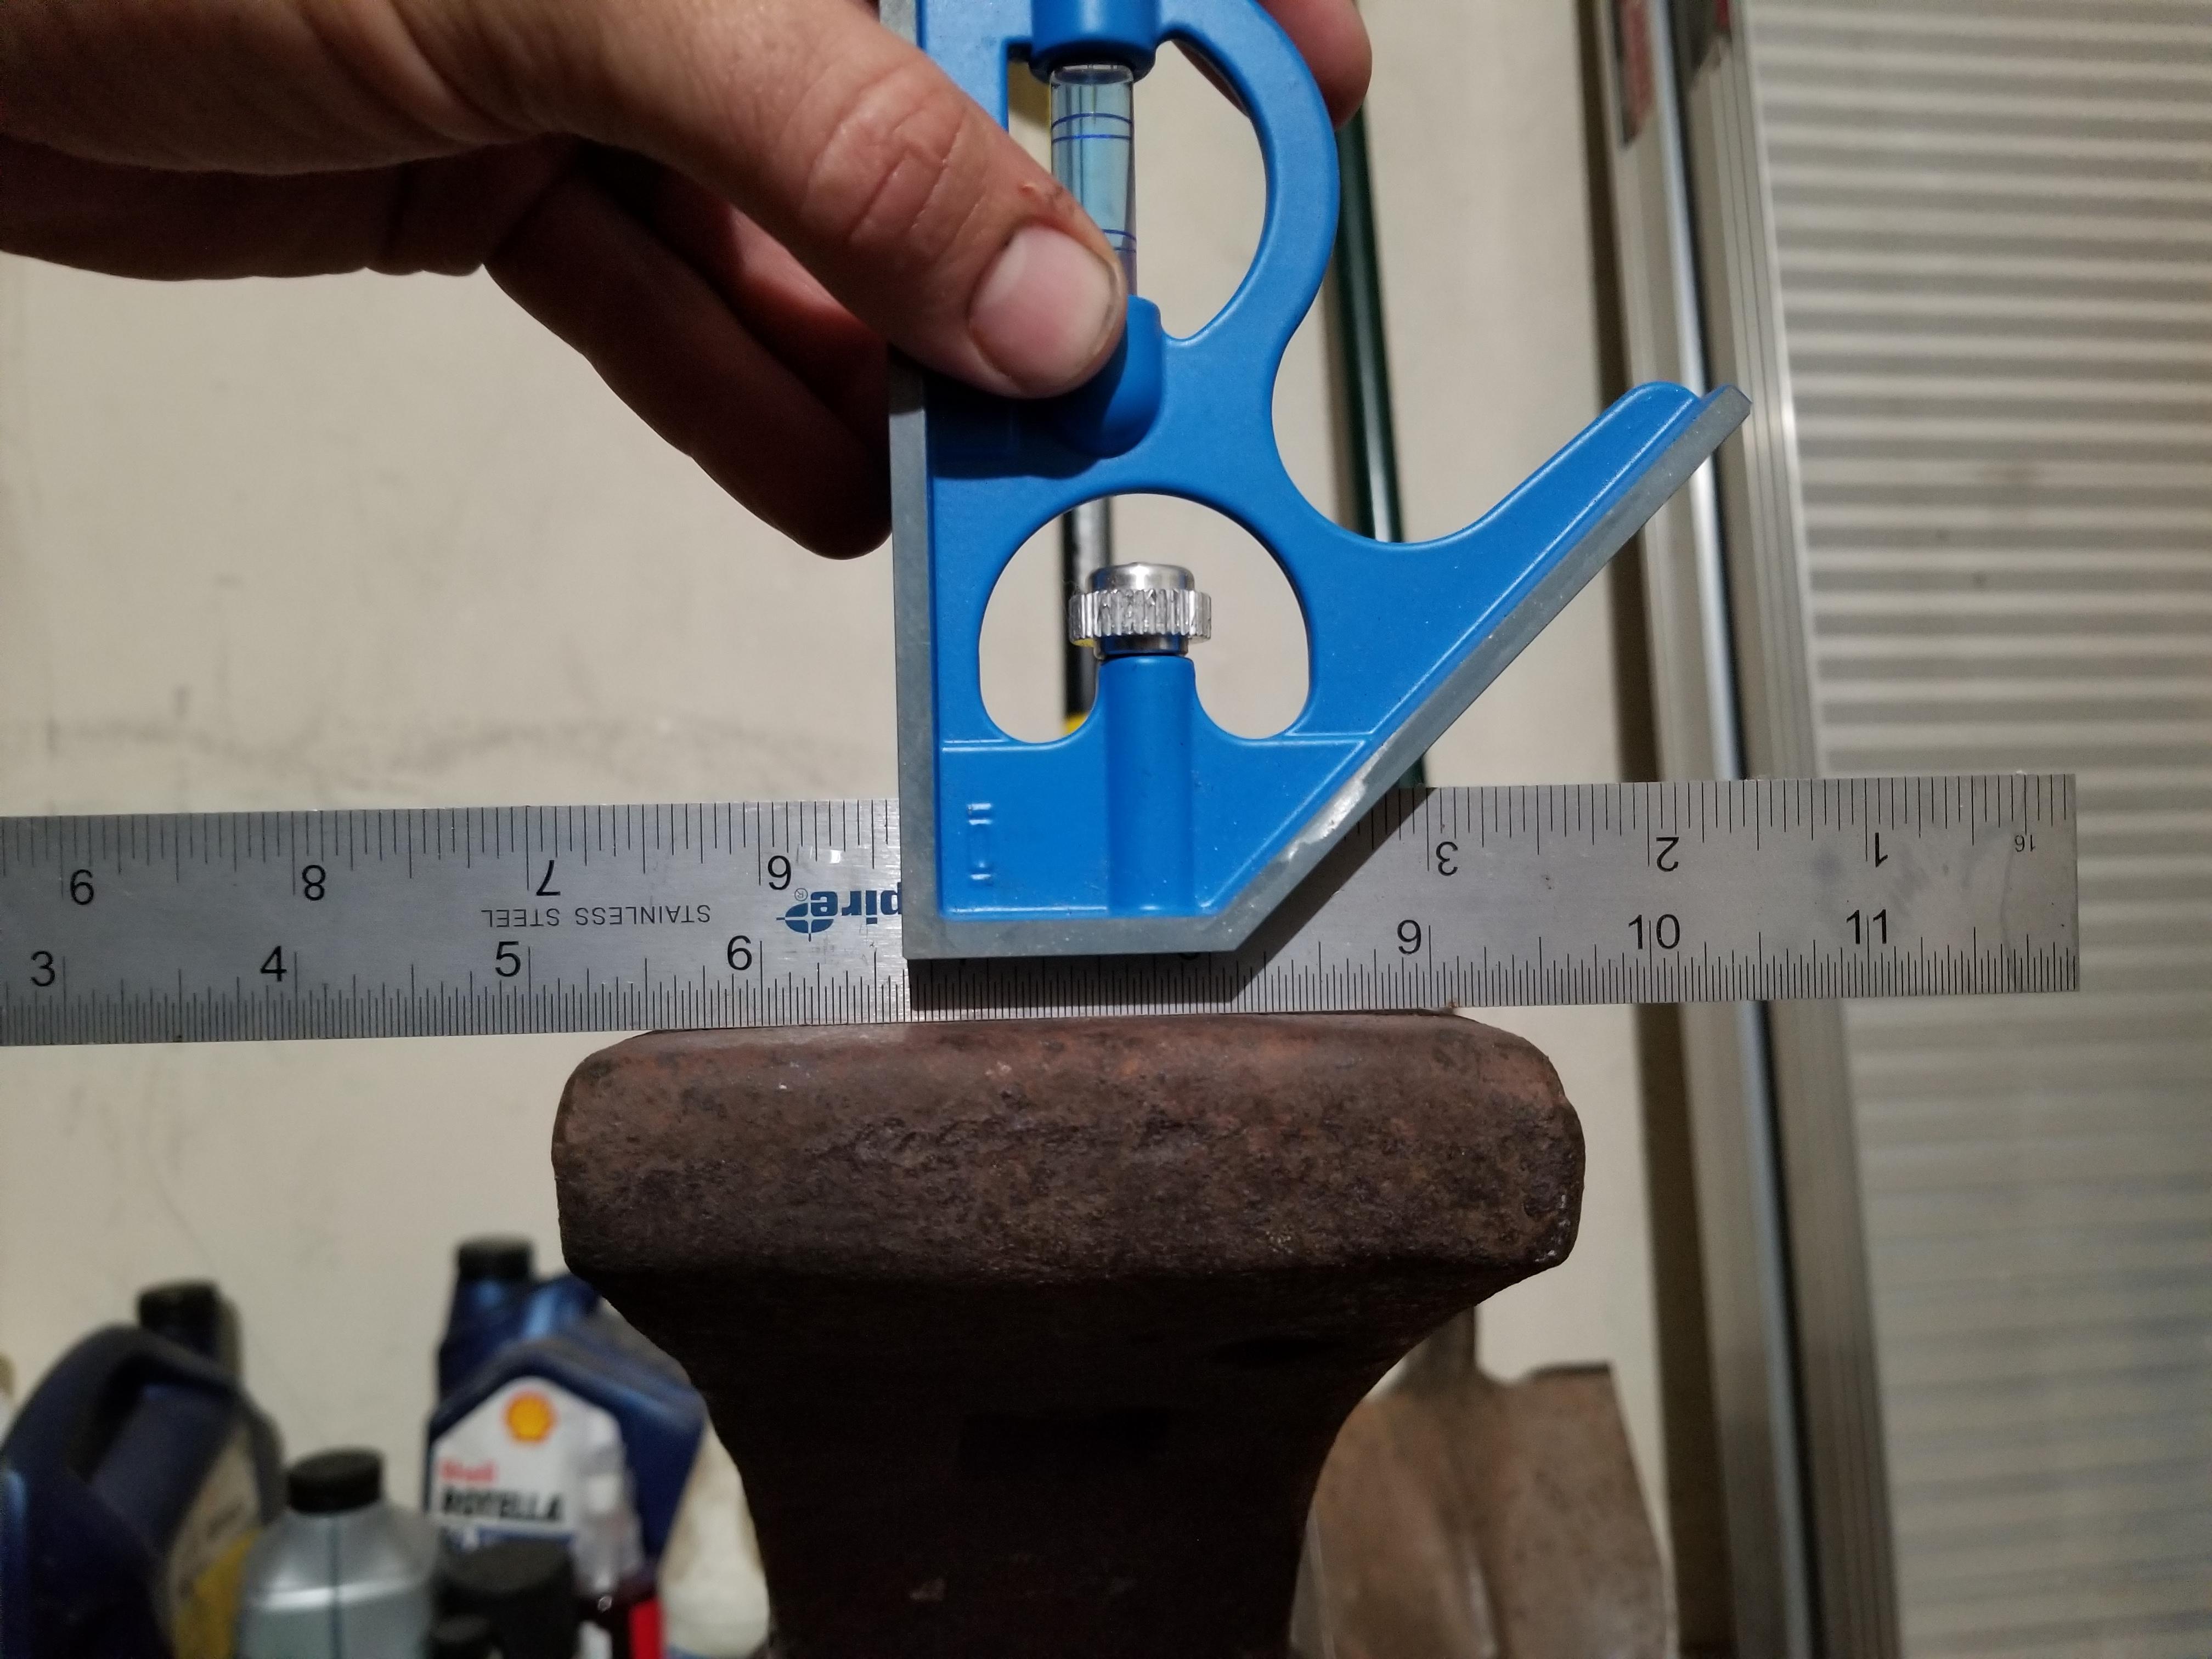
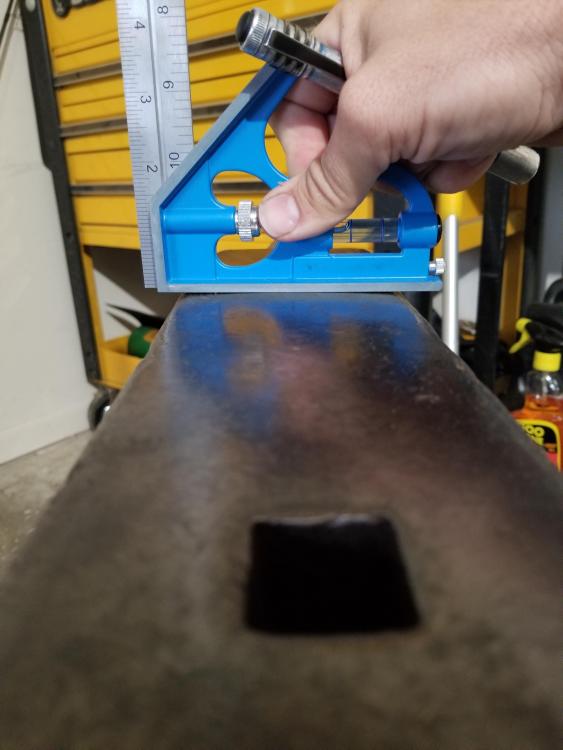
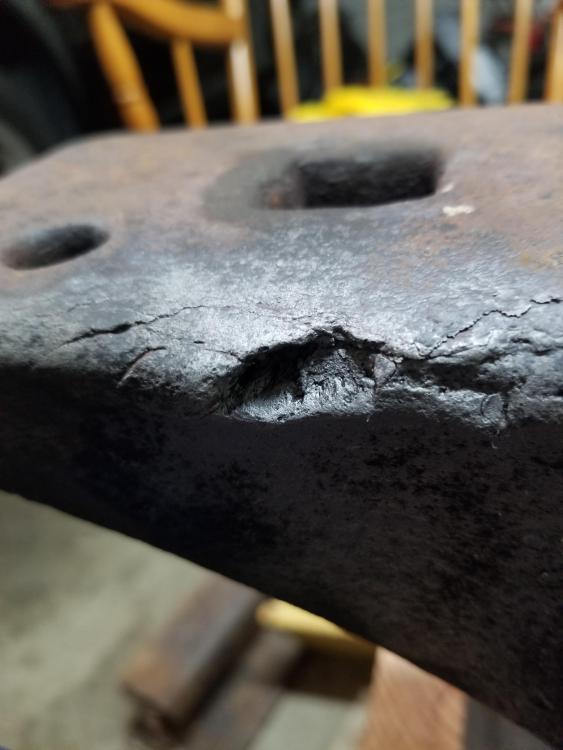
Hello all, I just yesterday got my hands on a 150lb (1-1-10) Peter Wright, 1860-1890 it looks like. I paid right about $0.50/lb. This is my first anvil. My 7 year old got to make a crude rebar knife 3 months ago at a tractor show, I went to a festival with a large number of smiths back 2 months ago, and this last Saturday I took a class- made nails, leaves, flowers, and horse head bottle openers. Had a blast. Here's the reason for the price- this girl has seen her better days. The face is... I don't want to say trashed? It needs love, and I want to give it. The local smiths recommended building it up with 7018, then hard facing in 2 passes, all with a 400-450 preheat- the recommendation was over the phone, they didn't see the degree of delam. I read the article on restoration using Stoody rods, but that is a bit of a pricey prospect for a heavy equipment tech. I have access to a large amount of 7018 rod, a fair amount of 6011, then maybe 5lbs each of WearArc 3-IP and 5-IP. I am not in a position to argue with the way recommended in the 1998 article- I have 9 hours of smithing experience, and have seen less than a dozen anvils in my life leading up to the festival I went to. I understand PW has quite the legacy, and I want to respect that. My game plan was to chisel off the loosened pieces of face, thoroughly clean off the corrosion, chamfer and slightly undercut the edges of the breakage points, pre-heat with a pair of torpedo heaters, then use the shop Miller to build the whole face up to a reasonable level, likely in a stitch pattern to prevent excessive localized heating and stresses (may even throw in power-needling in between for stress relief) then rough-grind level and flat before a double layer of impact-resistant hard face- be that 5-IP, 1105, or something else. It should be said, I am not a welder, but I can weld reasonably well and have access to certified welders that would be lunch or a 12-pack away from helping me if need be. Anyway, I want to do this right. I'm a dozen or so articles into reading, a half dozen YouTube videos in, and many conversations with people in real life. I would appreciate the input of those with waay more experience than I. As an aside, for my class I was on a 75kg Euroanvils anvil. Had quite nice rebound and a pleasant, though muffled, ring. Thanks in advance! (Yes that is a cutting edge- I didn't have a better straight edge long enough to span the face)