BLDSMTH
Members
-
Joined
-
Last visited
Everything posted by BLDSMTH
-
If you would have read the entire post you would know what anvil I was talking about
-
The sulfur in the copper causes red short at the temps we forge weld at and the molten copper infuses itself between the layers and contaminates the weld. The red short explains the crumbling and you can see the copper between the welds. Forging copper is different than melting copper and forging it doesn't leave any residue left over spilling molten copper does. Take a crucible and put it in the forge and melt it and then leave it in the forge and then try to forge weld.
-
Copper will contaminate your welds every time. It is a well known fact!!!
-
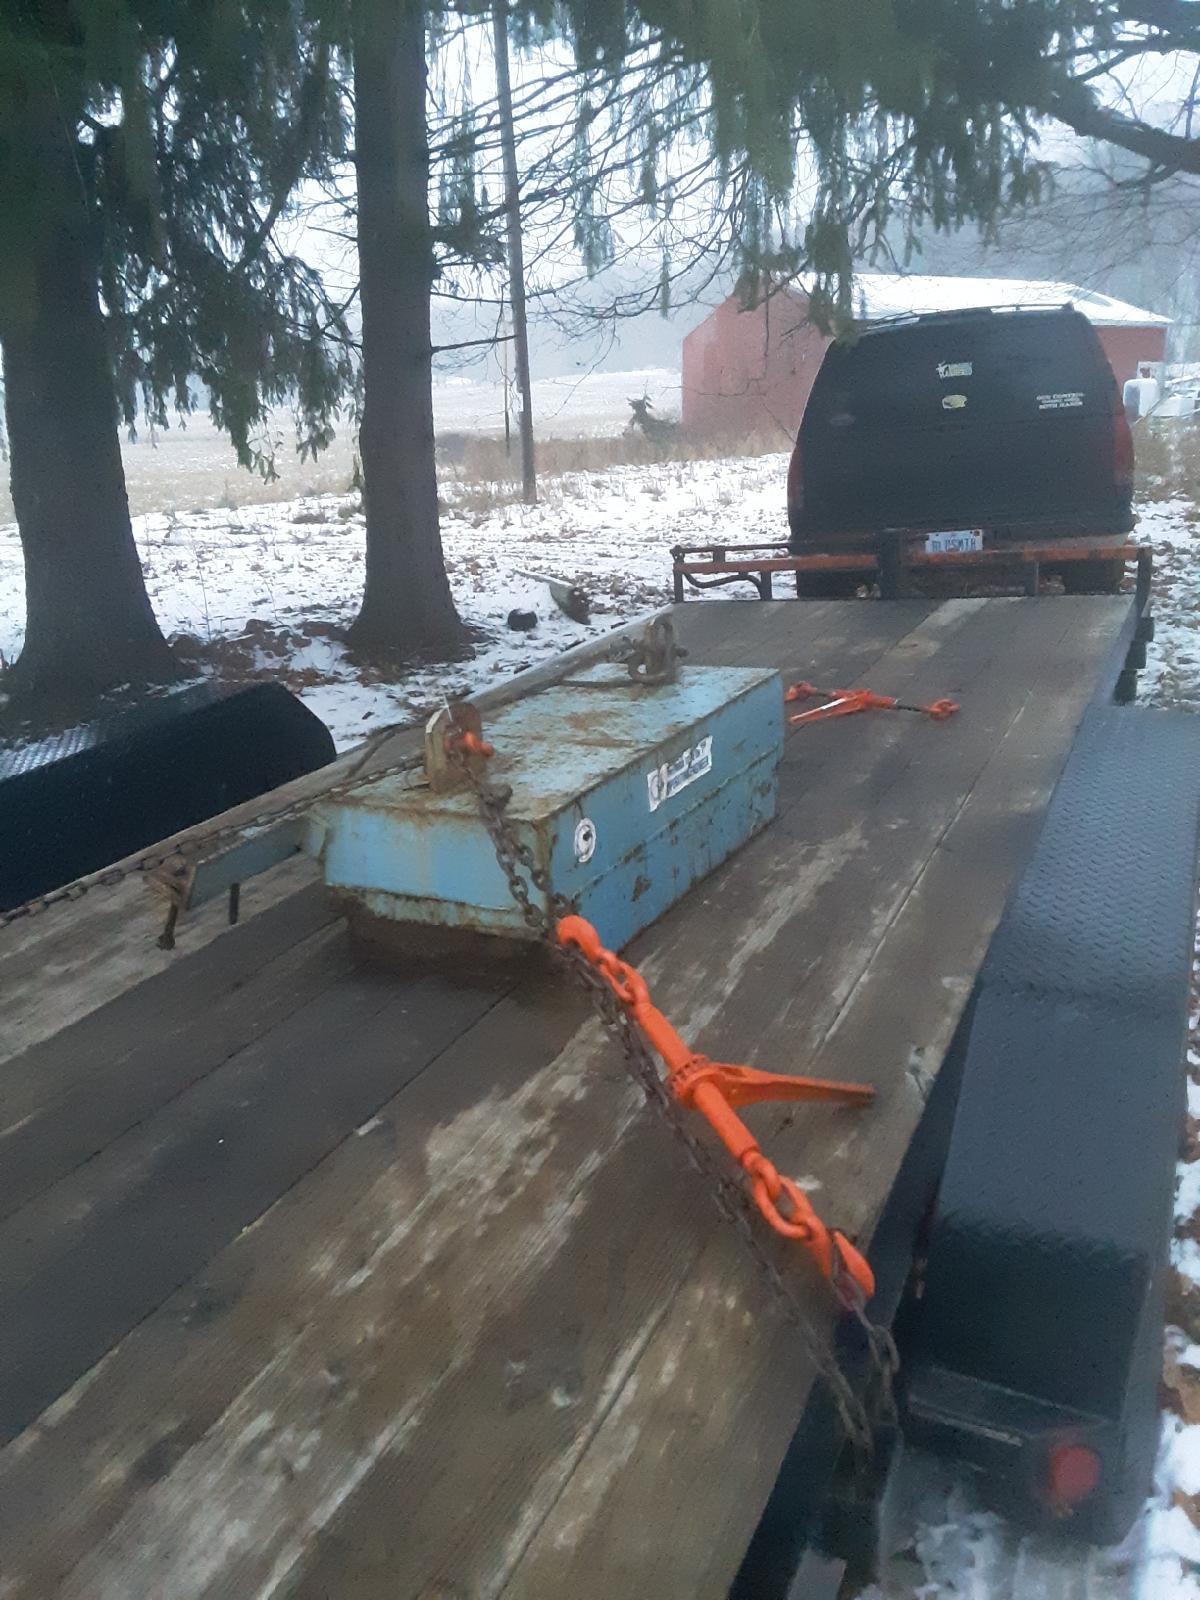
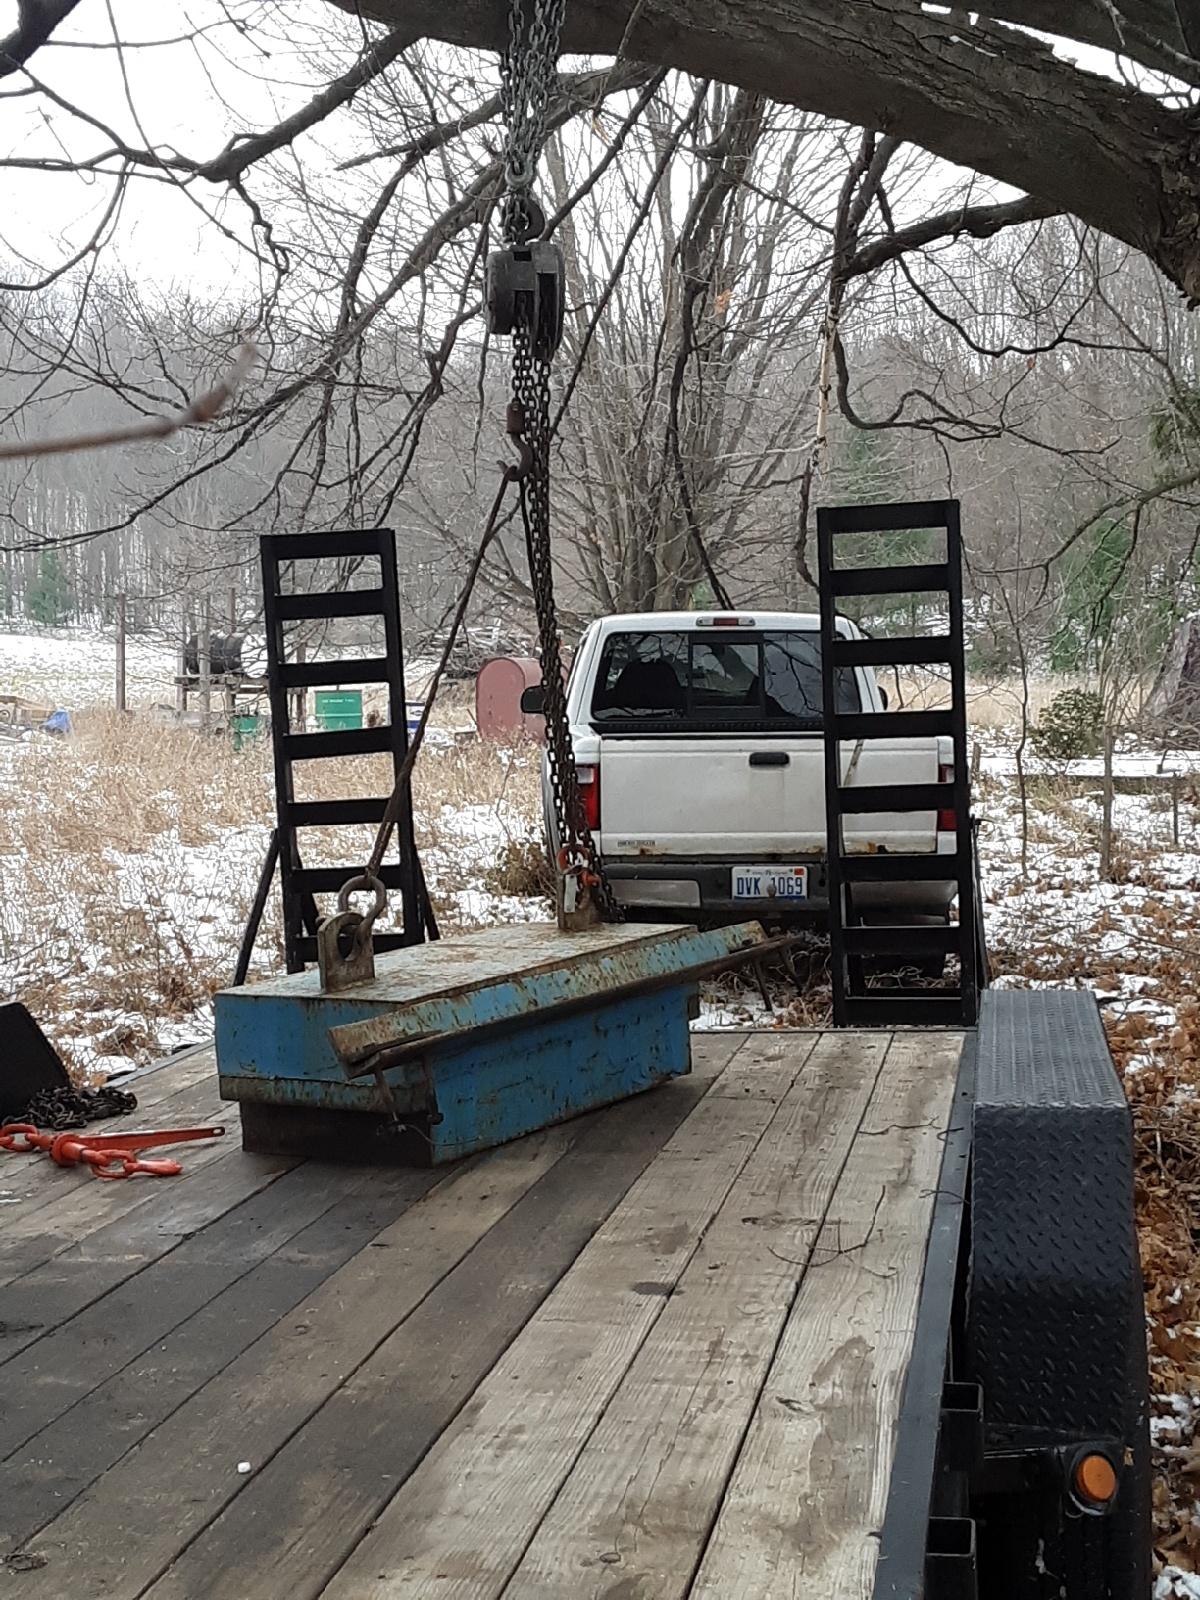
66lb Ebay anvilI have see 2 double horns that appear to be completely welded up (arc welding). I will look around and see if I can find the pictures. Note: these are not going to be my pictures. What's the chances my anvil is steel?Ok I will bolt it to the stand. Another question...how many makers actually welded anvils up using modern methods?I'm just concerned about welding through the thickness of the feet of the anvil which is about 4 inches at its thickest point across. I'm pretty sure its steel...it says accicao or something on the side but it translates to steel in English.
.thumb.jpeg.9aeacd21f7381ff71d6140253b8d0751.jpeg) Sorry I didn't mean to offend you I thought it was a serious suggestion. Lol the reason this comes up to me is because I have a 66 lb Ebay anvil and I am going to make a stand and I was thinking about welding it to the stand. I figured I'm not doing any damage to an antique or even a nice new anvil.Forge weld the anvil to the stand? I am asking if welding the anvil to the stand would make add to the mass of the anvil.What kind of amperage would it take to full penetrate weld 4 inches?Full penetration weld. The reason I bring up the subject is the anvils with the welded base (electric weld) has me wondering if the base actually becomes part of the anvil or just serves as a means of stability. Also what anvil makers actually welded anvils up using modern methods?Does welding your anvil to a steel stand increase the efficiency of it? Kinda like adding more mass under it and making it heavier.Rust inhibiting grease!!!
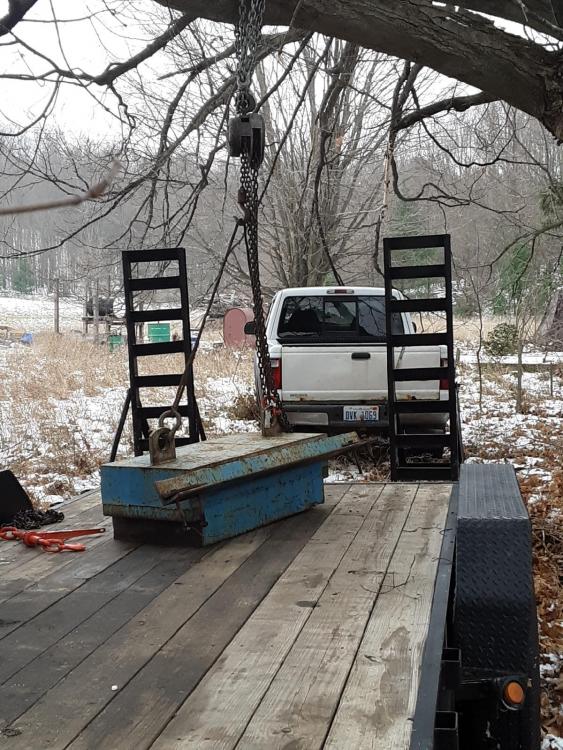
Sorry I didn't mean to offend you I thought it was a serious suggestion. Lol the reason this comes up to me is because I have a 66 lb Ebay anvil and I am going to make a stand and I was thinking about welding it to the stand. I figured I'm not doing any damage to an antique or even a nice new anvil.Forge weld the anvil to the stand? I am asking if welding the anvil to the stand would make add to the mass of the anvil.What kind of amperage would it take to full penetrate weld 4 inches?Full penetration weld. The reason I bring up the subject is the anvils with the welded base (electric weld) has me wondering if the base actually becomes part of the anvil or just serves as a means of stability. Also what anvil makers actually welded anvils up using modern methods?Does welding your anvil to a steel stand increase the efficiency of it? Kinda like adding more mass under it and making it heavier.Rust inhibiting grease!!!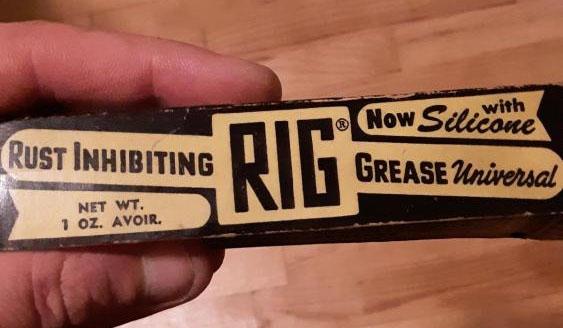 3800 lbs. This will be the anvil of a power hammer I'm building.
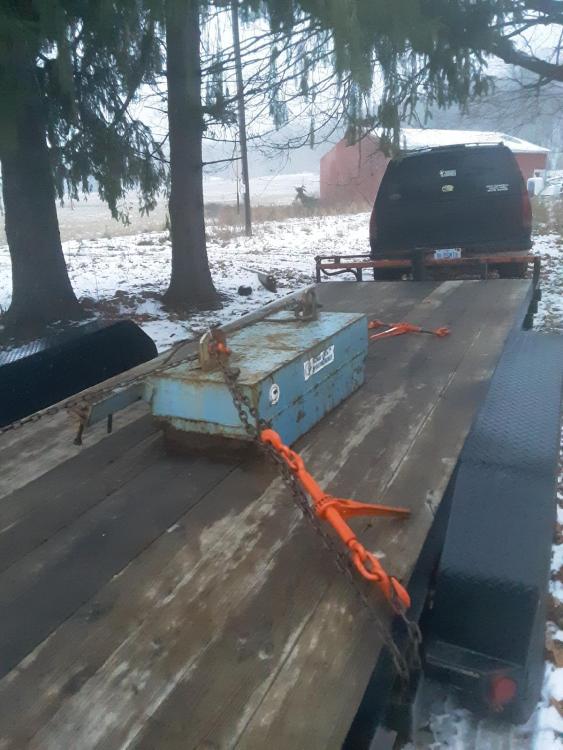
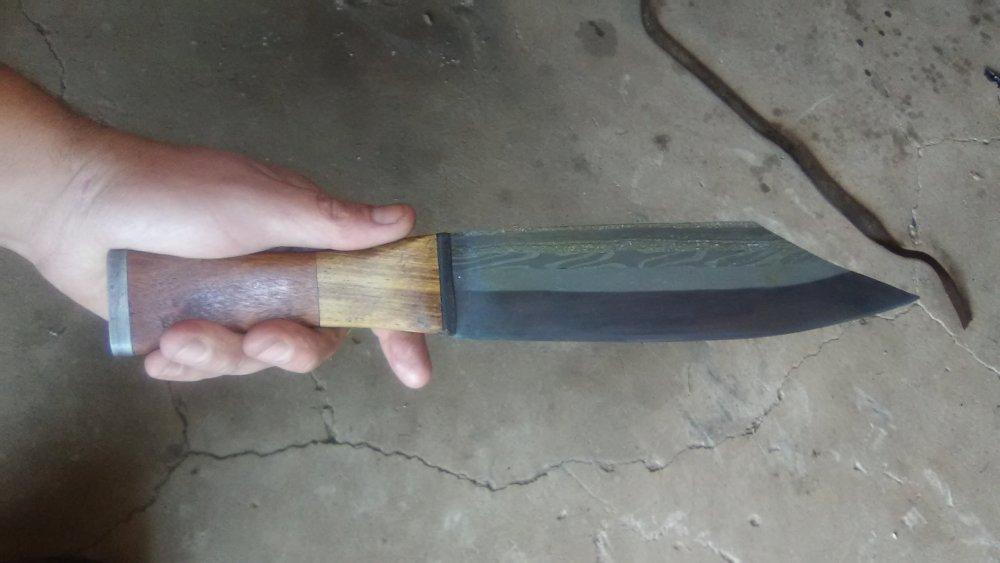
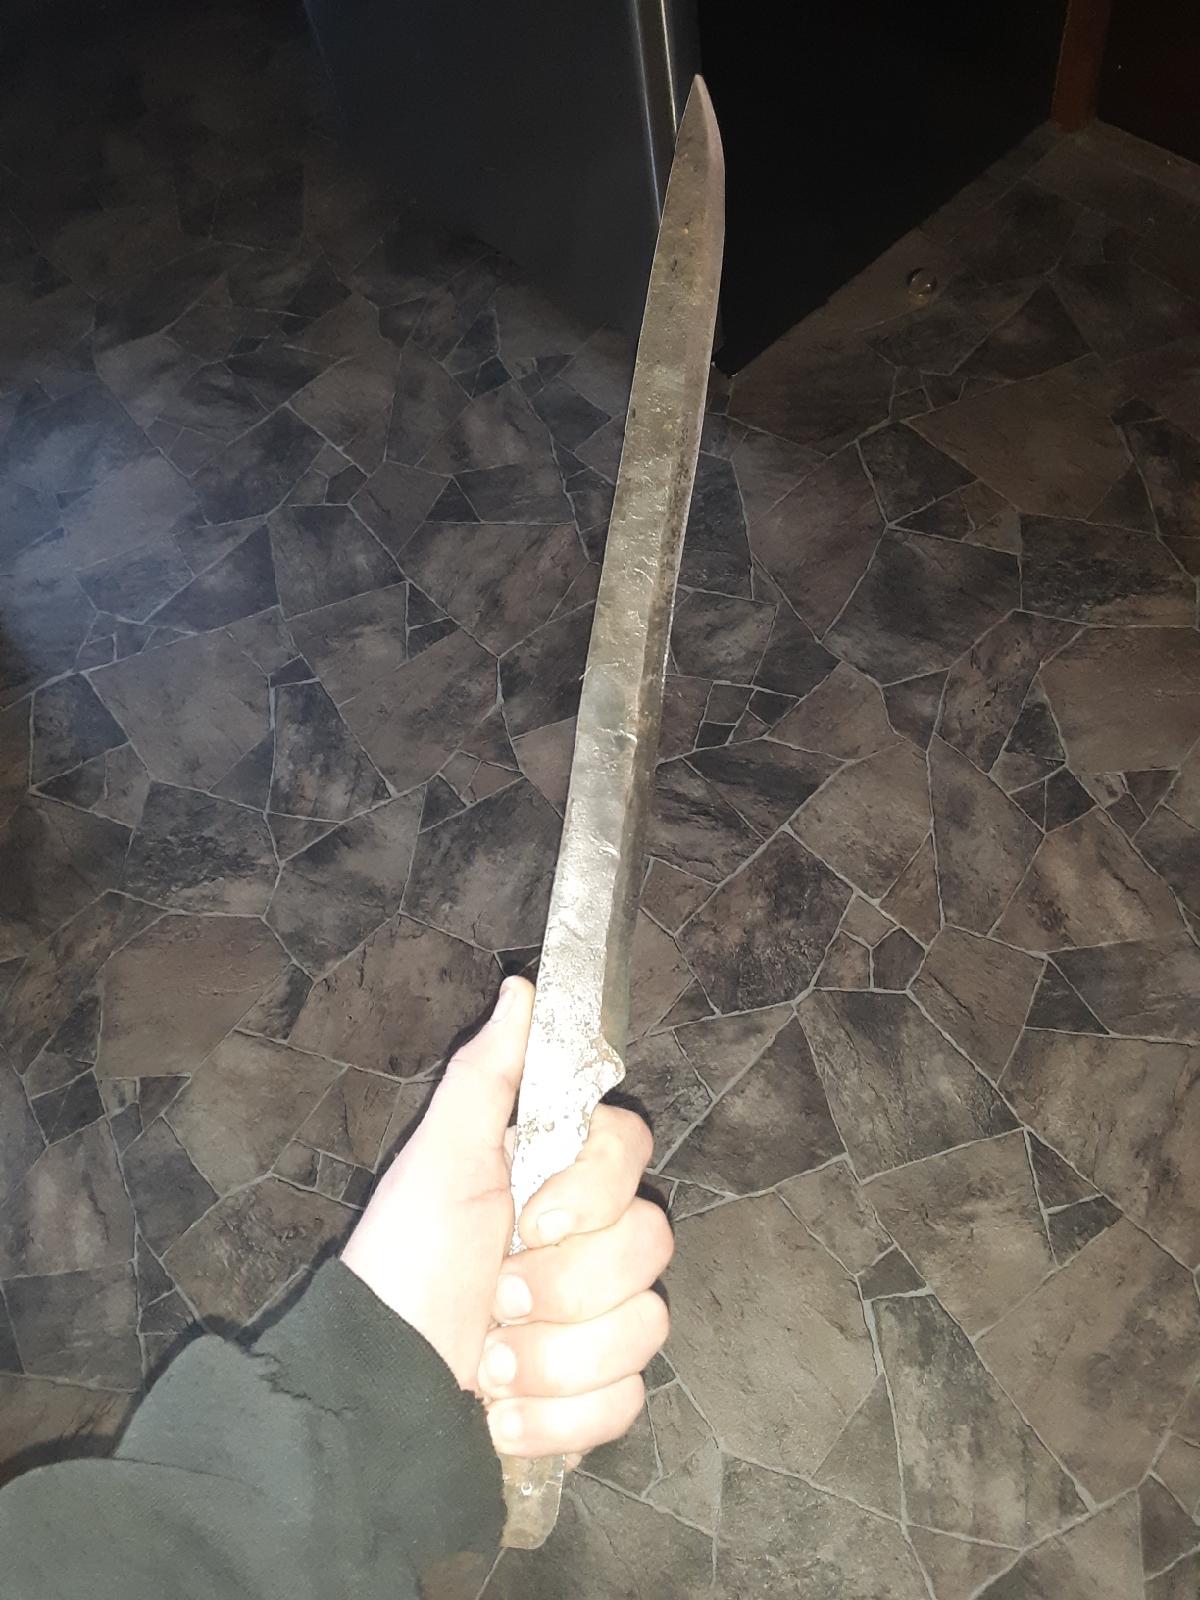
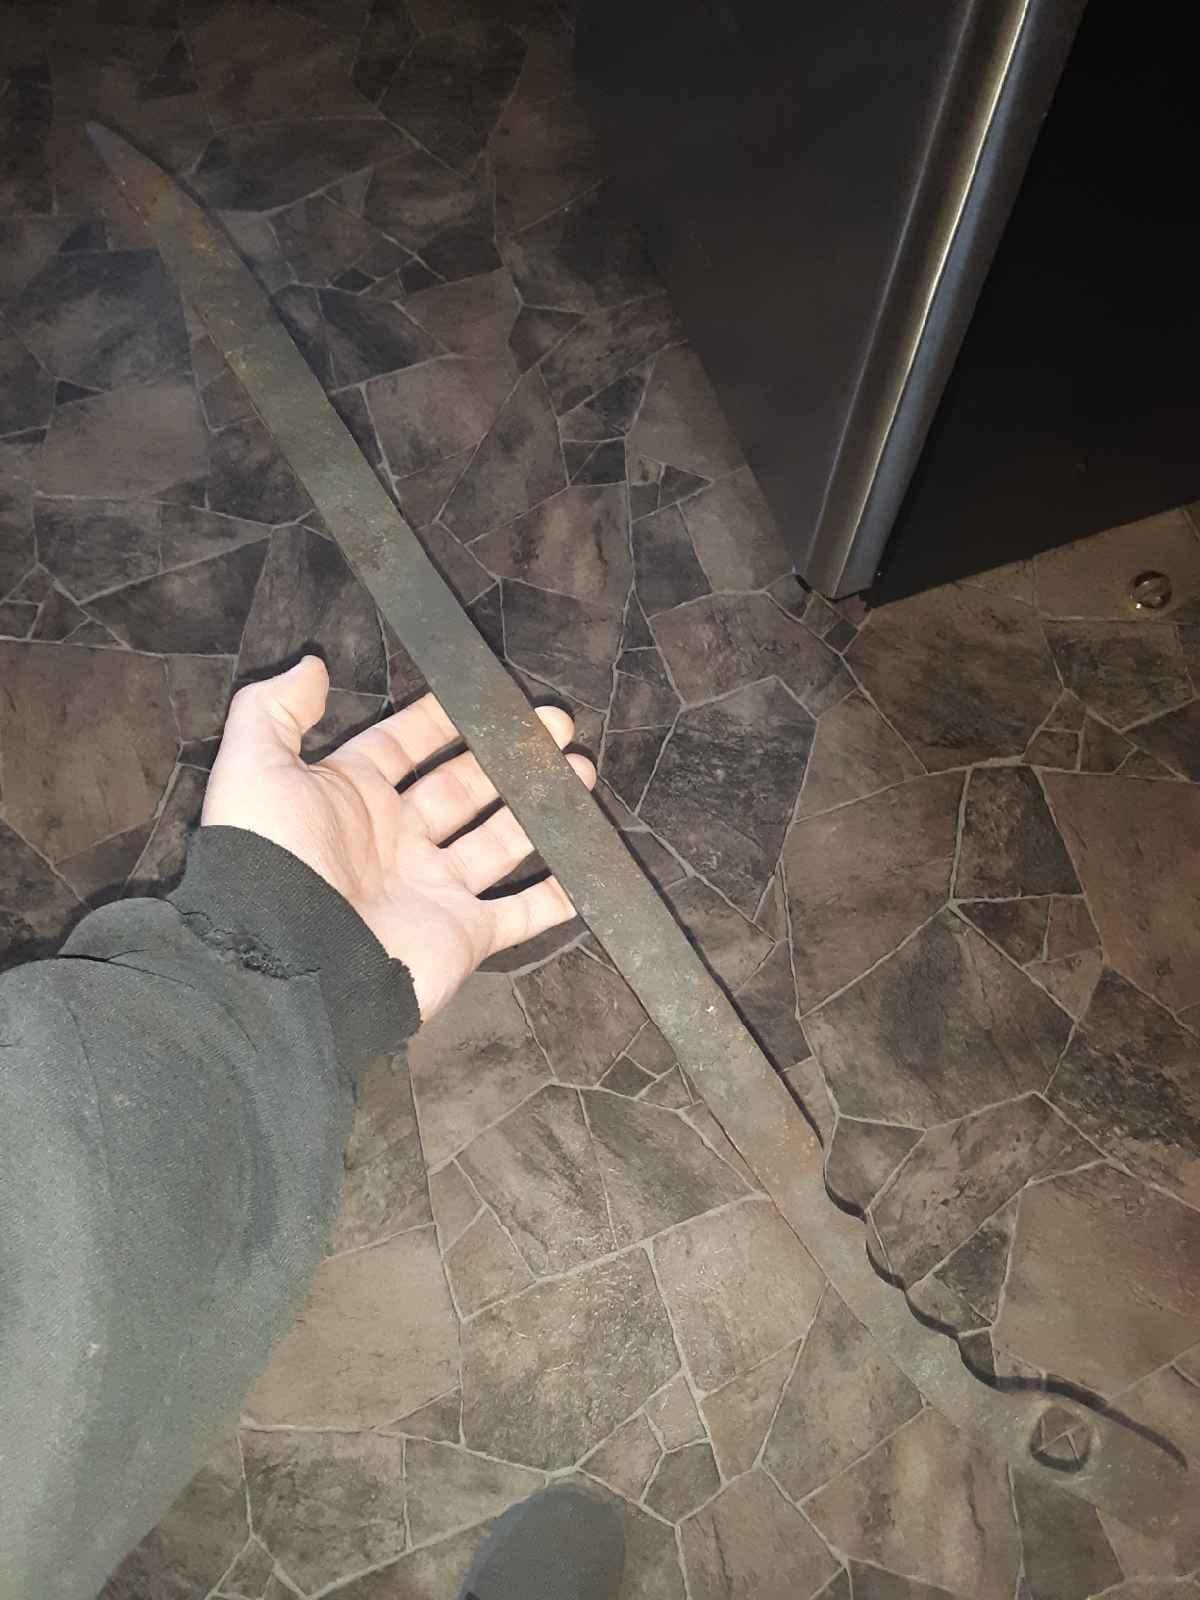
 There probably the anvils from alibabaI would recommend Holland anvils. The owner of the foundry is a regular member here. I plan on buying both of his swage blocks and a double horn. I'm lucky to be here in west Michigan to be able to pick them up but he is willing to ship.Dunning-Kruger example....I have never heard that before. Lol Right now the blade on the "sword" as forged is 1/4 inch and distal about 3 inches from the tip its 3/16 before any grinding. The blade itself is 21 inches overall length is 28 inches. This was supposed to be a test for me to forge as close to shape without leaving any hammer marks and to make a light flexible sword. This one is all for destructive testing and see what the heat treat and temper is like and how far it will flex and spring back. I have been working primarily with 5160 but I know heat treating my own material will be a whole different world.My goal Is to make a "traditional" viking sword. I am using modern methods like using the blower. And as for making the edge steel from crucible steel I just want a functional sword in the end and I dont see that happening with using just Bloomery iron and I wanted to use something I made and not a modern material. I dont have anyone to mentor me through the smelt so kn sure i wall have to do several smelts before i even get a useable bloom but its something I want to do so I'm going to. I'm not doing this for a sword. I'm doing it for experience. O haven't read the book you referenced but I'm going to the library to see if they can find a copy for me. I will get some measurements of the sword in a little while and see if I can get a weight.Im jealousThis first one has been heat treated and tempered. I had a handle on it but didn't like it and I'm going to make micarta scales for it. I have abused it shaved mild steel with it. Chopped a tree down and haven't blunted the edge. Partly because of the sabre grind. This second one is not quite finished yet. I need to get some 2x72 belts but I forged this as close to shape as possible to practice forging in bevels and and hammer control. I have a home made power hammer I'm building a press I have several forges. I will find the viking seax I made and post a picture of that as well.
 Sure I can...let me dig a couple out and upload the pictures. We just moved so it may take a bit.I am expecting many failures and maybe even never accomplishing my goal but it will be fun venture with many hours of learning. I watched the ulfburt video and now that you bring it up I think im going to go back and watch it again.Hello everyone....I am getting going with everything I need and I think I'm ready. I wanna do everything as traditional as i can. I'm going to start with the search for iron ore. I am going to smelt the ore in a Bloomery furnace (with an electric blower) using homemade charcoal. I think I am going to run 3 smelts and consolidate each bloom into a billet and then forge weld each billet to each other and work those up to about 36 layers do an alternating twist and a hard bend. This will make the core. I want to run a separate smelt run and try to turn it into crucible steel (but no guarantees here). And this bar will make up the edge billet. I want it to be light fast and fully functional. In sure this project is going to be at least a year long endeavor. I am going to start my search for iron ore in the coming weeks and will try to keep updates.
.jpg.aa9d09f6b2c10c5b0990a4fbf10d61a1.jpg)
.jpg.db26cf6ac7584b56656fc0725c4b049f.jpg)
.jpg.1d06d7506f808db13aabcc5e539be7b1.jpg)
.jpg.615fb4c6d23e5be8b944a93674f75ed3.jpg)
.jpg.301a9599e6bfc2833a7f6f68bf51e2a3.jpg)
.jpeg.9c2e373c317e2123fe5cc1163e77383c.jpeg)