Andrew Golabek
Members
-
Joined
-
Last visited
Everything posted by Andrew Golabek
-
-
its going to be a lot of grinding or filing, howre you planning on heat treatment?
-
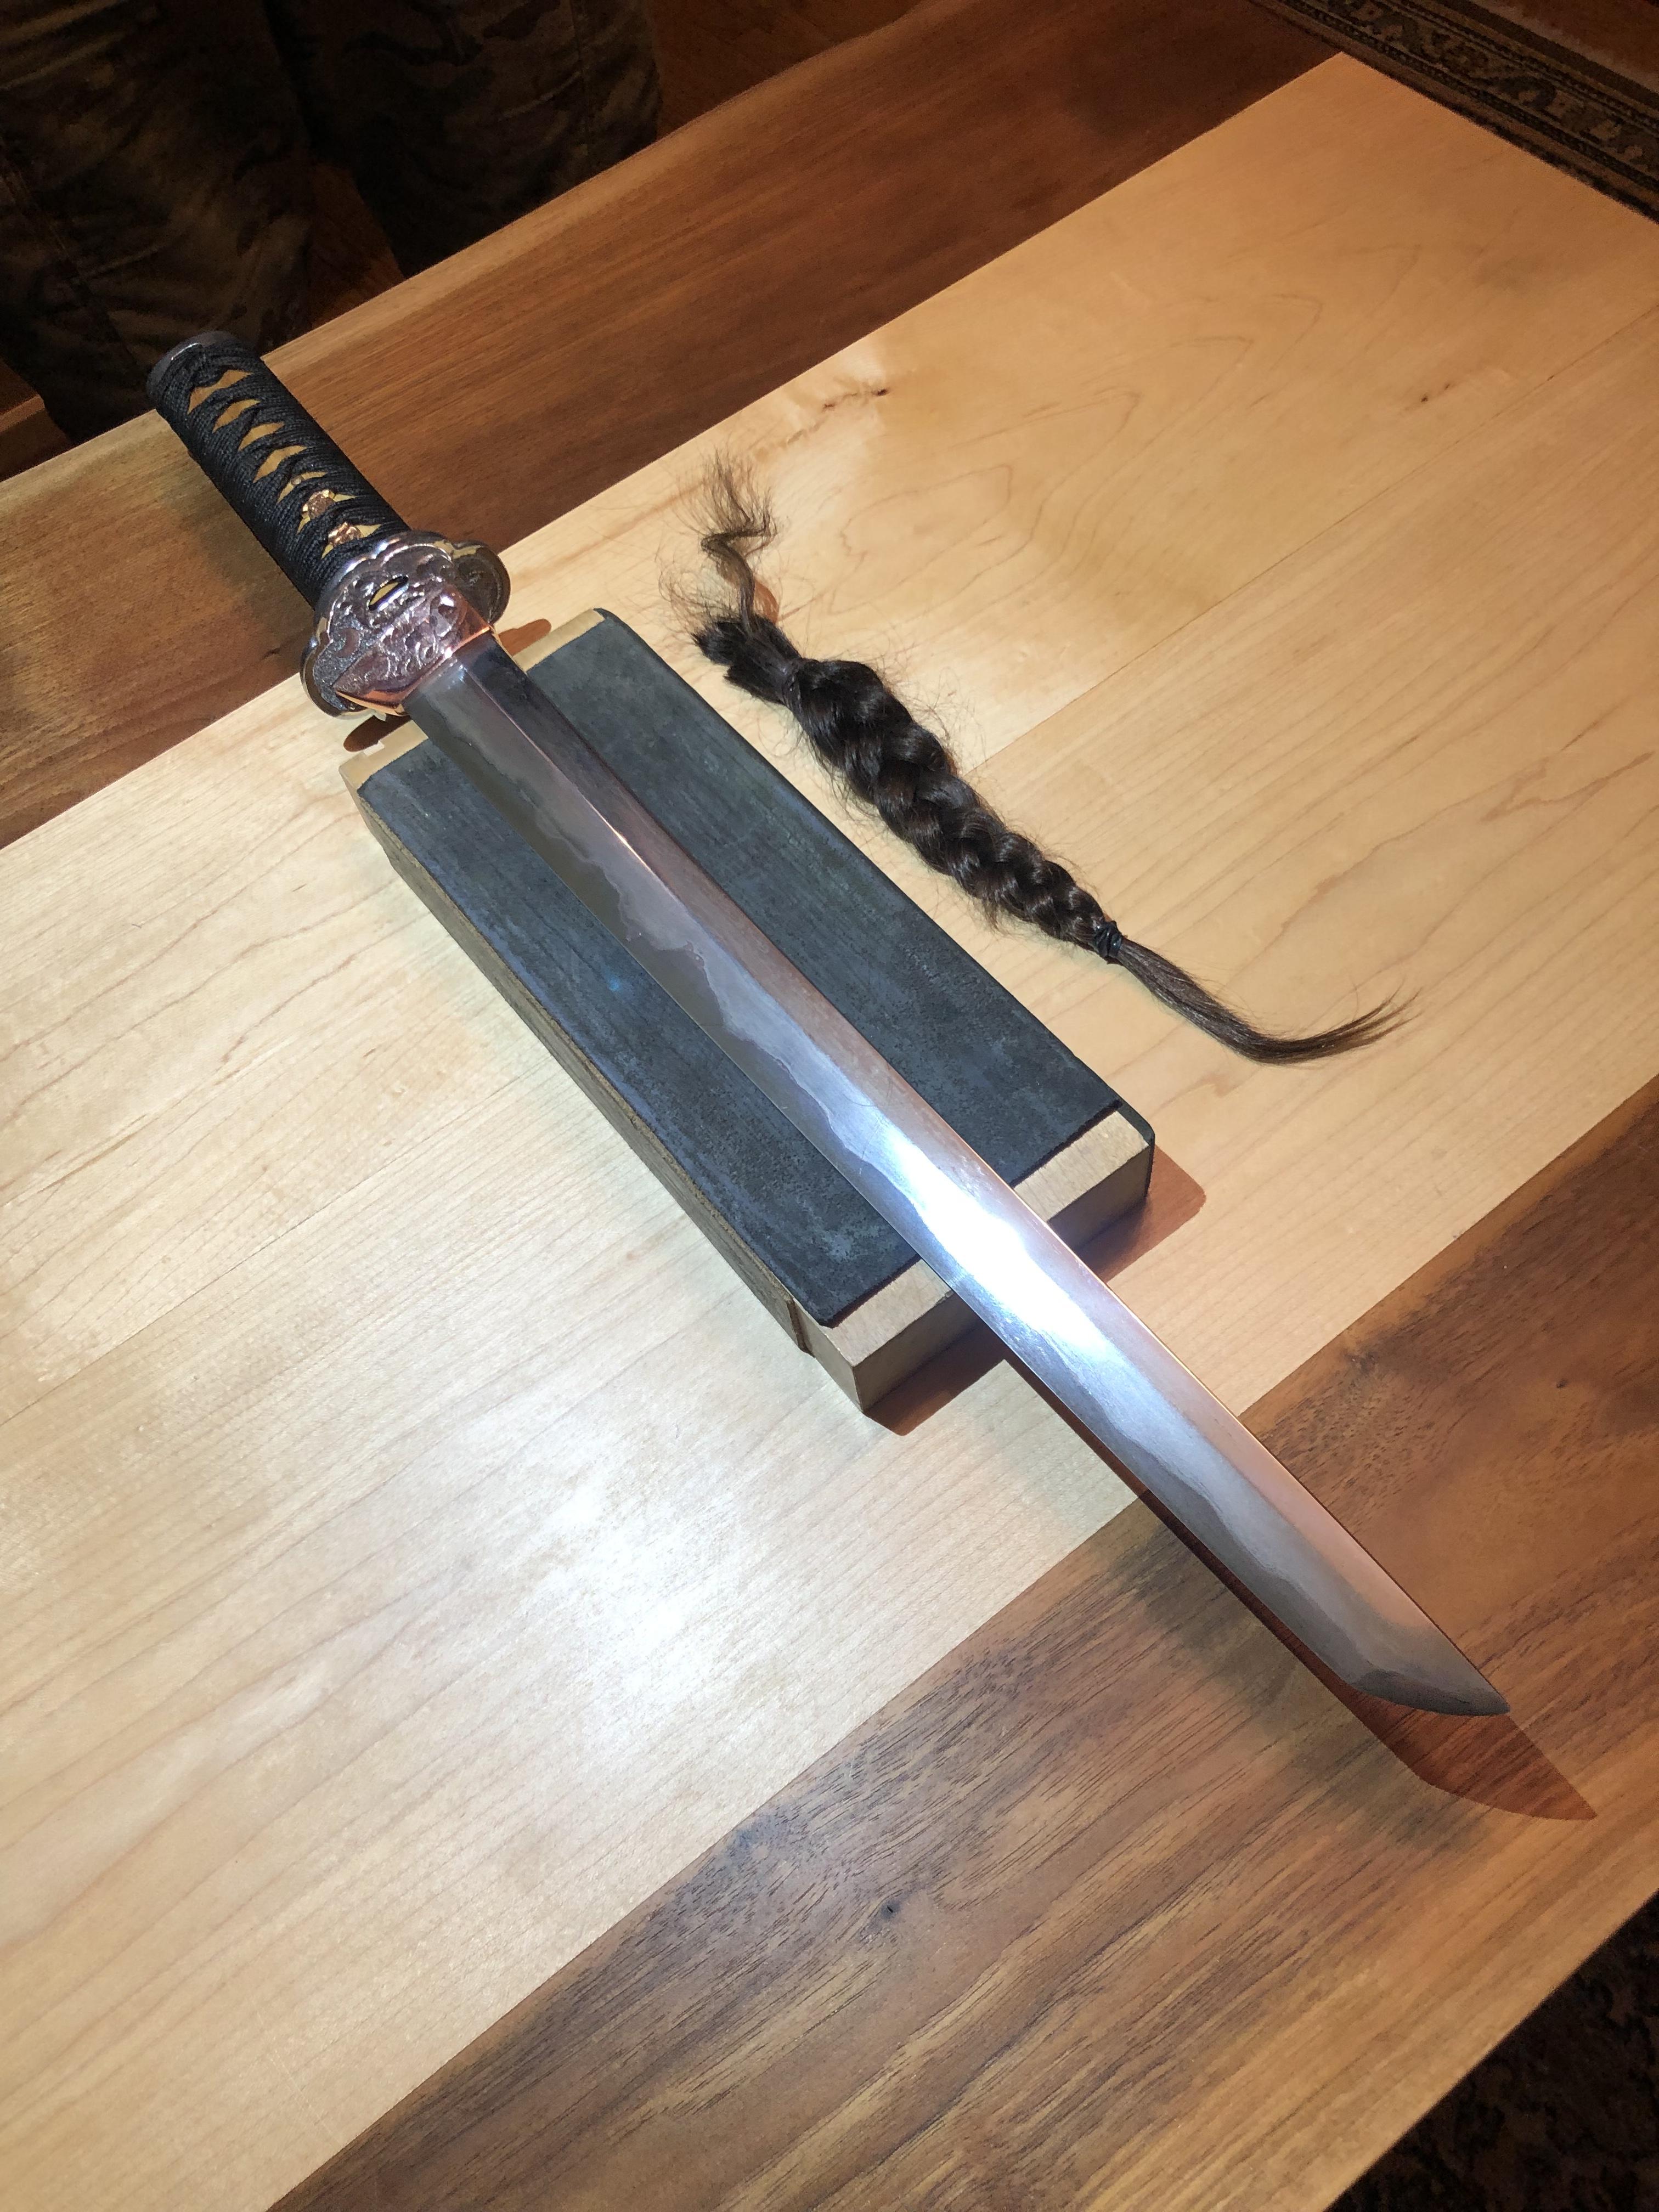
Ah whoops sorry I just fixed it I just wanted to add on, this was my first completed steel sword, I have forged one prior, but I never finished it because the steel was unknown and I didnt want to spend that much time and effort on it. I used to do mostly casting, and have made two large bronze swords prior to this. In total my experience has been about 3 years, and I've made probably about 60-100 knives, 2 completed swords, and 2 hammers as well as some other small work. I may not have been doing this for very long, and its proof that it is possible. However, the difficulty should not be underestimated, and For the last 3 years aside from my university work this has been almost my entire spare time (bladesmithing not this sword) One other note; forging and forge welding high carbon steel to wrought iron is a tricky dance with the proper working temperature. The dimensions are approximately as follows, 780grams total, and the blade including tang is somewhere in the range of 19-21 inches.
-
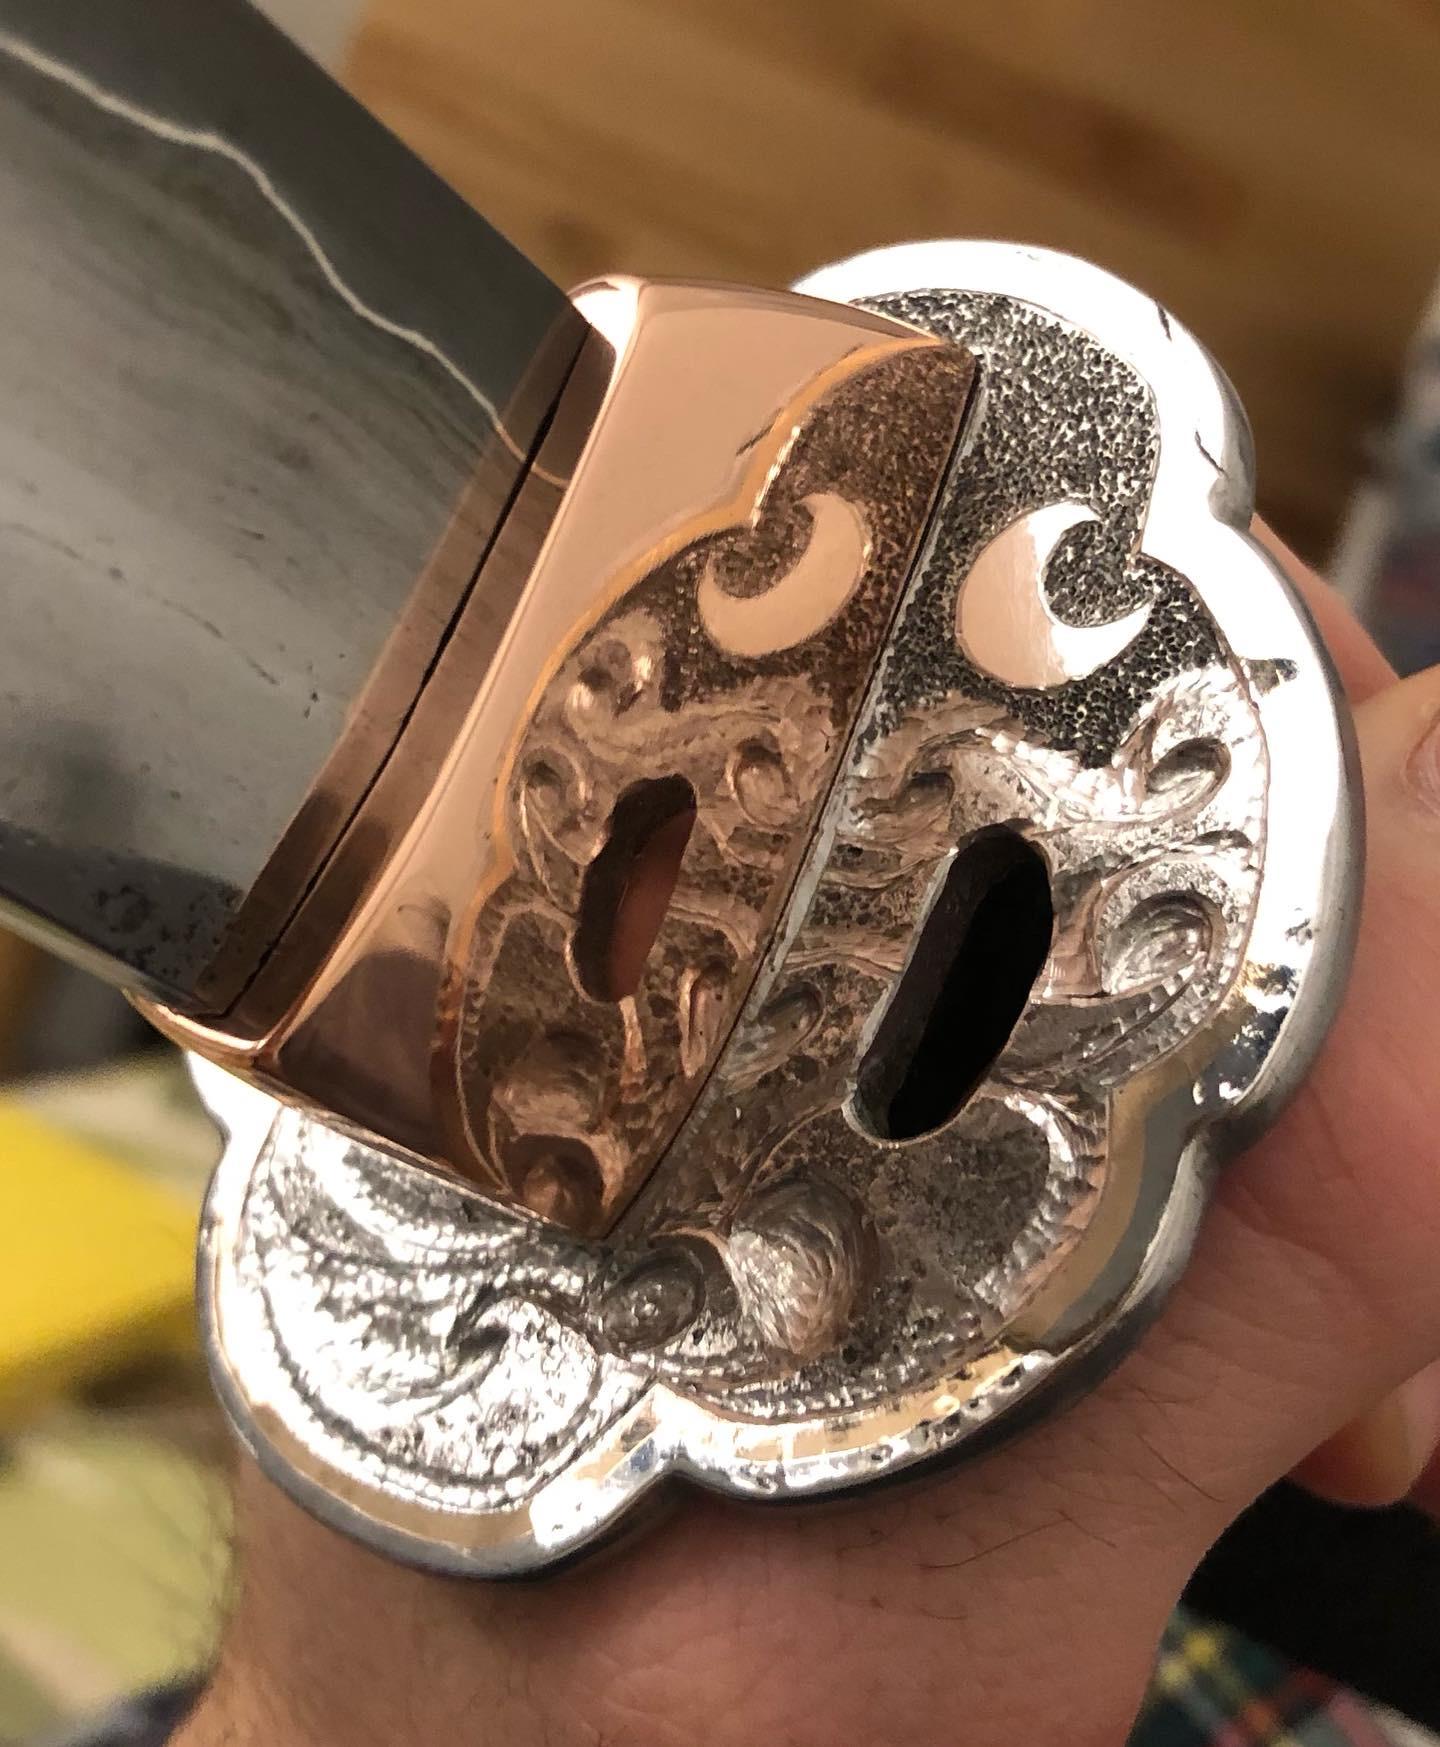
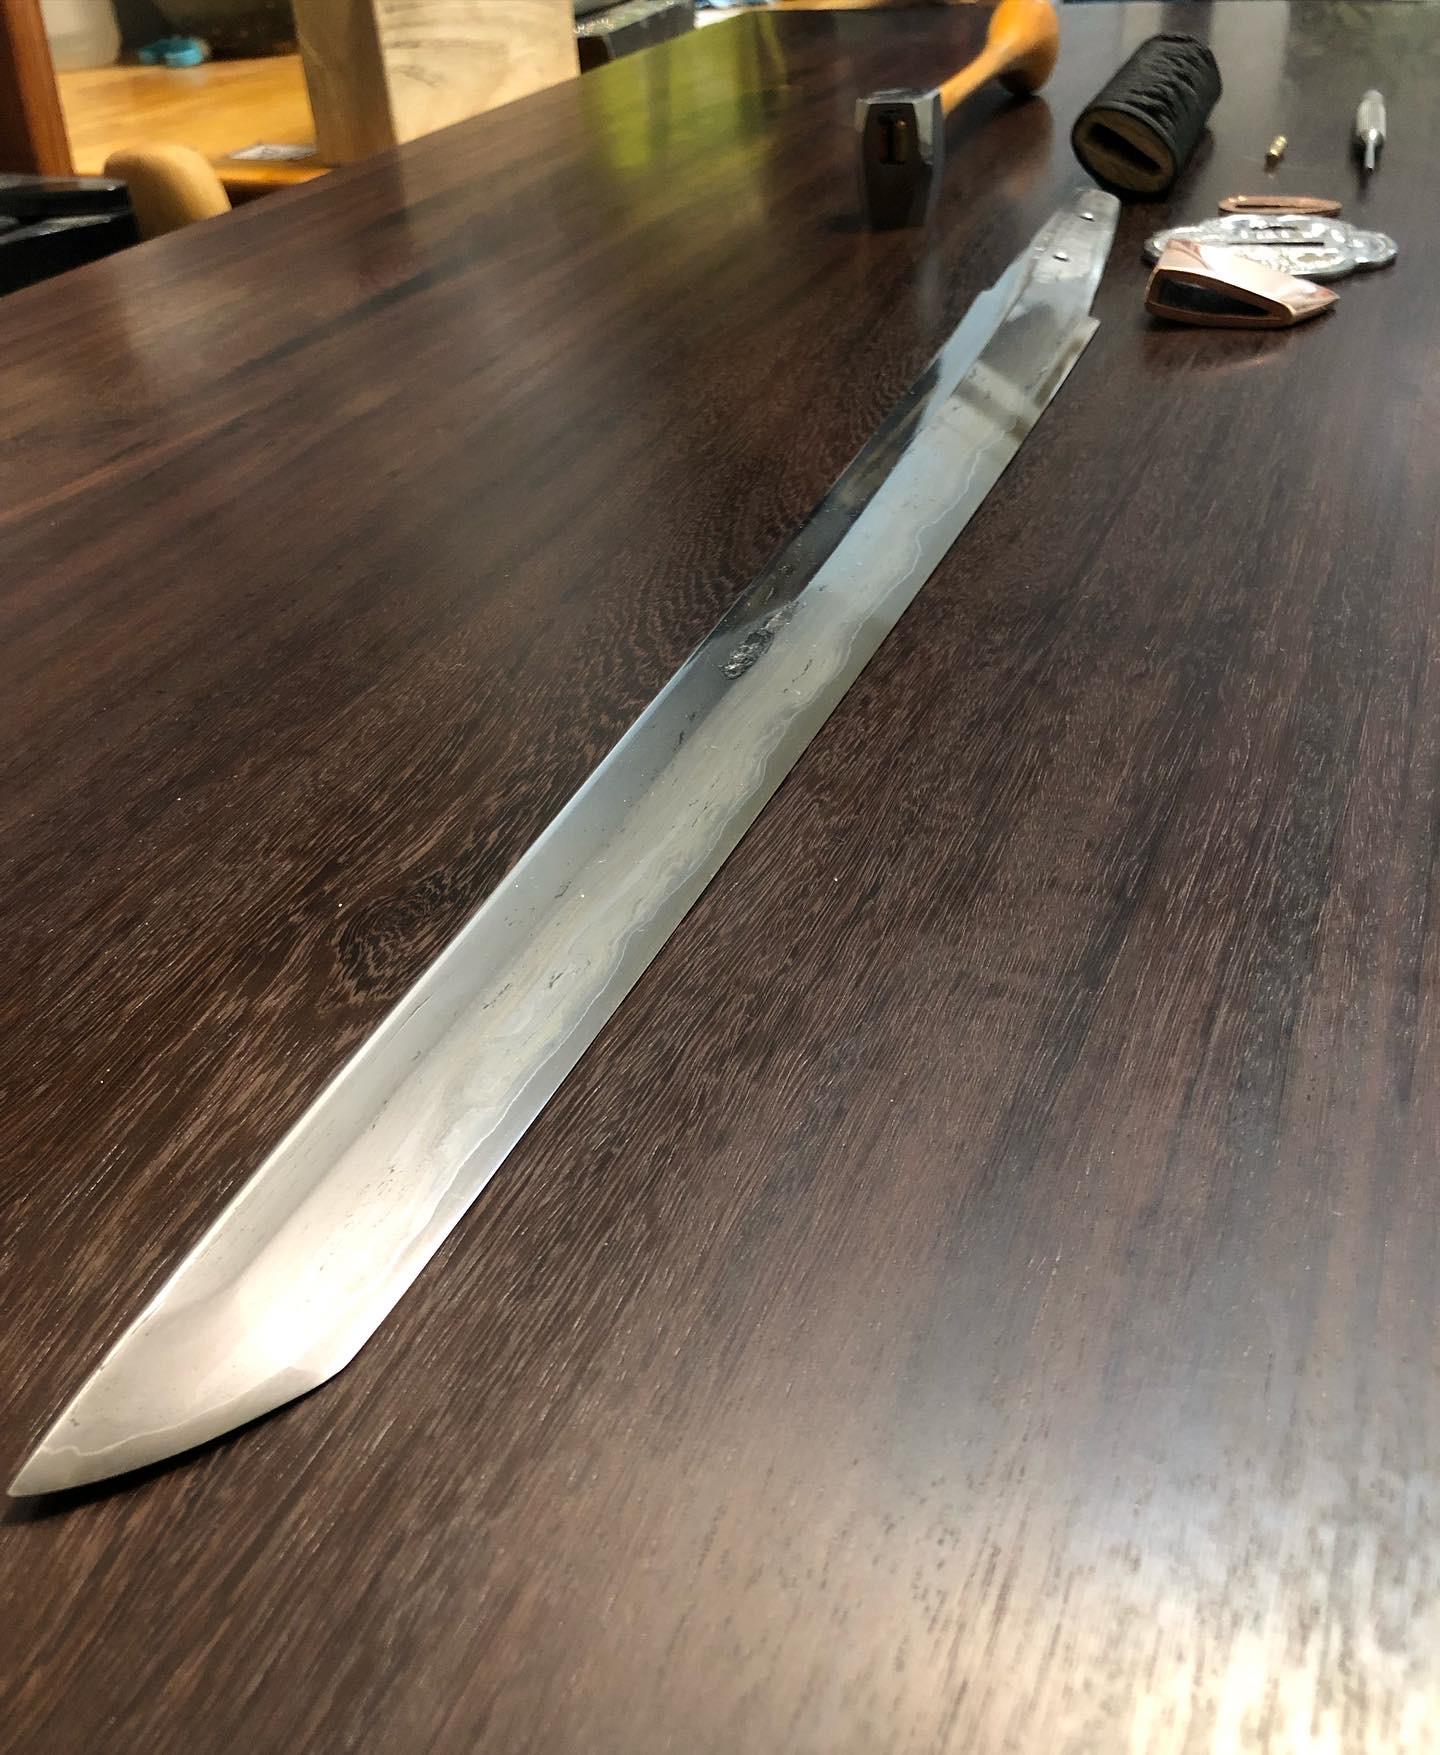
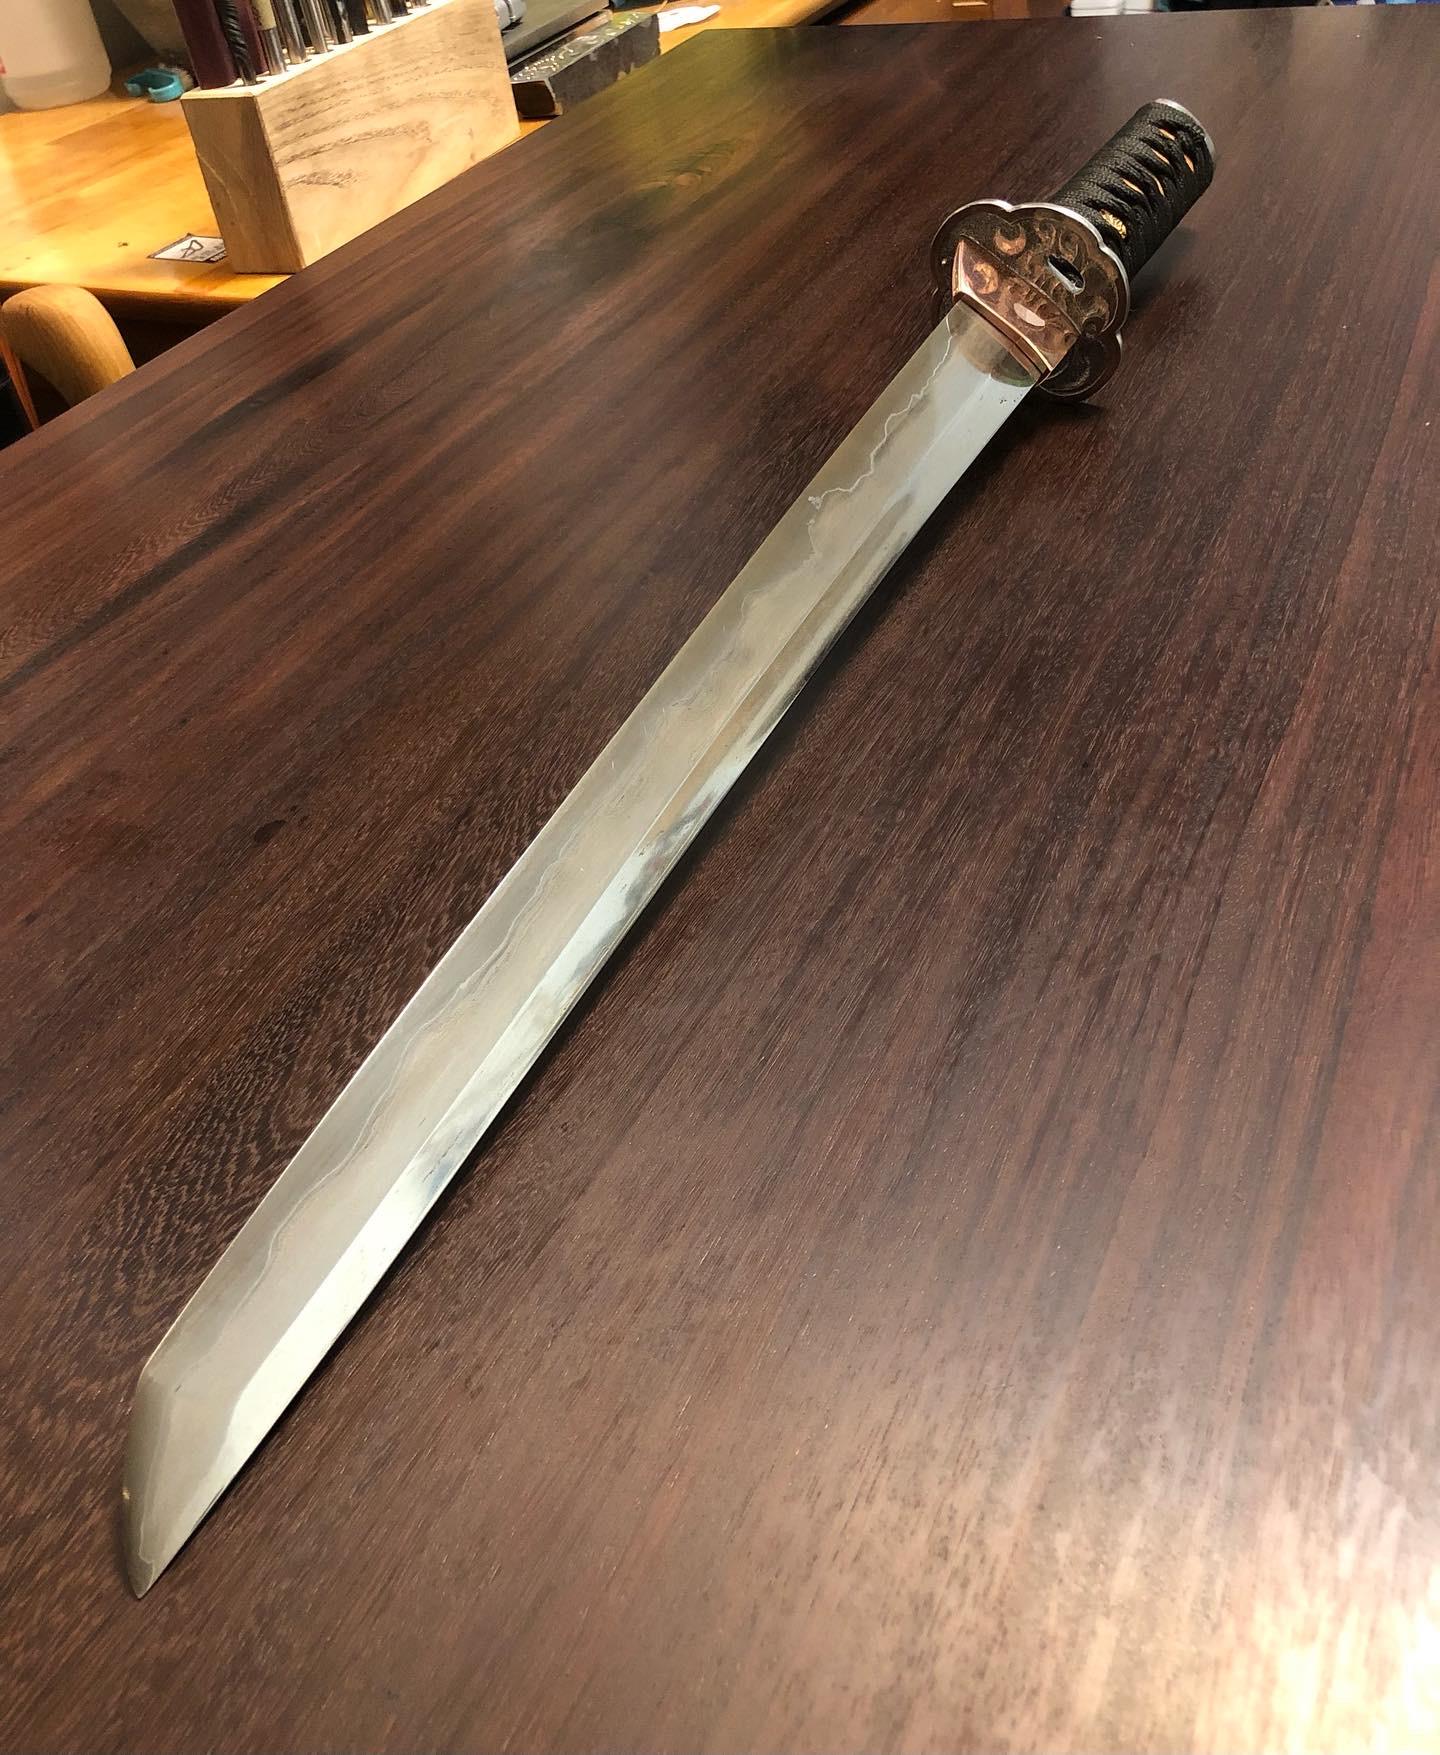
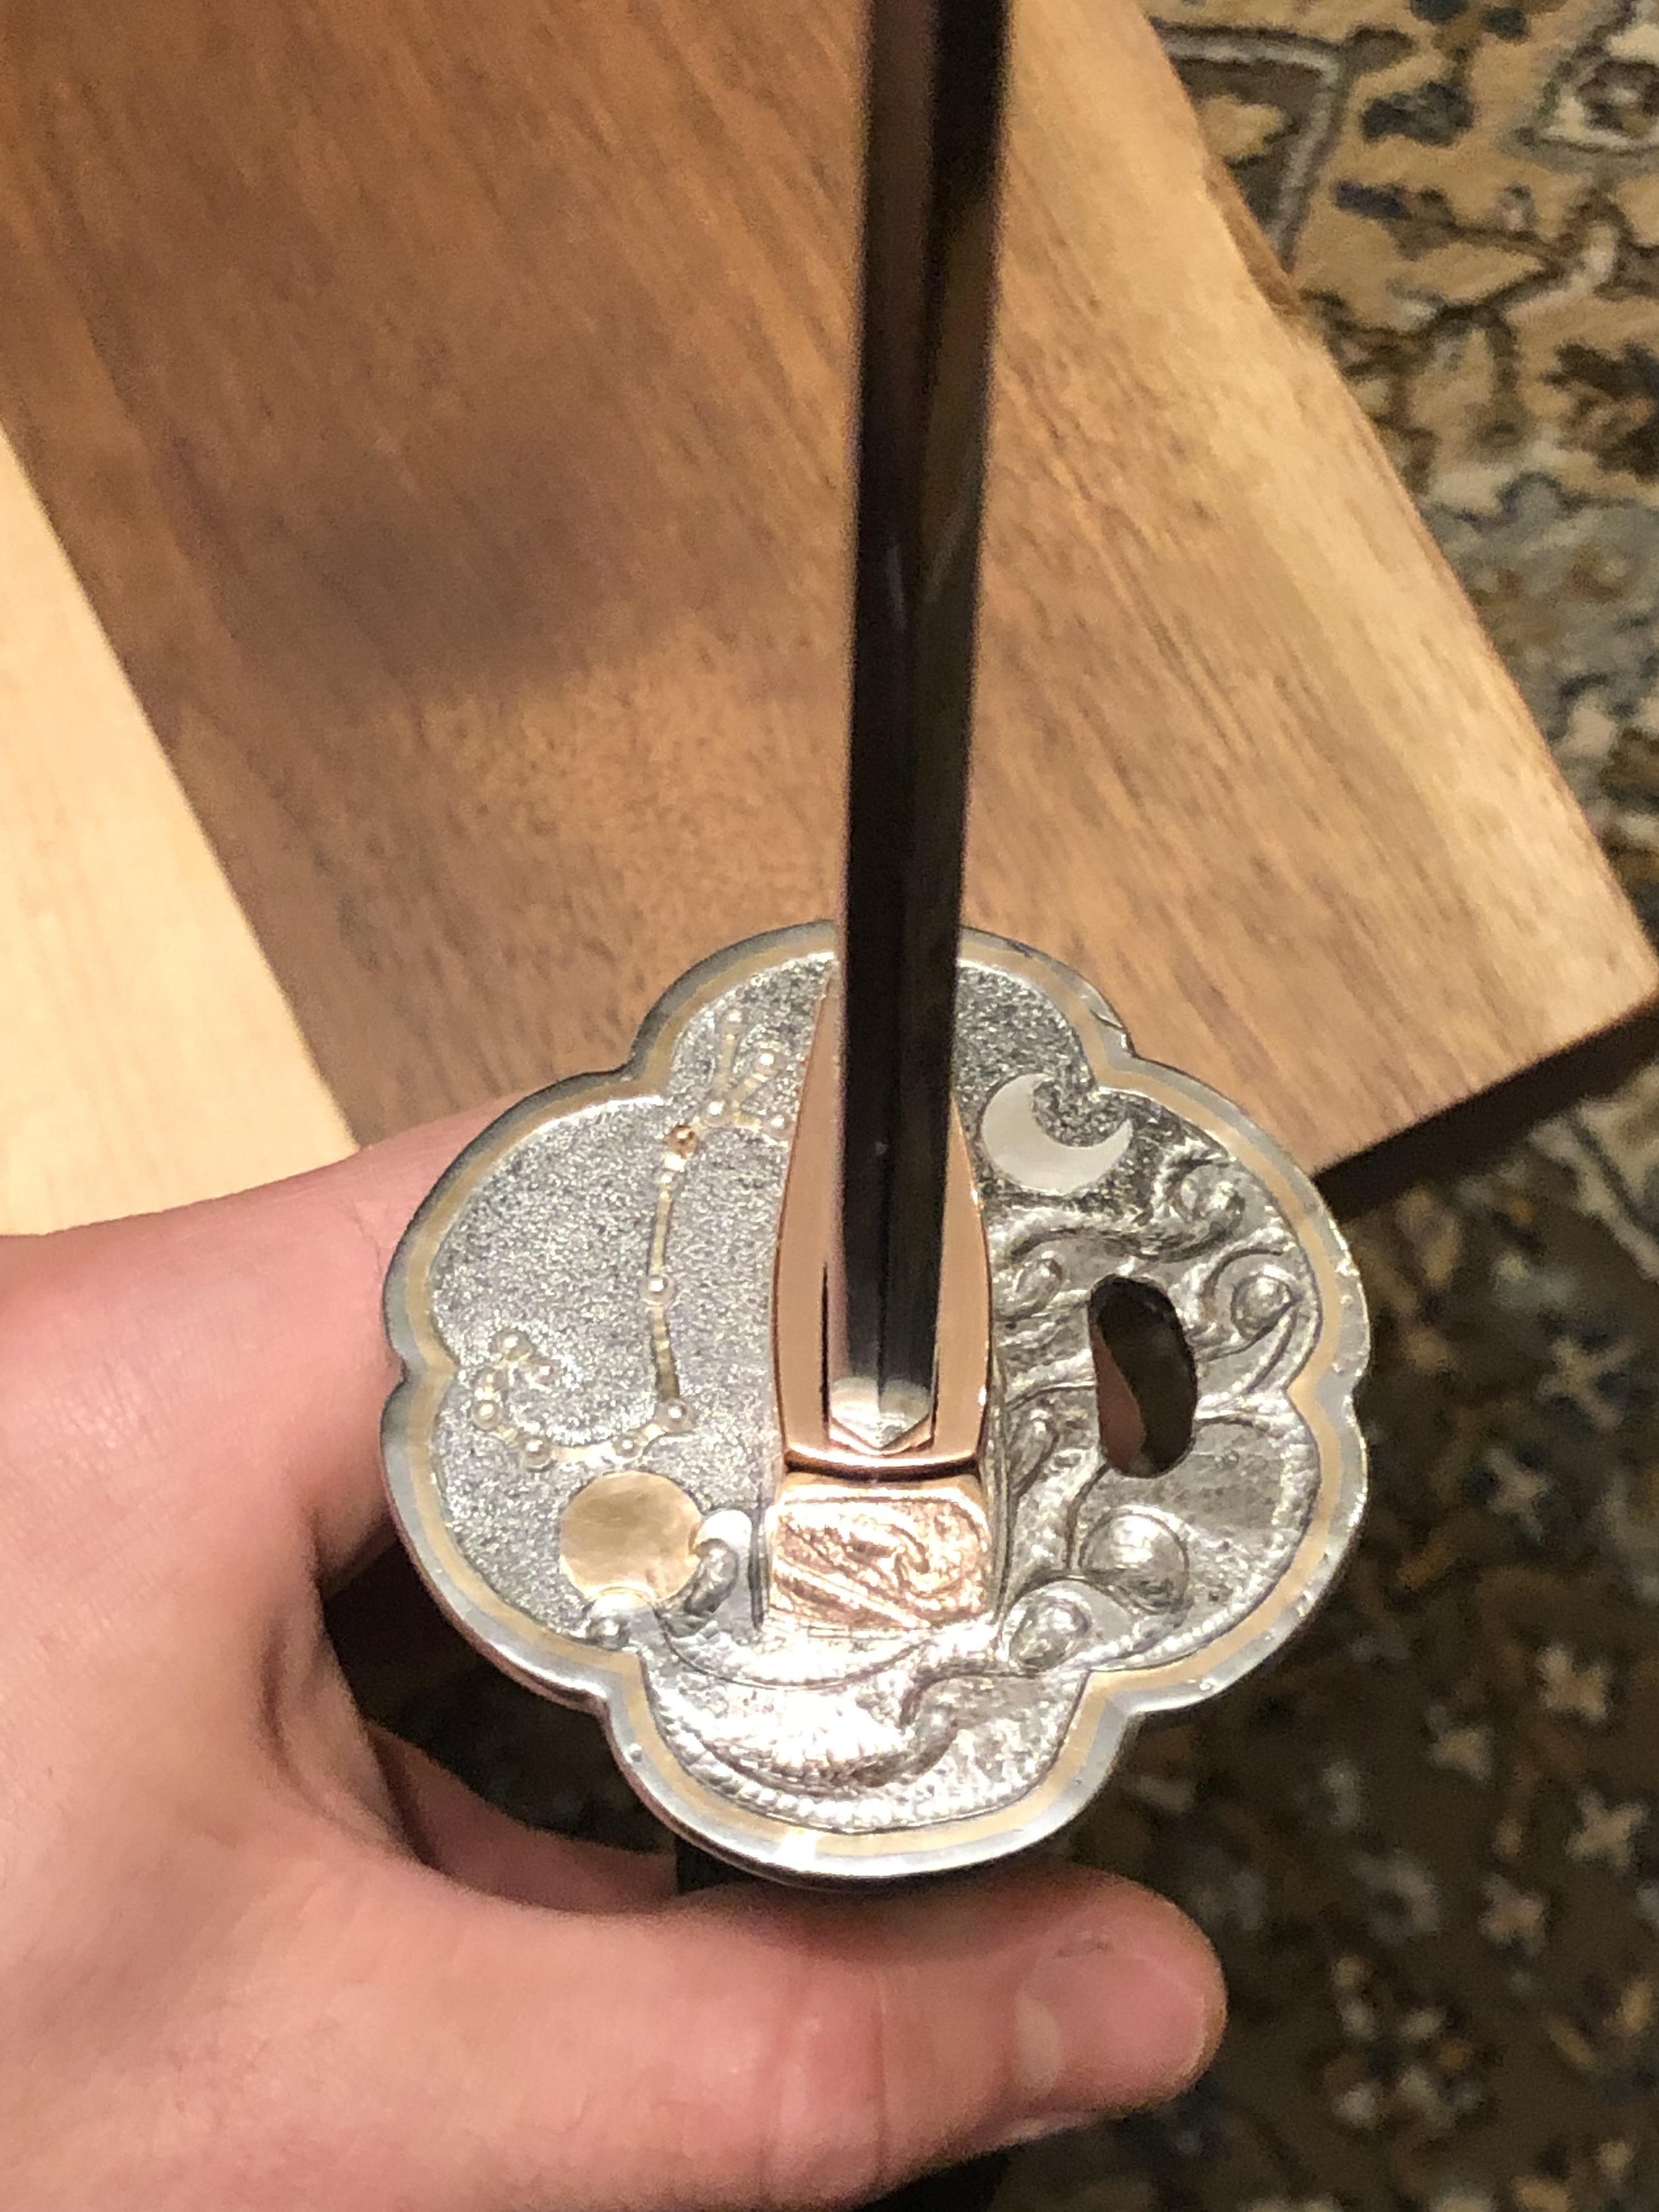
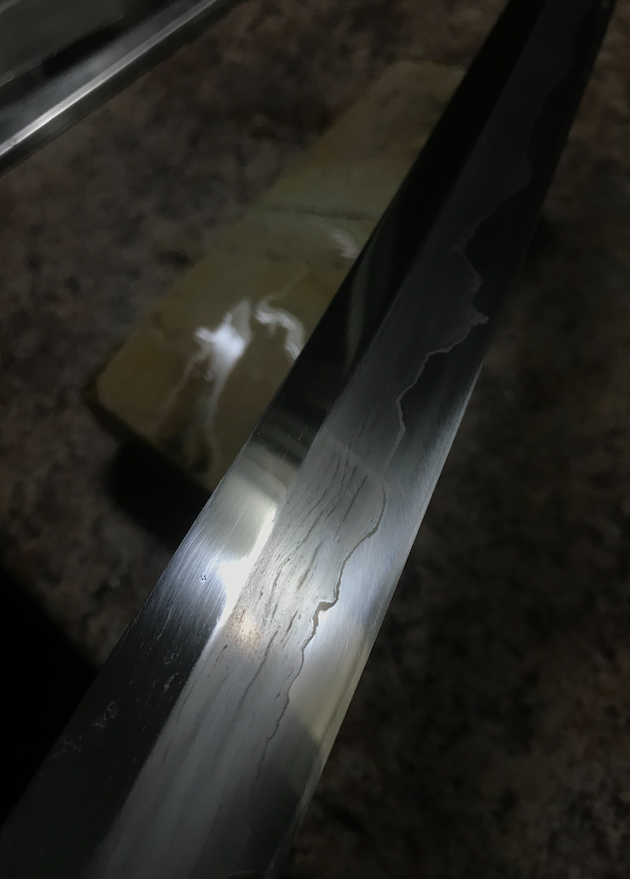
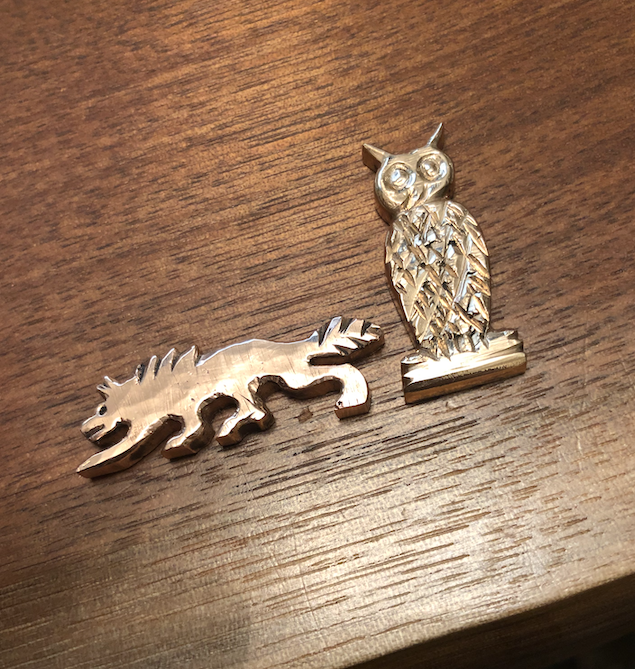
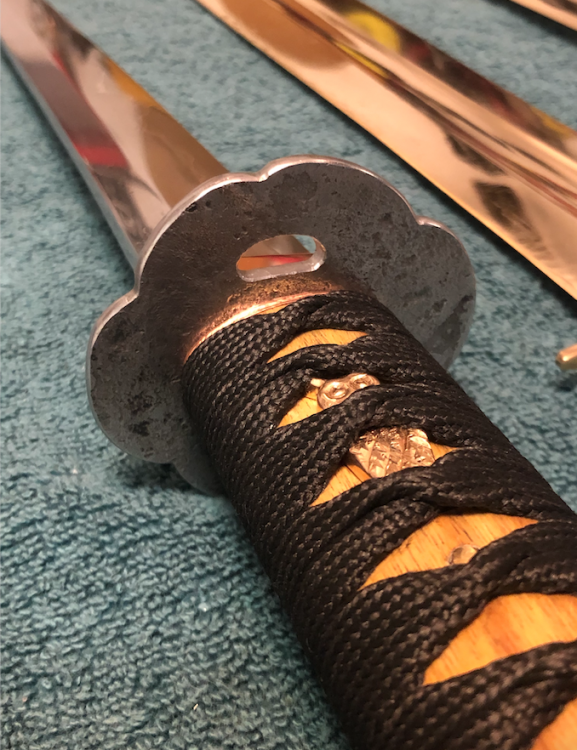
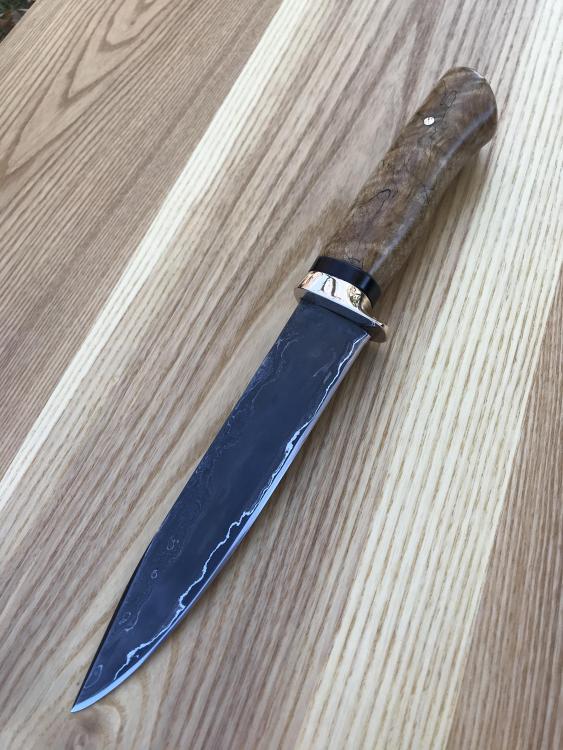
Im finally nearly done this wakizashi which has been a personal project of mine since last fall, when I forged the blade out and did all the grinding and polishing. At the time I then had a bit of a break from the sword as I wasn't sure how to make a couple of the handle pieces with the tools I have. Currently it is technically done with the exception of the tsuba engraving and inlay work, which is requiring me to make some new tools and learn engraving. The blade was forge welded san-mai using hitachi white #2, nickel sheet, and wrought iron. At the time I didn't have a heat treatment oven (now I do), so it was heat treated in the forge, and water quenched. I did most of the grinding on a 4x36 belt grinder, and then moved to diamond plates, and then water stones to finish polishing. The final finish was then buffed with a fine purple compound and etched. I realize this is not traditional, but I kinda liked the look a bit more personally. The Tsuba is forged from wrought iron, and I filed the profile as well as the fit-up holes. The habaki was forged from a copper bar which was bent around the tang of the sword, and then forge welded together at the bottom. Since I don't have high enough power torches and my soldering skills are severely lacking, and I didn't want to do stock removal to make the fit-up of the habaki, I chose to do this. ( I did try soldering a couple times but i couldnt get it seemless enough.) The handle is yellow tarara which was rip-cut and then carved out to fit the tang. The copper spacer for keeping the handle tight was adjusted by hammering the thickness where needed. The koshirae was the piece that I had dreaded making for a long time, but I finally decided to forge it from wrought iron, and use stock removal to fit it. The menuki are bronze that I forged, filed, and (rather terribly) engraved into a wolf, and an owl. Since I got the taste for engraving, now Im going to inlay and engrave the tsuba, Ill update this post once thats done.


-
Yeah the forge was made with a 5 gallon gas can. I got some hardness testing files recently , and I can say the hardness is over 55, and below 60 now, which I’m happy with for a scrap metal project.
-
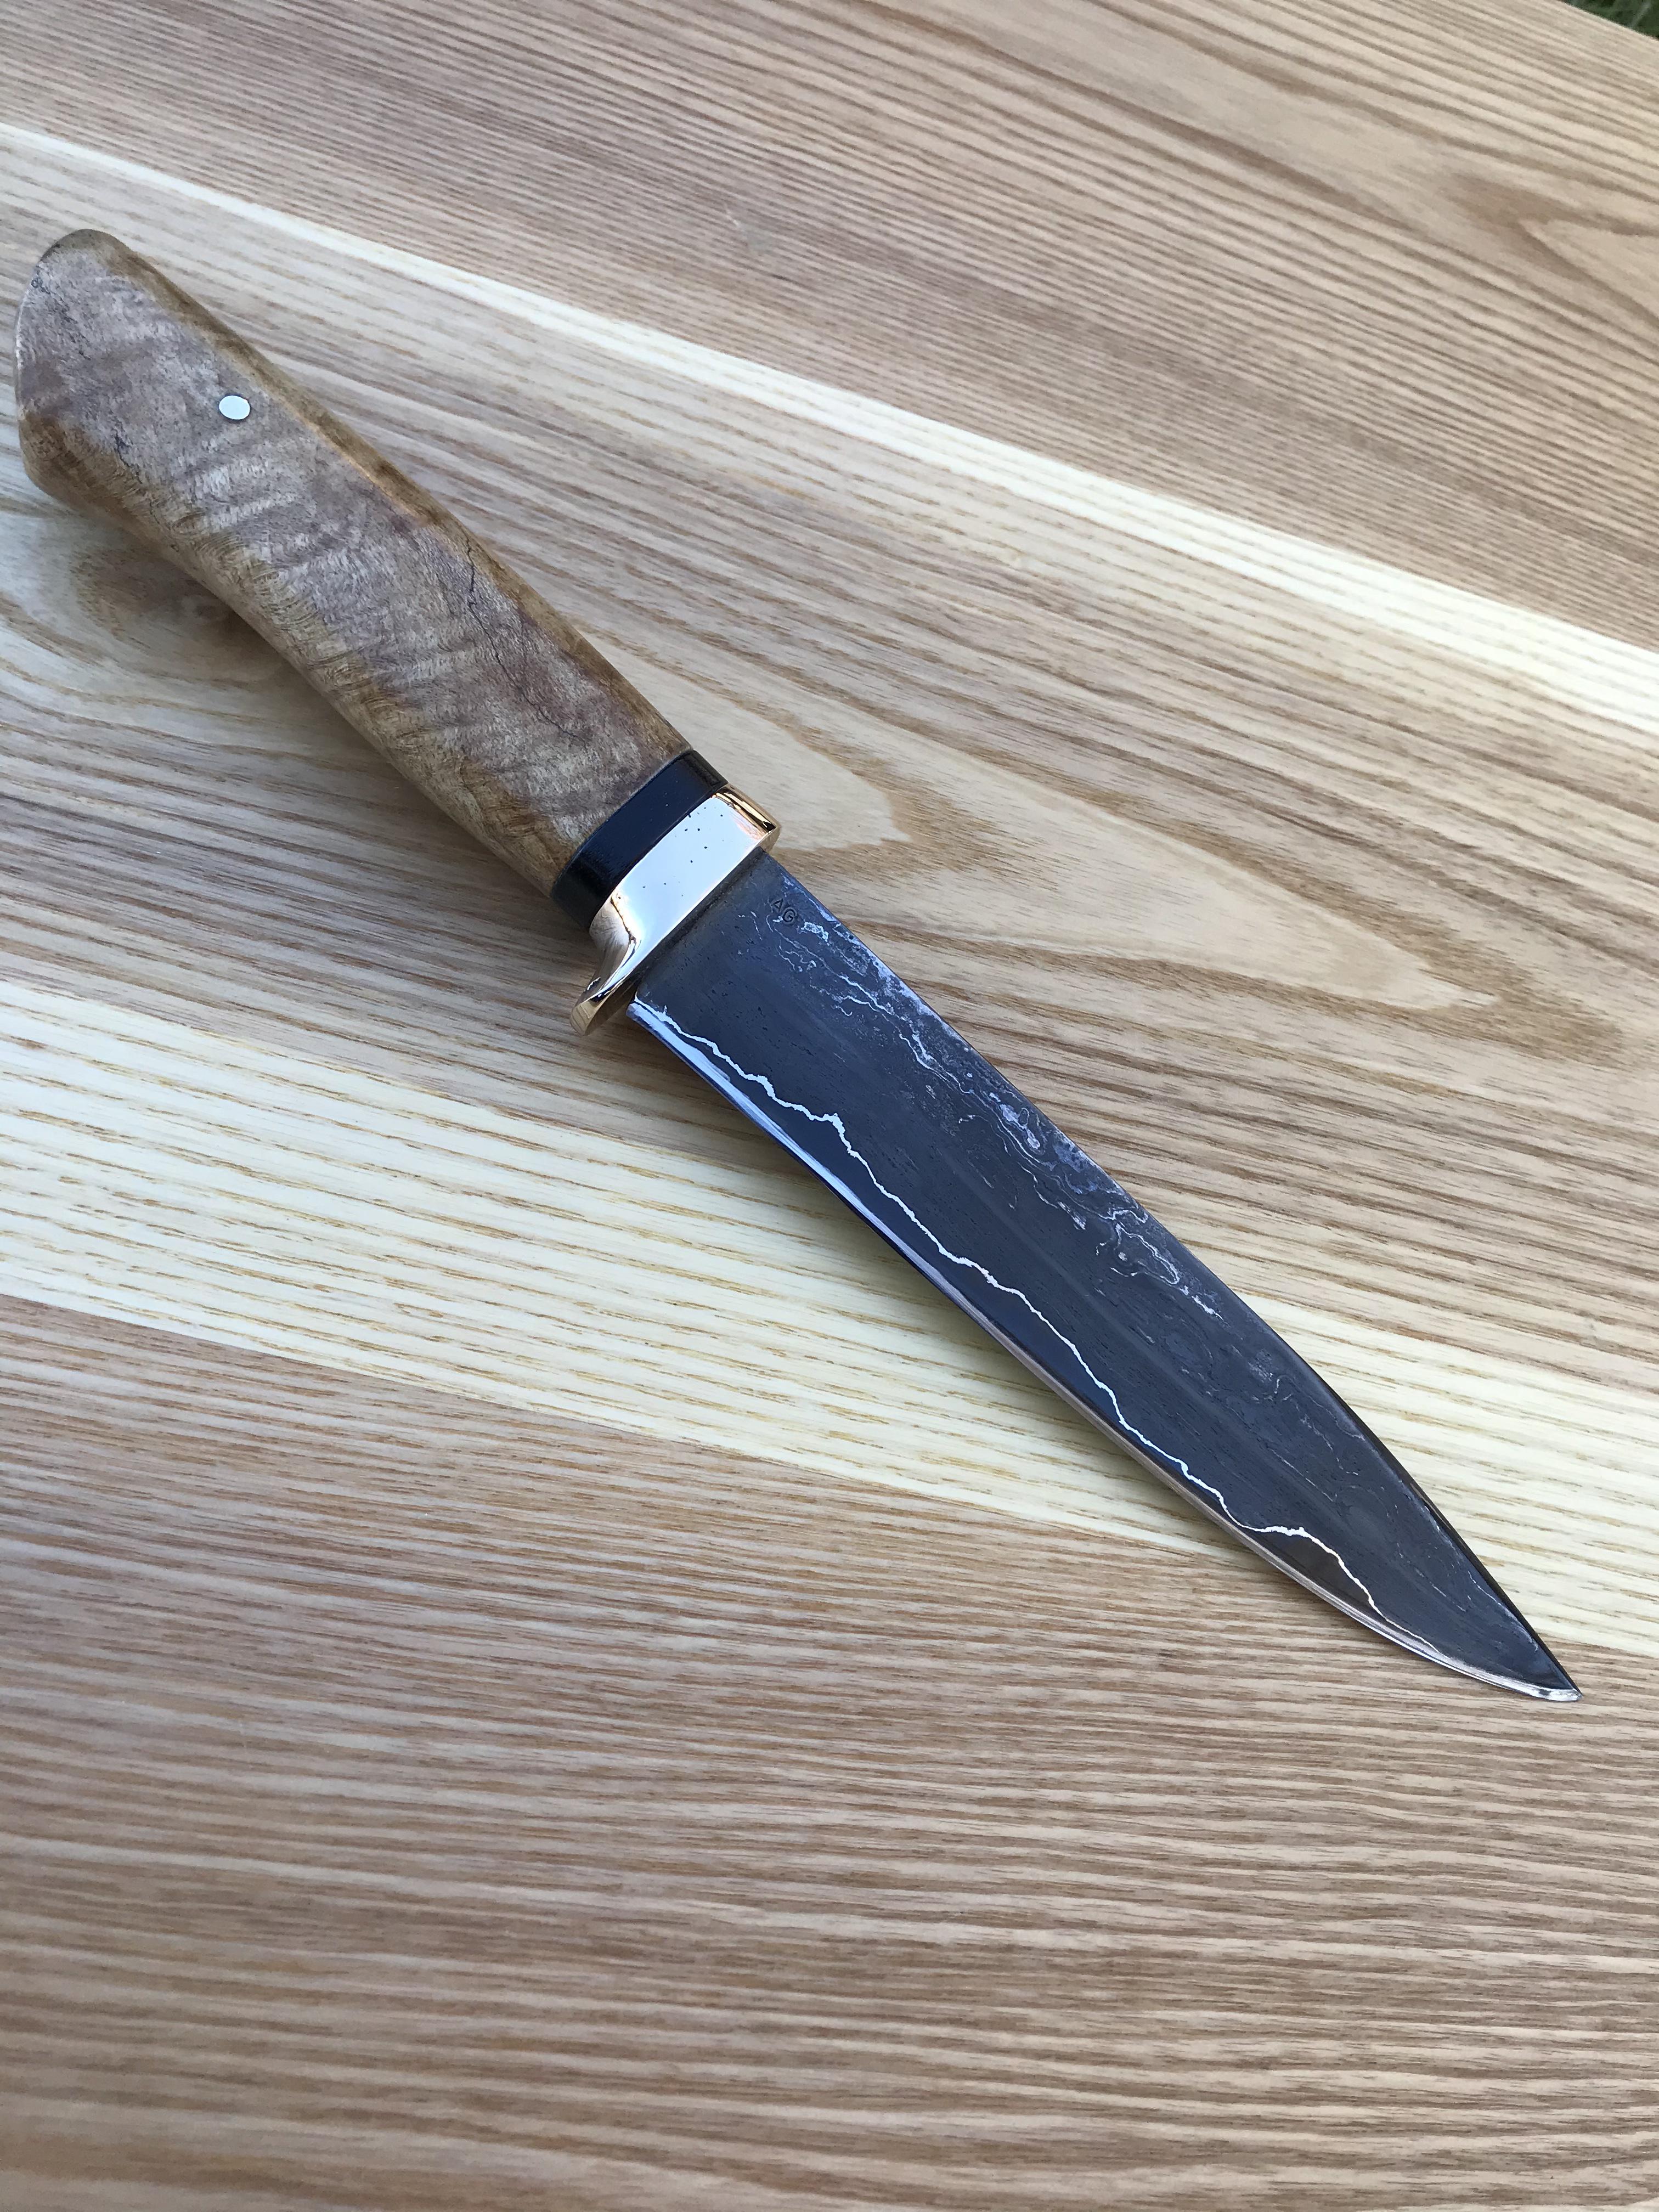
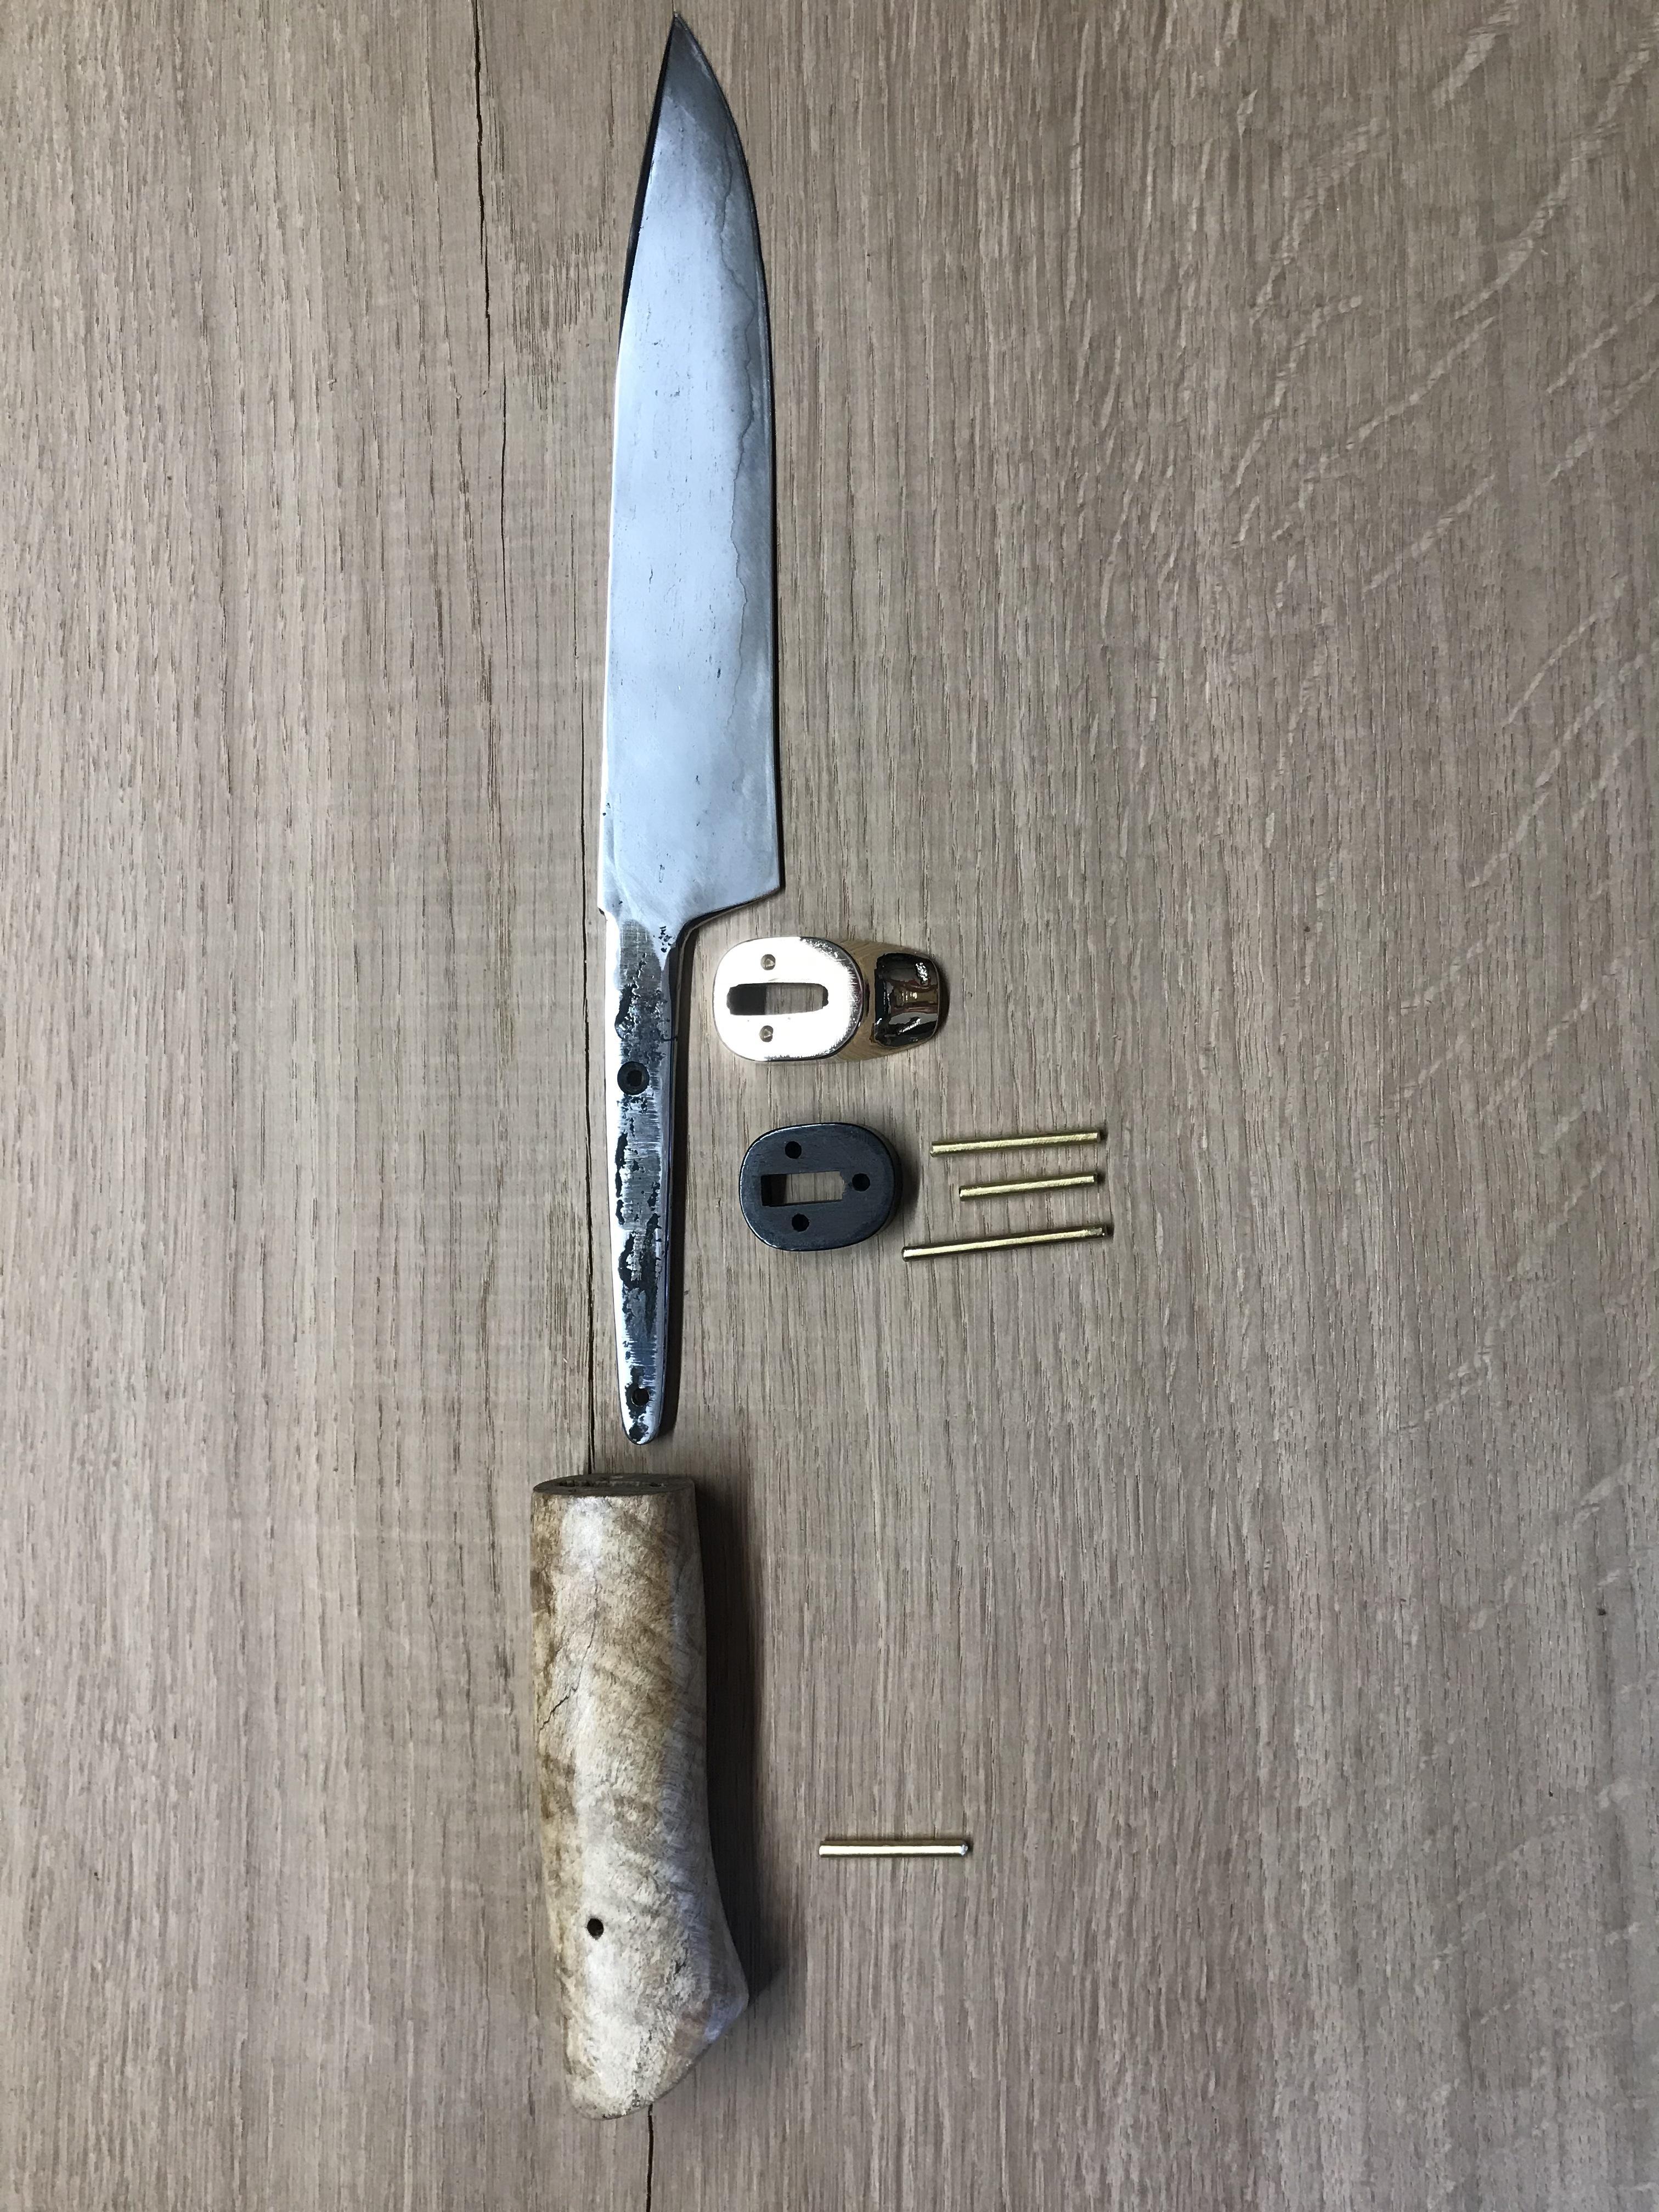
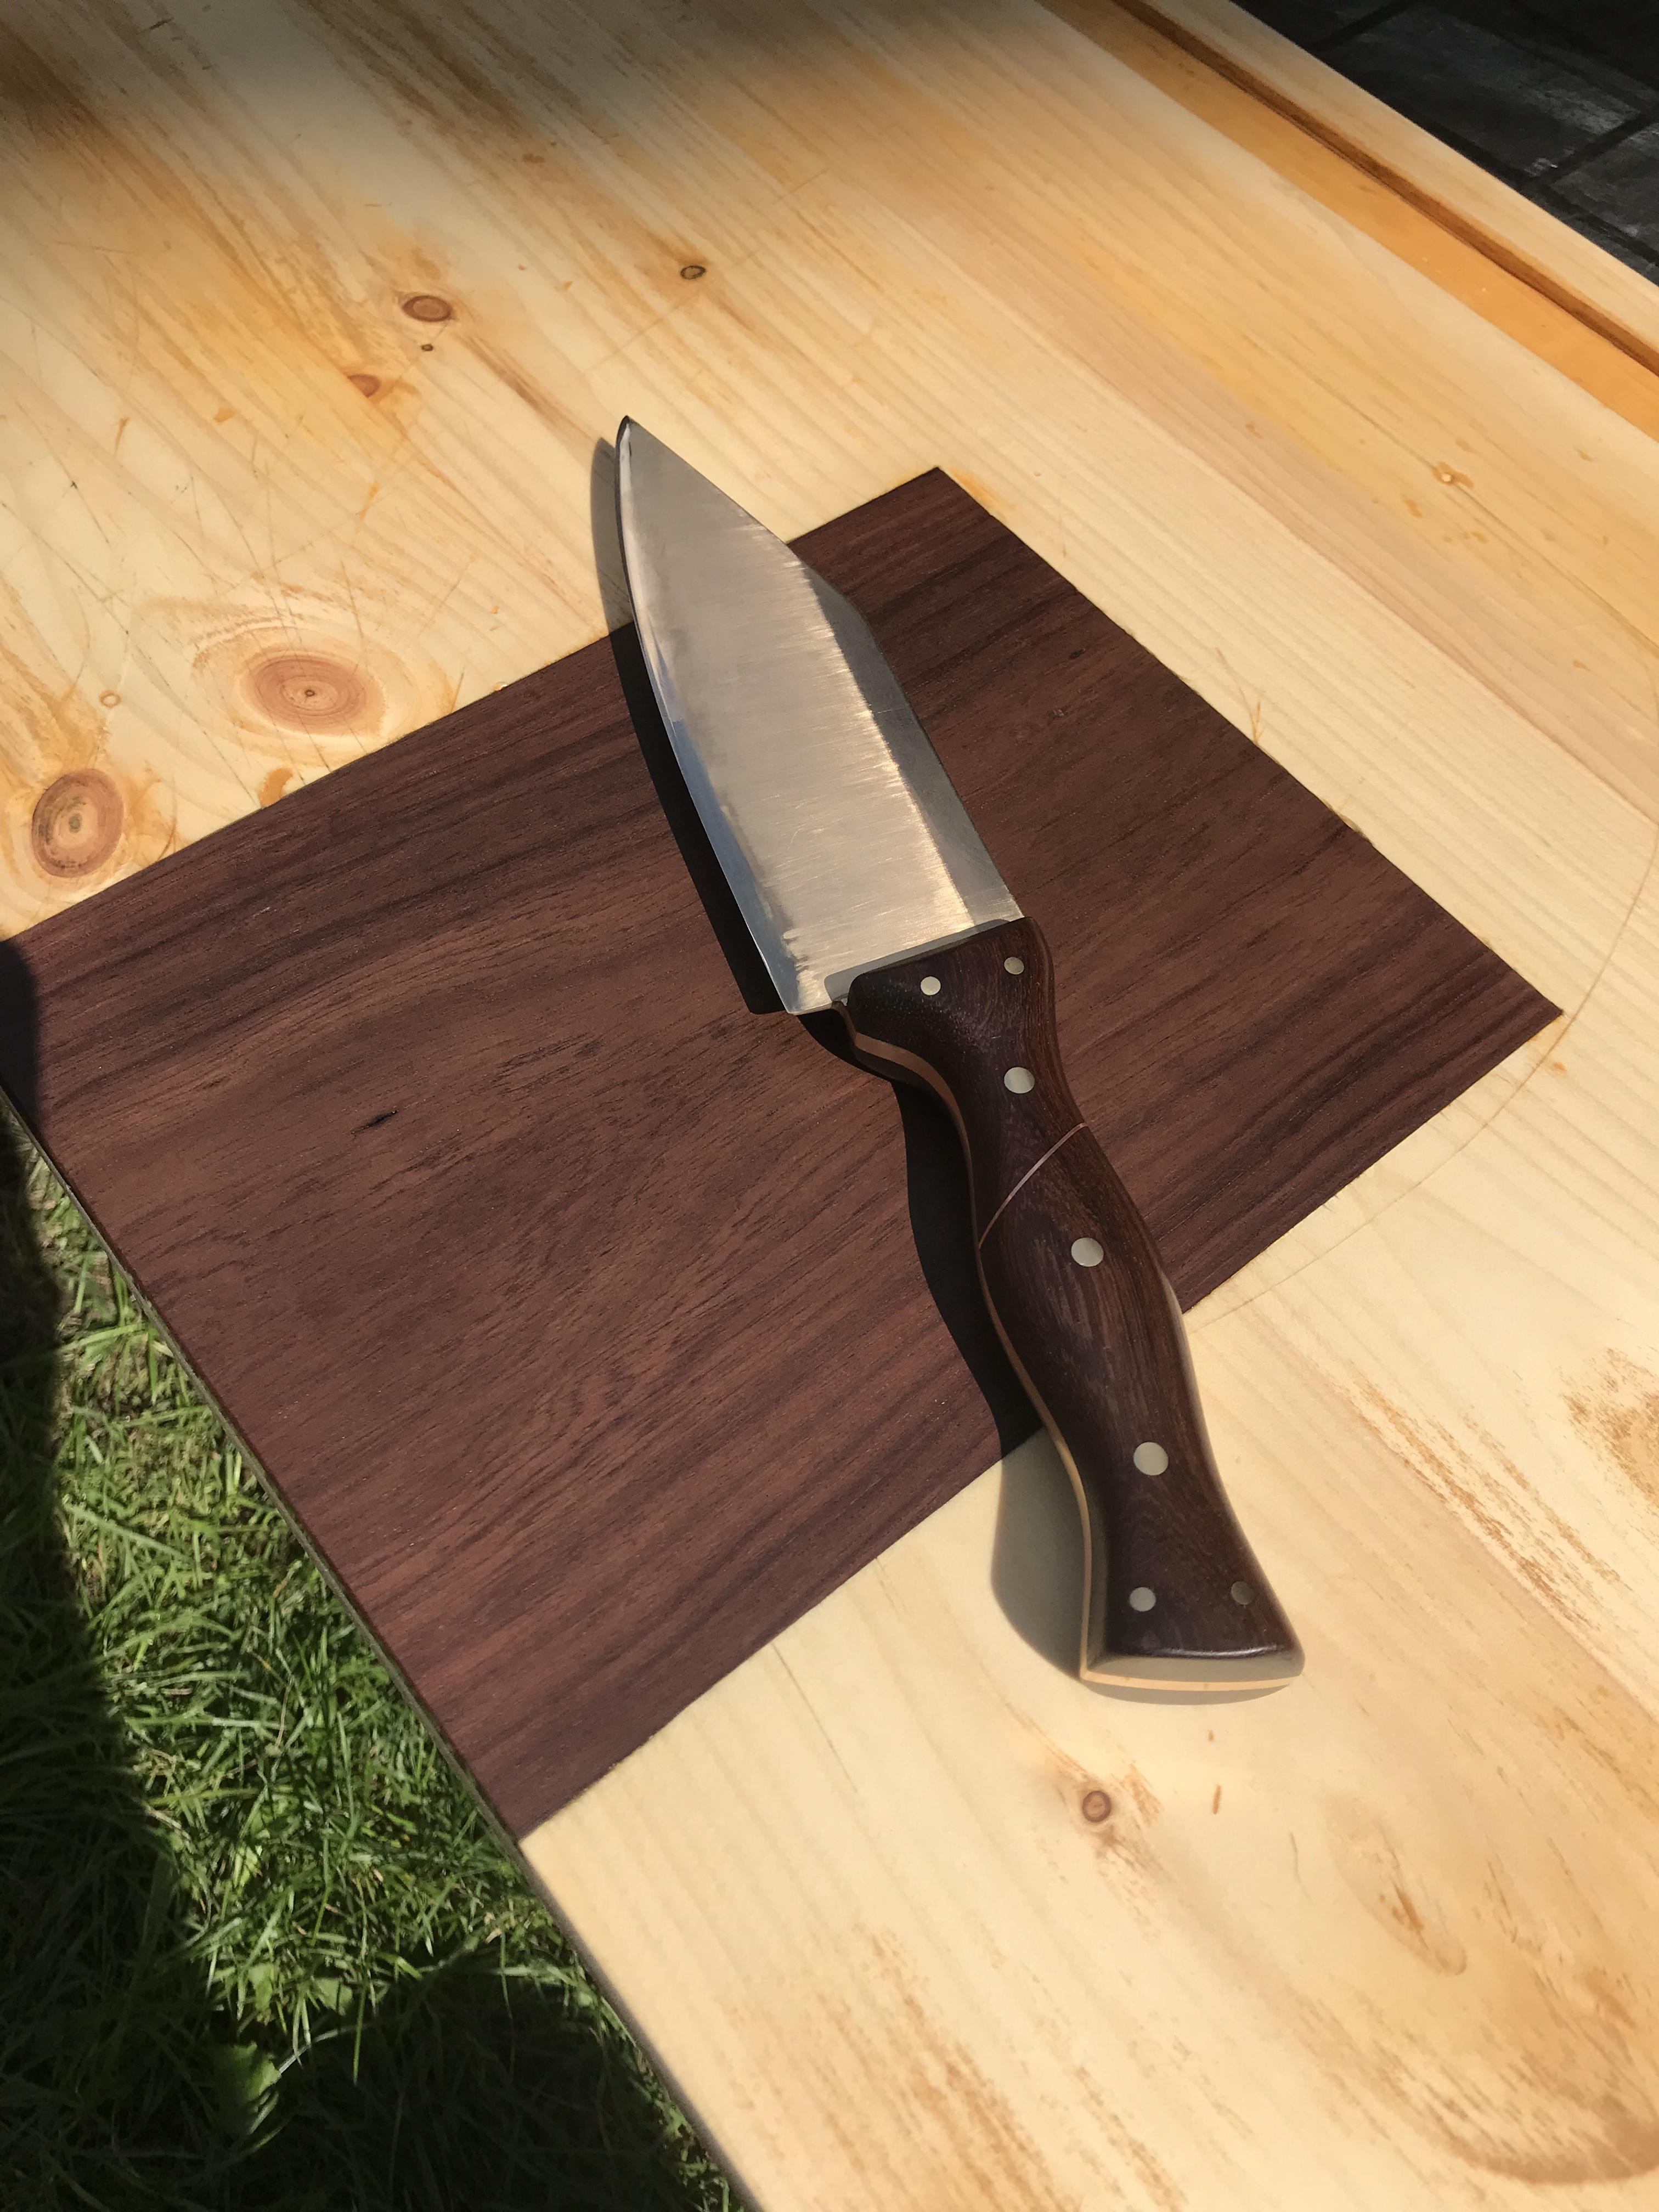
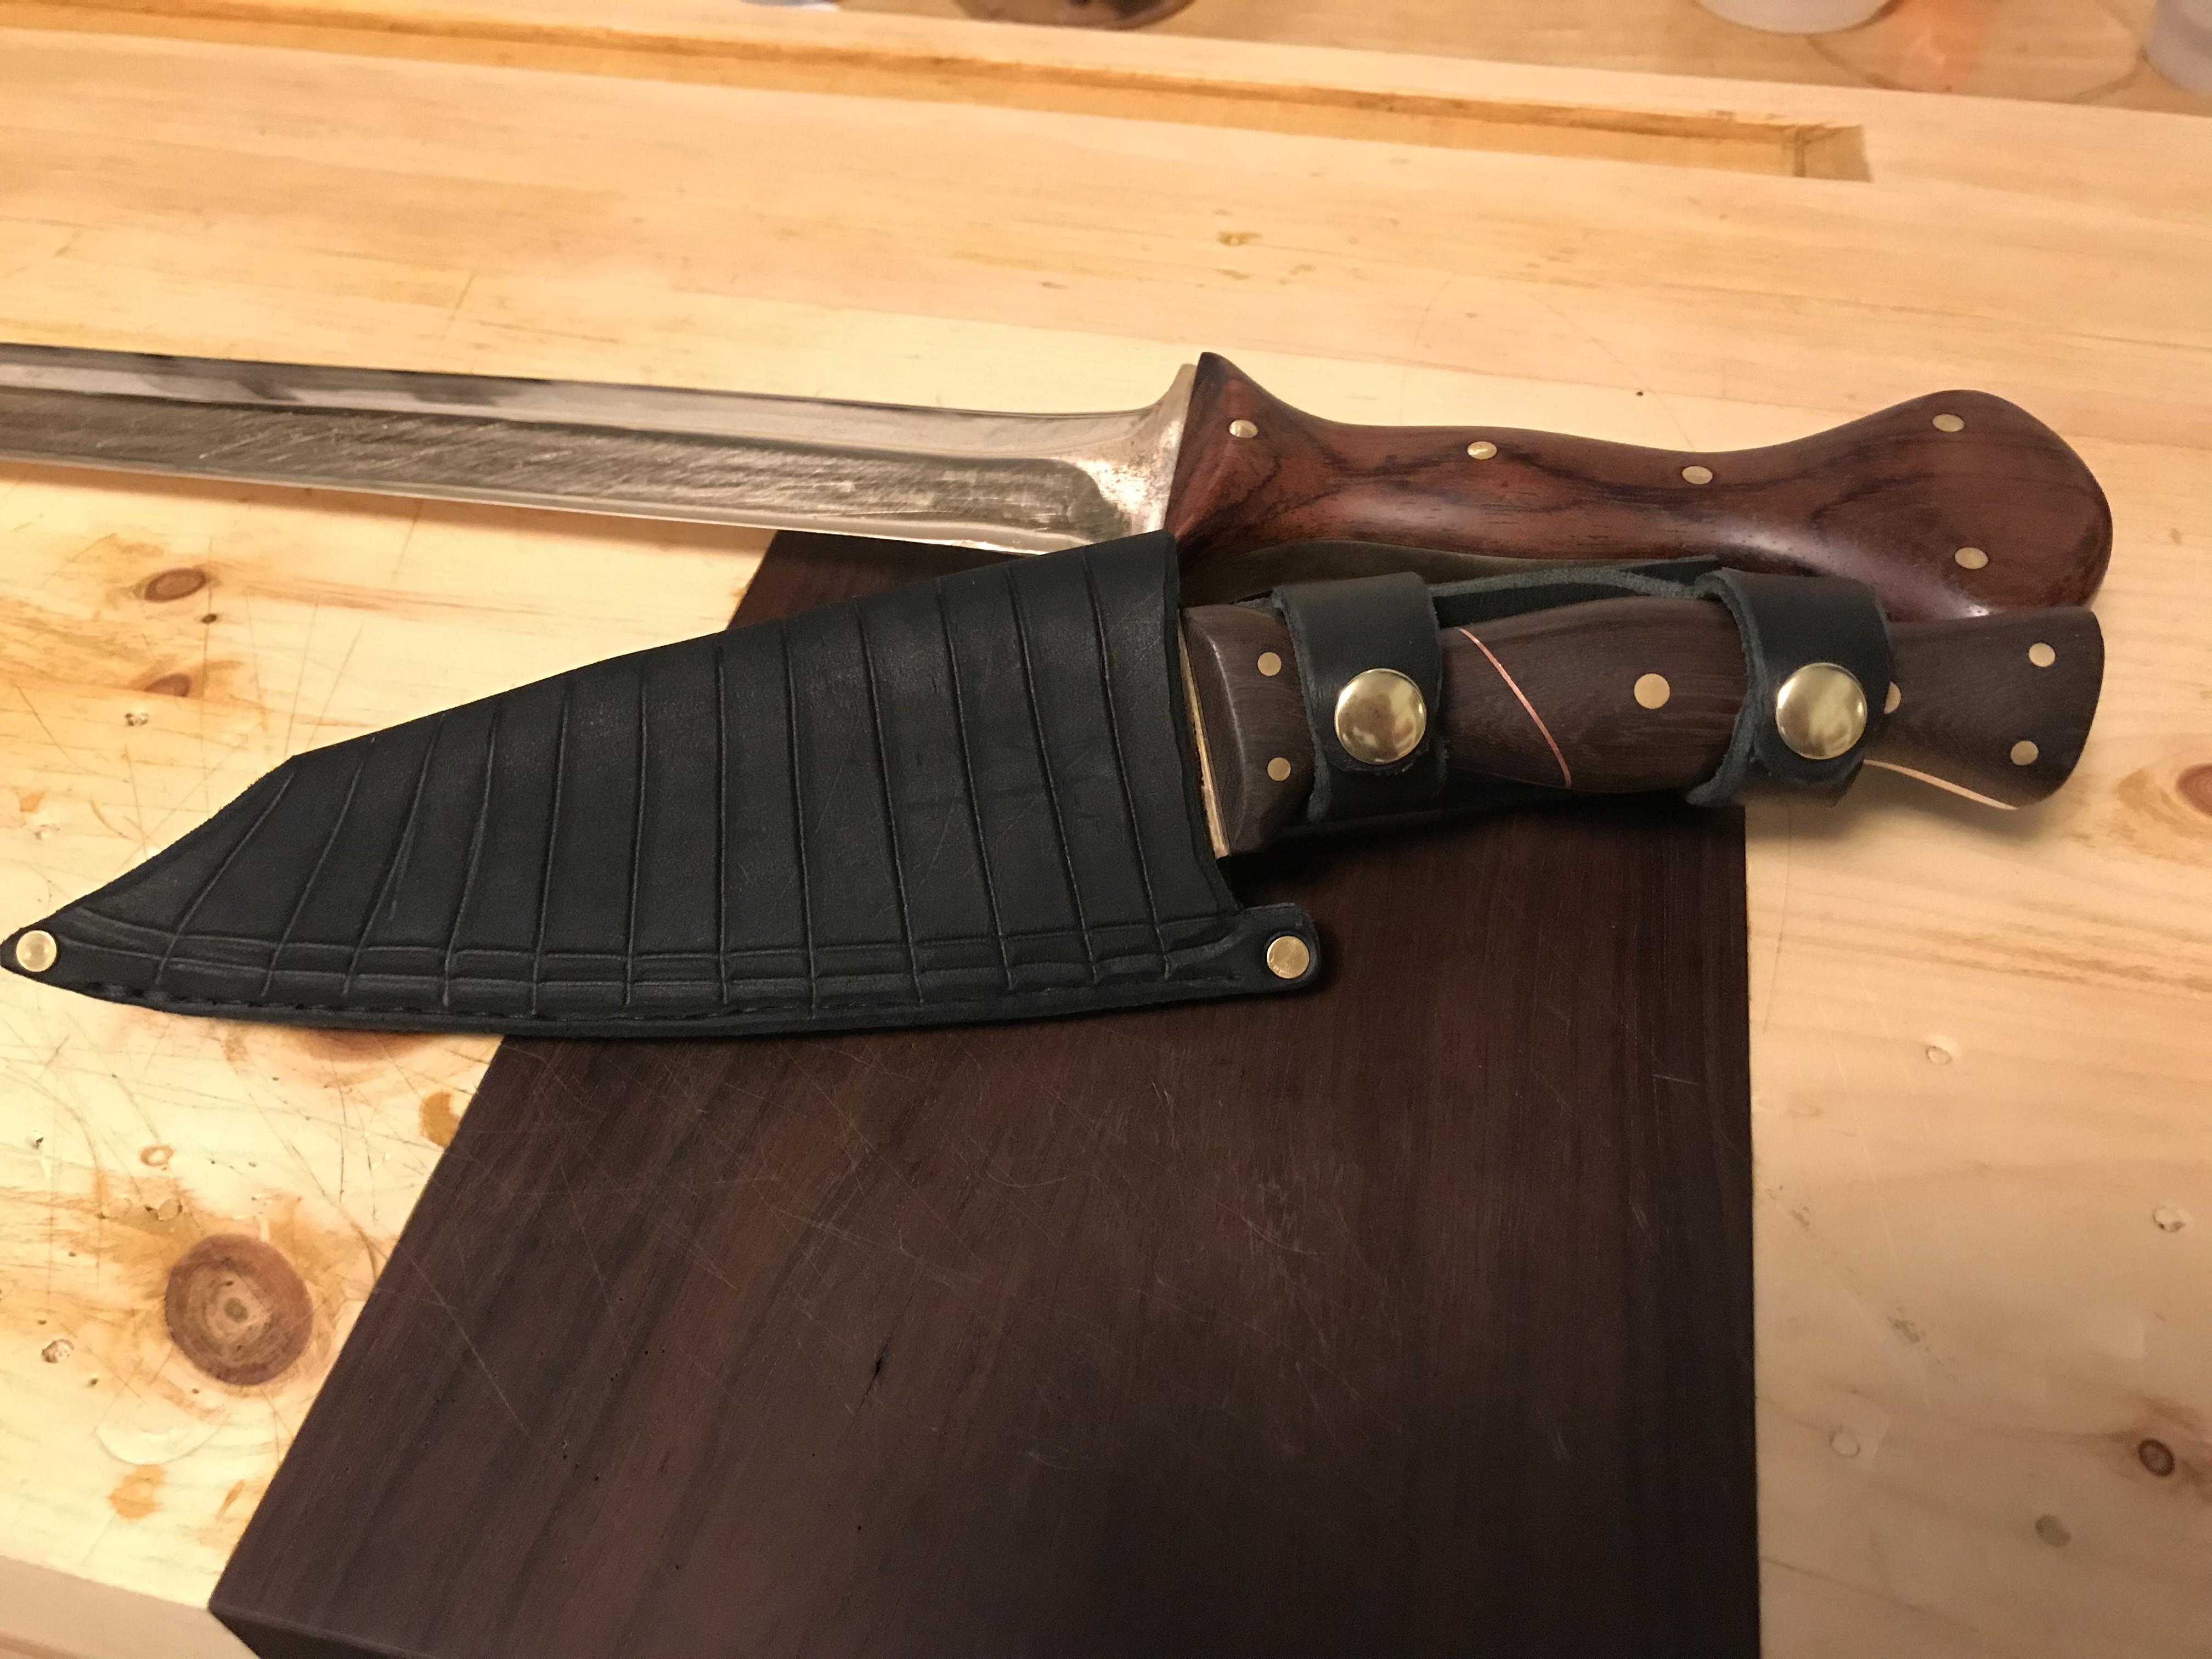
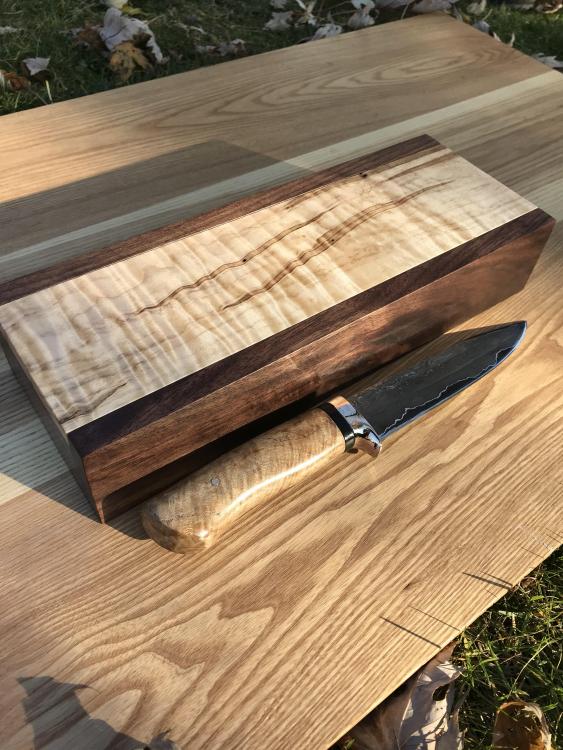
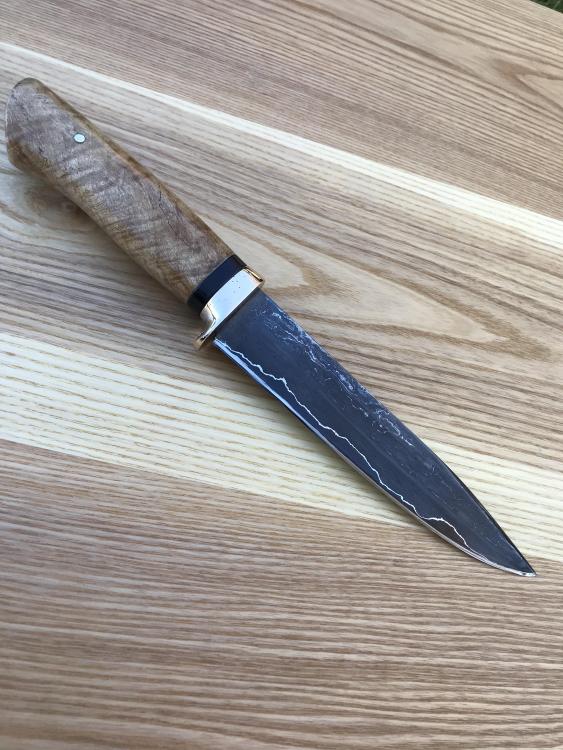
Relatively recently I had forged out this blade with an O1 steel core, nickel and wrought iron. Originally it was actually just a test piece in terms of forging as I was testing the taco method with the nickel sheet. The forging turned out to be very successful so I decided to try and complete the build to be as high end as my current skills allowed. I cast a bronze guard, and fit an Ebony spacer. The handle is spalted curly maple. The edges of the joints in the handle are rounded in case of expansion or contraction of the wood (I’ve heard it called museum fit). The only thing I’m not perfectly pleased about was that the blade geometry was a bit thicker near the edge than I would like. let me know what you think!
-
Ya it’s just going to be a general purpose around the house/shop knife, I might make a sheath for it as well. the edge has been holding up pretty well!
-
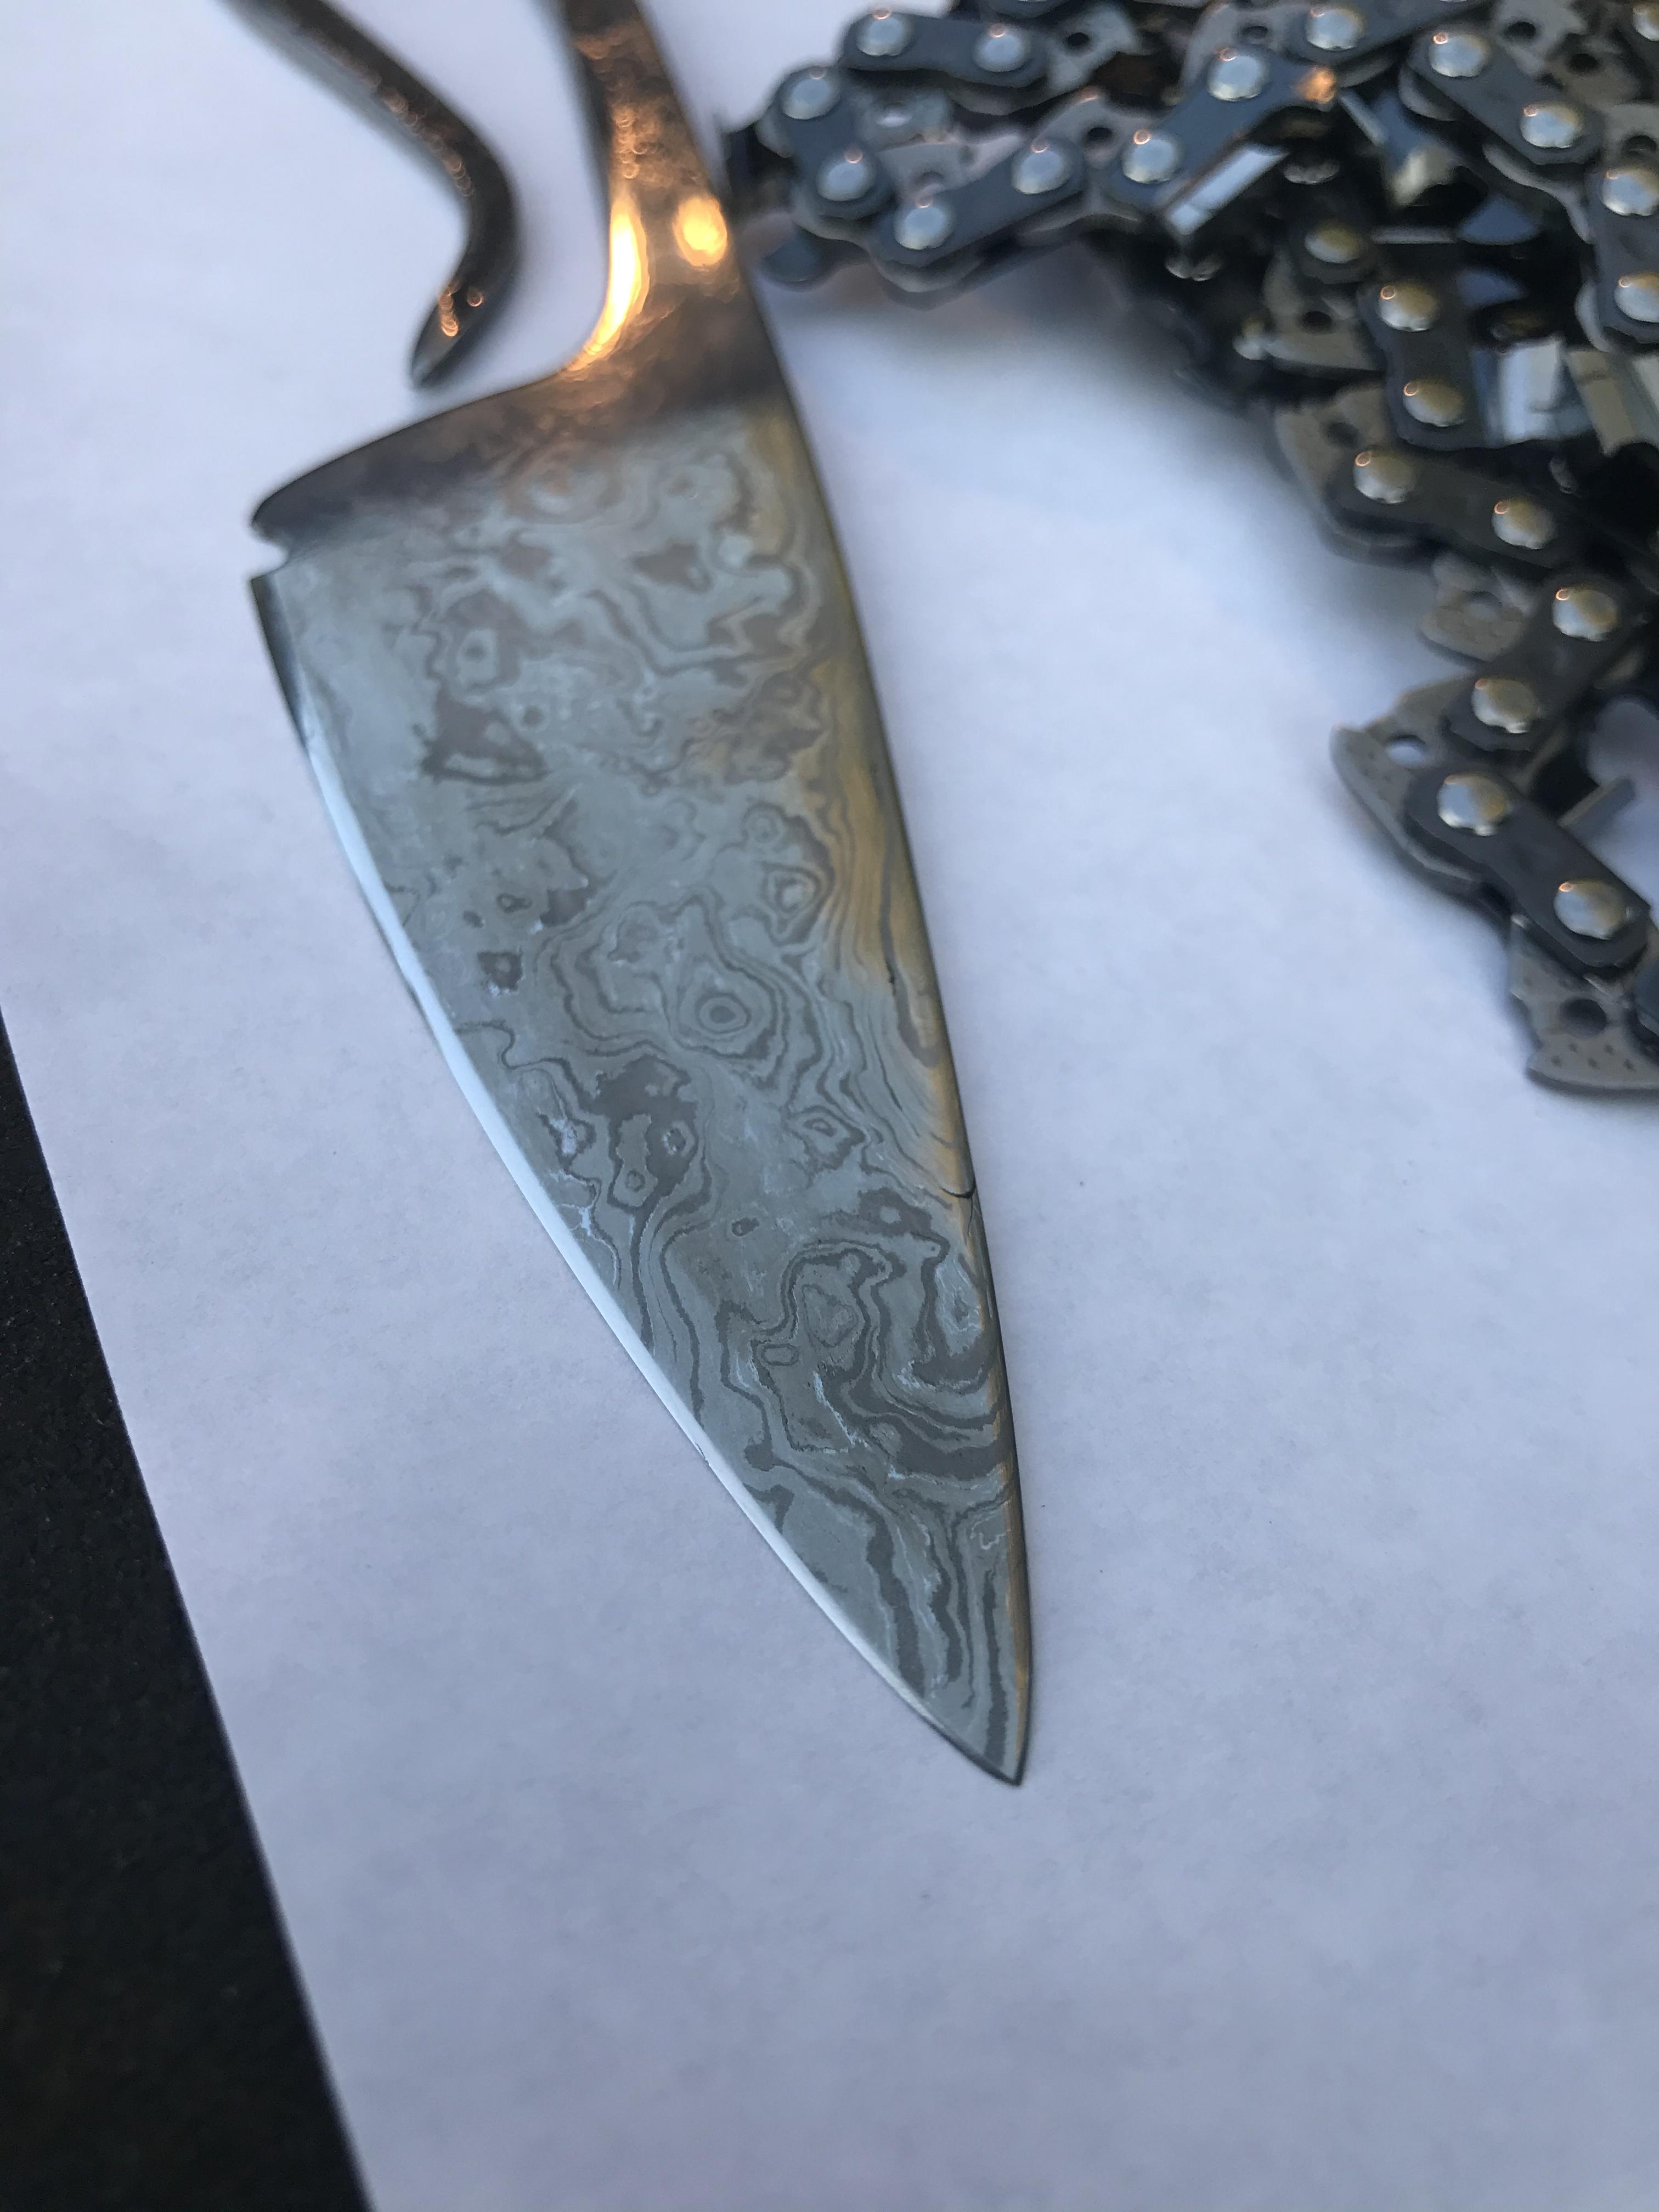
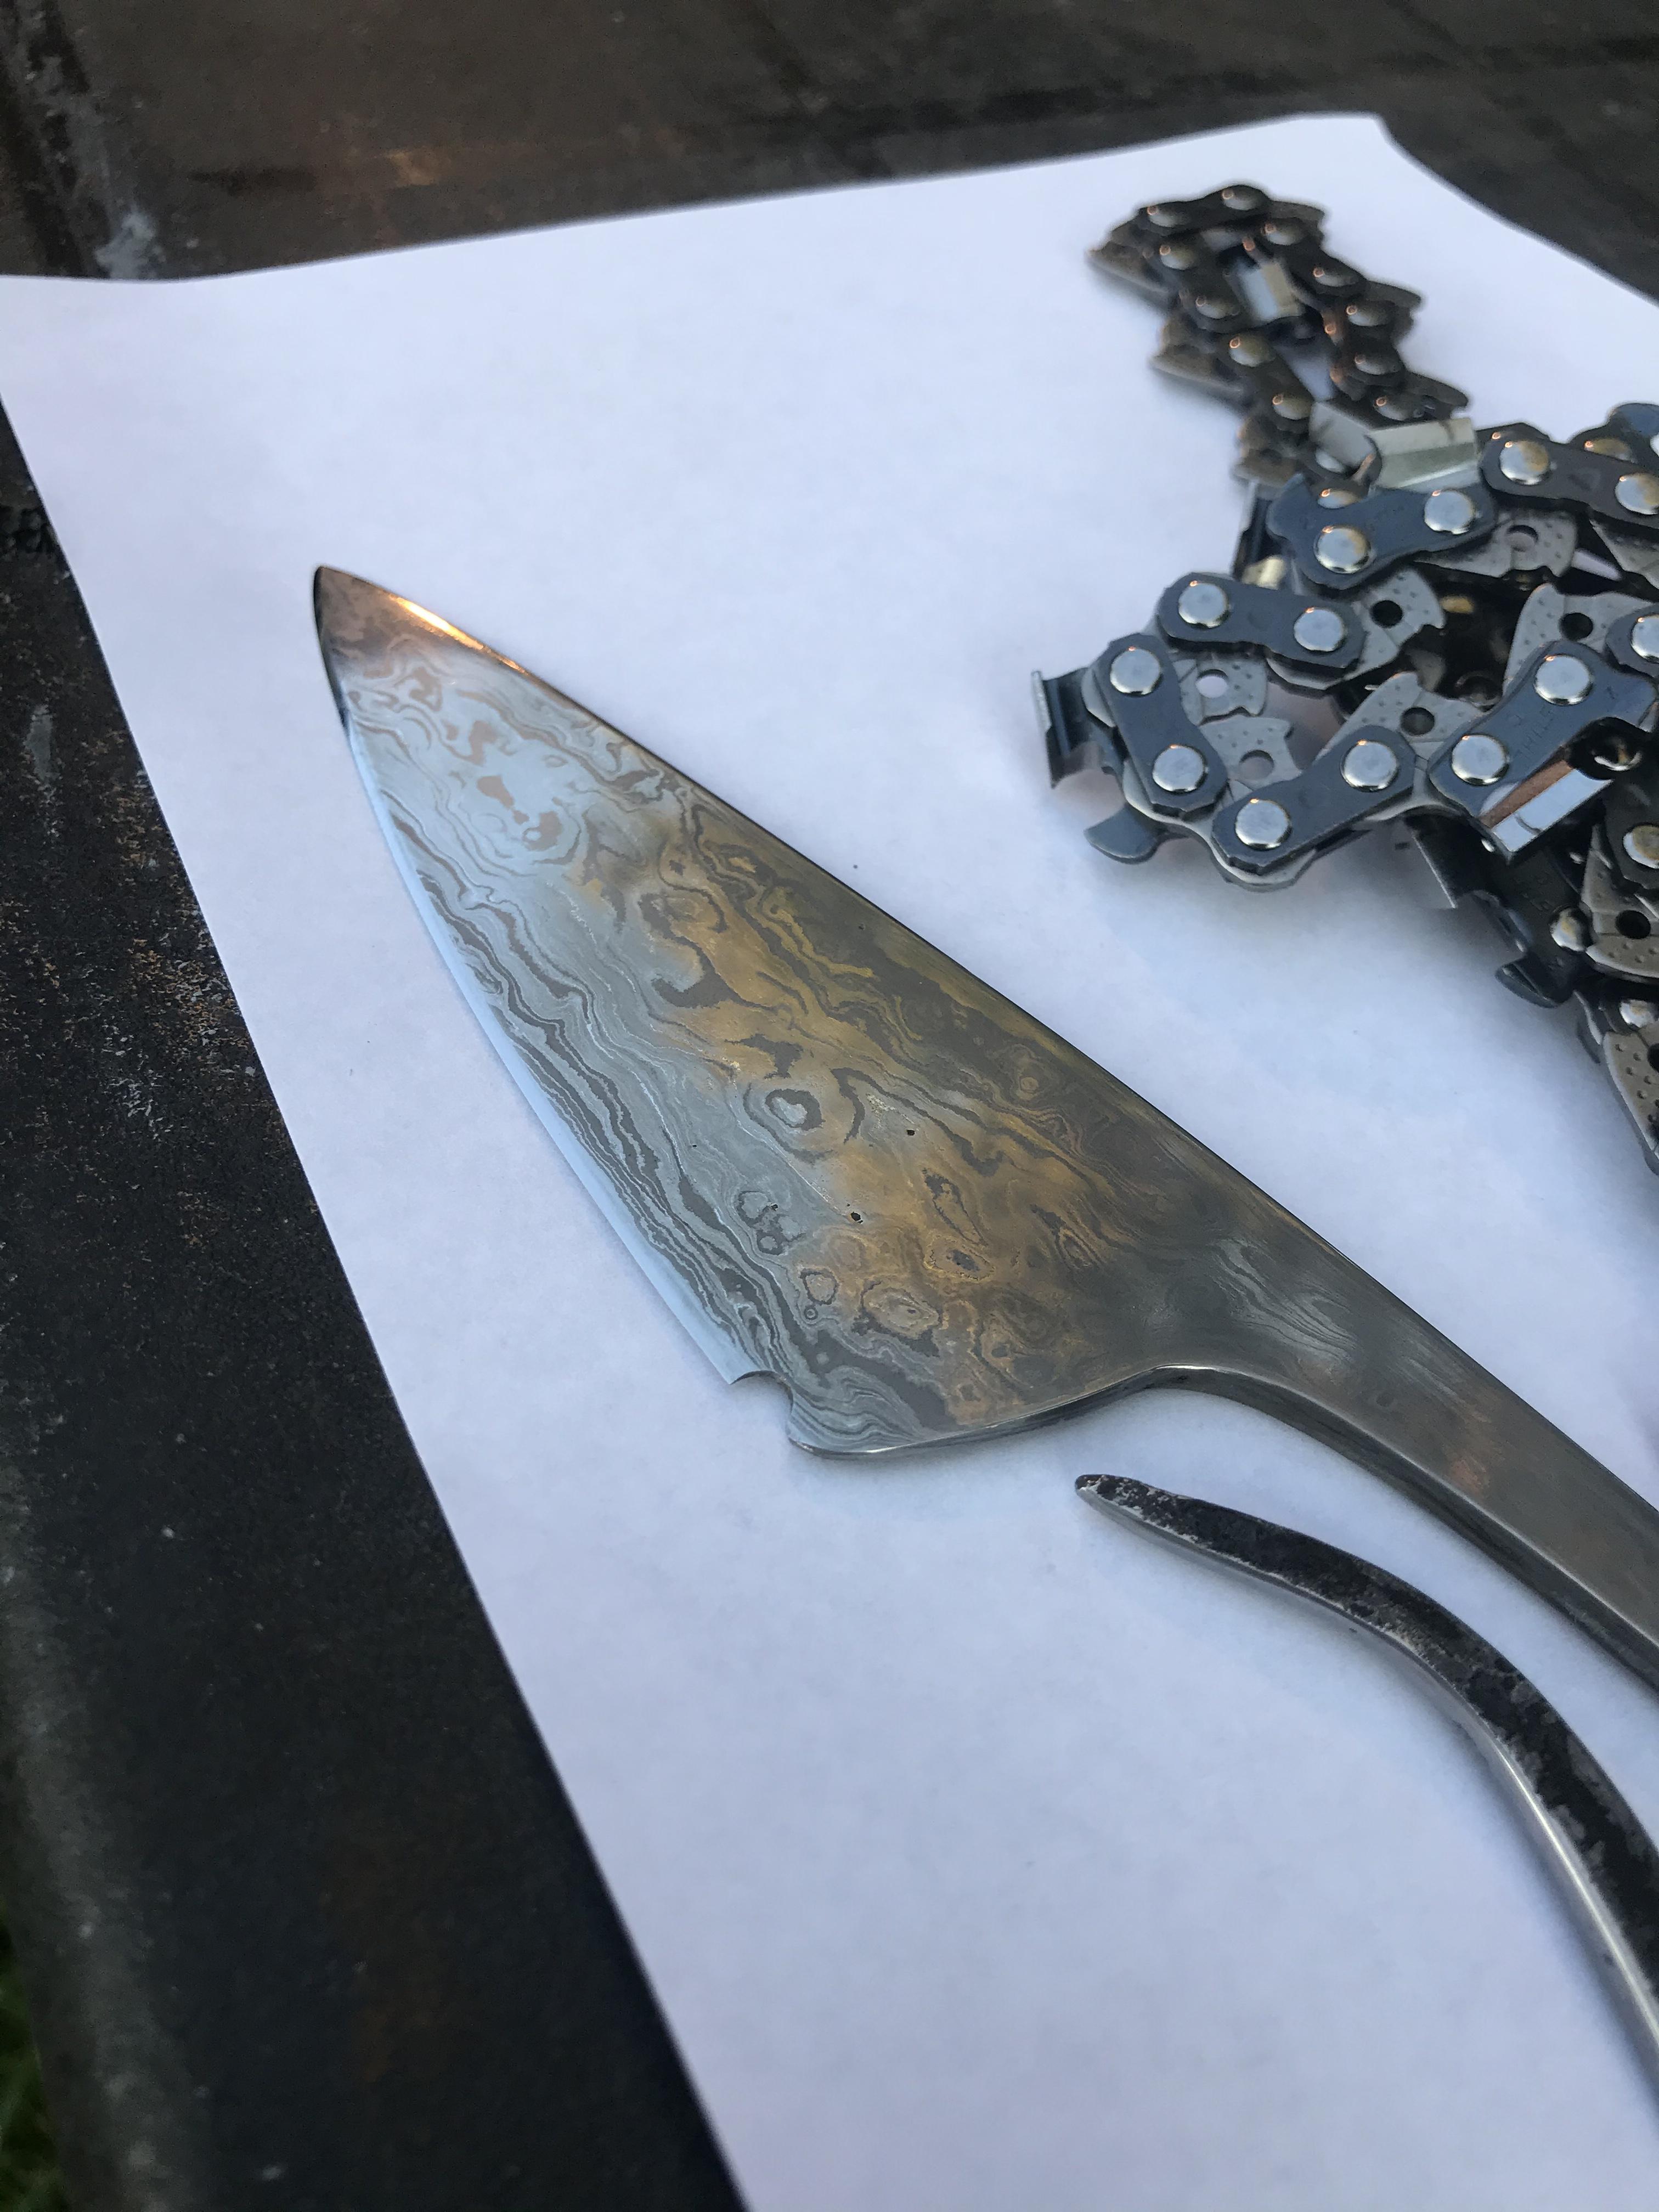
Ah makes sense! Yeah this was an oilomatic Rs23 stihl chain, it definitely felt like it was relatively high carbon during forging/grinding.
-
Thank you! I was really unsure how it would turn out since it was unknown to me how different the alloys are between the pins, teeth and side plates.
-
Looking back I think the carbon content was way too high, and the mishmash of alloying elements made it nearly impossible to forge. My next attempt will be with much cleaner starting material. I’d guess this one was almost in the cast iron range, some pieces that had crumbled were easily melted at forge welding temperature Because I had tried a wide range of forging temperatures, annealing and normalizing etc. I’m guessing over 1.7% carbon
-
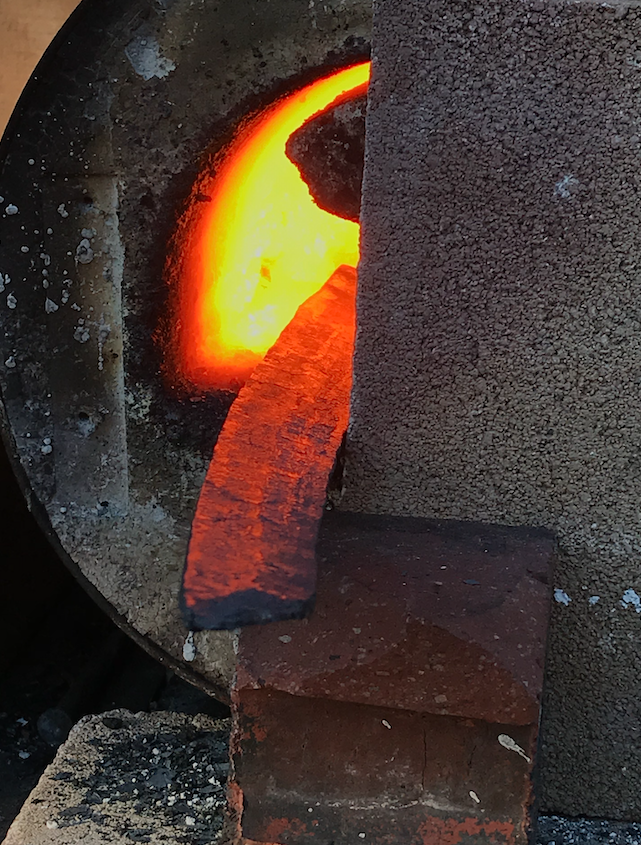
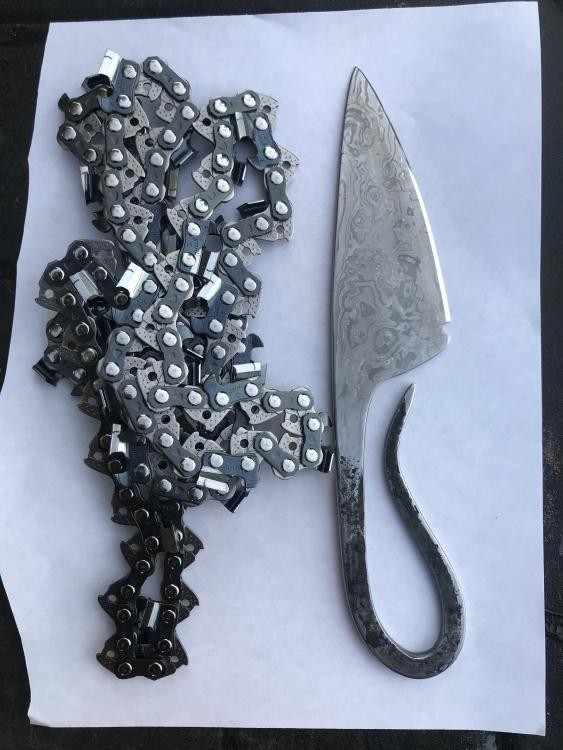
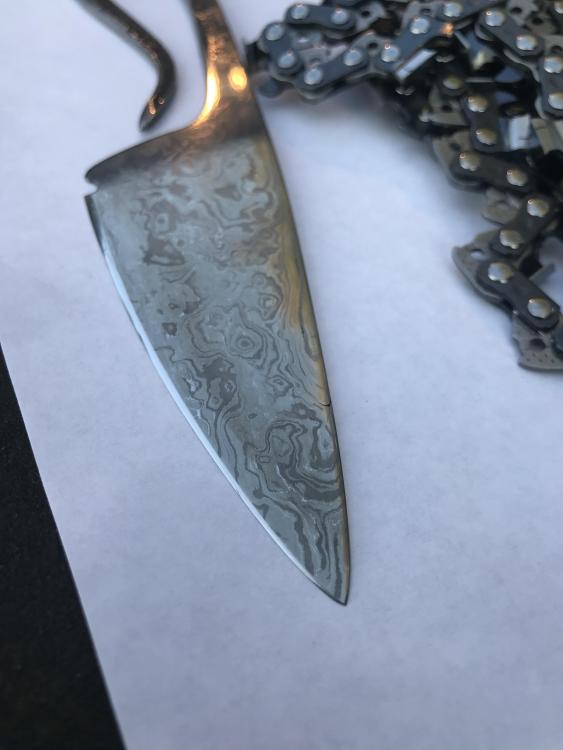
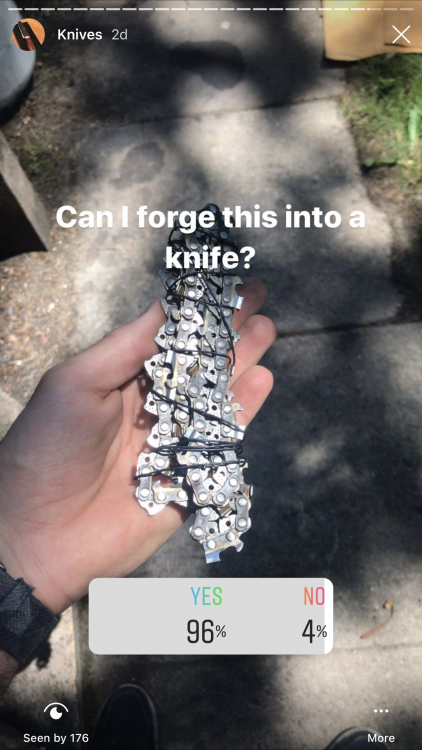
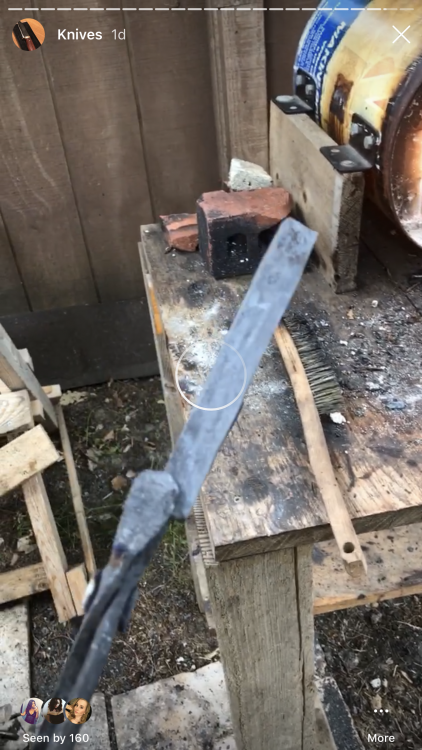
Hey guys, been a long time since I’ve posted, thought some might be interested in one of my latest little projects. My dad was throwing away a worn out chainsaw chain (too worn to be resharpened). I decided to try and forge it into a knife. first step I simply took the worn dirty chain, and wrapped it in thin steel wire to keep it in one piece. I proceeded to forge weld it, and folded it until I was happy with how solid the billet felt. No cleaning of the steel was required, however a high temperature and proper atmosphere were absolutely necessary, especially at the beginning as it was tricky to stick. Anyways, here’s the finished piece and some progress pictures. Altogether only a couple of hours and gives me some confidence in my forge welding. Tempered at 350f, considering the steel was likely lower carbon, and the feel during sharpening etc I would put the hardness at a maximum of 56-58.

-
It is definitely not because of the incorrect forging temperatures, but rather the high alloy content
-
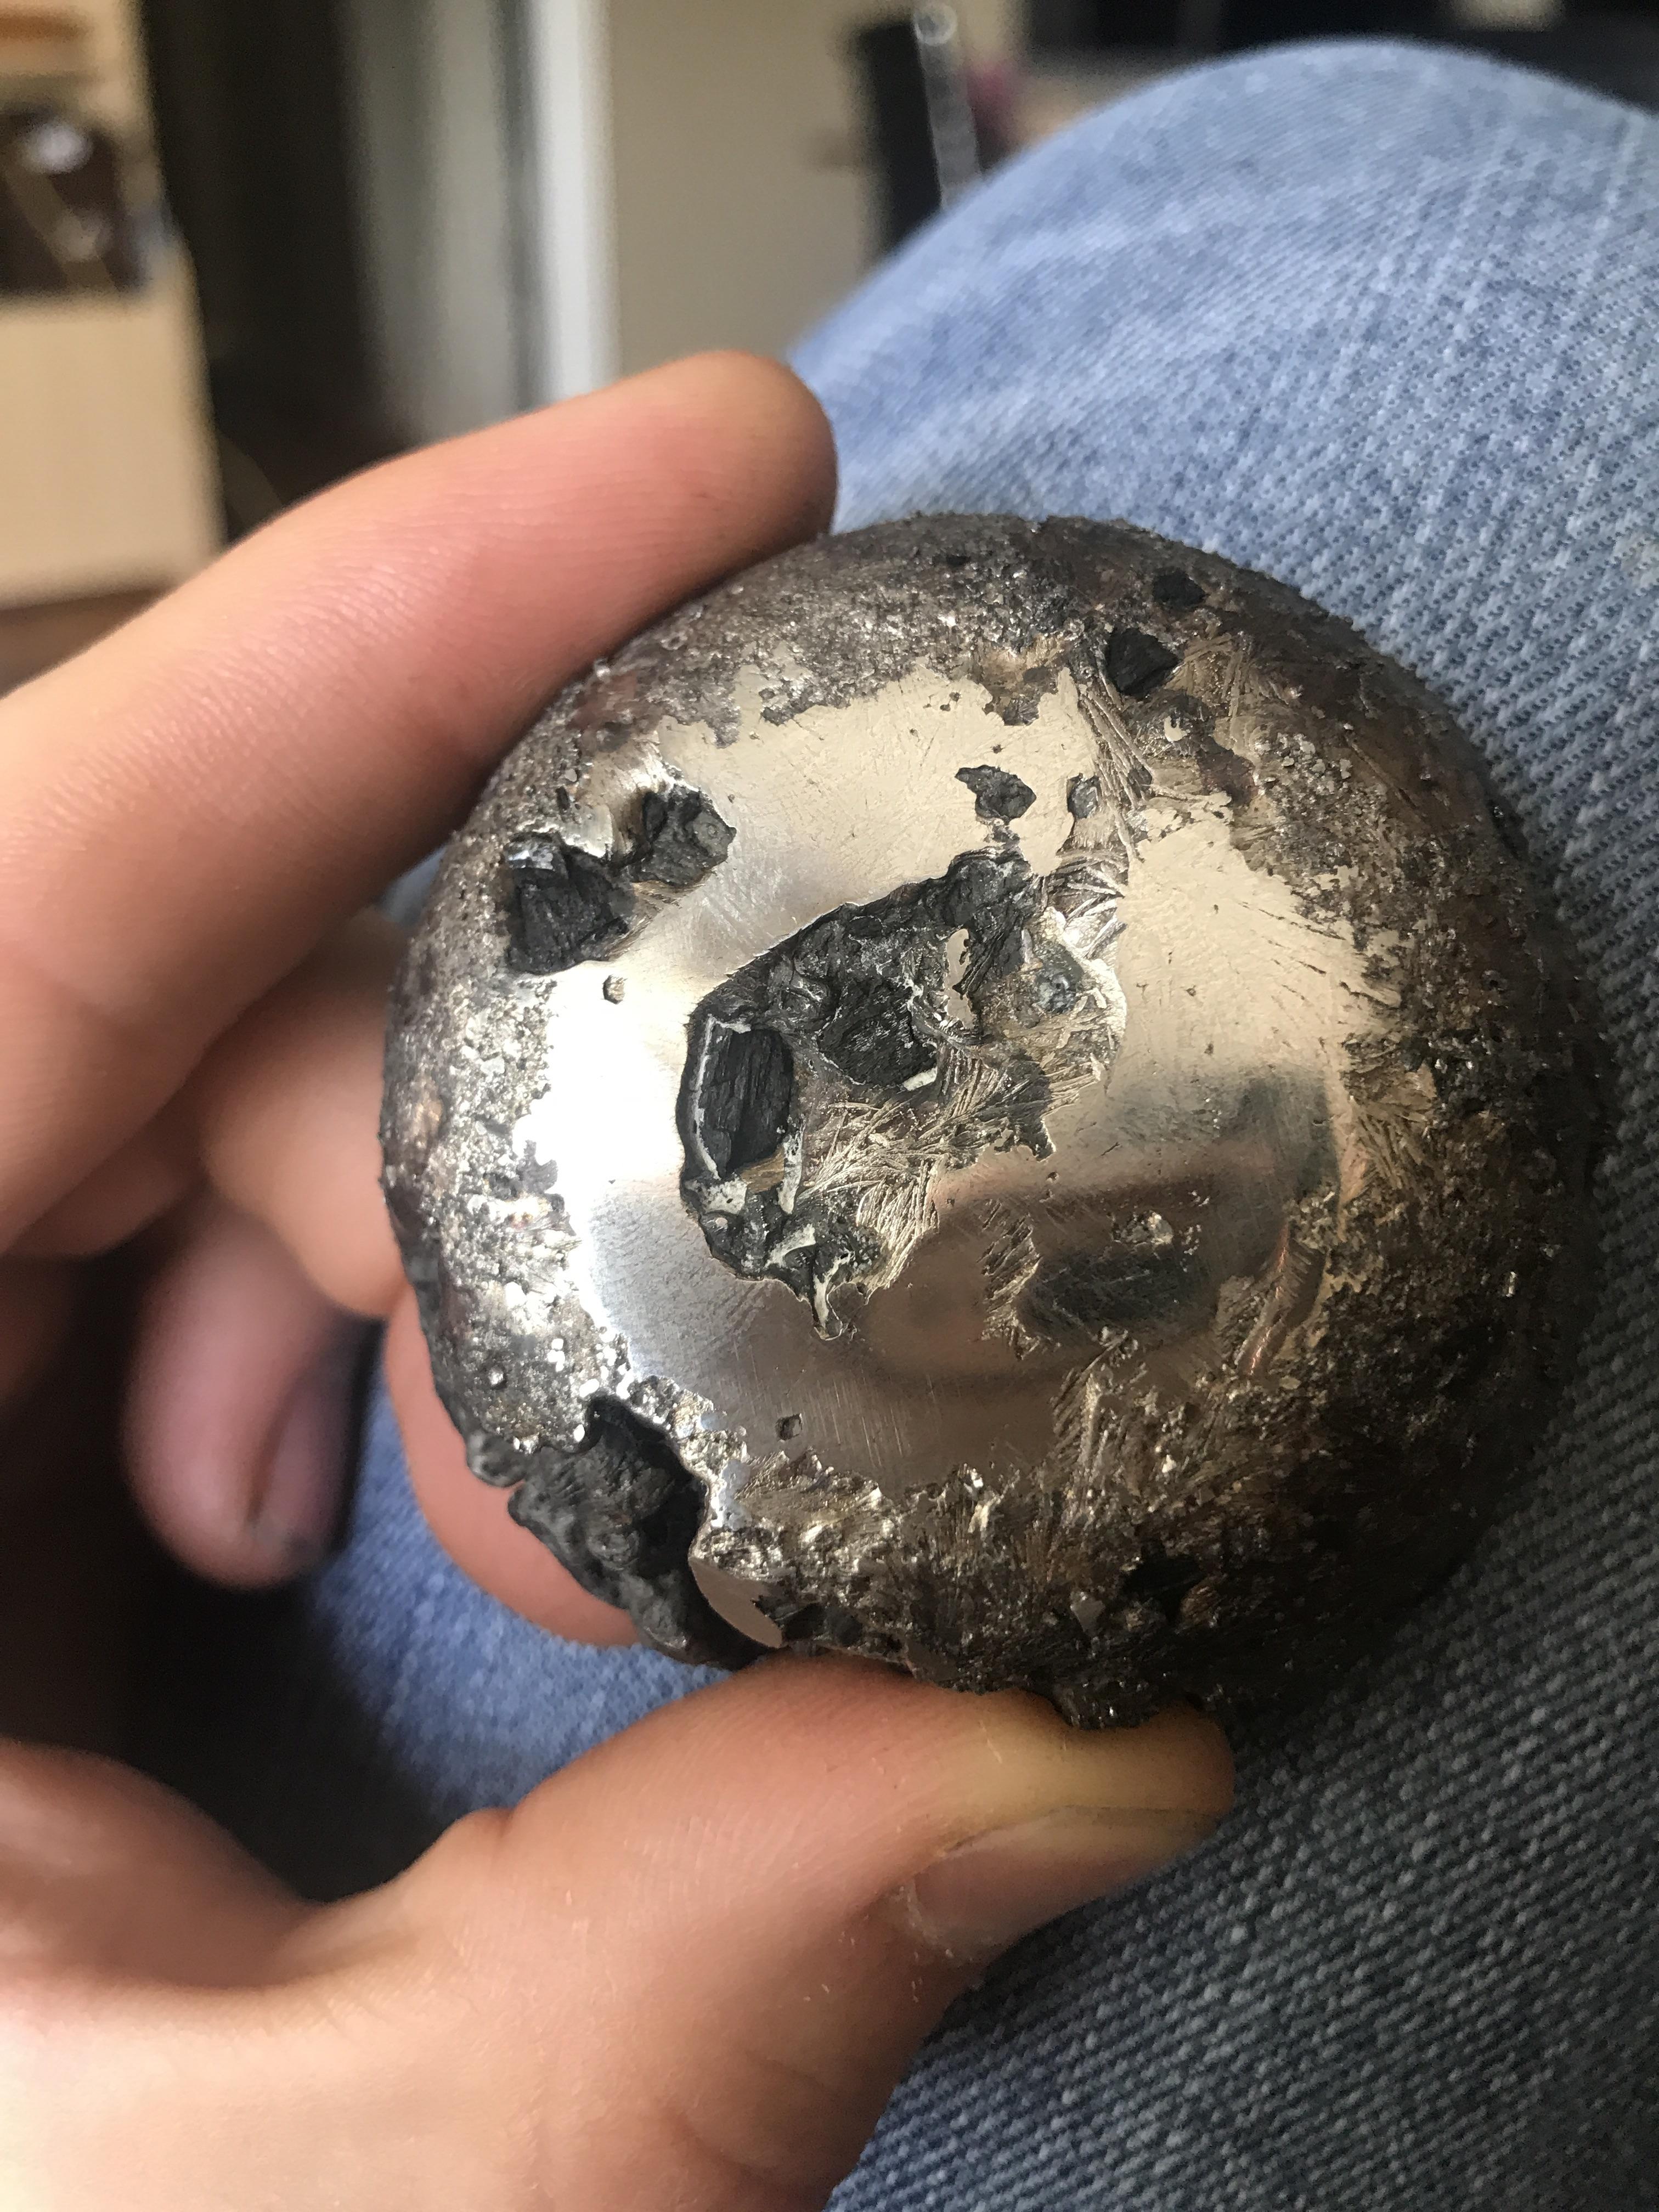
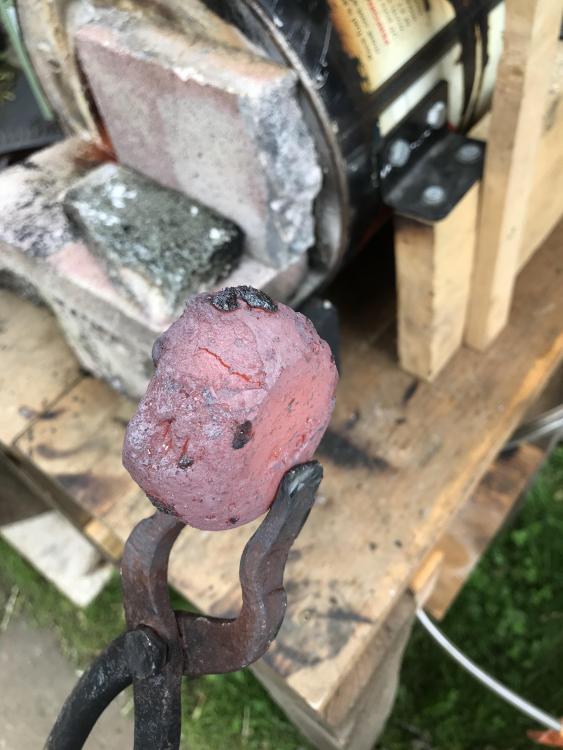
I’m going to either remelt this one and add some mild steel as the carbon content seems too high (it starts to crumble quite easily) or just start from other materials, as the hardness at temp is very high. Other options are; make some new tongs and be very patient forging it out ( I don’t have a press/power hammer) i was attempting to hot cut it in half, and a corner just came off.
-
When I start forging it into a billet should I forge it making the top and bottom the ends of the billet, or should I forge it from the sides? I was thinking from the sides since it has one side which is not very smooth due to a piece of trapped charcoal and if one way is preferable, why?
-
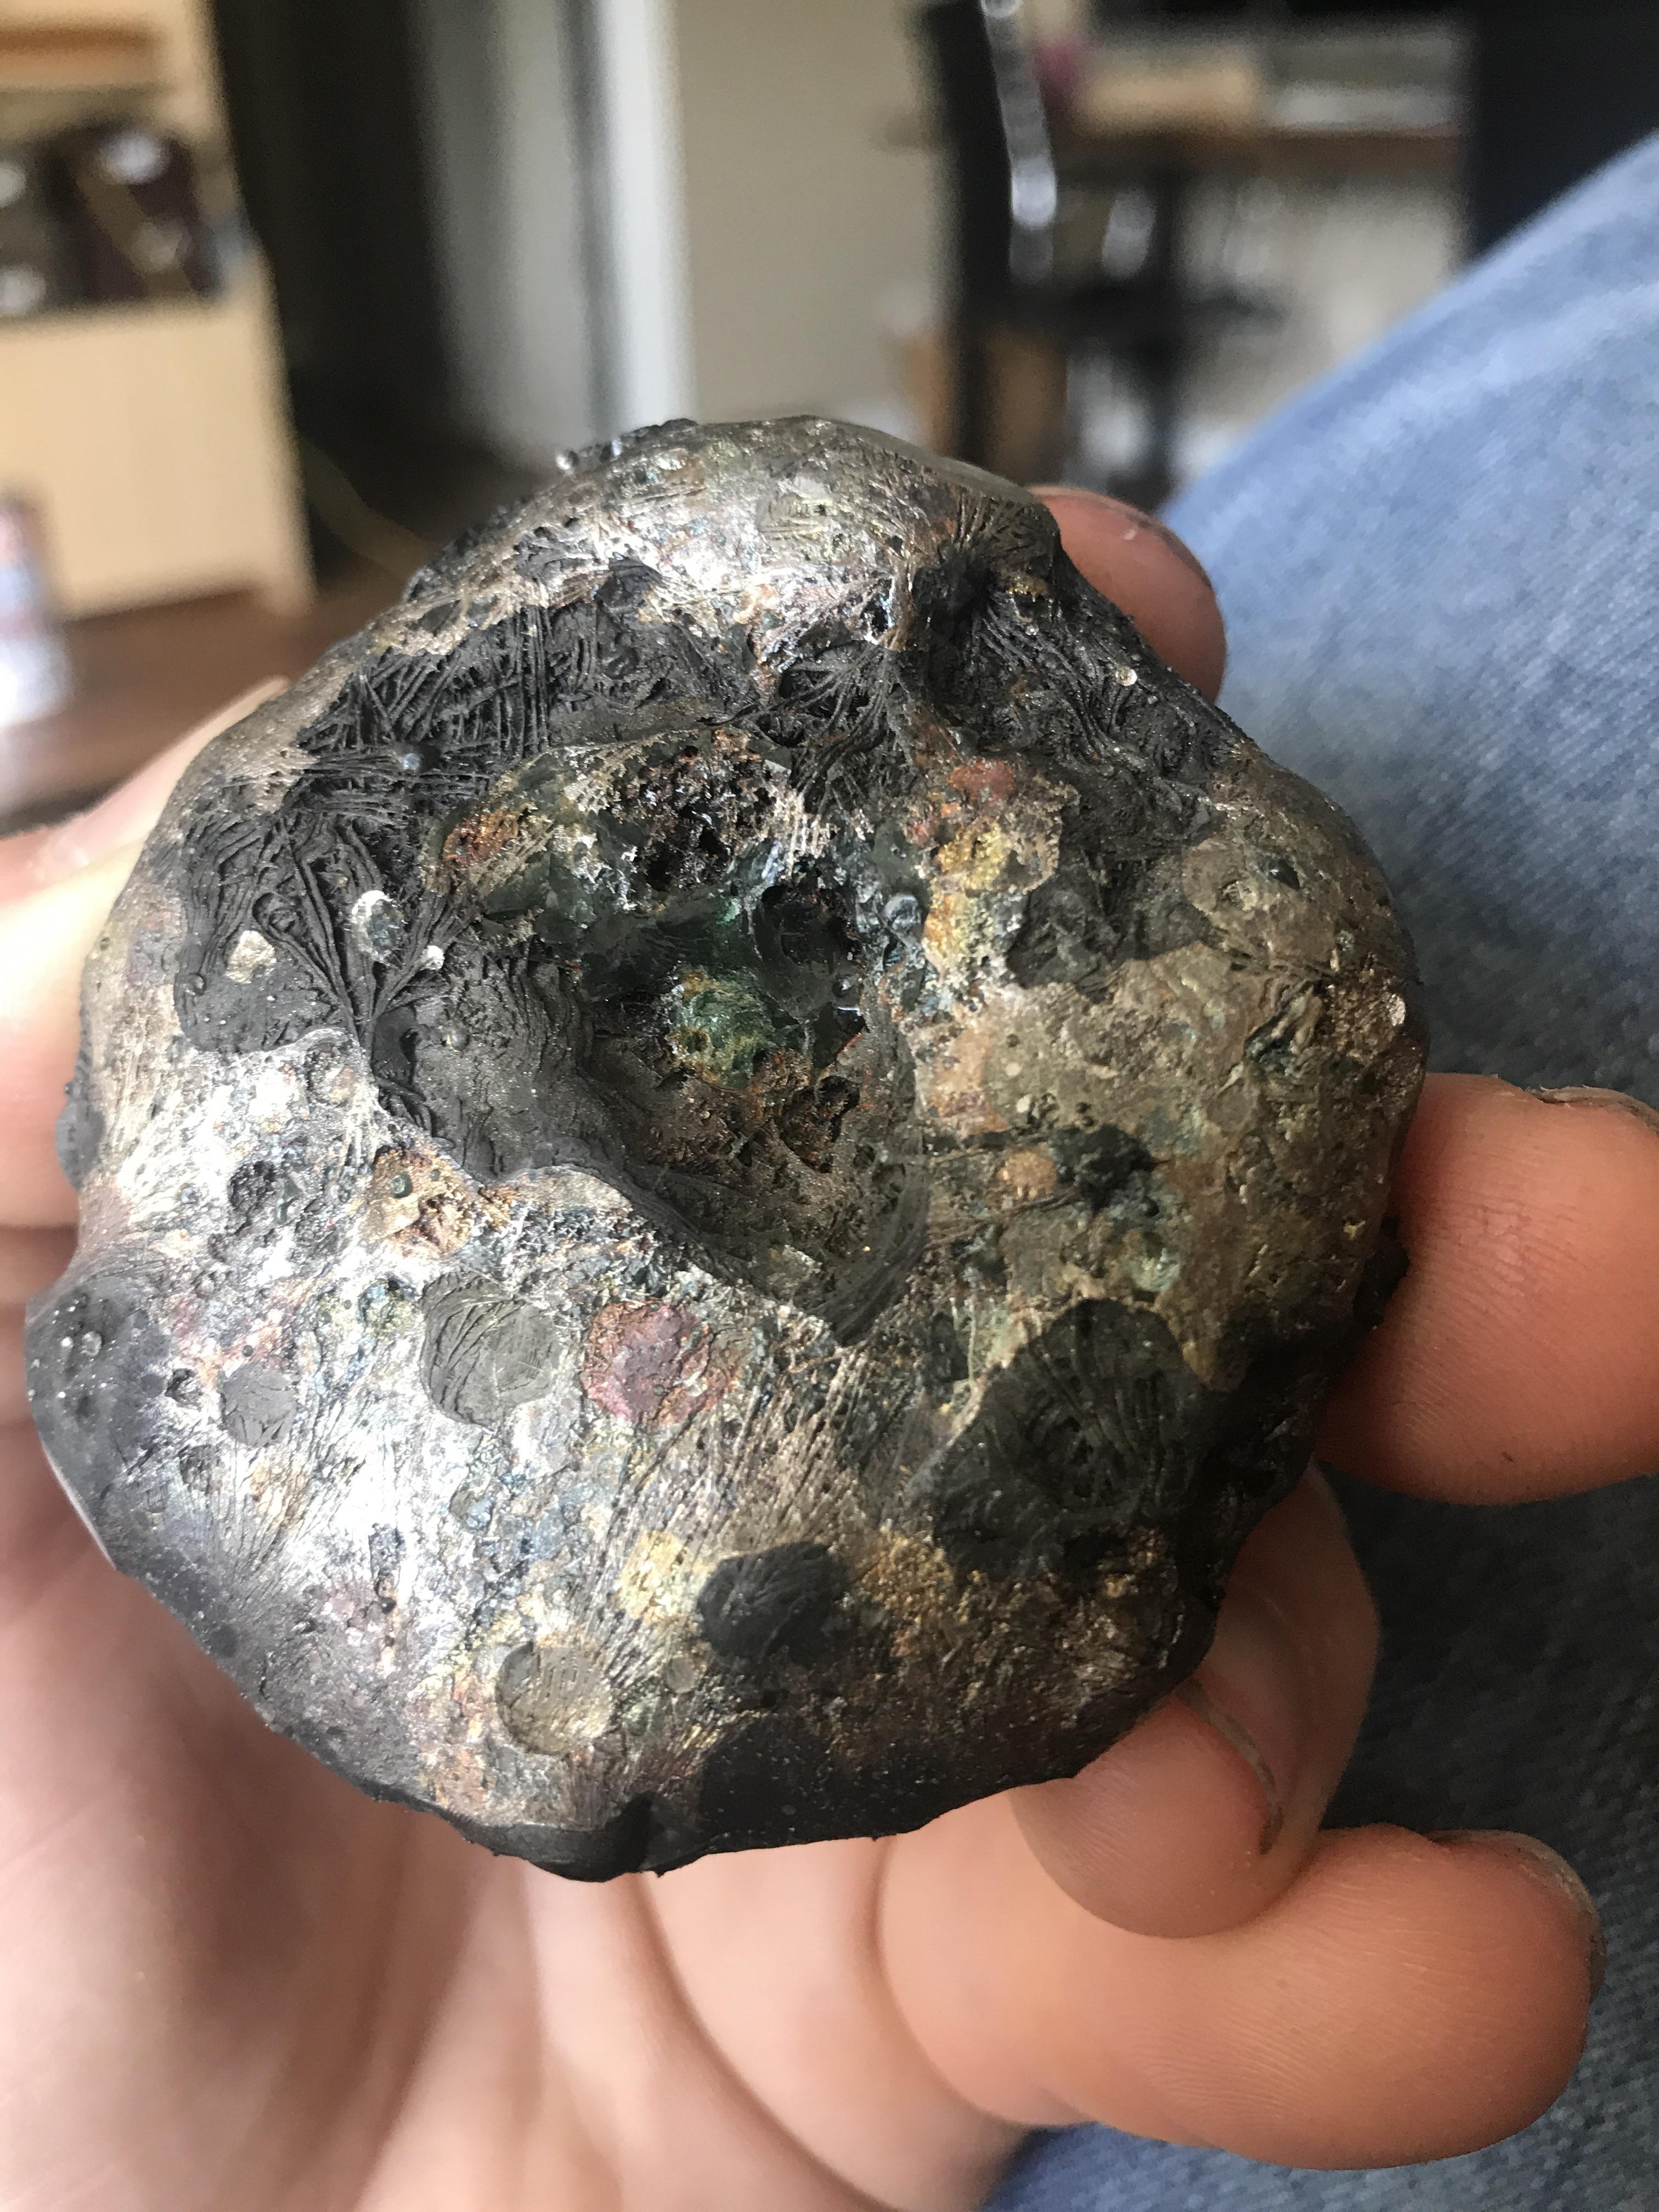
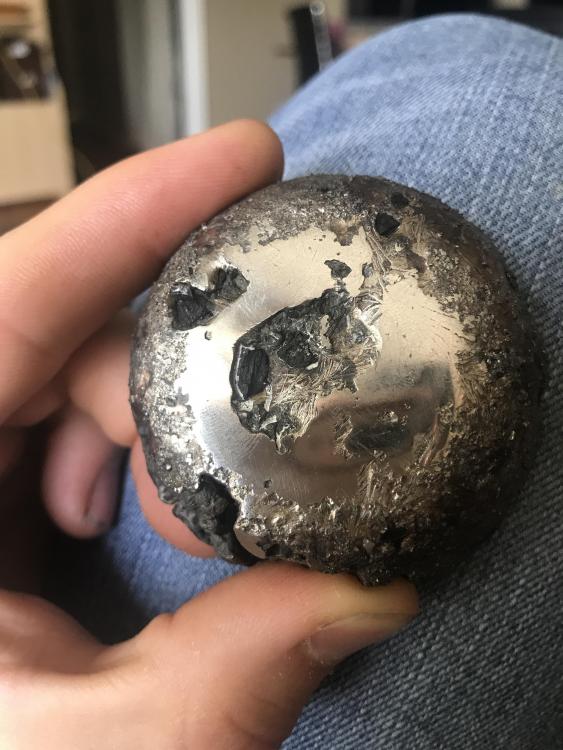
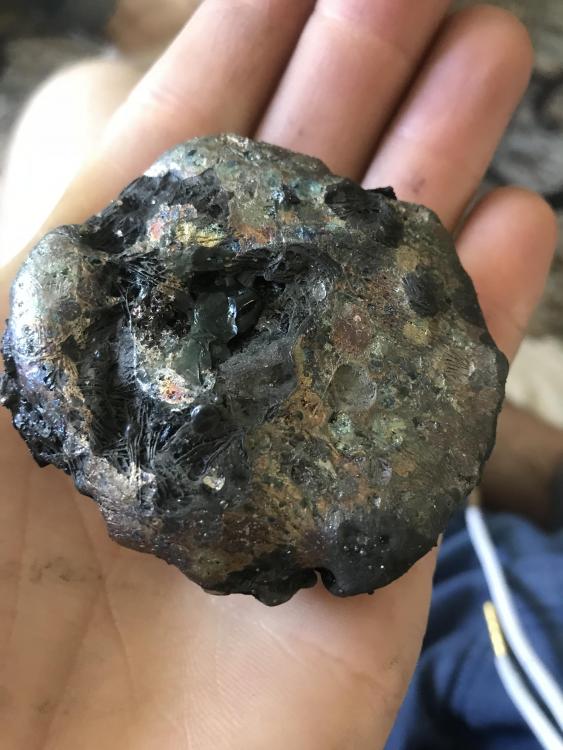
I spark tested it today, and polished up the bottom face to check if there is any visible porosity. Unfortunately my camera didn’t focus well during the spark test, but I’ll describe it; The sparks were dark red, and very short without any visible branching. I compared it to o1, and mild steel which both sparked xxxxxxx a lot more. Then compared to a high speed steel drill bit, which had quite similar sparks however the crucible steel had slightly shorter ones, and less. current thoughts are; due to the saw blades and drill bits used to make the steel, and the other scrap metal/forge scale, it has a relatively high tungsten and molybdenum content, and a medium carbon content. Perhaps the carbon content is slightly low but I’m not sure since it was mostly high carbon steel as input and it was melted under reducing conditions the whole time with a thick layer of charcoal covering, and glass.

-
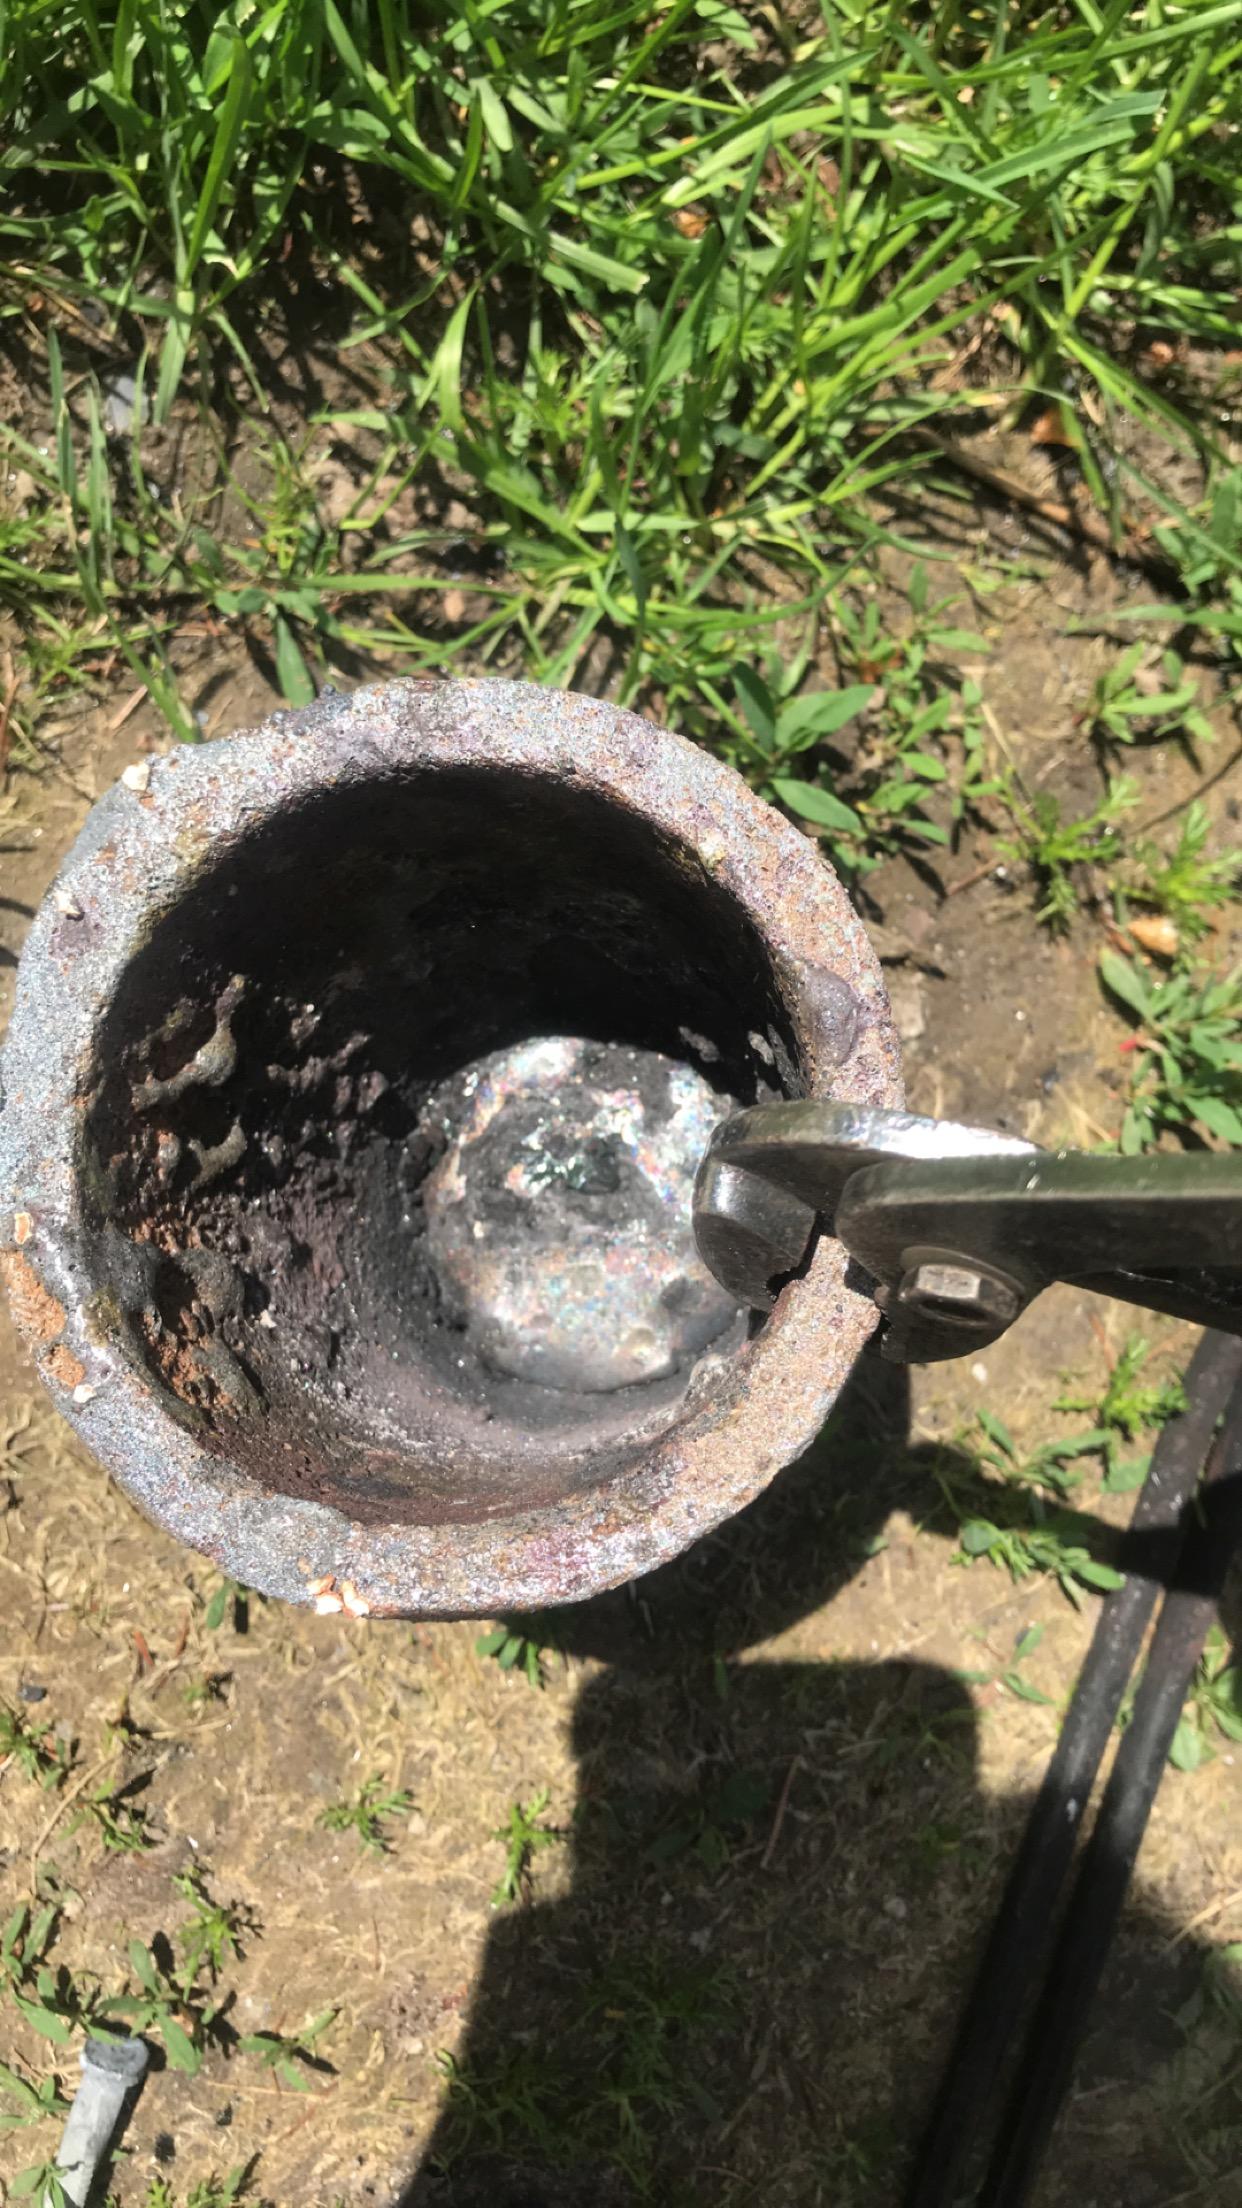
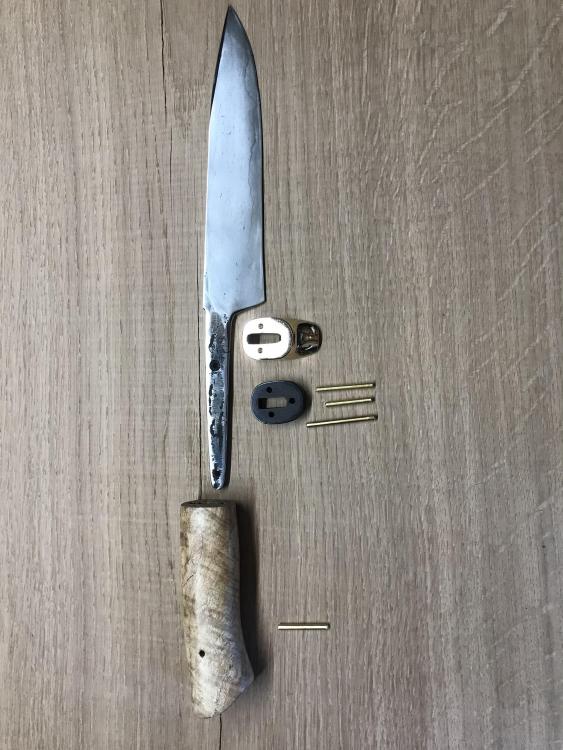
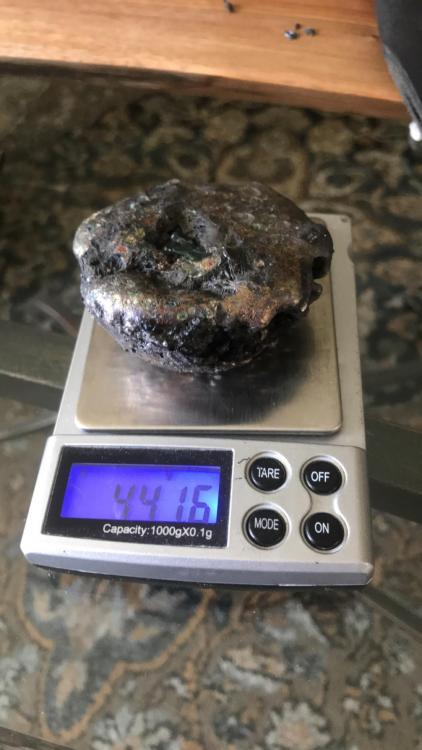
Today I was successful at melting down some old bandsaw blades, and drill bits along with some old pieces from knife testing, in my propane furnace! Got a small lump of steel, have yet to check it in anyway for carbon, but this is the first step! Any suggestions on how to proceed? Keep in mind I do not have a forging press or power hammer.

-
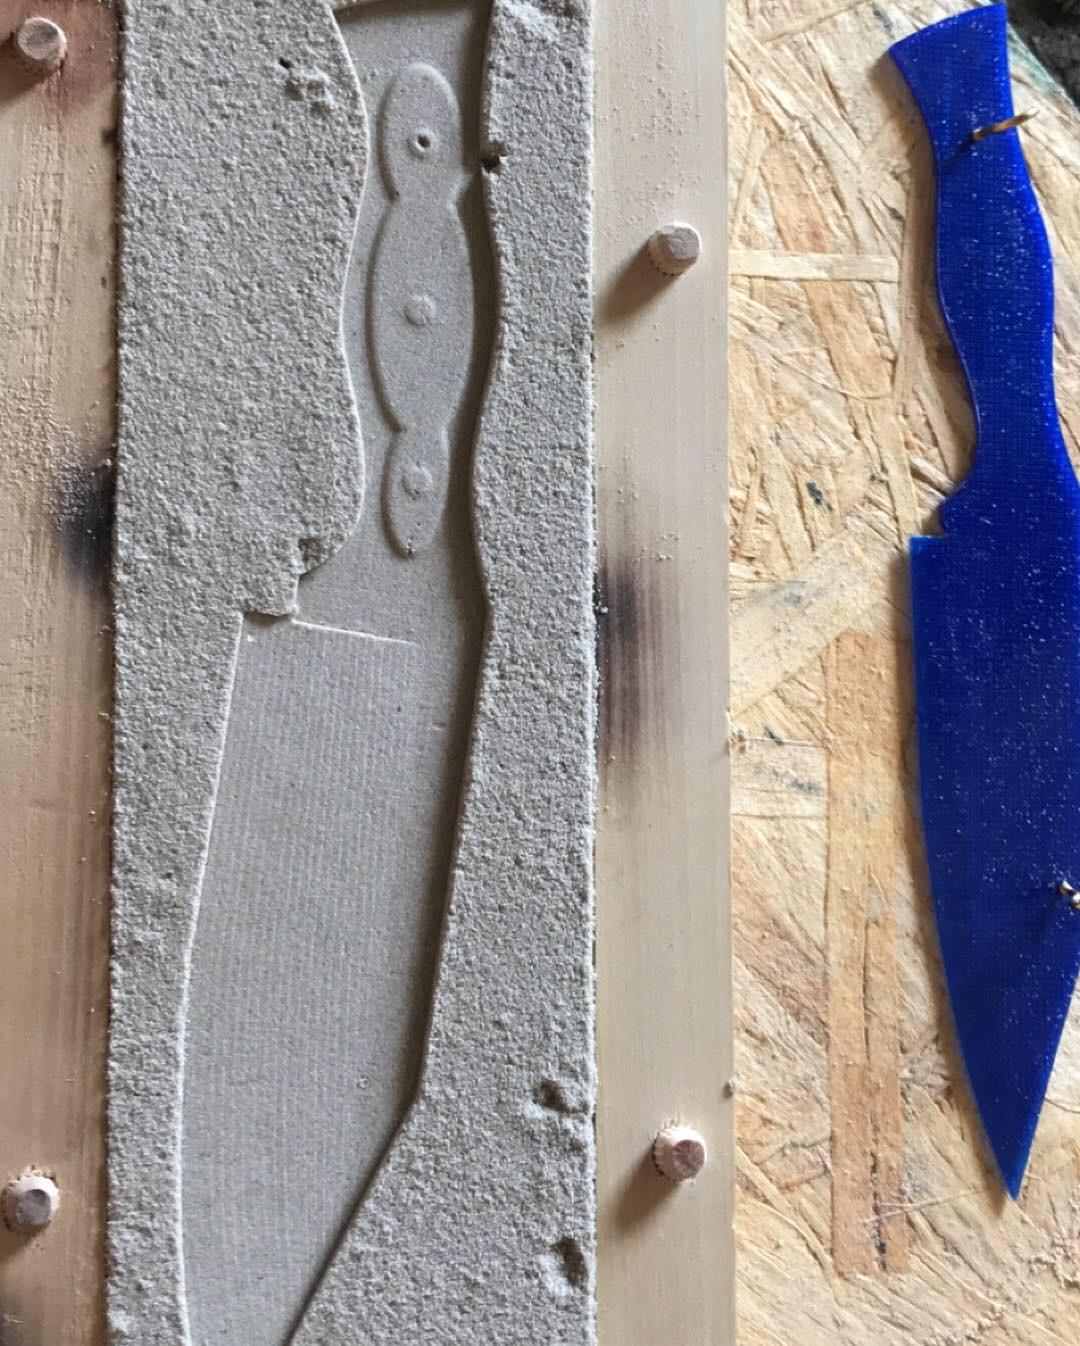
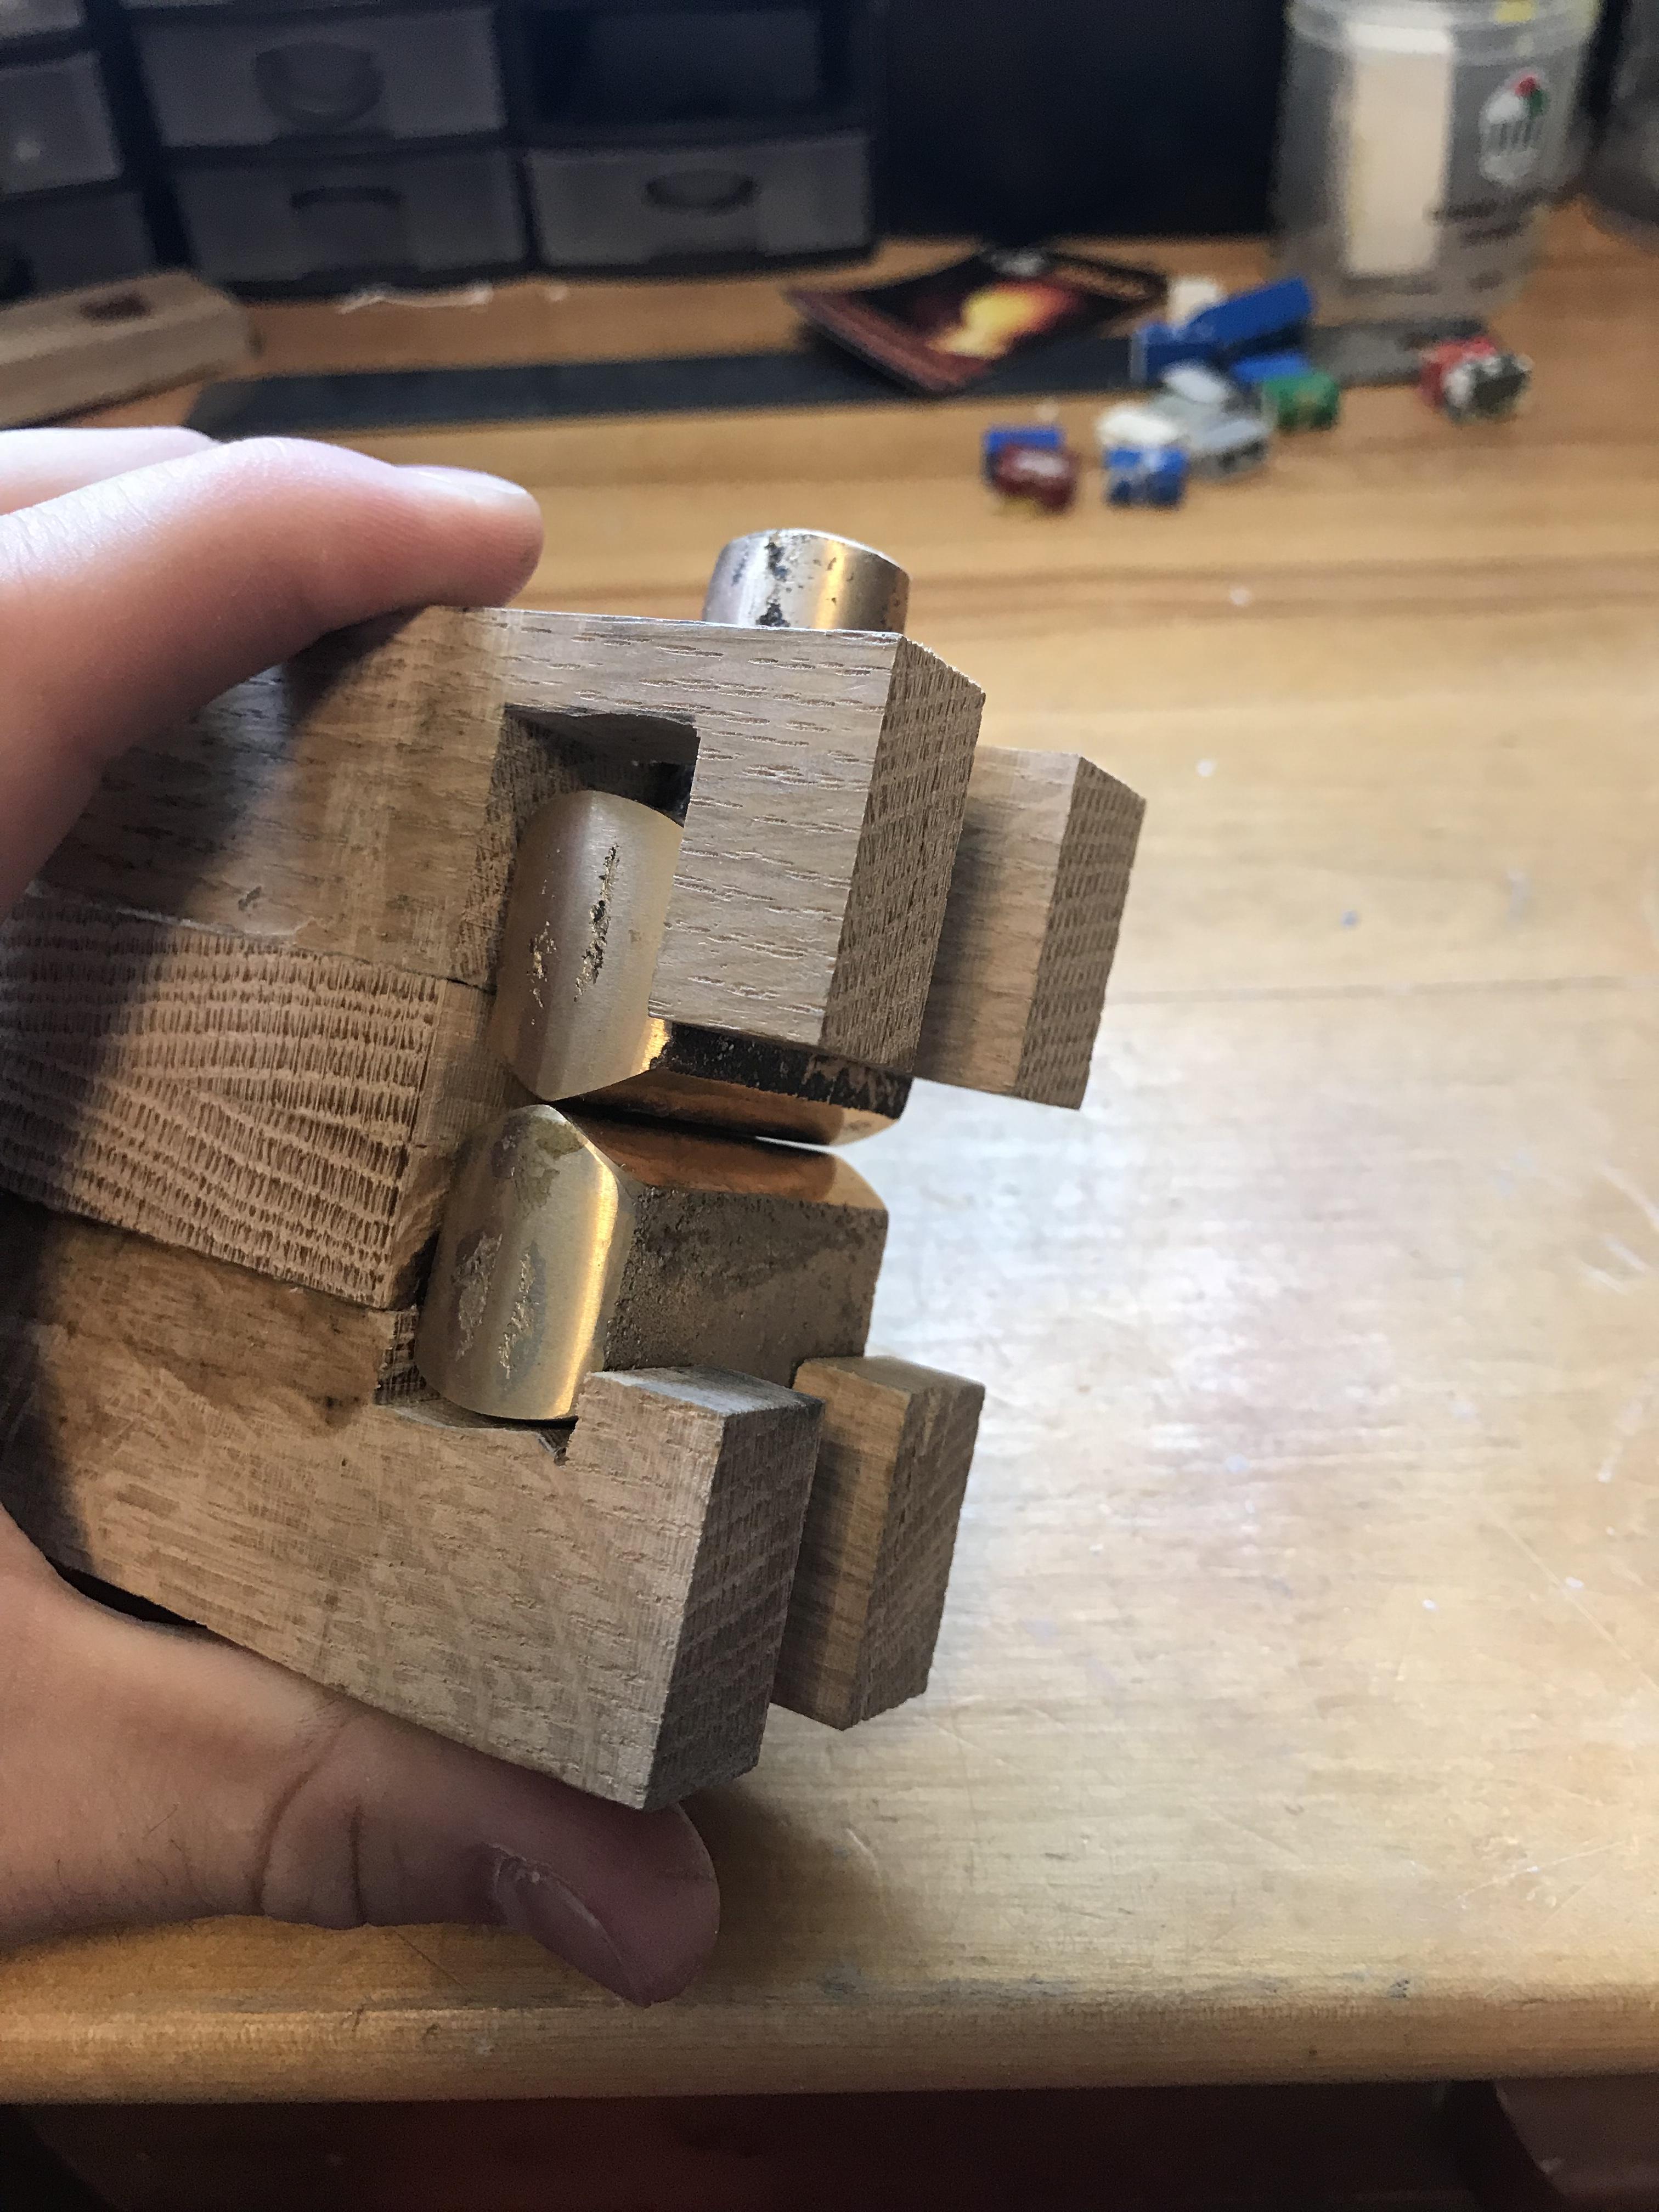
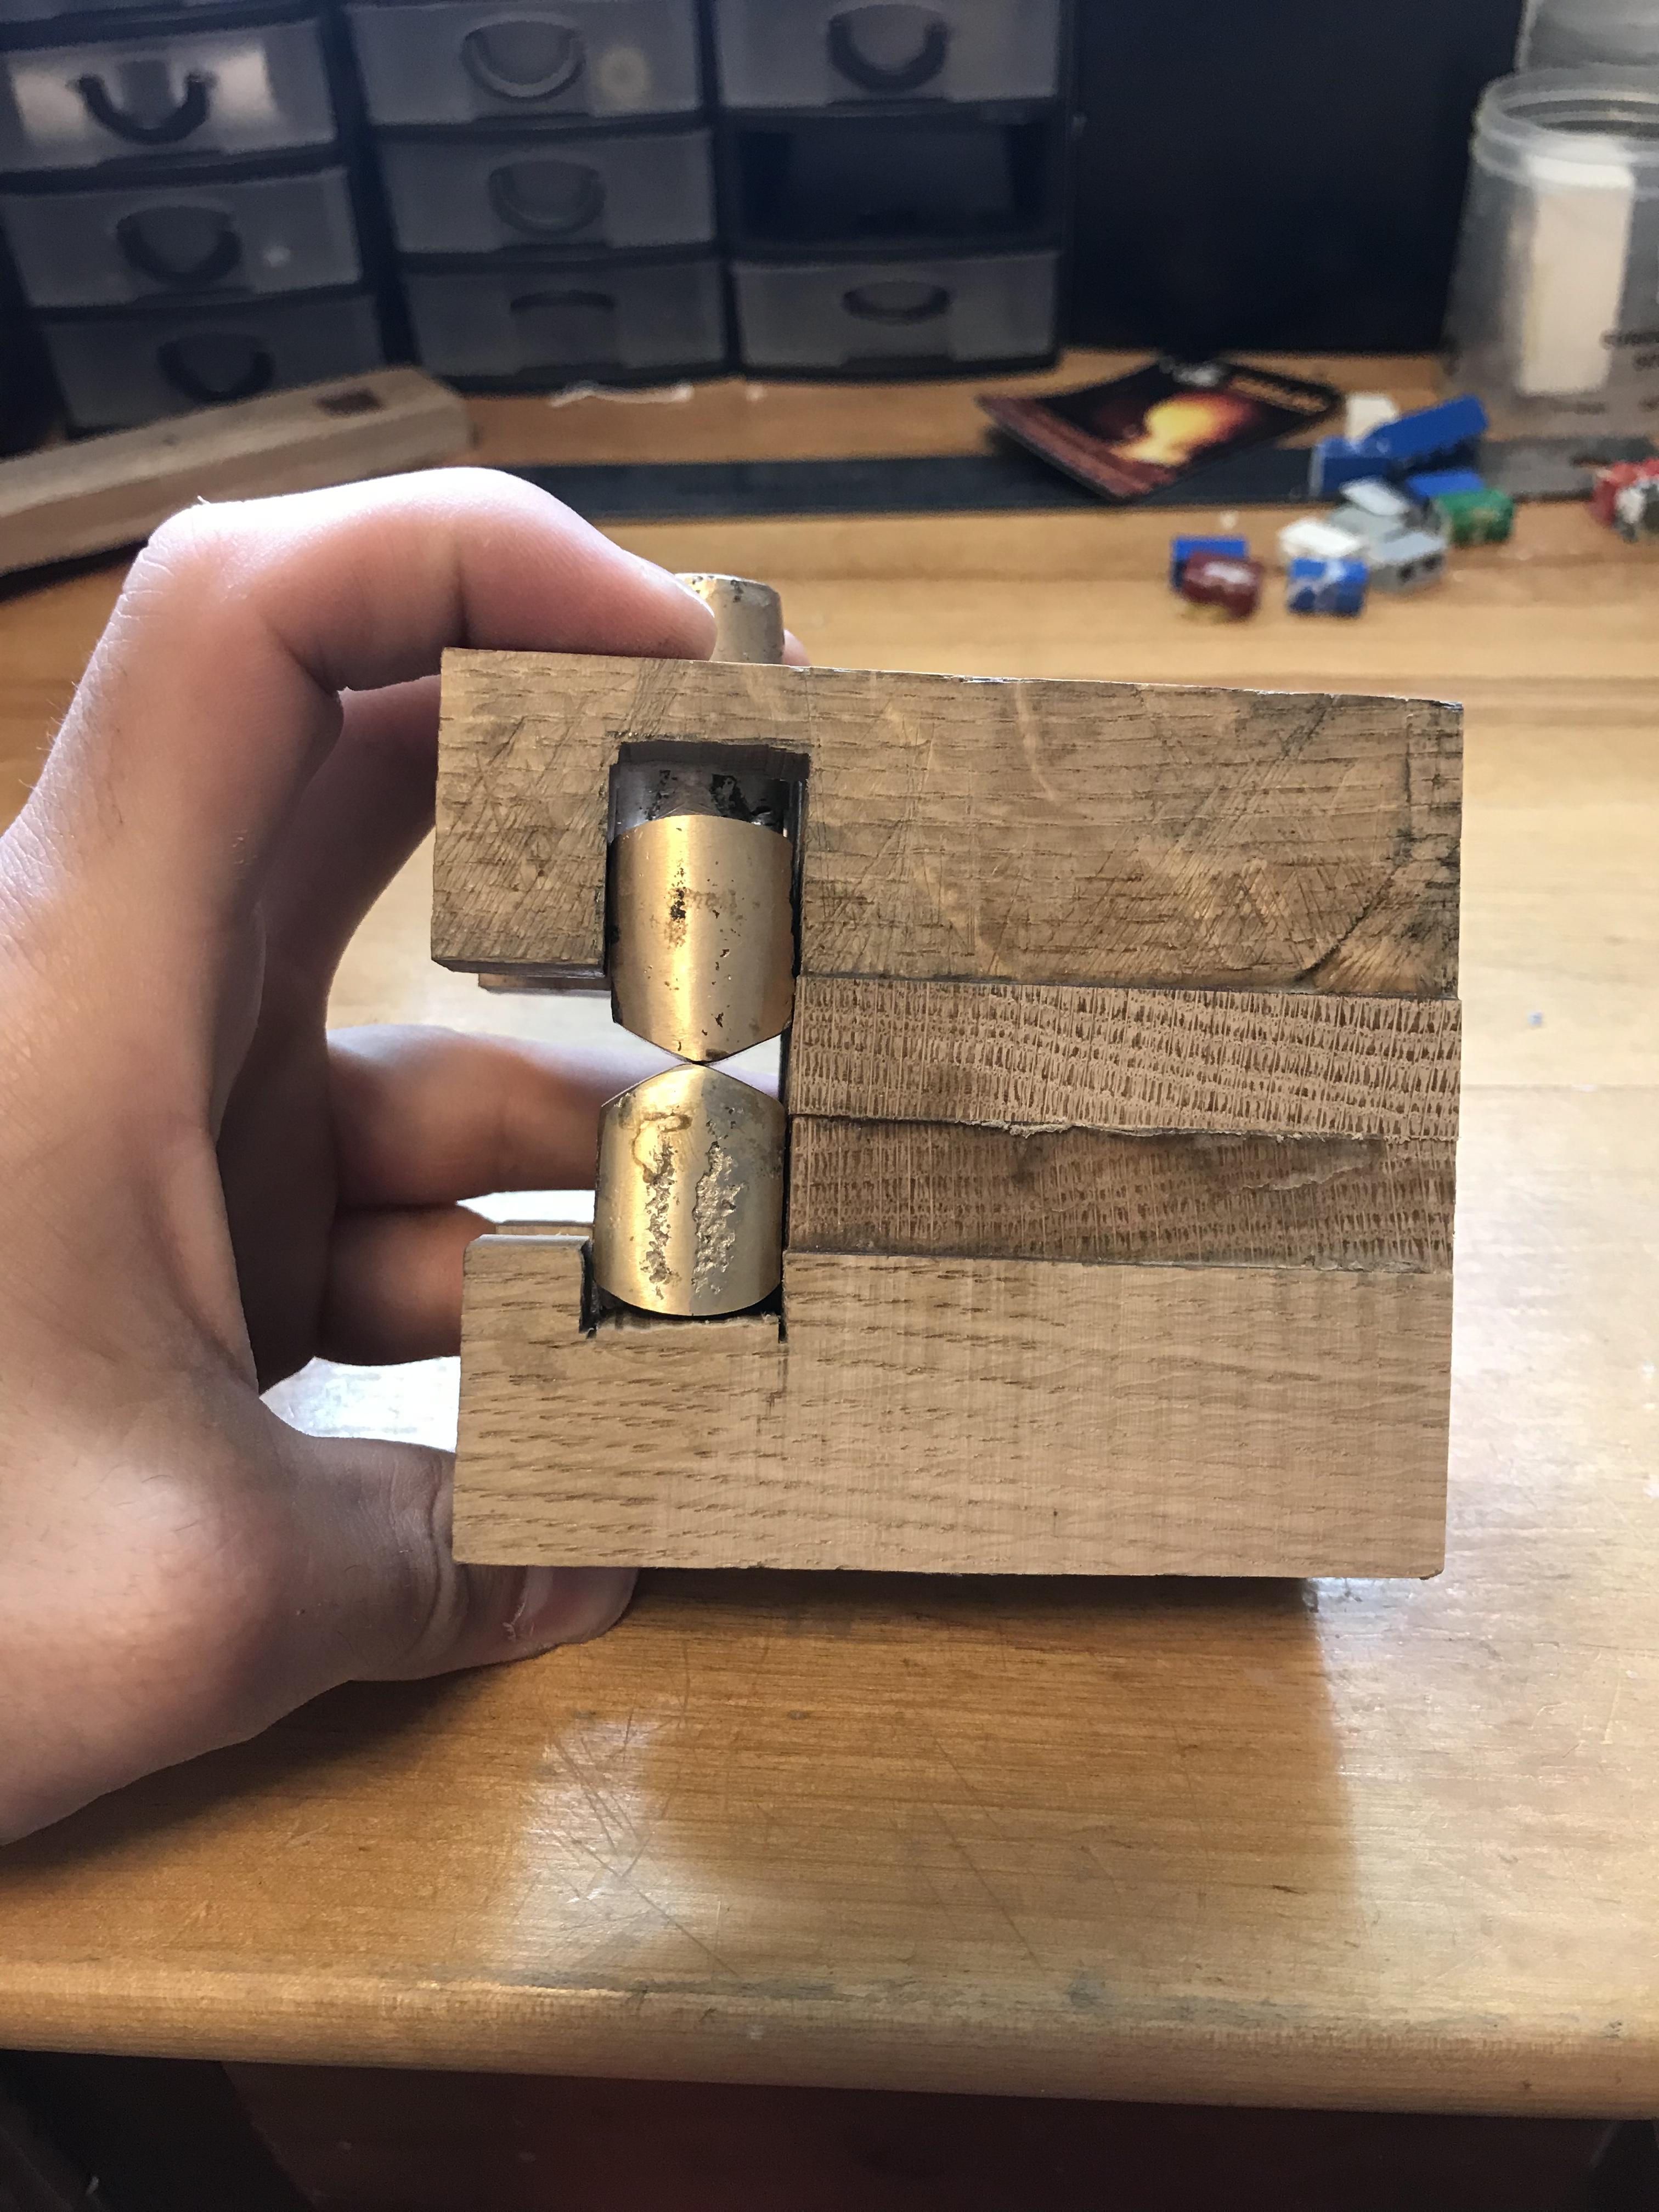
I didn’t use a degasser, I followed some of the recommendations in the ASTM copper alloys handbook for casting bronze alloys with tin. Some of the most important things I make sure of -the sand must have the proper moisture content, just enough to lend the mold strength, but not enough to cause water and subsequent hydrogen and oxygen porosity -I use ground charcoal for deoxygenation, you can’t add too much. -better results may be obtained if it is the second time melting a piece of freshly alloyed metal (the first time from many small pieces seems to have more porosity) not sure if this is 100% true, but it might be. -cast quite hot, I think around 1100c, when you touch the surface of the bronze it should be shiny and very liquid not viscous and not with an oxide layer. This is very key to casting thin items. -I’ve also tried degassing with a green stick of pine. Not sure how this works but the handbook mentions it and it seems to work. -sprue and gate must be properly formed, follow the guidelines in the handbook, later I can update the exact measurements of mine. Here’s a picture of one mold half. 75 grit silica with 10% bentonite looking to get some 125-150 grit to add in as well for next casting

-
My latest knife has 13% tin, and 0.1% I think of zirconium added. The zirconium is a grain refiner for this type of copper alloy, and also increases hardness. my casting process has also improved quite a bit, there is zero visible porosity on the last knife.


-
That last nozzle reminds me of one used for flame emission spectroscopy
-
I think you are underestimating the material, it is hard enough that it won’t roll that far back unless it was exceedingly thin
-
I took a few passes along the blade, the total width of the hardened area is approx 5mm I think, past that point I don’t think there is much benefit as the hardness of the cutting edge is what makes the largest performance improvement
-
Yeah, i measured the density of the bronze as I cast it, to help me get an idea of the amount to melt for the casting, it was approx 8.7g/cm3 which is quite higher than steel between 7.7-8g/cm cubed. Testing recently revealed I didn't harden the edges sufficiently as it rolled in one spot, so I made a better jig for hammering them, and now it is much better. I'll attach a picture once I take someSo far, my foundry has survived in nearly the same shape as it was when i started aside from some discolouration due to some silly experiments. I've successfully cast about 10 items so far ranging from 1lb to 4lb melts of classic bronze. The highest verified temperature I've achieved was approx 1400c during some experiments with ceramic it survived perfectly intact, which isn't a large surprise given the max temp rating of 3200f. Now onto its downfalls. There is a lot of larger grit in this refractory, no doubt giving extra strength, but mixing, and casting it without too much water by hand can be difficult. I couldn't find instructions for it online in regards to curing or water content, so just went with what seemed appropriate, as you add water to it, at a certain point it will become much easier to mix, and if there is any vibration it will act liquid. I think that is the ideal amount. Any higher, and from what I was told by the foundry supply is that it may not come out as strong. It sets like cement in approx 24 hours. The surface finish can vary depending on how well it was done from glassy smooth to very gritty with air bubbles on the surface. Firing it can be done relatively quickly once it has been dried with a low flame.It seems that lead was deliberately added in the past to help the castings flow better into narrow sections. tin had to be mined separately and it was alloyed to make the classic bronze