MBForge
-
Posts
36 -
Joined
-
Last visited
Content Type
Profiles
Forums
Articles
Gallery
Downloads
Events
Everything posted by MBForge
-
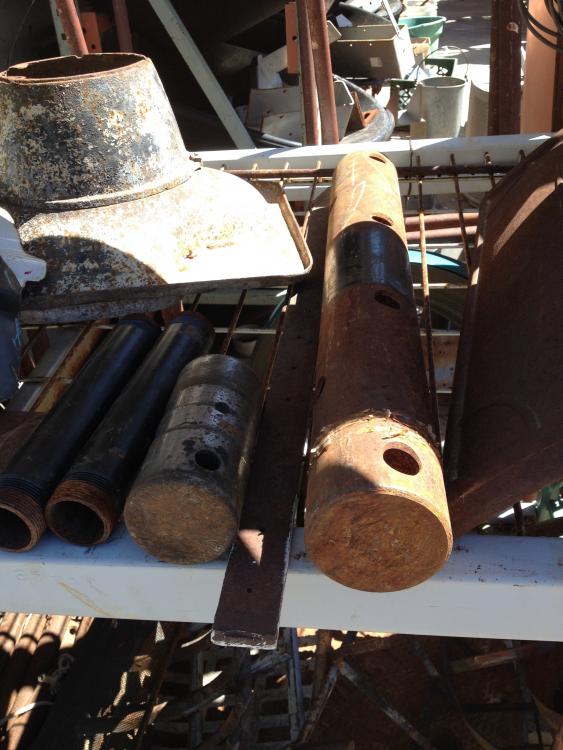
 First off, I have no idea what this thing is; it looks like some kind of scale weight or something you'd see in a grandfather clock. By my estimation, it was somewhere in the vicinity of 50-60 lbs. The one I'm looking at is on the right, while there is a smaller one to its left, about 10 lb. The inner diameter (or surface area within the bevel; where I'd be hammering) I'm measuring just a little over 3", right at about 3-1/4" and did also test for rebound with an old hammer and it seemed to have decent rebound for what I'd be looking to pay. So a couple quick questions: What is this thing anyways? Would the surface area be sufficient for things like: forging tongs, knives, etc.? Or more specifically, in what sorts of projects would it be too small? Lastly, if you look at the overall profile, you'll see holes down the middle. Does this "compromise" the effectiveness (i.e. mass) behind this anvil such that it would make sense to lop off say the first hole so there are a few more inches of mass before the next hole (side)? It's quite long, close to about 4', if not, more. Those holes may actually come in handy for threading chain through to dampen the noise as well. Unlike the rail road tracks all these metal workers keep snagging out from under me, this has been sitting on the shelf for quite some time now and I think it would make a good anvil. The junkyard master quoted me $30 for this piece, which I think is a good deal. How much should I be paying per pound anyways? Would love to know everyone's thoughts. Thanks!
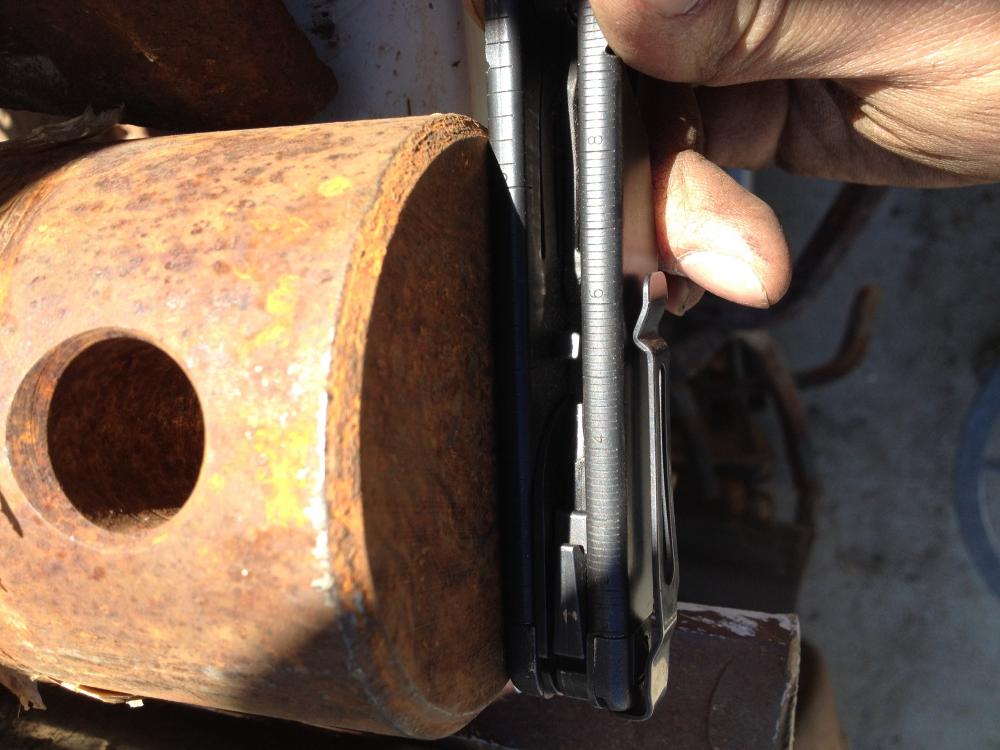
-
For sure. Having never done this before, I was also looking to verify the heat "capacity" of the random scraps of wood I originally created the charcoal with. Per my other post on building a Recycled Coca Cola Box Blower, I'm actually looking to repurpose a bathroom fan's blower as an attachment for a 10:1 hand crank so I can also control air flow that way while removing the need for electricity. Fun stuff!
-
Done
-
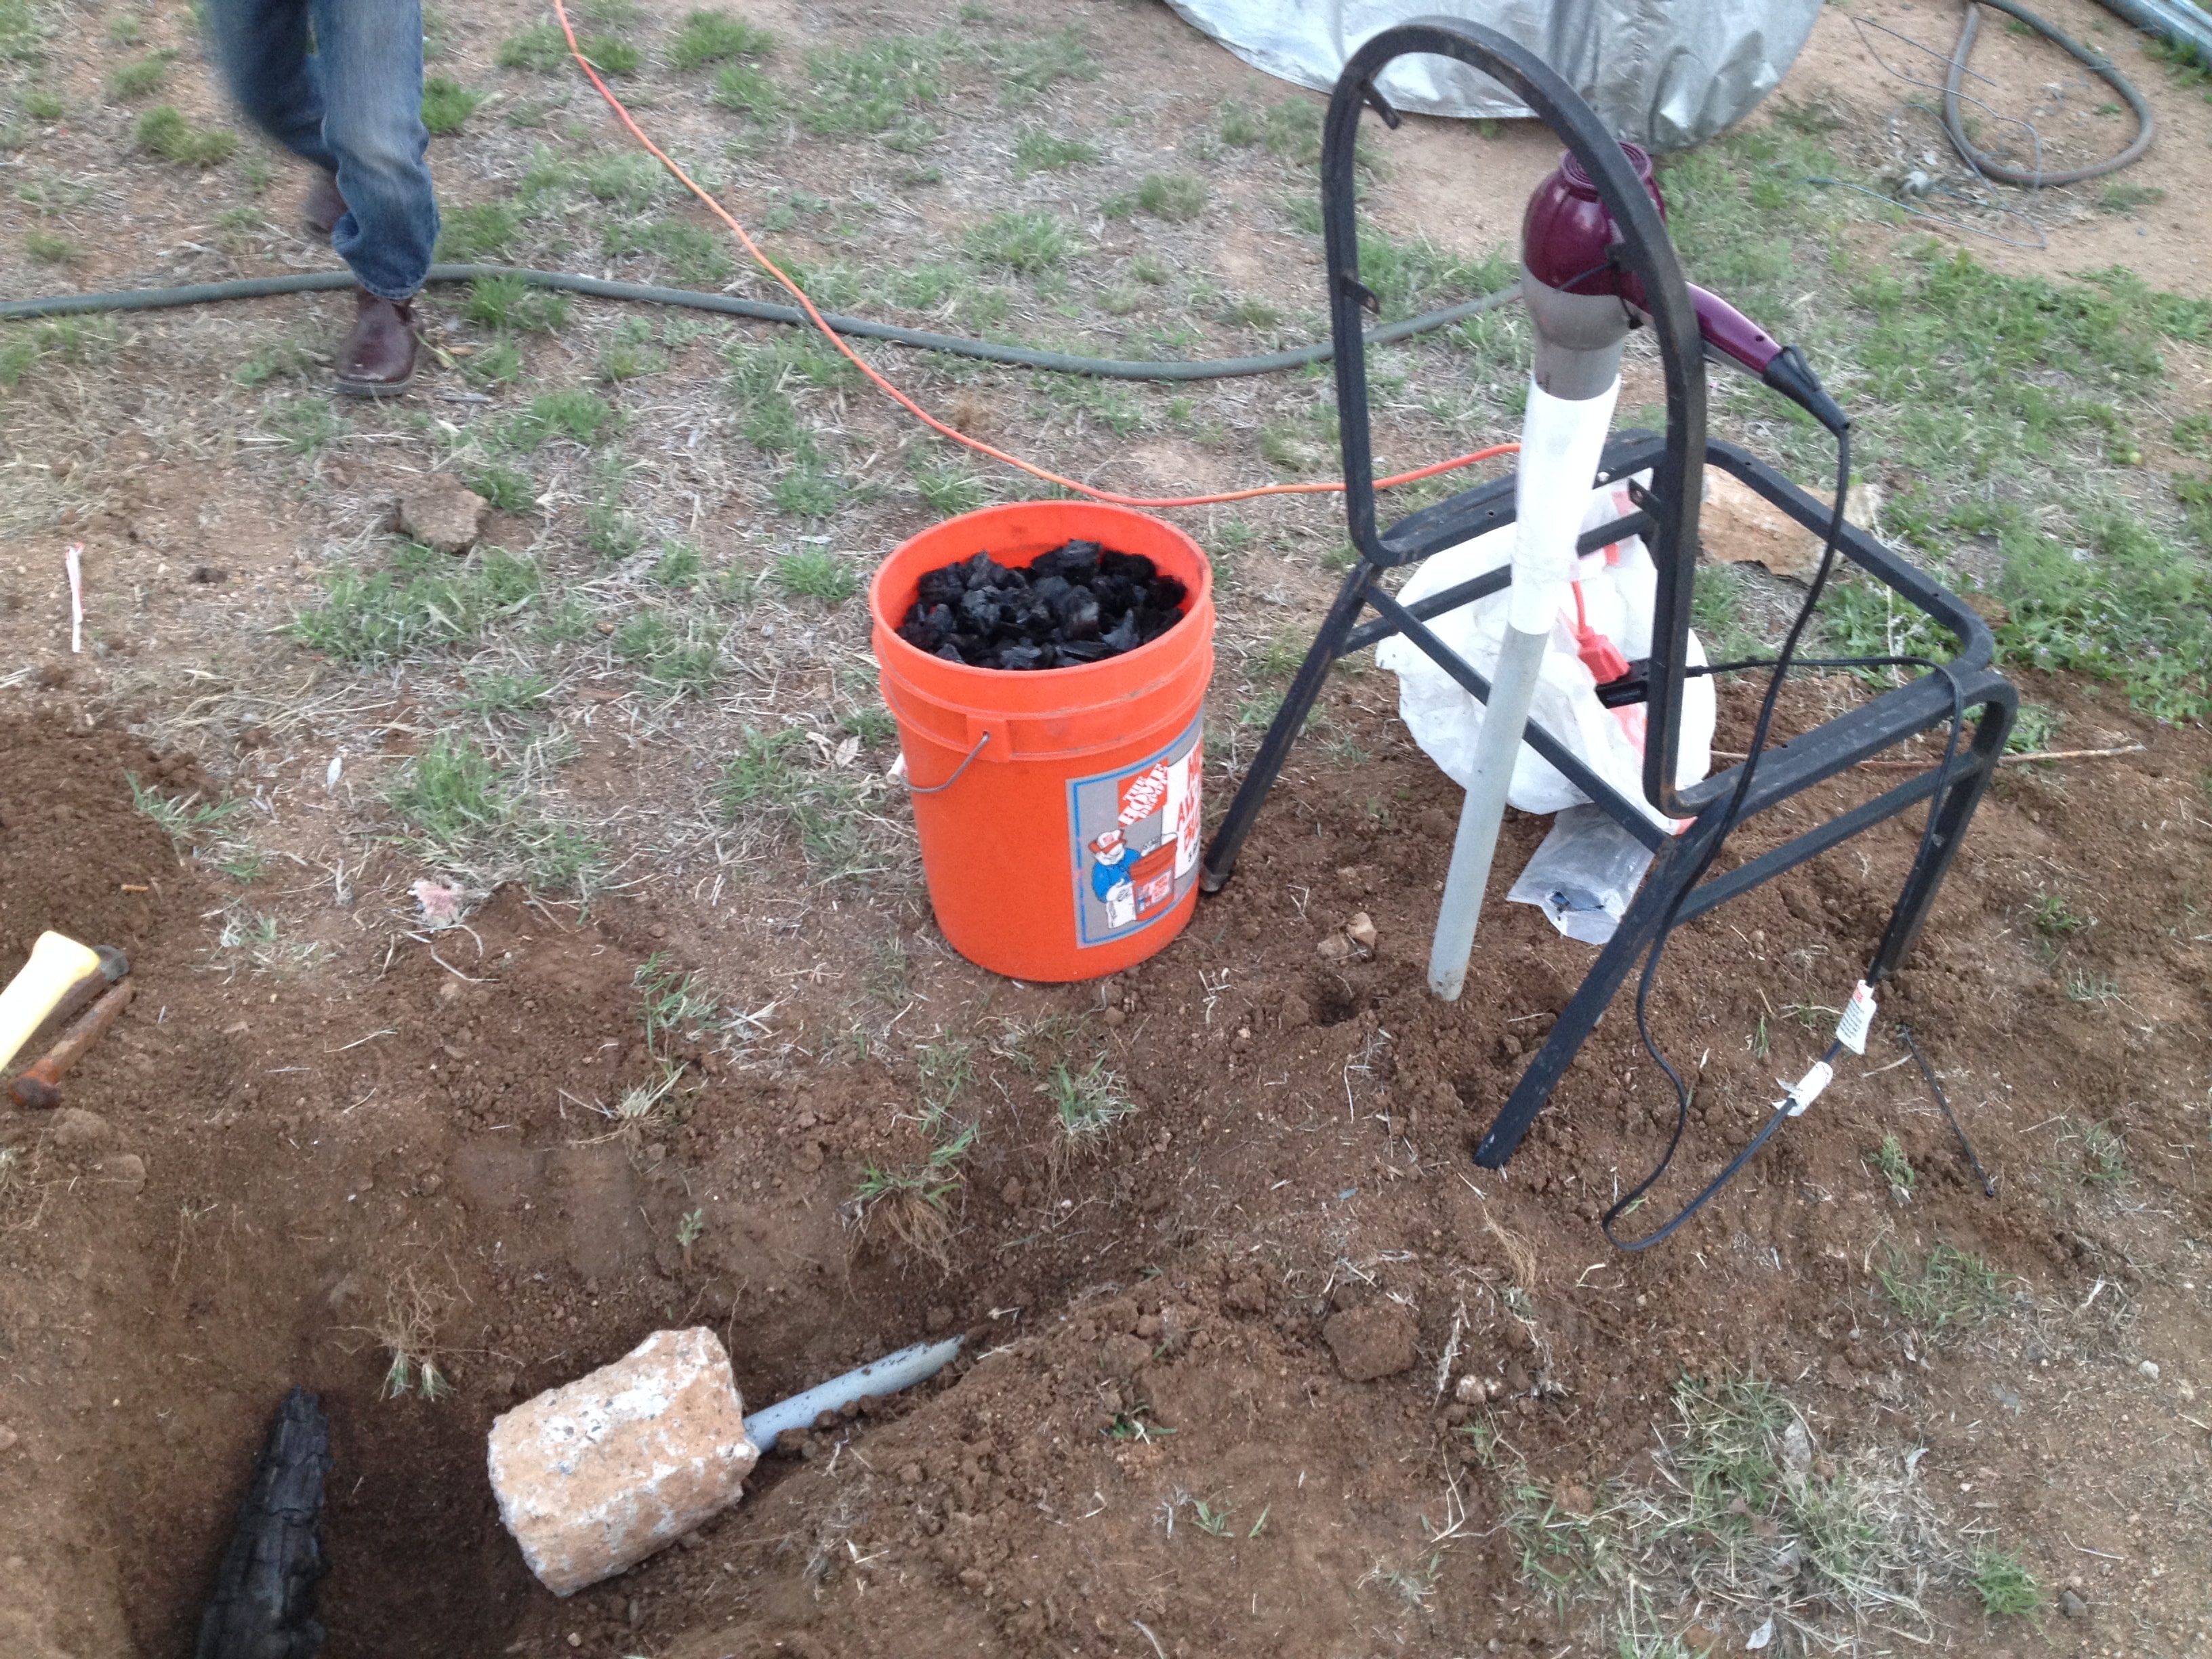
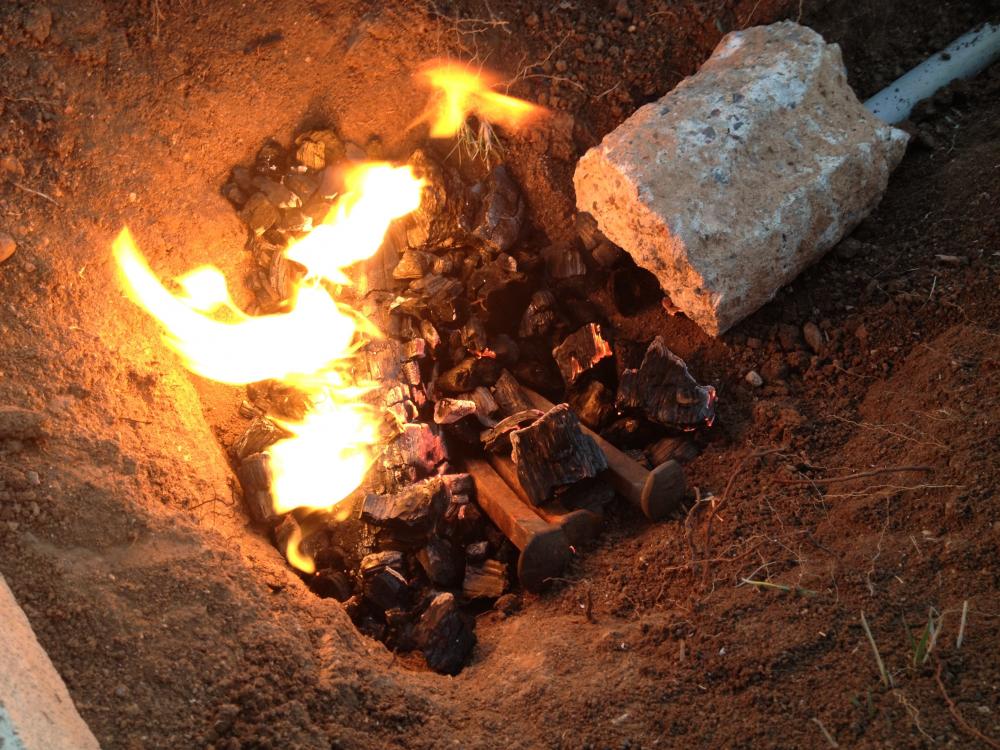
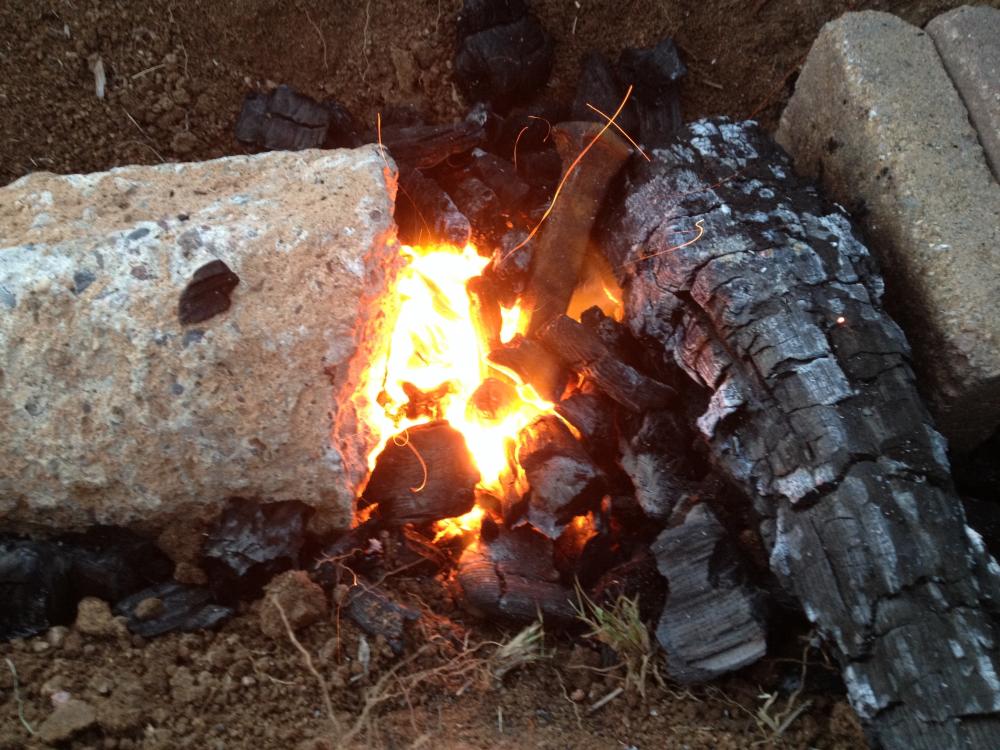
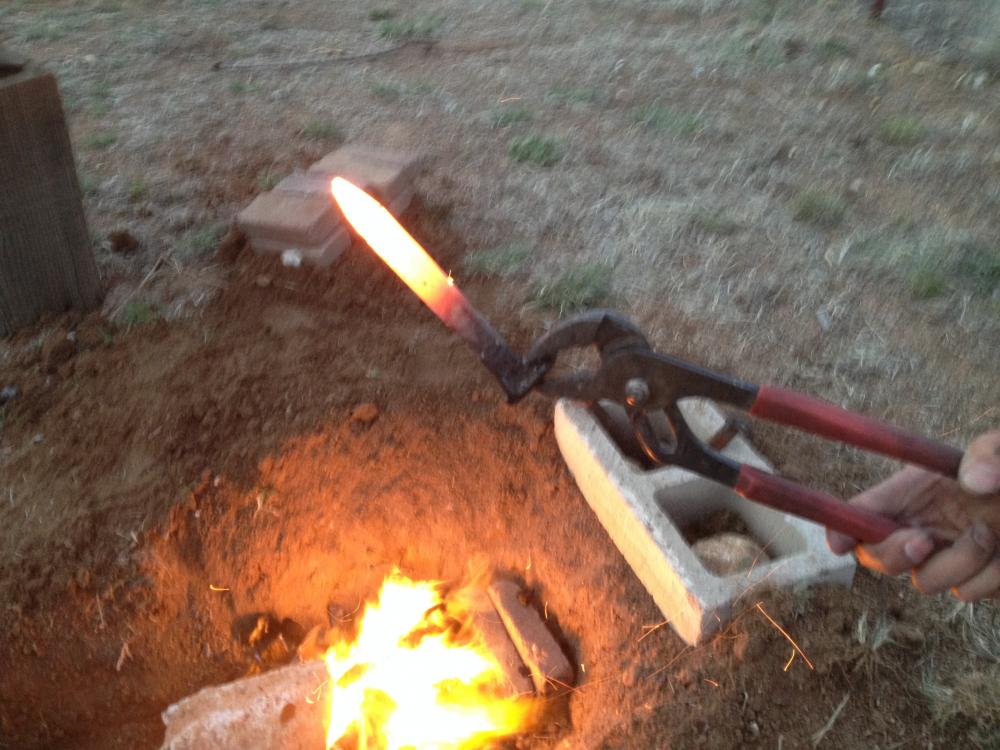
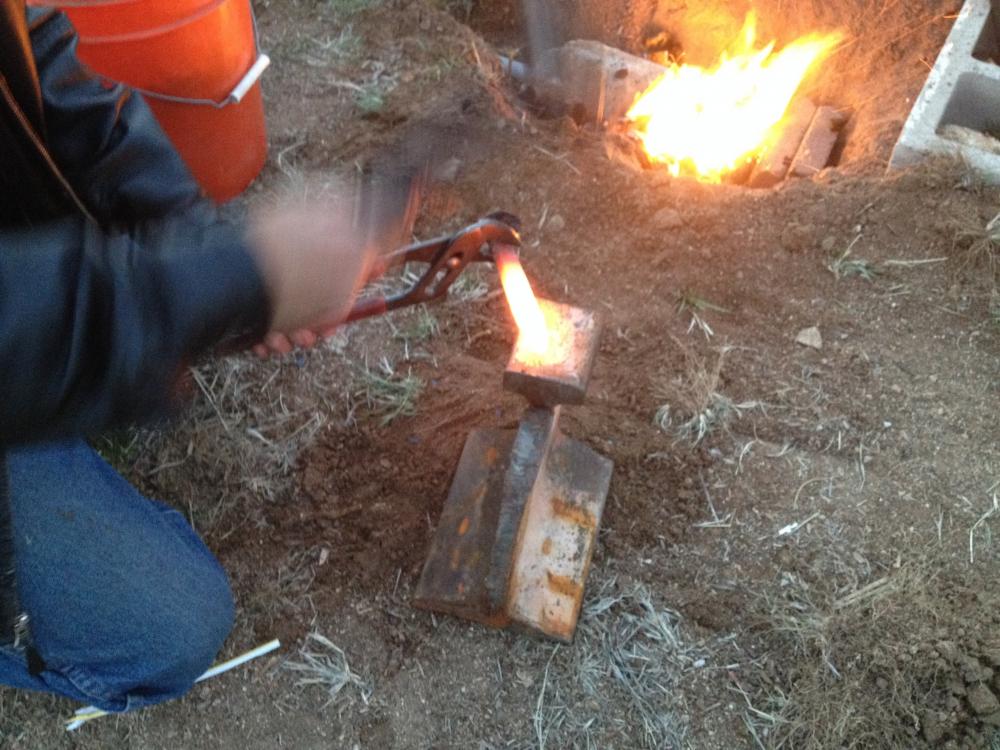
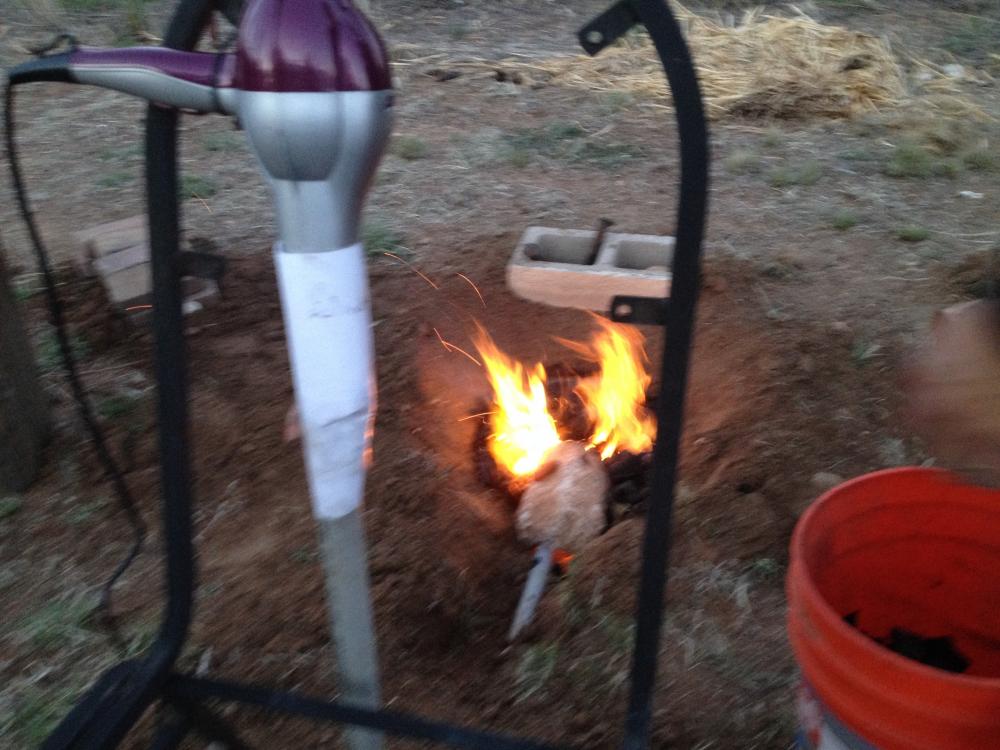
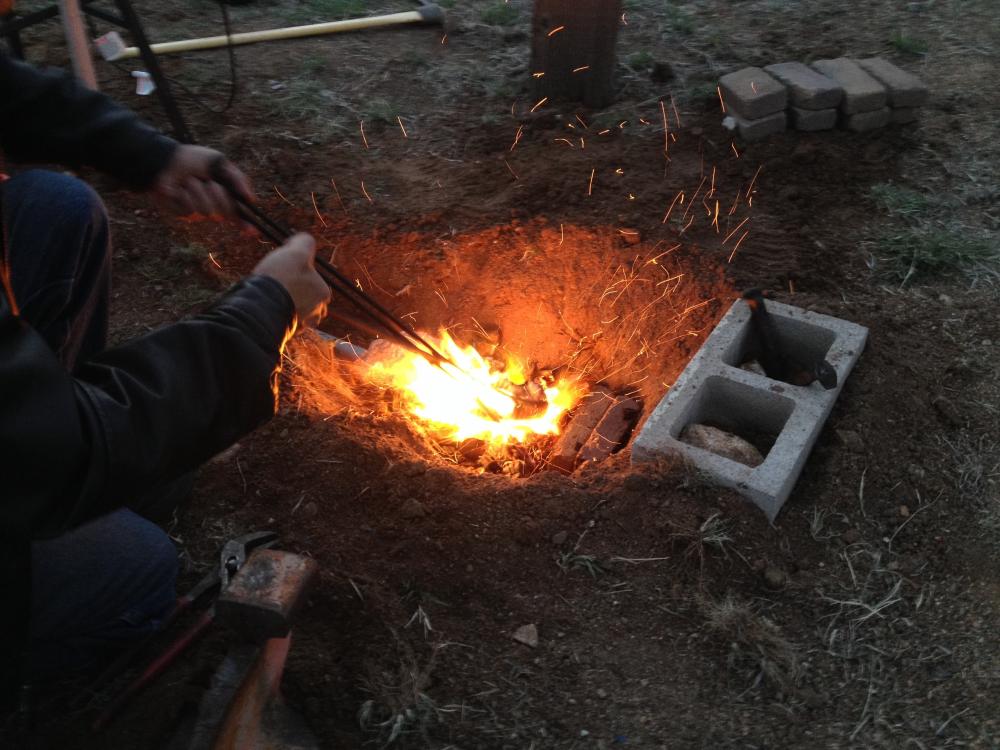
Well, this transpired much quicker than I originally expected. Will definitely raise it off the ground in my next iteration (and convert to iron pipe on the ground as well). Hair dryer is my wife's. Just got a little smokey afterwards due to the "feedback" of smoke. Not sure how to remove the scent altogether, but she deserves a new one, if it comes to that, for letting me validate my first-ever [ground] forge build! Pipe is just some underground/overground conduit laying around, no more than an inch or two in diameter. Hair dryer is "attached" to the pipe with a cone made from plain old card stock paper, fitted snuggly, and packing tape to create an air tight seal. Cement "tunnel" is recycled from chain link corner posts previously set in cement. Used to "insulate" the pipe at that end, which still melted, but did not affect operation through the entire process of forging my first RR spike. Some decor blocks used in the back to concentrate the charcoal where the air comes out. Charcoal "coked" over pretty quickly. Or rather, let's just say it didn't take long at all to get that RR spike re-heated each time. Almost used up half my bucket of charcoal (still some remaining in the pit) forging this one RR spike, but this is my first time forging. RR track, or whatever that curved RR track looking thing is, needs to get mounted or replaced with a regular one because it kept tipping over. Total cost of this entire setup (forge, "anvil," RR spikes, and ball peen hammer): ~$15 Kudos to my wife for letting me borrow her hair dryer and two sons for helping with pictures and sharing the excitement of dad's new hobby More photos (and a 30s video) available at my Google Photo Album here: https://goo.gl/photos/cxvMMiBufccKDDyU8


-
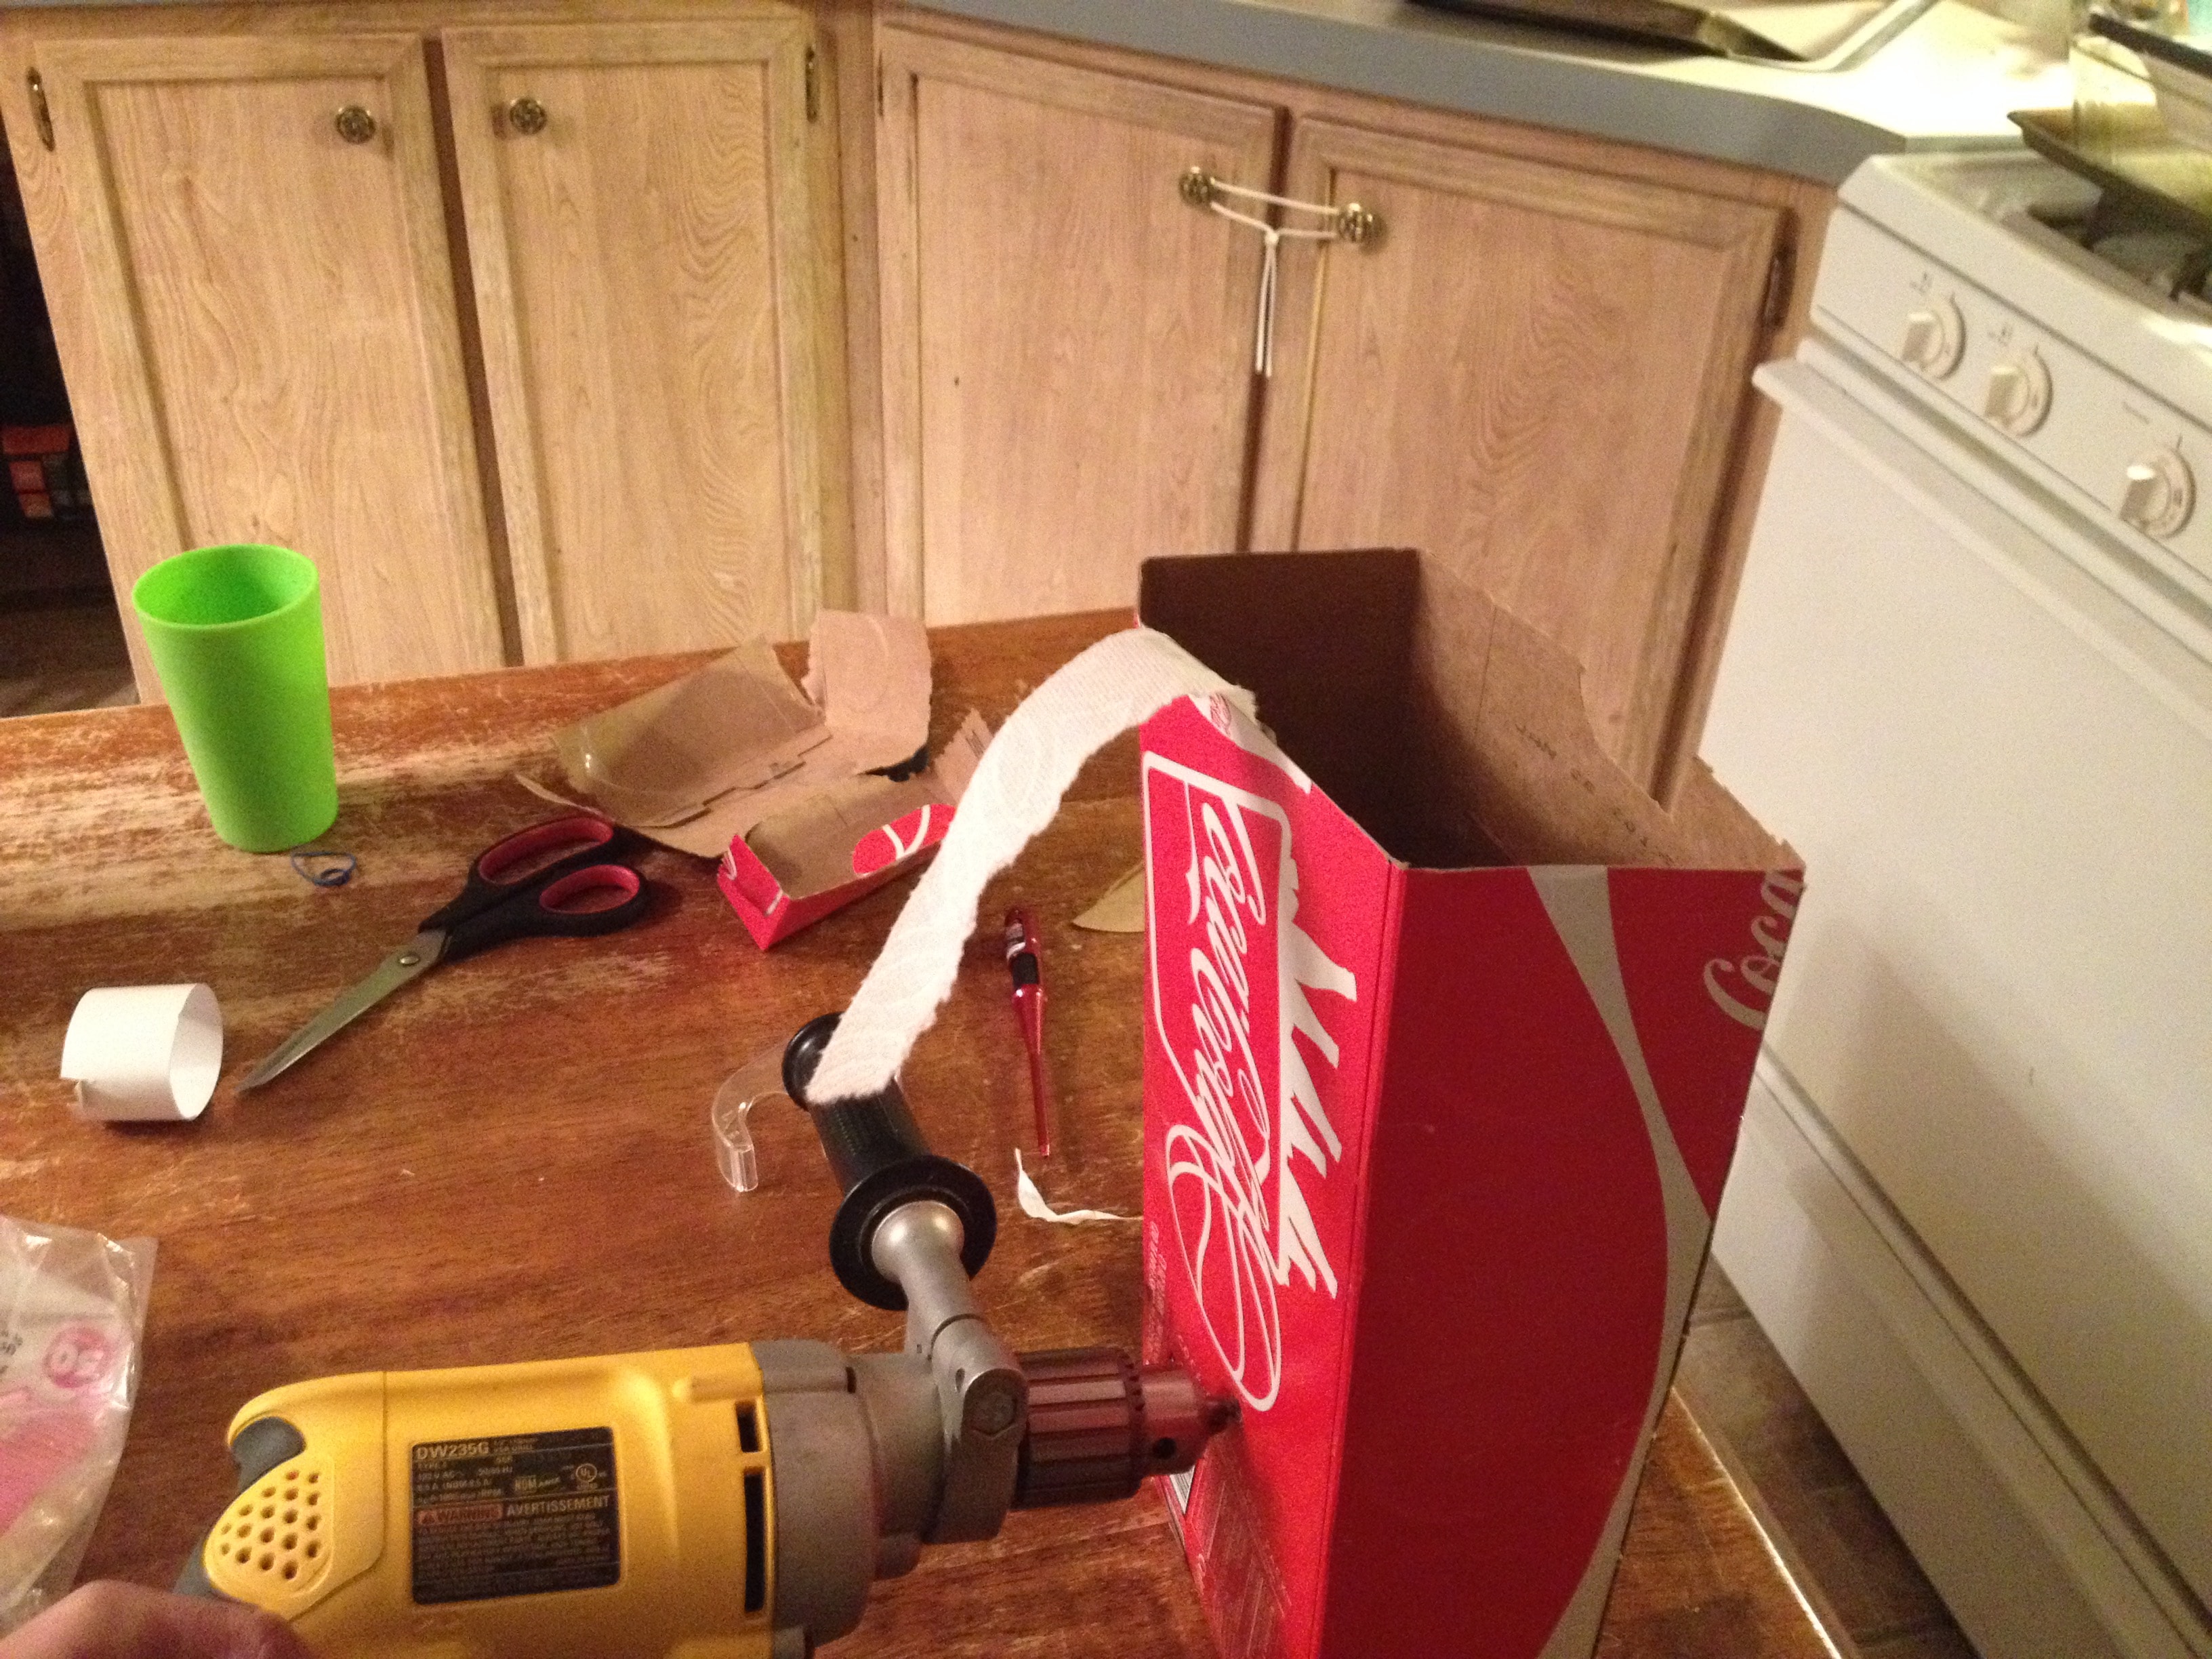
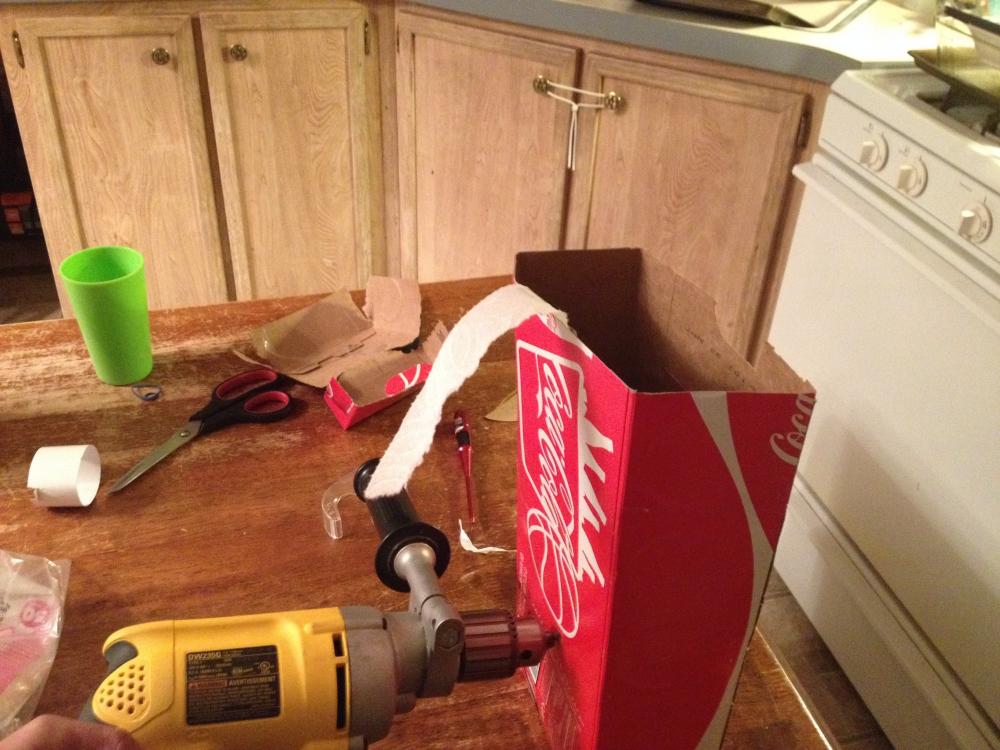
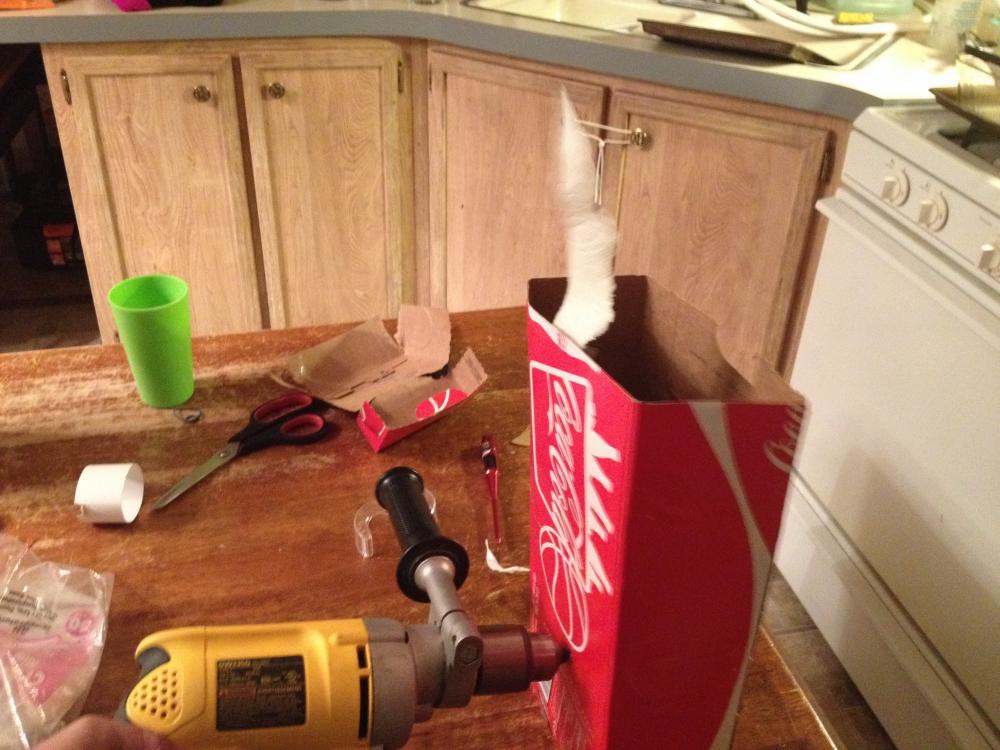
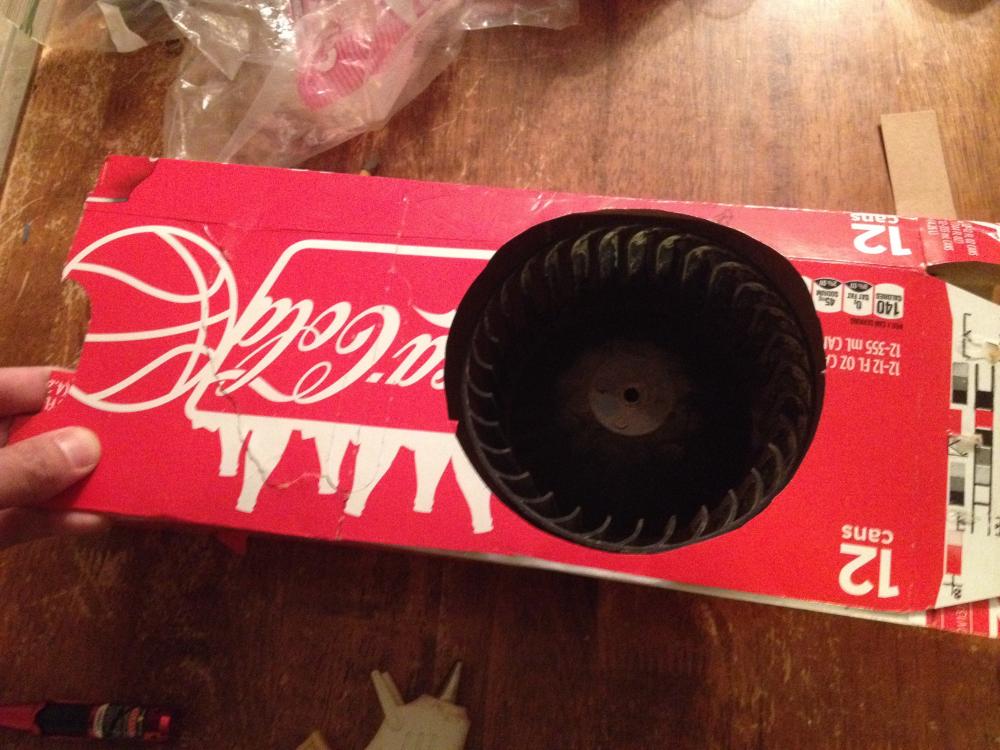
After reading another user's post on how they built their hand cranked blower (30-40 hour project, etc.), I assumed there had to be a better way. Introducing...my repurposed Coca Cola box with a salvaged bathroom fan blower ($3) as an attachment for use with either an adapted hand crack (i.e. mole hand grinder) or drill. I could have used a Milk Bone box and save even more time, but it hadn't even been opened yet so I opted to resize this box instead. The blower is converted to an attachment with a single toggle bolt. It basically looks like one of those video card SLI monstrosities, but is highly configurable: cut into it, add cardboard and hot glue it back together. Just watch out for sparks and try not to get it caught on fire! More photos documenting the entire process are/will be available at my shared Google photo album Total time spent: 1-1.5 hours Total cost: $3


-
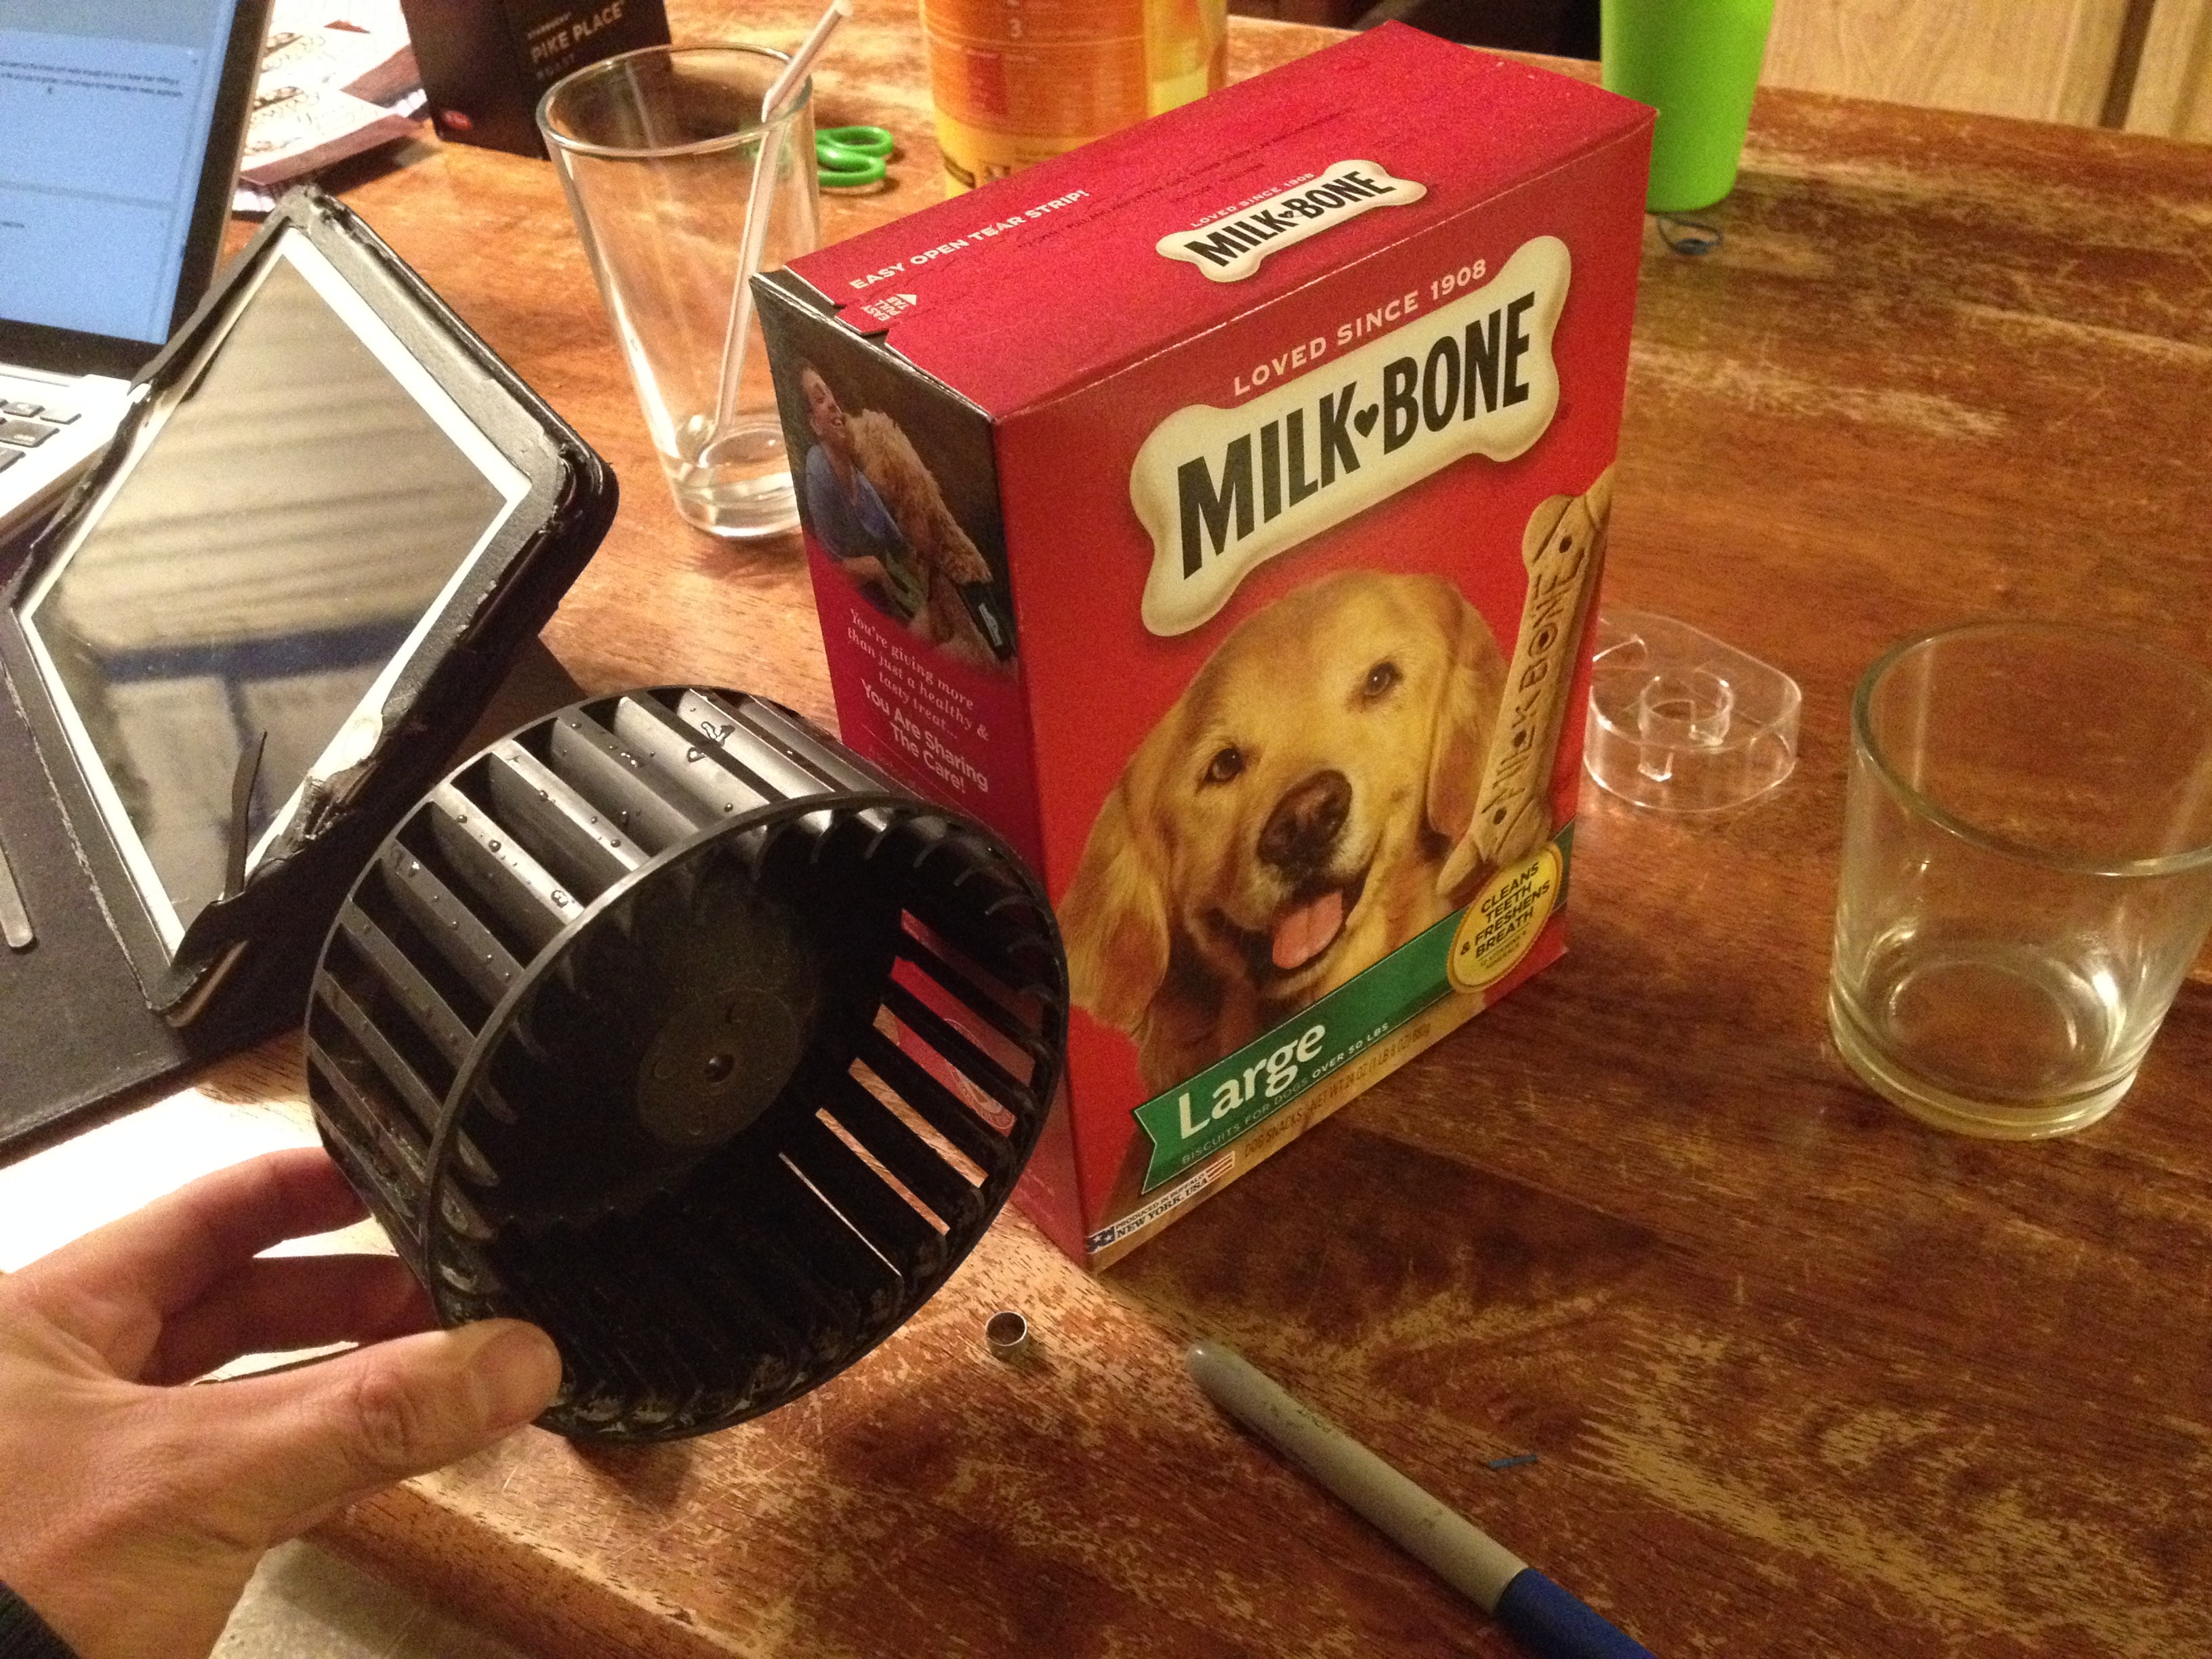
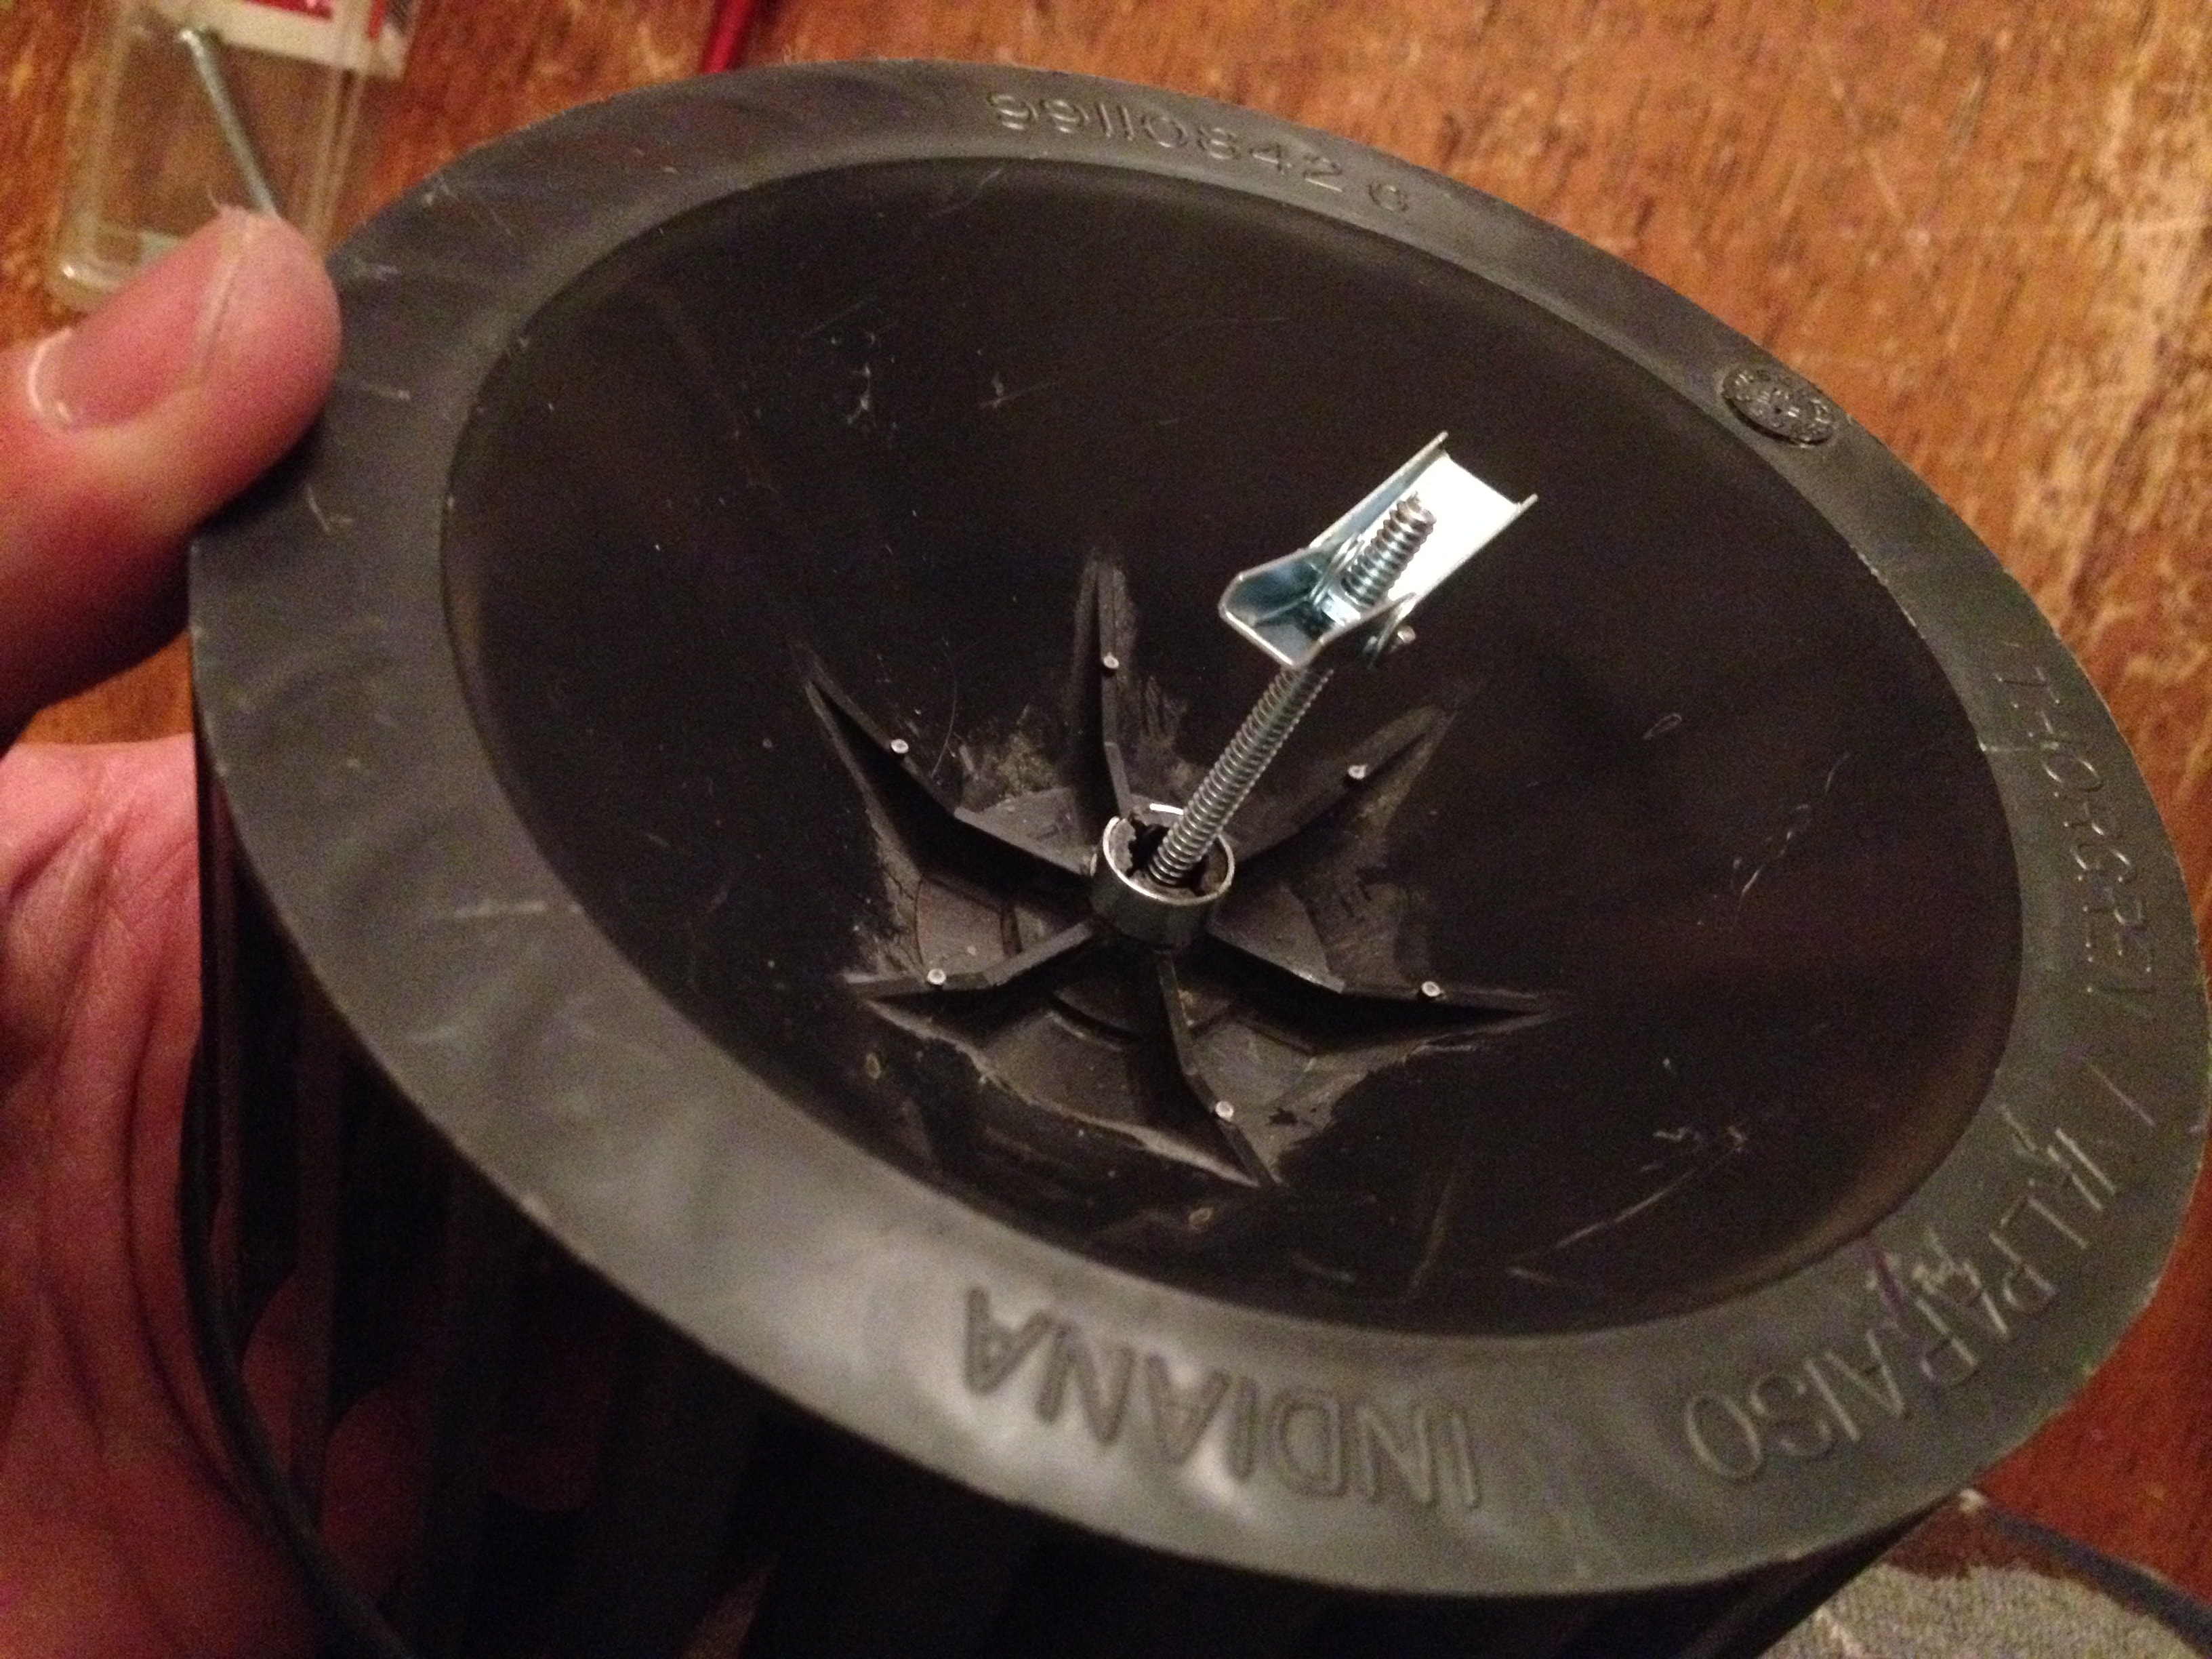
So that's what they're called: mole hand grinder. I just found a smaller version of these in my dad's barn and immediately recognized the presence of higher gear ratio as I went to crank it. He said I could have it so I'm going to see if I can build one of these myself. Albeit, probably with cardboard and a whole lot of hot glue instead On second though, I just realized I have a bathroom fan I picked up for cheap. I just extracted its blower wheel (part no. 99110842) which I'm thinking of turning it into an attachment than can plug into this mole hand grinder somehow for manual crank, or a drill for powered crank
-
I may definitely have some better options, but I guess it couldn't hurt doing a JABOD forge to start out. I'll post some pics [to whatever thread you may wish to direct me to] of my setup if I have time this week just to share. Have a 5 gal. bucket filled with "coke" I've been collecting from our fire pit; remains from firewood that's been burned down. Hopefully it'll last for a little while as I try forging a couple RR spikes. And yes, I do plan on starting out practicing on the ever-shunned RR spike
-
Sorry, I'm not sure I got the answer to my question: Do I need to be concerned with harmful metal oxides released from a forge made of stainless steel (specifically built from Farberware Open Hearth Broiler & Rotisserie) or do I need to find something else to make a coal forge with? Right now, the only information I gather is that it's more likely to melt because it's thin. And also, does malleable iron release harmful metal oxides? Thanks.
-
Thanks and sorry, wasn't trying to advertise, but he basically demonstrates how I envision putting mine together as he uses most all the same parts I managed to come up with, including how to assemble the ash dump using a T-connector and showing the connection to the blower, etc. I think I'm mainly looking to ascertain known risks surrounding putting malleable iron and stainless steel in a forge fire. I don't believe either are chromium plated or cadmium and I plan on doing this outdoors. I may have to strip the coating on the brake friction assembly, though.
-
Hi all, New to this forum and this is my first post. Over the process of several weeks, I've been slowly acquiring parts from various thrift stores to make a coal forge with and am just about there: Used, but fully assembled Broan Bath Fan Model 721-C for $3.00 Farberware Open Hearth Broiler & Rotisserie for $3.00 What appears to be [marked as] Grinnell 2 1/2" Class 150 Malleable Iron Black Pipe Union, along with: 4 hex bushings, same size, that fit into this union piece, similar material (malleable iron?) Square plug that fits into any of these hex bushings Total: $15.00 Some railroad spikes ($0.50 ea., some marked HC) 20# broken railroad track with perhaps a 3-4" square left to hammer on ($10...not too excited with the tiny surface, but will try to make it work for now) Cross pein sledge (long, $5) Block of wood to mount a small anvil on ($3) A set of Raybestos 738PG Professional Grade Drum Brake Shoe Set ($4) I just need to get some conduit for air flow and assemble an ash dump and stand for the forge, but I'm quite happy to have spent frugally on these items. I'm basically looking to make something like either of these: Link removed due to advertising Link removed due to advertising The questions I have (and reason for this post) stem from some additional information I learned about other metals also releasing potentially harmful fumes, including chromium used in stainless steel and thus concern the materials I'm using to make my first coal forge: I plan to use the Farberware Broiler as my fire pot which is stainless steel, but am also told stainless steel will warp here. Admittedly, the metal is somewhat thin as I am able to wrap it just a little bit with my hands so I'm not sure if this will hold up well. I'm also concerned about possible release of harmful oxides (chromium?) if any. Should I just scrap this and reach for a brake drum instead? Still learning about metals here. Per the example videos listed above on building a forge with those pipe fittings. The guy uses galvanized but I managed to find these malleable iron fittings instead which I was quite pleased to find. Any concerns here on harmful metal fumes as well? Following his examples, the square plug and hex bushings and/or union will be closest to, if not, altogether in, the fire. Finally, I'm looking to try my hand at forging a couple knives: one out of a HC railroad spike and another out of these brake friction assembly parts (removing the pads first, of course). Also curious if anyone knows if these are safe to put in the fire; I assumed them to be steel of some sort. I can attach some photos if necessary, but I believe these material identifications to be accurate. Thanks in advance for your input! Links removed due to advertising