easilyconfused
Members
-
Joined
-
Last visited
-
Glad you guys enjoy the book!
-
-
I usually start a wood fire in the forge and let it burn for a while to take the chill off the shop. Dress warm and wear gloves until things warm up. If it gets below 30 Celsius, it gets a little cold to take the gloves off. I always make sure my boots have good, thick tread. That makes a world of difference when working on snow. Never forget your long underwear.
-
He will be referring to a media scare a few years ago about charred meat being possibly carcinogenic. Likely got twisted around like these things do before it got back to him. Charcoal is not considered carcinogenic according to anything I've read in my veterinary texts. Any smoke is carcinogenic because it is a mucosal irritant and any irritant that leads to increased cell turnover can cause an increased risk of cancer because every cell replication could have a DNA mutation. Basically a cell not replicating is less likely to have it's DNA damaged and it passed on to other cells.
-
For these projects, I only used standard sized shoes scrounged from my local farriers and horse owners while out on veterinarian calls. I usually end up with a truck box full after a few calls if they shoe regularly.
-
Most farriers I deal with leave them at the horse owners these days.
-
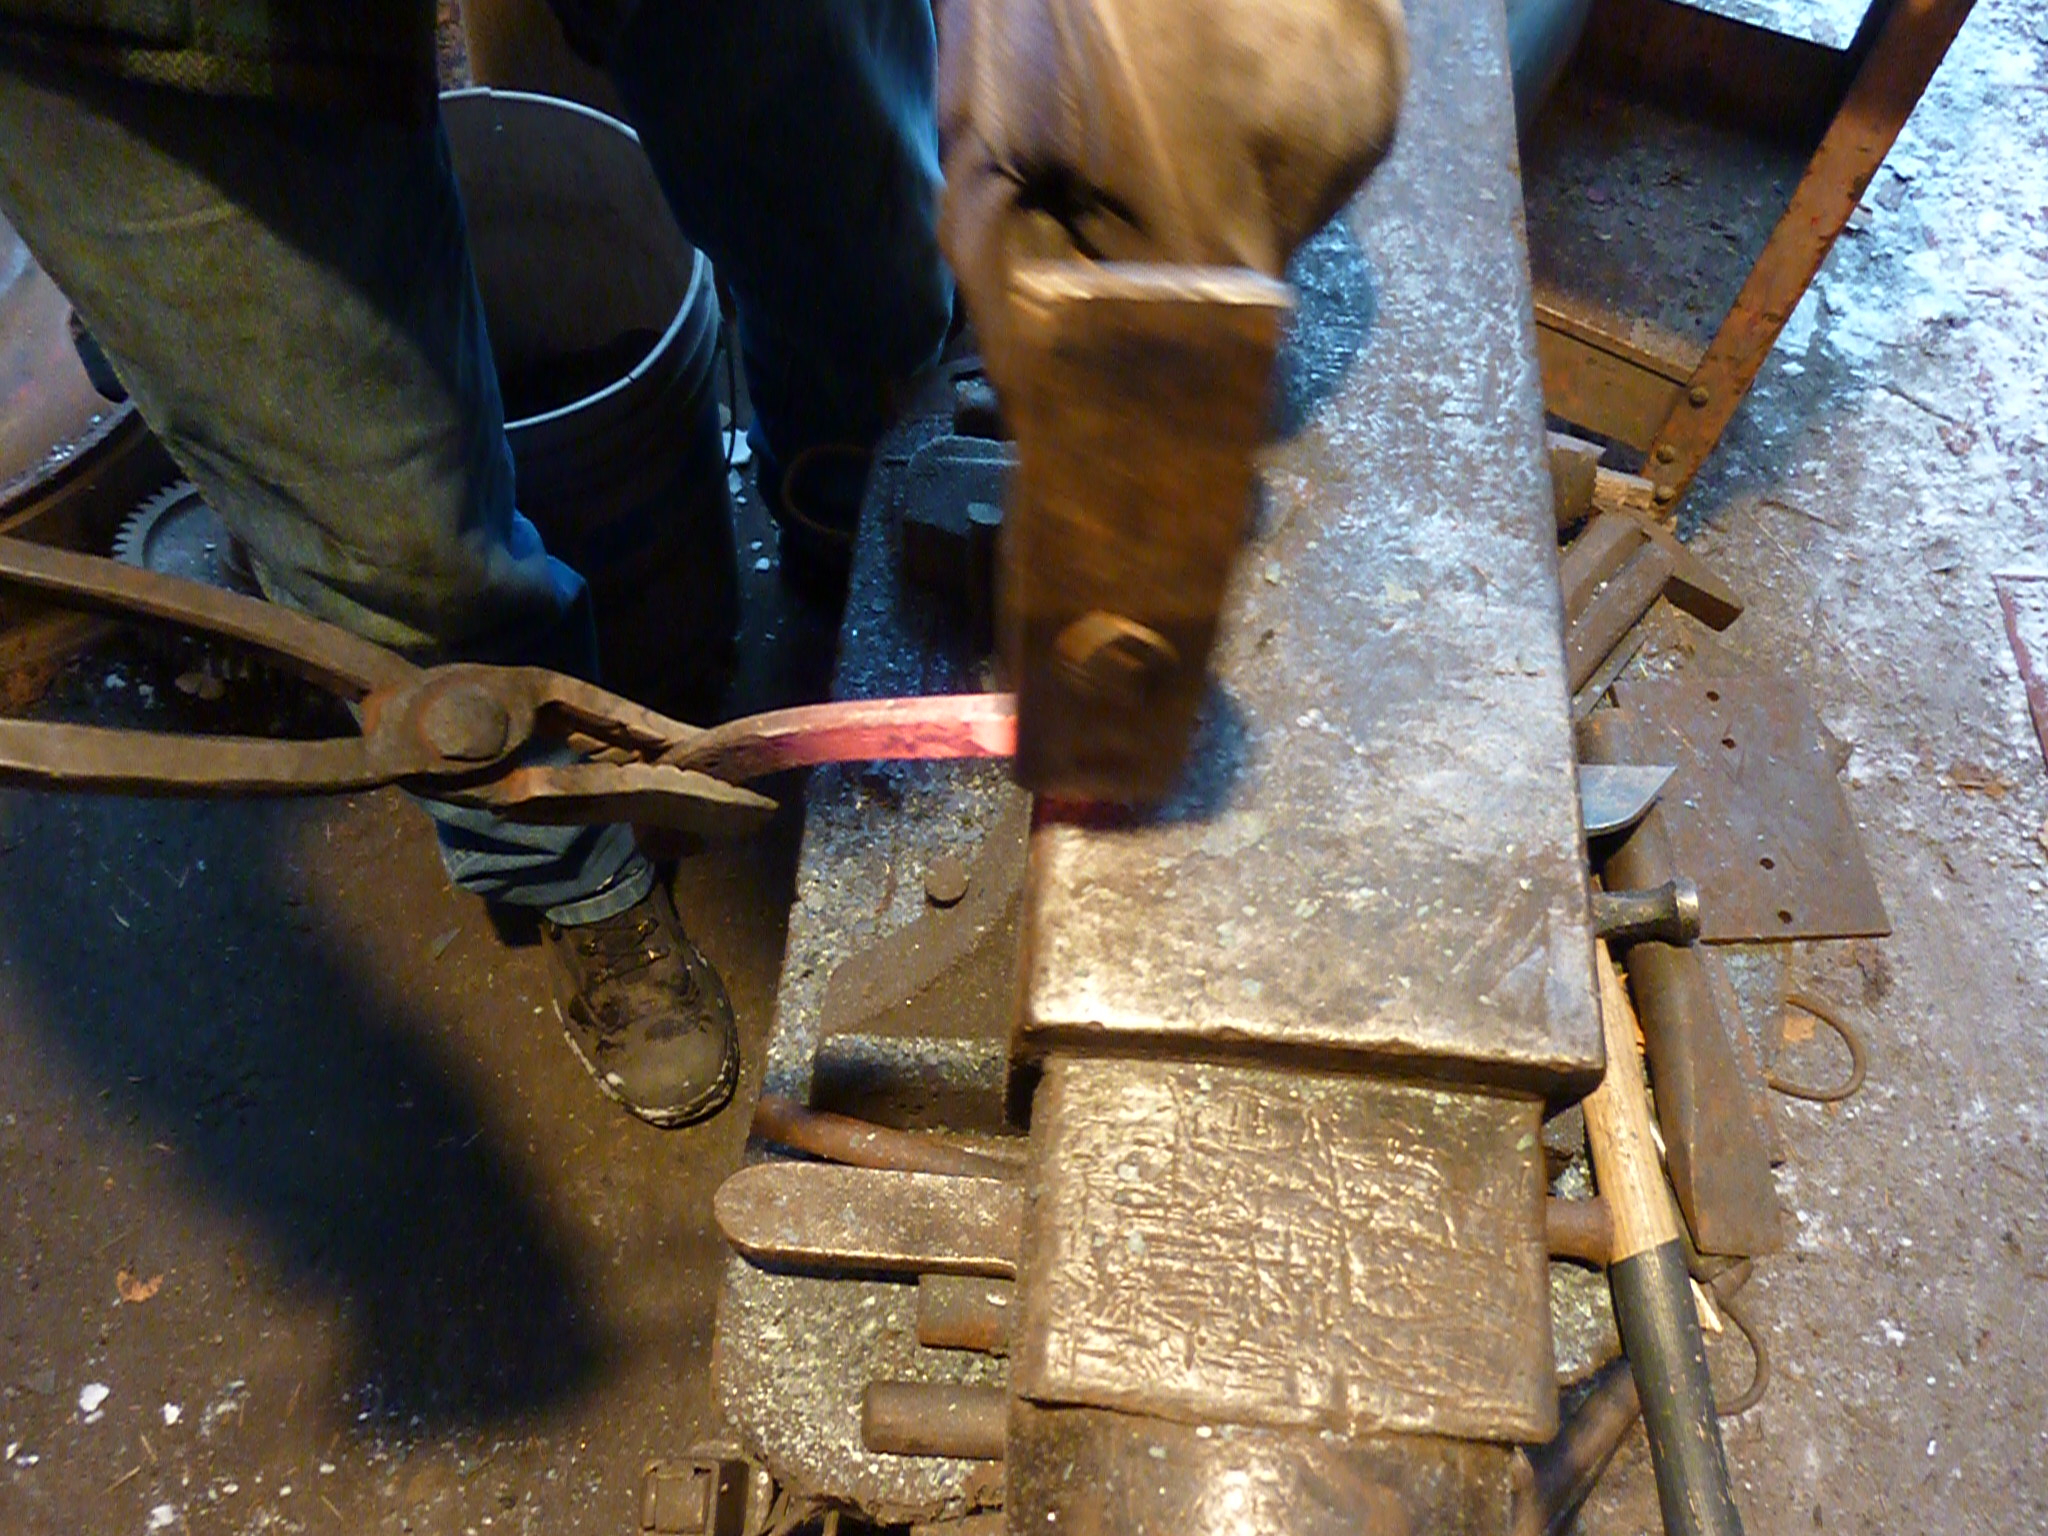
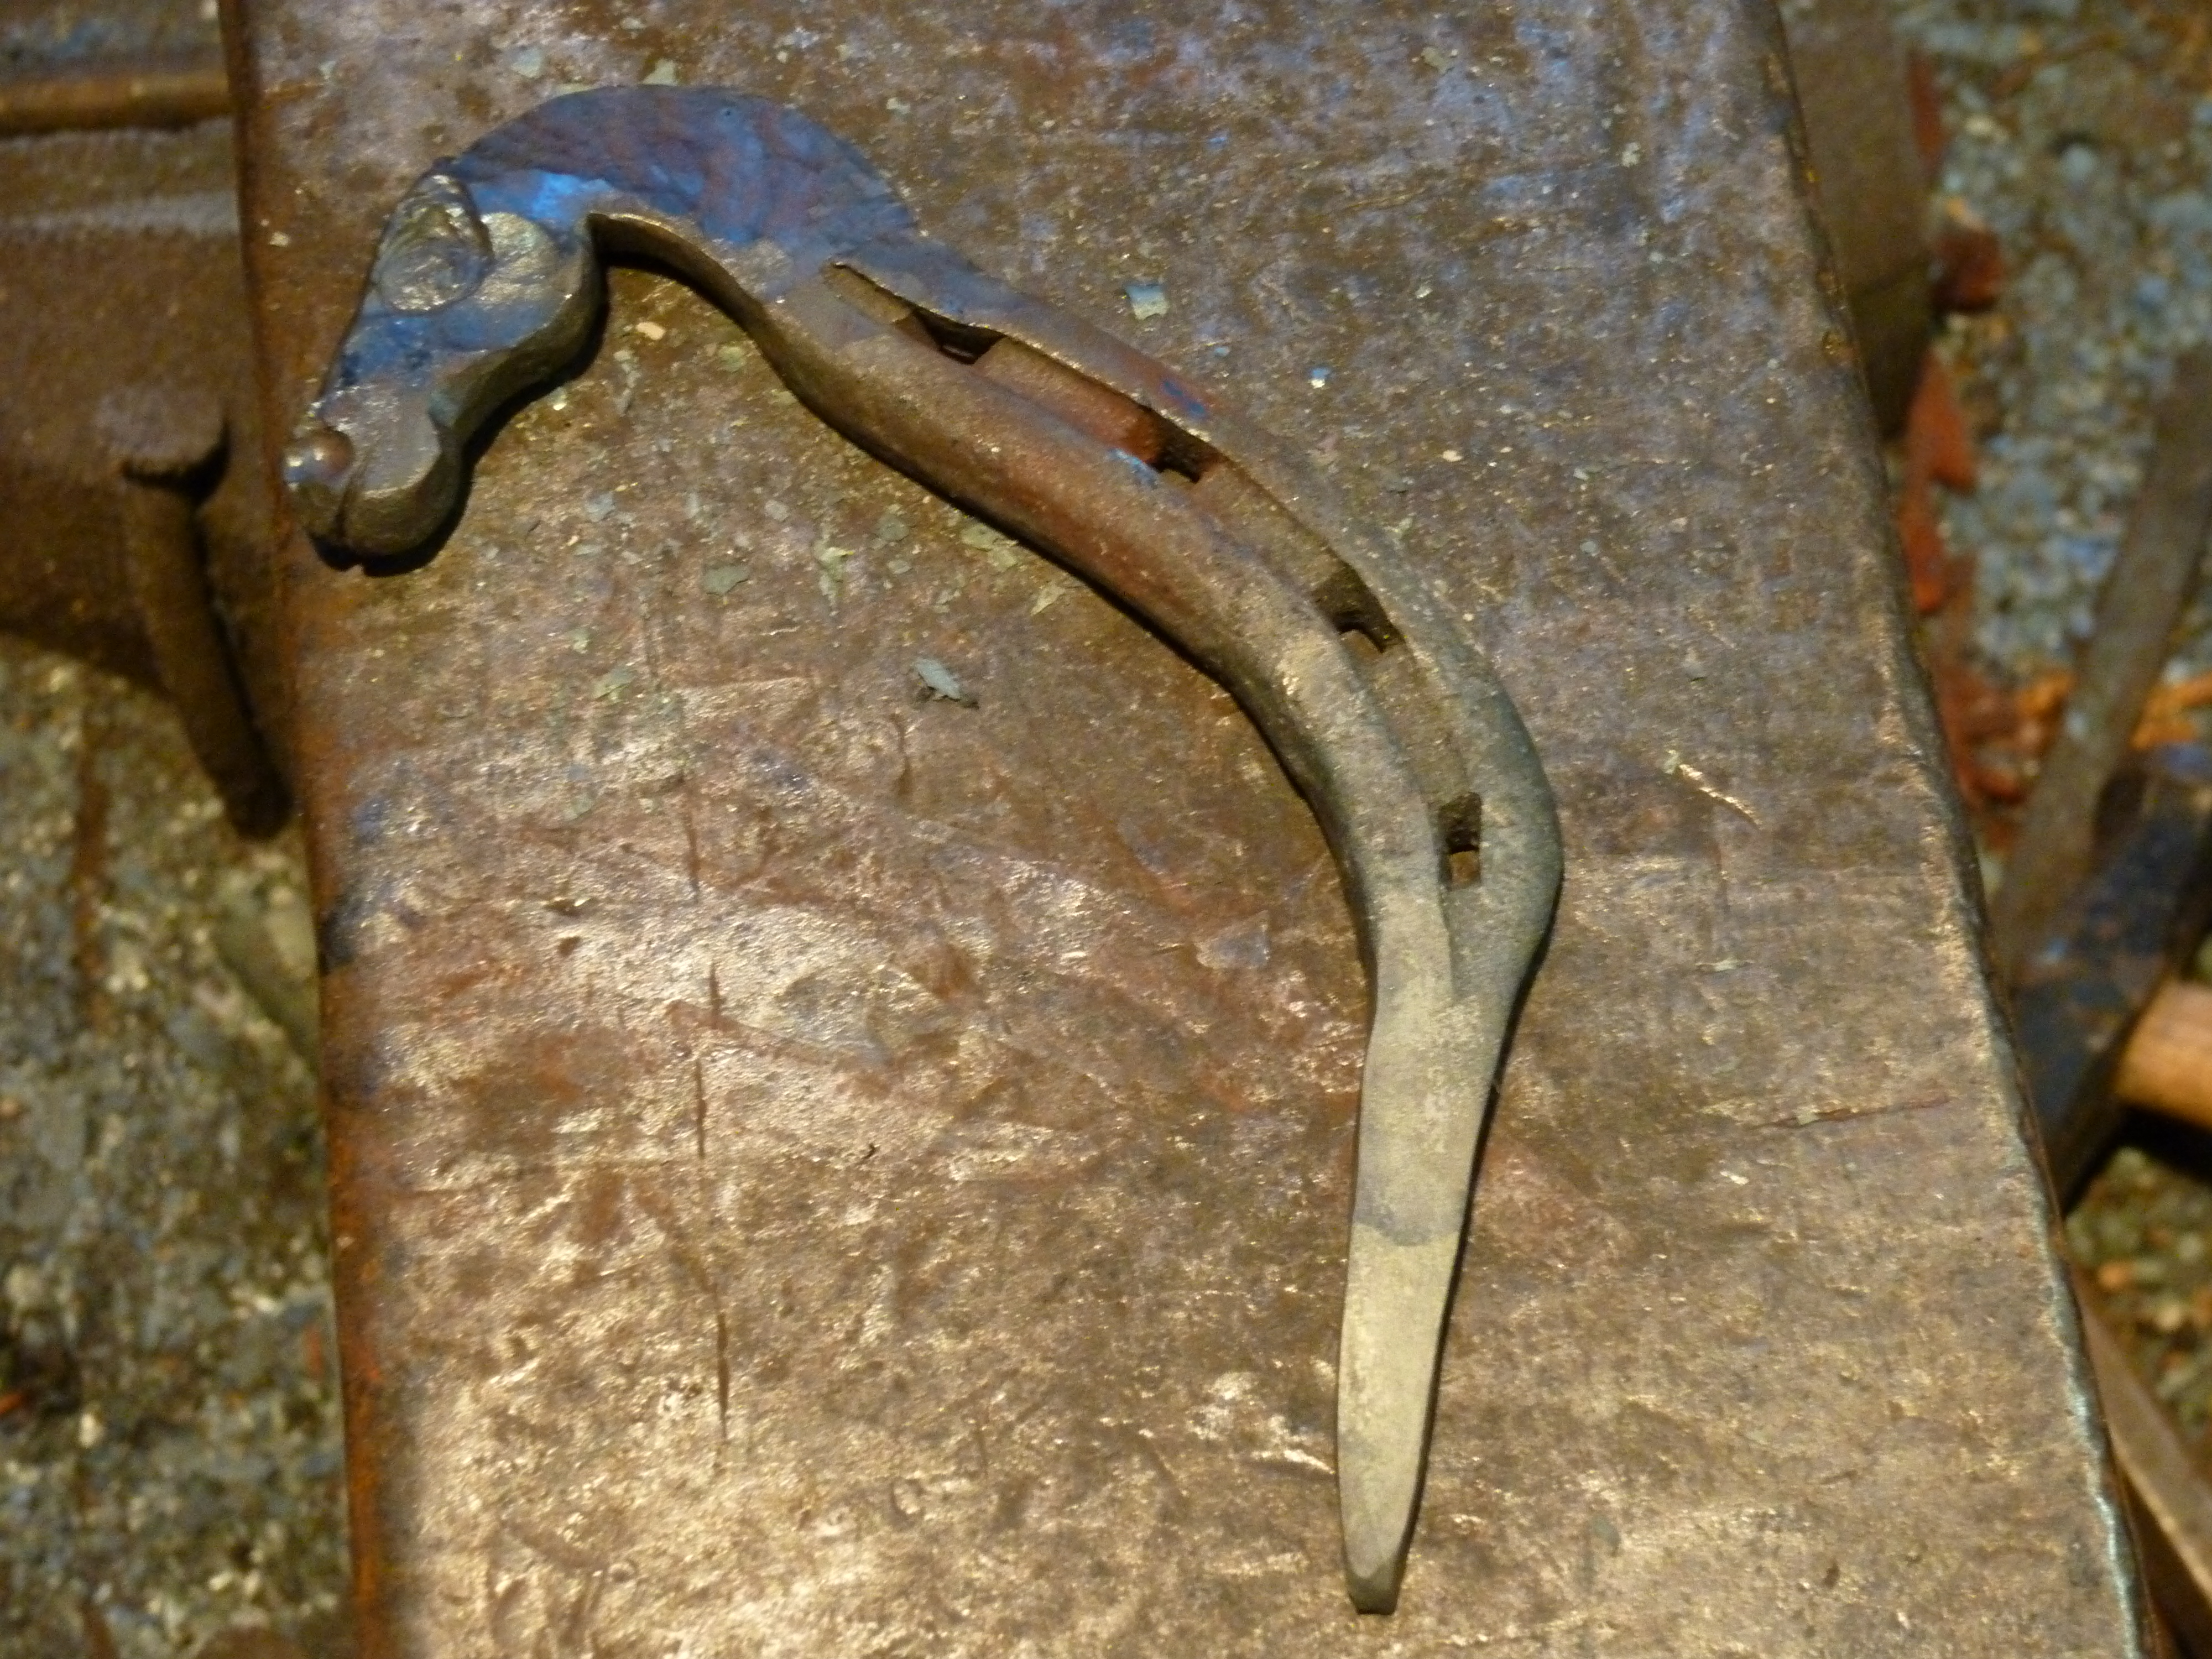
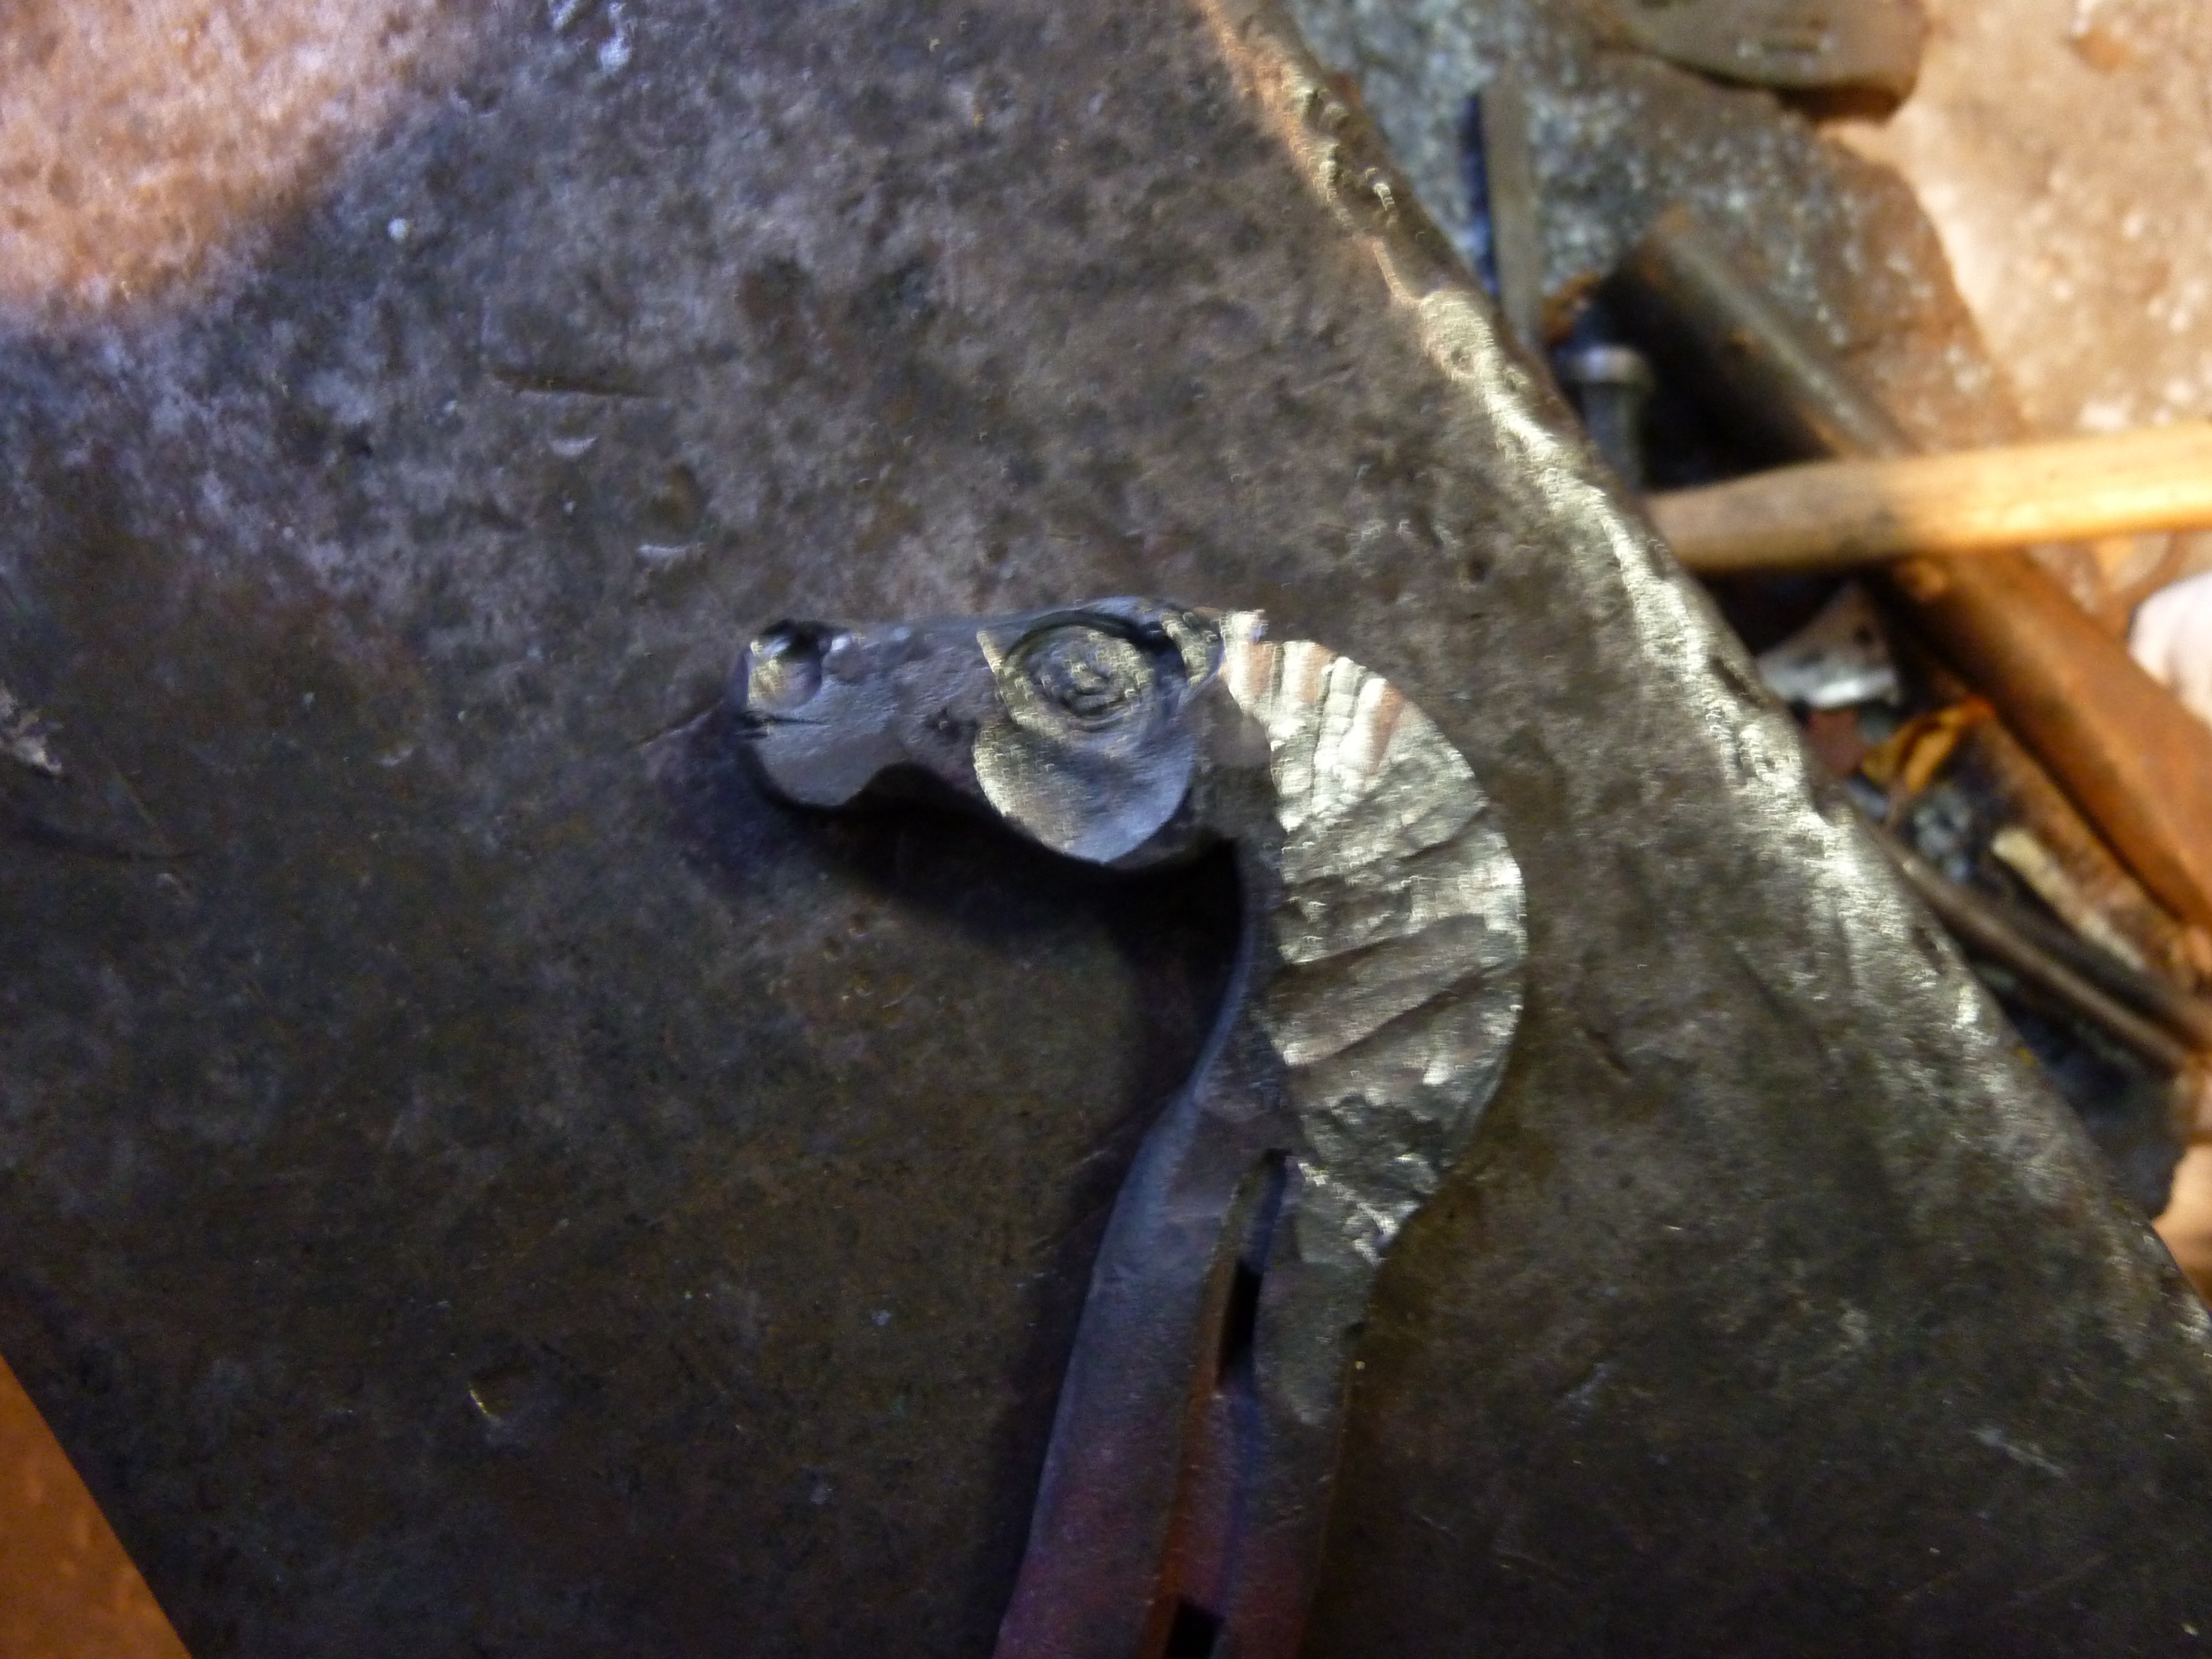
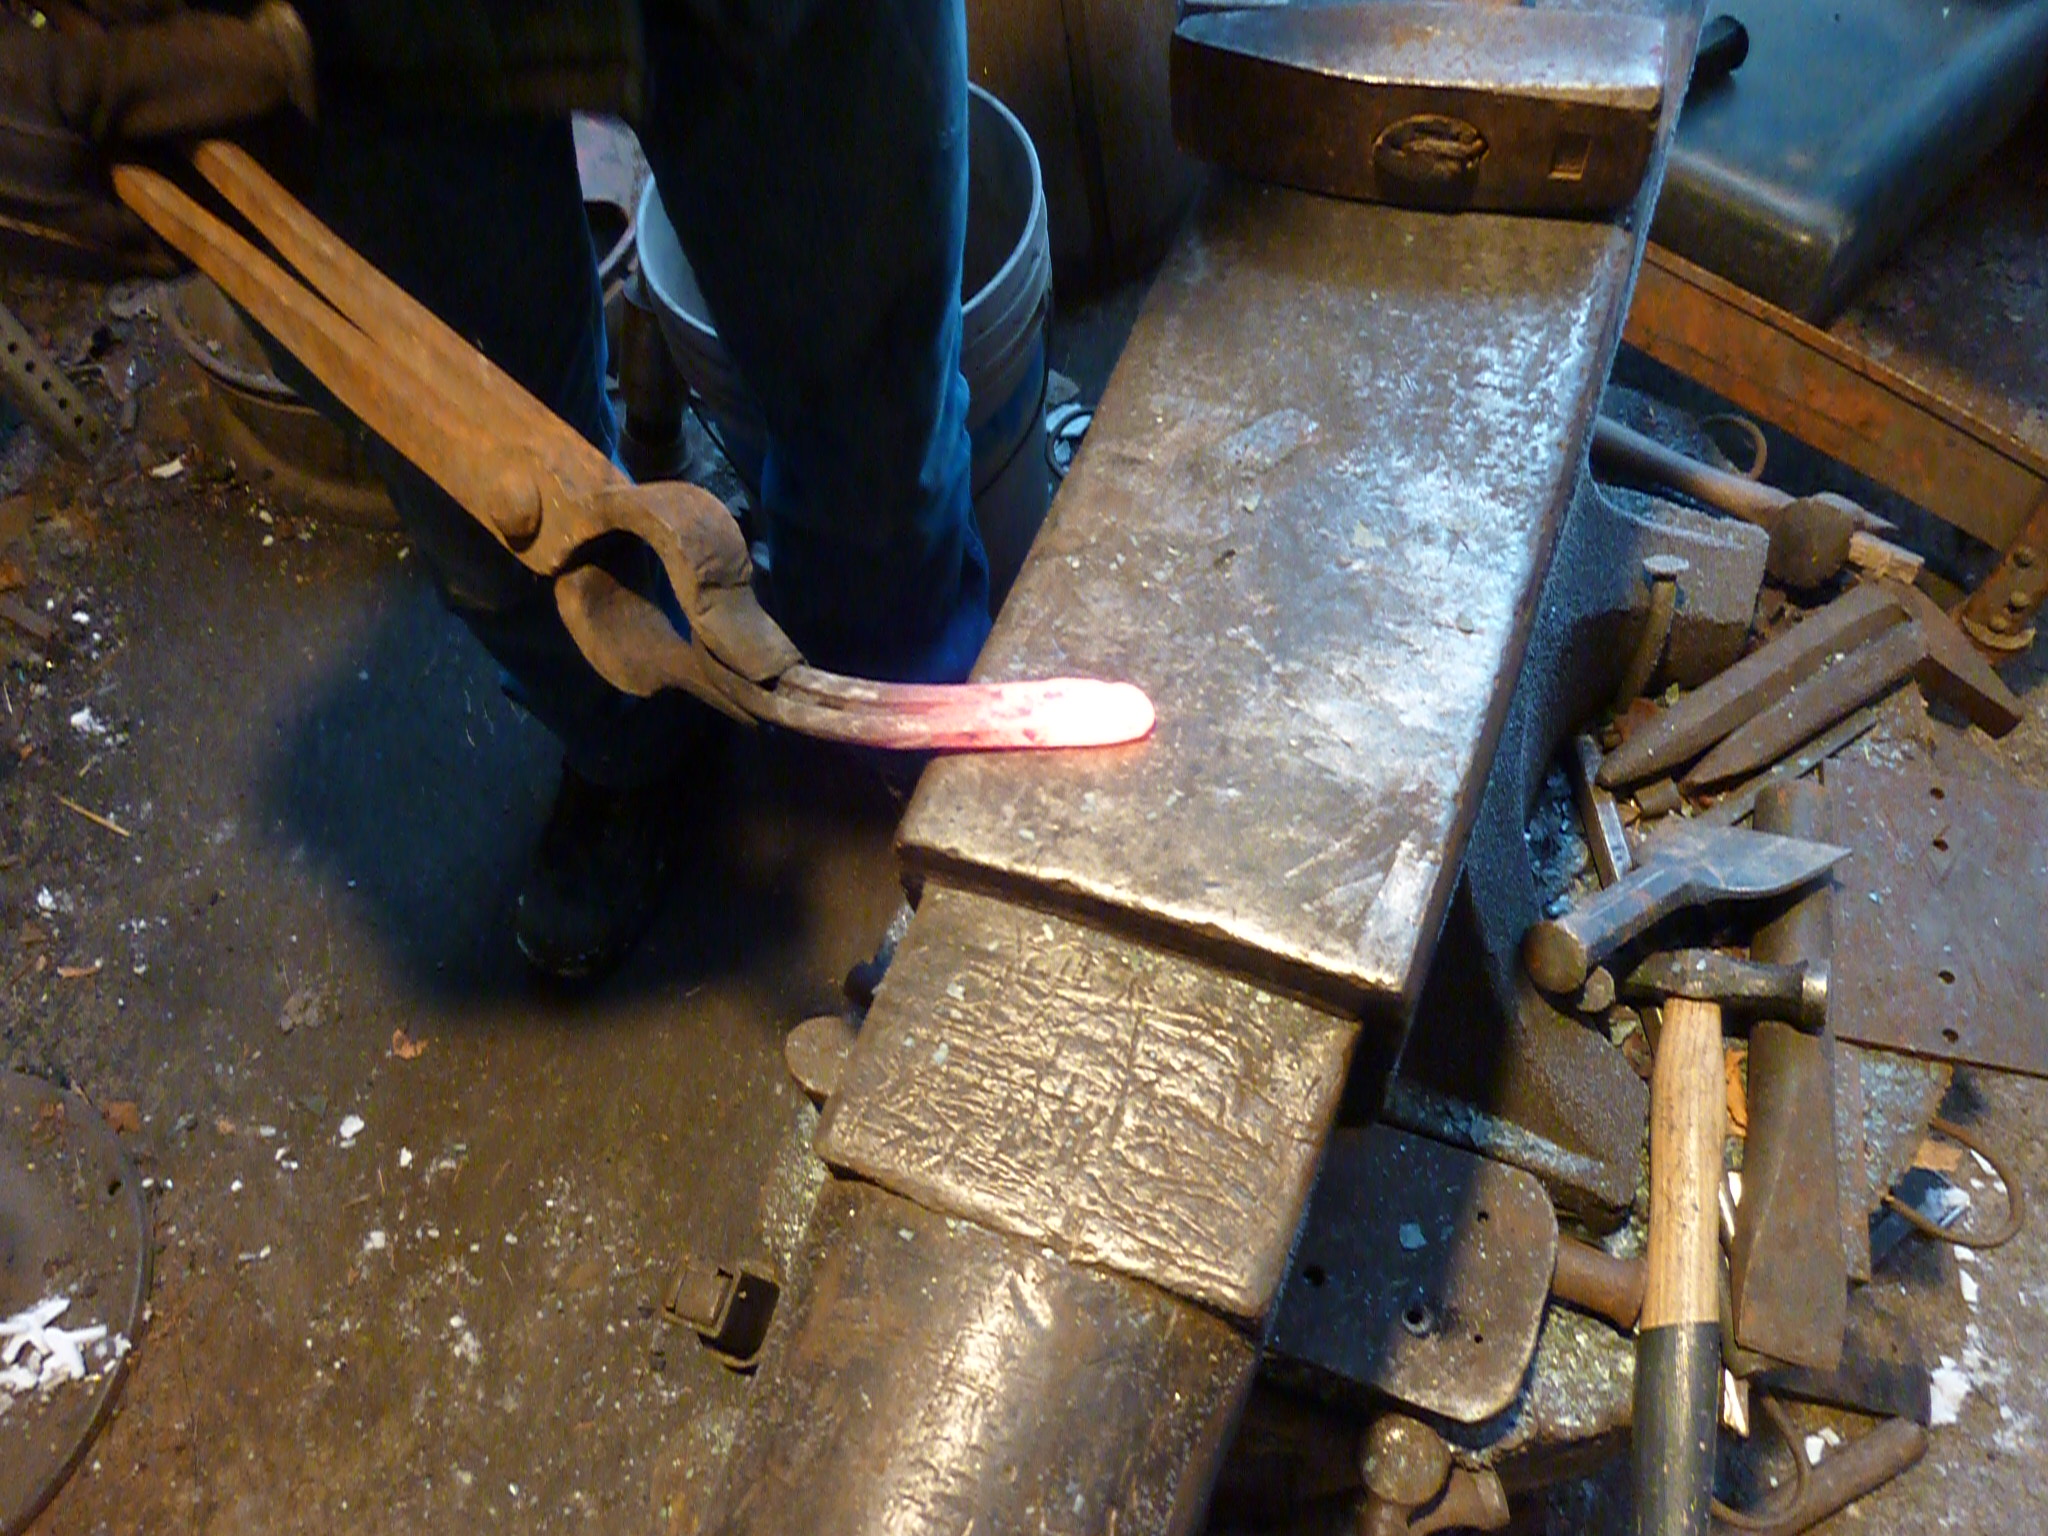
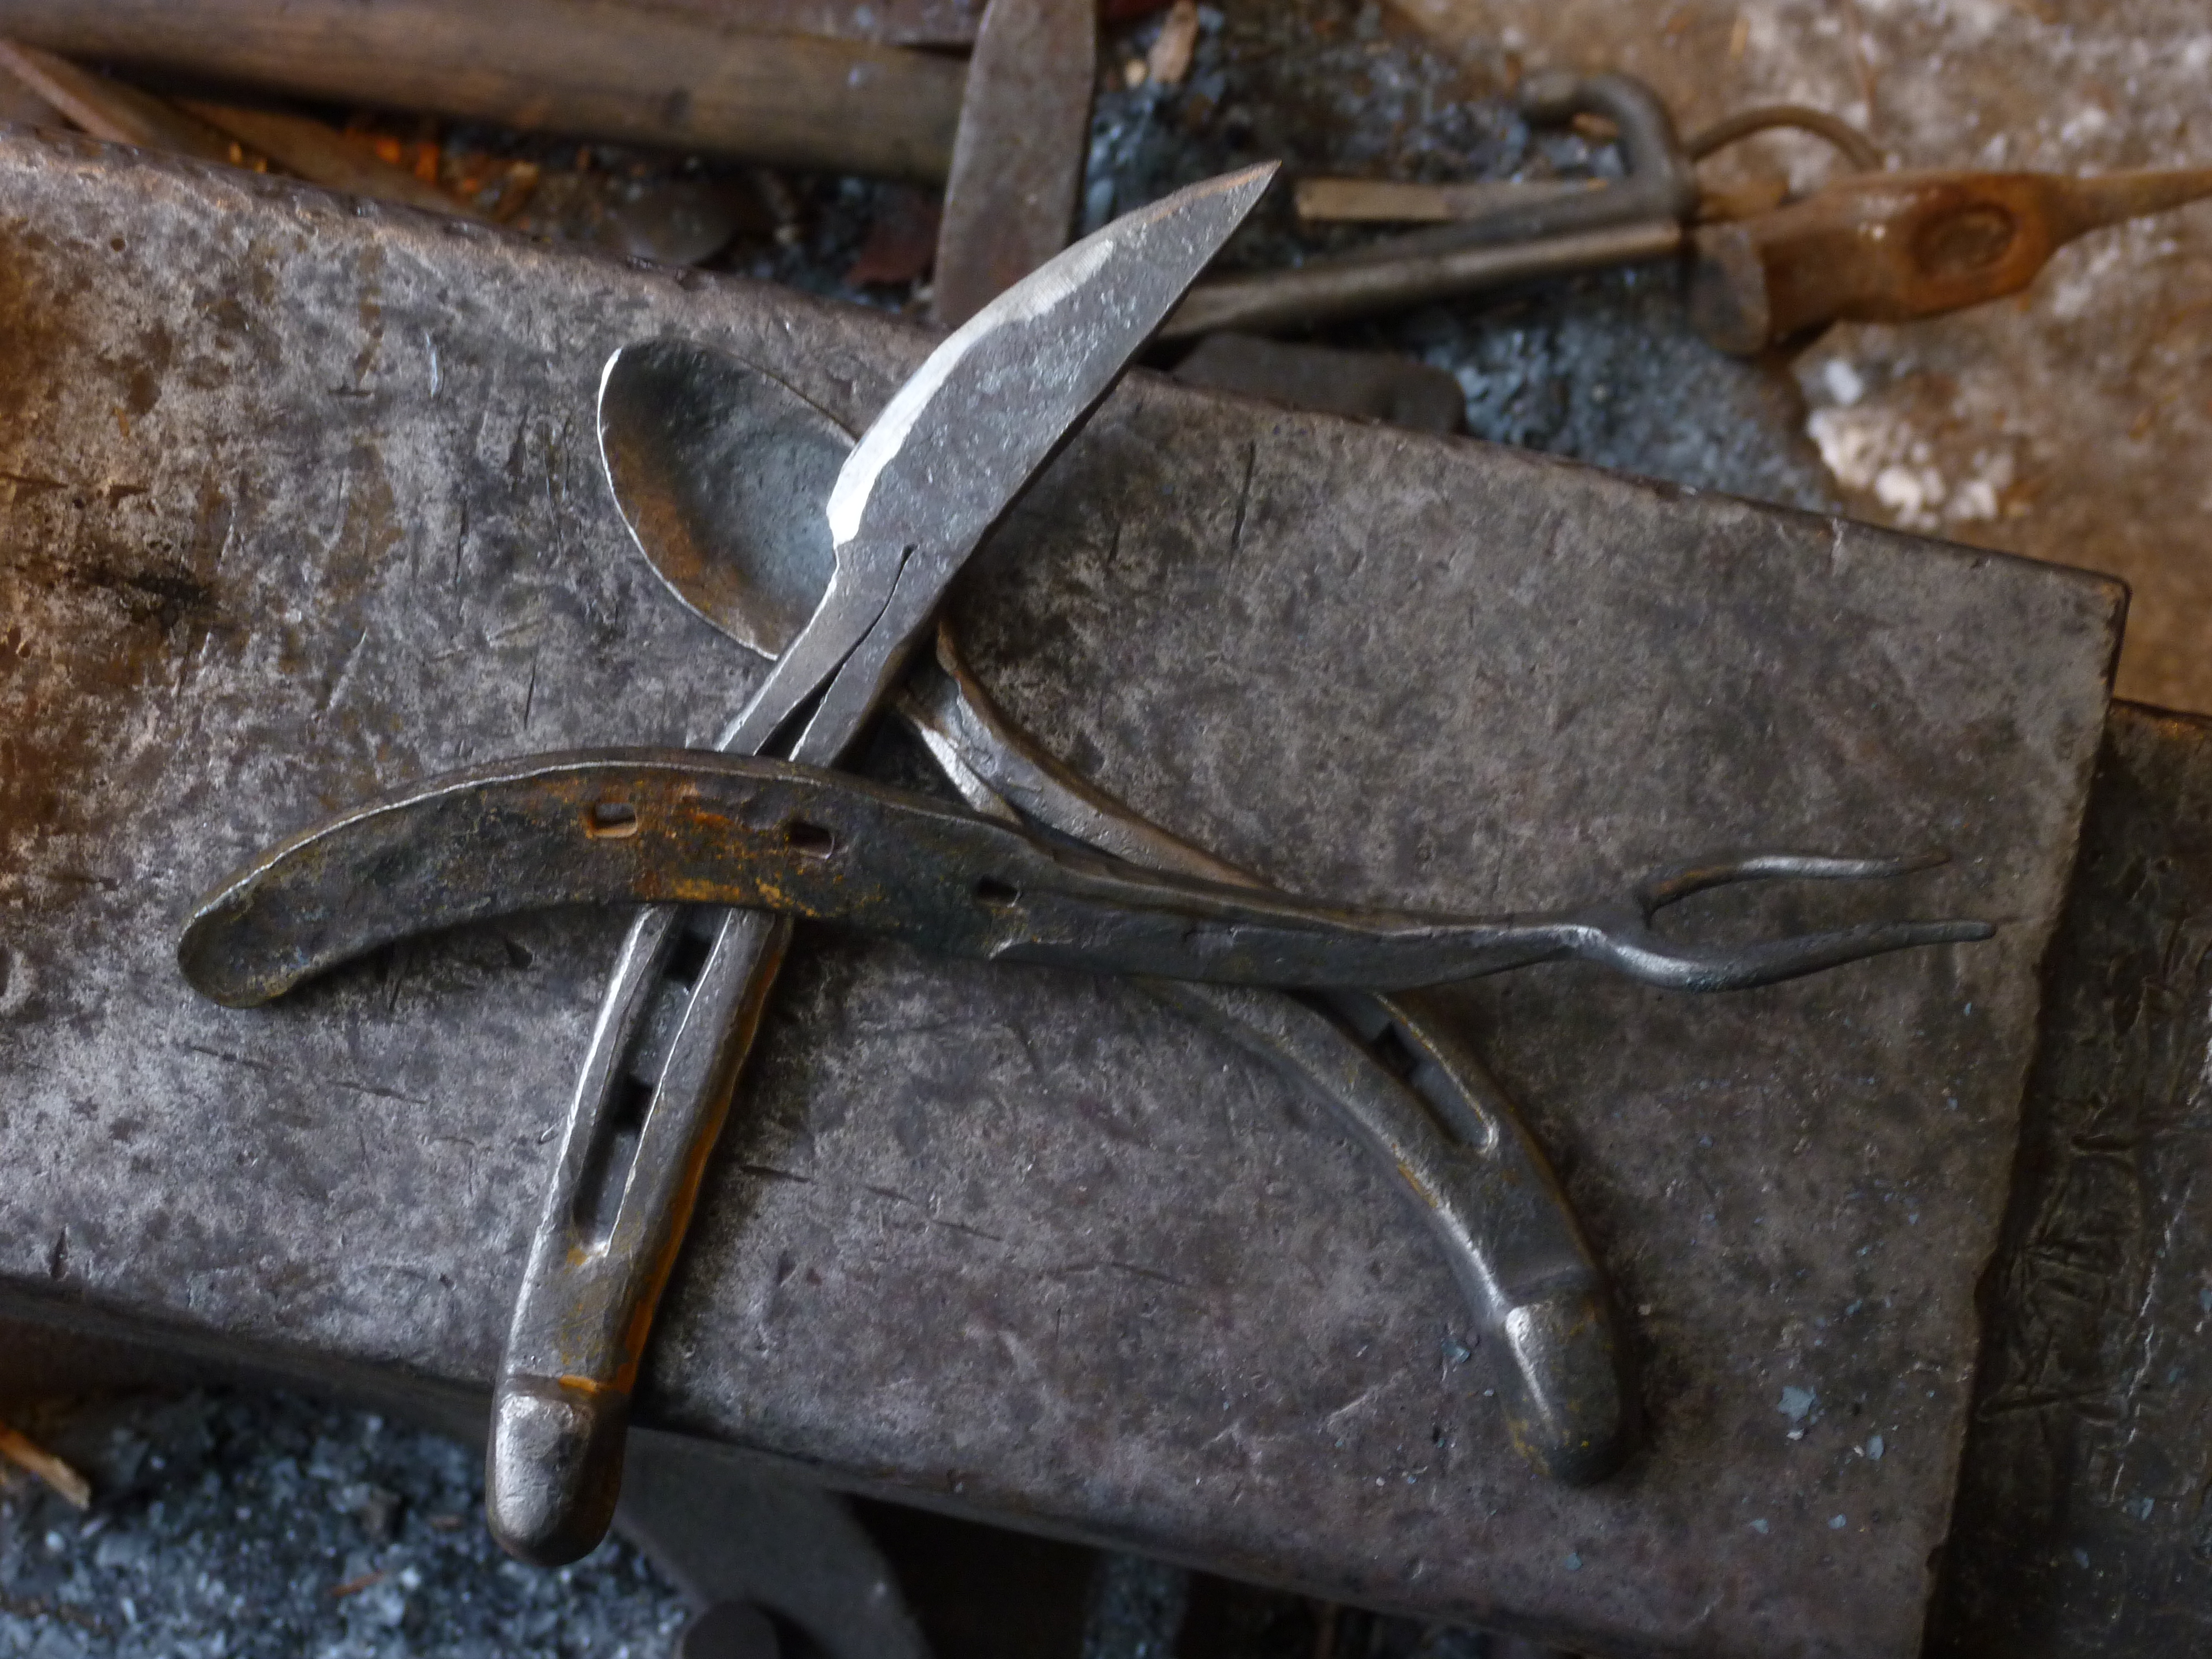
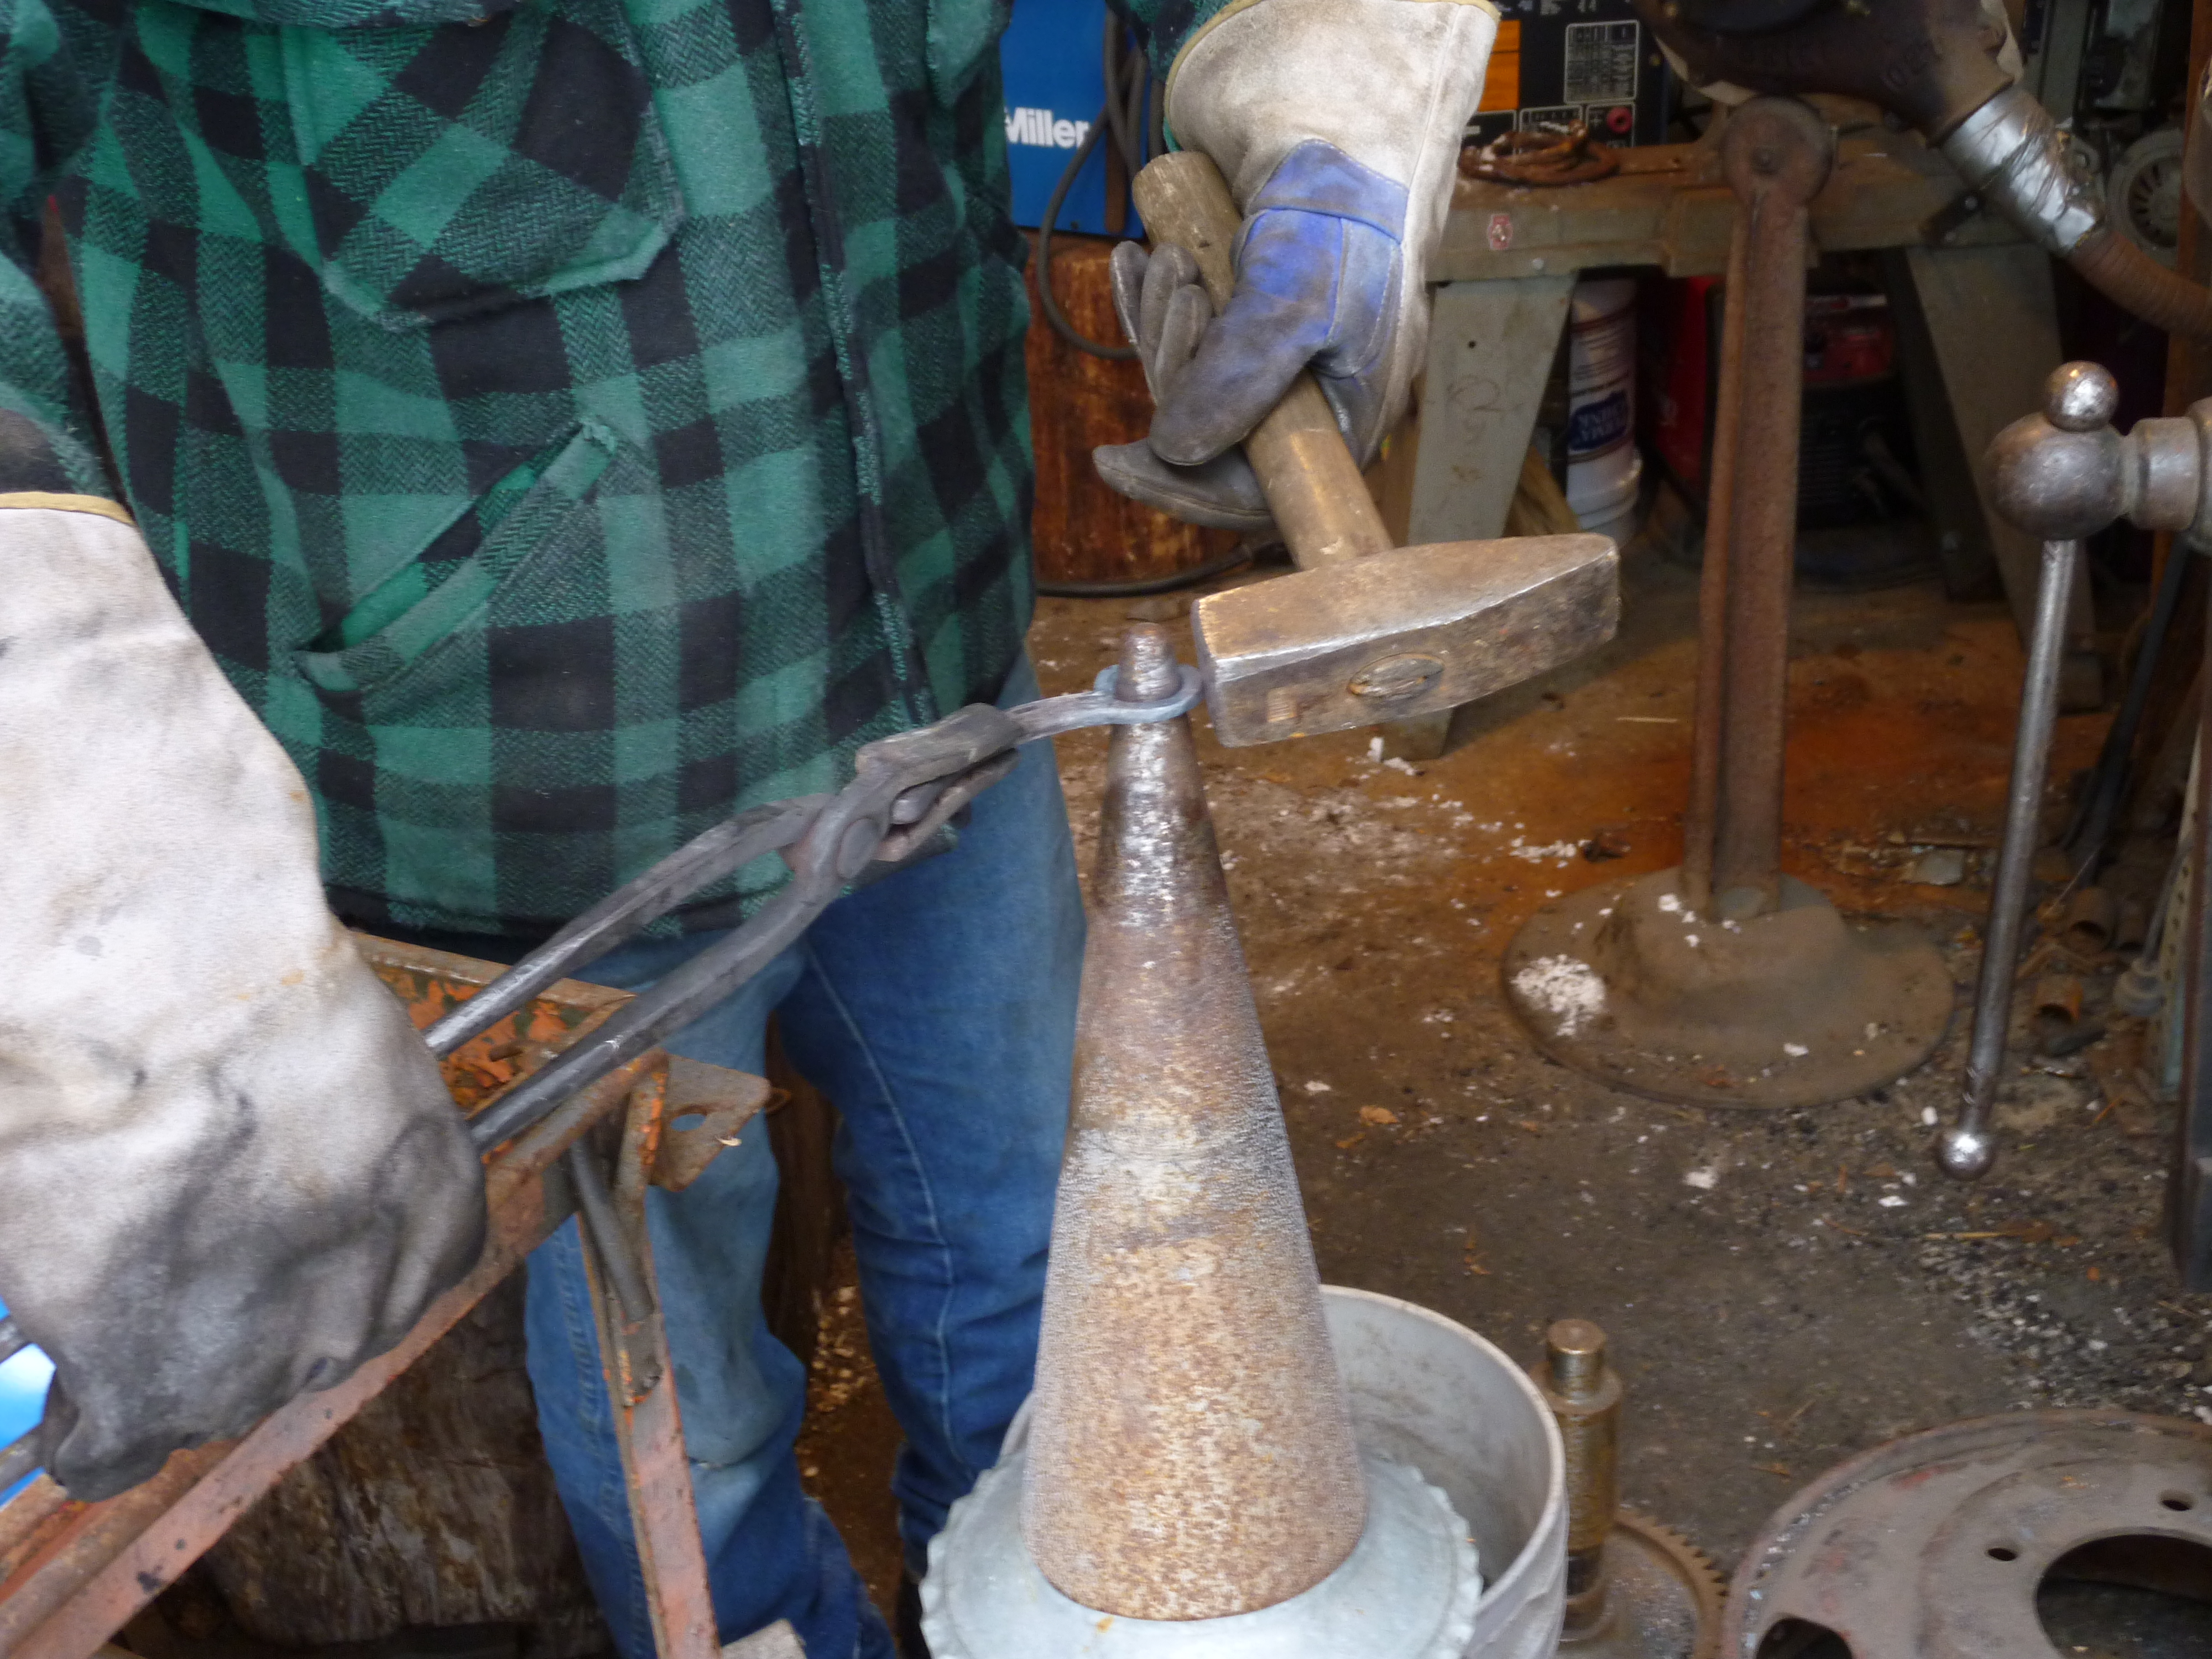
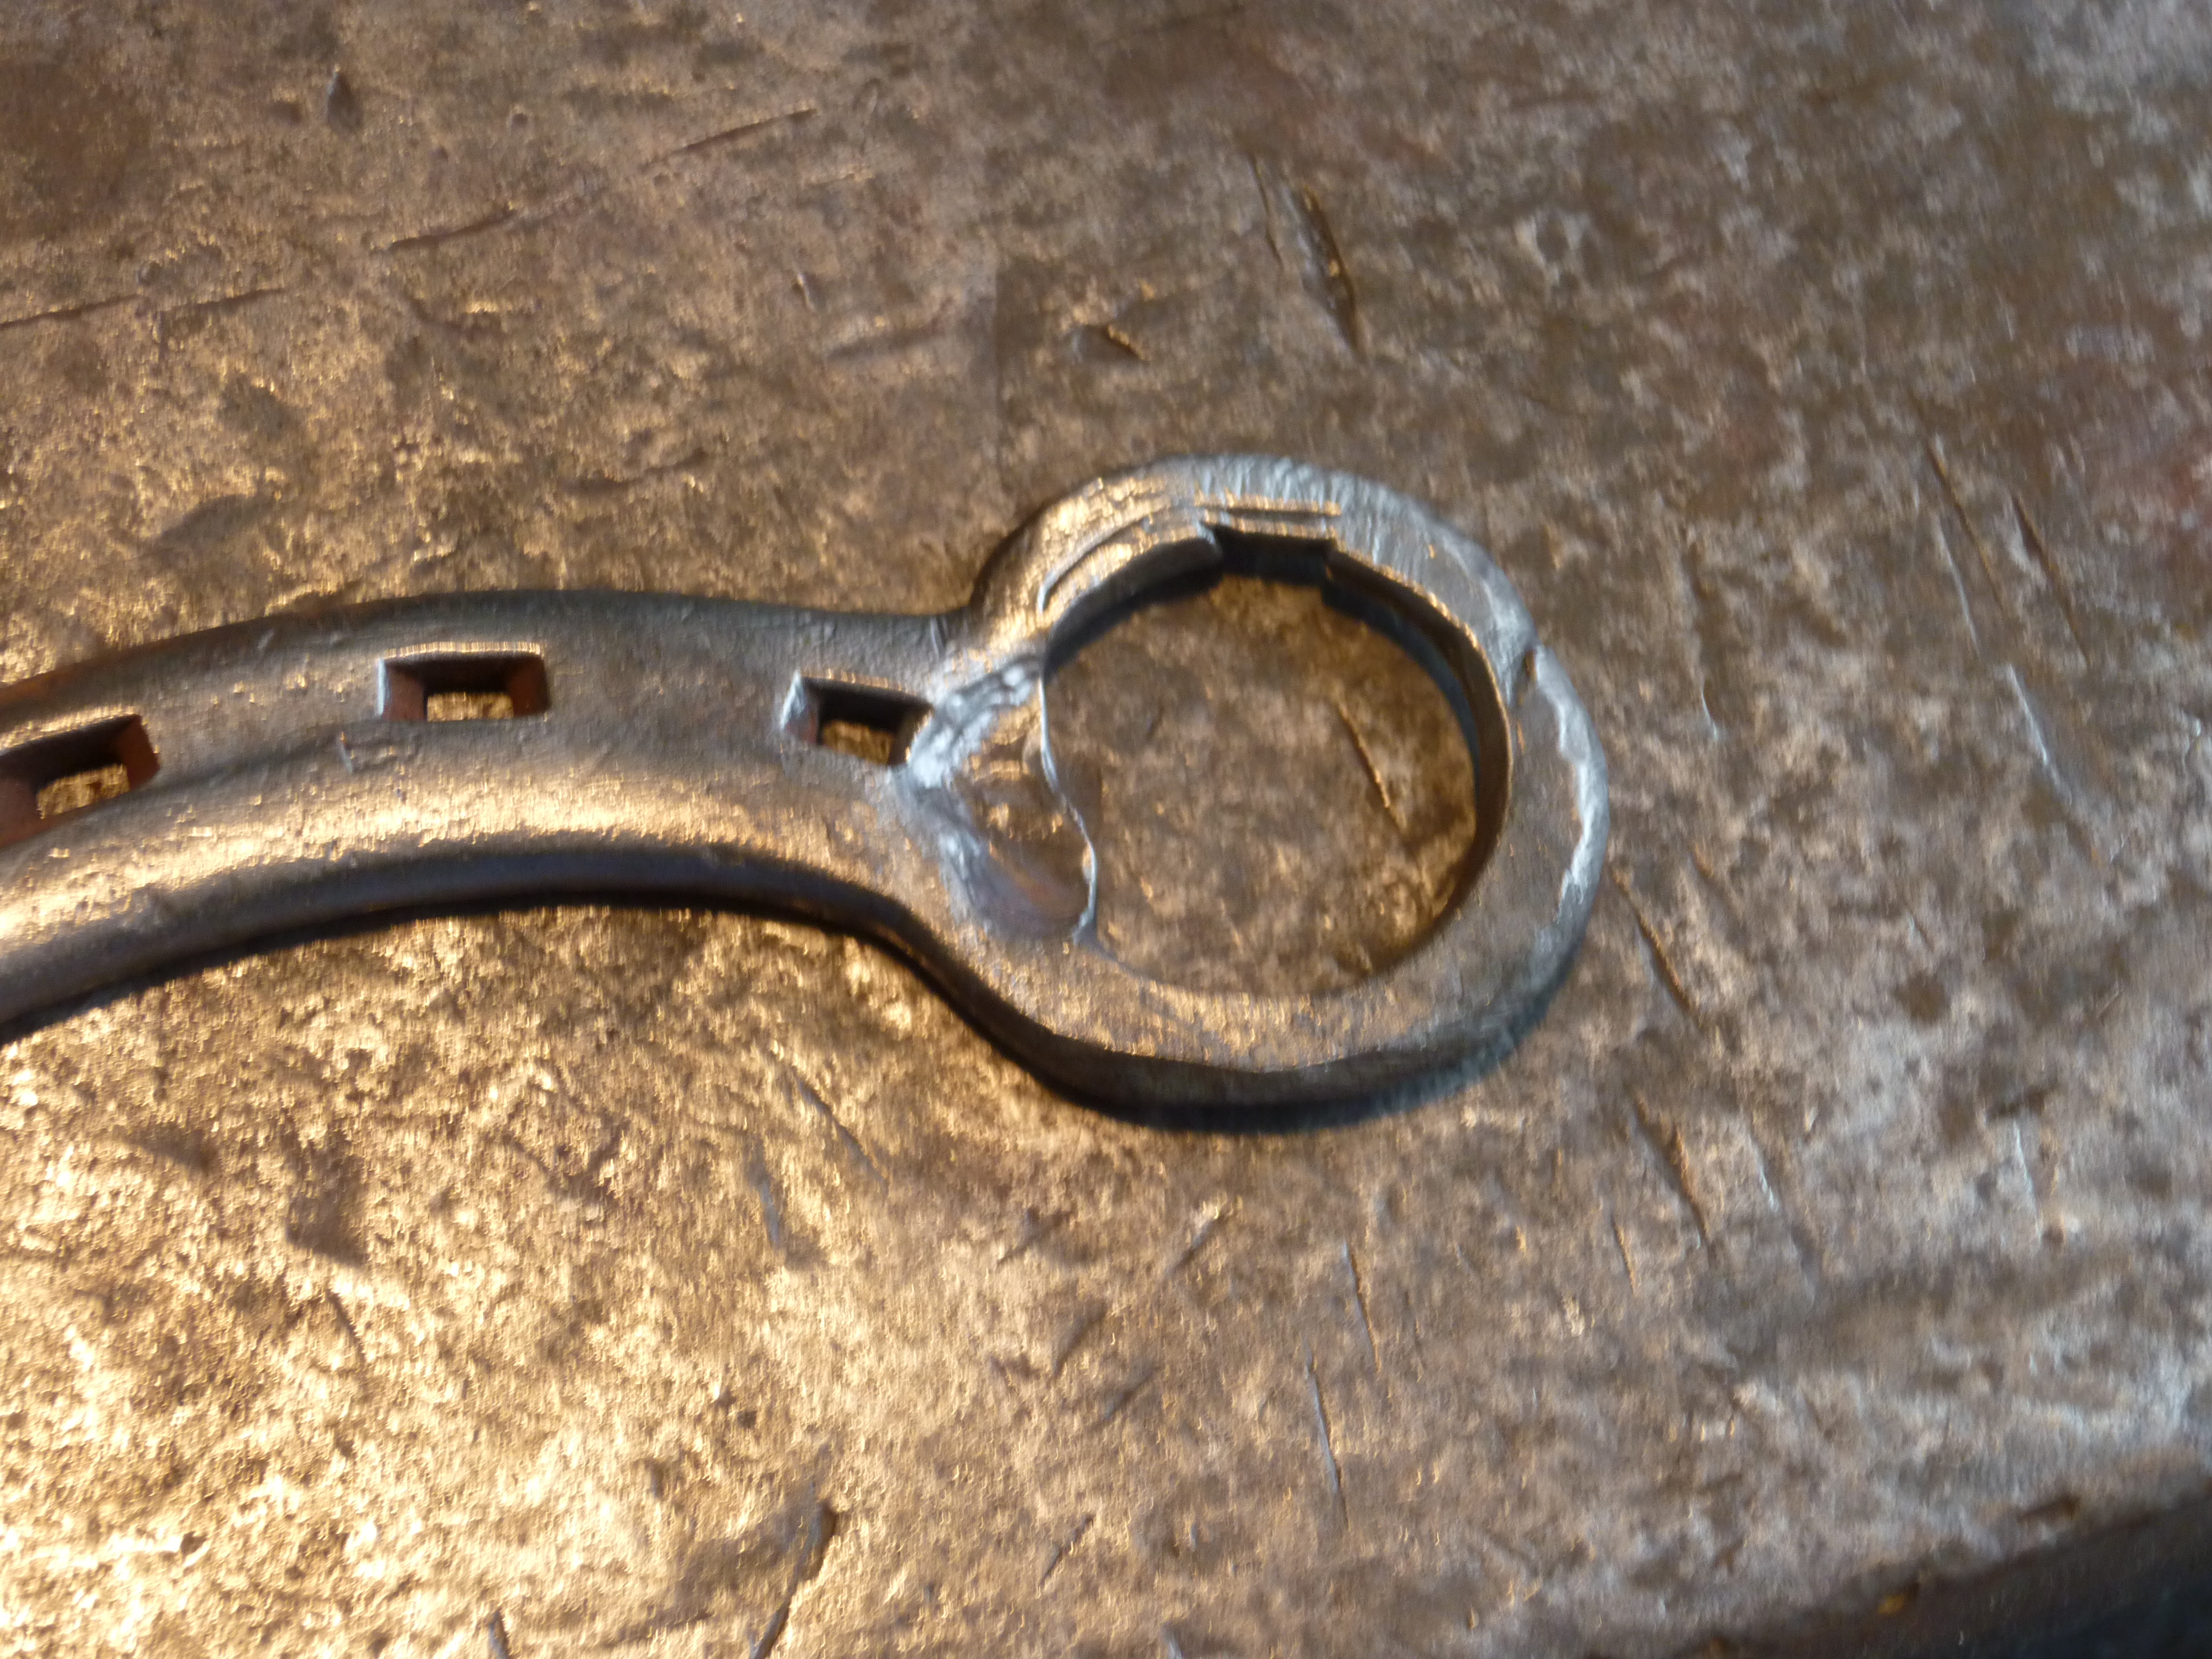
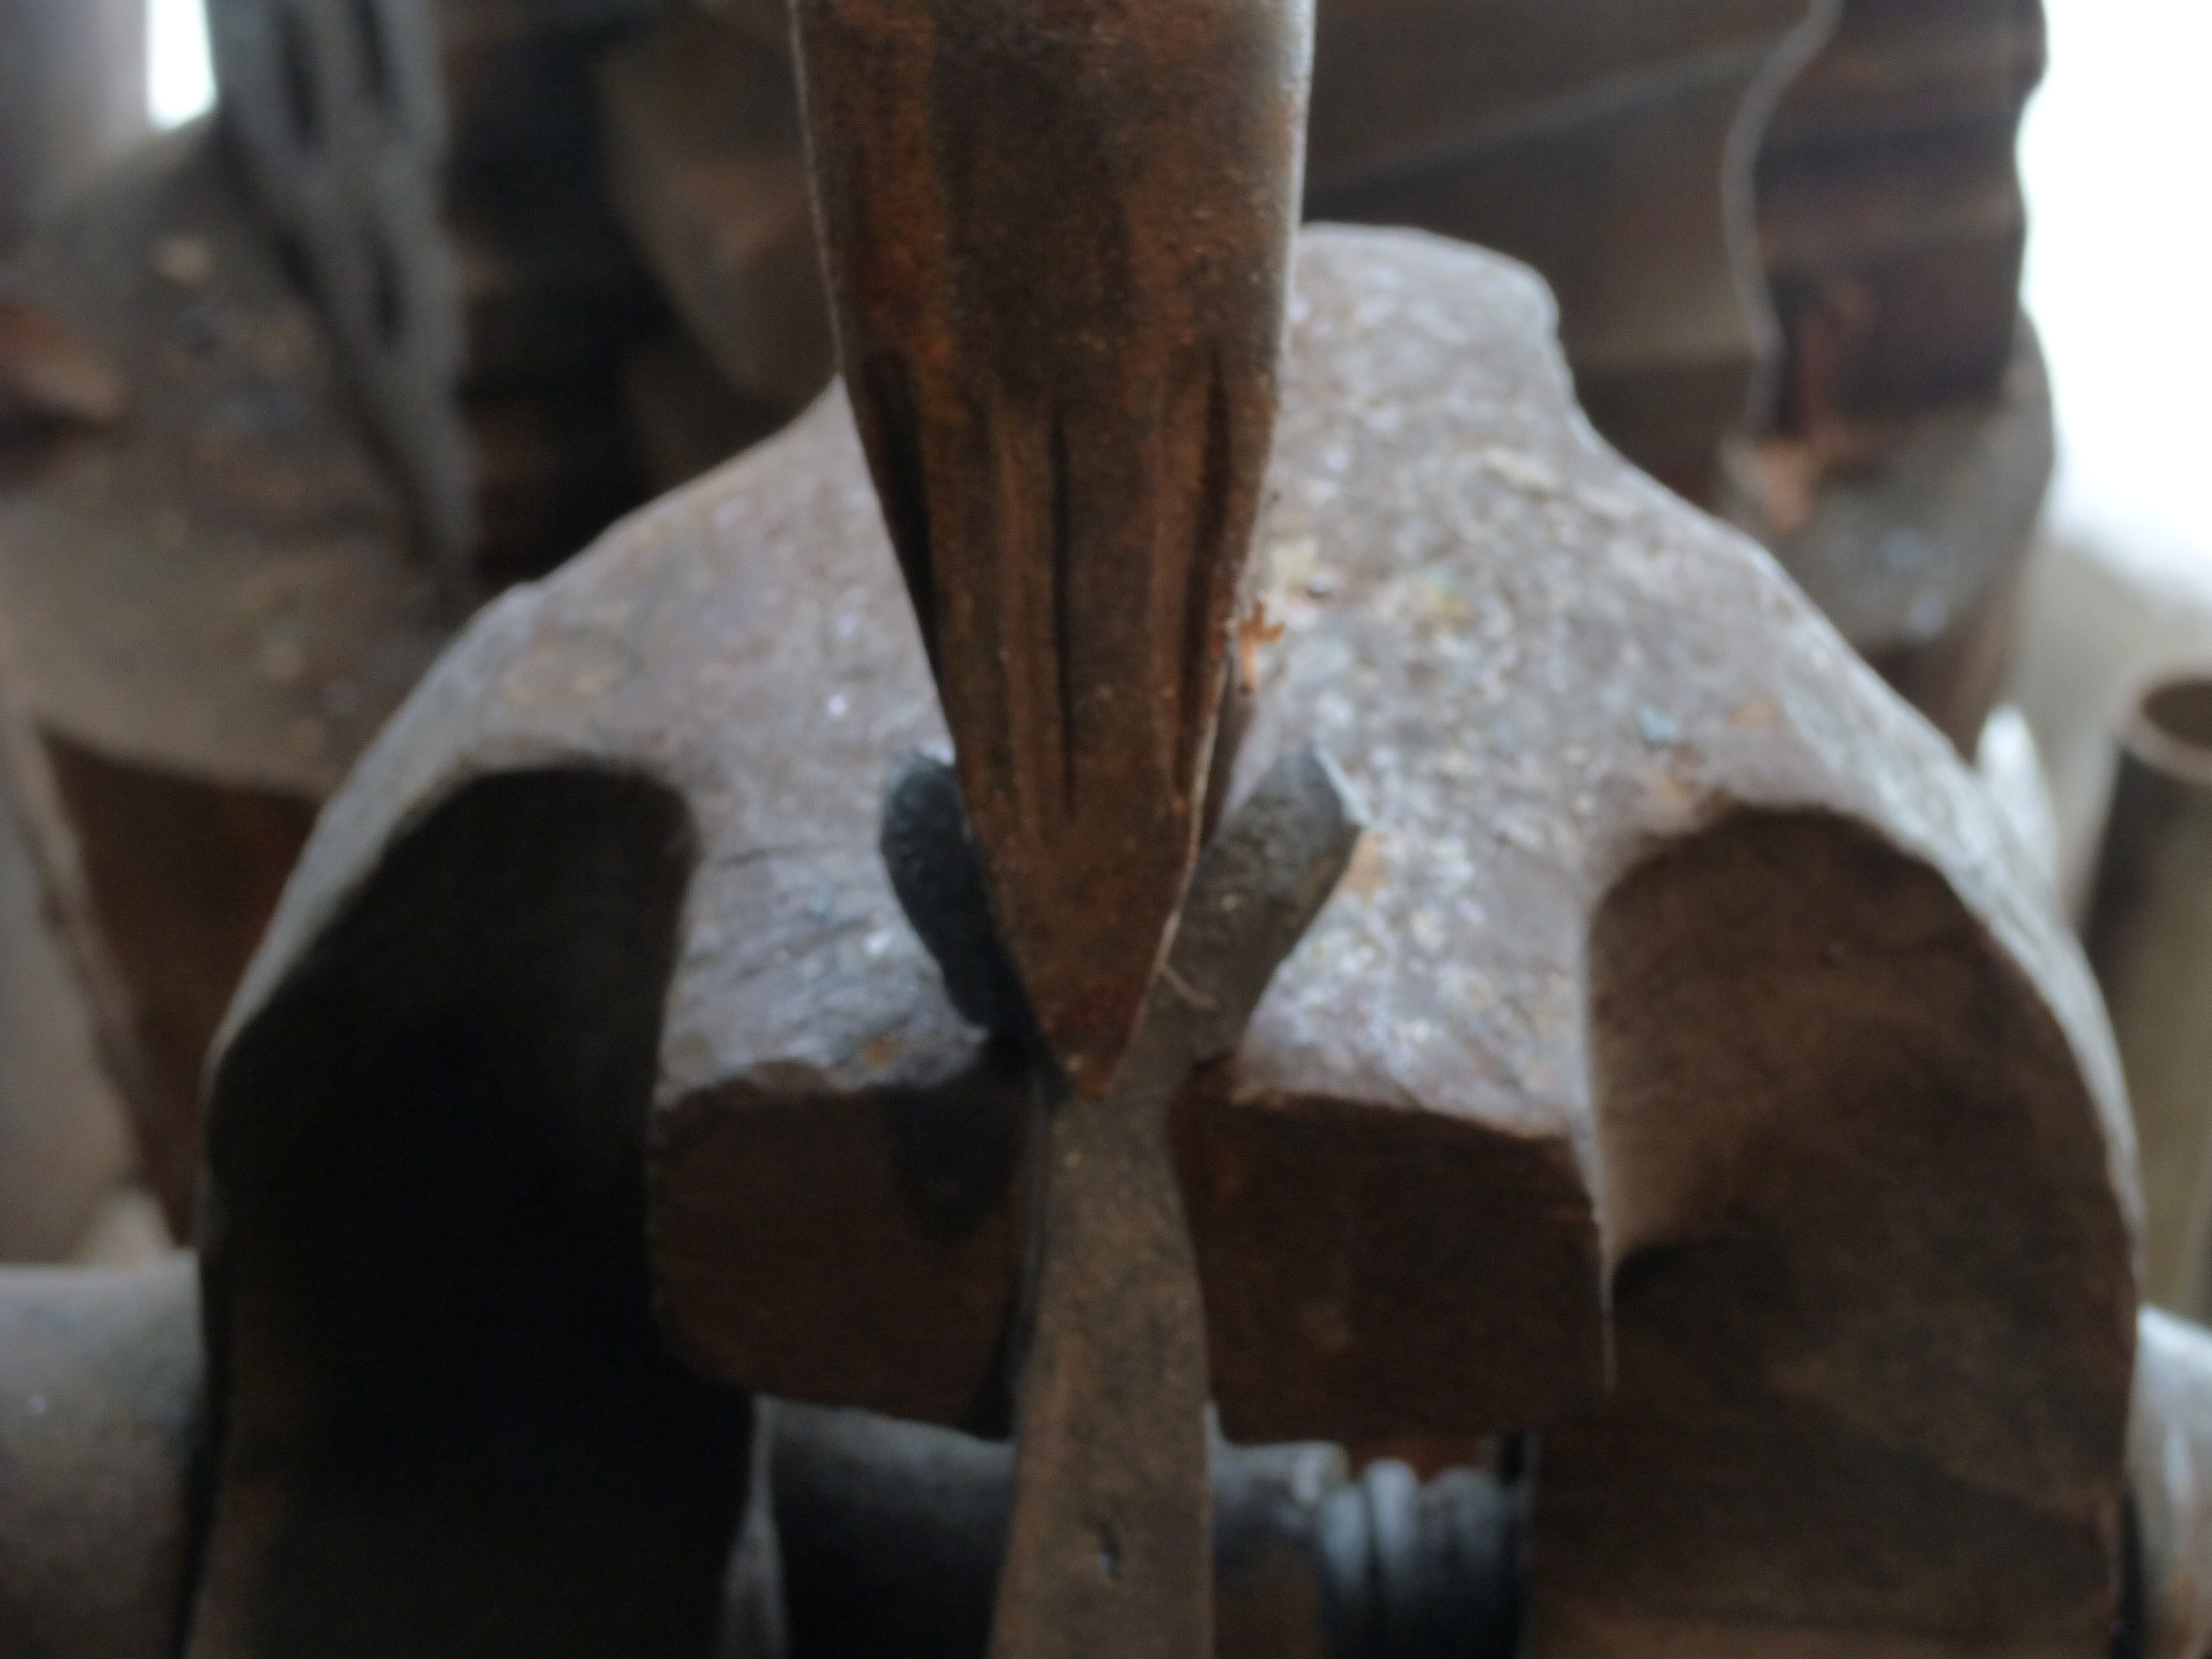
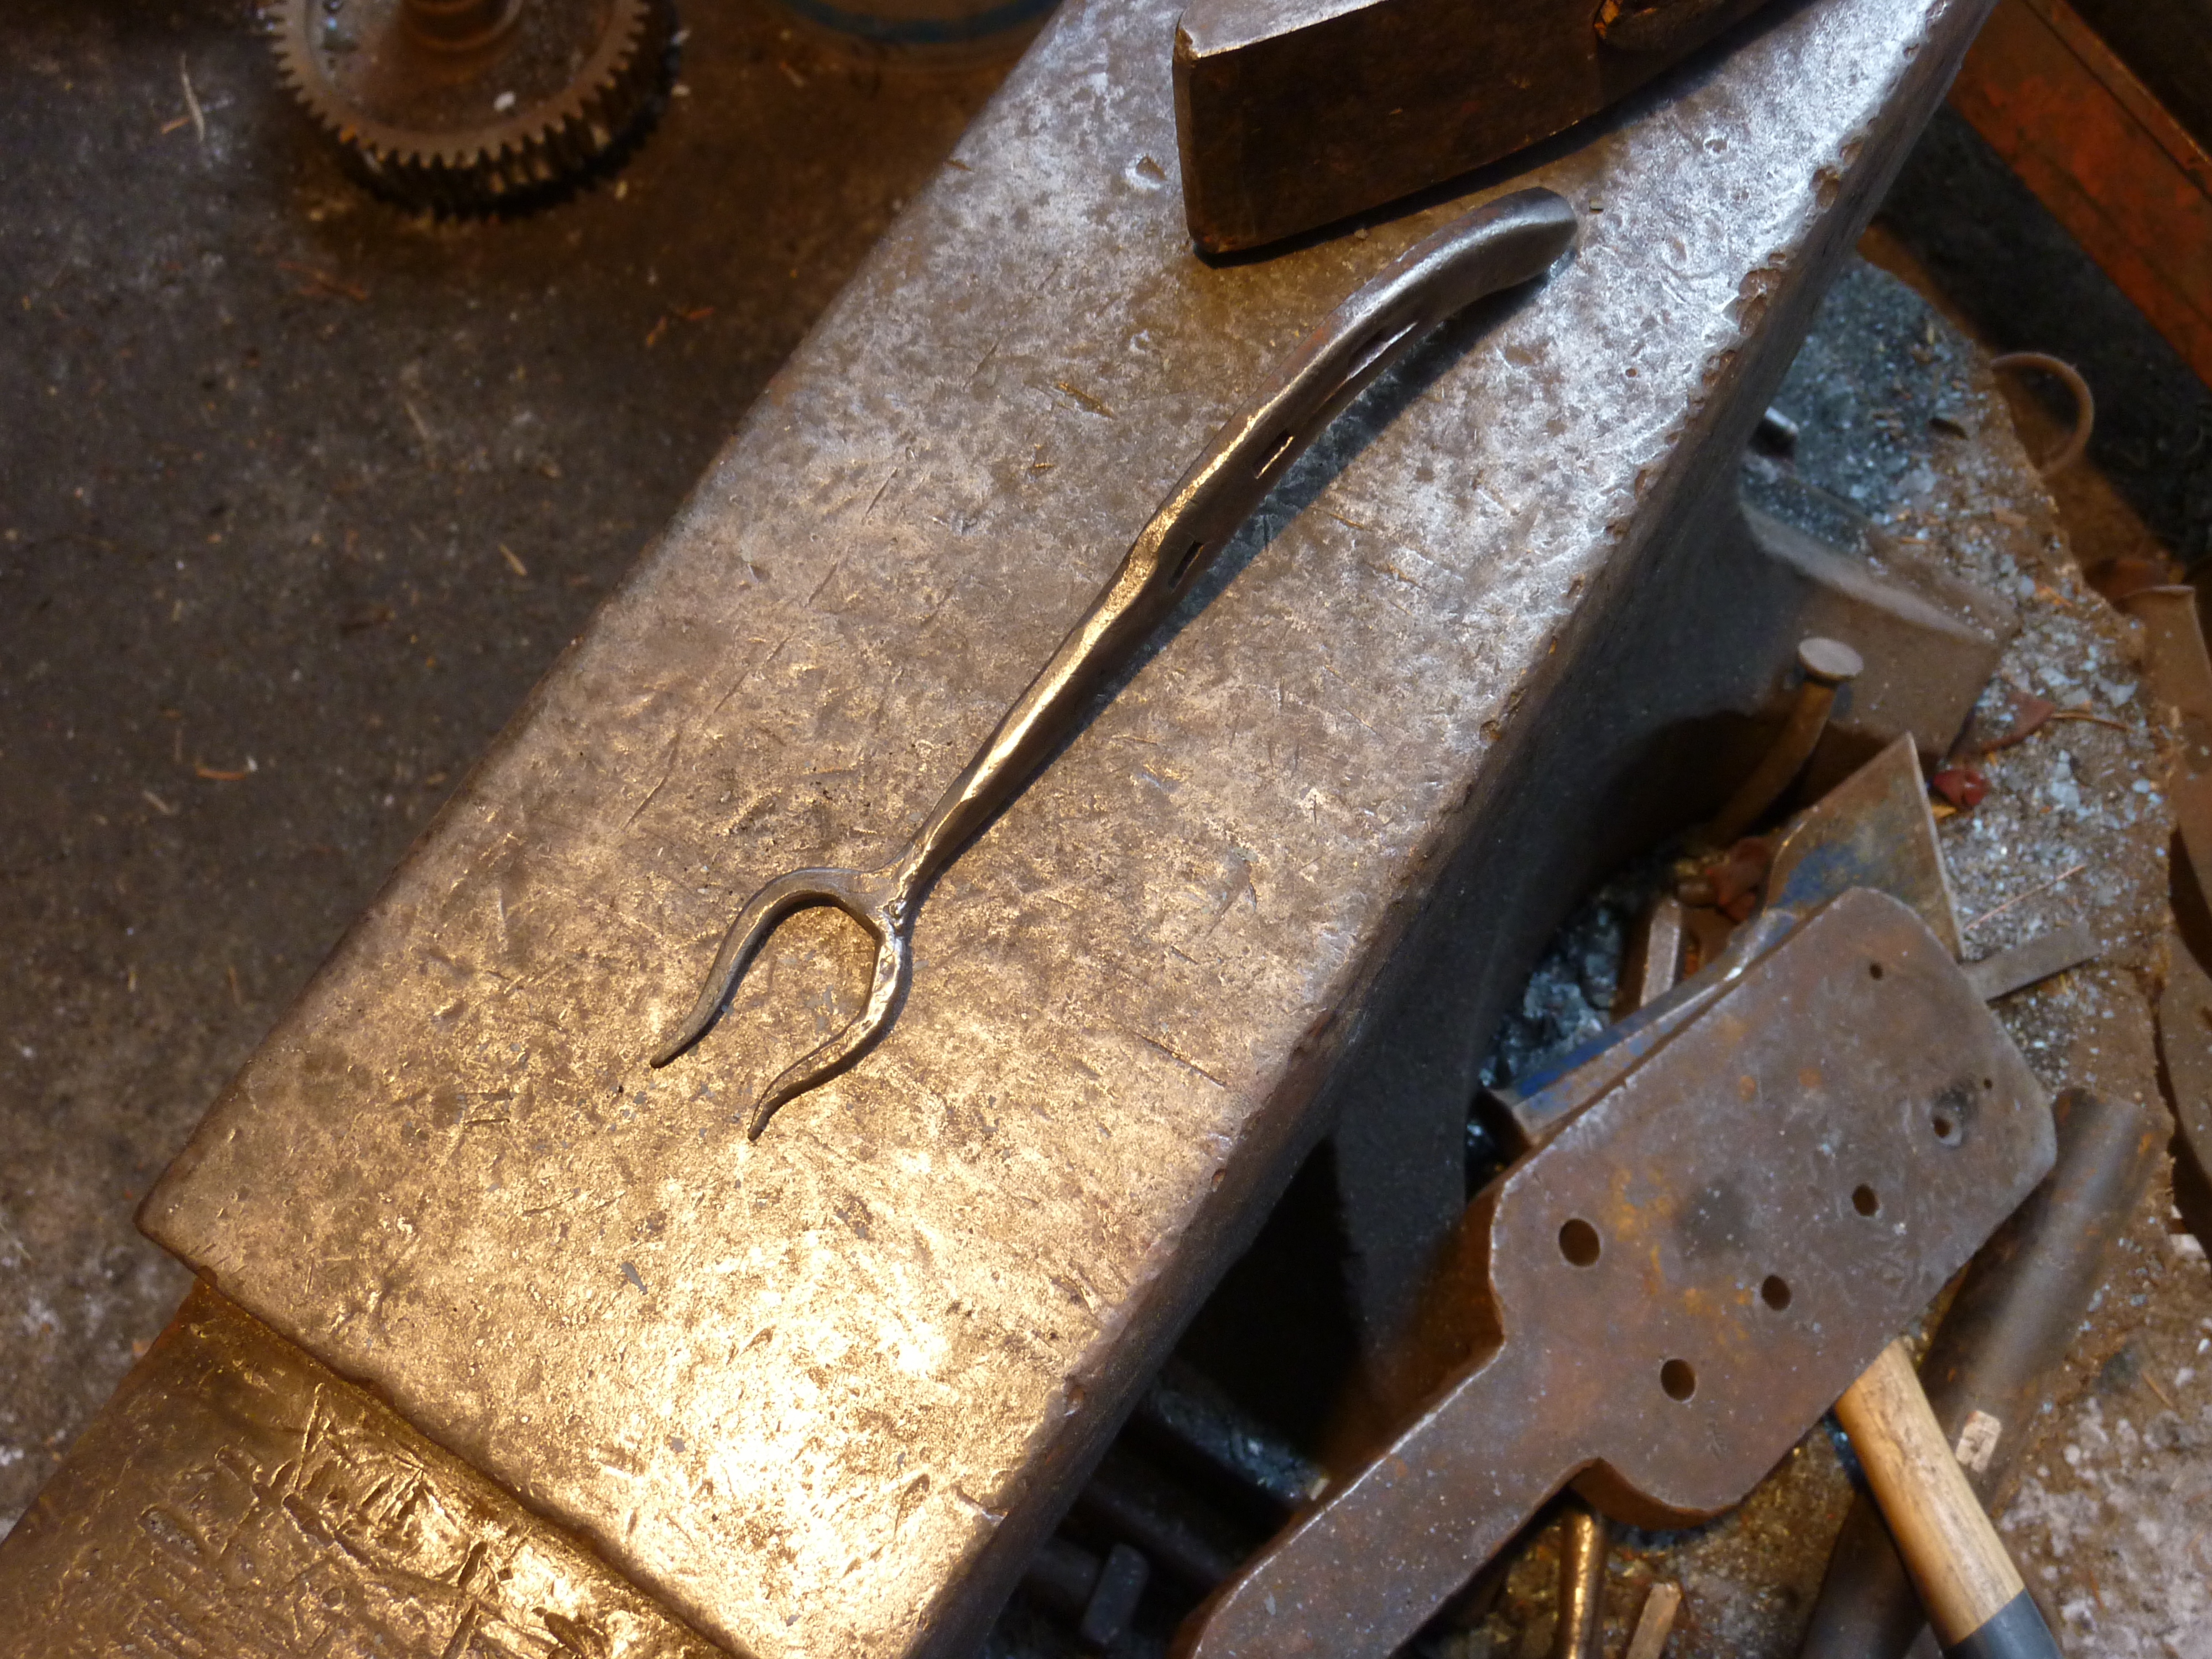
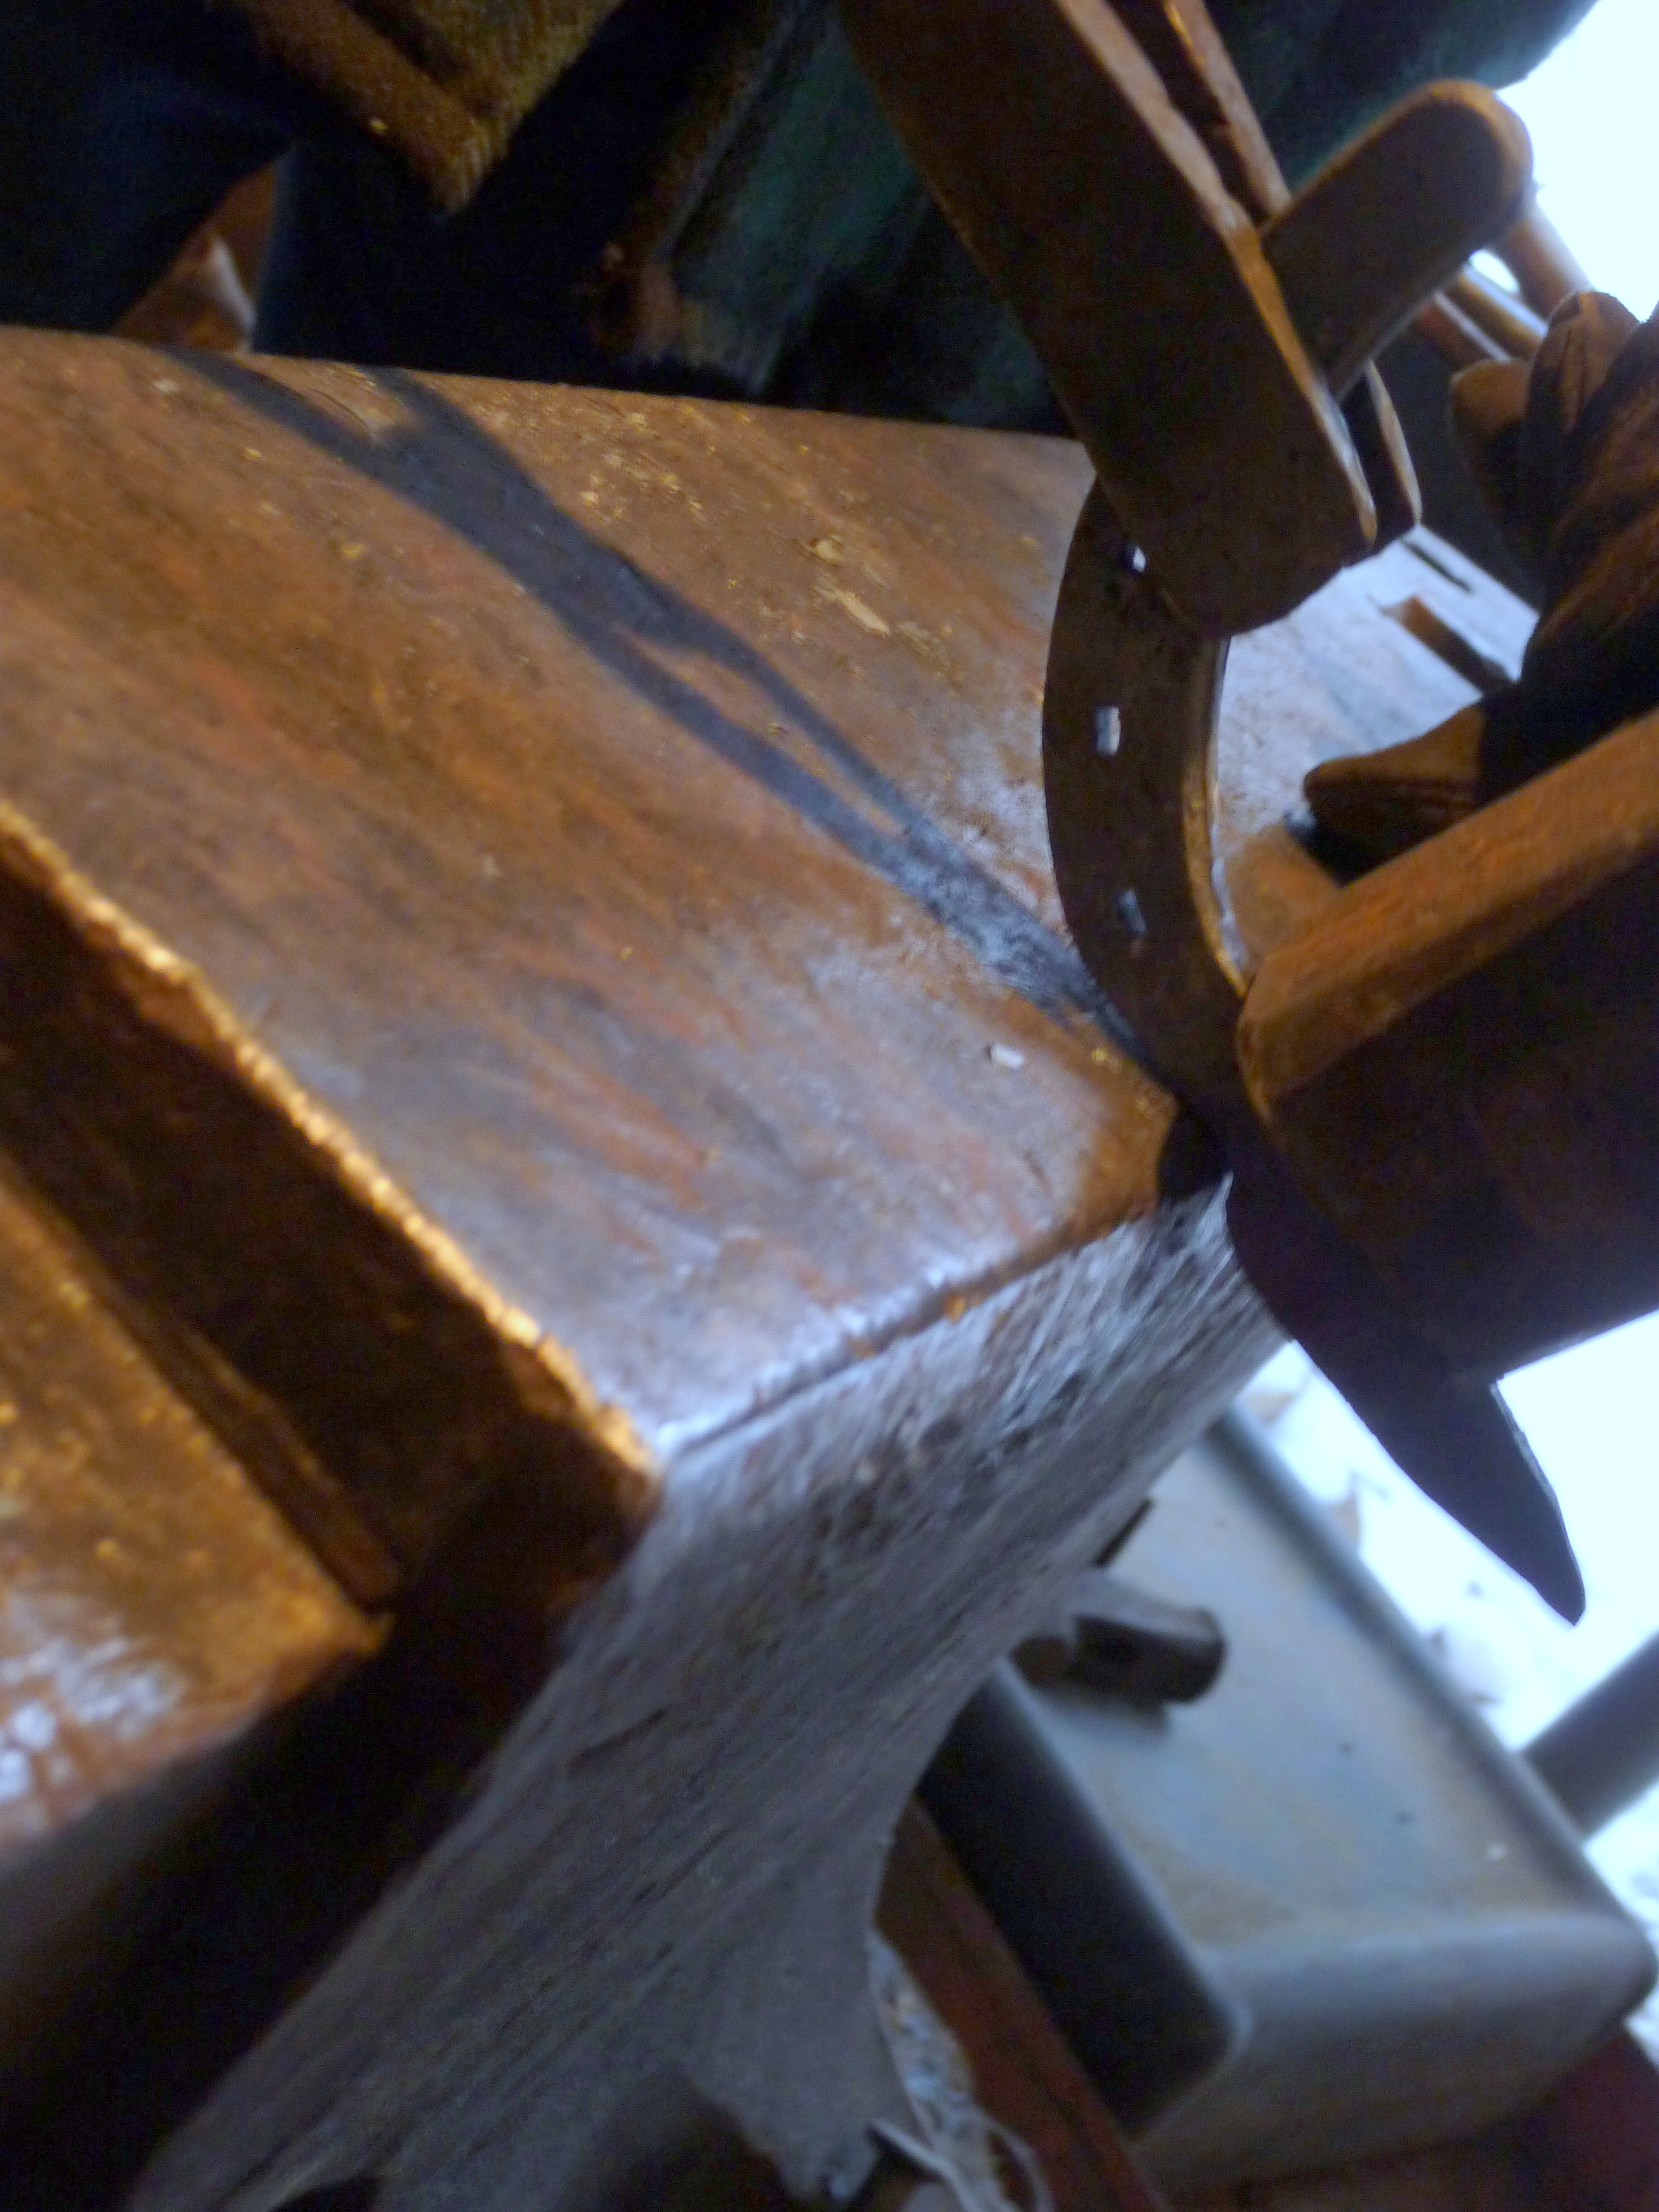
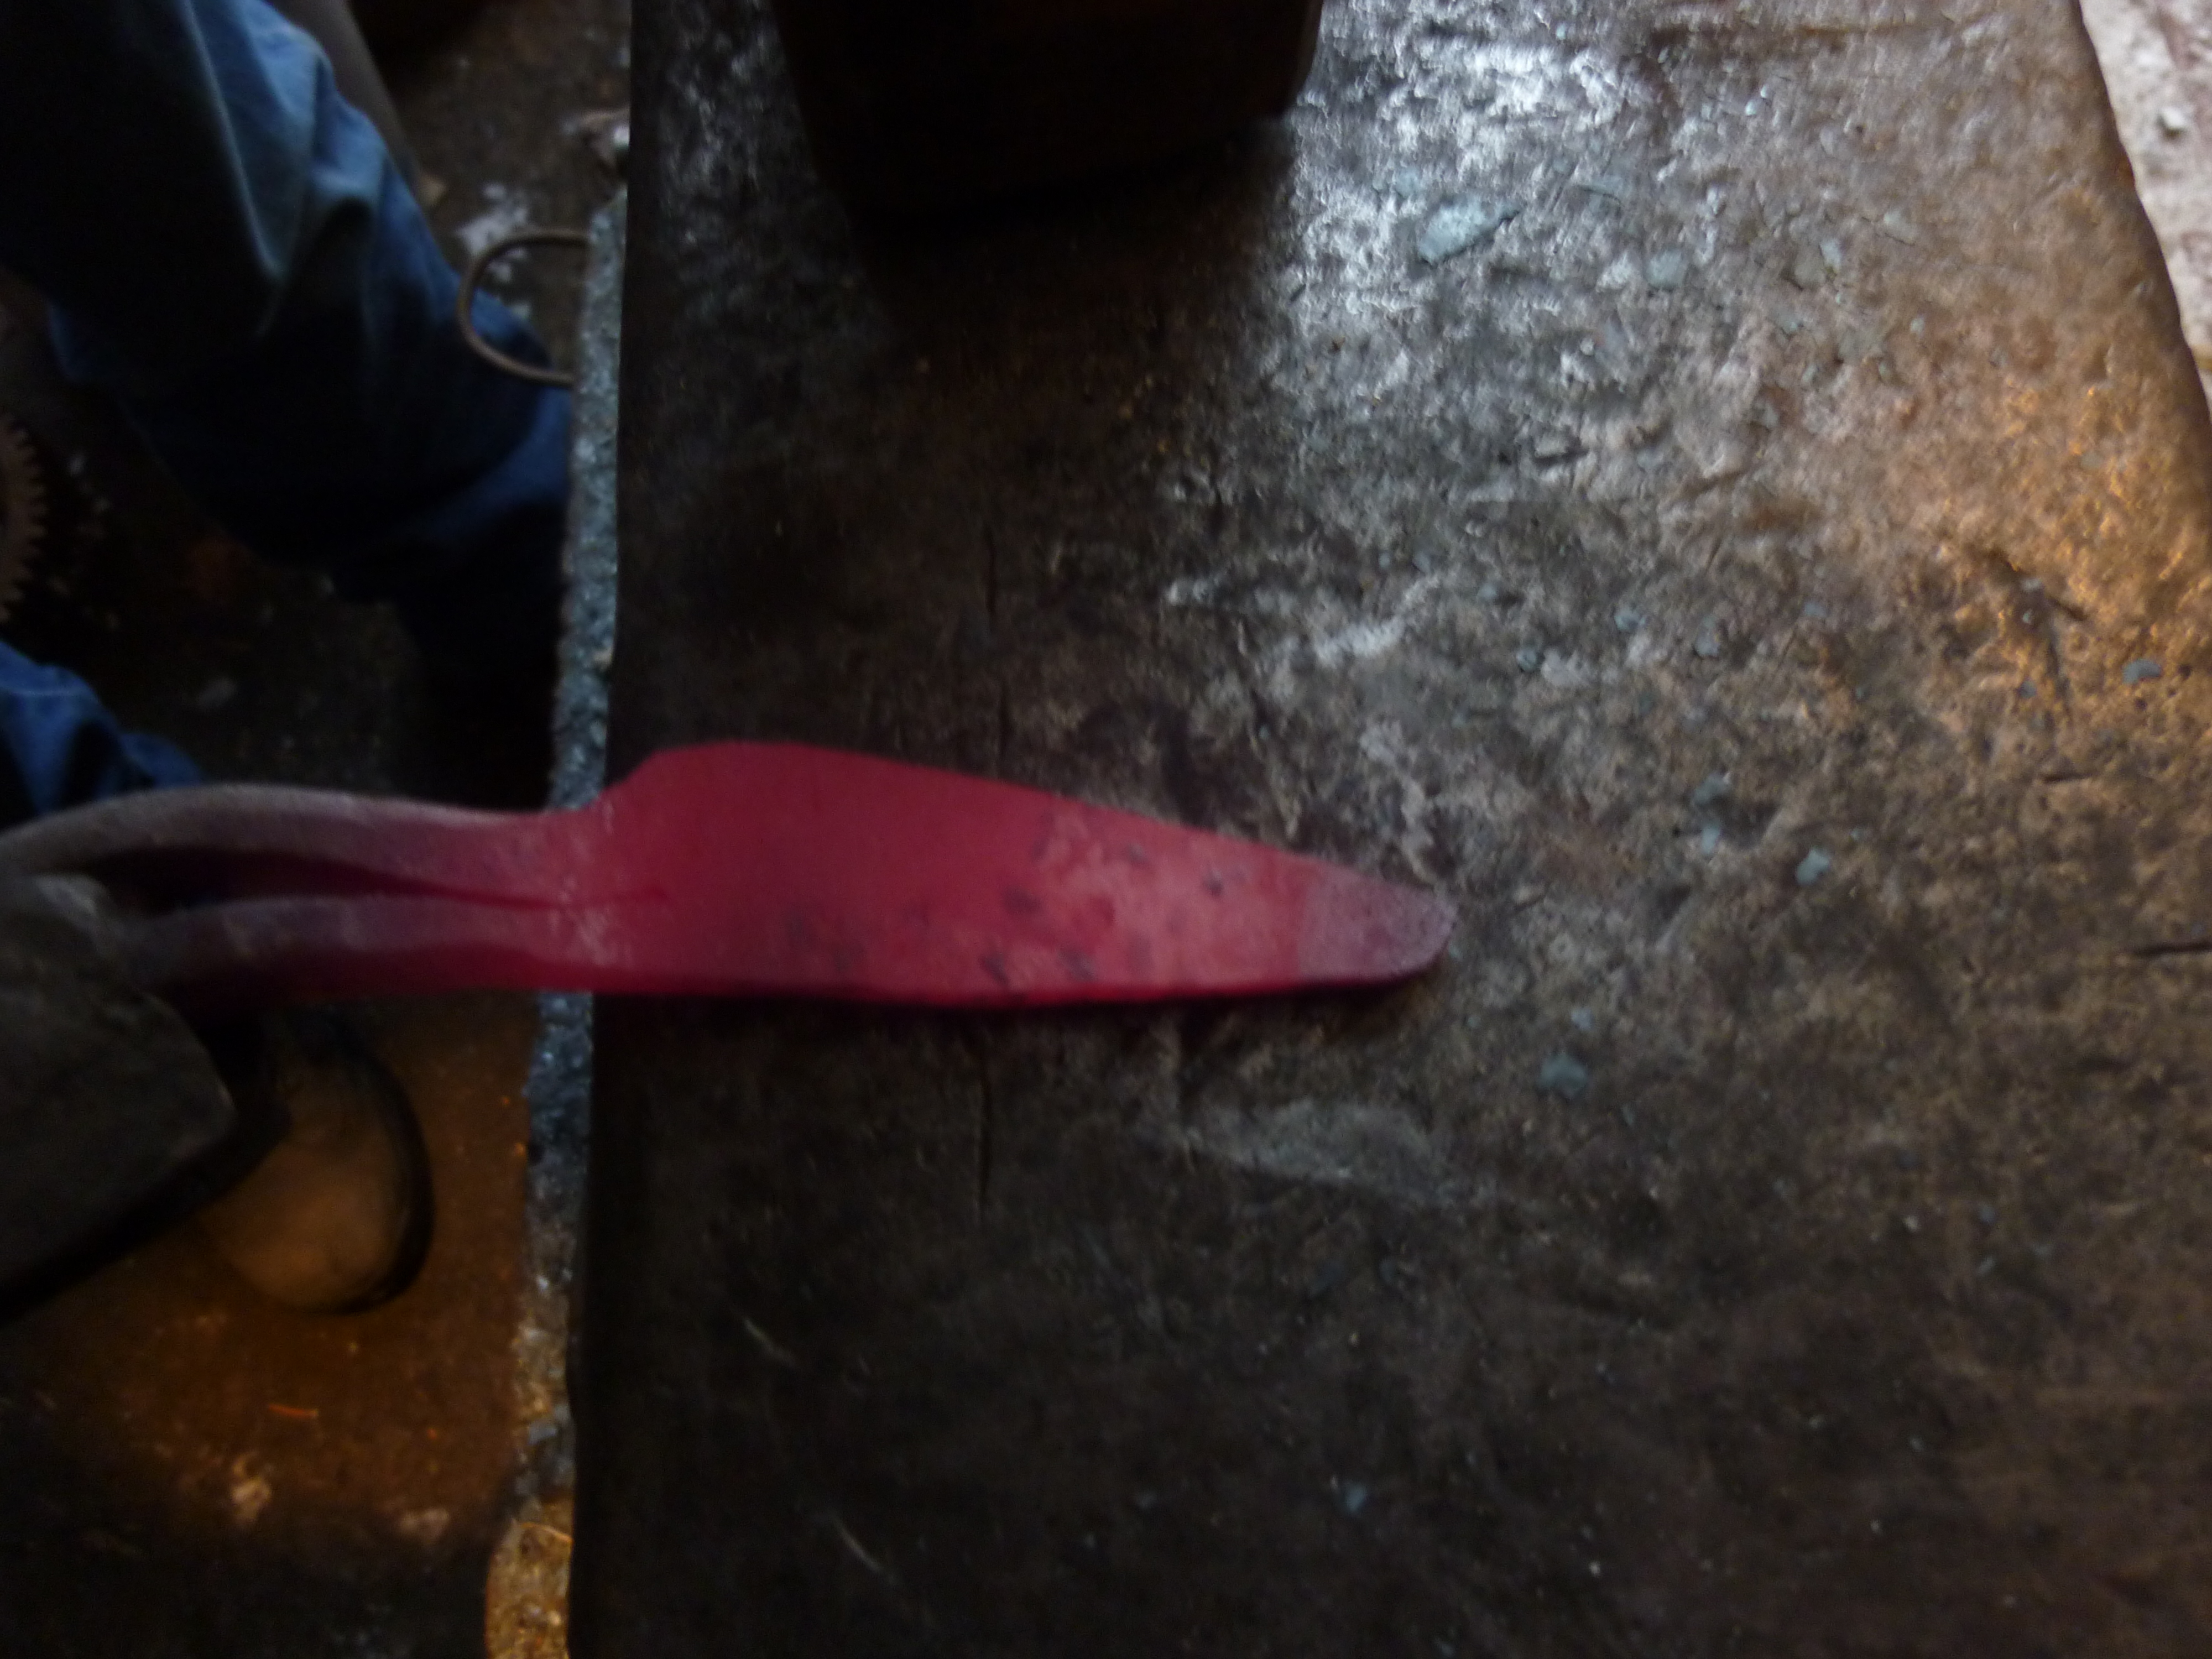
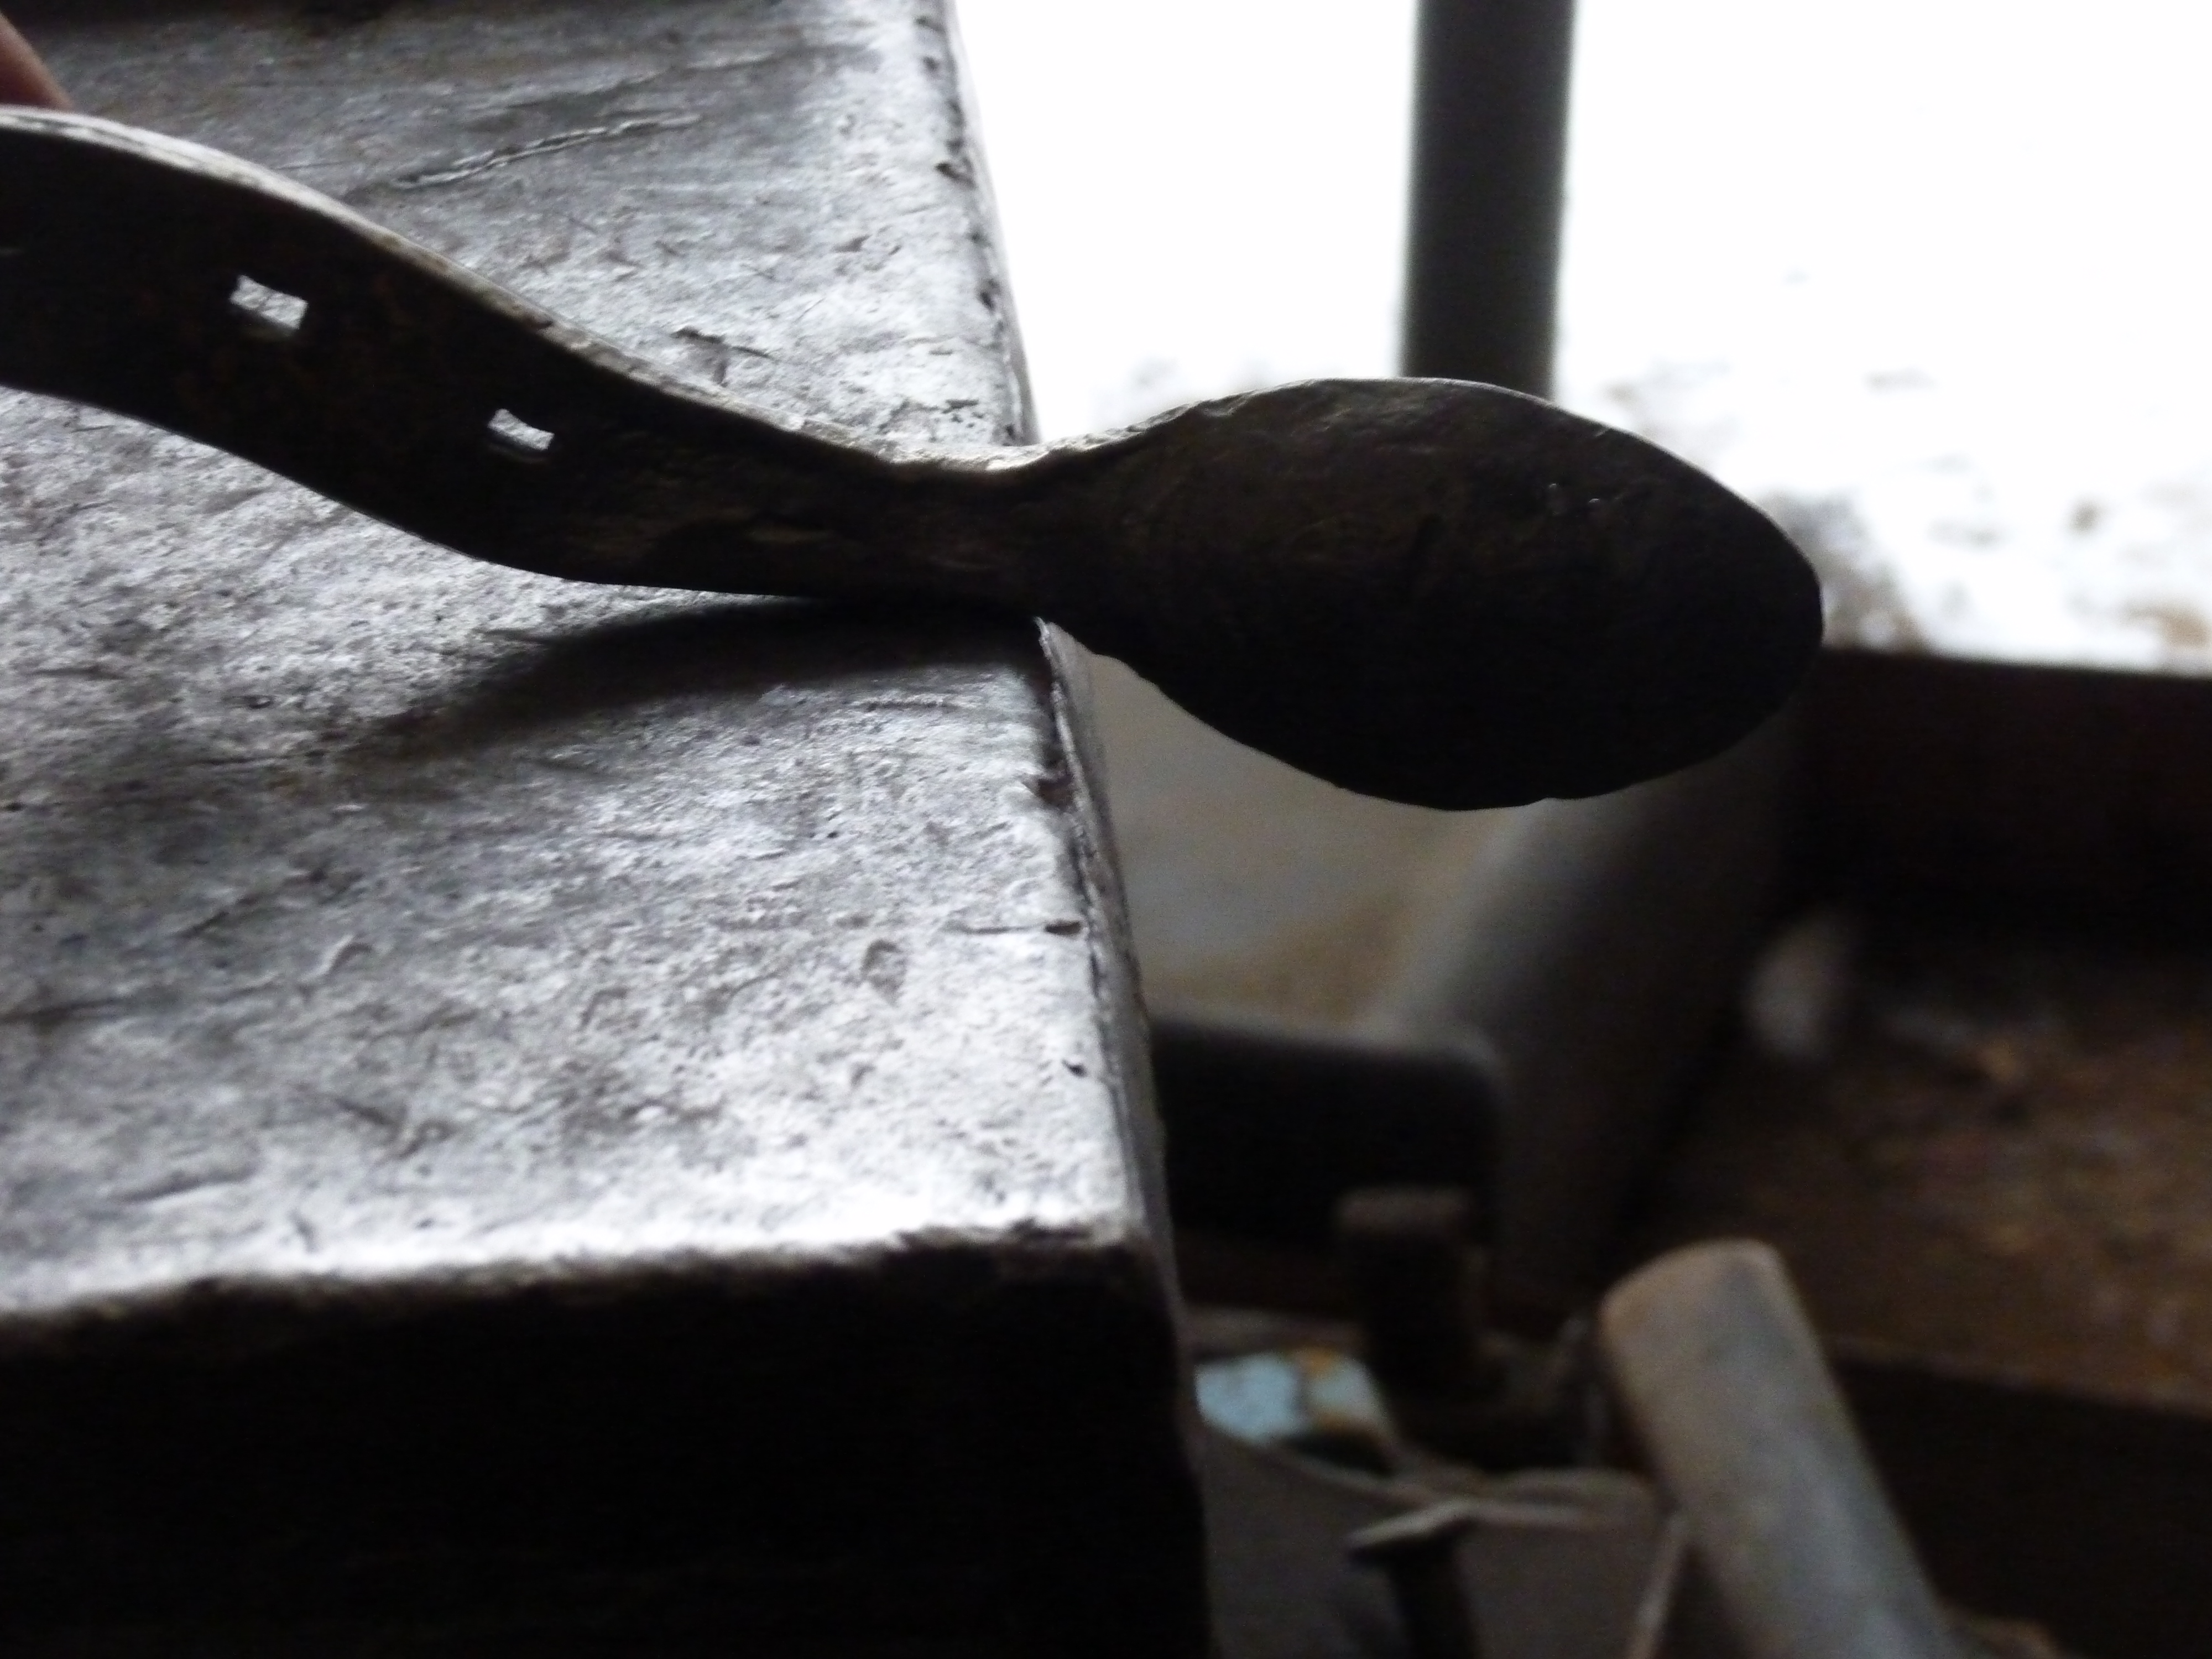
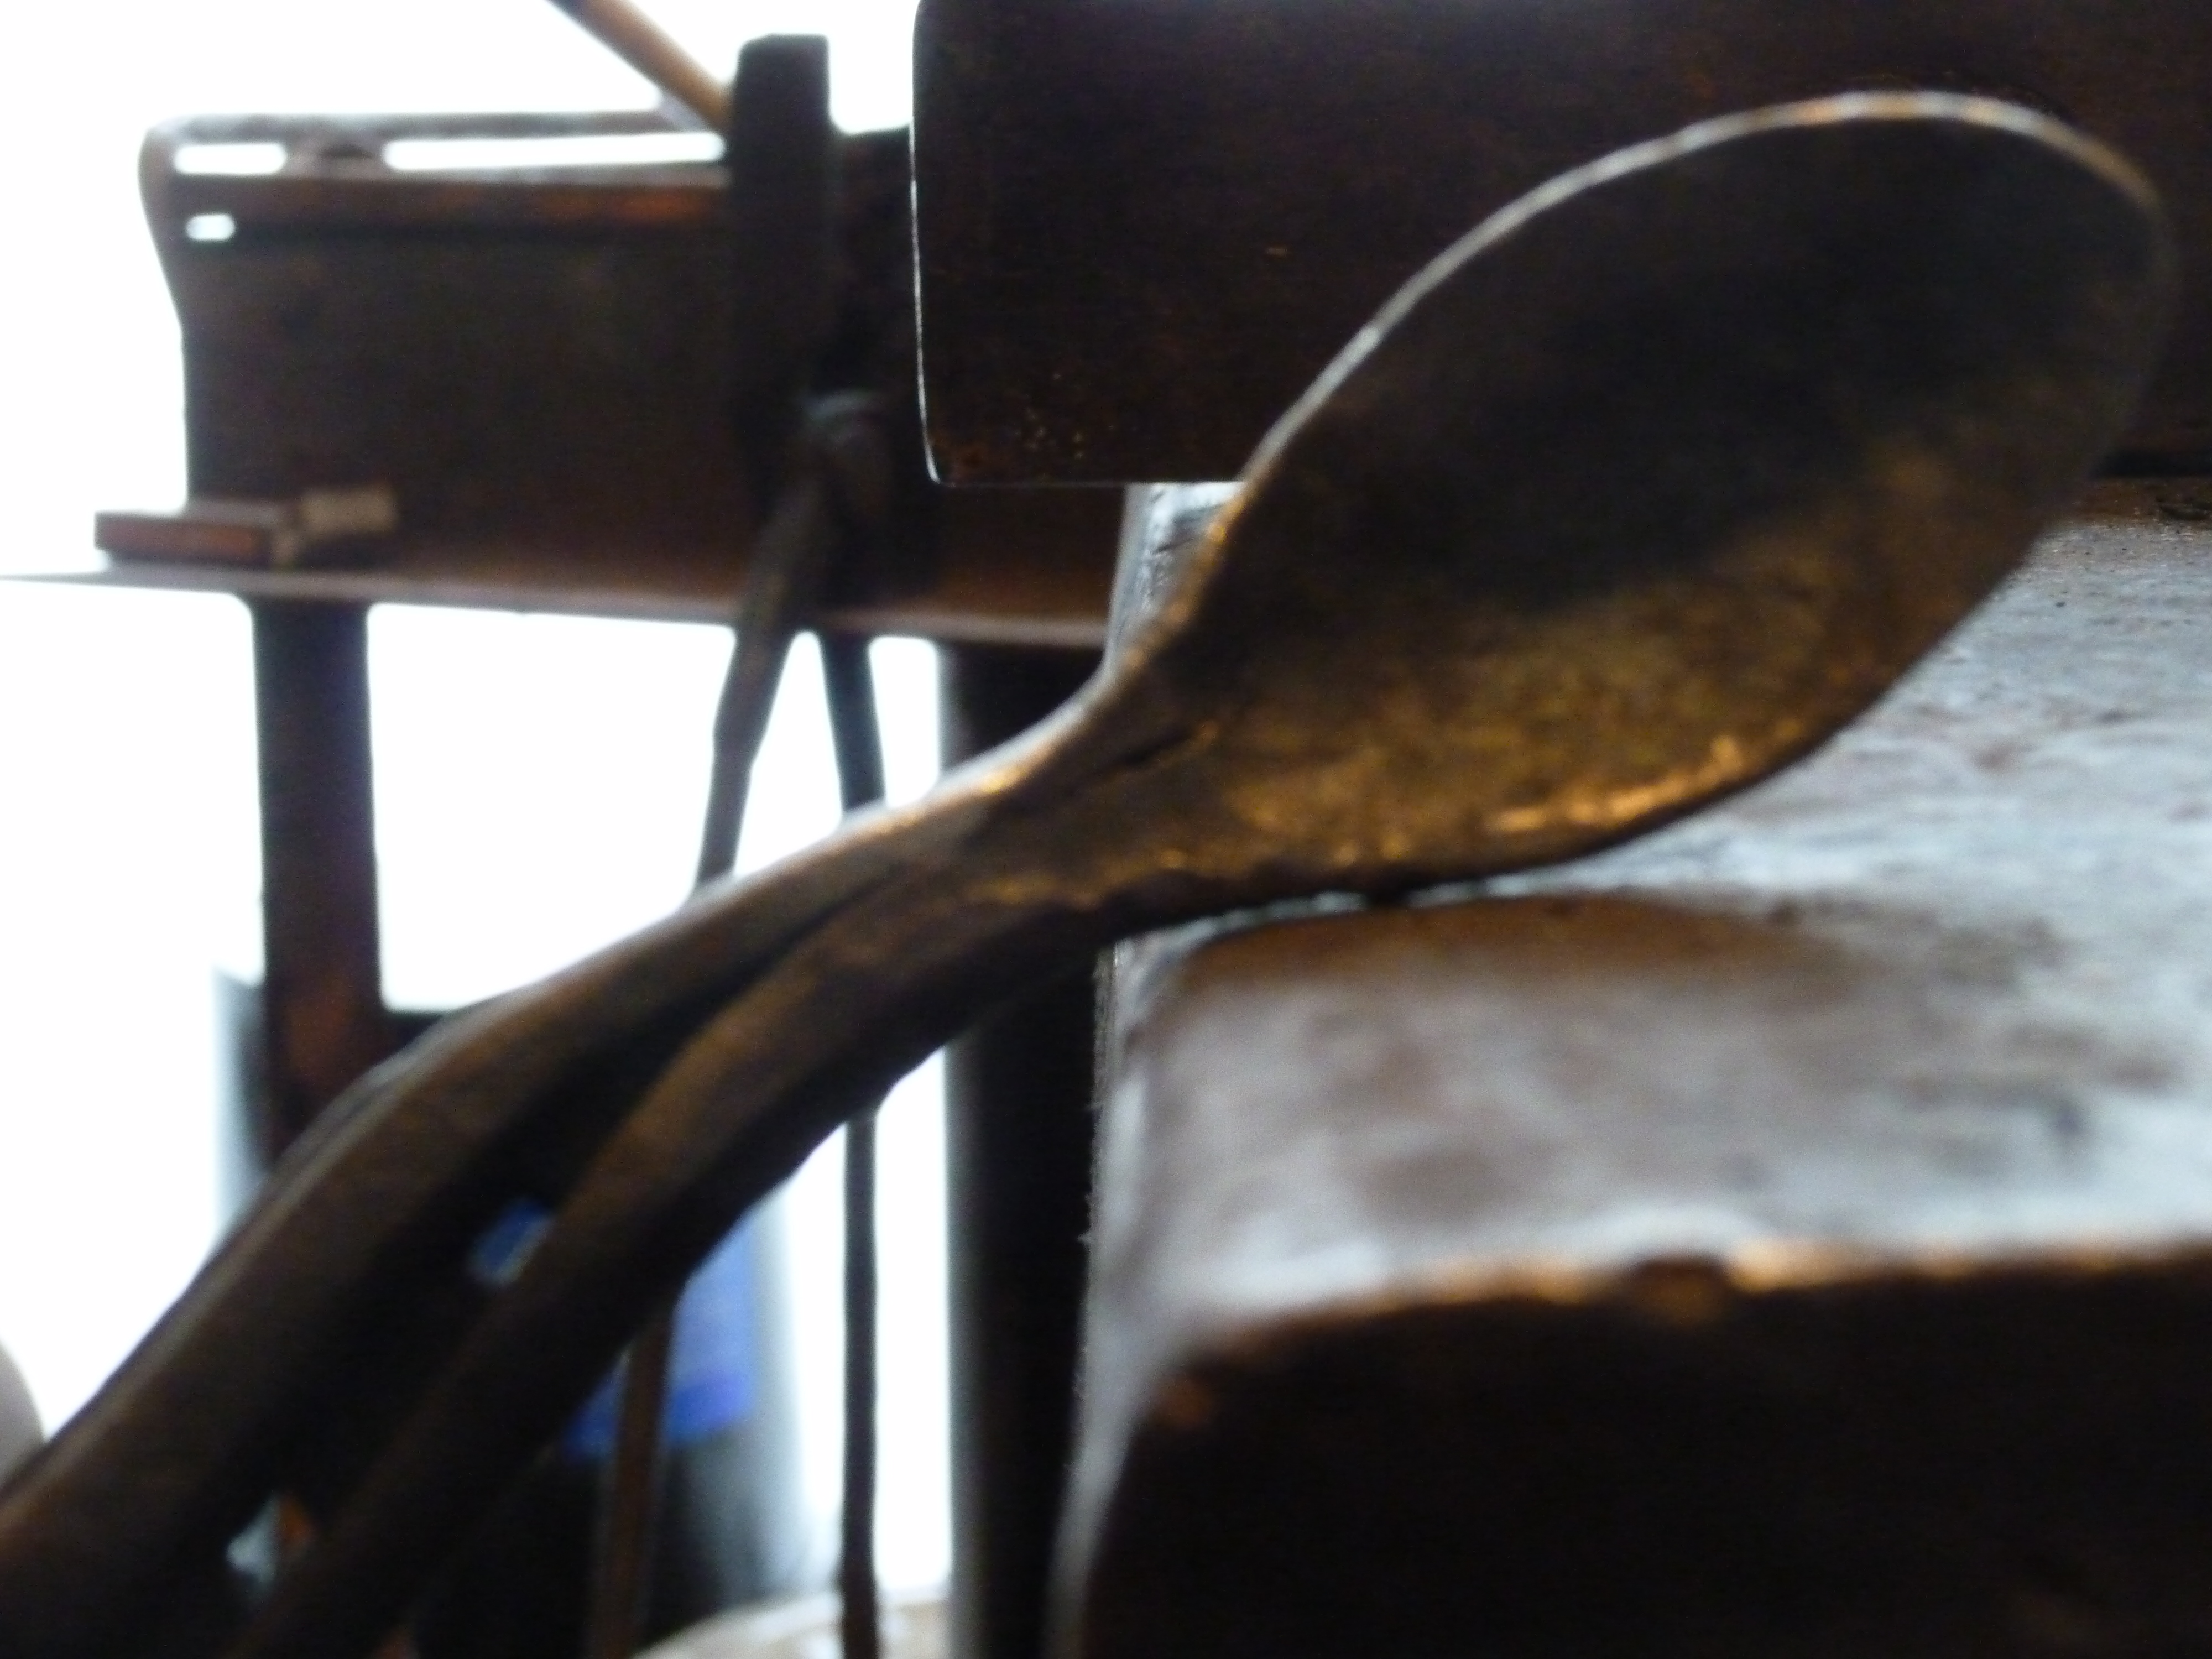
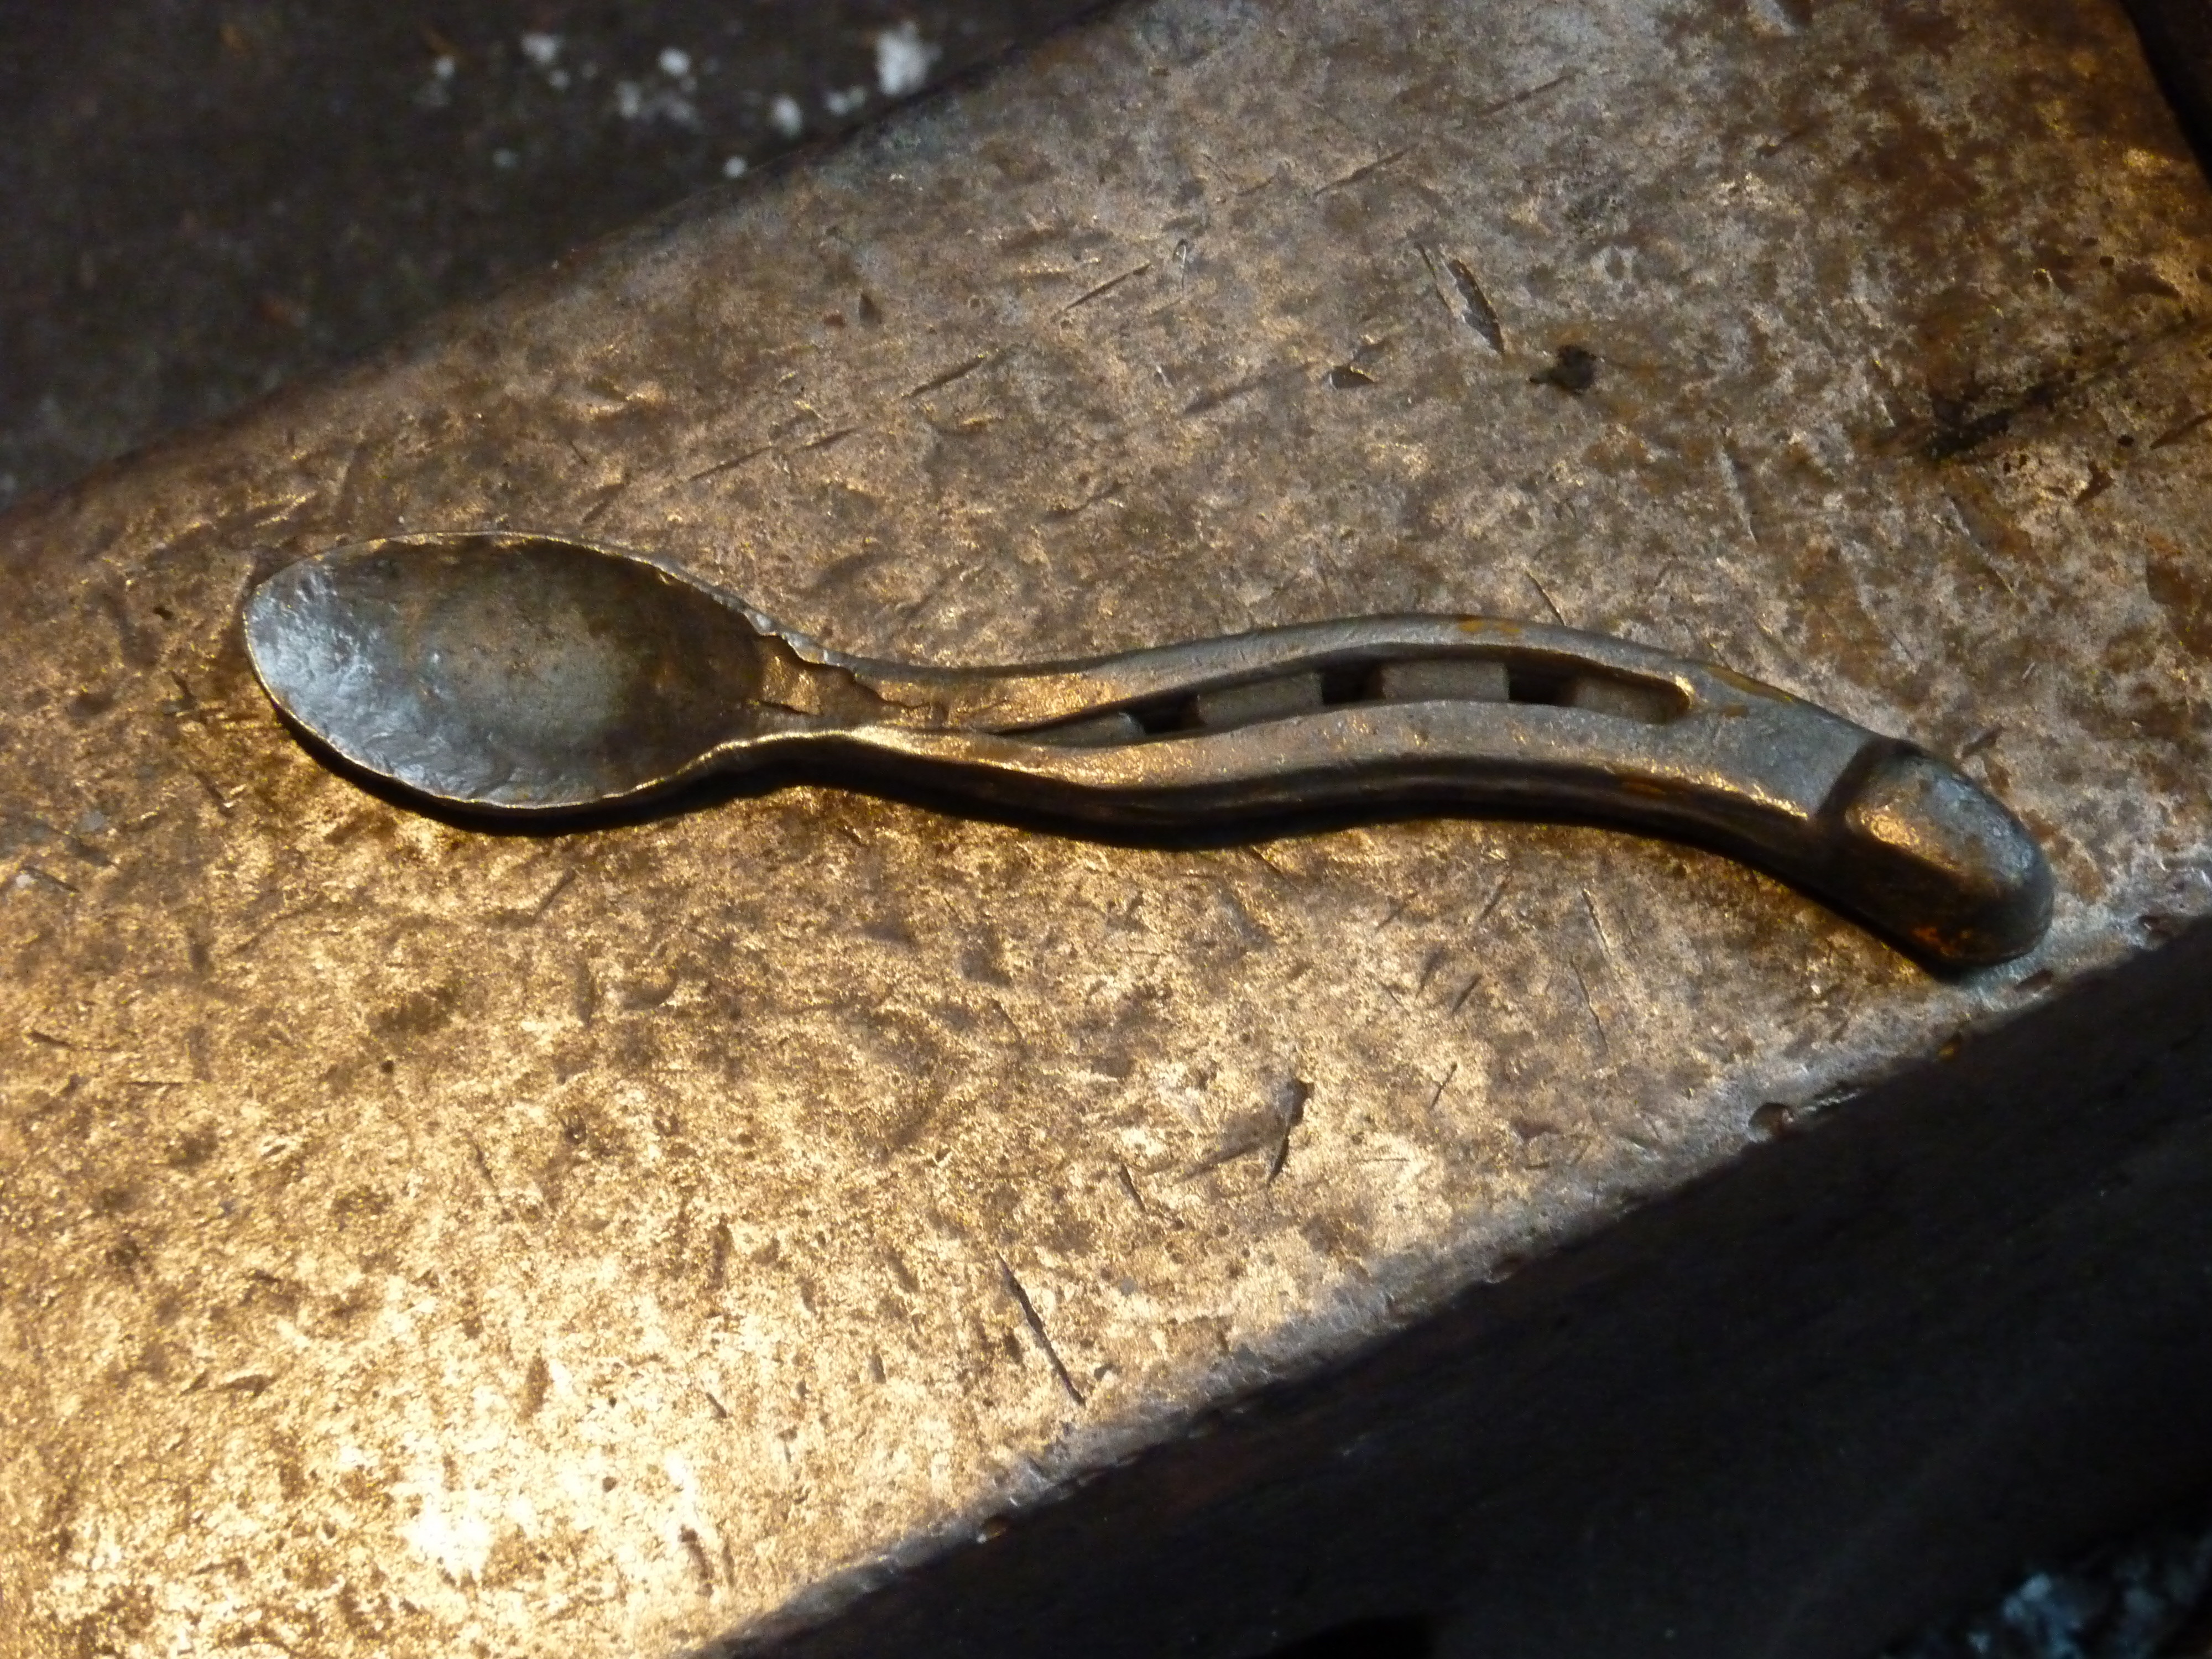
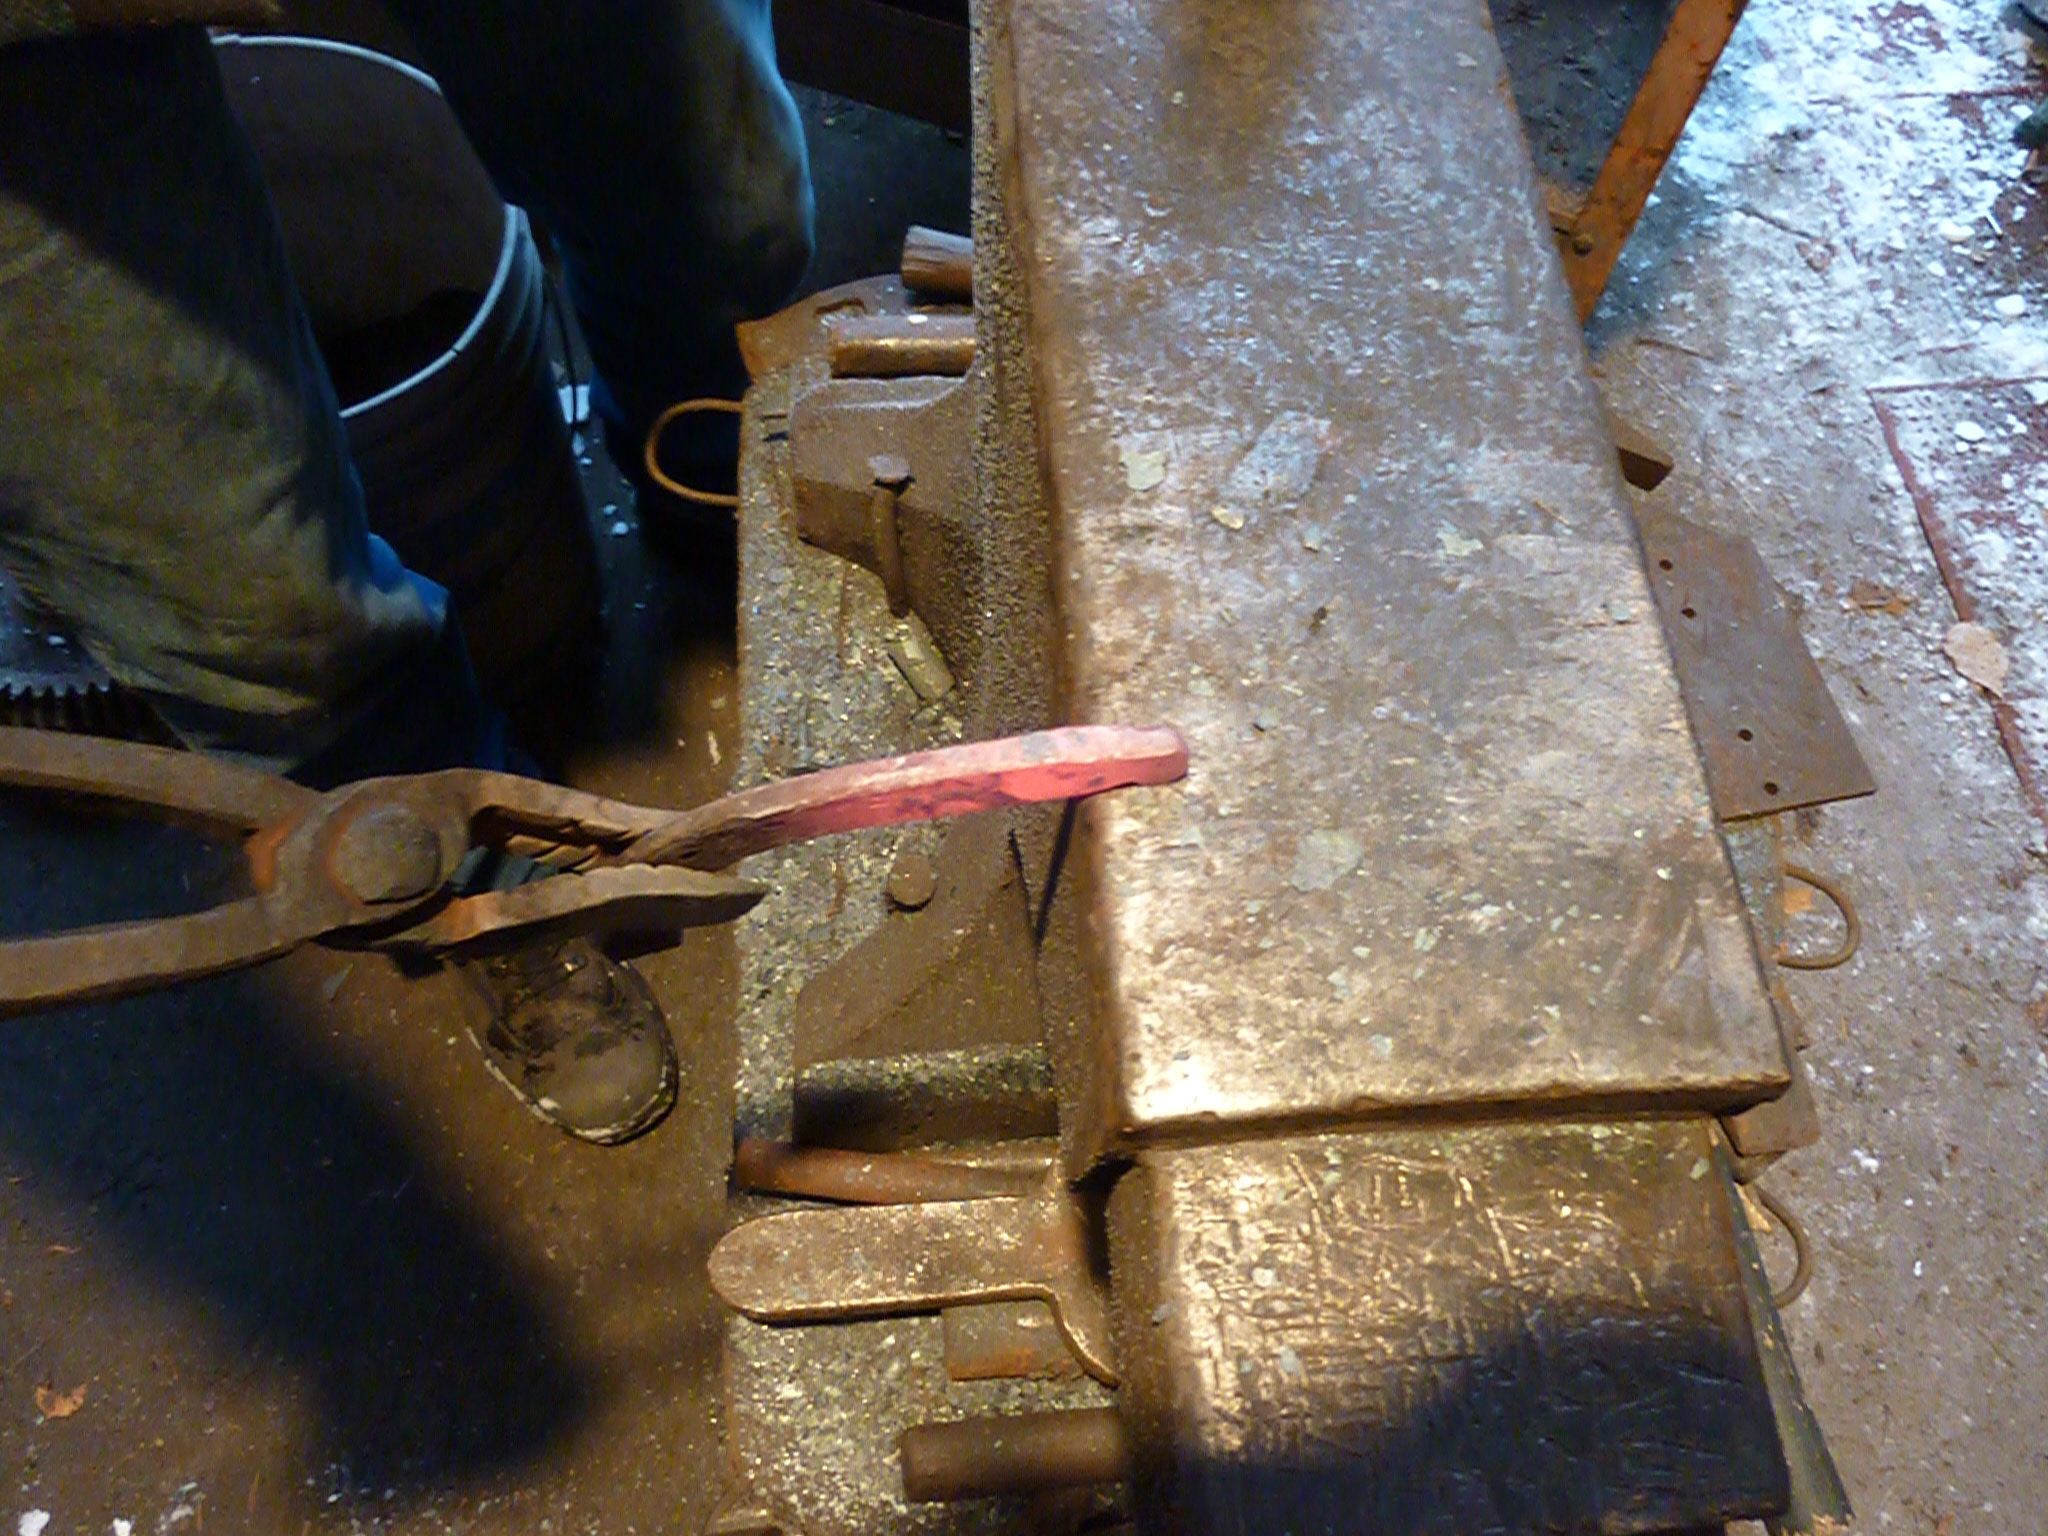
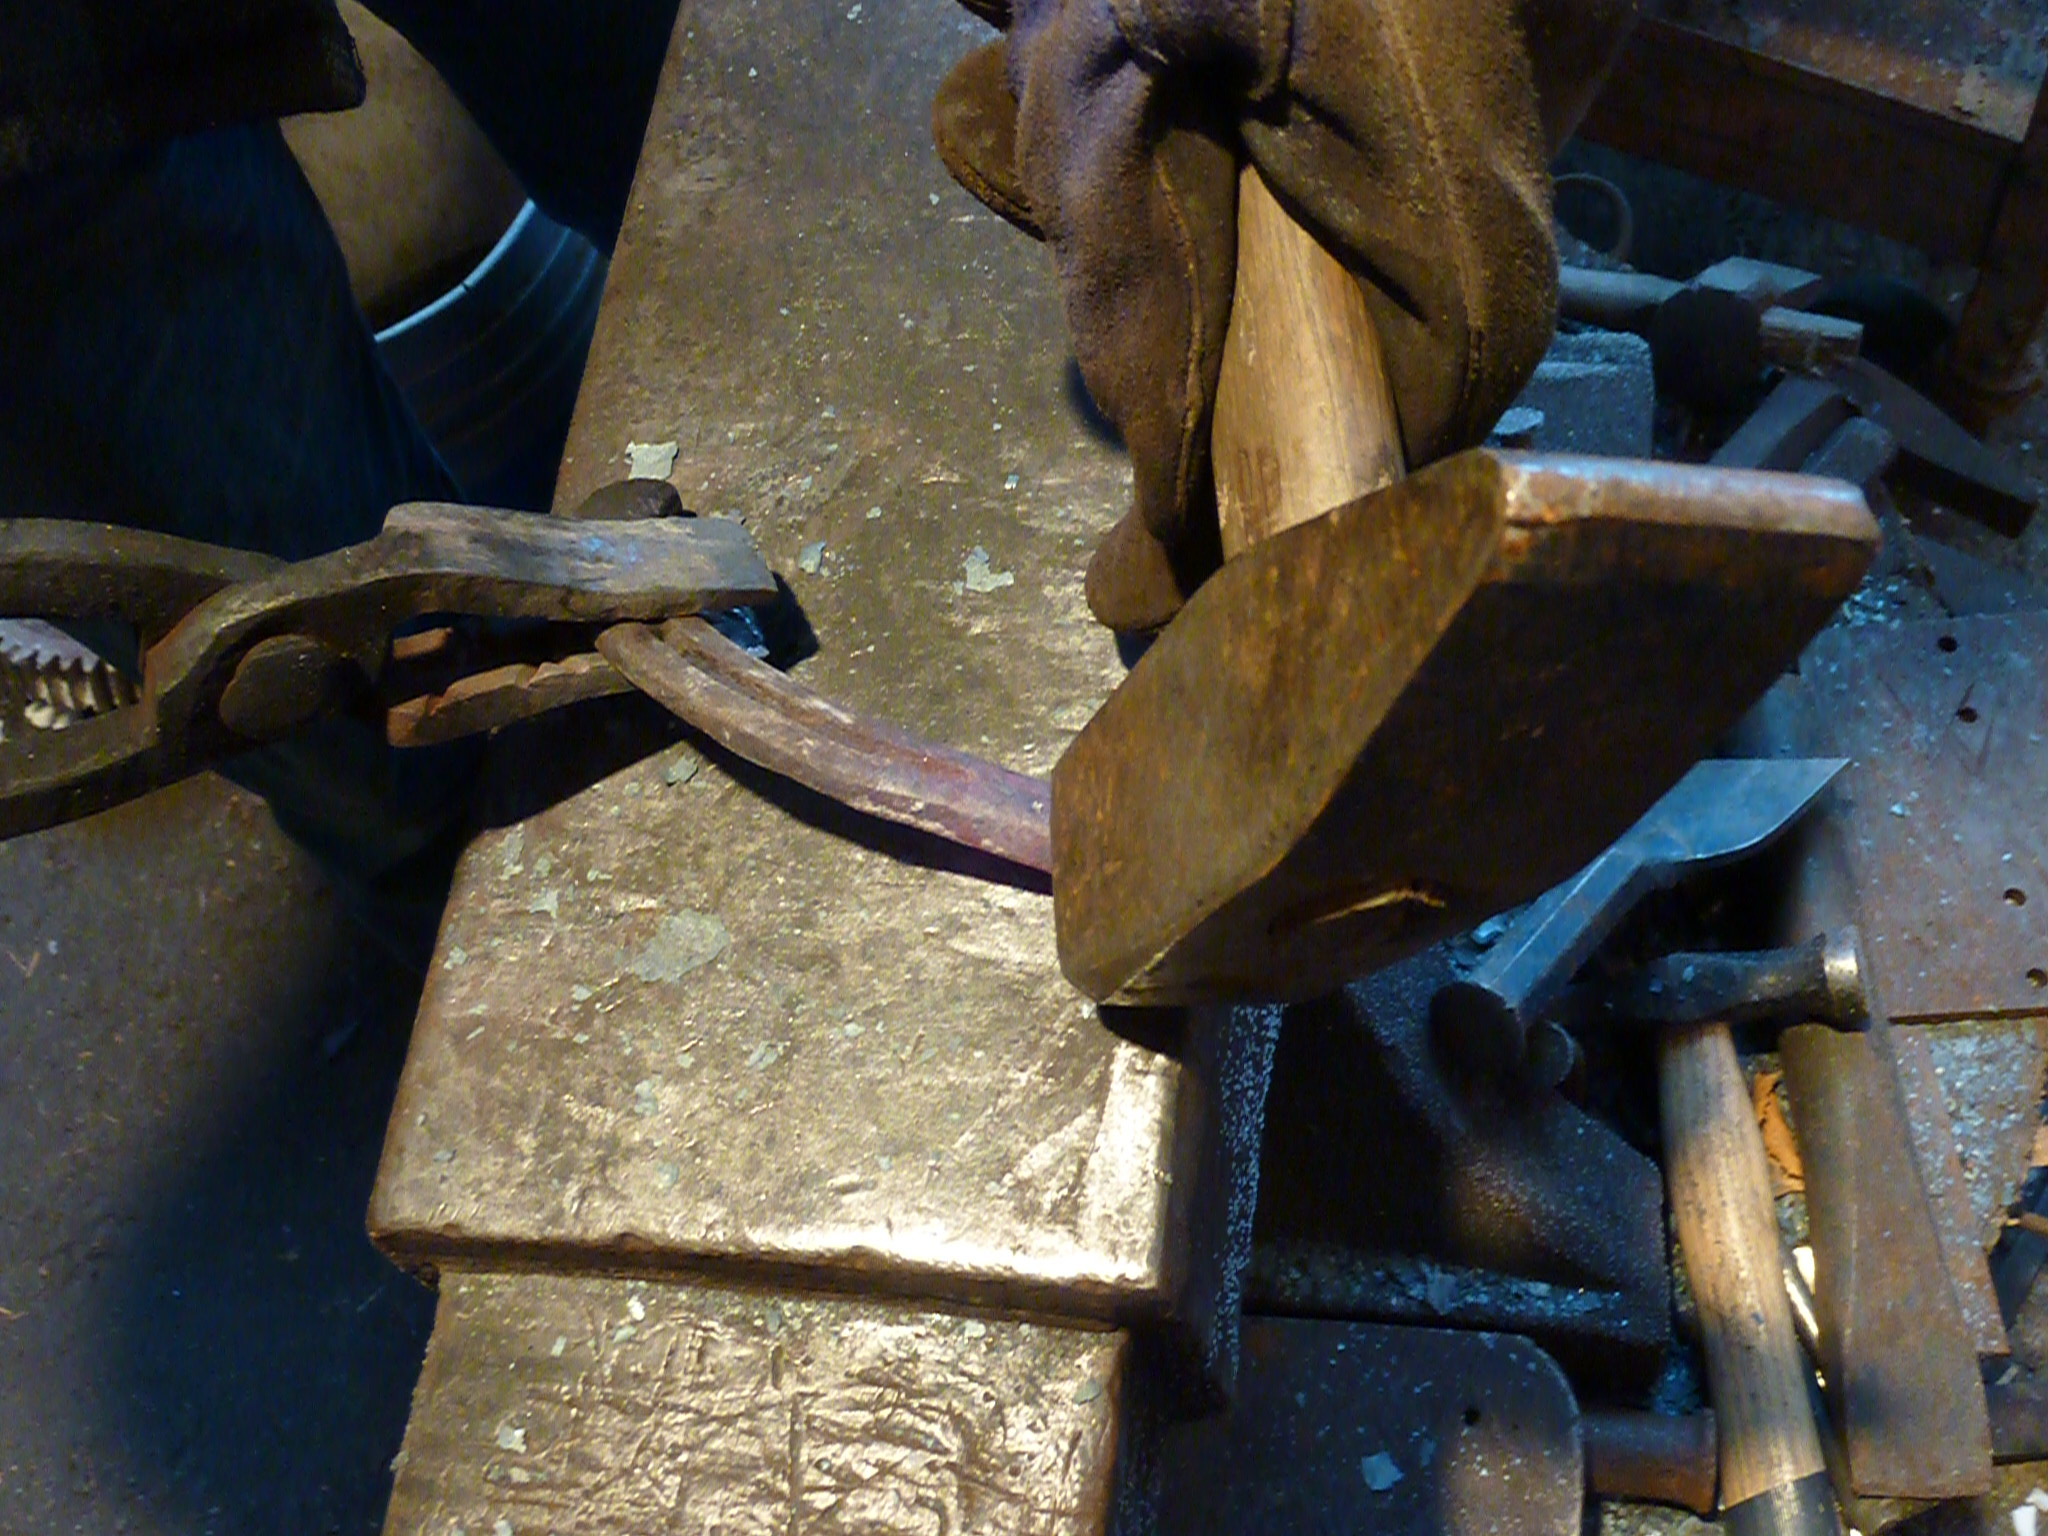
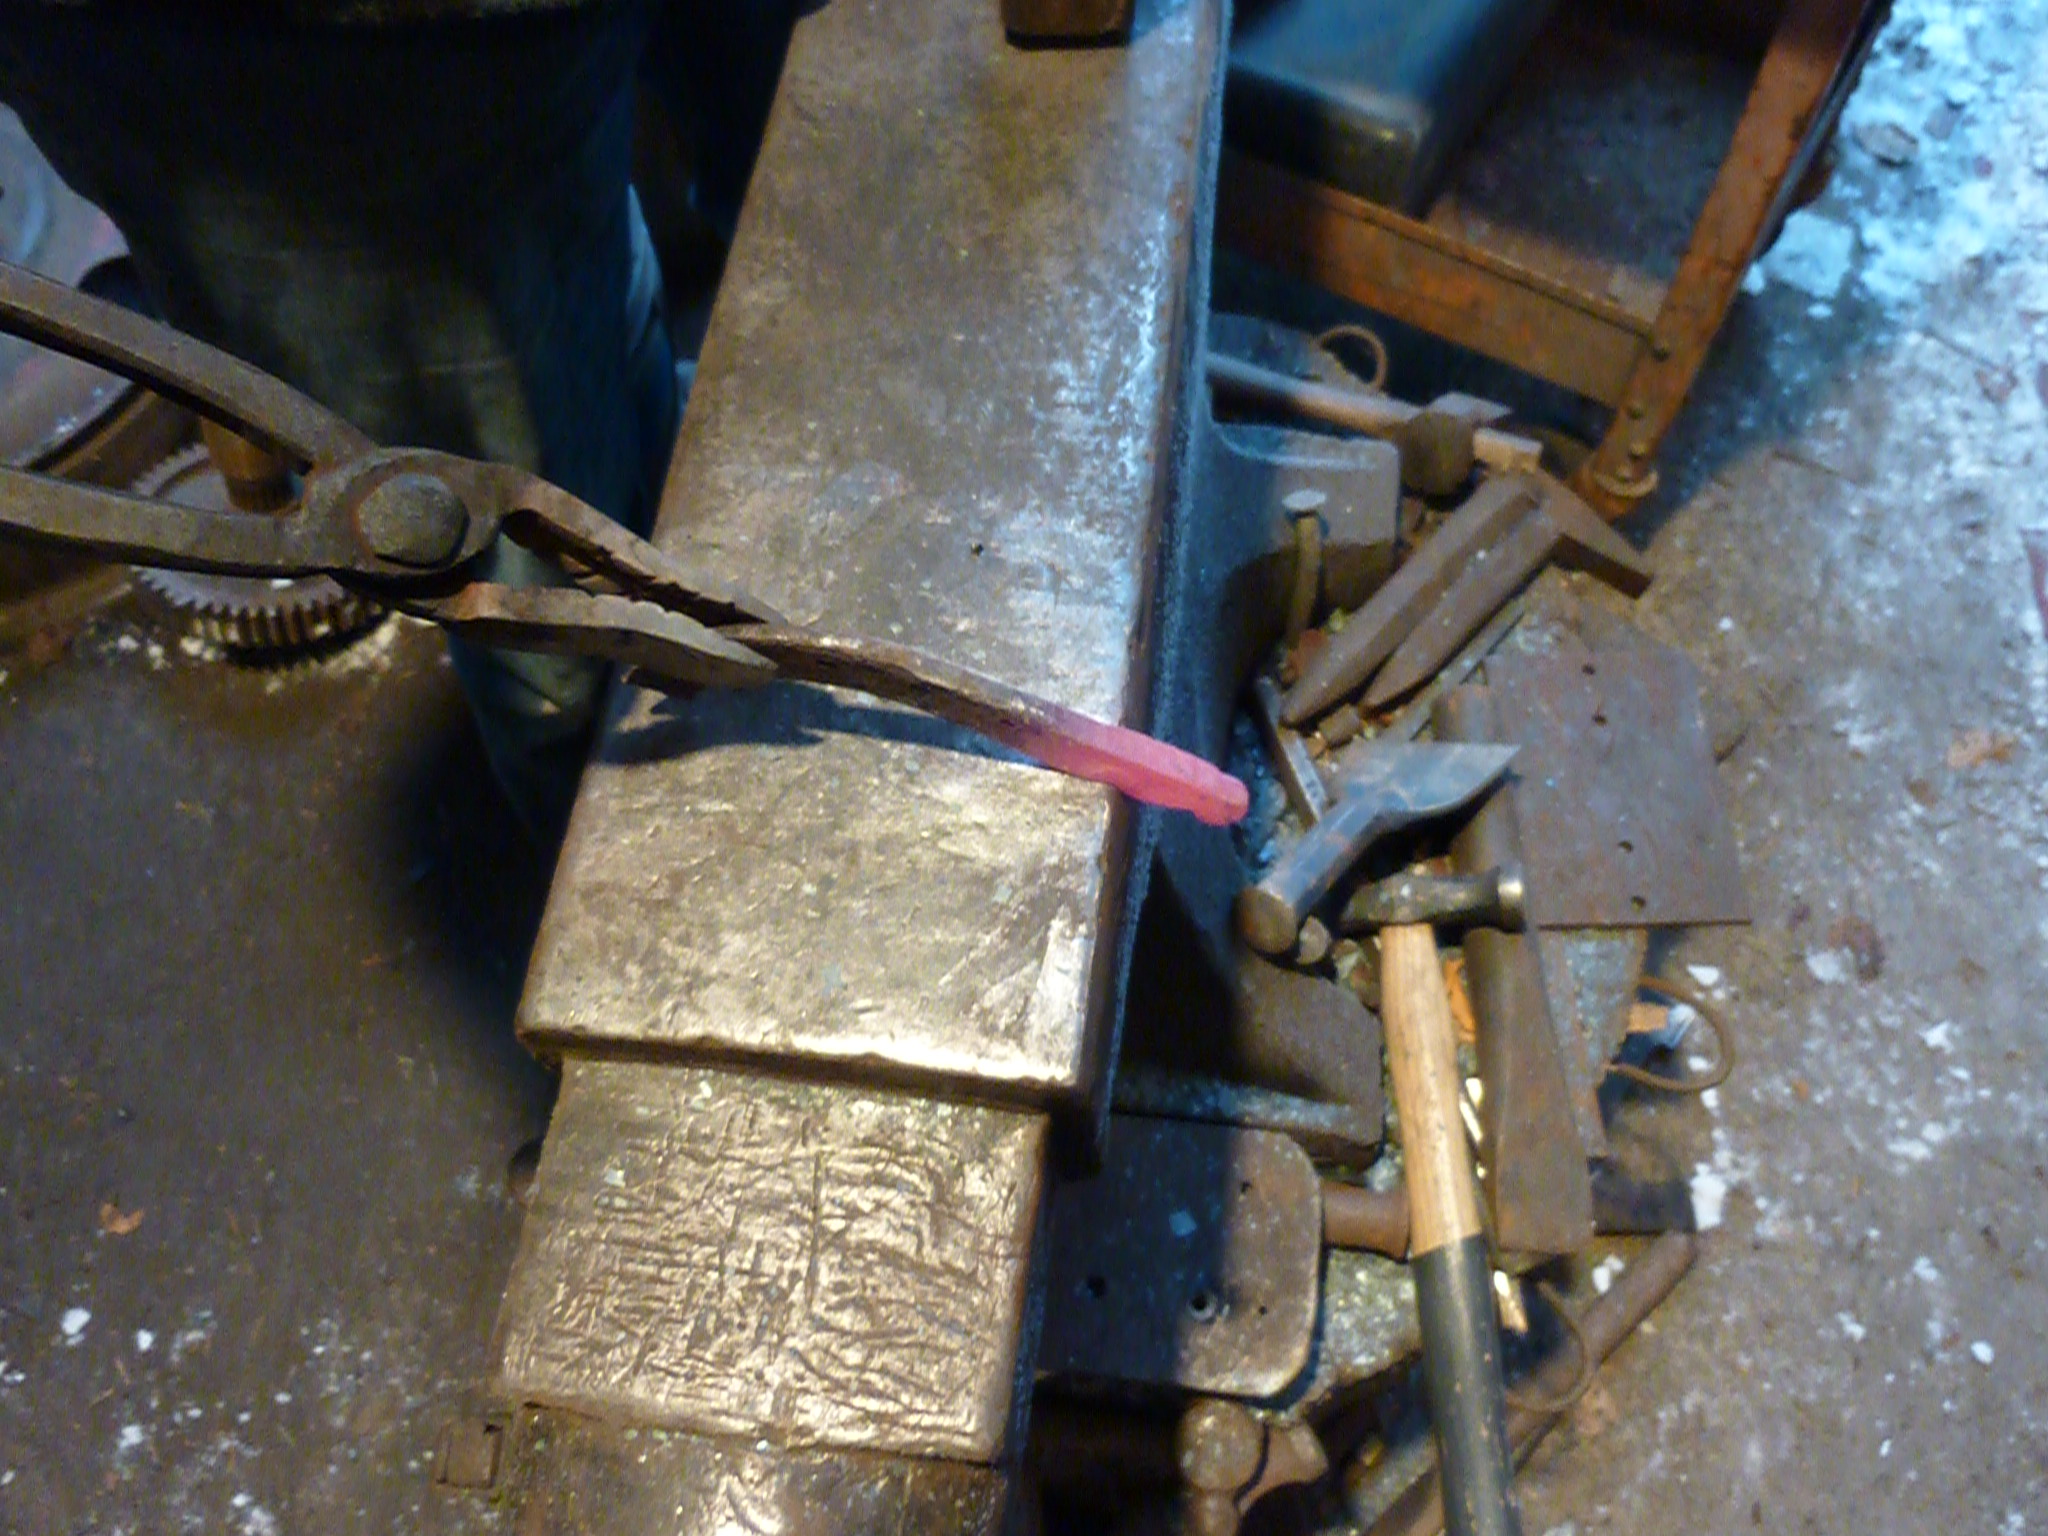
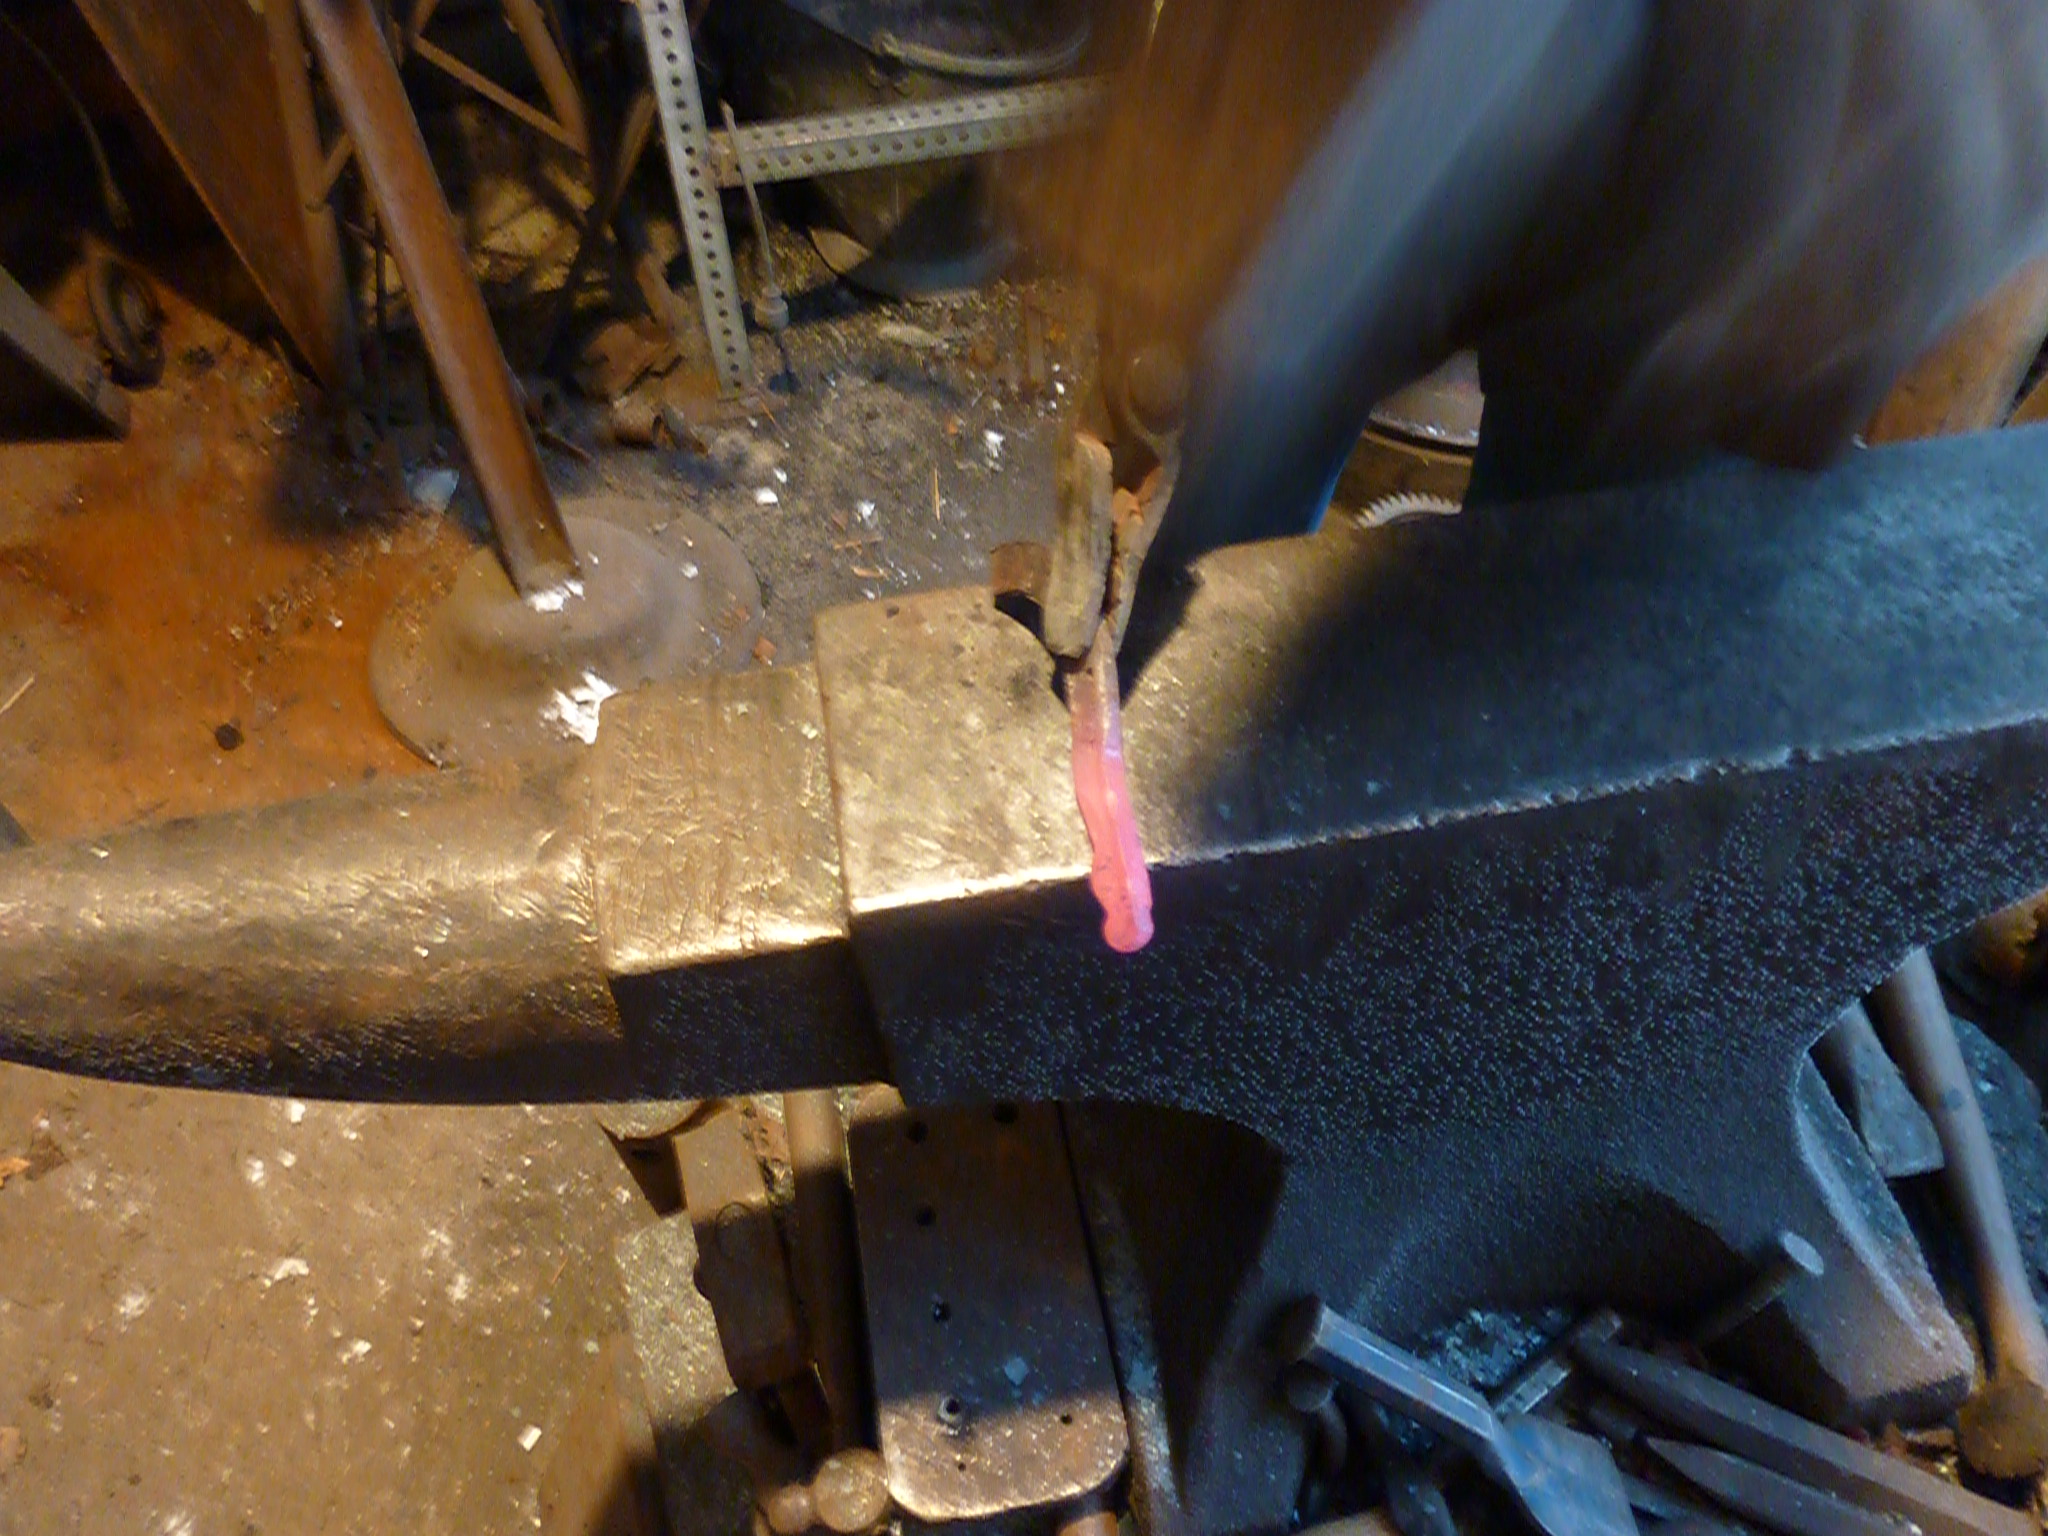
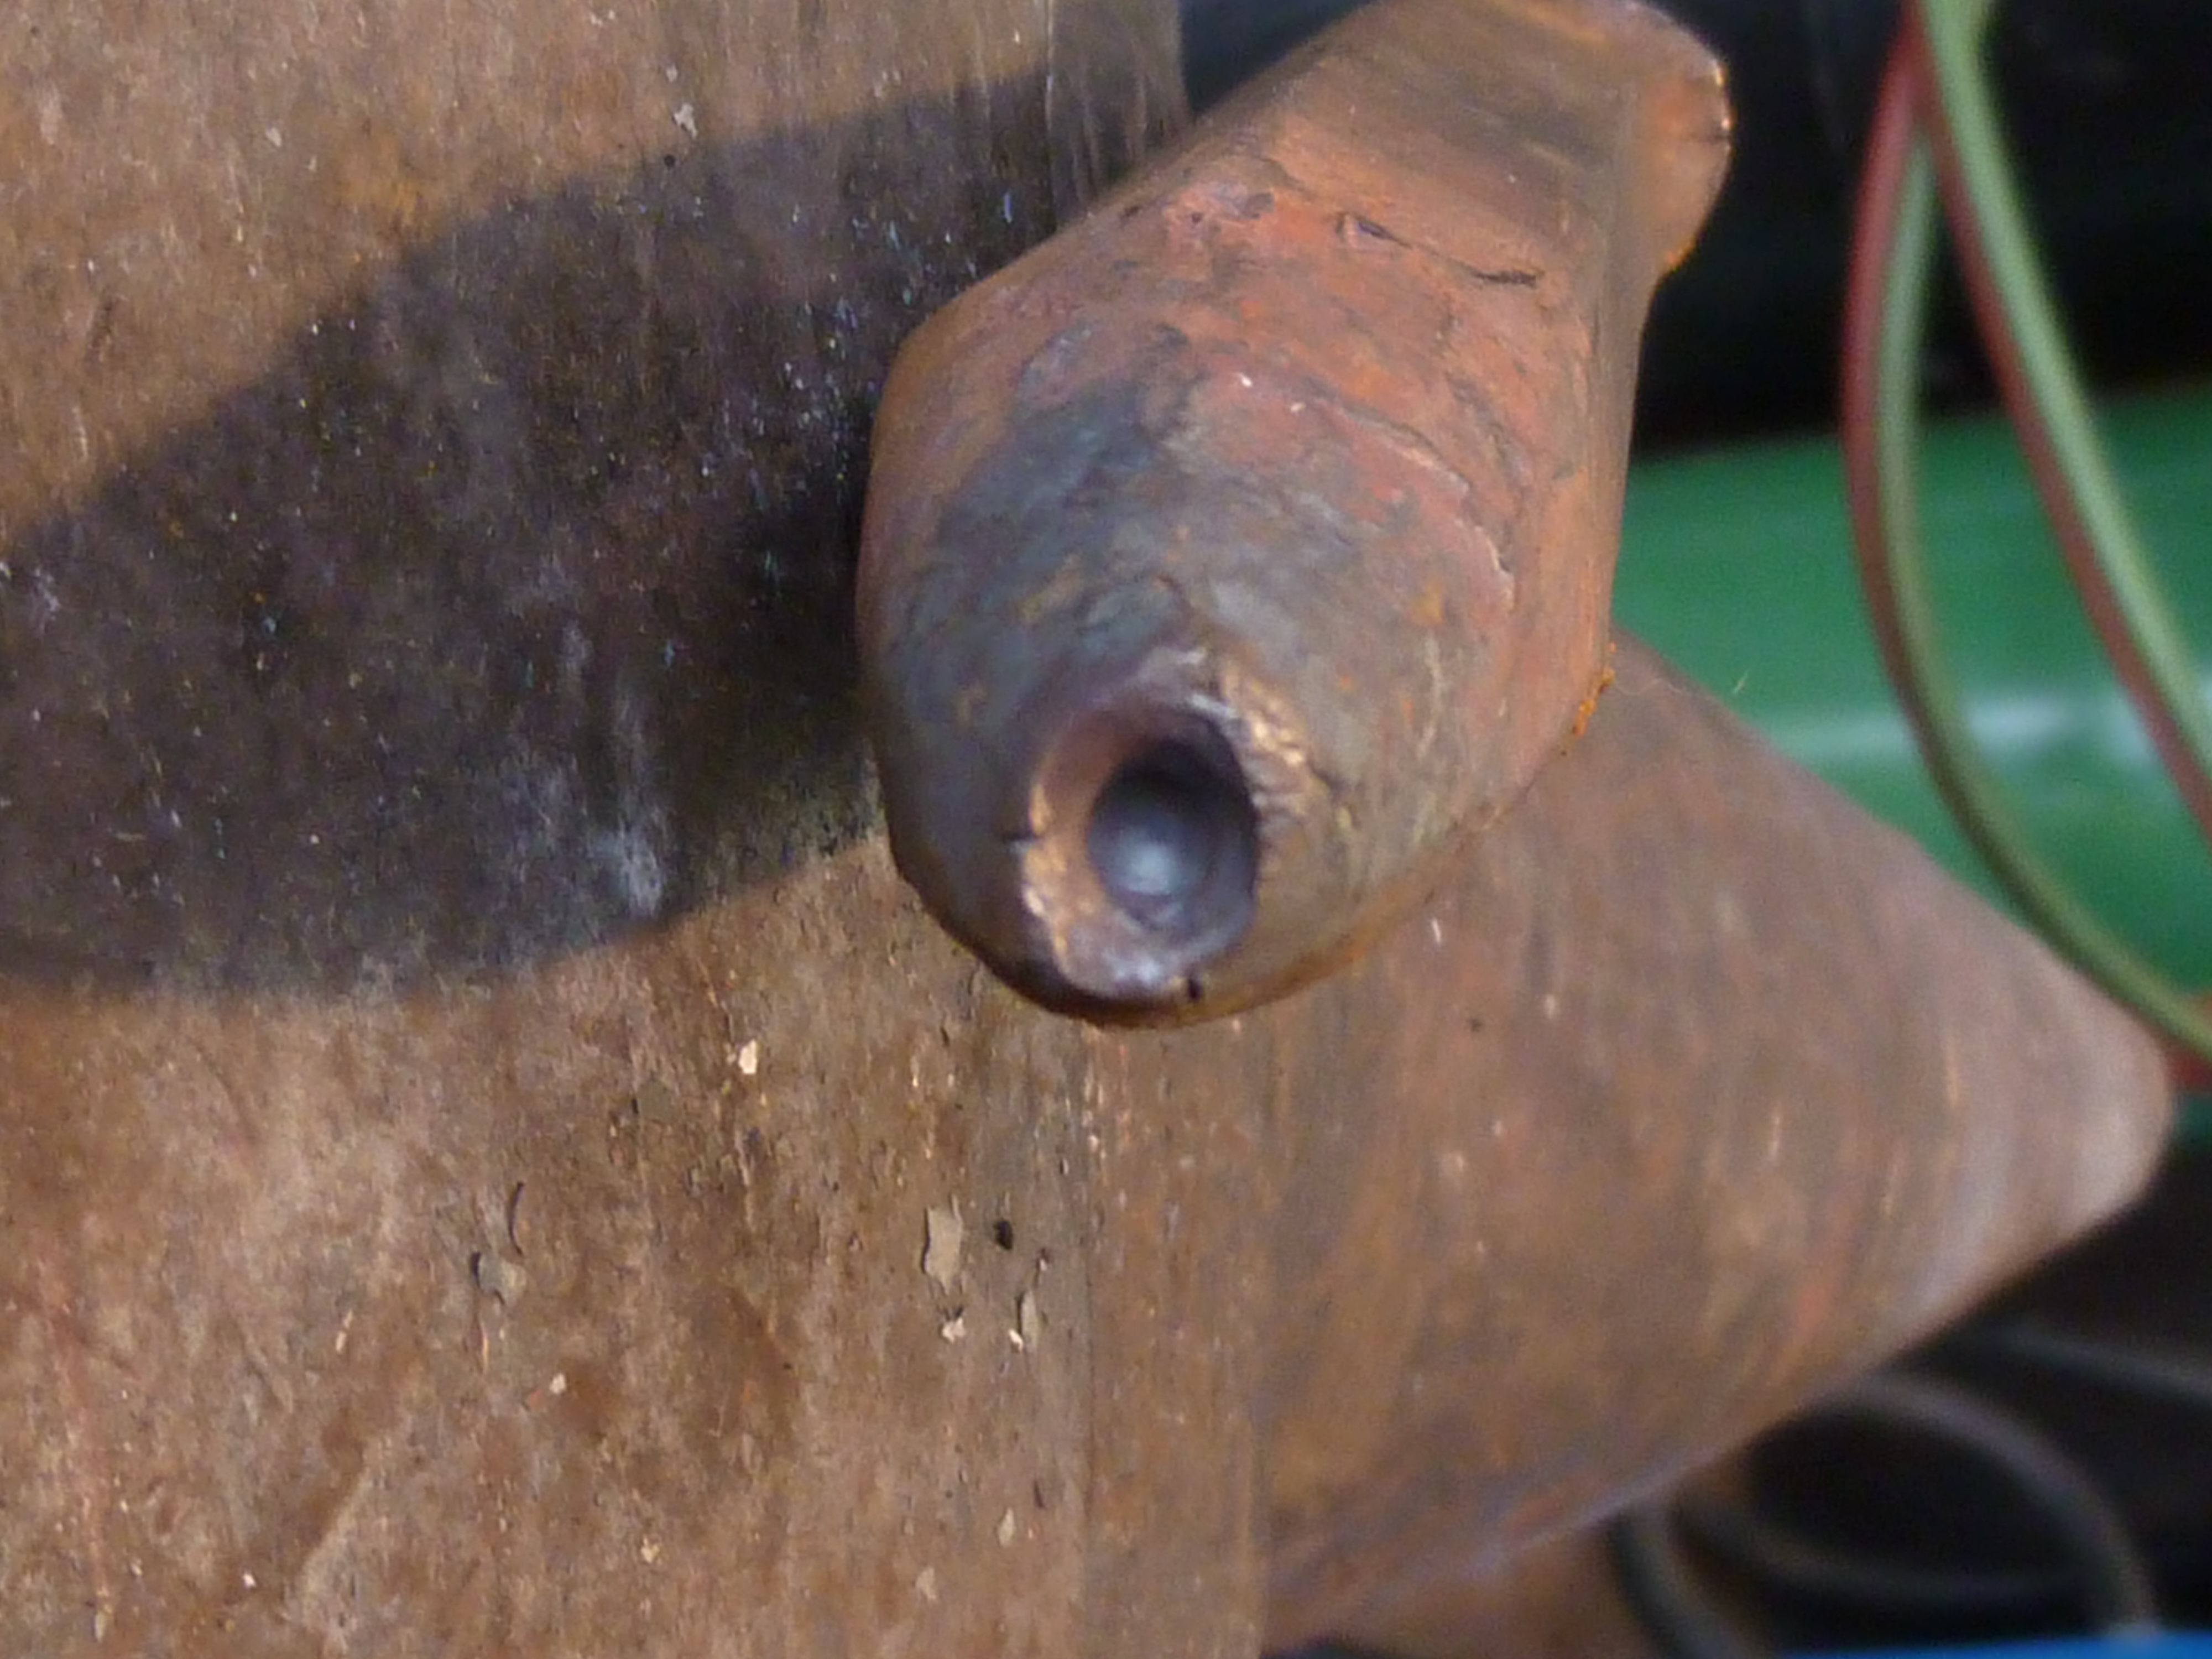
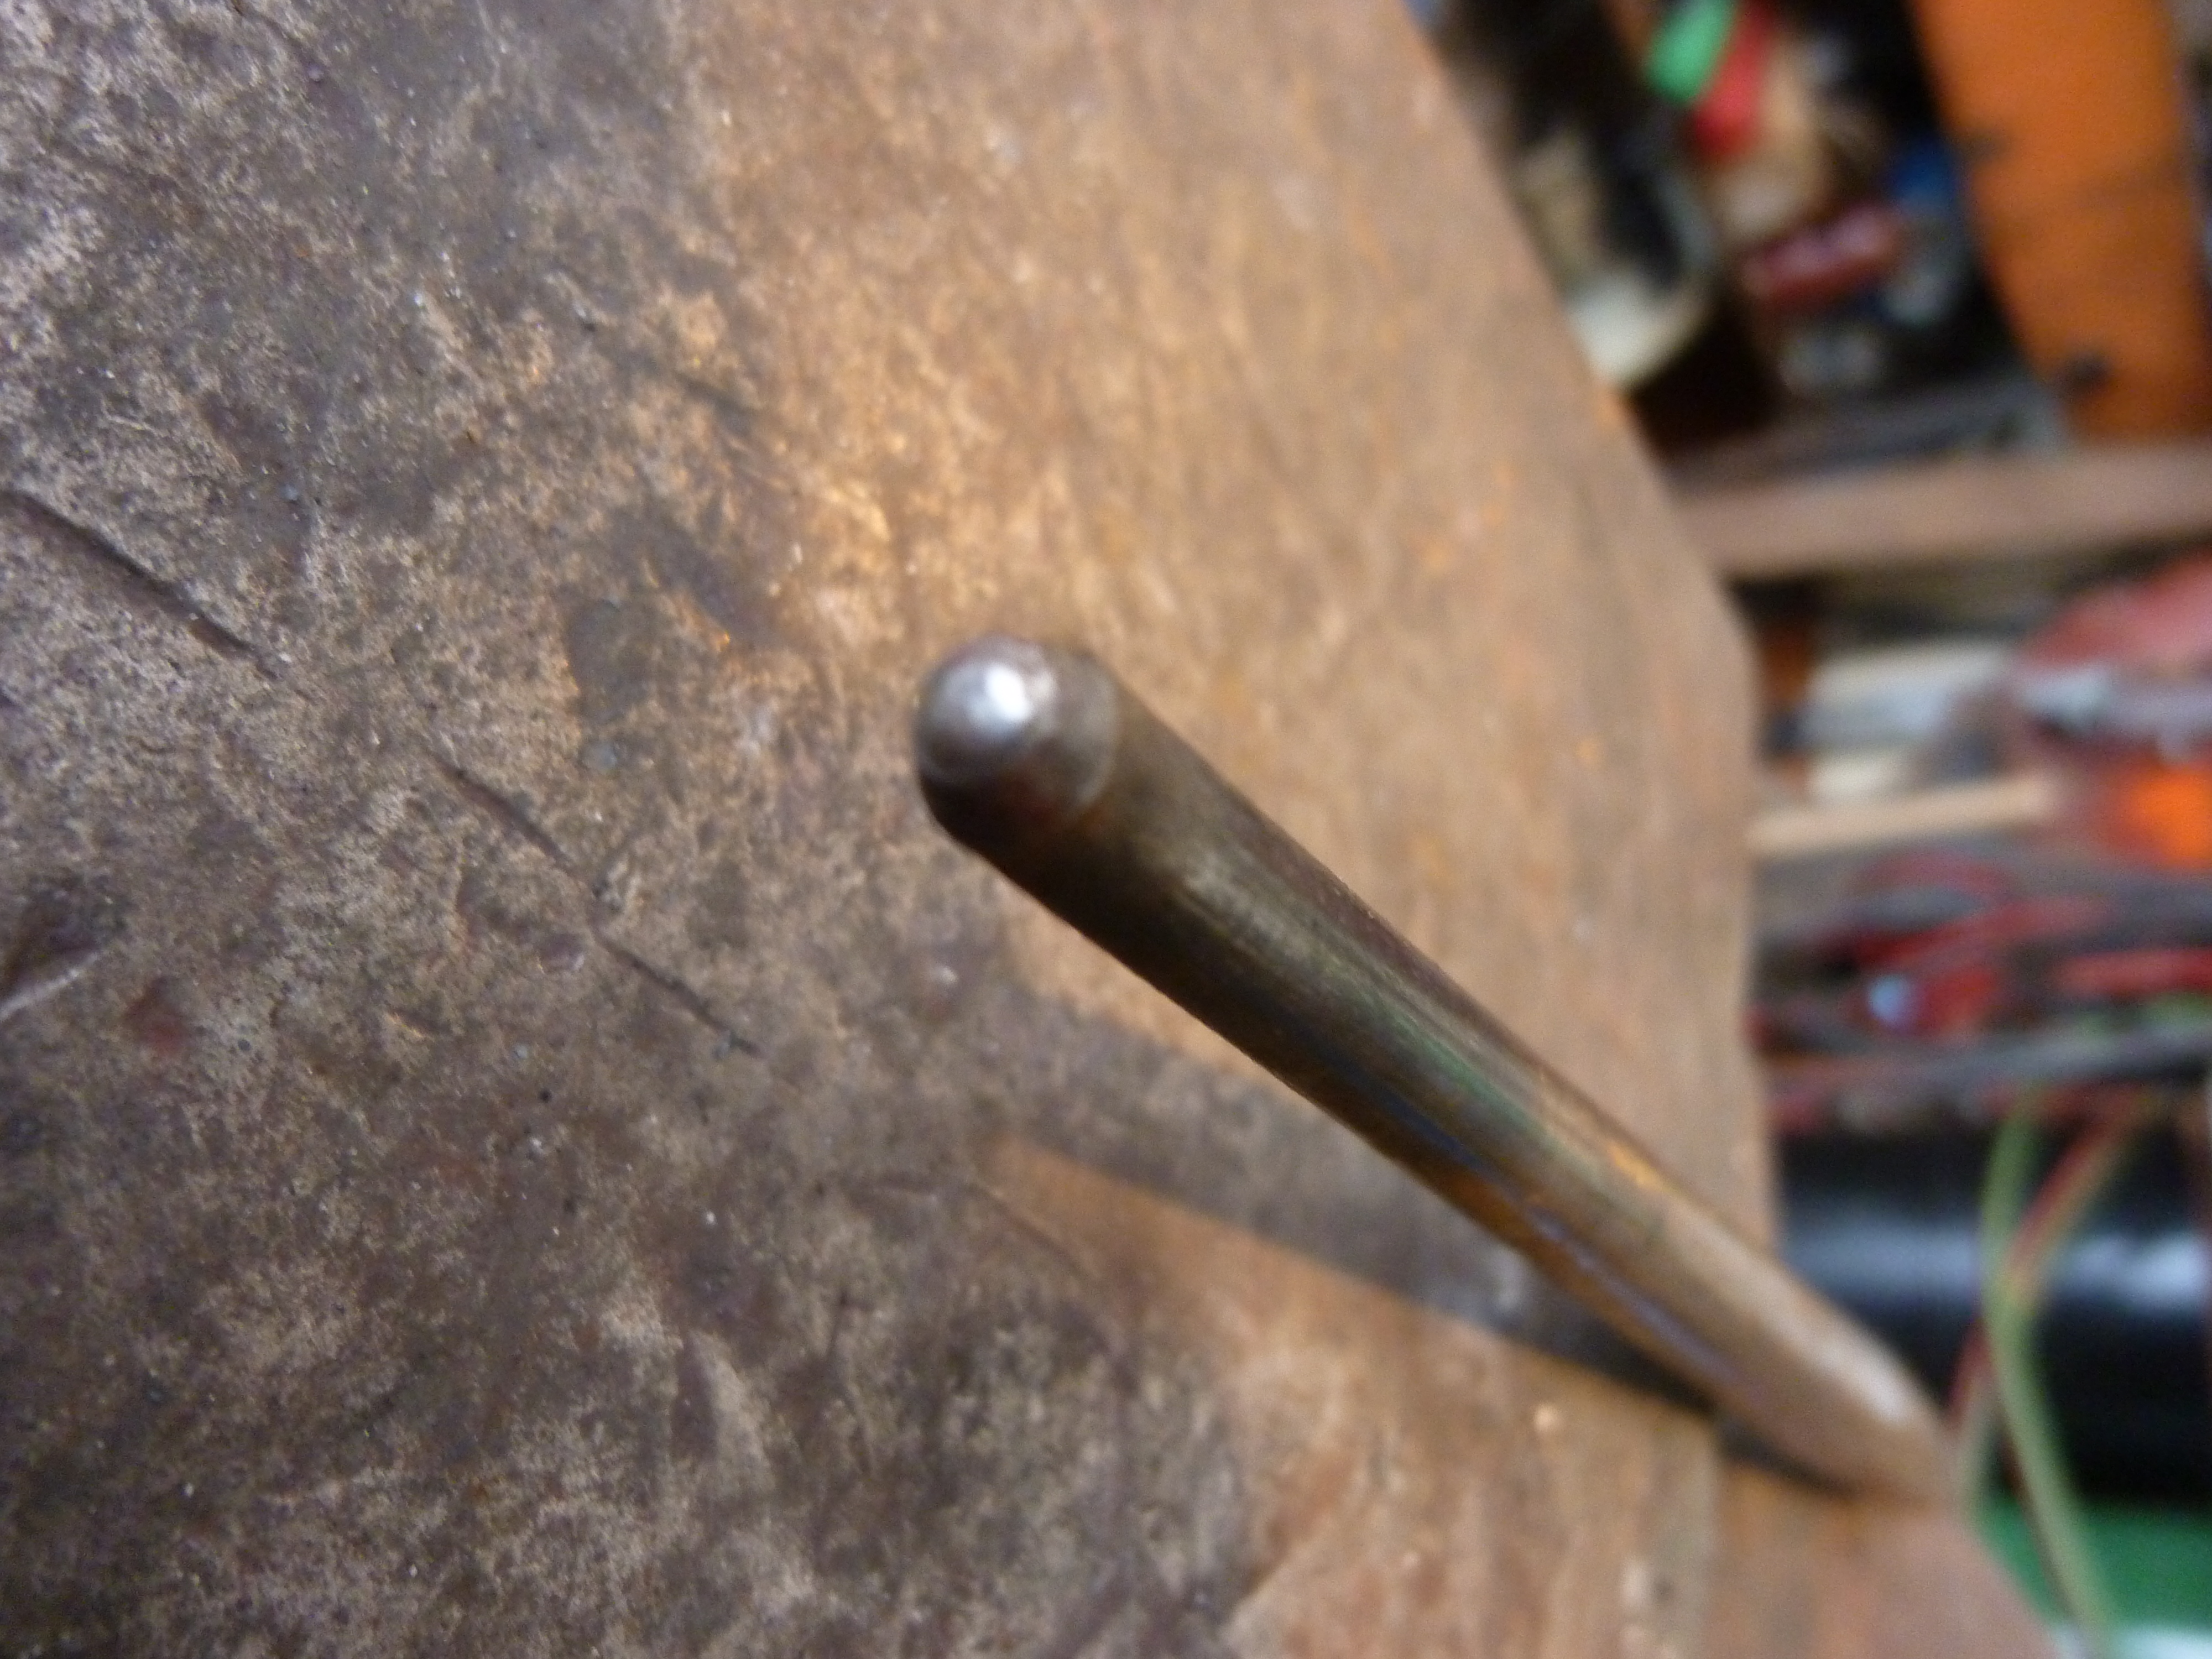
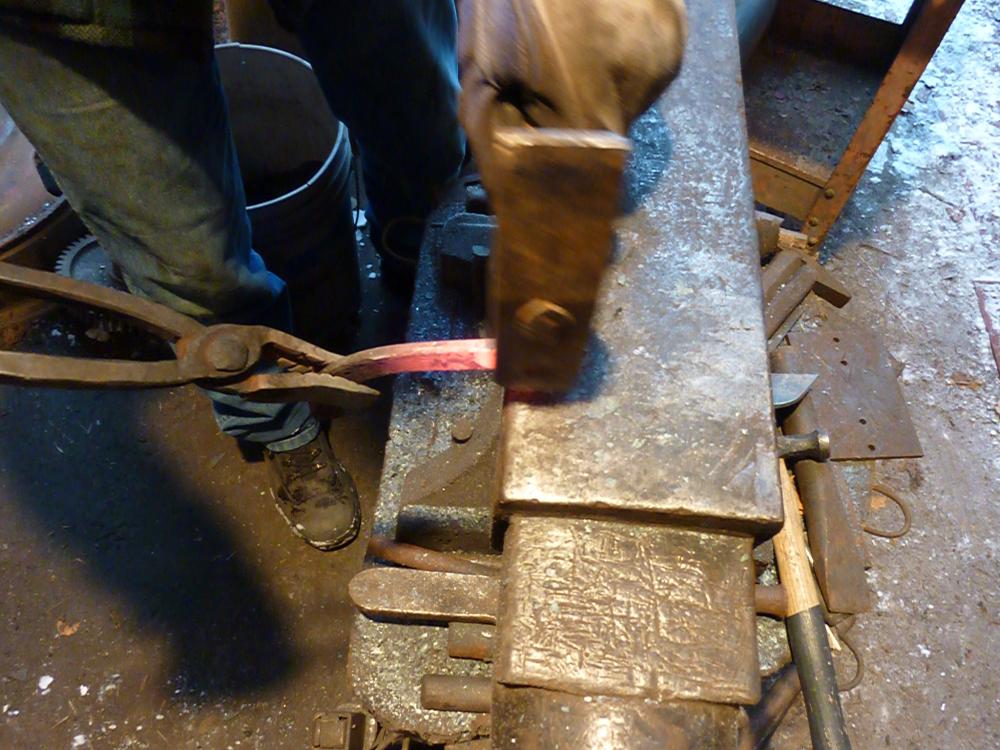
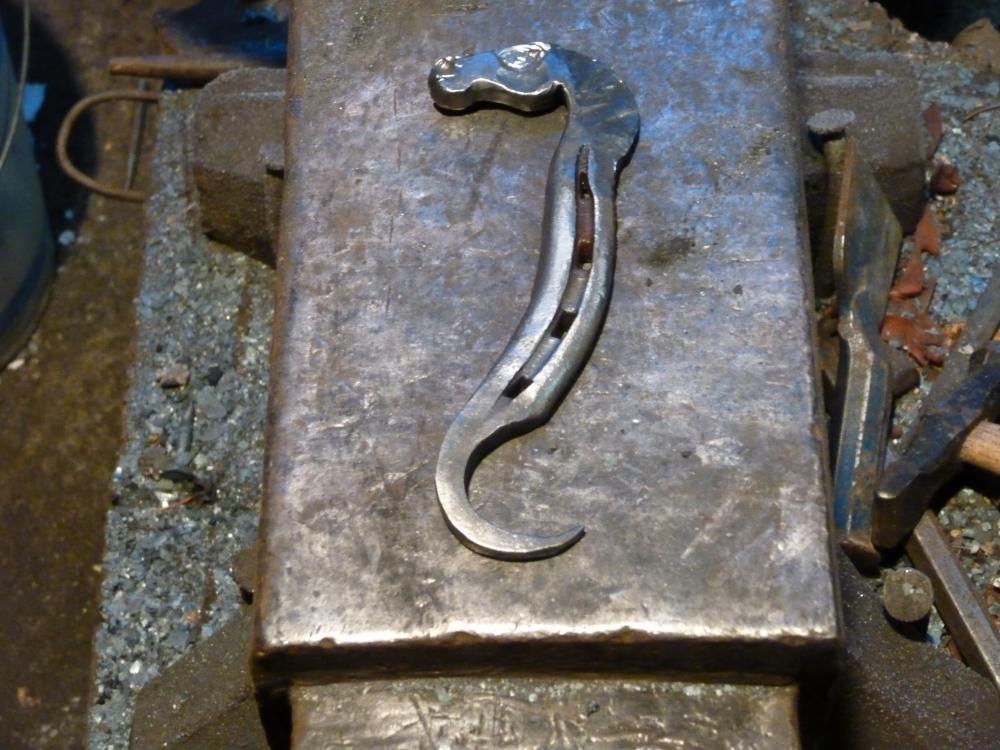
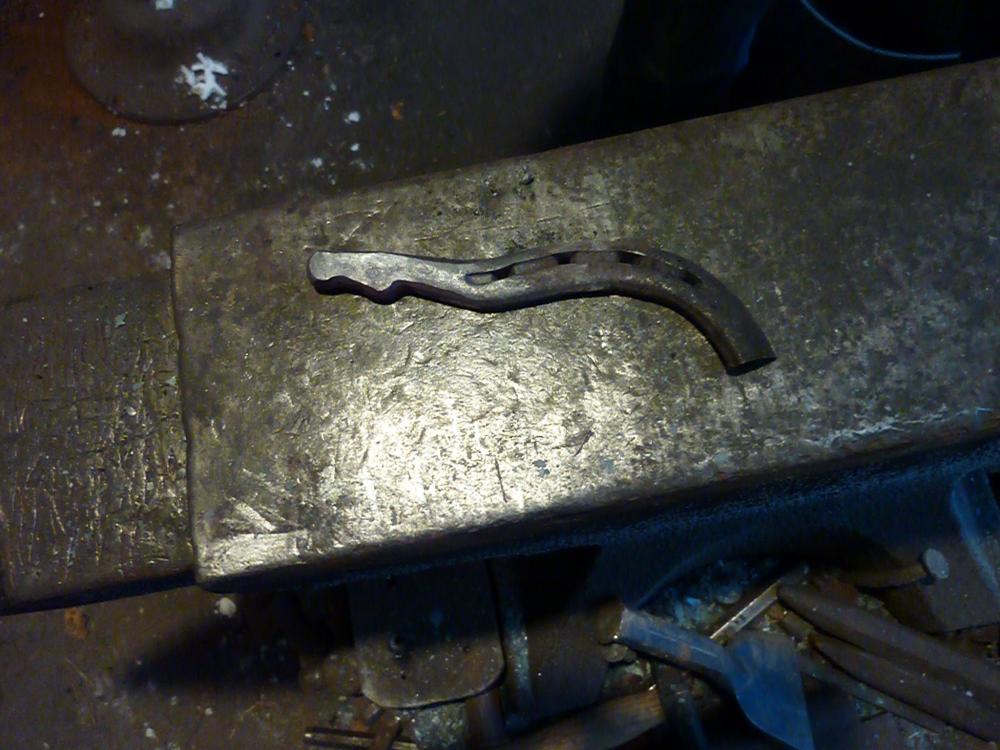
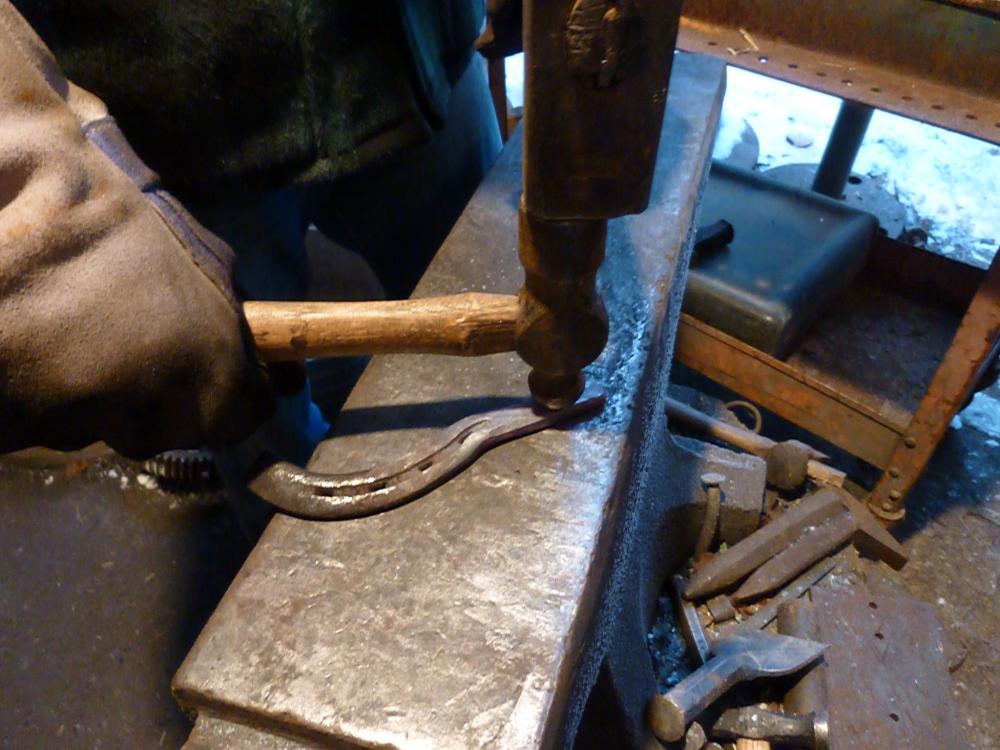
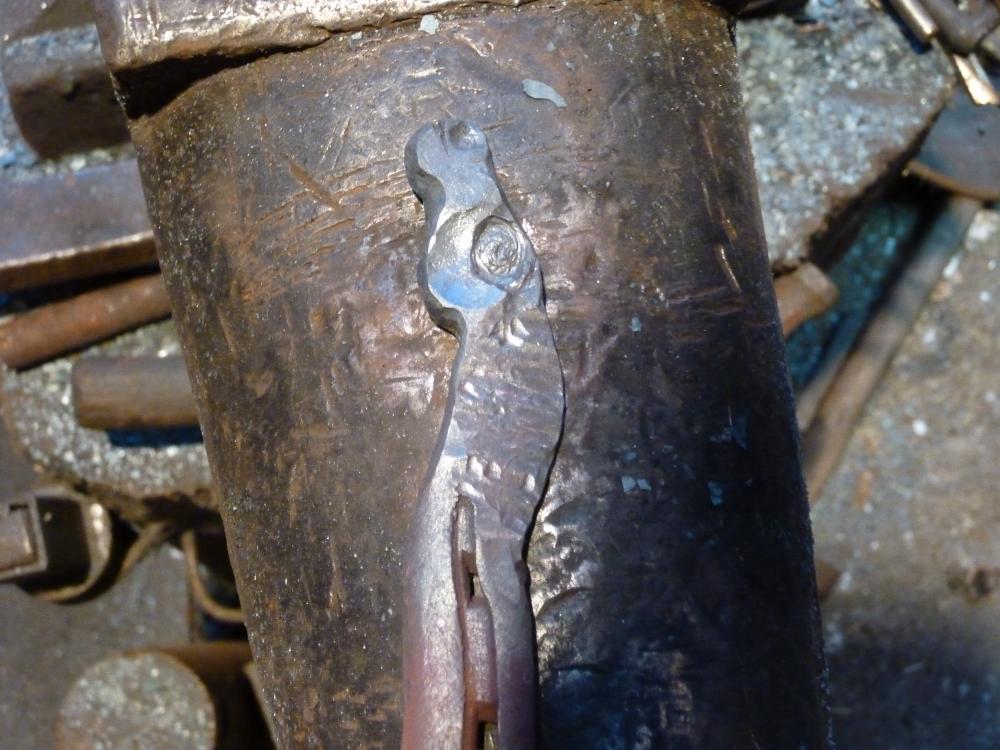
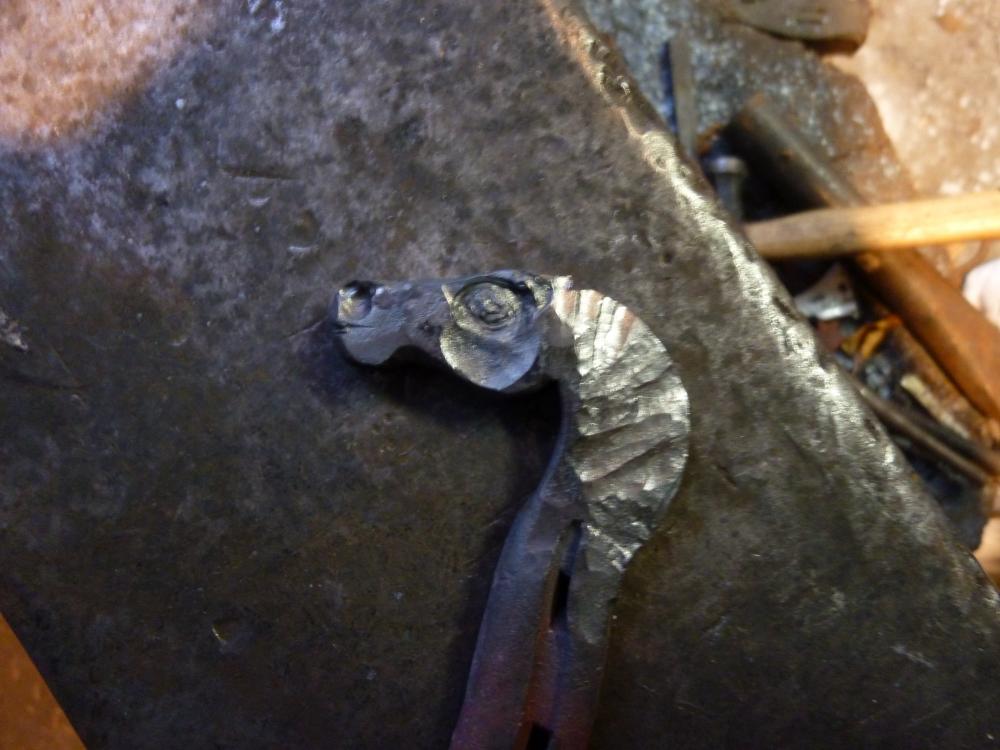
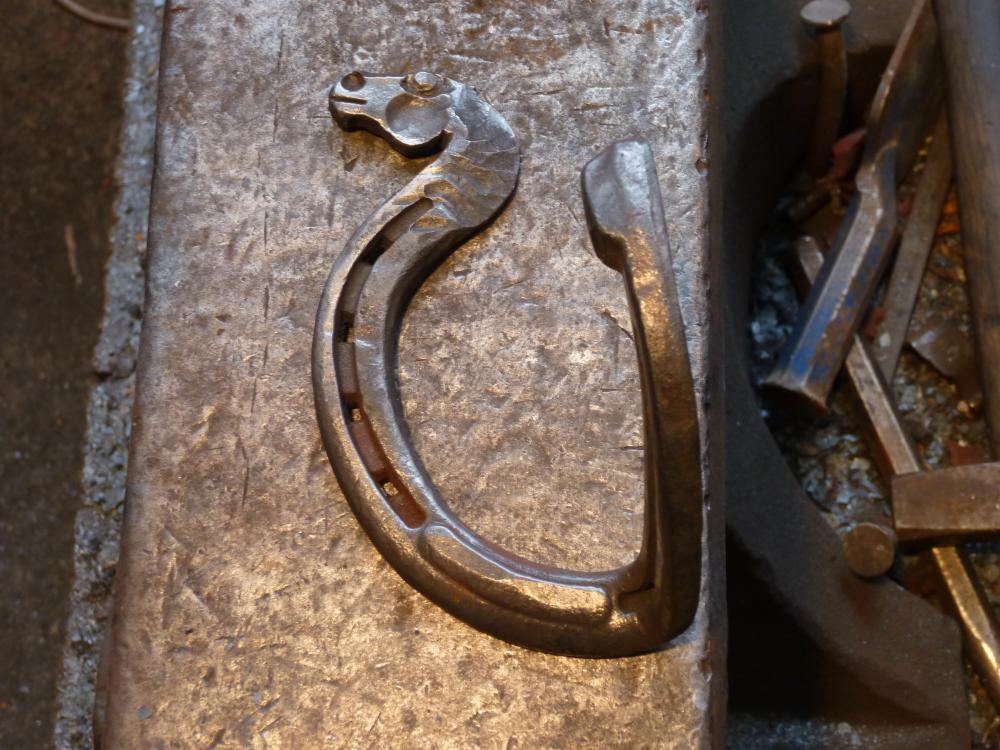
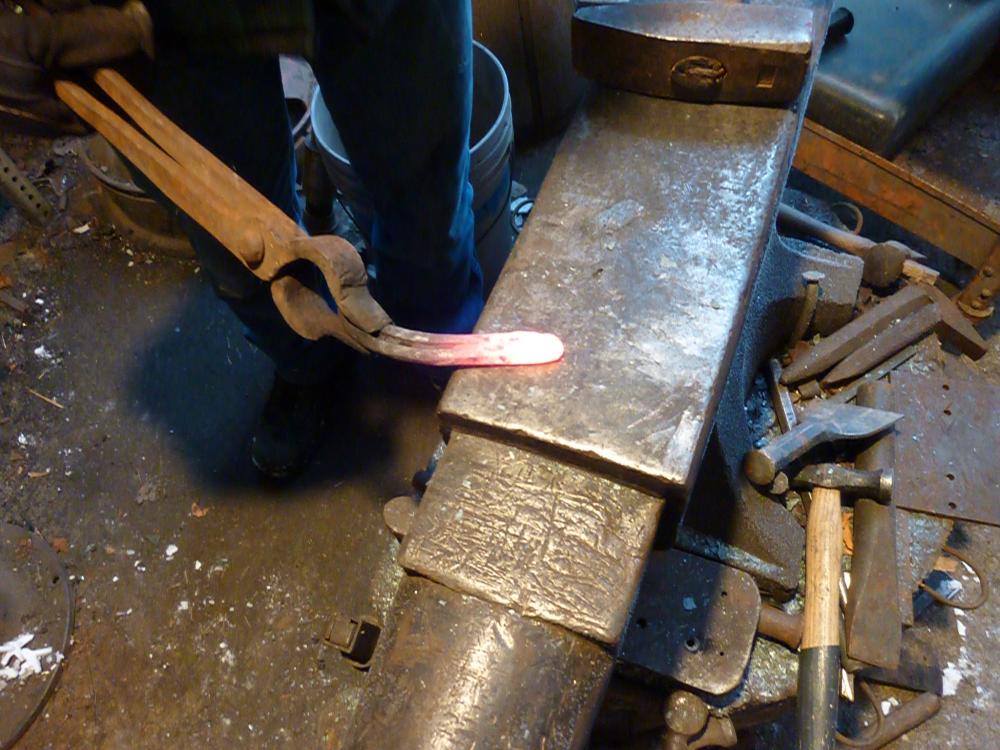
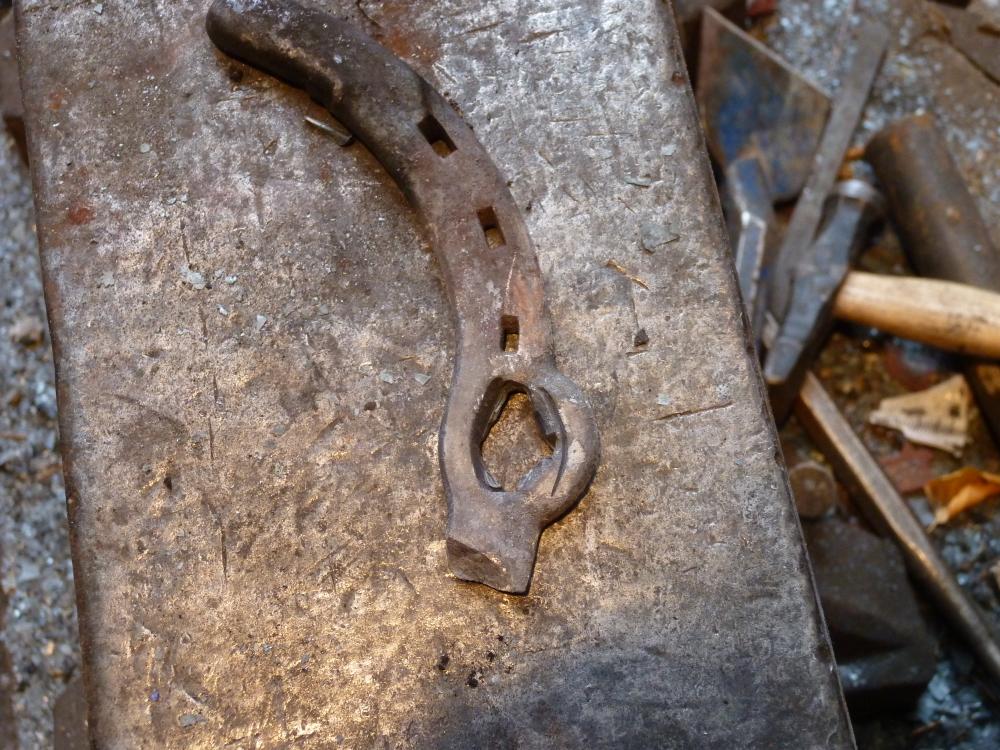
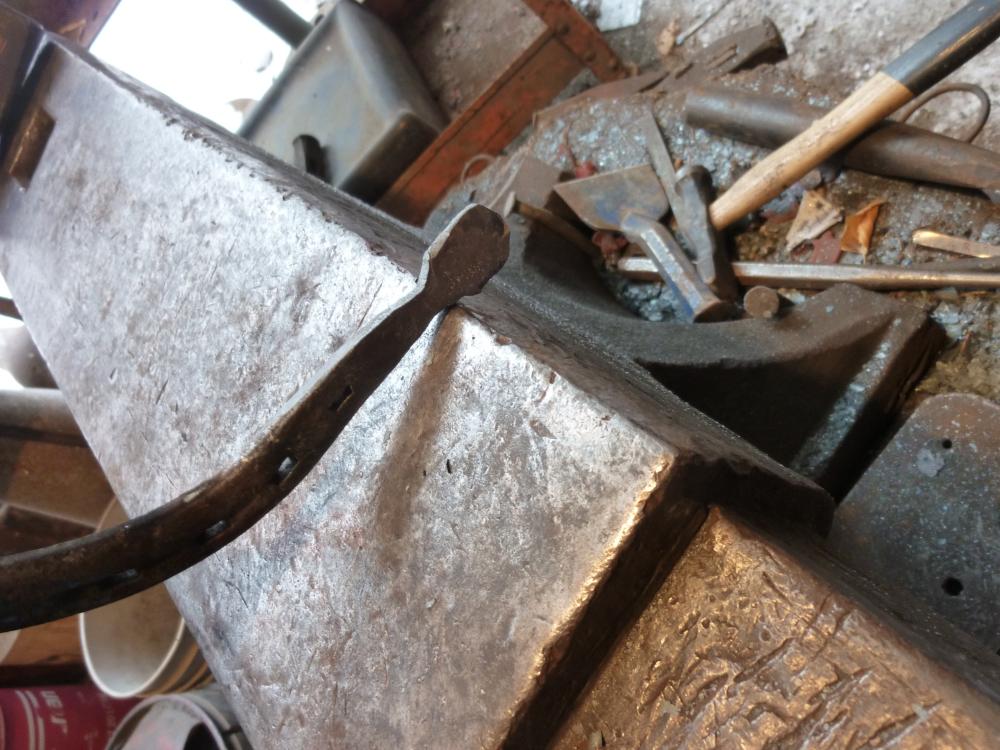
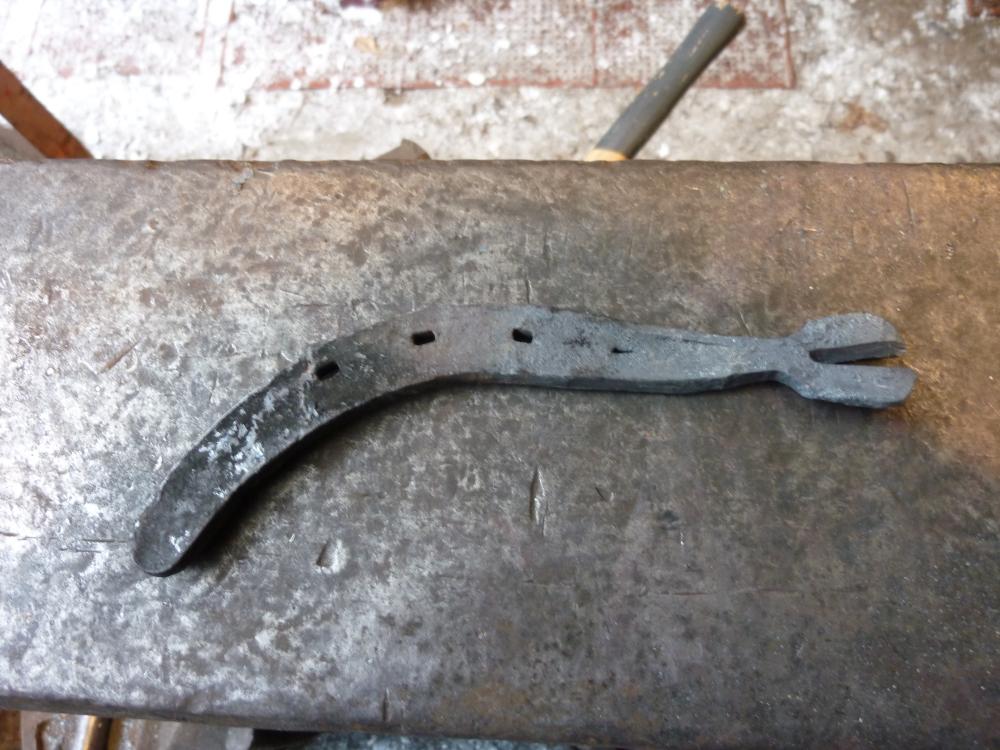
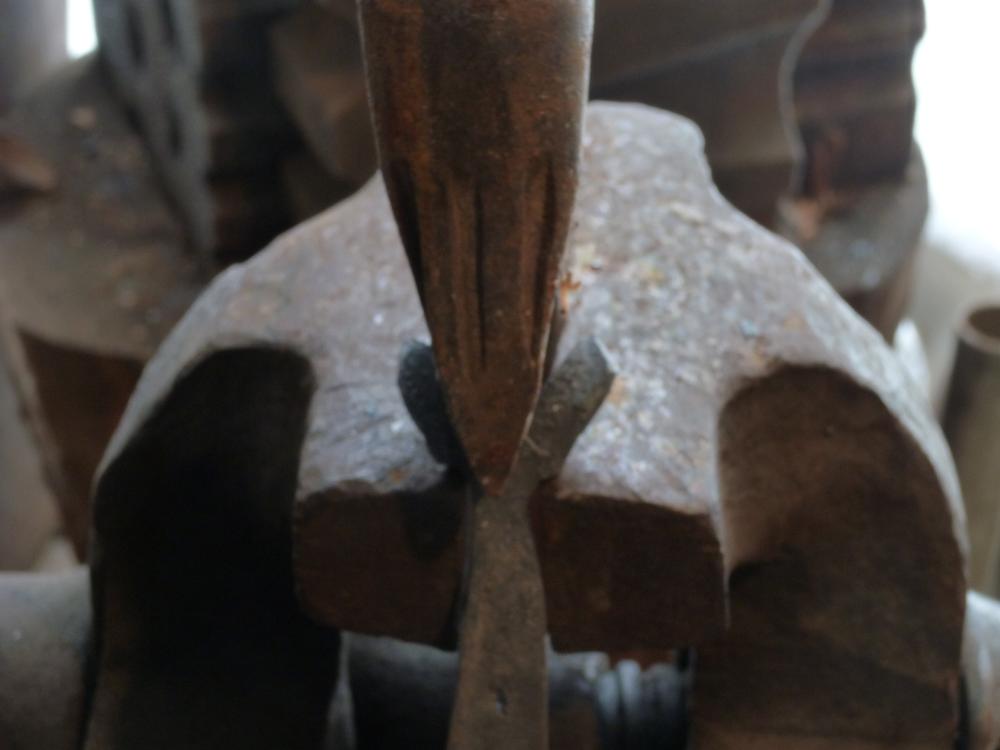
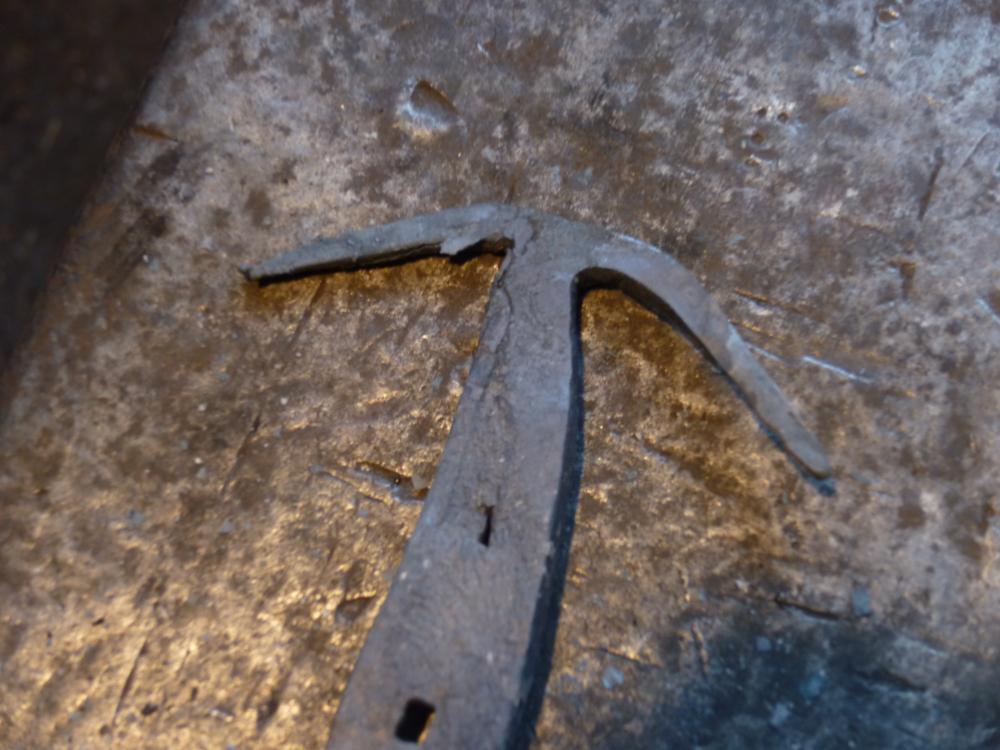
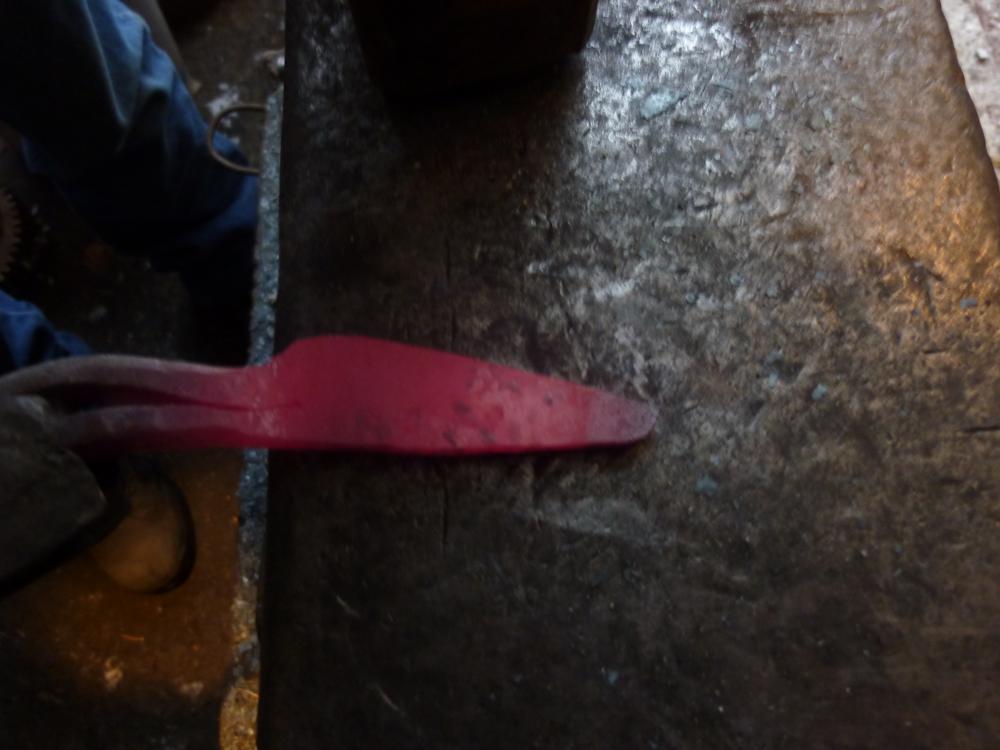
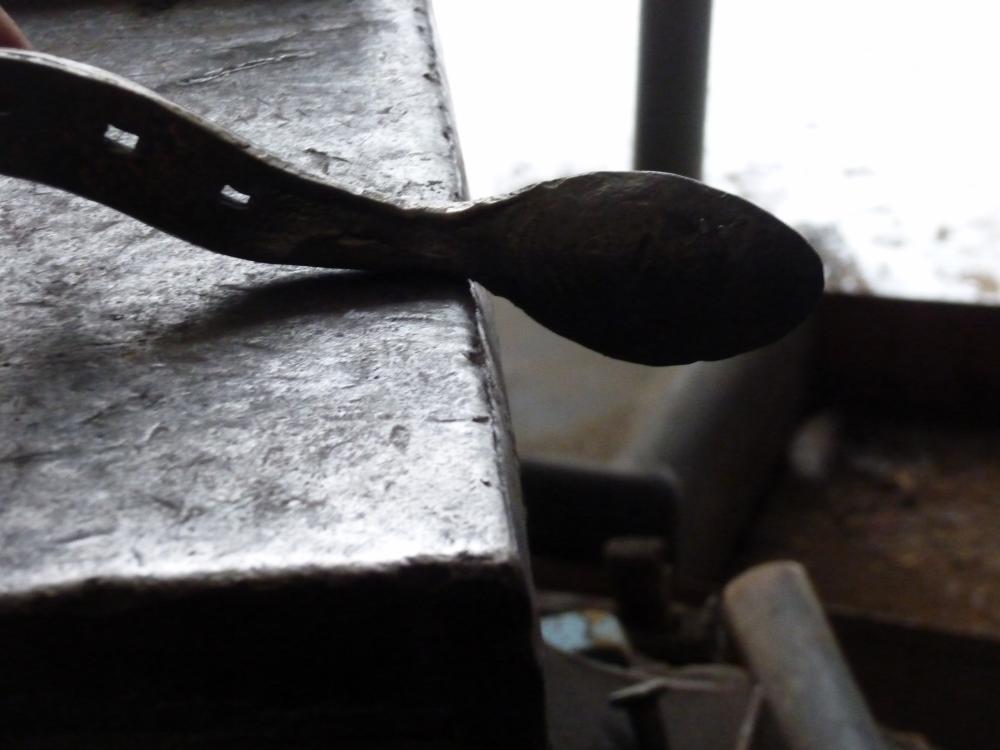
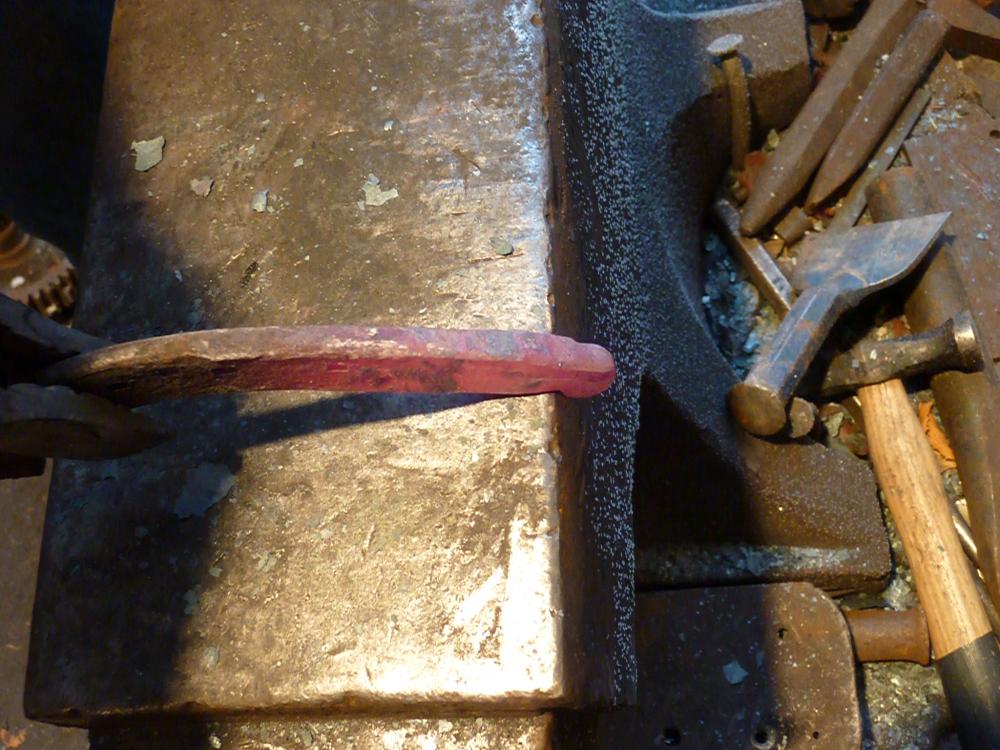
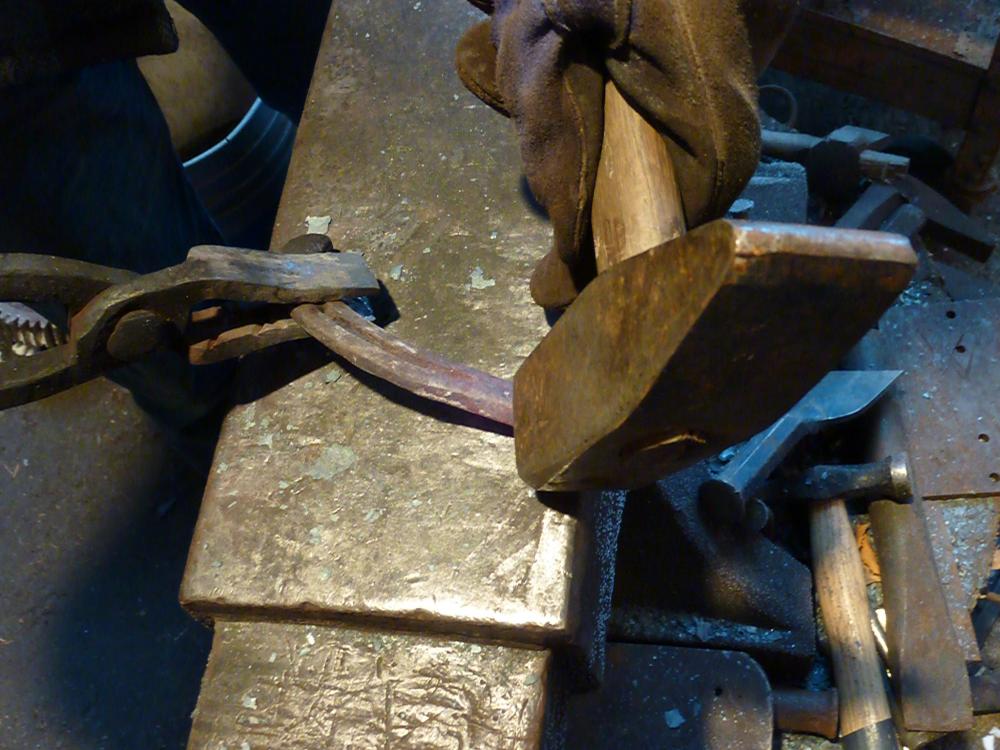
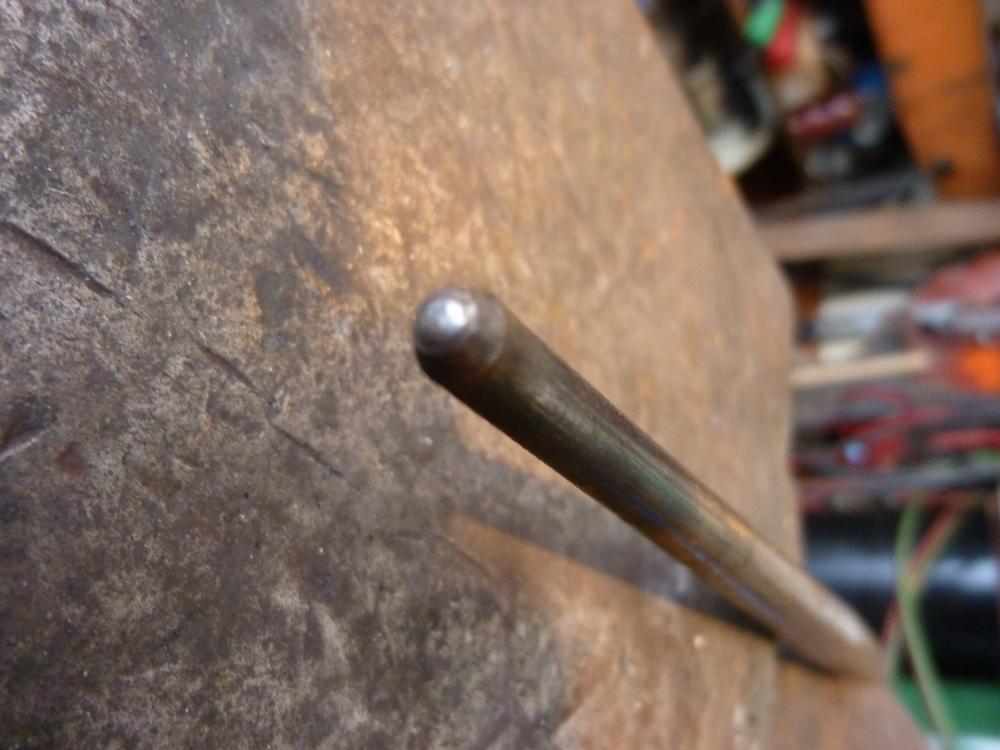
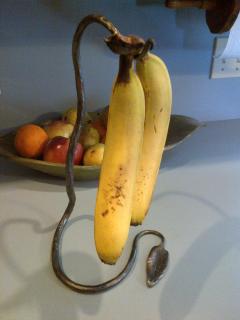
I recently wrote an article for Canadian Cowboy Country magazine on a few different projects you can make from old horse shoes such as a hoof pick, cutlery set and a bottle opener, and yes that is frost on the anvil. Hence why I'm using a glove on my hammer hand while posing for the photos. I don't recommend gloves because they force you to hold your hammer tighter, increasing your risk of repetitive strain injuries. All of these projects start out by cutting the shoe in half. Always choose a shoe that isn't too worn in the toe as that is the steel you need for forging. All of these projects were made with only the metal from the shoe. Hoof Pick Fig. 1 Once you've cut a shoe in half, set the toe down by 1/4 of its original width on the near side of the anvil, up to the first nail-hole. Setting it down is not required, but you get a cleaner transition when it is bent back 90 degrees before curling the pick. Taper the tip on the far side of the anvil to protect the anvil from hammer damage. To efficiently taper, hold the horseshoe at an angle to the anvil and match that angle with your hammer. Fig. 2 Hold the shoe so that the tip you set down is over the far edge of the anvil, with the high part of the step facing towards you and in line with the anvil edge. Bend the part you set down 90 degrees over the edge of the anvil, and then curl it back around over your anvil horn or a rod held in a vise. Now adjust the curve to suite your preferences. Fig. 3 The finished result after cleaning the fire scale off with a wire-wheel. Apply either clear epoxy or wax/oil to prevent rusting. Leave the heel as is, or add a little flair with a horse head as shown. I will teach you how to forge a horse head a little later. Bottle Opener For this project, you will need a slitting chisel. The easiest way to make one is by modifying a cold chisel from the hardware store. Round the corners on the chisel edge to create a crescent shaped blade and sharpen it to an approximately 30 degree bevel (for reference, cold chisels are sharpened to a 60 degree bevel). To aid in opening up the slit to form the ring, round the corners of the chisel further up the blade, to the handle. Fig. 4 Using half a shoe, begin by splitting the shoe between two to three nail holes, depending on the width between them and the size of shoe. Slit the hole undersized by approximately 1/2-3/4 of the finished size, as the tab of metal left on the cut end will become part of the volume of metal in the ring, increasing it's diameter. After slitting, clean up any ragged edges to prevent cold shuts that will weaken the opener's ring. Cold shuts are areas where two pieces of metal aren't fused together- in this case when a ragged edge folds over into the ring without welding to the parent metal, creating a thin point. Begin to open up the split by hammering your slitting chisel deeper. Continue opening the ring with punches until it will fit onto the tip of your anvil horn or mandrel. If you don't have an anvil with a horn, you will need to make a mandrel to round the bottle opener. A simple mandril is a 2-3 inch rod pointed on one end and held in a large vise. Fig. 5 Force the end of horseshoe back into the ring with your anvil or mandrel. This will increase the metal for the ring, increasing its diameter to more than the original slit hole. Continue forging the ring until it is round and uniform but not too thin. You will be aiming for a ring size of approximately 1 1/4 inches internal diameter and 1/8 to 1/4 inch thickness. Chamfer the edges by holding the horseshoe on an angle, so the inside corner is in contact with the mandrel and hammer the opposite corner. Rotate around the ring using light, overlapping hammer strokes to get a smooth finish. Fig. 6 Create a lip to catch the edge of the bottle cap with a punch. Start back from the ring edge and set the metal down by half. Angle the punch towards the middle of the ring and move the metal ridge towards the center. As with the hoof pick, you can leave the heel as is, or add a horse head for added decoration. Cutlery Set Add some interest at your next round-up or barbeque with these utensils forged from old horseshoes. Fork Fig. 7 Beginning with a half shoe, isolate the mass for the fork tines over the edge of the far side of the anvil, and begin to create the neck transition. If you are new to blacksmithing and don't have good hammer control yet, you will want to look up how to make a simple fuller. If you are more advanced, you can do it, as I did here, with your hammer and the anvil edge by holding the metal at an angle and matching the angle with your hammer face. Your hammer face has to hit in line with the anvil edge to prevent damaging the metal overhanging the edge of the anvil. Fig. 8 Using a chisel with an edge ground to approximately 30 degrees (remember that cold chisels are 60 degrees for reference), slit the metal you isolated in step one. Stop your slit before the finished tine thickness to leave room for smoothing the crotch between the tines. File any ragged edges to prevent cold shuts from damaging your tines. I didn't in this project, due to cold weather and rushing for photos, and it will show in future steps. Fig. 9 Using a thin fuller, in this case it was a cold chisel with a rounded edge, clean up and round the transition between the tines. A sharp transition, as was left from the slitting chisel, can be a weak point and in the future it is likely that one of the tines will break off. Fig. 10 After smoothing the transition between the tines, bend one of them back to aid in forging the tines themselves. On the left tine is the ragged edge I missed that will soon become a cold shut. Working on the far edge of the anvil, taper the tines then then round them. To round metal properly and prevent twisting, you simply keep forging the corners back into the metal by lining them up perpendicular to the anvil face. A simple way to remember this is Square-Octagon-Round- every step of forging the corners back gives you more sides until you are virtually round. Fig. 11 Bend the tines back around over you anvil horn or a rod held in a vise. I like to curve the tips out slightly to help keep things from sliding off my fork but you can keep them straight if you prefer. Continue refining the neck so that it is round closer to the tines, and chamfer the edges running into the handle. Once you are happy with the neck, twist the tines where you rounded the neck so that they are perpendicular to the handle as shown, and give the neck a slight bend opposite to the curve of the shoe for ergonomics. Clean up the tines with a file or sand paper to take off any sharp edges. On the right tine, you can see what happens when you don't file off ragged edges and they break off during cleaning up the tines. Knife Fig. 12 On the edge of the far side of the anvil, taper the toe to create the knife point. After tapering the point, neck down the blade transition over the far side of the anvil as shown. Fig. 13 Using a cross-peen hammer, begin spreading the blade over the near side of the anvil. Continue to refine the profile as you thin the blade. Once you are happy with the blade shape, clean it up and begin to sharpen it with a file or grinder. Leaving the blade with approximately 1/32 of an inch from being sharp, heat it until a magnet doesn't stick to the metal and leave it to cool beside the fire. This removes any forging stresses before hardening which makes it more brittle and likely to break under those stresses. Harden the blade by heating it until a magnet doesn't stick to it once again, and cool it quickly in water while swirling to prevent steam pockets from developing. Finish sharpening the blade and add serrations with a file if you prefer. Spoon Fig. 14 & 15 Isolate the neck as you did with the fork and then taper the point slightly. Make the spoon wider by using a cross-peen parallel to the length of the spoon. Over the near and far edge of the anvil, refine the profile as you slowly thin the spoon to prevent it from simply bending because it's too thin. The goal is to keep as much metal in the spoon as you can – only use a file to clean up the edges once you are happy with the shape, thinness and size of the spoon. Fig. 16 Dish the spoon with the peen of a ball-peen hammer on the end grain of a block of wood, starting with the center near the neck and giving it the most dish as shown. I find that a stump of hardwood works best. Make it more interesting, and valuable, by adding a horse head Anything you forge out of a horseshoe can have the added flair of a horse-head forged into the heel. Fig. 17 Set the horse's nose down over the near side of the anvil. Depending on the thickness of the shoe, you only need 1/3-1/2 of the length of the finished nose, as it will lengthen before finished. Don't set it down to the finished dimensions, only to where you want the chin to end. Fig. 18 Define the chin and jaw line by angling the shoe over the far side of the anvil. Make sure to hang the chin portion of the muzzle over the edge of the far side of the anvil to isolate it. Fig. 19-20 Chamfer the jaw line by holding it in an angle over the far side of the anvil. Fig. 21 Set down the neck and define the jowl over the far side of the anvil. The mass for the jowl should be approximately 1/4-1/3 less than the final dimensions. Fig. 22 Chamfer the neck the same as you did for the jaws. Fig. 23 The head ready for punching. Fig. 24 Spread and round the jowls with the peen of a ball-peen hammer. You can dish the face slightly if you wish by holding the face over the far edge of the anvil and using hammer blows that miss the edge of the anvil. Fig. 25 Using your special punches, create the eye and nose. With a straight blade chisel, define the mouth. Begin to spread the mane with your cross-peen hammer parallel to the length of the neck and then switch your peen angle to slightly off perpendicular to create the mane's texture. You can speed this step up by using your anvil horn as shown, along with your cross-peen slightly off perpendicular, to combine the spreading and texturing steps. The Eye Punch The nose punch Fig. 26 Heat the mane and neck transition to a yellow heat, and cool the nose and face in water to prevent distorting the face while you arch the neck. Begin by bending the neck over the far side to the anvil and finish by holding the shoe so that the nose is pointing straight up and hammering it back towards yourself. Fig. 27 A hook with a forged horse head for decoration.


-
Another trick from the frosty north, which I'm surprise Frosty didn't mention, is to preheat your anvil with some hot iron to help retain the heat in the piece you're welding.
-
I always try to match my scrap steel by what it was used for in it's previous life along with the spark and hardening tests. If it was used to cut, it can be used to cut again. If it was used to take heavy loads and still flex a bit it is good for tools.
-
-
-
I'll bring it back. Here's a link to a how-to article on making tongs that I wrote for Hobby Farms. http://www.hobbyfarms.com/crafts-and-nature/crafting-blacksmith-tongs.aspx
-
What level of welder are you at the moment as that will determine the types of projects that would be best.
-
 I've done similar styles before. They are stable if you use 3/8 and above I've found. Needs to be lined up correctly though. Very nice for your second one Dunstan.
 -
It would also depend on the quality of the tongs you were trying to repair. If they are really rusted and showing signs of stress fracturing, I wouldn't bother.