Jspool
-
Posts
219 -
Joined
-
Last visited
Content Type
Profiles
Forums
Articles
Gallery
Downloads
Events
Everything posted by Jspool
-
Beautiful! Do you think you might ever be willing to do a WIP of how you do your fitting of the bolster, copper spacer, and handle?
-
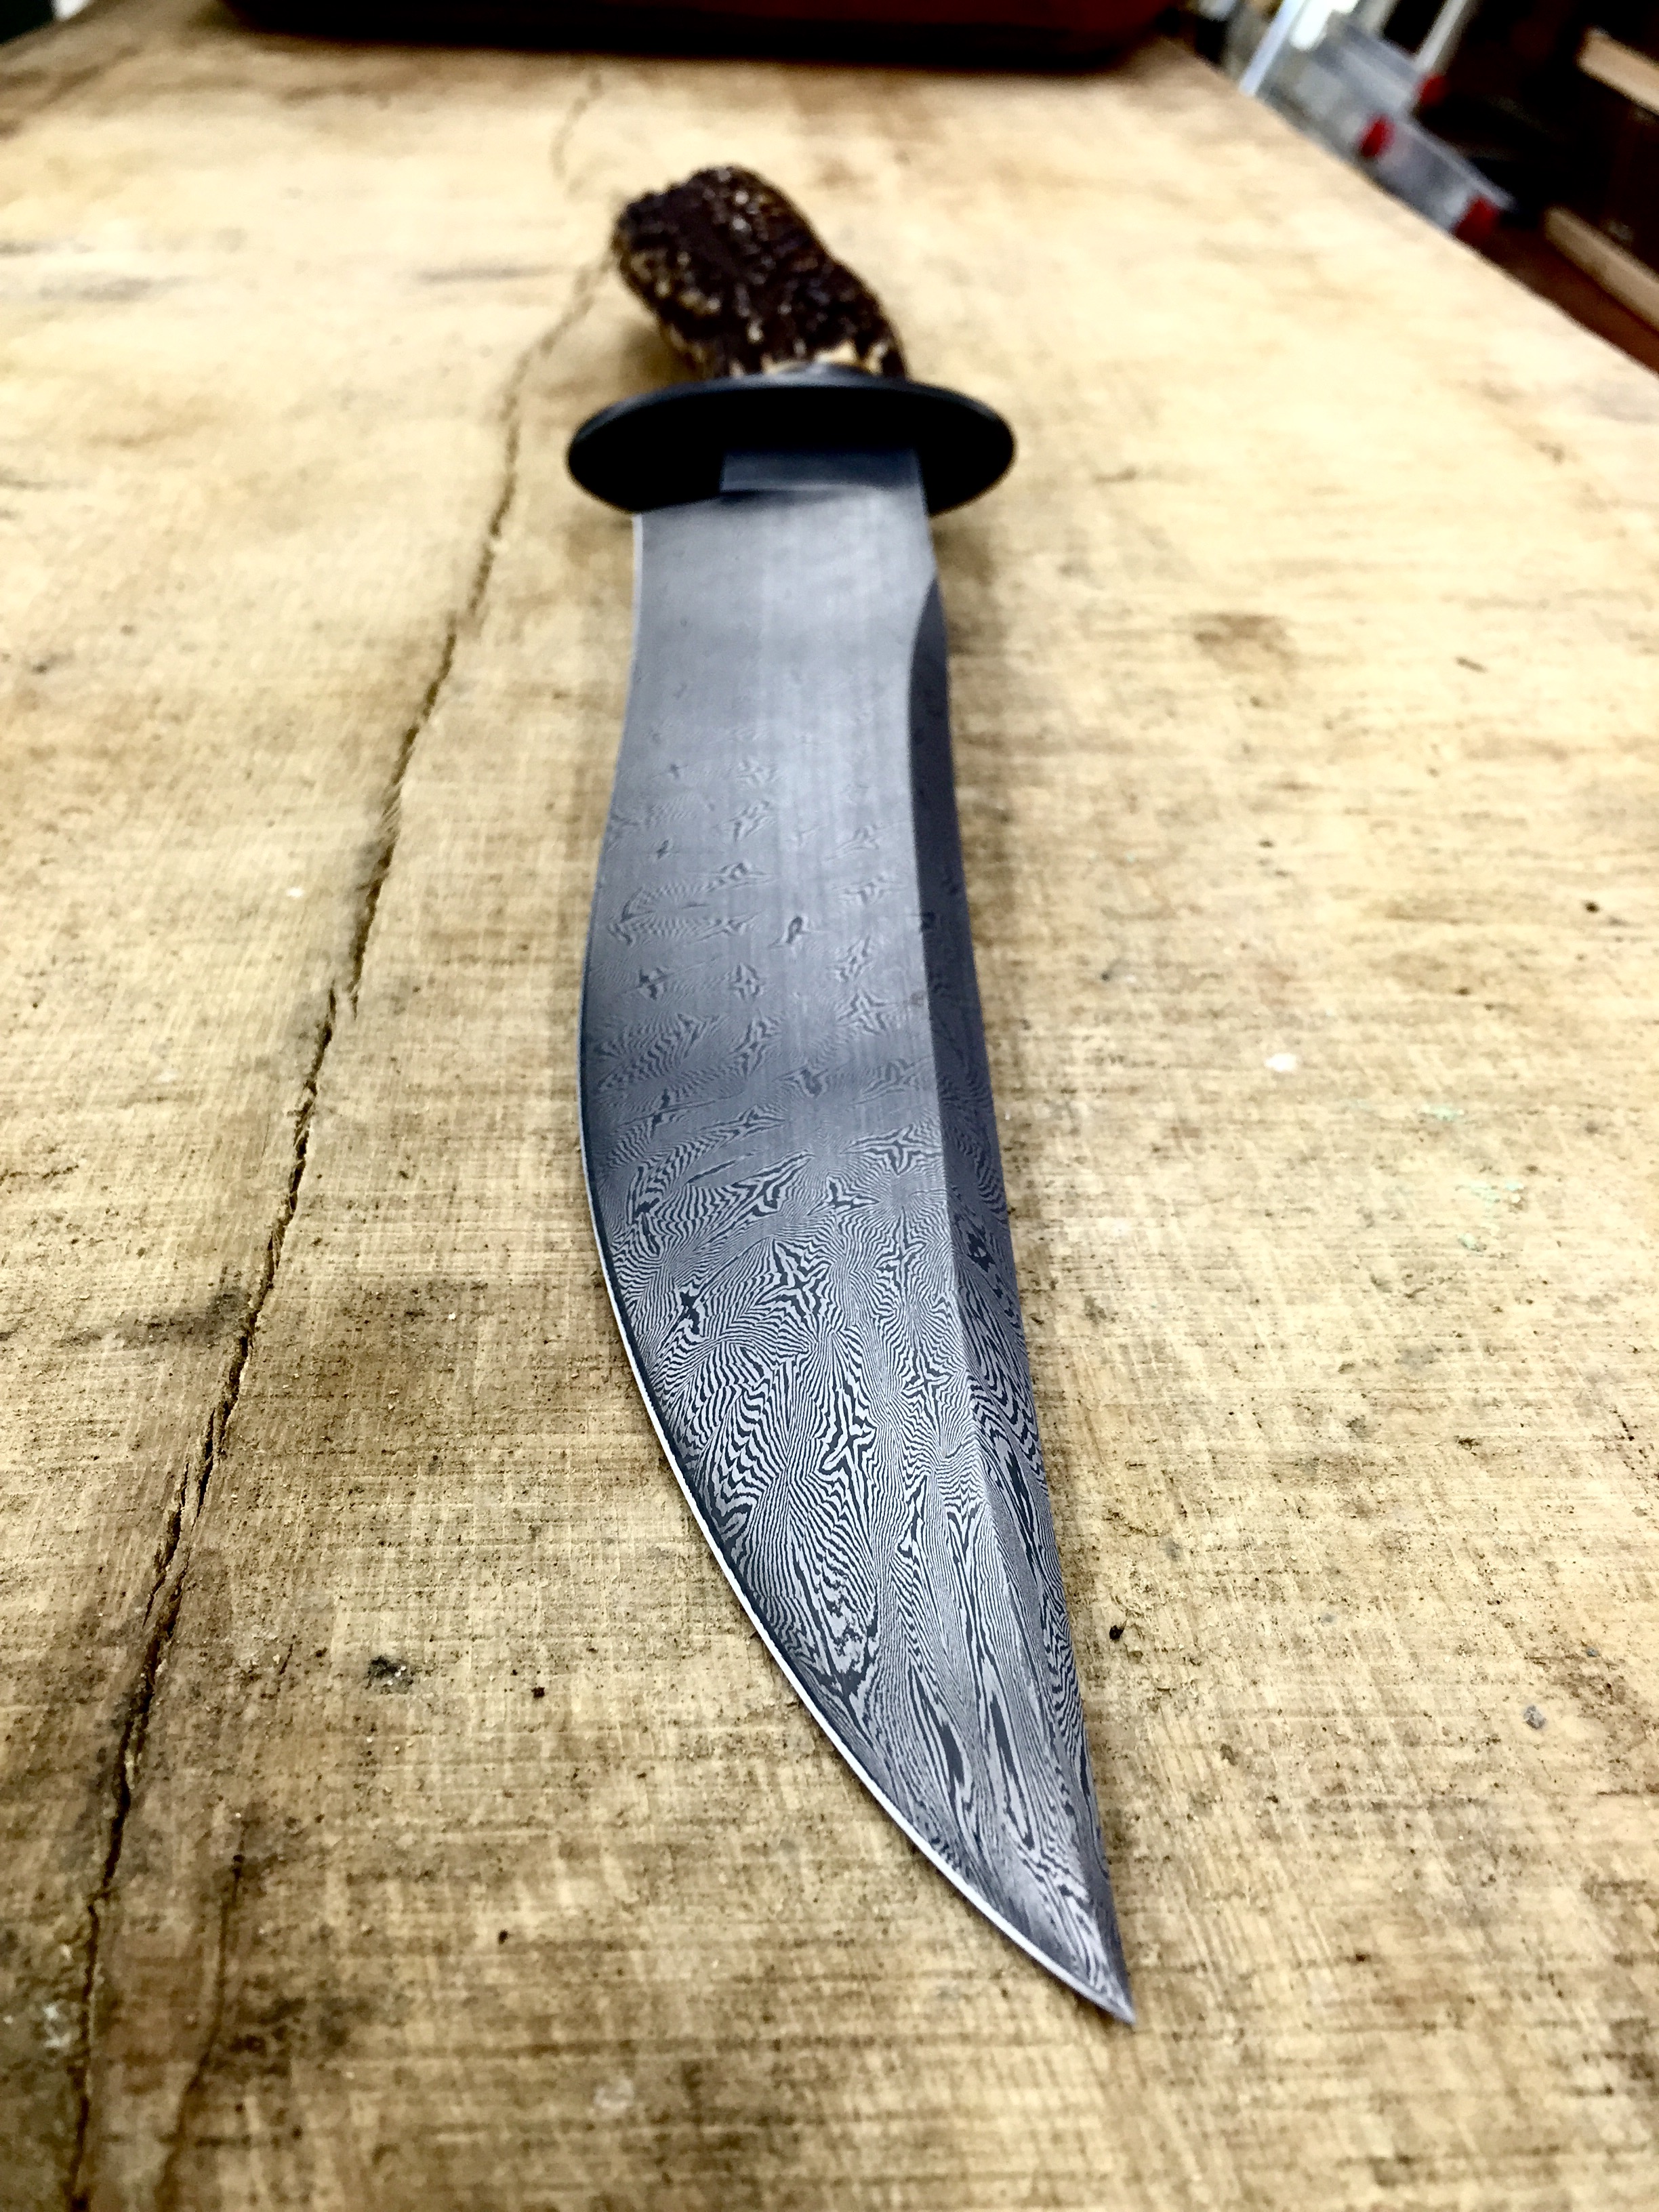
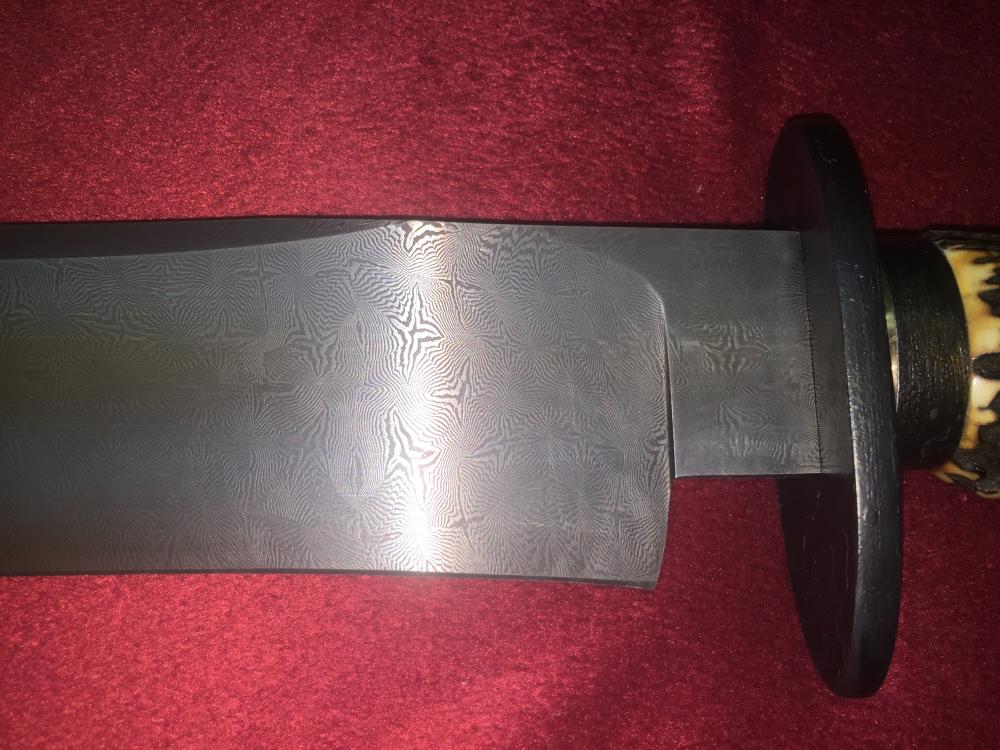
I'm late to the game, but great job! Nice metalwork on the guard a d attention to detail. I'm curious. Did you parkerize to get that level of contrast on the blade pattern?
-
nice work! I couldn't see the crack, but if you are structurally concerned, I would tig it, anneal, and regrind the tang a little deeper into the ricasso. then HT. All strong and hidden away.
-
Are you doing hollow or flat grinds? Do you have a flat platen attachment? also, I couldn't get perfect plunges and square shoulders without one of these. http://www.riversidemachine.net/ecommerce/carbide-file-grind-guide.html
-
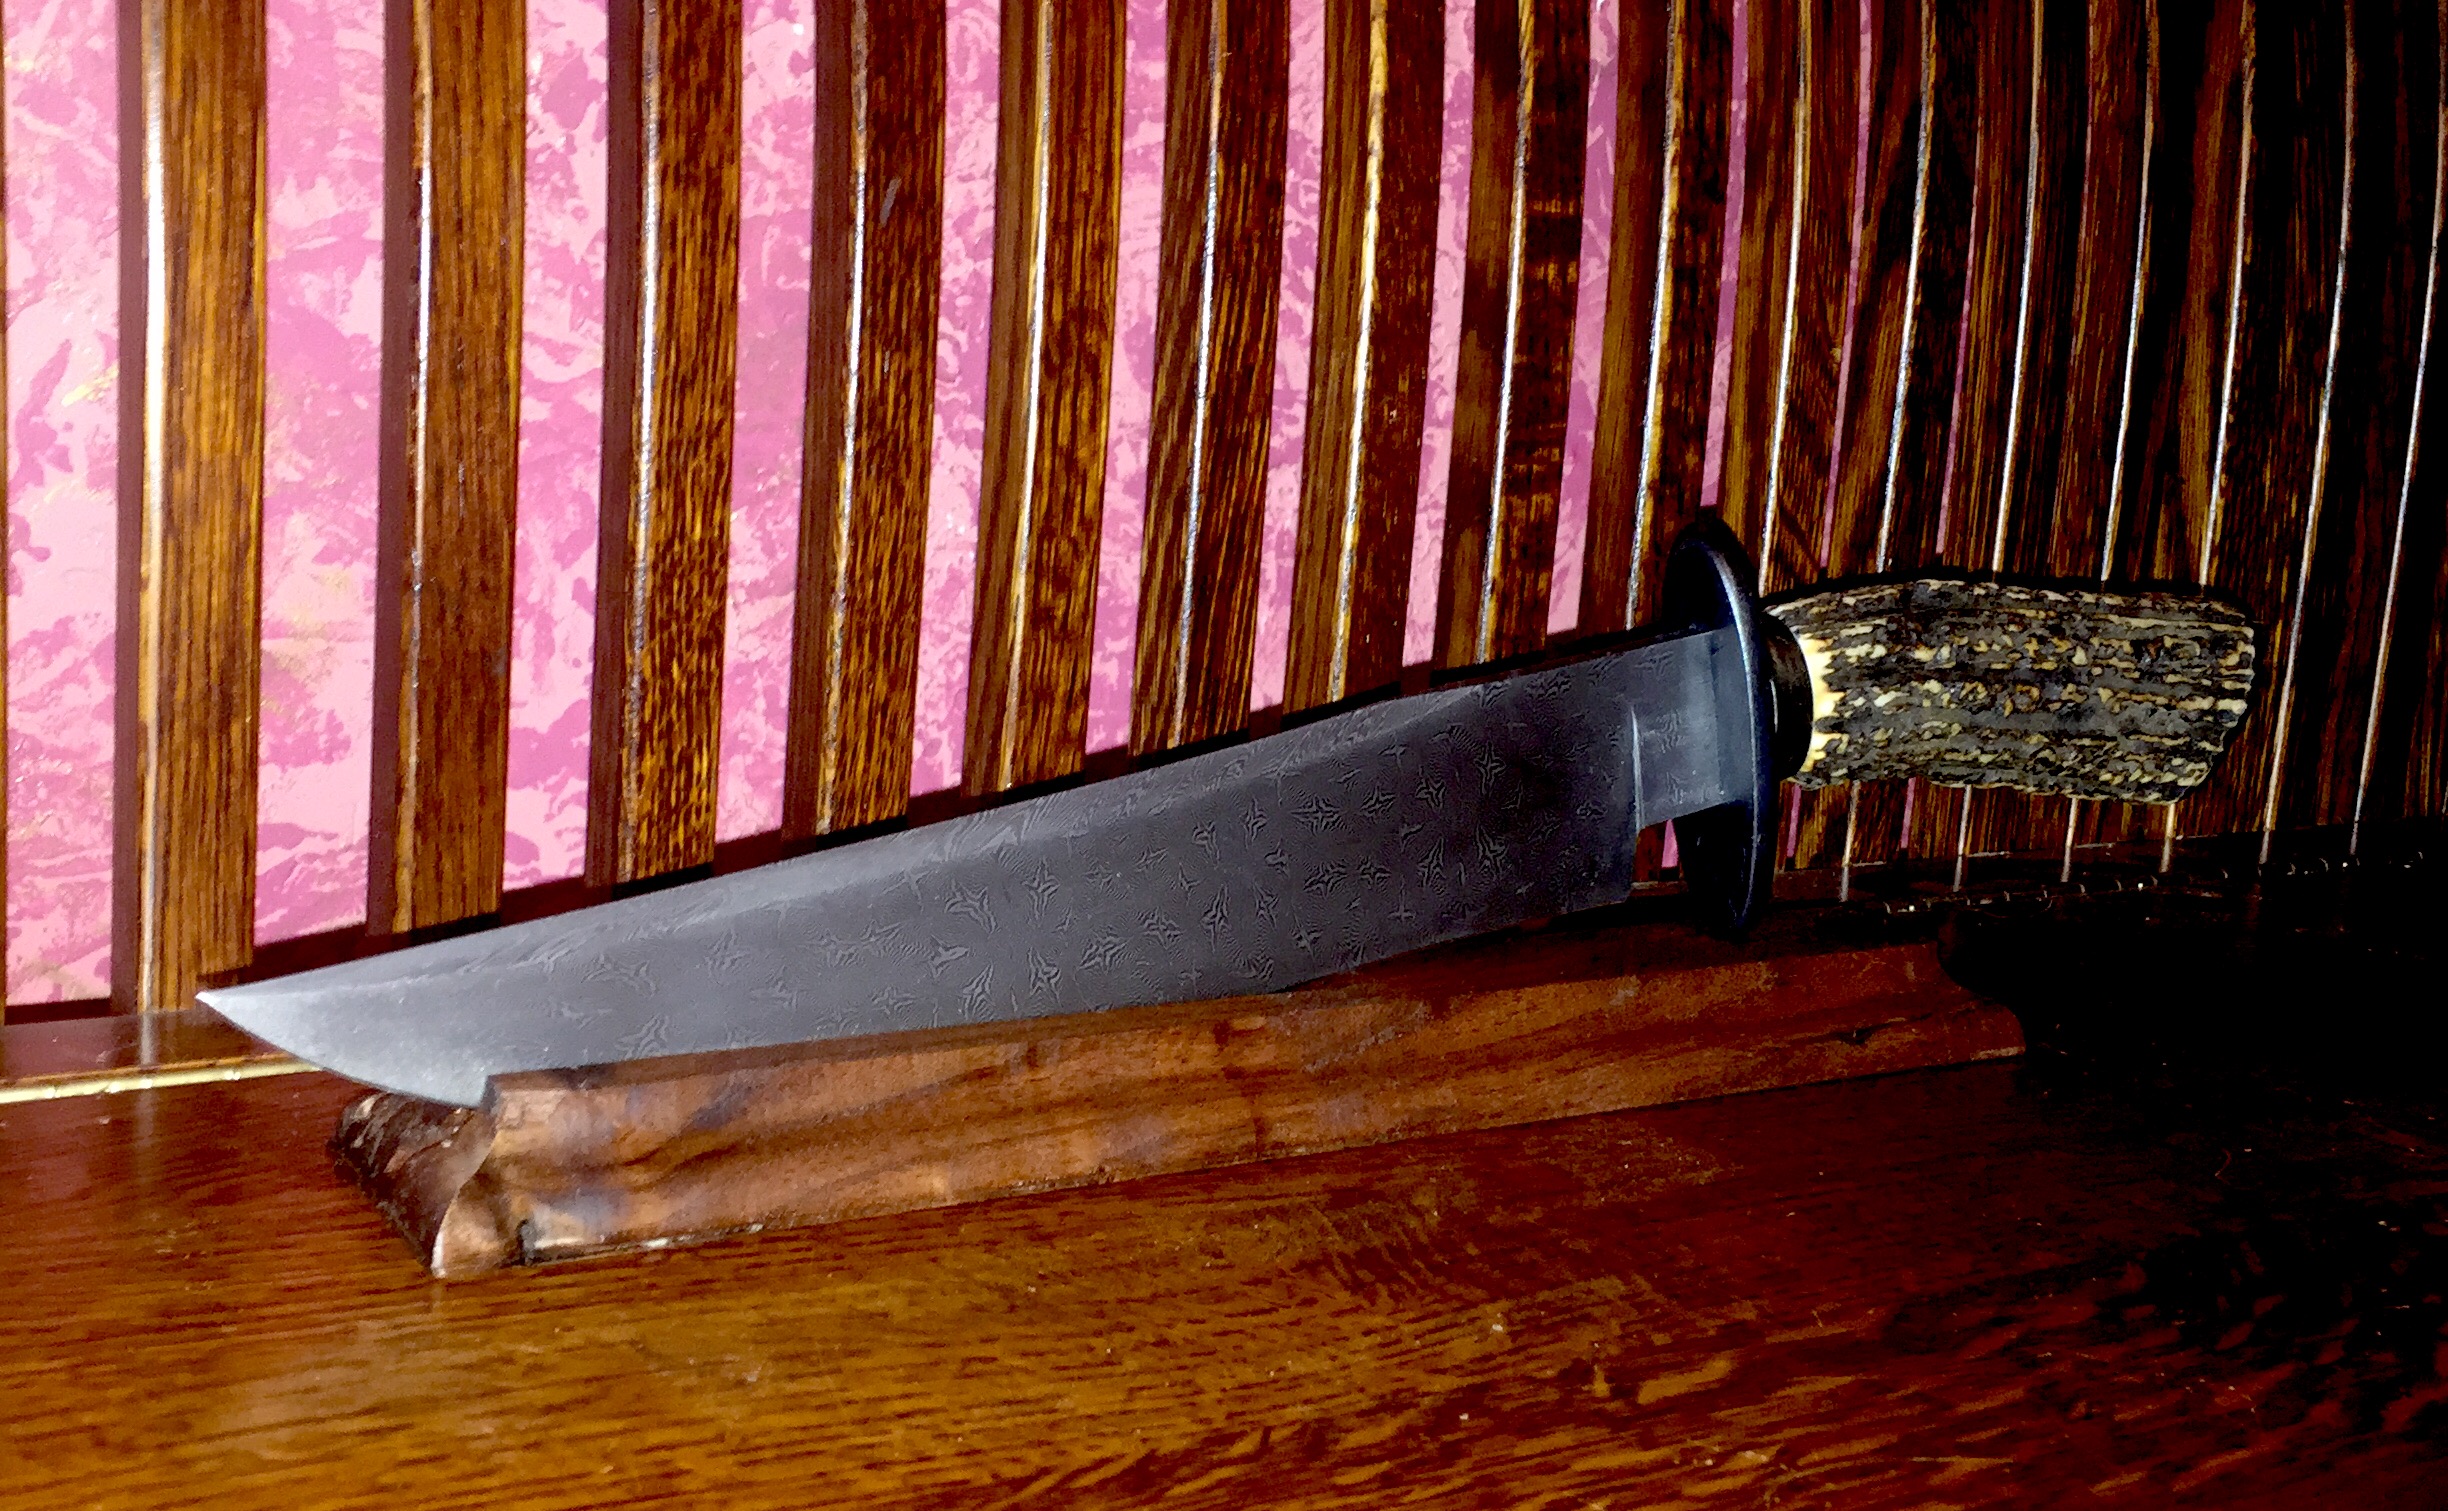
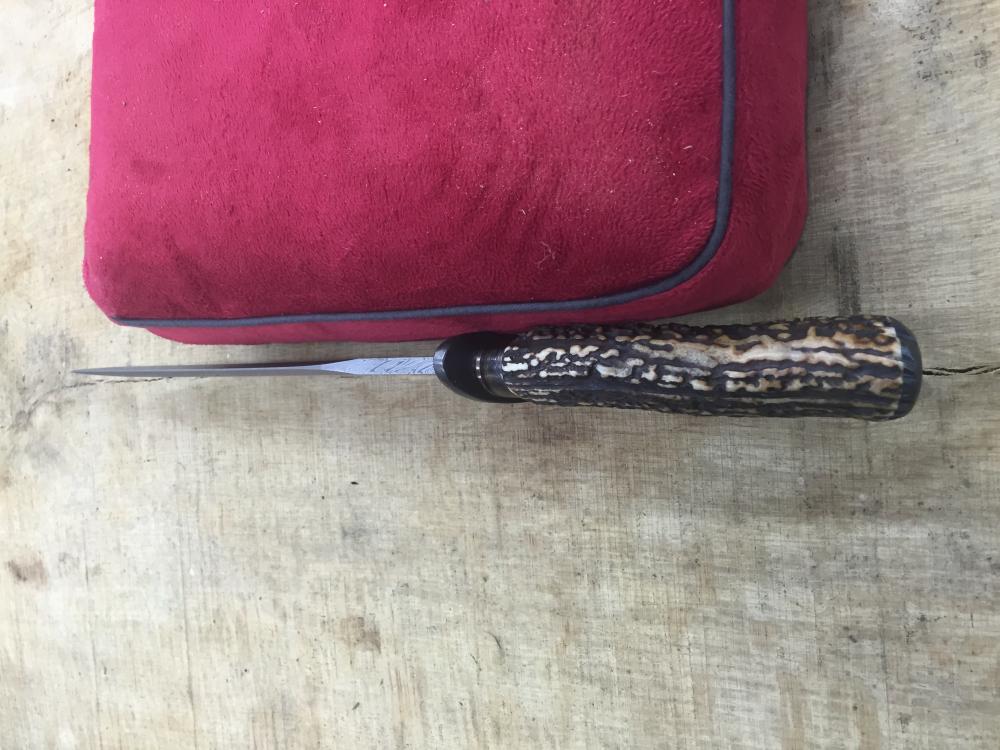
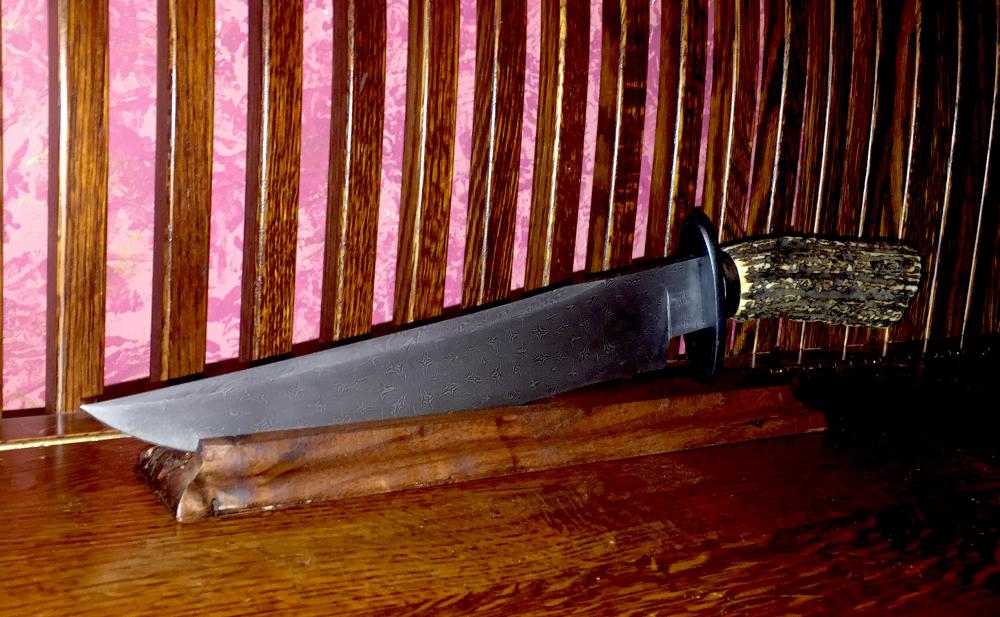
Dave supplied the stag. It complimented the knife better than any I had in my own stash.
-
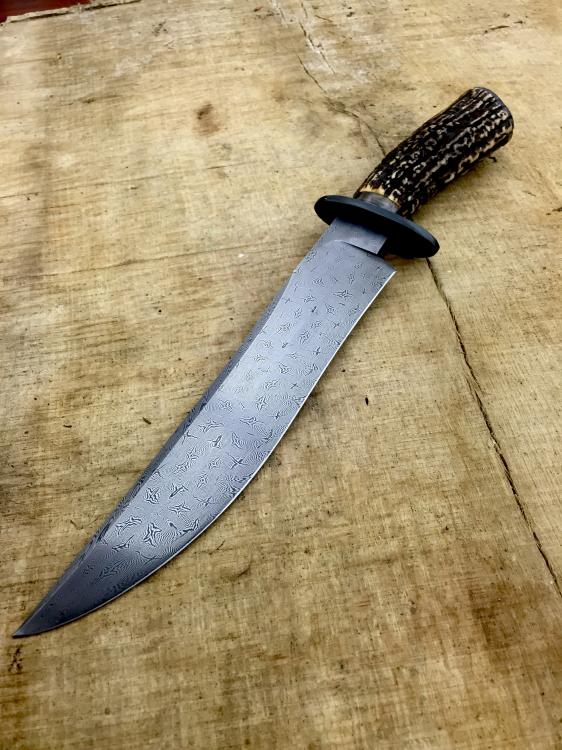
I recently completed a mosaic patterned steel class with Dave Lisch, and folled it up with a class on making a stag handled bowie. The classes were excellent and pushed me beyond my normal comfort zone in bladesmithing. Dave was generous with his knowledge and help. He ground the false edge in the clip for me on this blade as I was too chicken to do my first one on a blade I had already spent 6 days on!

-
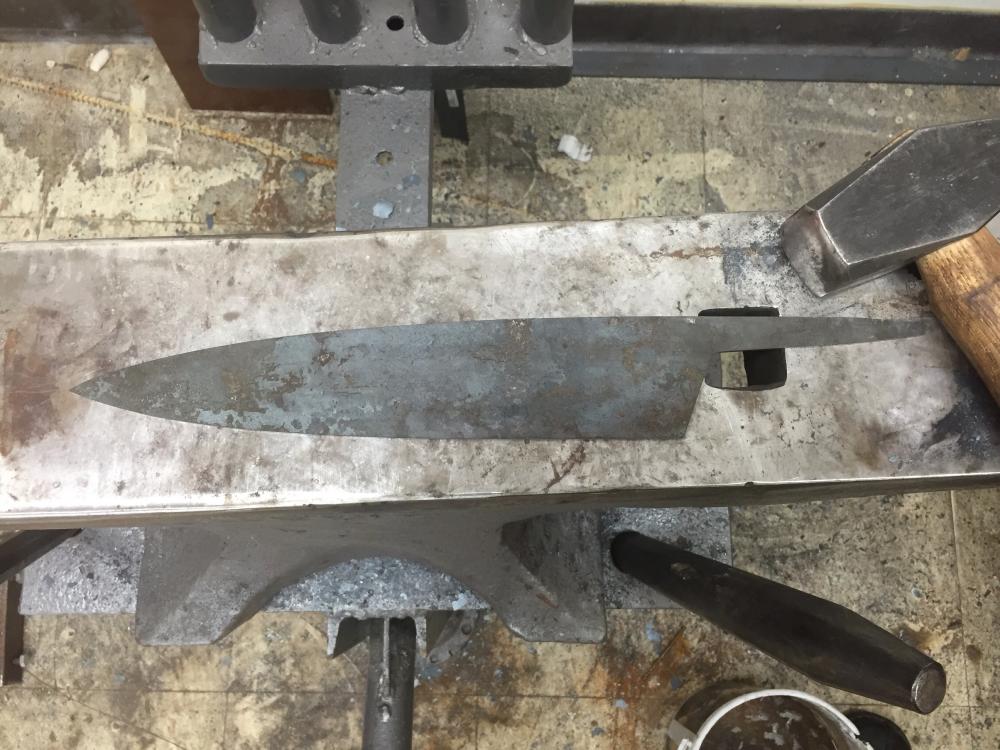
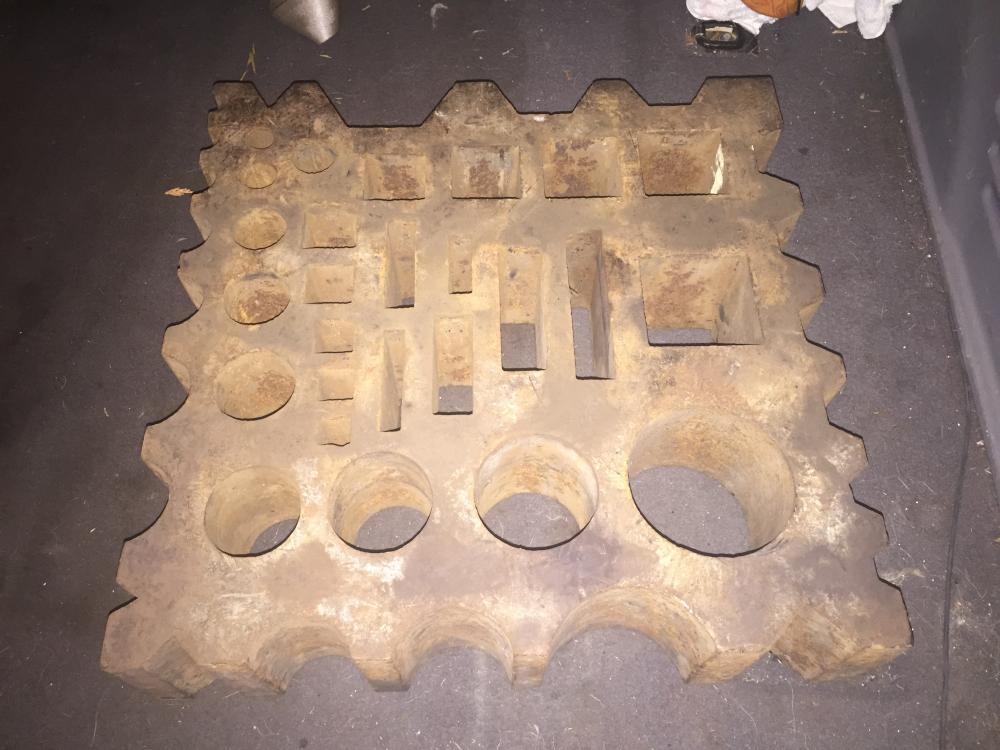
Wow. Thanks for the responses. John, looks like I got me a $21 block there! Thanks for the ID help. Glenn, thanks for the moving tips. 225lbs gets heavy without the leverage you suggest. I thought about building one of those typical stands where the block sits flat, but has slots incorporated to support the block on edge as well, but I'd have to build in a cherry picker to switch positions!
-
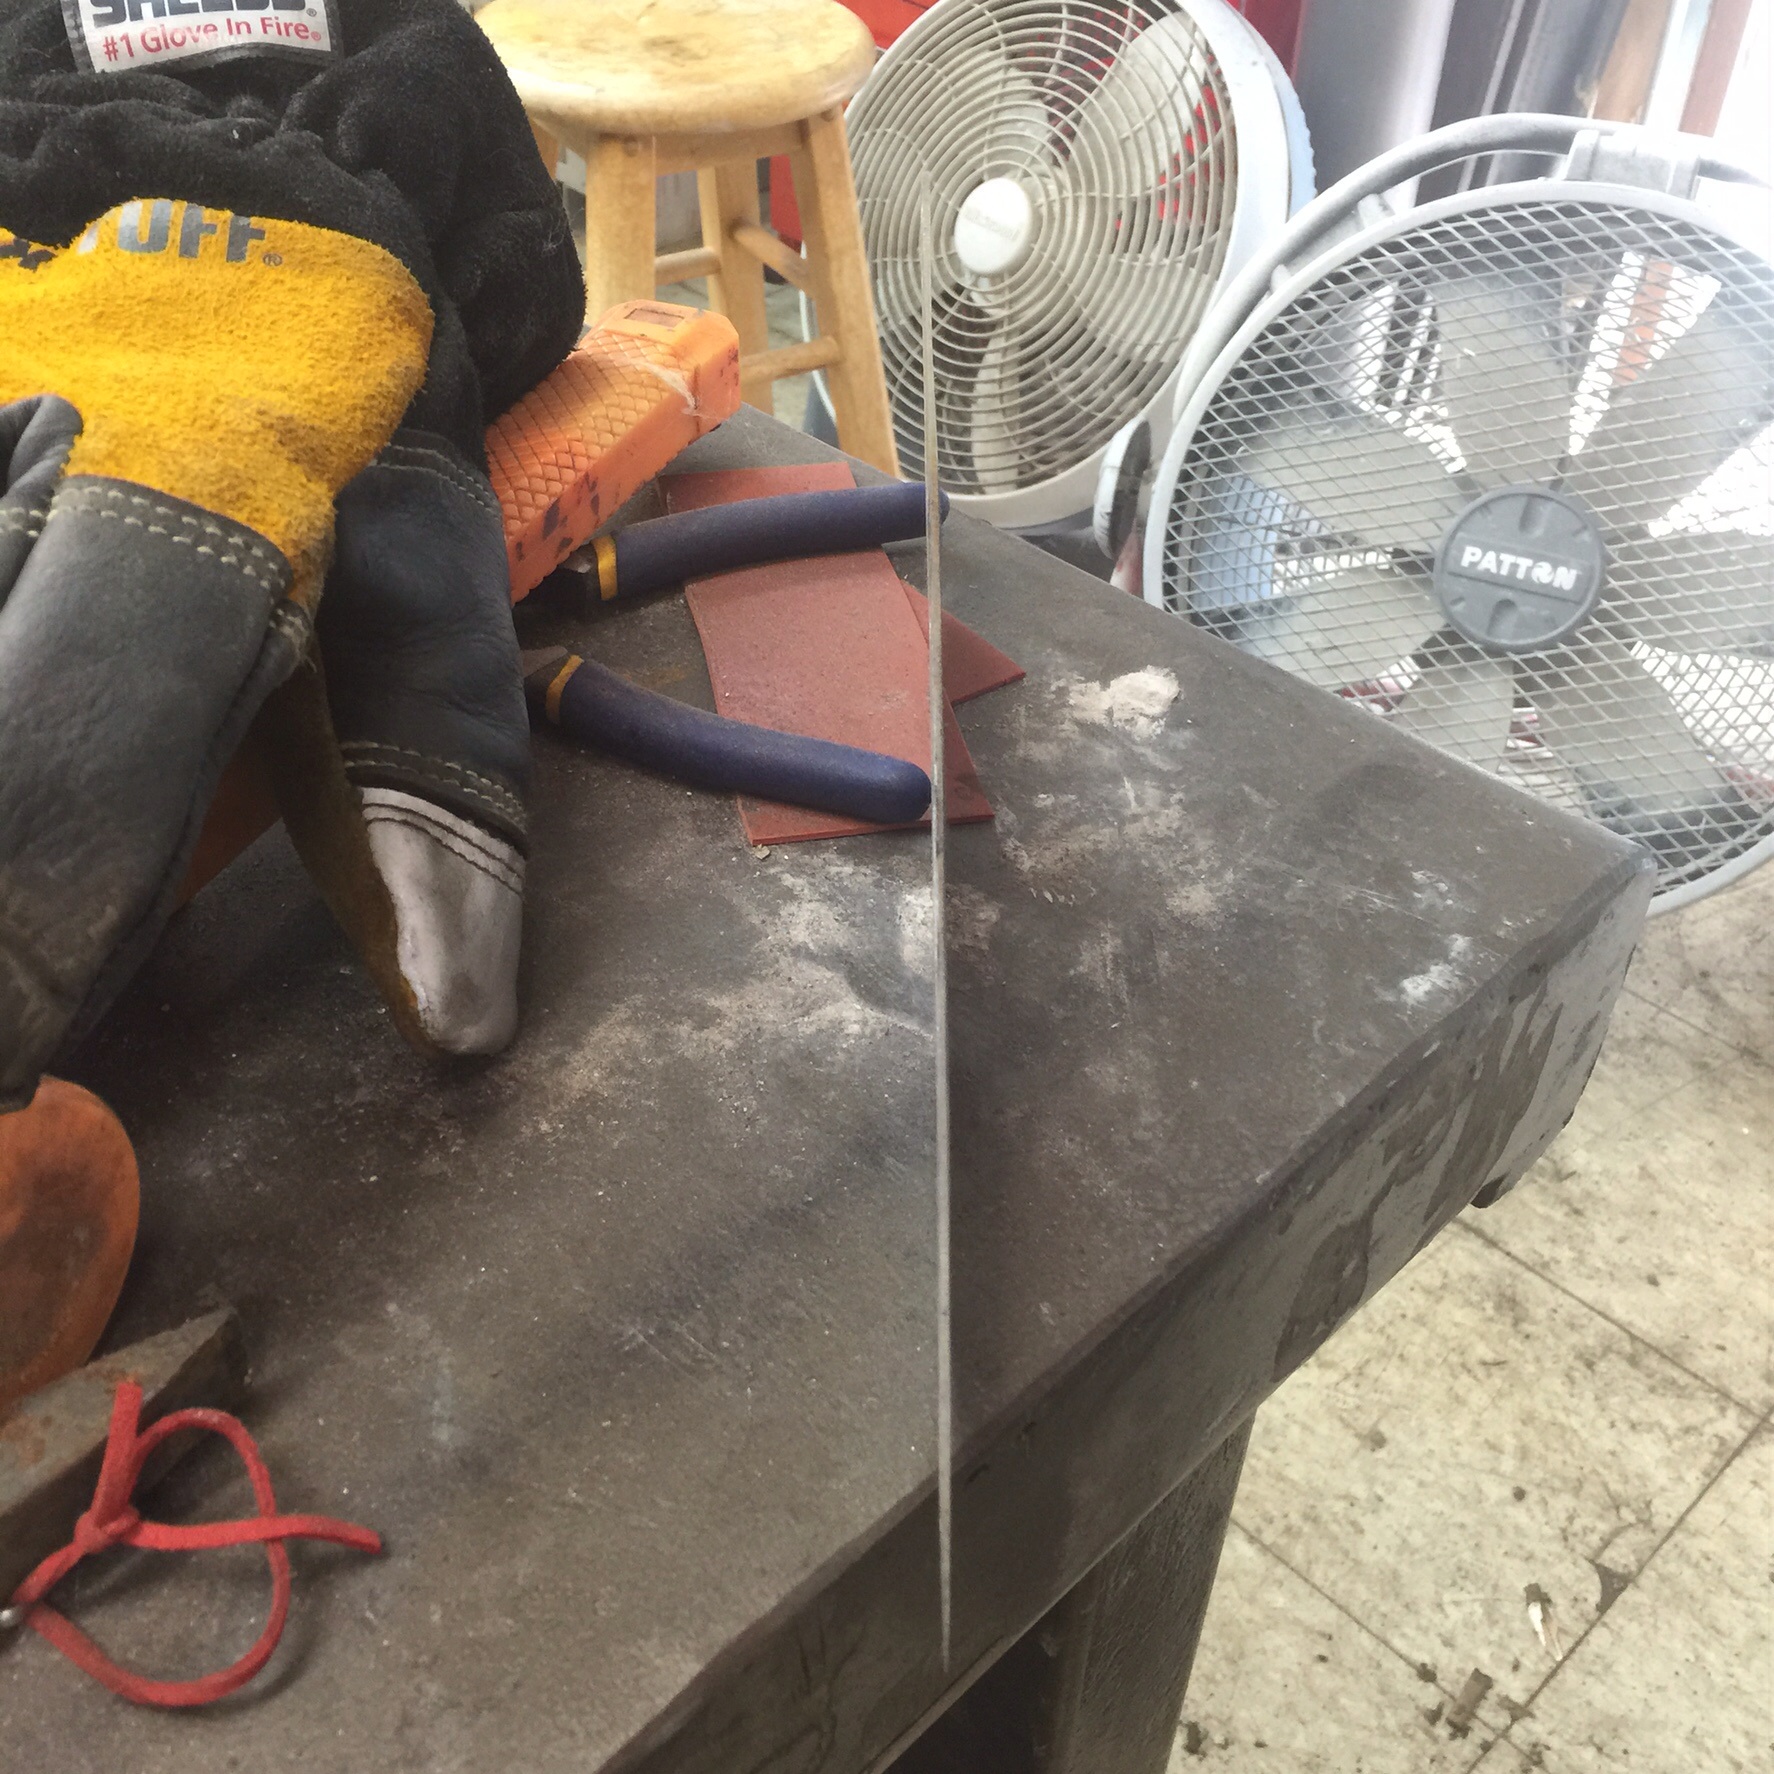
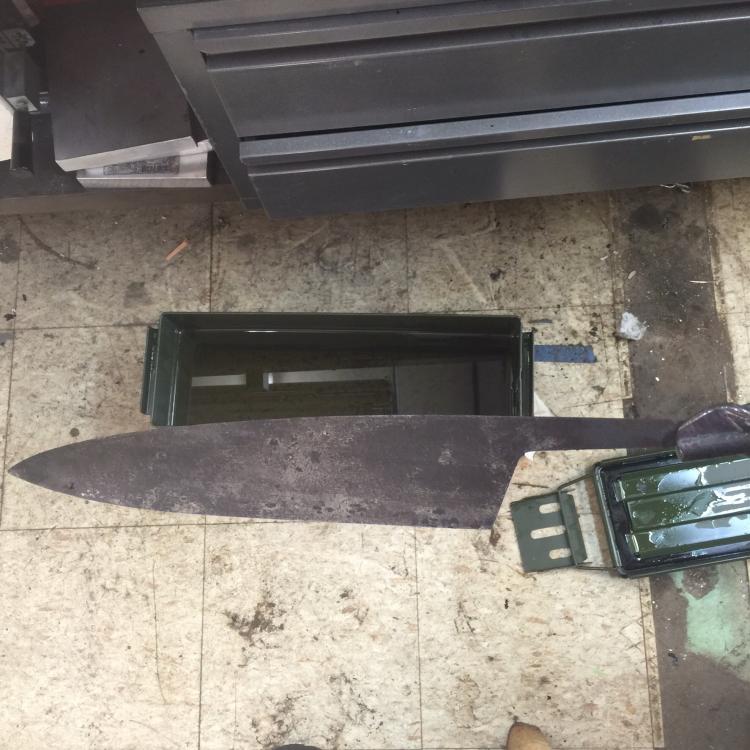
I bought a big swage block today. It's approximately 18" square and I can t flip it over. I remember having seen an article somewhere where someone fabricated a swage block stand that allowed you to rotate the block rather easily. I located a commercial stand that does this, but it is extremely expensive. I would really appreciate it if someone knows of the article I speak of and can send me a link. Also, does anyone know the origin of this block? No maker marks I can see.
-
Finely done!
-
Gotta put my 2 cents in. I have only been making knives for a couple years now and am a beginner. During these last 2 years I have met quite a few ABS smiths, both JS and MS. All of them, without exception have been amazingly helpful with sharing their know how. I never experienced anyone with an attitude of secret keeping. The ABS, in my mind is made up of folk of the highest integrity and sense of brotherhood. Knifemakers as a whole seem to have these qualities, not just those who are ABS members.
-
Thanks for sharing that. Fascinating!
-

Welding S7 to Mild Steel
Jspool replied to Jspool's topic in Power Hammers, Treadle Hammers, Olivers
This is what I ended up doing. Upper die was preheated and tabs mig welded on. I machined bolt pockets into the lower die at two opposite corners. Next step is to dress and heat treat.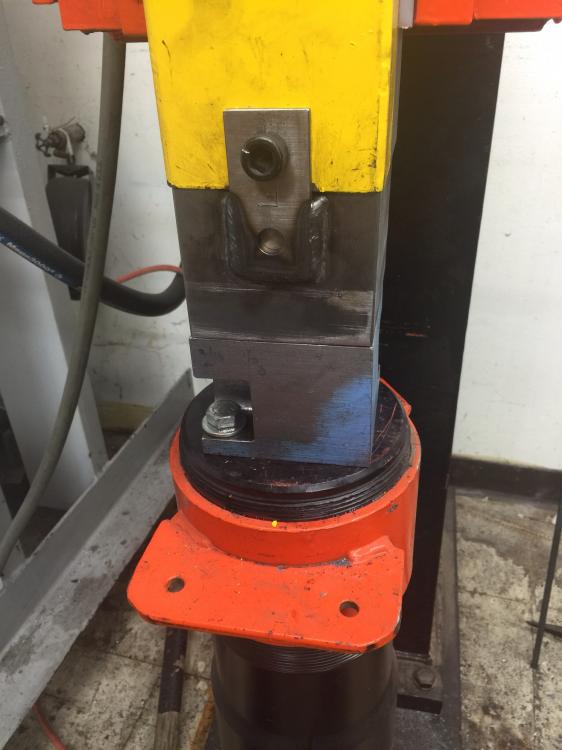
-
Welding S7 to Mild Steel
Jspool replied to Jspool's topic in Power Hammers, Treadle Hammers, Olivers
This is a data sheet I was initially working from. The forum info that I do trust is from folks that have actually done it. http://cintool.com/catalog/Shock_resistant/S7.pdf interesting information -
Welding S7 to Mild Steel
Jspool replied to Jspool's topic in Power Hammers, Treadle Hammers, Olivers
Hi Doug, Preheating and welding is finished on the top die. I did not know that I shouldn't have let it cool prior to HT. Fingers crossed. I am planning to Austenitize at 1750 for three hours (die is 3" thick), and temper at 1000 twice for three hours each as per recommendations I received from another forum. Is the tempering temp level ultimately what will decide my rc, or the austenitizing temp? At 58rc, are you getting any chipping? I have another set to make after this, and then some for the hyd press, and would really appreciate learning more about your protocols. thanks Jonathan -
Welding S7 to Mild Steel
Jspool replied to Jspool's topic in Power Hammers, Treadle Hammers, Olivers
Thanks for that. I'll definitely do so if I end up welding them. Should I be heat treating the dies, or leave them around RC20? -
Welding S7 to Mild Steel
Jspool replied to Jspool's topic in Power Hammers, Treadle Hammers, Olivers
I could bolt them together. One of the die sets are 4"x4", the same as the tup. It's primarily for use with top tools. The top 4x4 die will slide I to the tup channel, so I can bolt a 1.5" x 3" piece of flat bar, to the tup and die, front and back. The bottom 4x4 sits on a 6" round anvil, so a couple of angle taps could be bolted to the die, and the anvil. i don't understand why the welds would crack as they are just holding the dies in place. i should add that I do have an Evenheat Oven if that needs to come into play. -
I'm replacing my dies on the power hammer with S7. one set will be mounted to 3/8" mild steel plate The other set will have 3/8" mild steel tabs welded to them. I will be MIG welding. Do I have to preheat the S7 in order to accomplish a good weld? If so, to what temperature? Thanks
-
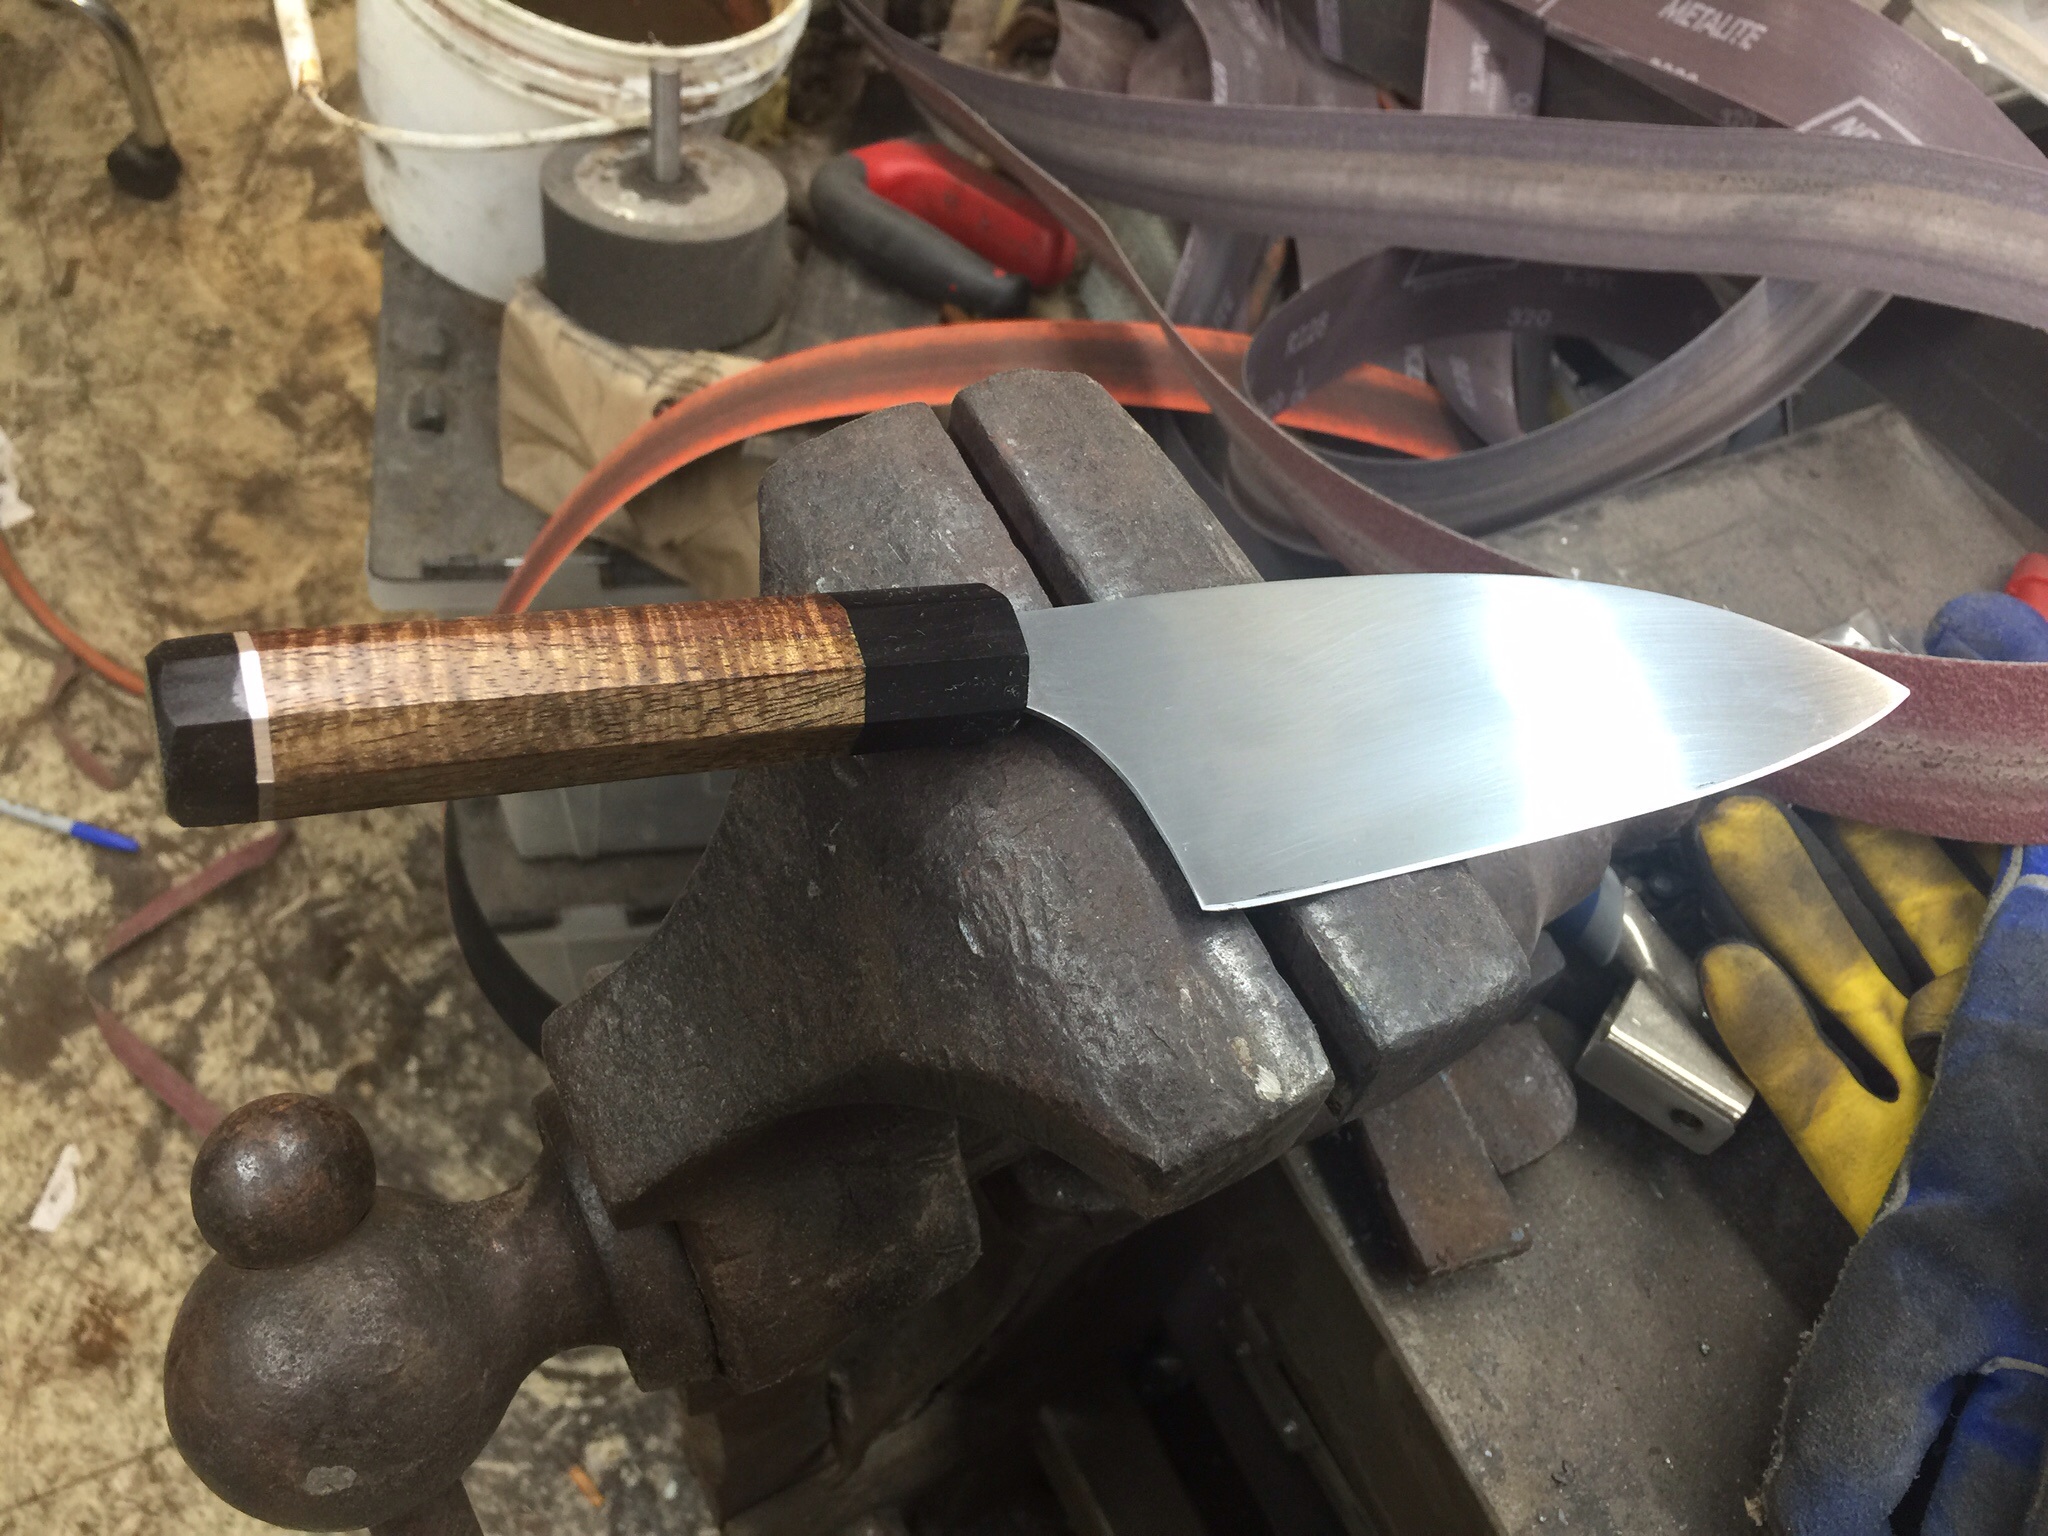
Thanks Guys. I just have to keep remembering that its the journey that counts! Shamus, unfortunately I did not have much of a process for making the octagonal handle. I eyeballed it at the belt grinder. Its simple to cut an octagon at the tablesaw with the blade set at 45 degrees. I didn't go that route because I wasn't sure whether the cupreous nickel spacer would screw up my carbide blade or not. If I were you, I would layout an octagon on the end of my block. Then, set my tool rest at 90 to the belt. Using a 45 degree side of a combo square to position your square block on one of its corners, bevel off one of the corners to the line you drew on the end of the block. place the newly ground facet down on the tool rest and sand down the other corners to the layout lines. Take your time, and keep in mind to leave a little extra stock to allow for the material that moving down the grits will take. Some wa handles are taller than their width, so learning to do this by hand gives you the freedom to make what you desire. I am working on figuring out how to do a tapered octagon handle. Pretty basic with hand planes, but then the metal spacers prevent me from going that route. Guess I could do it by hand as well. Good luck!
-
Finished up the handle today. All glued up and on. With the hollow cavity that needed to be pretty full of epoxy to adhere to the tang, and the cap that needed to be epoxied on and clamped on, it was a tricky glue up. The spacer is cuprous nickel. I might still take the blade down to a finer grade of scotch brite. I was real pleased with my first tang/bolster fit. I realize that my process is convoluted and perhaps more difficult than it needed to be. Hopefully I'll figure out how to streamline it, and not take so many steps backwards as I get some more blades under my belt.


-
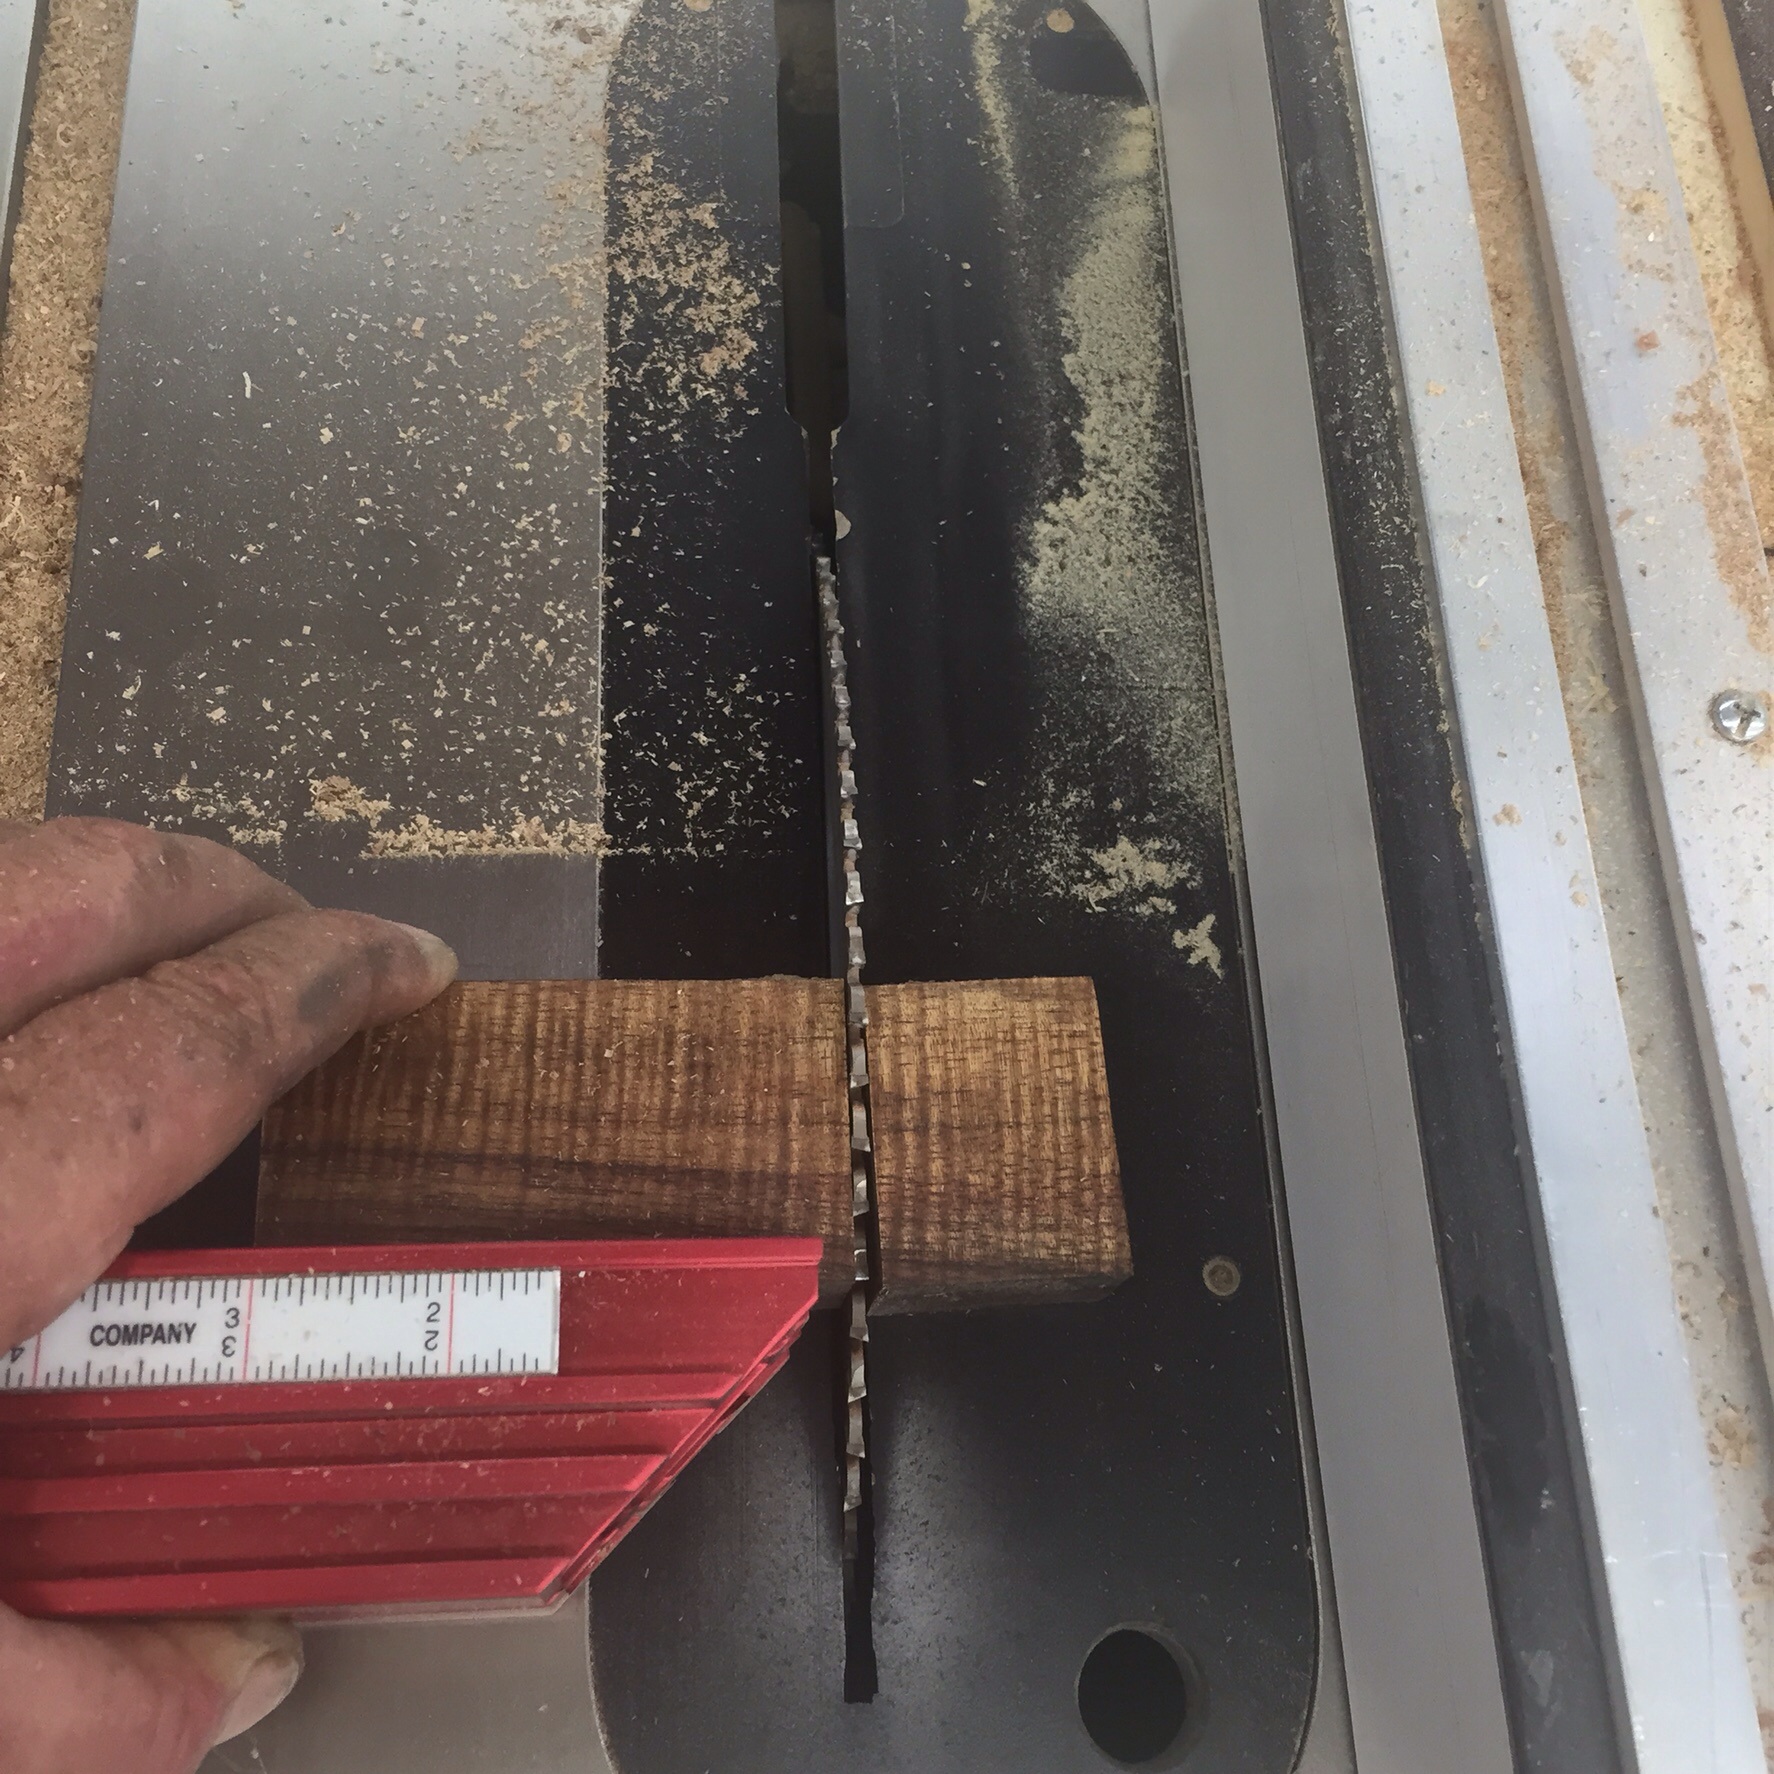
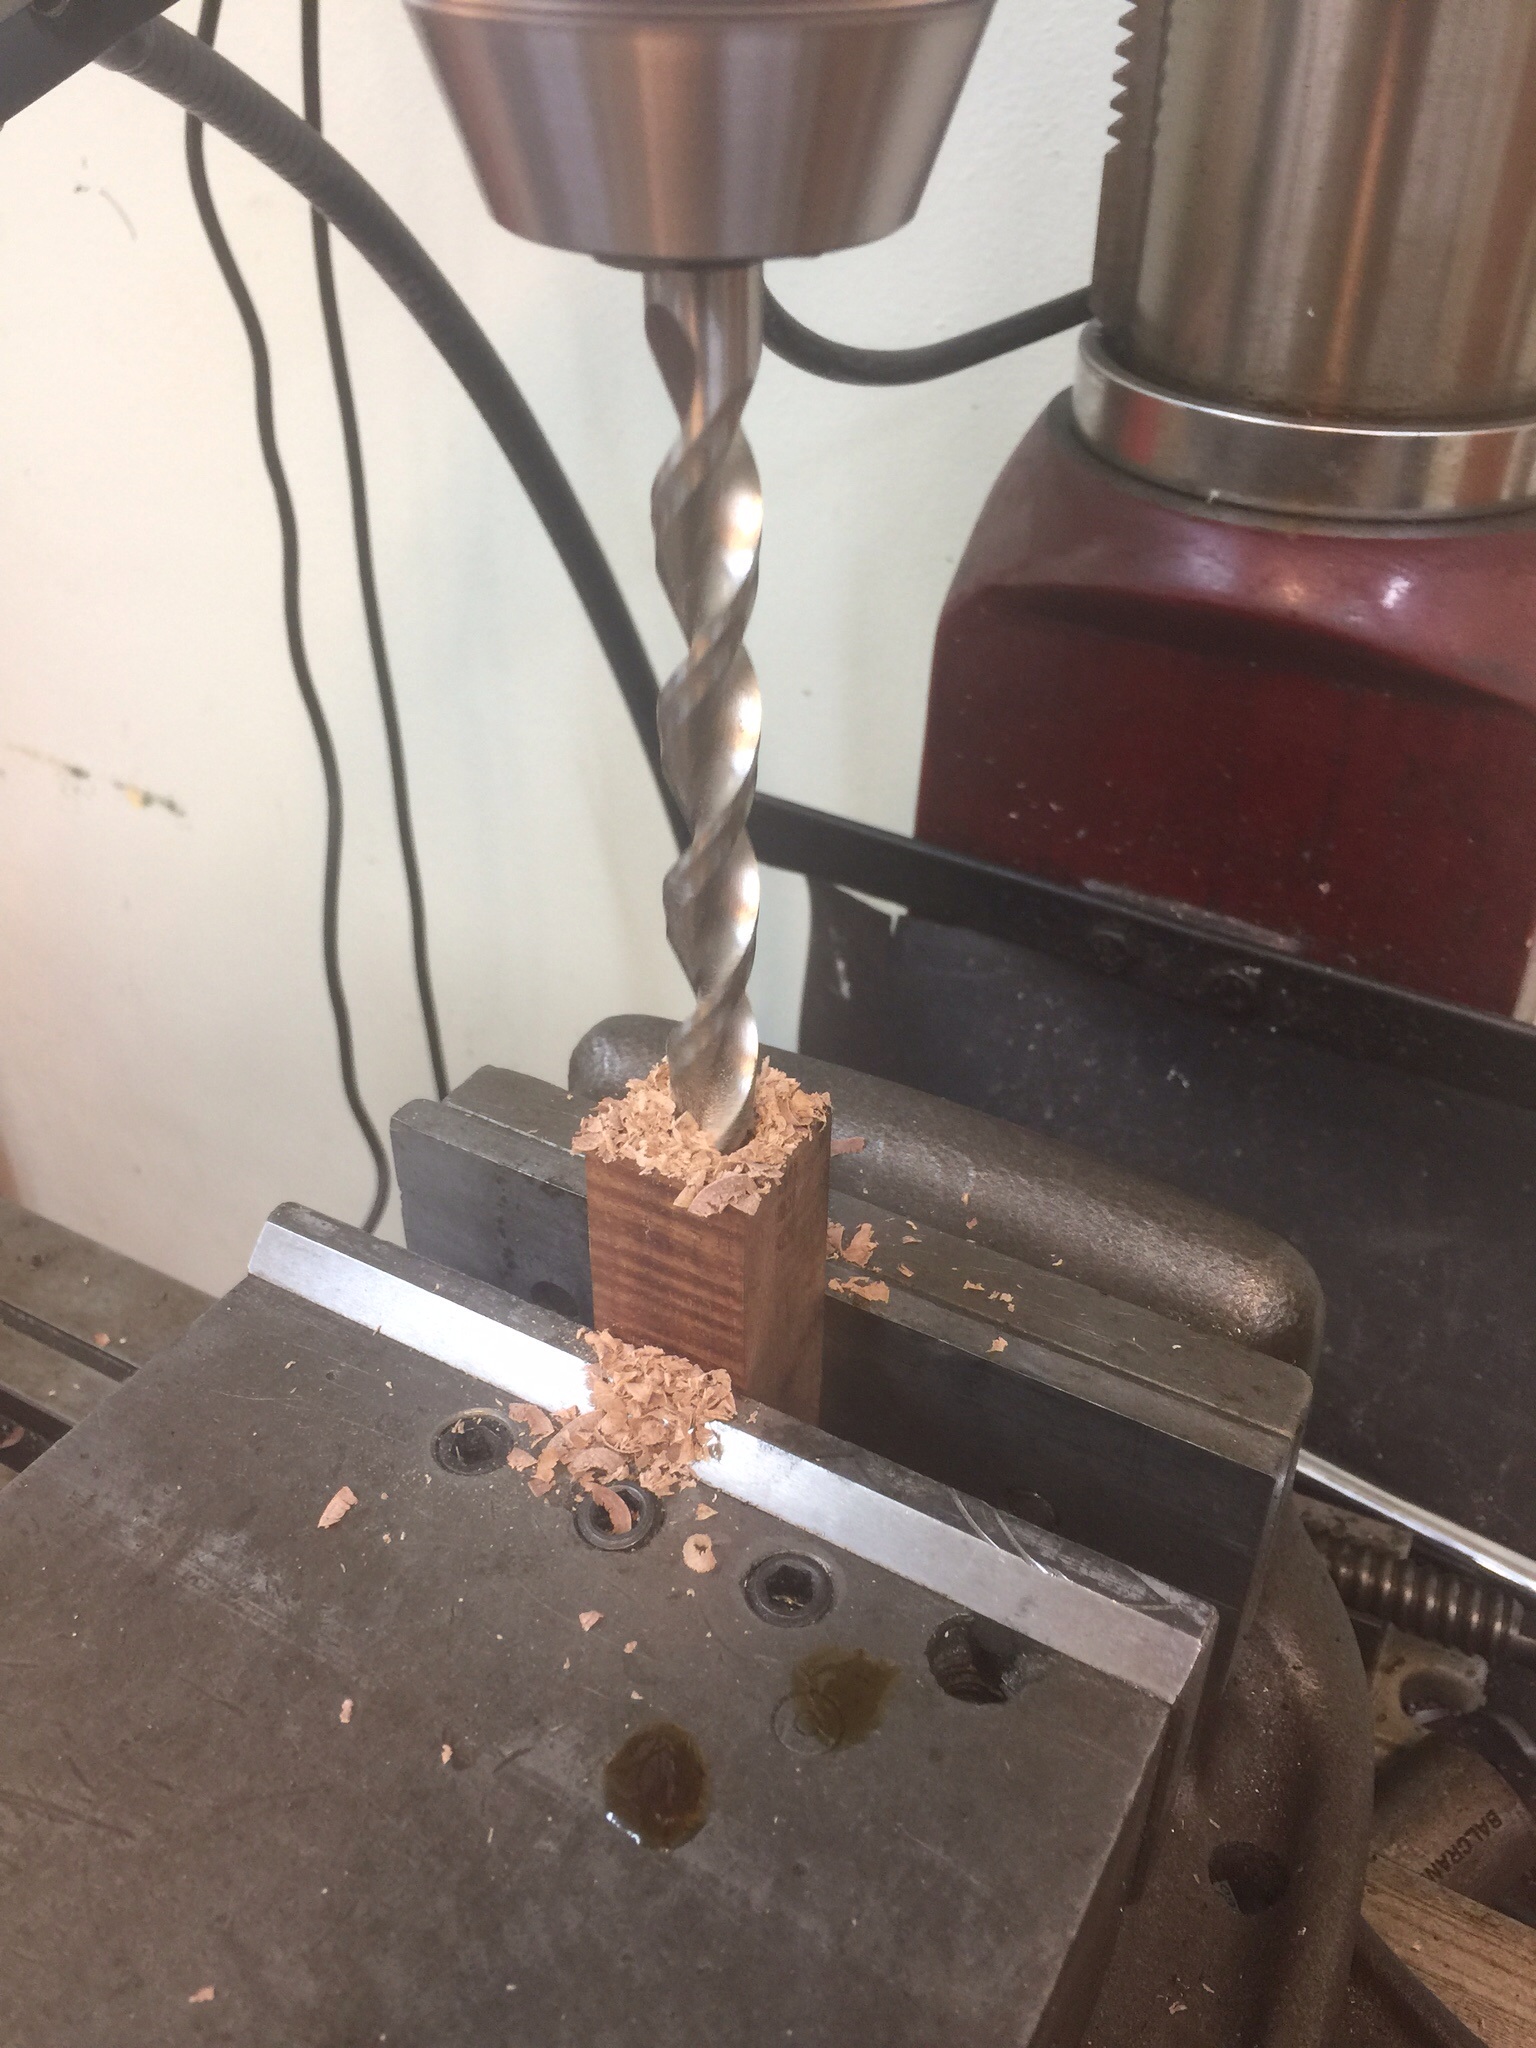
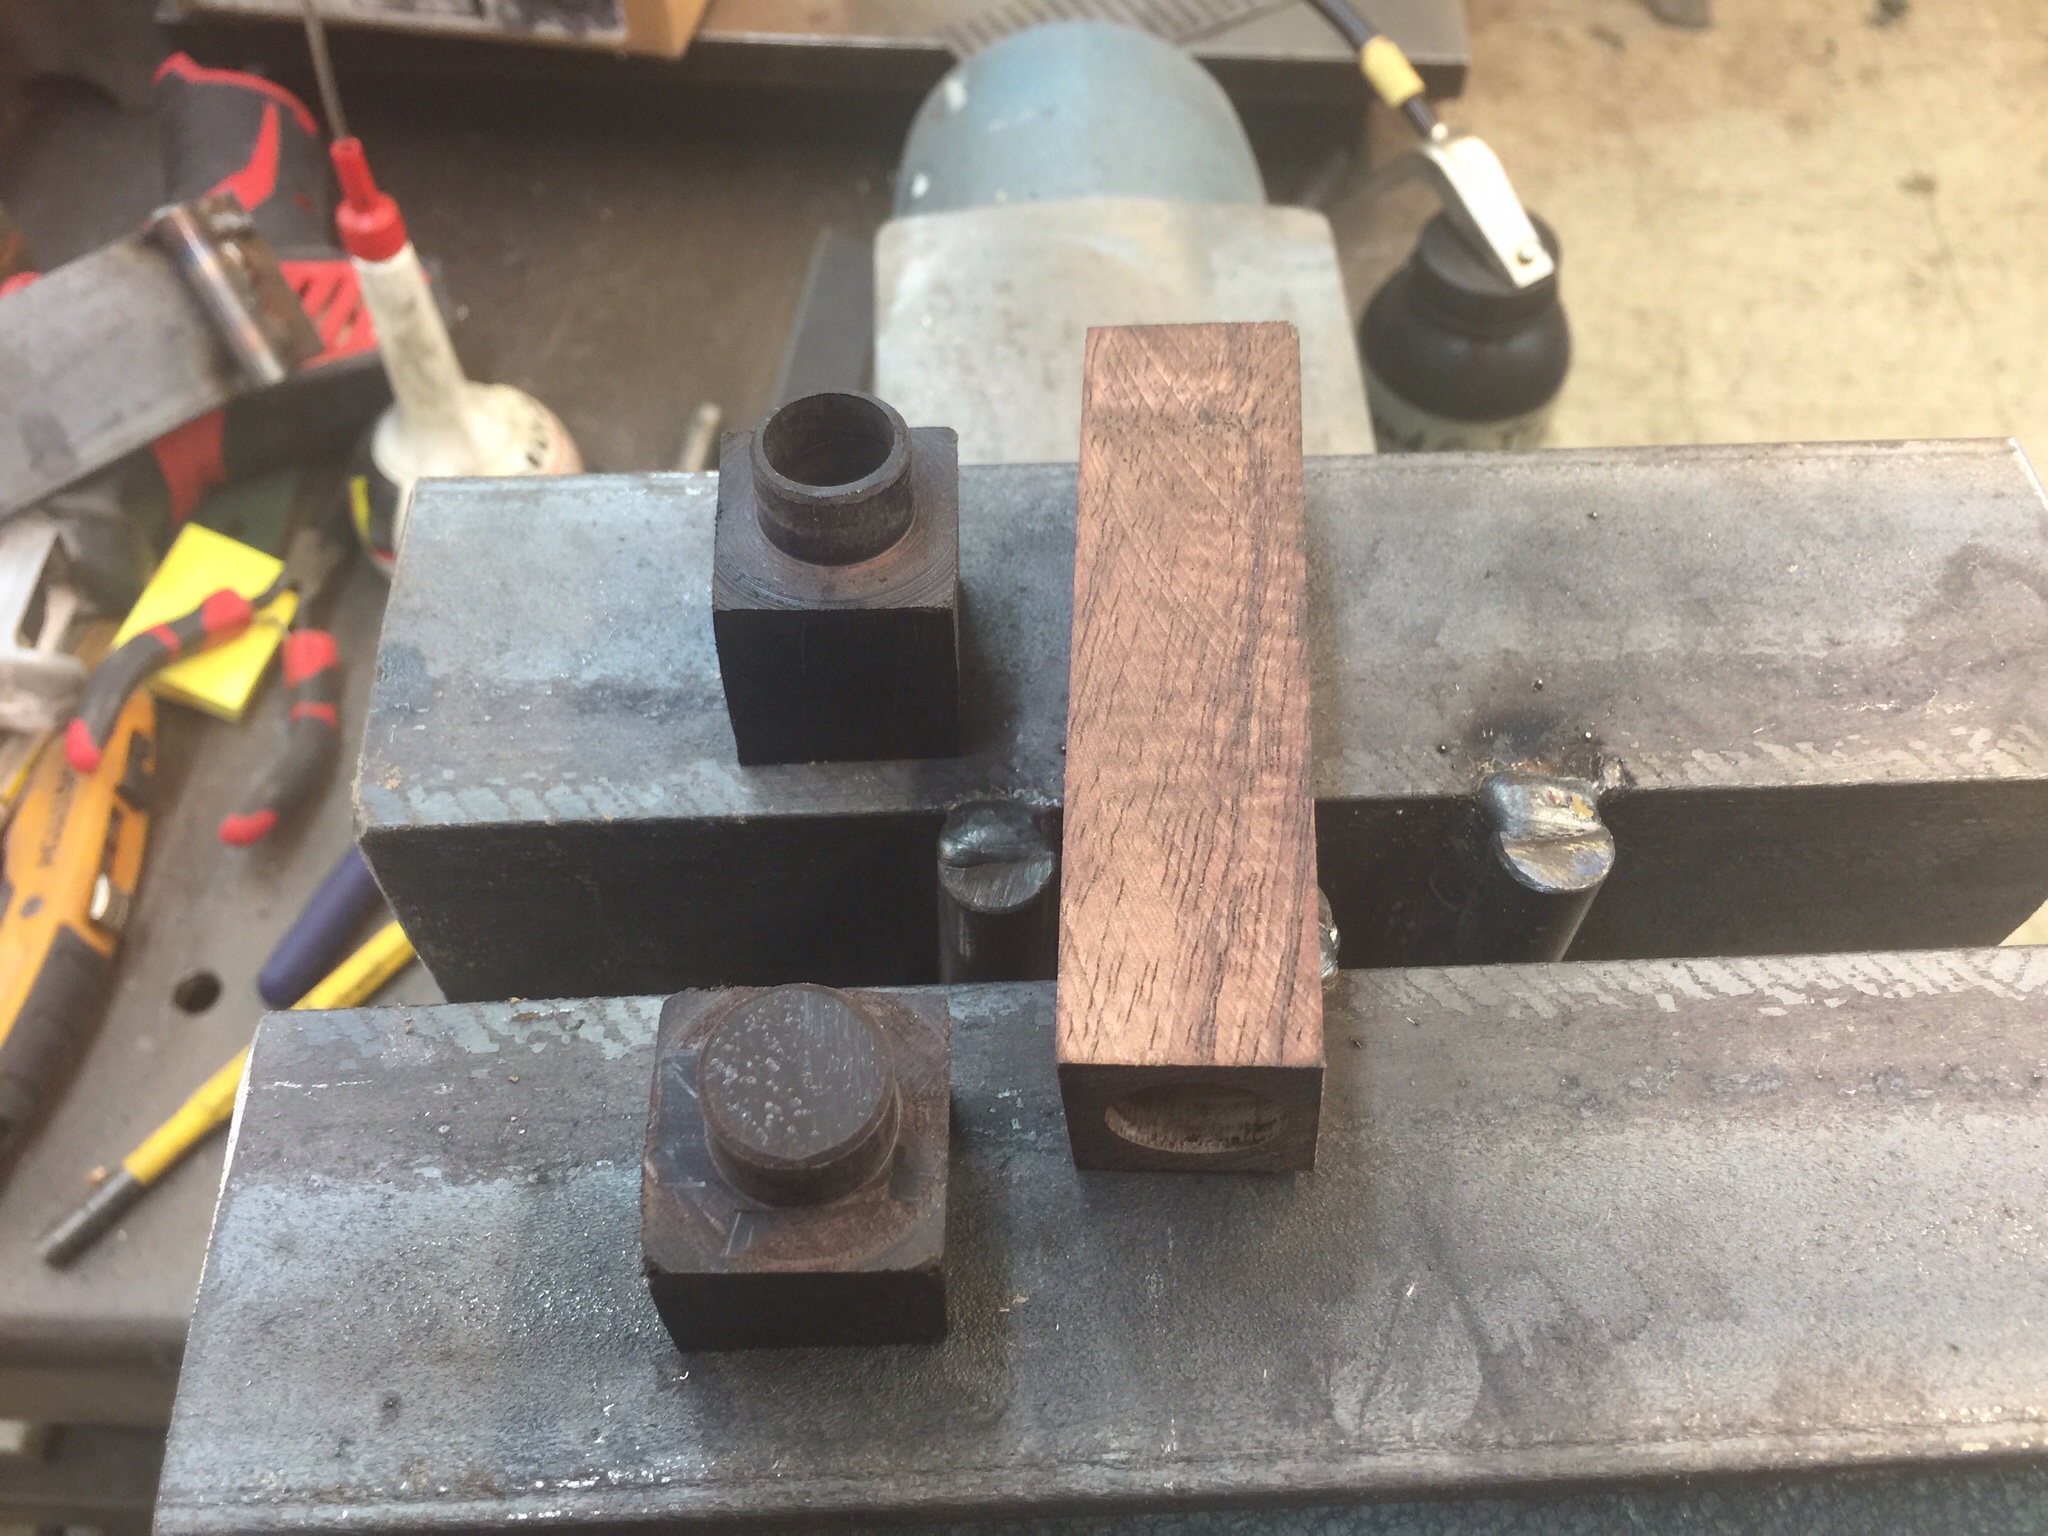
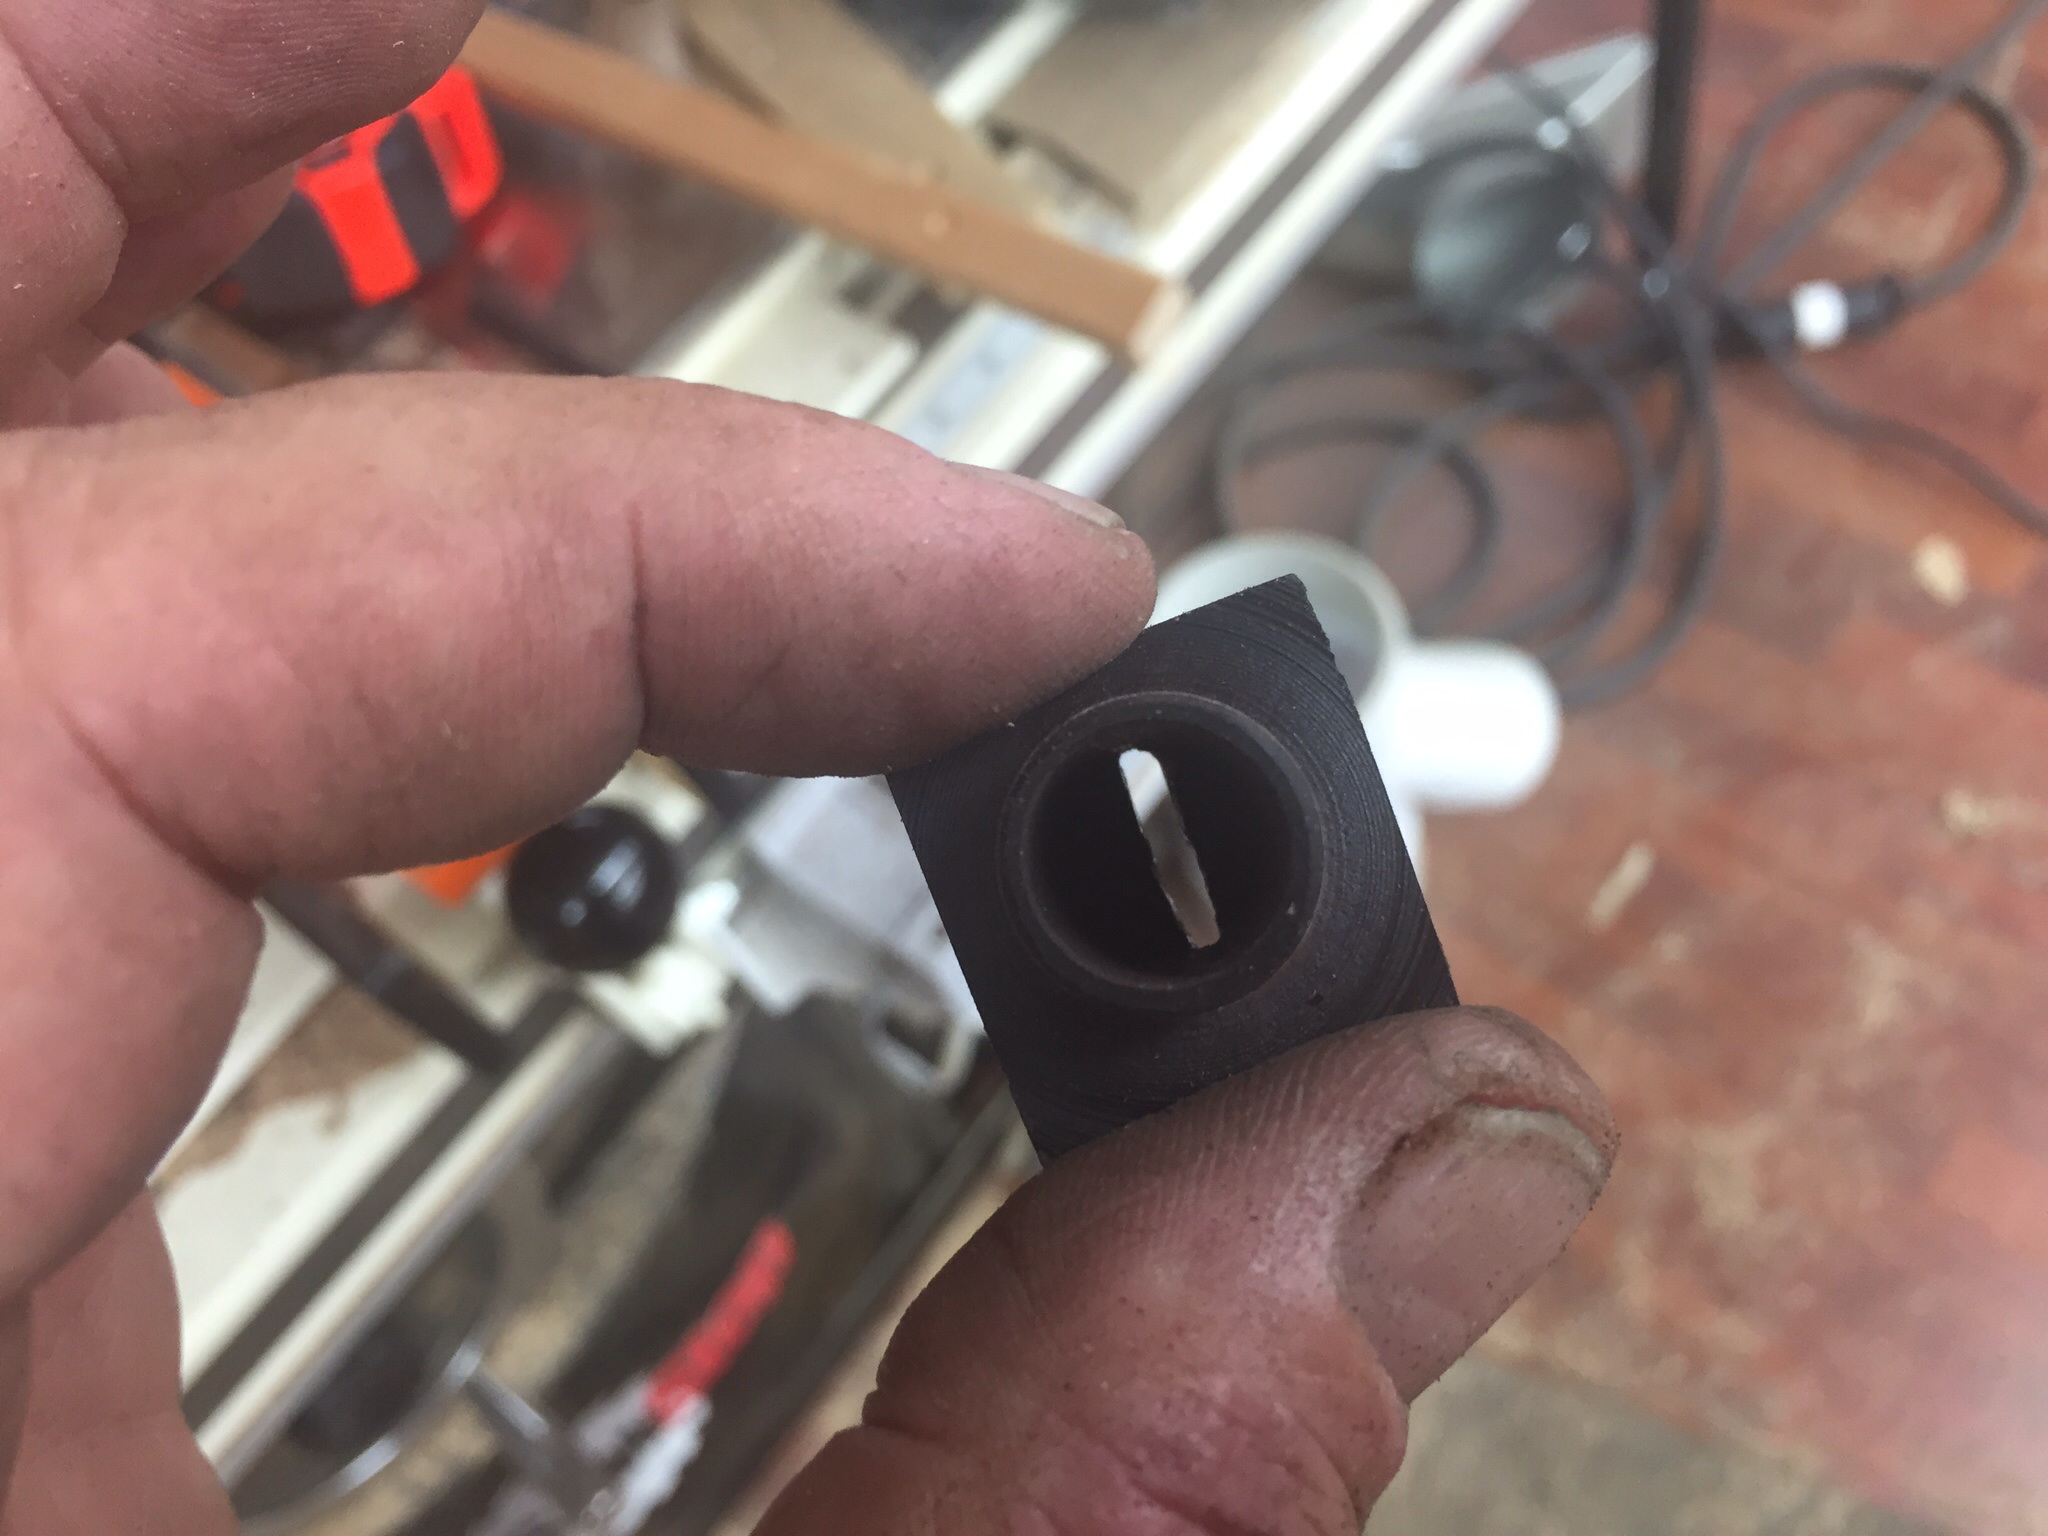
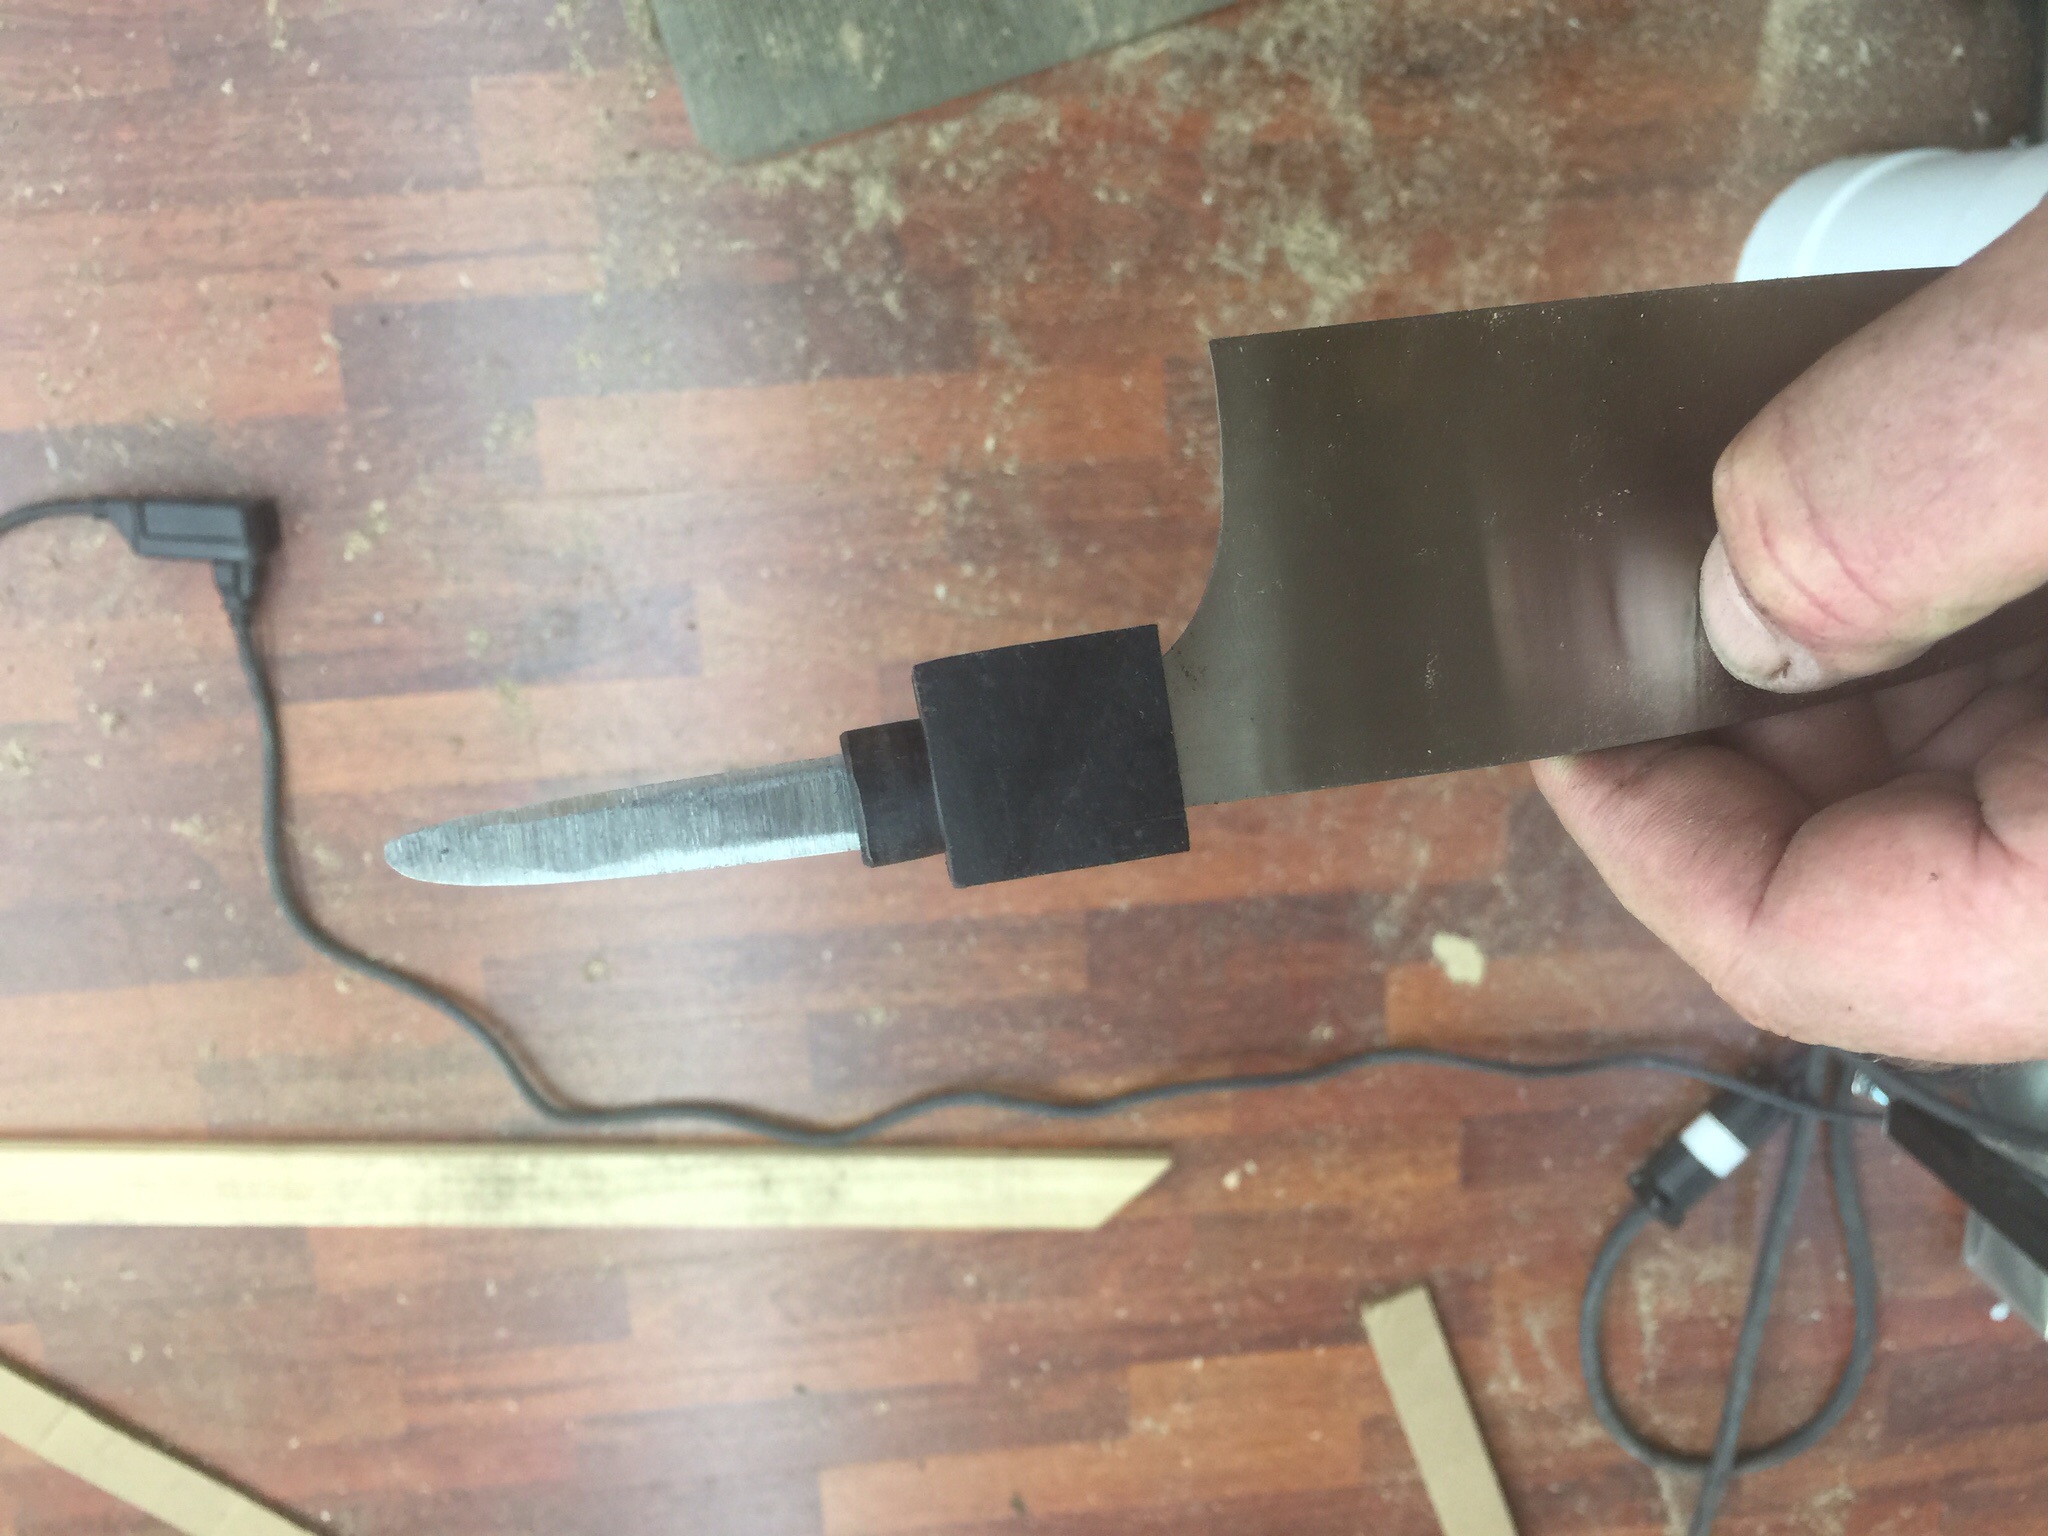
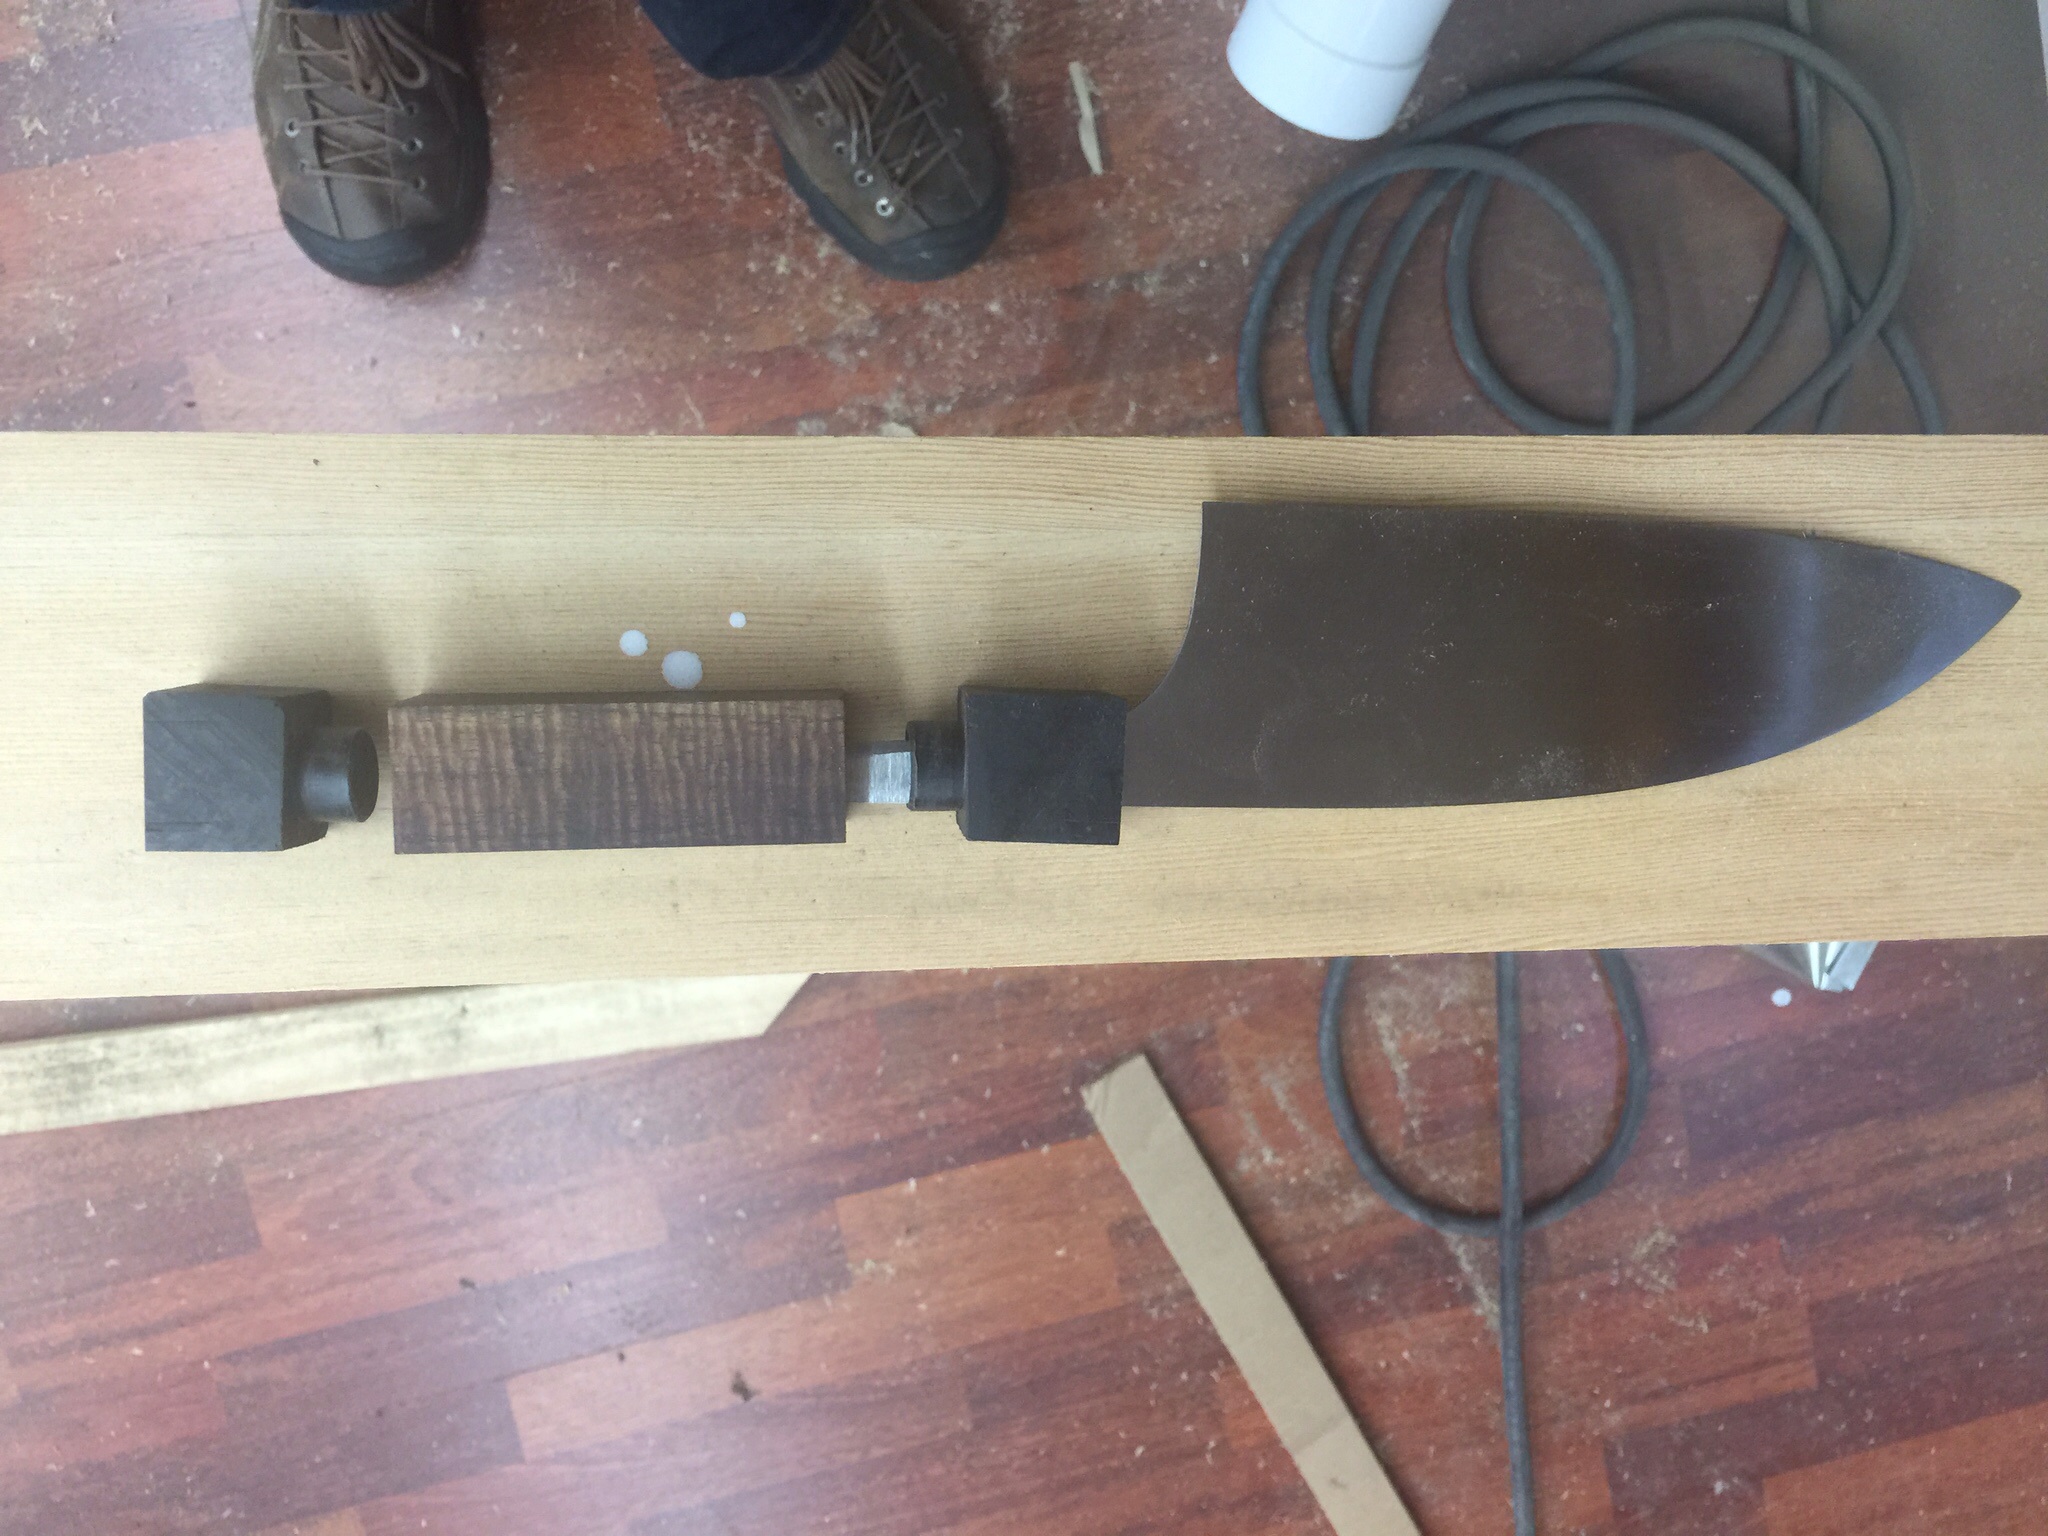
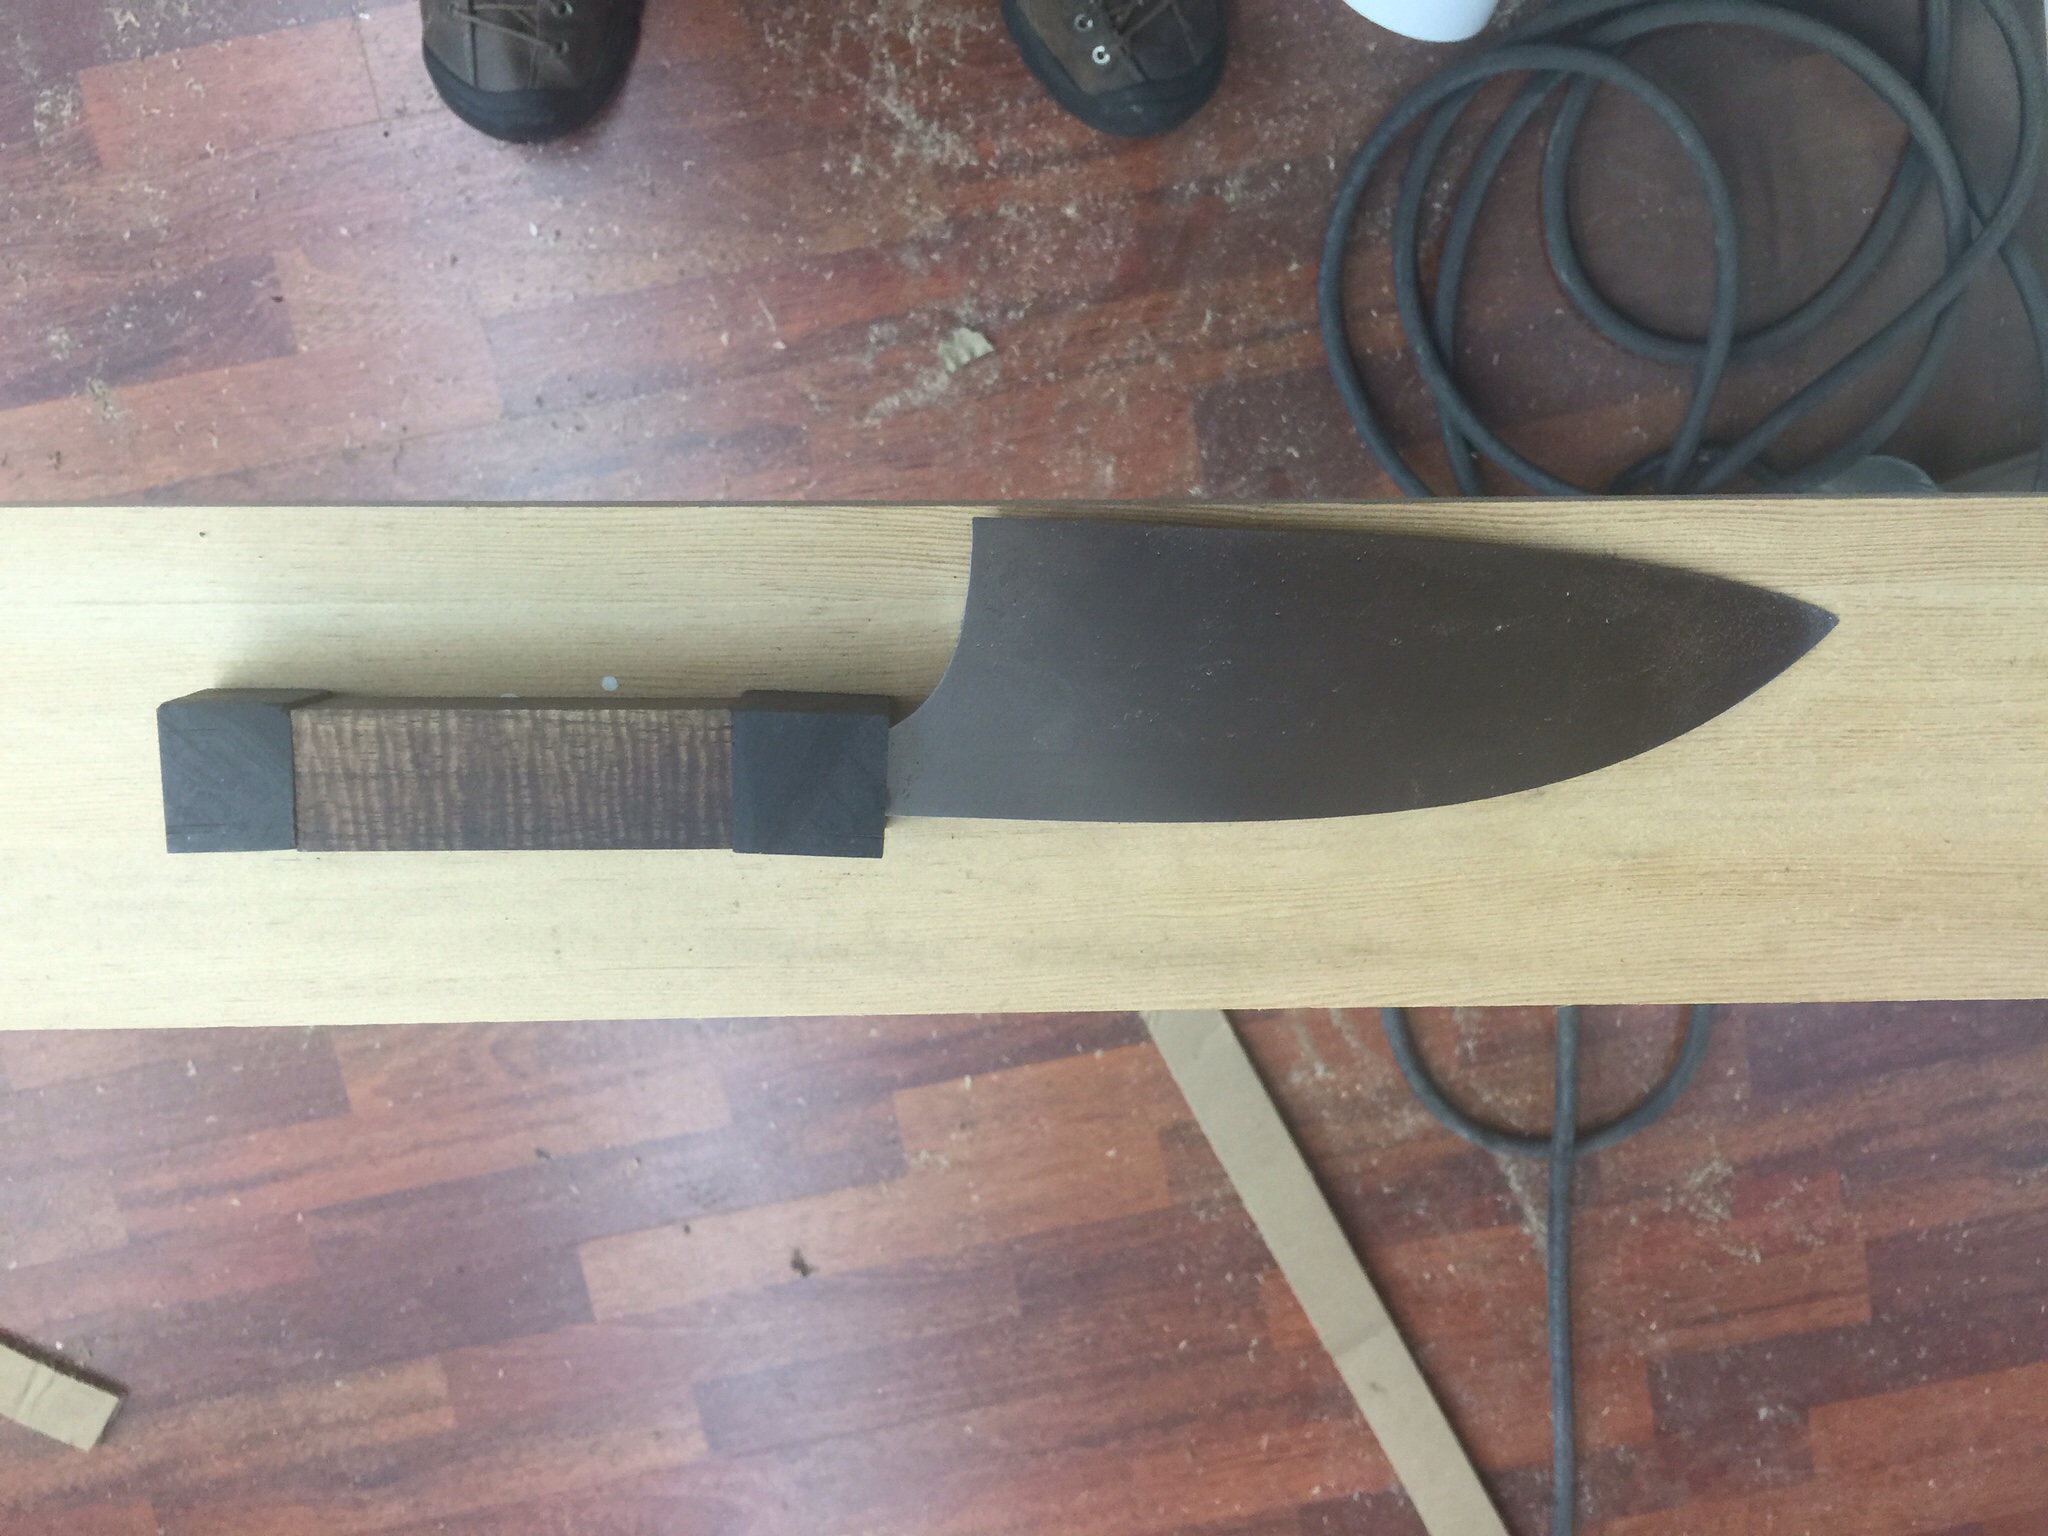
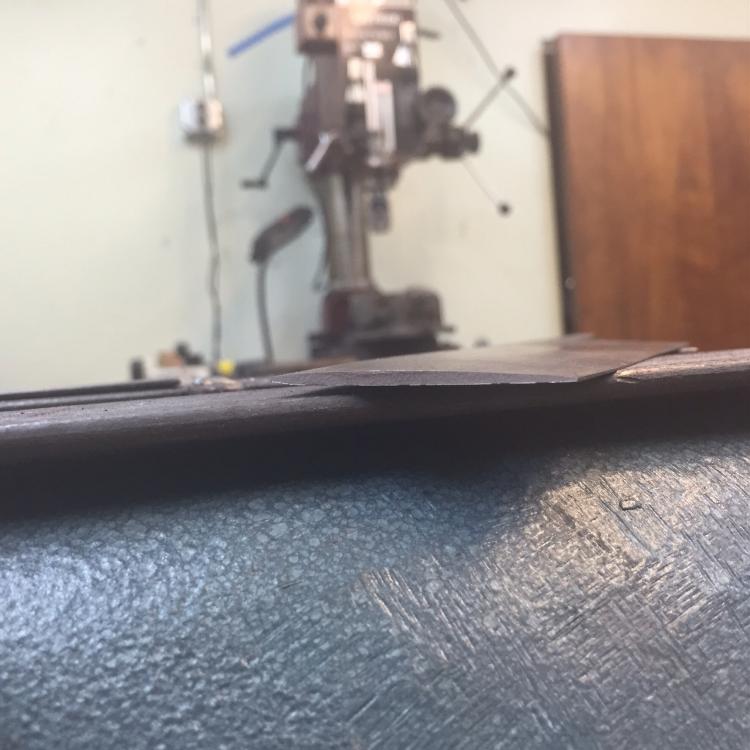
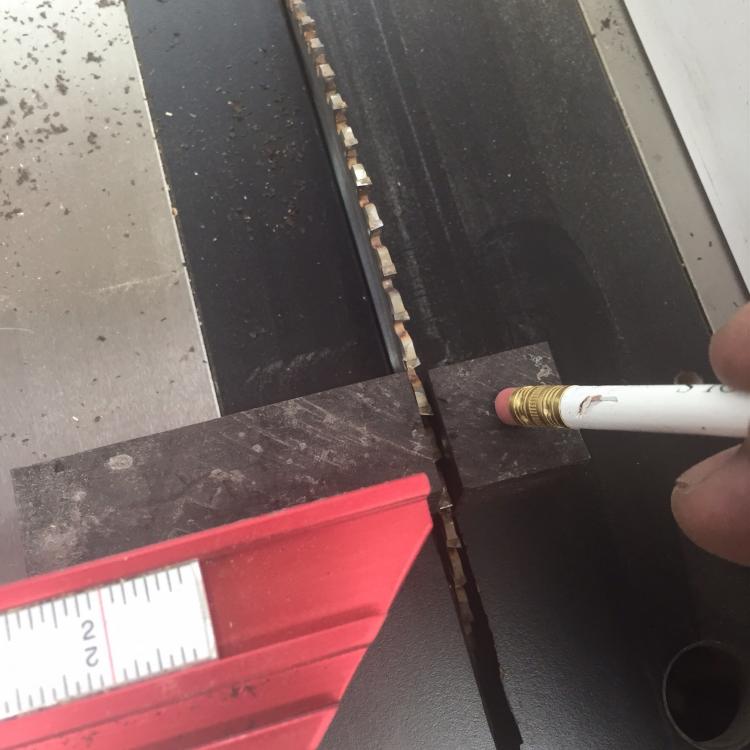
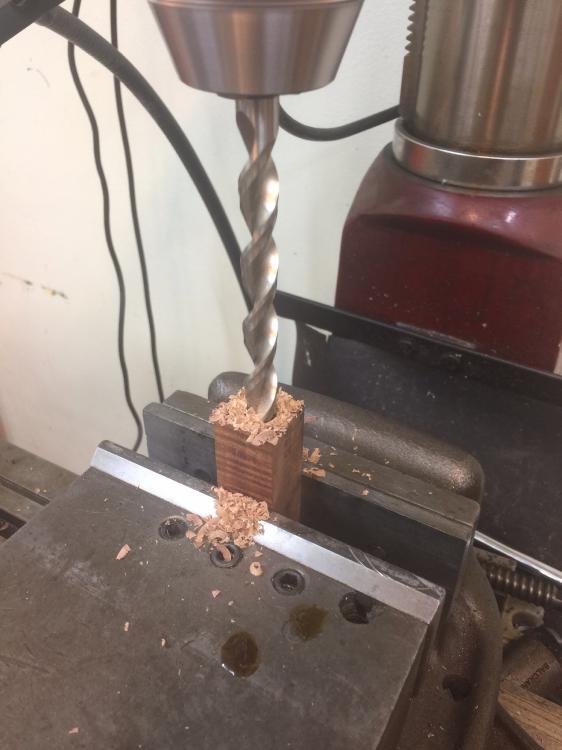
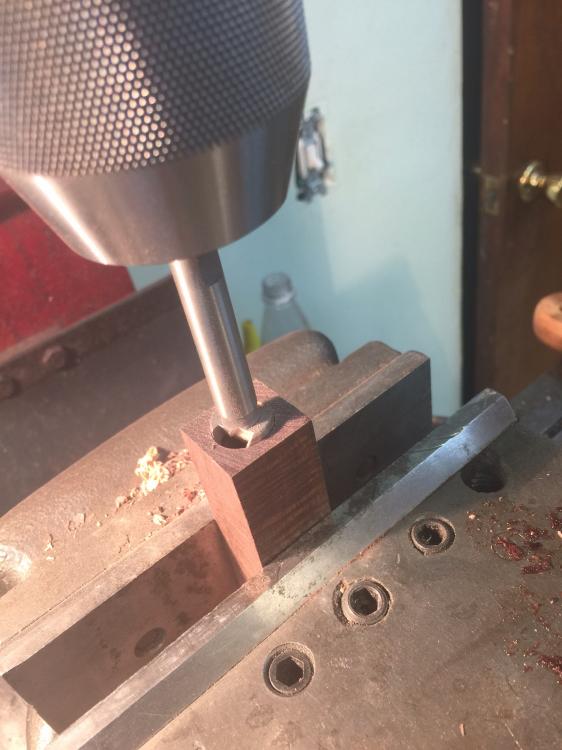
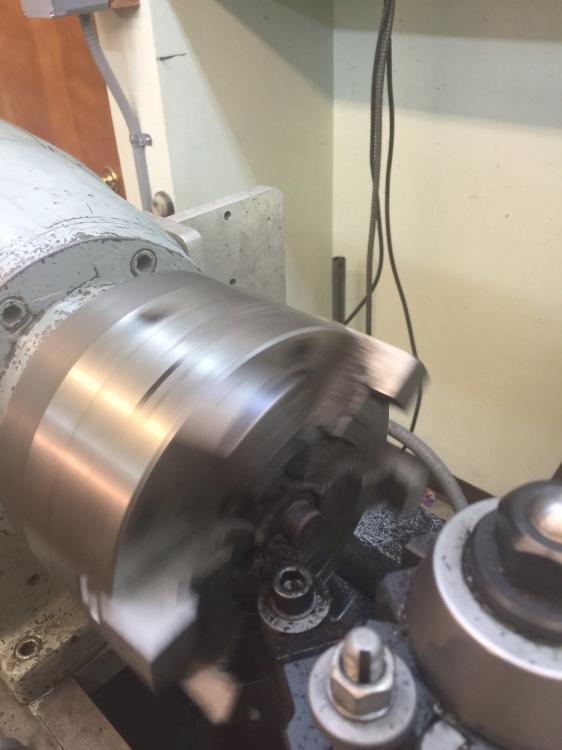
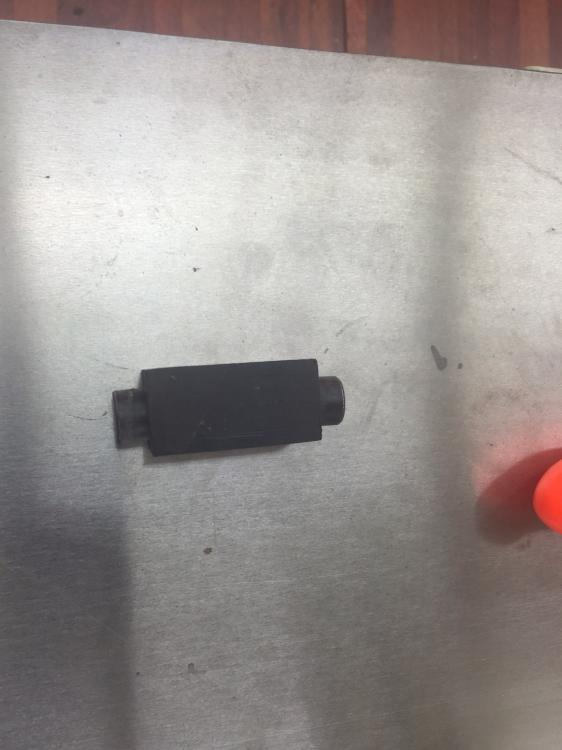
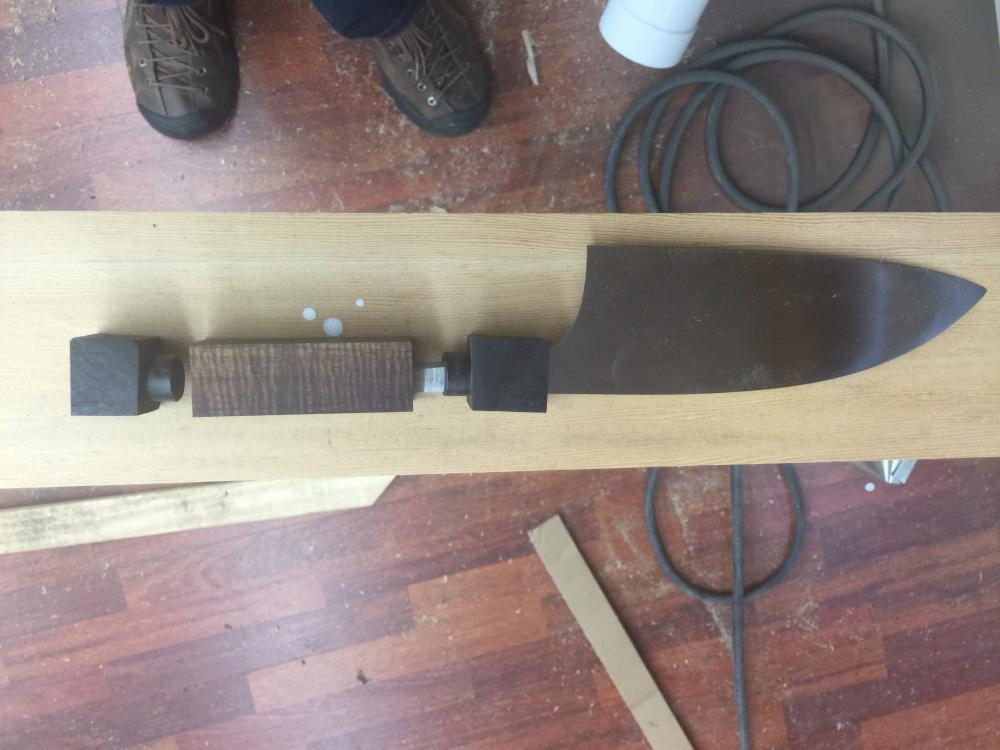
Weeeeellllllll, I hope no one was too in love with the size and shape of the Gyuto for its now a hybrid Santoku. After HT the blade took on a curve. I tried straightening it working a long section of blade, but the 5160 was too springy and wouldn't straighten. So I tried working a more narrow section at a time, and is still sprung back. Soooo I tried correcting it a liiitle more, and bing. 4" of blade snapped off. Hardness was at 60. Grain looked great. Anyways, time to move forward with a revised project. A 6.5" Santoku. The Wa will be three pieces. A center of stabilized Koa, with a bolster and cap of African Blackwood, both tenoned into the Koa. the pictures probably say it better. When cutting off small pieces on the table saw I like using a pencil eraser to control the small cutoff so it gets a clean cut. Something I learned making segmented bowls. Drill ing a 1/2" hole clear through the center section and mortising it out to 5/8" x 1/2" deep. Turning the .625 tenons on the Blackwood Turning a tenon on each end of one longer piece is easier than dealing with two small pieces. I'll cut the bolster and cap from this. This shows the three sections with the bolster already drilled through the tenon, stopping .25" or more from the opposite end. This will make fitting out the slot for the tang easier. Blackwood is hard. this was a touchy operation so I didn't get a pic doing it. Sorry. Exploded view of the blade and handle pieces Handle roughed onto the blade. Next, I will glue up the bolster to the center, but leave the cap tightly friction fit while shaping the handle. I'll need to remove it when epoxying the handle on.


-
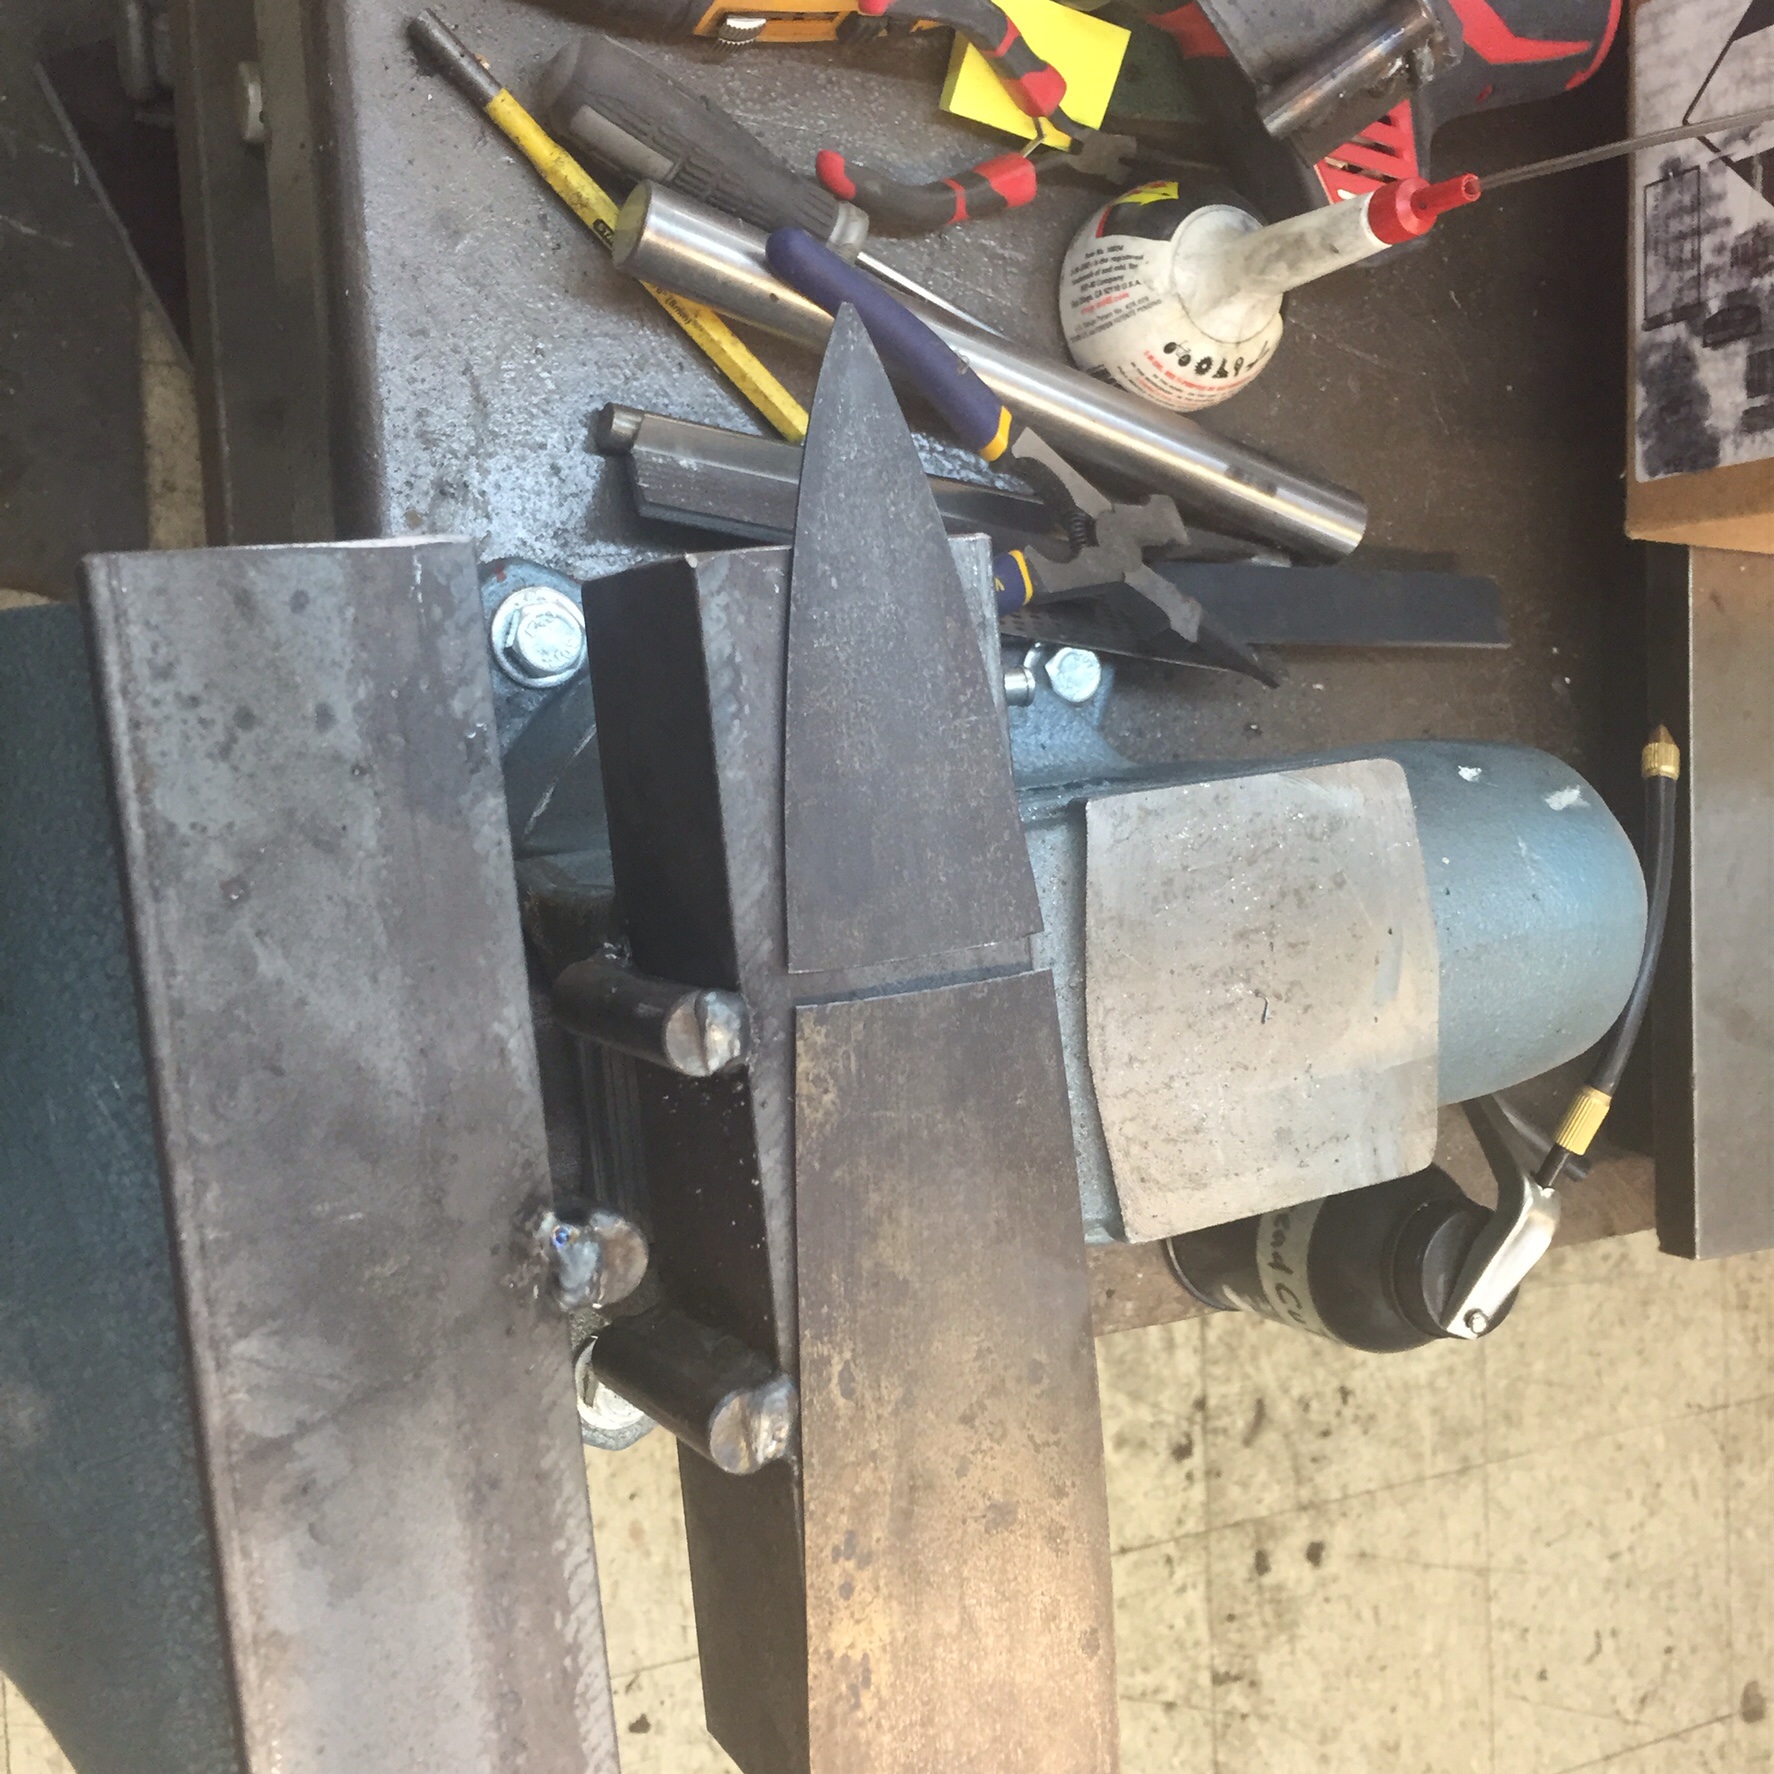
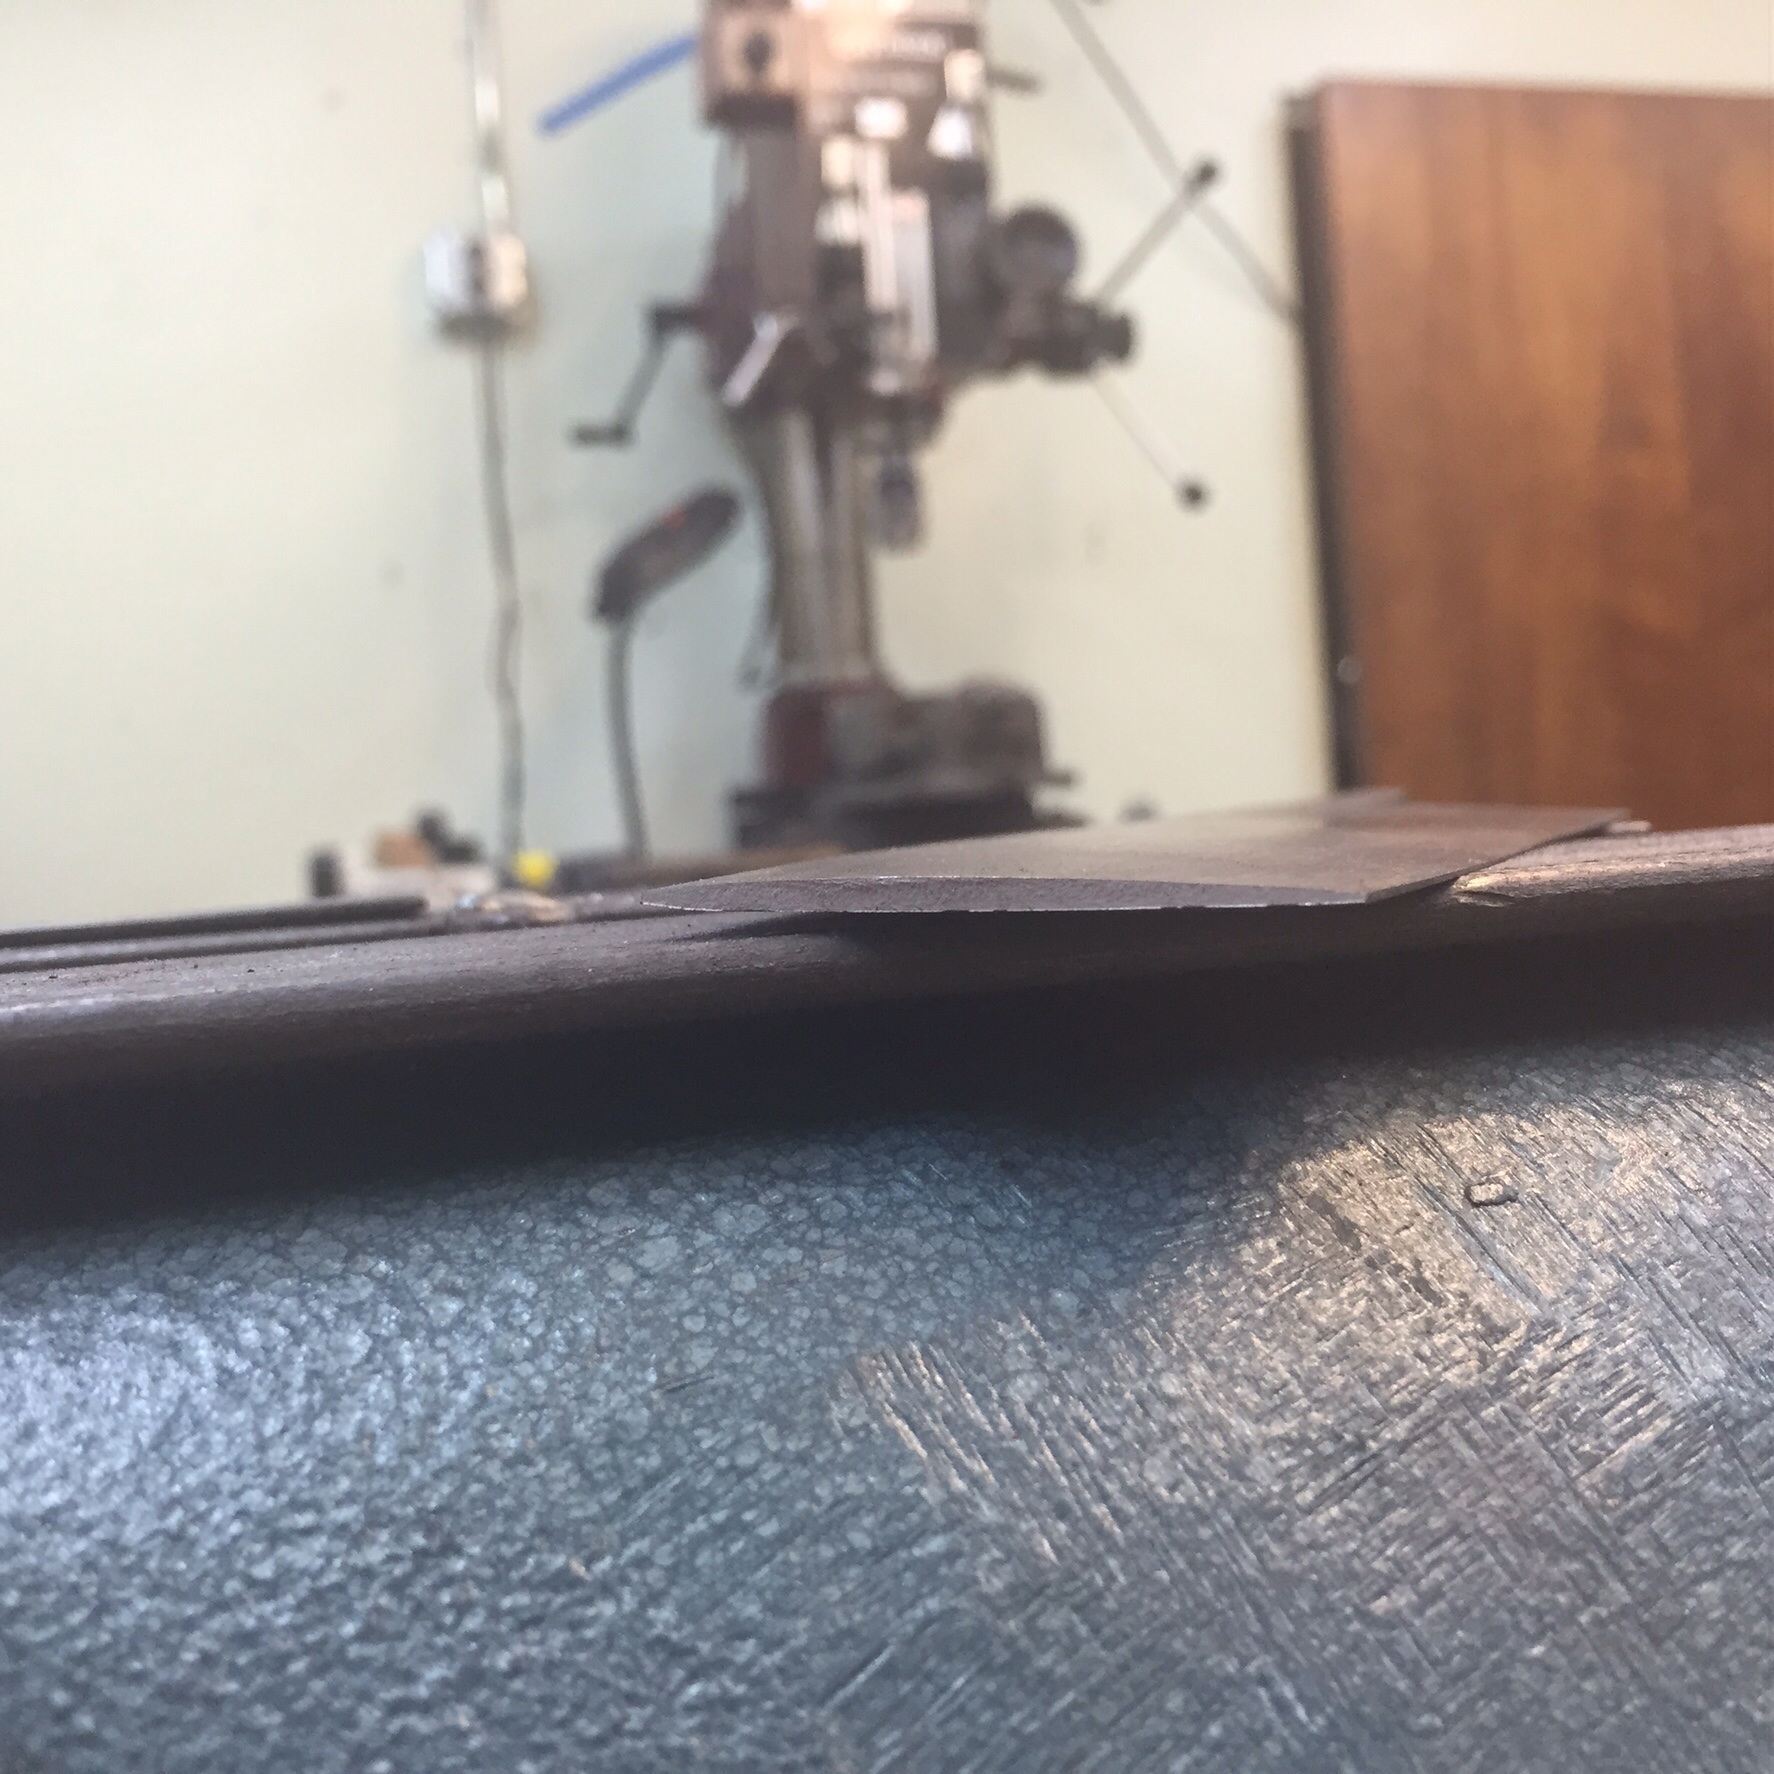
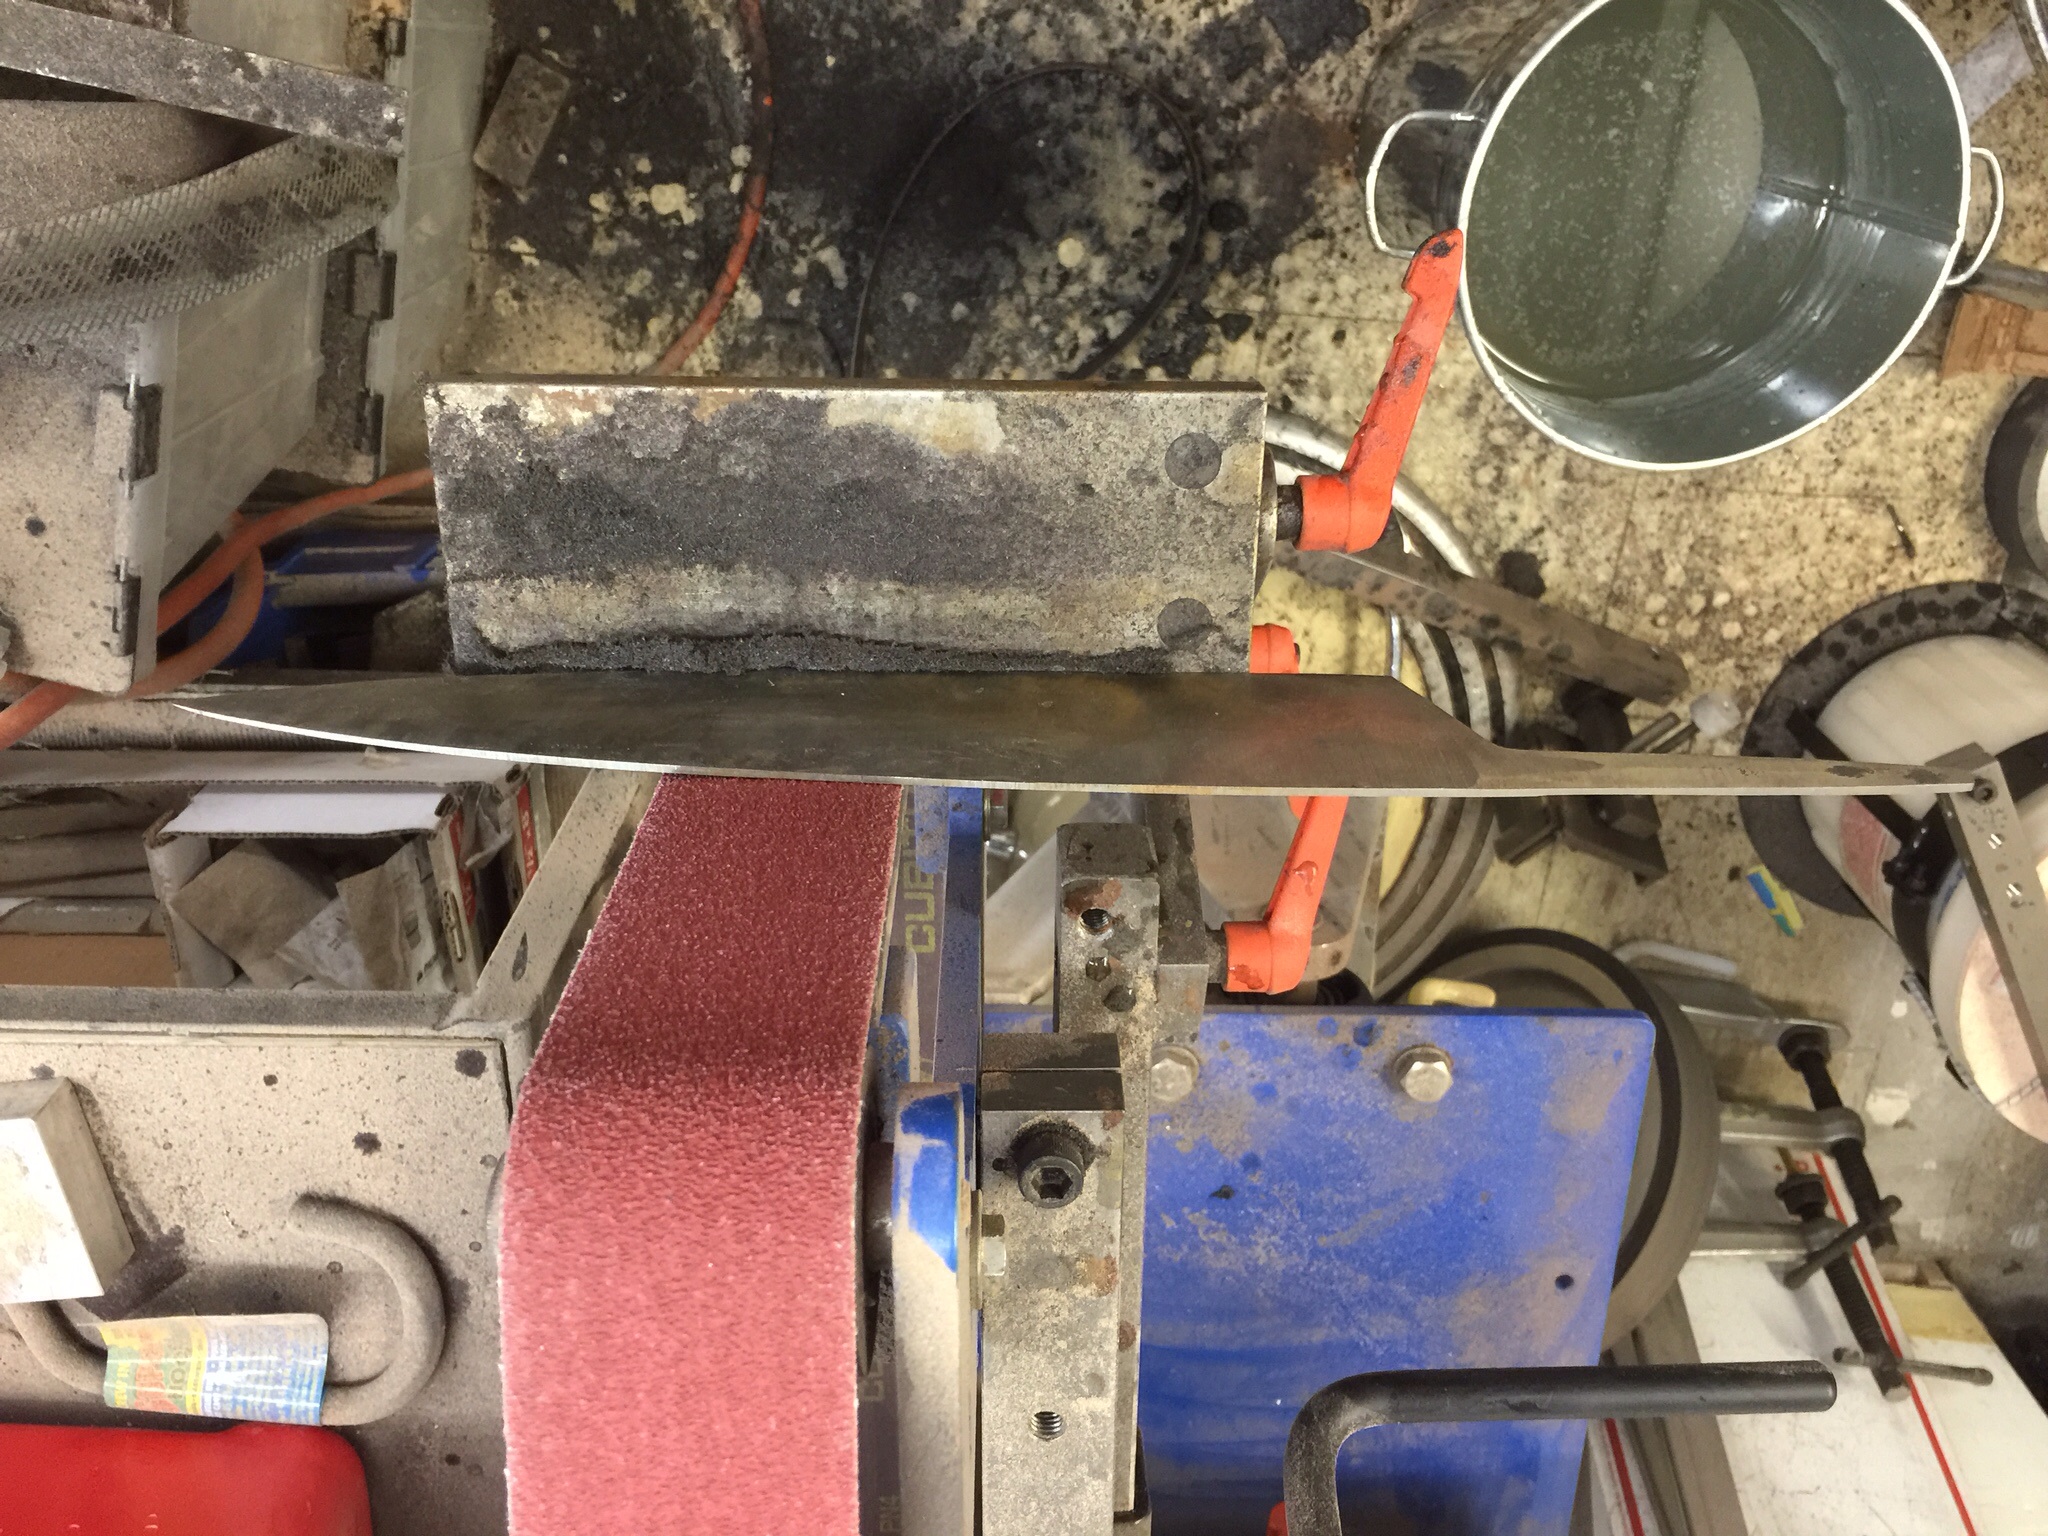
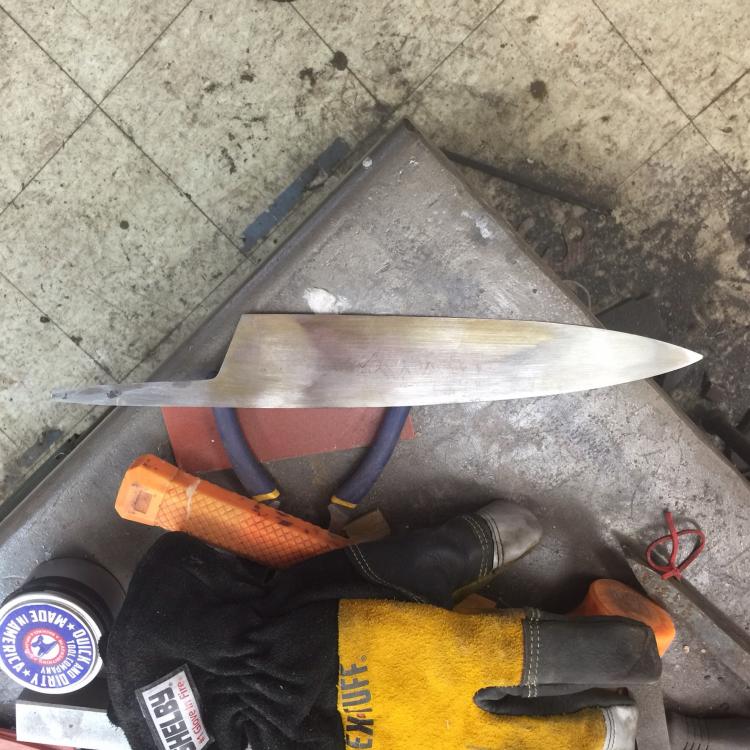
I normalized the blade, straightened it and ground it out today. I resorted to vertical grinding to even it all out and get rid of the forging marks. I think I will finish grind it in this manner as well after HT in order to get a slight convex curve from spine to edge on this thin blade. HT was at 1540 and full quench in Parks AAA. Tempered at 400 for an hour. I just realized that I did not preheat the oil prior to the quench. Stupid mistake. Fingers crossed. here are some pics I took of the process, some one handed. After Quench. Hopefully no cracks! Tomorrow I'll finish out the blade and start on the wa


-
Stunning
-
New To Me Kinyon Hammer Tuning
Jspool replied to Jspool's topic in Power Hammers, Treadle Hammers, Olivers
I watched both of the videos you made John. Before and after the head modifications. That's a pretty impressive hammer, especially after the head mod. I really like the control you have with it. Would I benefit any by using a larger valve with larger ports, or are the benefits marginal? I had called Parker regarding their recommendation for an oiler and they told me that the cylinder is lubed at the factory and doesn't require one with the work level I put my hammer through (one man hobby shop). If I were to install an oiler I imagine it would be restricted to the cylinder only and I don't want any oil getting to the trigger valve, etc., right? i apologize for my lack of understanding as to how a tool I own even works! I understand some hydraulics, but pneumatics present a different twist to the equation ! -
New To Me Kinyon Hammer Tuning
Jspool replied to Jspool's topic in Power Hammers, Treadle Hammers, Olivers
Thanks guys, I will definitely look into changing out to larger lines and repositioning the valve mounting. Is there a better way to go than the Kinyon designed foot pedal as well? -
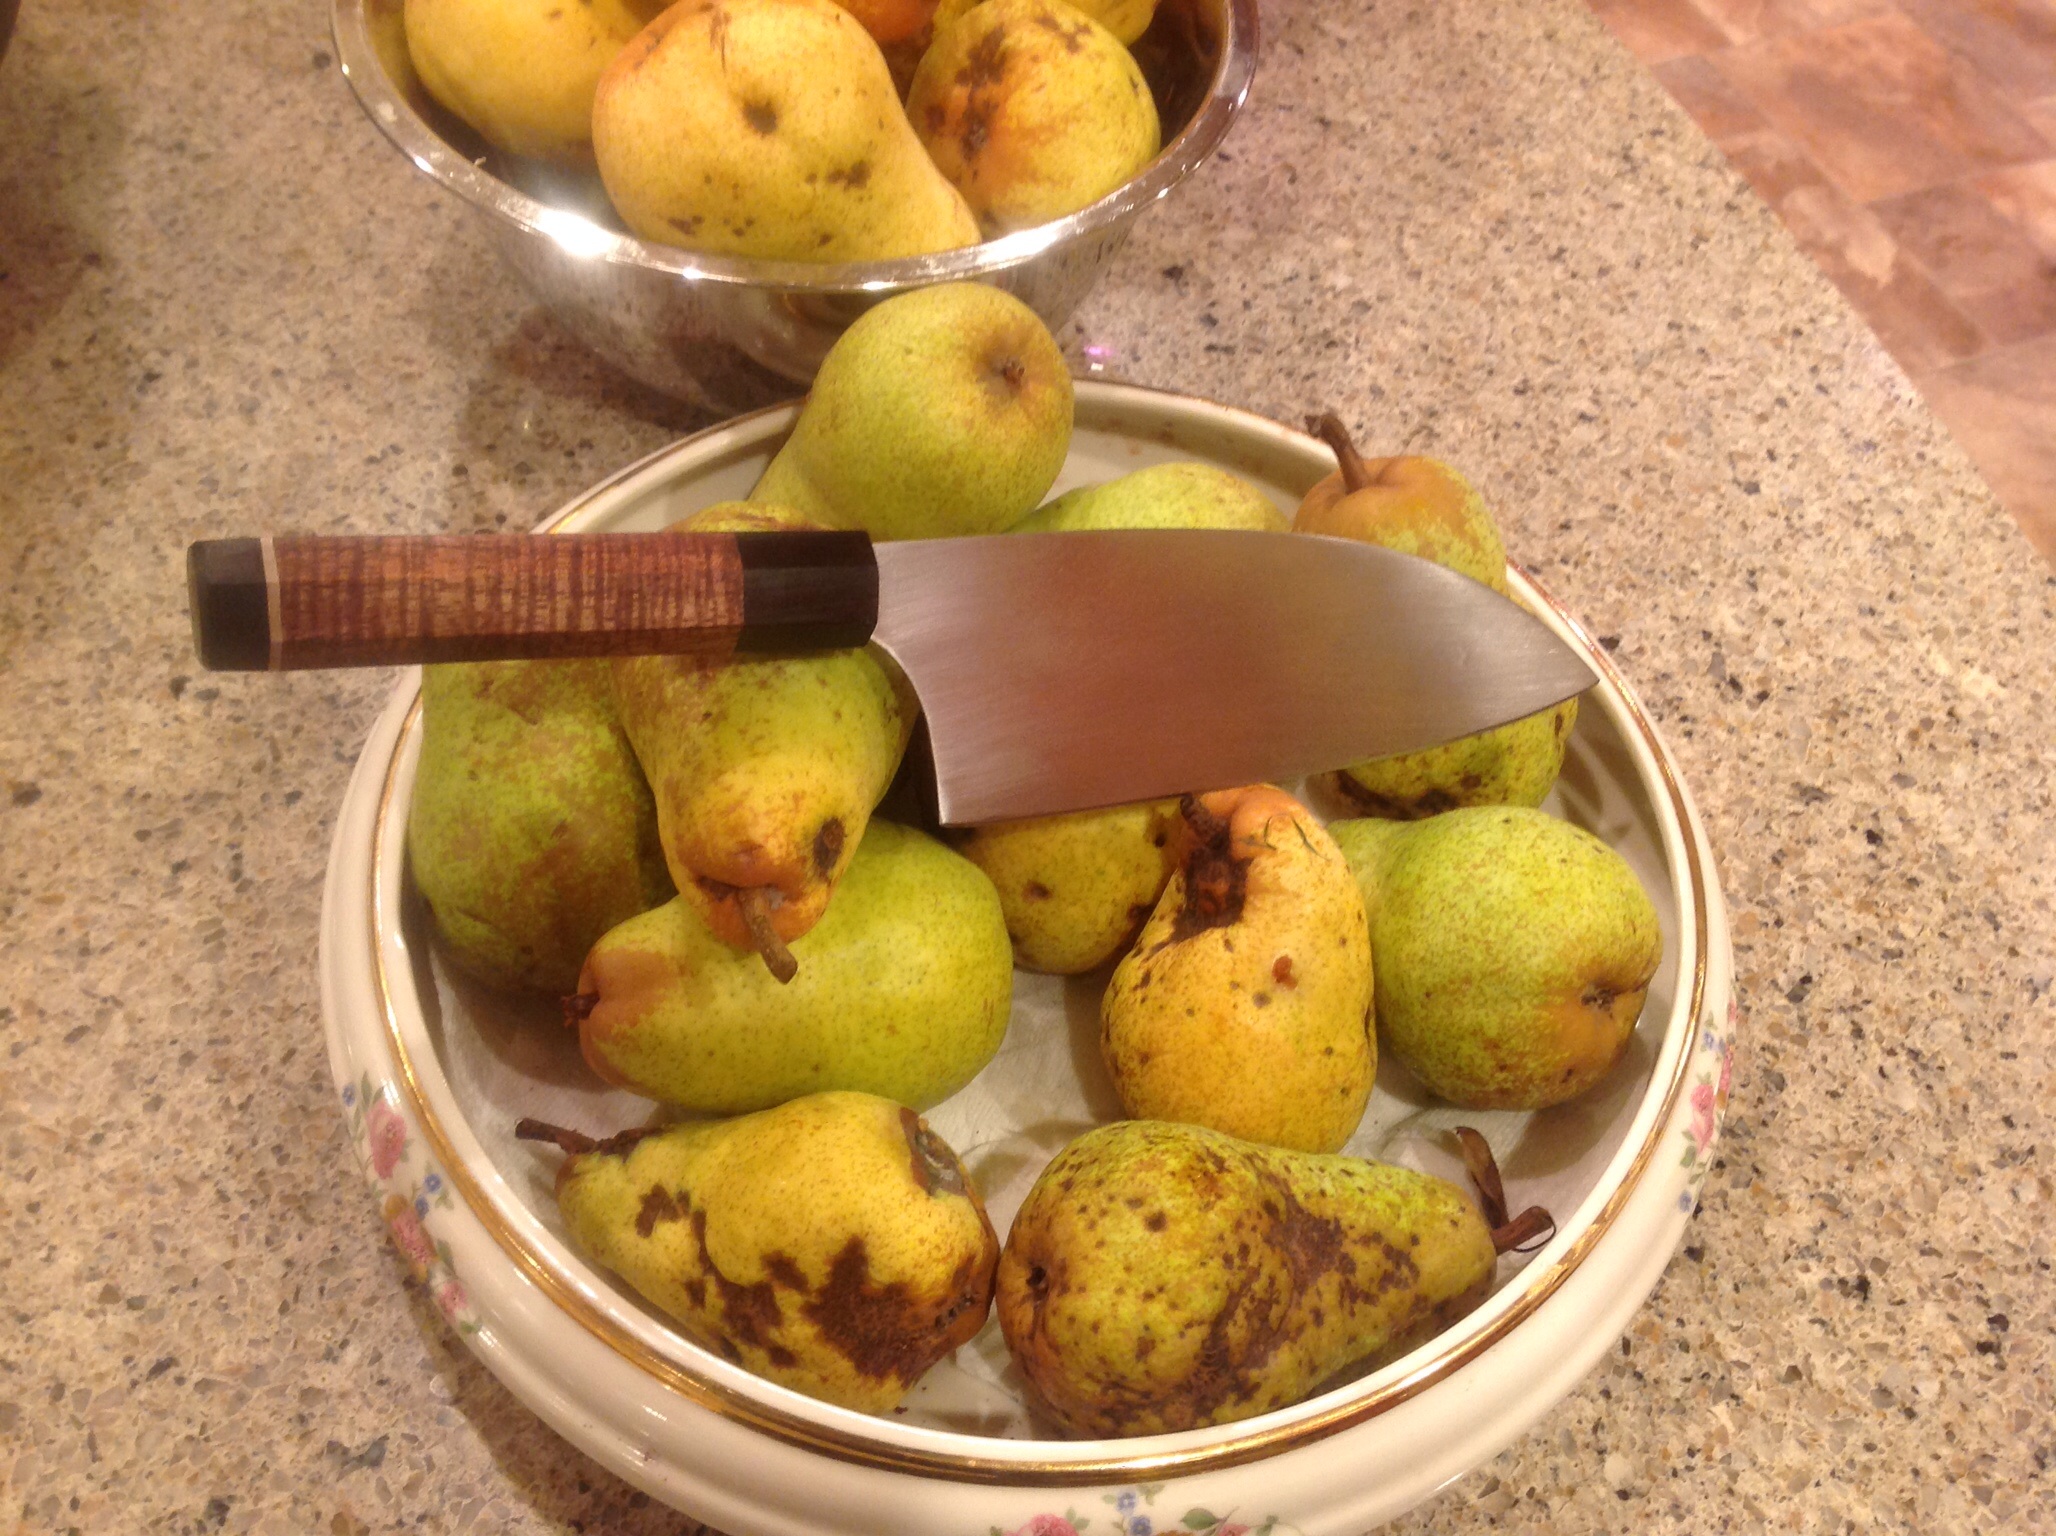
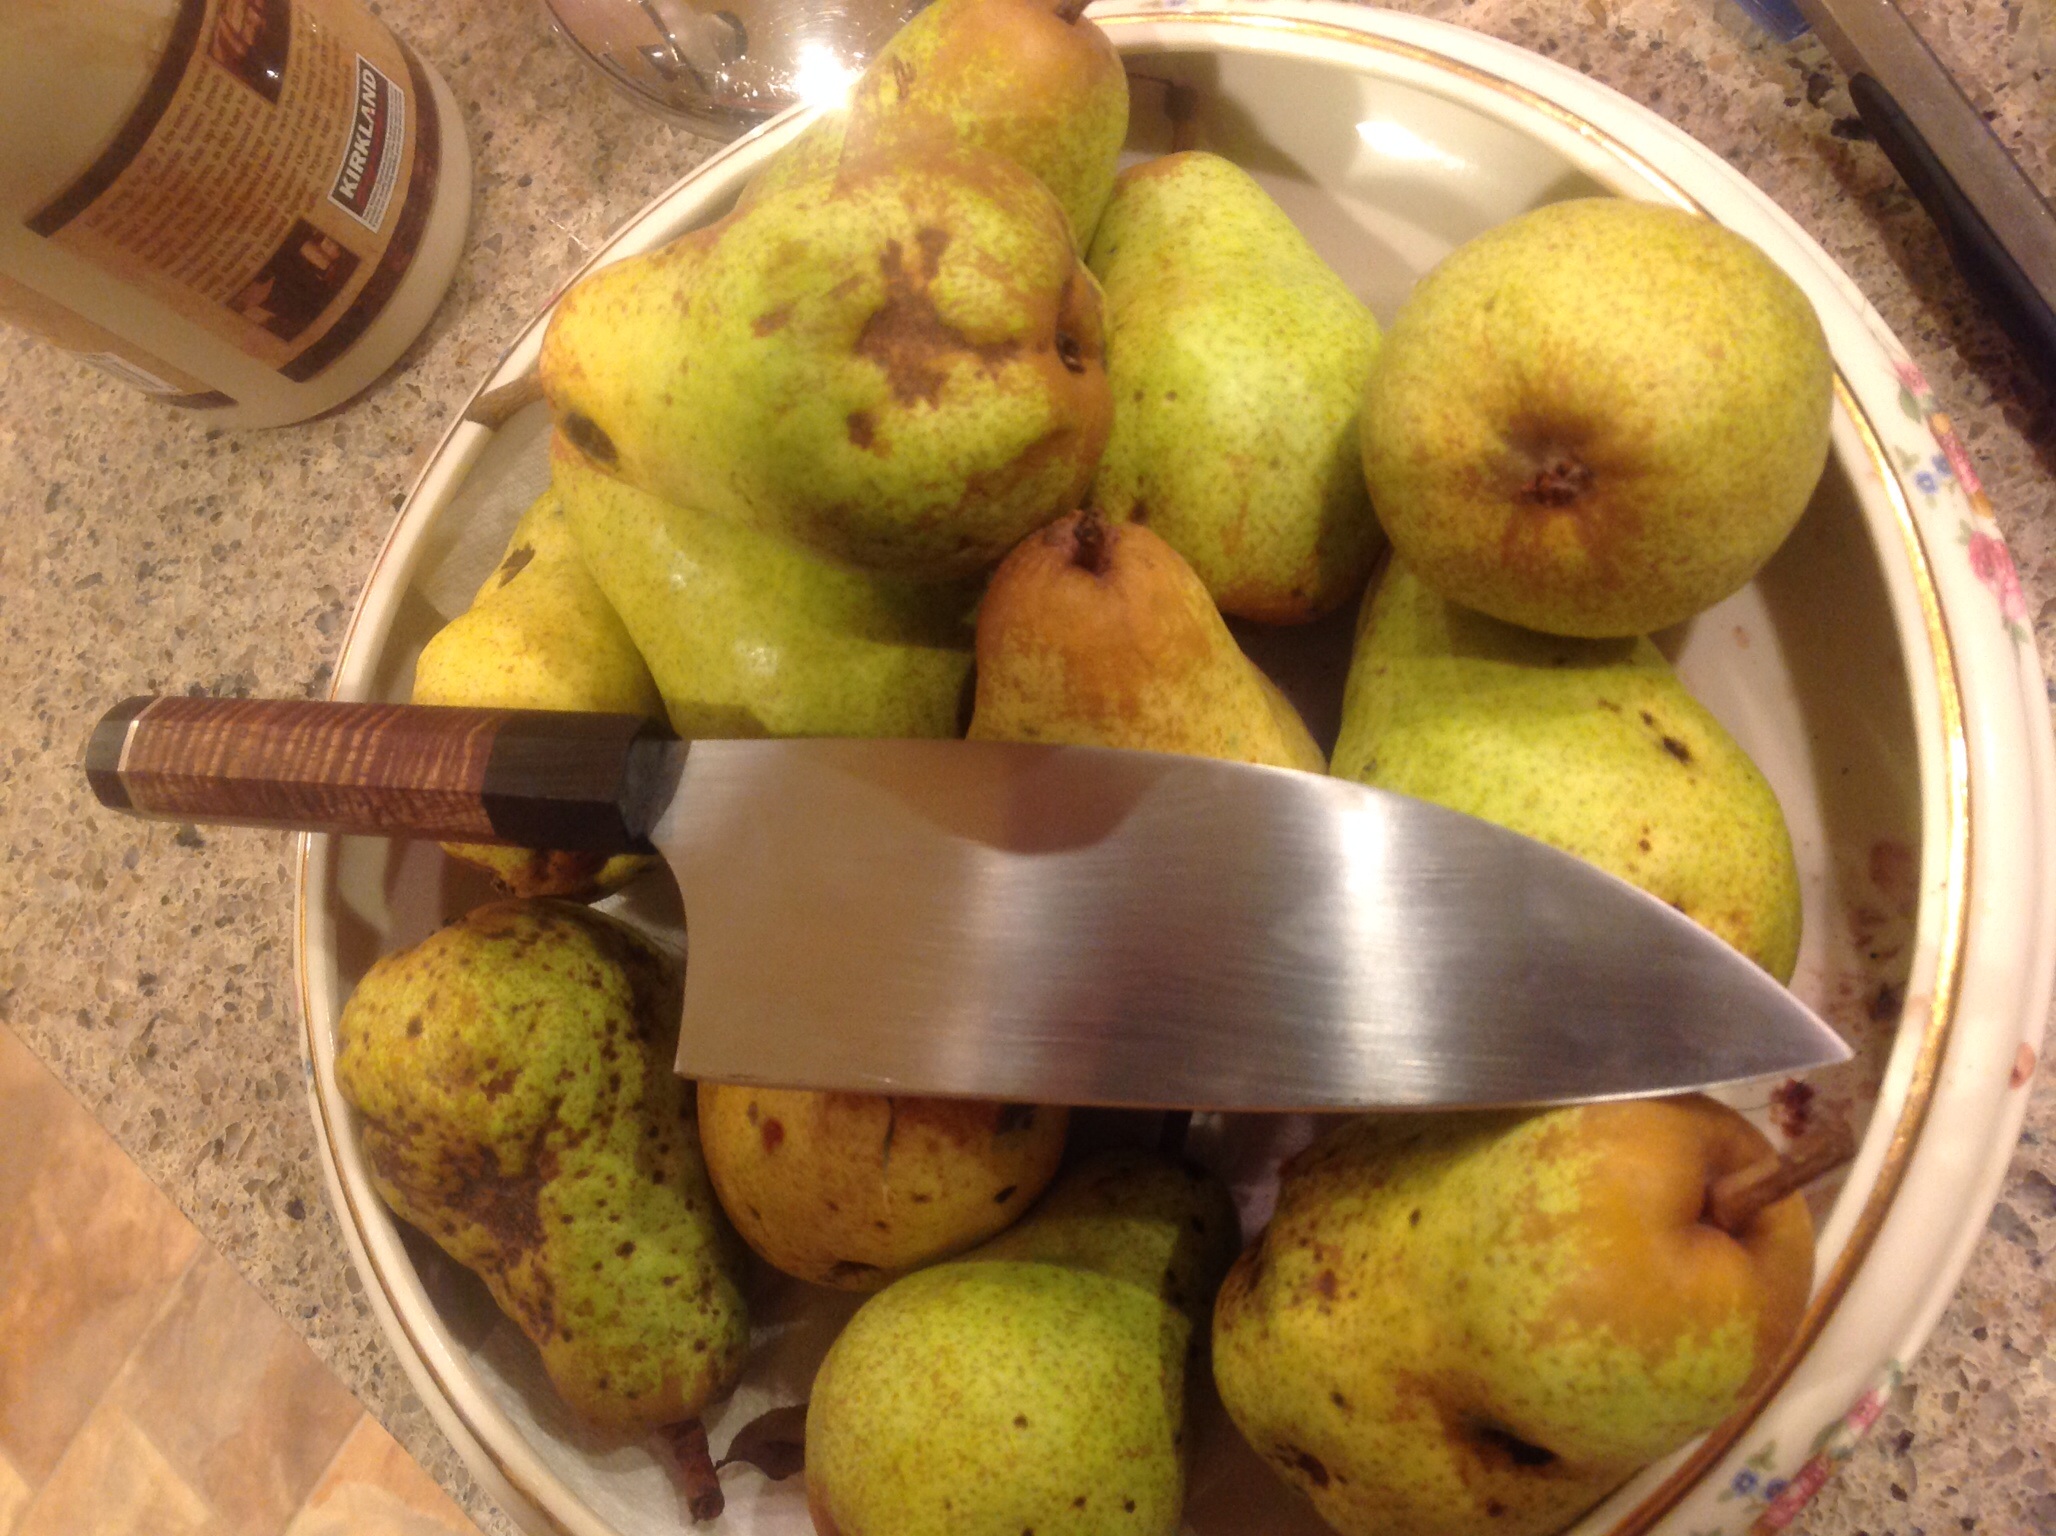
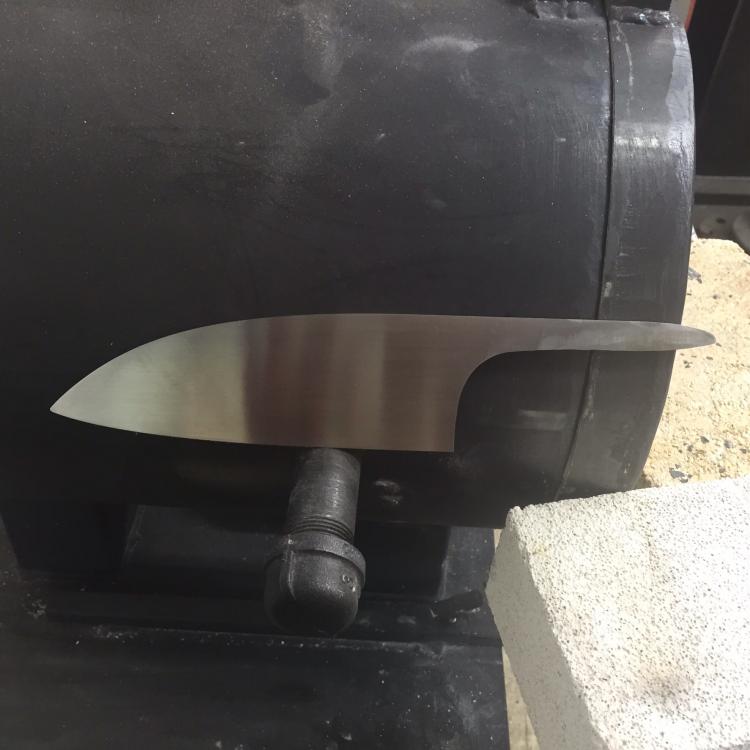
I took a forging class with Bill Burke last week to see if any of his forging skill would rub off on me, if even a little! Great guy. Great class. It's forged out of a stick of 5160. Today I worked on the edge and getting the final shape right. Pretty tough stuff. If it grinds out well, and I can heat treat it without it cracking, I plan to make a handle out of African Blackwood, and curly koa, with a cuprous nickel spacer. I plan to tenon the Blackwood into the koa so as to not only depend upon the epoxy. I'll post pics of the handle wip if anyone is interested, but it will be a couple weeks till I can get to it. what do you kitchen blade guys think about the shape of the blade? I did grind the profile some to clean it up.