Gazz
-
Posts
294 -
Joined
-
Last visited
Content Type
Profiles
Forums
Articles
Gallery
Downloads
Events
Everything posted by Gazz
-
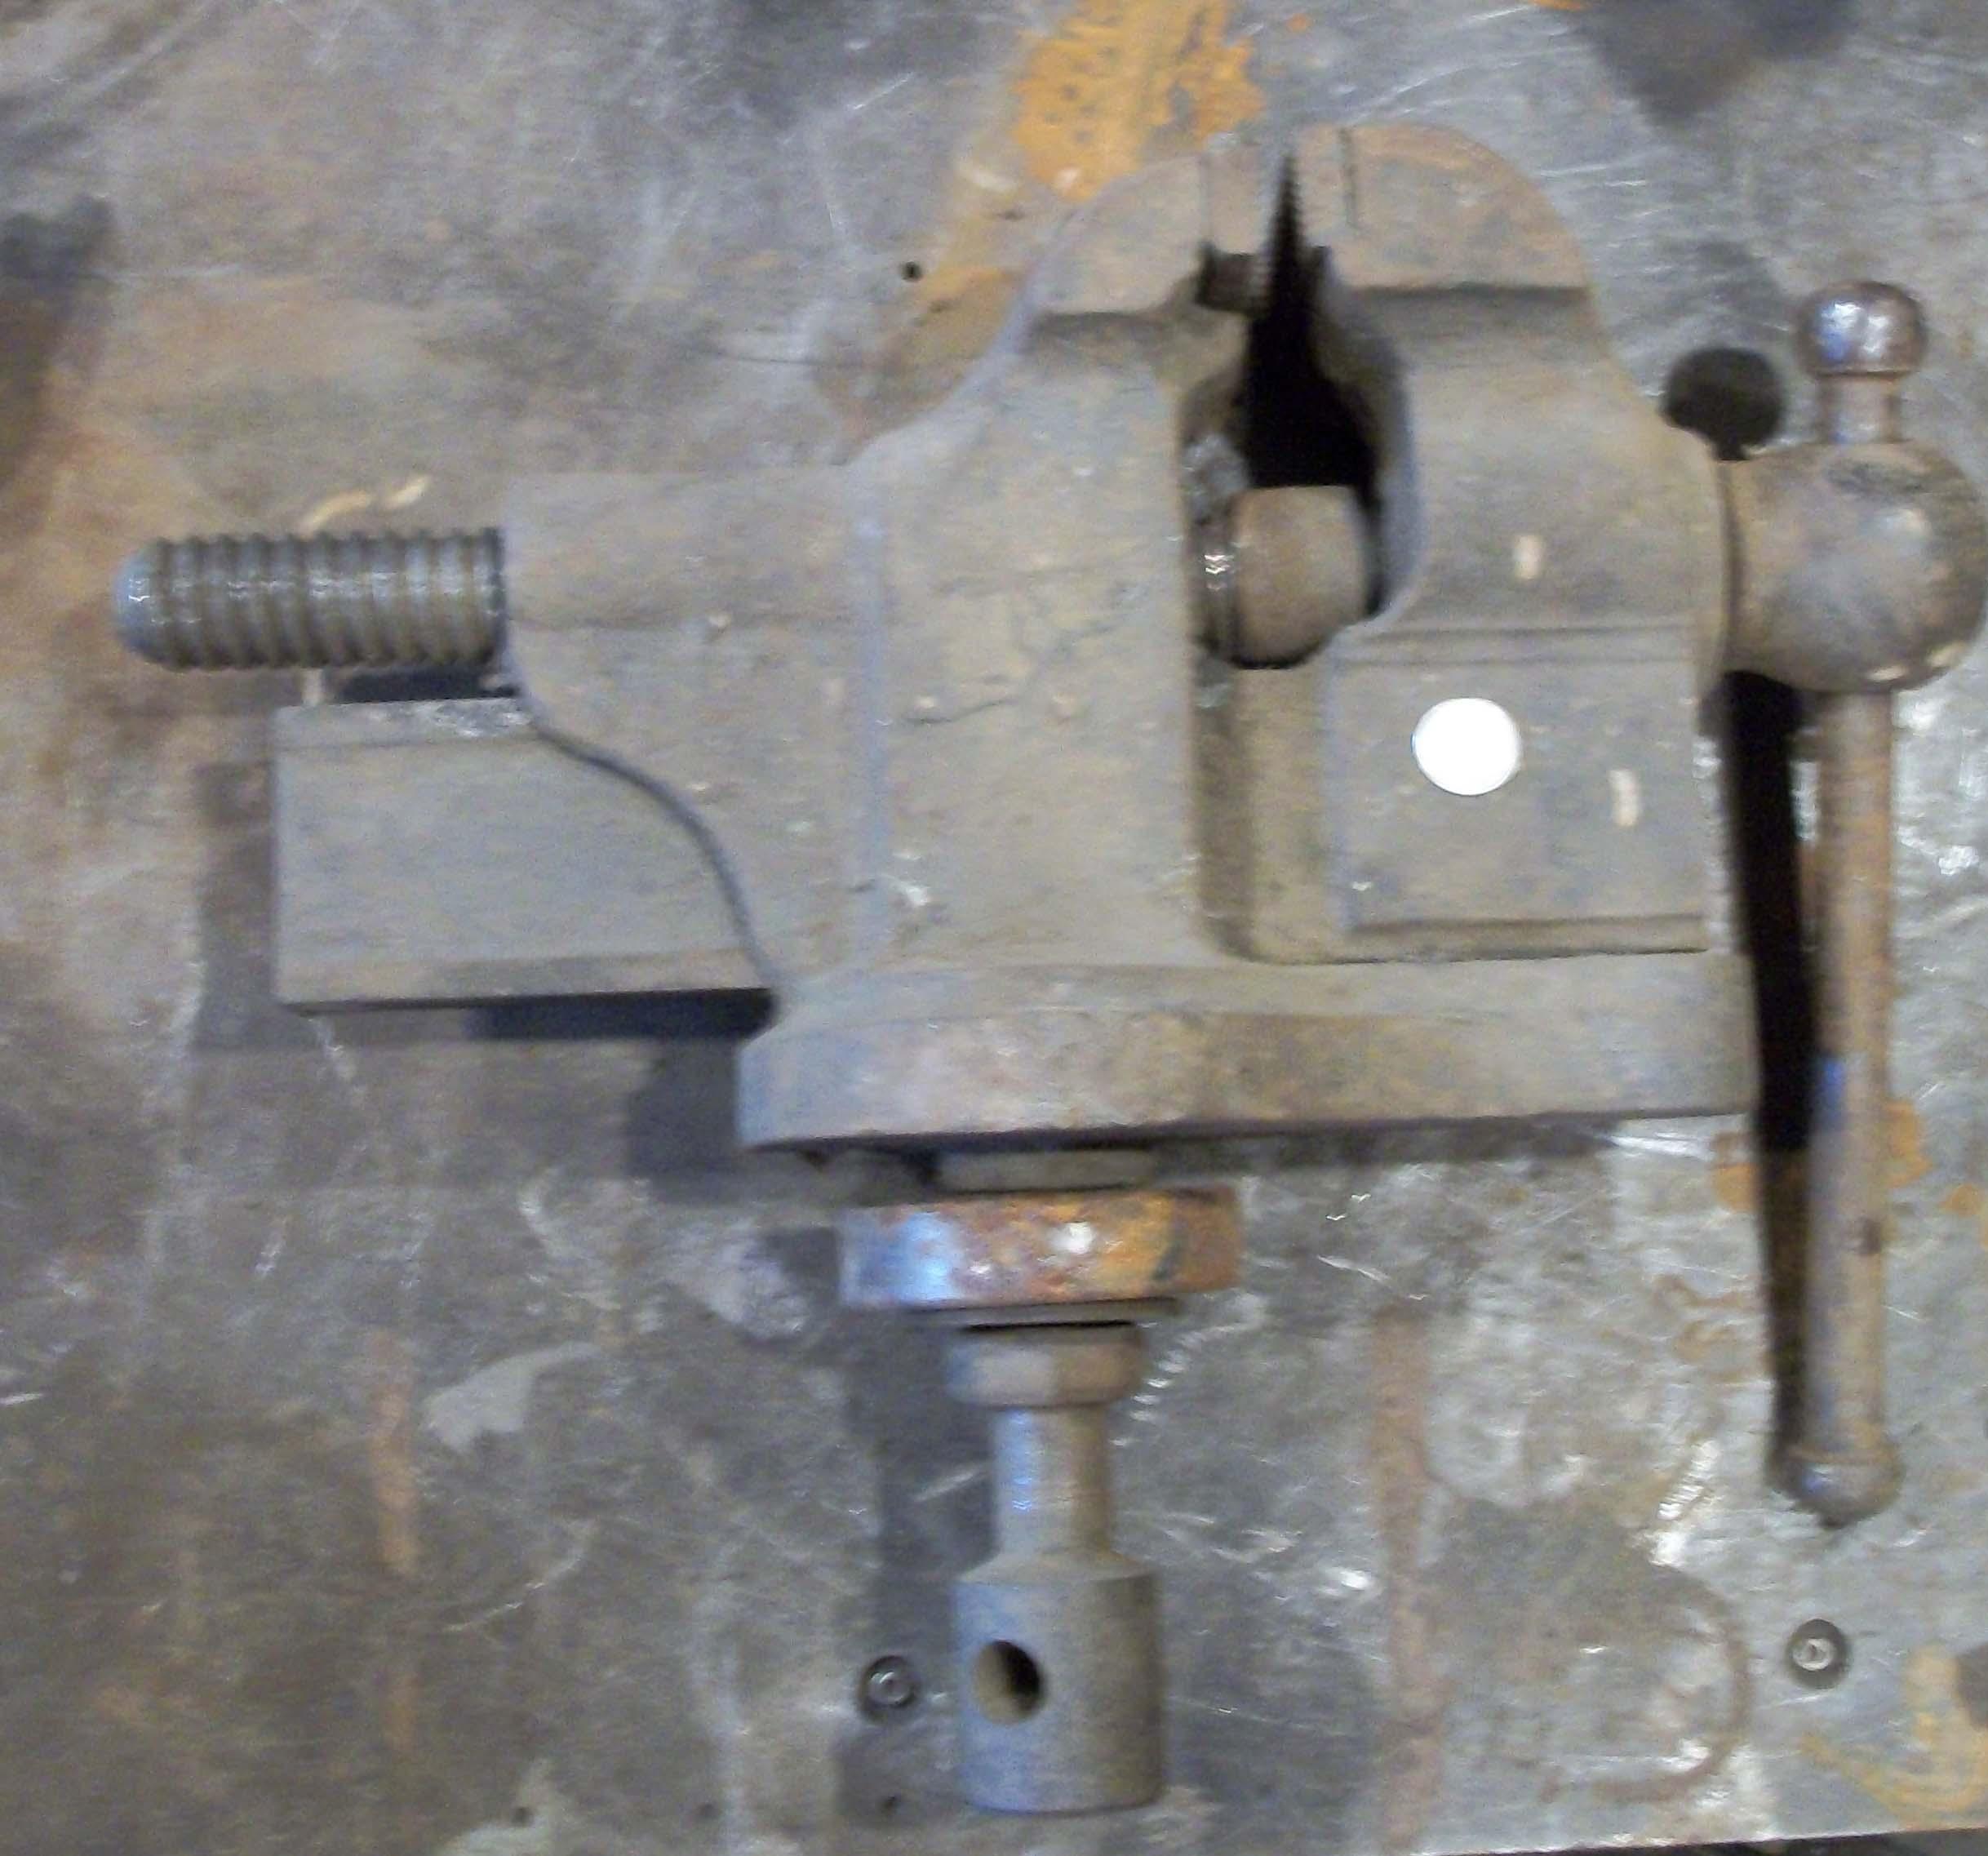
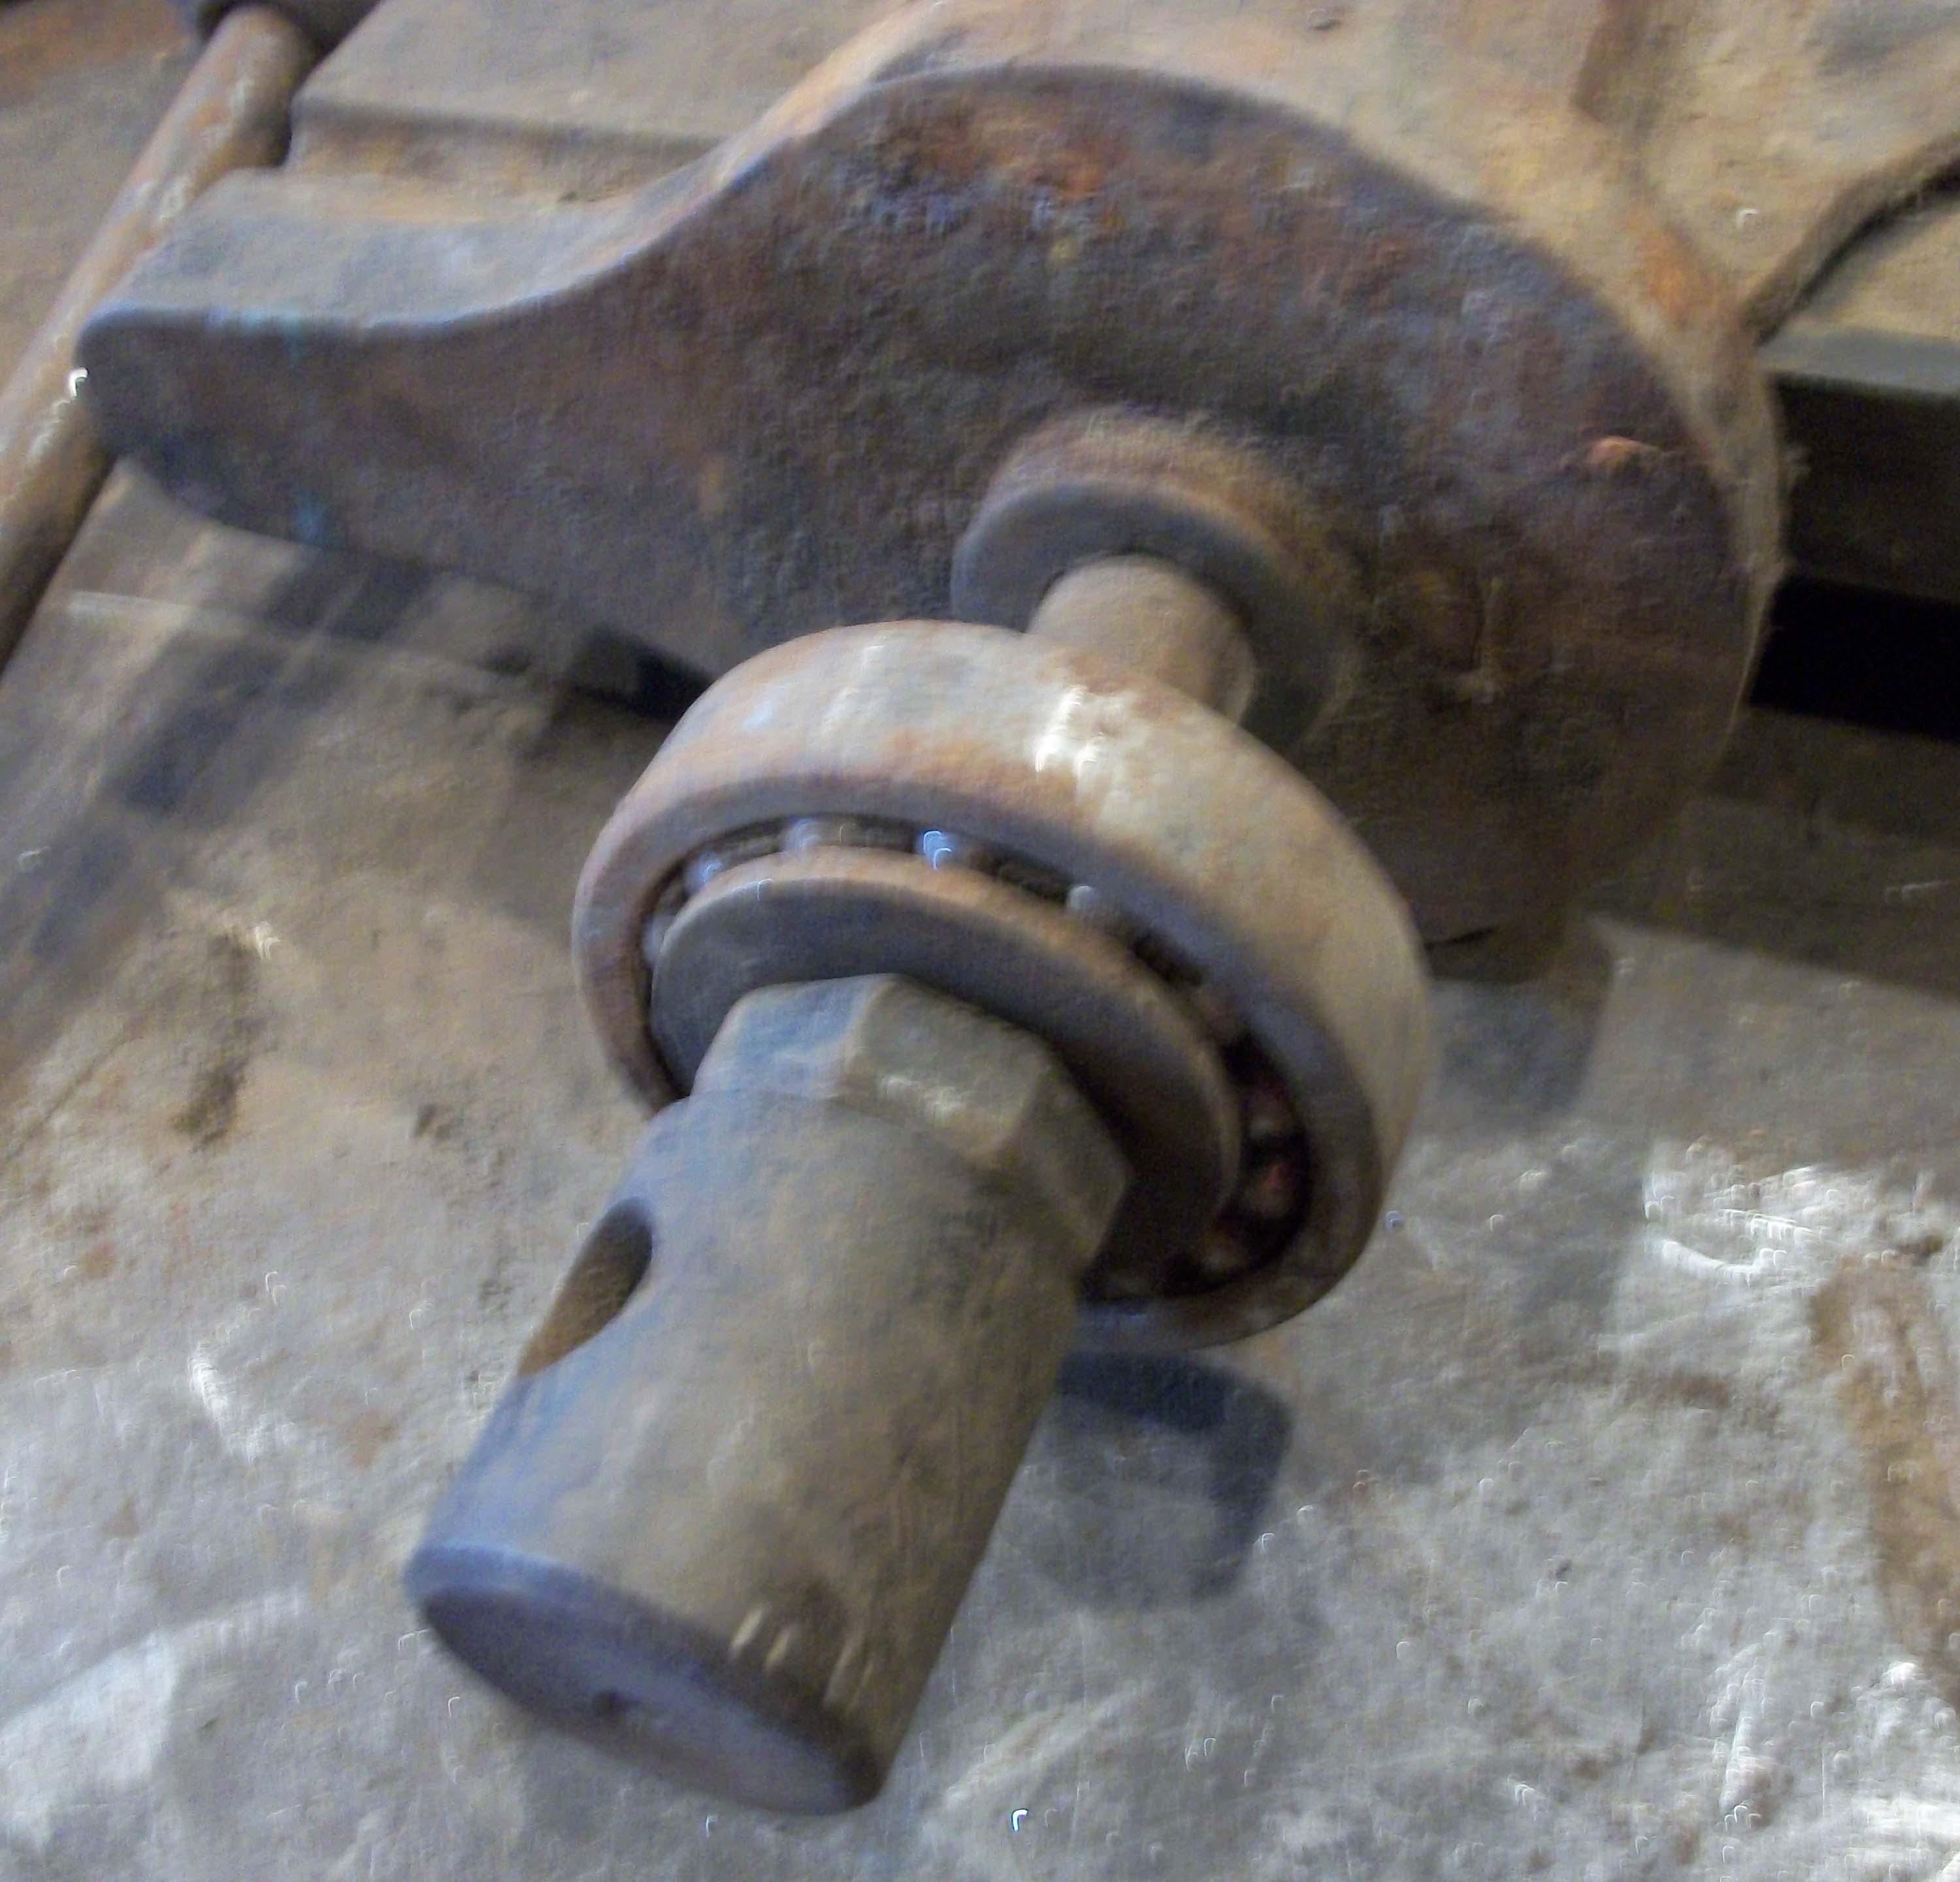
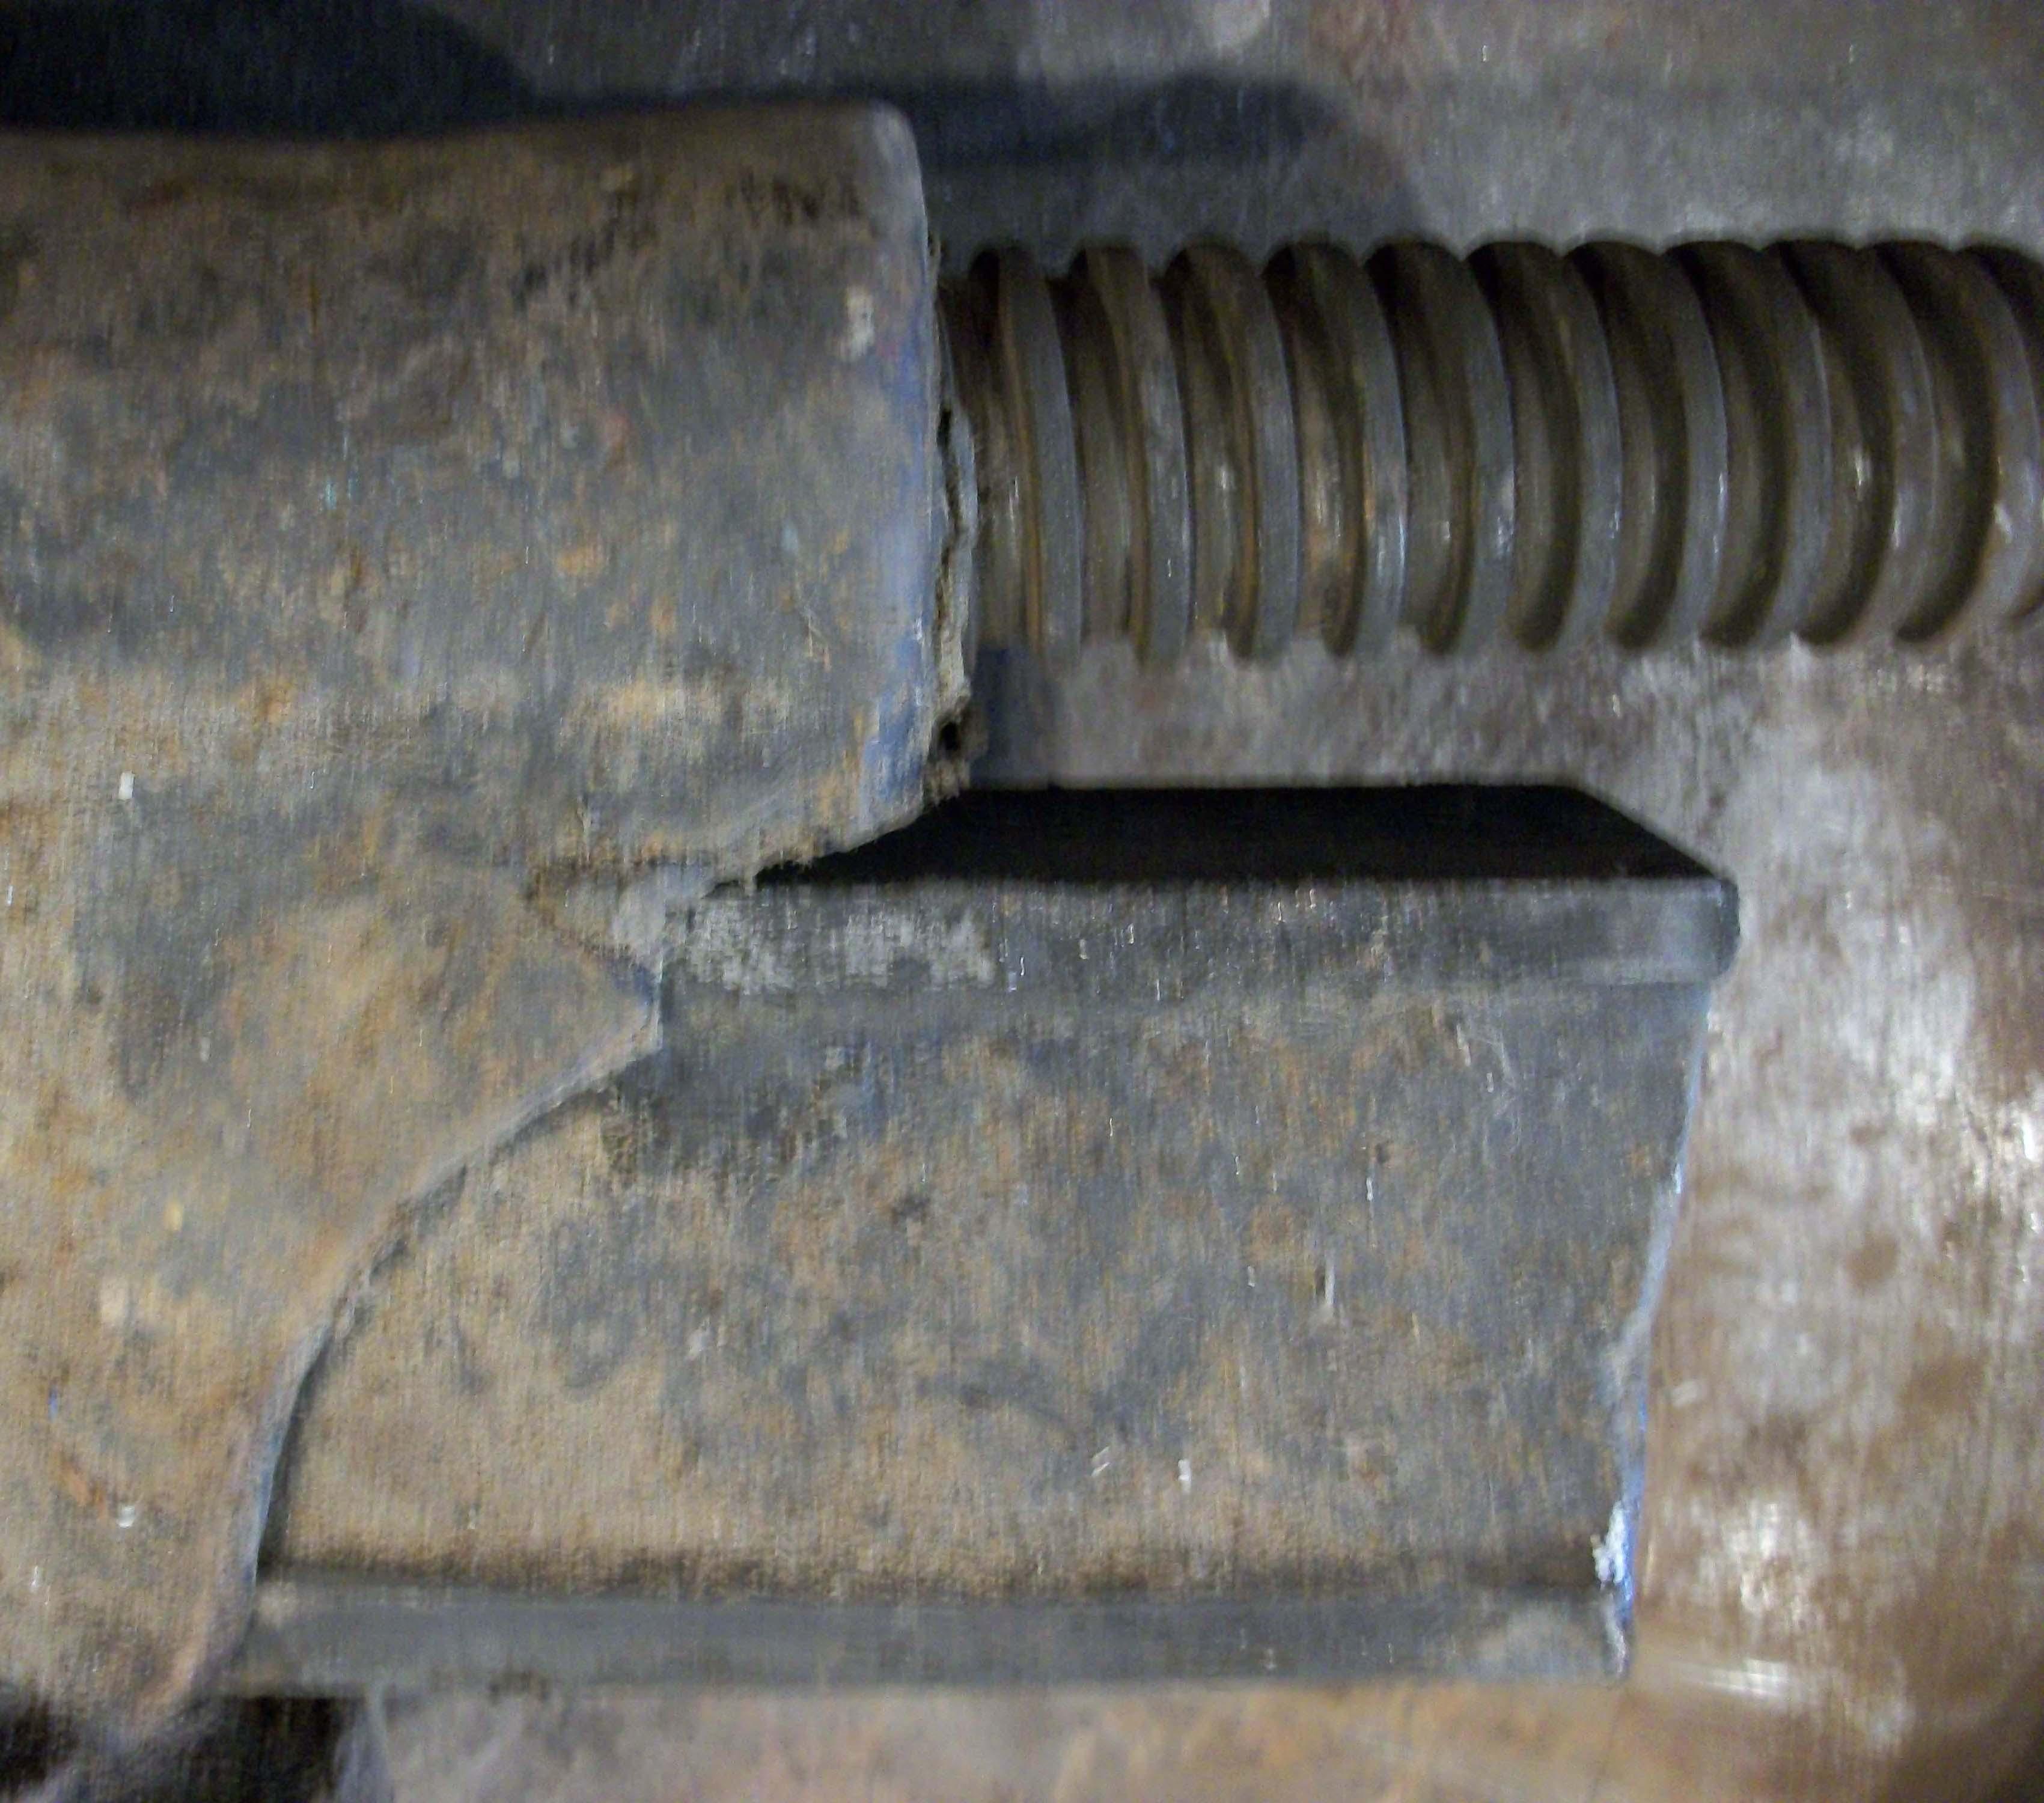
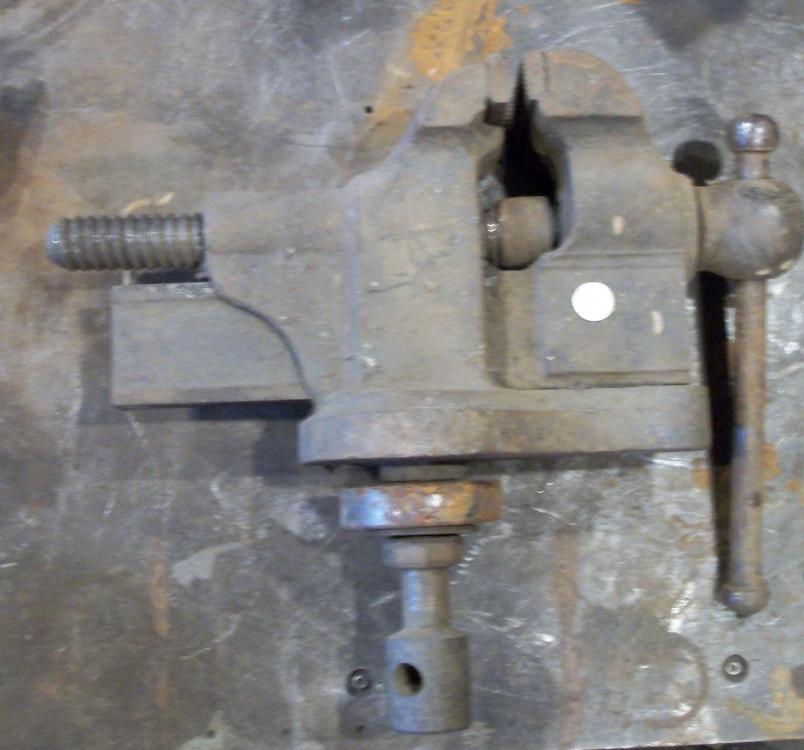
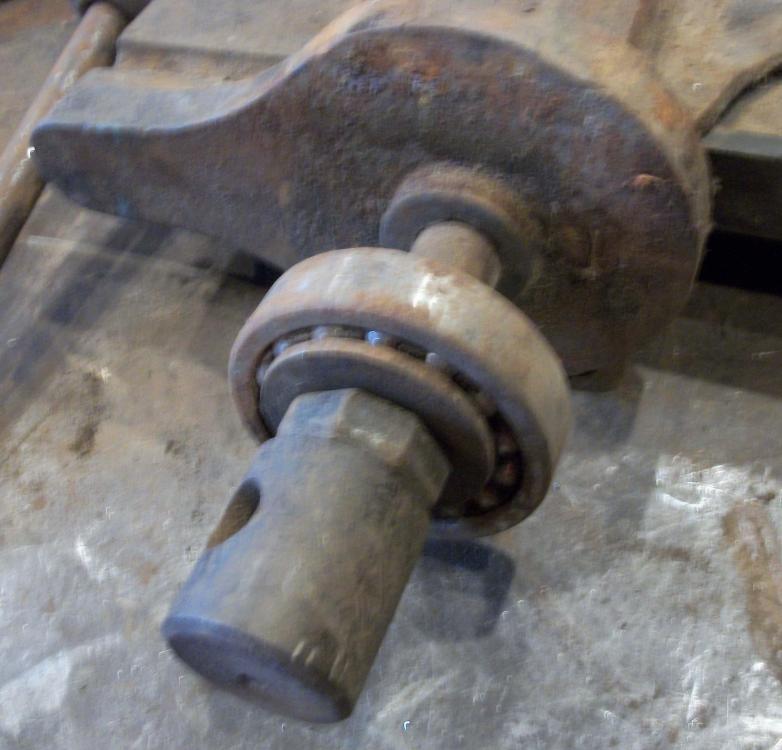
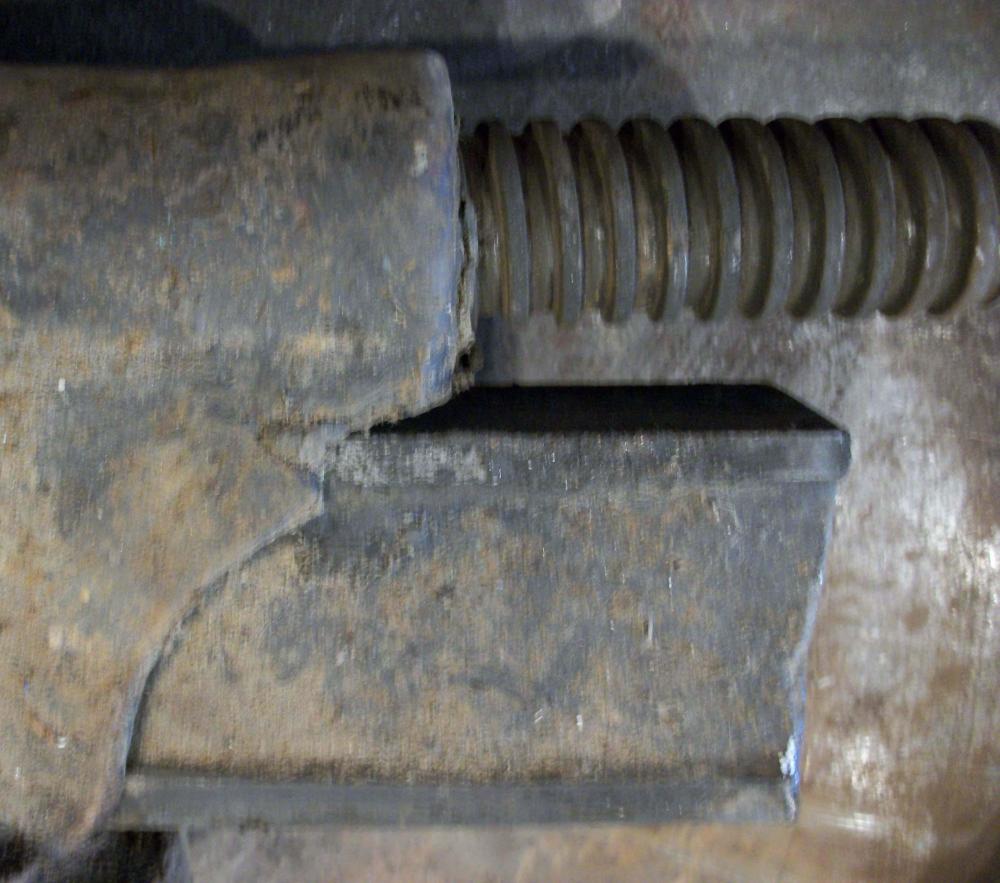
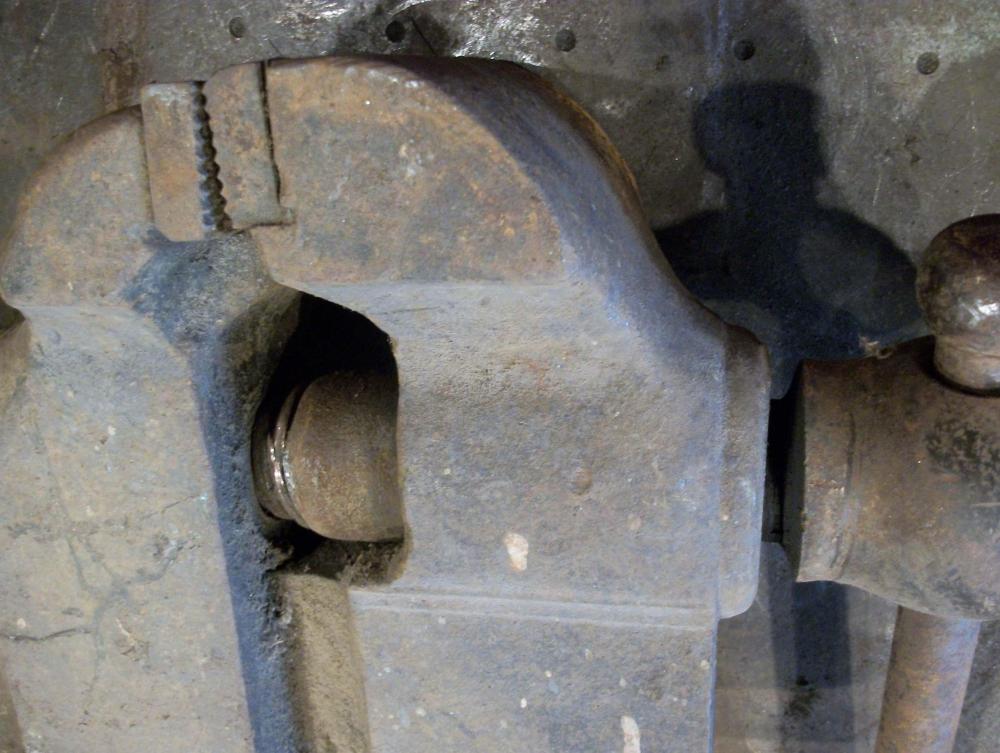
When to the town dump the other day and saw this lying on the ground by the scrap metal pile. I'm going to guess it weighs about 75 pounds and will need some added weld to replace a missing chunk and to repair a short crack. A few years ago, I found two tubes of ni-rod there too so all set with repair material! It looks like it mounted on a plate and that it could swivel by loosening and tightening the bottom bolt. I think the bearing is a later addition by the previous owner. It may also need a spacer on the screw to take up some slop at the jaws. The quarter is for scale and the jaws are 4.75" wide. It may end up as my outside vise.
-
I have a booklet from the defunct Lindsay Publications detailing the construction of a 3 phase rotary generator form a 3 phase motor run on single phase power. I built one from a 3 phase 5hp motor years ago and it has worked fine to power my lathe, belt grinder and milling machine. I am in the process of converting to VFDs though. I would be happy to provide copies of it but do not want run afoul of copyright issues.
-
Years ago I worked in a shop and was the head "driller and tapper" and drilled and tapped many thousands of holes. We worked with heavier stock up to 3" or 4" square or round and a product called Tap Free was used exclusively - it was not an oil and evaporated quickly. It was nice to use since your work did not get all slippery and messy. I just did a search for it and it is now called a cutting oil so maybe the formula has changed. When drilling a hole it is important to keep enough pressure on the drill bit so it cuts continuously. Allowing the drill to spin in the hole can actually harden your workpiece making your job tougher and potentially ruining your drill bits edge. When drilling deep holes, the bit must be withdrawn once and awhile to clear the drill bits flutes otherwise you can break the bit. In my shop now I use Tap Magic which is oily. Jewelers will frequently use bees wax as a cutting lubricant and WD40 works well with aluminum.
-
If you have a torch, heat the pivot points which should free it up. I believe those are cast iron so it will not hurt it. That said, I have had one for about 45 years or more and have never used it. I have seen one in use as a tail stock clamp sort of thing on a shop built twisting machine though.
-
I would try muriatic acid available at most hardware stores. Dilute it some (add acid to water) and don't breath the fumes. Also do it outside to avoids from rusting everything in your shop - it won't freeze. Neutralize with baking soda.
-
They are probably removable with some heat and a punch but, once you grind a new cutting edge in, the opposing edges will not meet and you will not be able to cut through anything. Unless that gizmo behind the pivot is an adjustable stop. If it is, I would try and grind them in place with an angle grinder and not try to remove them. They would make a good crimping tool as is or with a little modification to the"edge". I don't know what you would crimp with it though.
-
Storing an anvil so it does not rust
Gazz replied to Glenn's topic in Anvils, Swage Blocks, and Mandrels
I put an anvil into storage in my barn about 20 years ago. As I accumulated more really important stuff over the years, it became a bit buried or at least out of sight when just walking through. This past summer, I started cleaning stuff out and dug deep enough to find the anvil, securely fastened to its lamp post base. The rust on the face is serious and I'm sure it is pitted some. These things are like cold drinks on a hot summer day and will drip water after a cold night and a warmer and humid day. If I were ever to put something like an anvil into unheated storage again, I would coat it with tar. I is impervious to water, will not peel and is readily removable. -
I made a knife from a short leaf spring I had found on the roadside. I cheated and cut the shape out with a torch much to astonishment of blacksmith friend of mine who said I had just ruined the steel. I did grind it back a bit from the rough shape cut out and then forged both a distal taper, full tang taper and the proper wedge shape to the edge. I don't recall any particulars in my heat treating of it but I guess I nailed it. I use the knife daily in my kitchen and am amazed at how well it holds an edge. Every month or so I give it a few swipes on the steel and it just keeps on slicing and dicing. Sure there is a risk of using mystery metal but sometimes it works out just fine.
-
What did you do in the shop today?
Gazz replied to Mark Ling's topic in Blacksmithing, General Discussion
Das, nice going on the auger bit! I am thinking the copper wound piano wires are actually plated steel and maybe a brief soak in some muriatic would remove it. You could also try some cable mixed in with the piano wires and then twist the whole billet. I have been saving auger bits for various projects and have made poker handles with them by winding twisted heavy wire into the flutes and I may even have a picture somewhere. -
Das, I look at your pile of piano wire and augers and can't help but think about a knife made by winding the piano wire into spirals of the auger and then forge welding a blank out of it as it all should be carbon steel of some kind. JT, I am wondering if your bottle cart was used in a hospital type environment. Something they could move bottles of oxygen or nitrous oxide around with. Doesn't have the right look for a welding shop.
-
Damascus with only hand hammers?
Gazz replied to JonathonCrow's topic in Blacksmithing, General Discussion
As noted above, all band saw blades are not created equal and is something to consider when using bandsaw blades for pattern welded steel. Many today are bimetal with high speed steel bonded to the band for just the cutting edge and the rest is medium carbon steel like 4140. A friend who worked in a nuclear component fabrication plant gave me a bunch of really large blades that had carbide teeth but the rest of the blade was 4140 or half hard stuff. I did make a couple of large hacksaws for cutting soft fire brick with them but they were not suitable for making knives. -
What did you do in the shop today?
Gazz replied to Mark Ling's topic in Blacksmithing, General Discussion
I have to comment on the post about Albert Paley. He did not get his start from going around picking up scrap metal on the roadside - he was a very accomplished jeweler and made fantastic gold and silver pieces and started blacksmithing to make tools to help him in those efforts. I studied gold and silver smithing with him when he taught at Brockport SUNY and worked in his blacksmith shop for 4 years. He was not a guy to pass up a good curb find but his steel stock mostly came from a local steel supplier/scrap yard. -
What a coincidence about the Duff milling machine. I just learned two days ago that my mechanic is setting up a metal working shop at his home and also has a Duff milling machine like yours and he told me the same story about the collets. He too has looked all over to find them and also told me about the $481 price for having one made. I have never heard of Duff but he told me they were made in Haverhill, MA which is the town next to mine. I wouldn't waste any time looking for the D5 collets - just get it reworked for R8 and get working with it. Great deal you got too!
-
I studied to be a jeweler, goldsmith, silversmith and found stone setting to be fairly easy if you can work small. Can you silver solder? By that I mean the high temperature stuff - not the stuff for plumbers. While you could buy a piece of flat or half round gold or silver stock,, bend it to close it up, solder then make round on a mandrel you could also carve one in a wax purposely made for that and then have it cast by one of many places that will do that for you. Refinement or polishing would be up to you. Whatever method you choose, I suggest you buy a prong setting the size you need for your chosen stone and solder it (gold solder if you used gold for the ring) and then watch videos on stone setting. There are many different techniques but its not rocket science. I would do a little practicing with the torch and high temp solders first as very easy to overheat and melt stuff and its also important to see how the solder flows. A 1lb propane torch will work but a prestolite torch is better and an oxy fuel torch the best. I have a sheet metal gauge that tells how long a piece of flatstock needs to be to make a particular size ring and if you tell me the size, I can tell you how long it needs to be. Also very easy to wrap a piece of paper around a finger to get an apprx length. Hammering on a mandrel will be required and the size can be increased some doing that.
-
I agree, the hammer with round faces and short handle is for silversmithing or coppersmithing and would be used on sheet metal over a stump with a hollowed out depression or another form specifically for sinking into the depression. The hammer faces would have been polished.
-
Thoughts on breaking down your big chunk of bronze. Bandsaw it into chunks small enough to fit in your crucible? Use a torch to melt it into sections (instead of a band saw) Build a melter in the ground. Lots of charcoal and melt the whole thing at once into a ingot or lump. Then you have to deal with a big lump. I don't know your plans for such a nice chunk of material but maybe sawing off pieces of the size you need for a particular application as needed may be the way to go. Then there is selling it for scrap as is and buying what you need. Not much fun but efficient and time must always be part of the consideration.
-
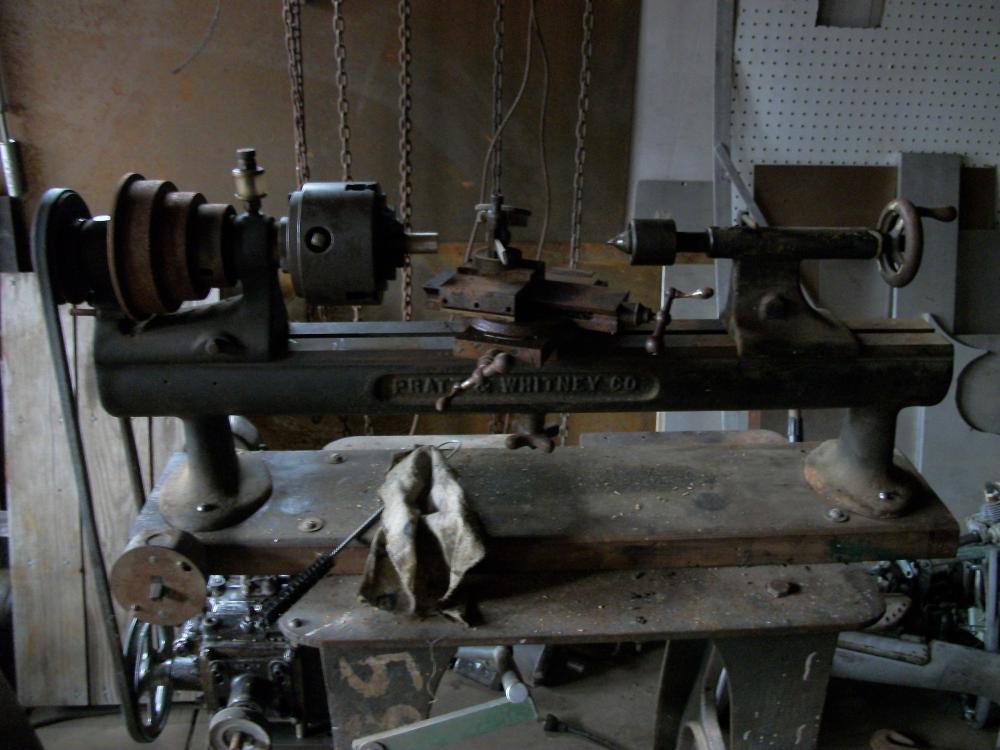
I am guessing that power to the drive unit was by electric motor, electric supplied by P&W of course. It's an interesting unit and it will reverse directions in an instant which I suppose was necessary in its intended use.
-
In the 70's and 80's I worked in a shop that used 9" ARO air grinders. I don't know how many hp these are rated at but they were powerful tools and required a 25hp air compressor that ran about constantly to keep them running. None of them had guards on them as that is the way the owner liked them as did us folks who used them. Every now and then, somebody would skin a knuckle or tickle his belly but never anything serious. If you ever have to grind a complex shape in a tight spot, you will understand why the guards were removed. If you can do the work with the guard in place, okay. But if the only way to get where you need to go is with the guard off, you have no choice. That is why the guards come off on my grinders. I have been grinding on steel since 1970 so I have a few years of experience to shape my methods and opinions. Working in this field, it is inevitable that you will get burned, cut or smash a finger. Work with that in mind and think before you act.
-
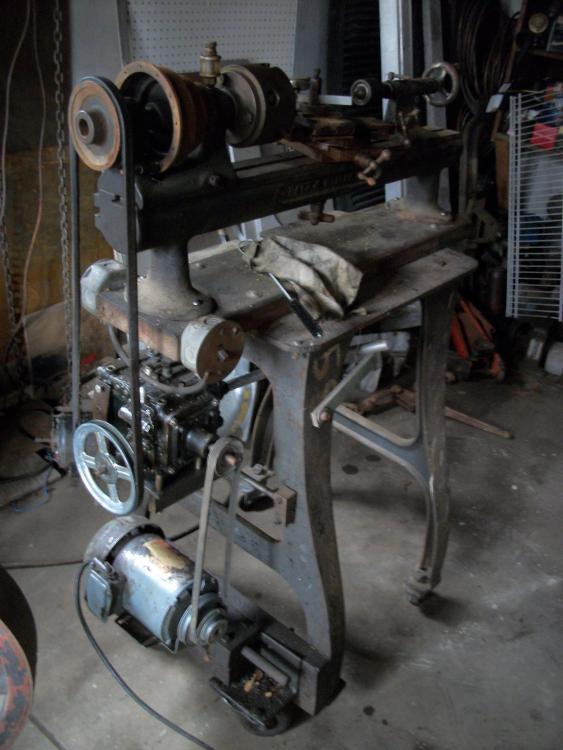
A couple of years ago a local scrapper gave this Pratt & Whitney No. 3 to me. I recently set it up and got it running but it still needs more work - the cross slide and compound are rather stiff from rust. What is interesting is the hydraulic right angle drive is from a WW2 bomber and was used to spin a gun turret. The fact that it has been adapted to this machine does not make it a turret lathe however. I also have a 9" South Bend toolroom type lathe that gets used frequently but I don'y have any pictures of it.
-
First thing I do when I get a new grinder is to take the guard off! They get in the way and the grinding discs will let you know quickly you messed up. And you will remember to never do that again. The paper discs however cut flesh quickly at the edge but you have already learned not to hurt yourself.
-
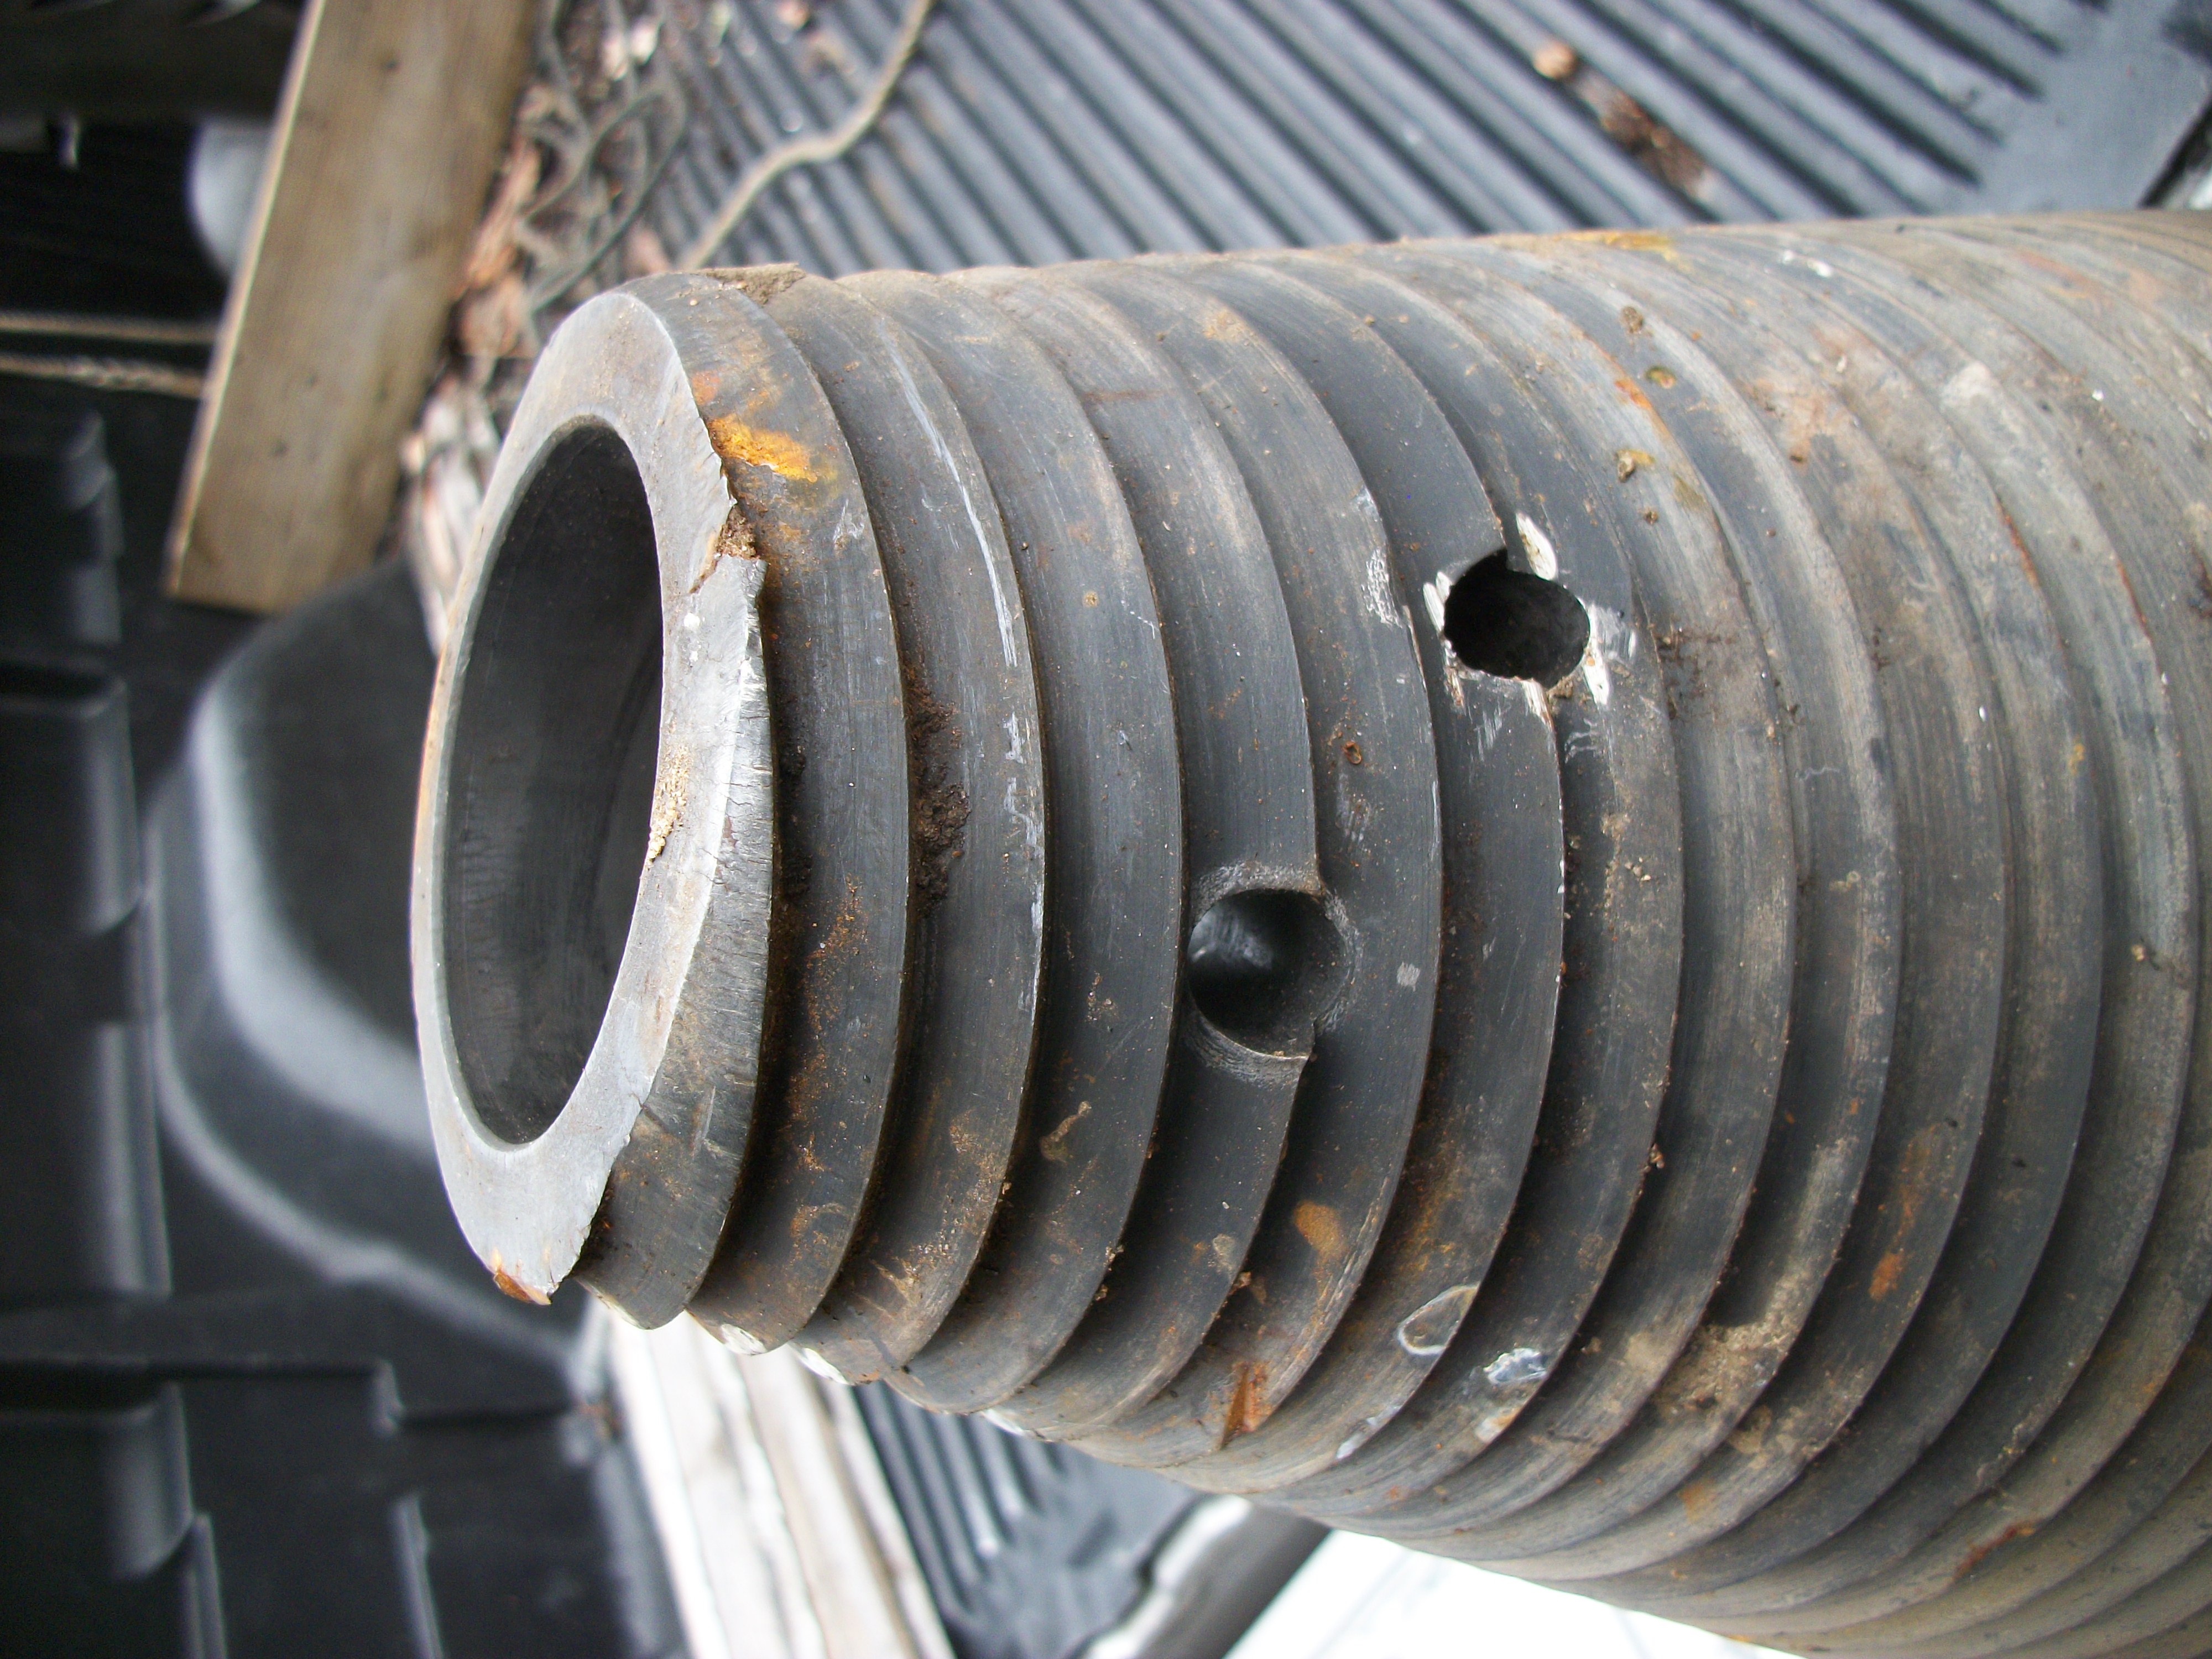
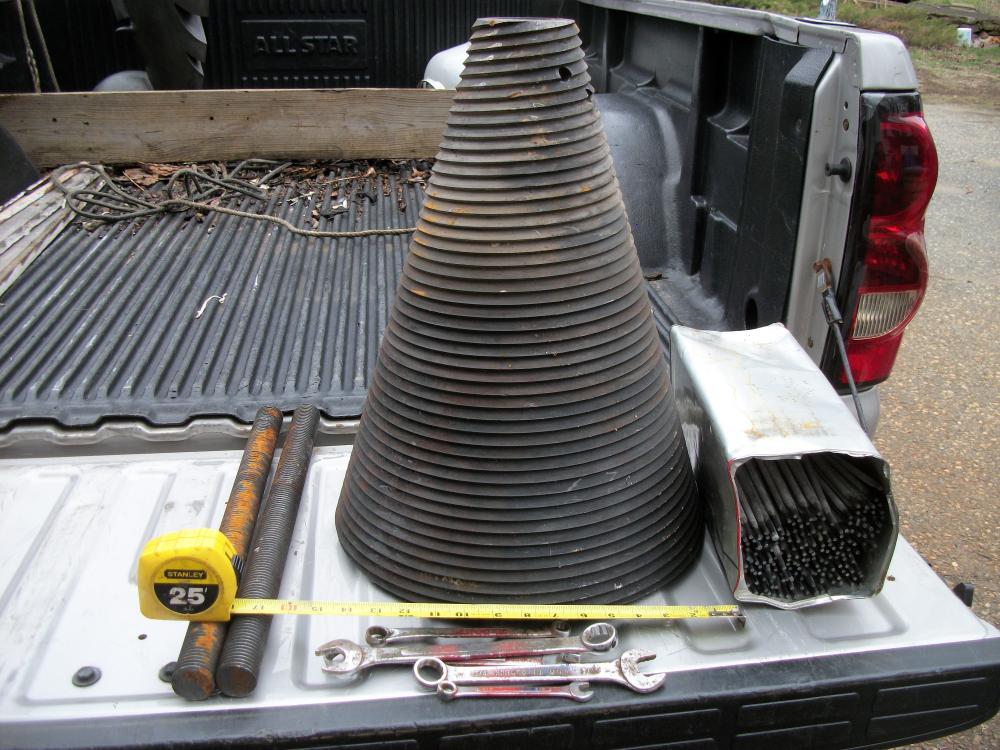
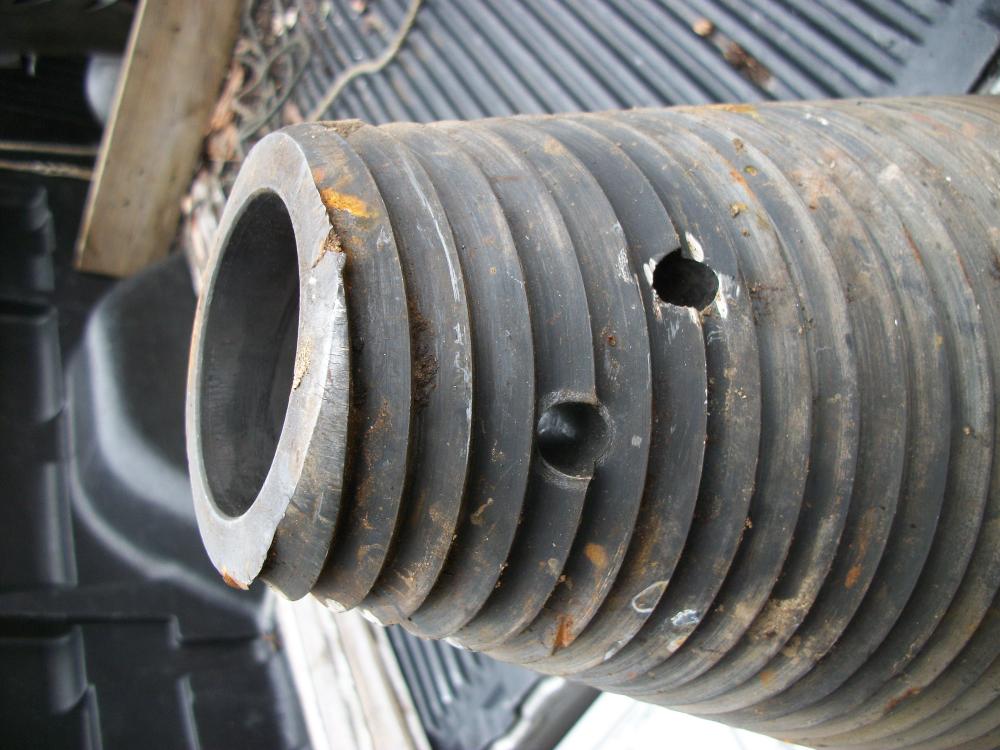
Had to make trip to town this morning which took me by the scrapyard and I had some cash in my pocket. Somebody had just dropped this interesting cone thing off so right in my truck it went. Initially I thought it may have been a forging but once I got it home and found a number that was cast in. It weighs about 100 pounds or so. Also in the pile were the pieces of threaded rod which are 1 7/16"" in diameter. Deeper in the pile was this can of 1/8 7018 welding rod and some wrenches. $40 later it was mine
-
I have seen dehorned anvils before. There was shop in Amesbury, MA, Old Newbury Crafters I think it was called and they made sterling silver flatware. There were a number of silversmiths working there and every anvil in the place had the horn cut off. I asked one of the crafters why that was and he said they were quieter that way and they did not need the horn for what they were making.
-
As far as the room spinning motor goes, the VFD should be able to run it with single phase 220. Check out the specs on the VFD to be sure. VFD's are commonly used just for that purpose, running a three phase motor with single phase power, as well as being able to vary the speed.
-
What is the most dangerous tool in your shop?
Gazz replied to Glenn's topic in Tools, general discussion
They are all the most dangerous. I have rapped my knuckles on the lathe, had pieces spin in the drill press and gash me, removed the ends of fingers on the pedestal grinder, removed layers of flesh with the angle grinder as well as make deep cuts in my belly when using abrasive paper in them. Saws of any kind can cut you quickly. Everything hot in your shop can burn you or set you on fire. The horn of your anvil can put a decent bruise in your leg. Tongs and pliers can pinch and of course hammers can squish fingers. I once gave myself a nasty shock with the welder - felt like somebody hit me with a baseball bat. Even the stock you work with is dangerous, sharp edges can cut and heavy stuff can be dropped on your unprotected toes. Then there is the dust and NOISE - hurting you slowly without being to obvious and maybe the most dangerous of all. Pay attention! -
Speaking of angle grinders, I worked in a shop once that had air powered 9" grinders, Every now and then after a disc change, the disc would slowly unscrew itself from the arbor and then take off like Odd Jobs hat. They would bounce off walls or whatever they ran into and really had a fair amount of energy in them. Fortunately no one was ever hit by one. I could never understand the physics behind it since the air motor spun in a direction to make the discs tighten up and not loosen. I suppose its possible that the air motor started backwards occasionally which might cause the problem.