
-
Teaser Paragraph:
IForgeIron Blueprints
Copyright 2002 - 2007 IFORGEIRON, All rights reserved.
BP1012 Making Hammer Handles
by Uri Hofi
A - Because I want a certain shape for the handles you can not get in the shop. B - I love to do it (before forging I was a wood sculptor) C - It is much cheaper (I shape 100 handles in a working day) The wood I use is mostly '' epea'' very hard and tough wood and hard ''maple''. Hickory is not available in Israel other wise I would use it. A carpenter which is a friend of mine cuts the wood to planks 1-1/16 x 1-3/4 x 12''.
You can always buy the handle, but I like to produce and shape the handles for all the tools I forge myself.
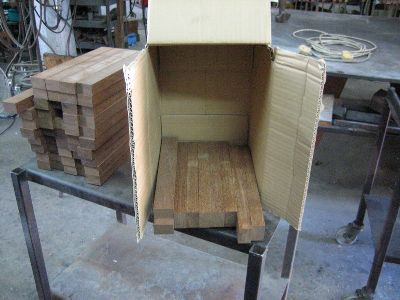
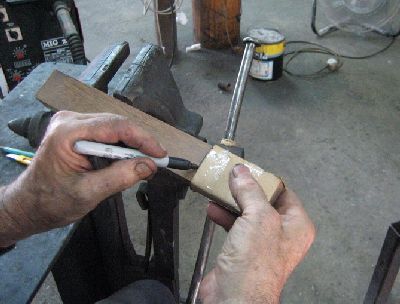
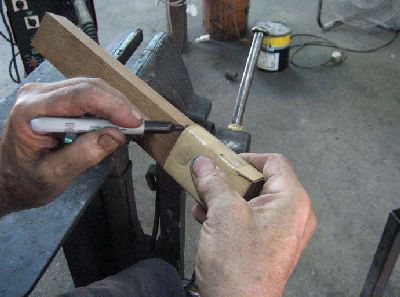
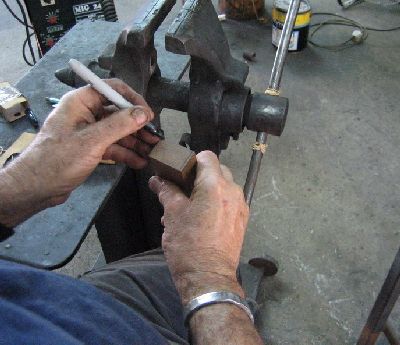
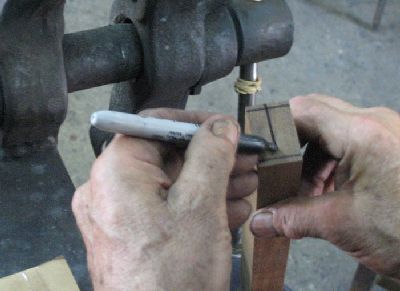
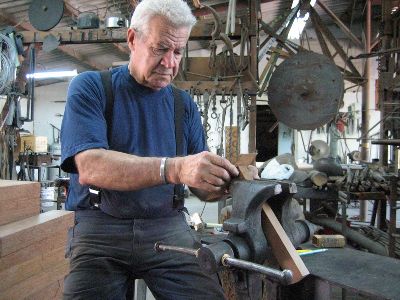
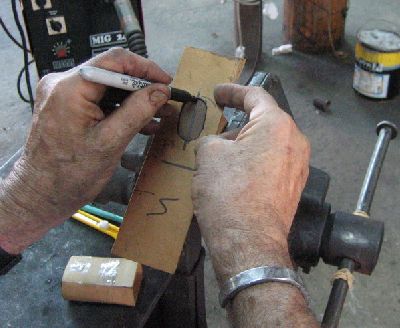
I start with marking the planks.
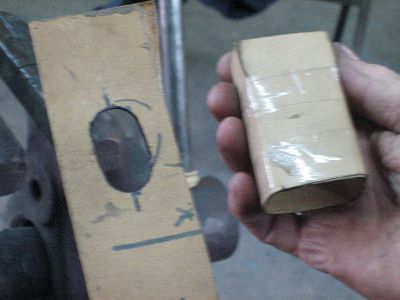
The hard paper templates that I use for marking the planks.
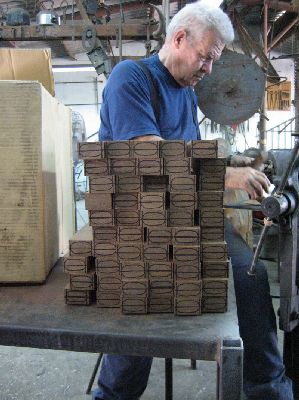
Marking with the help of the vise.
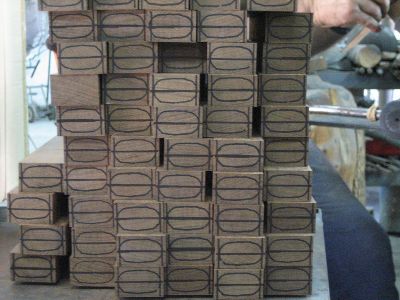
The marked plank.
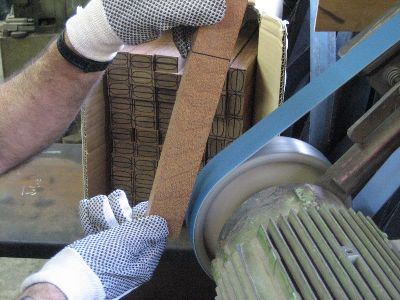
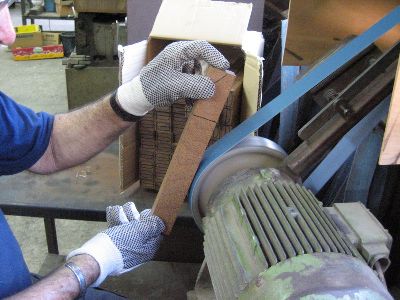
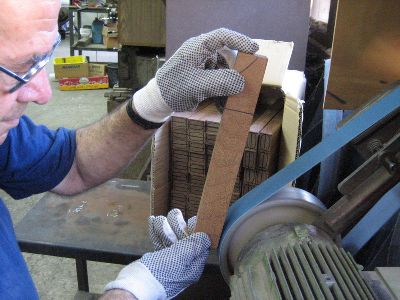
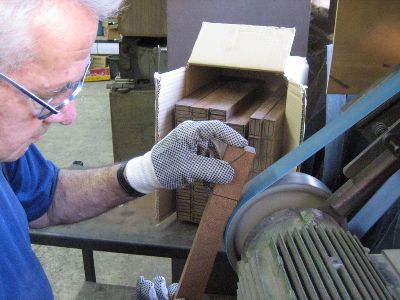
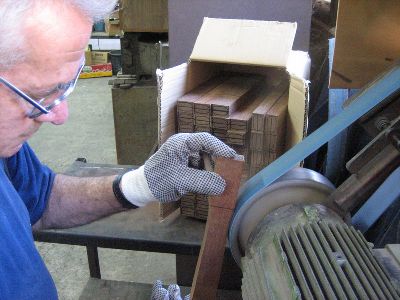
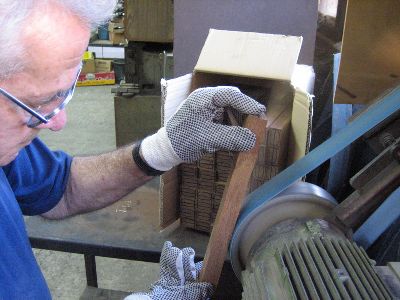
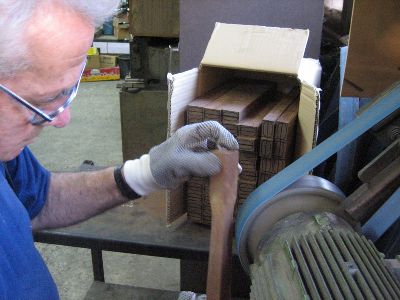
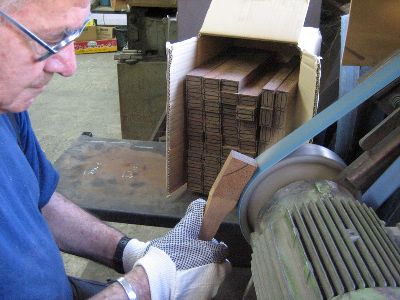
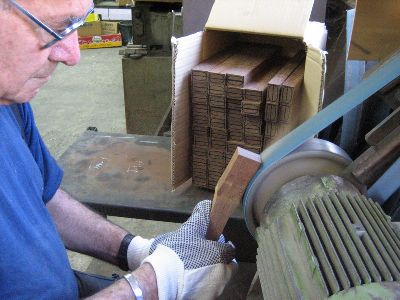
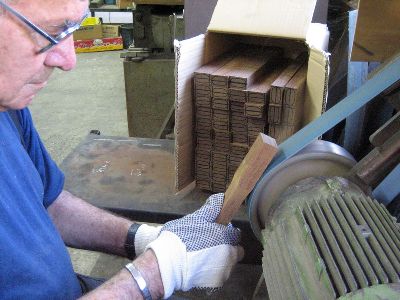
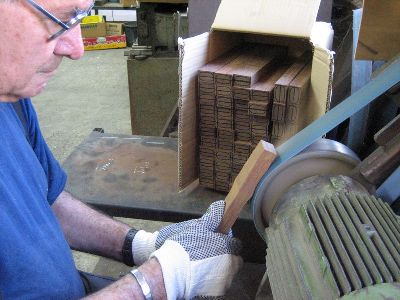
Grinding the shape with a belt grinder (which I built ) with a new 36 greet belt !!!! The belt is turning upwards. If the belt is not new it will not ''eat '' the wood !!! 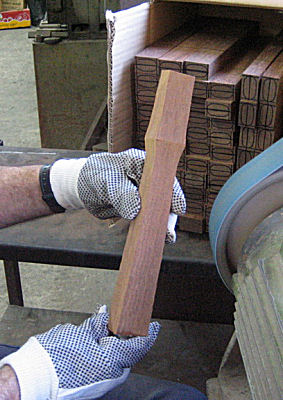
The finished basic form.
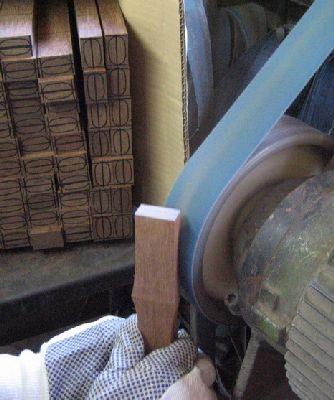
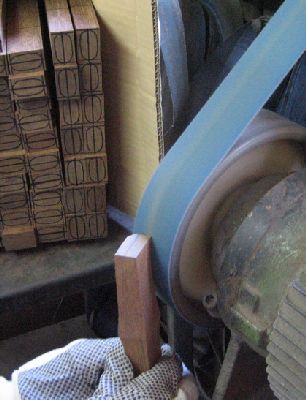
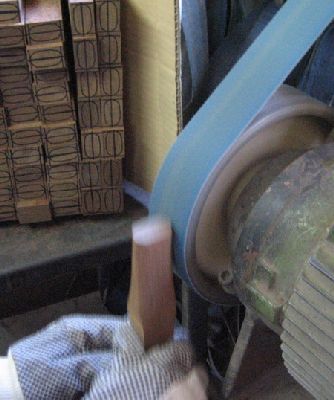
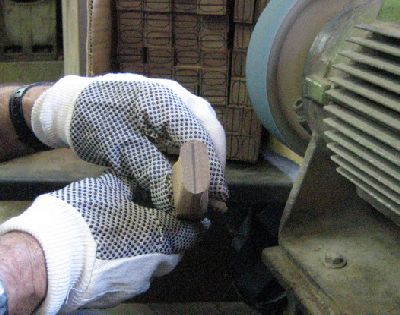
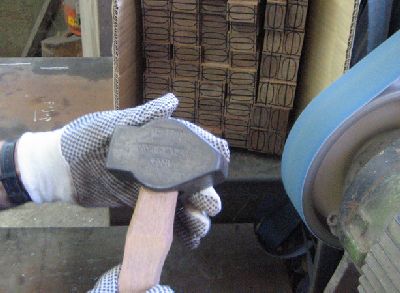
Braking the corners and rounding the upper part that goes into the hammer eye.
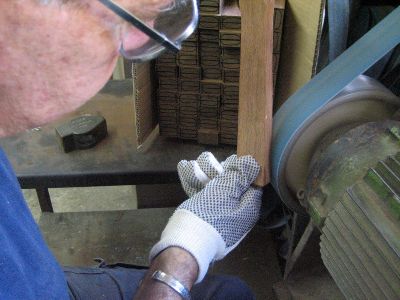
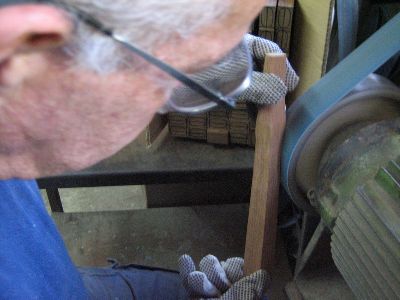
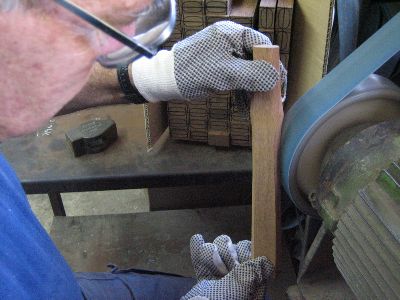
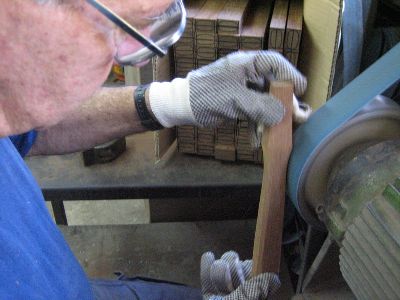
Braking the corners and rounding the handle part. 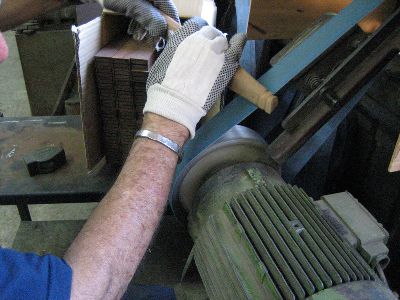
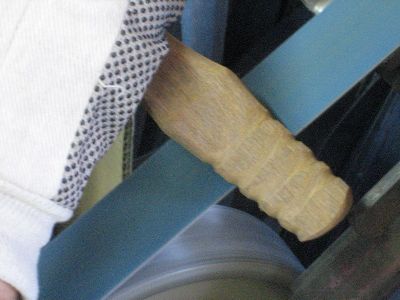
Grinding the grooves for the glue.
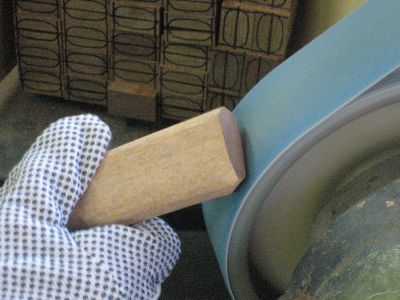
Grinding the bottom end of the handle.
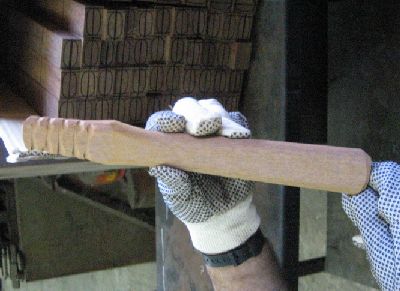
Finished handle.
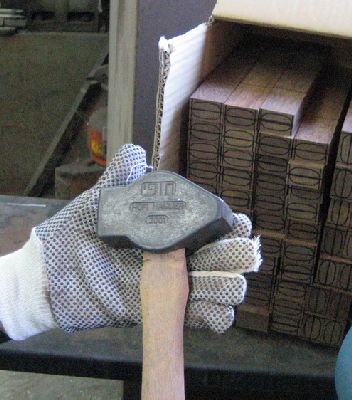
With the hammer head on. After running with the 36 grit I go again with a 150 grit and polish.
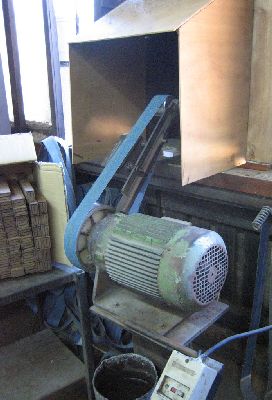
The grinder. The wheel is mounted on the motor that runs 2750 rpm the wheel is 9'' 0D the motor is 2 .5 hp you can not see in the photo the very big fan that extract away and out all the grinding dust. On this grinder I grind all the hammers chisels and punches that I forge. Very simple and strong and easy to work with.
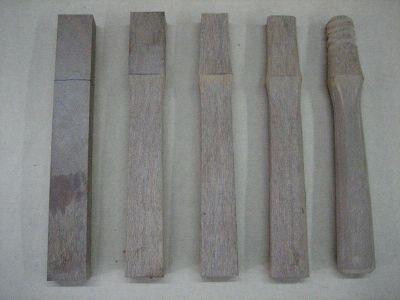
The process from the plank to the finished handle.
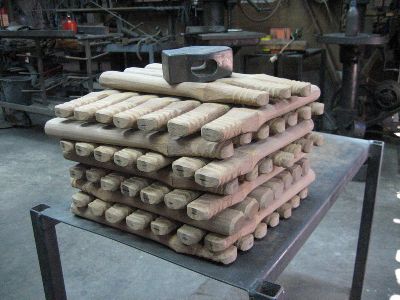
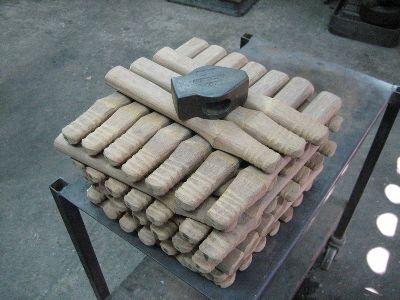
A pile of finished handles.
Thank you,
Uri Hofi
I glue my handles to the hammer with pu sikaflex 11 cf. U have to wait 24 hours and only then you can brush it clean. I never oil the handle before gluing process because the oil will release it from the glue there are hammers that I forge now 17 years with and they are not falling apart. Only after the gluing and brushing process is finished I oil the handle one heavy time with wd40 which is very good for and easy to use.
Is A Very Strong And Elastic Polyurethane Glue Take 24 Hours to Set . Then I Brush it Out With Rotating Steel Brush The Brush Fibers Are 120 Thou. One Container Is Good To Handle 25-30 Hammers.
Recommended Comments
Join the conversation
You can post now and register later. If you have an account, sign in now to post with your account.