Beavers
-
Posts
53 -
Joined
-
Last visited
Content Type
Profiles
Forums
Articles
Gallery
Downloads
Events
Everything posted by Beavers
-
Thanks Glenn I had not found that thread yet. I'll look back through all the JABOD threads...I think I remember someone posting a video of their forge running. Would be nice to see what a properly running charcoal fire looks like. It would at least give me a gauge as to how I'm doing with fire management. So much reading and learning to do
-
Thanks for the detailed response Frosty. I guess I was hoping there was some kind of shortcut for experience. I think I know the fire diagram from Glenn that you mentioned...it did teach me that my stock should be horizontal and not angled down into the fire like I had been doing. I have tried to hook up with the local blacksmithing group but so far haven't had much luck. I'll keep on them and continue playing with fire and reading IFI.
-
As a complete noob I would find that kind of info extremely helpful. I'm also using charcoal and have designed my fire pit based on Charles Stevens JABOD designs. I think my main question at this stage is how long should it take to heat up a certain size of stock with the forge design I'm using. It seems like it takes forever and I'm not sure if its user error or if that's normal for my forge. I think its Glenn that always says it the amount of air not the size of the fire. For a noob using a manual mattress pump I'm not sure what the right amount is for the forge/fuel I'm using and the size of stock. I also don't know how to measure airflow so 15ft/3m doesn't help me. There is so much good info to help noobs here and I think I've read a lot of it. I haven't found much on this particular subject. I'm sure there's a ton of variables but a guide like Shabumi is suggesting seems like it would be helpful for us new guys.
-
A collection of improvised anvils
Beavers replied to Charles R. Stevens's topic in Anvils, Swage Blocks, and Mandrels
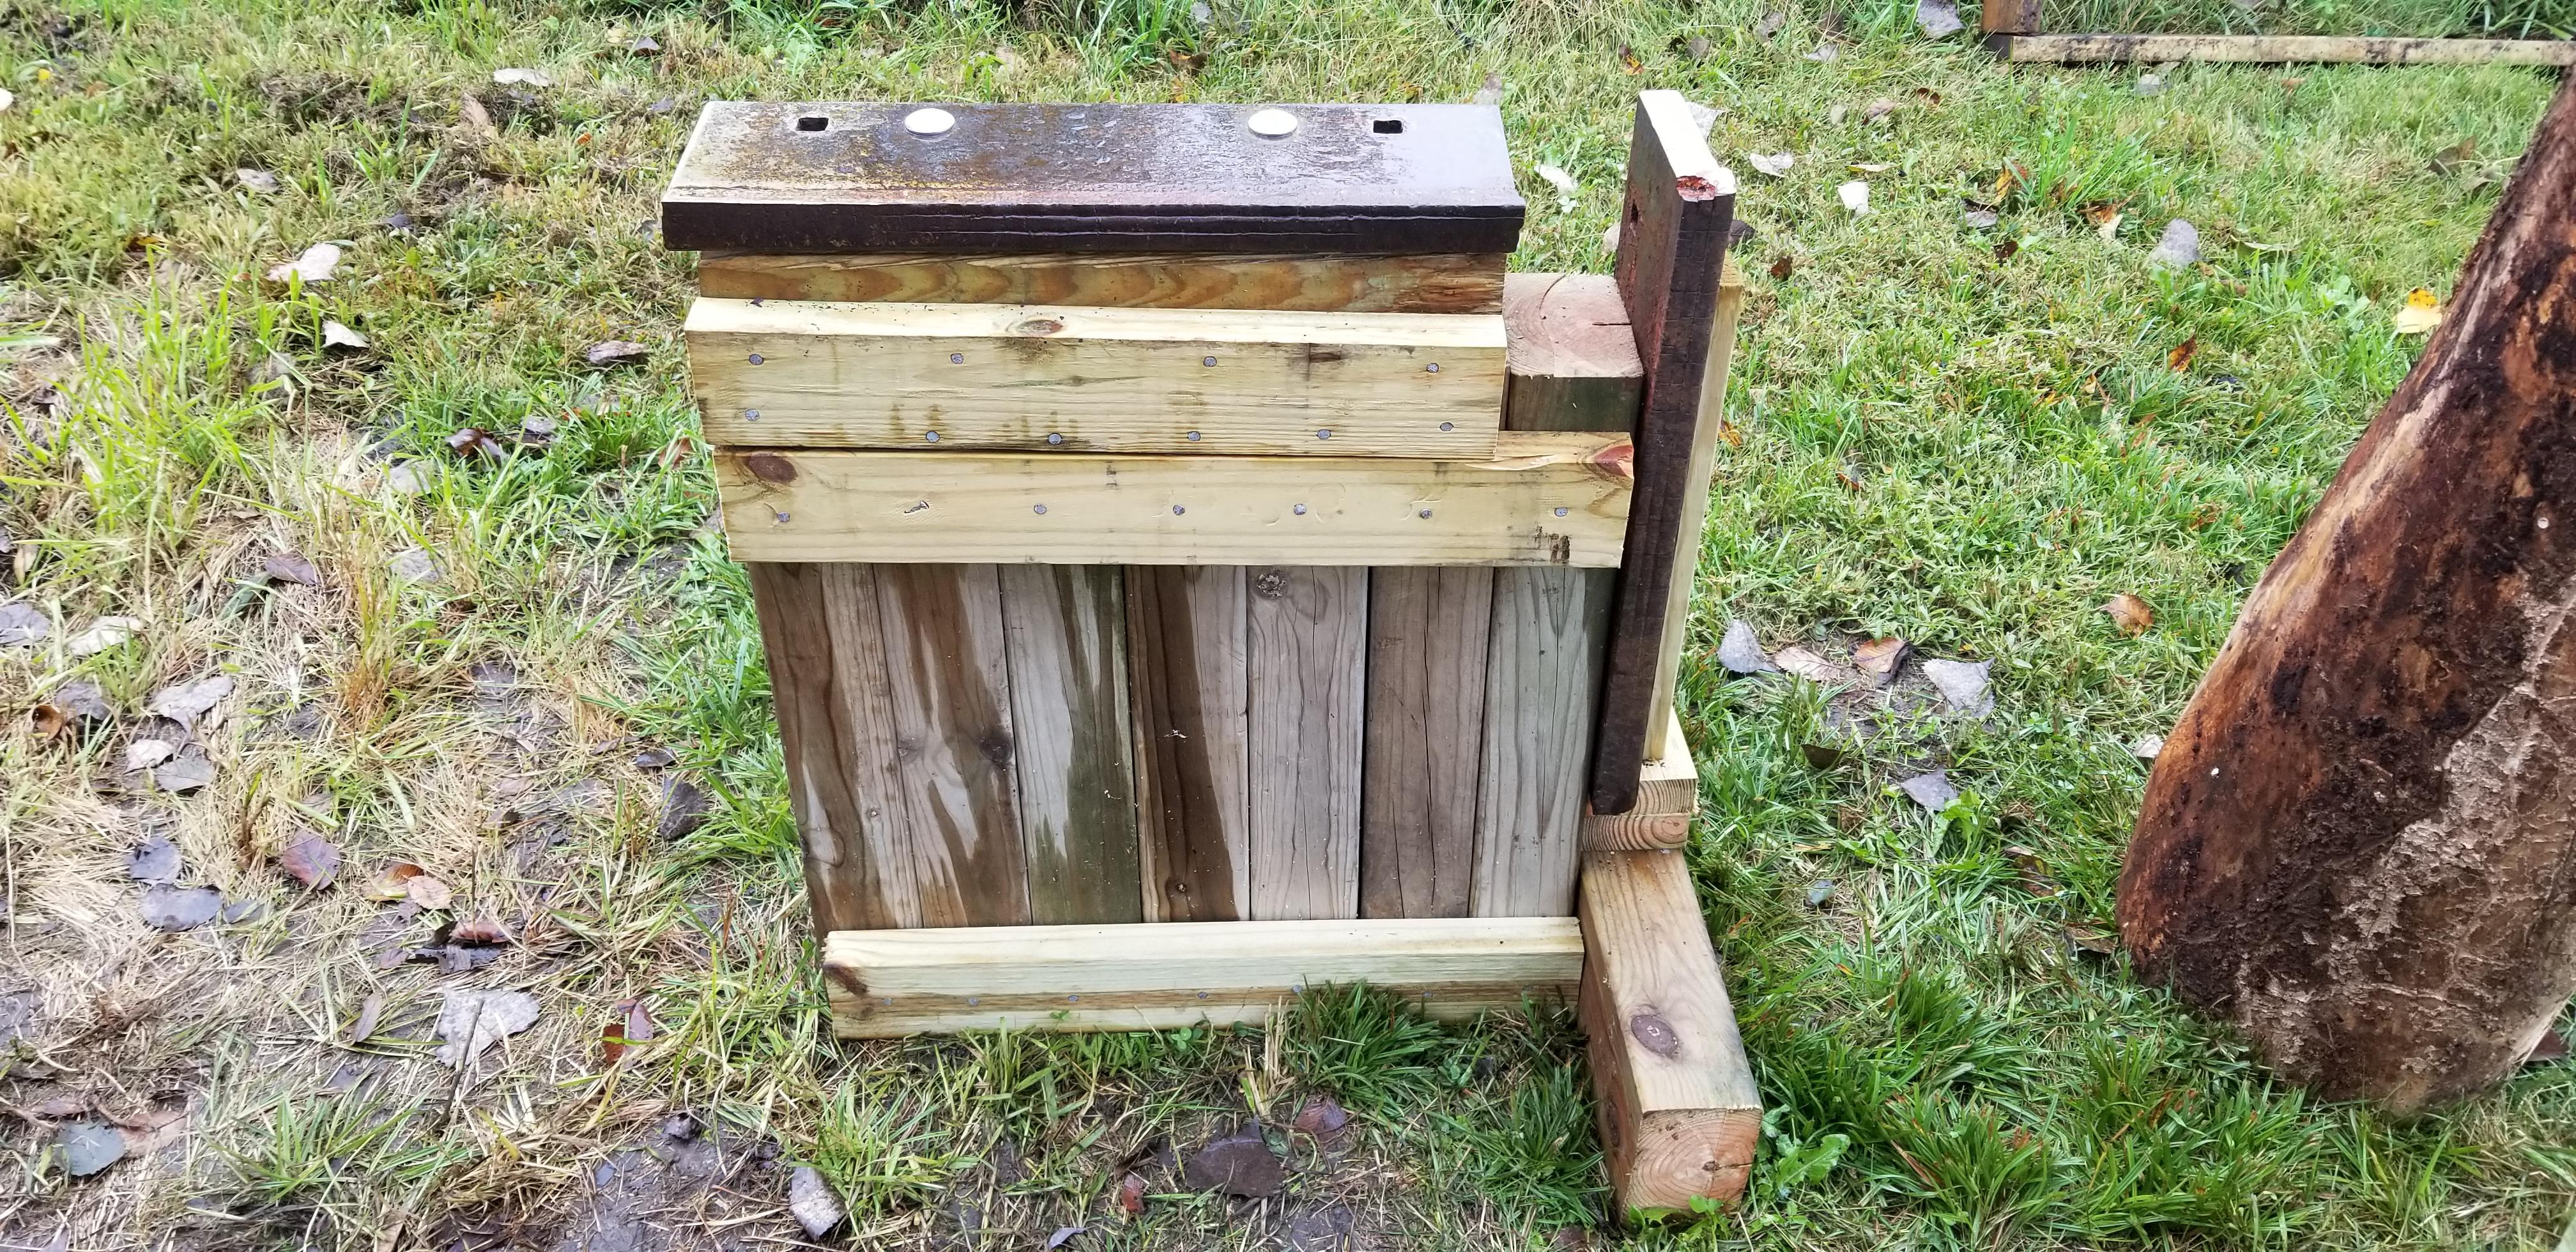
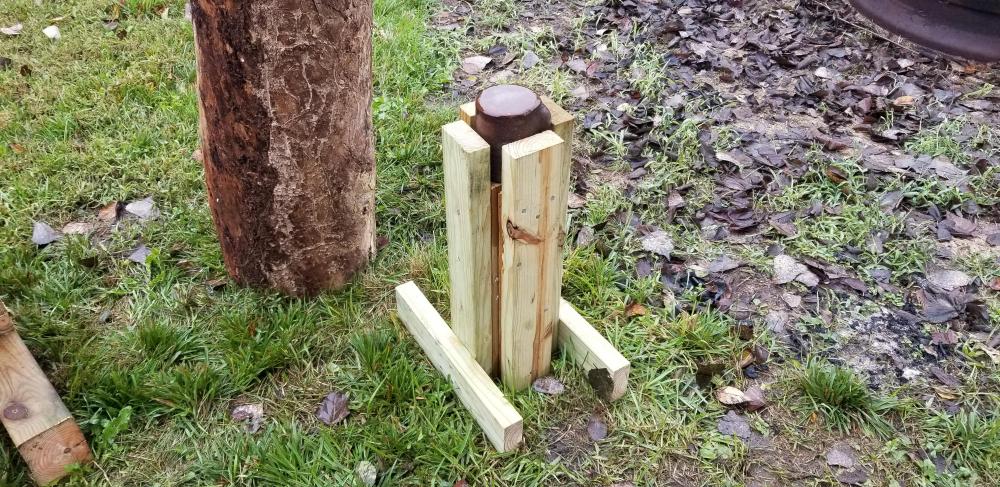
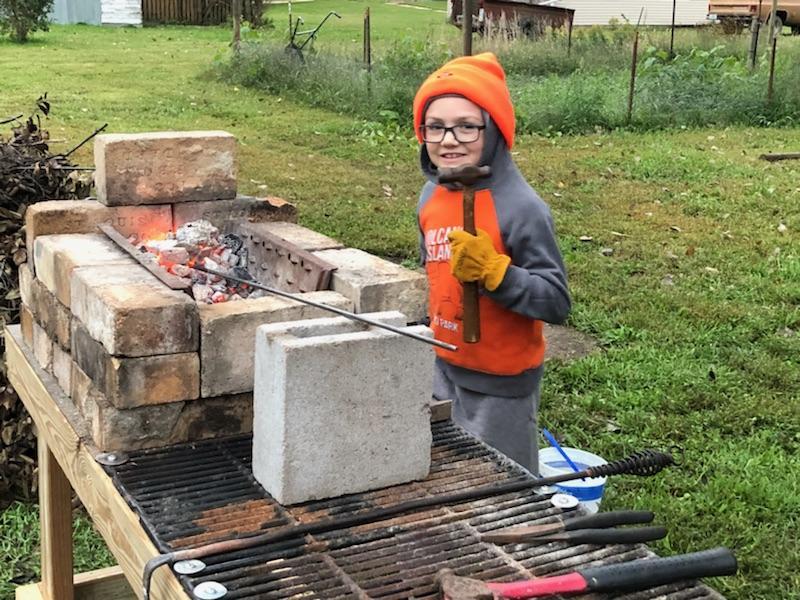
I got stands built for my improvised anvils. Two snowplow "blade savers" and a sledge hammer head mounted at a height for an 8 year old kid.
-
The concrete piles that I saw were just like the picture Ted posted. They were hammered into the ground just like steel H piles with a big diesel powered hammer.
-
Standard Specifications for Highway Construction Page 437 is the start of the pile section.
-
In Nebraska In the late 90's I did the surveying for a DOT bridge with with driven concrete piles for the abutments and piers. I haven't seen them used since then, but they are still covered in our spec book.
-
Maybe set the steel plate in the concrete before it sets? Might be better than trying to get a perfectly flat finish job on the concrete?
-
What did you do in the shop today?
Beavers replied to Mark Ling's topic in Blacksmithing, General Discussion
Looks like it's going to be a nice knife metaldrms. -
I need help identifying my anvil
Beavers replied to Brandon G Valdez's topic in Anvils, Swage Blocks, and Mandrels
Thanks Thomas That's good to know...pretty big difference between LBS and CWT. If I ever get in the market for an anvil will be nice to know what I'm buying. -
What did you do in the shop today?
Beavers replied to Mark Ling's topic in Blacksmithing, General Discussion
Thanks Glenn, I'll give that a shot. -
I need help identifying my anvil
Beavers replied to Brandon G Valdez's topic in Anvils, Swage Blocks, and Mandrels
Question for you all concerning the stamped anvil weights discussed in this thread. I'm reading The Art of Blacksmithing and it says American and English anvils are marked in hundred weight. So the anvil marked "131" would be 197 lbs. 1= 112lbs 3= 3/4 of 112lbs (84lbs) 1= 1lb Is this only the case with very old anvils? Other than weighing the anvil is there a way to tell if its marked in lbs or hundred weight? -
What did you do in the shop today?
Beavers replied to Mark Ling's topic in Blacksmithing, General Discussion
Thanks JHCC. I have looked that post and found a lot of good info there. With my plate being only an inch thick it seemed pretty thin to mount vertically. Would you still suggest mounting it on end? Now that I think about it...I probably won't be forging anything thicker than 1/2" for a while. An inch wide plate would give me plenty of working surface right? -
What did you do in the shop today?
Beavers replied to Mark Ling's topic in Blacksmithing, General Discussion
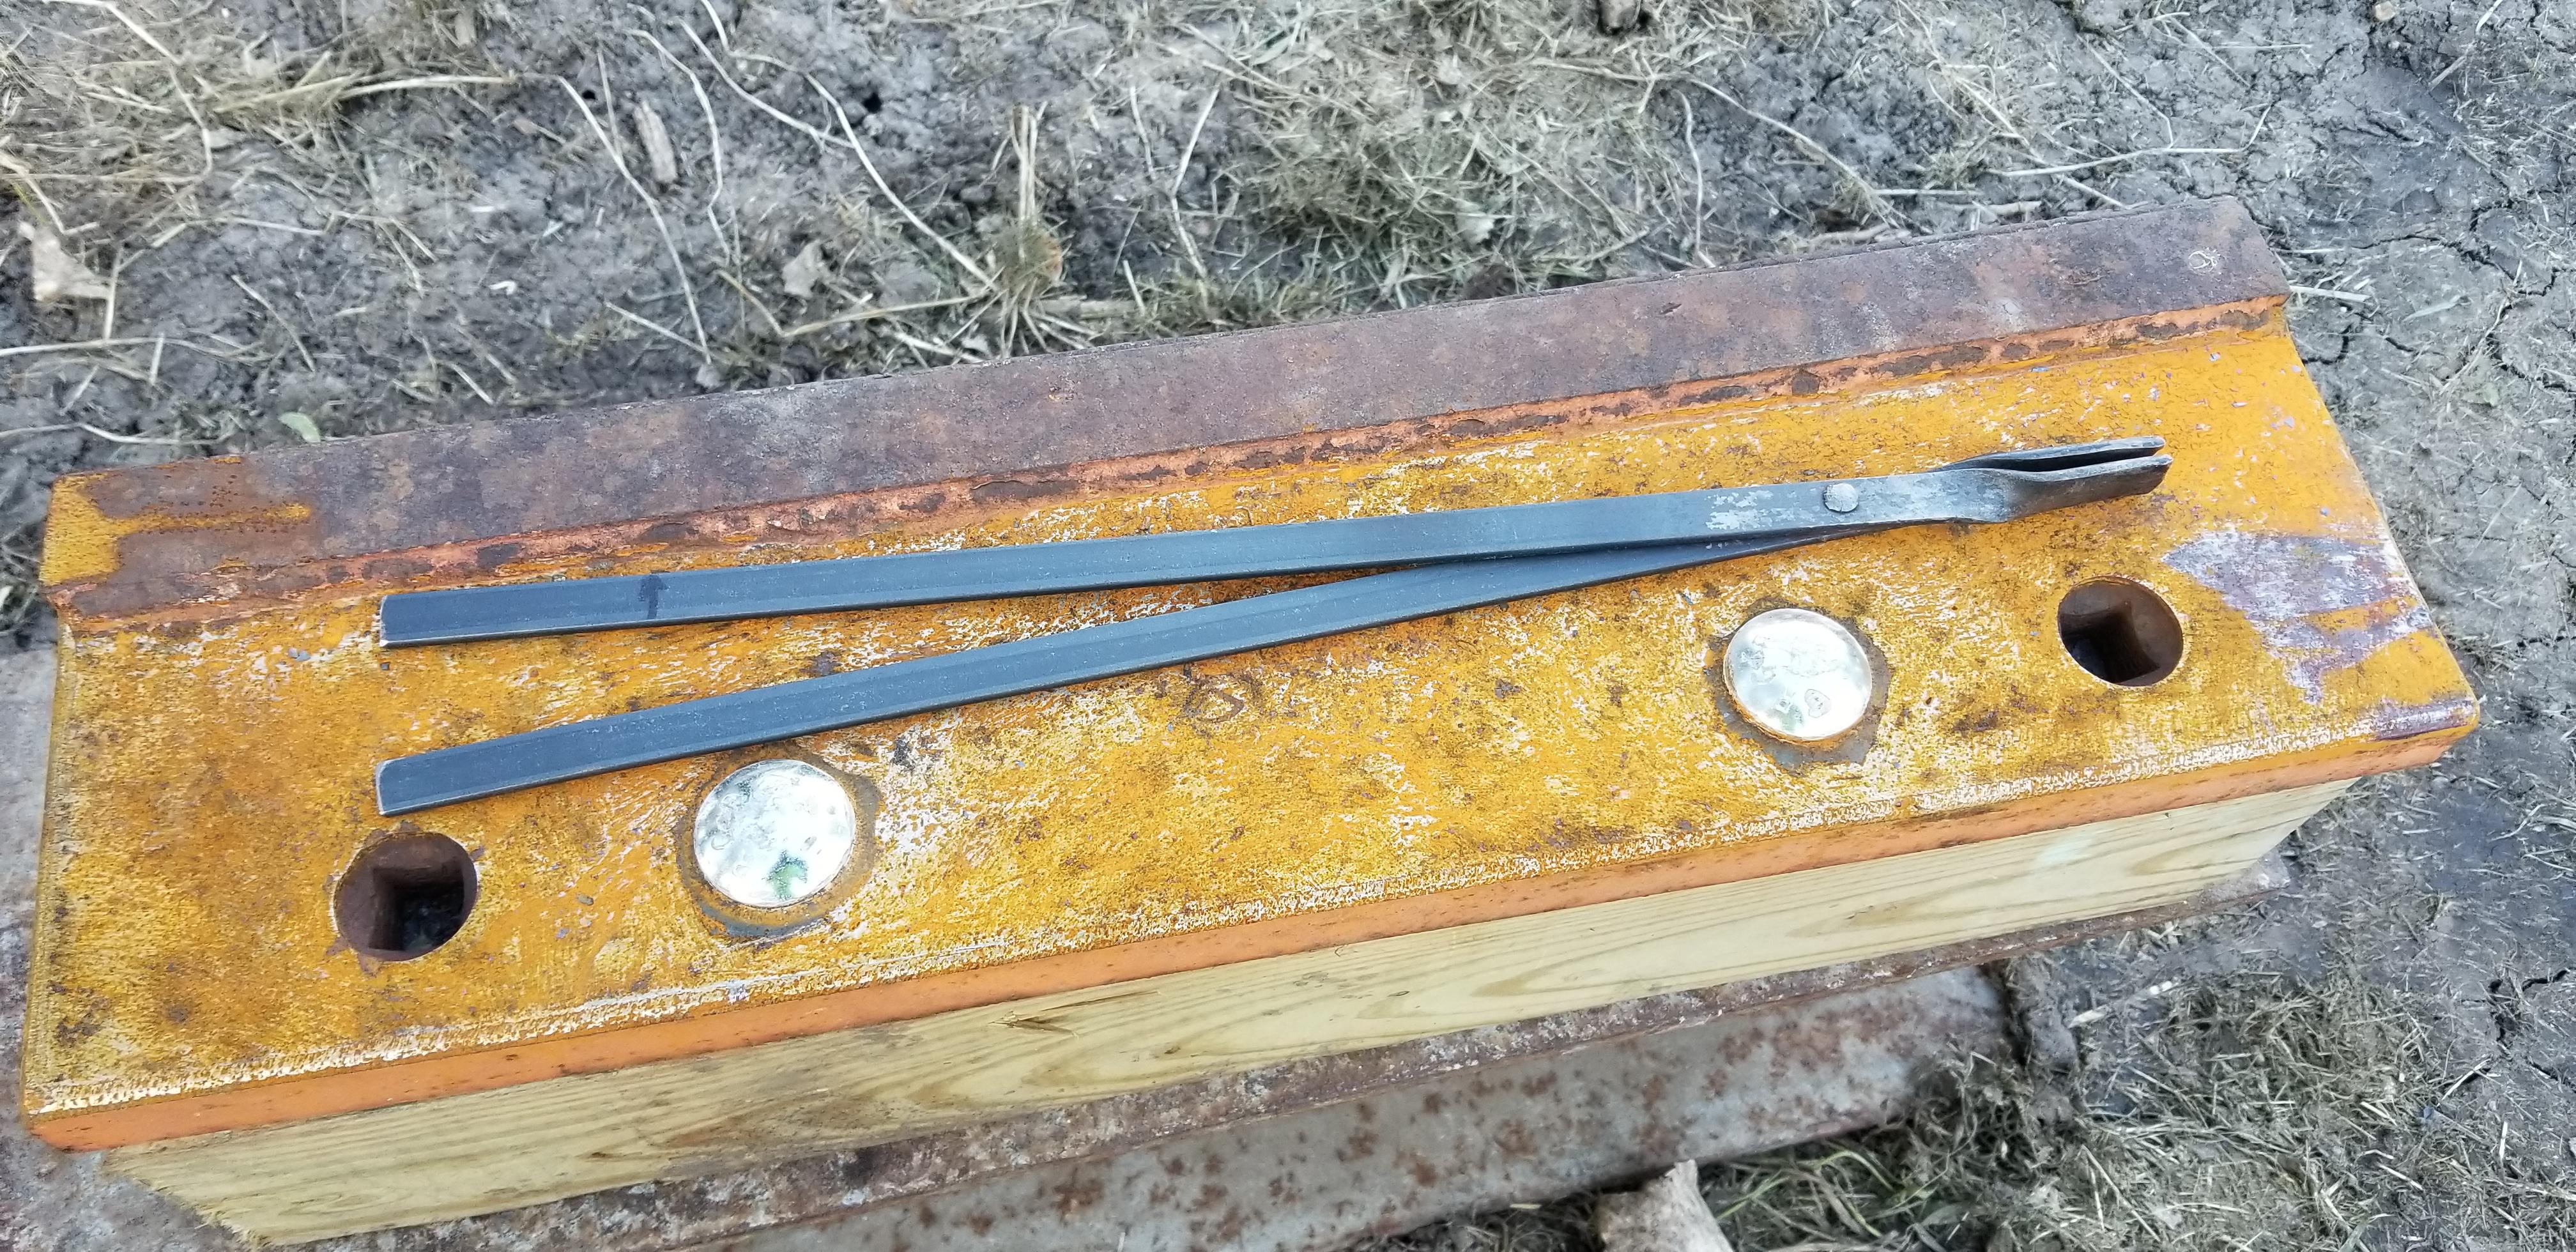
Here's my tongs. I had a tough time putting the groove in the jaws, and kinda knocked the alignment of them off a little. They do seem to do a pretty good job of holding onto 1/4" round stock. I want to do some more practicing bending and shaping things before I start on a bigger set of "real tongs". I just picked up a copy of the Complete Modern Blacksmith from the library. He has some practice drills that I want to run through before tackling any bigger projects. Also upgraded the anvil. It's a "blade saver". They use them on them on the big DOT snow plows in the high wear areas like the outside ends of the blades. It's a bout an inch thick and is much more solid than the I-beam. I'm planning on building a stand for it this weekend. The bolt holes are 3/4". I was thinking I might be able to use them as hardie holes.
-
What did you do in the shop today?
Beavers replied to Mark Ling's topic in Blacksmithing, General Discussion
Haha...I tried to post pics but I have a really bad cell signal tonight. It won't even upload the pics. I'll get them posted tomorrow. -
What did you do in the shop today?
Beavers replied to Mark Ling's topic in Blacksmithing, General Discussion
So I made my first tool yesterday. I followed the plans for the easy tongs in the blueprint section here. I think mine turned out almost as good as the ones that the 10 year old kid who wrote the article made. It was cool to take a couple of peices of metal and turn them into a functional tool. My favorite part was making the rivet...it just looks so awesome. It also makes all the work that I see posted here that much more impressive. It's a lot harder than it looks to make the steel do what you want it to do. -
Good point on the eye protection. I'll get him some goggles.
-
That does sound like a good beginner project and he does love smores. I do a lot of outdoor cooking over a fire so cooking tools are definitely on my list of projects.
-
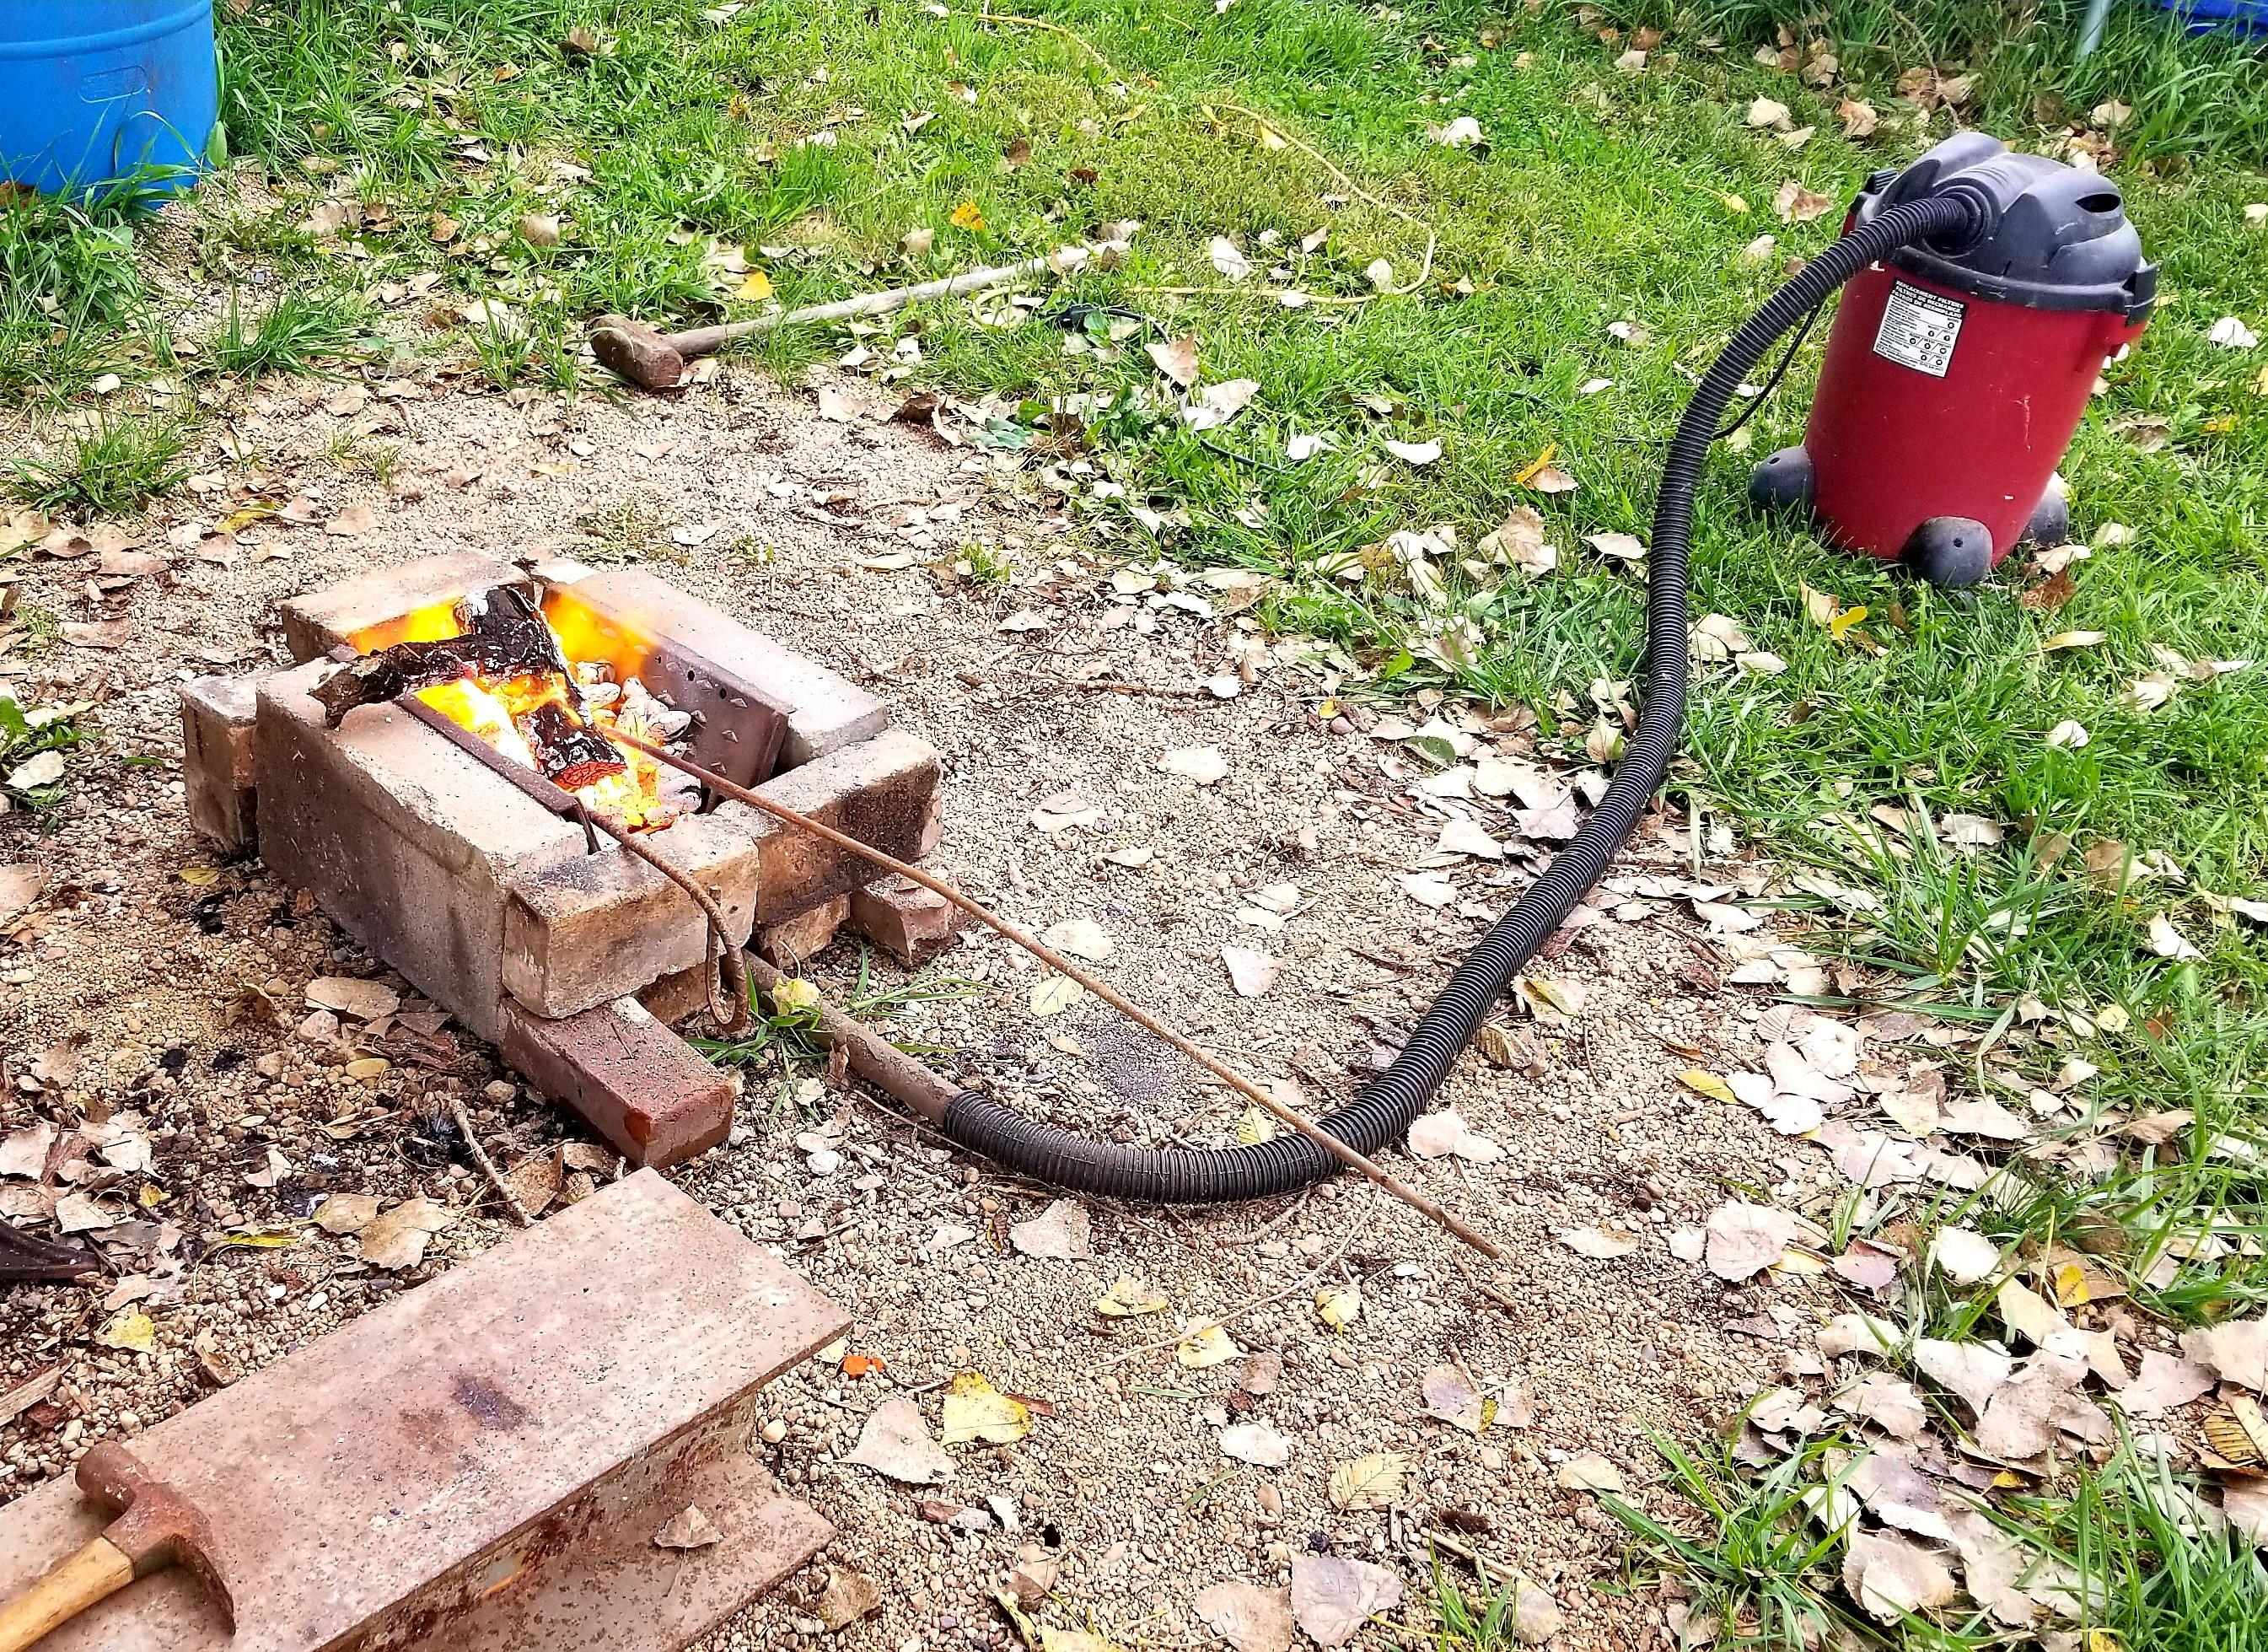
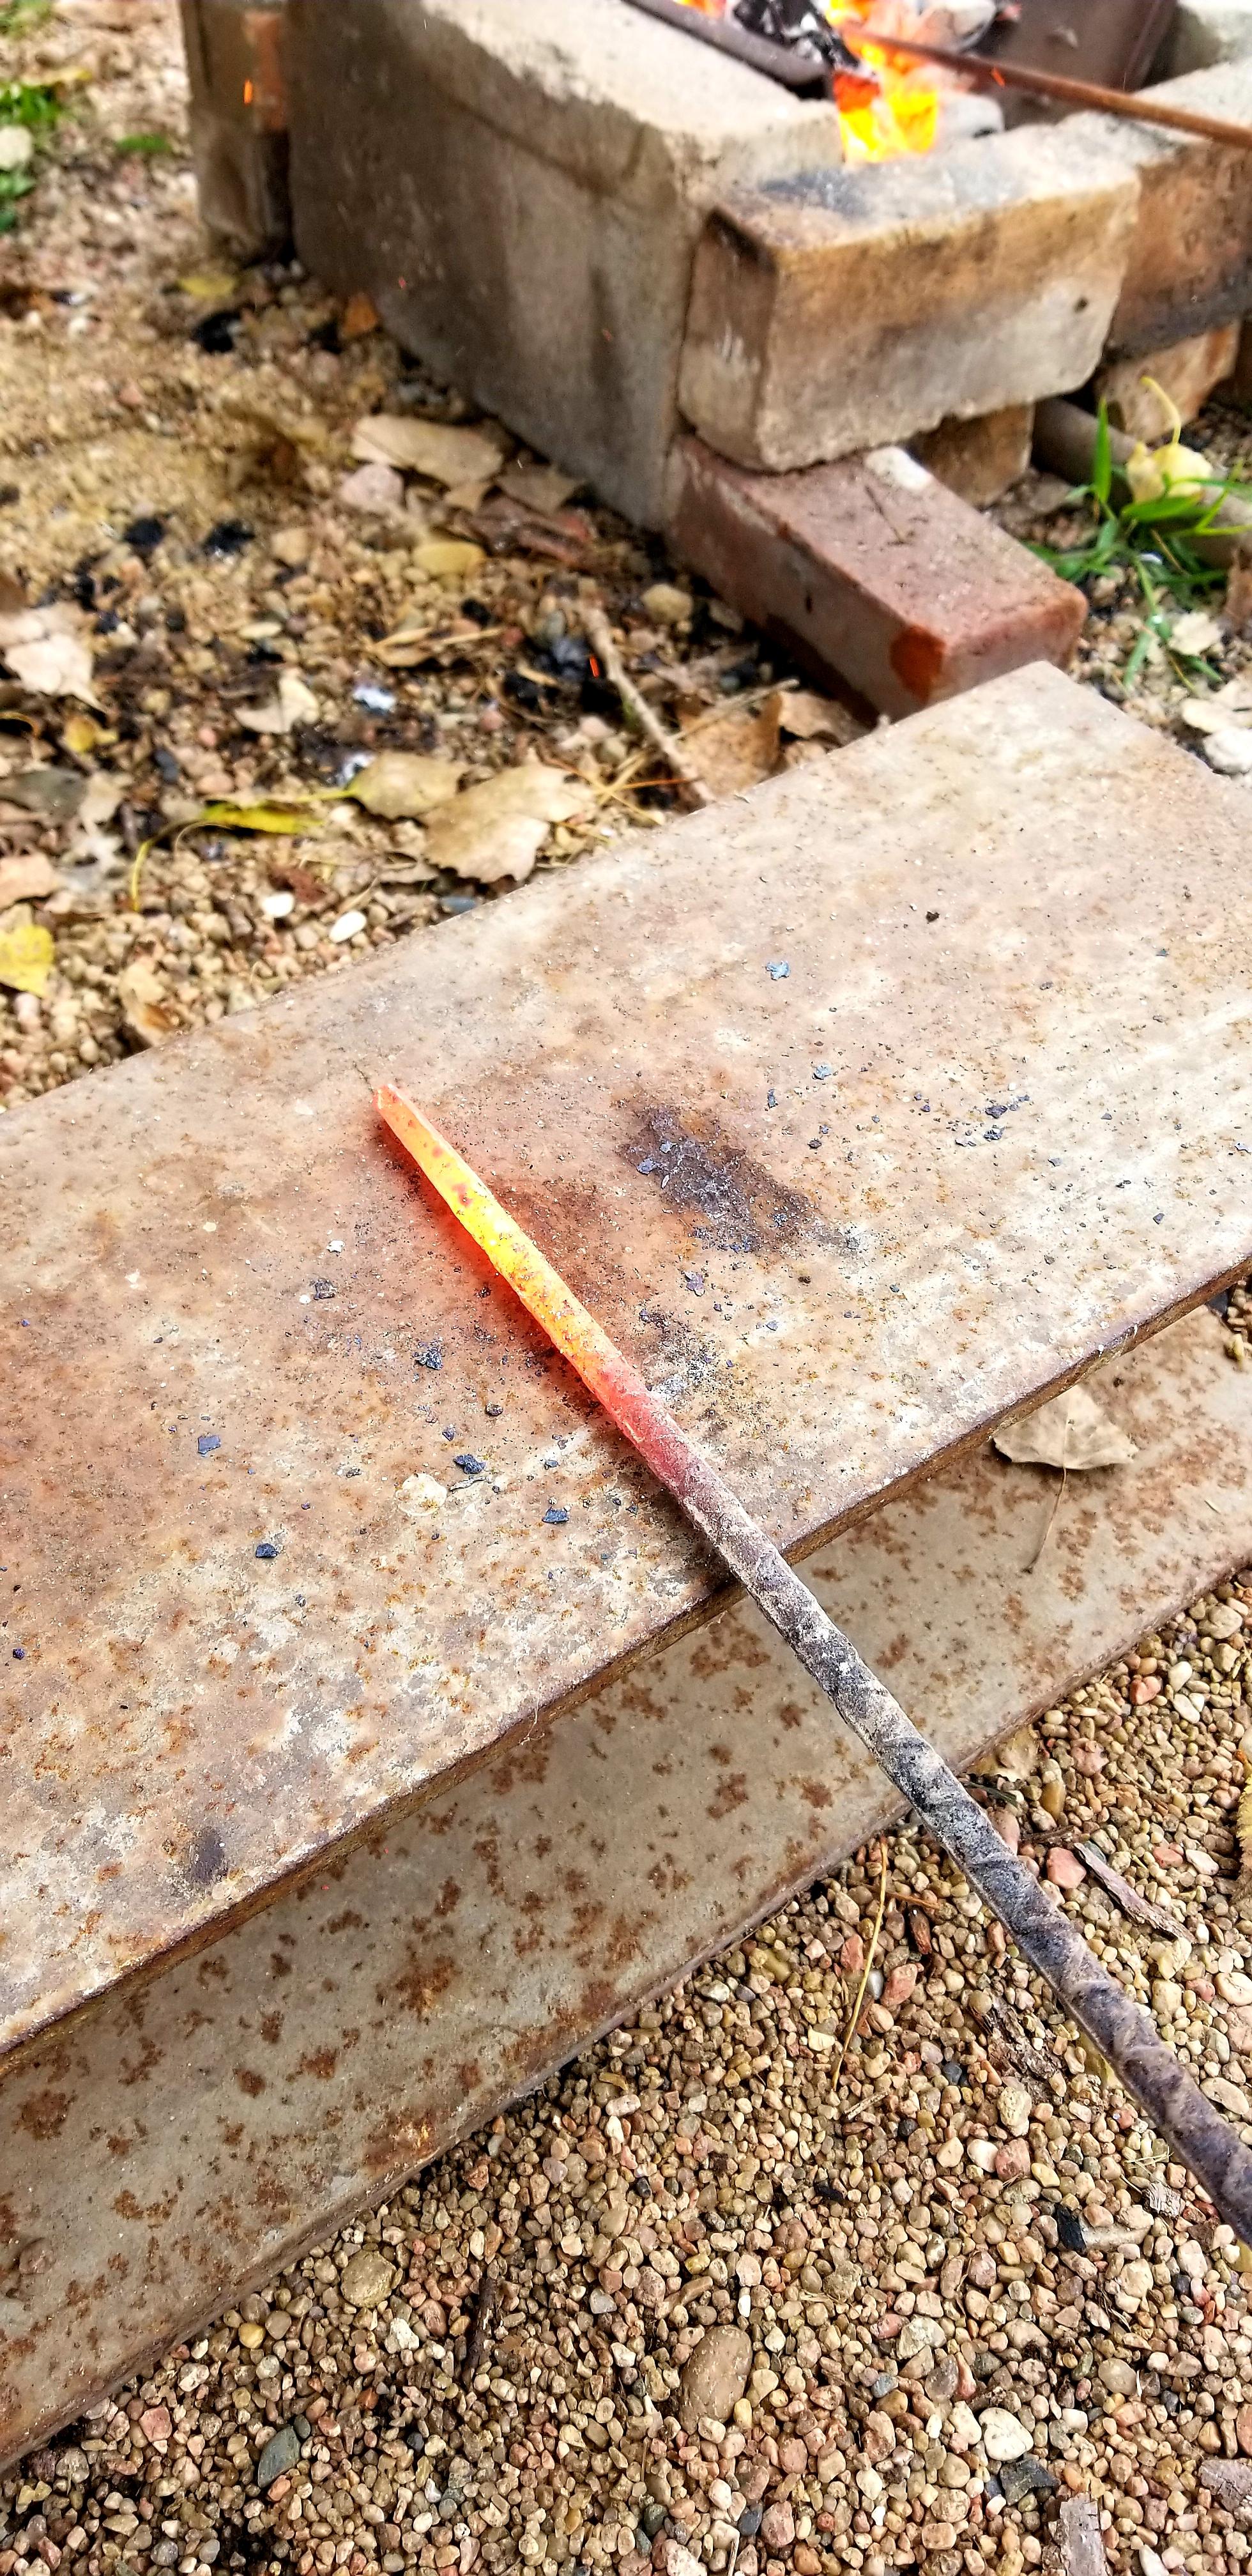
Thanks for the welcome. This forum is great. I've been reading a ton and learning a lot. I think the strong coal smoke was due to my fire skills. Pretty sure I piled too much wet stuff on and made it really smokey. I don't have a good coal source so that's the main reason for wanting to go with charcoal. I'll do my best to avoid asking questions that are easily answered with a little research and avoid a curmudgeon attack. I did get a new forge built today. I used the JABOD III and JAPOB designs. I had a pile of fire bricks and figured I may as well put them to use. Also managed to forge my first useful thing. Got the forge done and thought it would be nice if I had a hook to hang my fire poker from...so I made a hook. Its ugly as sin but it works. I think that's the thing that excites me the most about blacksmithing, being able to make practical things and tools, custom designed for what you want and not having to run to the store to buy some junky Chinese version of what you could build better and cheaper on your own. I also ditched the rebar I was working with and got some round stock. You guys were right it does work much easier than the rebar. I did have some help building the forge. I think he was almost as excited as I was to fire it up.
-
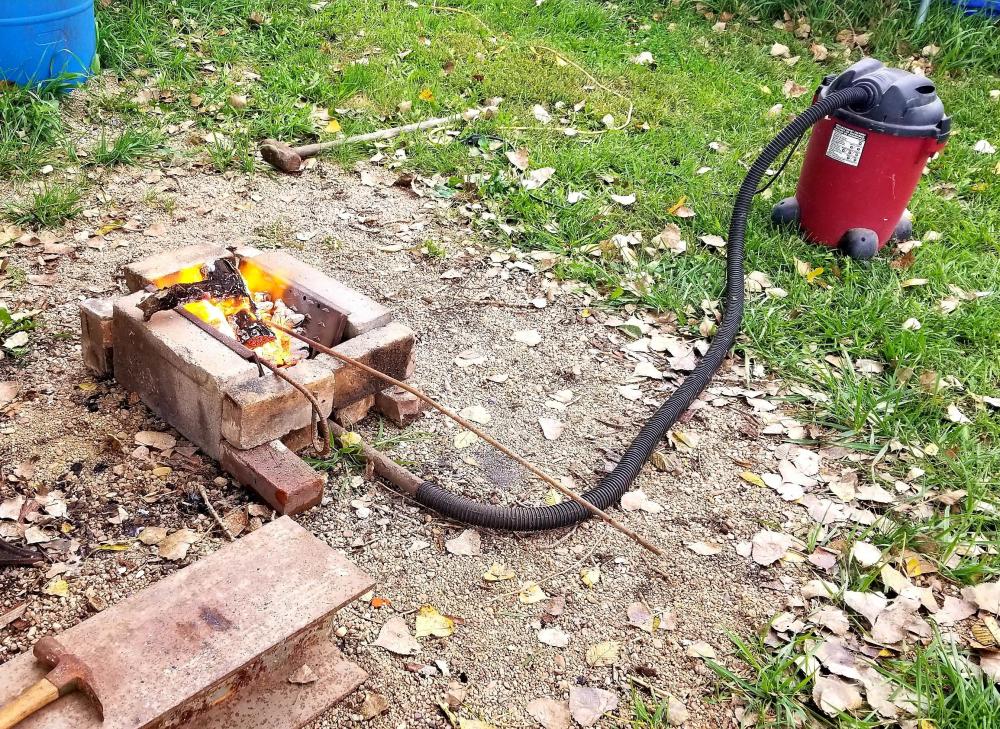
I've always wanted to try blacksmithing but I figured it took a ton of money to buy a forge and get started. After watching a bunch of youtube videos I decided to try making my own forge. After researching on this forum I've discovered maybe I should of skipped youtube and started here. Anyway...I'm not sure what you would call this forge. I used a couple concrete blocks, some fire bricks, and some cast iron wood stove parts. I started off with Kingsford since it's all I had handy and I wanted to hurry up and try it out. Using a shop vac I was actually able to get some rebar hot. Next I tried some coal. It was small acorn size pieces...I got it burning and hit the power switch on the shop vac. It looked like a small volcano...spewing red hot coal 10 feet in the air. I ran through the rain of red hot coals and shut off the vac. I think it might be putting out a little too much air. My little test run and reading on this forum have taught me a few things already: 1. I'm building a JABOD 2. Shop vac is too much air. I've got a manual mattress pump I'm going to use. 3. Coal stinks. I'm going to use lump charcoal 4. An I-beam is loud and flexes a lot. Going to try a sledge hammer head. 5. Getting metal red hot and beating on it with a hammer is a lot of fun!