John R
-
Posts
69 -
Joined
-
Last visited
-
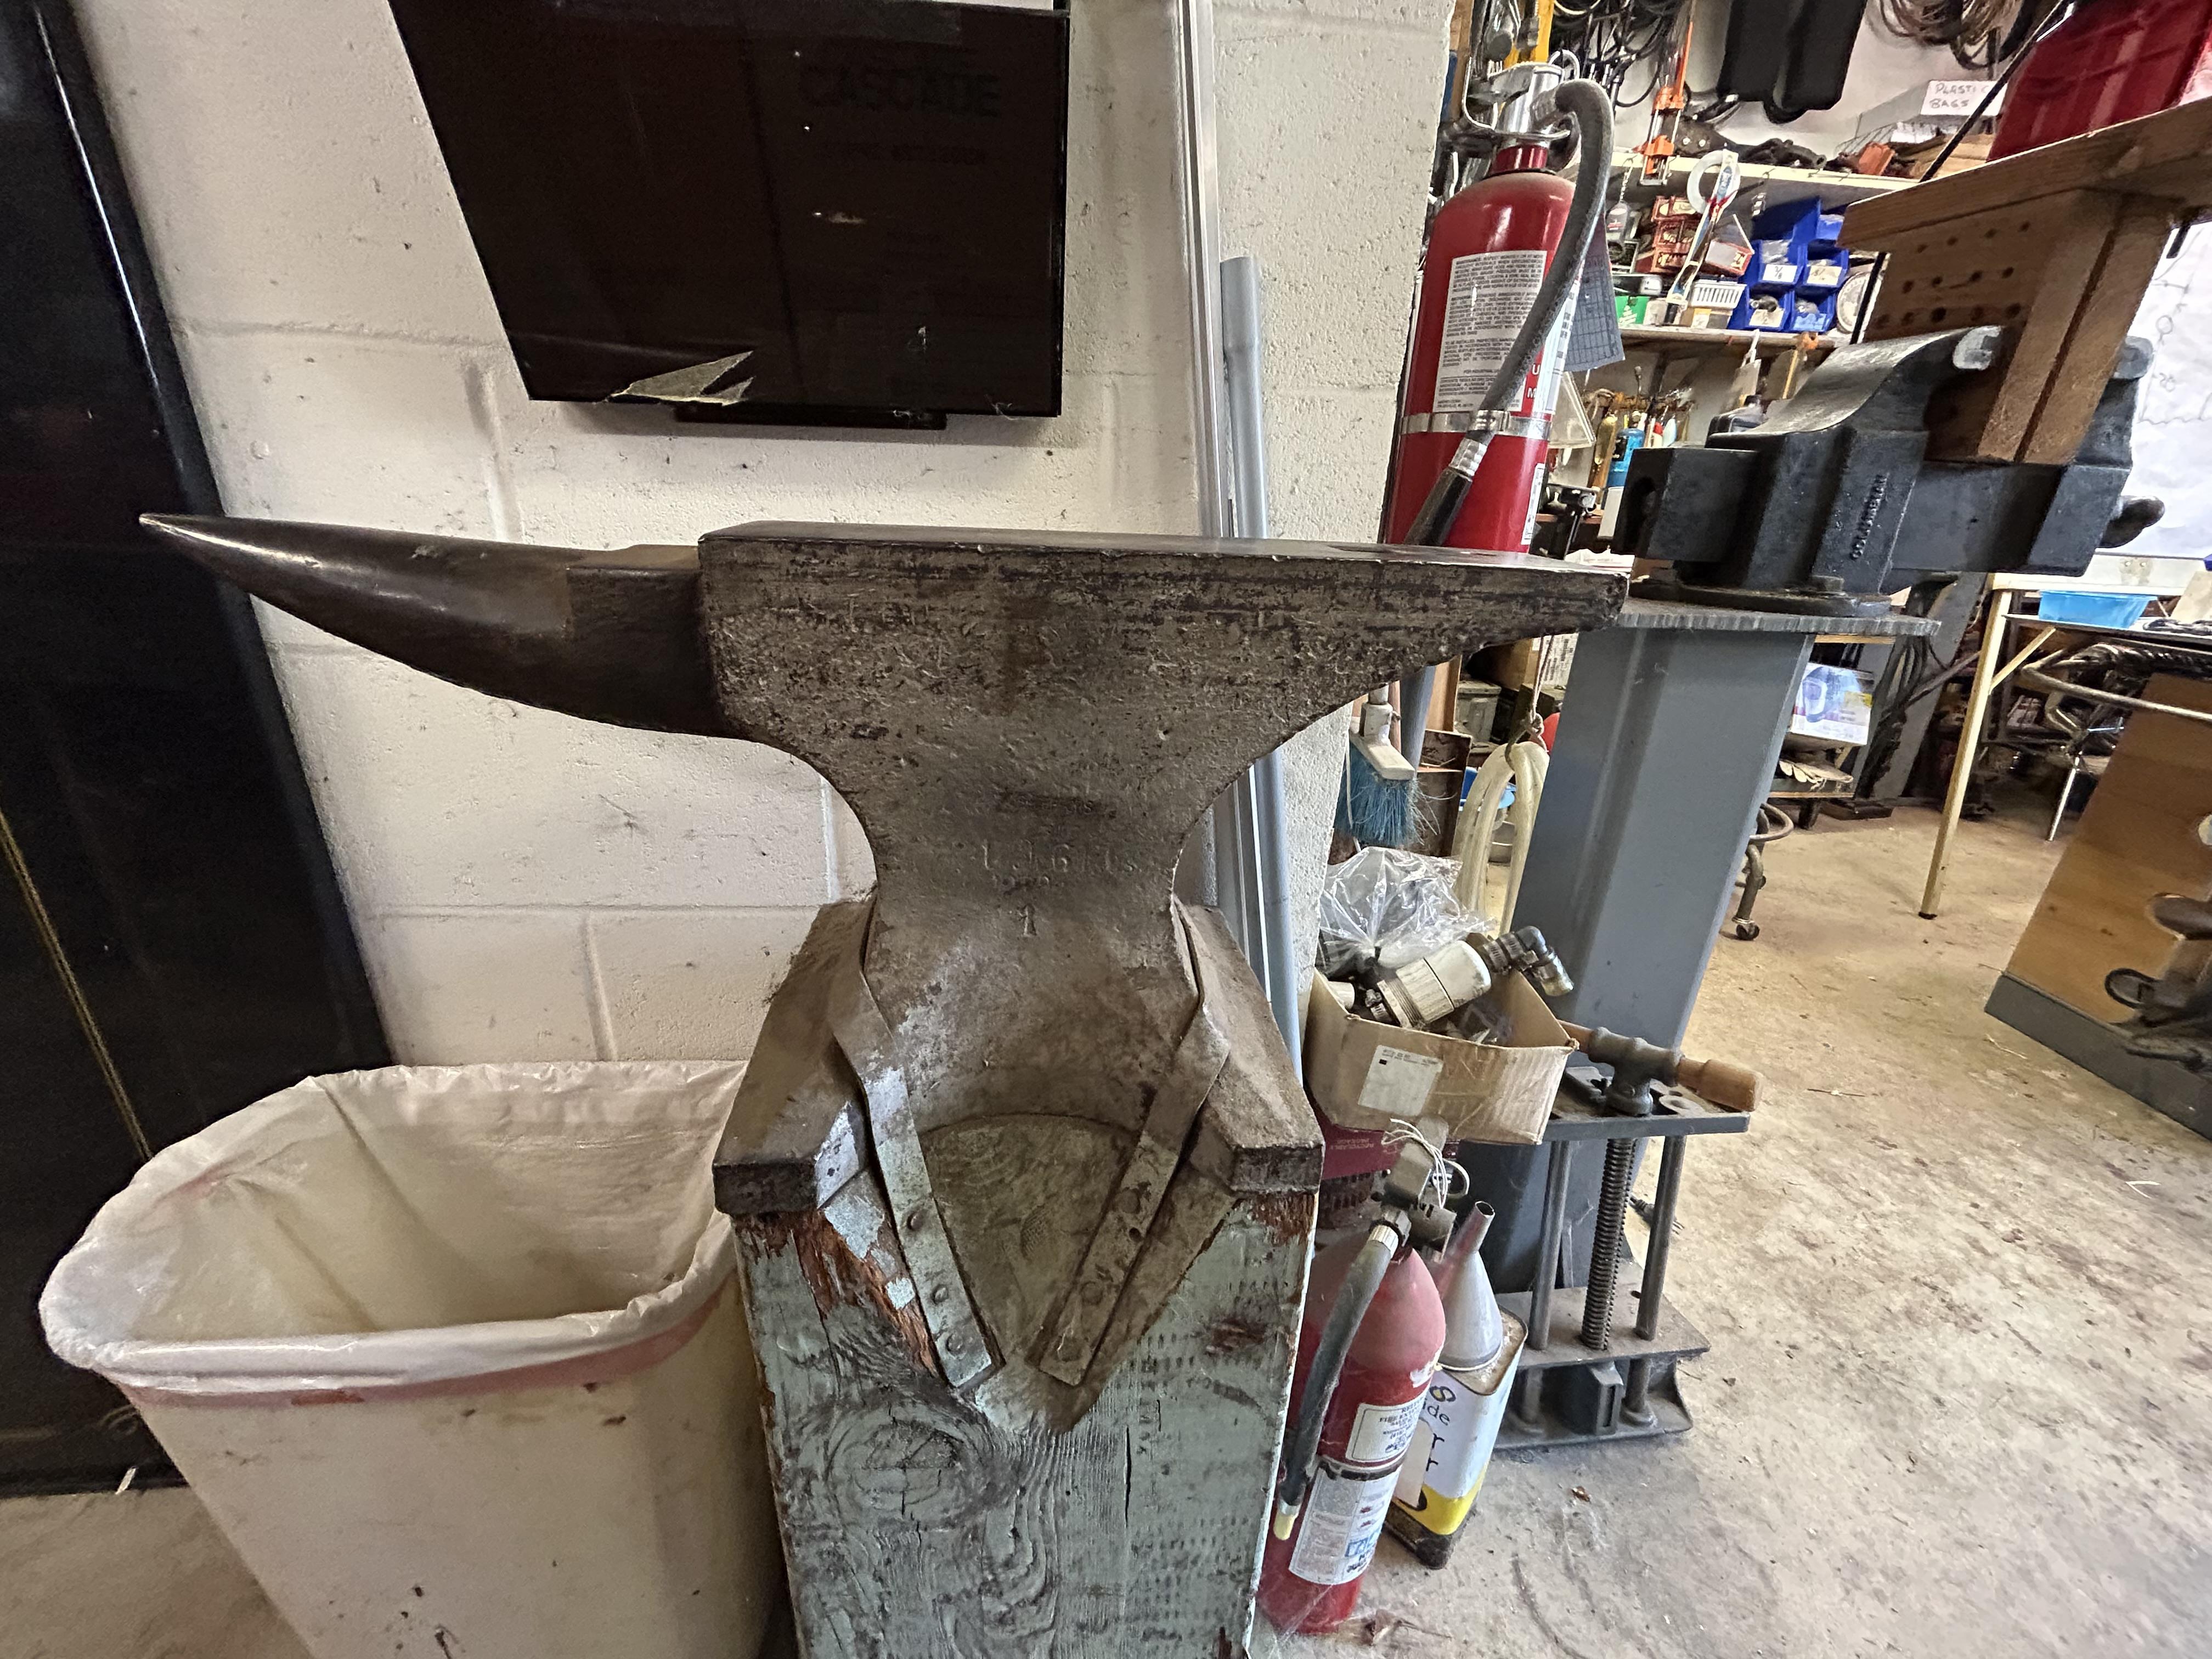
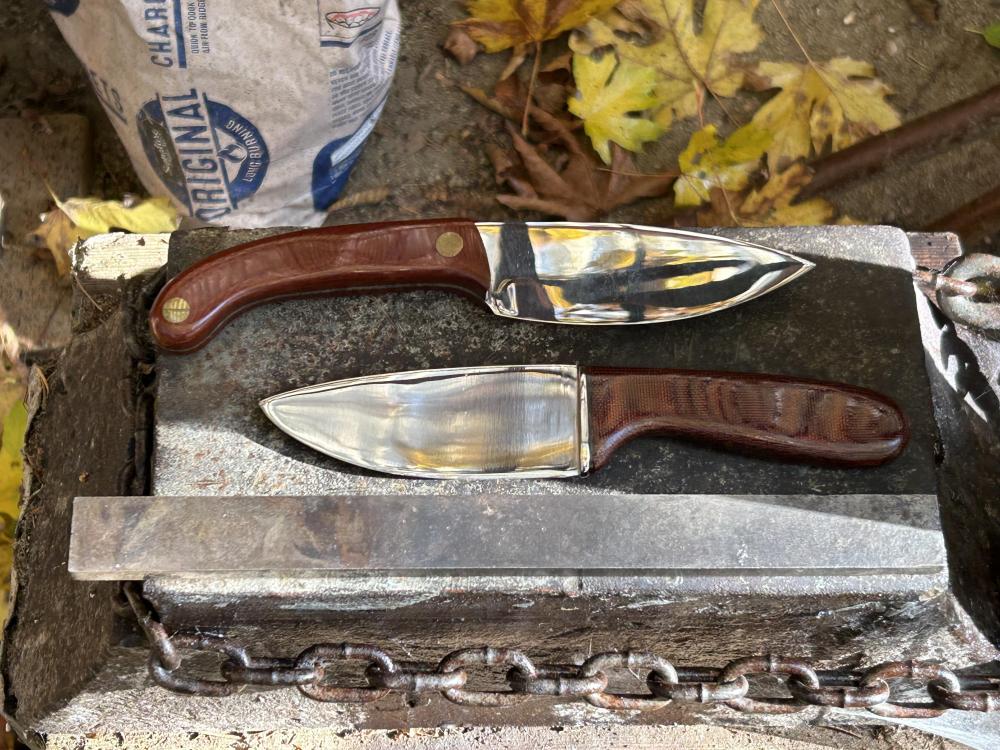
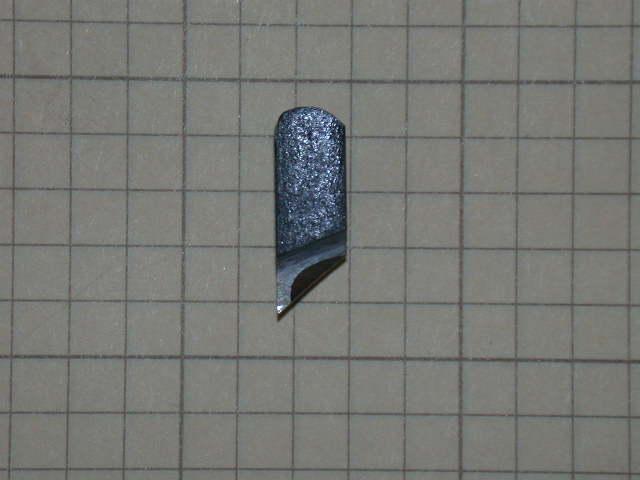
The light streak across the anvil is from the low setting winter sun. The two knives were forged from 1095 bar stock, a length is below the knives. Knives are a primitive style and work great for skinning an elk.
-
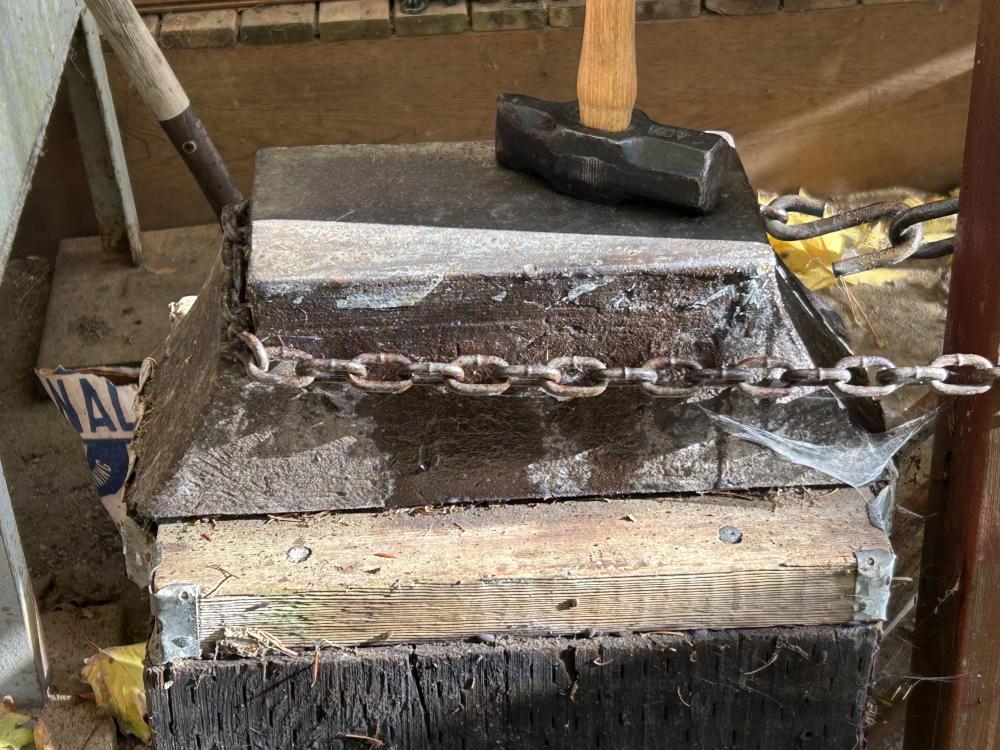
Here it is, 250 pounds of cast steel from a big ol’ steam hammer.
-
Here it is. Excellent condition a few very small chips along the corners. Safely stored away inside the shop. My main use anvil for knives is a 250 pound bottom anvil from a steam hammer, with a broad flat face.
-
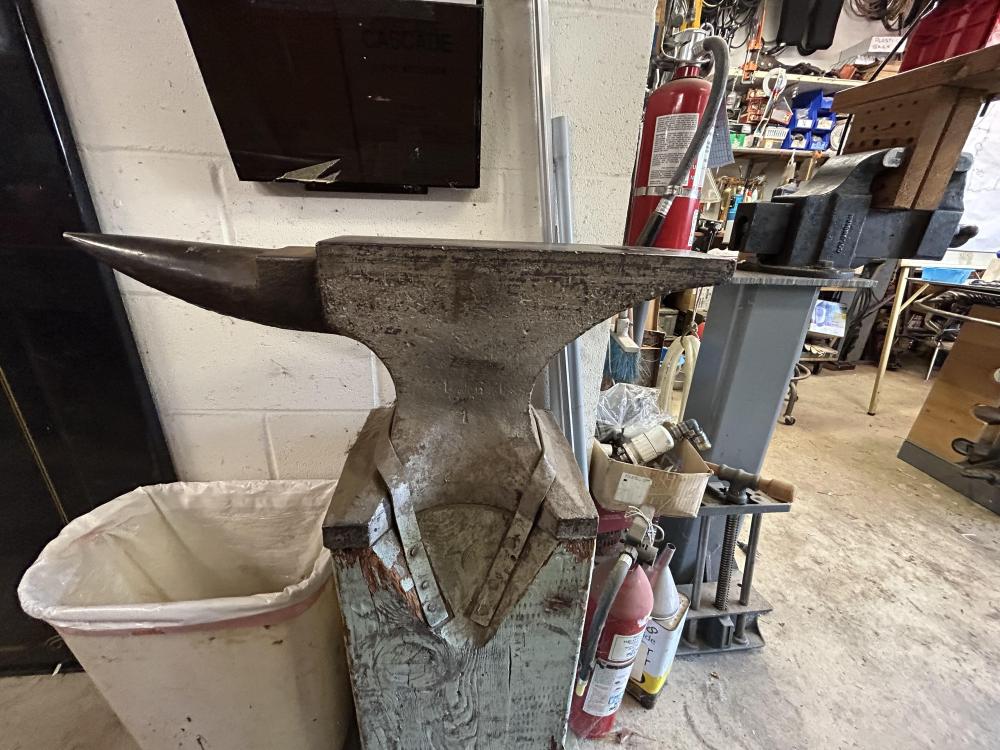
Looking good. I like the clean functional hold downs. I have a 196 pound Solderfors made in 1929.
-
Look at my post in this thread: your link sending people off site to your commercial site has been removed as per ToS Sorry I do not have a commercial site. Do not understand your comment. The link I posted was a link to a thread on this site. I am guessing your software did this, darn, I was in the process of editing when the warning flashed. Gee, you do not give a guy time to correct his mistakes.
-
A Chainsaw For The Blacksmith Shop??????
John R replied to John R's topic in Building, Designing a Shop
Existing benches in the Machine shop are a mix of wood tops and metal. Metal for the hard duty and the welding bench. Wood for the easier jobs. Some are covered with heavy felt for those delicate machined items that must not be scratched. I am building a well ventilated shop behind the existing shop for all the blacksmithing stuff. Will have a couple of metal toped benches plus two or three benches with the fir slabs for tops. Sanded and sealed of course. Forge will be on an open side to maximize air flow for creature comfort. Some of the slabs are destined for outdoor furniture, and with your suggestion of forged legs. The two best grained slabs will be for a dining room table, 10 feet long by about 5 feet wide. Sawed and planed edges to be joined, other edges will be left "live". All this after a year or two for curing. Wish I was in your area for the good wood curing weather!! -
Oh yea. 3 inches thick, up to 36 inches wide. Douglas Fir from my front yard, on the Olympic Peninsula of Washington State. Finished sawing last week now stacked and stickered in the barn to dry. Anchor End Seal on the slab ends to prevent checking. Bench tops for the blacksmith shop. And a few other uses. Started with a bunch of logs from trees I dropped. They were too close to the house and parking shed, leery of one falling in a windstorm. The Stihl 090AV. Bad Boy saw. 55 year old McCulloch Gear Reduction saw, did a good job also.
-
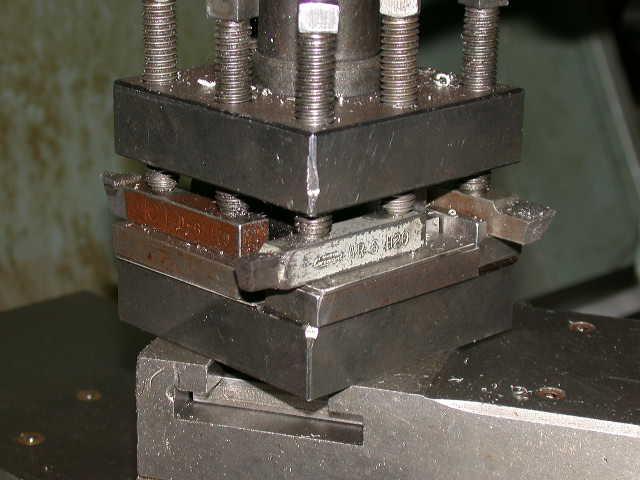
I would guess air cylinder on the back and the street ell is for the air connection. Adjust to fit the object with the vise handle, then rapid close and release via a foot or hand valve for the air. Likely a spring inside the air cylinder to release the vise when the air supply is dumped.
-
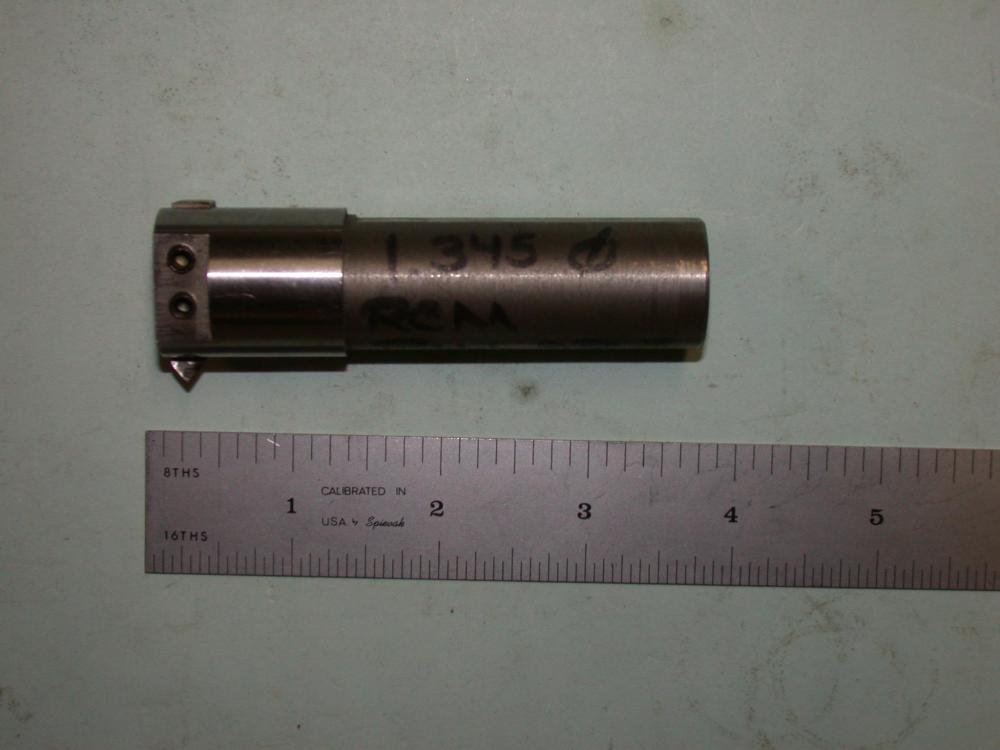
If it was in my shop I would just machine a new screw and a screw box. Having the luxury of a full machine shop in the back yard opens up numerous capabilities. Plus a stash of steel upwards of 3000 pounds gives me the material. Some creative fabrication and welding would reduce the time in the lathe and milling machine. This 147 pounder I found on Craigs list a few years ago. In excellent shape except for the hinge bolt for the front jaw. It was rusted in for some reason and a previous owner had pounded on it with a maul, complicating the problem. Set it up on the vertical mill. Wacked off the stub with the sawz all Progressive drilling New square head bolt with square nut. Everything went back together well lubricated and greased.
-
You and I disagree, sorry. I machine a lot of stainless and 4140, the reliefs are needed for proper cutting. End of story, no more posts on this subject for me, you are not the all time expert. Mods, please delete all my posts in this thread, I do not want to engage and discuss this anymore.
-
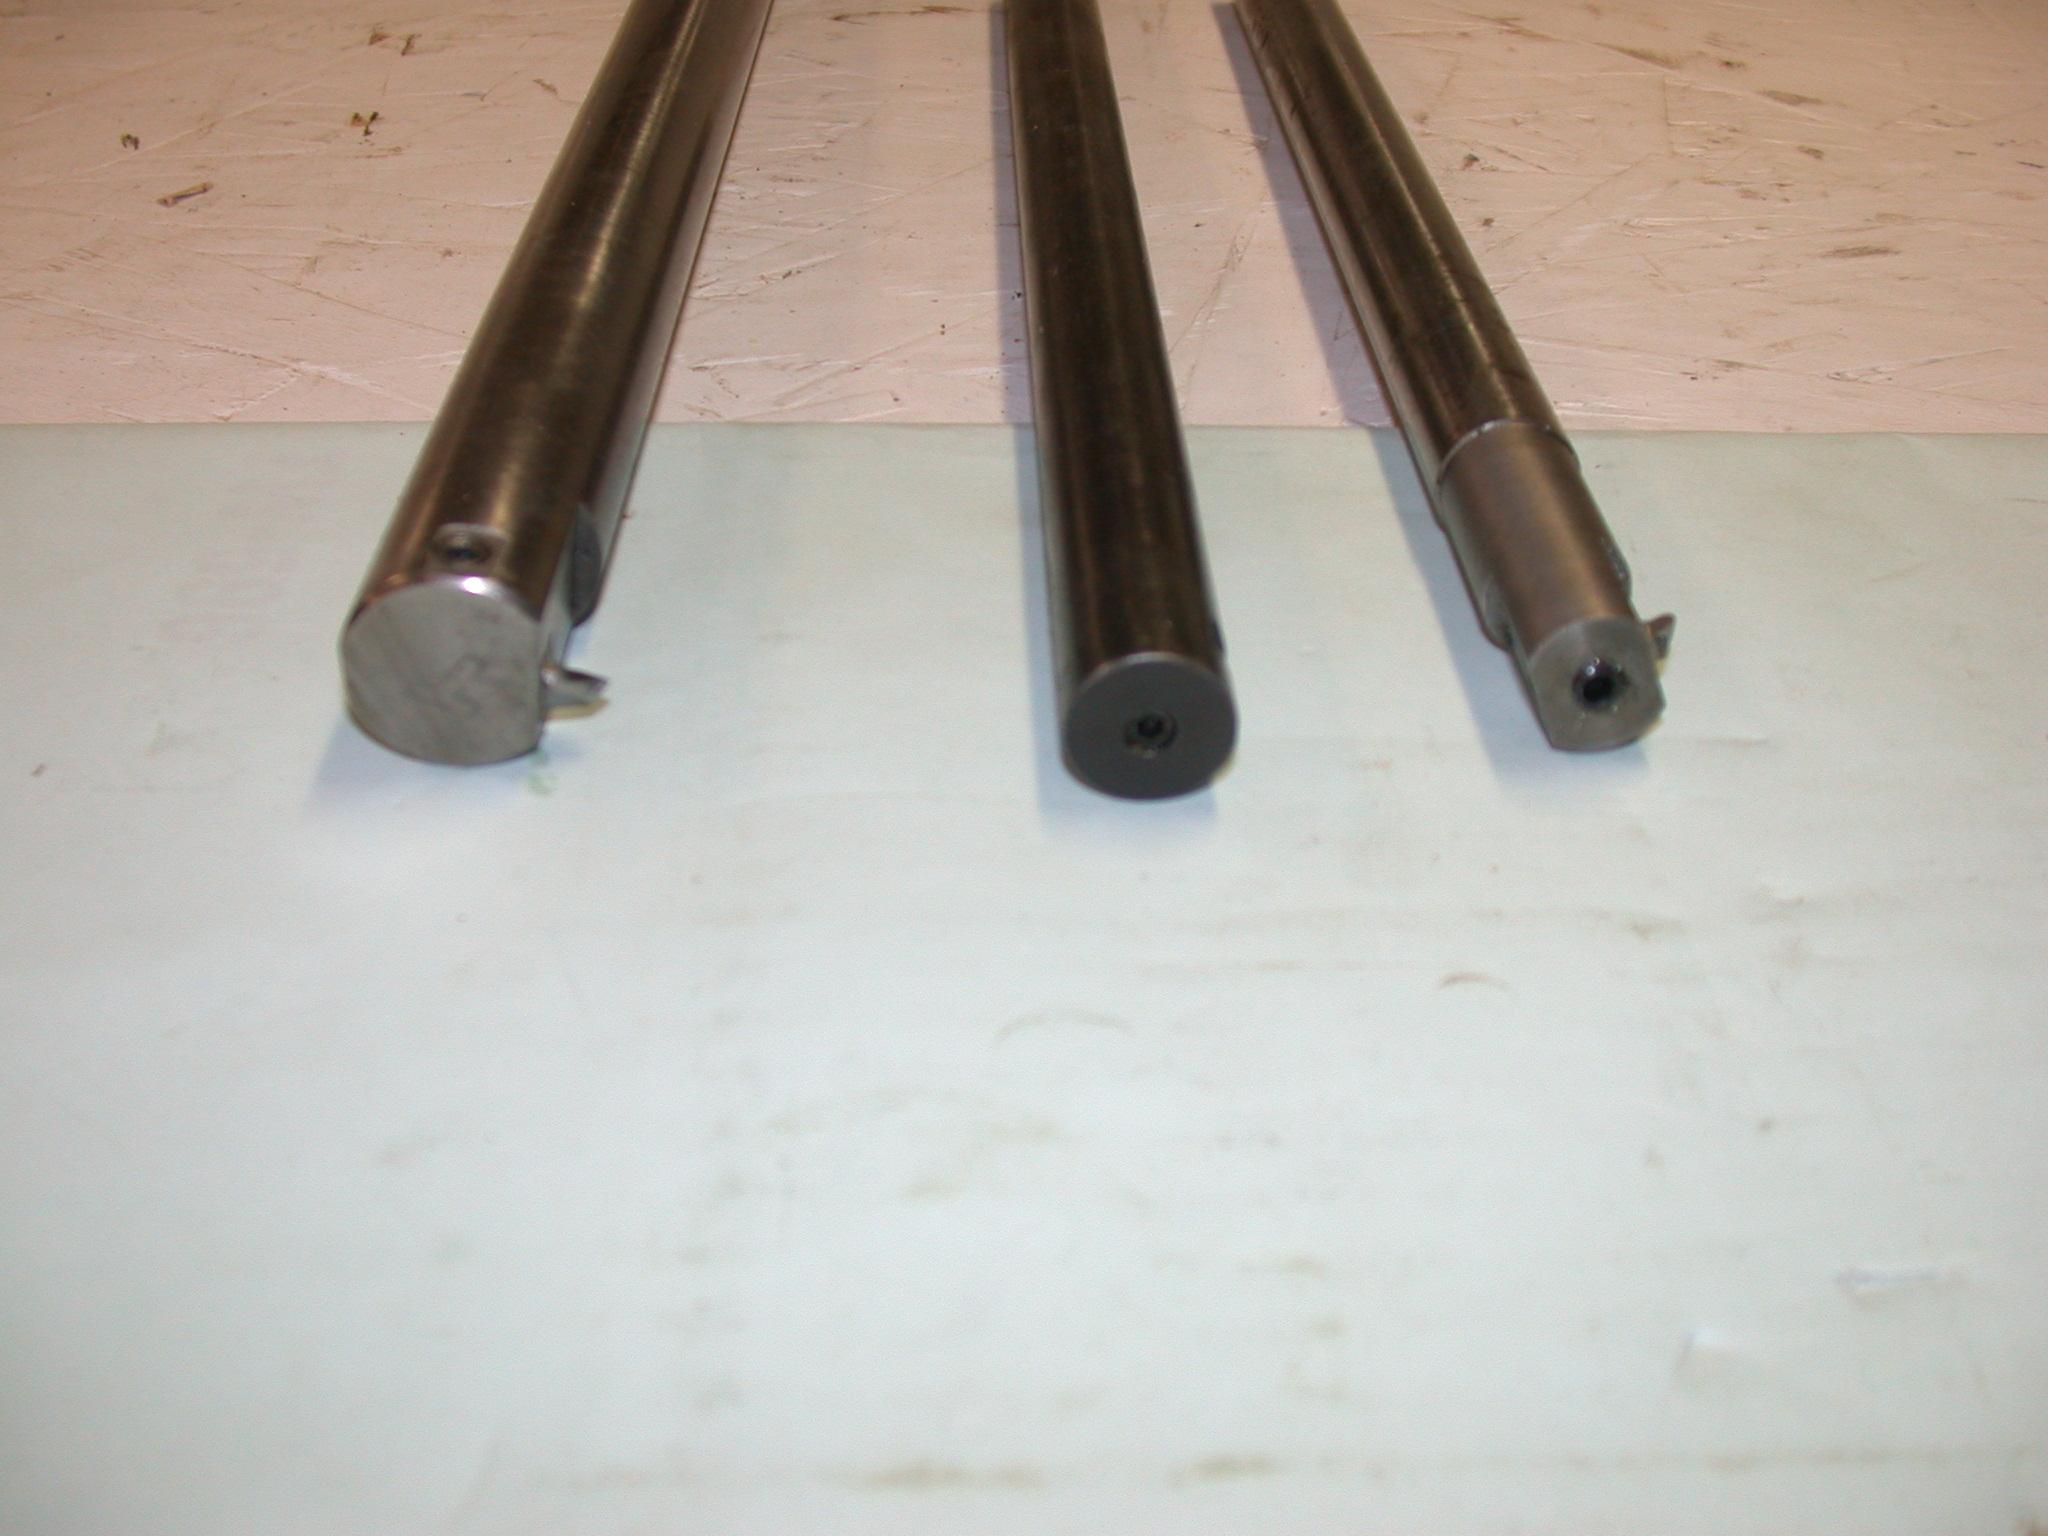
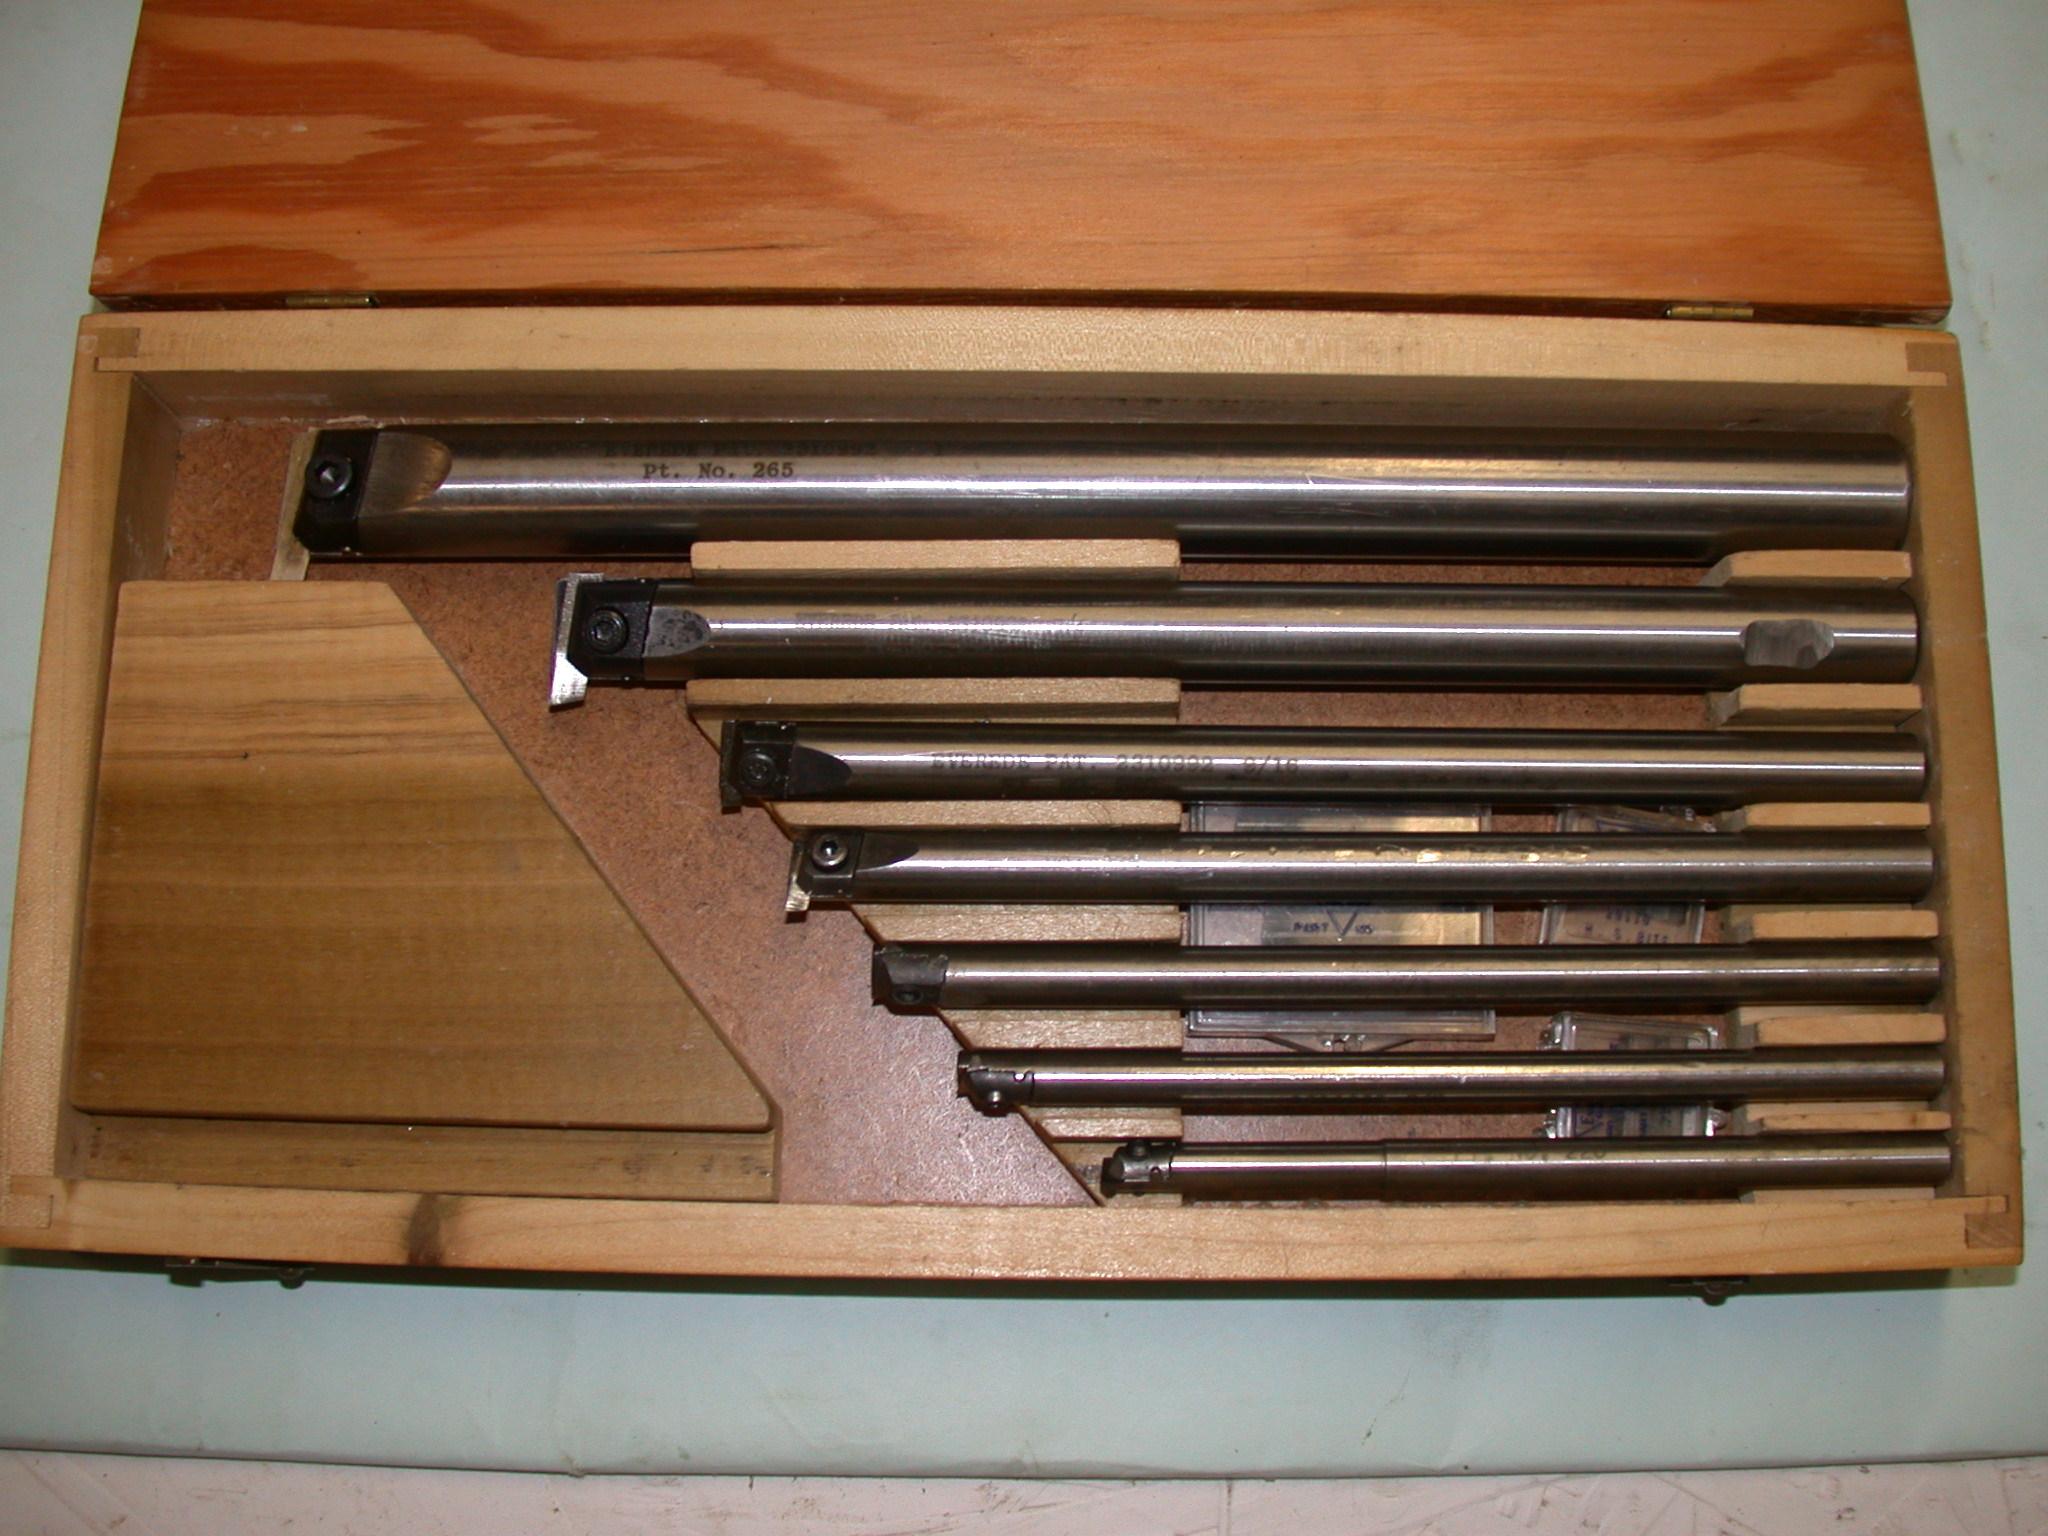
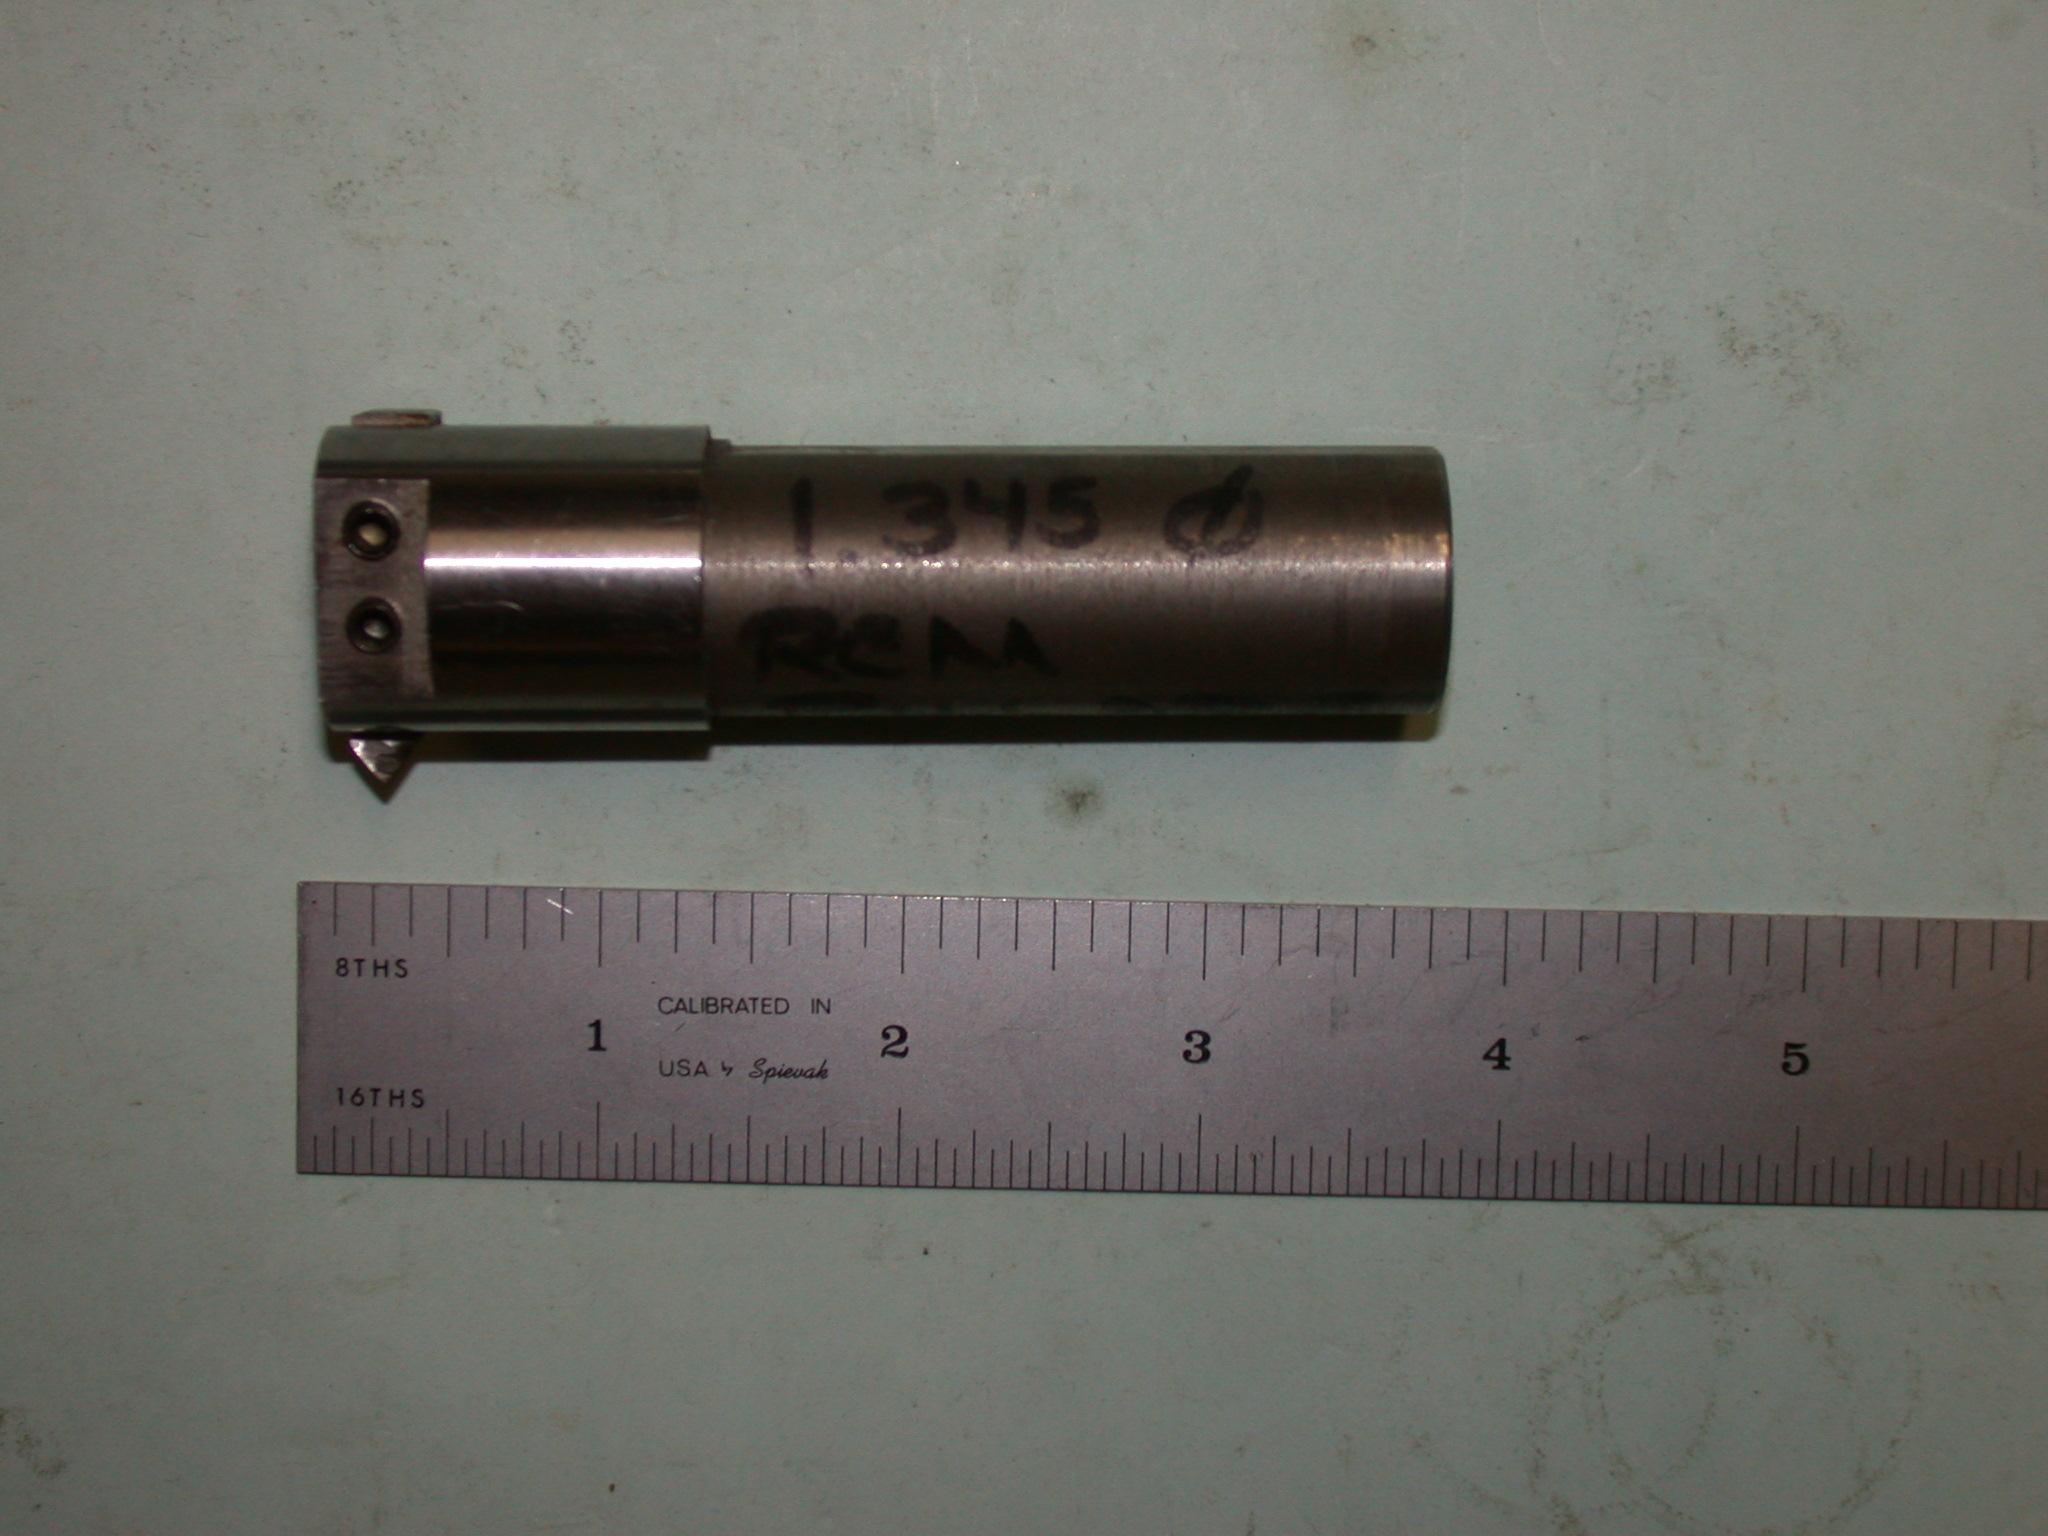
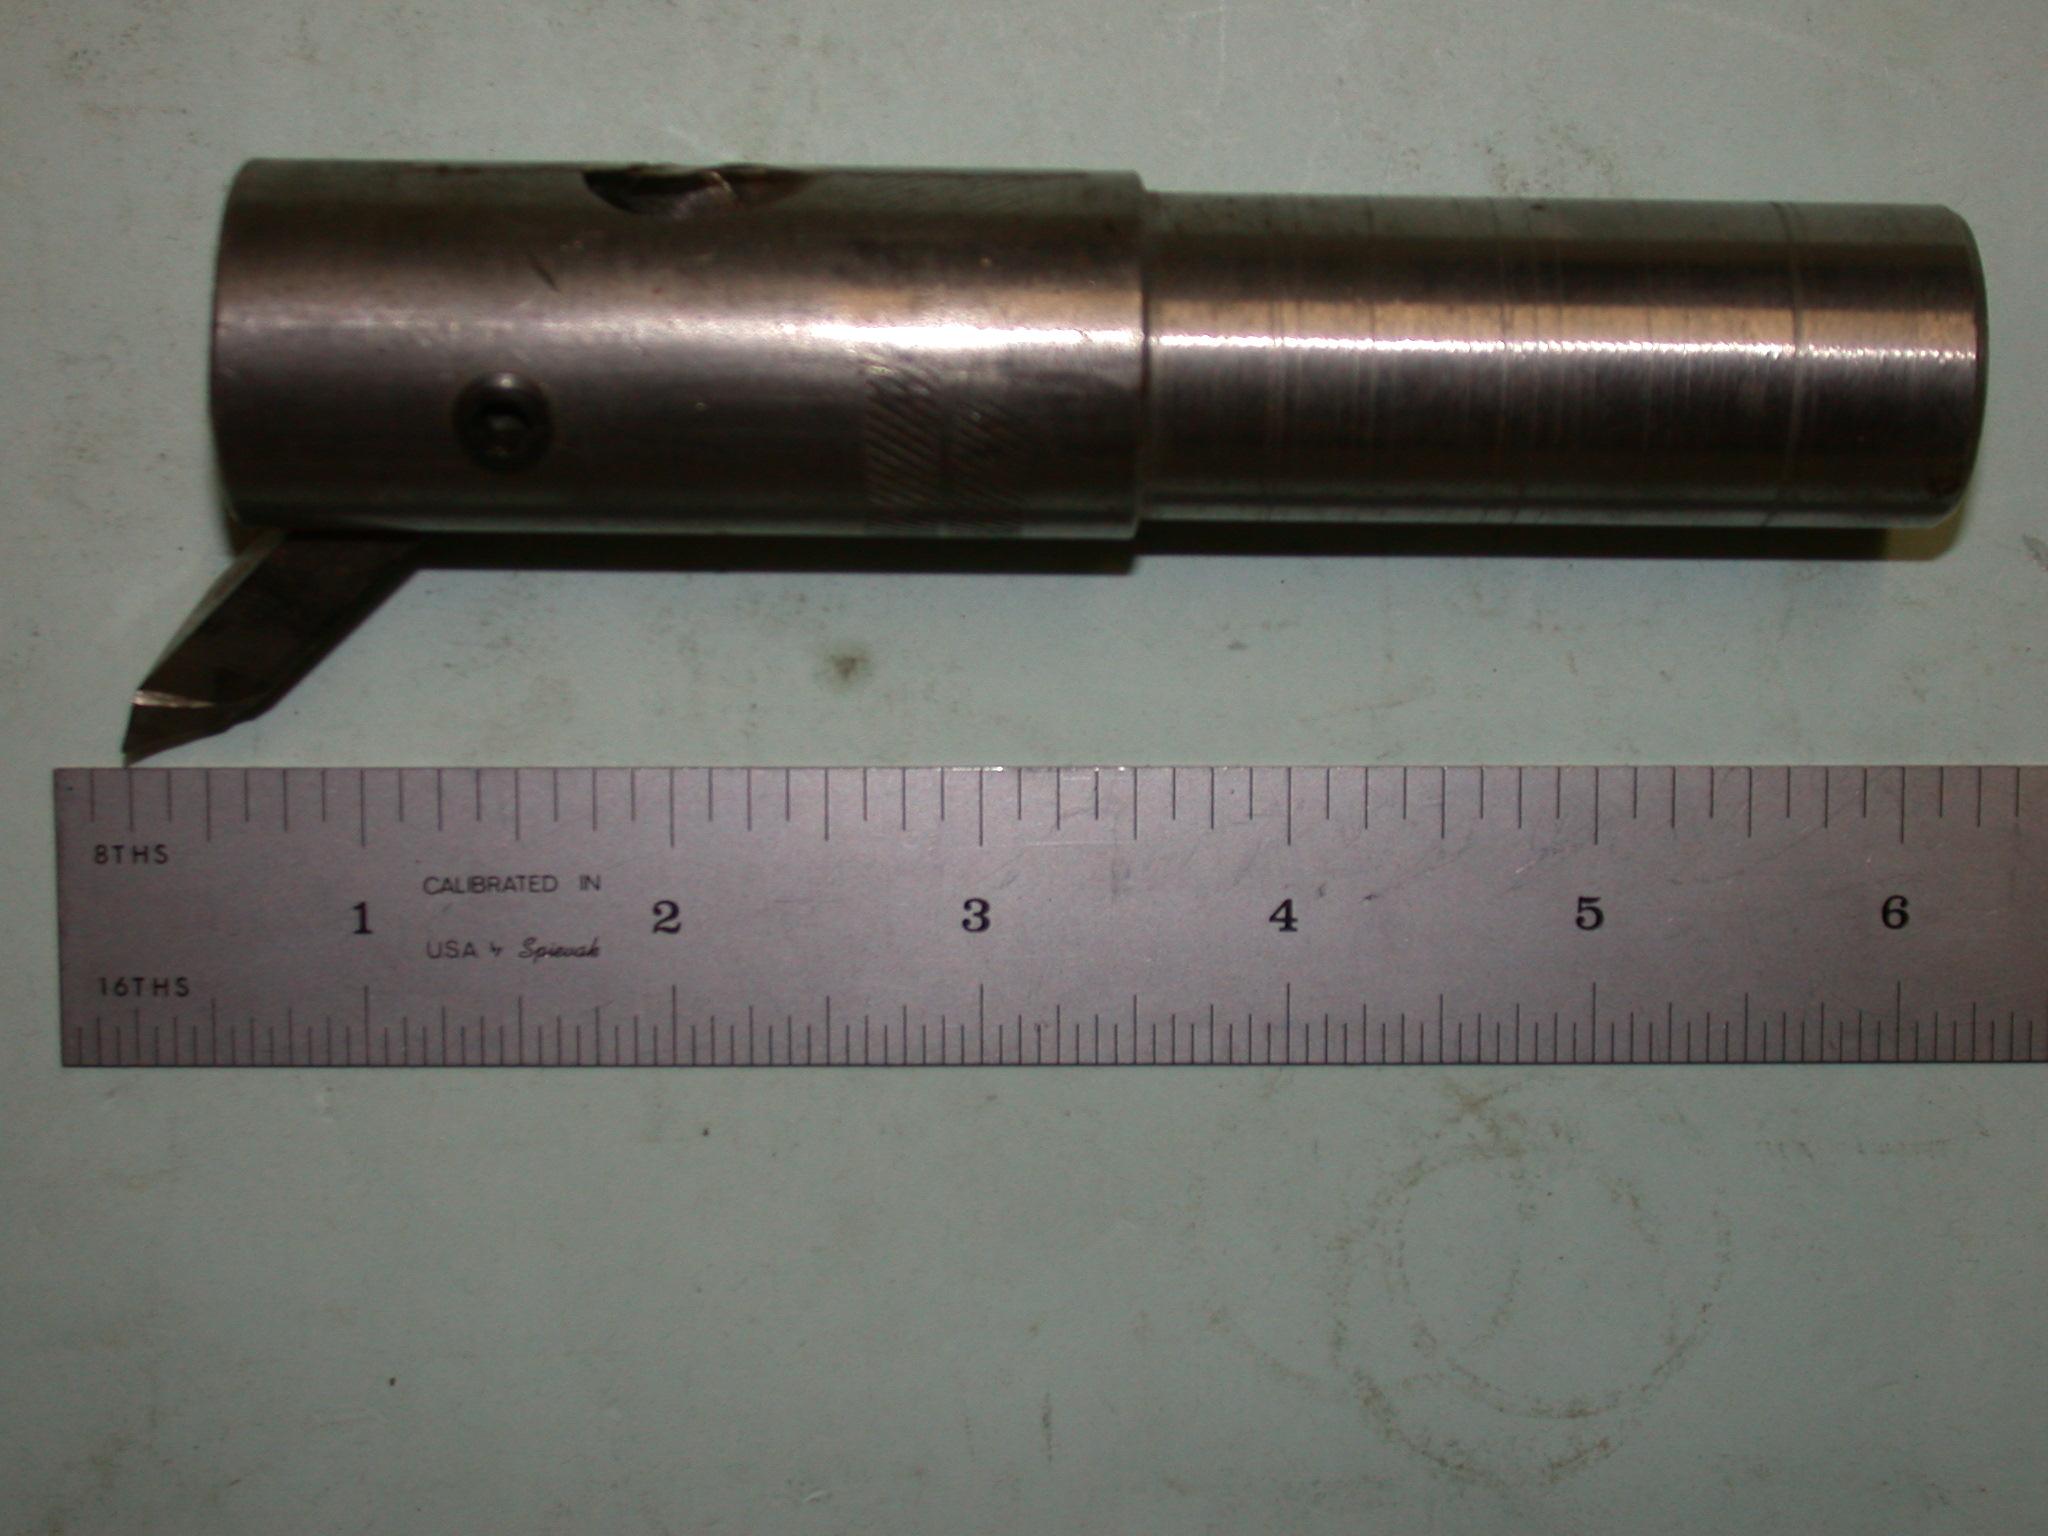
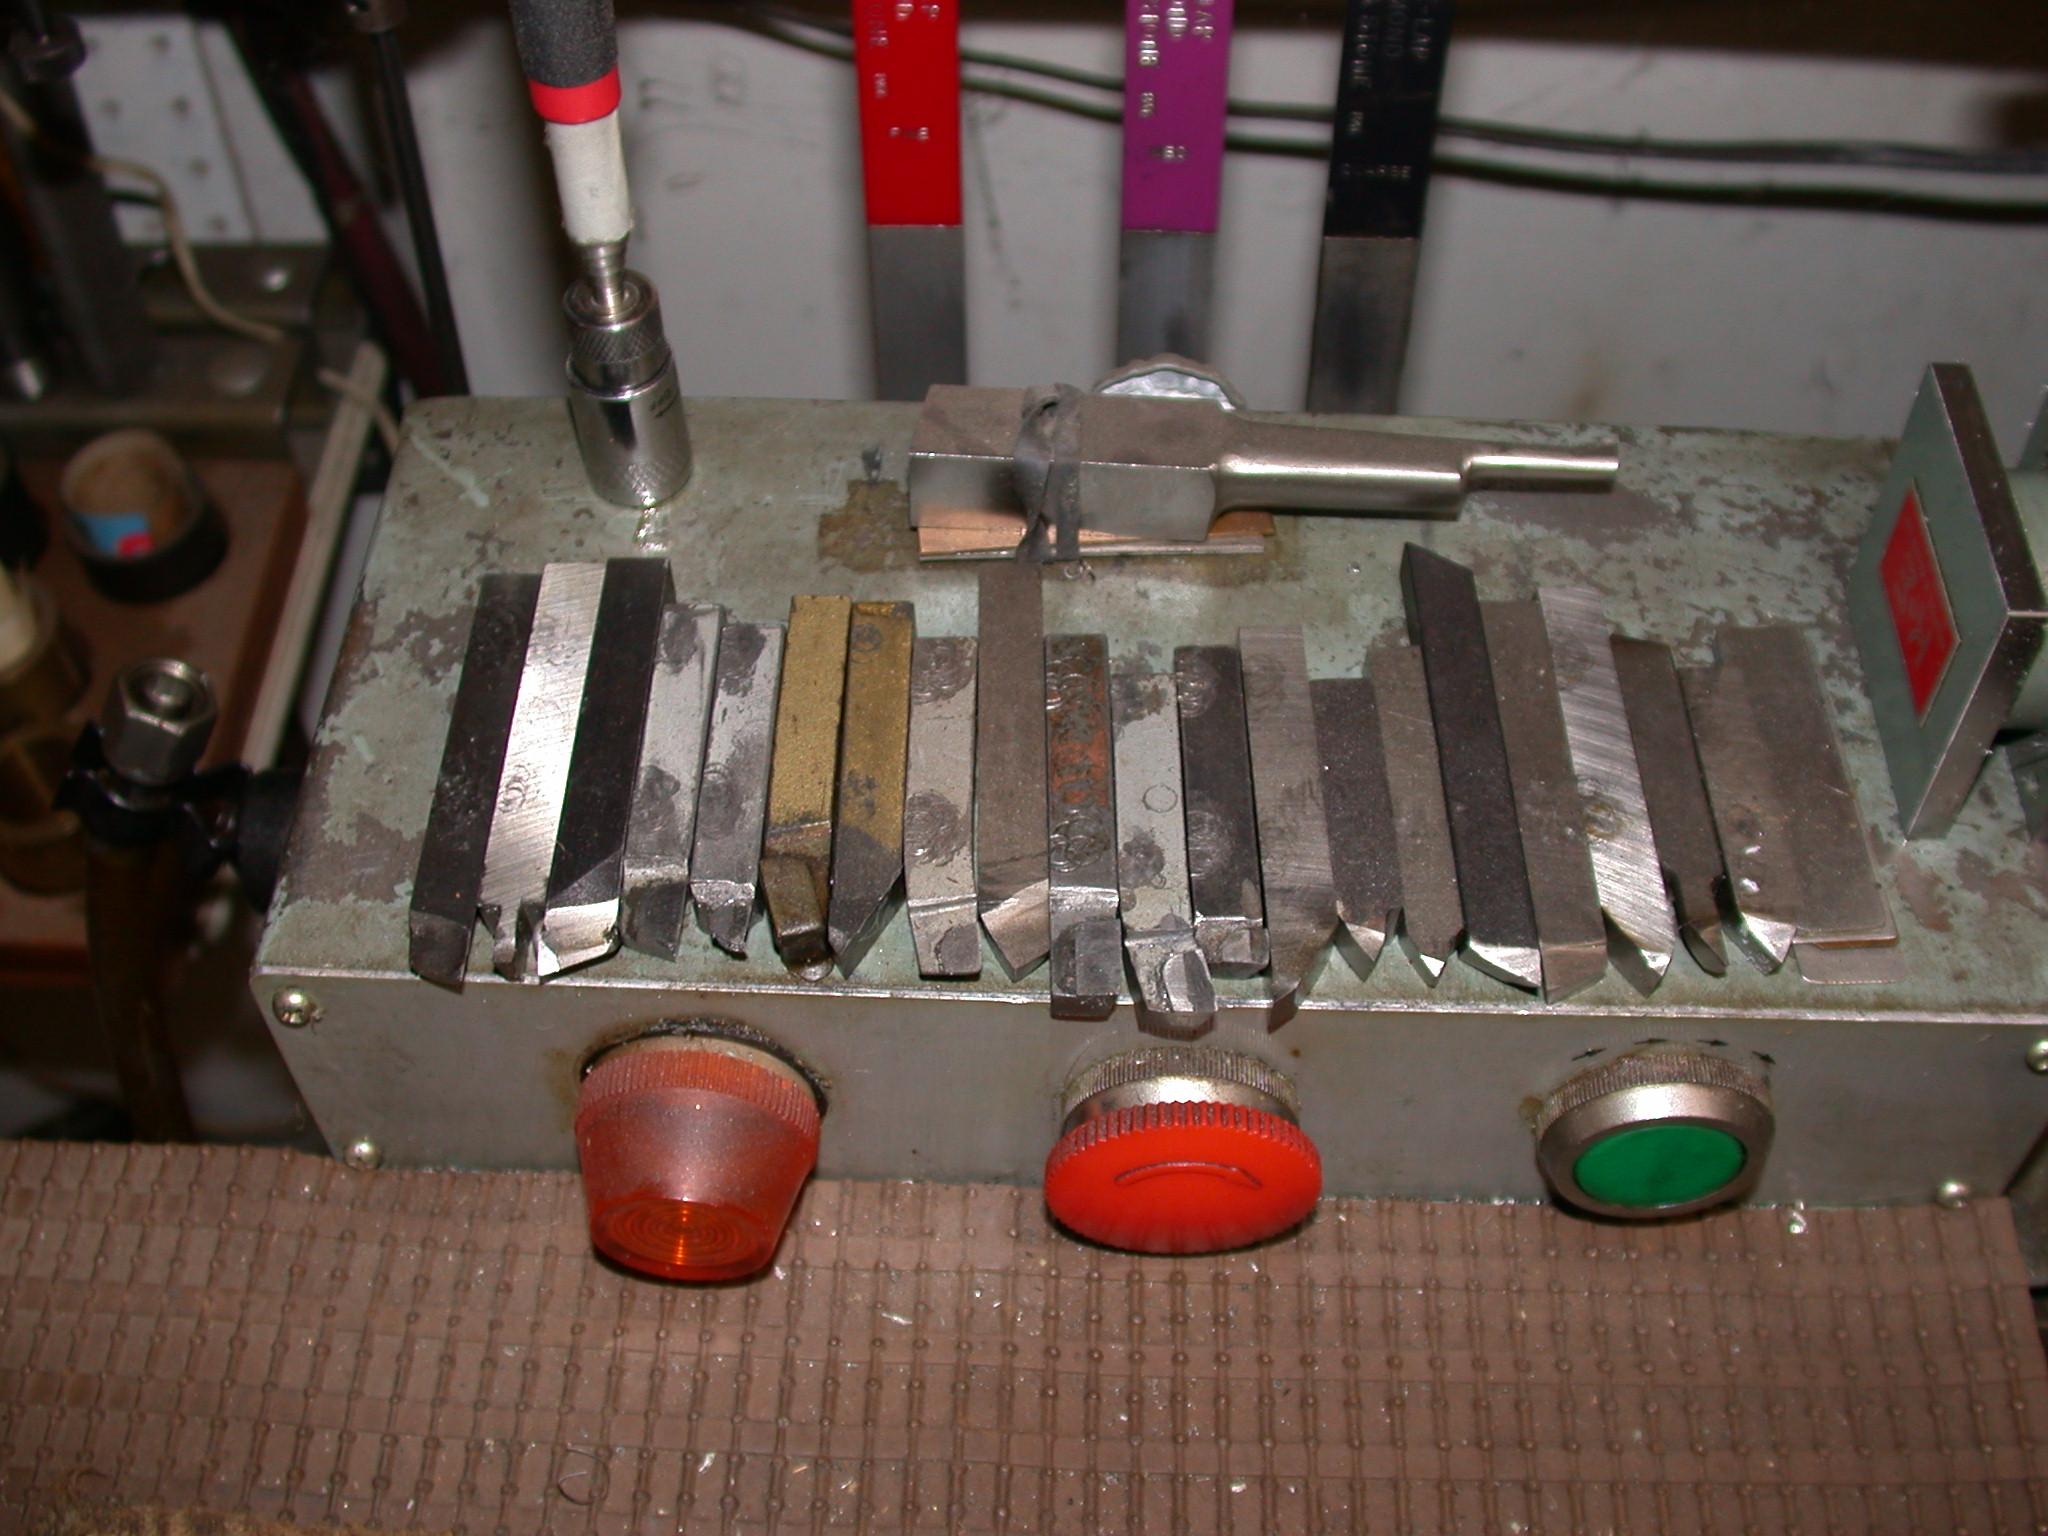
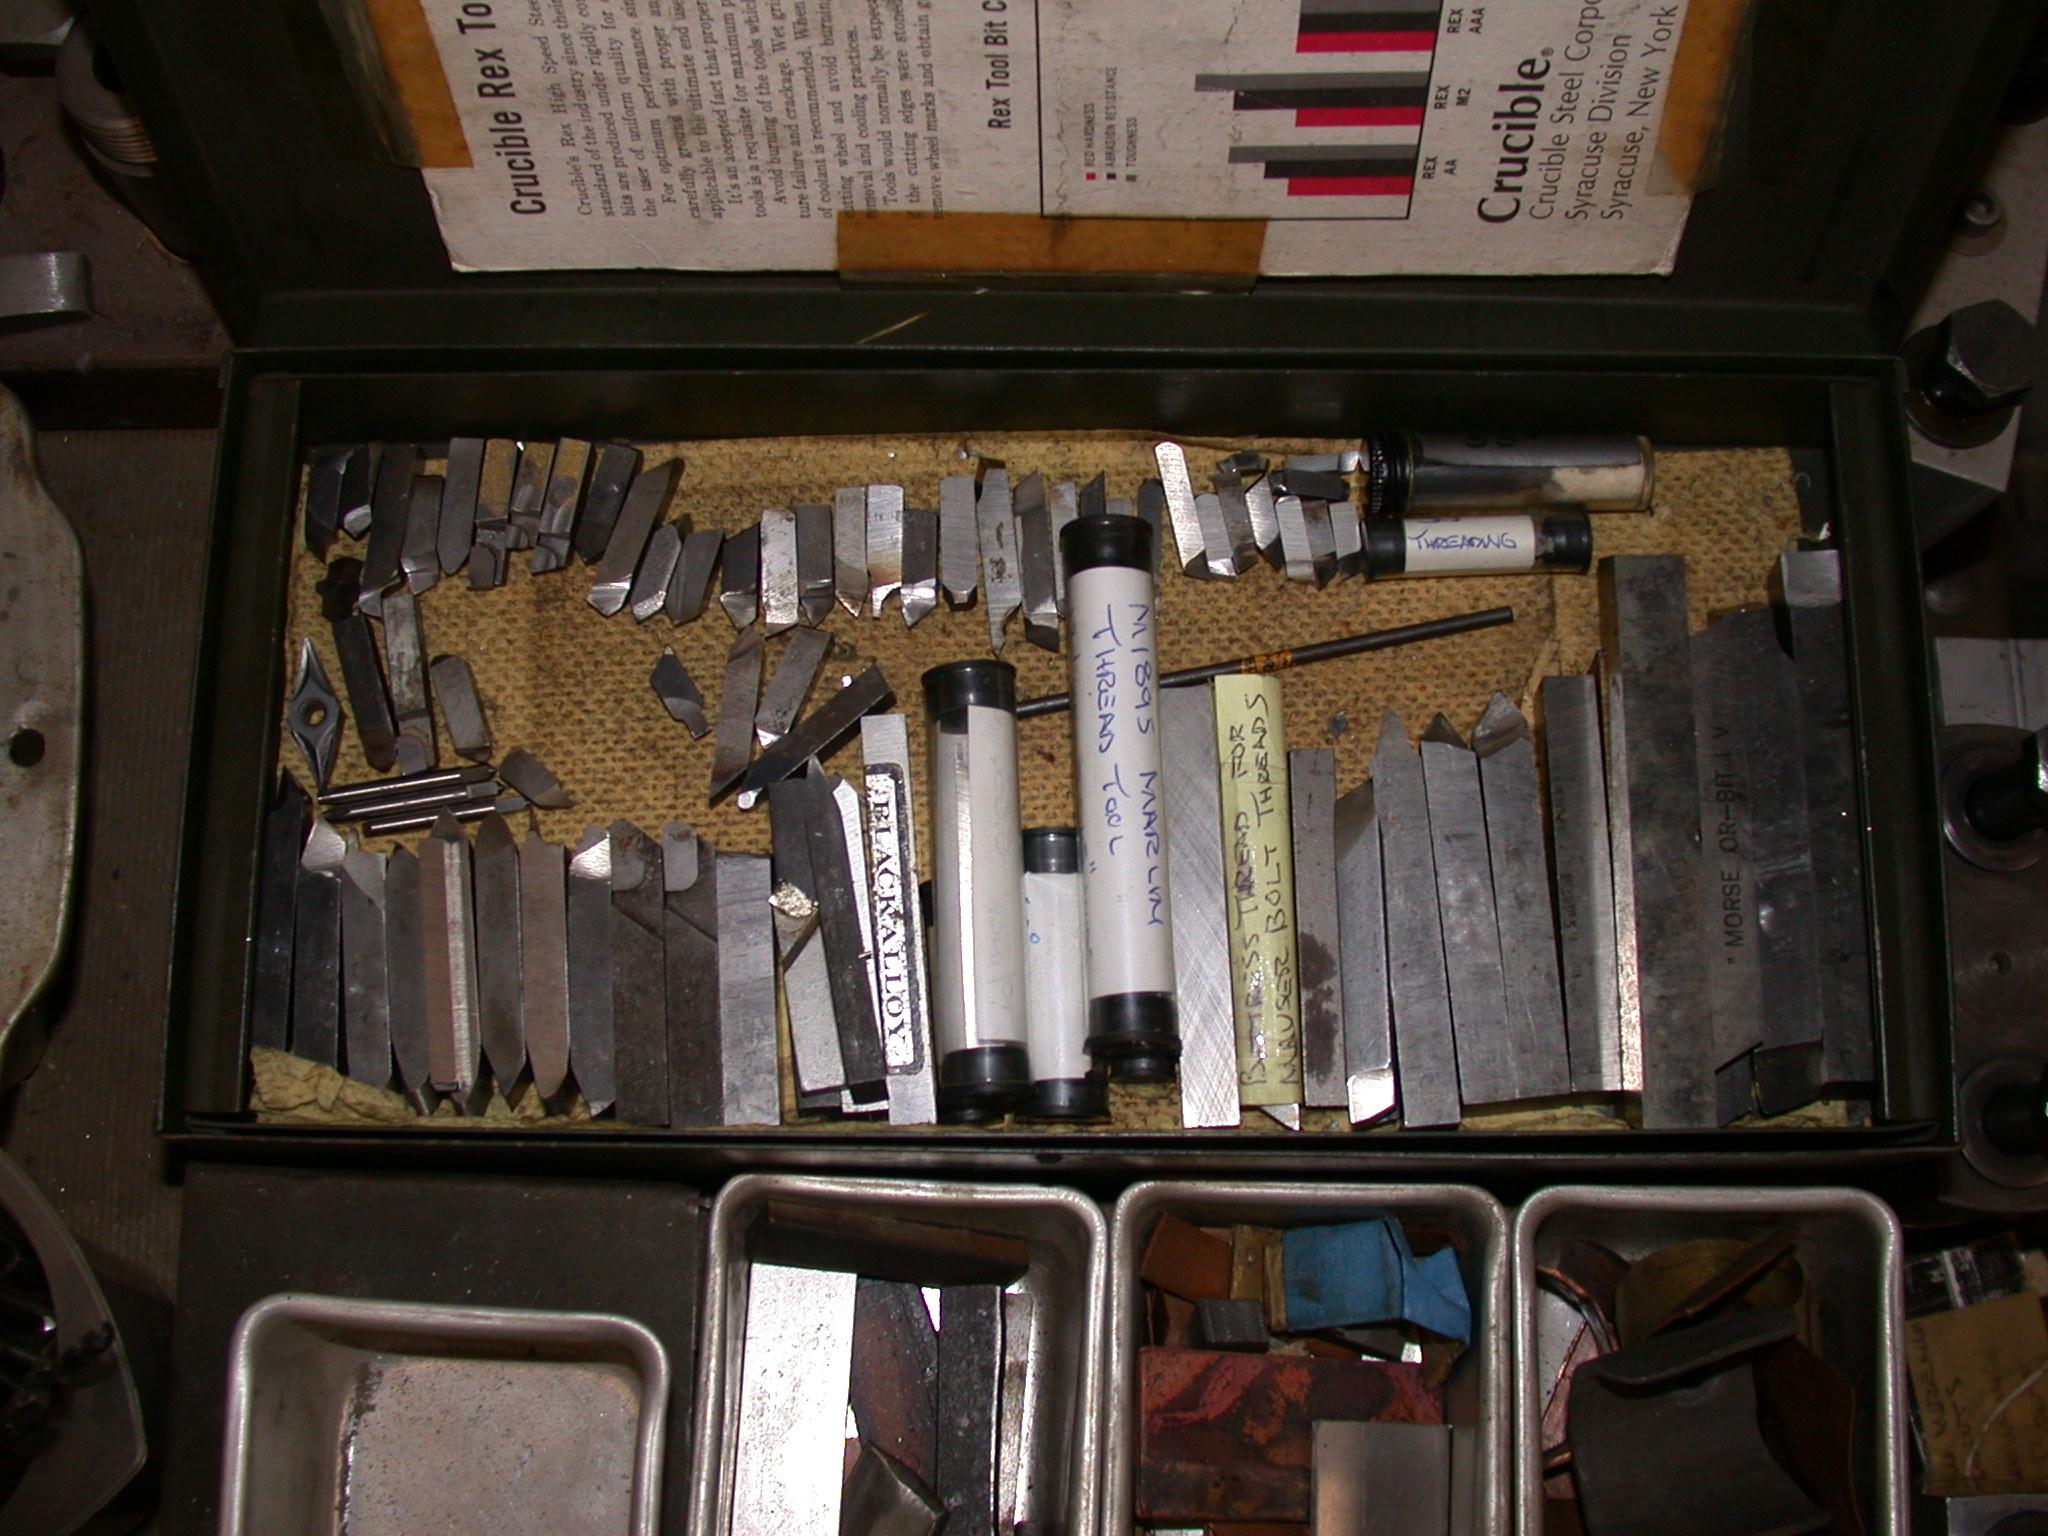
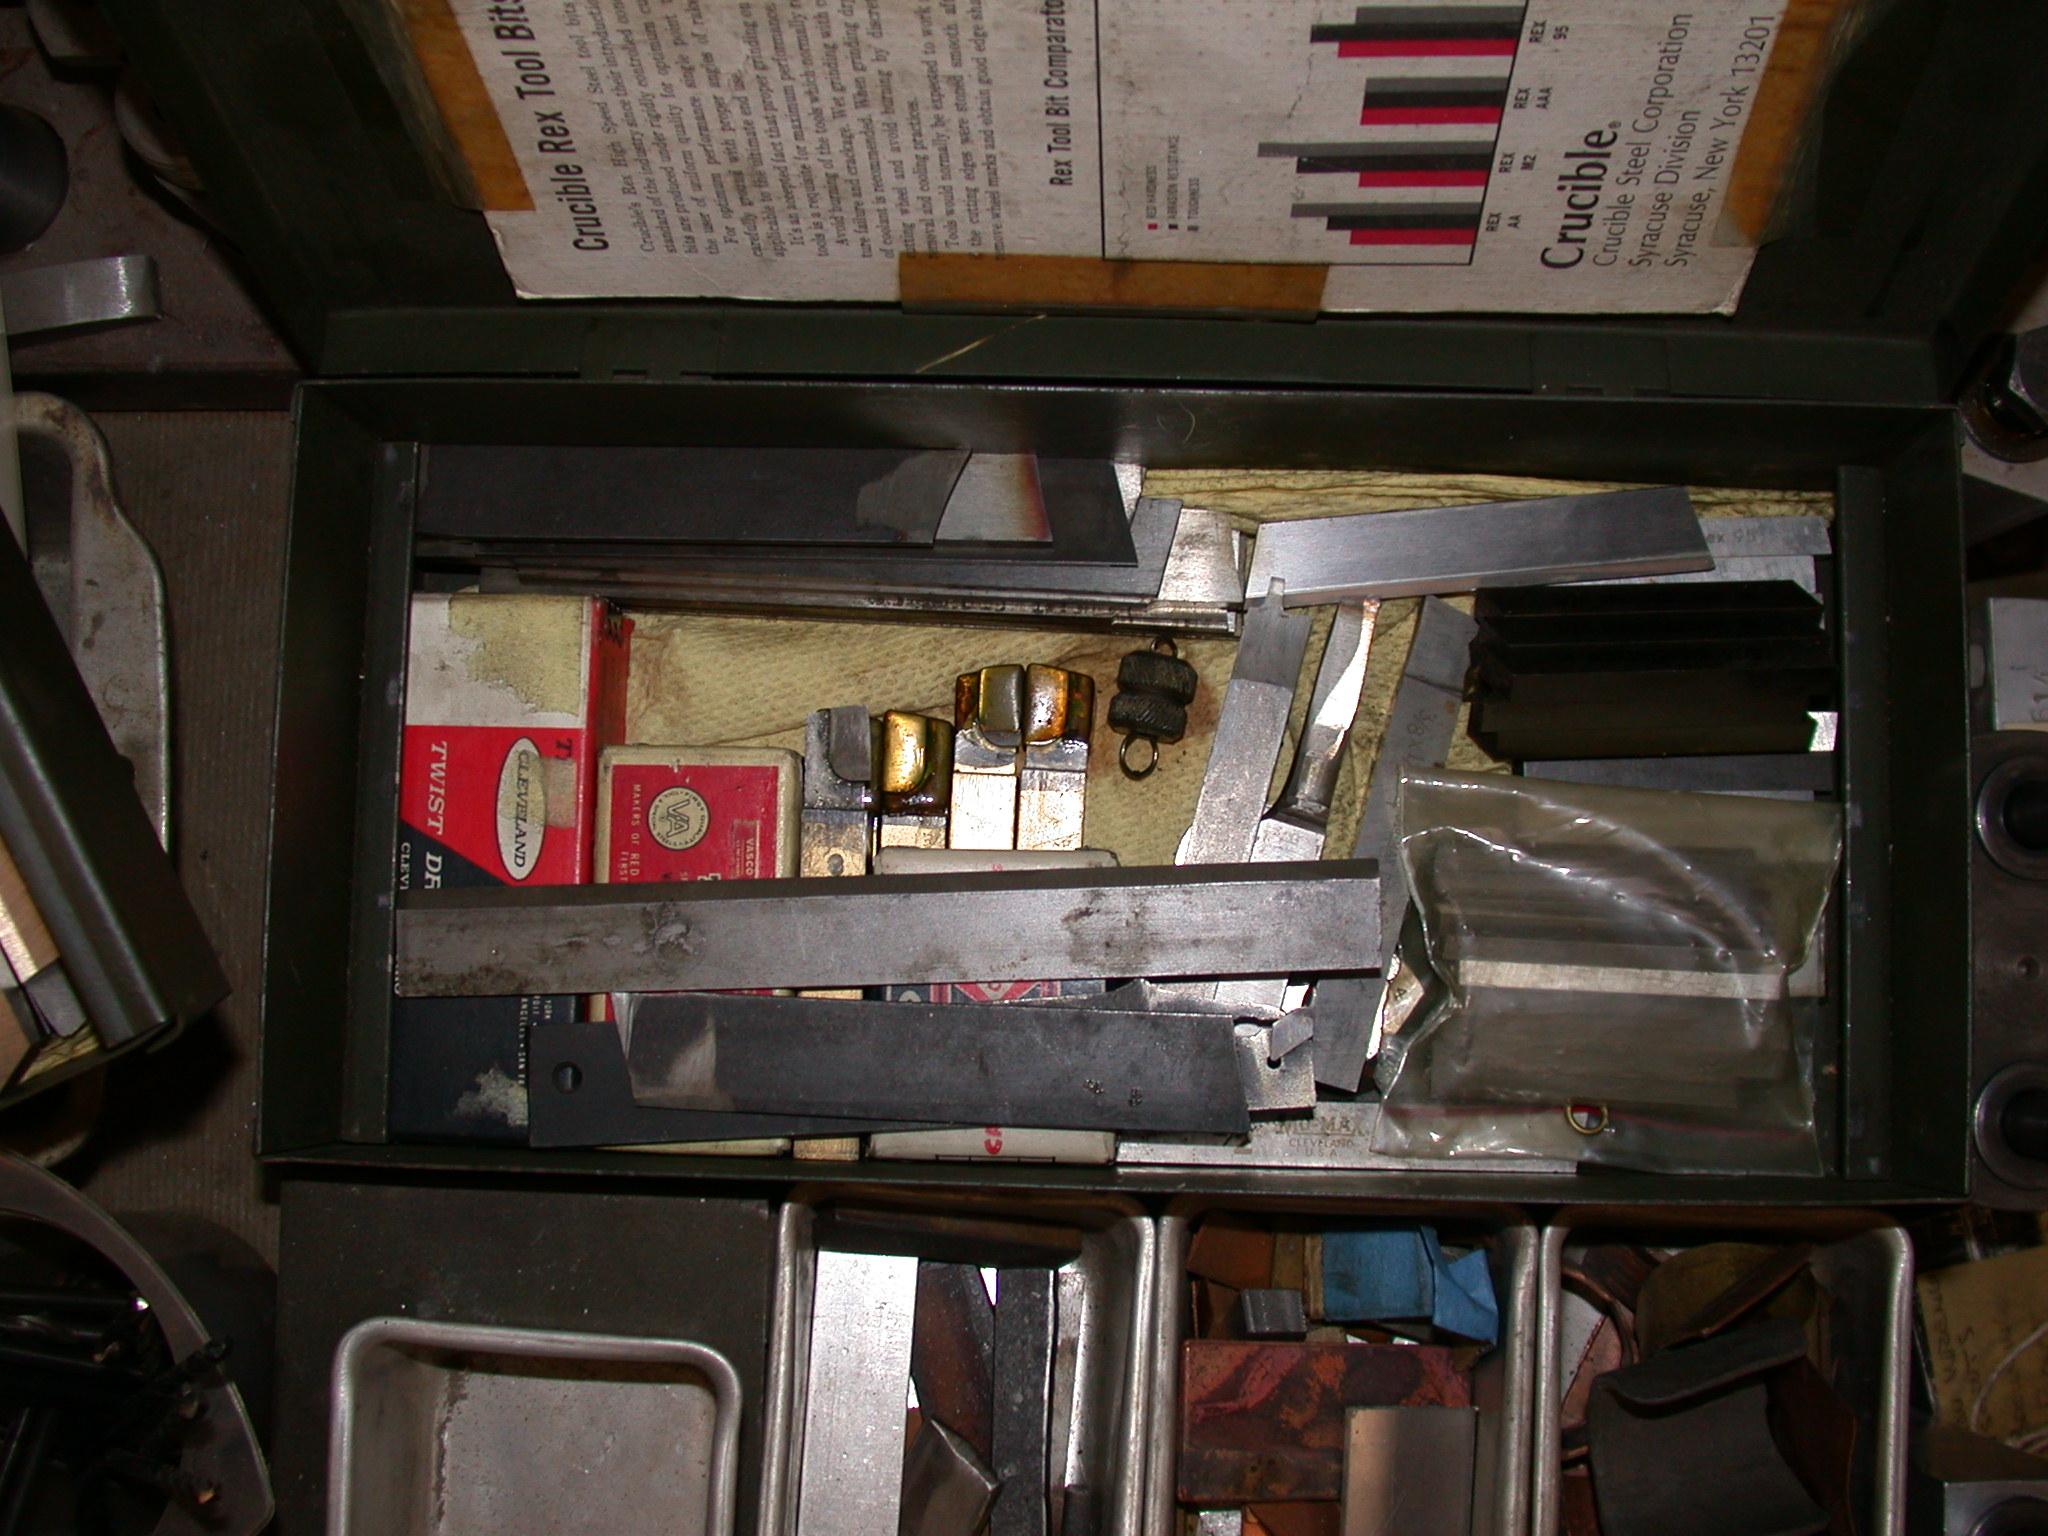
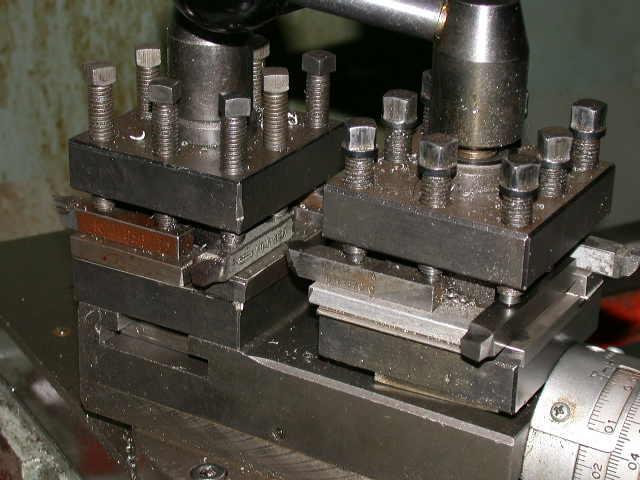
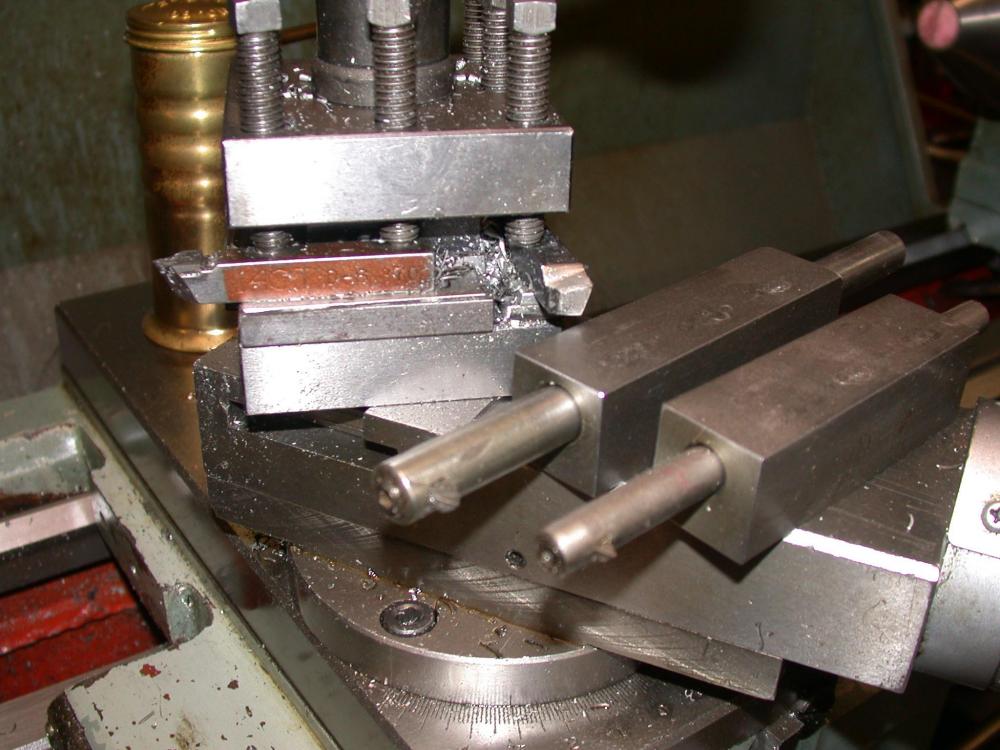
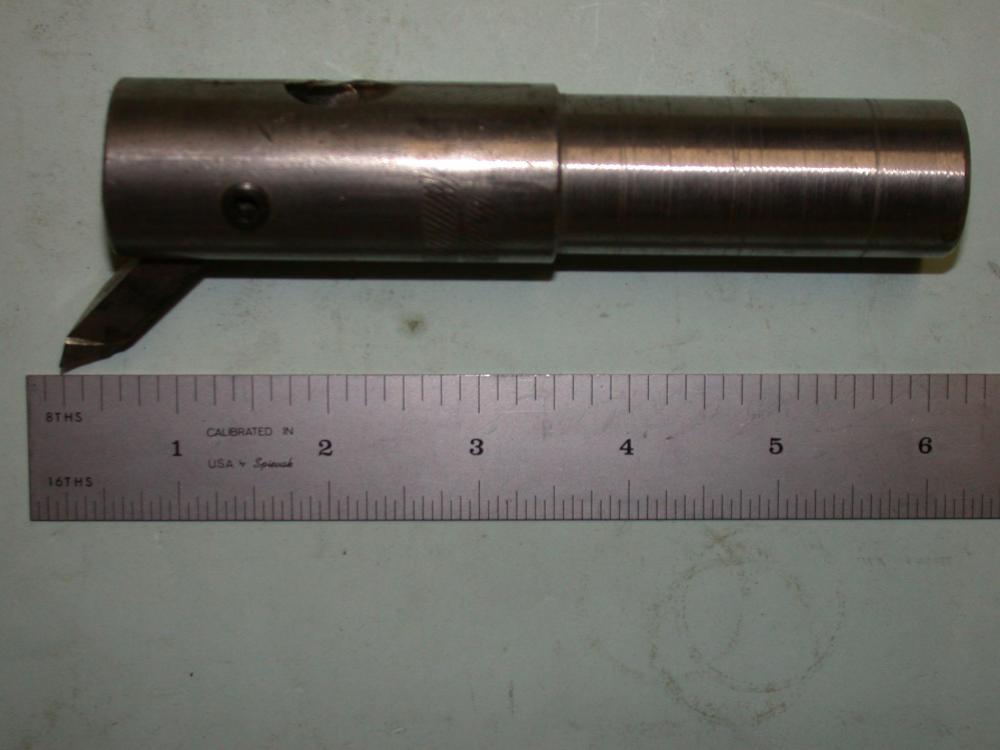
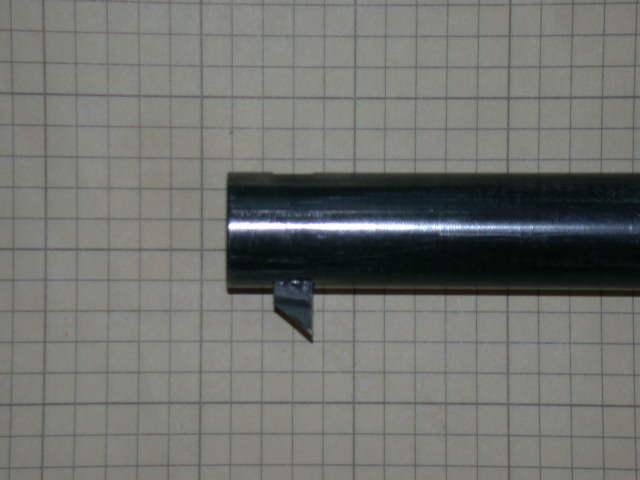
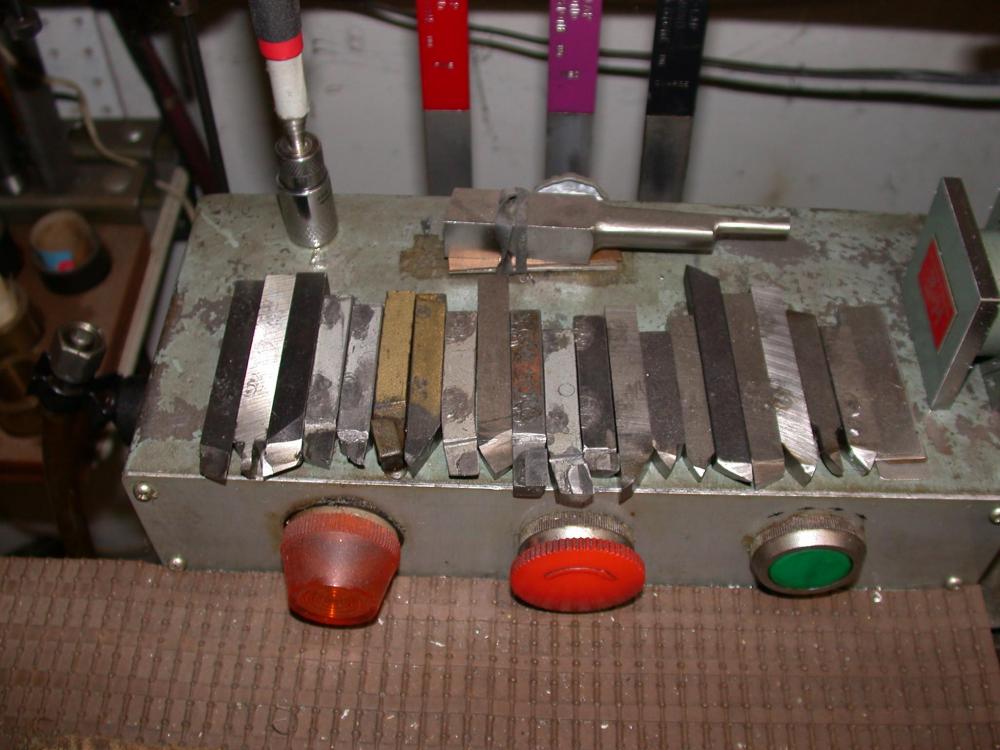
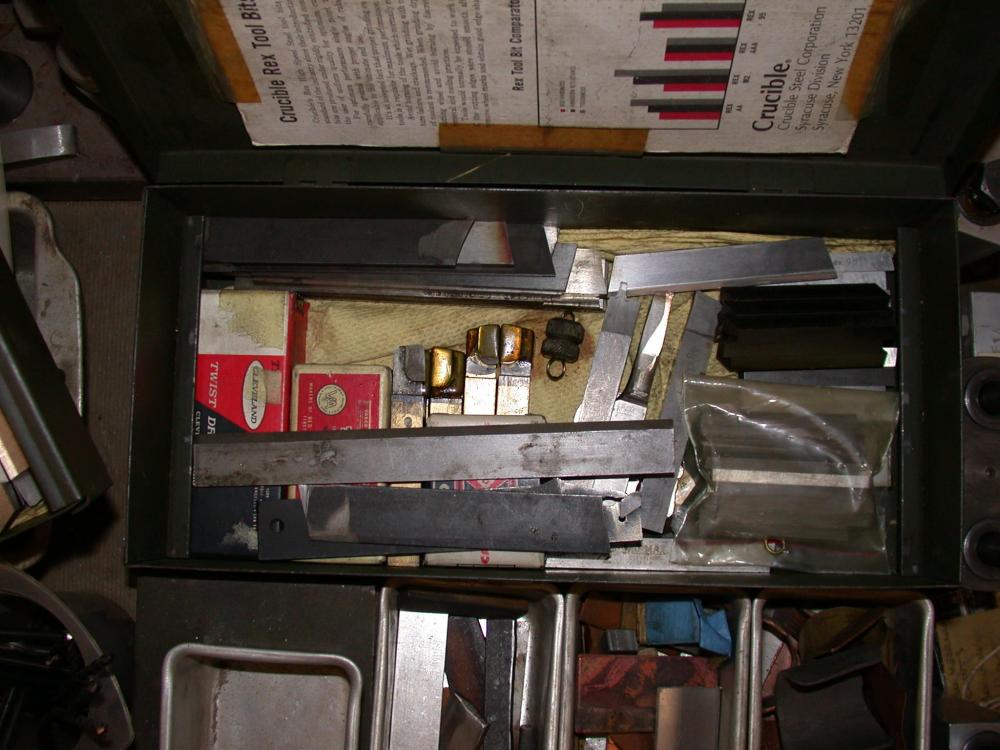
Carbide does not work in regular holders? Nobody told me. Look close and you will see a mix of HSS and Carbide. HSS grinding today is exactly the same as shown in the old South Bend book. More HSS bits as used in boring bars:
-
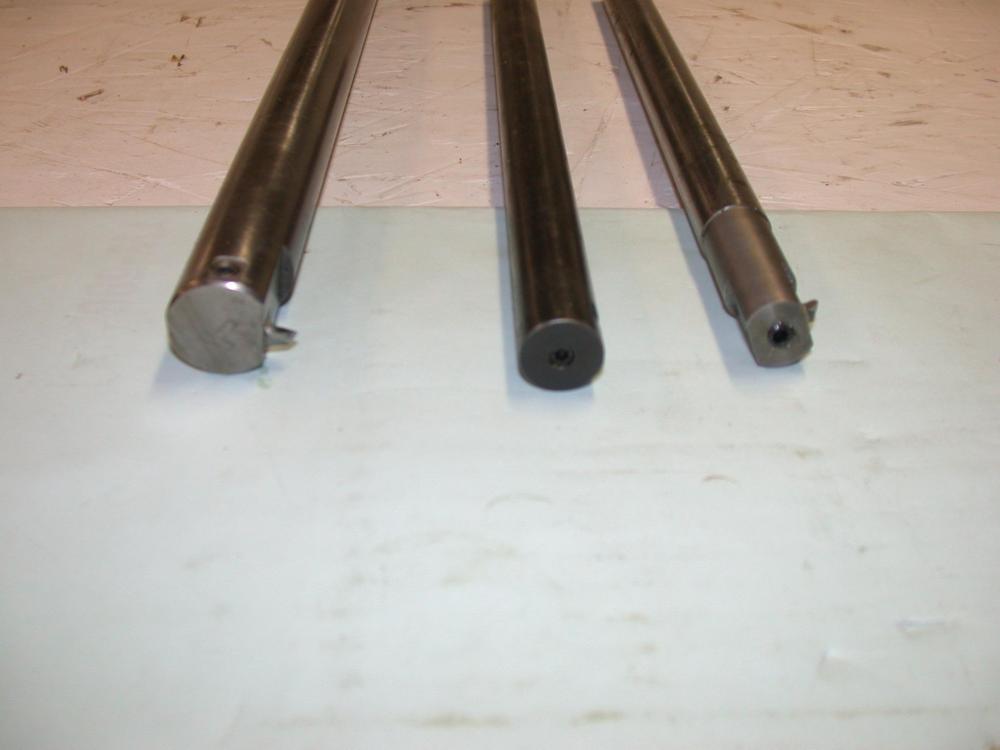
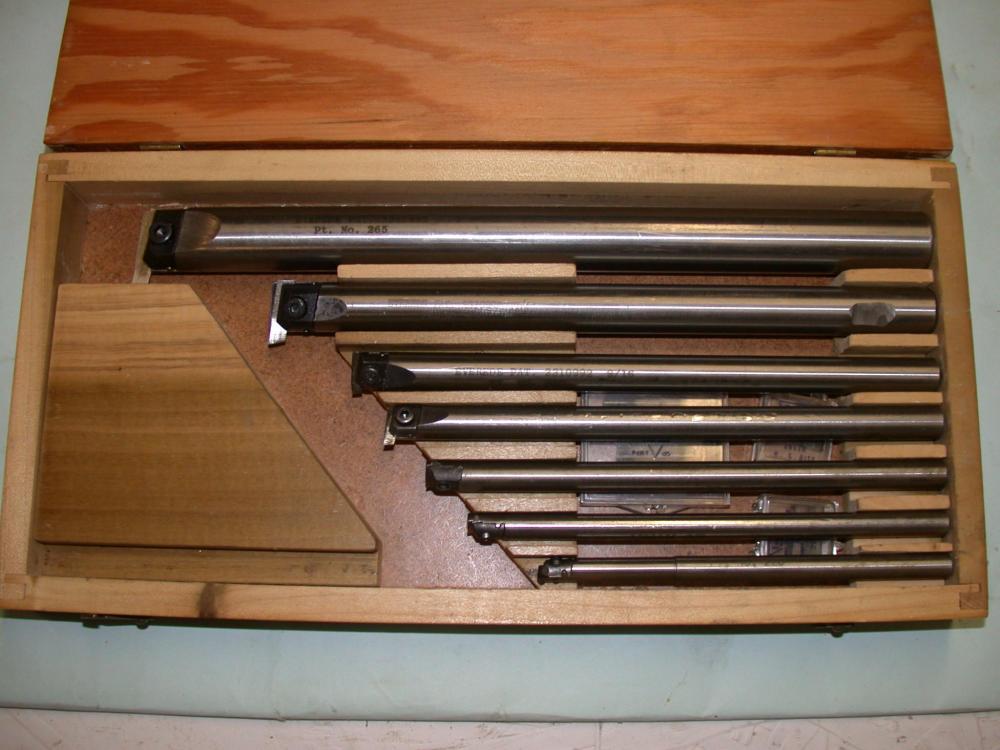
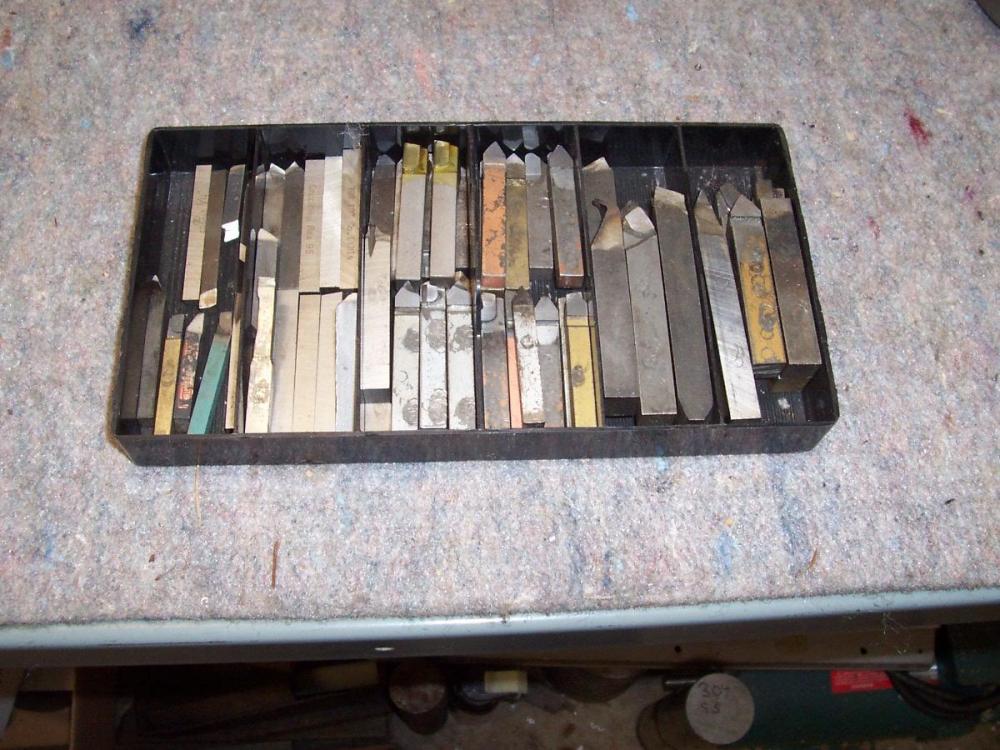
Darn I knew I was old. Maybe the last one that sharpens HSS tool bits. I guess I am not anybody. Walk into any job shop that does machining and you will still see HSS tool bits being used to supplement carbide and ceramic. The beauty of HSS is you can grind a bit to any special shape you need, and this need arises often in a job shop where anything and everything comes through the door. The importance of the old South Bend Book is it explains and shows the how and why of sharpening HSS. Rake angels, side and top angles, geometry of the bit nose, and a lot of other things. I have a lot of "Modern" texts, have supervised machinists in industrial shops, and even have taught machining skills. Learn the old school methods and you will have a much better understanding of how things work in a real machine shop. Carbide is great in most applications but there are areas where HSS is just a better choice. The short stubby bits in one of the above photos are used in boring bars.
-
Ebay, Grizzly, Shars just for three. Google is your friend. Go to ebay and search for high sped steel tool bits. Obtain high speed steel tool bits and learn how to grind them. Buy a reprint of the old South Bend Book "How To Run A Lathe". Shows how to grind tool bits. Carbide and inserts are short cuts, but a good selection of ground high speed steel bits is the way to go. You can grind or regrind for just about anything. Probably 1/4 inch tool bits for your lathe.

-
I have a full hot caustic bluing setup for bluing rifles. And I sometimes do the rust bluing thing. Tanks below. Hot, sweaty, nasty work. The bluing gear is under a lean-to roof behind the shop, with three sides open for ventilation. Bluing salts eats everything, so the stuff cannot be in an enclosed shop. Note the floor: A bed of gravel, then pallets, then rubber horse stall mats to stand on while tending the tanks. The salts will even eat concrete. The roof is fiberglass greenhouse panels over treated wood joists. The dark vile looking stuff in the rusty tank is the bluing salts. I run the salts at 285 degrees F, so no harm to heat treated steels. The stainless tank in front with the frothy white liquid contains the cleaning solution at 200 degrees F. The caustic tank has to be mild steel, stainless steel tanks for the salts will give a ugly bluing color. Other tanks are cold water rinse, hot water rinse at 200 degrees, neutralizing bath at 140 degrees, and water displacing oil bath. I leave the gun parts in the water displacing oil over night. From the time I light off the first burner, until I dump the parts into the water displacing oil, takes about 4 hours. Not counting the metal prep!! Looks like this when complete. 460 Weatherby on the left, 458 Lott on the right.
-
Go to weldingweb.com or weldingtipsandtricks.com where the guys in the welding business hang out.