
Judson Yaggy
-
Posts
1,804 -
Joined
-
Last visited
Content Type
Profiles
Forums
Articles
Gallery
Downloads
Events
Posts posted by Judson Yaggy
-
-
I agree with TJ. From the photos I see no alarming cracks. It's a forged anvil, built up from chunks of iron forge welded together, steel top plate forge welded on. Something might be stuck in the hardie hole, looks like a previous owner tried to drill it out, or perhaps this anvil never had a hardie hole and someone tried to cut a new one French style (side exit).
-
+1 to setlab's comment. Push and shake every moving part as hard as you can by hand, if something is easy to shift by hand it's probably worn.
If you could provide some basic dimensions (total hight, size of dies, etc) we could guess at the tup weight. Comparing it to the tires in the second pic and the size of the spring, I'd roughly guess less than 75 kg.
-
11 hours ago, jlpservicesinc said:
99% of the items I forge I am not happy with..
") There is always something more I could have done..
There is always something more I could have done..
Amen. Time is worth more than money, but money is what everyone else uses so....
-
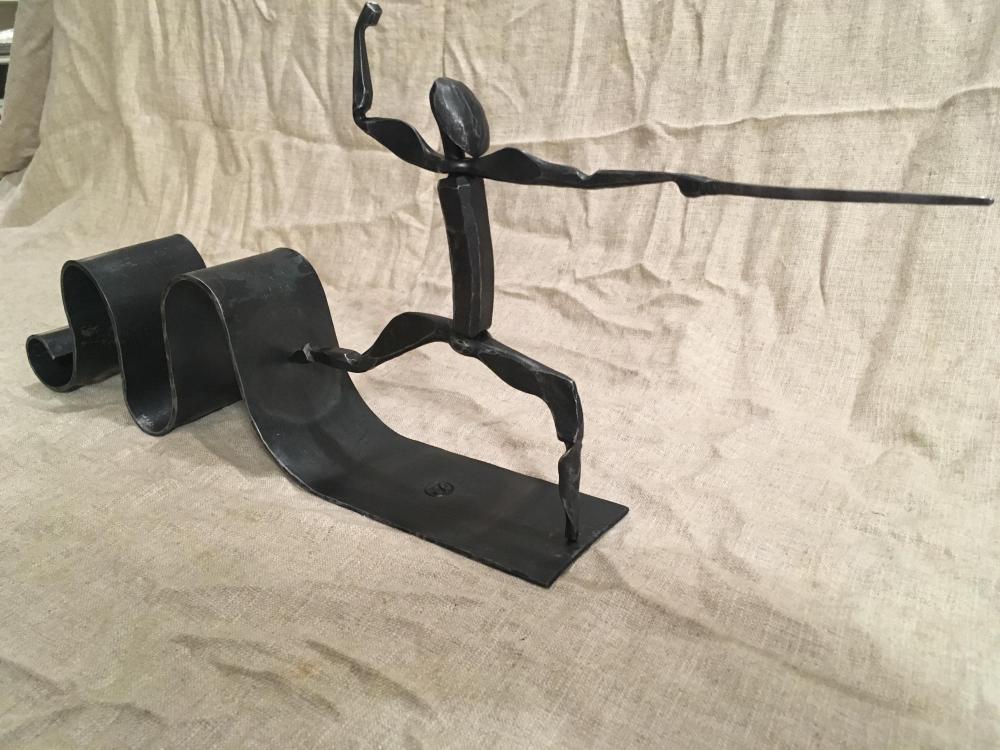
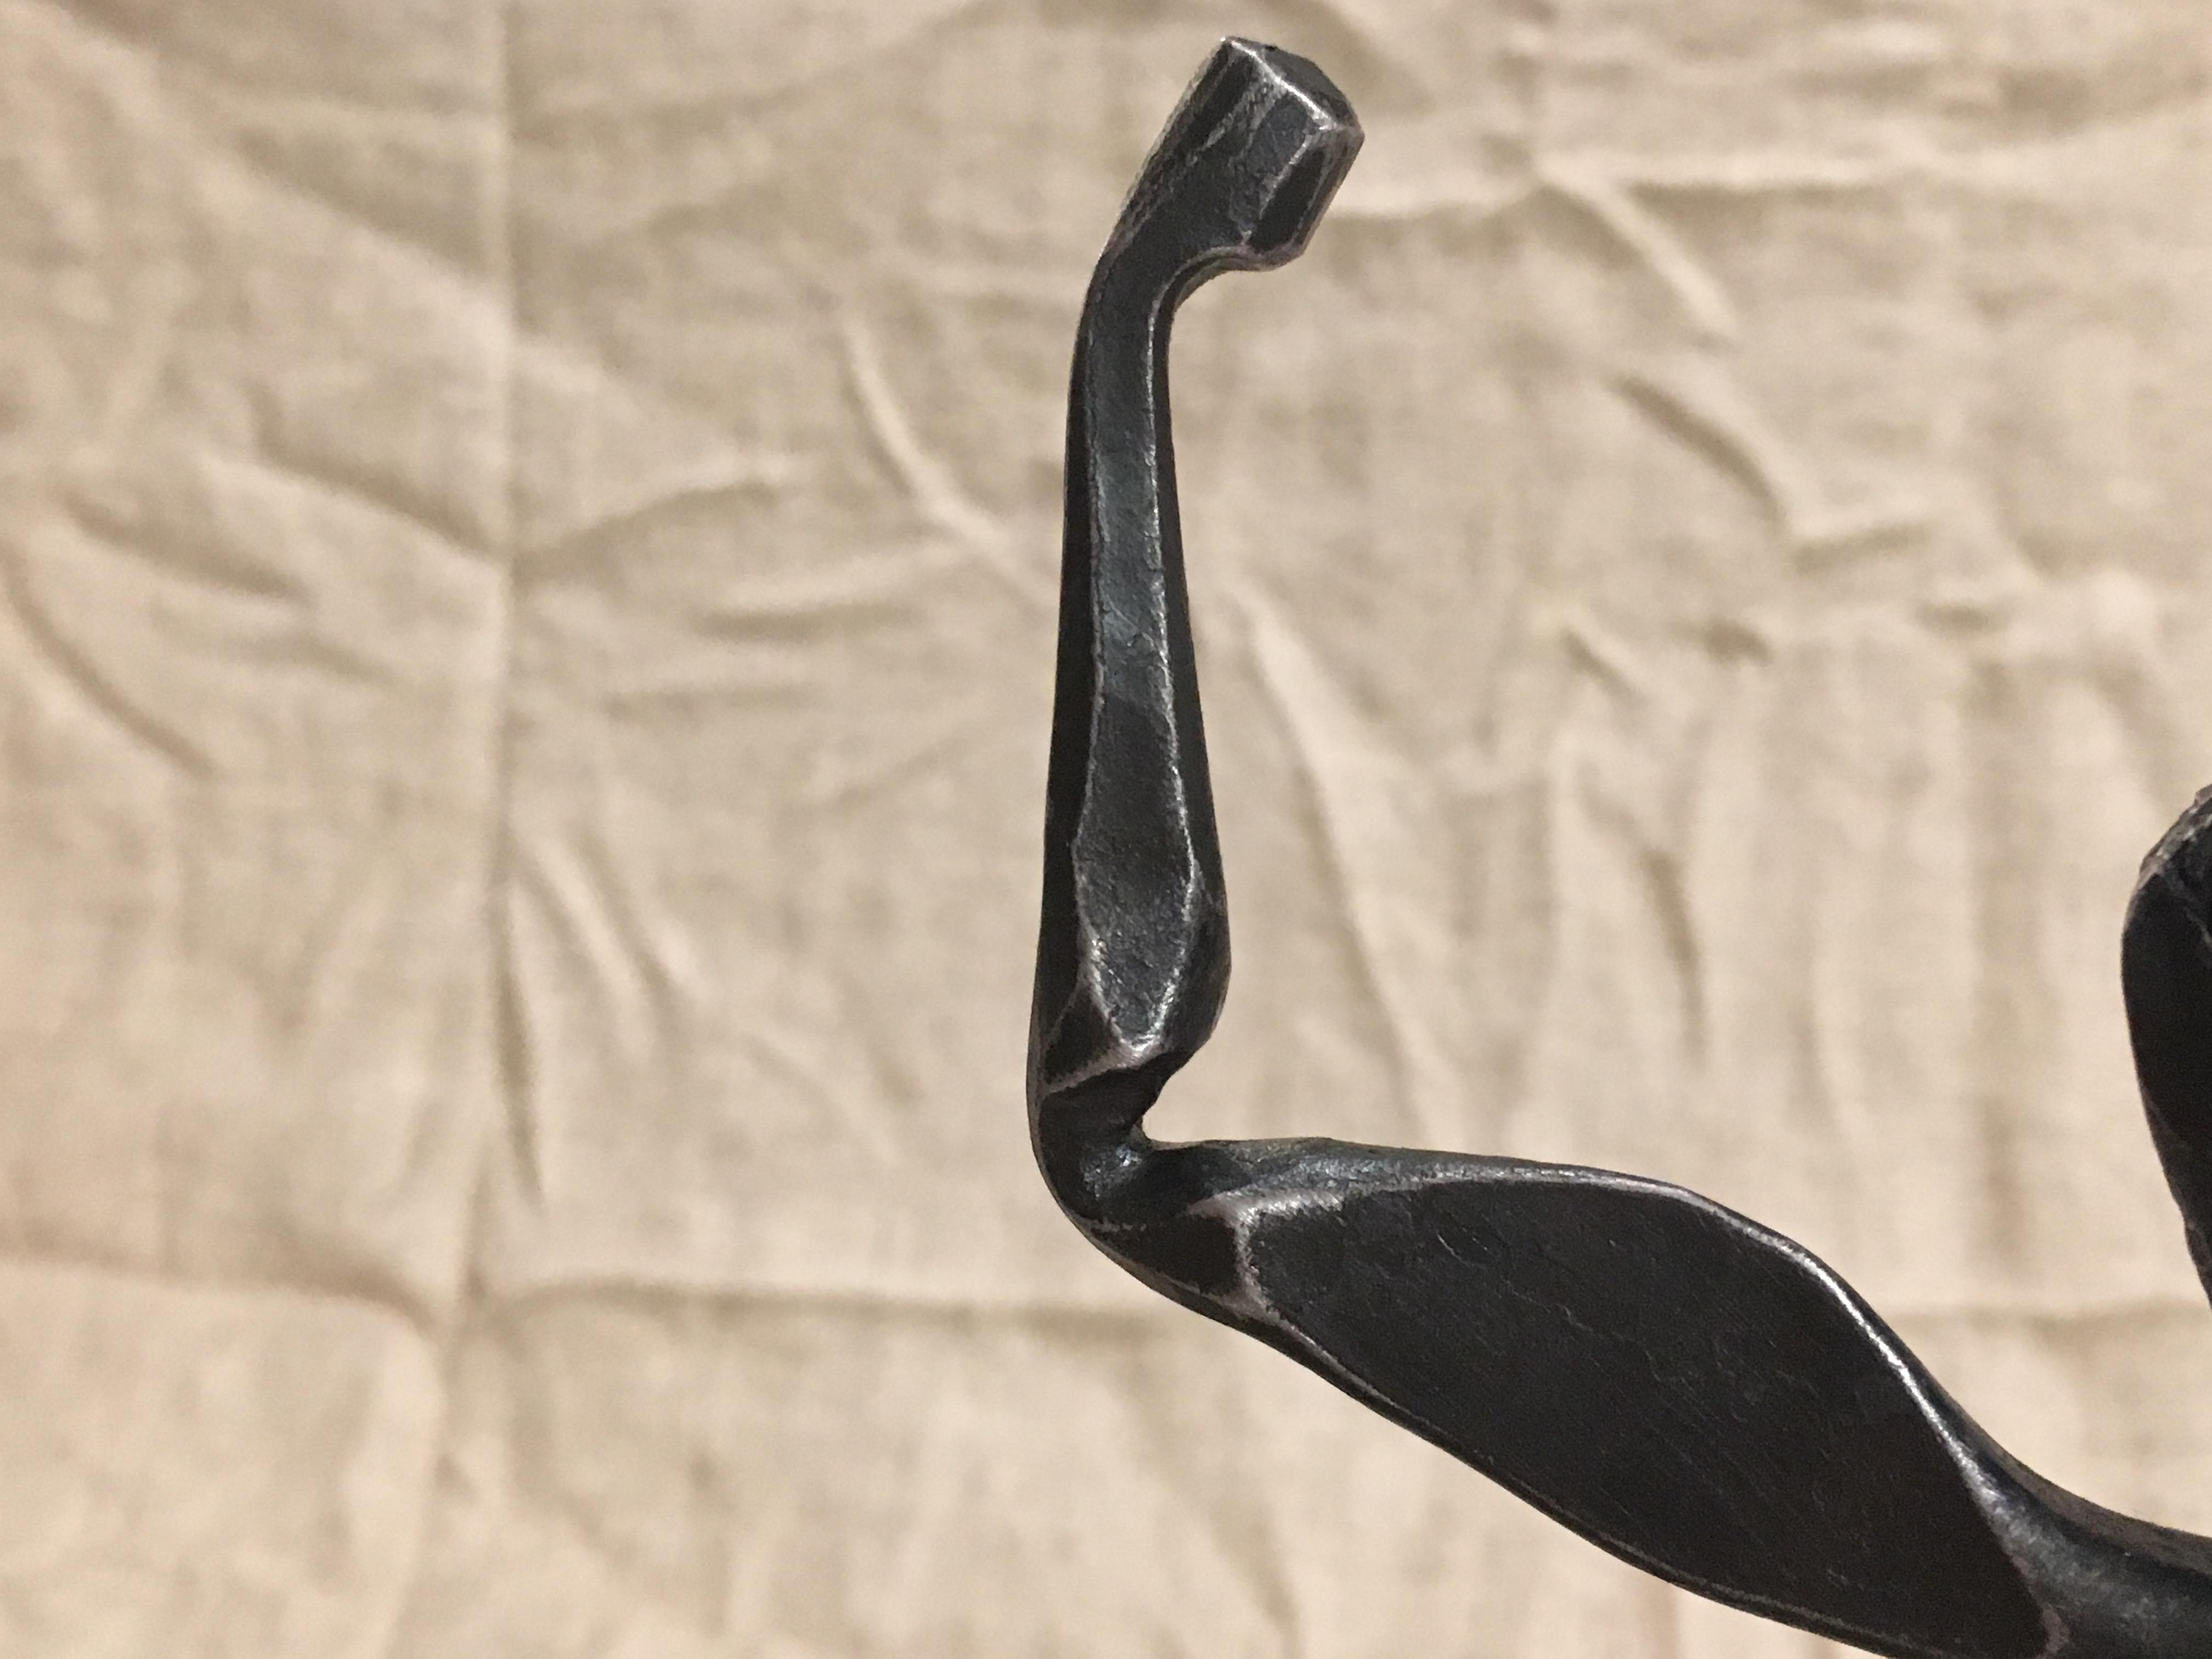
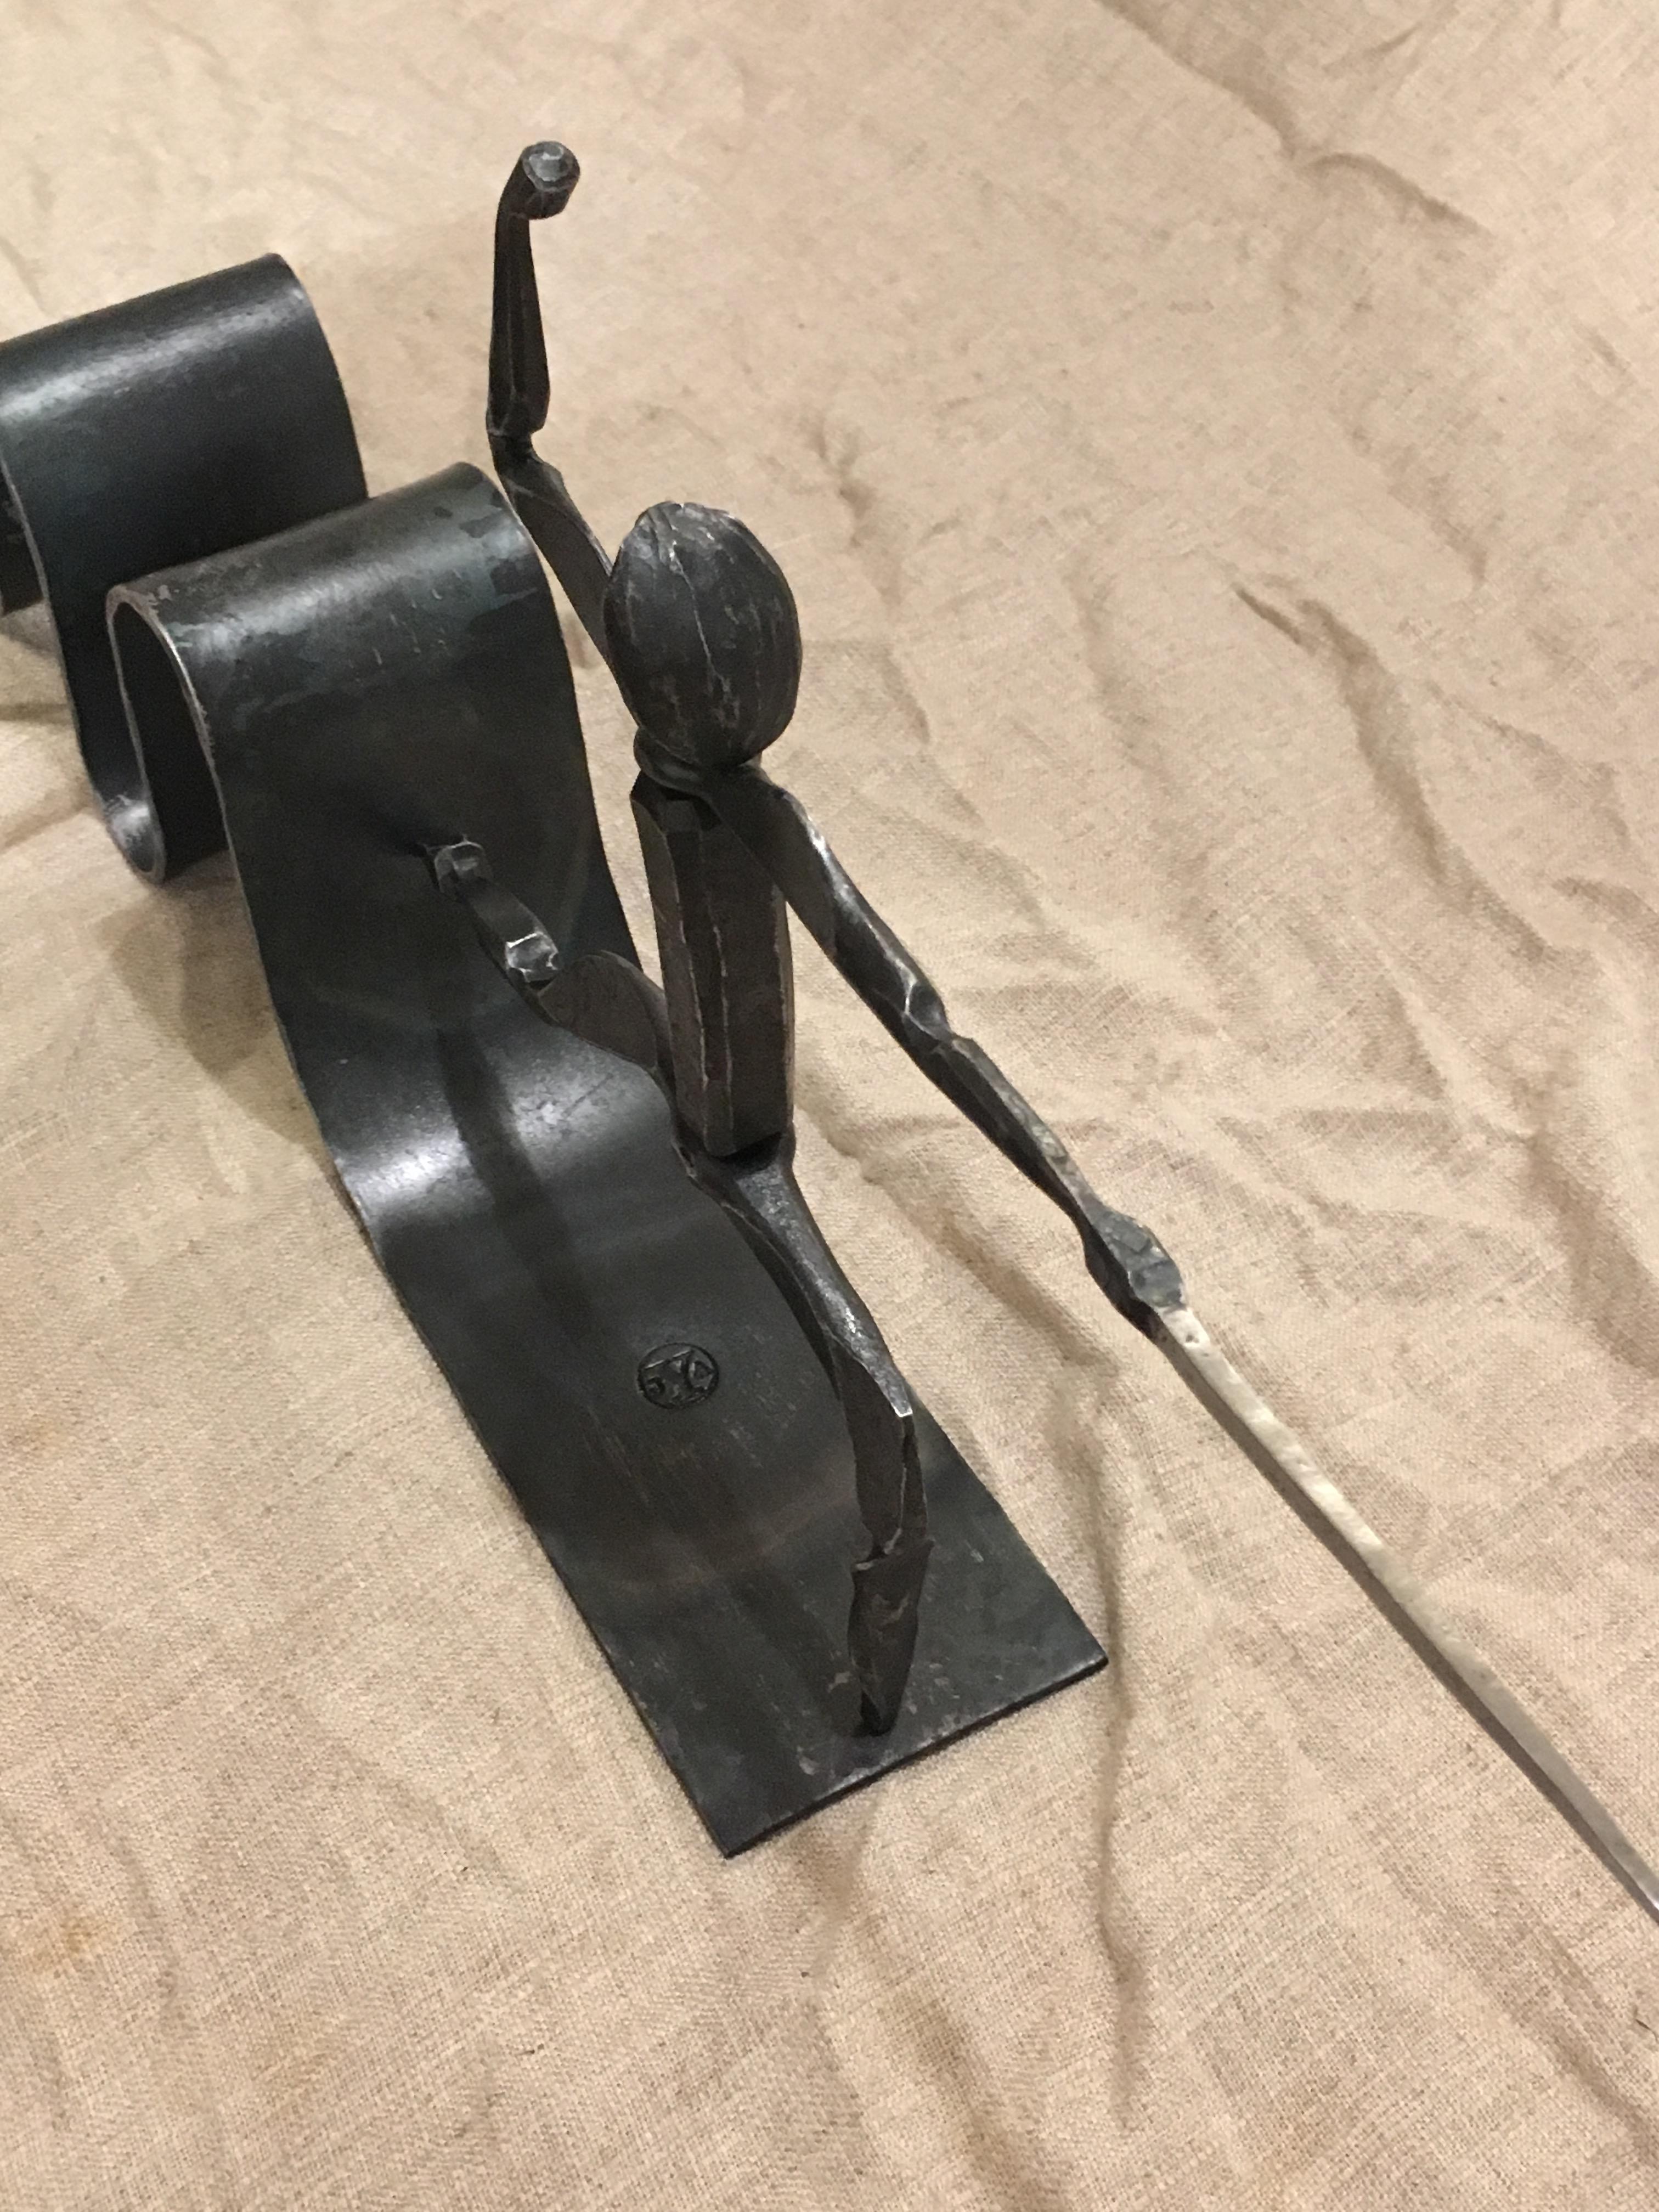
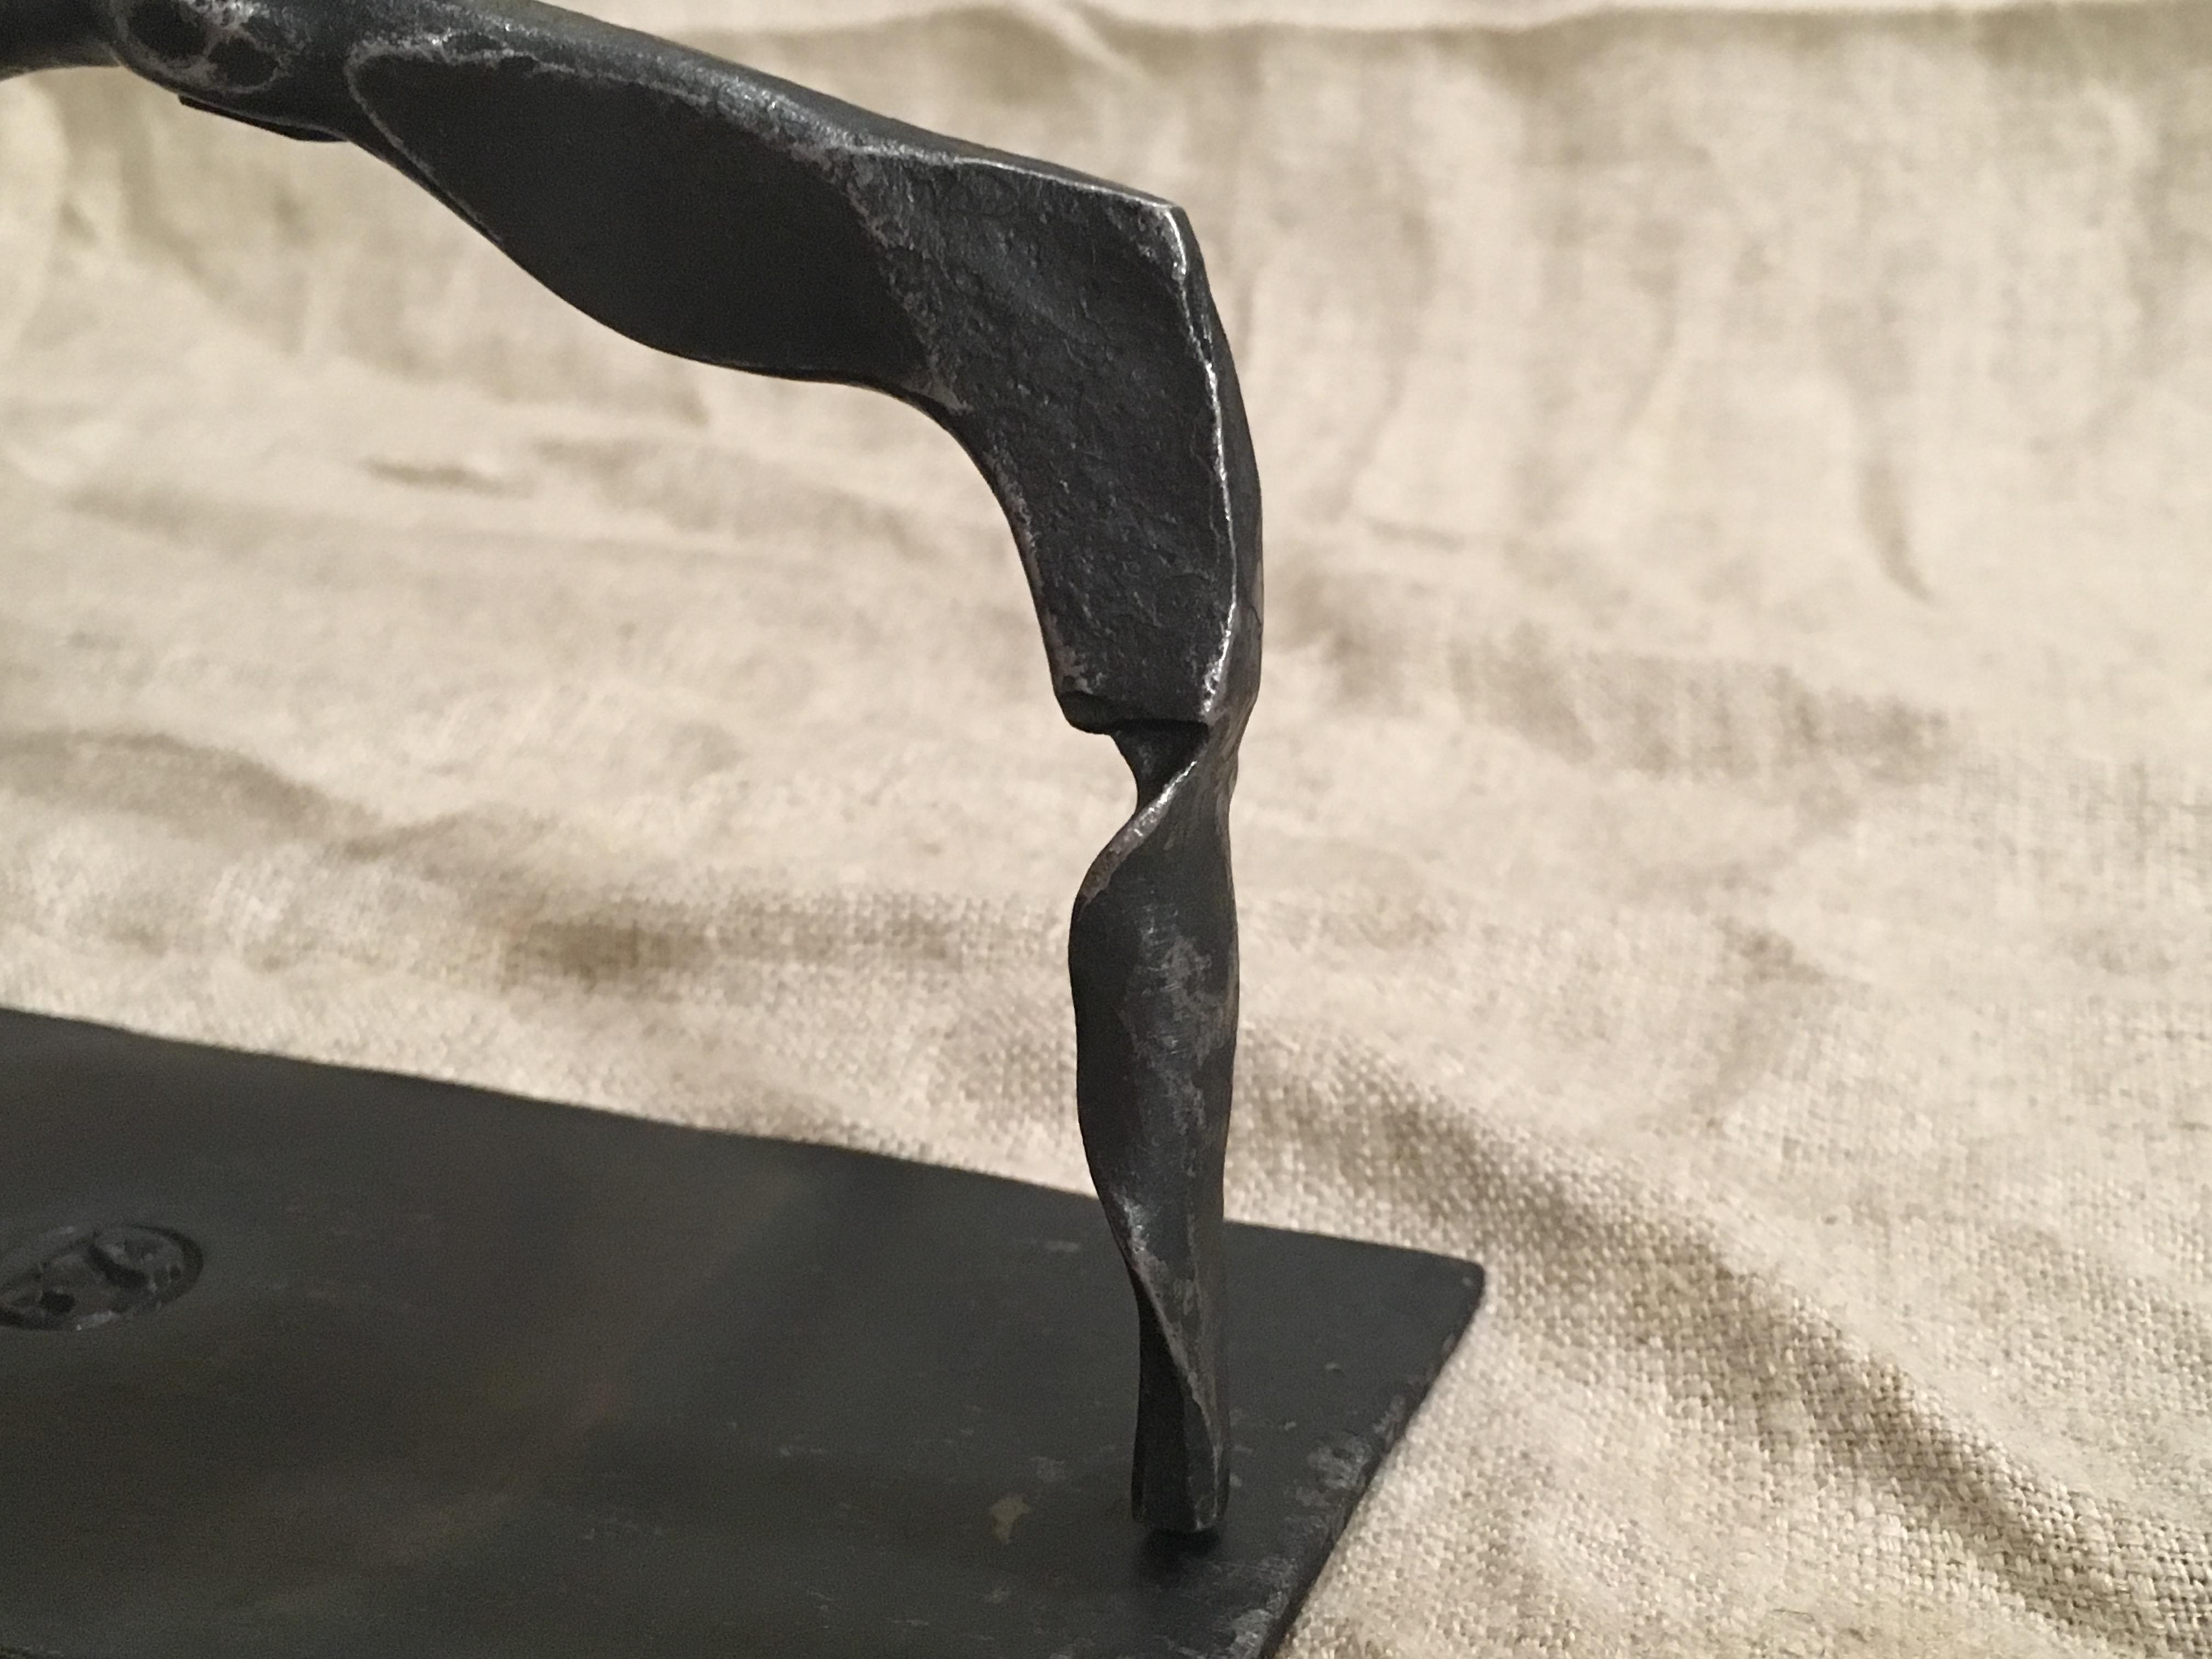
Made a fundraising raffle item for my son's fencing club. 8" tall, 20" long. In a perfect world I'd have had the time to work on the torso more... 6 hours was enough for a donation.


-
*slow* typo
-
June 7,8,9. Sorry I've been low in posting info about this one. Ellen Durkan will be the demonstrator!
-
Buy drops of large round bar and bandsaw it down to rectangular. 4140 in large round(8"+ dia) is WAY cheaper than rectangular stock.
-
Meeting Info:
When:
Sunday - February 24th, 2019
Time: 1-4pm
Where:
Blacksmith Shoppe
Mystic Seaport
Mystic, CT
Info for entry:
Enter through the regular entry gate. Tell the attendant you are here for the Connecticut Blacksmiths Guild Meeting.
YOU WILL BE ADMITTED FREE AFTER 12PM.
Ask to be directed to the Ships Smith Shoppe.
Any problems you can reach
Bill Scheer
Demos:
TBD -
I bought two #4's for $150 and $235, but that was just before the tool price bubble really kicked off. That #5 on ebay has been there almost a year for $2400.... I expect I could easily sell my #4s for $800-1k
-
On 2/5/2019 at 10:32 PM, don schad said:
do you know how many BPM you are getting when your machine is running flat out?
I havn't actually counted, but it's slightly slower than my 95# mechanical, as one would expect. I learned on mechanicals, and prefer a speedy hammer, and the Ken's kit is faster than some of the other utility hammers I've seen.
Ken told me that they have the kit on many 150# hammers, so I felt comfortable putting it on a 135# system. The hitting the top stops happens most when parking, but it will also hit when running flat out. Depends on the air pressure setting and linkage setting.
If it were my hammer, not sure I'd bother altering an IronKiss. The one I've run had a differnt feel than Ken's, but still had great control. I would say they are on par. If it was a Blu, especially an older one, that would be a different situation.
-
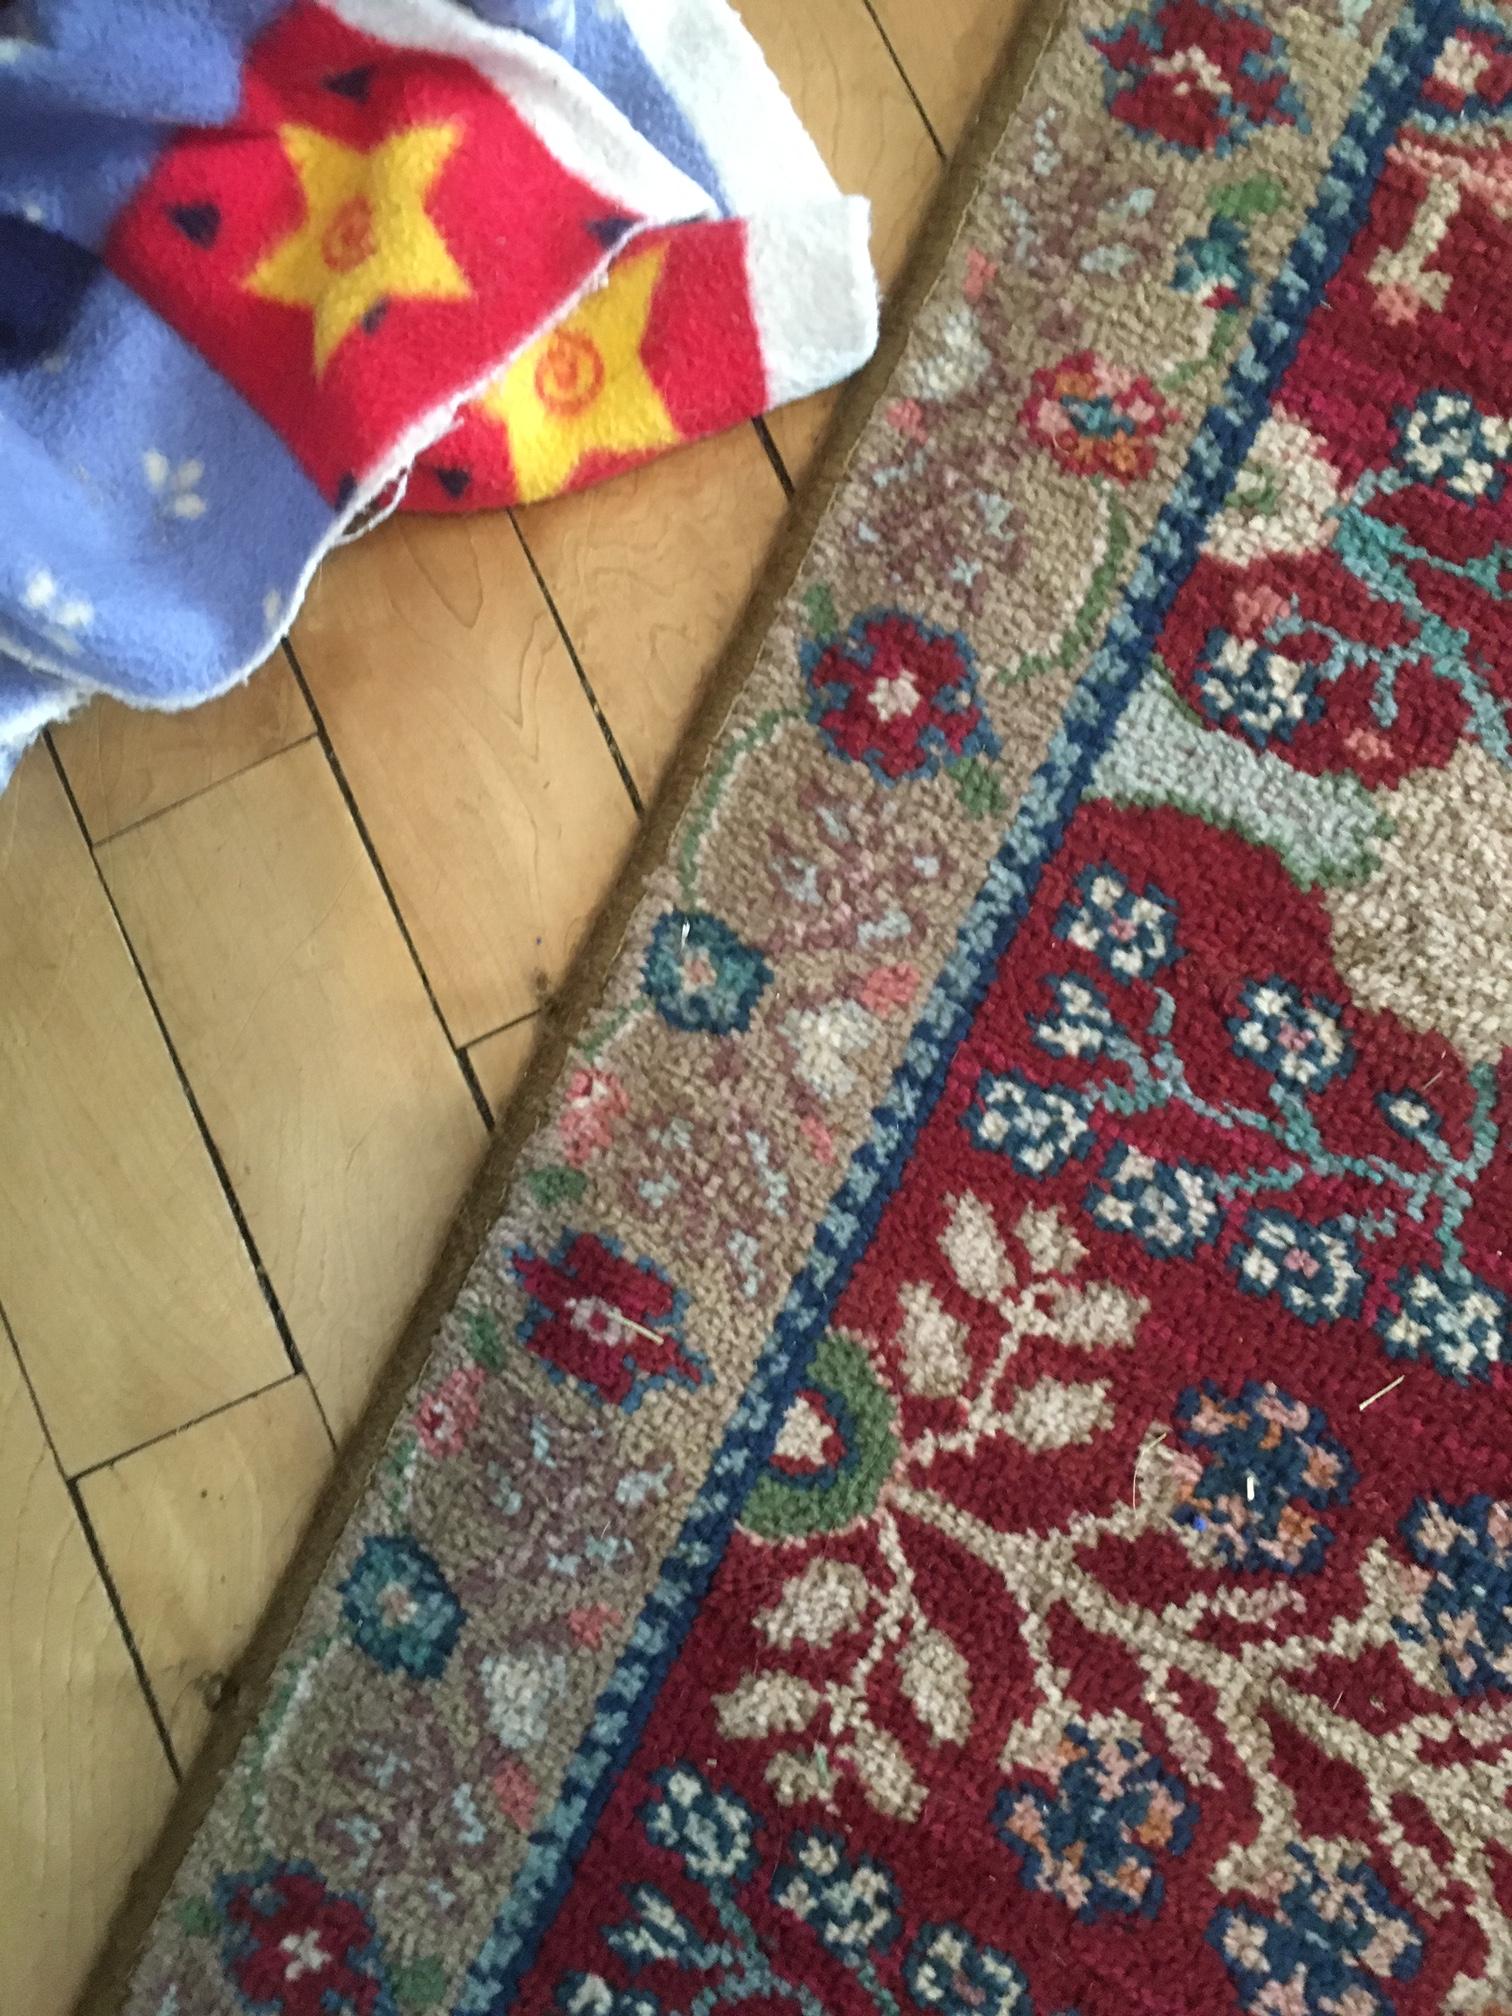
Jennifer, that's funny! We have the same rug next to the same dog blanket on the same hardwood floor. (sort of) I keep my tools out in the shop thou! (except for the kitchen anvil)

-
1 hour ago, Marc1 said:
Plenty of european anvils for sale
Marc is right. Lots of Euro anvils for sale here in the USA if you know where to look. He's likely correct about the price curve as well.
-
3 hours ago, jlpservicesinc said:
Whats a better thing to use?
3M 5200. It's a urethane based adhesive specifically designed to attach metal fittings to wood in a marine environment. I've used it extensively to glue thousands of pounds of stainless and CorTen cladding to architectural statements... sorry, I mean buildings. It's bomb proof. My Rat Hole (Fontanini) is glued to a 200# white oak block with the stuff and I don't think I could get them apart if I tried. Big blob in the middle of the anvil, heavy bead inside the periphery of the feet to minimize squeeze-out, Bob's your uncle.
100% Silicone caulk would be my distant second choice if you don't want to spend the $20usd per tube the 3m stuff costs.
-
If they are useless to you in their current hardness try a water quench, then temper immediately. Read up on this forum about water quenching 4140 in larger sections like power hammer dies, the late great Grant Sarver had much to say about it. 4130 should be similar if that's what you actually have. Be sure to round EVERY corner and edge.
-
The step looks overly big, but hard to tell from the pics. Could you give us some more shots of the edge, step, and inside the hardy hole?
-
10 hours ago, setlab said:
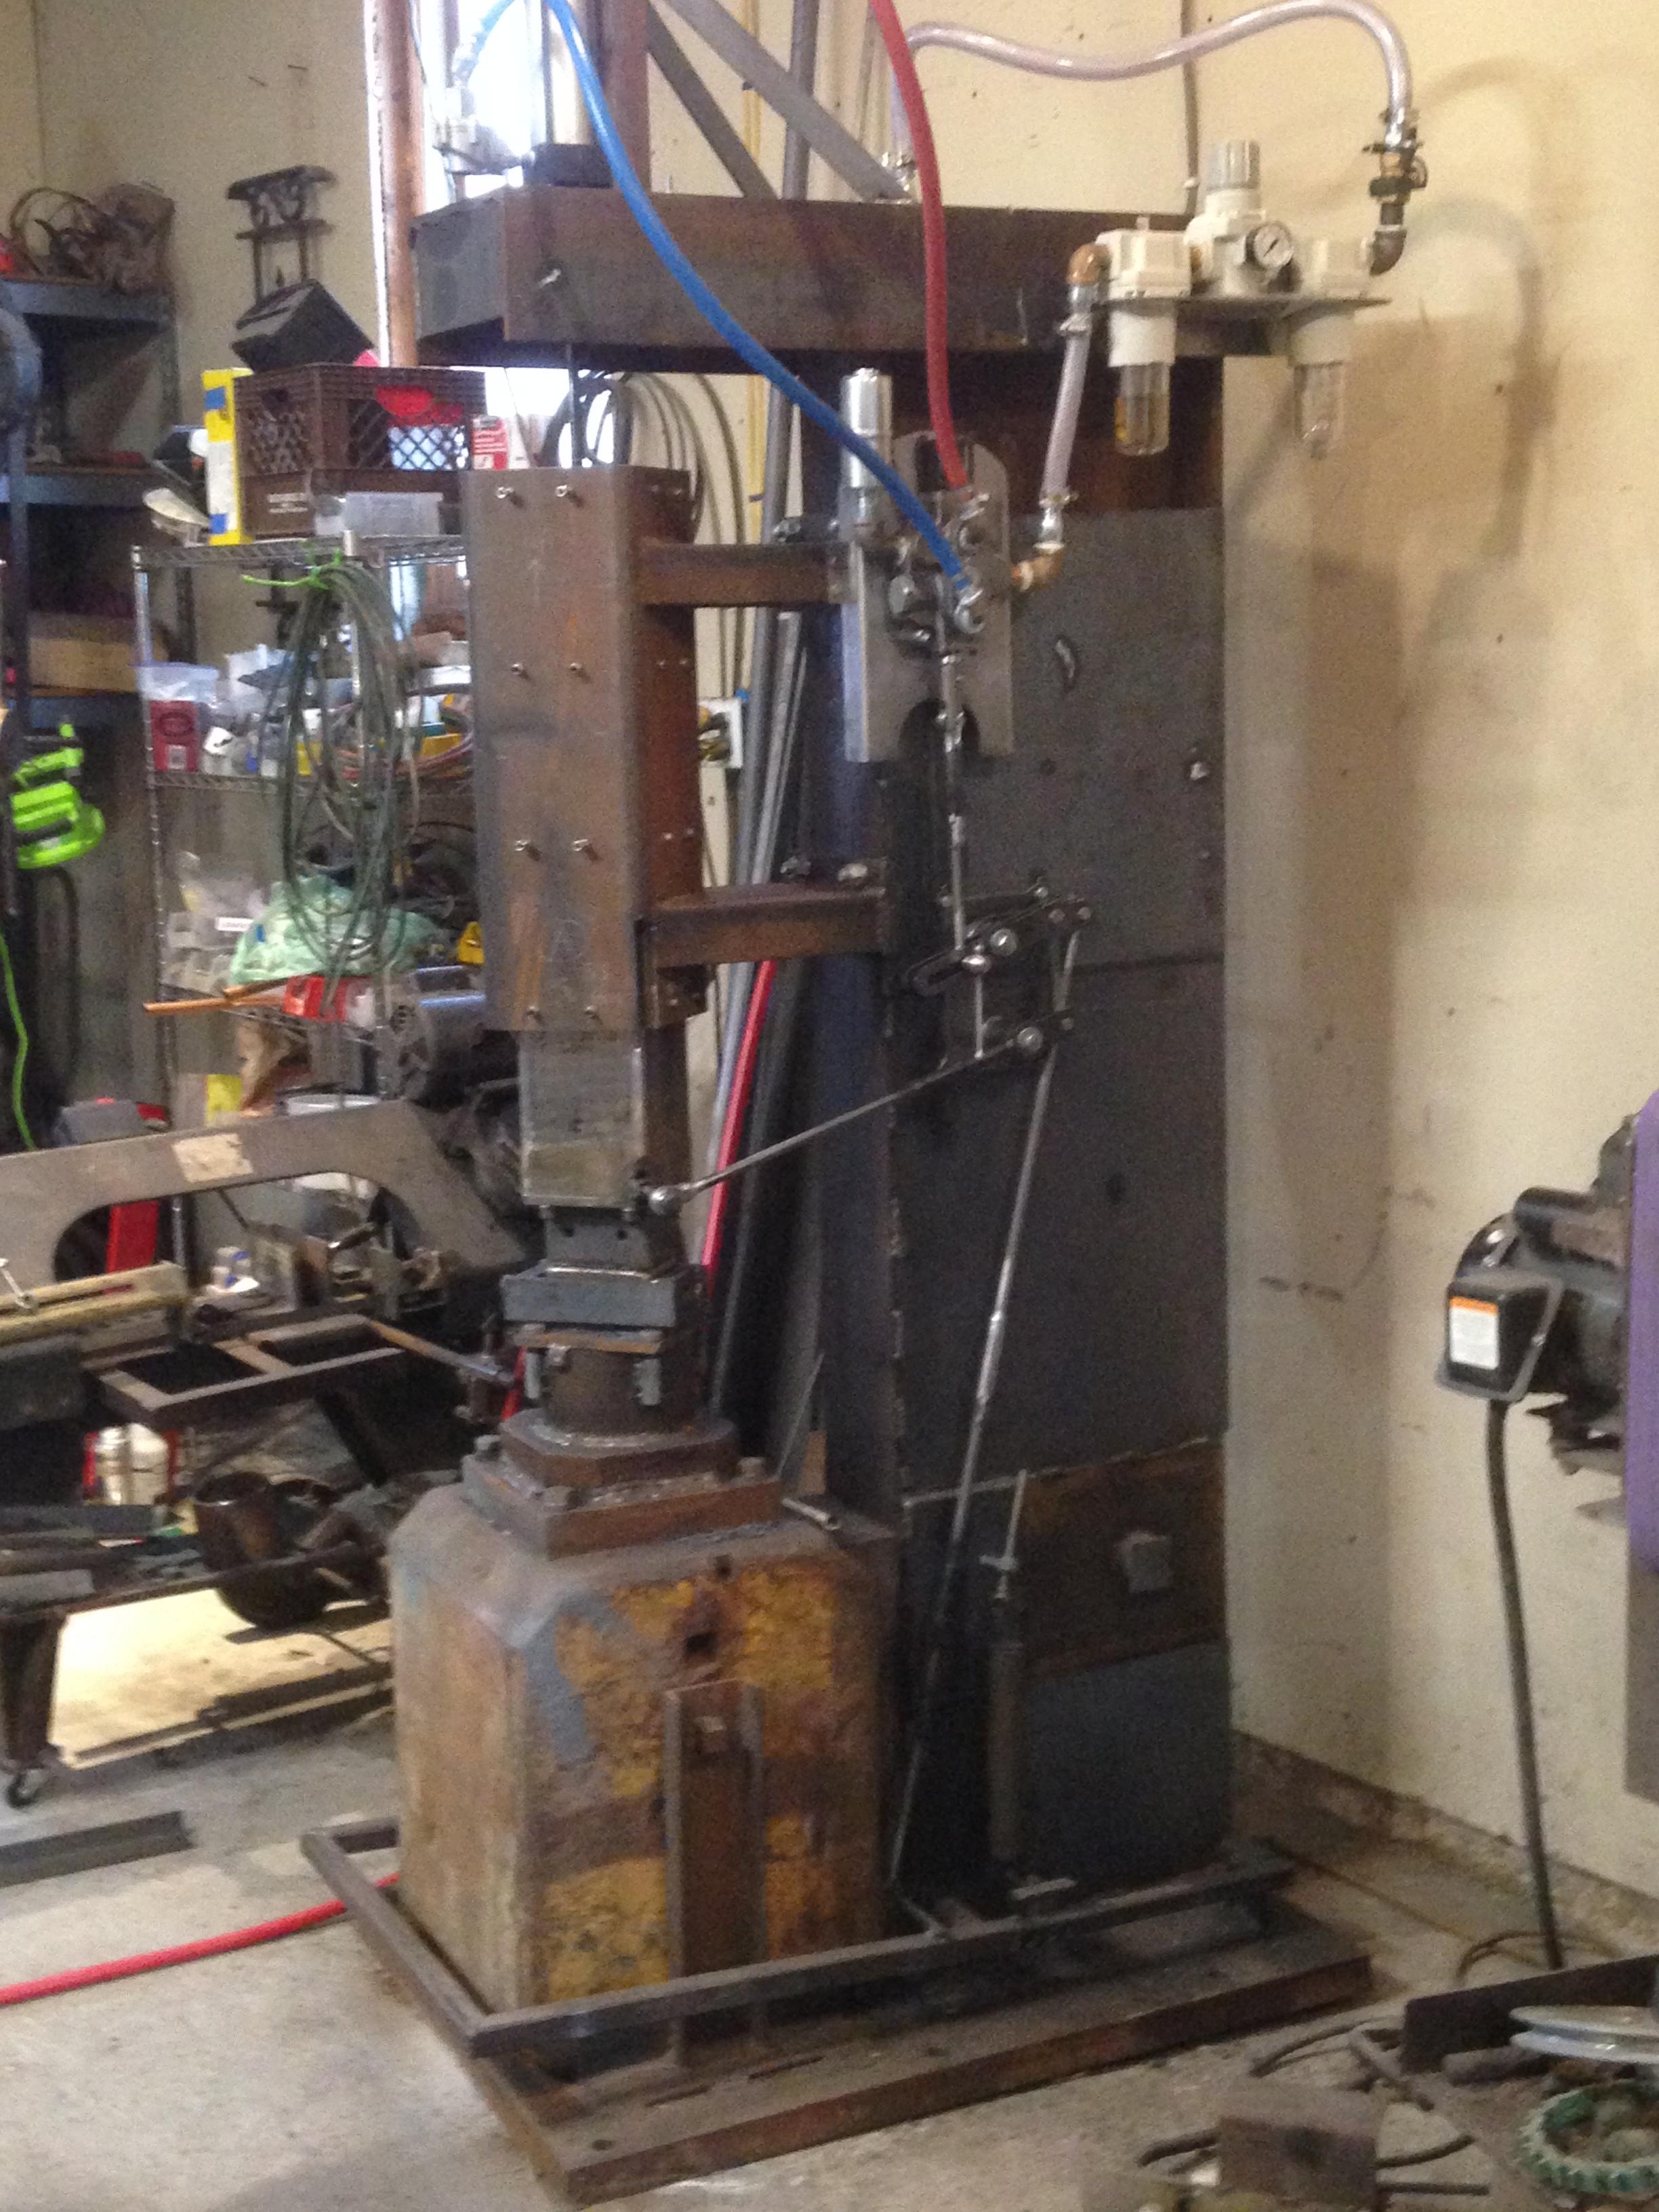
Has anyone ever build there own off that $1400 kit Ken sells?
I have. Similar situation, I found a 1900# block at the scrap yard and built the hammer around that. 135# tup, 11 inch stroke. AMAZING control, one hit wonder! Be aware that the dump valves on the piston don't slow down the tup on the up stroke, it stops when the ram hits a rubber bumper atatched to the hammer frame, design your frame accordingly!
I have more pics and some action vids on my Insta account, same name.

-
Make sure you get ALL the chips from tapping the holes out else they fall into the bushings and cause problems.
-
I believe Fairbanks had cast iron bushings and steel shafts. I also will second the idea of vibrating with an air hammer. Good luck Steve!
-
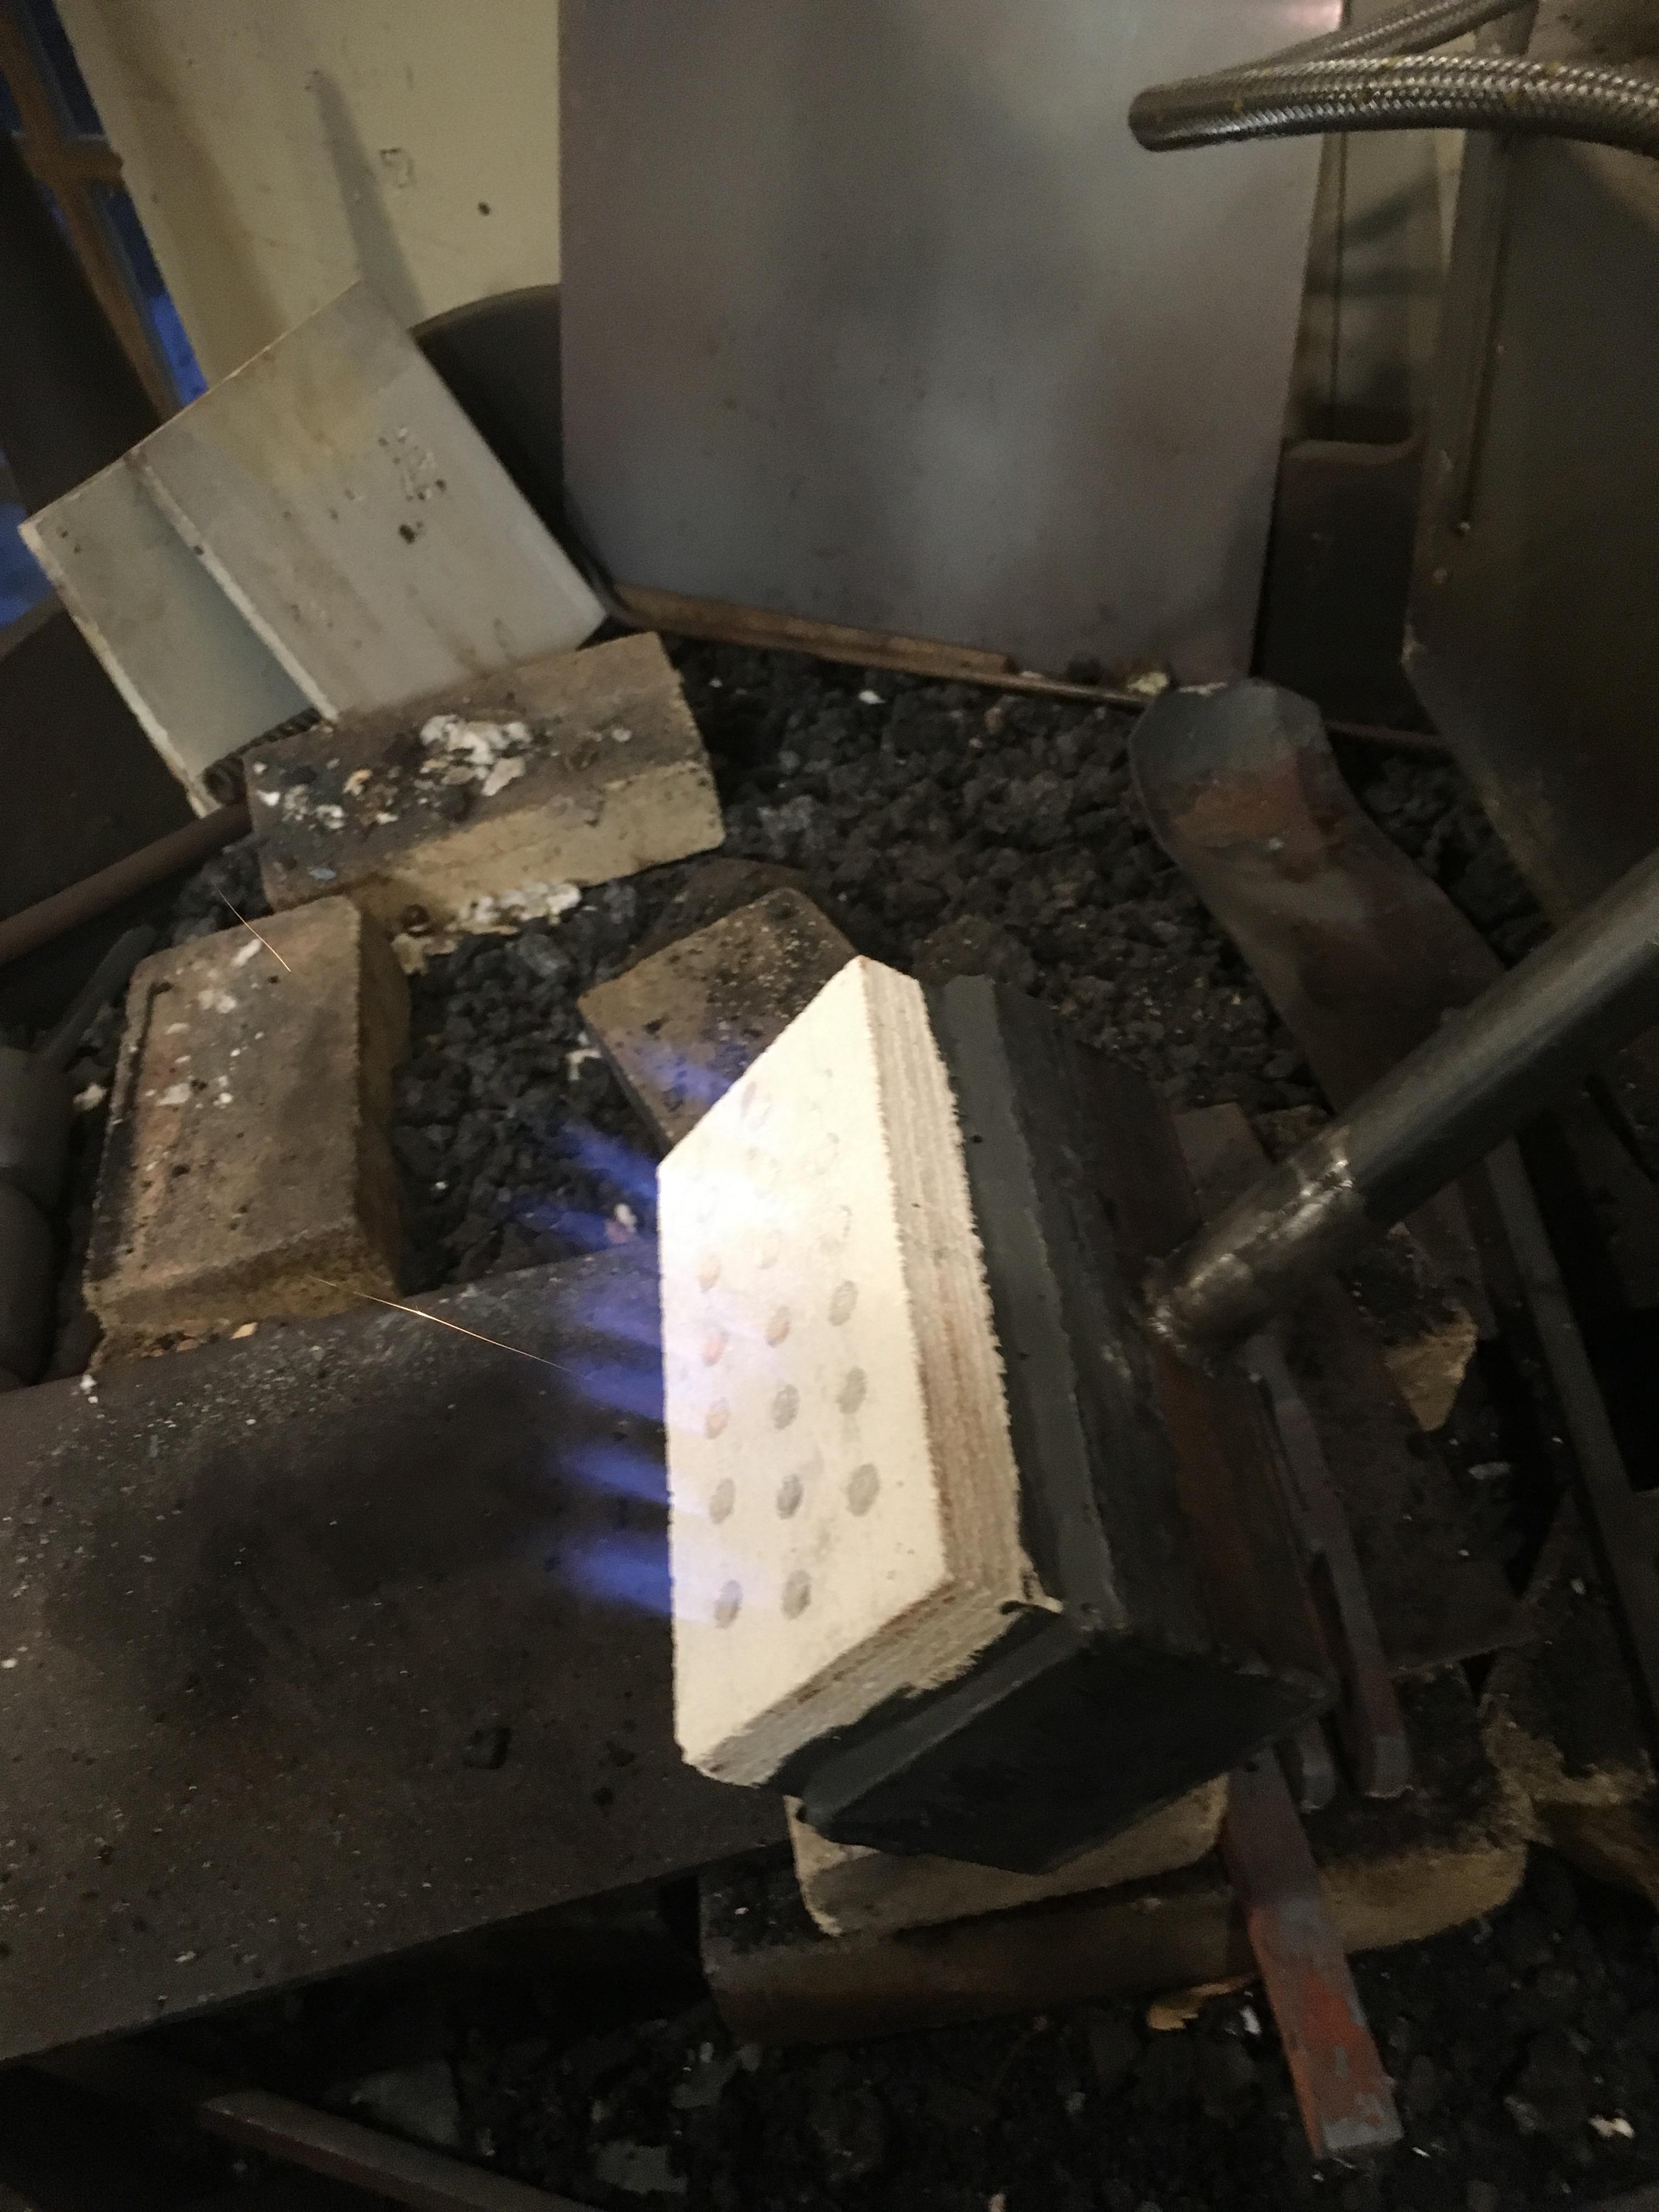
I used a grinder to cut groves on the inside of the steel plenum, carved shallow half dovetails in the fire brick, and glued the brick into the plenum with furnace cement. The cement locked into the groves and dovetails and once cured seemed quite secure. Time will tell if I get expansion differential problems, but 10 hours of burn time so far and no problems.
-
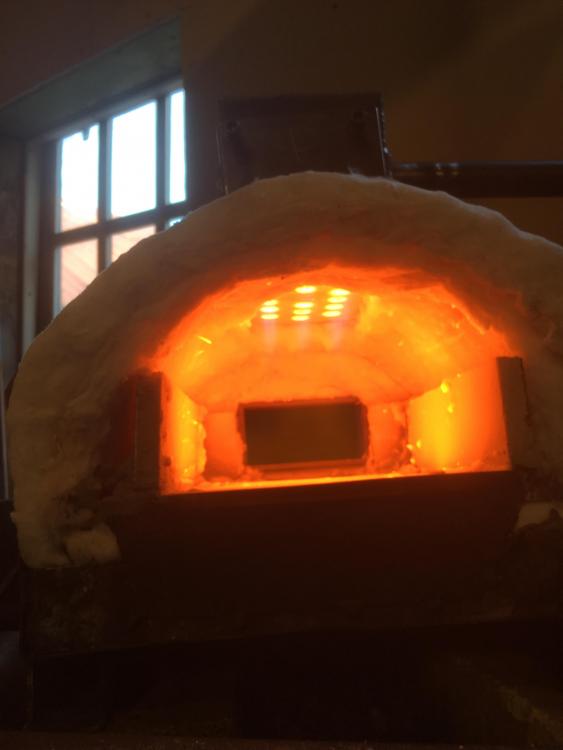
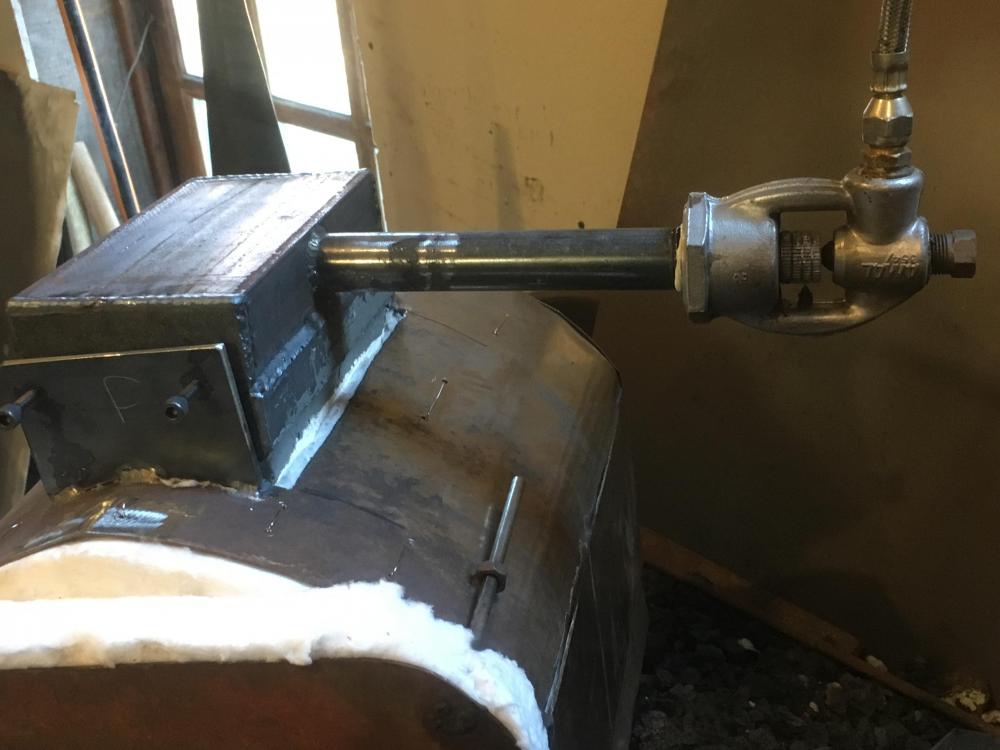
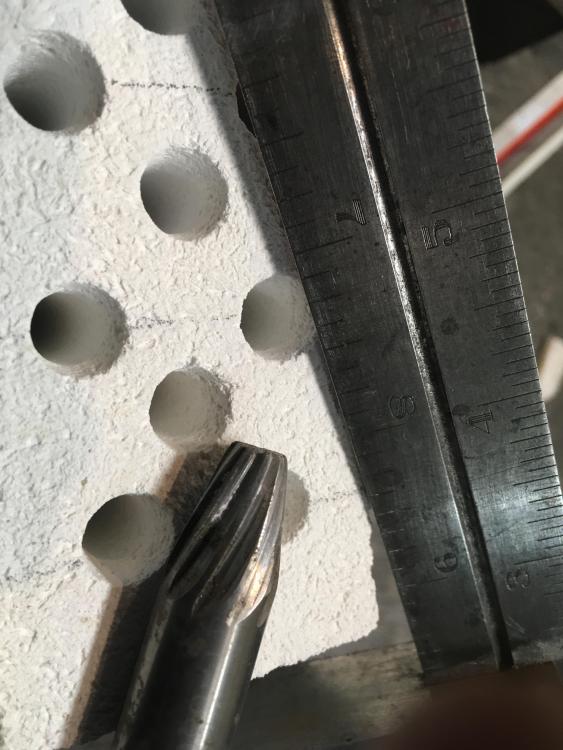
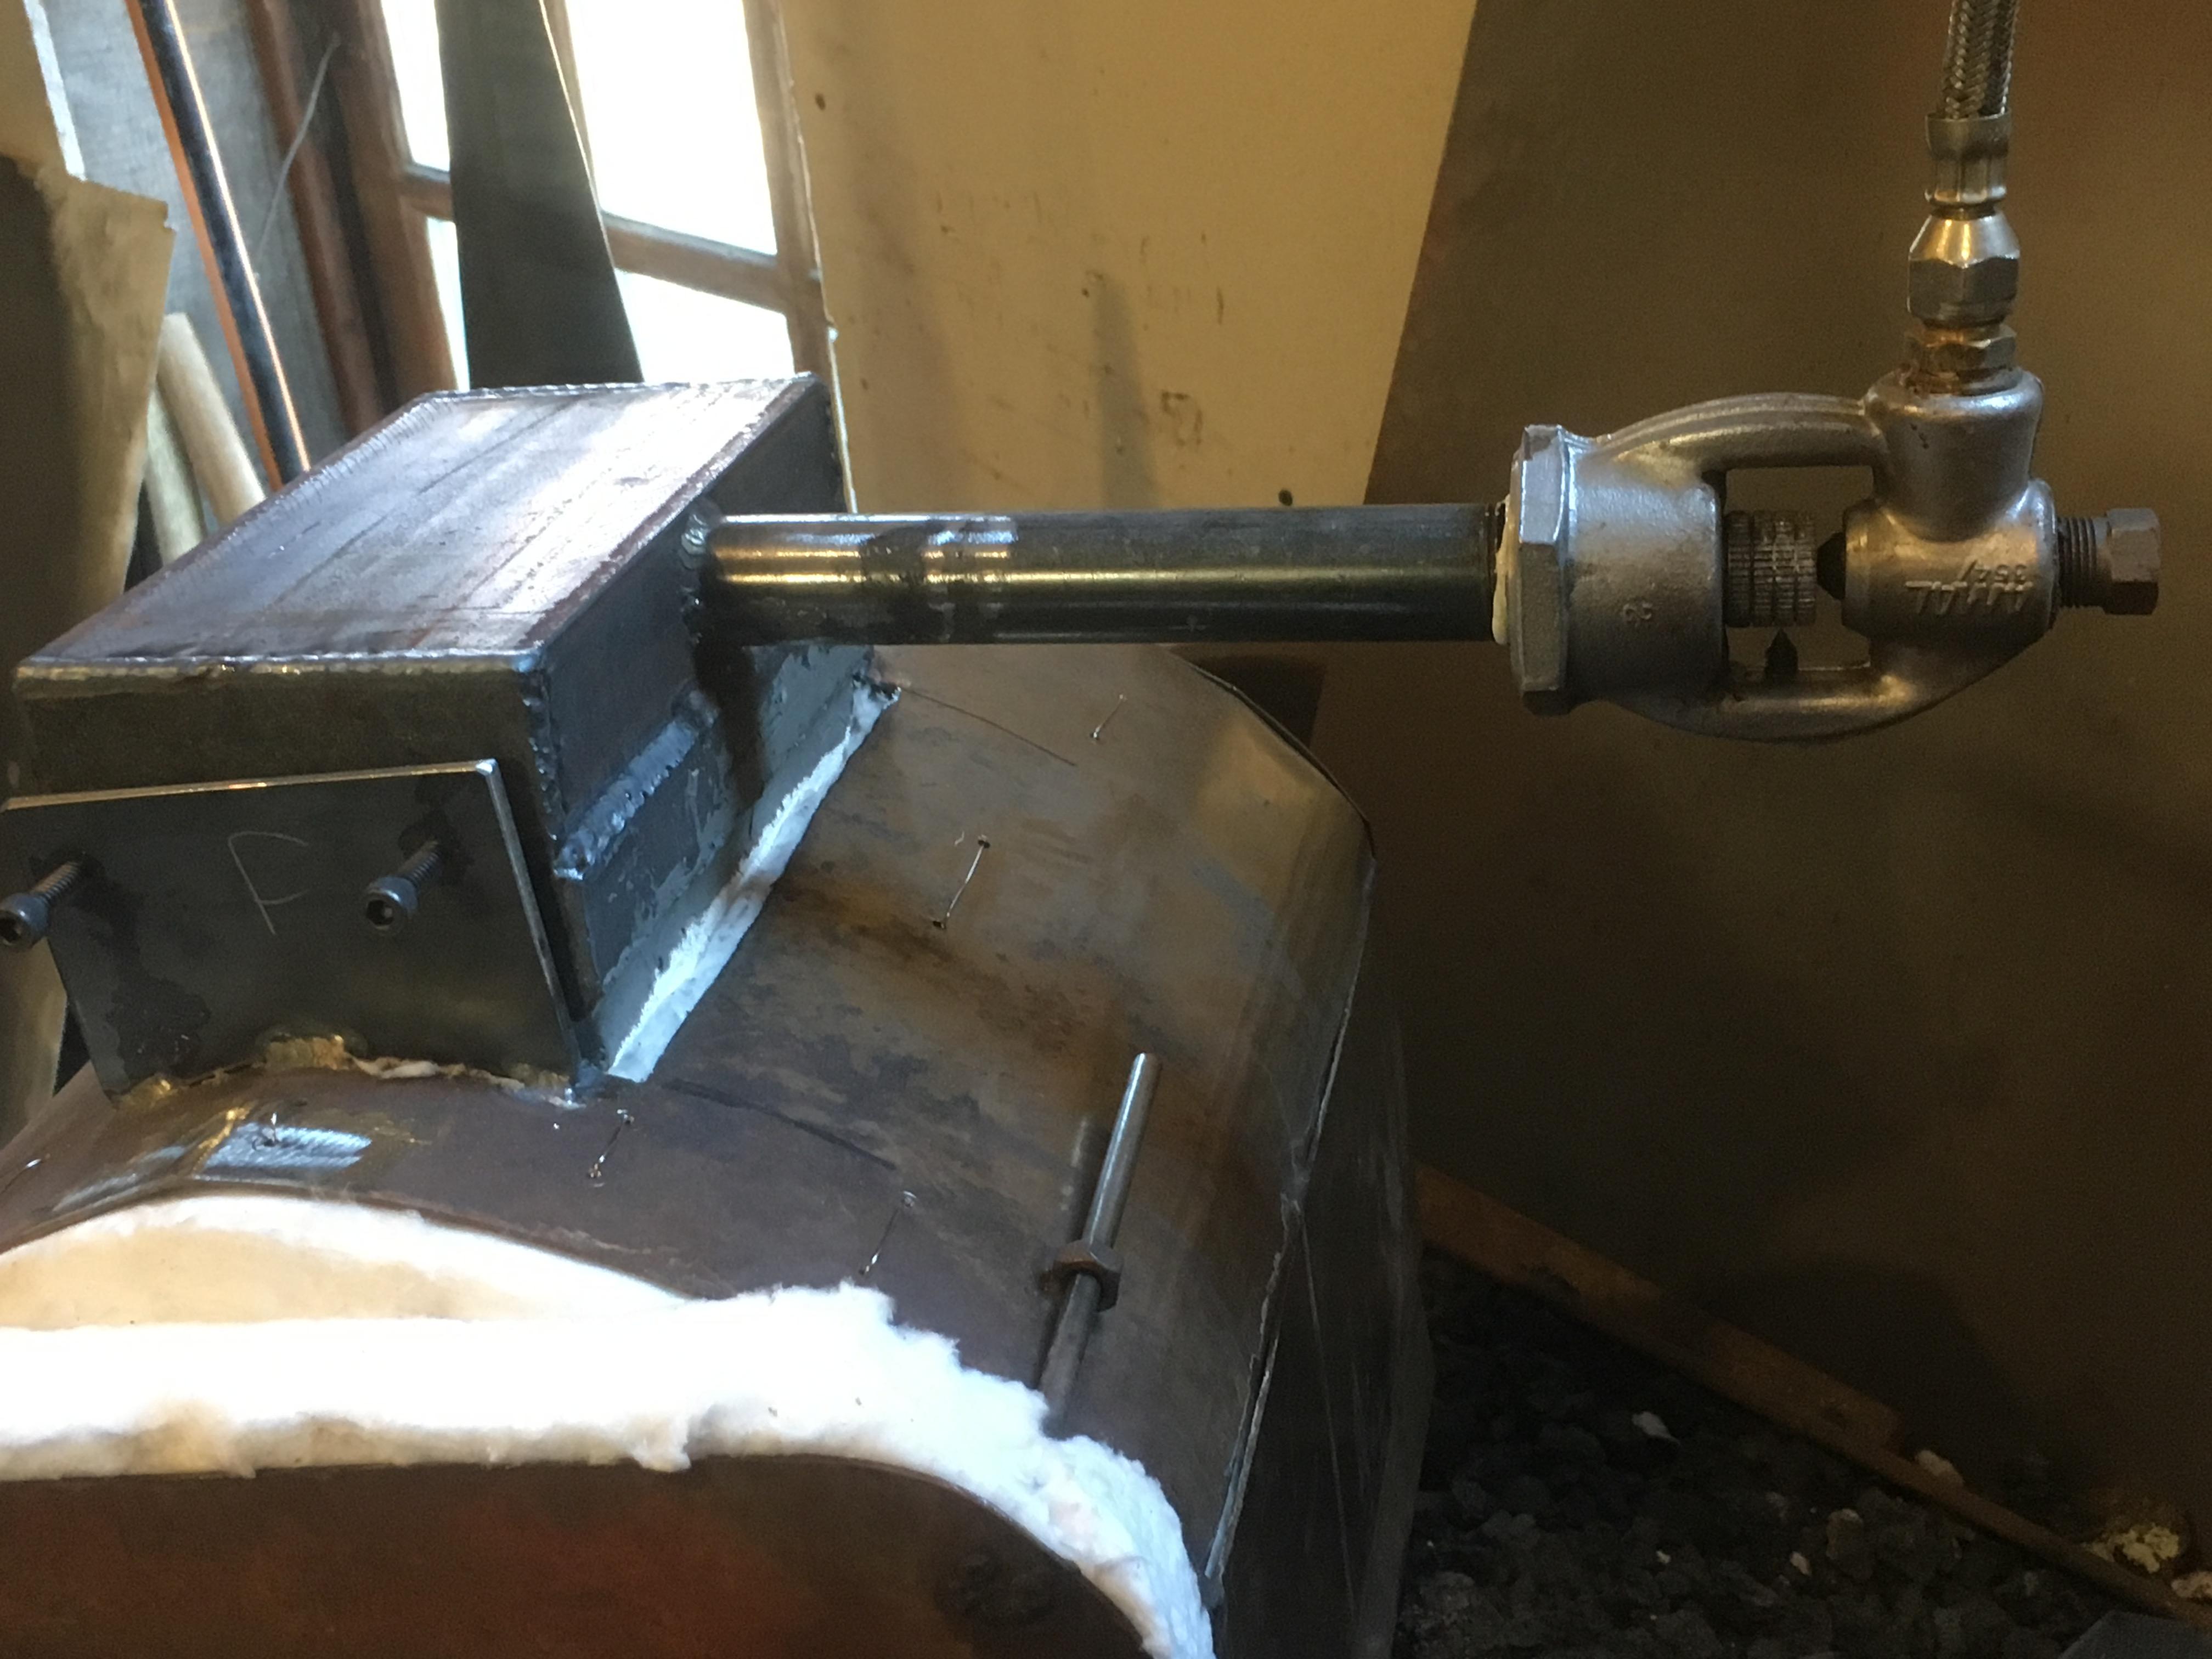
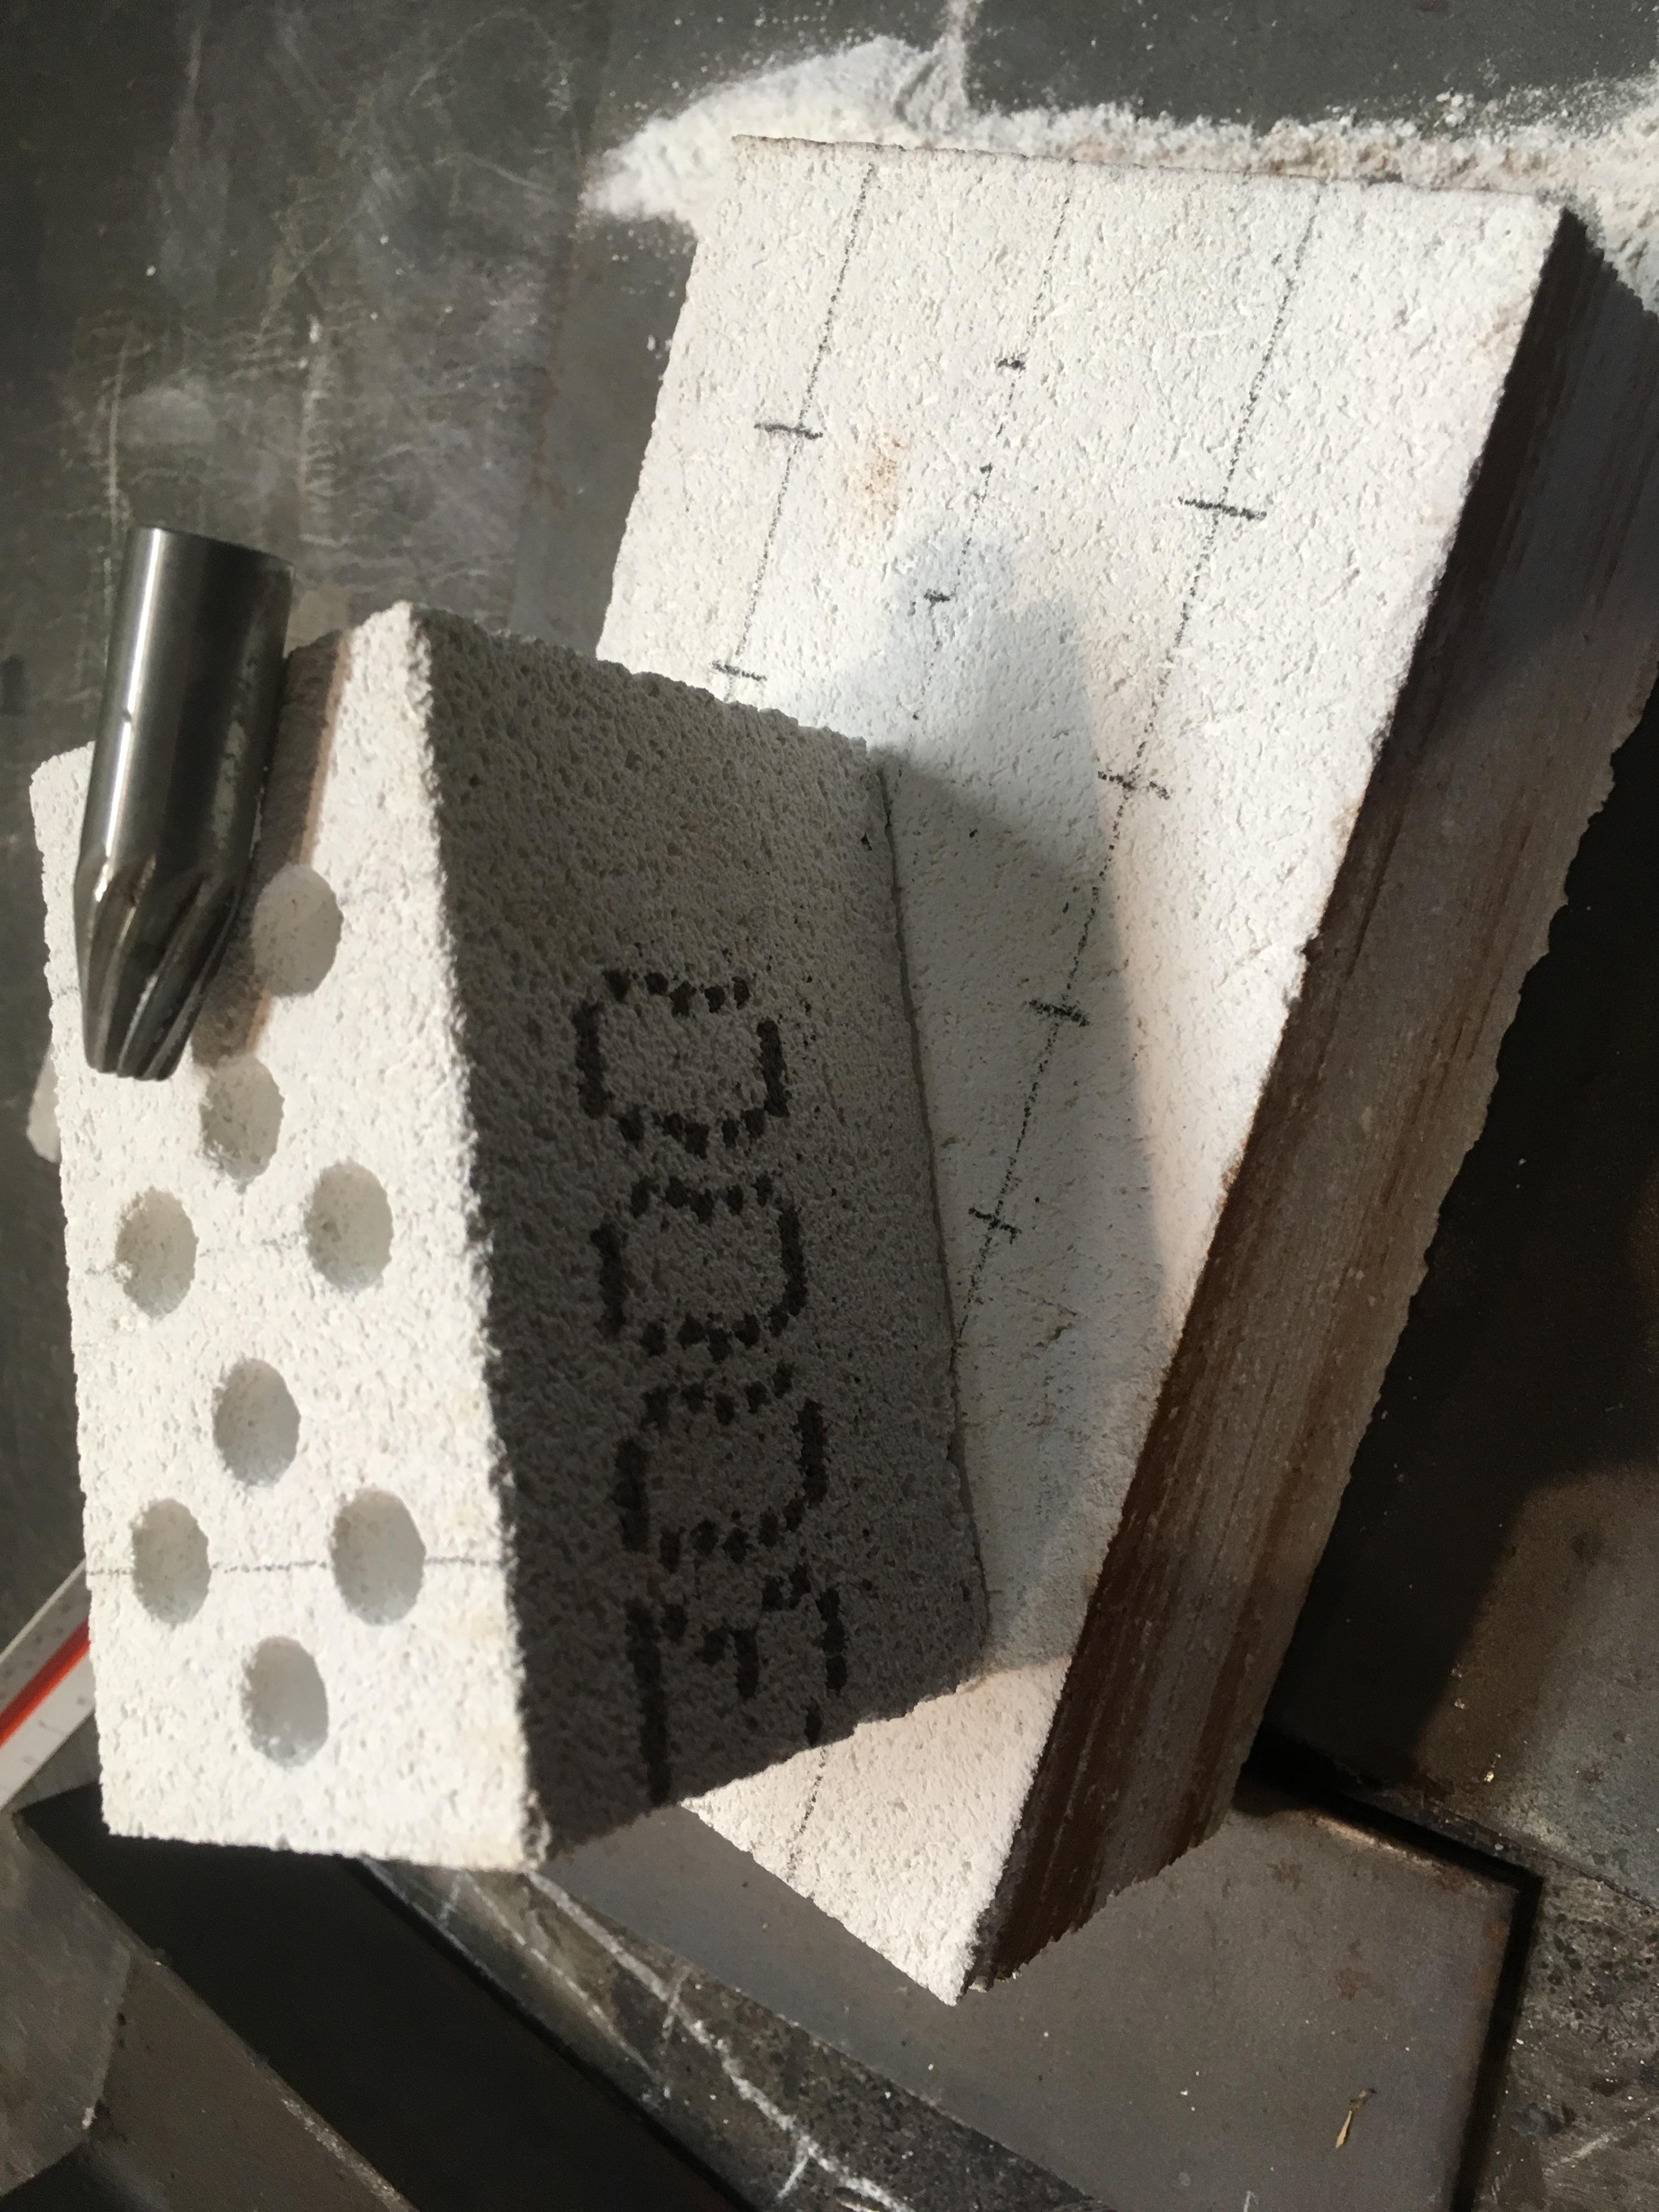
Hi all, here is my entry into the multi-port game. 3/4" with an AMAL commercial injector. 7" tube. Started with 19 @ 5/16" holes, got some backfires so ended up plugging 2 of them with furnace cement and it runs like a dream. As an experiment/proof of concept I used a 3000 deg. insulating fire brick as the burner block. Super easy to drill and cut, very precice holes. I put a little countersink/taper/flare on the buisness end of the burner holes. Only used for about 6 hours so far but the brick still looks lilke new. Time will tell if it has the longevity needed.
Delivers a high yellow heat at 10 psi, starts to backfire around 3 psi.
Like everyone says, these things are nice and quiet. The hiss of gas going thru the injector is louder than the noise of the burn.
The smaller block was the drop from the brick I cut down, with hole spacing half as far apart. I drilled it a little more aggressively, got it up to yellow in my other forge, and manhandled it a bit as a stress test. When it didn't crack I felt like I was good to go with the hole spacing in the bigger block.


-
They are fairly rare here in the USA but I bought 3 out of a NOS lot of 50 off ebay 5 years ago on speculation. Wish I'd bought all 50! I've been using gas forges for over 20 years and these burners are hands down the best burners I've ever seen. Can forge weld with 1 burner running at 10 psi.
-
Add a set of OA torches and a drill press and you will have a metalworking set-up smiths for the last 2000 years would have killed for.
More pics of the Unimog please, I've always wanted one of those!
-
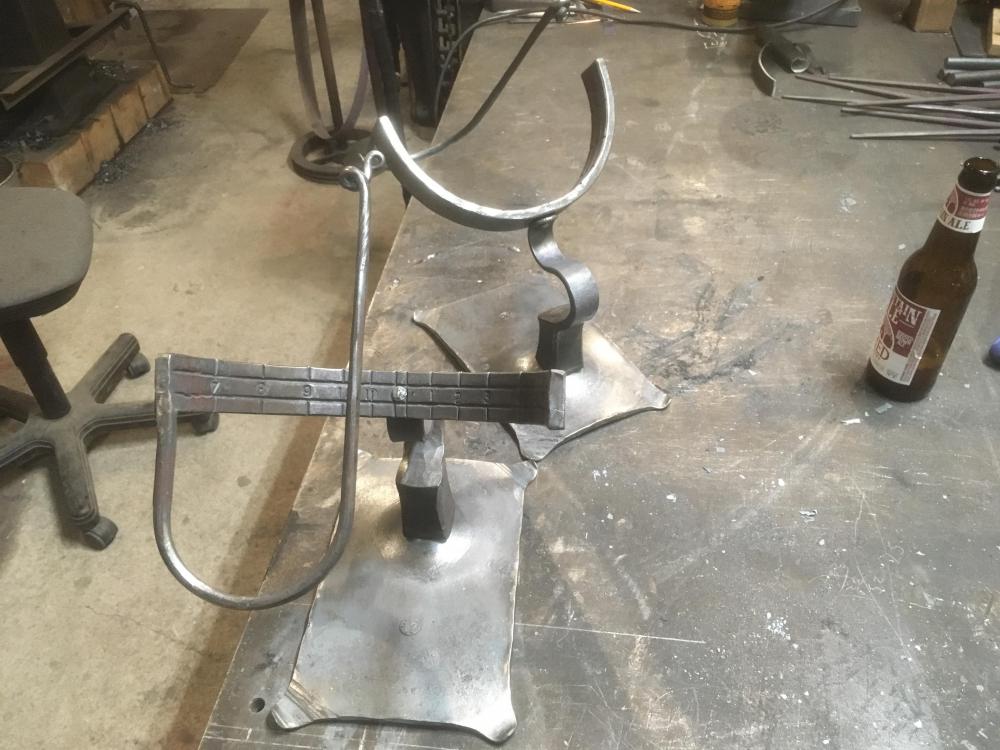
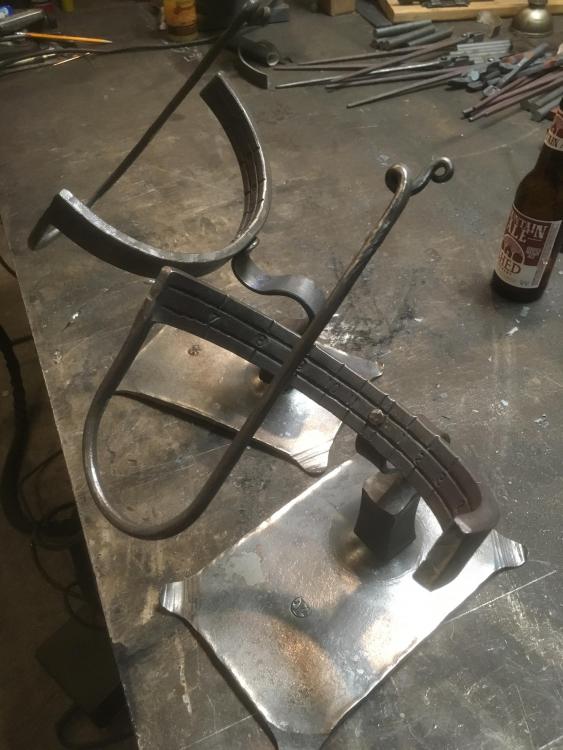
Torch only required if you change latitude, daylight savings only requires a little adjustment off true north (rotation of the whole thing) as I understand it. I'm not far from the 45th parallel so setting that angle was prety easy. Should have added no welding of any kind involved in the making.
-
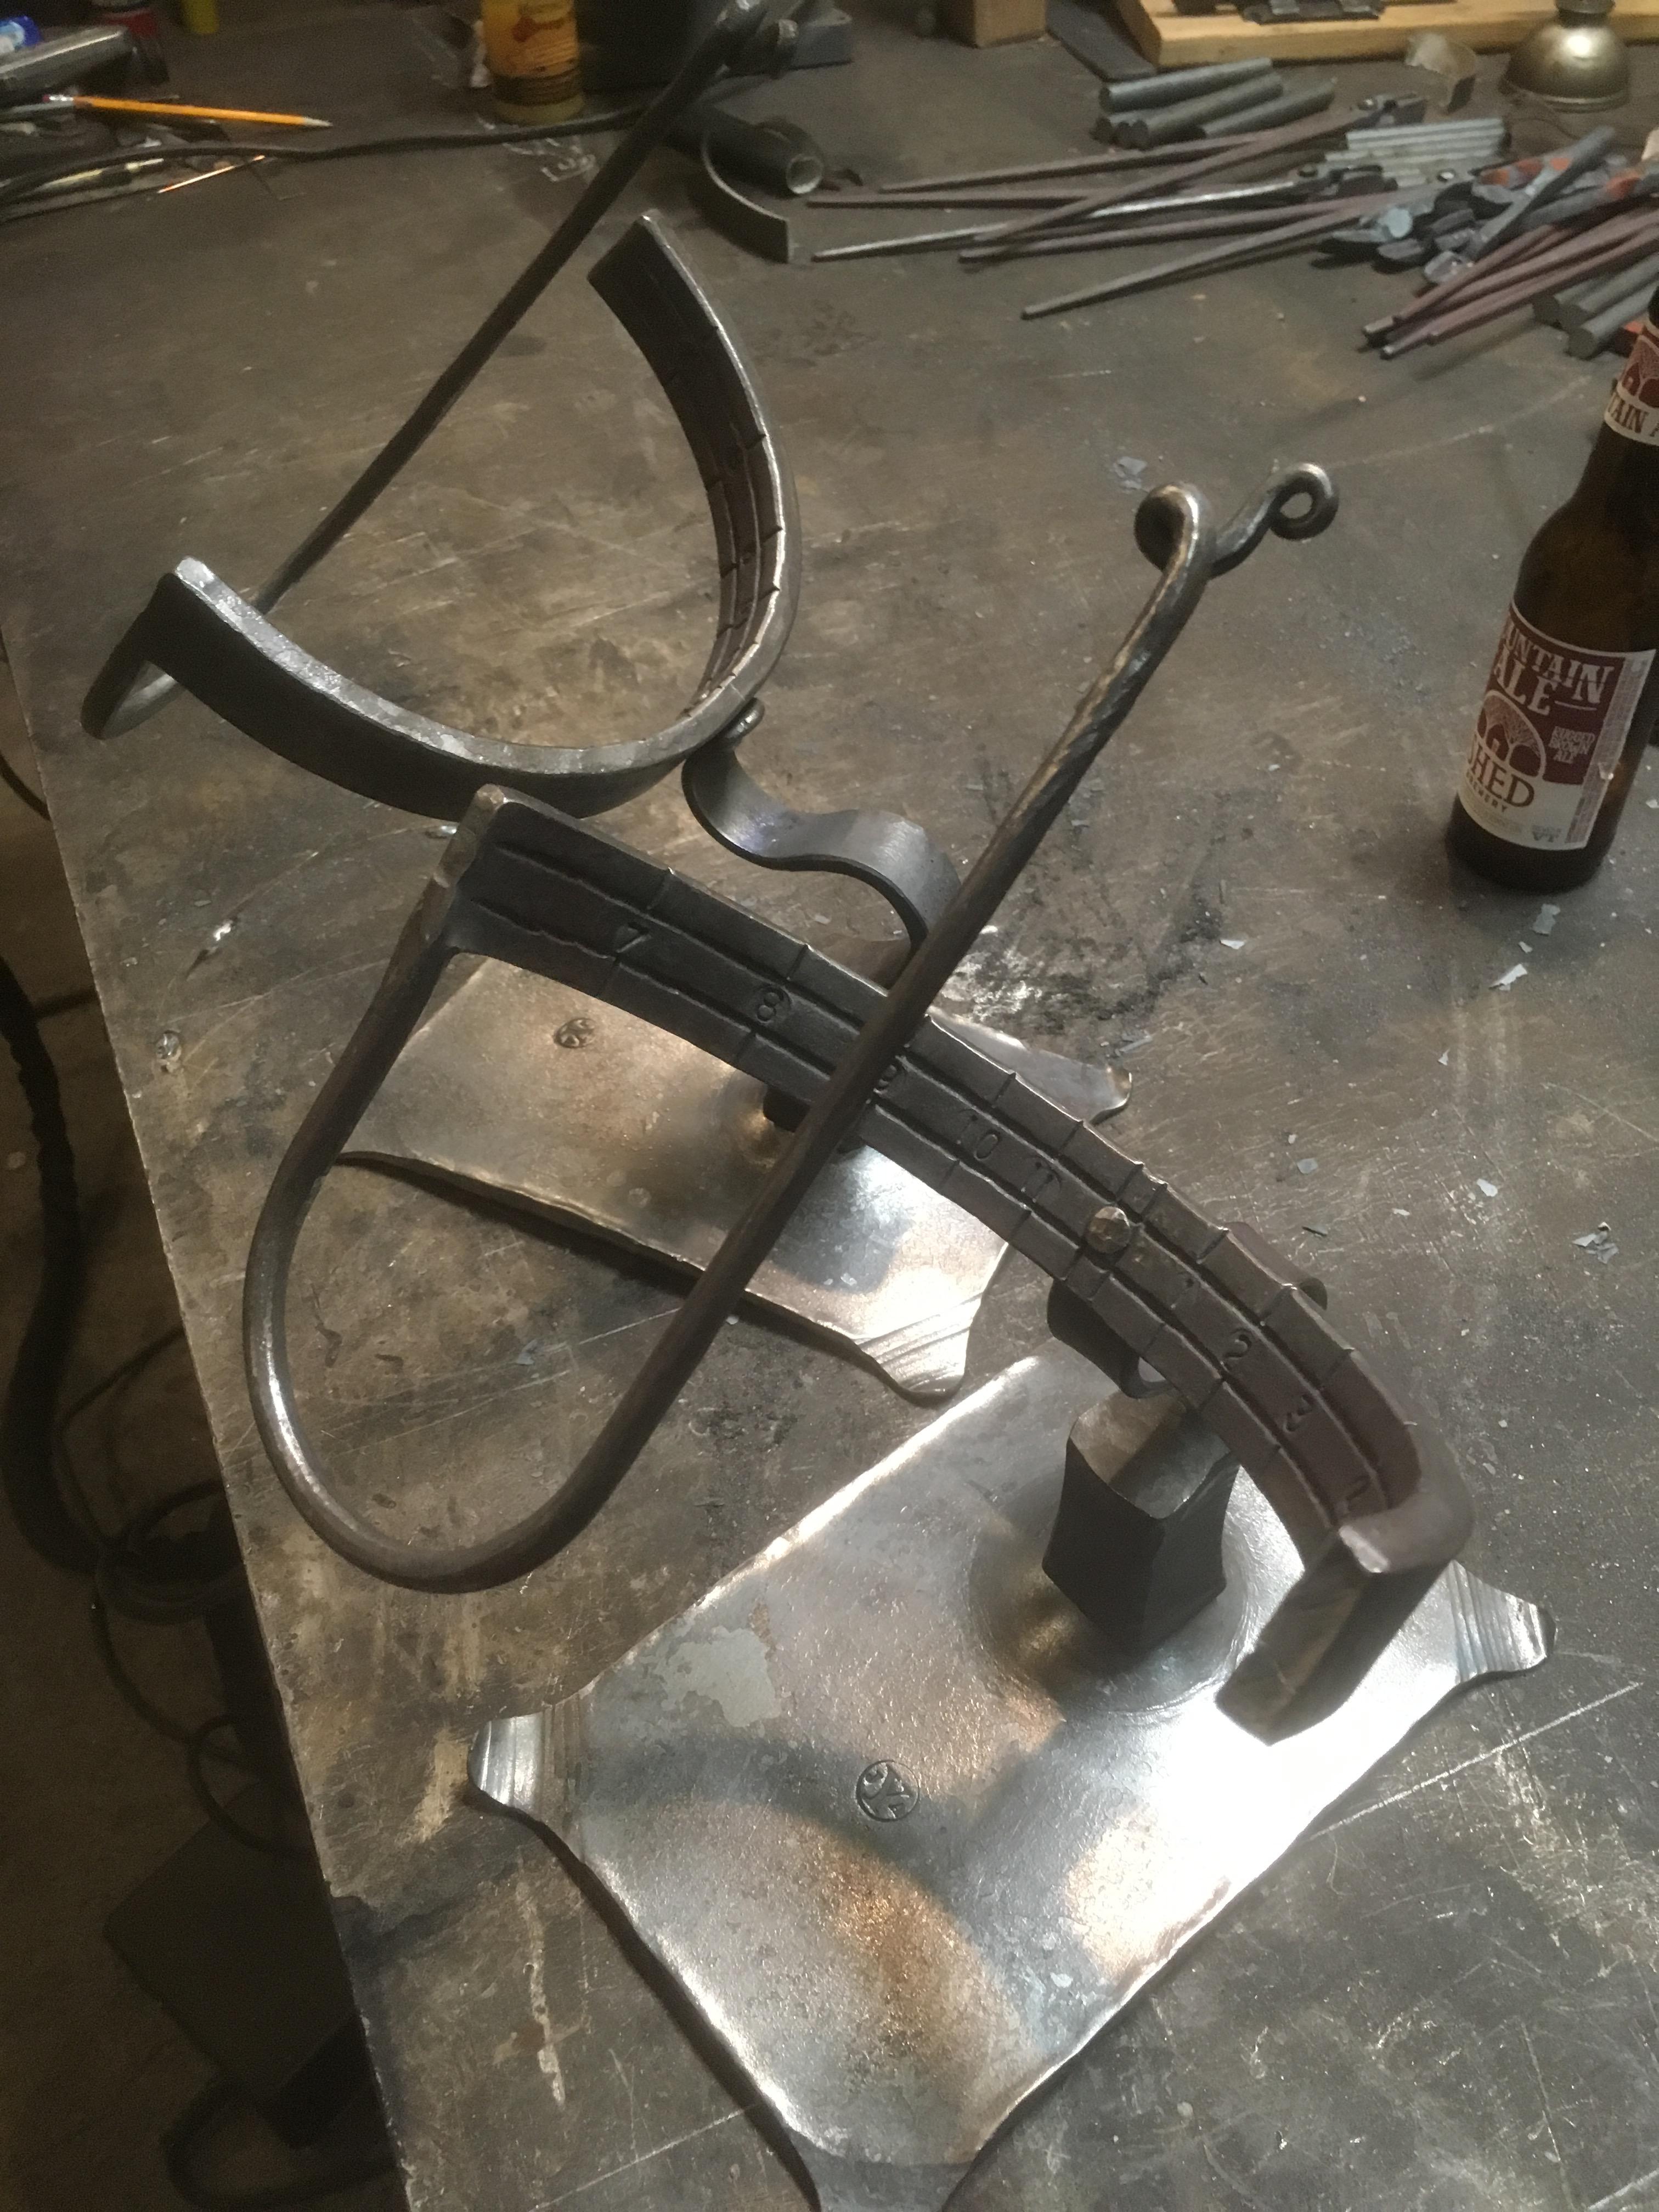
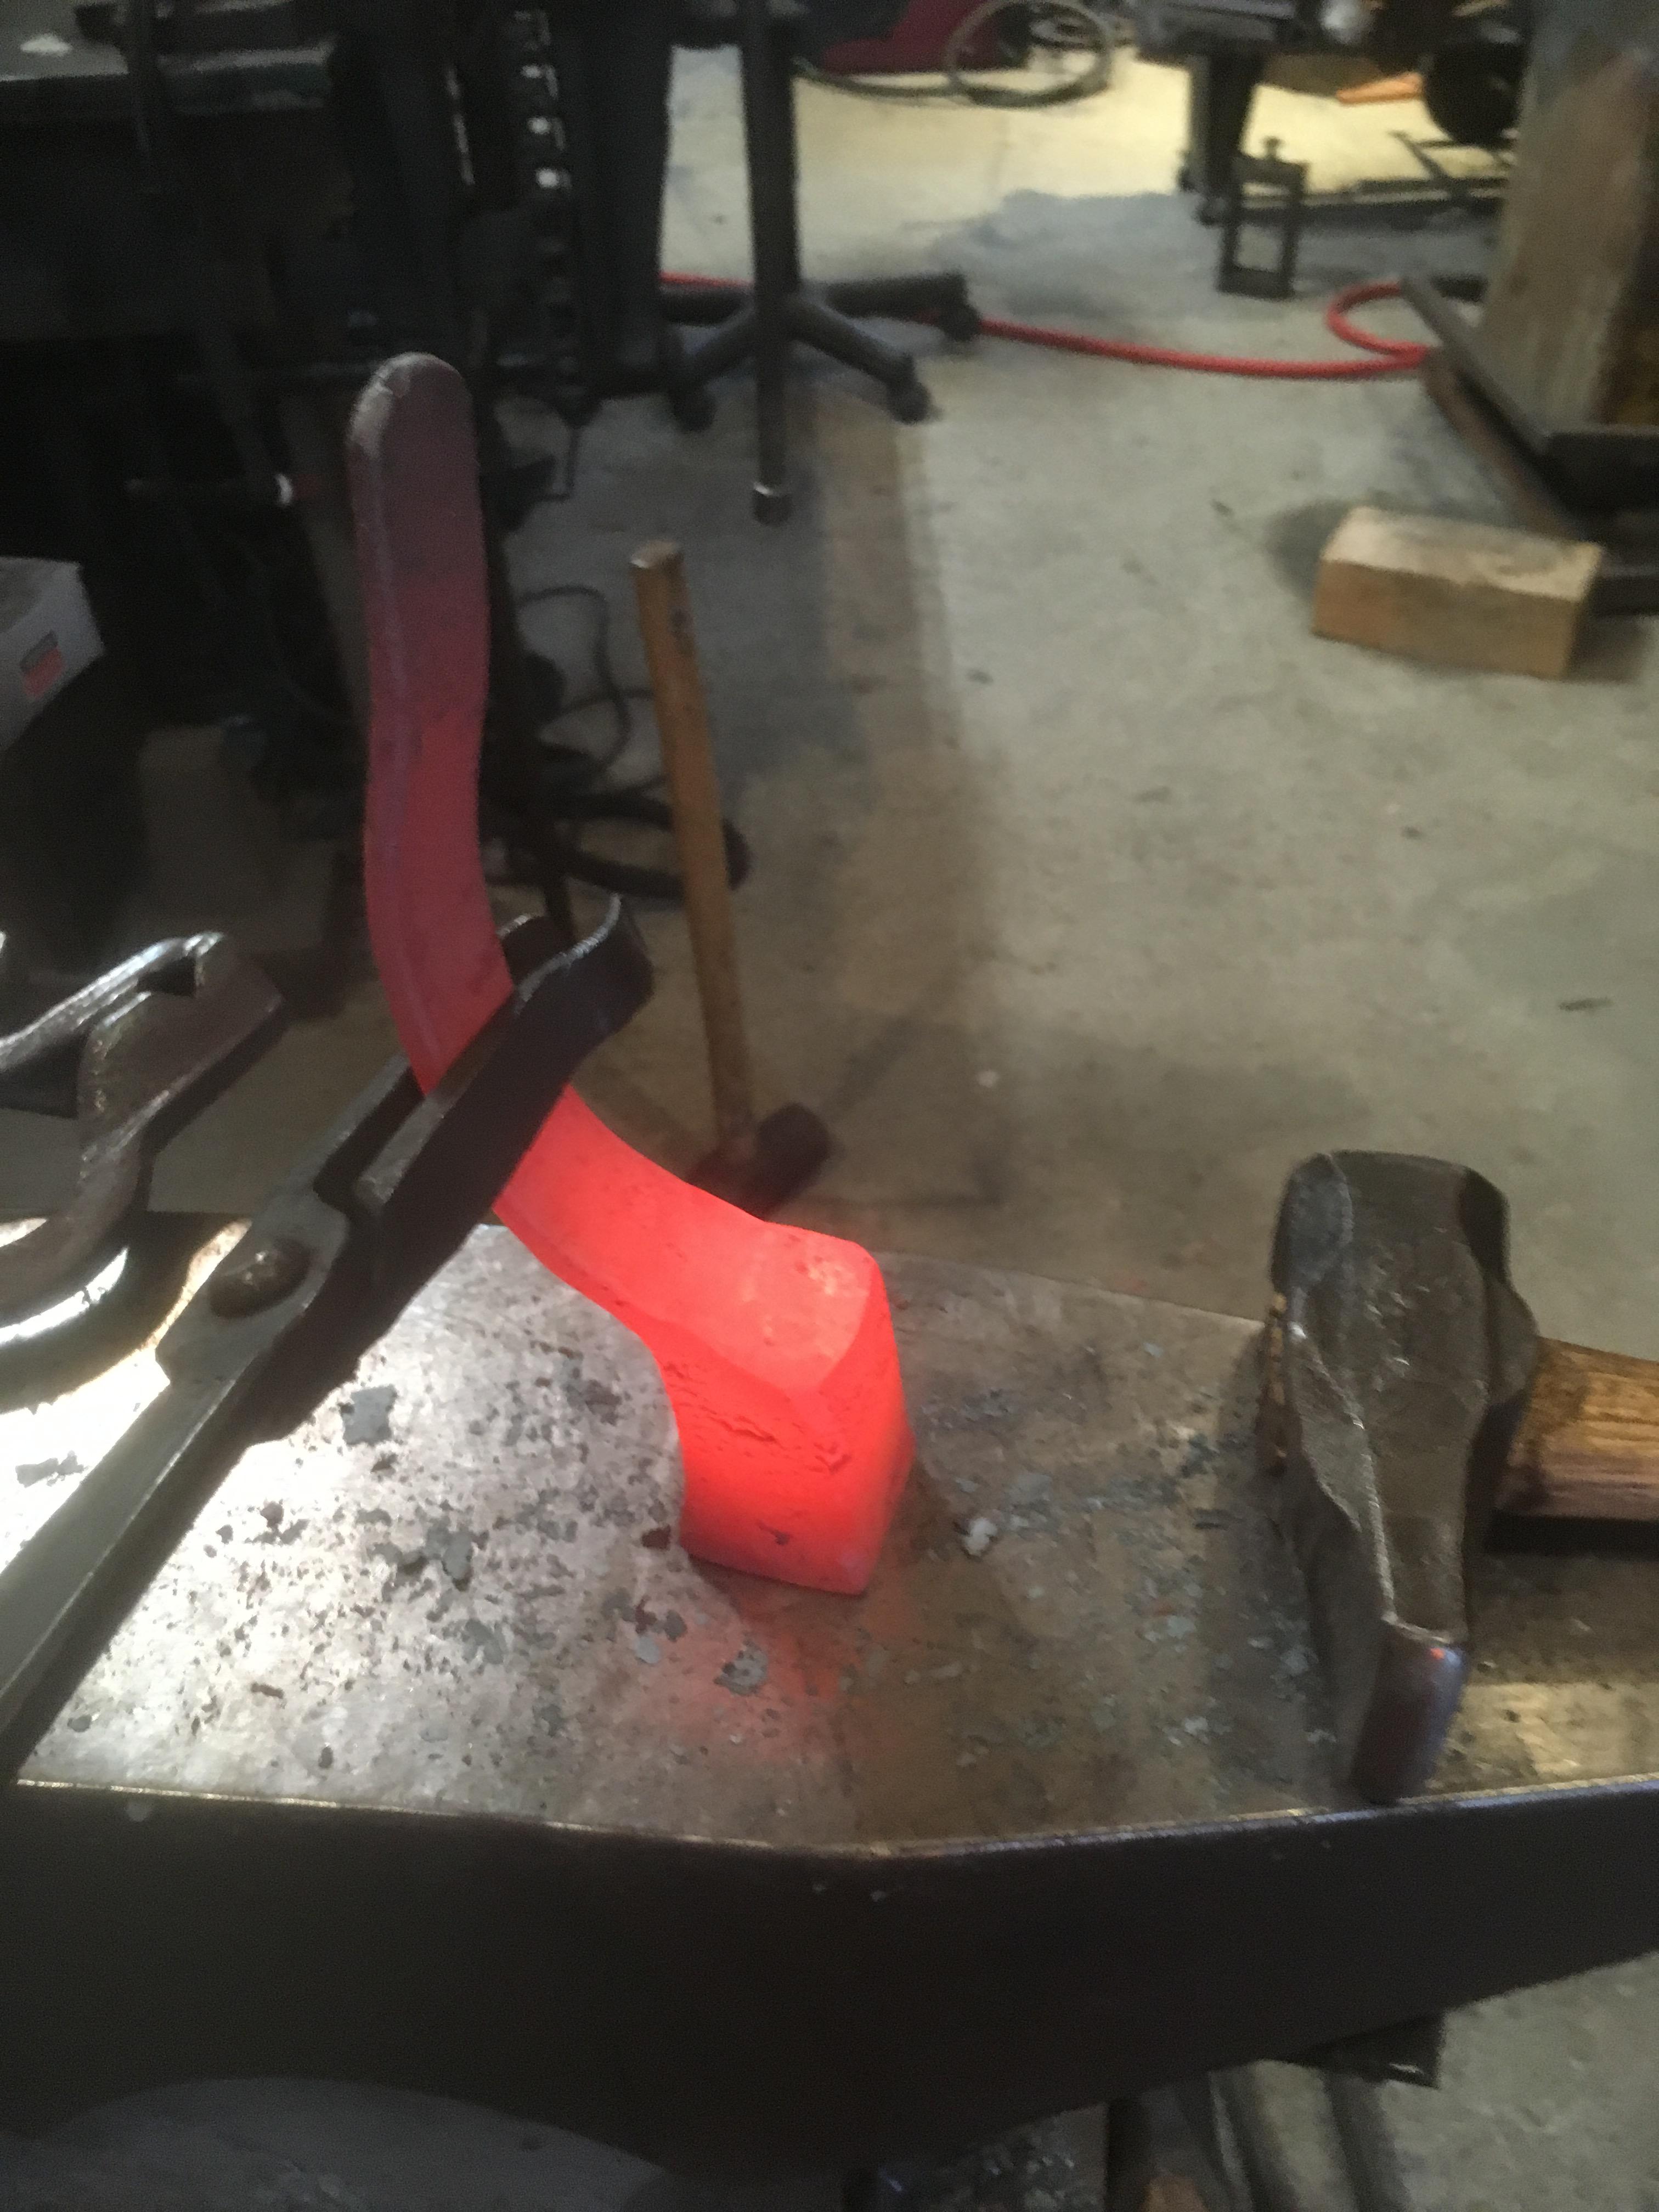
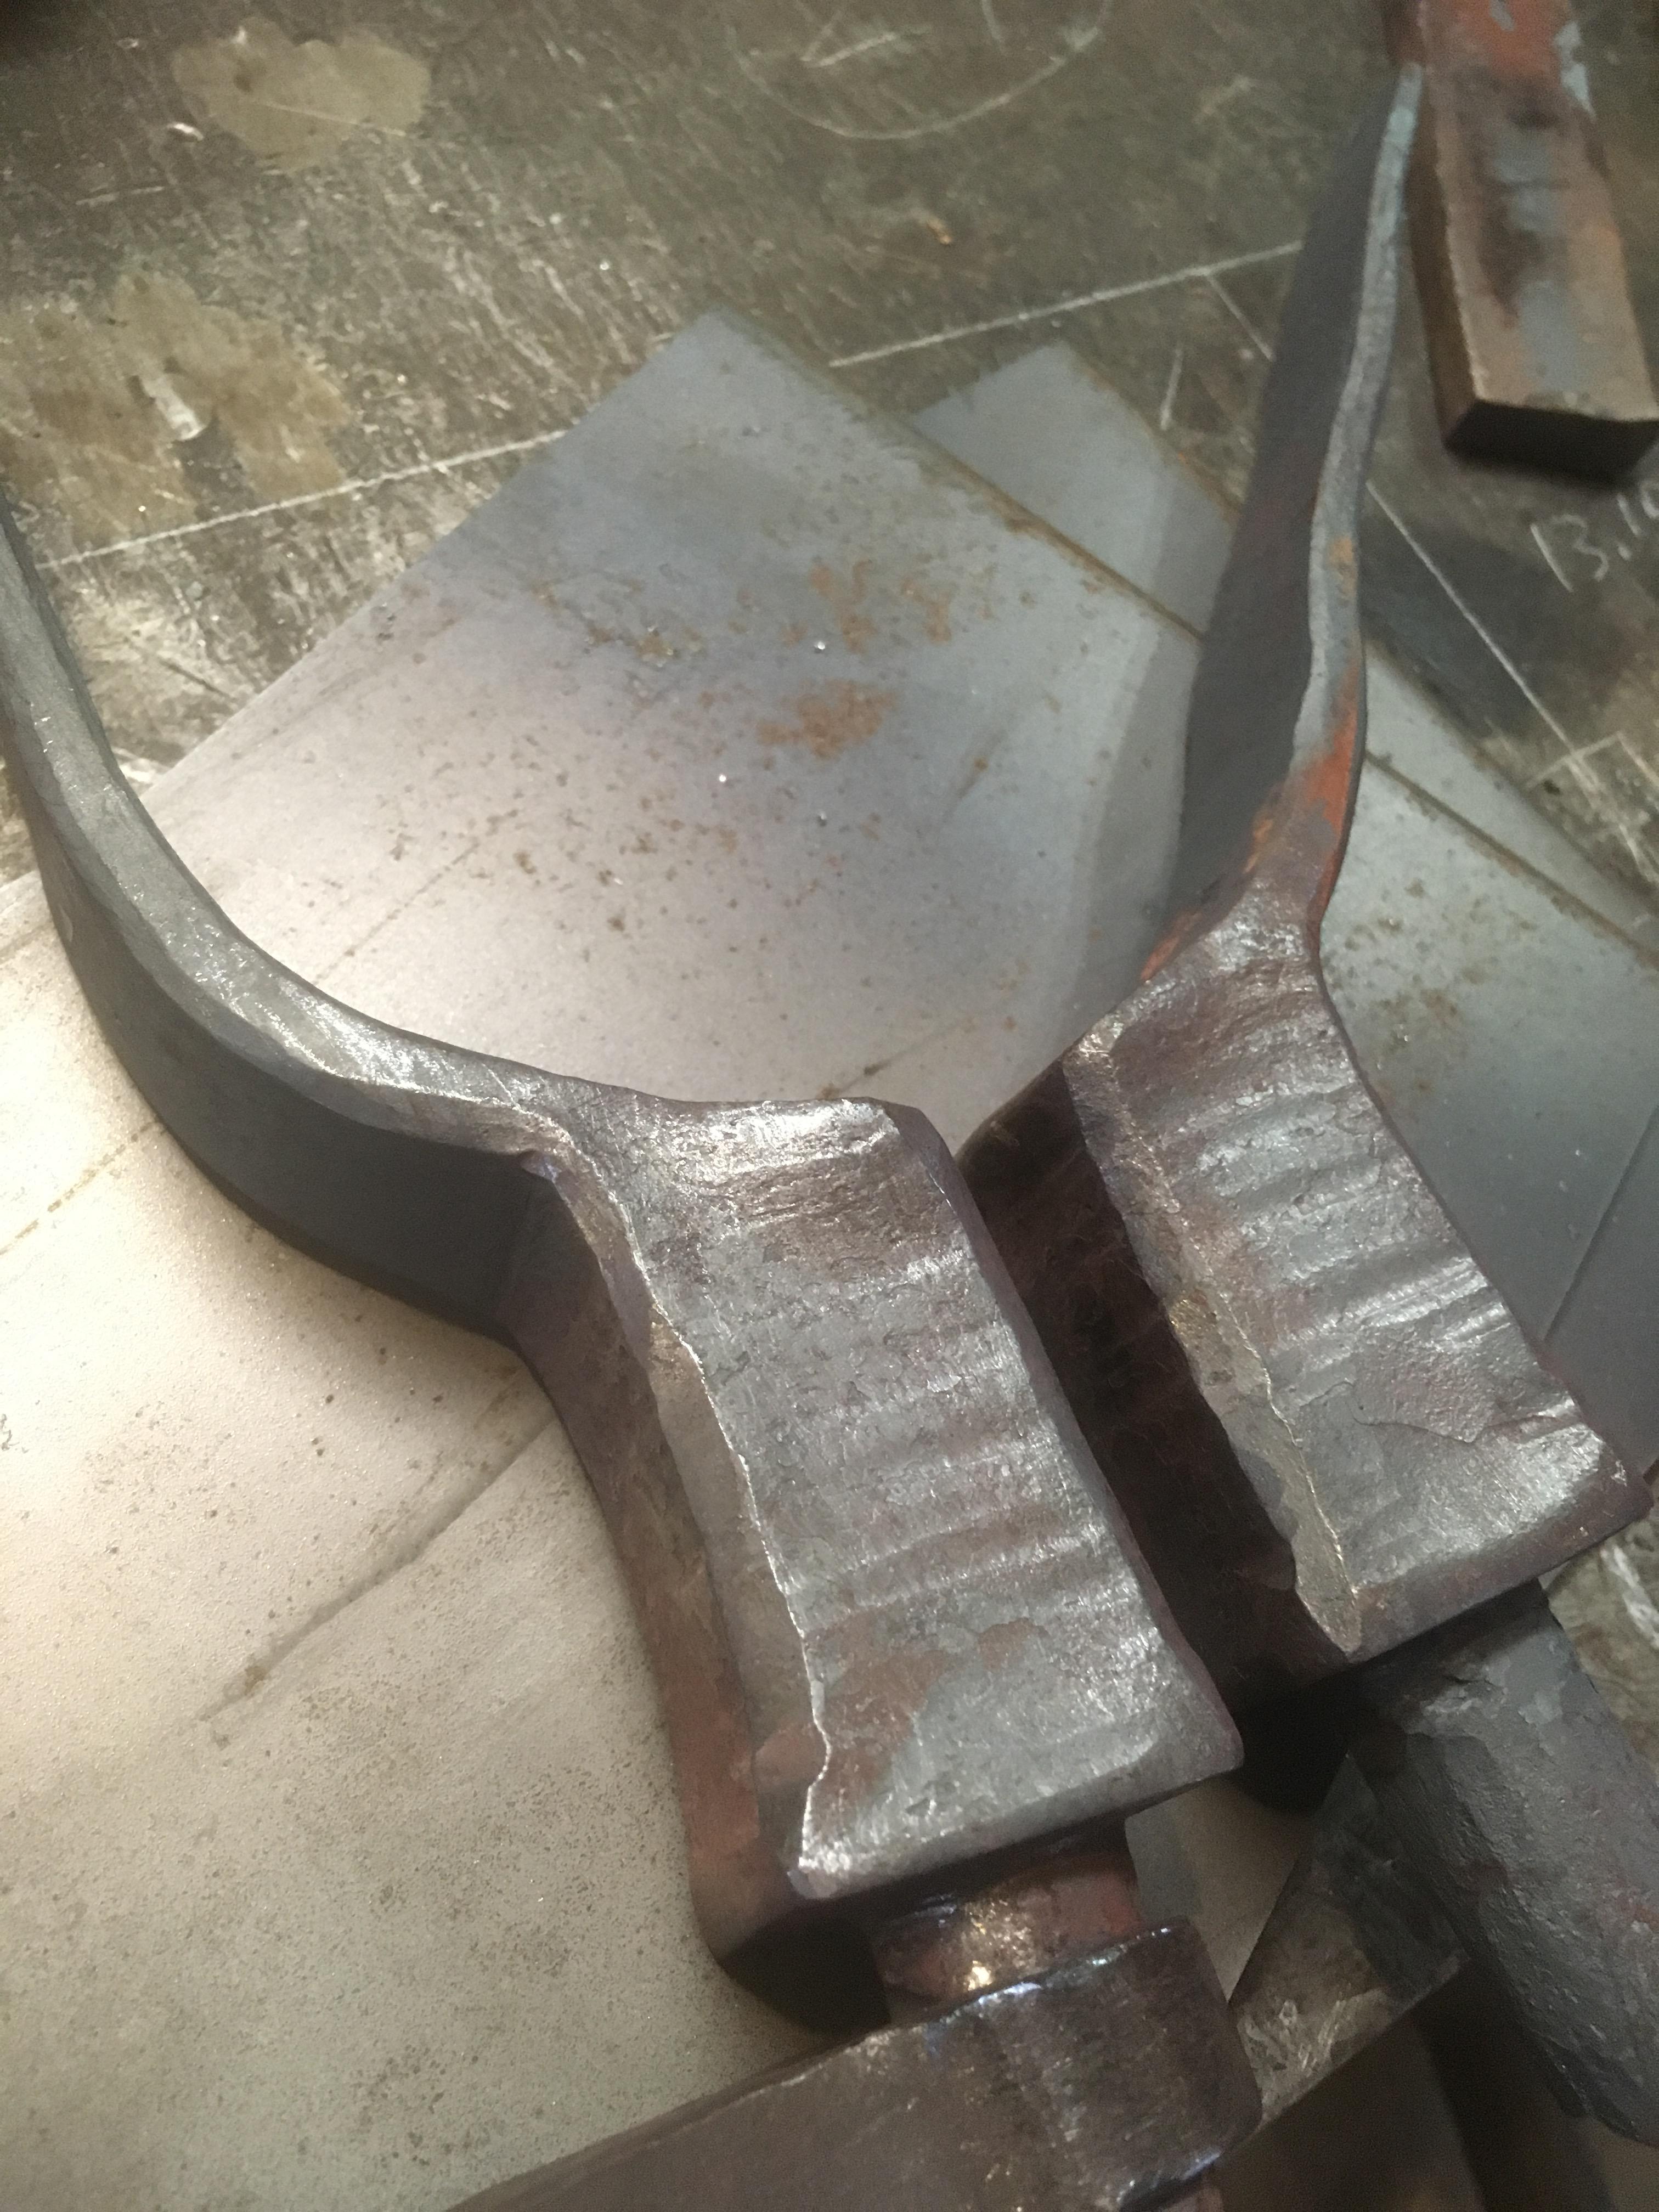
These were fun. Ironically started on the darkest day of the year. 3 pieces plus the rivet.


Anvil weight?
in Anvils, Swage Blocks, and Mandrels
Posted
Not 750#. 500# anvils are usually more than 30" long unless they are a cube. Looks like a crisp 250# Peter Wright with a busted tail to me. Tall step too, look for repairs. What's going on with the smaller anvil in the left of the photo?