

Daswulf
-
Posts
9,749 -
Joined
-
Last visited
Content Type
Profiles
Forums
Articles
Gallery
Downloads
Events
Posts posted by Daswulf
-
-
Forbidden

-
had to google that one, and it's a possibility but cant find another one like it so far.
-
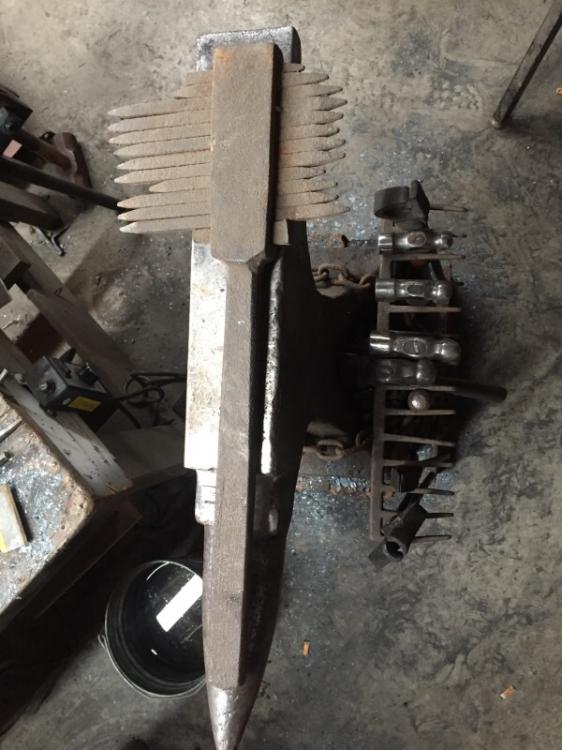
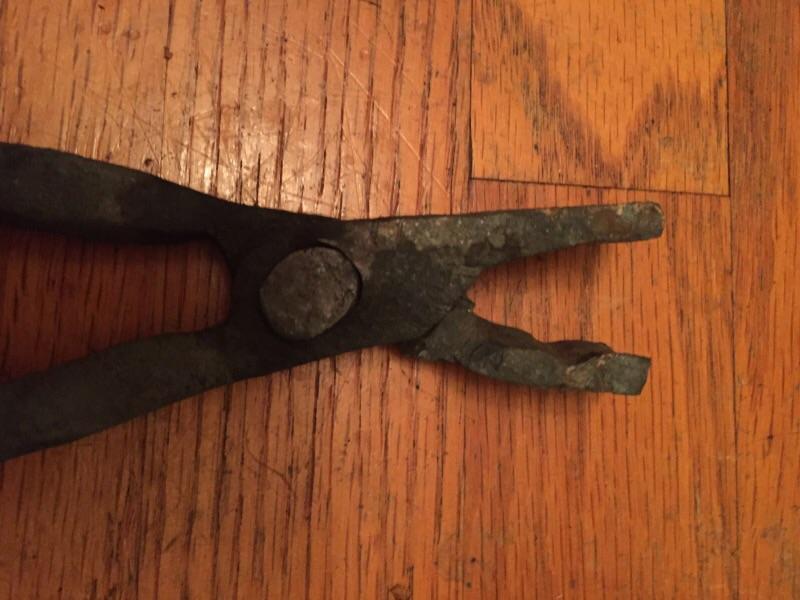
ok so i've had some interesting ideas on another forum that's gone now but what is this? best idea someone posted was that it may be a gauge to check RR track as it's being made for uniformity. it has a wedge pin that can be loosened and tightened to "set" the pins where you want em. it's Heavy steel/iron. and it was too interesting to pass up at an auction i was at. i dont remember purchase price. i like it, who cares
")
Any idea?
-
ok so alot of text i added ended up in the forbidden mist or something
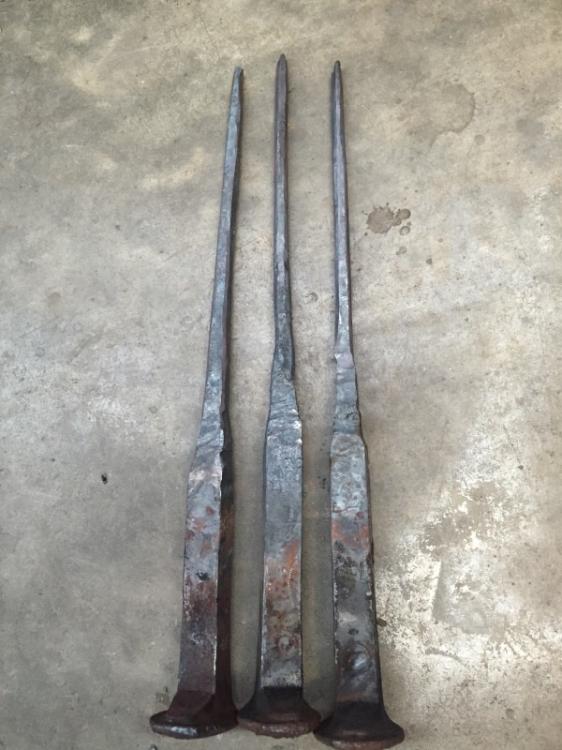
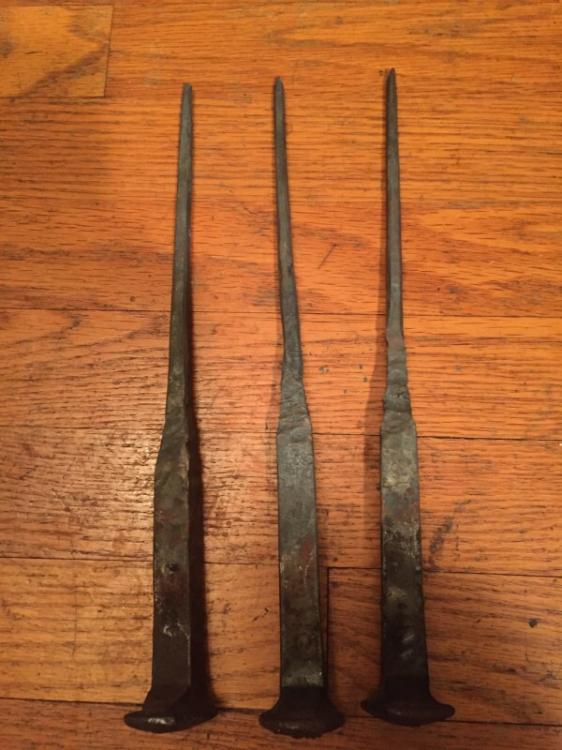
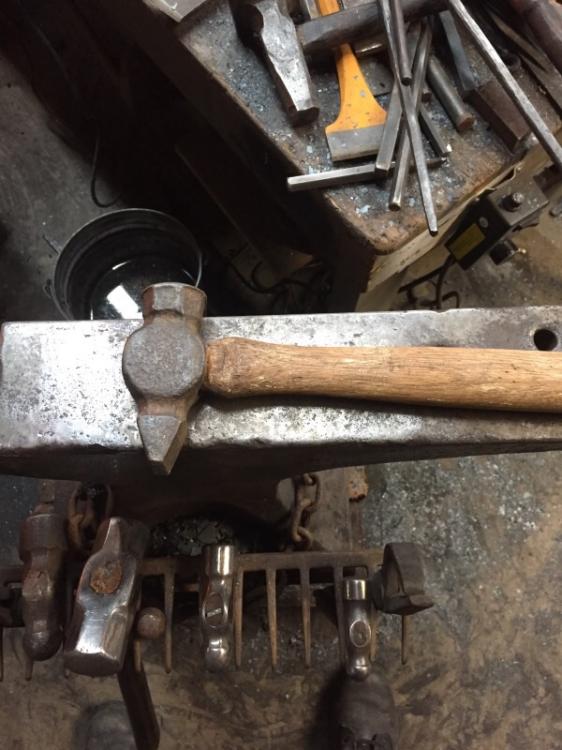
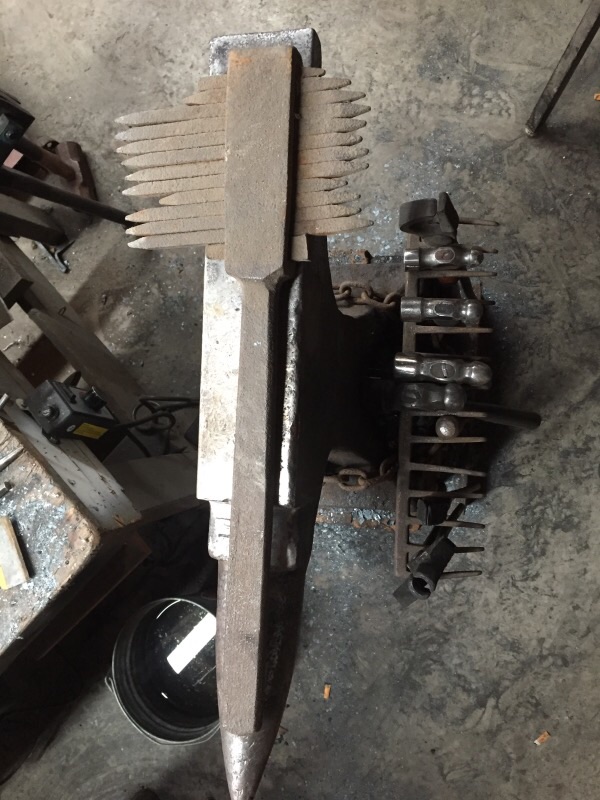
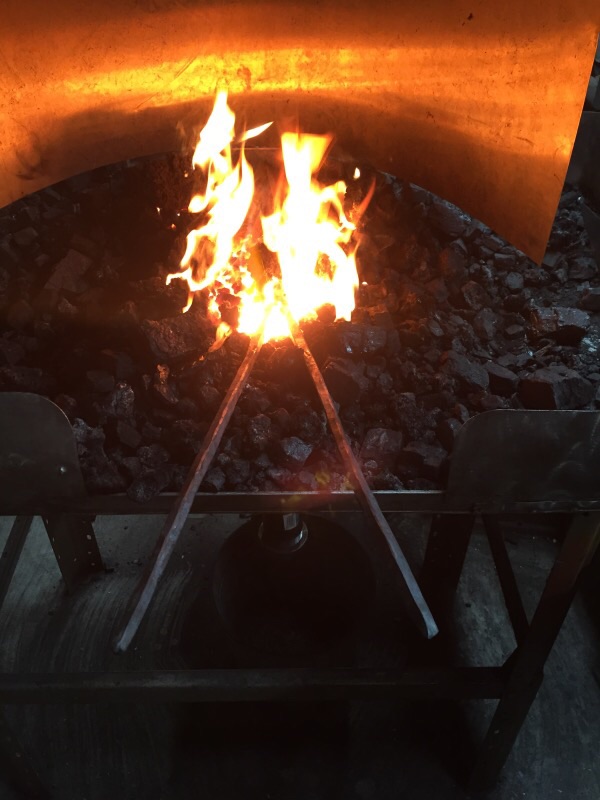
from left to right. drawn out on the anvil face edge, the anvil horn and cross pein hammer, and my fuller.
the results for me were that the fuller won with the least deformation to the piece as i drew it out. not that it matters but i (feel) it was quicker and maybe better for me. both other methods worked about as quick with (for me) the anvil edge being the slowest.
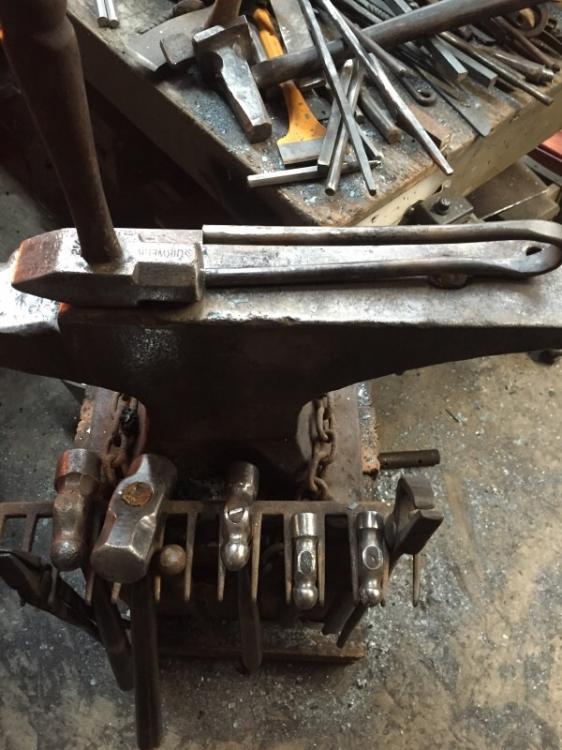
i used my 2 1/2 Quickwerk hammer for the first and last but switched to a lighter more broad cross pein for the anvil face which led to faster striking there.
thats my spring fuller in the pic..any advice or improvement ideas are welcome.
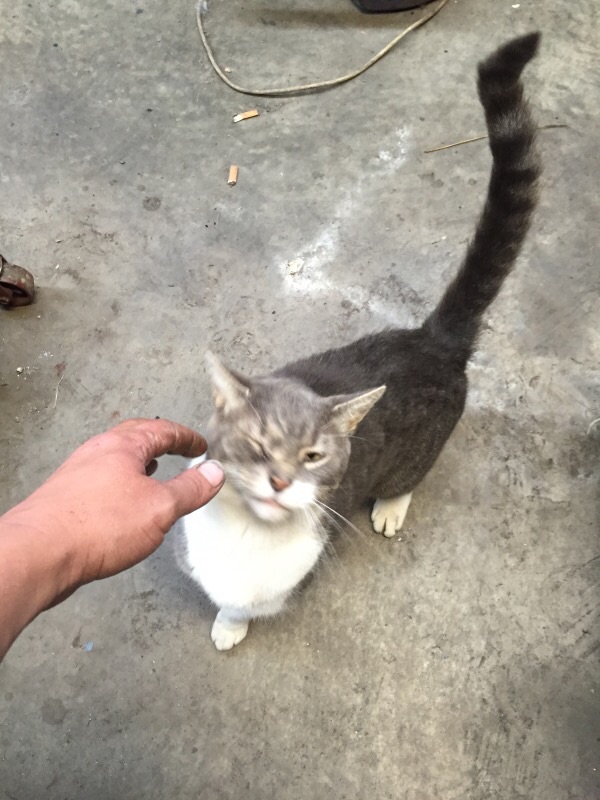
and i gatta include my annoying but ever bothersome shop cat Boots. gatta love him.( or sometimes not when he is annoying me)
-
Well, in fear of forbidden I'll keep this short if I can.
Instead of making tongs tonight and drawing them out in different methods I decided to experiment. I took 3 rr spikes and drew them out as close as possible in 3 different methods. In my fuller, on the anvil horn with a cross pein (it's what I got) and on the edge of the anvil face. Here are the results. Stop at the picture if you'd like to guess which is which. ( no cheating.)


-
wow looks simple and effective. hehe Smoosh-a-matic. how bout cut a groove on each side of the square pipe and add spring ears to the top die (off shoot pieces), and springs to either side to hold it open so you don't waste time lifting it to get the piece in? hammer will squish it all down anyway and the springs just need to be strong enough to hold the top die up. i'll add it to my memory banks. Thanks
")
-
I have a welder, and i have upset metal with success. i'll check it out.
-
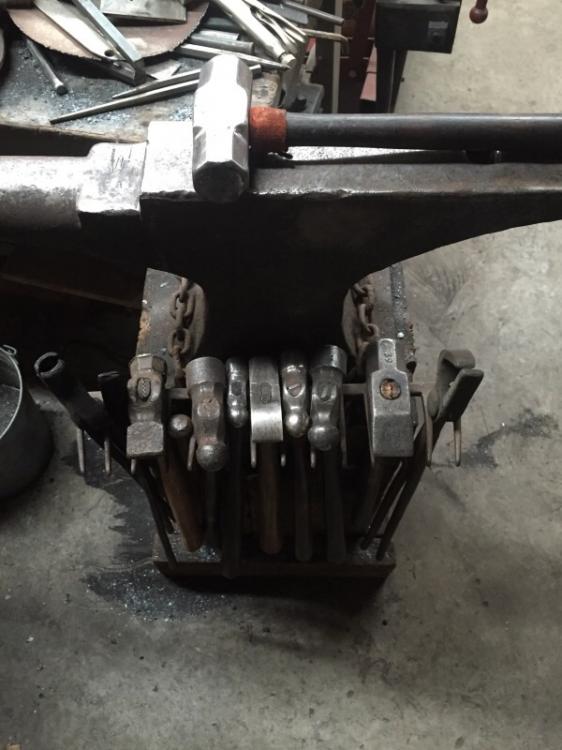
All good suggestions, Thanks guys! It dosnt hurt to experiment a bit to see what works better for me. I dont have a straight pein yet tho i have enough hammers to modify one like i saw somewhere?. I've bought boxes of hammers cheap when at auctions or here and there at the fleamarket. chisels as well.
I did make a spring fuller and like it, but have mainly been using it for isolating sections of metal, and could be using it to greater potential.
There are a ton of tools i could be making to make my work easier, and if i look around i'm sure i have the material laying around to make them. i'll try the anvil horn and fuller next time and see which one works better for me. I was actually using the face edge because I had never tried the technique. Technicus Joe made it look easy, but i do want to try out other drawing methods and your two are pretty common sense that i should be trying. And i'd think less traumatic to the steel. I guess i was just following the instructions for the ones i was making, and after a successful (not perfect but usefull) pair i think i can try some different drawing methods.
There's more then one way to skin a cat. (who skins cats anyway? who comes up with these sayings?)
-
Thanks TwistedCustoms, I'll keep at it and I need the practice anyway. Also will get pictures of the improvements. Might give others hope that are making their first pair to just keep at it.
-
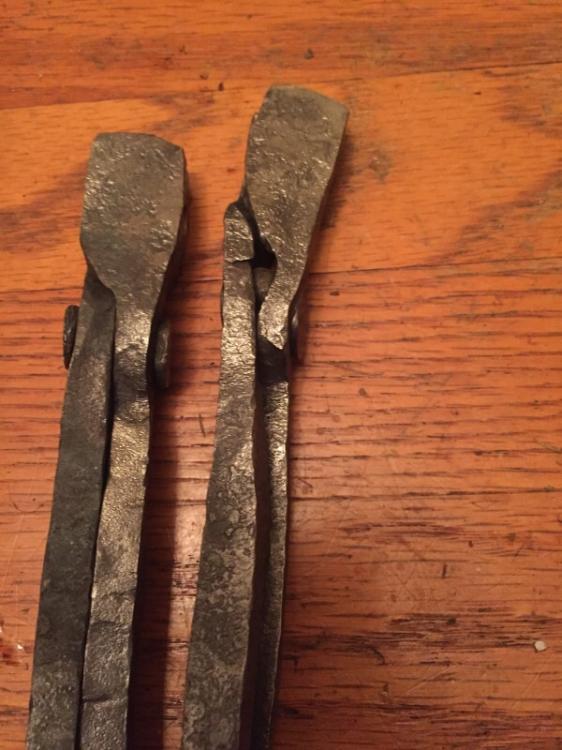
Well spoken Frosty. It is a learning experience. I'm already mentally taking notes on how to do better next time. Good advice on the bits, that will be high on the list. I could have done better on the reins as well but I have to admit that that was due to my impatience to get em done. (Admittedly my hand was a bit sore too) That shouldn't ever be an excuse for poor finish work.
I will keep the old ones hanging around as a reminder. And I'll continue to make more.
-
Thanks Mac, I will.
-
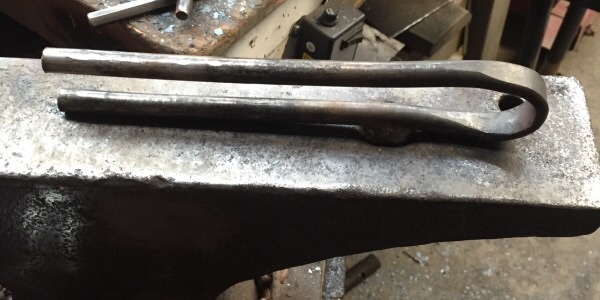
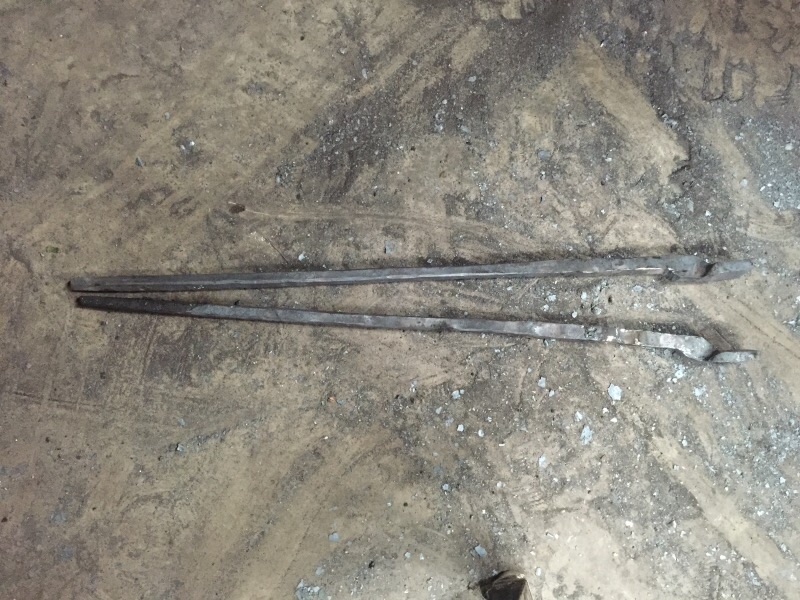
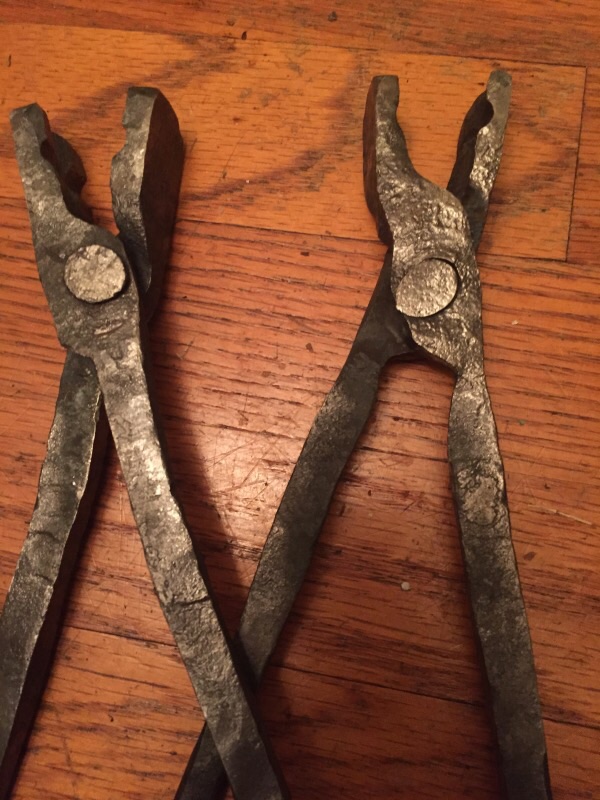
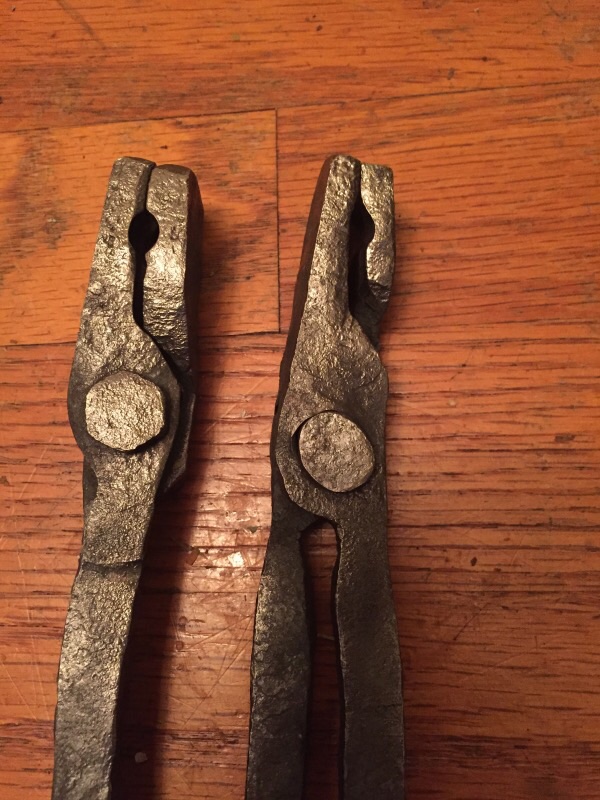
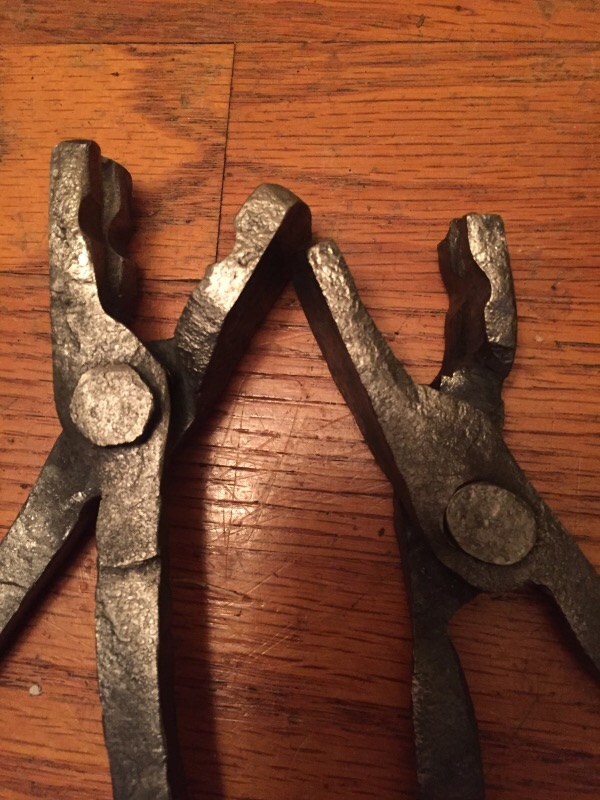
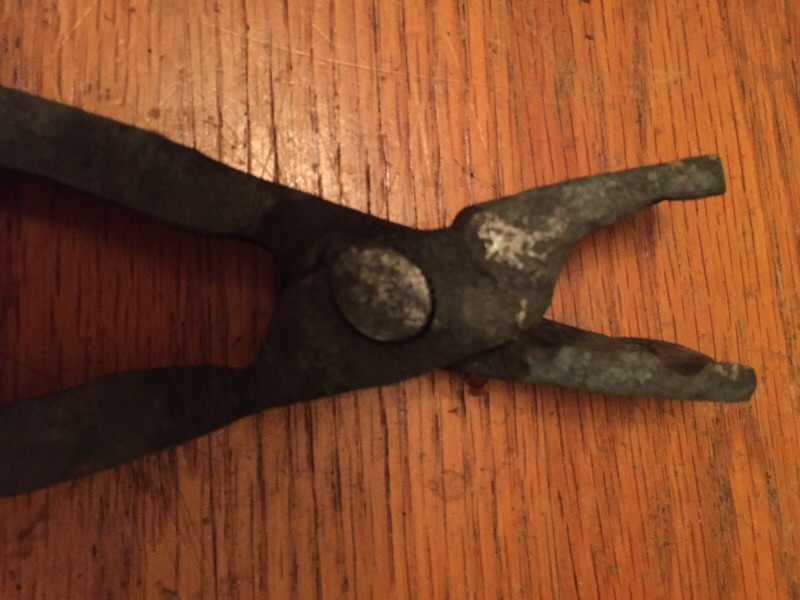
Thanks but I couldn't let that stand on my part. I went up tonight and tried again. I'm way happier with the second pair as far as confidence that they would hold up. So here's the second attempt beside the first.
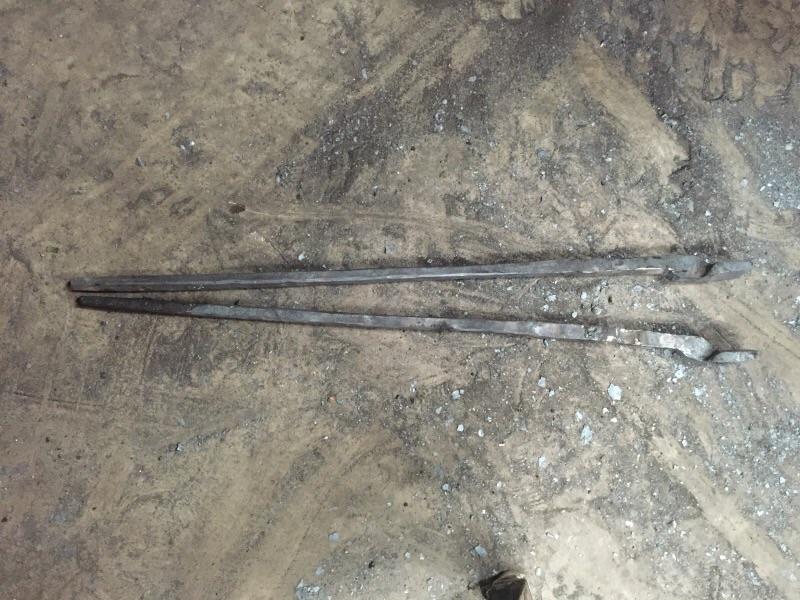
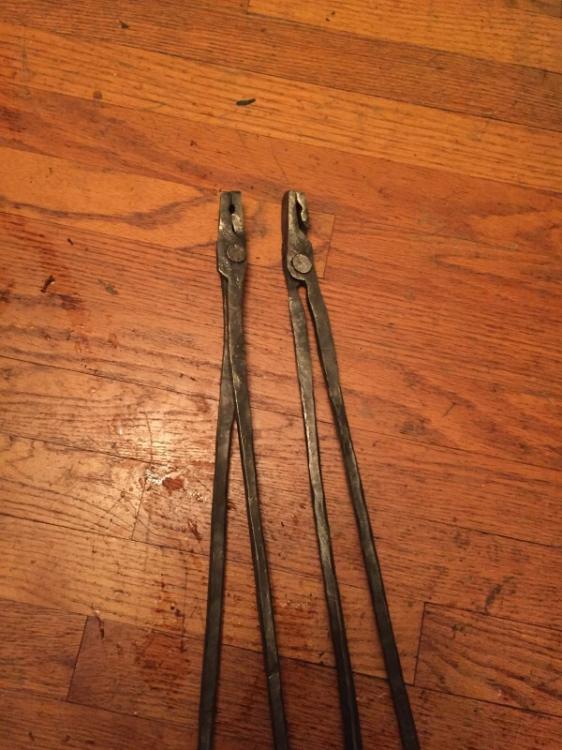
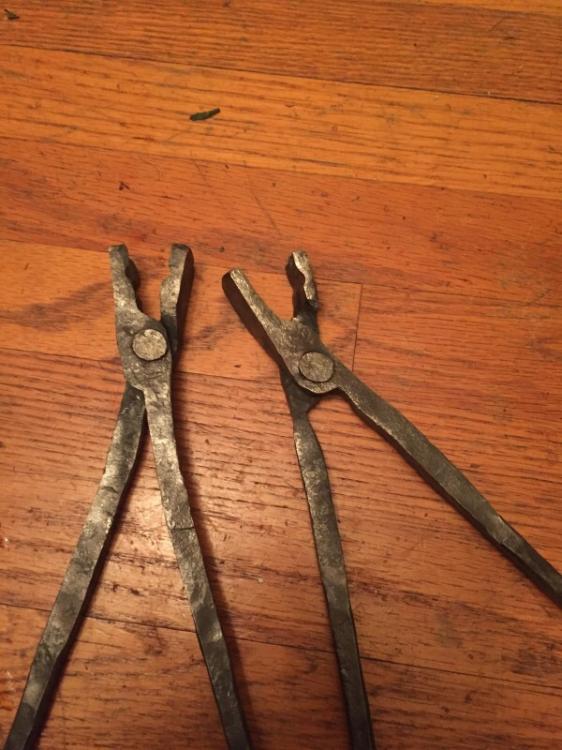


I'll bet you wore yourself out drawing out the reins. Quite a bit of work there. Best advise I can give right now would be to watch as many different tong making videos as you can over and over, but especially Brian Brazeals. Pay attention to how he sneaks up on his finished shapes, that and his technique for drawing. But even better than that would be to try and find someone nearby. Keep at it they will improve.
the reins kicked my butt being RR spikes lol. i'll keep at it and keep looking for better ways. i had spikes laying around and i liked the tutorial on YT.
 looked easier then it is for someone starting out but i'm not shy to keep trying.
 -
forbidden!
Ugh! Why?!
Das, I know that guy in Monroeville. Actually bought a couple things from him. Welcome aboard, hope you've had a chance to connect with PAABA, great organization in your backyard.
I have heard of them an am thinking of joining soon. Looks like it would be a good thing to get out to some of their open nights. Thanks for reminding me about it. :)
-
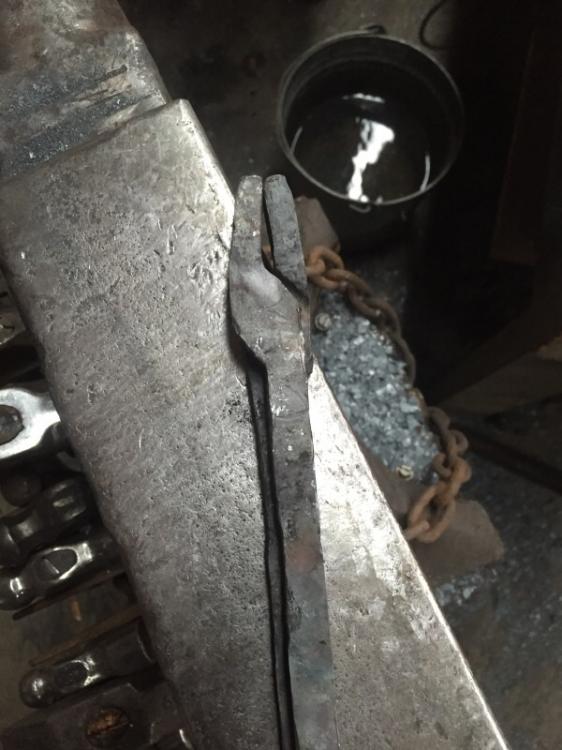
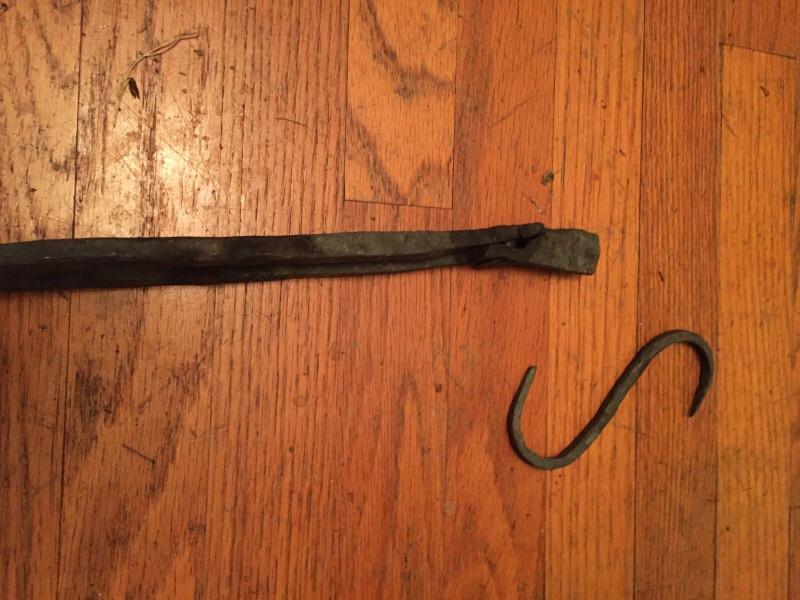
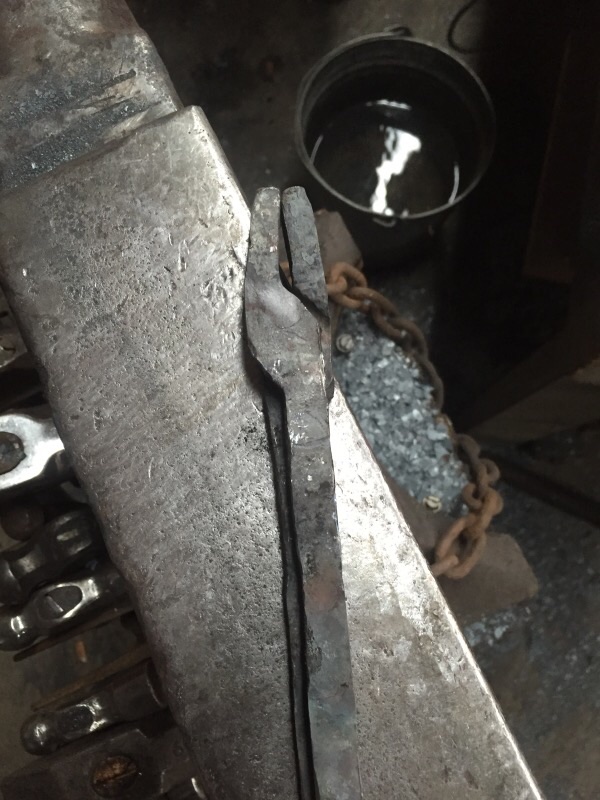
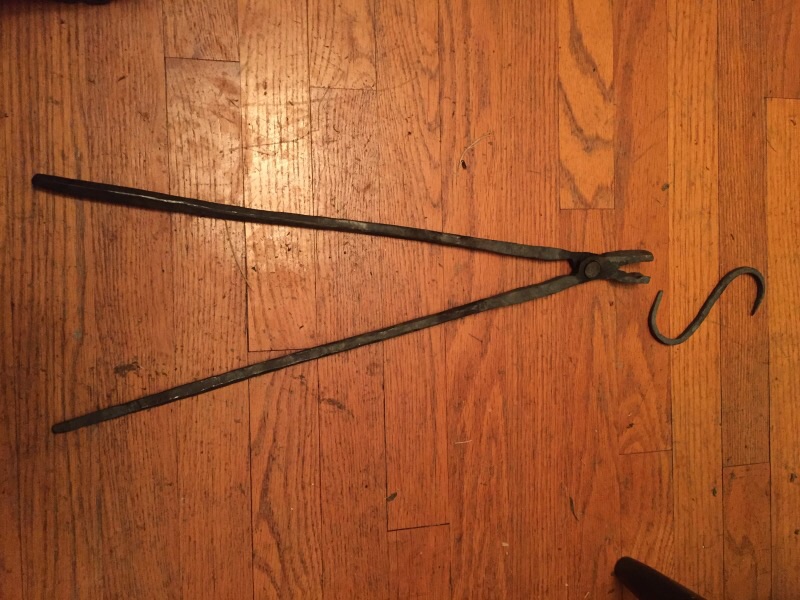
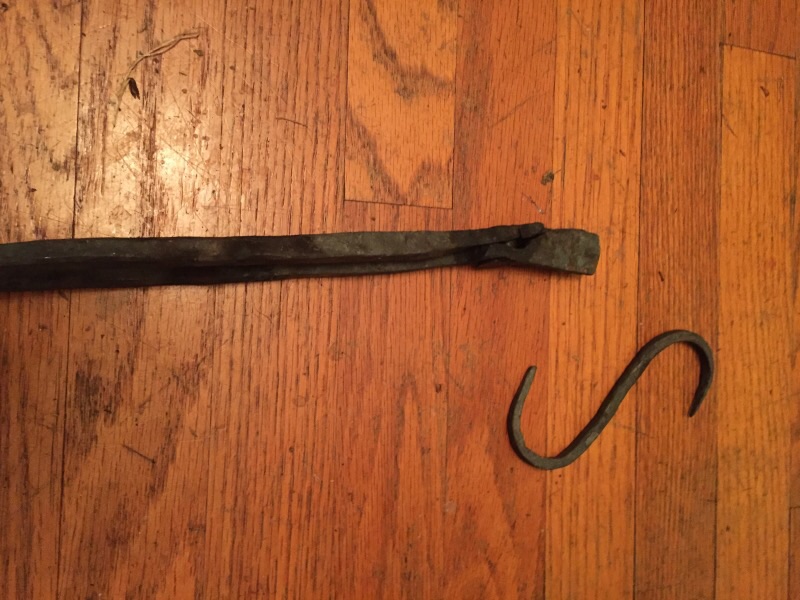
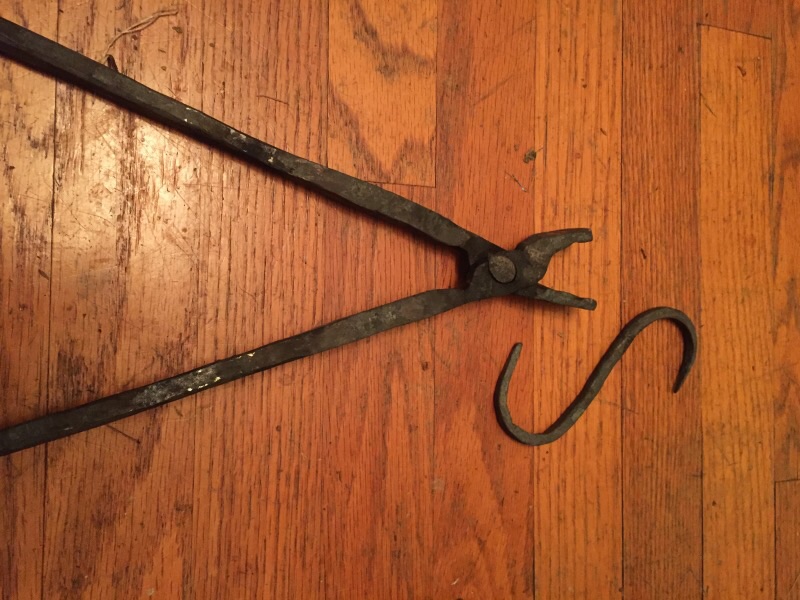
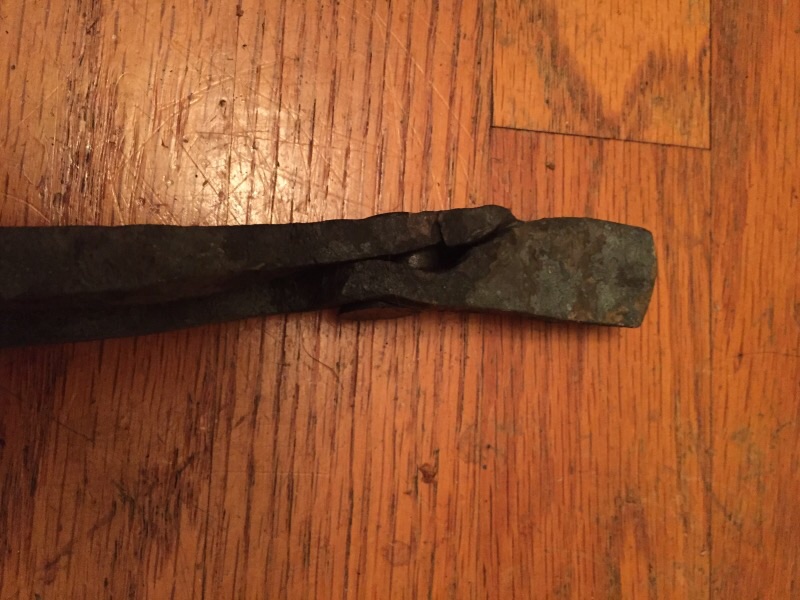
welp, I made my first set of tongs tonight based on TechnicusJoes RR spike tongs. Felt like I started off correct but it went odd from there. My fault of course. Took me about 3 hours while relaxing the evening with some beer
but as much as I'm disappointed in my work on them they do function. I wouldn't say they would work for generations because of my mistakes. But I accept that for my first set. I'll improve from there I hope. I can tell where I screwed up. That little crap s hook was made using these quickly just to try them out. i know they are poop, but any criticism may help my focus.


-
I understand what you mean Thomas. when i find anything for a good price i snag it even if it's to hang onto for either a back up or (probably later) to help out others. There's a guy in Monroville up by Pittsburgh that buys most stuff up then sells it at a premium so unless i'm in dire need, i'll keep hunting and pecking, or make it.
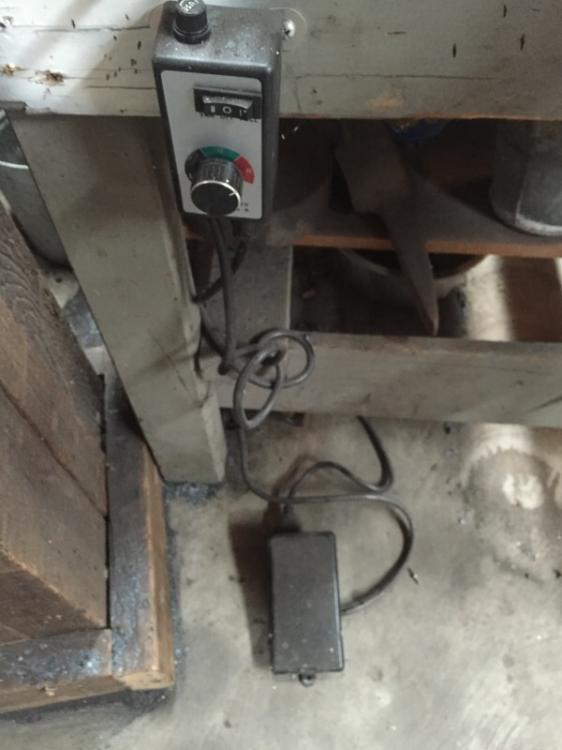
Frosty that is one well thought out floor. as far as the heated floor it would come in handy here in winter but i can see it as pretty important where you are. i get by with a natural gas heater that never seems to warm the floor, tho i could stand to insulate the roof.
-
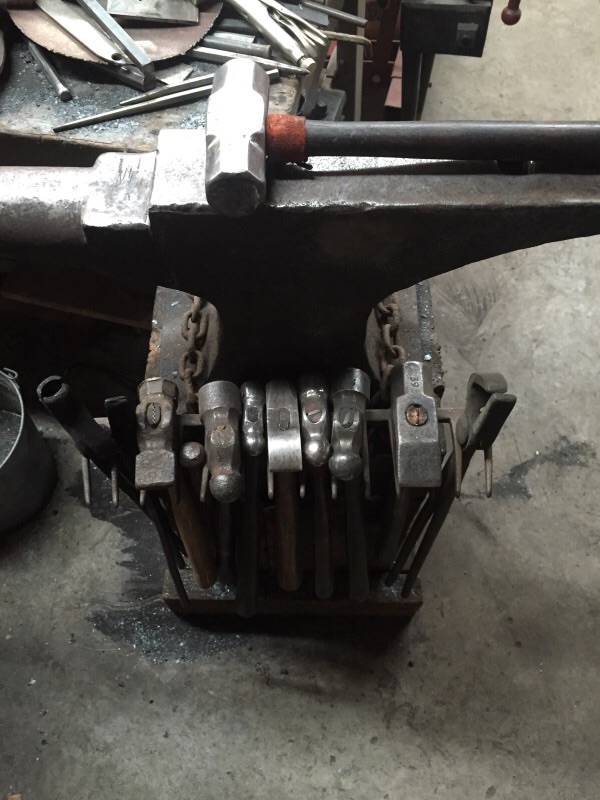
That's a lot of postvices. After thinking about it, I'm pretty sure I have 5 of em. The nice one I use, a big sucker that needs a spring and bolt down, another one like I'm using that needs a bolt down, a little one a friend gave me that someone cemented in a small barrel, and one is attached to the back of a jeep cj5 I bought for parts. Wasn't your old jeep was it Thomas?
-
There's no place in my shop a person can drag their feet. Clutter's not just a blacksmith thing but we're good at it.
keeps people on their toes and keeps out the lazy footed folk. I look around and see potential everywhere. And it's nice not to have to run out for every nut and bolt you need. just dig around and Bam! Project finished!. my first forbidden. Noooo.
-
Thanks for the warm Welcome Frosty. On the dump flap, my initial idea was to make a flap thats actuated by a foot pedal. That modification is in the plans and i'll check out the flap caps.. I hadn't thought of moving the post vice but that's an excellent idea. So far i had only been using the twisting wrench from the top but it's best to be ready for any project. I plan on adjusting how the area is set up once i get non essentials out of the way.
Yes, "high steppers" haha. That I am. it's a matter of me organizing it all. ( still cant find my little orange jigsaw...how do you lose an Orange jigsaw...) I read a post on stock storage on here that was inspirational with lots of ideas on that. I am lucky to have a beautiful work bench, my grandfather built, that wraps around and i'm using it as storage rather then work space
, but that's all in process of happening.Thanks for the advice and again for the welcome. Can't wait to learn more. so far it's been great. (aside from burning some things off in the fire that i've spent a bit of time on.) all in the learning process..
-
Thanks. I still need to open up more space for better movement around the equipment. still hunting for a good belt sander i can afford or to just make one but first i'm glad to build some beginner skills with technique. slippery slope indeed.
as if i didnt buy enough tools for automotive repairs, Double everything for home and at work. now this hehe. least i only do this in one spot. -
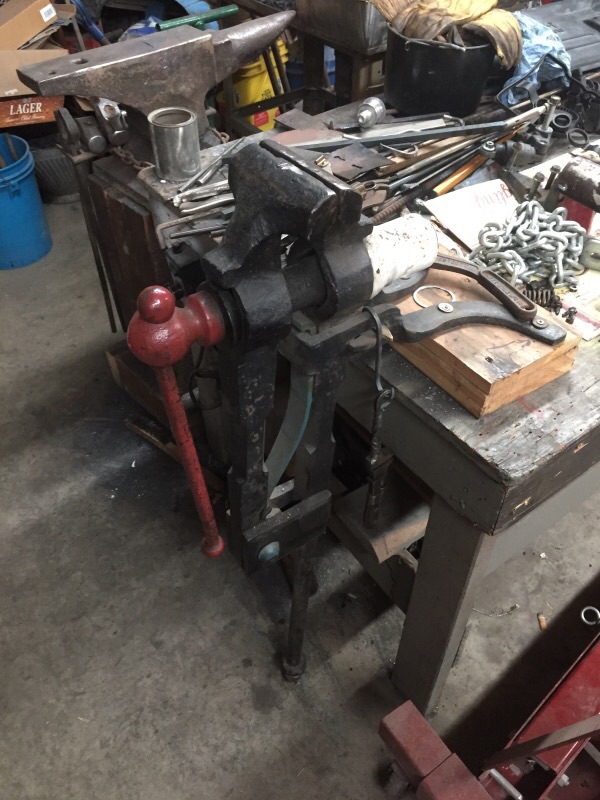
Hi, my name is Aric. I live about 40 minutes south of Pittsburgh Pennsylvania in Fallowfield township. My career is in autobody, collision repair. I've liked the art of black smithing since I can remember being taken to old forts or outdoor craft shows. My main interests started out in blades and as a hobby here and there I would make blade objects to toy with or later as pretty wall hangers, through stock removal.
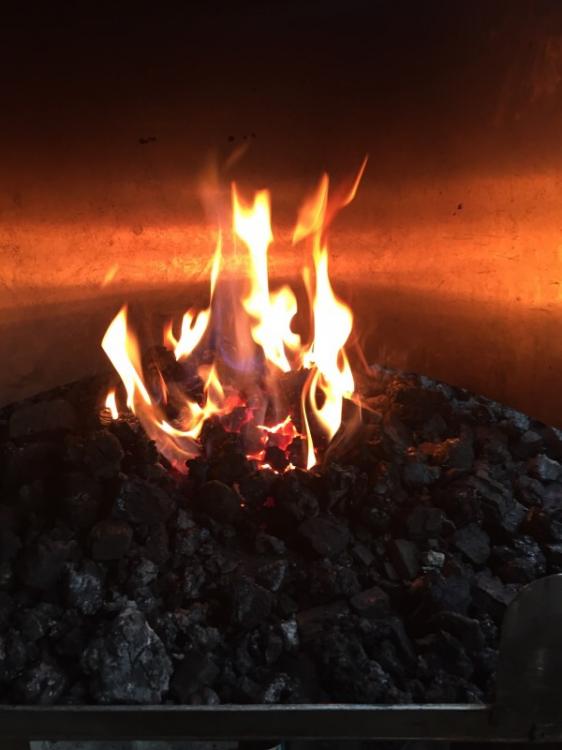
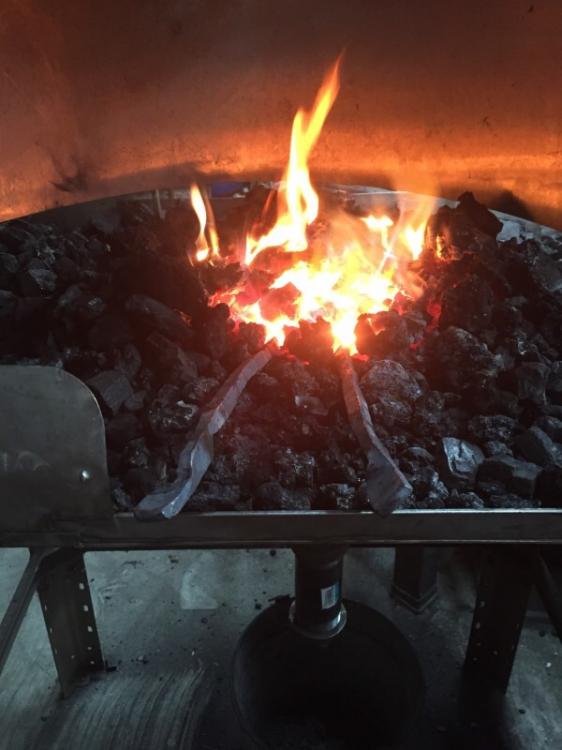
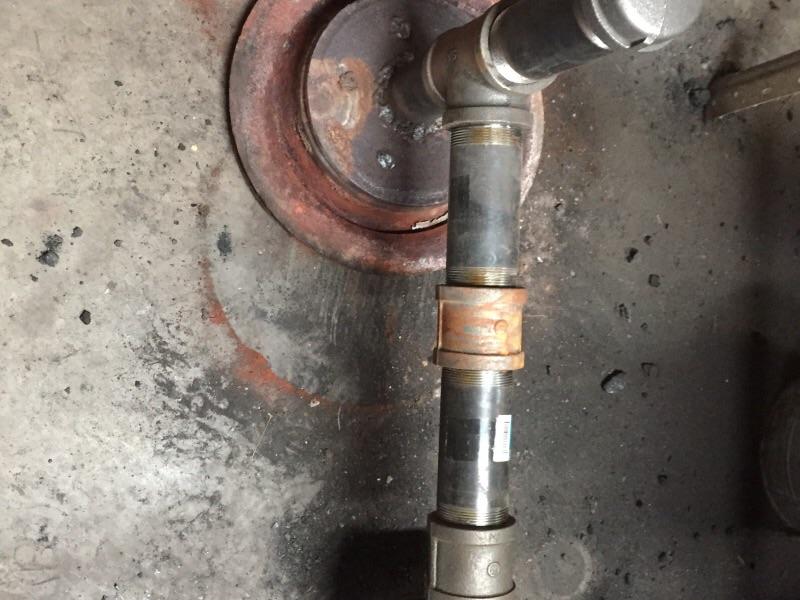
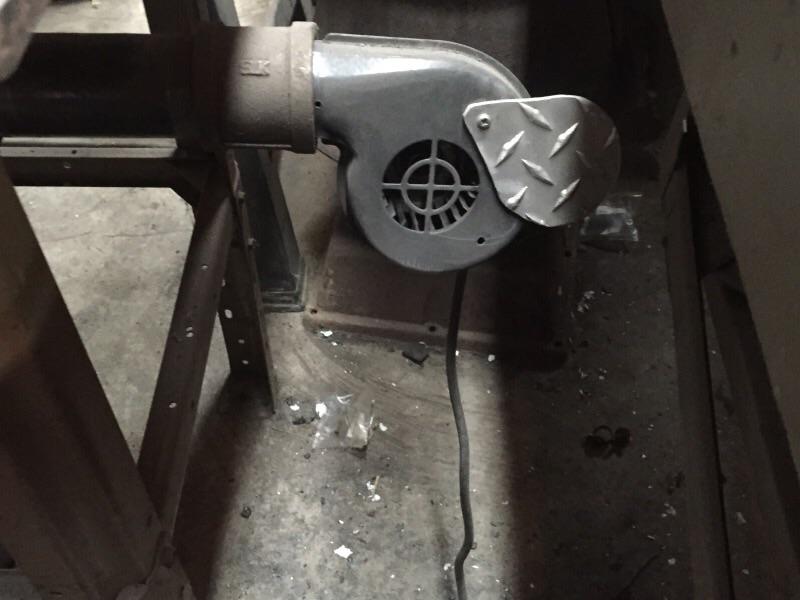
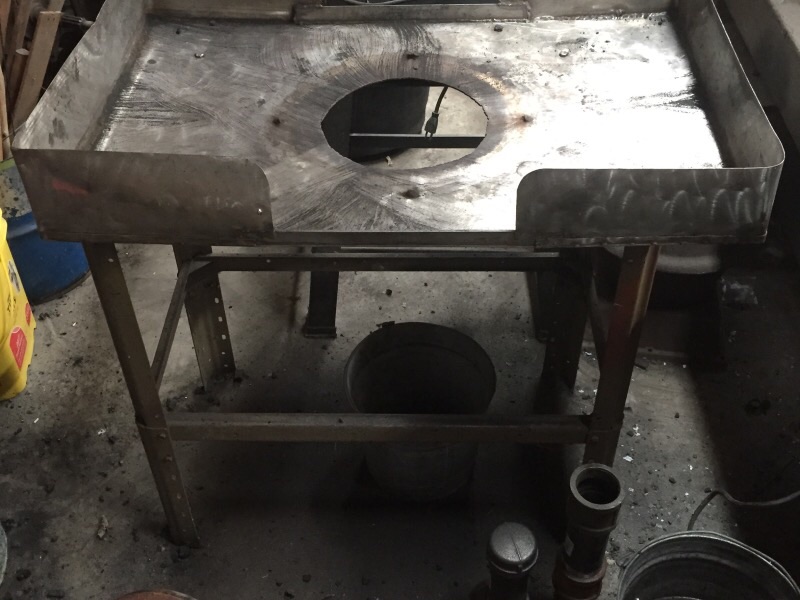
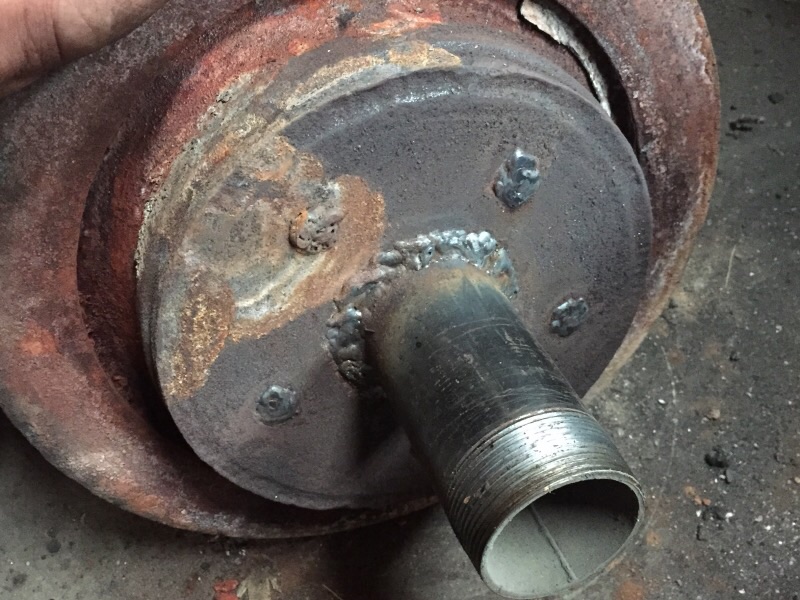
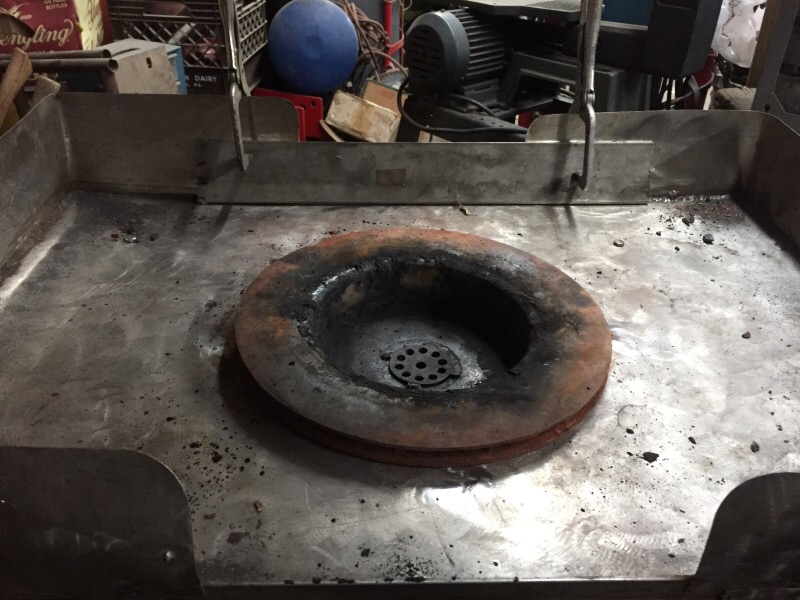
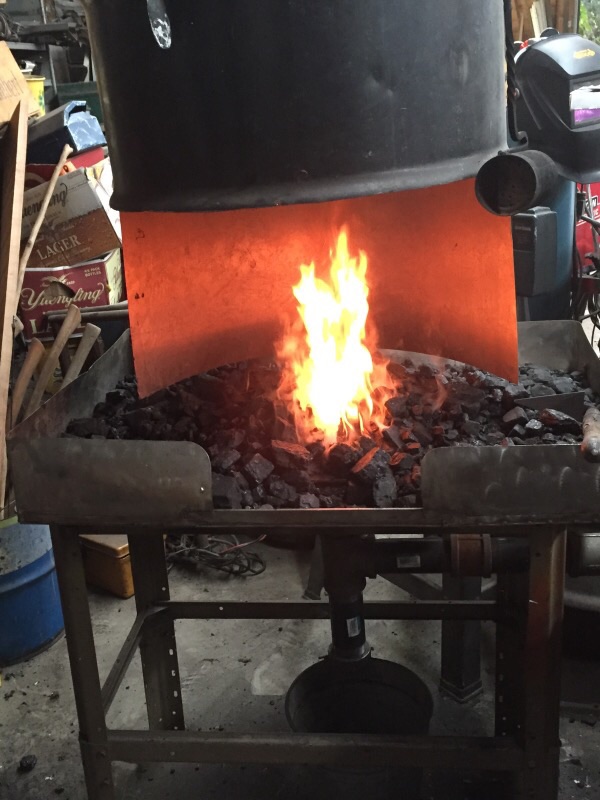
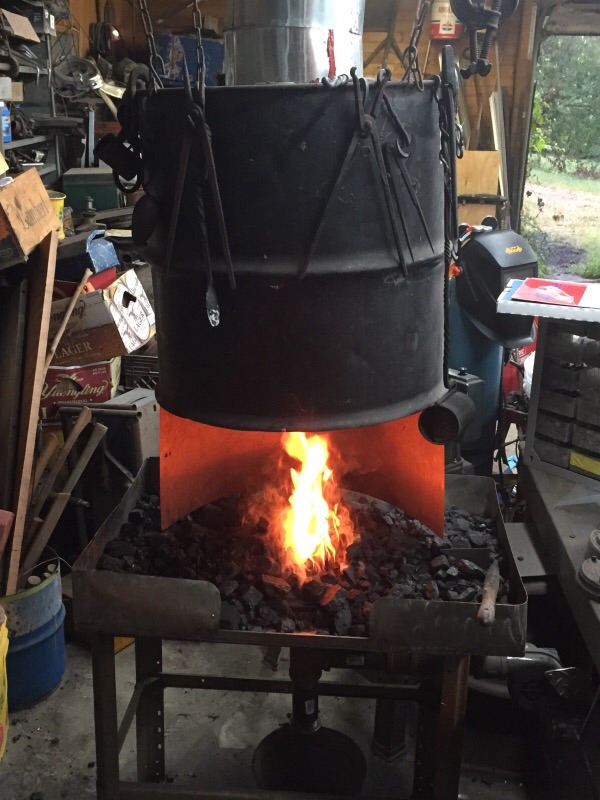
Not having any guidance, I kept thinking that I needed all the real deal stuff to get started forging so I collected stuff i'd need as I could find/ afford it. Then the more I researched the more I learned how much time I was wasting since I could have started way earlier off with the simplest of tools. So last fall I finally built a brake rotor forge, found a source for coal, and got to hammering. It's been a fun start. So far I'm still sticking to smaller stuff to work on some skills first. Also just found a source for stock so I'll be heading there later this week to get proper stock for tongs and other projects.
I've been really glad to find IFI and all the great info and people here. Slowly I'll get better and improve my forge and skills.
Don't want to make this post too long. So, hello and here's some pictures of what I'm working with at the moment. Forgive the absolutely junk filled garage as I've had to work on some cars for friends and family and stuff tends to get piled up when I need the room.


Well as far as My first tongs...
in Tongs
Posted
I draw square, then round.
All good advice Frosty. I'll work on it. I do have off blows and wandering blows here and there, I'm sure i need to pay attention in control of the piece I'm hammering as well as my hammer blows.
As for nails that's something I haven't researched yet, I'll look it up and give it a go.
I had a longer post but this was the main stuff.
and I never got a surprise in my shoe, but he is picky how ya pet him.")