
teenylittlemetalguy
-
Posts
1,081 -
Joined
-
Last visited
Content Type
Profiles
Forums
Articles
Gallery
Downloads
Events
Posts posted by teenylittlemetalguy
-
-
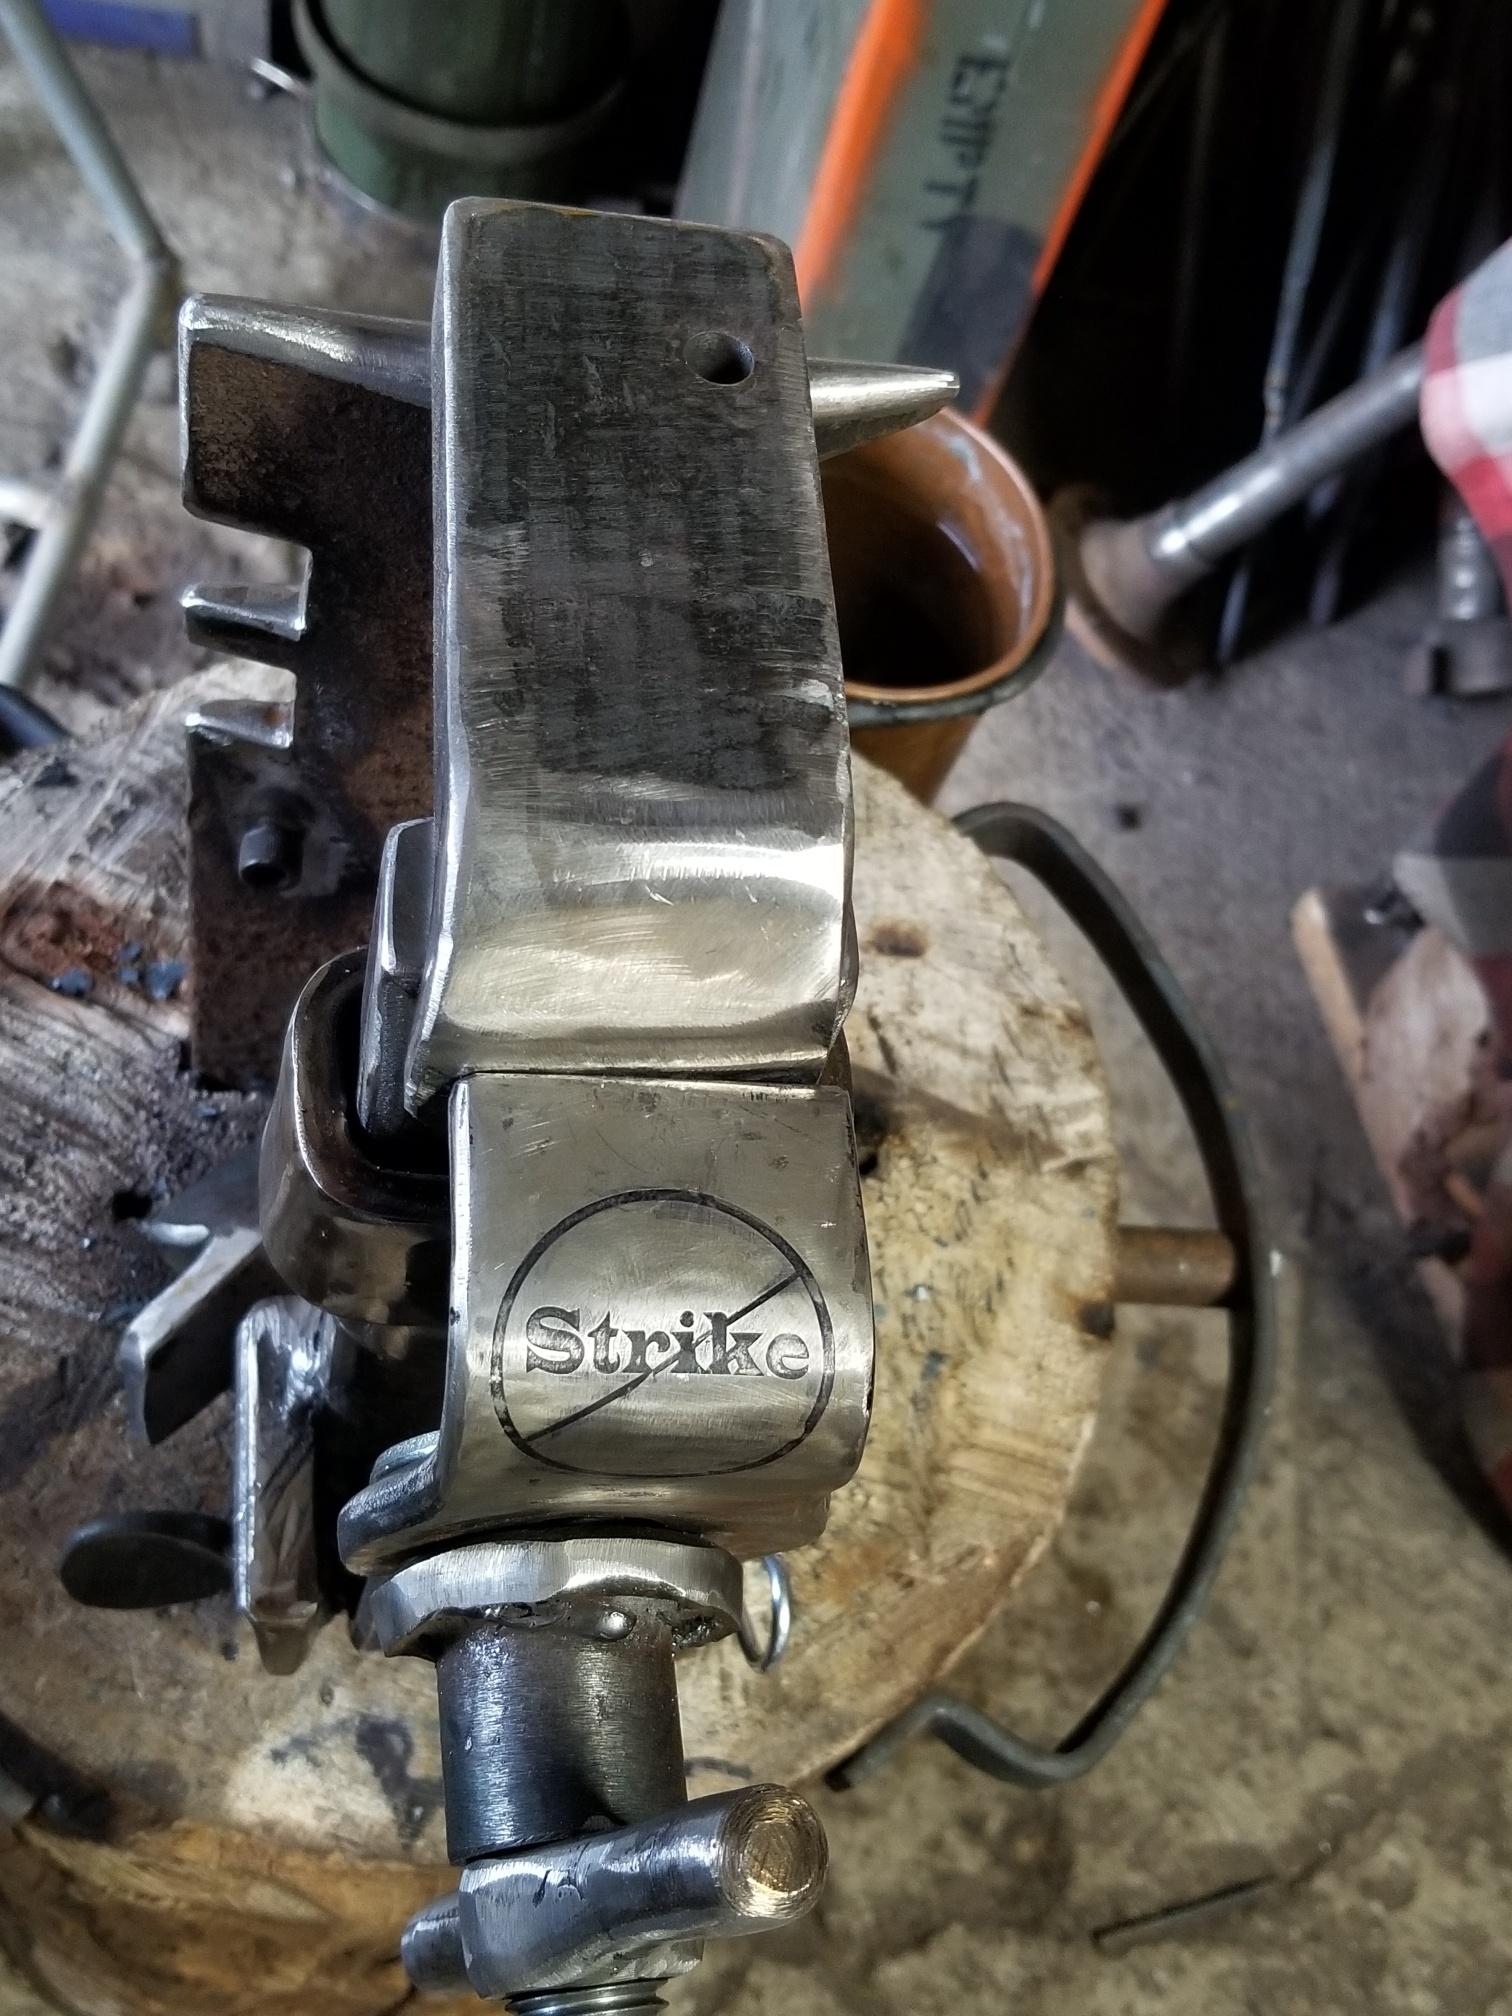
Lol, yep! Anticipating potential abusers I etched a warning in the clamp jaw to not strike it. But honestly it could take a little. I could just imagine someone with a sledge hammer and a bone to pick with me for making it wrong...
-
3 hours ago, ThomasPowers said:
That is a dandy! If I make a copy I think I will double over the moving jaw top to get a larger contact area for the jaw.
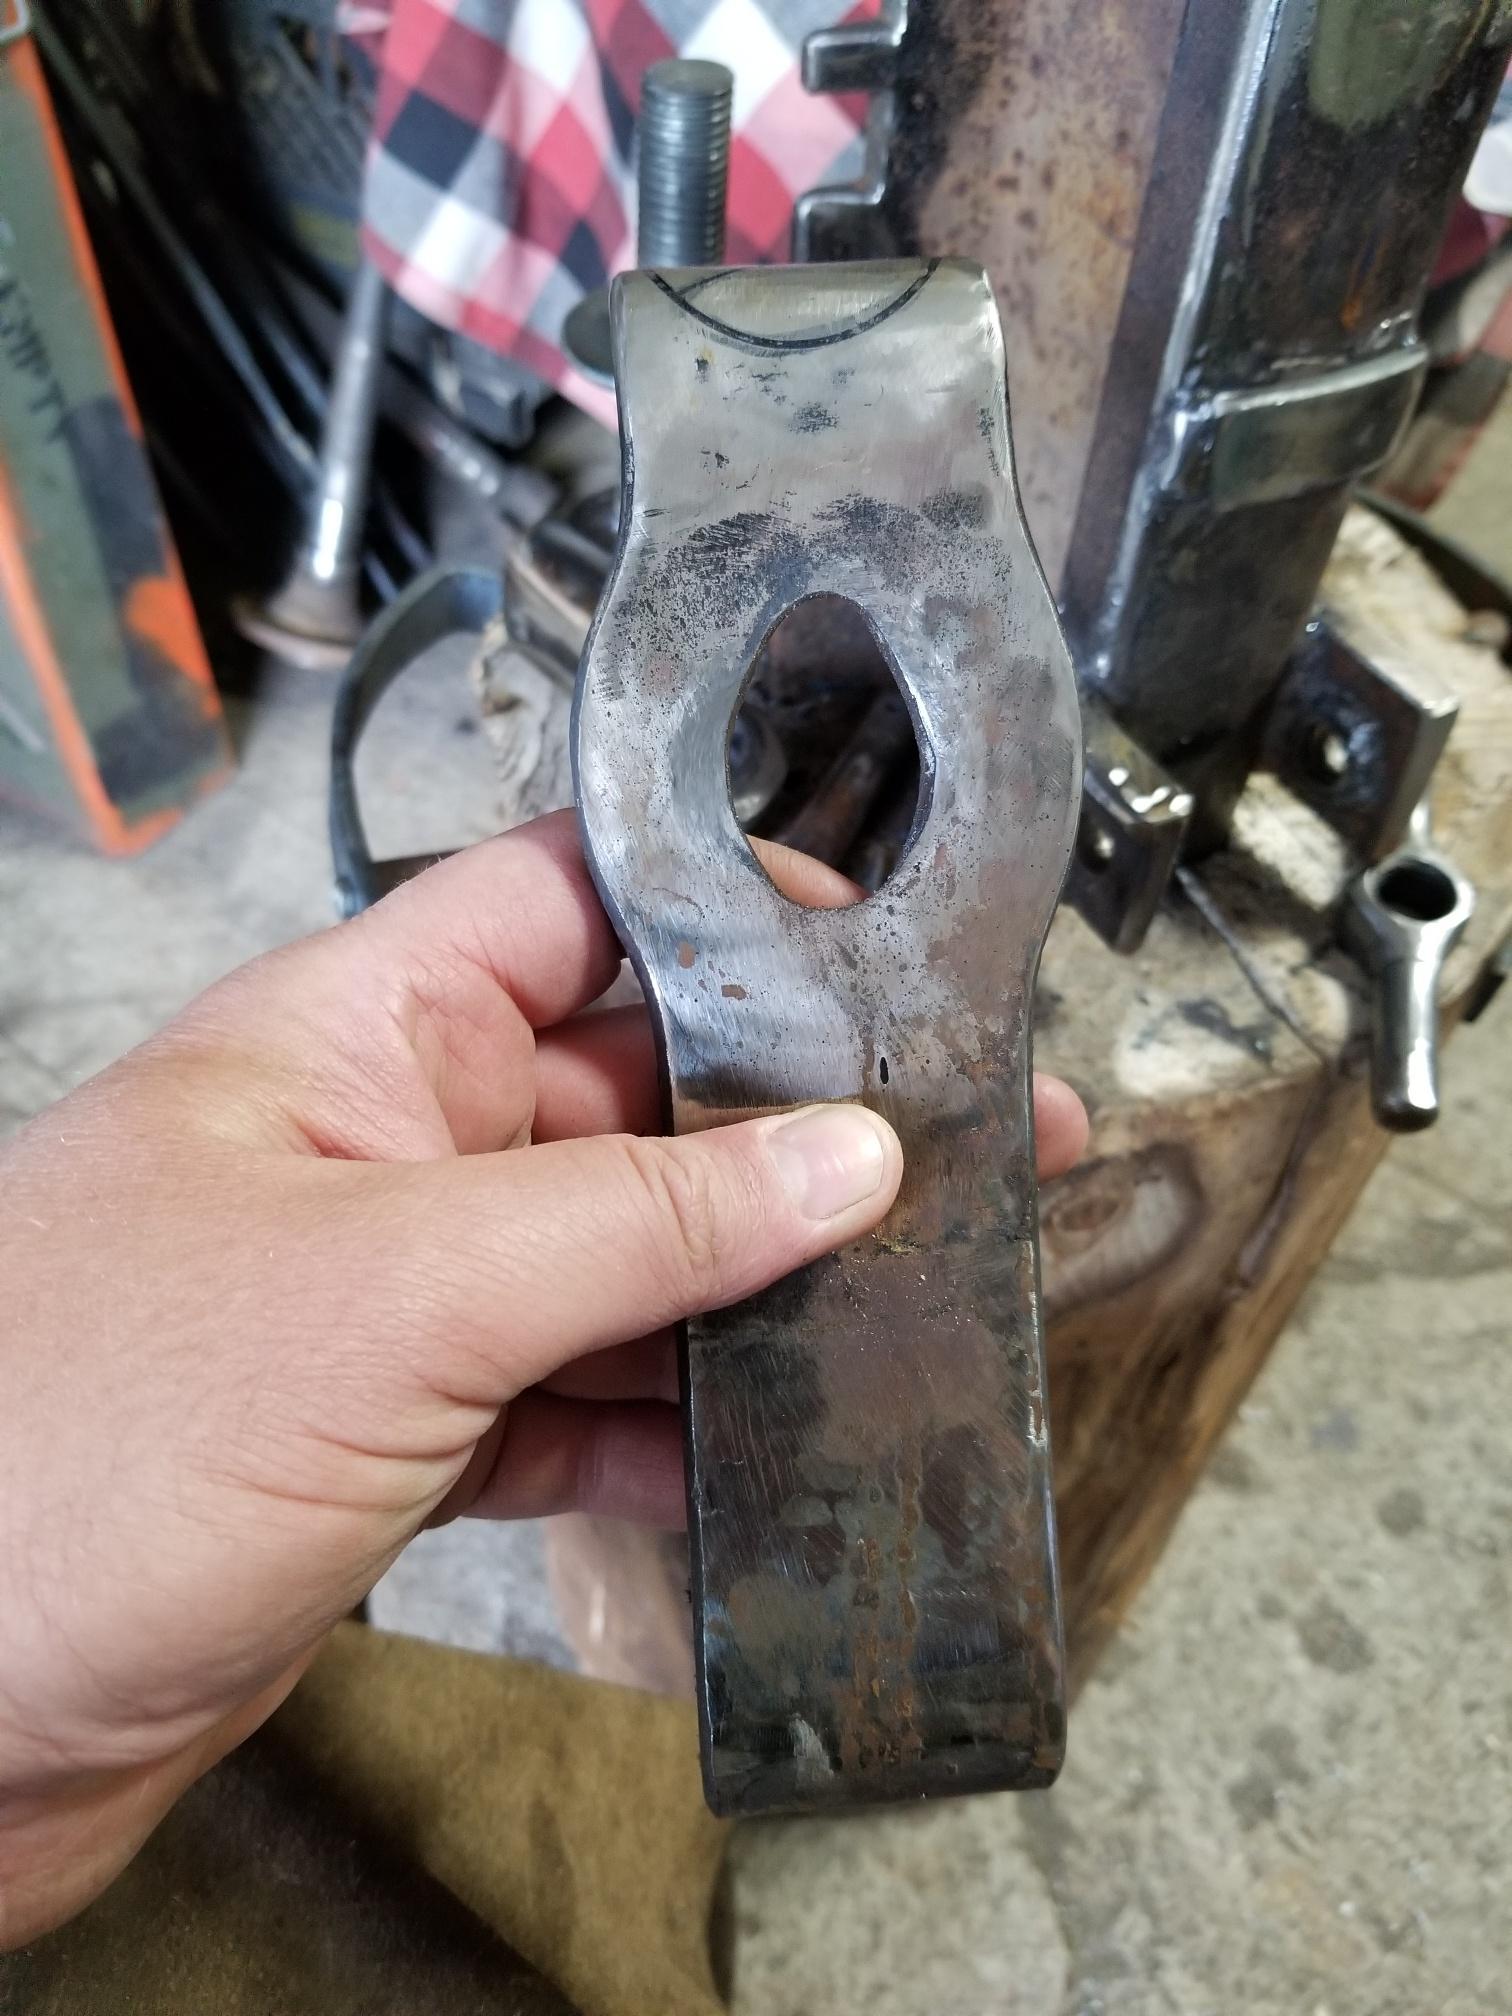
Thank you! Yeah, it could use more meat on that top jaw. My plan for Version 2 is to use a big 3/4 semi truck leaf spring when I find one. I also think I will beef up the bottom pivot pin to take the additional abuse and be more like a post vise.
-
thanks guys, very kind of you all!
-
Epic! good for you!
-
Thank you Irondragon! I am mainly just happy I don't have to lift my main anvil into the car for meetings anymore.
-
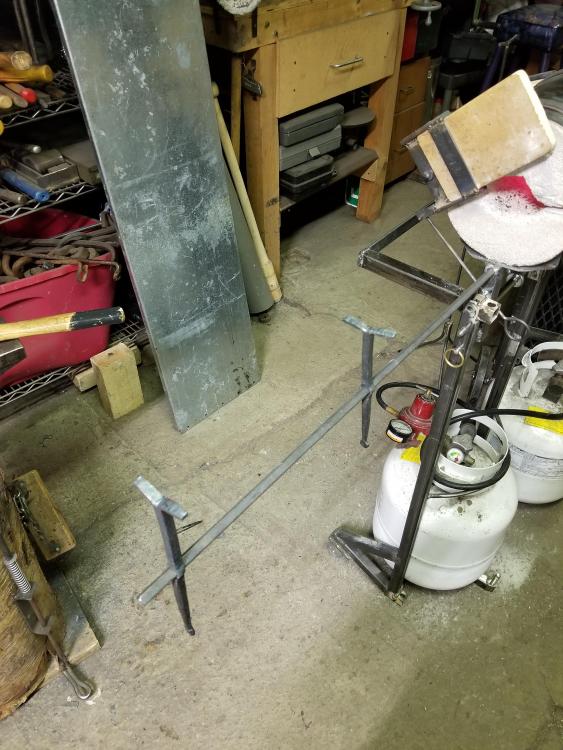
I like portable tools to save weight for going to our local meeting.
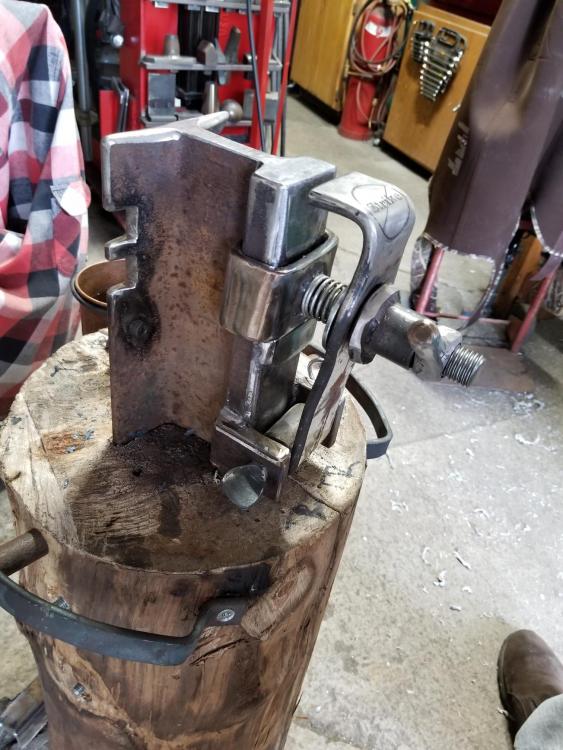
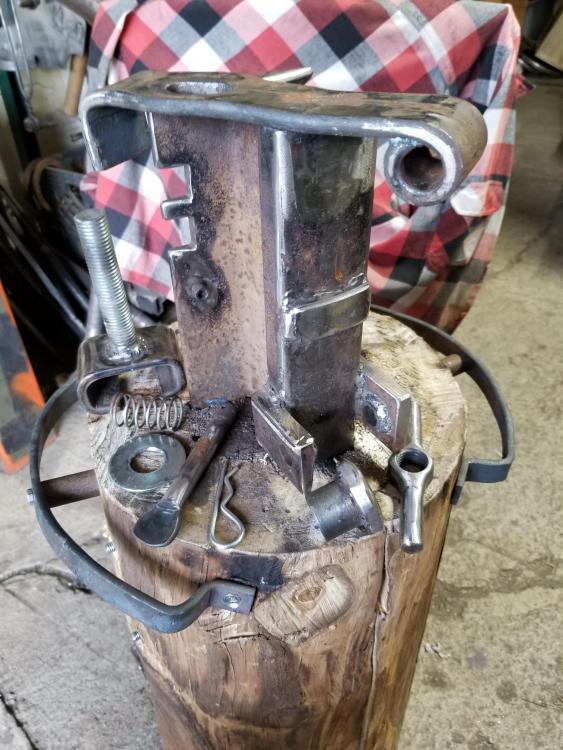
This is a fairly common RR anvil mounted on end, but I have a couple changes. I added a clamp to hold tools since no hardy hole is available and a built in ruler/center punch.
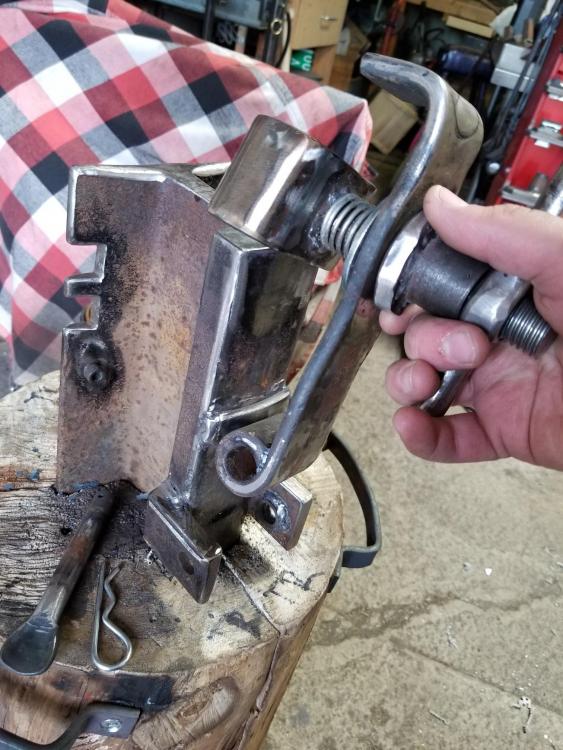
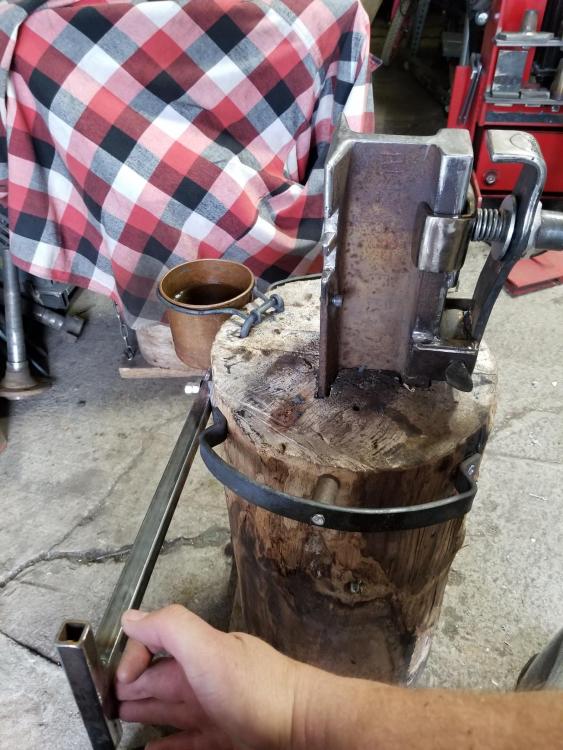
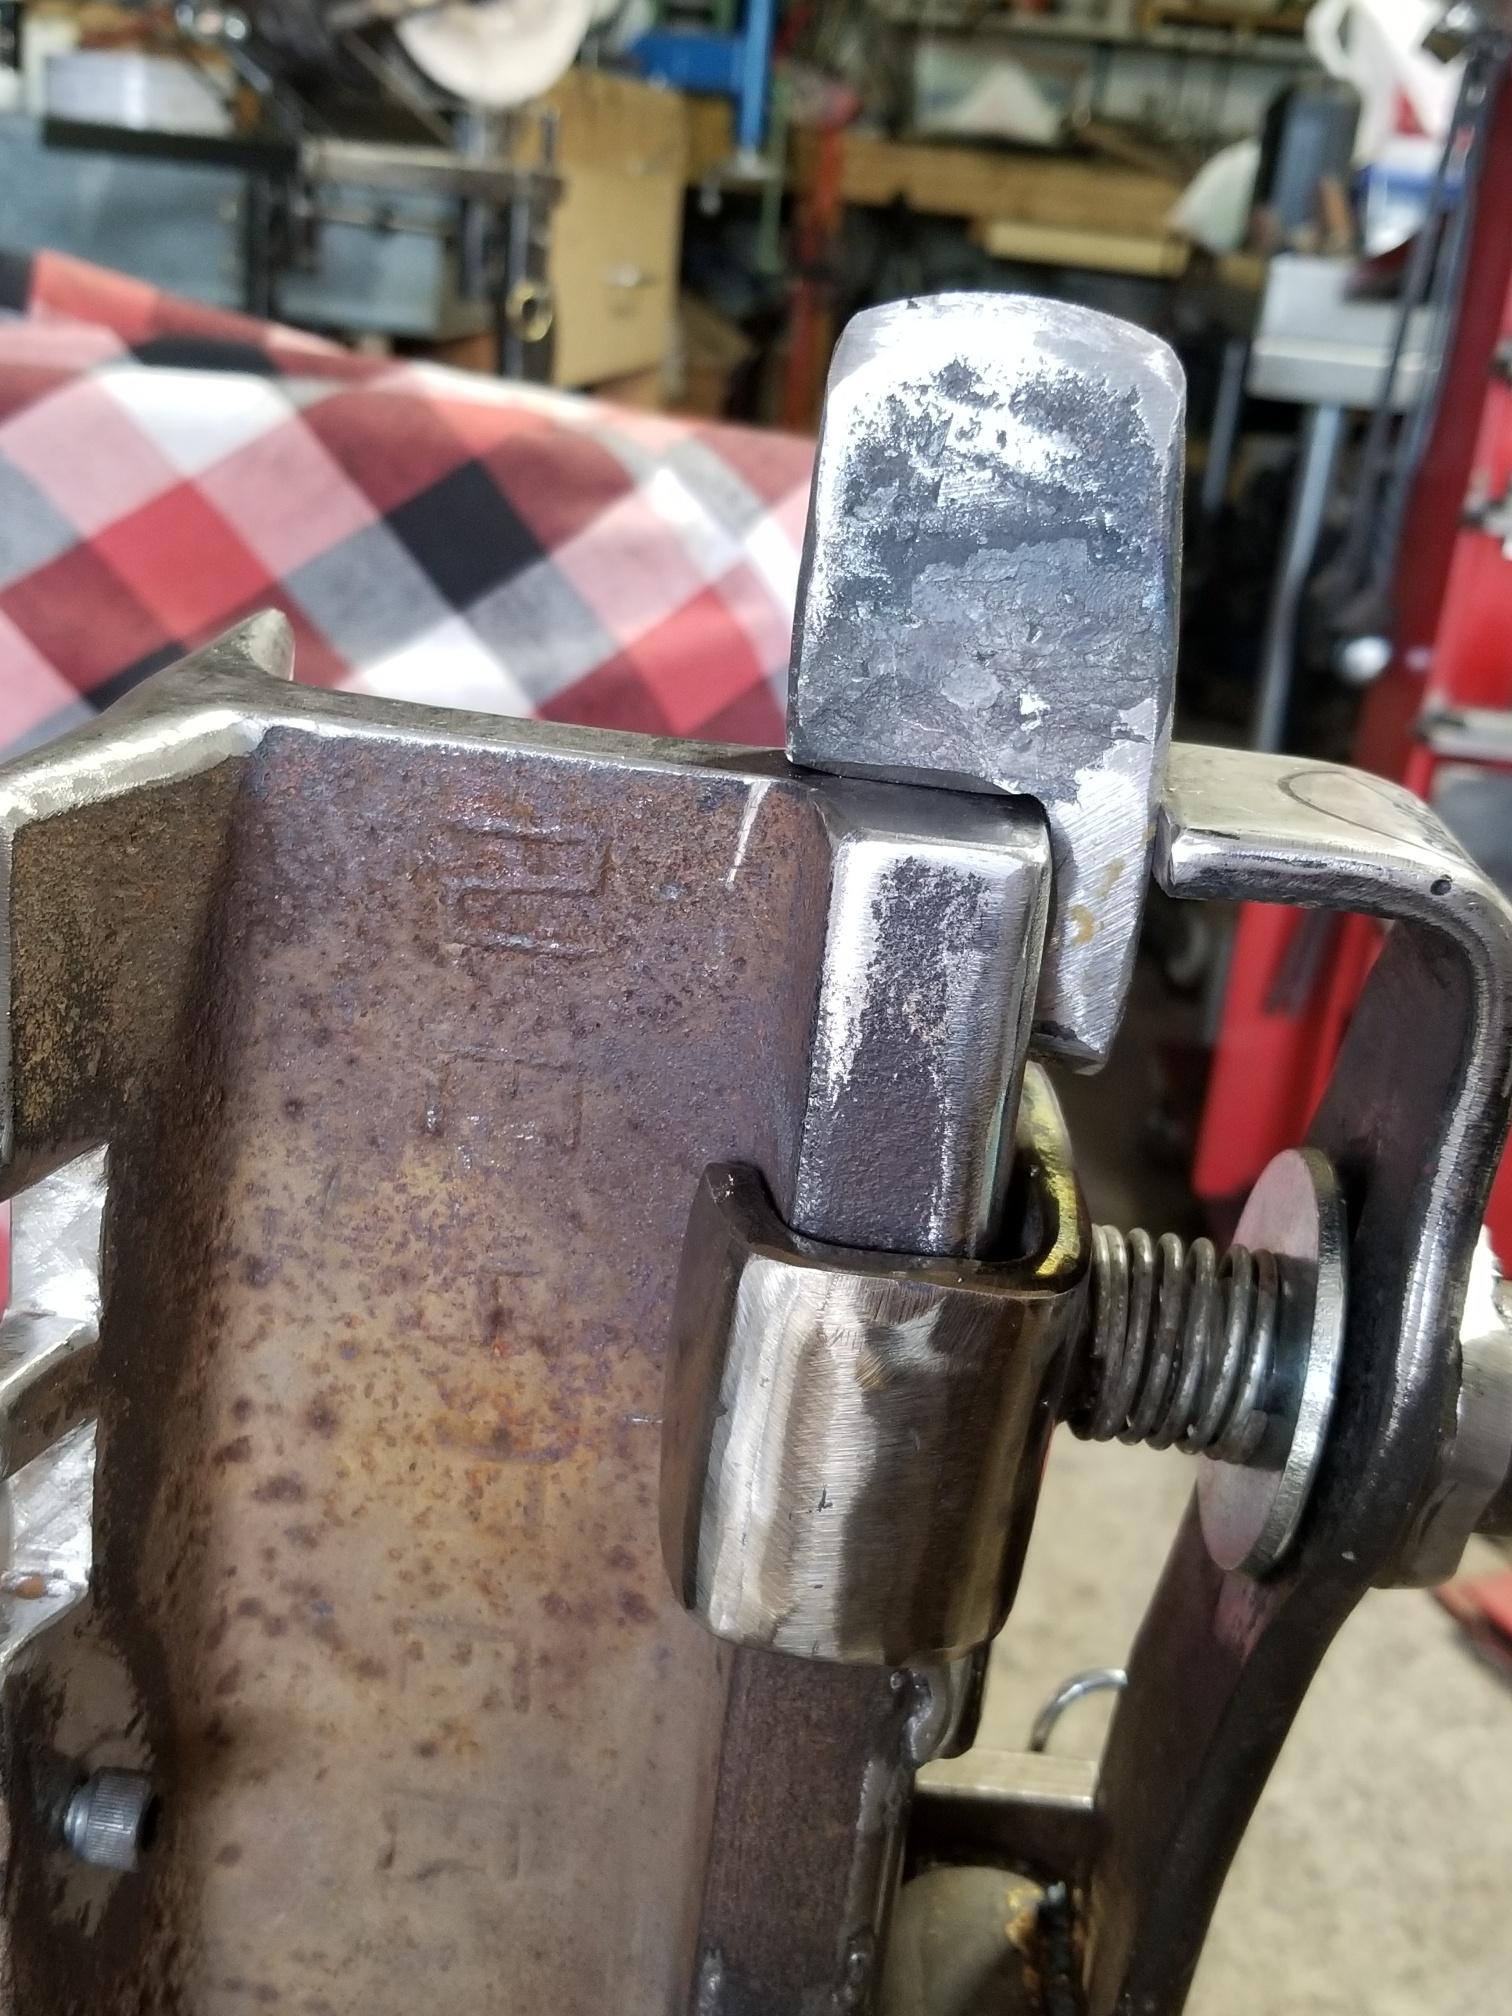
The clamp is built like a post vice so accidental strikes don't cause major issues, someday I would like to upgrade it to a heavy arm and use it as a little post vise, but for now it is handy for clamping and twisting. The screw is 7/8" welded to a collar that slides down the anvil to a stop. the tightening nut/handles are short so as to not interfere with something hanging out of the jaws, but I have a short pipe handy that slips over the handles for extra torque if needed. If you remove the pins on the bottom the whole clamp slides up and out of the way if you need.
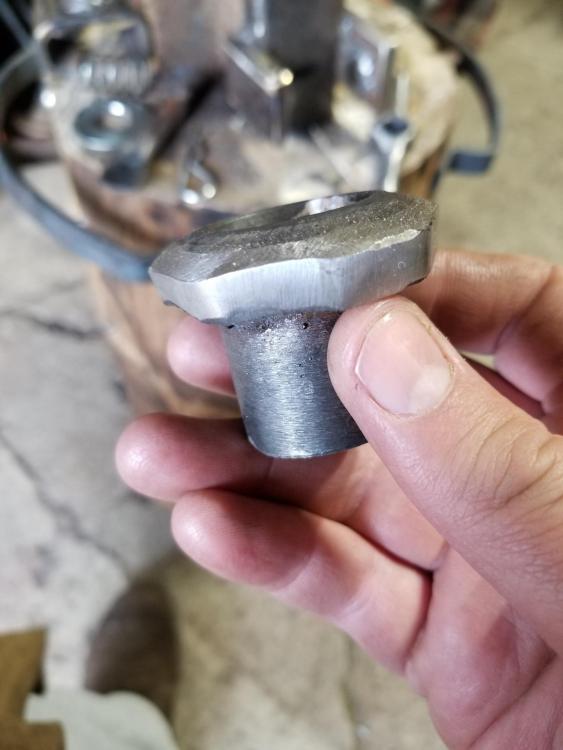
I currently have a hot cut and a plate top with a small pritchel hole for it. Guillotine coming soon.
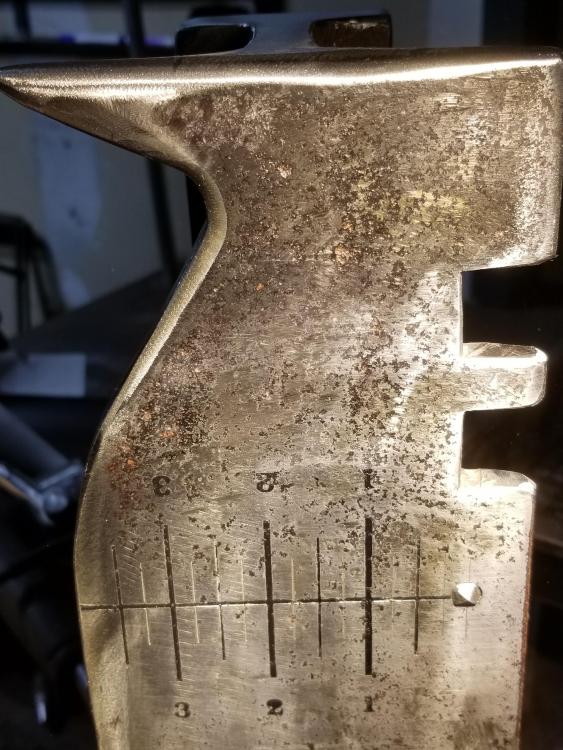
The ruler is etched in to the anvil itself on the bottom of the flange, it is about the most useful tool I have ever made. there is a small hardened and sharpened bolt on the 0" line. place material over punch, measure and one hammer hit will give you a punch mark for layouts. Center punch to anvil edge is 4" even, so not difficult to get longer measurements . I do wish I made a line for 0" though not a deal breaker.
I added a swivel handle, water cup and wheels on the back. Tong rack/handles on the sides as well.


-
That should do the trick. I only mention it because there are lots of burners out there that are not easy to adjust the balance so he could be needing to adjust his burner. I use a Frosty T which is set and forget (love it!). So often people build them and once it is running they think they are done but they have a crummy mix for welding.
-
No sweat, I don't want to be that argument guy either. Life is to short.
My words weren't correct. By fuel I mean combined air and gas. If your mix is way to high in air and low in gas you can still put so much of that bad mix into a forge that flames will come out the door. It is not a reliable indicator that you have a rich enough mix to weld. I have failed to weld many times with flames shooting out the door and metal thinking about melting in the forge all because there was just a little too much air. a small adjustment to the mix and I welded just fine (and at lower temps).
-
If you are dumping too much fuel into a forge it will have to get out to burn. It doesn't matter what the mix is, too much fuel is too much.
-
I see lots of good advice here, but think it would be worthwhile to contemplate the gas/air mix. Welding in propane gets a bad wrap because so many burners out there run and heat just fine, but the mix is still off for welding. A little too much oxygen and bam!- no weld, or crummy weld and the smith thinks it is their fault. Try putting a small handful of charcoal in the forge to soak up excess oxygen next time you weld and see if it helps.
-
14 minutes ago, Frosty said:
On the other hand anybody tries calcium chloride in flux, let us know the results. My slip of mental filing might turn out to be a "Happy Accident."
Frosty The Lucky.
Frosty, I went and looked at Calcium Chloride to see if it was a reasonable thing to try for flux or not. Learned a ton, apparently it is used as a flux for Titanium production... Makes one think...
But apparently it can't be used in reinforced concrete as it corrodes iron, so I would guess probably not the best idea for welding steel. I did like to see it is used for making activated charcoal.
-
51 minutes ago, Frosty said:
Your kitty looks like it needs brushing, maybe if you offer the neighborhood . . . chemical cooker a few bucks to brush it. . . ?

Frosty The Lucky.
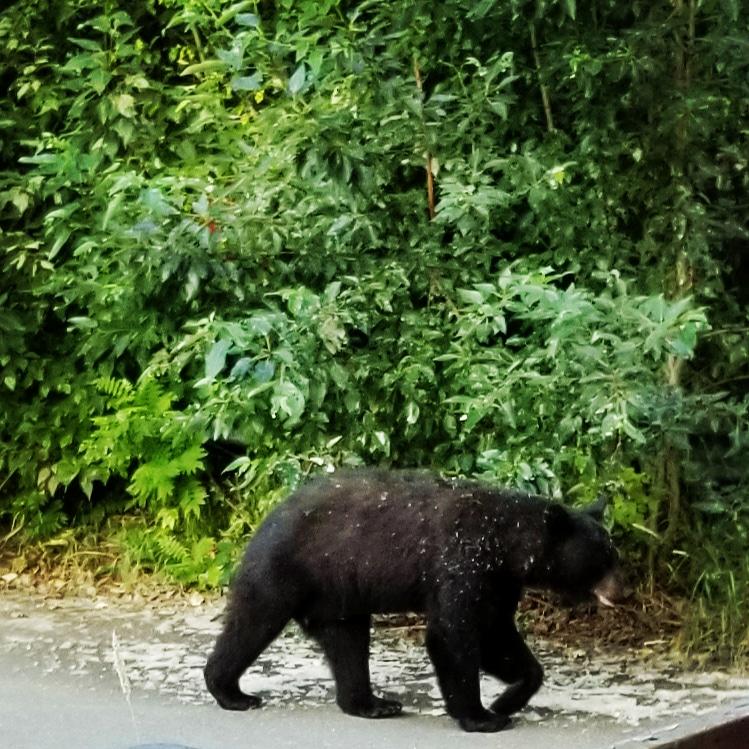
I was hoping they would develop a taste for Meth head and help reduce the numbers around here... If they did I would gladly brush it down. I am surprised you haven't seen a bear up there on the fault line, but that is a good thing for the pets.
-
Working very early in the shop the other morning I hear a cat outside in the scrap pile. As I come around the corner both the "cat" and I realize we want to go other directions, quickly. Not exactly a pet, but as close as I will probably get to having one in the shop.
-
Fancy! Real slate! I have to settle for a white board.
-
The Association of Alaskan Blacksmiths is proud to present our 2019 Visiting Instructor- Peter Braspenninx of Phyre Forge.
If you are unfamiliar with his work take a look at his gallery!
http://www.phyreforge.com/gallery-1
Day one is to be basic to intermediate Joinery and layout. Day two will build on the previous days work and stretch to include fire welding.
Class will be held at Arctic Fire Bronze Studio in Palmer Sept 21-22 of 2019 and will be limited to 6 students.
Fee $300.00 Prepayment required to reserve your spot.
Serious inquiries please PM me for ticket sales information. -
Aside from the obvious things like saving on therapy costs and generally living a happier life I have met some fantastic people that I otherwise would not have had the honor of knowing. I have learned more than I care to admit and a couple callouses that I am pretty proud of.
-
looks nice! Patina is always the big issue to tackle once you can weld and get a good pattern. I hear there are some good commercial formulas, but they are way to expensive for me to try in Alaska. I get pretty good results darkening copper with Ammonia fumes. Easy to go to long though, and it effects brass about the same as copper. Looks really good on nickel/ copper mixes.
-
that is a really nice looking billet for a first go at it!
-
nice job Wicon!
-
Hi, Mike. Are you here in Alaska? PM me and we can talk if you are.
If so you just missed our Group Build on Gas forges, but we could help with plans for you and sourcing parts locally.
-
Awesome job JHCC!
-
I am so tired of hearing about forging swords, I need one of those as well. 8-)
-
I have a soft spot for portable equipment. I have made numerous portable kits mainly for use at our club meetings. Happy to see your set up. I see it really lacks nothing. 8-)
on that last photo what is the hammer with the guard?
-
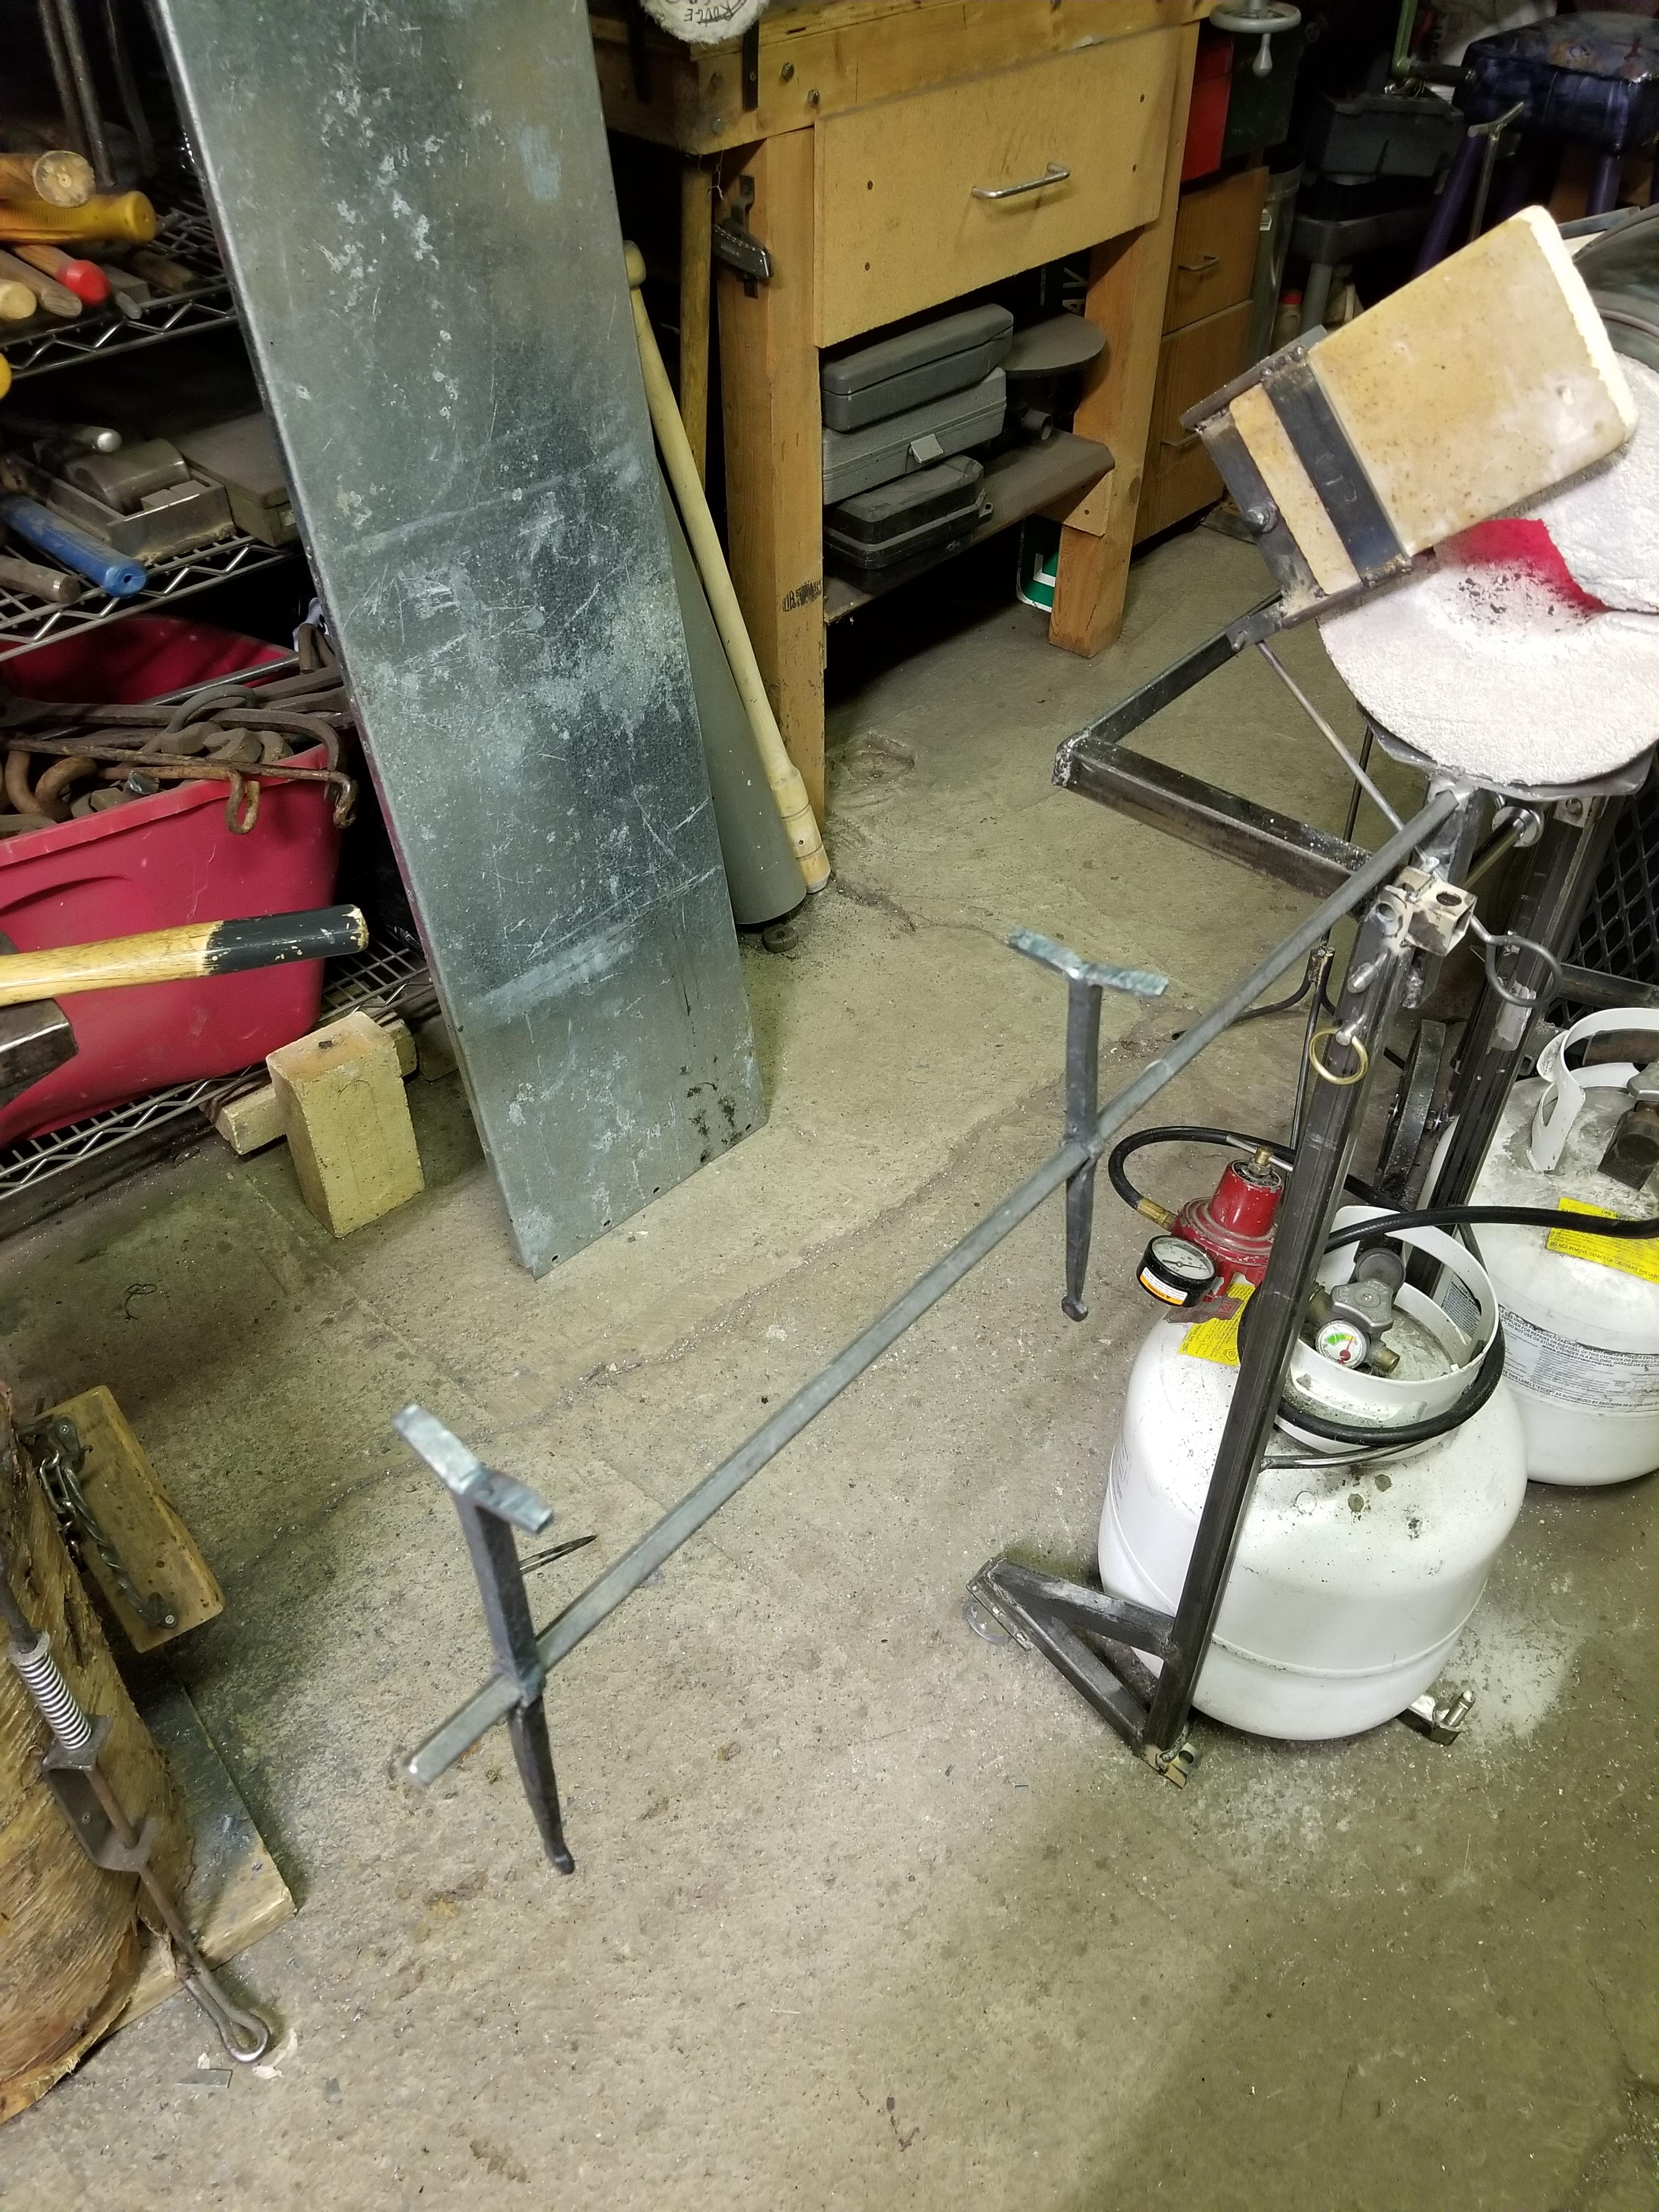
The one on my portable forge is light but works well for what I normally do. Diamond holes on the frame, front and back stop twisting and allow for the 3/8" stock bar to be slid in and out as needed. The dogs slide as well so they can be stowed for travel. the whole rod stows in the leg.


Tristan's RR anvil with clamp
in Anvils, Swage Blocks, and Mandrels
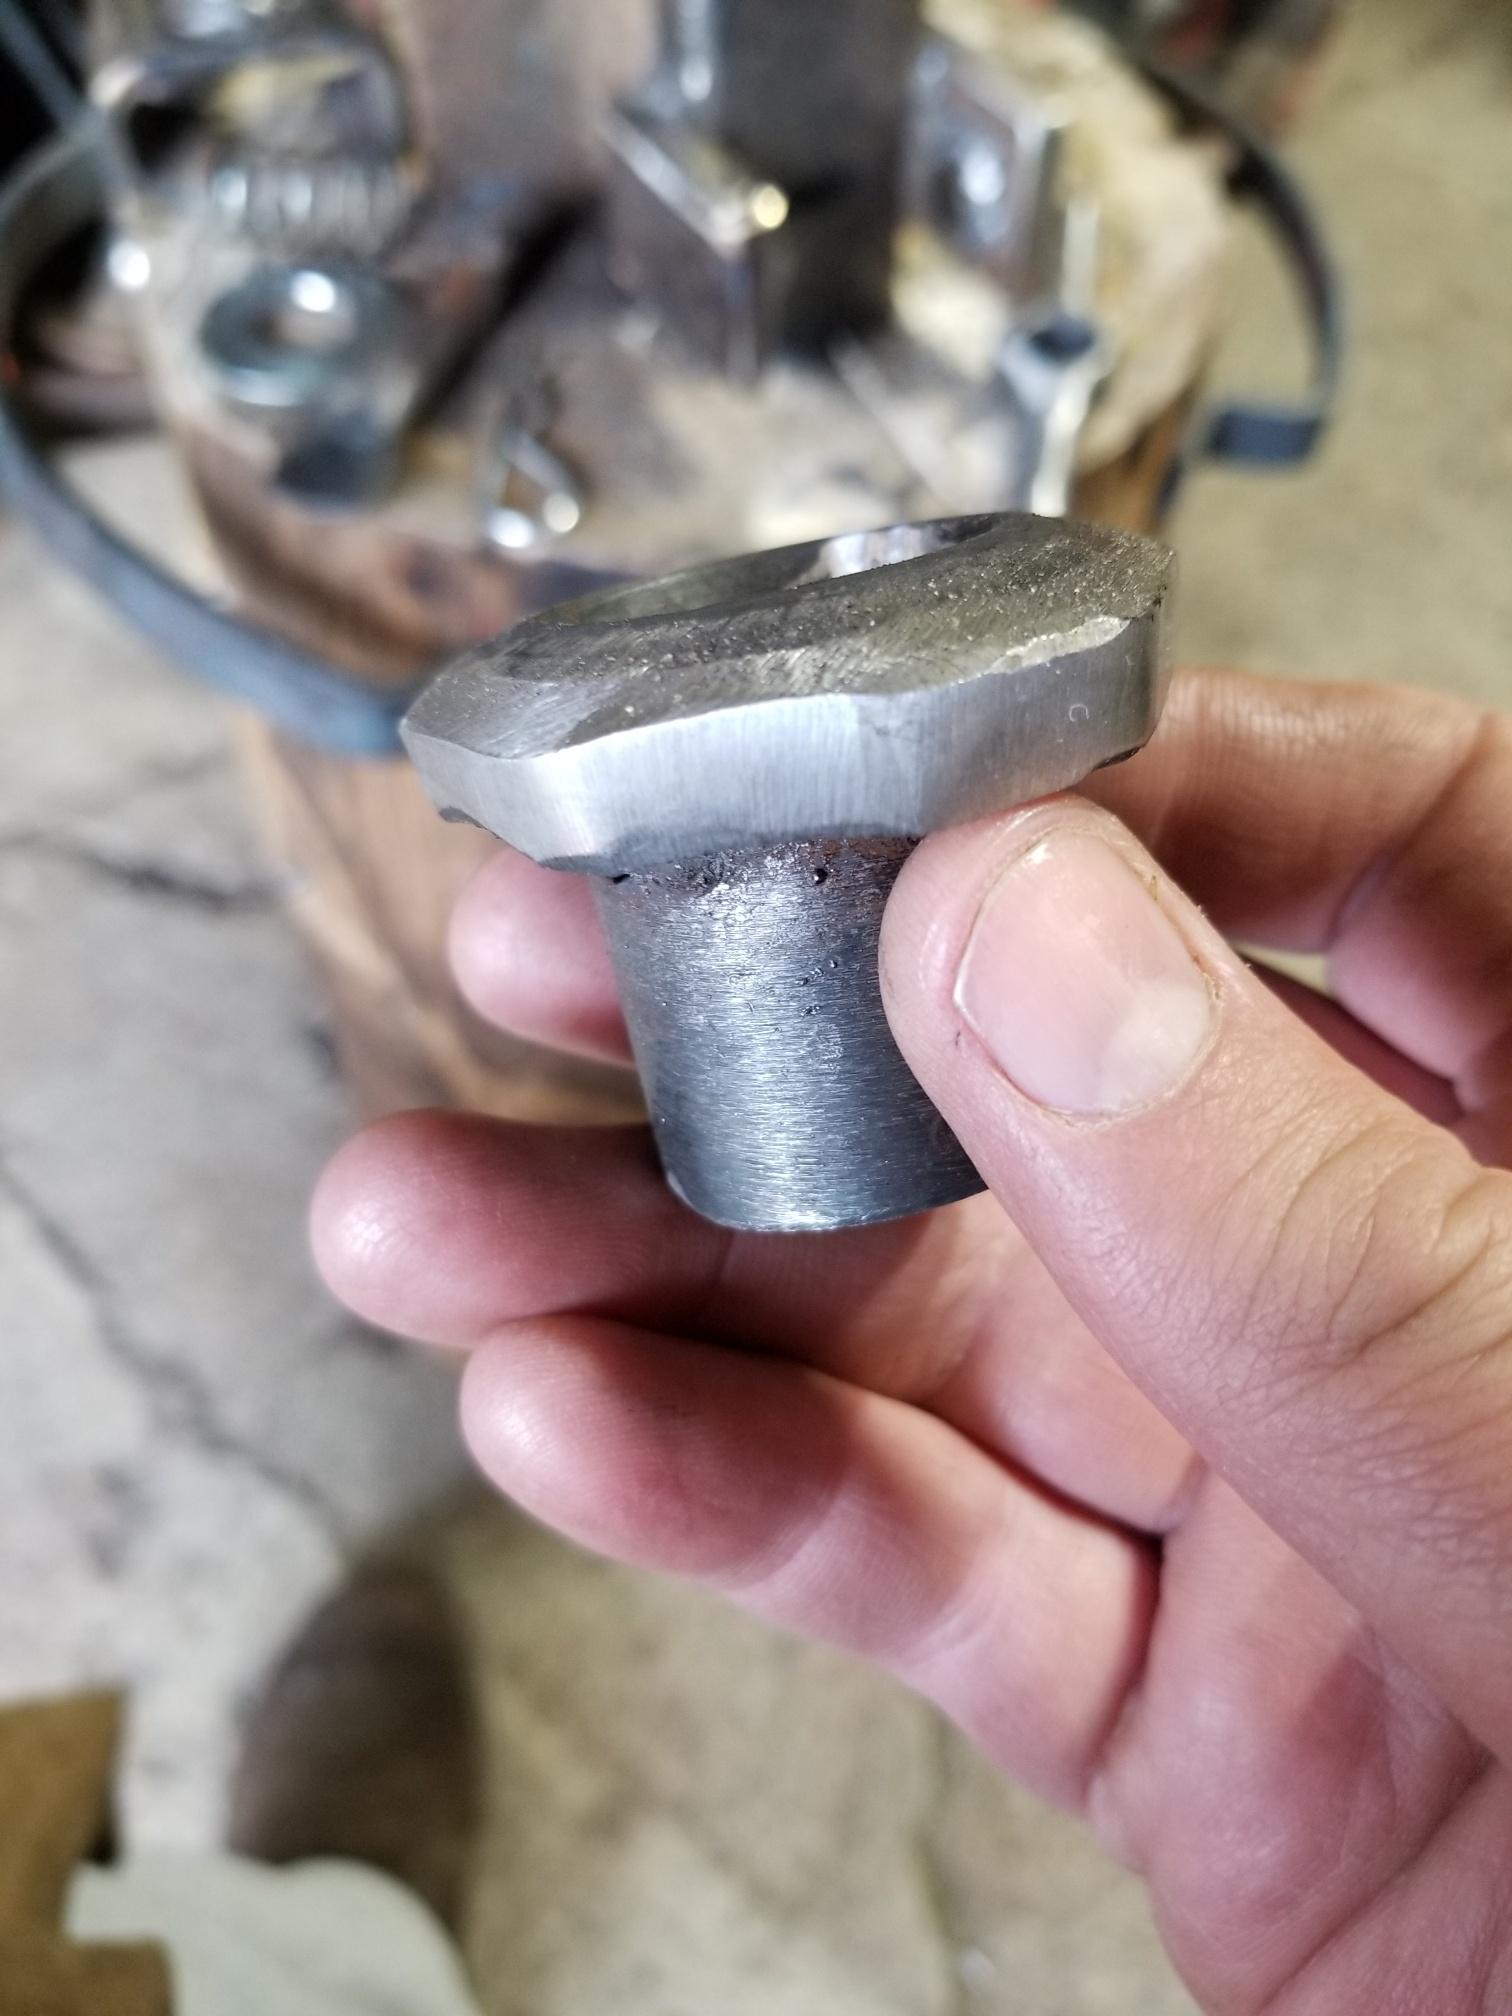
Posted
I think it's going to be ok. It welded easy enough, no cracking anywhere. I used 7018 rod. I had a drop left over and found that I had to water quench it to get it hard, so I think the heat effected zone won't be terribly hard.