Walnut Square Iron
Members
-
Joined
-
Last visited
Everything posted by Walnut Square Iron
-
I have the same one. 201 lbs. I believe Frosty called it the lady with the surprised look. I have torch marks too. It is a great anvil.

-
 I do also. A stand alone cob oven. I need to make some hooks to hold the rooker and I need a scuffle for bread making. I want to make a forged 3 legged trivet to keep dishes an inch or two off the hot firebricks. It would hold pies and lasagna pans up a little. Rooker is an old bakers term for rake.
 -
Ken, Nice rooker. Do you have an outdoor pizza oven?
-
-
-
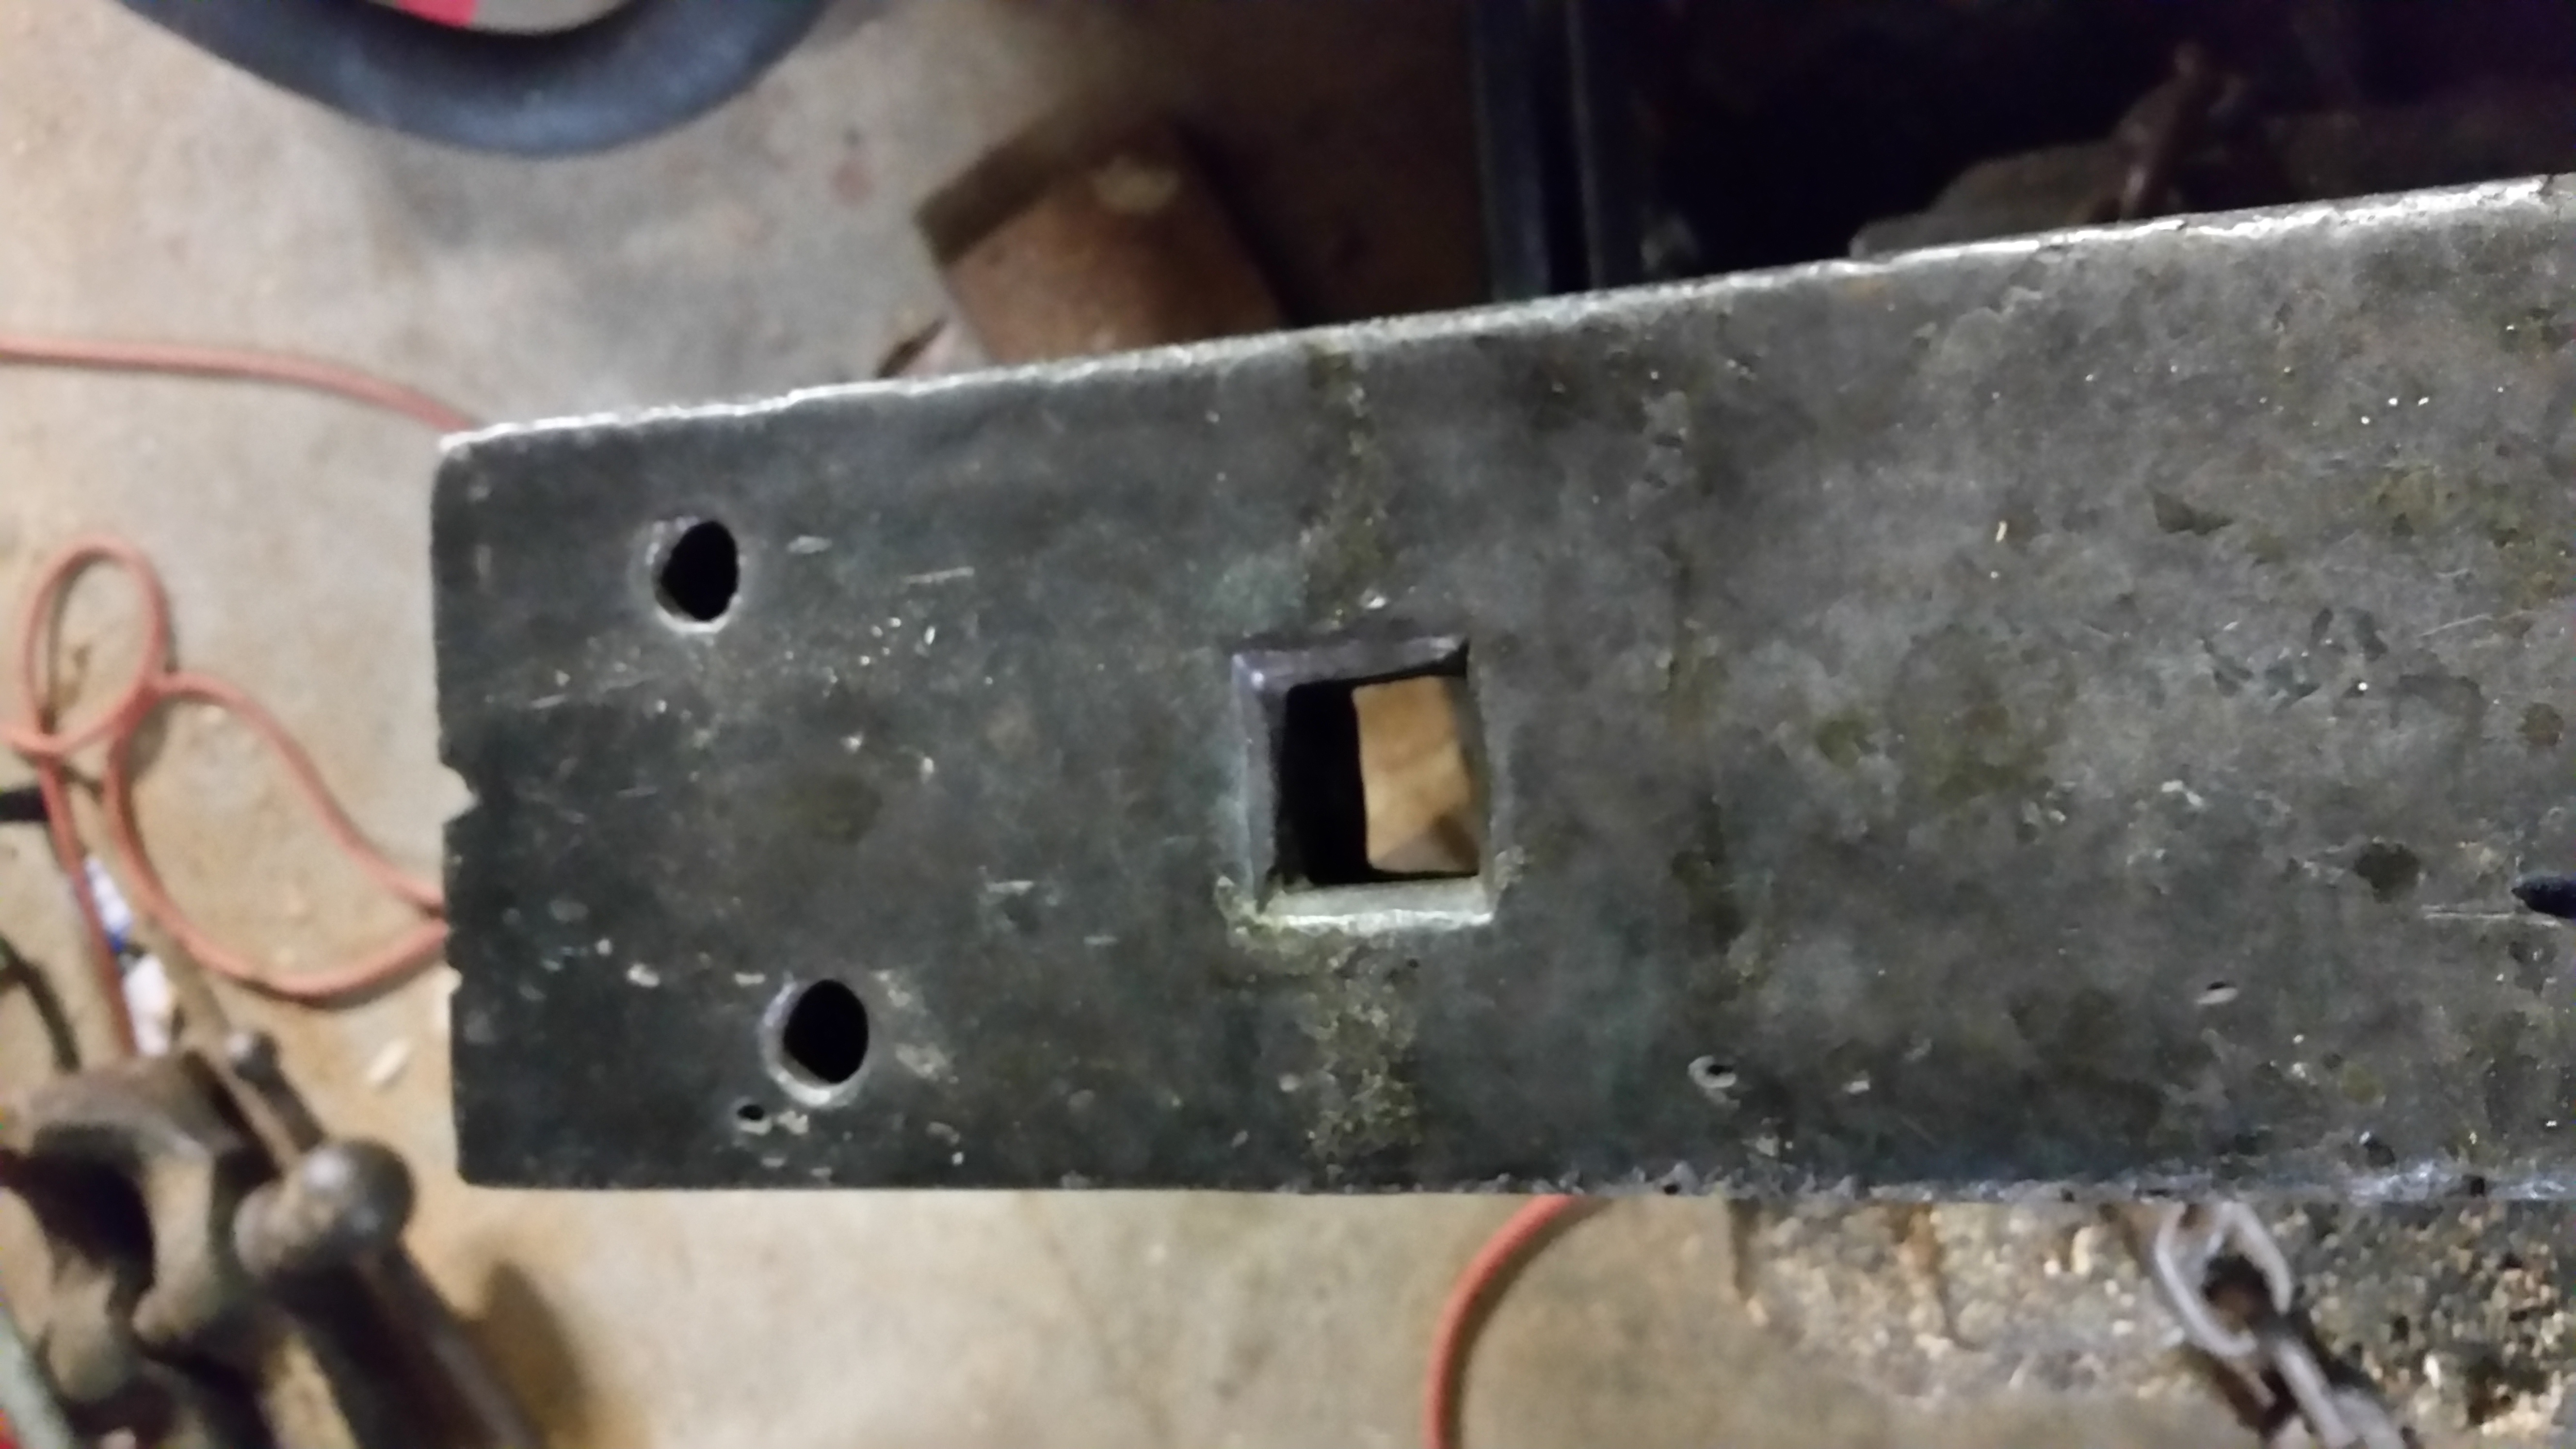
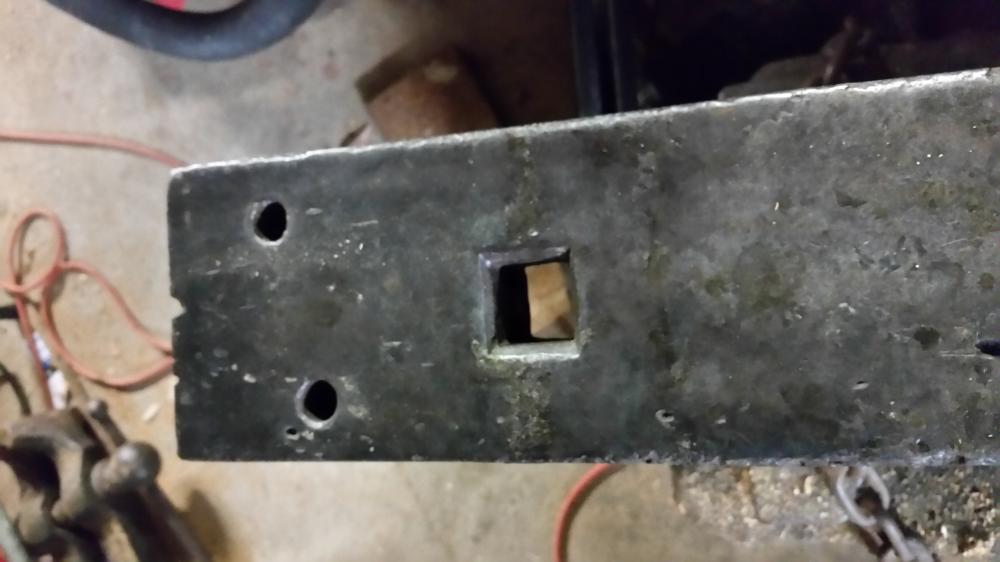
I have a Columbian D44 that was my grandfathers. I have used it for several years now but I am noticing that I can't lock the base like I used to. In this picture, the bolt is unable to spin at this part of the channel, so tightening it is not a problem. Further along, the bolt spins. At the other end of the channel, it spins freely. View of the bolt. I am wondering if this is the original or was it replaced at some point? It would seem that the bolt should have a smaller square under the head to fit nicely in the channel. The corners of the bolt have very little wear to them, otherwise I would just replace it. I was wondering if the underside of the bolt head had some sort of knurl or groves to help it catch better to prevent spinning. Maybe I have a washer missing? This one has me stumped. I appreciate any help.
-
I have worked with charcoal, bituminous and anthracite. I use charcoal for start up or for forge welding as I feel it burns the hottest. The sparks that jump have burned into my skin on occassion. I use anthracite mostly to be a good neighbor for smoke reasons. Do any hardware/feed and grain stores carry anthracite stove coal? The ones around here have it in stove, nut and I think rice size. How about stove shops that sell coal stoves as a possible source or can direct you to one?
-
-
Thanks Frosty. I am always looking for items to repurpose to the style I like.
-
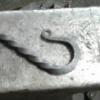
Thanks all. I got the idea from a door knocker at Plimoth Plantation.
-
I saw this door knocker at Plimoth Plantation in Plymouth, Ma. I put the basic shape into a recent project.
-
Thanks Vaughn. The other change would have been to use a longer piece of stock so the legs on each side could have gone all the way to the bottom of the lower block and wrapped under it for more security. The screws have polyurethane glue in the holes to keep 'em tight.
-
I am kind of new here and this is my first contribution of a small project. The thermometer was a gift from my in-laws, but they knew that I would not like the original base. It is a bit tippy and cats or kids will eventually knock it over. I took a piece of driftwood and cut it in half and used a forstner bit to make the hole that holds the foam pads to secure the glass tube. I used a piece of 1/4" square stock about 36" long. I had a post going the other day about symmetry and this is the result. The ends met up well, just the twist was off. I would have liked the top where it hooks not as wide, but it am happy with it. Original thermometer. Cored out block with foam pad. Made a top one also. I ended up flattening the ends and doing opposite twists while it was still straight. The twists ended up being a 1/4" off from the opposite side. It was good practice though. I bent the rod in the middle and made a bell shape bend to hang it on the hook. I secured the bottom block first and then the top. I made a simple scroll end hook to hang it on. It will end up in the house, up high and away from danger of being tipped over.
-
I did not even think of the direction of the twists. Towards or away from each other will look great. Thanks
-
Good idea. I may heat with a torch in the post vise for the twists and do the rest of the work in the forge.
-
I was looking for ideas on how to mark on 1/4" square mild steel in the areas I want to twist. It will be one piece of rod, bent in the middle to hang on a hook. Essentially a long upside down "u". Where the two legs hang down, I want to put a twist on each leg half way down. I would like the twists to end up across from each other as close to parallel to each other. I am thinking mark the rod with chalk on both legs, leave the "u" open so the legs are apart , heat and twist one leg then the other. My other thought is heat both legs at the same time to have the same area heated and twist one, reheat and do the second leg. Any thoughts as I am still new to this, so I am hoping to get some direction. I can picture it in my head what I want to do, but the best way to get there is not clear. I don't think the 1/4" rod will hold enough heat to do one quick twist on one leg and then the other. The legs hanging down will be only about 3" apart, so I should be able to heat them at the same time. Thanks for any ideas. Jon
-
It sure has a nice look about it. Great re-purpose job. Jon
-
Agreed Thomas, lunking these things around is not too much fun. I brushed it down today with a wire wheel on the angle grinder, it was good to get the paint off it. I still cannot locate any marks, letters or numbers. It is rough all around, except for the face. I checked around the feet, nothing that I could discern.. Here are a few more detailed pictures. It looks like I will get around to using it tomorow. All cleaned off. Seam where leg attaches. Top plate seam line Ridge under horn by the waist.
-
The top plate looks like one piece all the way across just over 1/4" thick. The feet look like each one has a fine seam line where it meets the body. Once I get it brushed down, I'll get some more pics.
-
Thanks. Well, I looked it over really well at the shop and found no id marks. I just happened to have a cross pein in the truck that picked up at an antique show a few weeks earlier and got the ok to tap the anvil all over. I explained to the owner that I was taking a chance buying it not knowing much about it. I figured if his story was true, then it had some age on it, I might be onto to something. We were both happy at the end which was important.
-
Thanks for the replies. I like what has been said here. The maker is not particularly important to me as I was just hoping I picked up a decent piece. Blackfrog - I paid $160 for the anvil and base. The base weighs in at 88 pounds. I figure that I can try to sell the base or sell it as scrap and come out ok.
-
I set up my forge outside in good weather and my Hay Budden can be a little awkward to move outside from the basement. I was looking for a smaller anvil from 75-100 Lbs that I could move around easier. I drive by an antique shop everyday going to work and saw this anvil outside on a porch strapped to a metal base. I will admit that it has been there for several weeks but I just did not make the time to get there to look it over. I know, shame on me. I discussed the price with the shop owner and it was his brothers anvil and had it for around 50 years in an auto body shop. It looks like the horn has an area where a ring or round object was hit hard and caused an indentation. So i figured it was not cast iron. It is painted glossy gray, so I took a wire wheel to it to find a makers mark. I looked all over this thing and could not find a mark. I have searched the forums here for english anvils and the shape looks right. It looks like the feet were attached, as well as the top plate. There is one small chip on the top, so I believe it may be hardened. There are three handling holes which are not aligned to the center, so I don't know if that means anything. The hardie hole is not perpendicular down as it has a slight lean towards the horn. The weight is 141 lbs on a scale which surprised me. It is stout and thick through the middle. I tried to do as much research to familiarize myself with this, but some questions remain. My questions are: Does this appear to be english? The anvil is overall rough in texture, no makers mark. The top is pretty smooth with just an 1/8" dip in one spot. It has nice rebound. Does the texture give any indication of what it is made of? I have read here that some manufacturers did not work their anvils smooth except for the top plate. I've also read here that there were around 200 makers of english anvils, do these pictures give anyone any ideas on who made it? I'm just hoping I did ok with the purchase. I can't use it for about two weeks until my vacation. I try to brush it down a little bit every day, and can't wait to get all the paint off it. Thanks for any help. Jon
-
-
Nice looking hooks. Sometimes the fasteners can bring the project together. I find brass screws a bit soft and have had the heads tear up if the hole going into the wood is not pre-drilled to the right size. I just did some small projects recently and used round head screws(slot head), dinged up with a ball peen hammer. I heated them up, wire brushed and put some beeswax on them. The color almost matched the forged piece. Epoxy in the hole never hurts to give added strength.
-
That looked good. This video came at a great time. I have a few worn files that I want to make into drawknives but smaller and thinner. I have never worked with heating files, so I will see how it turns out. I have vacation this week, so I hope to get in some forge time and turn out some useful tools.