

Michael
-
Posts
1,061 -
Joined
-
Last visited
Content Type
Profiles
Forums
Articles
Gallery
Downloads
Events
Posts posted by Michael
-
-
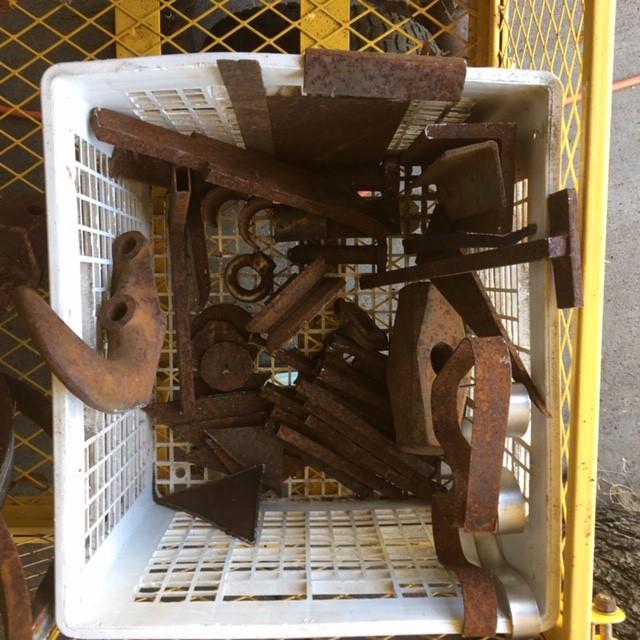
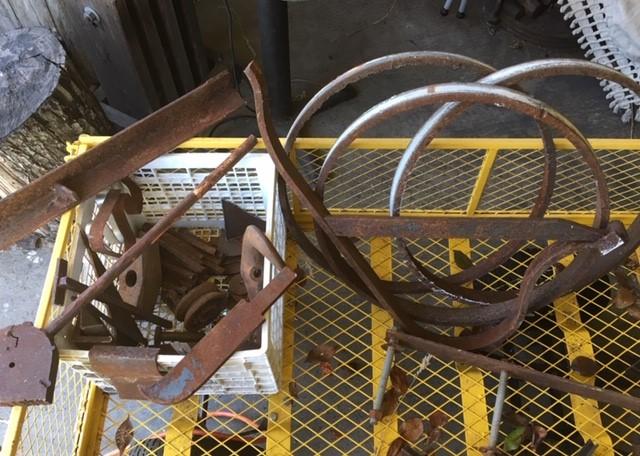
Pile of scrap free for the taking from a neighbor a few blocks away.
some 18" pipe sections, lots of 1/2" square shorts, triangular off cuts, heavy bar and rod.
Also cleaned up an 8# sledge head. when the rust came off the face and peen were nicely hardened and polished up to the limit of the sanding disk I had. Will swap out to a belt grinder to get the nicks out. The sledge came with an electric blower that will be nice to mount on the forge.
-
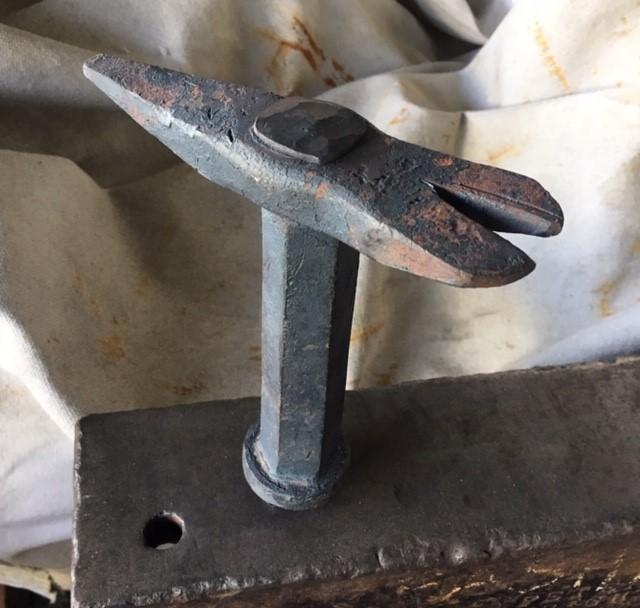
Congratulations! I've also got a 7/8 hardy hole (104# PW) and finally got around to making a 7/8 hole in a plate of thick steel to act as a bottom swage for making tooling.
-
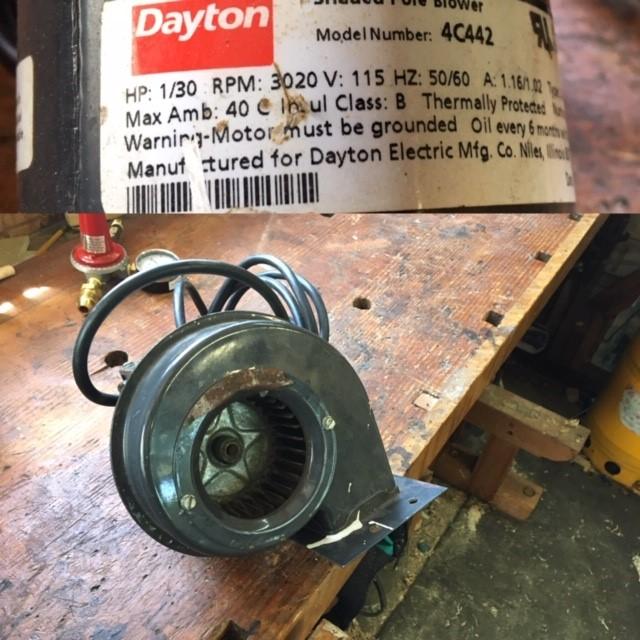
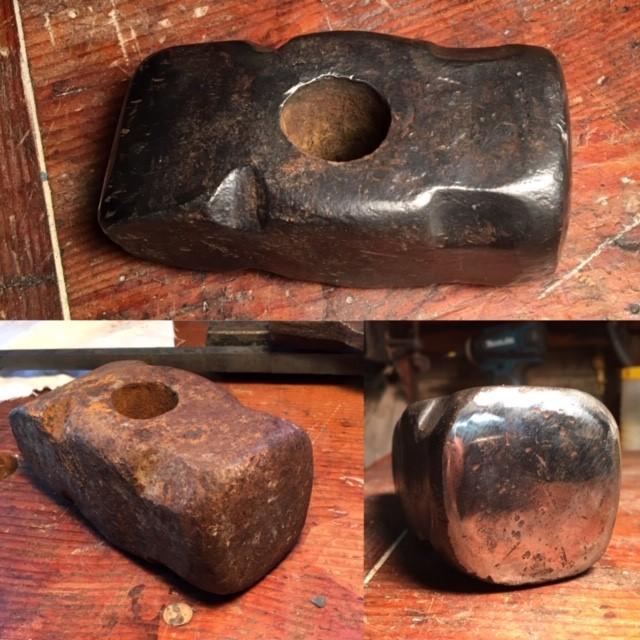
Garage sale near home showed up on Craigslist. Picked up the old sledge hammer head and a Dayton electric forge blower, both for $10.
Had to drive the broken handle stub out of the eye, which looks like it was punched by hand. I'm guessing 6 or 7 lbs, but haven't put it on the scale yet, need to clean it up, grind out the chips in the peen and handle it. Very compact and I really like the round notches style of these old hammer heads (I find a lot of them in garages, the narrow spaces between the garage door and the wall always seems to have a sledge or two in there)

-
3 hours ago, Chris Comtois said:
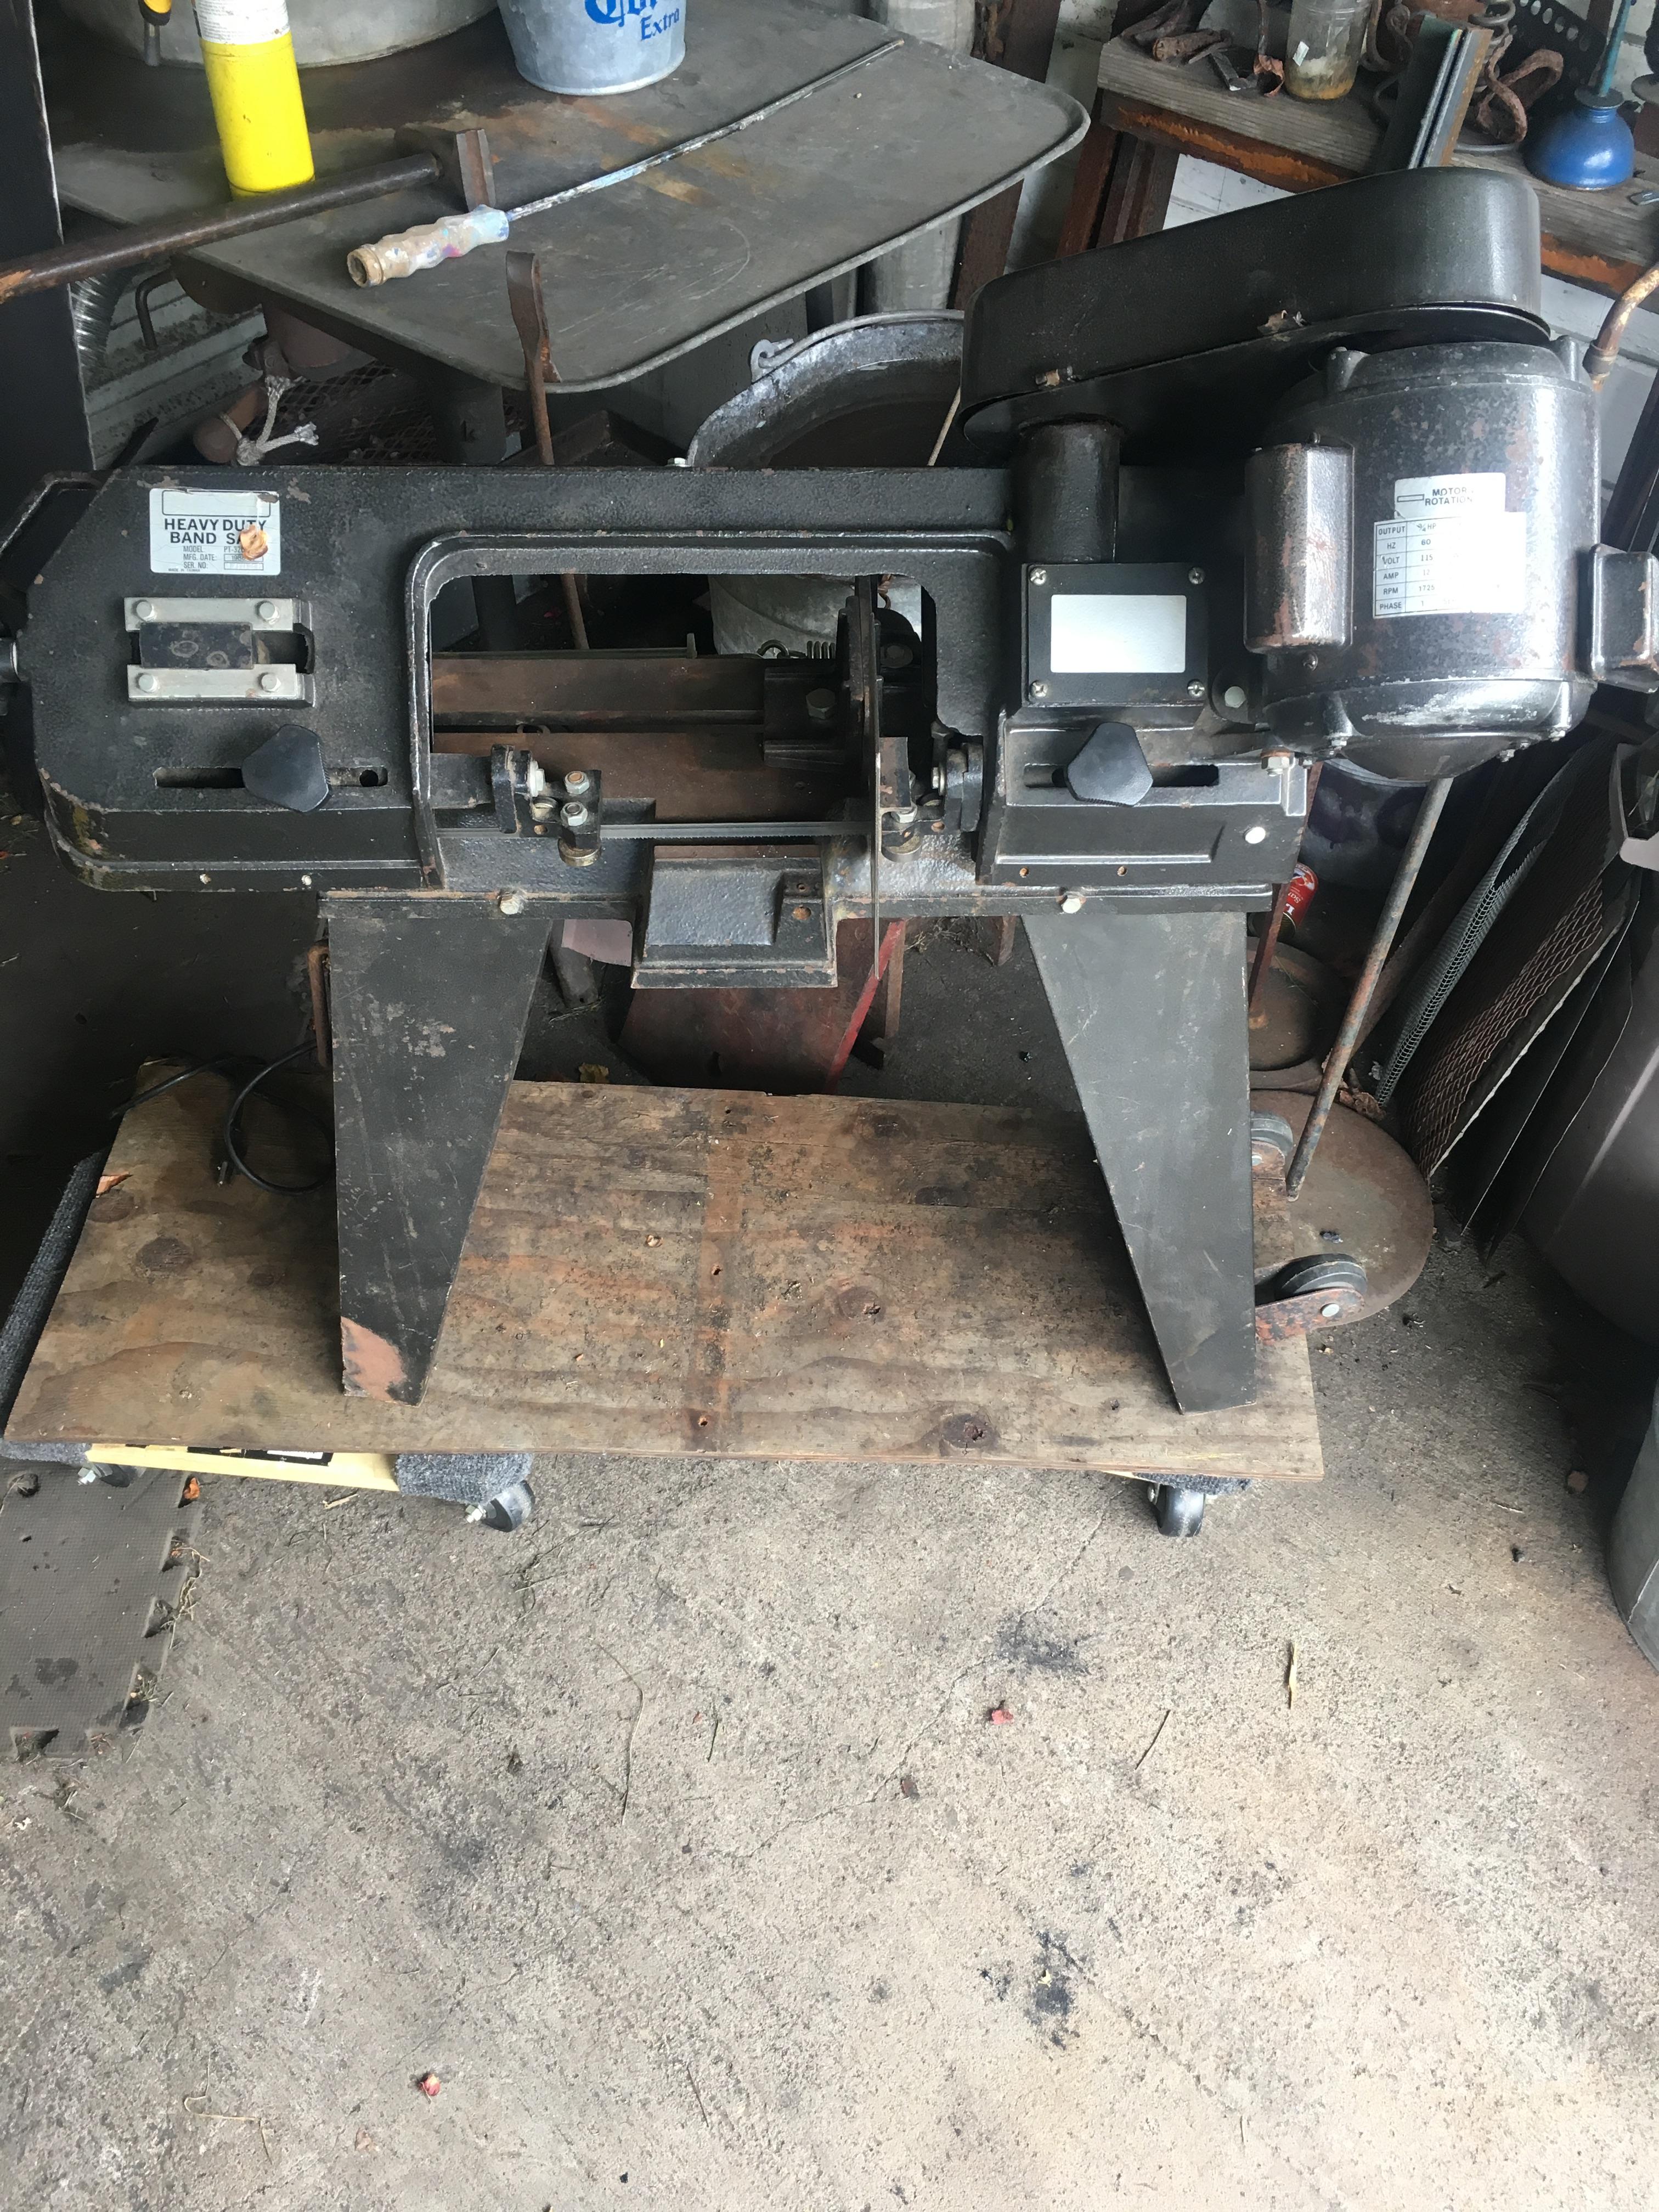
Here's the link to a manual for these machines. they were made under a couple of different labels, I think the one I have is a Craftsman.
They do take regular 12 inch hacksaw blades but they wear pretty fast in a power hacksaw. If you can get the slightly thicker Power Hacksaw Blades (one of my bookbinding buddies uses the used ones for knives) they will last longer, but the 14 inch blades seem to be more common than 12's. Great tool! very easy to set it and forget it but also easy to get mesmerized by the slow, back and forth as it cuts.
3 hours ago, Chris Comtois said:Michael, I haven't researched it yet, but I'm assuming I can get (or easily modify) standard hacksaw blades for it?
-
Chris, nice that it has the vise on it, those go missing most of the time. I have that same saw (sans vise of course) and that wagon.
-
A friend of mine taught me this joinery technique last week. Bolsters and punches and a drift sized to the stock. Easier than I thought going into it.
Just a practice piece for fun, though the lovely wife thought it would make a nice trivet.
-
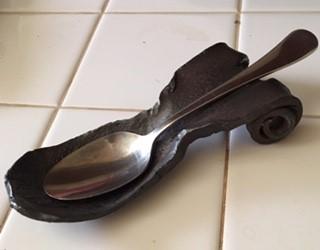
Spoon rest for the kitchen from some wrought iron wagon tire.
Bottle opener from a wrench, miscalculated the amount of steel for the loop, afraid it was going to be too thin so the loop was annealed twice in vermiculite.
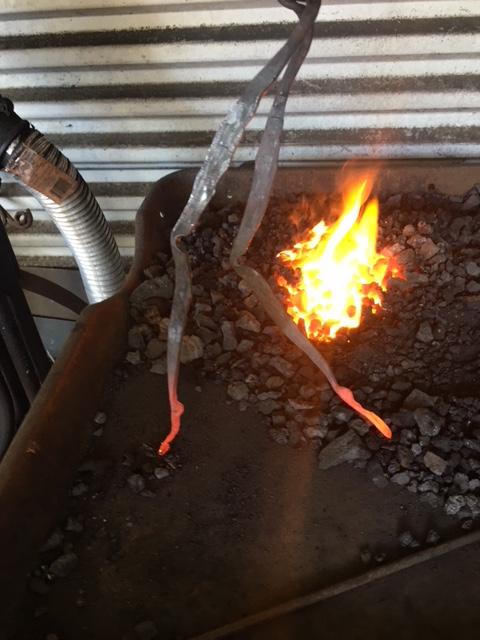
No one notices a coal forge in the suburbs on the 5th of July!


-
20 hours ago, BIGGUNDOCTOR said:
Michale, the curved "Vixen", lead float files are not meant for steel. They are for soft metals like aluminum, brass, lead body filler. I never saw one meant for steel.
It seemed to work alright on the mild steel of the 1 inch plate I cut the square hole in. I didn't notice any significant dulling of the teeth and the inside surfaces smoothed and flattened pretty well.
Most (if not all) of my files come from garage sales and flea markets and I'll send the interesting ones off to Boggs File Company in Los Angeles to get them sharpened. I have a buddy who is much worse than me in terms of bottom feeding filestock and he sends 3 packages a year off to Boggs, my stuff just piggy backs along with his.
What I'm saying is I don't have a lot invested in this vixen file, maybe $2, and was pleasantly surprised it worked so well.
-
Spent some quality time with a couple of angle grinders, grinding disk and flap sander, cleaning up the two stakes tools I'd made at a hammer in a few weeks ago. The lovely wife commented 'you don't usually polish that much'.
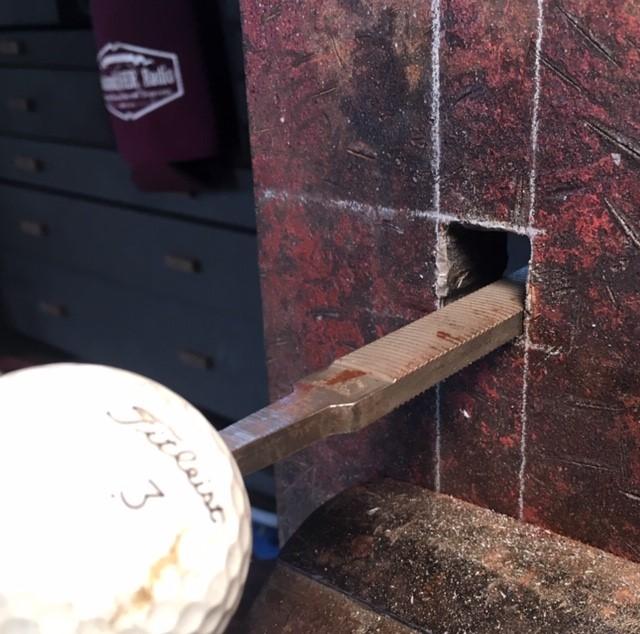
making a heading plate from one inch plate to make bottom tools with, after laying out the odd ball hardy hole size (7/8" go figure!) and drilling out the corners and then some, took a cape chisel to the webs, got as close to the line as I dared and then found a safe edge 'dreadnought" file, curved single teeth, to finish up the sides.

-
Made a stake tool out of jackhammer bit over the weekend. My friend Angelo opened up his shop to a bunch of (sort of) locals and a bunch of tools were made.
-
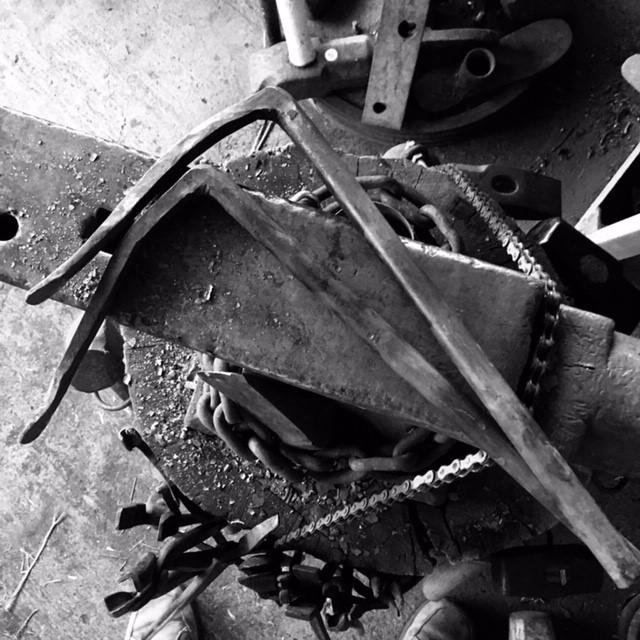
Glad to inspire someone, leaf looks good, love the texture you got on it. Couple of tips on the spring fuller from the person who showed it to me, the top bar should overhang the bottom bar about an inch, so that you can lift the top bar with the hot material to get it under there, and it should look like a duck when its done.
-
I pull out the scythe when the grass in the yard gets too tall to mow. The combination of sunny weeks and rainy weekends and before you know it you've lost the dog in the grass again!
-
I just recently made this out of 30 inchs of 1/2 round stock. Not interchangable dies but useful for fullering.
Another smith gave me a dead simple diagram and it took an hour, a hammer and a vise.
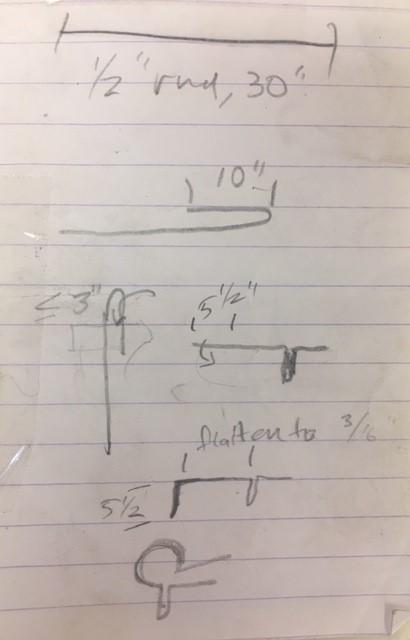
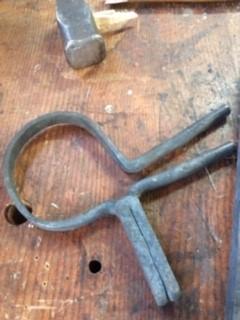
. Need to make one out of spring steel next
-
Local garage sale. $60. built in 1988 according to the tag on the machine.

-
The lovely wife got me new boots!
-
3 hours ago, JHCC said:
Keep a supply of bottle openers in the glove compartment as Thank-You gifts. Mechanics like ones made from identifiable car parts; contractors like ones made from rebar.
This is brilliant! Gonna work up a few rebar openers this weekend.
-
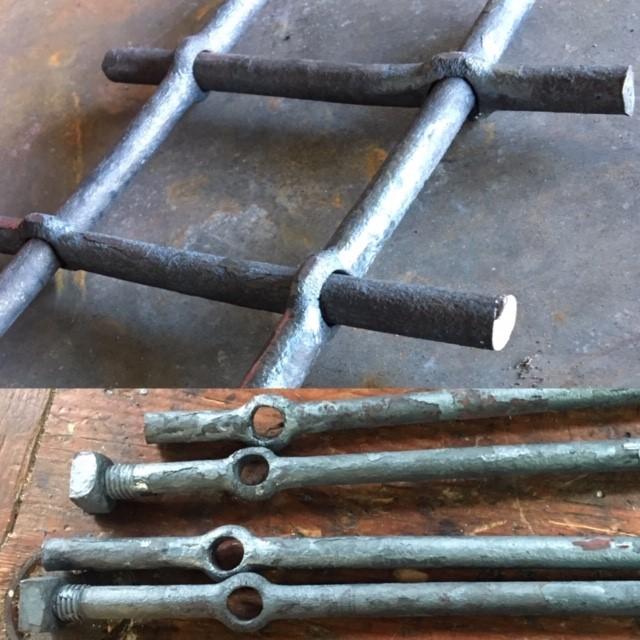
Knocked out a pair of holdfasts for a woodworking gift exchange this holiday season.
5/8 stock (hard to find unplated 3/4 stock locally) Good square corner practice.
-
Thanks for this detail Frosty, when I put my gas forge together, 5? 6 years ago, a helpful hardware store employee swaged a water specific quick connect on the end of my propane hose. It has worked like a charm for all this while but the propane hose is getting a bit stiff in its old age and I doubt I can convince anyone to fab up a replacement.
Great old hardware store, since closed. The going out of business sale was epic! Drawers of soft iron rivets from the 1930's followed me home, along with Yankee screwdriver bits by the bag and more soapstone holders than I've been able to give away to fellow smiths.
I'll start looking for copper flare tools and tubing at garage sales.
-
Spent the usual Black Friday at the forge. Gratefully raining in the Bay Area, so dodging drips in front of the gas forge till the propane ran out.
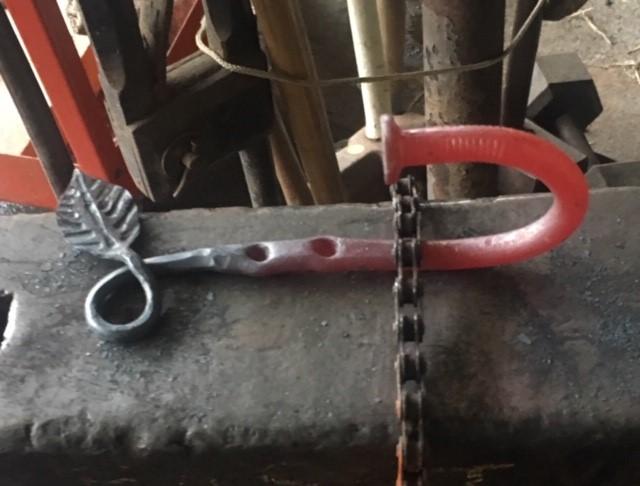
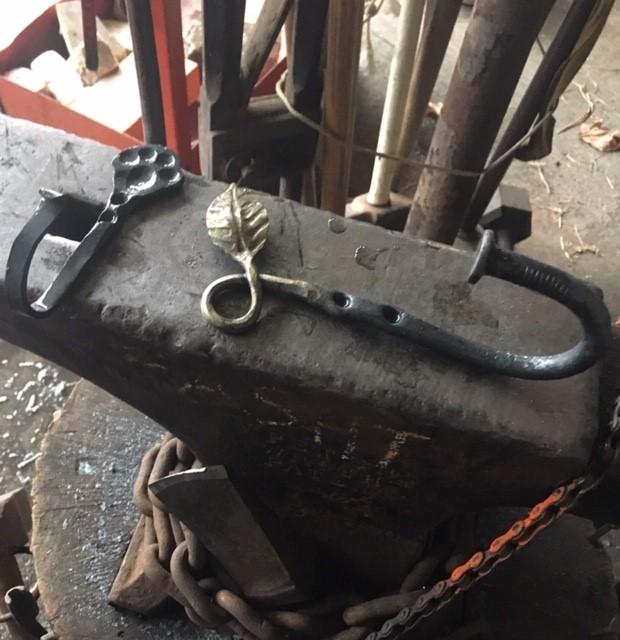
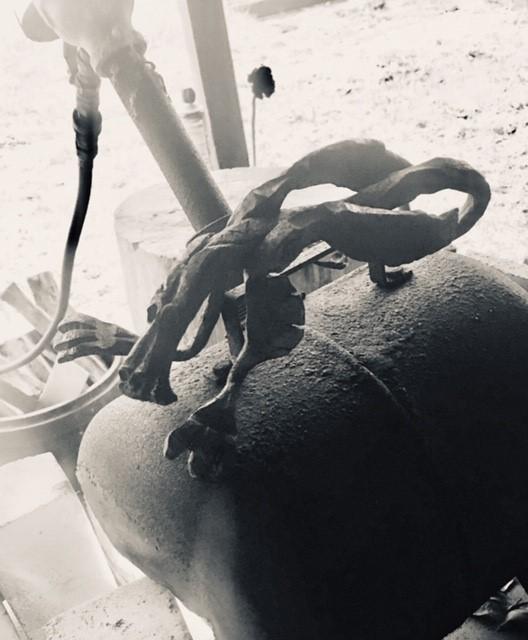
Made a couple of hooks, paw/leash for dog people, big hook from a big nail for a co worker. Found a space for the dragon, on top of the case forge (he was going to be a gate handle but he "bites" a little too much for that)
The coal forge is under a leaky section of roof and I have concerns about rain water and coal ash destroying my firepot, so it stays covered in the rain till I can fix the roof/chimney junction.
-
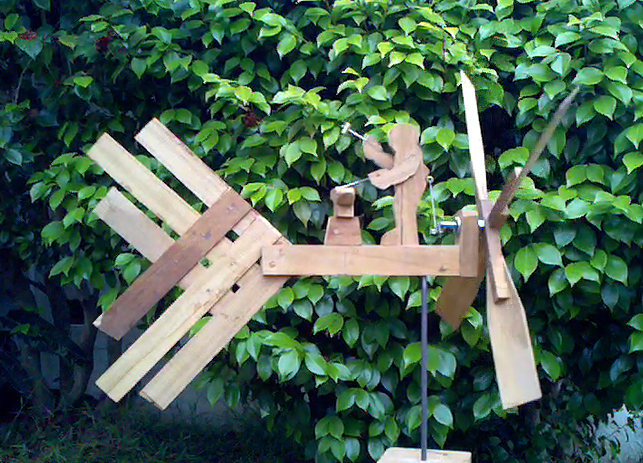
Made this half a dozen years ago, as a prototype for a metal version. Mounted on the roof of my smithy. Made out of teak it has weathered the winters well and hasn't fallen apart yet. I have the patterns still for the likely sheet copper and steel version. Next one may have smith and striker.
-
when I was using charcoal I'd go thru a 5 gallon bucket every 2 hours or so. If I recall correctly that was about 8 lbs of charcoal, more or less, so another hour for 10 seems reasonable within my own experience. I did find I went through a LOT more water, damping down the fire and keeping it from spreading, working charcoal. Easily half of my 4 gallon quench bucket would be gone after 2 hours. My forge was bottom blown, don't know if that makes any difference. The difference switching to coal/coke was astounding!
See how small a fire you can still work effectively in. I walk away from a charcoal fire and come back in 5 minutes to find the whole pile of fuel burning.
-
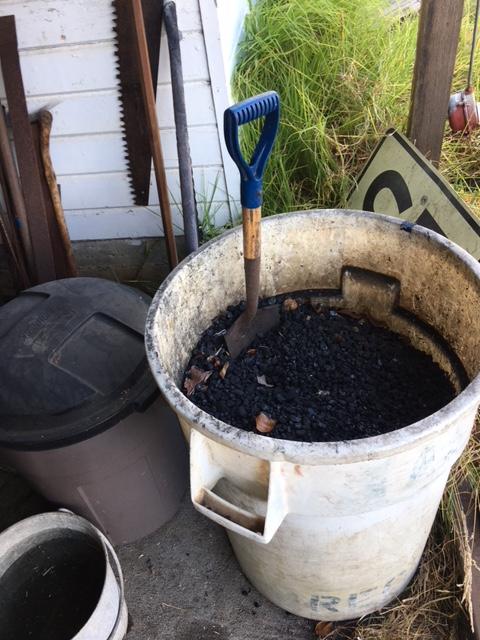
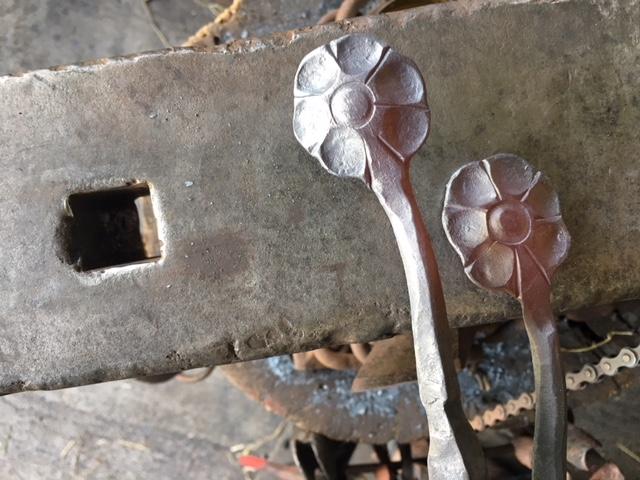
Lit the coal forge in the suburbs last week, hammered out some legs and feet on a figurative sculpture, some flower finials that will be come hooks for the lovely wife's trivet collection, and finally got 200 lbs of coal out of those UV degradable bags and into a bin before they became a spontaneous pile of coal.
-
10 hours ago, VaughnT said:
One of the best leveling techniques I've run into is to drive 5-7 1" lag screws into the bottom of the stump,
I leveled my anvil stump(LiveOak) with a router, and routed 3 "feet" at roughly 60 degrees around the base of the stump, a little less than an inch deep so there's a tripod-y sort of base to the stump. then I set each "foot" into an empty tuna can with a bit of polyurethane in it and left it for a few days to wick the poly into the end grain. Flipped the stump over to let the poly dry and painted the last of the poly over the end grain between the "feet". Stays pretty stable on the uneven concrete of the smithy and no rot from the leaky patio roof.
-
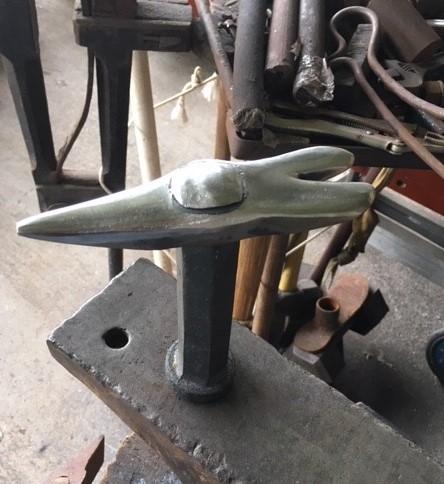
There was a demo of this Seahorse form at a Hammer In in Santa Cruz two weeks ago. the one on the left was done at the site, the hot one this past Saturday at home when I should have been painting the house. 5 inches of 5/8 square to start, there's also a 3/4 square one I started. The demonstrator was doing a big version this past weekend in 2 1/2 inch stock with a power hammer and team strikers


It followed me home
in Blacksmithing, General Discussion
Posted
Thanks, I appreciate the endorsement. I've got a hand cranked blower but lately I've been working with some 1.25 inch wrought iron and some chunks of bloomery iron and I just can't seem to crank fast enough to keep those big chunks at welding heat.