CWest
-
Posts
26 -
Joined
-
Last visited
Recent Profile Visitors


-
Tooling direction... need advice.
CWest replied to Allen Corneau's topic in Tools, general discussion
I really like that brazier. I had never heard of one until your post, now I have to make one. Thank you!!! As to your question, I think you could benefit from Mark Aspery’s third book on traditional joinery. He shows many tools and techniques, so it may help you to narrow your focus on what tools you may want to make in the near future. -
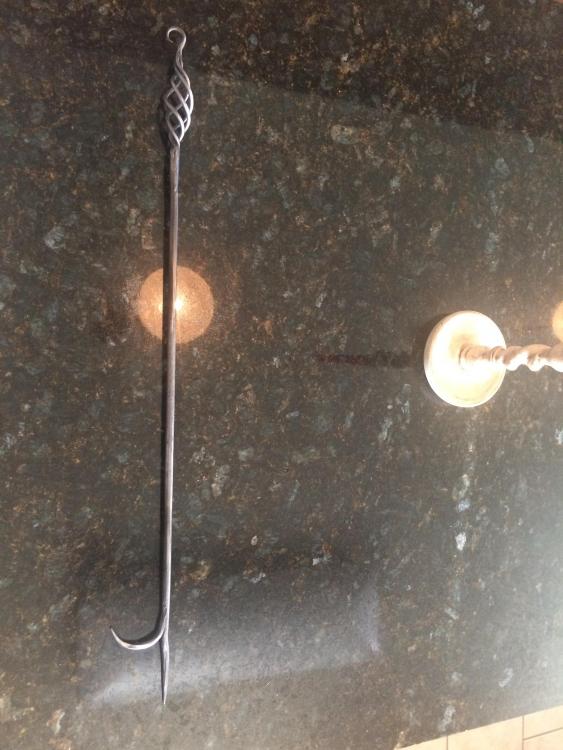
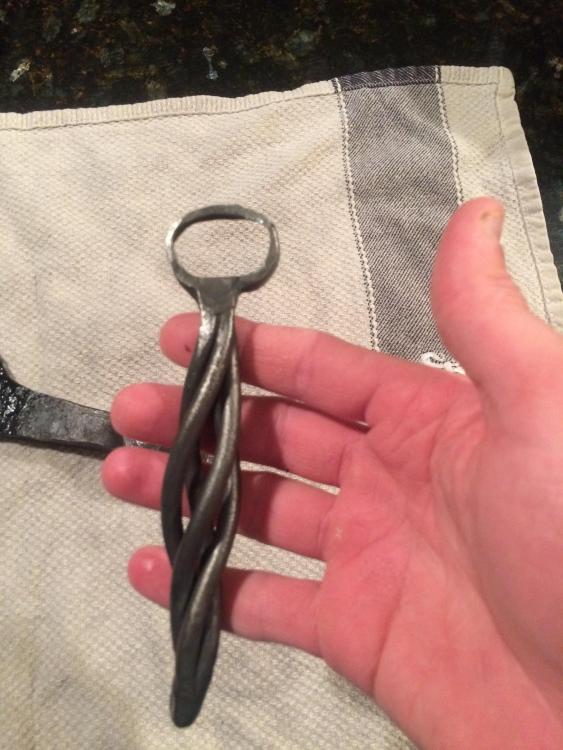
Got this done for my Mother in-law. She recently built an outdoor fire pit but did not have a poker for it.
-
This one was a great learning experience, a lot of forge welding practice. The twist is borrowed from John at Blackbear Forge. I wanted to see if I could do it, plus wanted another opener. Take away was to make sure the twists are even, and try to add more material for the opener end. I grew worried I would split it as I drifted it larger.
-
I have a Sears anvil just like yours. I have been using it for 2 years now, along with a smaller Fisher anvil. I love the Fisher, but the Sears anvil has it’s uses. It has much better edges for when I need to isolate material. I wouldn’t fret, you have a usable anvil. However, like others have stated, keep the missed hits to a minimum, be careful when cutting, and definitely work your matieral hot.
-
What did you do in the shop today?
CWest replied to Mark Ling's topic in Blacksmithing, General Discussion
JHCC, Aus, and JLP thank you for the suggestions. They will be put to use soon. -
What did you do in the shop today?
CWest replied to Mark Ling's topic in Blacksmithing, General Discussion
I really like those openers. I managed to knock out a paper holder as a gift. I wish I would have kept track of the amount of material used, in case of similar projects in the future.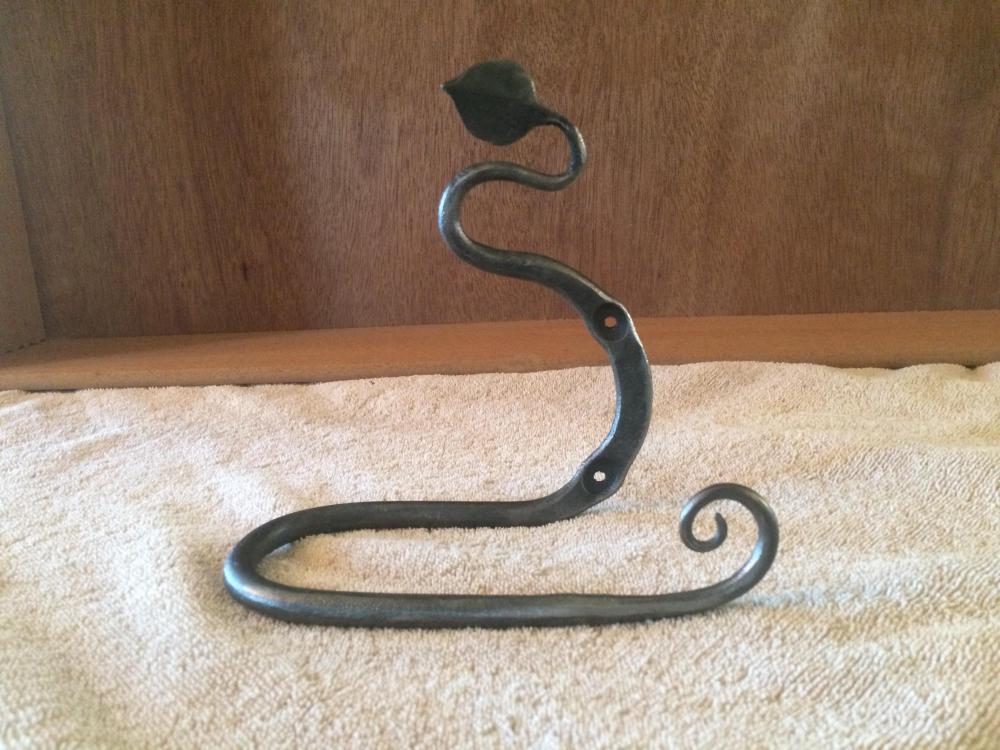
-
I have been using tie rods to make top tools with. I have not heat treated them. They have held up so far, granted they are not used every day. Should make a very serviceable drift, depending on what it is you are drifting.
-
What did you do in the shop today?
CWest replied to Mark Ling's topic in Blacksmithing, General Discussion
Made my niece and nephew hot dog/ Marshmallow roasters.
-
What did you do in the shop today?
CWest replied to Mark Ling's topic in Blacksmithing, General Discussion
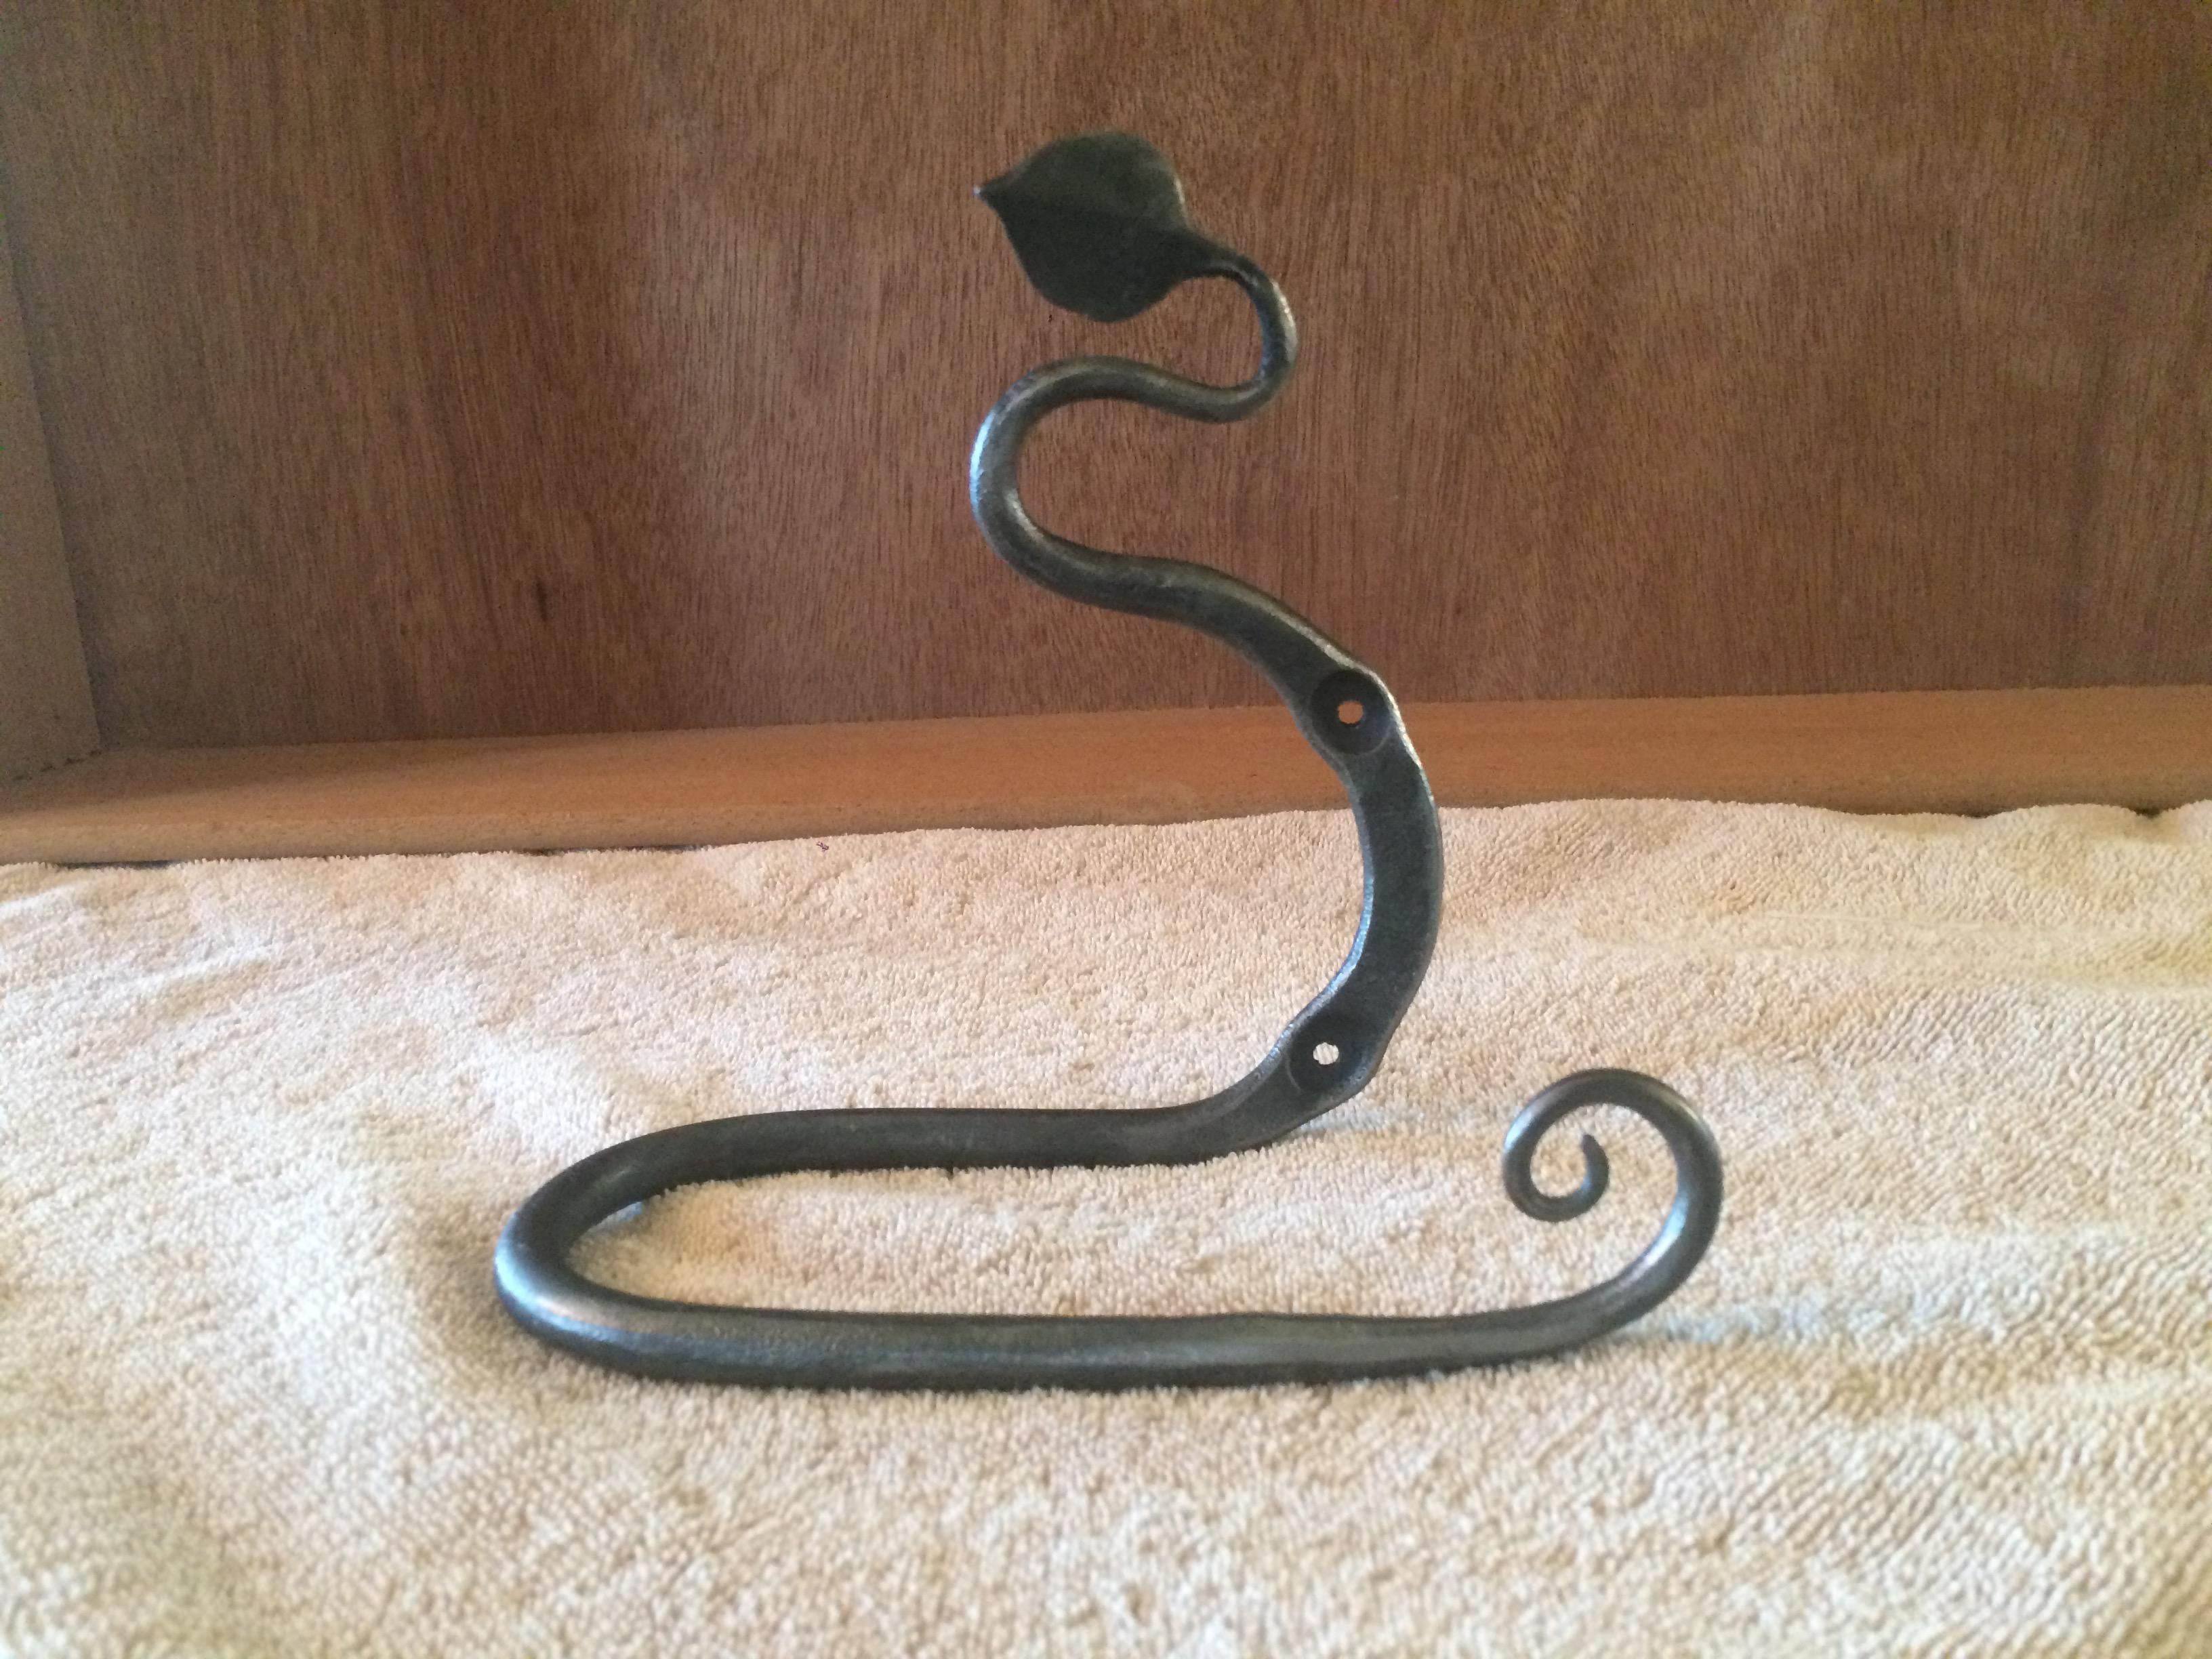
I haven’t tried those yet. I have been playing with John Switzer’s technique for ball ends and have done an angled type ( not sure of the name). My ball ends are no we’re near as nice as his, but just more excuse to practice. I’ll have to find the other hook and take a picture to illustrate. -
What did you do in the shop today?
CWest replied to Mark Ling's topic in Blacksmithing, General Discussion
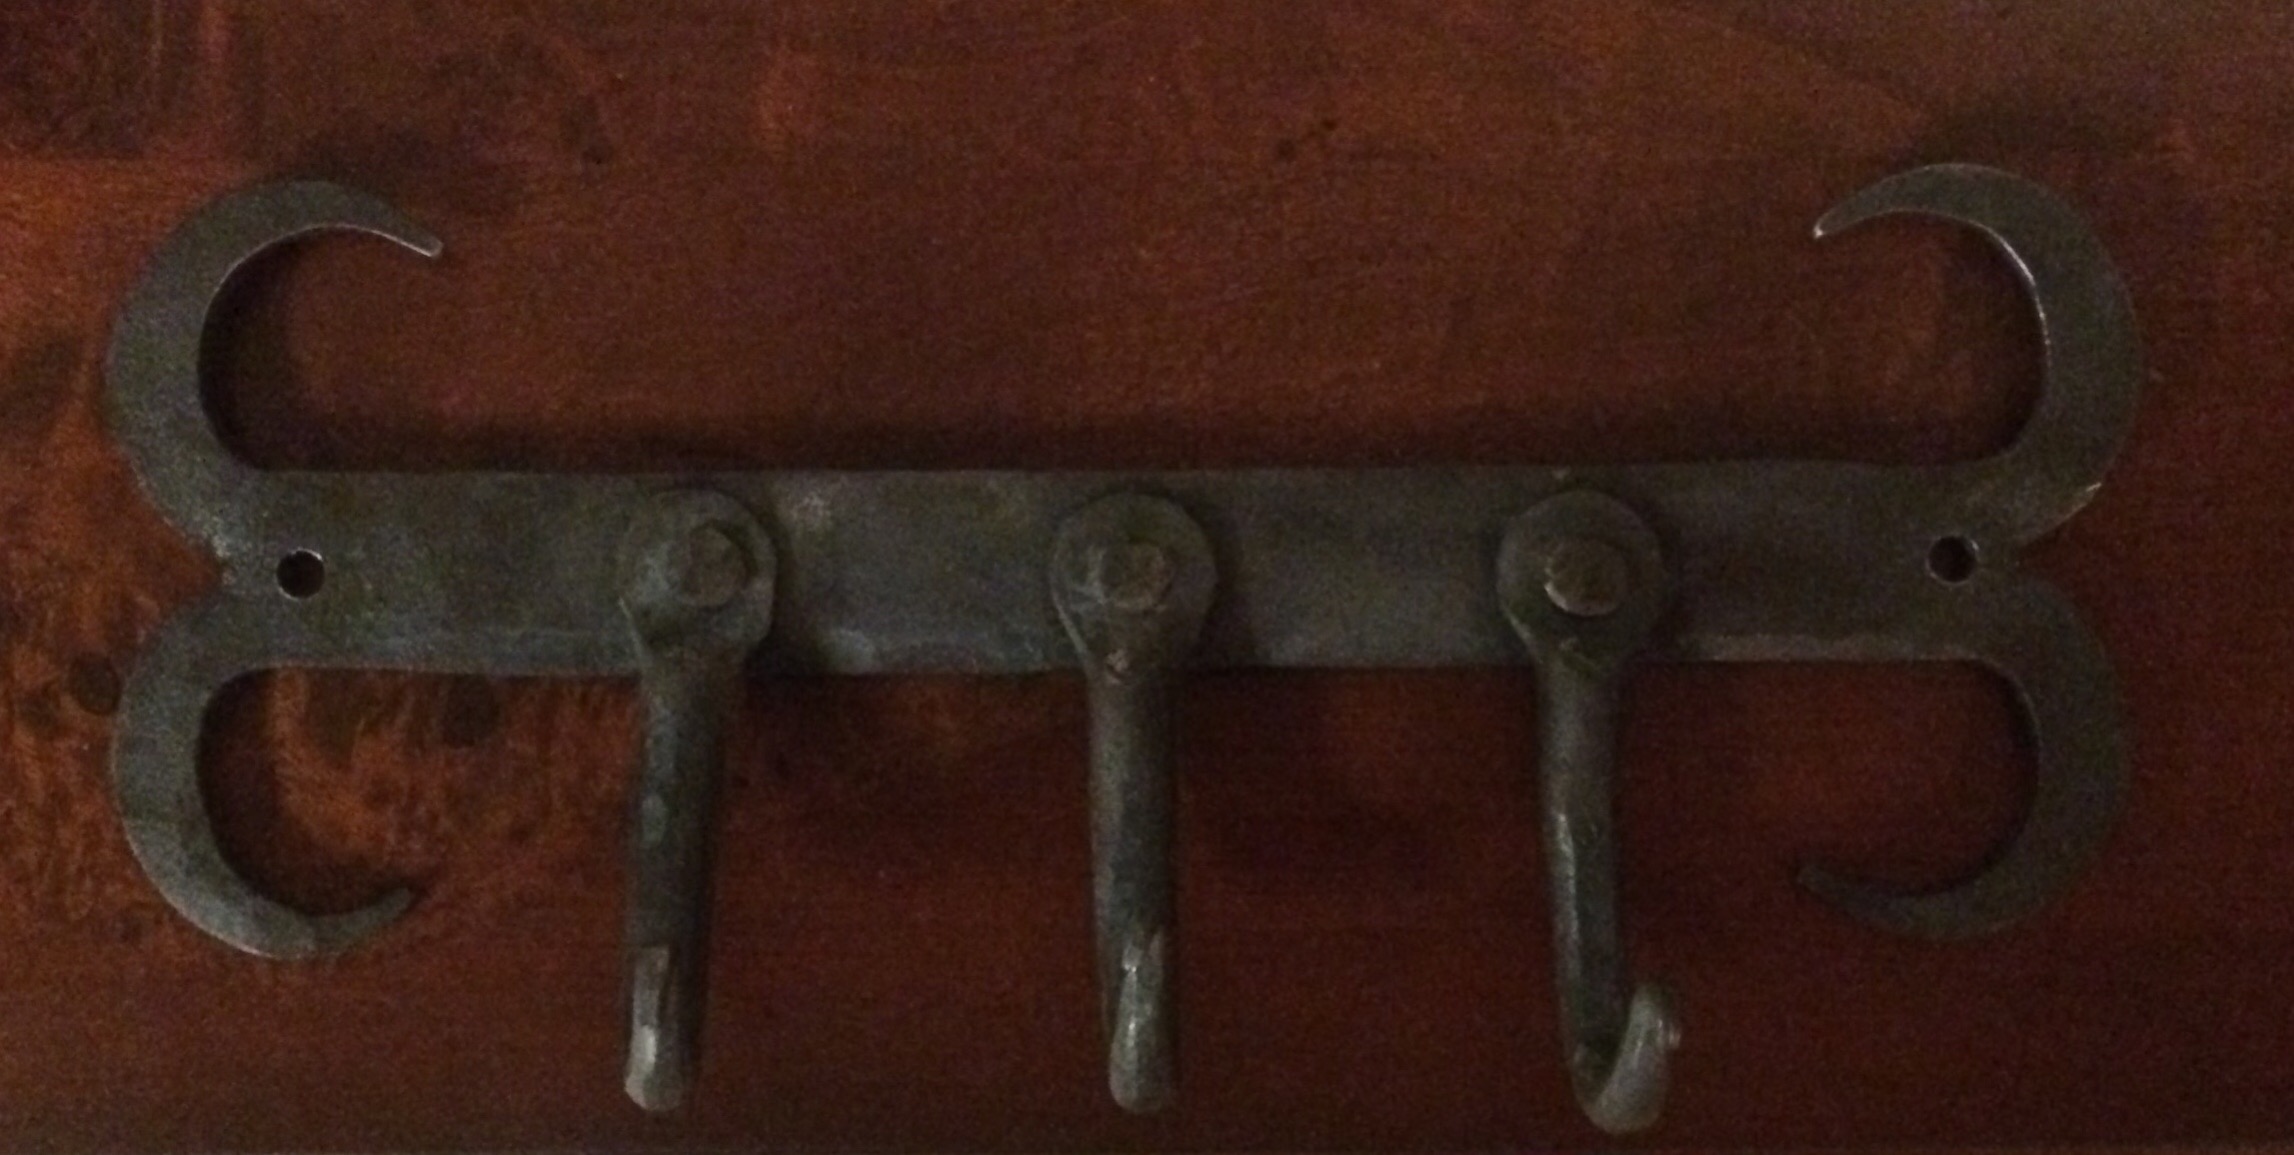
Thank you! The two biggest learning points were to slow down and pay attention, and reference marks drawn on the anvil are a huge help in keeping things uniform. It is suppose to hold the kids school bags. My wife asked for something to help keep them organized. I agree that the hooks are too sharp for coats. I have been playing with different finials for those. -
What did you do in the shop today?
CWest replied to Mark Ling's topic in Blacksmithing, General Discussion
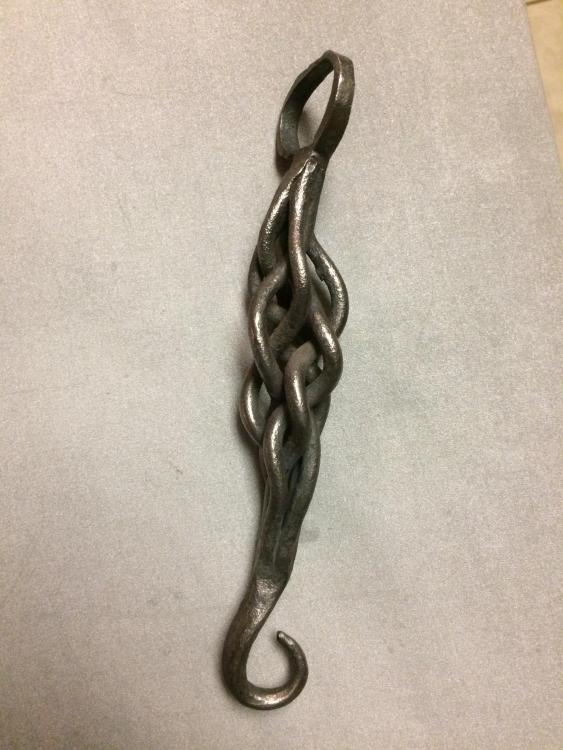
First time making individual pieces to be joined together. Overall I’m happy with how it turned out, and how much I learned.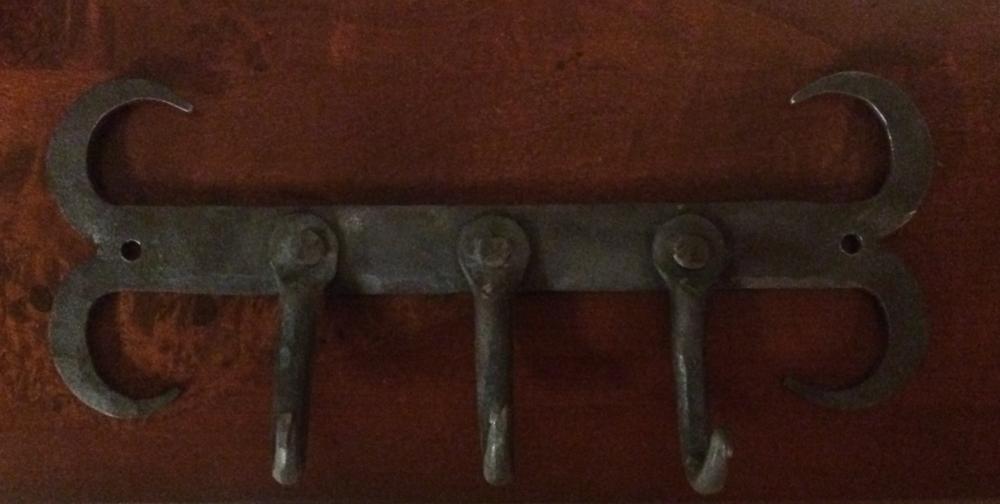
-
What did you do in the shop today?
CWest replied to Mark Ling's topic in Blacksmithing, General Discussion
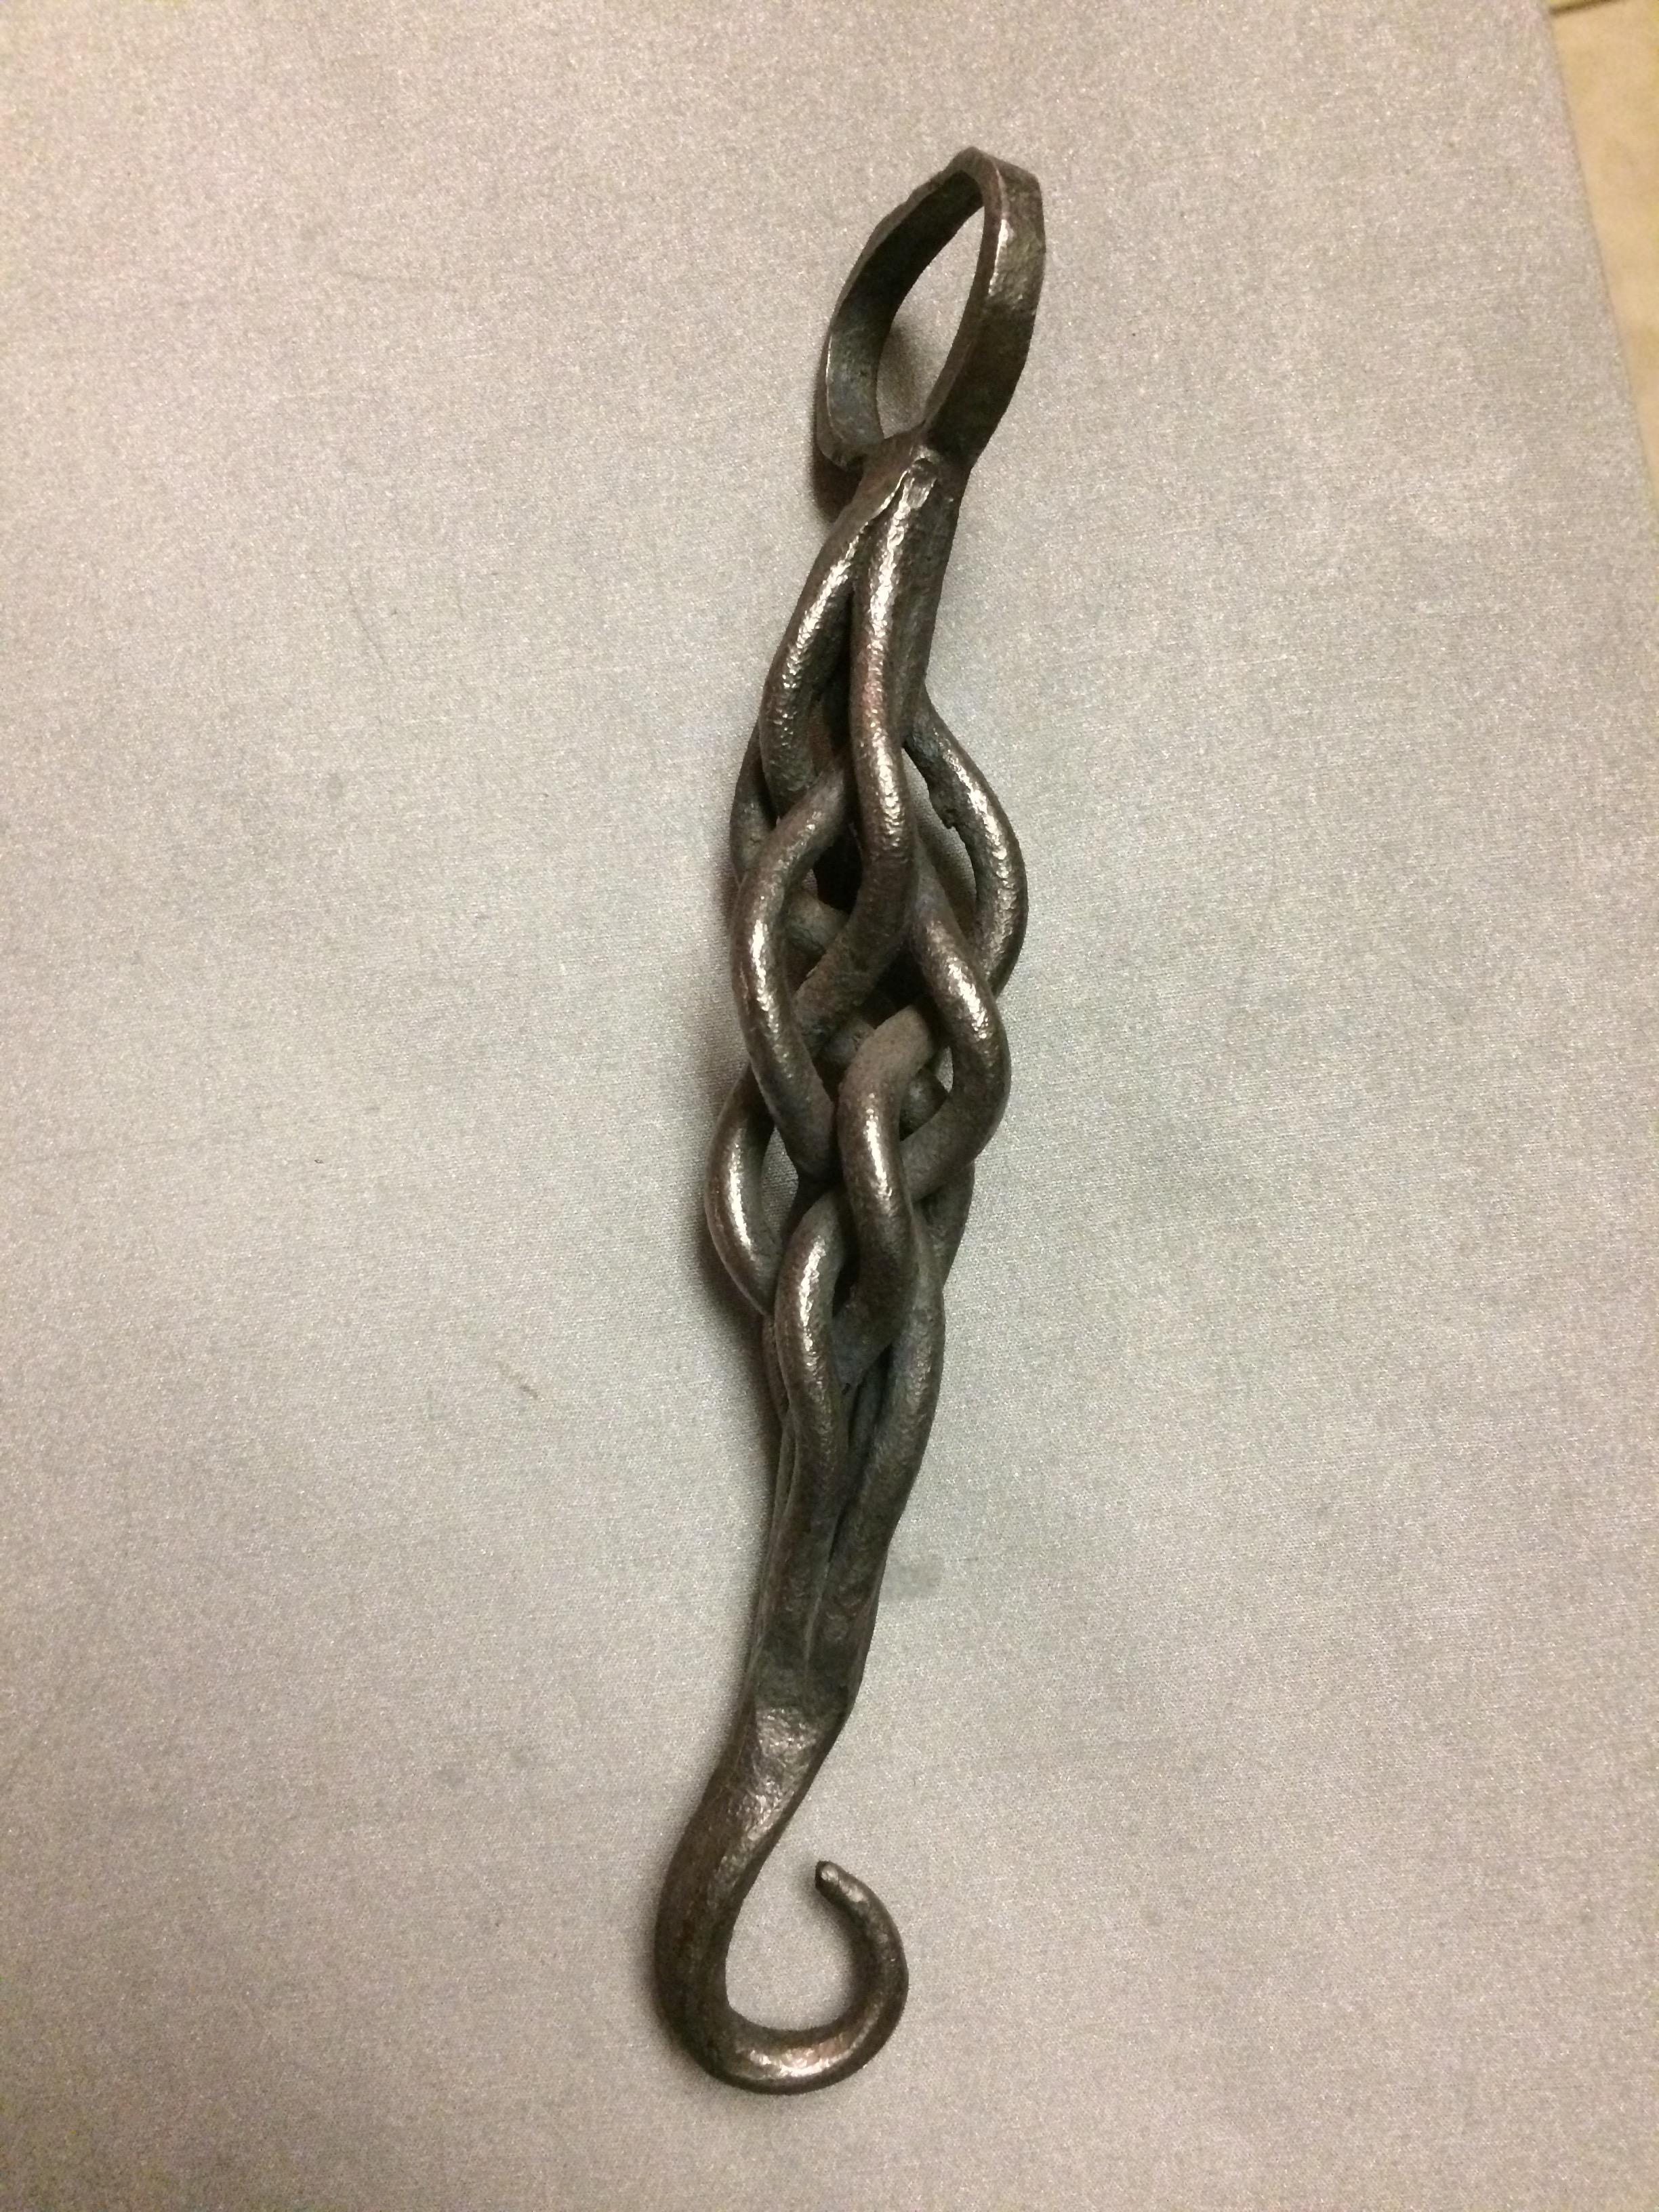
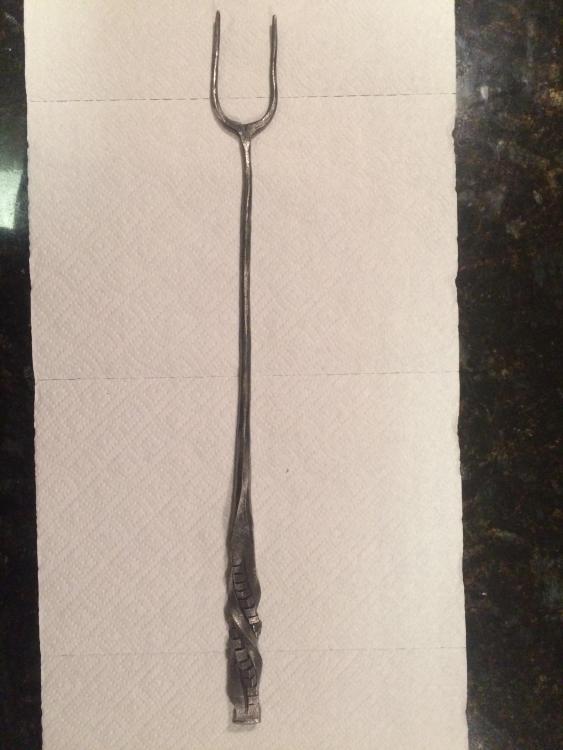
Made this toasting fork last night, with a rubics twist handle. I am happy with the twist seeing as it was my first. Starting stock was 8” of 5/8” sq.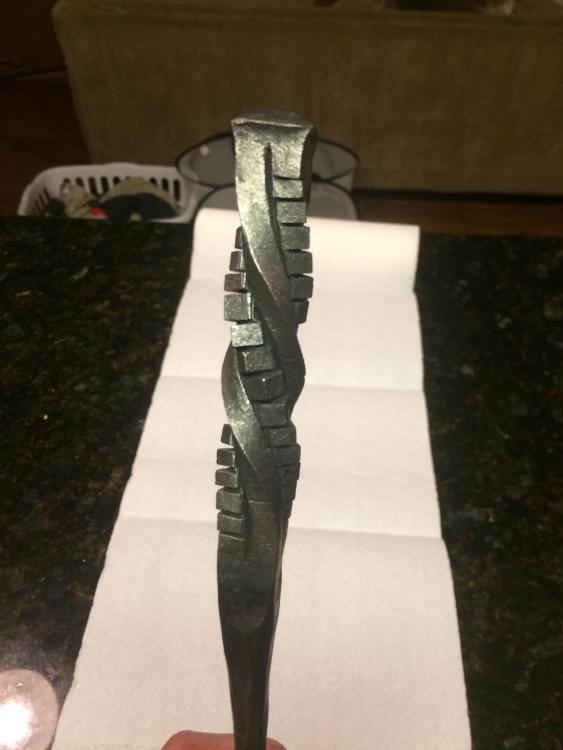
-
What did you do in the shop today?
CWest replied to Mark Ling's topic in Blacksmithing, General Discussion
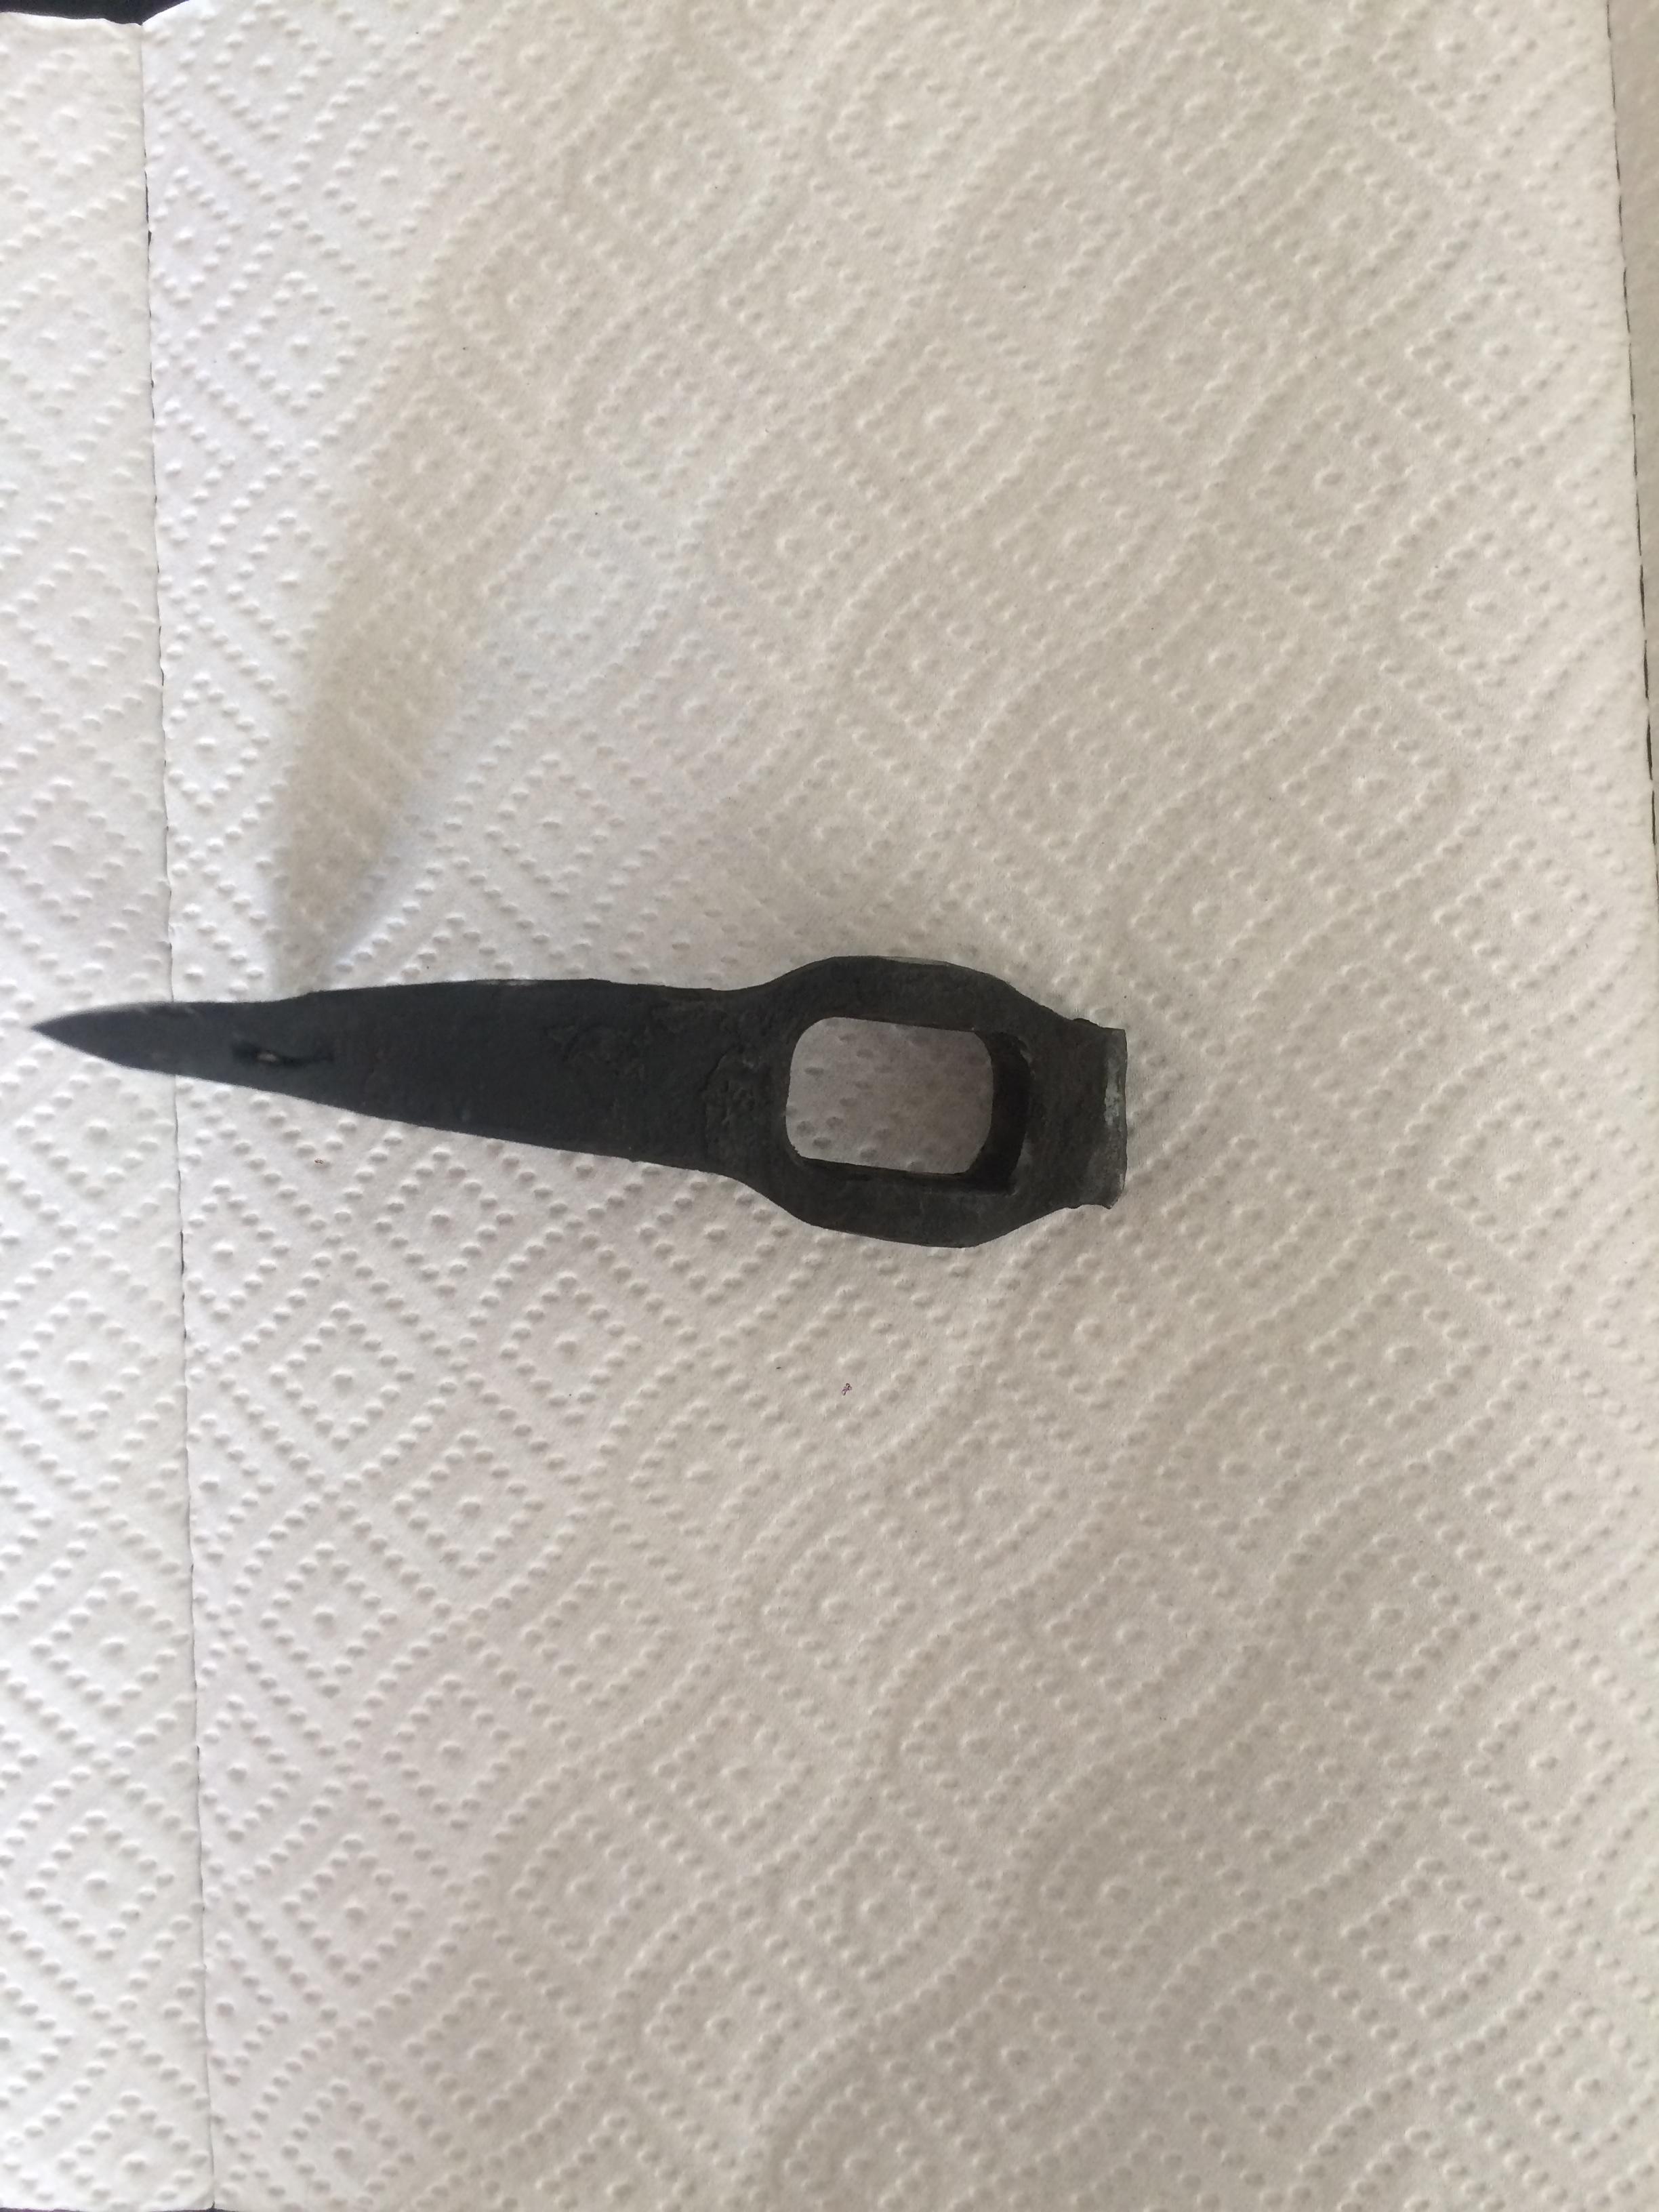
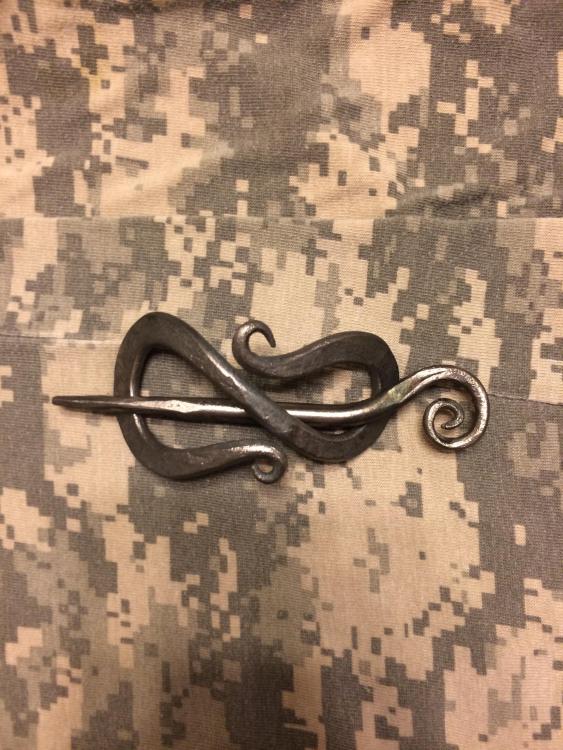
Knocked these out recently. The tomahawk(ish) is 4.5” OAL with 2.75” edge lenght. Second one I have done, I like this ones shape much better than the first. Made from 3/4” sq mild steel with leaf spring forge welded for the cutting edge. The second item was made for my wife to help hold up her hair. I expect it will see more use when my two boys are older ( pointy things and young boys usually don’t mix well in my experience).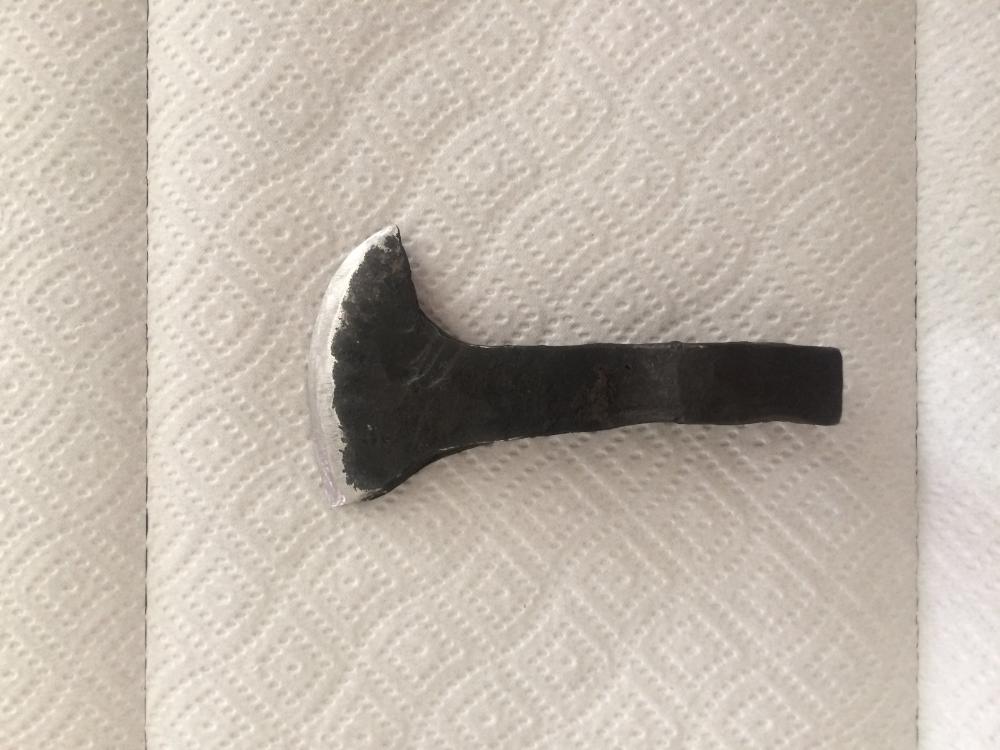

-
Saw Sean St make one of these on YouTube and decided to give it a go. Good forge welding practice.
-
What did you do in the shop today?
CWest replied to Mark Ling's topic in Blacksmithing, General Discussion
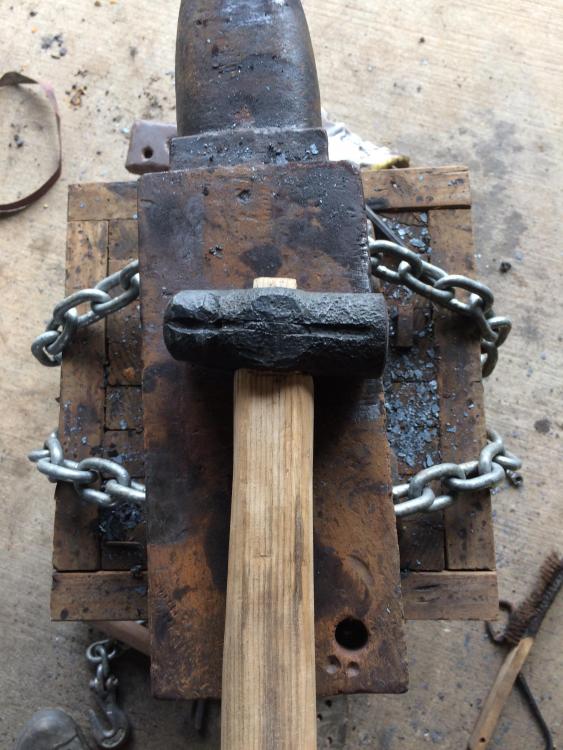
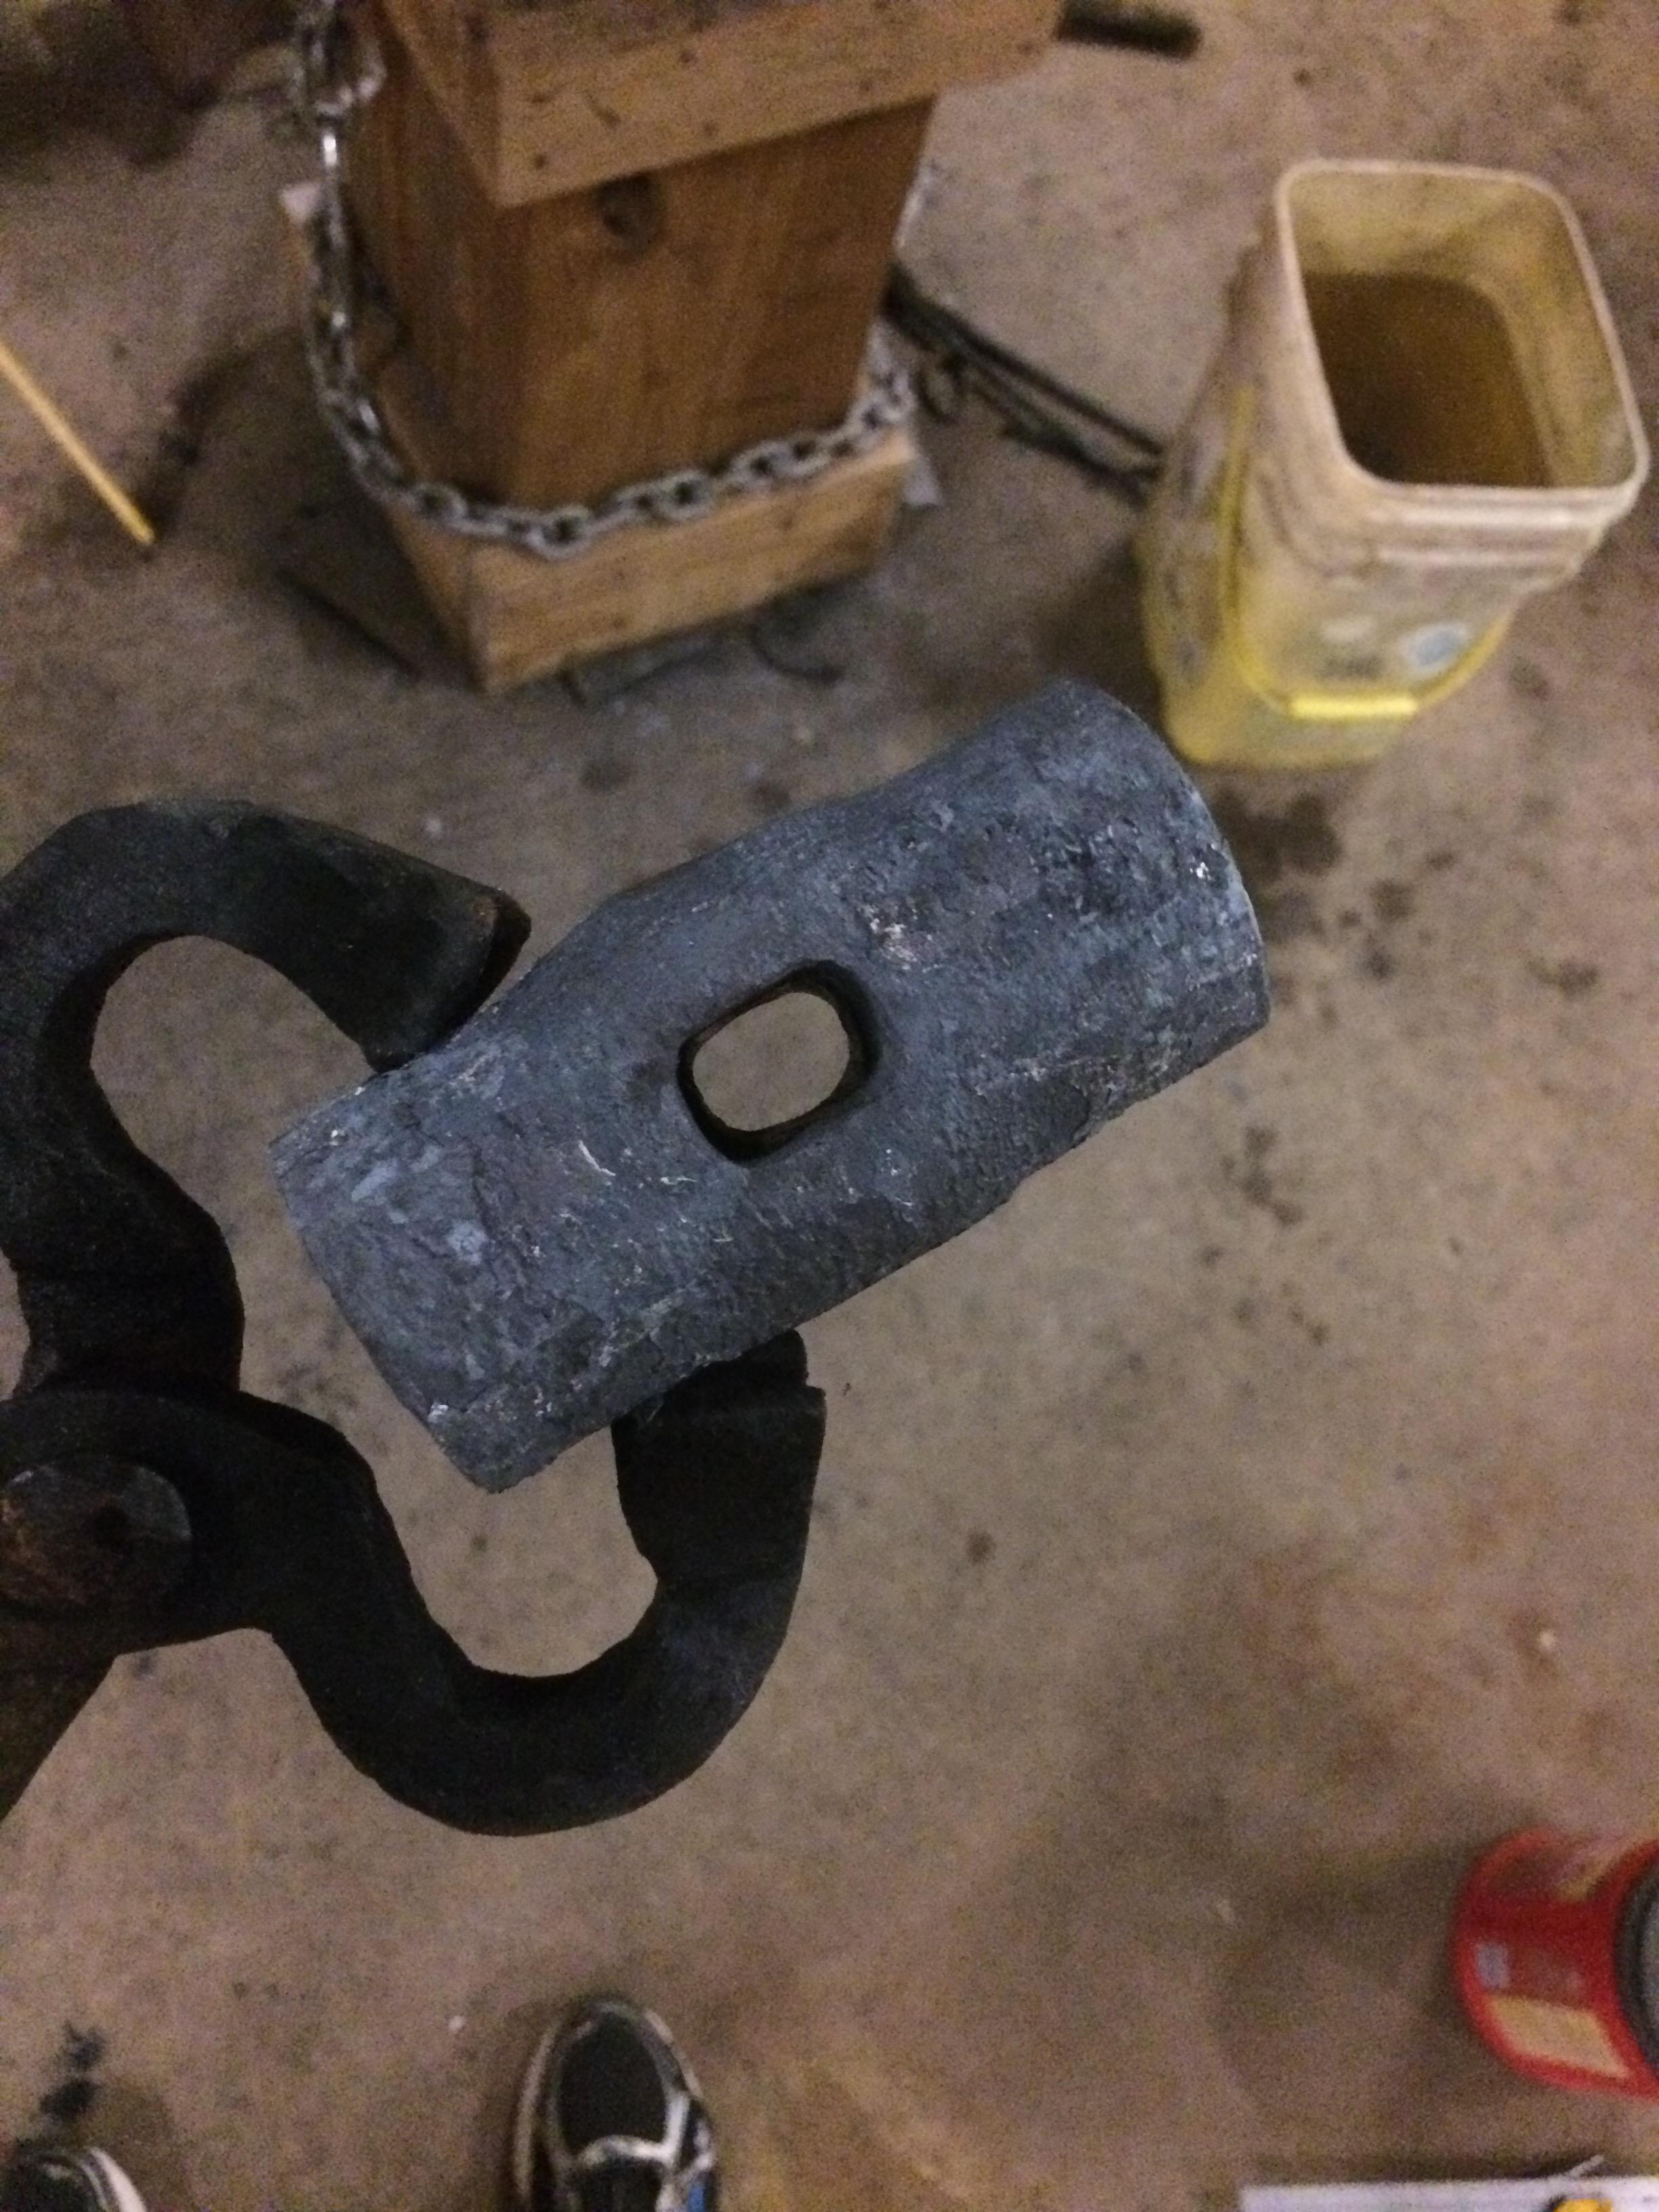
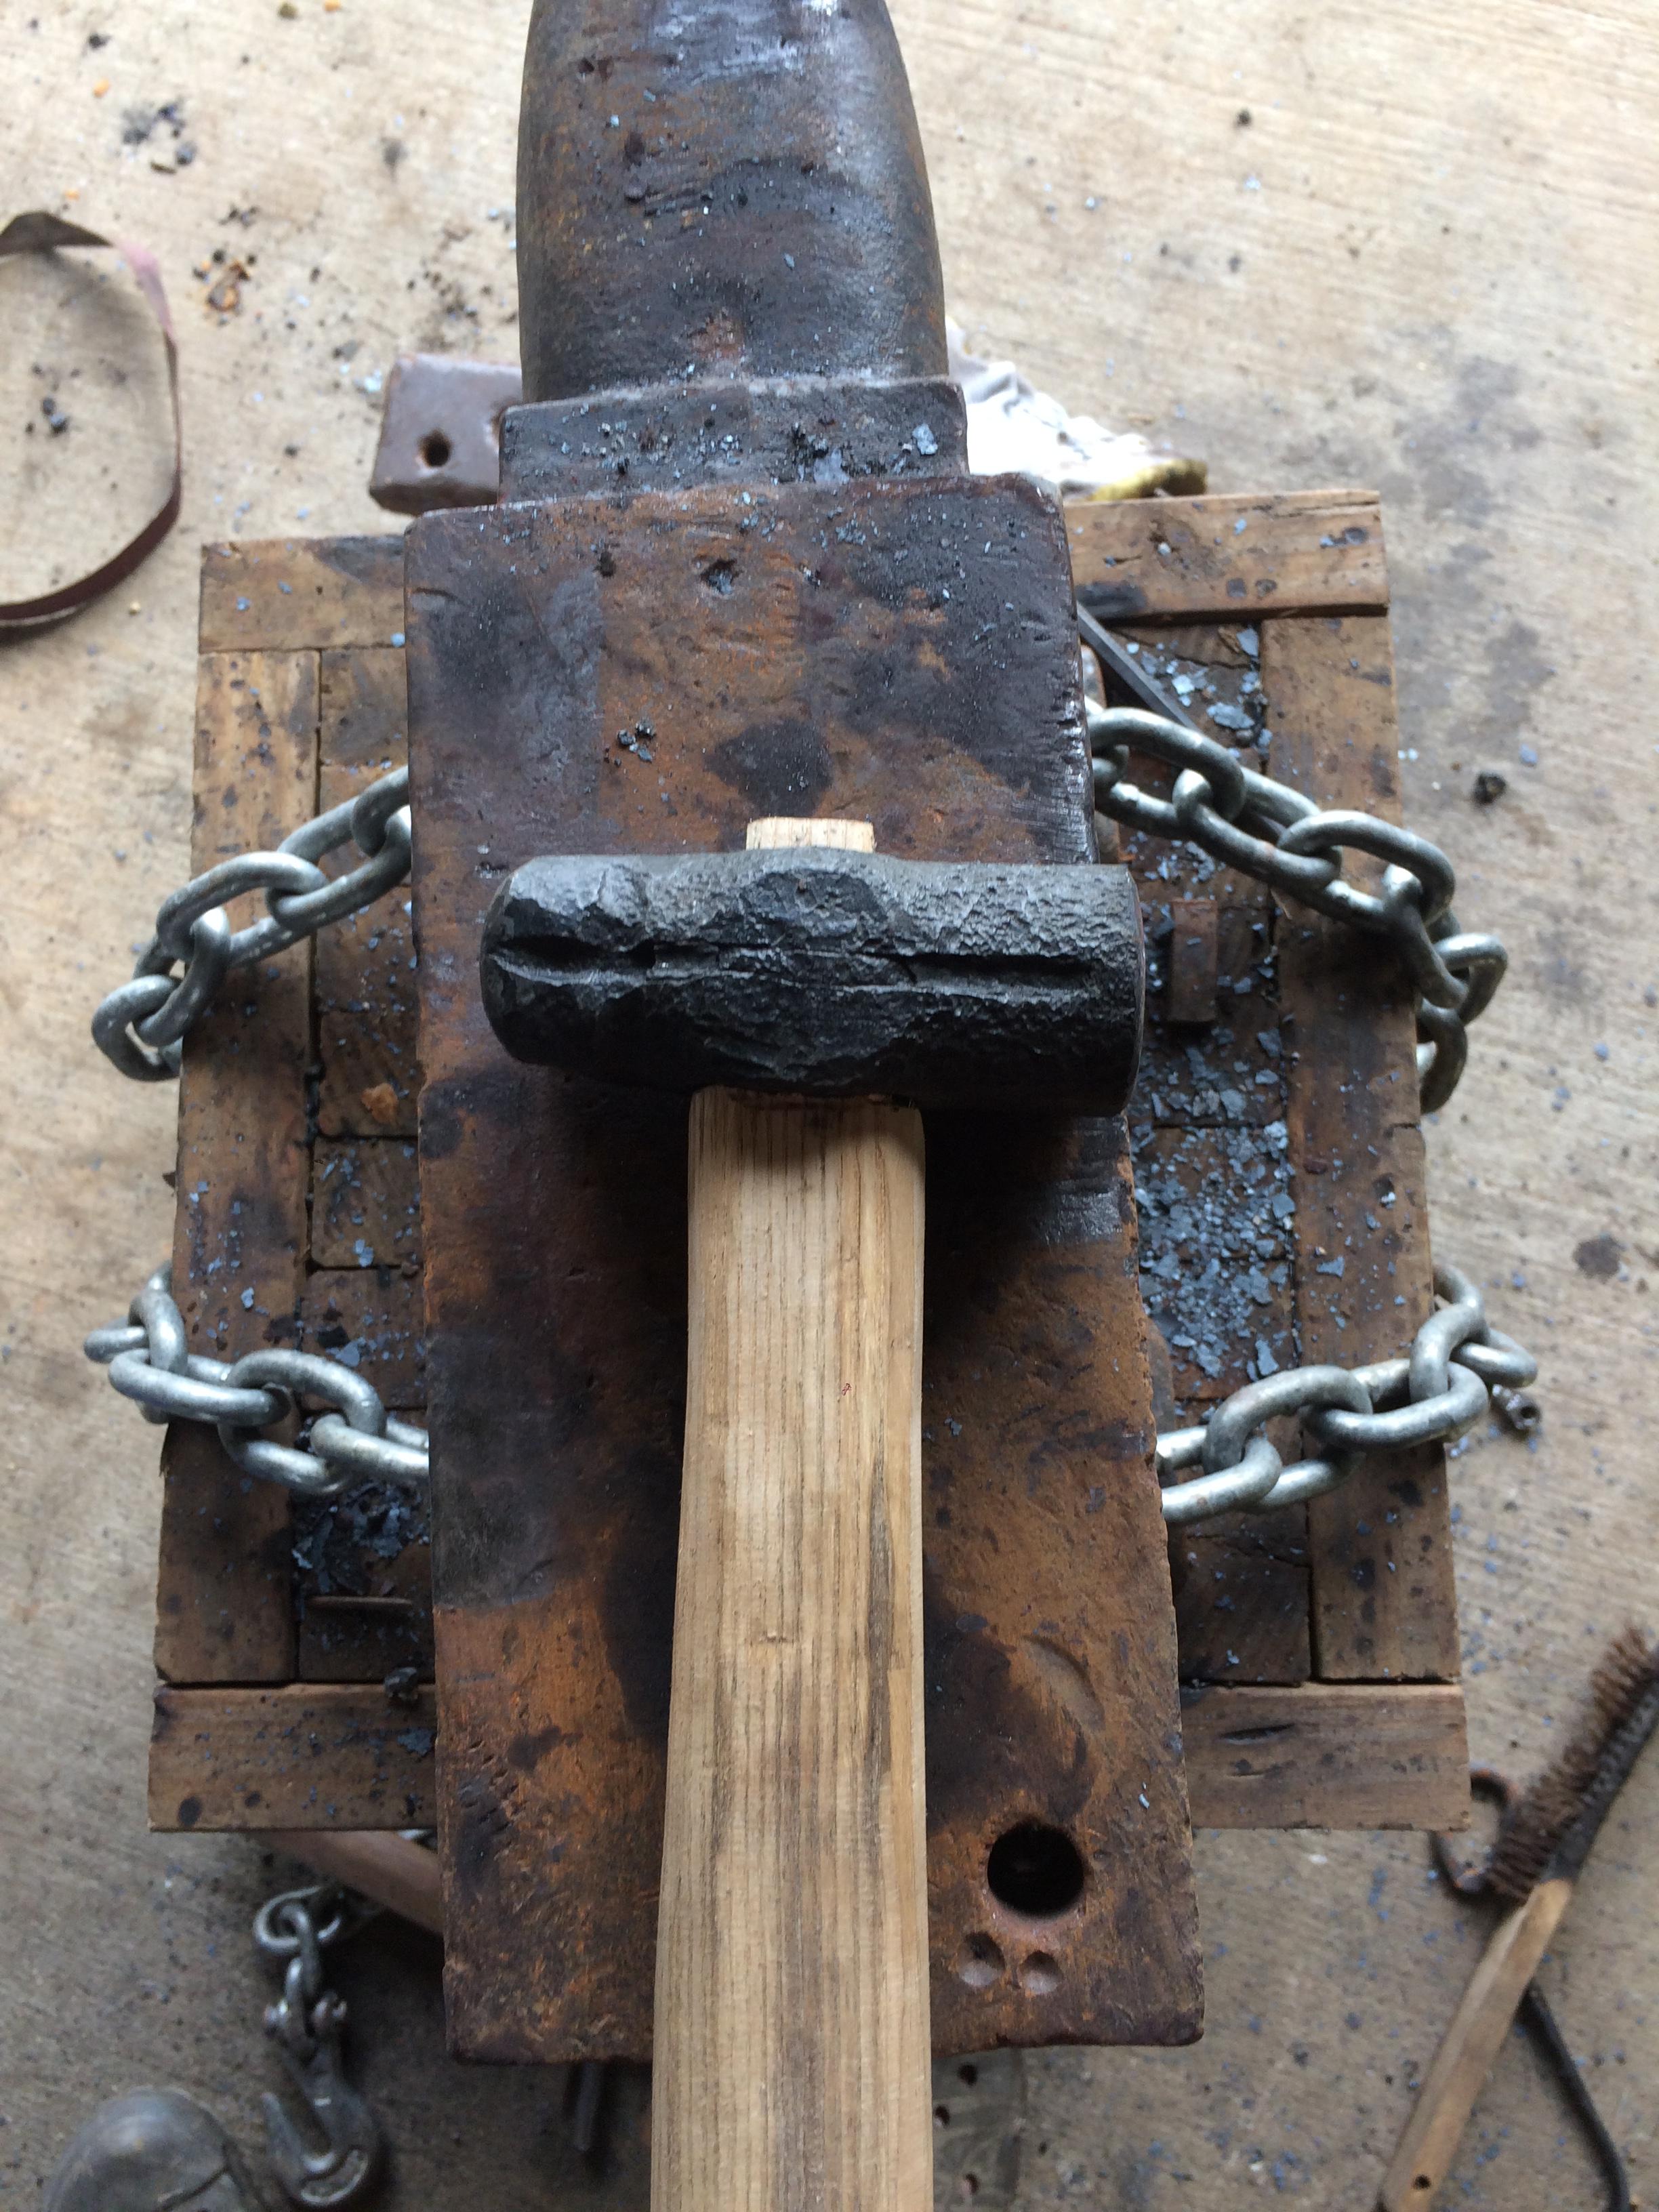
Heat treated my first hammer head and started the handle for it. Made from 1 3/4" PTO shaft. Not the prettiest thing, but I took it for a test run and am very pleased. The fat peen moves material.