

Alan Evans
-
Posts
1,990 -
Joined
-
Last visited
Content Type
Profiles
Forums
Articles
Gallery
Downloads
Events
Posts posted by Alan Evans
-
-
1 hour ago, John McPherson said:
Sadly, Ivan passed away in 2013, shortly before the ABANA reunion in Lumpkin, Georgia.
I am sorry to hear that. I met him first and marvelled at his hammer graving at the Hereford conference '79 '80?
Alan
-
Is Ivan Bailey still working? He used to do hammer engraving.
Alan
On 04/02/2017 at 8:00 AM, Marc1 said:This landed in my facebook page. Seems like a lot of work spent engraving. Not sure I would want to use it.
")

Looking at the hands in the back right of the image and the size of the clamp-to-bench screw that looks like a miniature or a model. Any idea of the actual size?
Alan
-
On 05/02/2017 at 10:14 PM, George Geist said:
I'm inclined to believe many of them can be found in London hand engraving some of the worlds best firearms. Firms such as Purdey, Holland and Holland, Boss etc employ some of the worlds best belonging to British Jewelers Guilds. When not working on guns these guys also engrave watches and other fine jewelry.
George
I am not quite sure about this. I am happy to be proven wrong if you know for certain.
As far as I know the gun trade and the hammer engravers are relatively separate from the horology / trophy / silver / jewellery trades. Most of the fine stuff is hand burin rather than hammer even in steel. There will obviously be a few crossovers with the shrinking of the bespoke gun trade. I have had a few projects hammer engraved by a fine craftsman in Birmingham, who trained in the gun trade there. But he was one of the few still doing it, and that was over twenty years ago.
There are not any Jewellers Guilds as such over here that I am aware of.
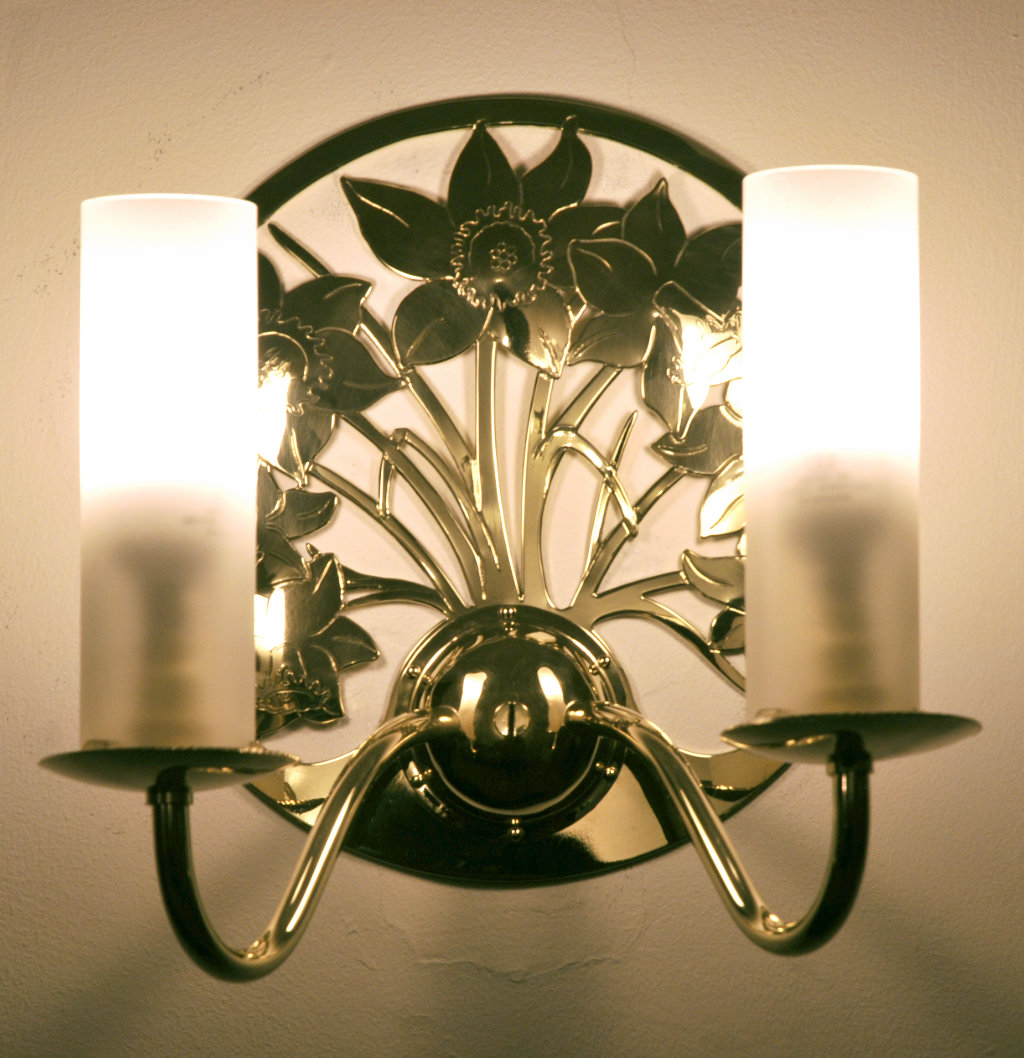
I would agree that the stirrups Frank illustrated are chased rather than engraved, I am mainly looking at the tapered ends of the lines and the rounded edges where the metal was dragged down...engraved lines are much crisper, and often finer and shallower.
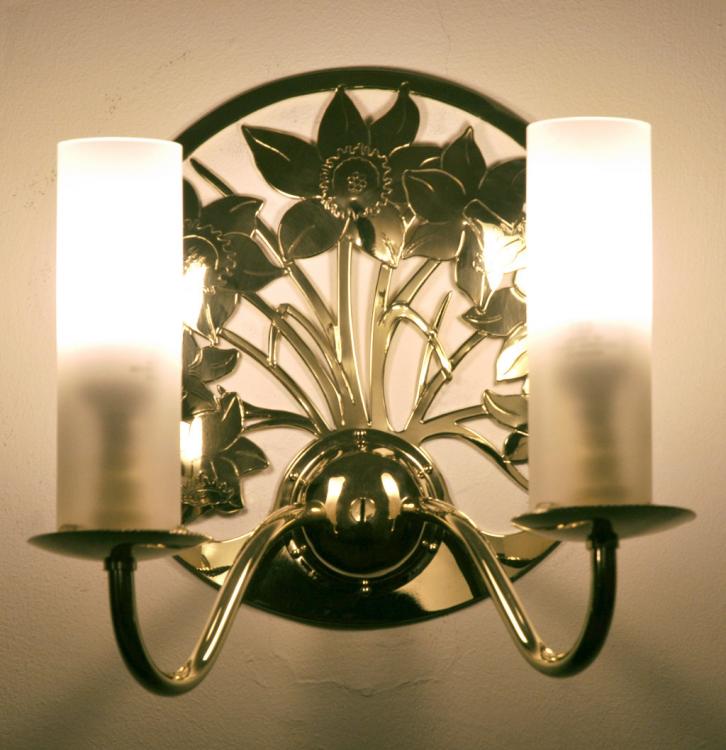
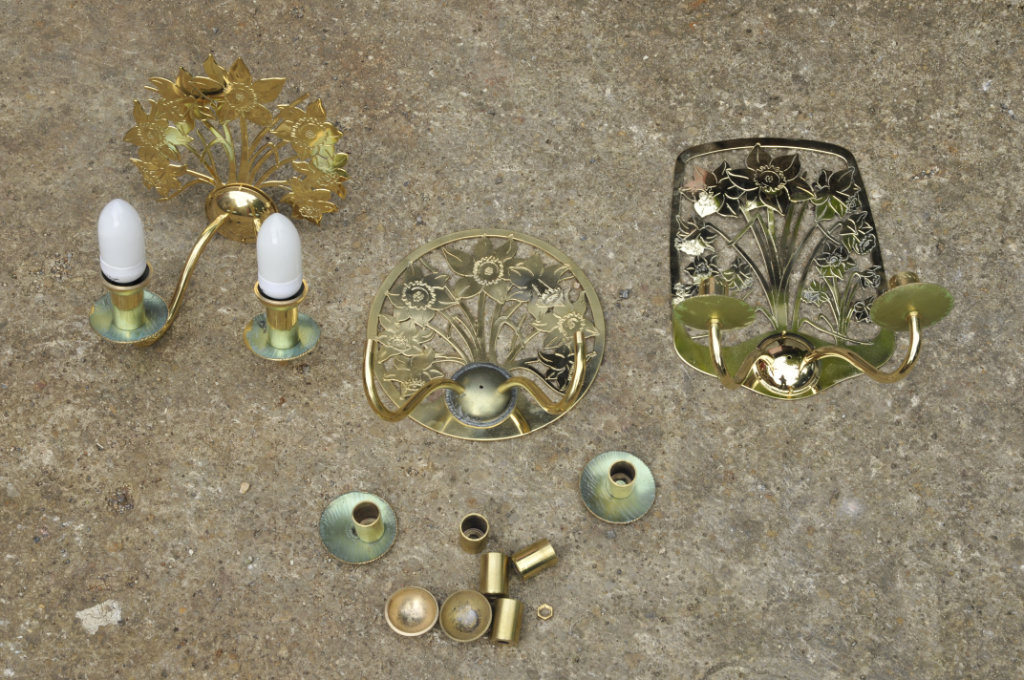
I have done a little bit of chasing over the years. First in silver jewellery but some in steel, gilding metal and brass. I made all my punches from Stubbs silver steel.
The most recent were these chased and pierced daffodil sconces from 2mm brass, made in 2010/2011.
Alan

-
54 minutes ago, Zeroclick said:
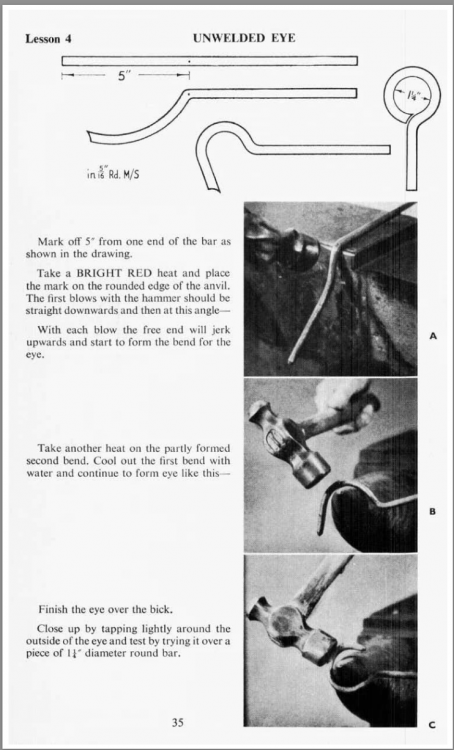
I went for the method of 0.5 inch eye. So with 0.375 inch, so I did 0.875*3.14 for pi to give me a material length of 2.75. But it just didn't seem to pull round, it was most likely my technique which can only improve.
Was the 0.5" the internal diameter? I was always told to calculate the centreline diameter plus around 1.5 times the parent bar thickness. The allowance does depend on the ratio of parent bar to circle diameter...your very small circle for that size bar is obviously more critical than if you were making it a Ø24" ring.
But it is always difficult to bend the end of the bar to conform to the curve without crushing the section...one way to get around it is to have a longer bit on the end, a "sacrificial handle" wrap it around and then cut off the tip at the appropriate point.
Alan
26 minutes ago, Zeroclick said:That sounds like a good week camping

What would you normally use as a finish for thexample fire tools used for cooking. I have used beeswax on this one but wondered if there was a better option.
I would use cooking oil on cooking implements...keep it food safe.
Alan
ps have you downloaded the COSIRA books from the Hereford College website? Well worth doing for first rate instruction on beginner to advanced blacksmithing. Every 'smith should have copies for reference.
http://www.hlcollege.ac.uk/Downloads/craftpublications.html
-
5 hours ago, Frozenforge said:
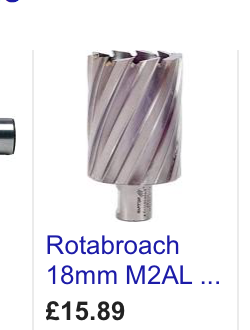
Here is the brand I have been using.
Rotobroach were the first / most common name associate with plug cutters and magnetic based drill rigs over here. Think Thermos and Hoover.
Most of mine are in M42 cobalt which was designed for manganese steel Railway line. Lucky me! I have some 40 no. Ø22mm (Ø7/8") to drill sideways through the web of some bullhead rails I am building into a sculpture currently.
I have only seen fixed carbide tipped core drills for masonry. I have a couple of carbide insert drills and bores, and a drawer full of insert lathe tools of course.
2 hours ago, Frosty said:If you're paying attention you know when you hit steel but we didn't use a hand feed drill our small rig weighed in at just under 47,000lbs. dry.
snip...
A core barrel intended to drill concrete has a much harder matrix and larger diamond abrasive chips and work better on rebar. The barrels we ran were for natural stone except in special situations. snip...
You can hear the barrel sing if you hit steel and you really have to back off the down pressure and crank up the RPM or you'll lose the barrel. If the metal can move even vibrate, you have to abandon the hole or you're likely to lose the steel.
Yeah, I was a driller.

Frosty The Lucky.
Could have done with you on a couple of installation jobs. I have a little Milwaukee diamond core drill rig on which I have rigged a vacuum pad for when drilling /sitting on solid concrete, but most of the time, on paviors, it is held in place by my weight standing on the frame. Fun to balance my weight with the lever and keep it at the point just under rig lift off.
Drilling through 80mm (3.5") granite paviors and 600mm (2') deep through mass London (lots of flint) concrete with a Ø100mm (Ø4") bit I had to keep a piece of soft sandstone beside me to push the drill into to "sharpen" it...wear the matrix back when the chips became glazed/worn...I just could not push the the bit hard enough into the granite. I tried a light concrete building block, and one old boy said just whack it back with a coarse file, or knock every other diamond block off...sandstone sharpener seemed the most civilised.
The worst experience with rebar was installing the bridge railing at the Public Record Office. They had not placed the rebar to agreed spec. and the Ø150mm (Ø6") drill bit cut a "D" shaped lump out of the side of the rebar which slid forward and promptly jammed the drill bit solid...no option to leave a core drill bit permanently sticking out of the pedestrian bridge leading to a National Institution! AAARGH. Of course at the time I did not know what had caused the jam, it was just solid. Trying to second guess the problem to figure out the solution when in a panic...Only discovered the cause when I finally got the bit out.
The other exciting time was installing a railing along the edge of an old Railway viaduct. I had set the rig up so if the bit jammed it would spin and throw me onto the bridge. It jammed and spun...but happened so fast it took me 180˚ over the bridge deck and then out over the void and dumped me off second time around.
The really scary part was that the hole preceding I had forgotten to attach my fall arrest lanyard...
Happy days!
Alan
-
17 minutes ago, Frozenforge said:
snip... For large holes 5/8 and up I really like the holesaws made for metals. They have a material thickness limit but I don't tend to work with steel much thicker than 3/4 usually.
Are you talking actual hole saws or Rotabroach cutters?
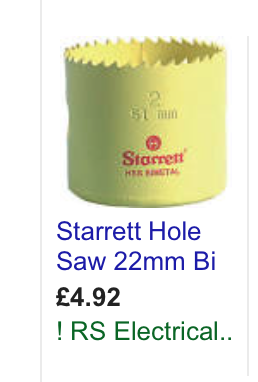
Alan
-
13 minutes ago, ThomasPowers said:
One of my "finds" from a 90 day business trip to Germany was a copy of Fritz Kühn's "Geschmiedetes Eisen" The 1939 edition. I thank my highschool German teacher for allowing me to ask about blacksmithing books at fleamarkets in German.
The book is in reprint these days but with slightly different content due to the changing times.
A magic find and honourably earned!
I have a 1985 copy of the English translation "Wrought Iron" first published over here by Harrap in 1965. The first one I saw in the mid seventies was in German.
Alan
-
On 01/02/2017 at 4:43 AM, Daswulf said:
snip... A cool book I found a while ago that was in a flood too.
An extremely cool book find.
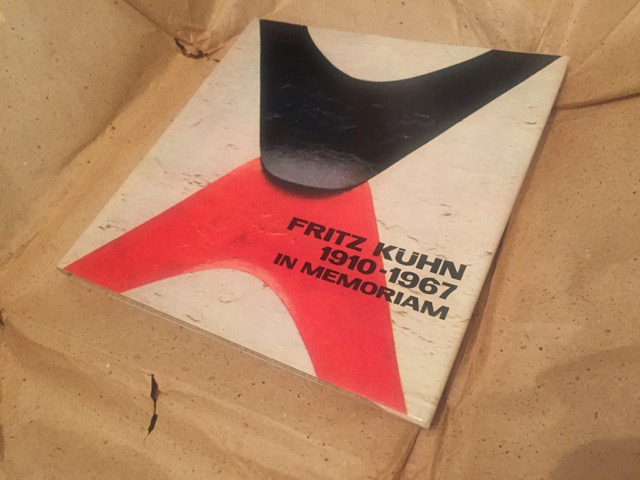
Finding illustrations of Fritz Kühn's work was a revelation for me. He was the first artist blacksmith I knew of that was not working in the 18 century/baroque idiom. His work gave me permission to explore.
Makintosh, Horta and Gaudi were all architects designing for others to make...and I did not discover Mazzocutelli, Gonzalez, Benneton, Smith or Chillida until much later.
I never met Fritz Kühn but have spent some happy times with his son Achim, another fine artist blacksmith/sculptor, at various blacksmithing events over the years. Talented family.
I was honoured to receive an inscribed copy of "Fritz Kühn 1910-1967in Memoriam" from Achim. One of my treasured possessions.
Alan
-
On 01/02/2017 at 7:04 AM, gote said:
snip..Make sure the reins do not close when you do this.
I always grab the hardy horns as they are always being handy near the anvil. The hardy peg is just the right dimension as a spacer for my tong reins.
Alan
-
3 hours ago, blackleafforge said:
Snip...
I do put a bit too much pressure on sometimes, especially with a blunt drill I sometimes force it through with all my weight out of frustration!
snip...
Also are you sharpening your bits by hand or using a jig or other automatic contraption?
Thanks
The one skill I have managed to share with all the journeymen I have had through the forge that I know 100% will be useful to them is how to sharpen drills by hand.
It takes seconds to sharpen a drill and will save you hours of time and frustration.
Why spend energy pushing on an overheating drill bit for a couple of minutes when with a few seconds of sharpening the hole will be done faster and easier with no risk to drill or workpiece...or peace of mind!
No brainer.
Alan
-
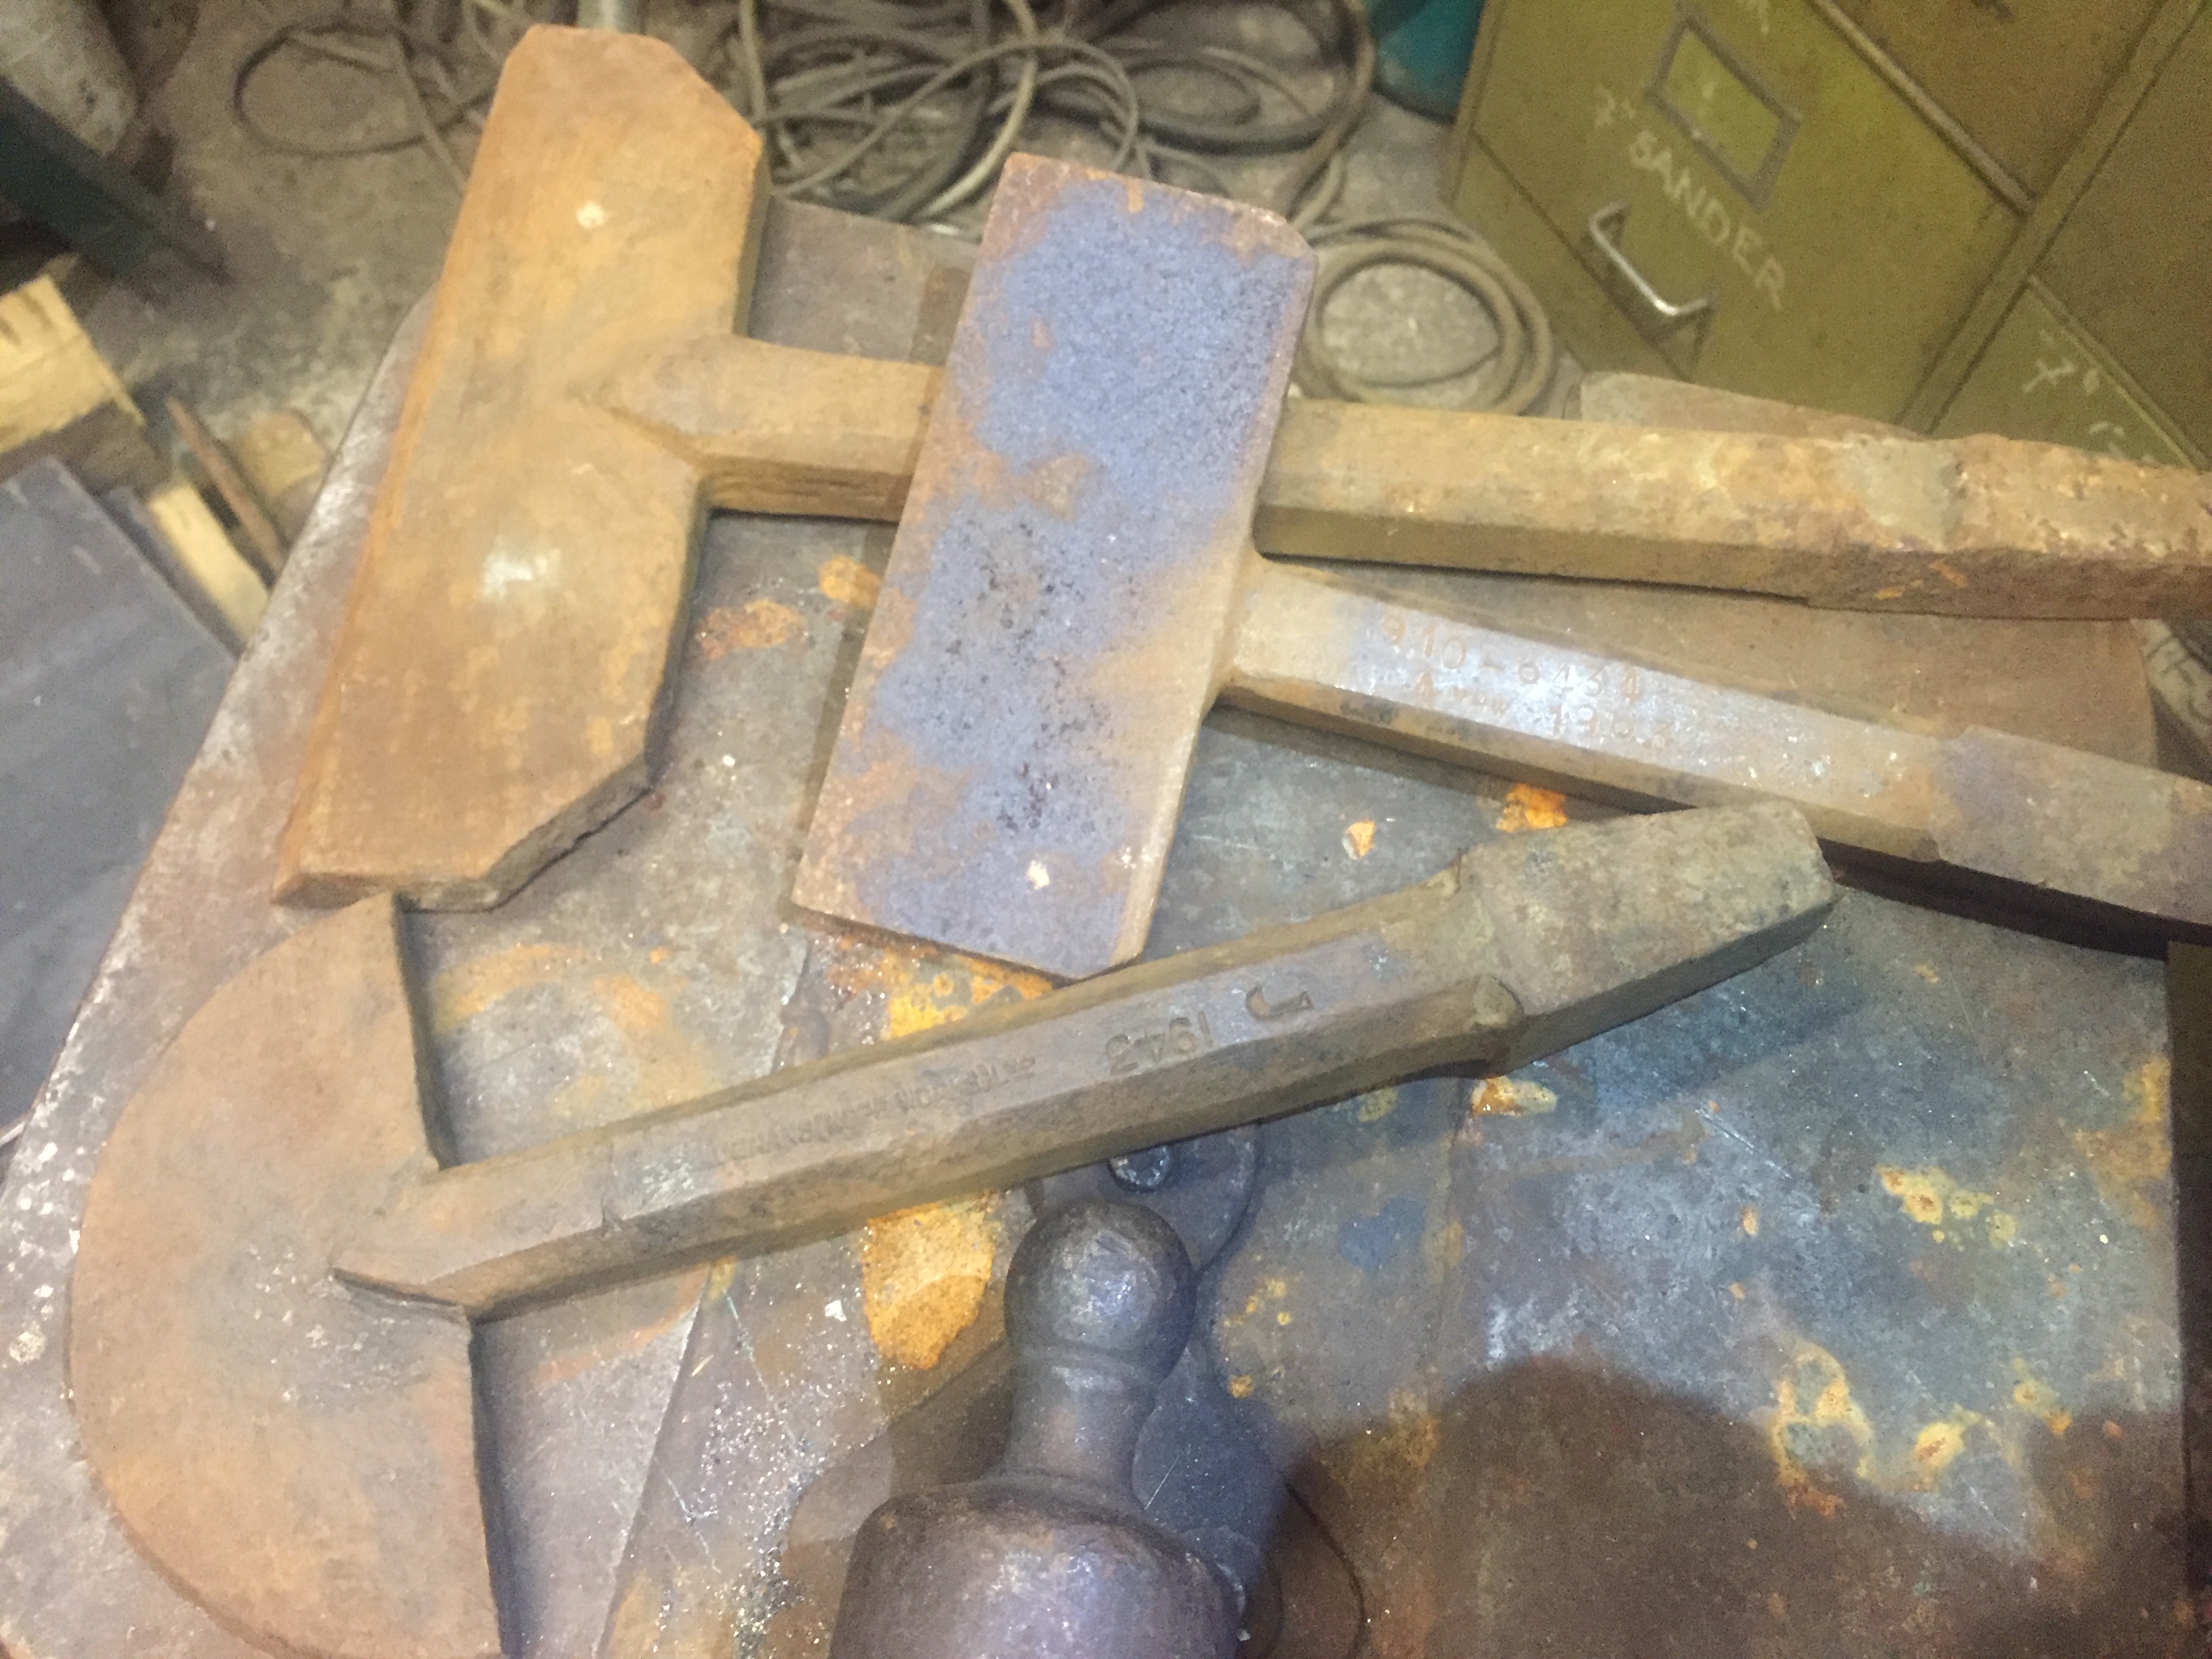
Herewith the hatchet stake photos. Dug these out of the pile...
Interesting example of living history...showing development of metal production processes.
The middle one is stamped 1963 and has been arc welded like Little Turtle Forge's.
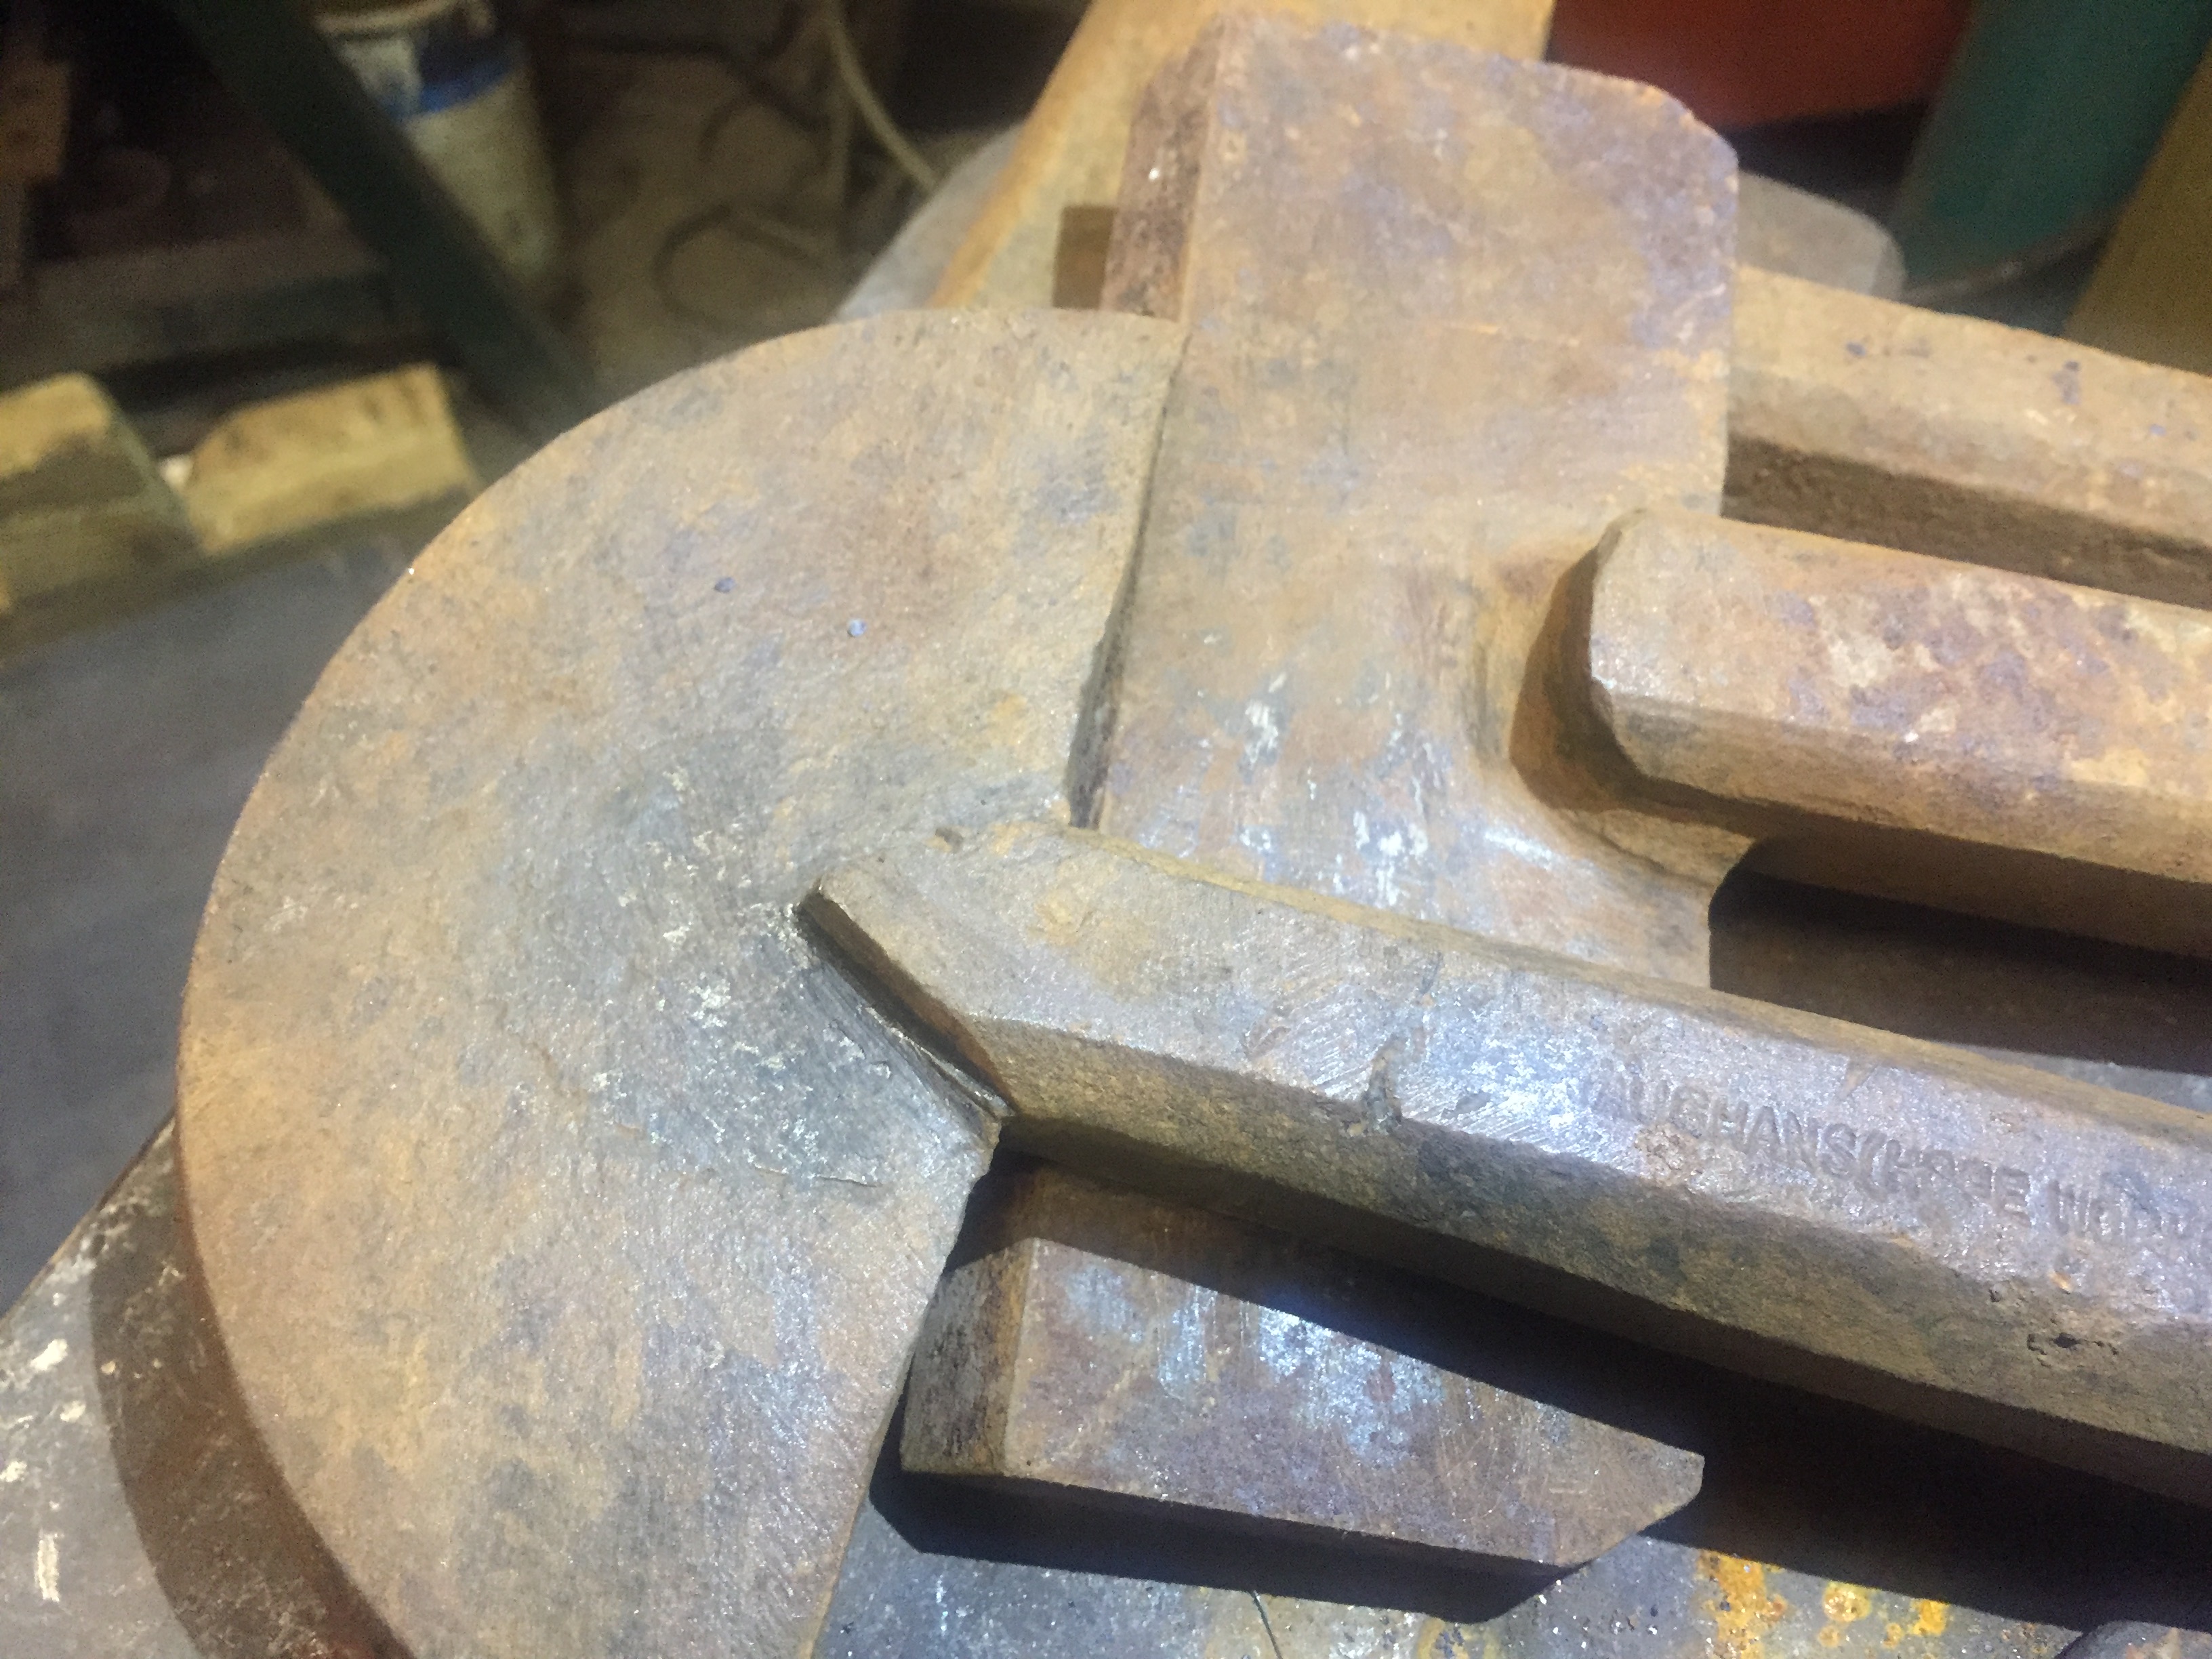
20 years before in 1943 (stamped on the half moon stake) the same company Vaughans (Hope Works) were making them by dab welding the post to the blade. The glitches in the surface indicate the posts on the two earlier ones are wrought iron.

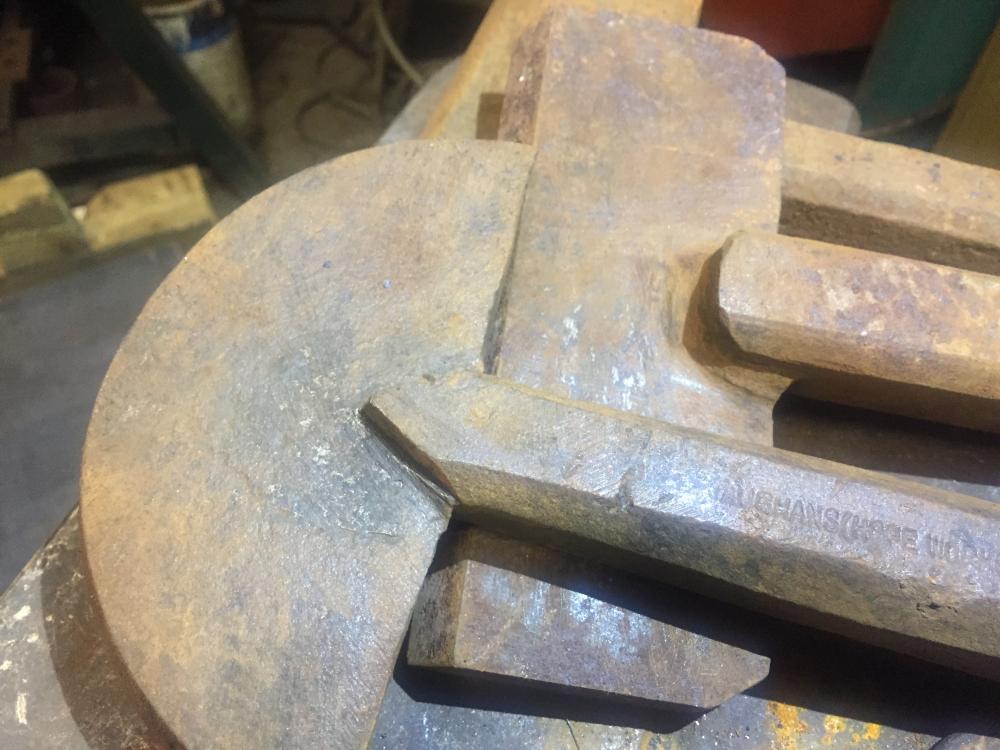
If you look carefully at the detail photo of the half moon stake you can see the flattened out dab weld on the back of the blade.
The two with the stamps are ex Ministery and have the broad arrow. I haven't cleaned the other one up enough but I suspect it was also made by Vaughans for the War Department. It has a very similar dab weld detail as the half moon.
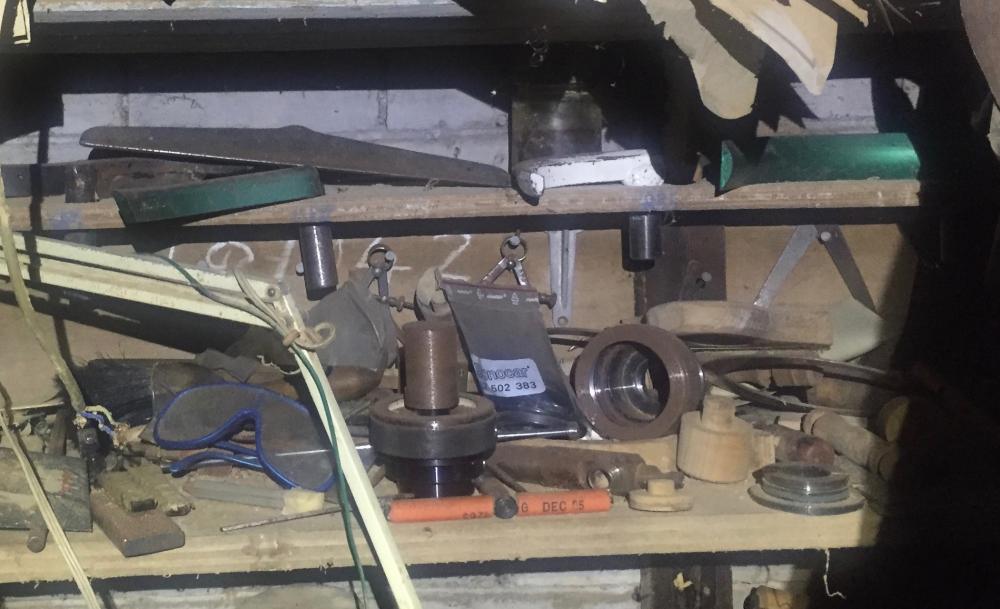
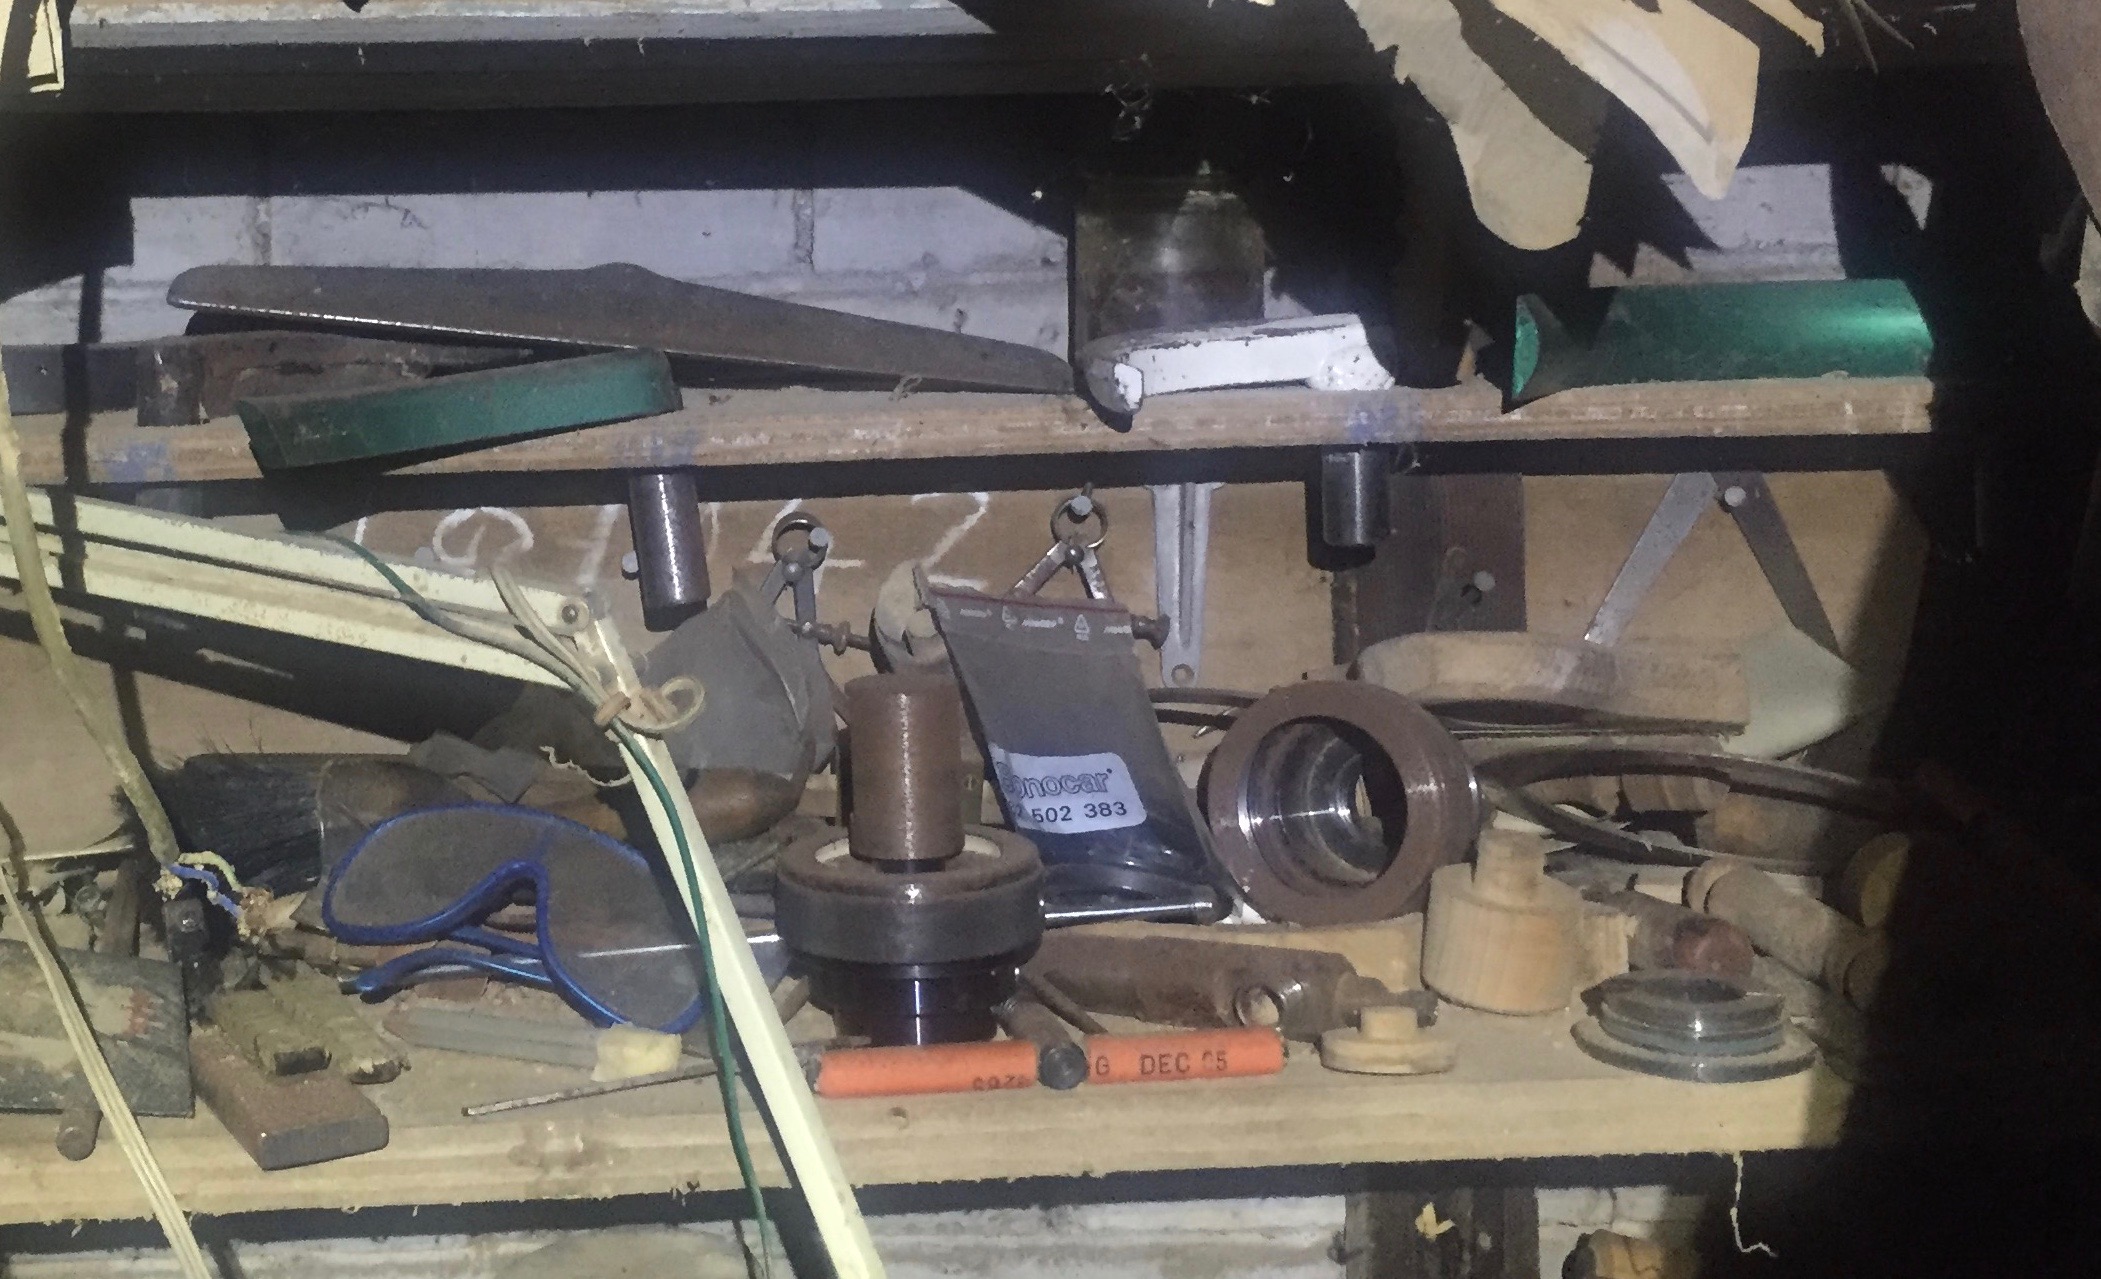
The other photo shows the shelf with half a dozen of my father's lathe rests, you can see one of the straight blade ones on the top. Sorry for the photo quality...the lathe and indeed most of dad's workshop is cluttered up with bits of my old Discovery interior trim at the moment. Can't get at anything.
Alan
-
I will dig out and photograph the hatchet stakes I have when I am next at the forge, I have an idea they were either forged from one piece or fire welded...
And a wood lathe tool rest I made for my Dad which I seem to remember was fairly similar in construction...just a curved rest for bowl turning and a round pin instead of square for swivelling and height adjustment in the clamp.
Alan
-
Looks like a fairly modern one given the arc welded construction. Looks in great shape.
https://www.anvils.co.uk/tinsmiths-tools/product/1658-hatchet-stake.html
Alan
-
When you say forced air ventilation system, are you referring to a positive pressure system, or a fan assisted extraction system?
I use a positive pressure system in conjunction with a hood and chimney for the hearth and it also works effectively with open doors or roof light for welding and a smokey diesel forklift.
Alan
-
Why have you mounted it so high above the hearth?
I think mine is around 500mm above with 200mm hinged flaps which can hang down or flip up and lie back on the hood.
Alan
-
Nice rope work...
The only noise that really makes me cringe is the sound of a file being slid across another if they are kept in a drawer...working by myself for years never heard it until I had an assistant working with me...his second job was to make a file hanging rack.
Alan
-
Sounds and looks well.
Does the valve not give you a neutral position so you can start it up off load?
I doubled the recommended size of the inertia block under my Alldays 3cwt. 3x3x1.5metres but it was direct into the soil.
At the other extreme...under the 1cwt I have just a slab of 30mm steel plate, 8no. 150mm chumps of Ø150mm steel feet with Ø150mm rubber buffers and a 175mm slab of reinforced concrete floor.
What they both share however is a 50mm air gap to the adjacent floor slab. There is a ledge with a bit of 100 x 6mm stringer lying in it loose to prevent twisted ankles. I hired a diamond floor saw and sliced the gap when I found the walls transmitting the vibration.
The main thing that gets transmitted now is the air pulse. I have extremely heavy hinged doors each leaf 3metres high and 1.5metres wide. They are built on a 50mm box section frame with 15mm of birch multi ply either side, the cavity filled with plaster board (dry rock? gypsum?). These doors pulse with the 3cwt hammer cycle!
Alan
-
8 hours ago, notownkid said:
we have an American word spelt like that but nothing to do with clamping anything. Vice Squad!
The vice squad clamps down on crime and criminals.
Alan
-
Is that an Oilite or sintered brass little end bush, or have you machined one from solid phosphor bronze?
I had not seen the spacer system on the big end shells before...clever those Massey engineers.
Alan
-
26 minutes ago, littleblacksmith said:
snip...I would imagine it would be more time/ energy to use the punch lube than to flip over the steel, and pop the punch out. snip...
Imagine no more. Using graphite and wax saves about half the energy when punching. I experimented with and without watching the pressure gauge on the press.
Alan
-
Well done! Congratulations on your new born!
Alan
-
3 hours ago, JHCC said:
Sure, but does it get steel to welding heat?
Only possible with the MK llA/hotsy iterations.
Alan
-
How much headroom did you have above the boom when you lifted the hammer over the anvil?
I had to make a special hook fitting to go on the end of a Hyab jib to get round a similar problem once.
Looking good...
Alan
-
Not only a good start...pretty good finish too I would say.
Pretty easy to find out if it will work.
Depends on a lot of things like size of fire, height above fire, height of flue above roof ridge etc.
The only thing you might be aware of it that the flue size is fairly small, you may need to do away with the chimney section and build it a bit larger.
I have a stainless hood over my coke hearth. But then I have a gas furnace sitting under it on the hearth-which is rarely used. Almost always gas now.
The stainless hood gets the heat up the chimney adequately, and has not deteriorated in the 20 years it has been in use. I got through two mild steel ones in the 20 years before that.

What did you do in the shop today?
in Blacksmithing, General Discussion
Posted
I made up a swing jib from a industrial sliding door rail and hung electric and air line sockets on a trolley which also has hooks to take four angle grinders and a work light and etcetera. It is also heavy duty enough to carry the wire feed unit from the 500 amp MIG or the inverter TIG. The arc swings over the bench and the assembly area on the floor and it keeps all the cables off the floor.
I saw a similar crane on a visit to Christof Friedrich's water powered forge in Switzerland and just had to have one. This is the same Christof Friedrich that first demonstrated the Friedrich's split cross at the Saint Louis ABANA conference in the mid nineties. He has a lot to answer for!
Alan