Jake18
Members
-
Joined
-
Last visited
Everything posted by Jake18
-
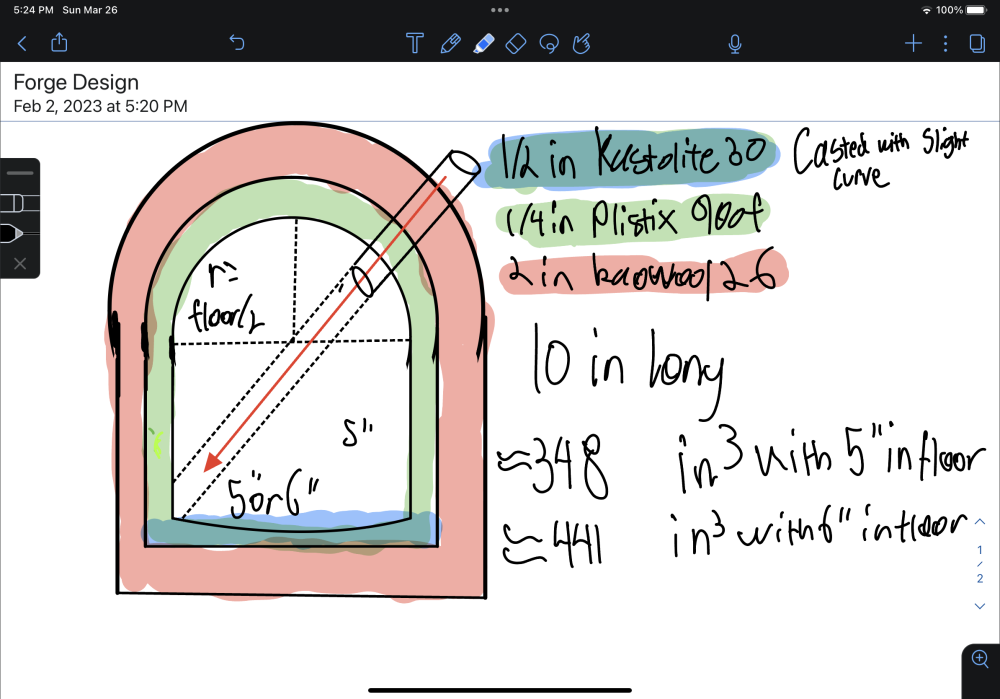
Howdy! I've grown tired of the inefficiences of my current propane forges, and while i greatly enjoy using my coal forge, i would like to have a nice gas forge so i'm in the works of designing a forge and i have some questions. Preliminary info The current goal for interior dimensions is 6"Wx4"Hx12"L. I plan to use high alumina Kiln Shelf for the floor and 2 1" layers of kaowool covered by 1/4"-1/2" layers of Kastolite-30 coating with plistix 900f for the walls. i plan to use mikey burners, and due to the relatively low volume compared to the length, i will likely use 2 1/2" burners for an even heat through the forge. I do some knife making, mainly ornaamental and need to be able to reach welding temps. I also would like to make the forge modular, in the sense that i could take the surface with the individual burners off, and replace it with a ribbon or different style of burner if i wanted to or if i am using it to test burners. Assembling methods i would like to do a no weld design for easier assembly and the ability to remove all pieces for maintenance and modularity for future upgrades , maintenance, or testing. Currently the extended portion of the bottom portion of the forge will be mirrored on top and a bolt going through threm to secure the top and bottom but i am not sure how to approach attaching everything mechanically in a clean and efficient manner. In addition, i was considering having threaded bolts sticking out through the kaowool, that way i can pour the castavle refractory onto each piece individually an hopufully it will be secured by forming around the threads on the bolt. I'm sure this can cause an issue though of heat insulation and heat passing through the bolt into the shell Burner mounting and Forge Shape My current design employs a box shape. I would like to do an oval but don't have the means to create an oval shaped shell, and am currently unaware of any good existing shells. Maybe a muffler? Plus the oval would be hard to make modular for the previously mentioned reasons. But anyways, to my understanding from previous readings, it is hard to meet ideal flame impedement conditions in a box forge due to the flat sides and no location where there is a greater distance from the flame to the impeding surface. I was considering mounting it coming through the top on the side closest to you in the drawing, and aiming it to far corner of wall and floor, hitting mainly on the wall. I was wondering if i could create a radius in that corner with plistix 900 so the flame does not meet a hard corner. Is this necessary?Not sufficient enough? Or should i go for a D style forge and mount the burners low on the wall and angled towards the roof the arc. And if i were to do this, would i want to aim it at the peak, the far side of the peak from the burner, or before the peak on the side the burners are on. I would assume the latter. Or do you have another recommendation? Thank you for taking the time to read this, and i look forward to what you have to say.
-
I am about to begin building a couple of Mikey Burners. I’ve read through the forum several times a while back but haven’t had time to make a burner or go back through the forum due to college. I vaguely remember you talking about some modifications to the burner design in your book and I was wondering if you could give a summary of the modifications you would do to the original design.
-
I’ve only used WD-40 which worked to get the nut off but I can’t get the bolt out. I tried your method and I still haven’t been able to knock it out. Well I haven’t tried any penetrating oils though.
-
First off, my apologies for the empty quote I couldn’t figure out how tor remove it, and second, that is likely what I’ll do. I’ll probably grind down the jaws to the original and if need be fill any pockets with some weld to avoid large divots. And while I’m here, anyone have tips on how to remove the bolt that the jaw hinges on at the bottom? I cannot get it out. I have already tried heating it up.
-
Oh yeah you’re right, I didn’t look that closely but I think you’re right. I can see what looks like the original face of the jaws
-
I guess I don’t get what you’re referring to when you’re talking about plugging the male dovetail. I’m familiar with the joint but don’t get what you’re talking about.
-
What type of metal would I use for the jaws?
-
So just get a piece of tool steel( assuming that’s what the jaws are supposed to be) and then plug weld them in? Easy enough. I might have access to a mill through my college
-
I recently got an old post vice for cheap but part of the jaw is chipped off. I’ll post pictures here in a bit but I was wondering if I could just weld in the broken off part, build it up and grind it flat or not. Would normal welding rods be fine ir would it need to be a hard face?
-
Alright, I thought by doing that I could have the advantages of a D forge without losing the height on the side. I find myself to often have multiple pieces in the forge and sometimes they are taller so i was hoping to be able to use a D to encourage swirl while still having the height on the sides. And I see what y’all mean by the burner angle, thank you for that info. Also Mikey, that is one of the reasons I made the forge this tall, I see a lot of casting projects in my future so I was hoping to make a forge i could also use for that but I see what y’all are talking about. It would be a waste of space to make the forge that big. I reckon I’ll just forego that and just make another forge for that if I need to.
-
You're right, i am not experienced. And I thought 1/2 in was alot but i thought i saw it somewhere here that 1/2 in for the floor. My mistake. And I see i had the wrong idea of what Plistix is. I thought it was more kastolie than itc-100. What would be a good height? Thank you both for your help! Edit - I just realized the wrong ideas i thought i saw from here i saw on facebook groups. Goes to show. Other than the height of the forge.
-
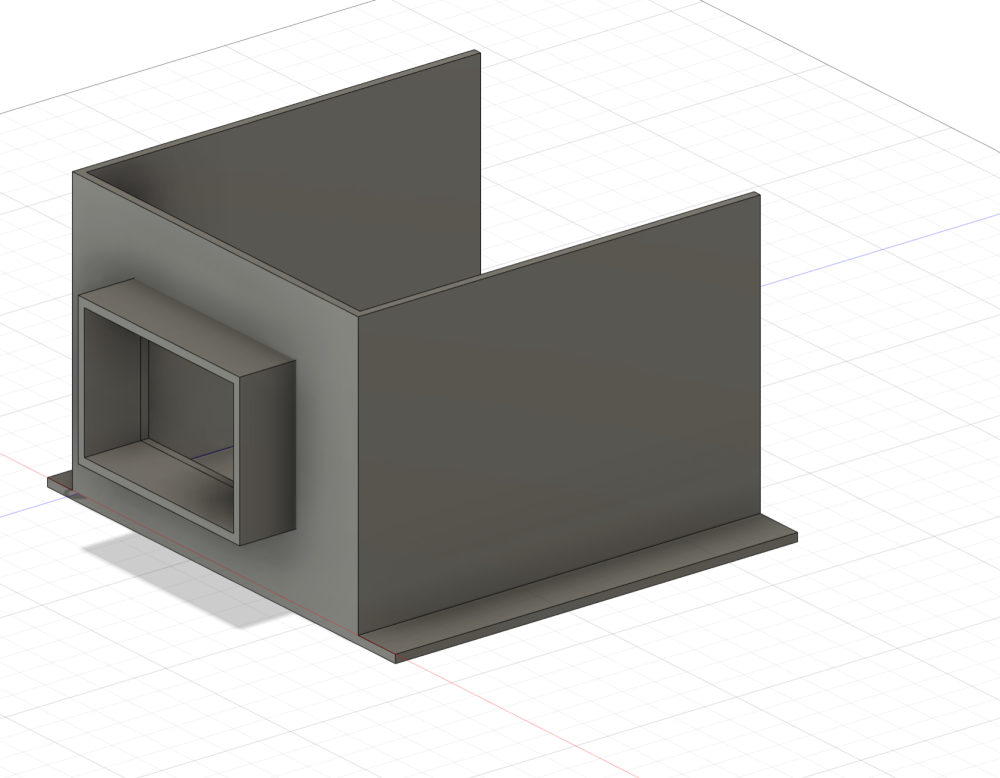
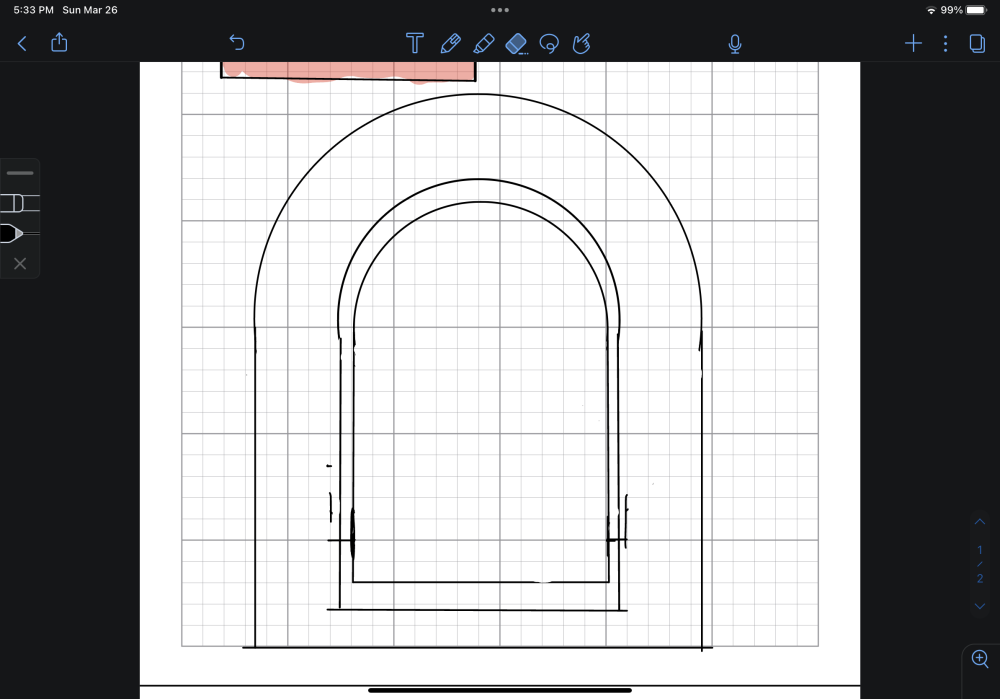
About to start building another forge, what do y’all think of this design? still deciding on what burners to use and the spacing of them along the length. I’ll probably also add slots near the bottom to slide in a kiln shelf. The less colorful image is it drawn to scale with each square equaling 1/2 inch
-
That’s exactly the kind of answer I was looking for, thank you! I thought the size of the nozzle was relevant because I’ve seen a comment made about using a stepped nozzle 2.5 times the inner diameter of the mixing tube
-
Howdy Mikey, what would be the best place to start when trying to come up with what type of flame retention nozzle to use and what size it needs to be? If the information has already been presented in the thread then just point me to it and save some time but I’ve been trying to find it and haven’t been able to find what I’m looking for.
-
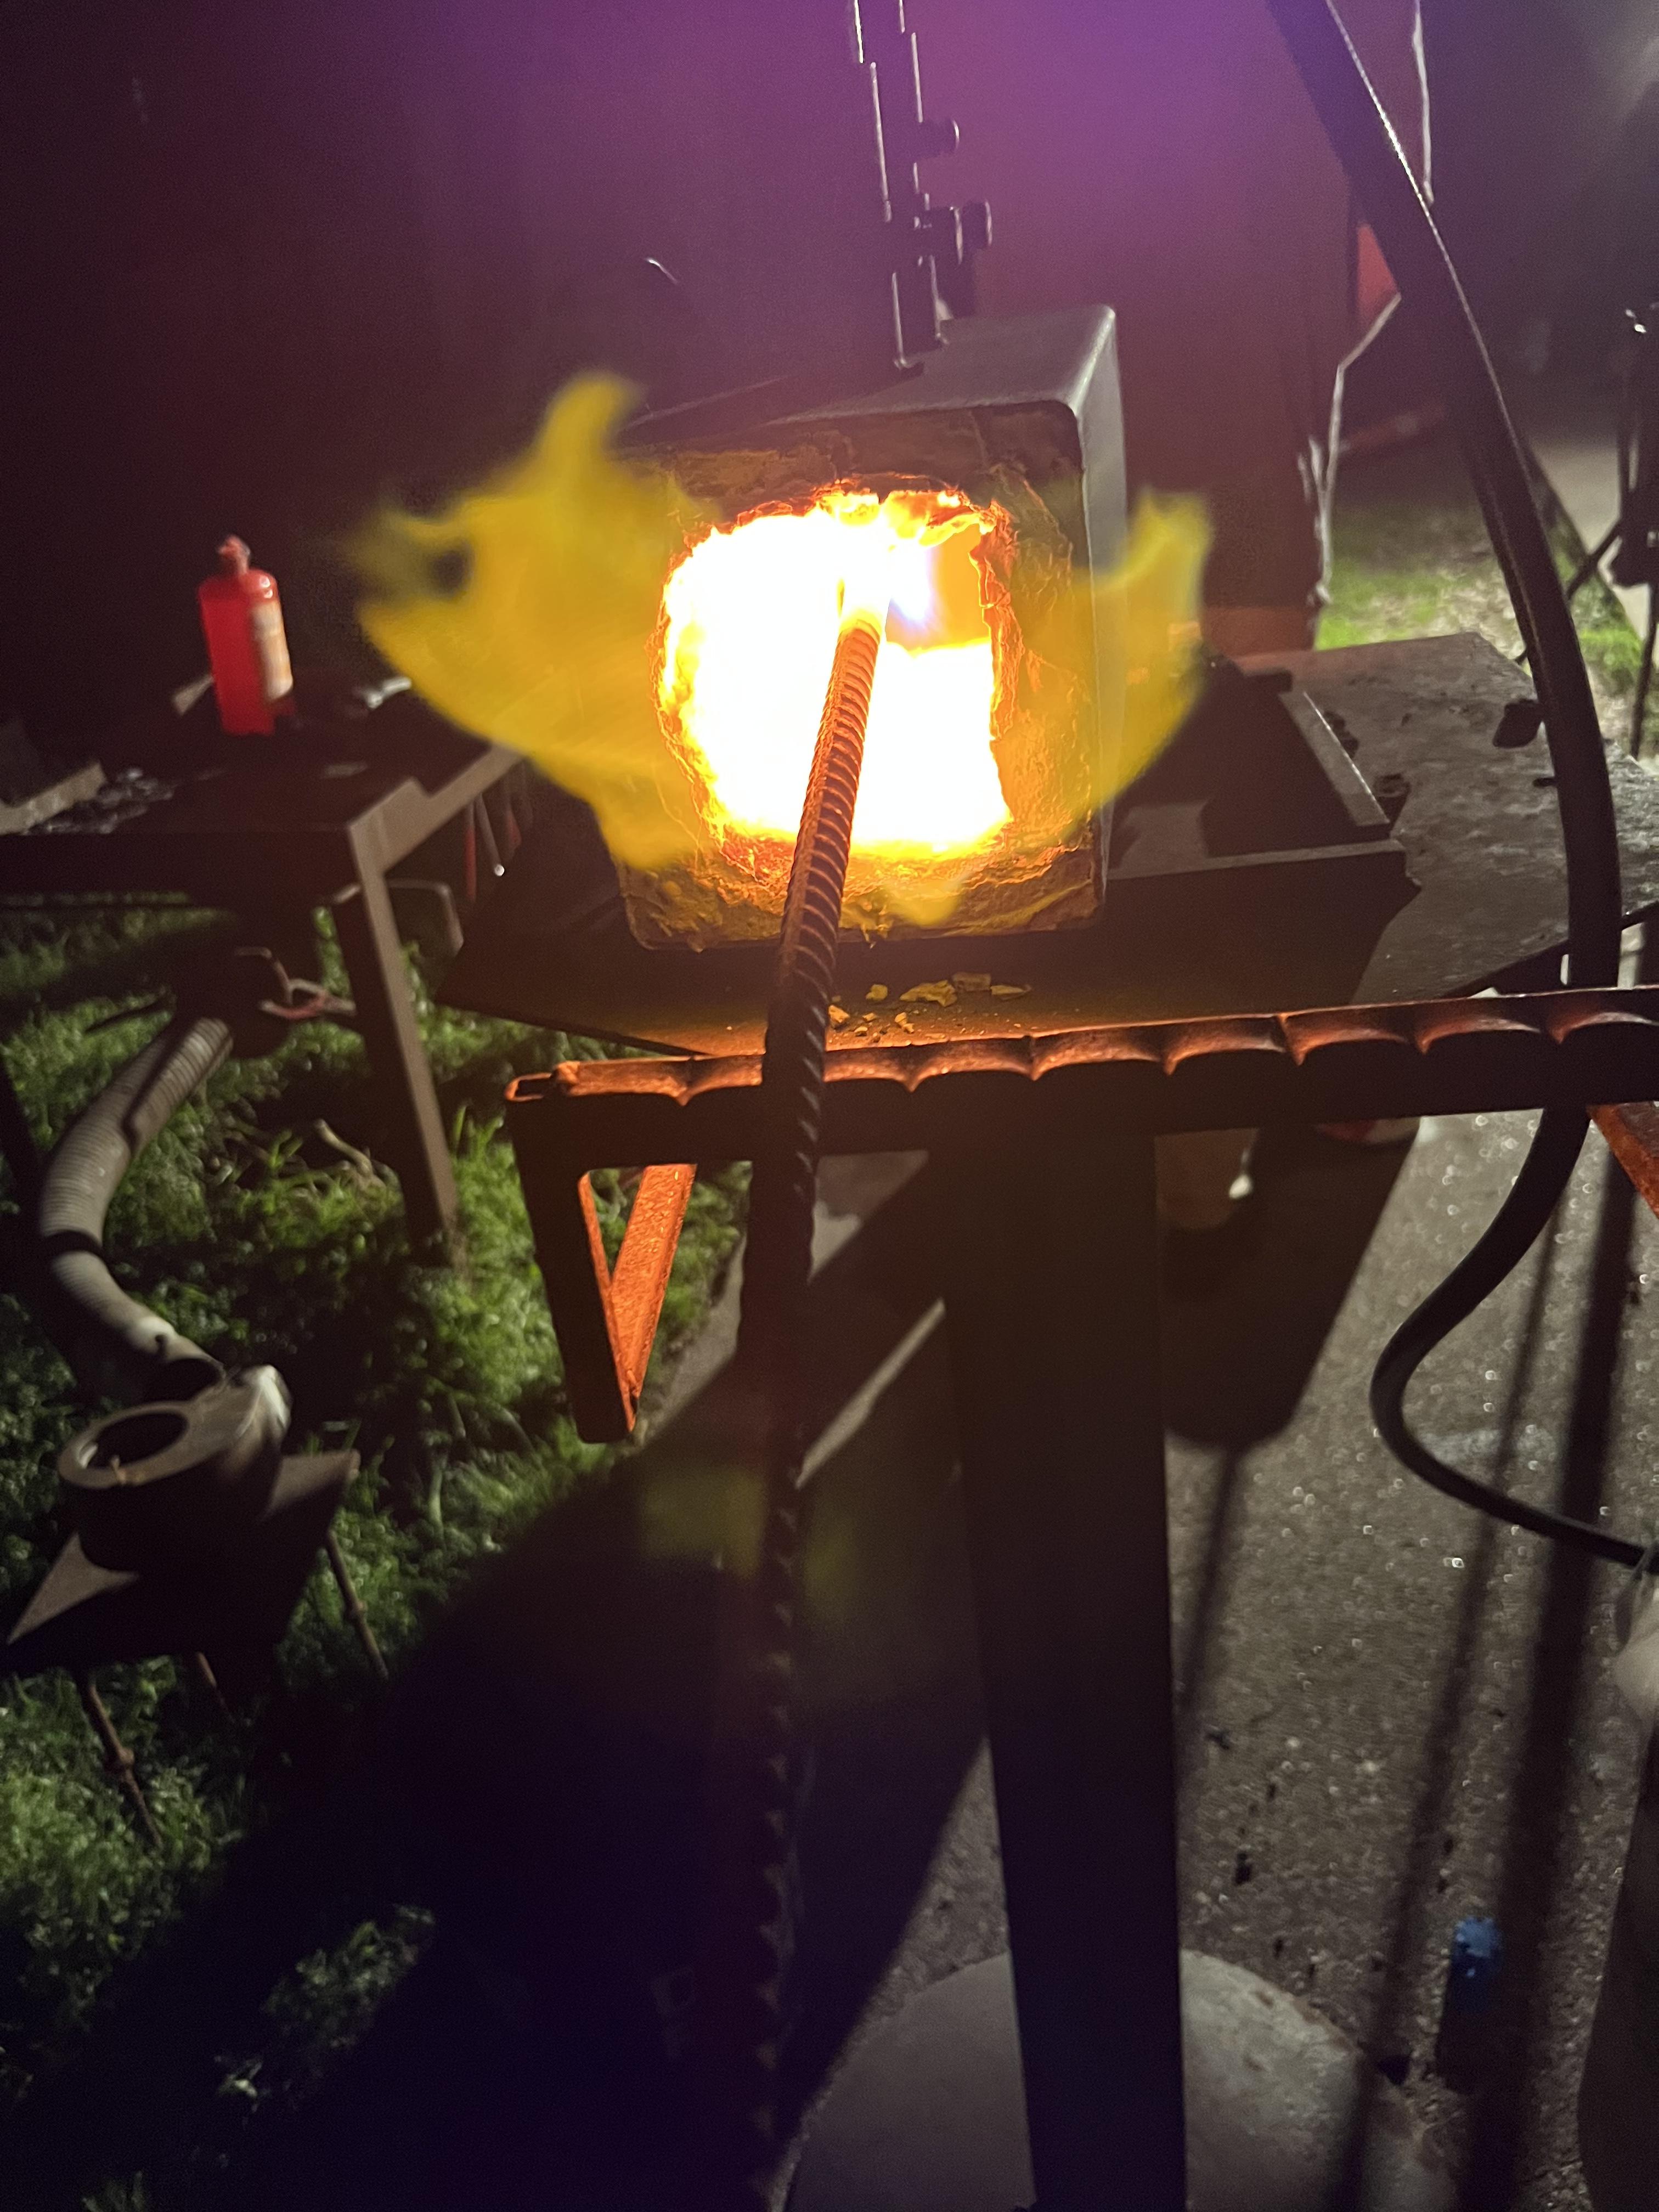
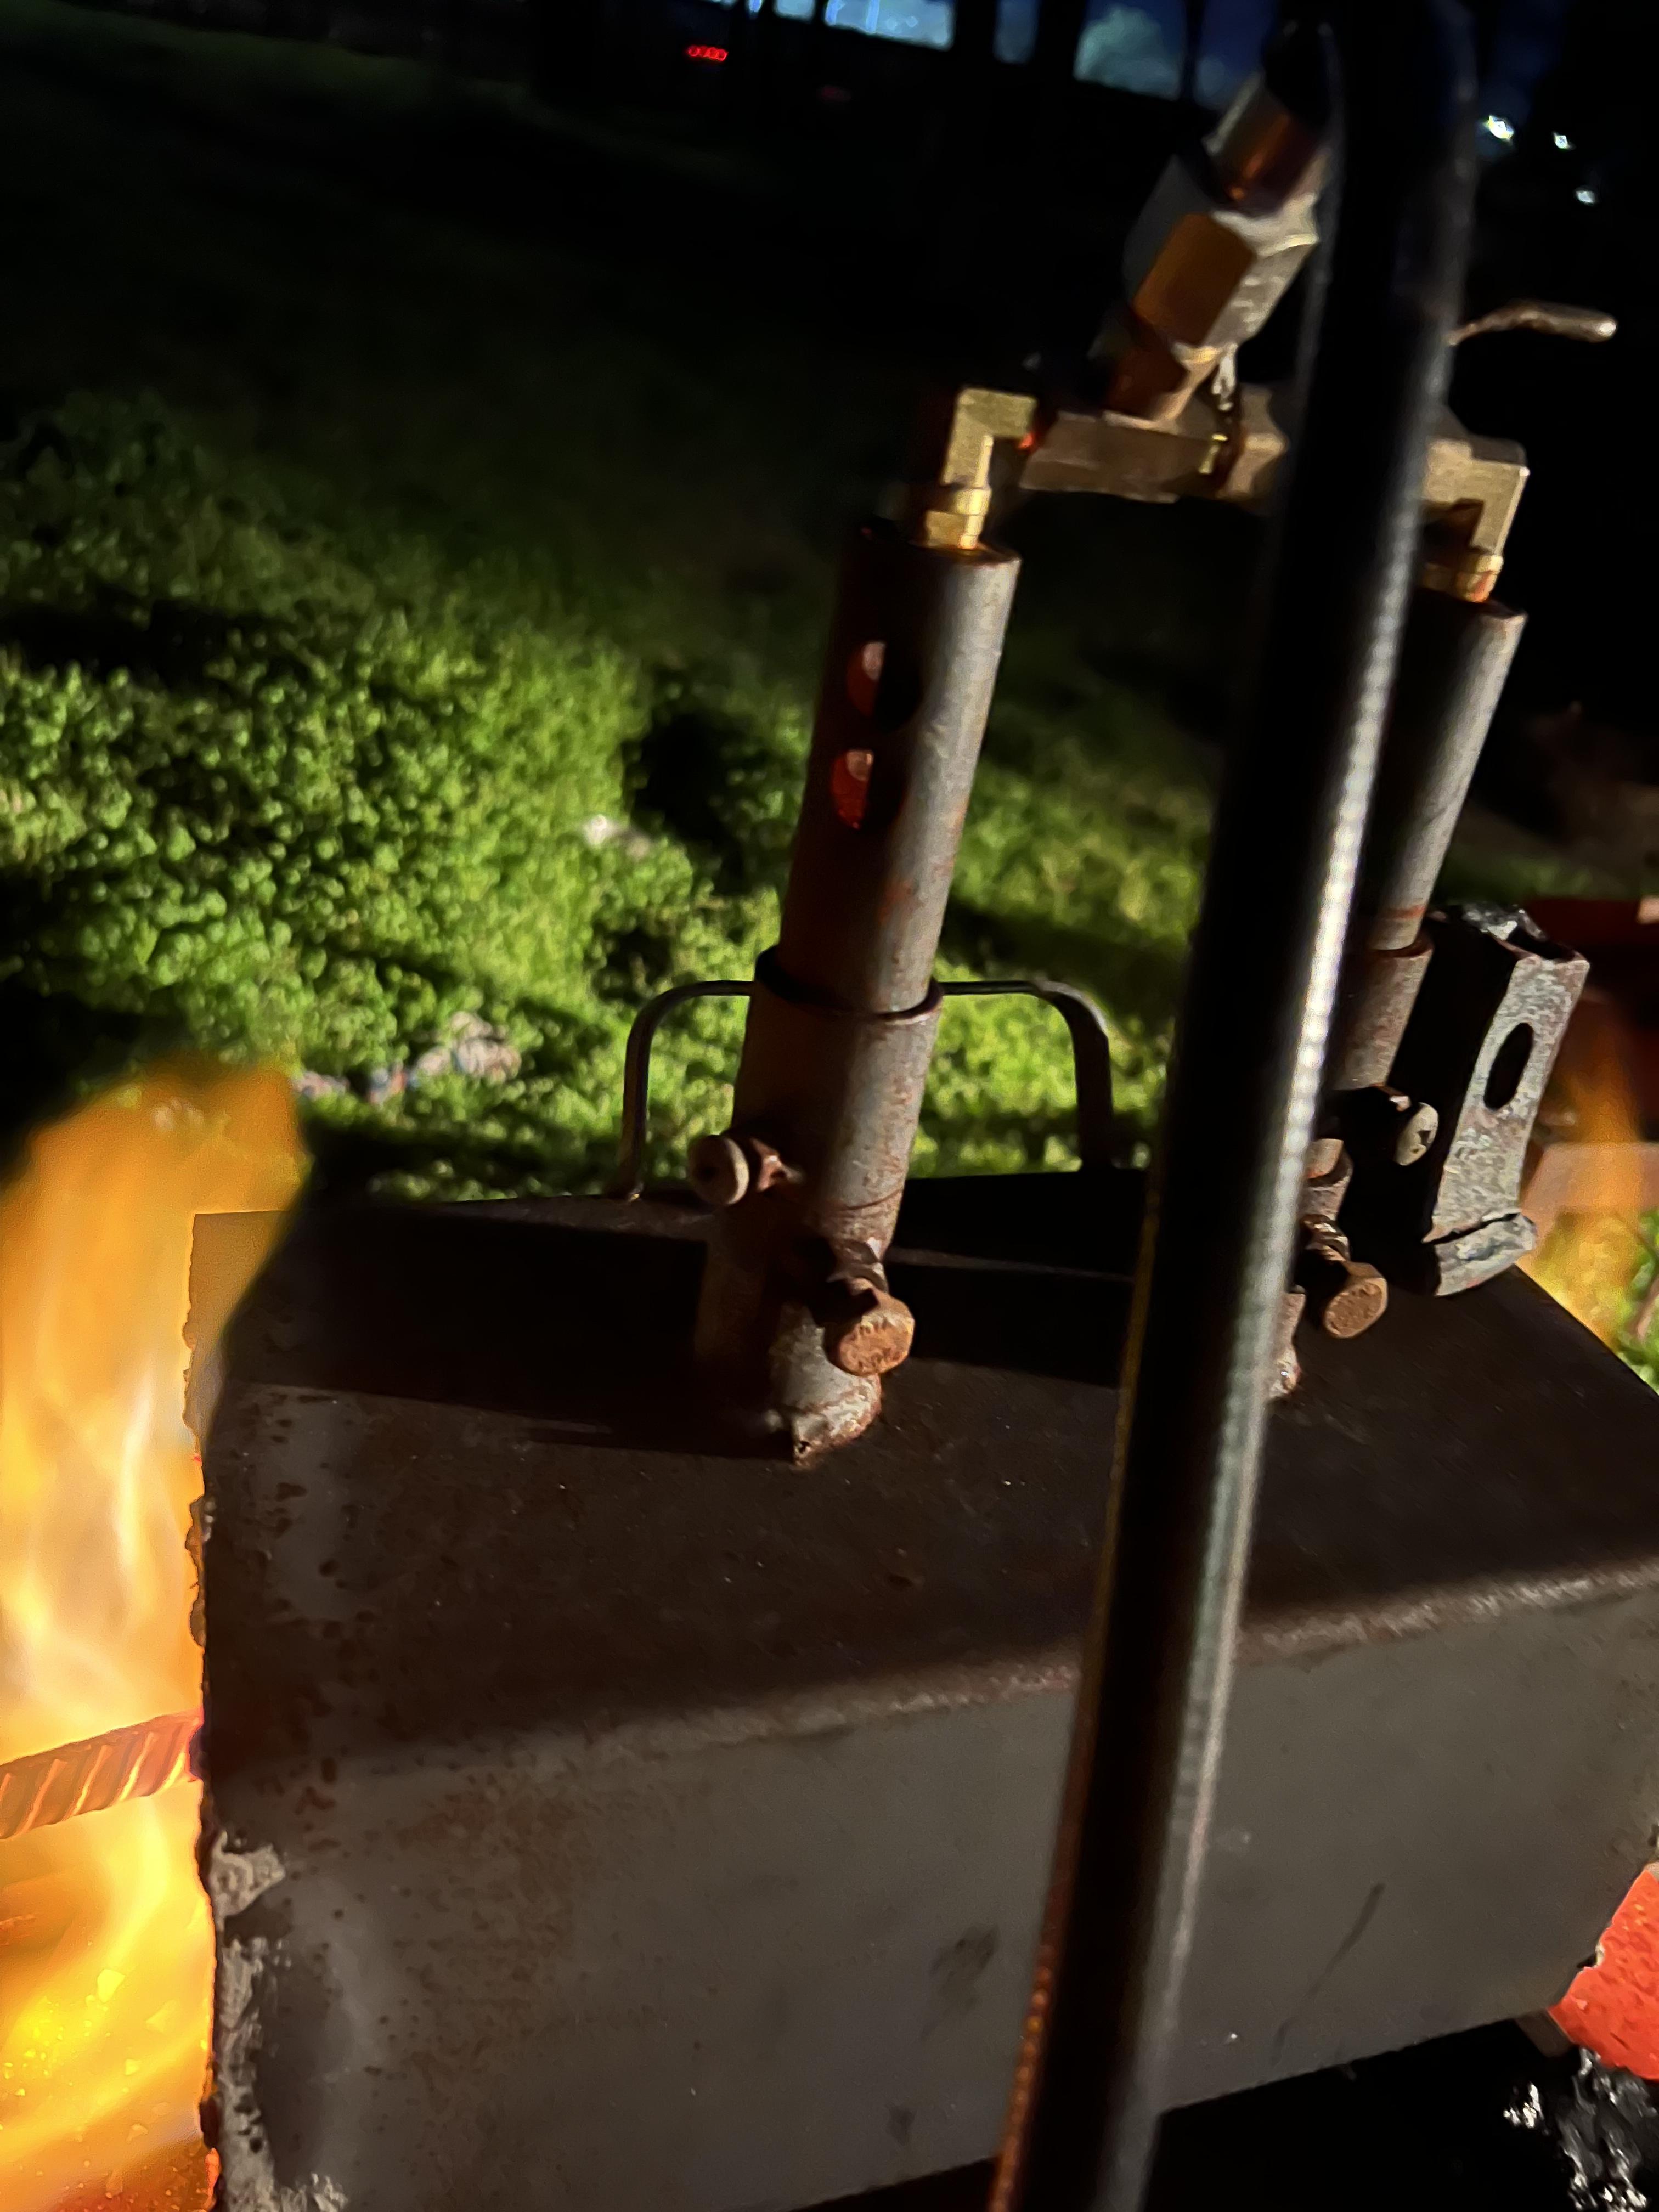
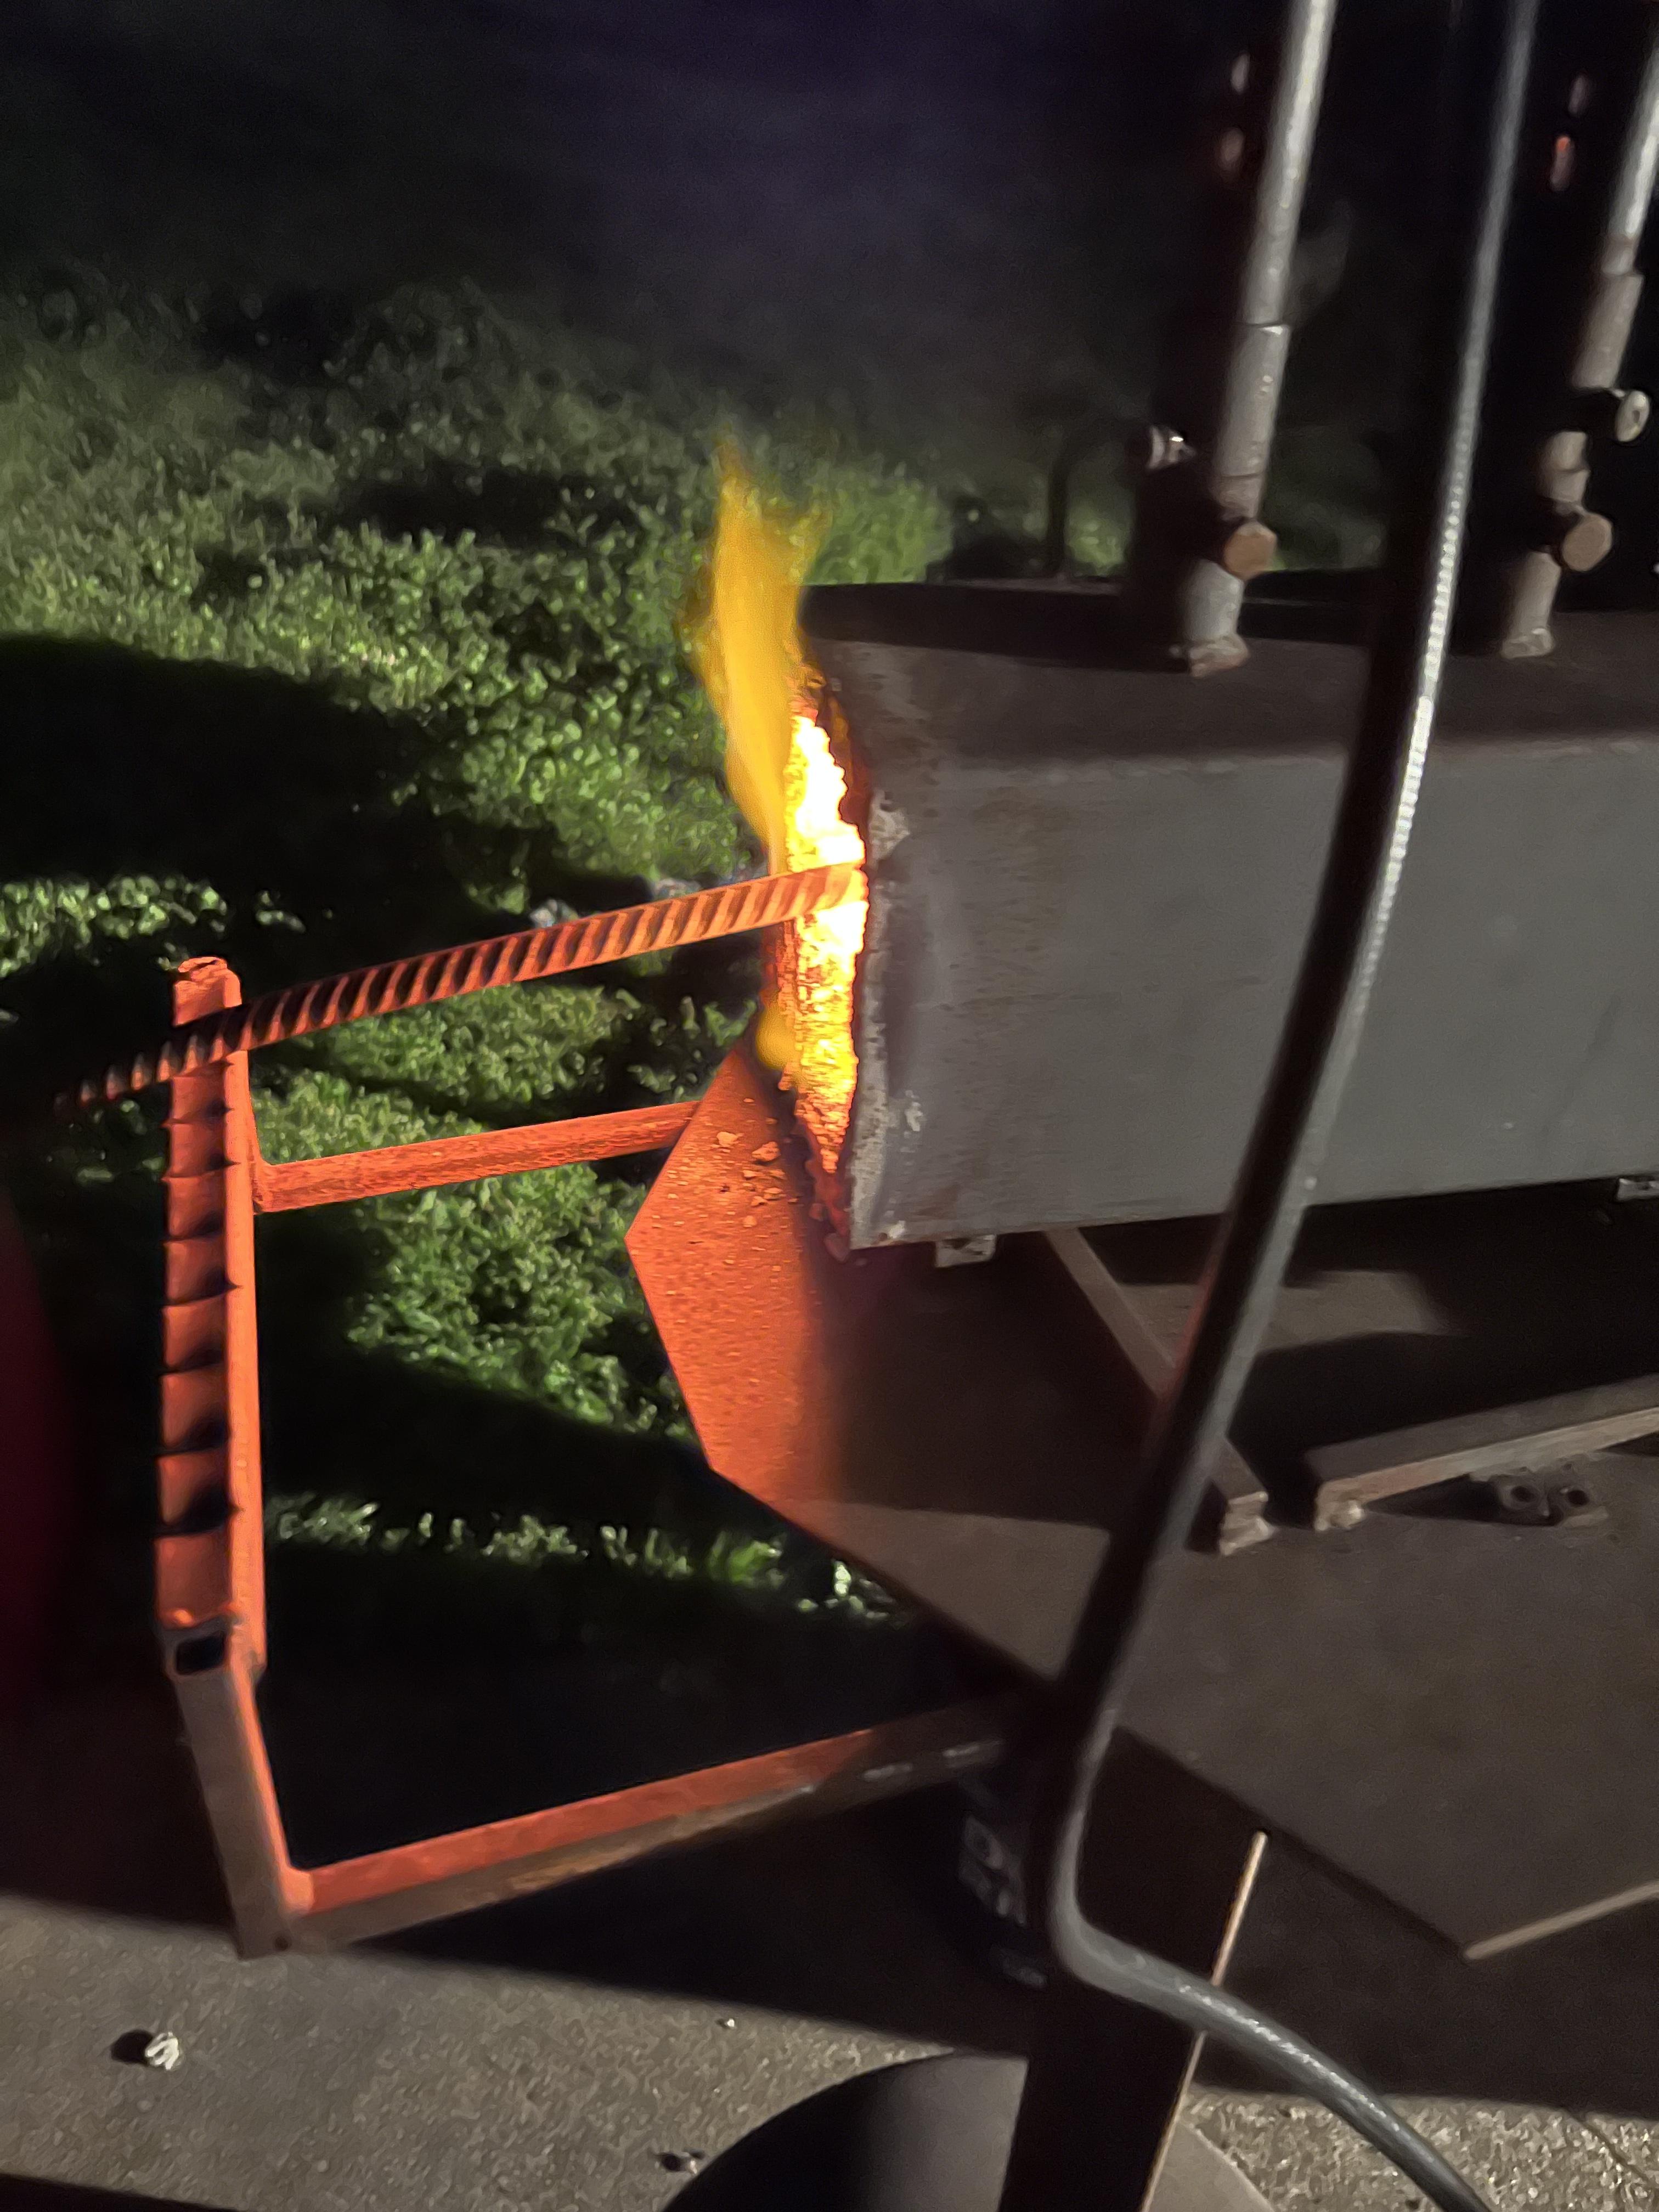
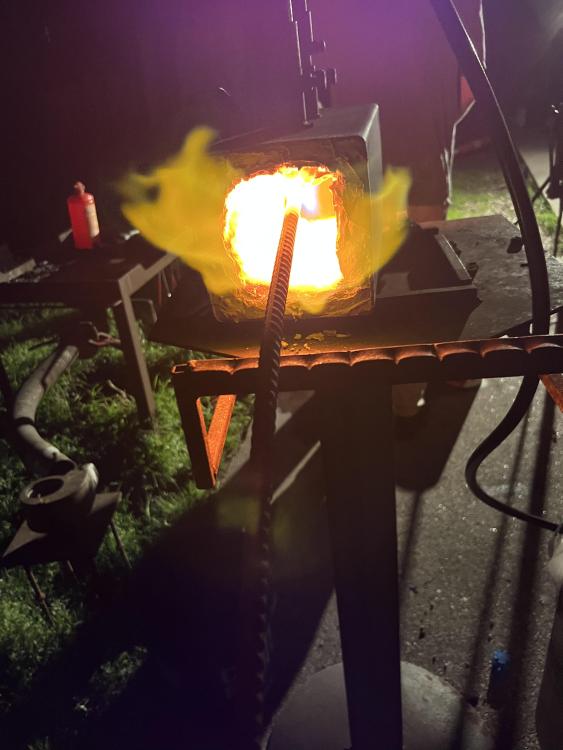
I got a question now. I’ve been using my buddy’s forge since I was not happy with the one I built and am working on making a better one, and his gets pretty hot but having an issue with “backfire”. The flame will go back up to the nozzle but only for a moment before going out. There is a lot of dragons breath coming out from it even at low psi. Which to me says that it is running rich(or it could possibly be from the burner only being about 4 inches from the floor of the forge?). Anyways, my guess is that the orifice is too big, creating a very rich flame at too low of a speed to pull in enough air. I’m also thinking maybe this can be improved by drilling out the holes into fill slits to allow more air. I’m not sure though. Before I just dealt with this cause it still works but realized it’s a learning opportunity so here we go.


-
That is pretty much the stage I am in now. Without the time to put anything together i am spending time studying these forums and other reputable sources i can find. right now i am planning on a D forge, or actually, a box with a D on top of it and using two 1/2 in burners to heat a 6x6x10 or 12 box with an undetermined arch size. After spending time on the 3-D printed burner thread, i am currently expirementing with trying to create a design as efficient as the one created by AnotherFrankenburner. At the moment i am trying to get a better understanding of flame nozzles and how they work and when to use what style cause that is where i am most lacking in knowledge.
-
all of the above . I have a forge i've been working with but it is not working how i would like so i am going to try and modify it to work better so i can keep using them. I will probably be asking quesstions about it later. I haven't used them in a while so i do not remember what the flame was like but i have a good idea of some modifications it could use after reading this. Other than that i will likely be building some mikey burners sometime soon and then expirementing with some other designs. I definitely can't get all that done if i dont know what a good flame looks like. Glad to hear it will get simple though after a while. looking forward to those days lol. Wow! yeah i can understand that, i can't wait to get my first good flame. In the coming months ill definitely have plenty of questions when i get time to really test this stuff and expirement. College has me pretty busy at the moment.
-
sorry, pretty off topic but where do you get your schedule 80 1/8 in pipe? i cannot find it, at least not in smaller quantities. And thank you mike for the detailed flame report. I've been trying to get better at reading the flames and that helps.
-
How much will steepness/ shallowness of the funnel arc affect the performance. I see the concept of it being like one of those coin machines they used to have at Walmart where as it gets smaller the “swirl” becomes faster. Have you tinkered with the degree of your funnel? Or will it mainly just depend on the beginning diameter vs ending diameter
-
-
-
Yeah I was one of those that used to think that bigger was better to a certain point. Since then I’ve realized that you don’t need anything big. Most of it will be a waste if you’re not actually working what all you’re hearing up. And I guess that is one of the good and fun things about it. There’ll always be improvements to make and something to work on. Keeps us busy.
-
haha, cheating definitely helps sometimes. And i guess bricks are just too easy. Maybe i'll do the hinged alumina shelves for the next build. Looks fancy ya know. And i don'y knopw if i would call myself a perfectionist but i do appreciate getting it right to the rightest it can be lol.I was in the process of designing a forge until i found this forum then became paralyzed in my progress by my desire to find the best way to do everything. It is quite frustrating as i have many projects i haven't started because i am trying to find the best way to do it. This summer when i have more time to tinker i'll probably be doing alot of expirementing with forges and burners. I guess expect to hear alot of questions then lol.
-
I believe i get what you are saying AFB. While i am not sure everyone understood exactly what i meant ( i probably could have explained it a little better) i see what you are saying. since the air is not traveling parallel to the pipe then any ribs or whatever would just cause drag. While i am here has anyone uploaded any cad files for designs here?
-
I wonder how it would work including a few angles find in the mixing tube. It kinda replicates a plane wing tip. It being angled creates a high and low side and as the air flows over the fin from high to low it creates a swirl. Would that create too much drag and interference? Id like to try it but I don’t have time to design anything right now