

LeeJustice
-
Posts
355 -
Joined
-
Last visited
Content Type
Profiles
Forums
Articles
Gallery
Downloads
Events
Posts posted by LeeJustice
-
-
I started to consider bentone or bentonite as a binder for the YSZ, but just learned that the composition of those are most likely detrimental to the YSZ. I have been aware for some time that these coatings in engines are susceptible to calcium-magnesium-alumino silicate (CMAS) damage. They melt into the coating and degrade it with their glassy melts, possibly even making new chemical compositions. So, for the moment, I am still looking at phosphate binders or some commercially prepared binder, if it is not cost prohibitive. I am open to suggestions that anyone may have.
Second Mr. Volcano arrived on Monday.
-
I have also considered that putting the YSZ coating on top of the Satanite can have ill effects if the coefficient of thermal expansion between the two is too much of a mismatch. That being said, I am considering maybe another new Mr. Volcano as the test rig. It has been a pain to be out of commission forging while I am also experimenting with my only forge.
It is also possible that the Zirconia that I am using is too coarse for this type of binder. The finest that I have recovered passes through a number 400 sieve. The rest are larger, progessing from #'s 270, 230 and 140.
About not using too much binder, I am concerned about not using enough of this type. Not enough and all of it will maybe just blow away. It is only this binder, for now, and the powder.
-
I was using Aluminum DiHydrogen Phosphate. Mikey had mentioned that he thought Phosphoric acid could be used. I wanted to stay away from playing around with acid. But that sent me down a little rabbit hole in which I found that Phosphoric acid is used to react with aluminum salts or hydroxides, and the result is Aluminum phosphate or aluminum dihydrogen phosphate. I chose to forgo the messing around with the initial steps and buy the end product. It was not cheap, either. Still trying to get something of an improvement, or new altogether. Wish me luck.
-
This is all uncharted territory for me. I did butter the previous coating. However, the binder I used is in a solution of 50% water. I expect that there is no absorption of water or binder with Zirconia, but adsorption. Shrinkage should be minimized, as such. I think that my first torch firings caused it to curl because it was drying too much from the outside, causing tension from some shrinkage on the outer part first. That was why the most recent time I used an indirect heating. And actually, on the prior test, I was trying to heat the forge from the outside, which is pretty ineffective due to the insulation.
I might also try to make myself a Zirconia brick out of this stuff sometime.
-
Yes, it was really thick.. I even filled in the hole which you see in the one photo of the damage. Clear down to the insulating wool. The binder that I used in the most recent test is not plistix at all. The prior test of adding YSZ to plistix is uncertain. There were areas of that layer which cracked and delaminated. You can see evidence of that in the other photo as well. I just had to employ a lot of patience, mixed with a little impatience, to give it the time it needed to seem dry enough to fire it.
-
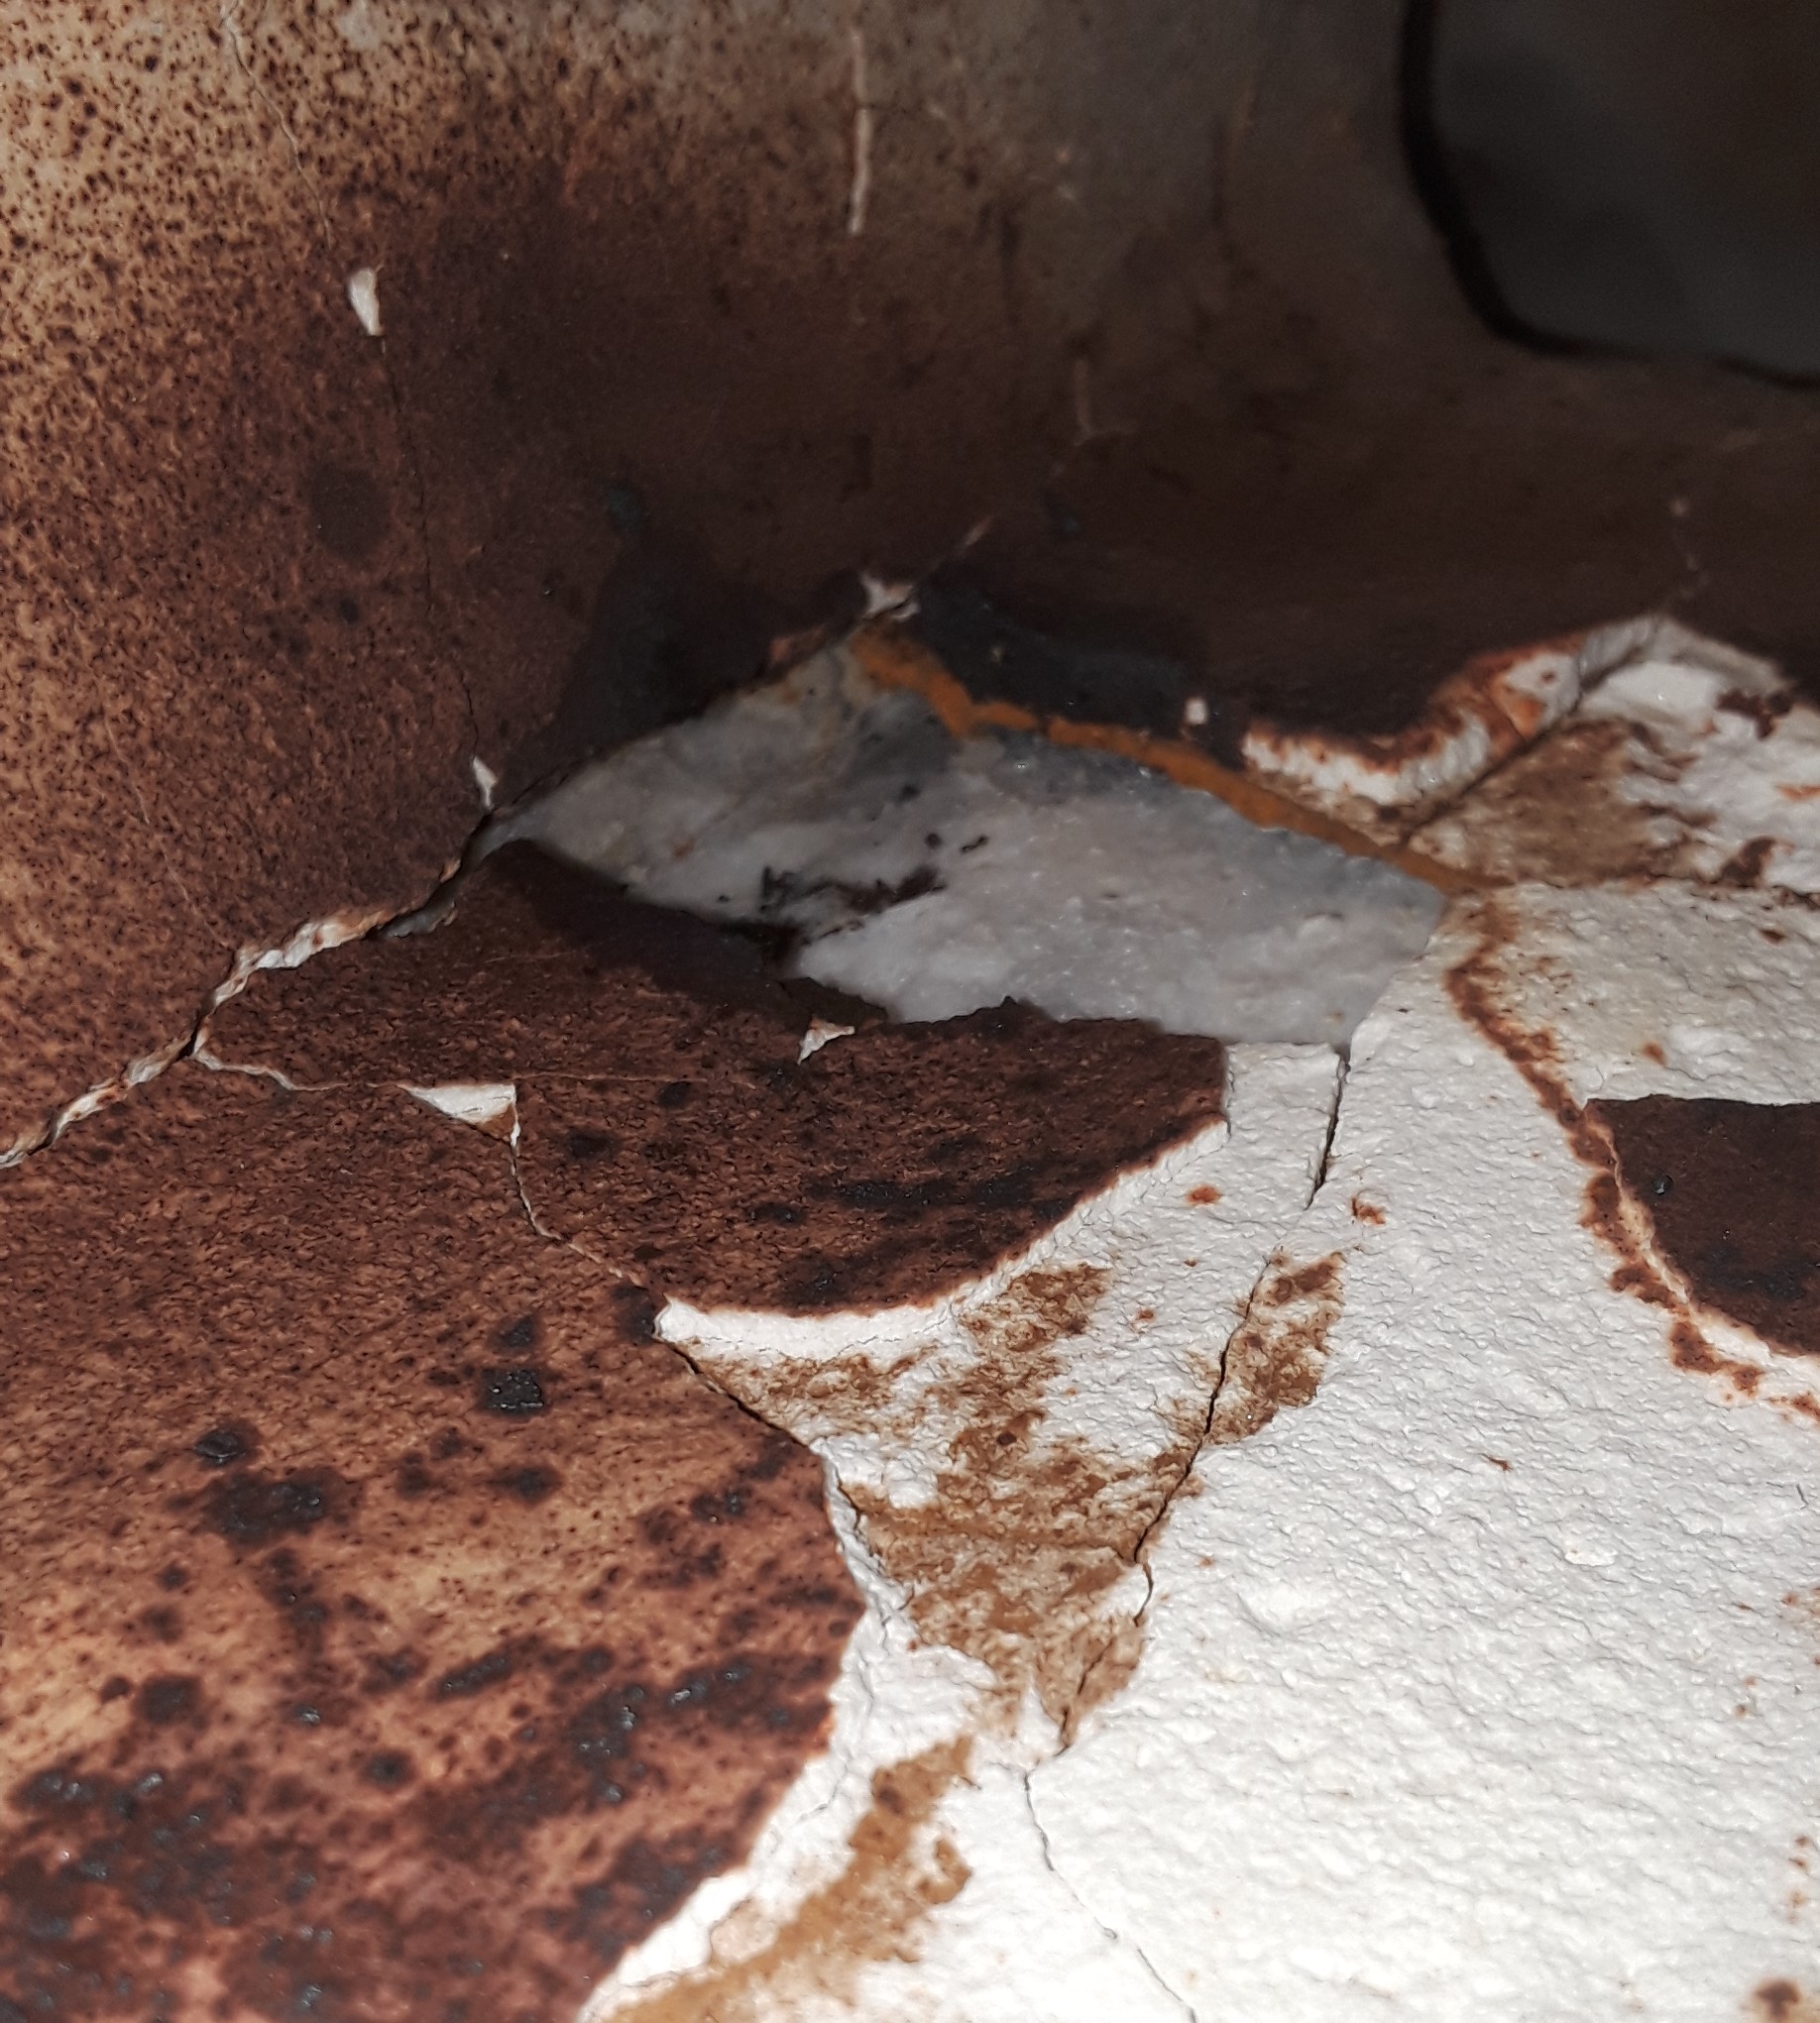
Update on the YSZ experimentation. I fired the Satanite refractory and then I needed to order some plistix. I added small amounts of the Zirconia powder to the plistix and applied that. Three weeks' ago I fired it up the hottest yet. It sustained damage to the lining.

.thumb.jpg.b8844969a09fa6746606ec309ca382b1.jpg)
It even caused the floor to sag. At this point I had to choose to use the same refractory mix or just go headlong into the Zirconia coating. Headlong I went.
.thumb.jpg.4d76af571623e57b44c5d9b75801f584.jpg)
Above is the YSZ mixed with a binder and applied. It took forever to air dry! The weather here had gone cold so I brought it inside for a week of drying. Following that, I attempted to cure it with a propane torch. Some of it delaminated and cracked. I made up a fresh batch yesterday to patch up what needed patching. Fired up the forge after quite some time of indirect heating to cure it hard.
.thumb.jpg.66cc1217b9d5252a24929b124cc55a30.jpg)
I don't have a temperature reading, but I was once again able to practice turning good steel into bad. We'll see how the interior looks later. I had to wrap things up, it was getting late.
-
We used to anchor in Augusta bay from time-to-time. Navigated the straits of Messina a few times. Our home port was Gaeta. Lovely country, indeed.
-
There was an estate sale near my house this past Saturday. I got a bunch of stuff among which were a couple of these:
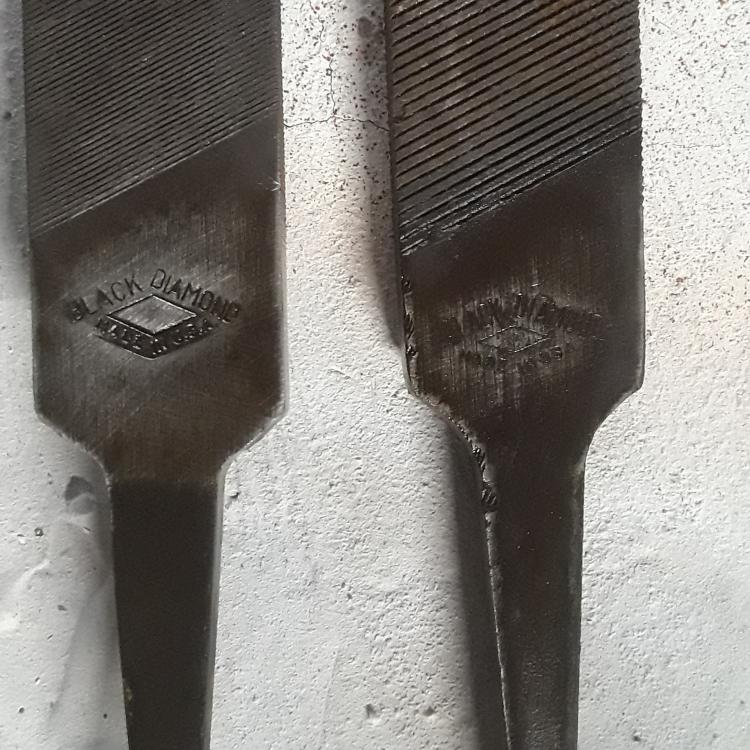
I was excited to find them.
-
I came across the saw dust thing just a short while ago. It will create porosity by burning out the sawdust when fired.
-
If you do a search like "refractory rating cones", you will find that cone 5 is a rating of the melting point of the refractory.
-
Thank you John.
-
Thank you very much.
-
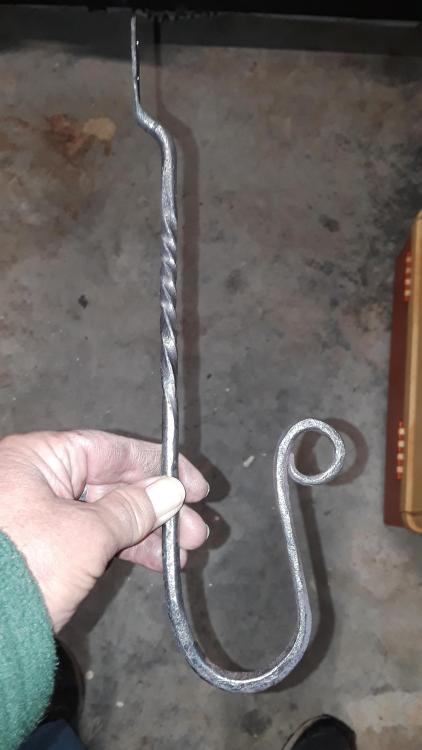
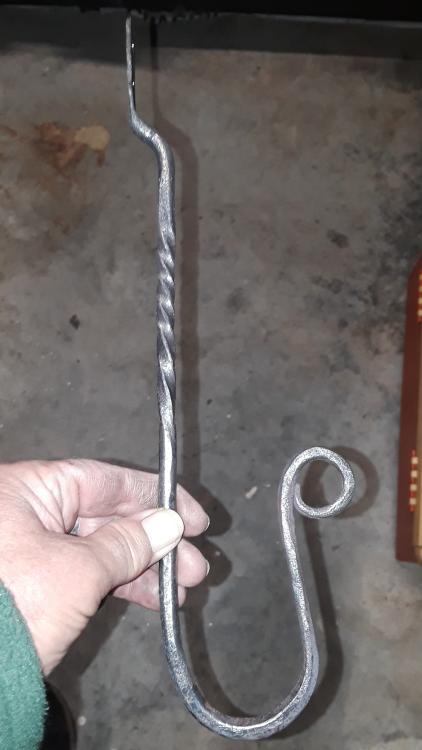
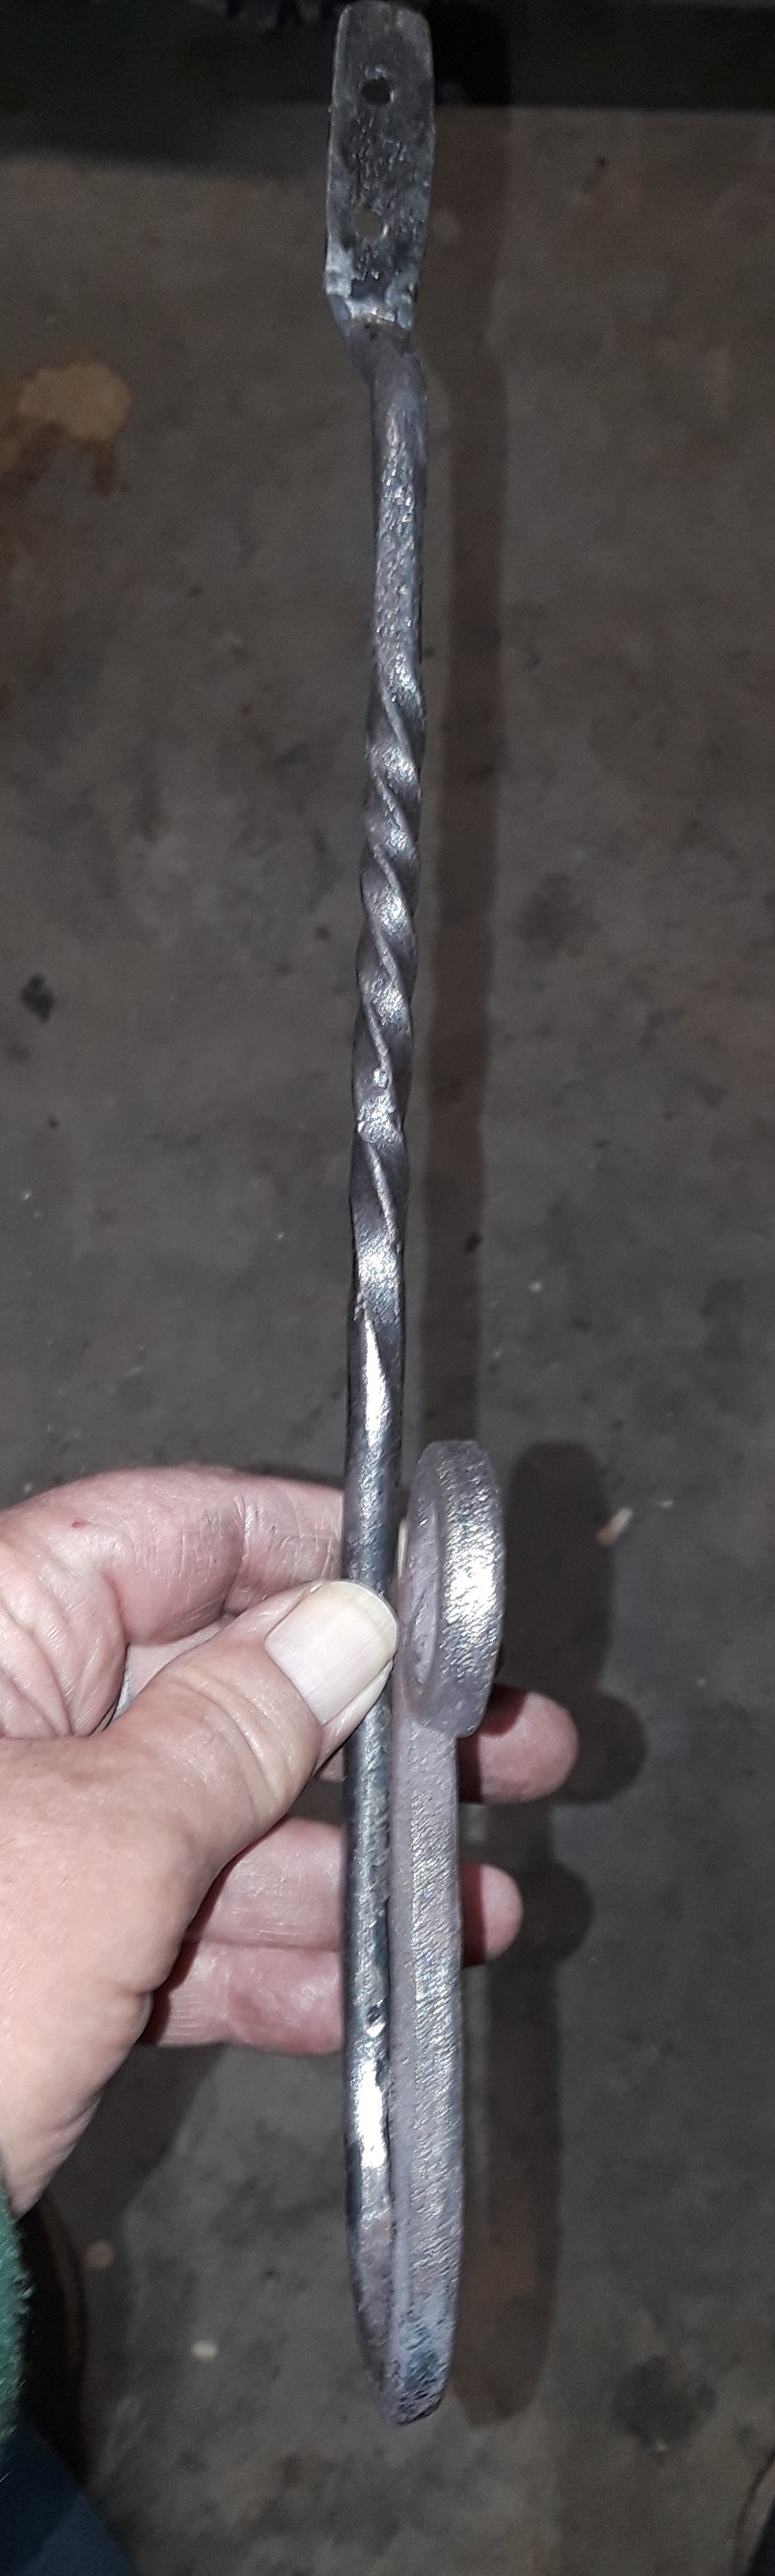
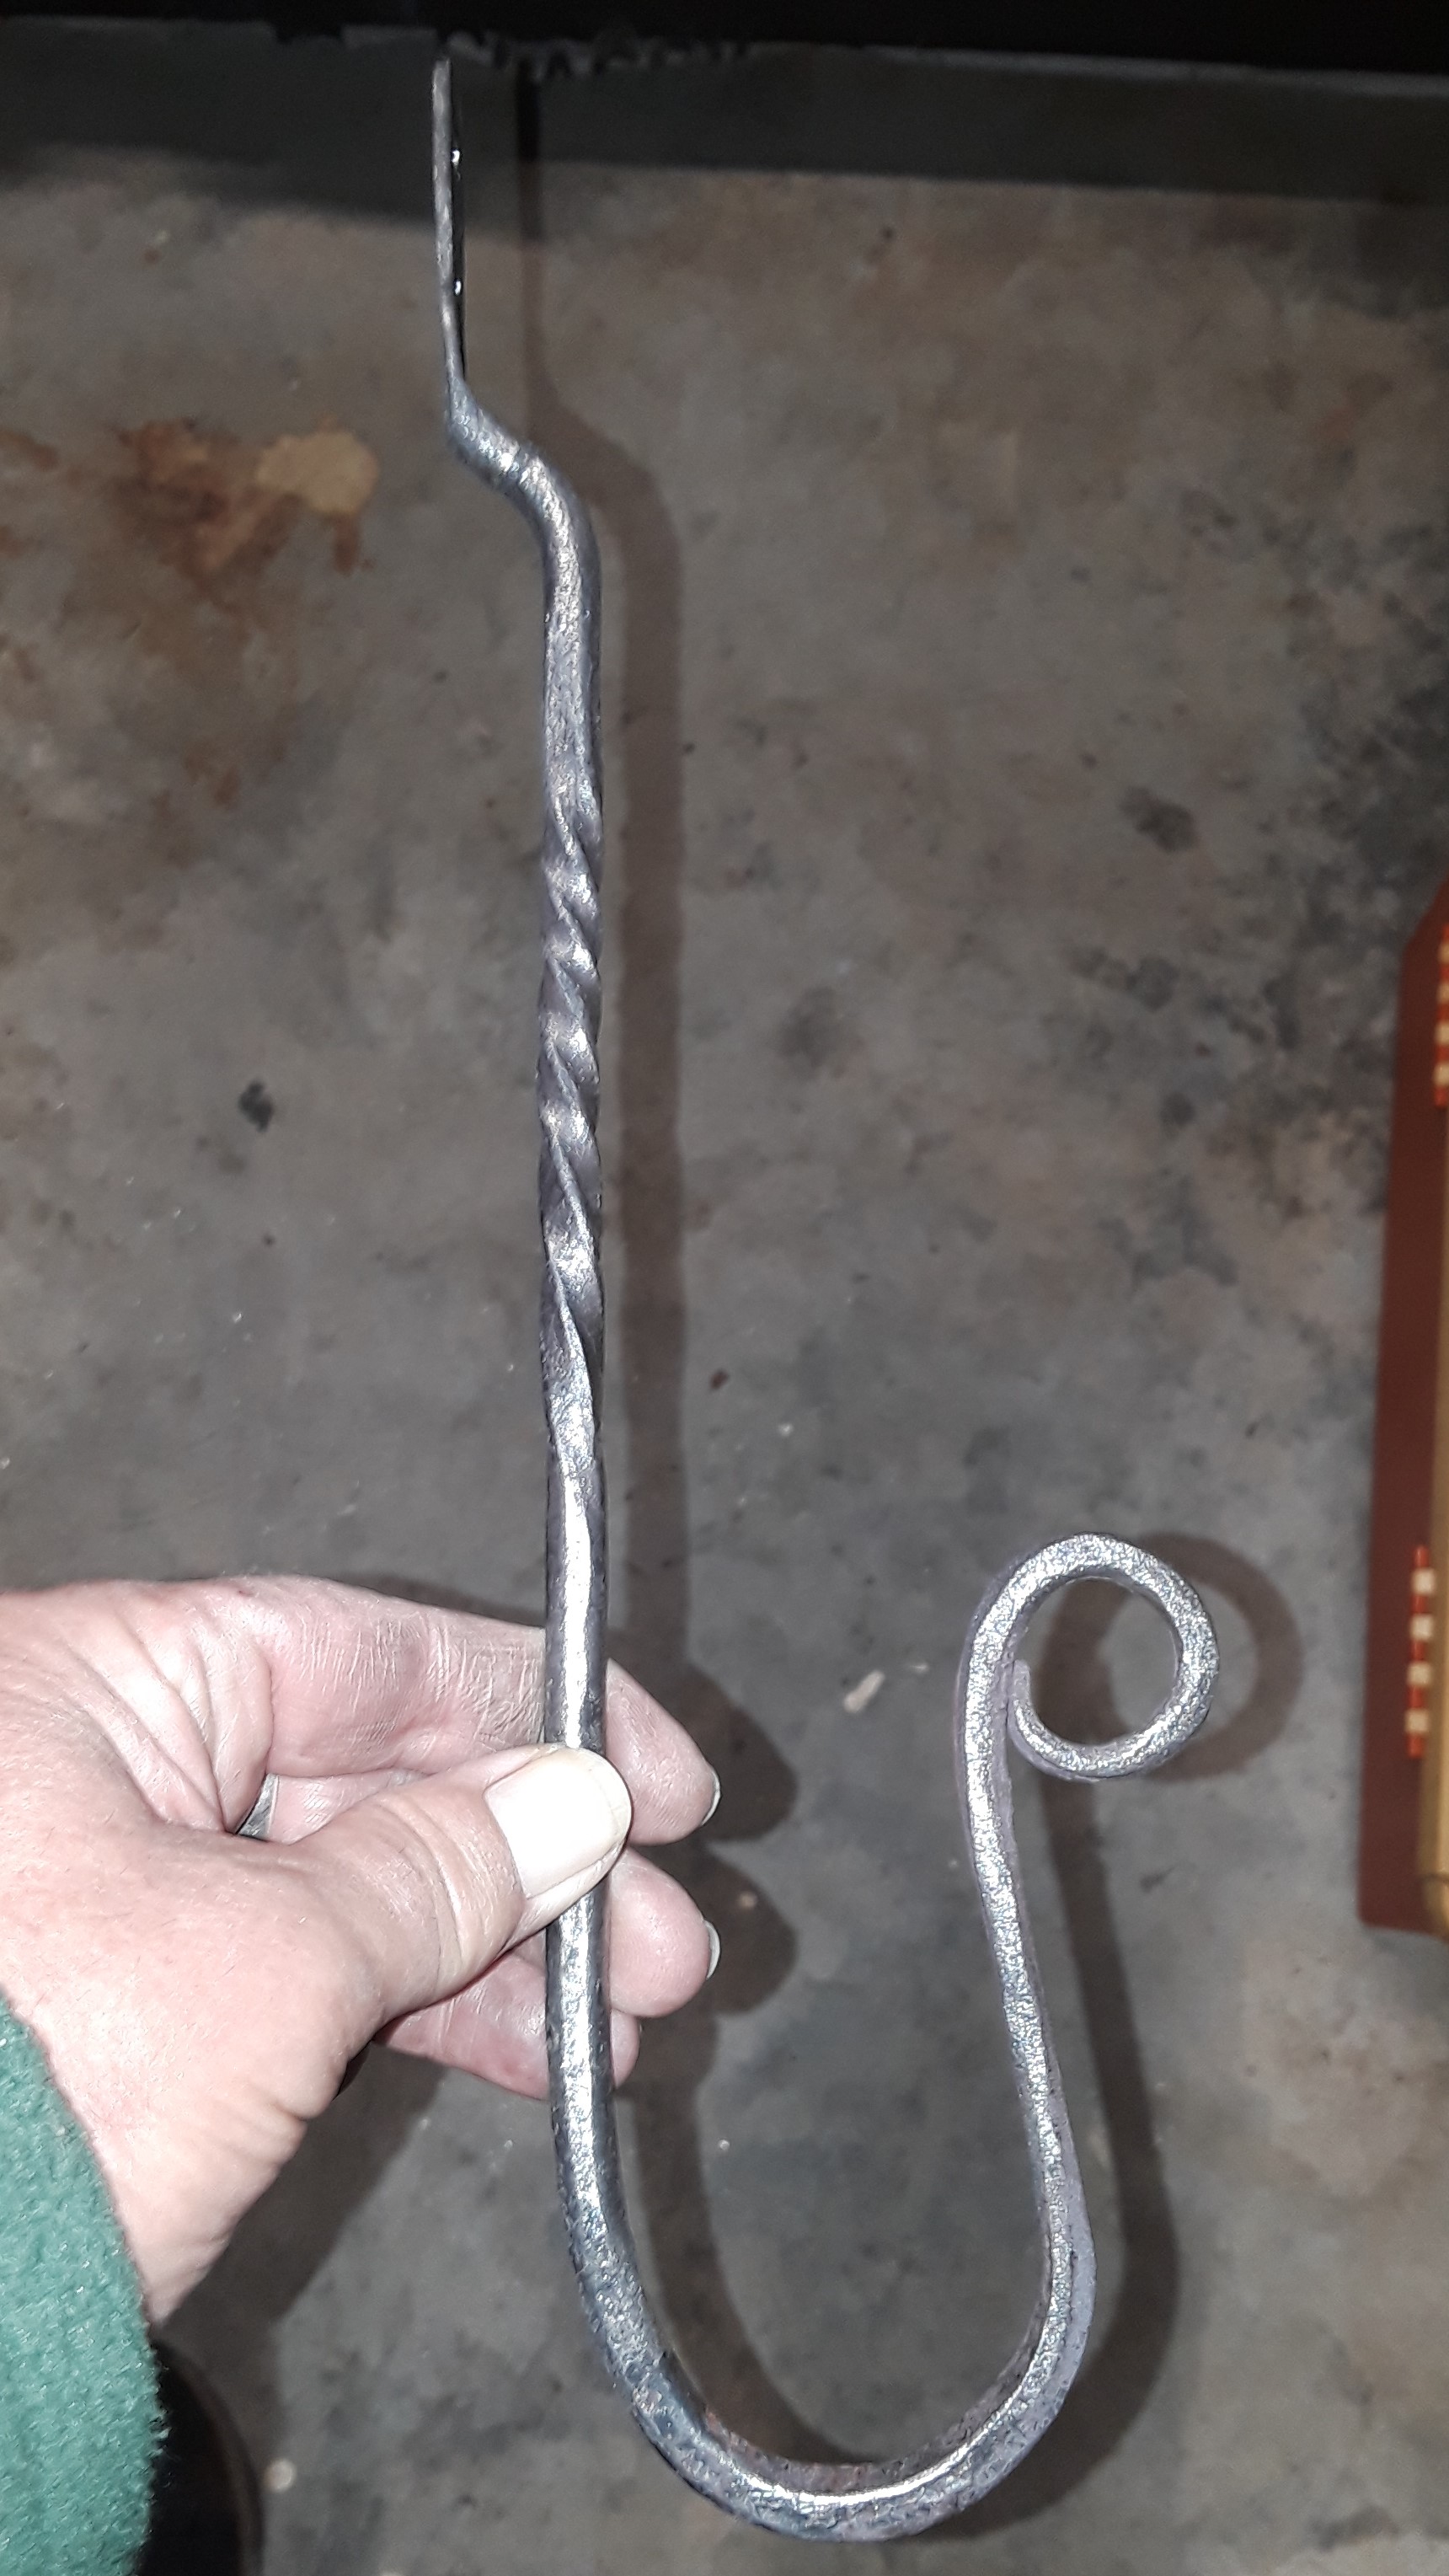
I did not start this yesterday, but finished it yesterday. My first forged piece ever. Made in my new Mr. Volcano forge. I was thinking a place to hang a hat, but a buddy at work thought coat/jacket hanger. Could just as well throw a hat on it, too. It needs more cleaning up and a proper finish.
-
I thought that the layer over the wool looked quite thin, I hope you didn't just toss out the Satanite. Plistix and Matrikote it seems are the more regularly recommended kiln wash. They are more flux resistant and intended to be IR re-radiant into the forge.
Just because things cost more, does not necessarily mean they are better. They may be for one application, but not for another.
-
I just noticed that shape is familiar. Is that a Mr. Volcano or did you make it? I have only just last weekend applied the first layer of Satanite in mine. Second layer this weekend, maybe. Possibly a final kiln wash would make it more flux resistant.
-
Those are awesome names Billy. How about Cinci or Cincinnati?
-
Just google Mr. Volcano. Decide from there if you want it. Made in USA. Here is the post Mikey made earlier today:
-
Rail on end is more mass under the hammer. You have the entire length under the hammer blow rather than a small cross-section. You might make up a box of some king to hold it with some feet to give it more stability. As far as the wool in there, I can't tell if it is rigidized, but it sure does look bare. The rigidizer I used was already pre dyed red. It has been recommended here to use dye so that you can tell if you are coating it uniformly, see spots you have missed. That I why I felt that I needed another application, it just did not look red enough to me. BTW, use blue, or whatever color that will stand out well.
I mentioned that I bought the one that Mikey had recommended, he has already posted another recommendation in a different thread today. It is the single burner Hero forge by Mr. Volcano. It is 88 bucks and also sold on Amazon. I don't know if you want to put out more cash just yet while you already have the shell of a forge. The Mr. Volcano kit is very complete, with a superwool xtra, I think that they call it. It comes with rigidizer, hard refractory (satanite), a burner with hose and regulator valve. Pretty good instructions, laminated even.
-
Oh, about the rail. I meant to ask if you have it on end or if you have the entire length on the floor (horizontal). You would do better to have it on end. What is the forge then? A brick pile? Metal jacket minus, for now, the Kaowool?
Be patient. I got the forge that Mikey recommended, and I am taking my time, not getting too anxious to use it. I want it to work well and to last long. I bought more rigidizer because I was not satisfied with the application the first time. I used the entire bottle that came with the kit. SO I waited for more to reapply. It seems good now, so I can move on to applying the hard refractory layer, probably this weekend.
-
What do you mean you have uninstalled kaowool? Did you take it out, uninstall, or have you not yet installed it? It should be rigidized for the safety of your lungs, and then have a refractory, hard layer over it. Please tell me that you are not trying to forge while wearing flip flops or sandals. I don't like looking at men's toes, or really any toes, for that matter.

-
Make sure that you use PPE. Those spinning, high-speed wires that separate from the hub can penetrate your skin and eyes! Ouch!
-
That is because of a little typo. search Matrikote instead.
-
-
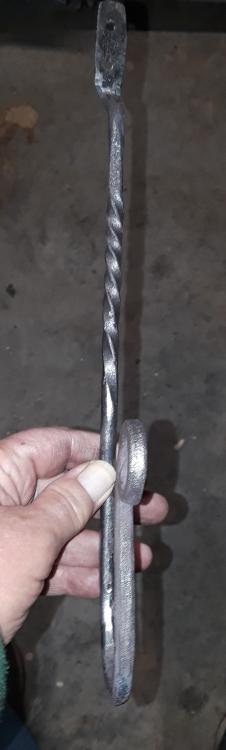
Daswulf, thanks. I did not measure them, might be 3 inches long. Spark test, good suggestion.
.jpg.47095780e77c949a68bca3c404e5bea8.jpg)
.jpg.434c05e19642e77bd2b2c9584c14f8ec.jpg)
.jpg.af632a2de52ba6f27d70fe790e09484d.jpg)
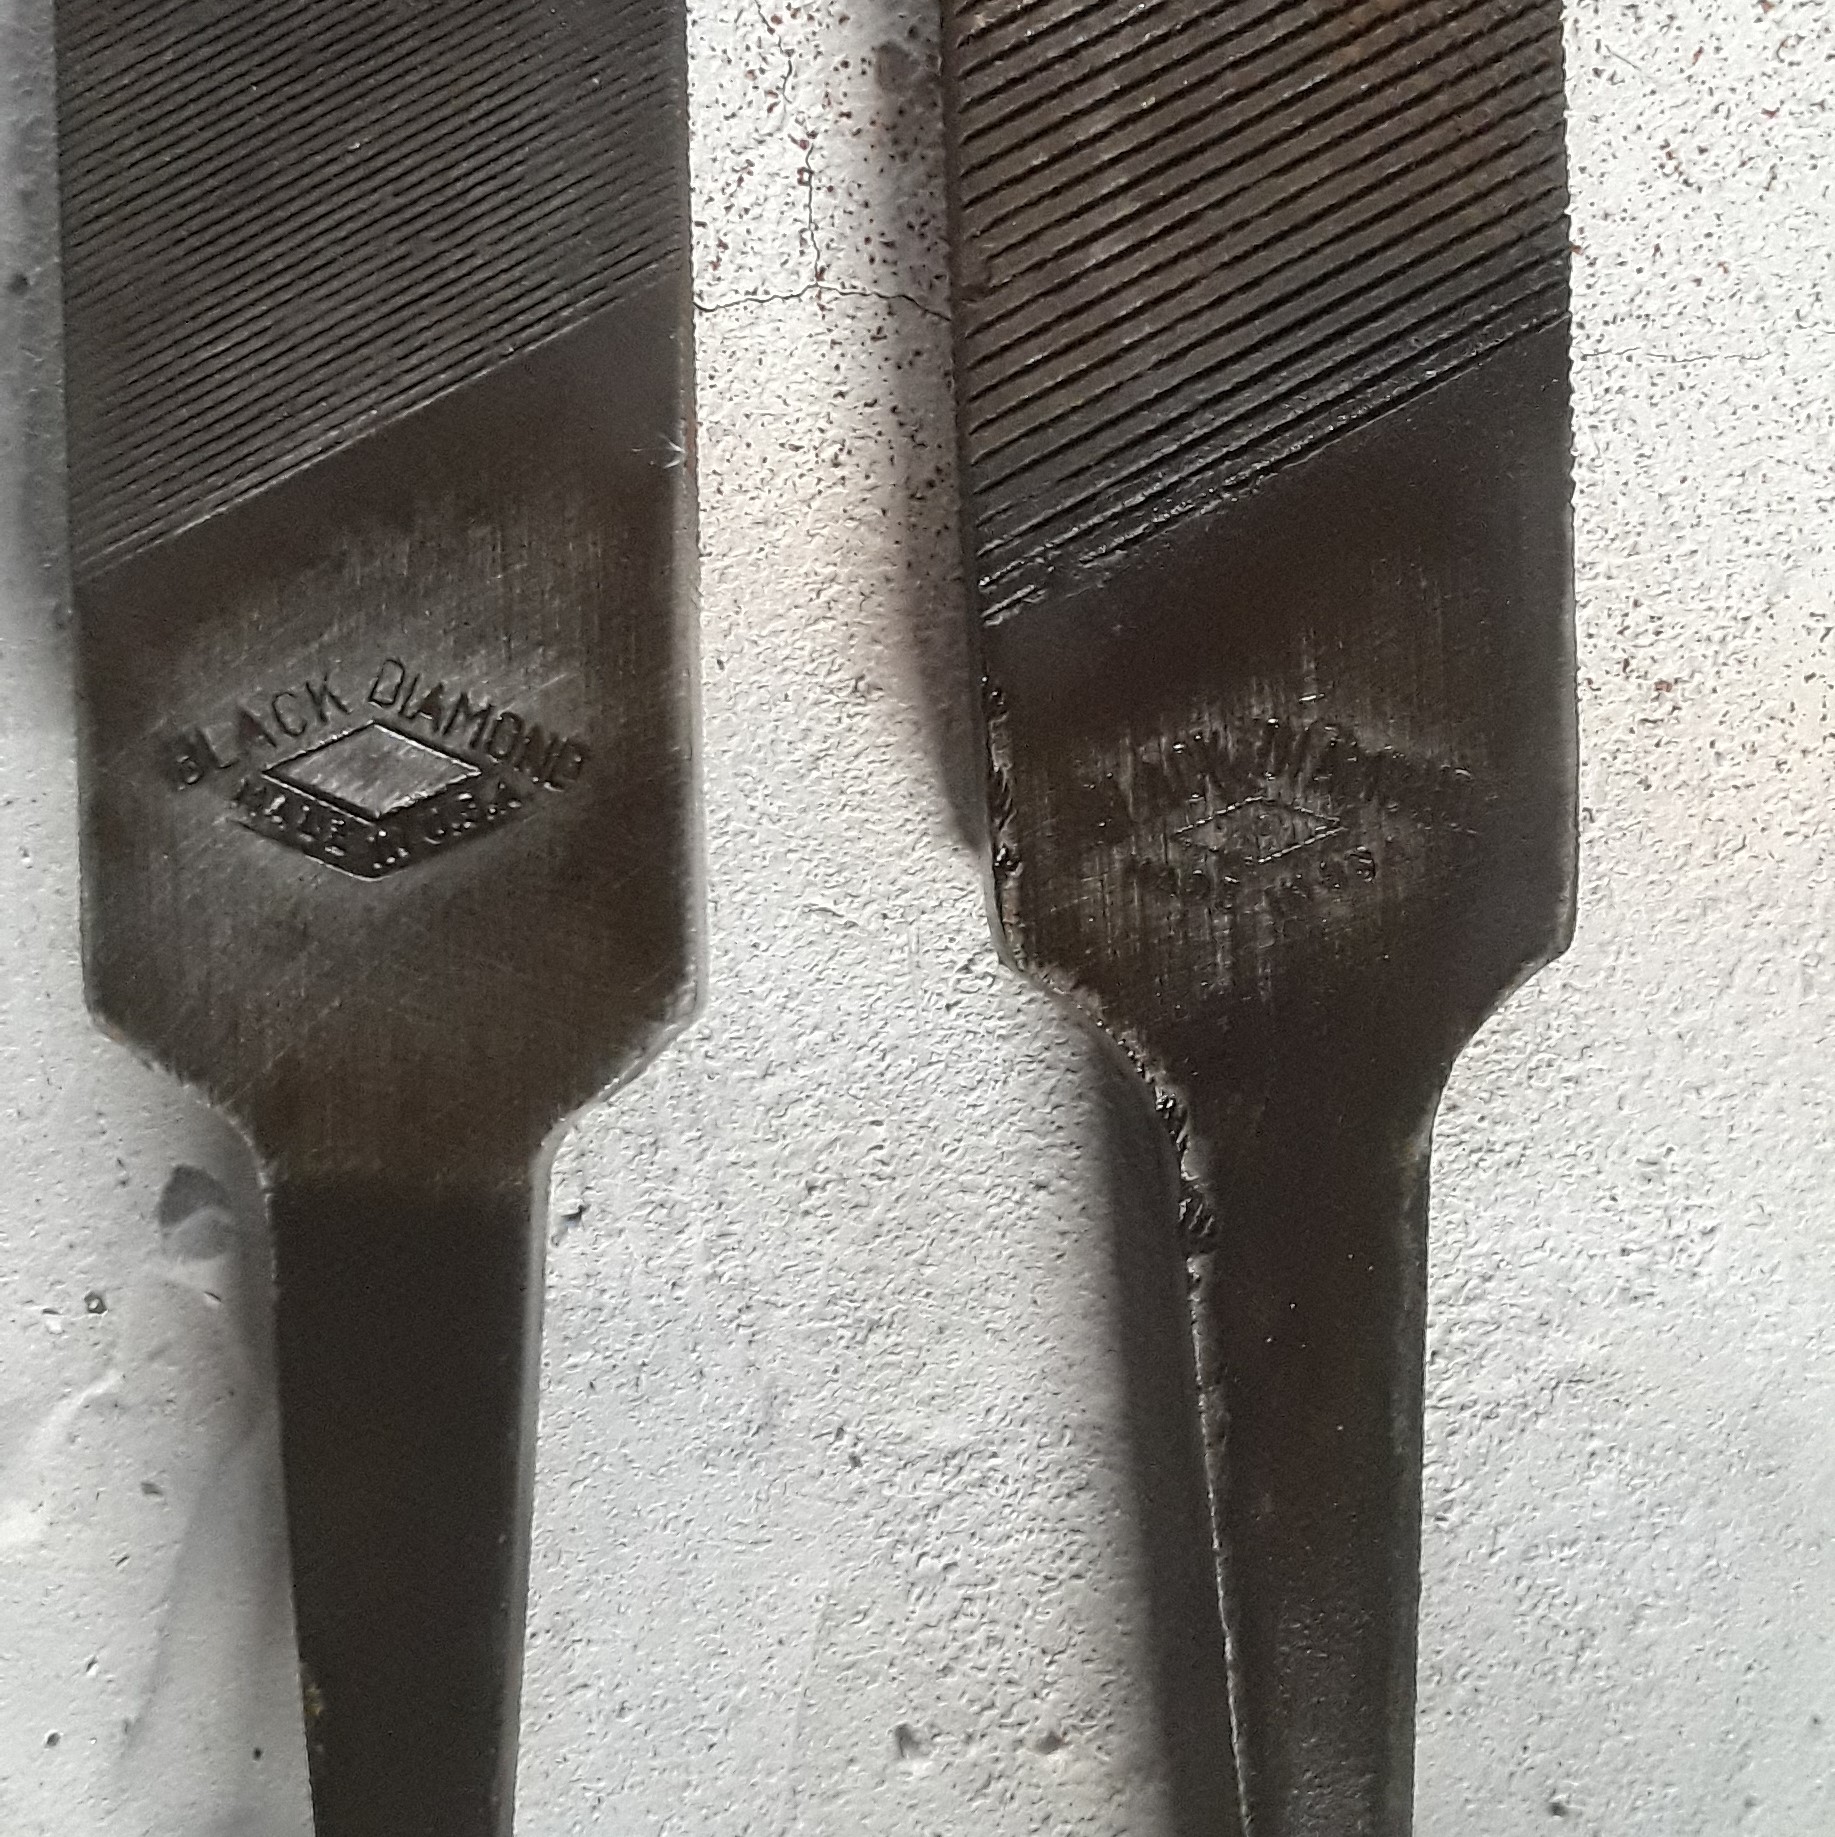

First farriers rasp knife
in Knife Making Class 101
Posted
The blade will have a great amount of stress in it after hardening. Something as innocuous as setting it down on a cold table top could cause it to fracture. It is best practice to temper ASAP to relieve those stresses before they relieve it on their own.