Andrew C
Members
-
Joined
-
Last visited
Everything posted by Andrew C
-
I plan to replace it as soon as I get a better anvil and only use it for light duty work. I can't mount it as I need to keep it mobile for now.
-
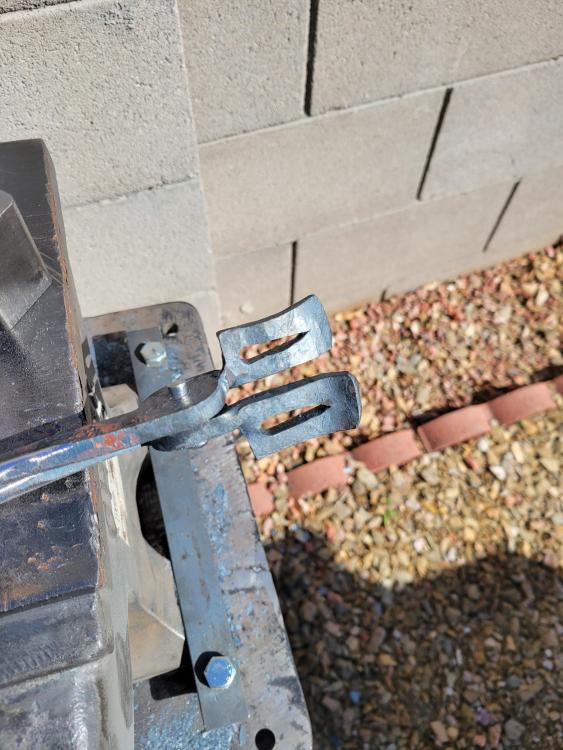
I did fix the issue. I had to grind the sides of the rivet to get it out, flipped one side around, and got it set straight. On the plus side, I made my first tool to make a tool! I know I don't need a rivet setter and could have just hammered them flat, but I have 2 bent equalizer hitch bars that a friend was going to scrap. They aren't perfect and I plan to put the top tool on a diet at some point, but they worked for the 4 new tongs I made..
-
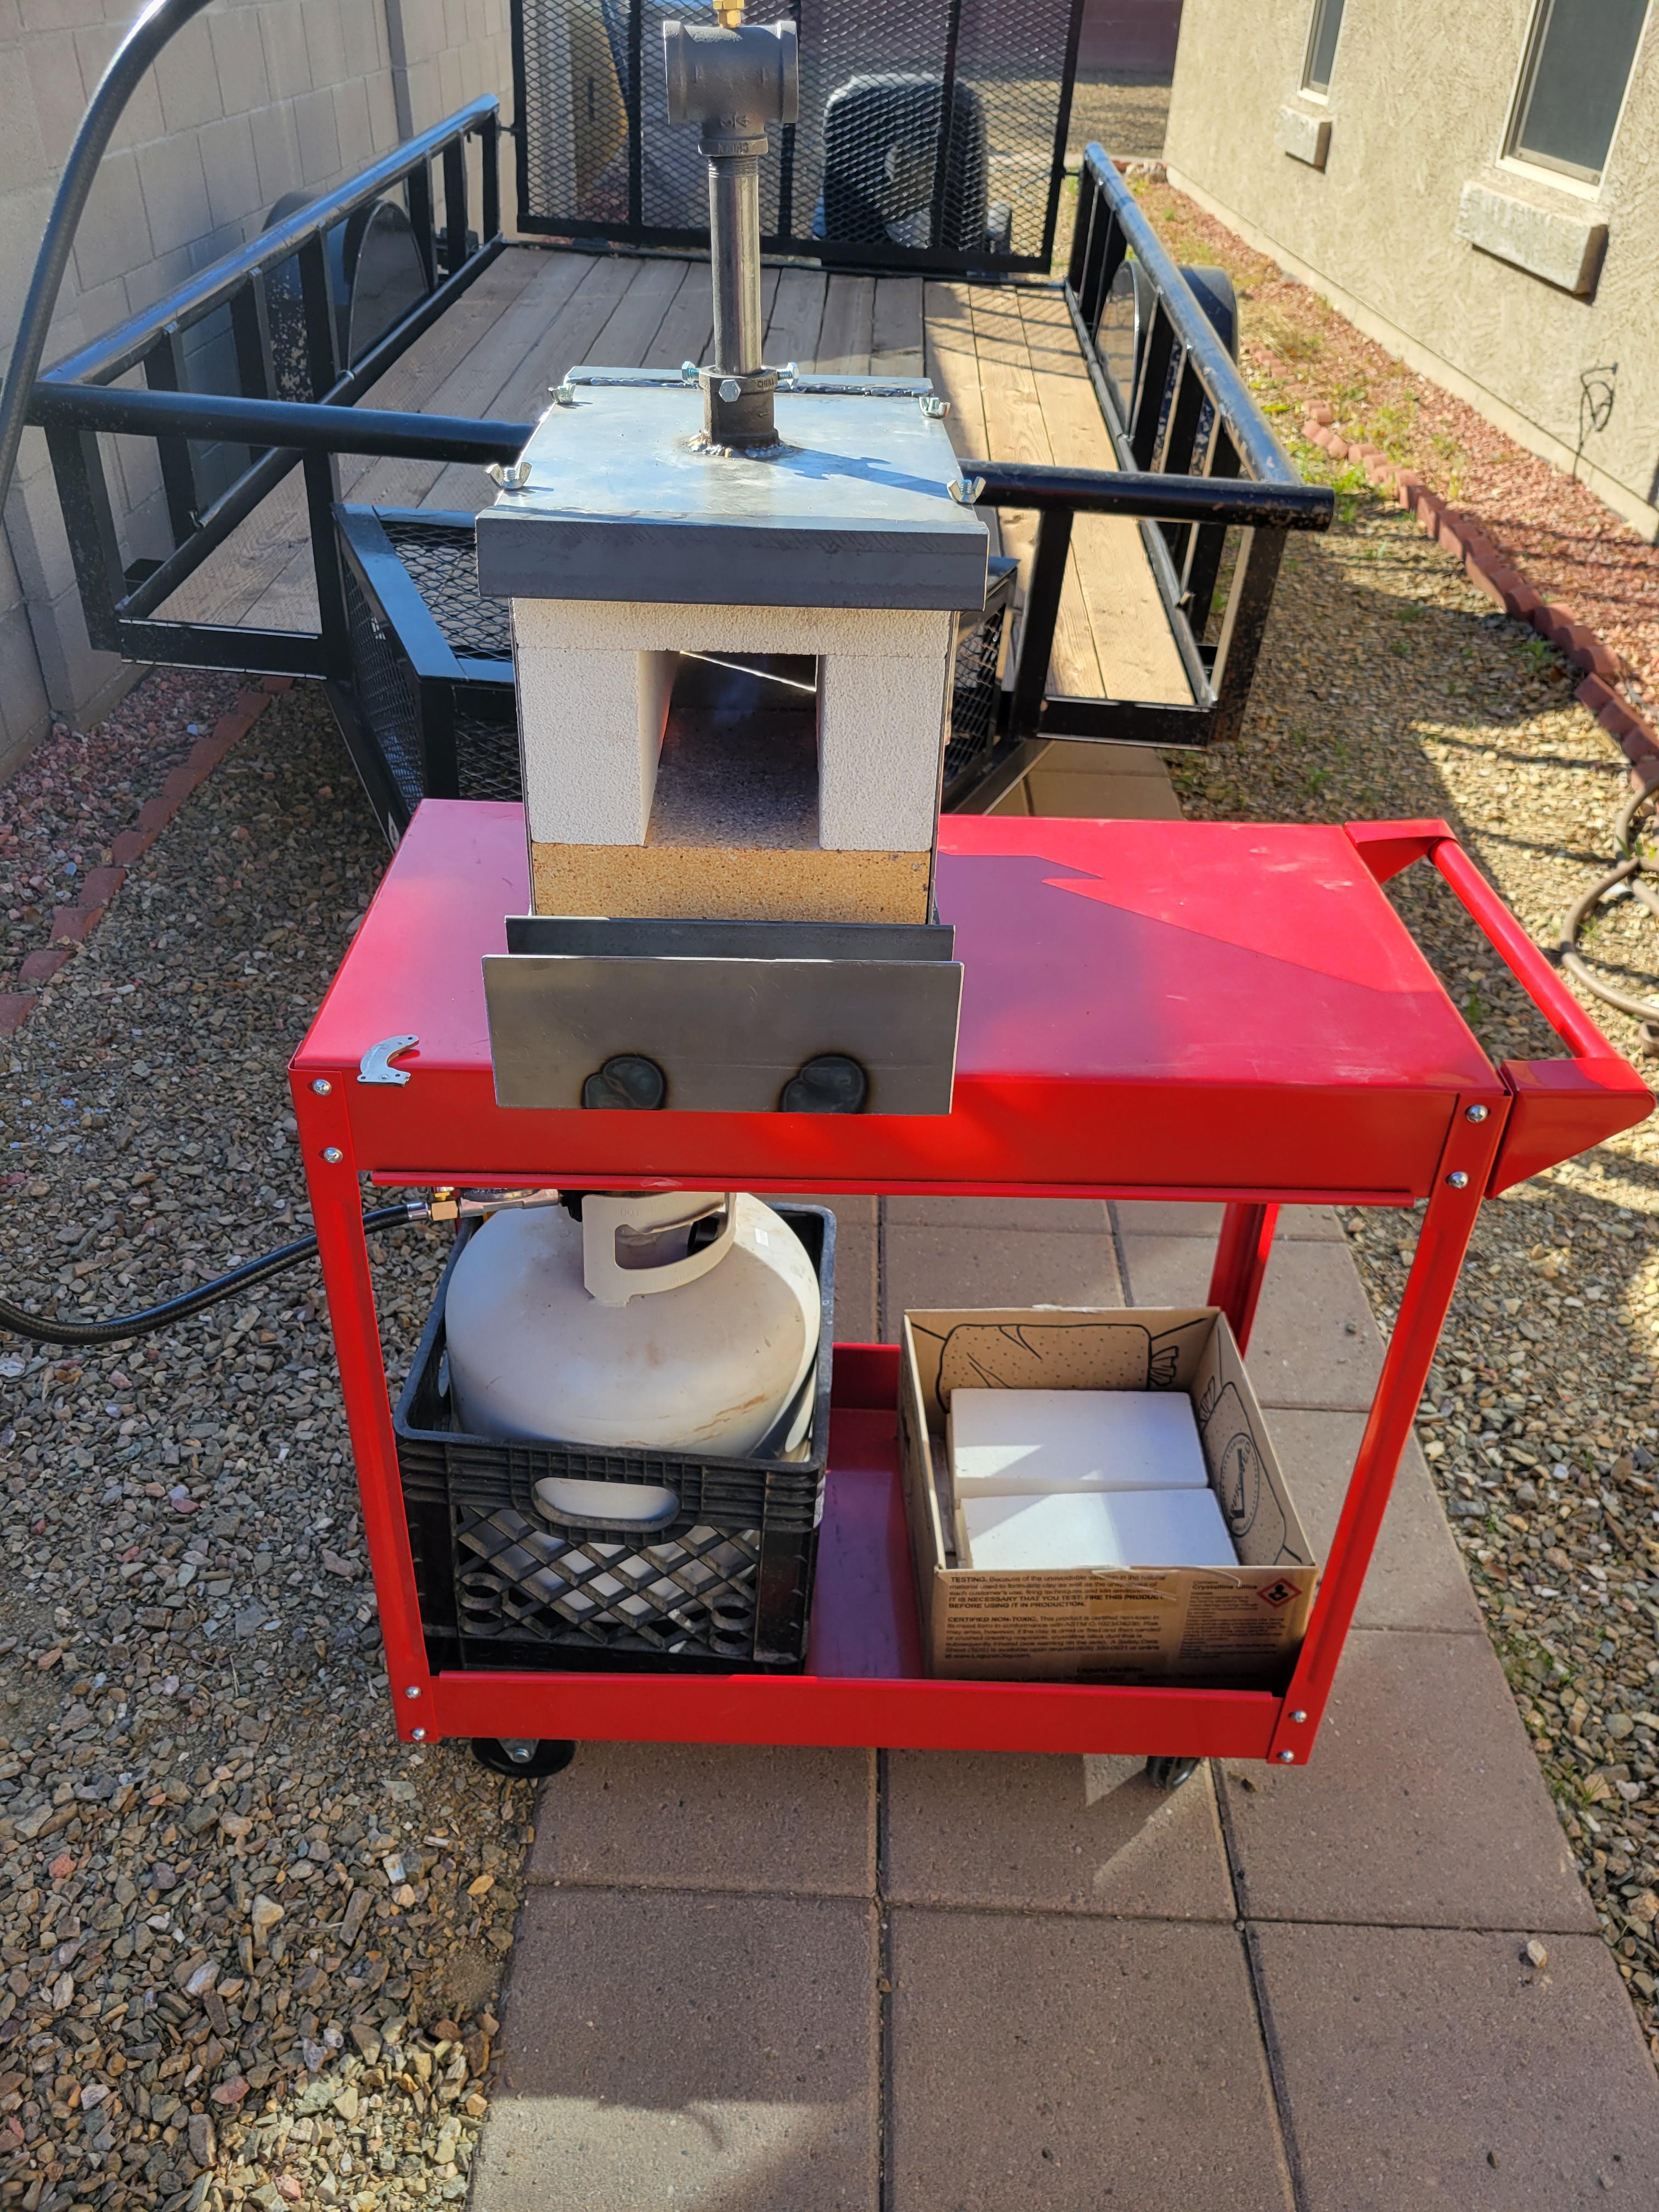
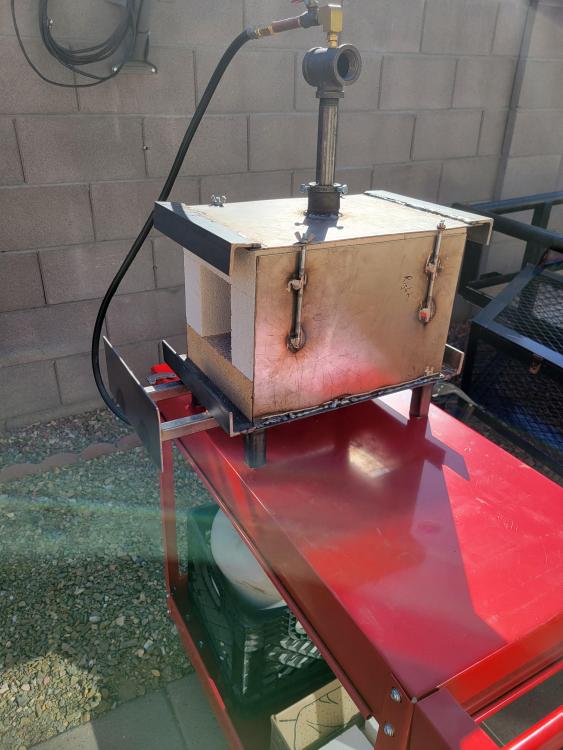
I finally got to run the forge for a few hours on Saturday and I took some pictures. I noticed that I don't have any noticeable dragon's breath. I was in full sunlight, but I figured I should at least see something? I also noticed that I am getting a fair amount of scale on the mild steel. I'm running at 5 PSI and the forge was on for a few minutes in these pictures.

-
Well, I can't believe I did this but I thought I would share...
-
Here is my stand and HF freebie. It is a 70+ year old wrought iron stand from the creamery on my family's farm.
-
I have been looking at fork truck tines and other things. Here is one for sale in my area for $700 on CL. It states that it is over 200#.

-
Thanks for all the replies! I'm on the lookout for a better anvil, but I don't have the cash right now due to building a new house. When I get settled in 6 to 9 months, I'll begin in earnest provided a great deal didn't fall on me out of the sky. lol As for the heat, I was well above non-magnetic. I gauged the color as best I could and my son verified that it was very bright yellow orange. My new forge is Hot! And don't worry too much about my body, I have been diagnosed with Psoriatic Arthritis for over 10 years and know my limits well. In addition, I'm working out a few days a week and coaching a tackle football team 2 days a week. I'll post some pics this weekend if I get a change to pull everything out and get it fired up.
-
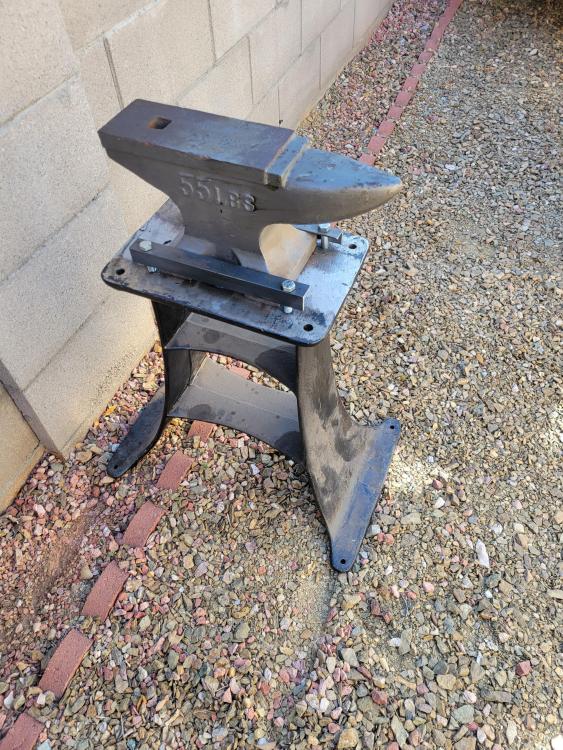
I started working one piece and after 5 heats, it was still about 1/4" thick and only 3/4" wide using about 4" of the length. My ASO is a 55lb free HF special. I have it mounted to a wrought iron stand that easily weighs more than the anvil. The rebound is crap even mounted to the stout 1/2" thick wrought iron stand, maybe 2 or 3" out of 10". I made sure to get the metal to non-magnetic before forging. Even then, the going was rough with my 2.5# hammer. I quit soon after because my shoulder was on fire. Arthritis makes me listen to my body or I have a steep price to pay for days after.
-
-
Nice looking axe!
-
I was reading about forge lining. Would you recommend Plistex or Kast-o-lite to coat the fire bricks?
-
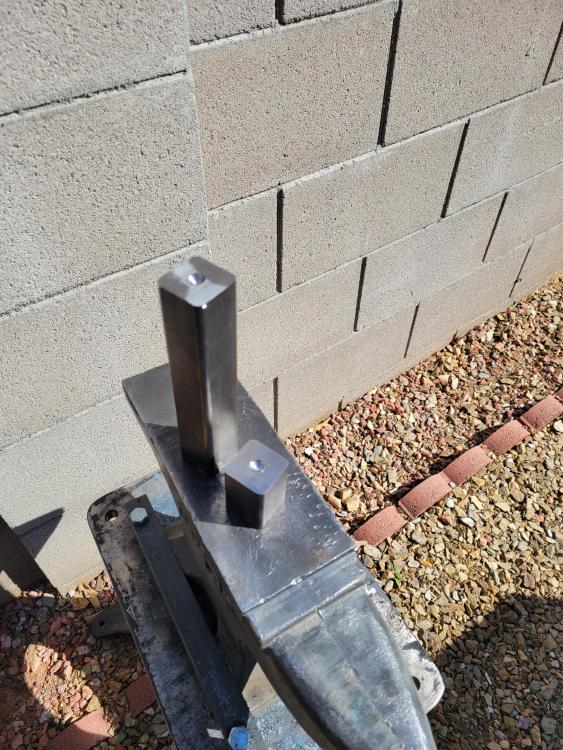
I finally got my stuff together and built the forge. Here is my parts list and estimated time: Research - 800 hours (OK, maybe not 800, but at least 40) Shopping - 12 hours (Don't go to HomeDepot or Lowes in AZ, they don't have any small fittings. Ace Hardware for the win!) Fabrication - 7 hours (1 hour for the T-Burner and 6 for welding and grinding) 1- .035 mig tip 1- 1" coupling black 1- 3/4" nipple 8" black 1- 1x1x3/4 tee black 1- 1/8" brass coupling 1- 1/8 to 1/4" reducing bushing brass 1- 1/4" 90 ell brass 1- 1/4" nipple 4" brass 1- 1/4" coupling brass 1- 1/4" MIP to 3/8" flare brass 1- 1/4" ball valve brass 1- propane regulator with gauge and 6' hose (Amazon) 3- 3000 hard fire bricks for floor 6- 2600 soft fire bricks for walls and ceiling Plate and angles are remnants from local steel supplier bolts and wing nuts were laying around I followed the Frosty T-Burner build except I omitted the flare fittings in the middle as I didn't see a reason to run flare to MIP to flare and back to MIP for the mig tip. The tip was about 2/3 into the tee when I took the video. I shortened it by an 1/8" and plan to test it later this week. I'll post a video in a bit, it's on my phone and didn't want to type this on a phone screen... Here is the video. I was running 5psi and the 1/8" bar was hot, but didn't get hot enough to start burning to metal. I also added some 3" legs to get it off the platform. I'll have a steel cart and not osb on saw horses! 20210131_153007.mp4
-
Harbor Freight has one that states will measure -22°F ~ +2102°F for $60 US. I think I'll pick one up and see how it goes. Thanks guys. Now back to the forge building plans... Andrew
-
I am partially color blind, red/green. While at the forge, I can tell when a piece is dull red or white hot, but I couldn't tell between 2 pieces that were pulled out as a test tonight. Others could tell that one was definitely hotter than the other. So... for gauging temperature for heat treating, is there a cost effective IR thermometer or should I just go by magnetic testing? Thanks in advance, Andrew
-
Thanks JLP! I have 2 10" straight rods now. I'll practice on drawing them out as wide as I can and maintain 3/16-1/8". I have a new hammer on order and should be coming in soon. Andrew
-
Looking good Twigg. I have most of my materials on hand. I'm planning on starting the build next weekend. Thank you for the pictures! Andrew
-
Yes, very good job Twigg! I'll be building one or more of these soon enough. So the more I understand, the better. Andrew
-
Thanks for the pictures Twigg!! Your last photo raises a question... In several videos and other forums I found that many say the tip should only protrude about half way through the Tee to generate more air flow. Are you planning on leaving the tip that long or cutting it off at some point? Thanks Andrew
-
Following this thread. Please post pictures. Thanks. Andrew
-
I hung on to the old head. I think I can get a decent hammer head out of it once I address the flaws. While many years ago, I have spent days with a framing hammer in hand. I know how tired swinging 20oz hammers can be. I don't know what style I will end up with, but the local open forge has several to test out. In all, you guys have given great advice. Thank you.
-
Well, my freebie hammer is a bust. 1. The handle was loose, so I took it out side and hit a piece of concrete and it broke. The last 4 inches were wrapped in electrical tape so I couldn't see it. Inside the eye was dry rotted as well. 2. I put the head on the belt grinder to start with the flat face to true it up and found 2 cracks about 1/4" into the main body at opposing edges. I threw the handle in the trash. Then I wanted to put the hammer head in with it but decided I could clean it up and remove some metal to make it usable when I have a few hours to work on it. I'll need a new handle, but I can manage that with a store bought one or make one out of some red oak. Now I figure I'll hold off on buying a new or used one until I go to the open forge night and try out a few that he has laying around to get a feel for weight, shape, type, etc. I really wanted to head out to Lowes, HD, or HF and just buy one, but I have a couple choices from 2.2lbs, 2.5lbs, or 3lbs. I read the descriptions regarding forged, drop forged, and high carbon steel as well as the handle materials. Some just say hardwood while others indicate hickory. Ah, decisions, decisions...
-
Thanks for all the advice. I found several videos on dressing hammers and looking mine....so many nicks and out of shape. I will take that on as my project for tonight. I'll post some pictures before and after. As for the round stock, I know it won't be an easy project and I plan to add more to my scrap bucket before I product any decent results. But the metal was free and I have lots of it. My initial plan is to take it to the forge and get it straight, hammer it roughly 1/4" x whatever I have left, and then see where I can take it from there. I'll also take a length and try to get it square to make some tools. I have a few cheap punches and 1 chisel, but making your own tools is a project I can learn with. Forging blades will be down the road. But I'm not in a huge hurry to get there with forging. Watching videos and reading will only get one so far. Experience is a better teacher. Thanks again, Andrew
-
Thanks guys! I cut off 2 10" lengths and plan to take them to the local open forge night to start working on them. Can you explain "properly rounded cross peen hammer"? Or if there is a place for how to dress your hammers? I have a gifted cross peen hammer with a loose handle and is roughly 4lbs. One side of the flat face looks crushed like they used it to hammer on something cold and hard for way too long.
-
I apologize if this is the wrong place. I have 2 new in the box coil springs from Moog. They are painted black and not powder coated which makes life easier. The spring is 5/8" in diameter. So, my question...how large does the diameter need to be to draw out a 1.5" wide blade? Will 5/8" be enough? Using math... The area of a rectangle of .125" x 1.5" is 0.19 (l x w) The area of a circle of .625 / 2 (.3125) is 0.31 (Pi x radius squared) So, if I can flatten it without drawing out the length and just draw out the width, the math suggests it is possible. It seems like an impossible task to only draw out the width using a forge and anvil. I am a beginner and have only heated metal and pounded out a couple of points 1 time. So my blacksmithing knowledge is next to nil. Thanks in advance for the help. Andrew
-
Mostly curious because I have seem prices out here in AZ and they seem certifiably insane for trying to sell junk at $8/lb. No, I'm not interested in having one shipped from NJ. LOL