SeniorNugg3t
Members
-
Joined
-
Last visited
-
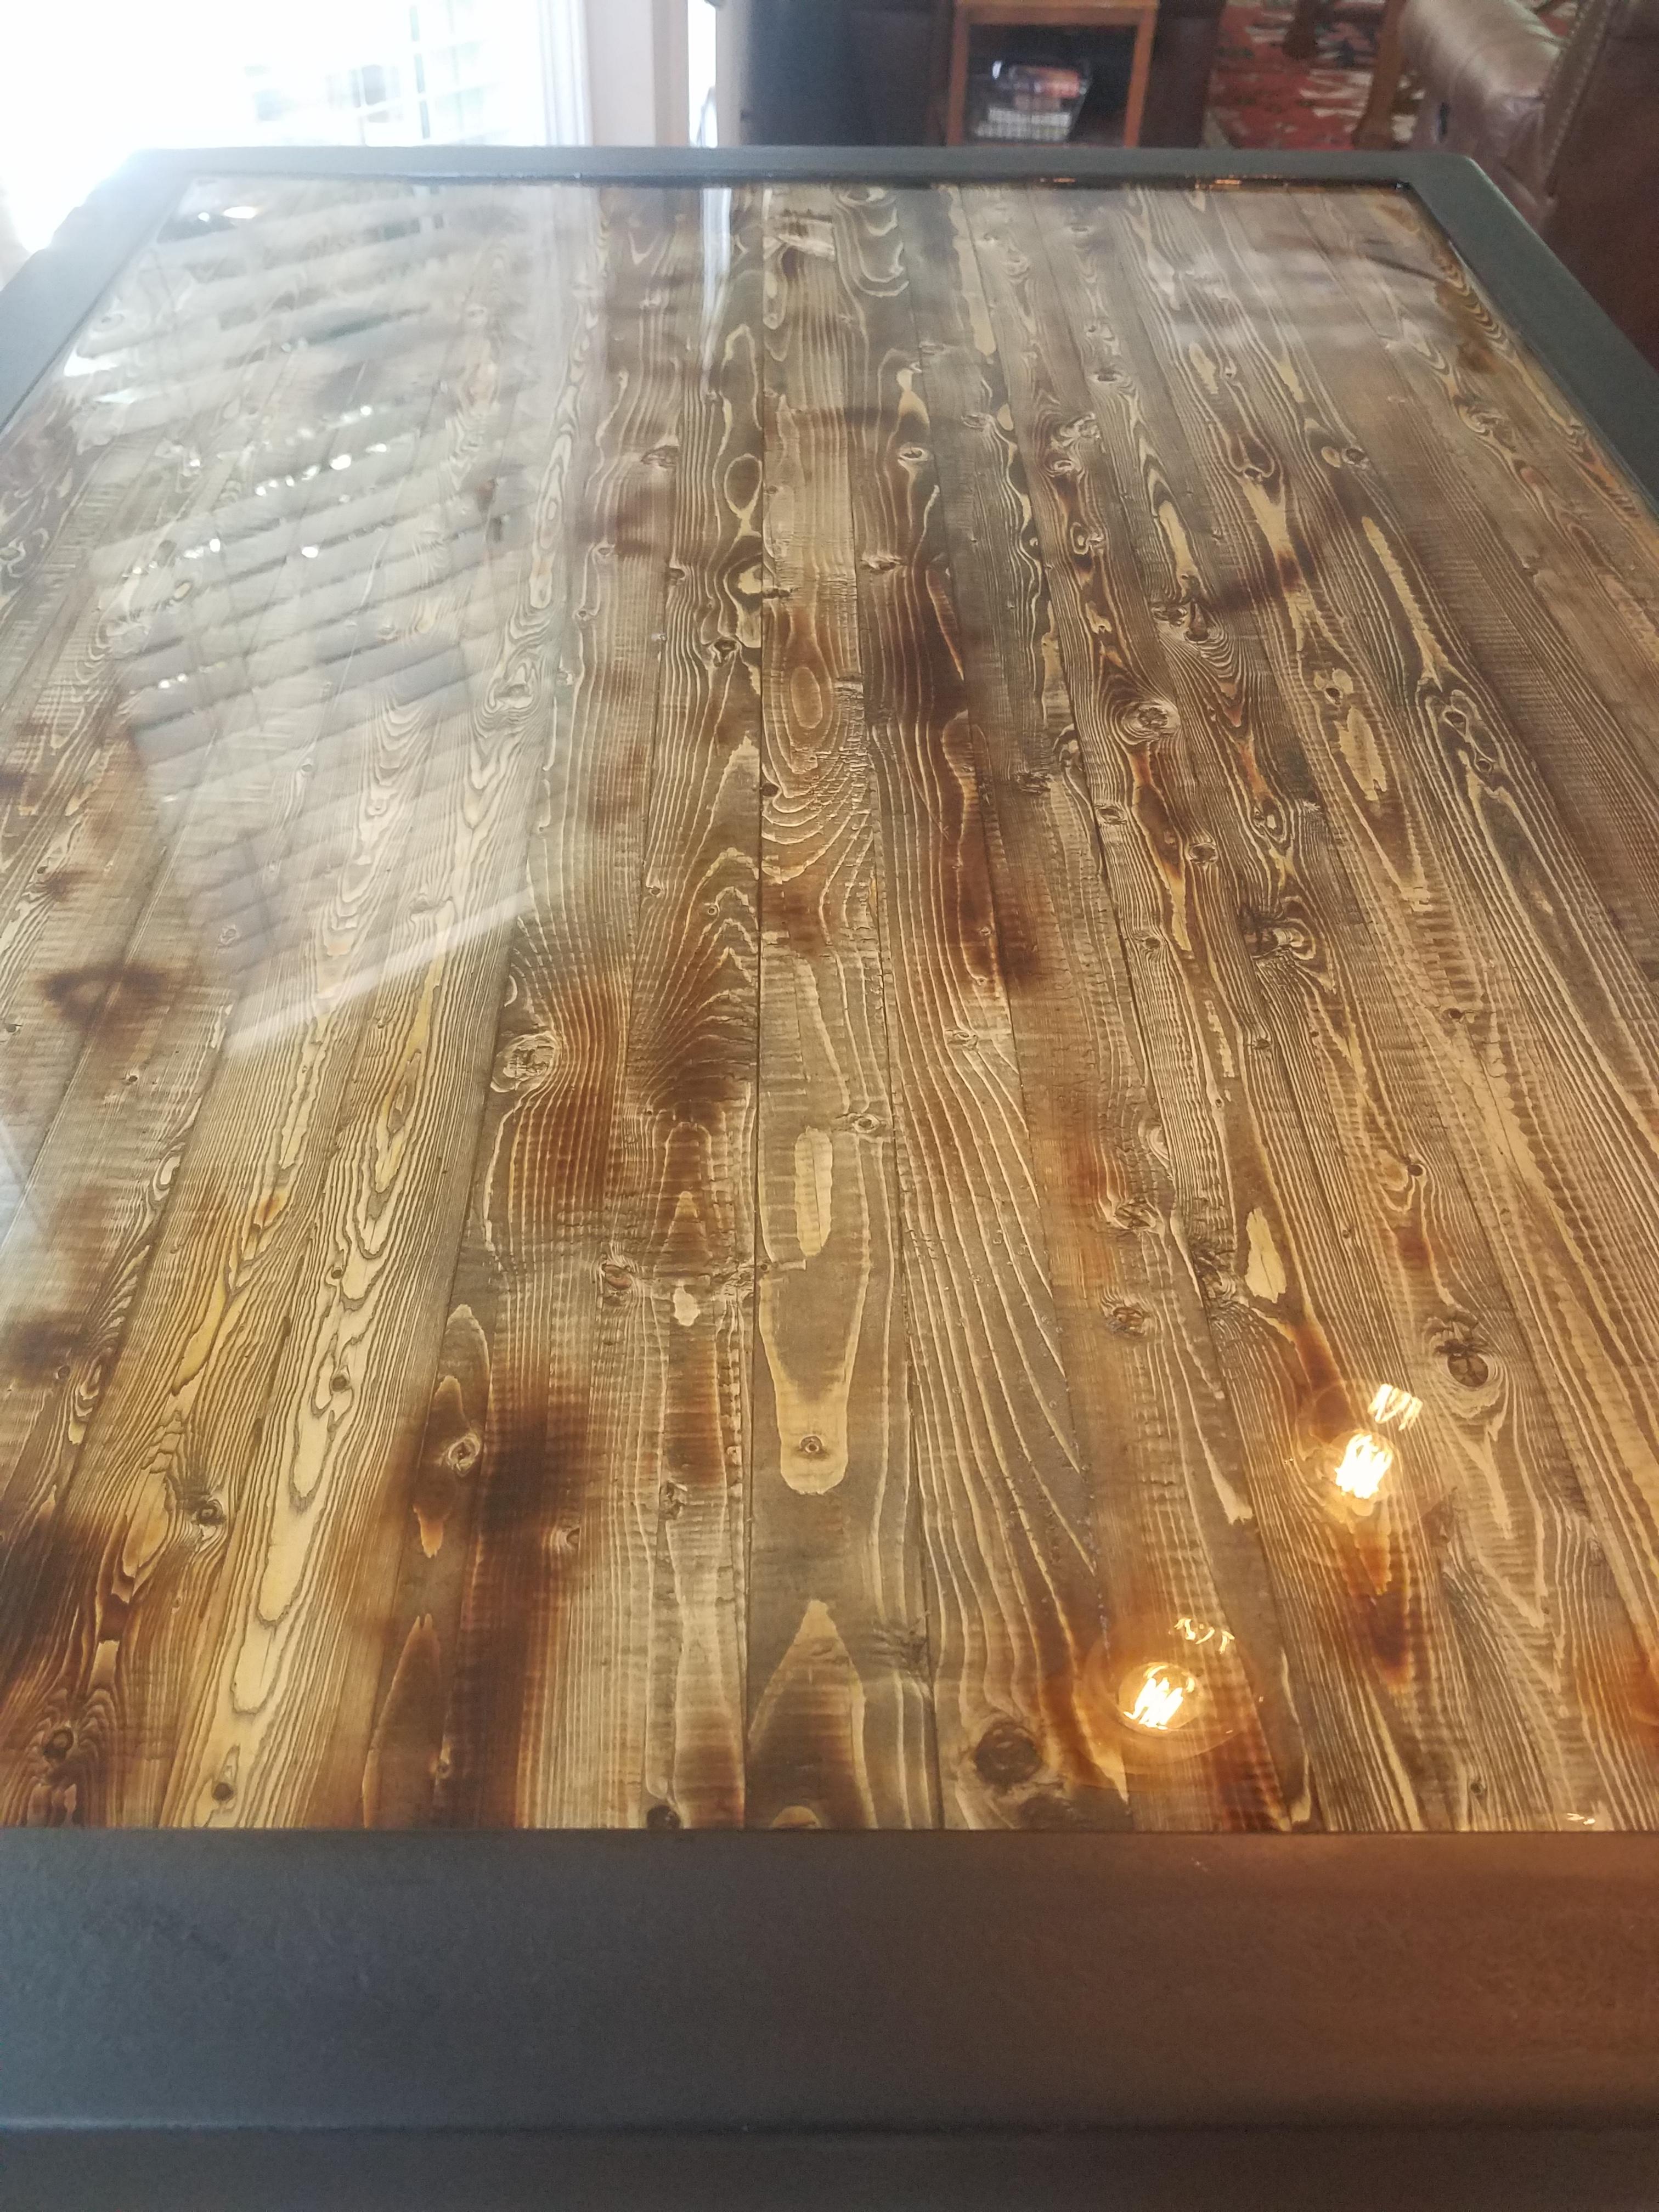
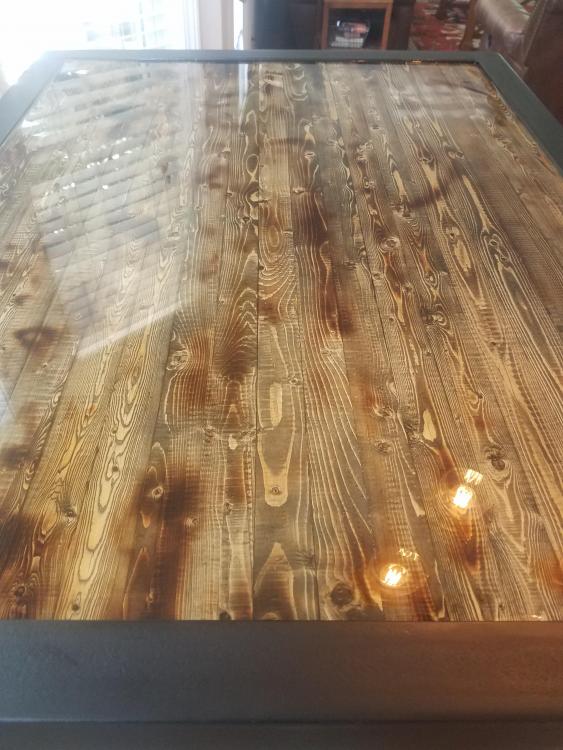
2 heavy pours of Glaze Coat. There's about a half gallon on the table top. As I'm typing this, im standing here with the hair dryer waiting to kill bubbles as they rise. The tiniest of gaps in between the boards hold air and can ruin the coating.
-
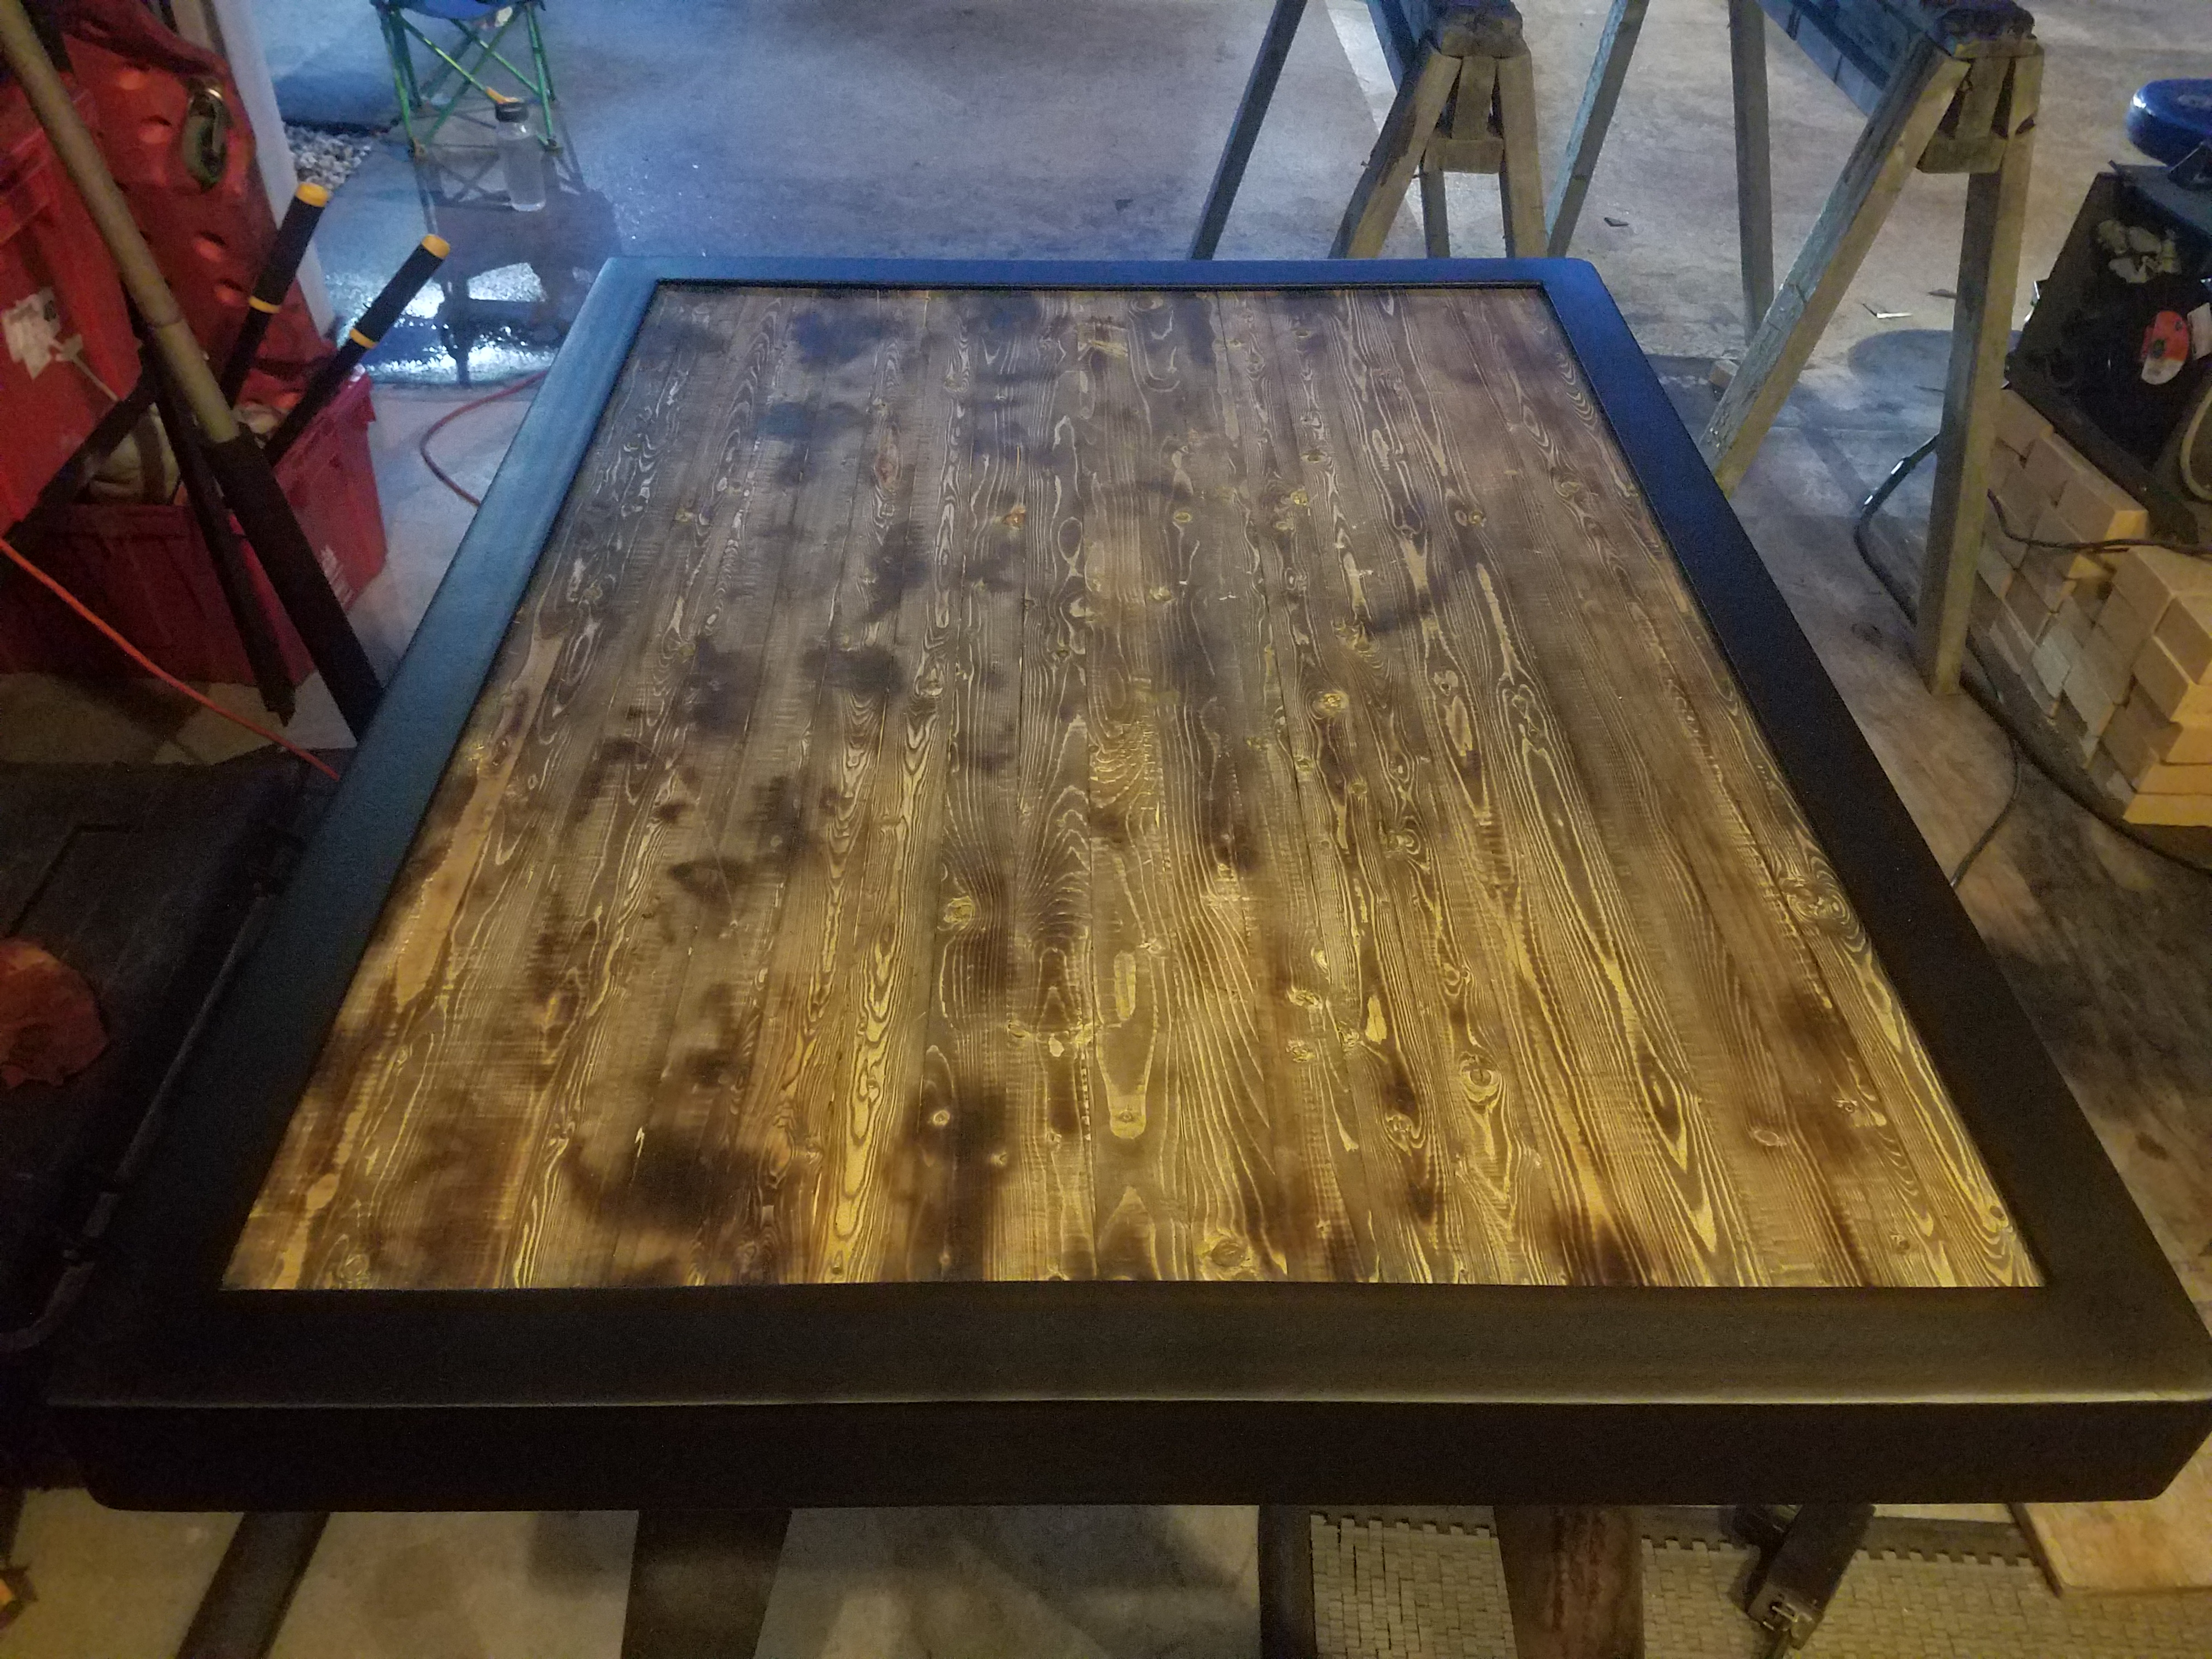
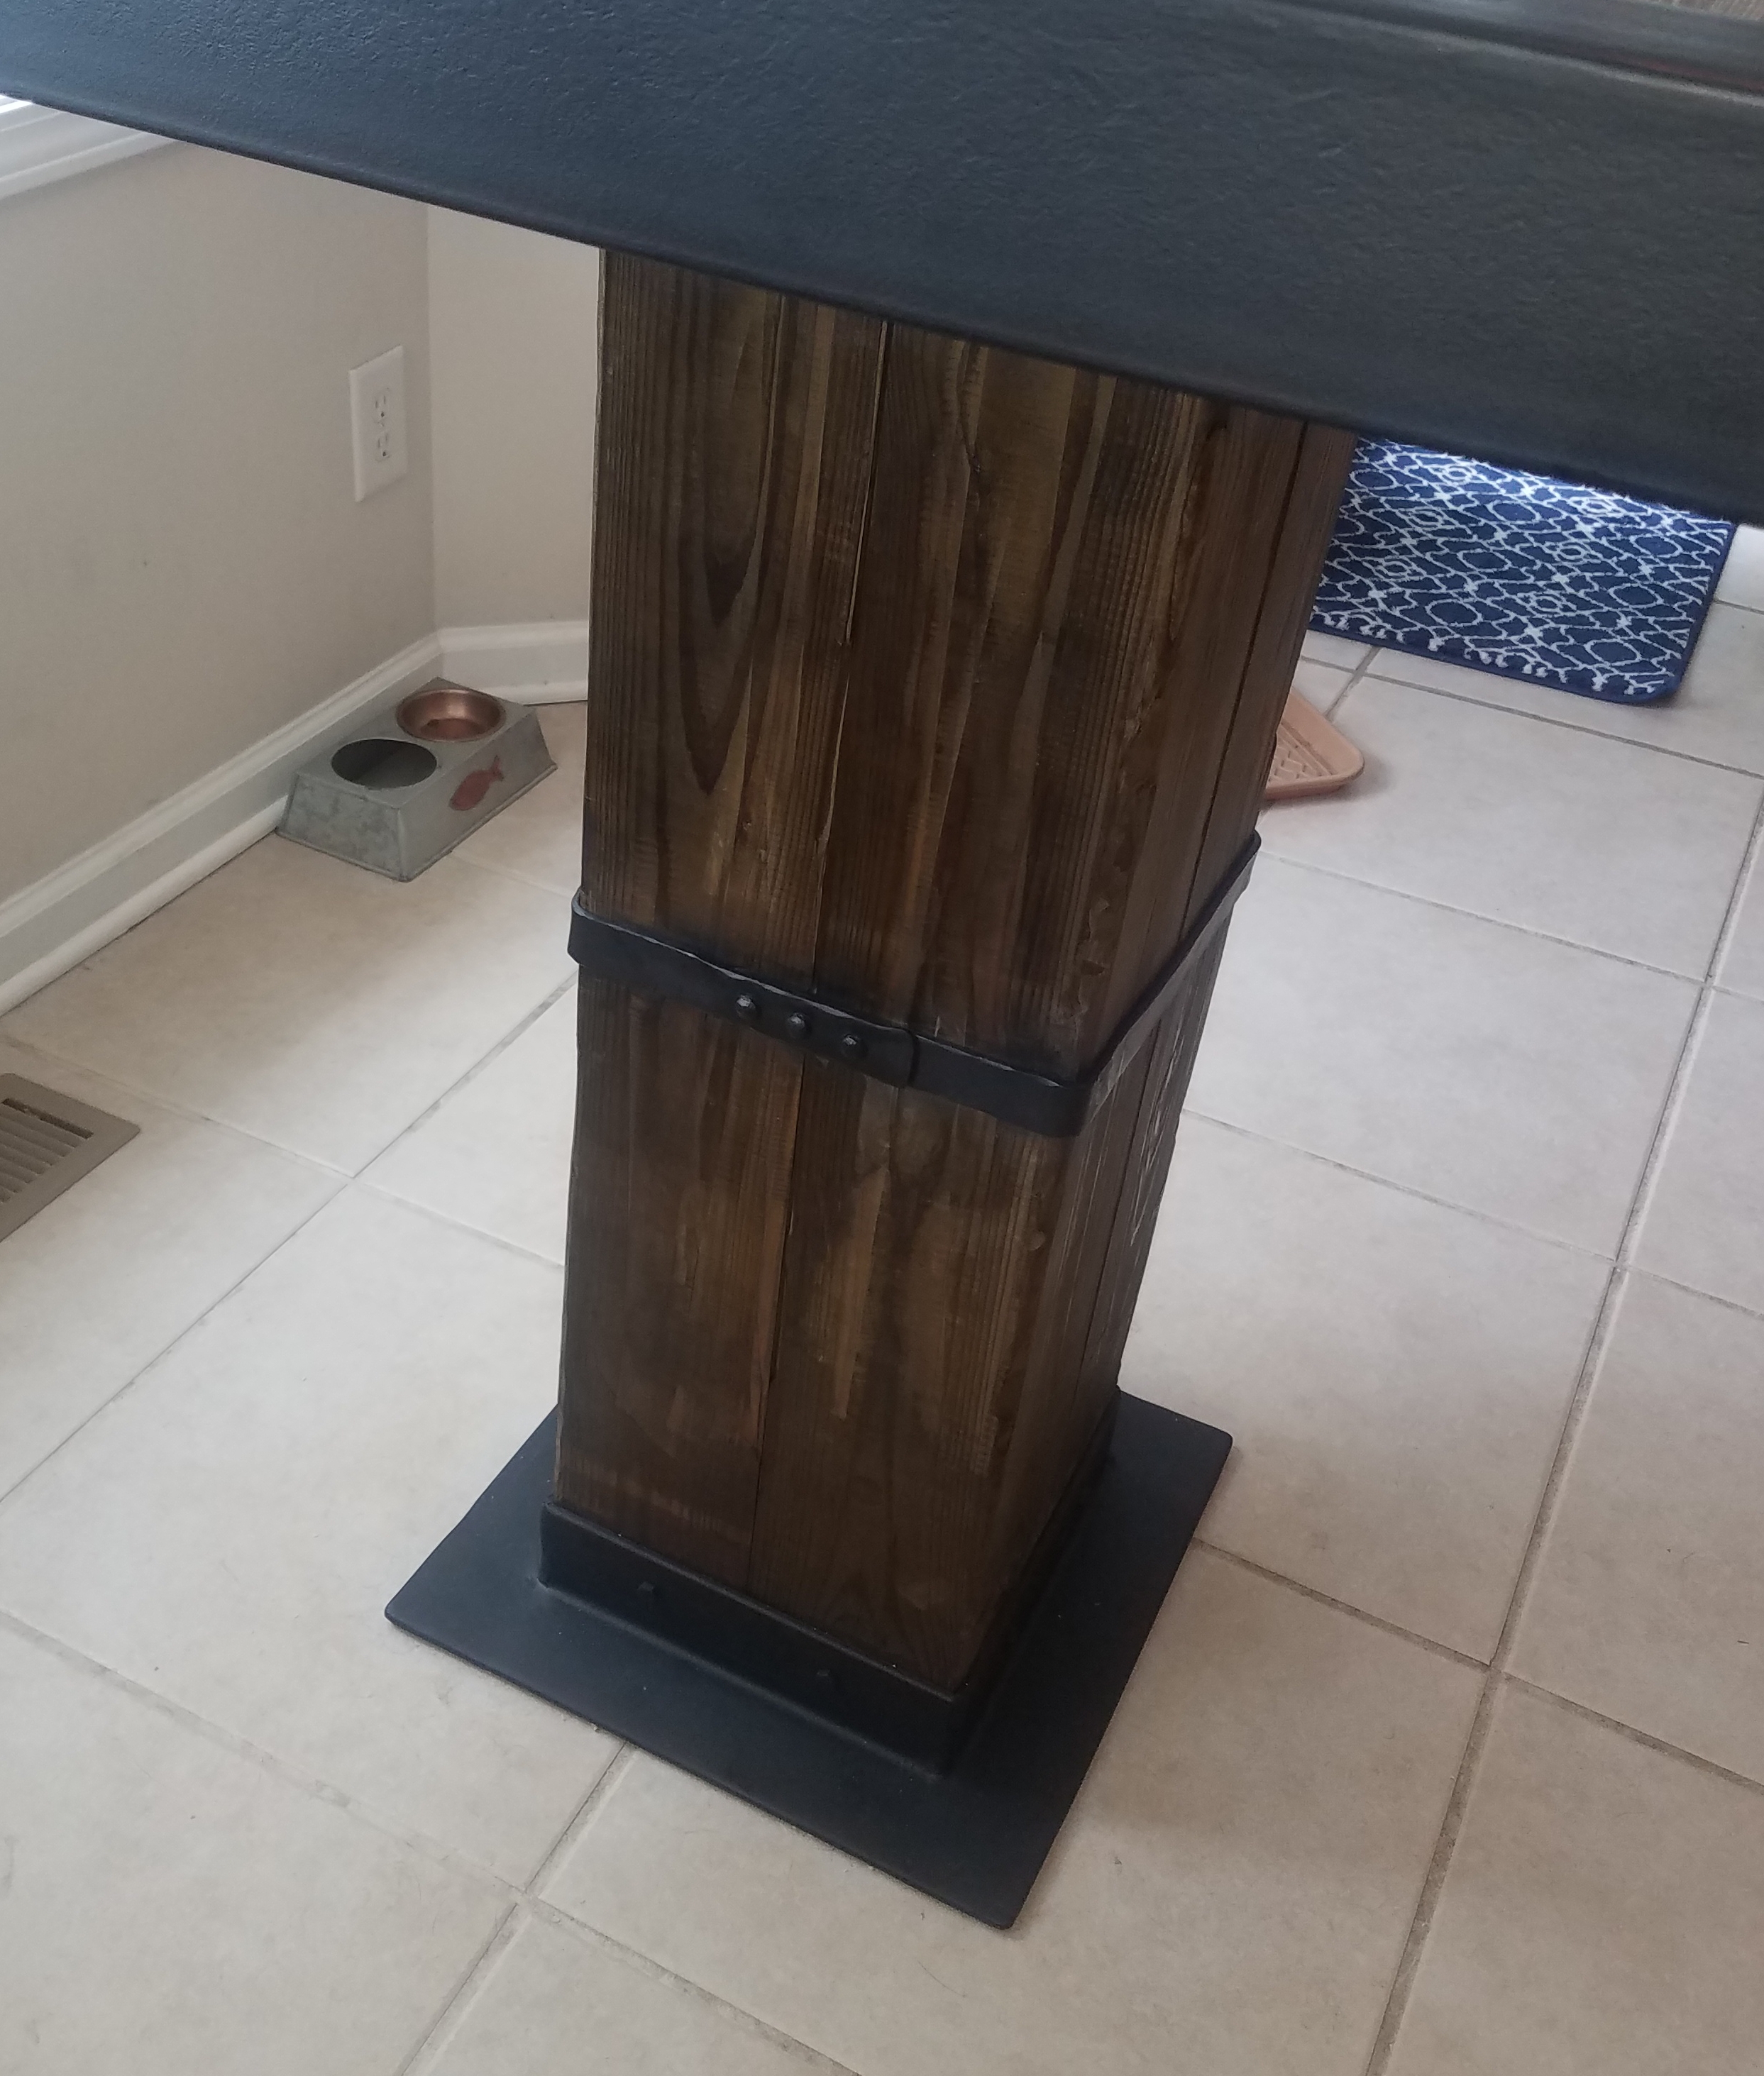
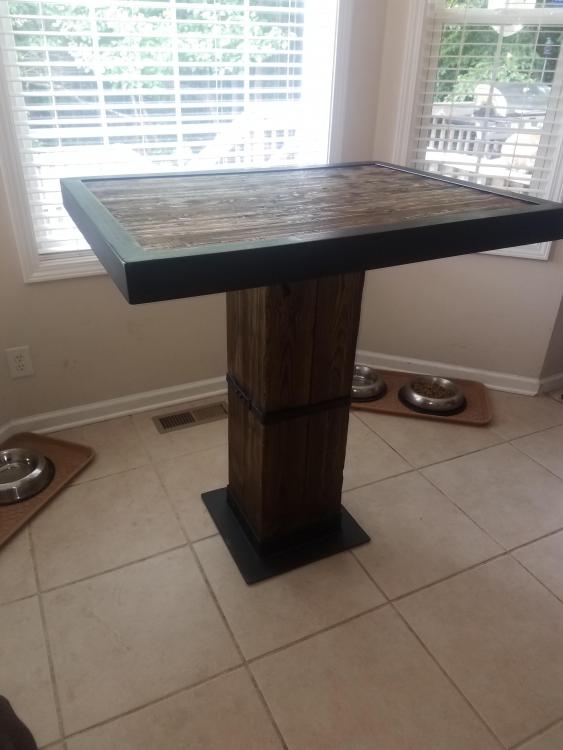
Angle iron cap press-fit just like the bottom. drove it on until it was mostly level. Drilled holes and secured the top with lag bolts, and washers in between as necessary to bring up level. Bro... it's so heavy lol! I had to bring it in separately and put the top on it inside. Most of the weight is in the base. I added steel to the inside bottom of the base plate for weight. Post is prob 185-200lbs. Had to bear hug it and run up the steps to get it in lol.
-
Thanks! The top is lightly torched, hard to see in the light There is also some charring from fitting the hot steel straps. Glad you like it. Planning on tractor seat swivel bar stools
-
No need to bolt it its plently sturdy with the added weight, plus it's on tile. I have some glaze coat I'm probably going to throw on it tomorrow. I hit it with some more stain this morning. I know it needs a coating because the kids with that first cup of juice... but I'm working up the courage to do it lol!
-
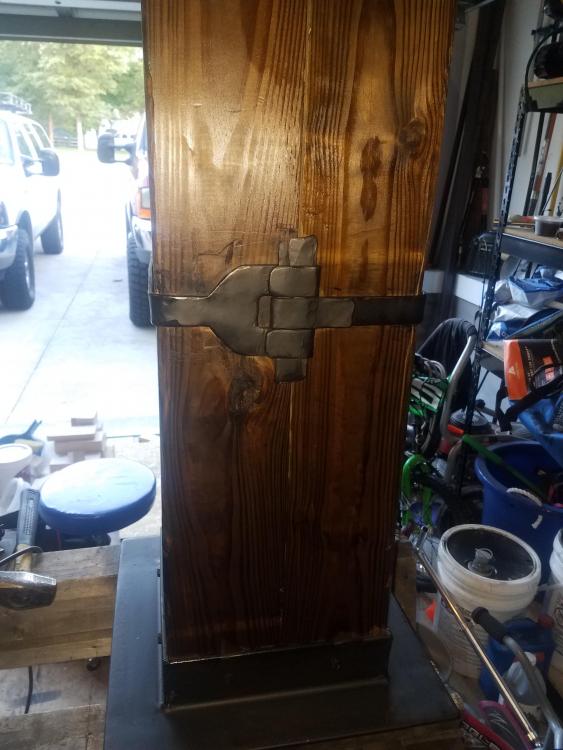
First forge project was the straps. Top is butcher block pine 2x3's run longways. Framed in 2x3x1/4" L mild steel Center post is 6x6 ties. Base is 2x3x1/4" L mild steel with a big heavy 3/8" plate recessed in for weight and stability. Straps are 1"x 1/8"steel flat rod. I'm working with a 55lb track anvil and a 3lb slege for now lol.


-
Thanks Mike, Frosty, and others who helped me get going. First project out of the forge: Table post straps I've got a long way to go lol


-
Yeah it's working good. I'm going to bevel the air intake slots like you said though. I appreciate all the help so far gents!
-
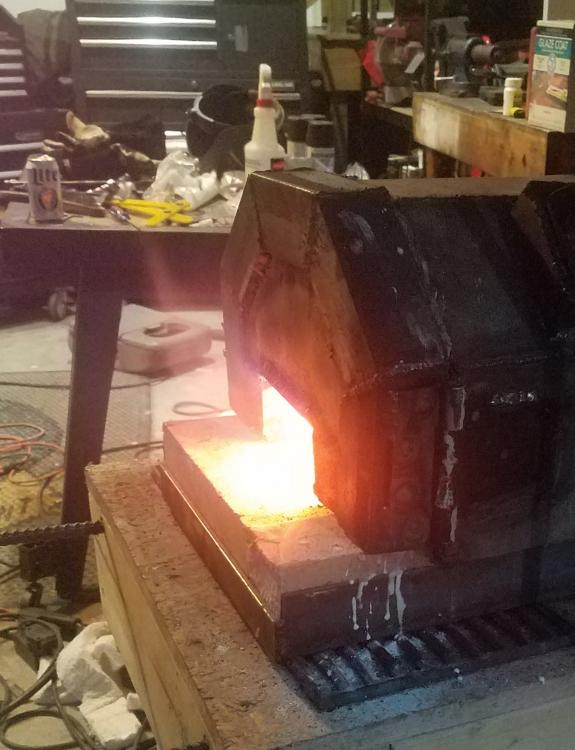
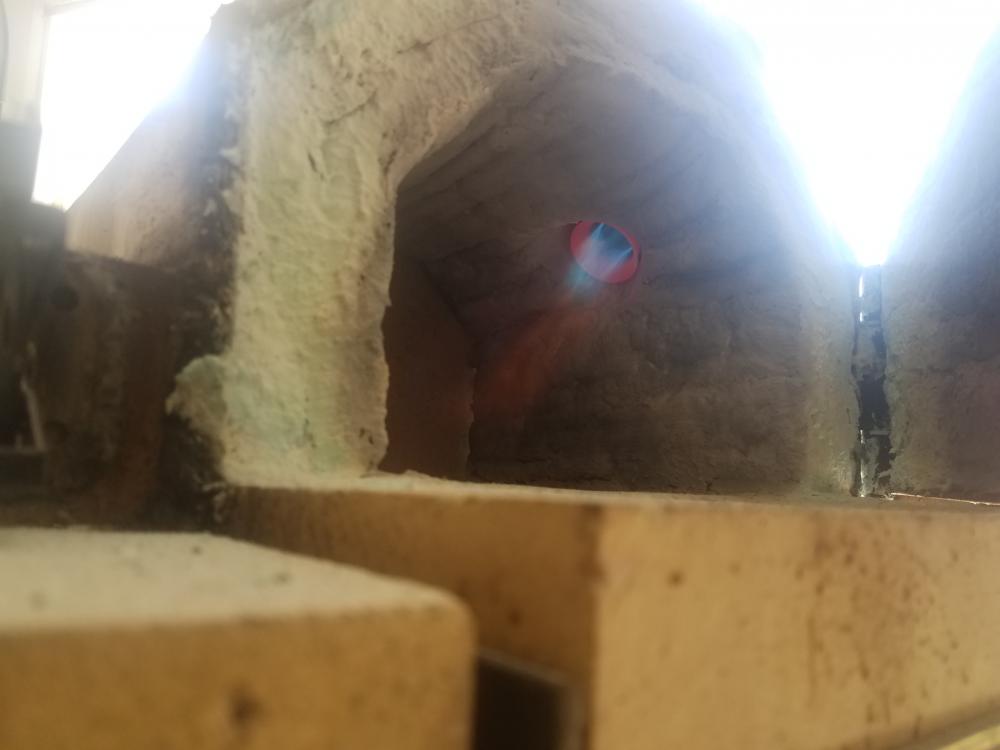
Didnt get to this point yet, but backed up the flare a bit and recessed the burner into the liner a bit more. There is a bit of flare molded into the liner. The flame moved out to the flare. Ran it about an hour. the new forge design works well so far.
-
Okay, I can give that a shot. Gas pressure does move the flame cone out to the flare end but only at really high pressure. Increasing air velocity can only help.
-
I did shorten the flare, not much difference, until I started getting flame-outs
-
Okay, got hot pretty quick on first firing. Metrikote turned a light ashy gray. Flare is still getting hot and turns orange pretty quick. How can I keep the flare cooler and still have a good flame? Just back it up some more?

-
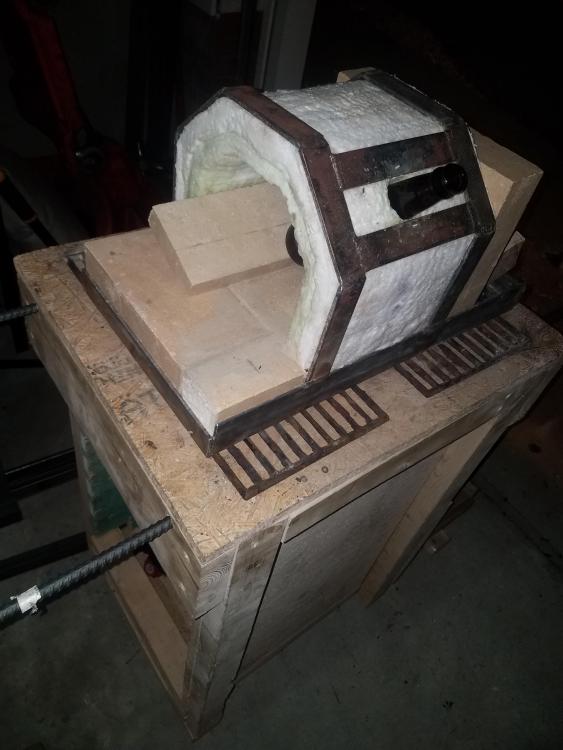
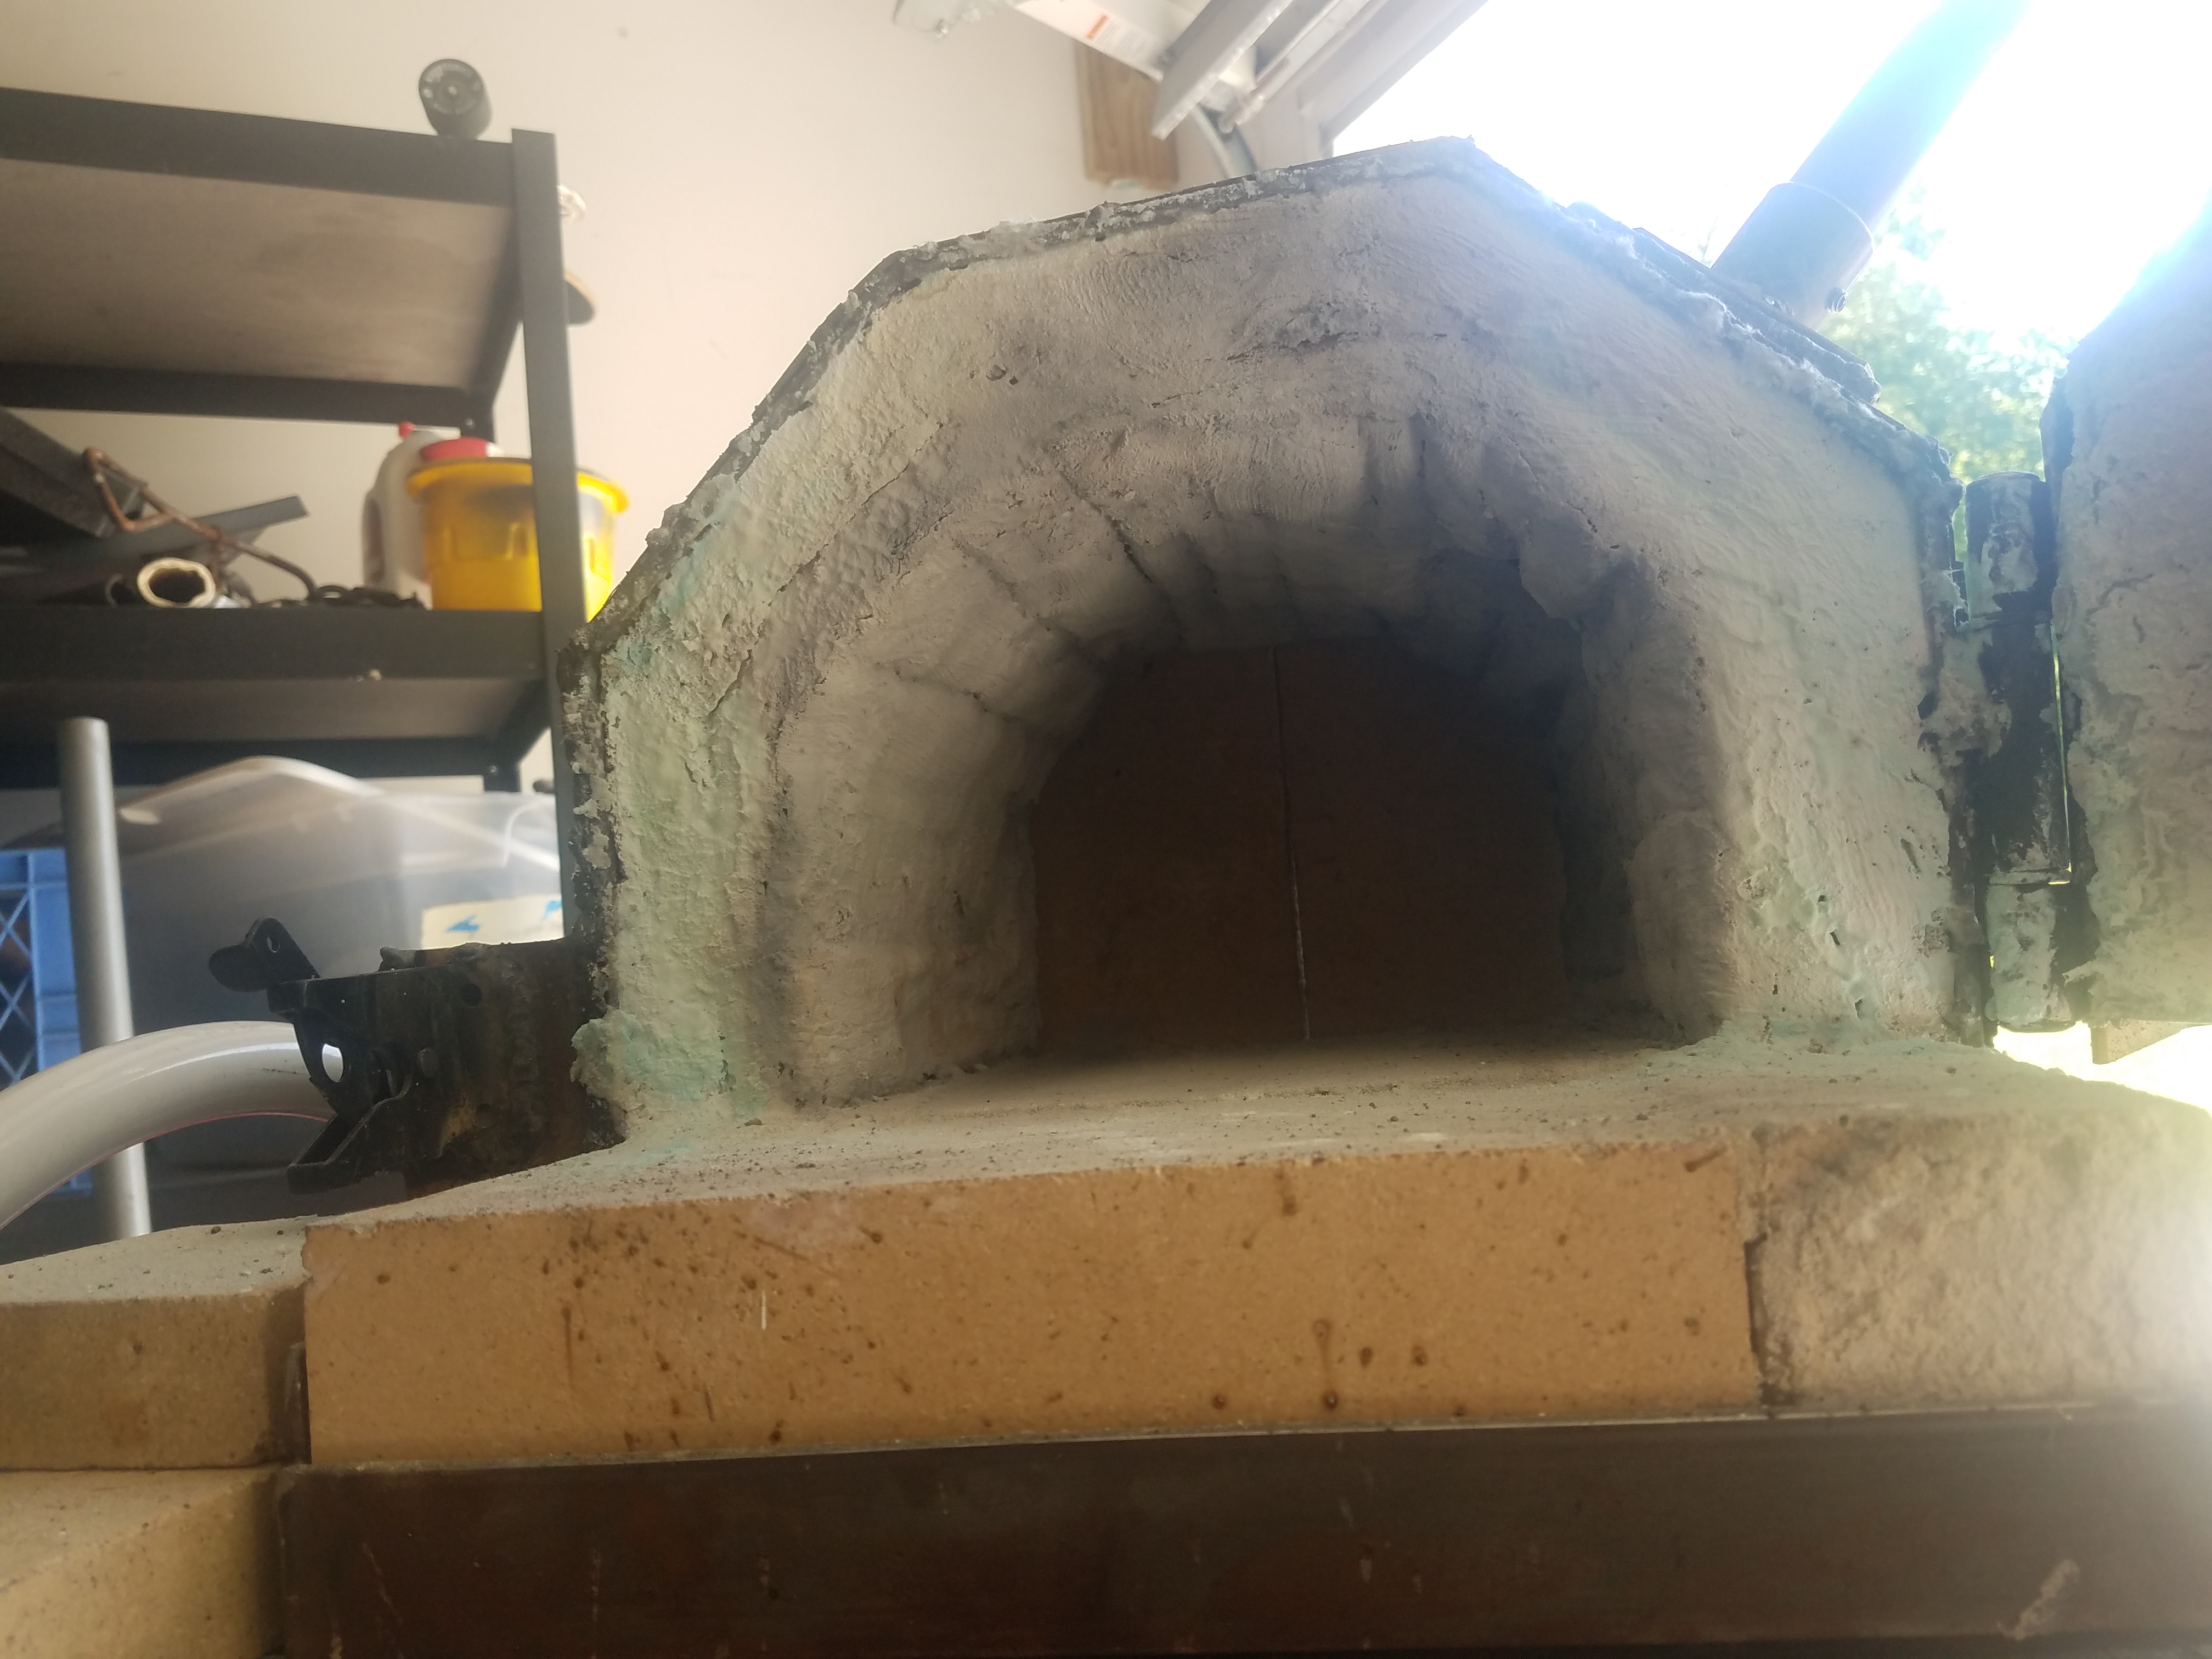
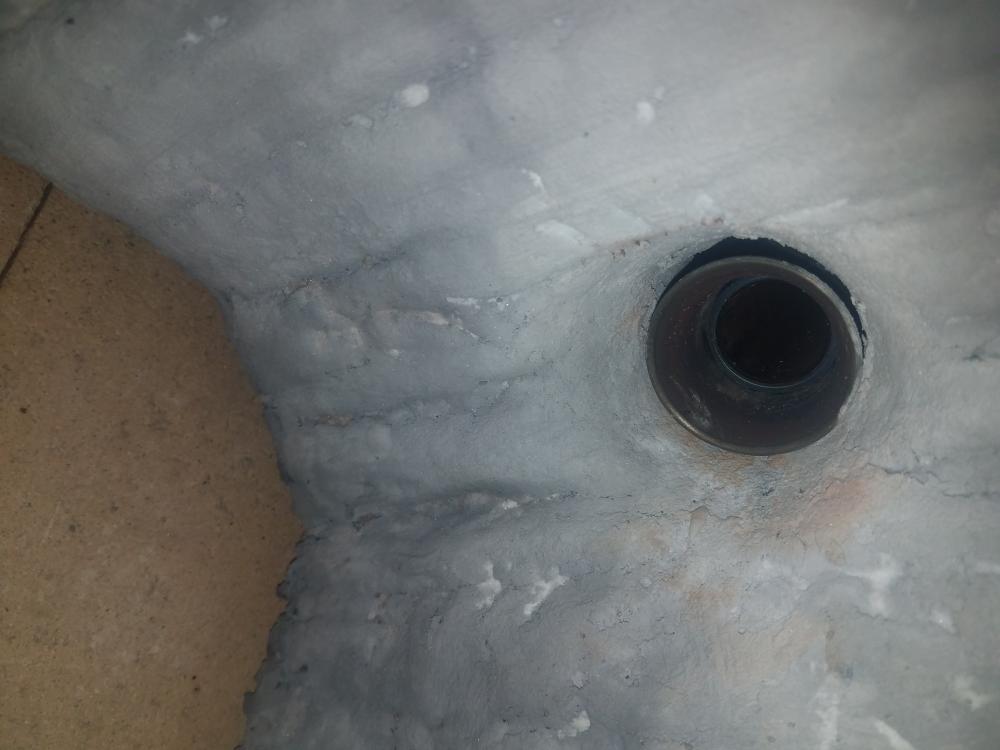
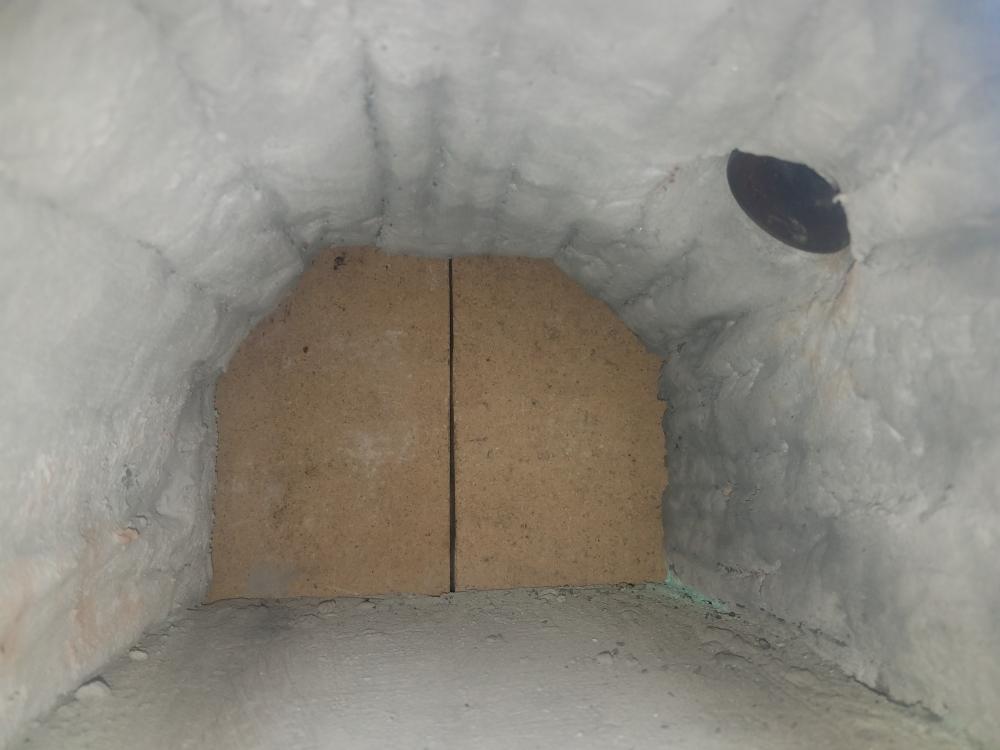
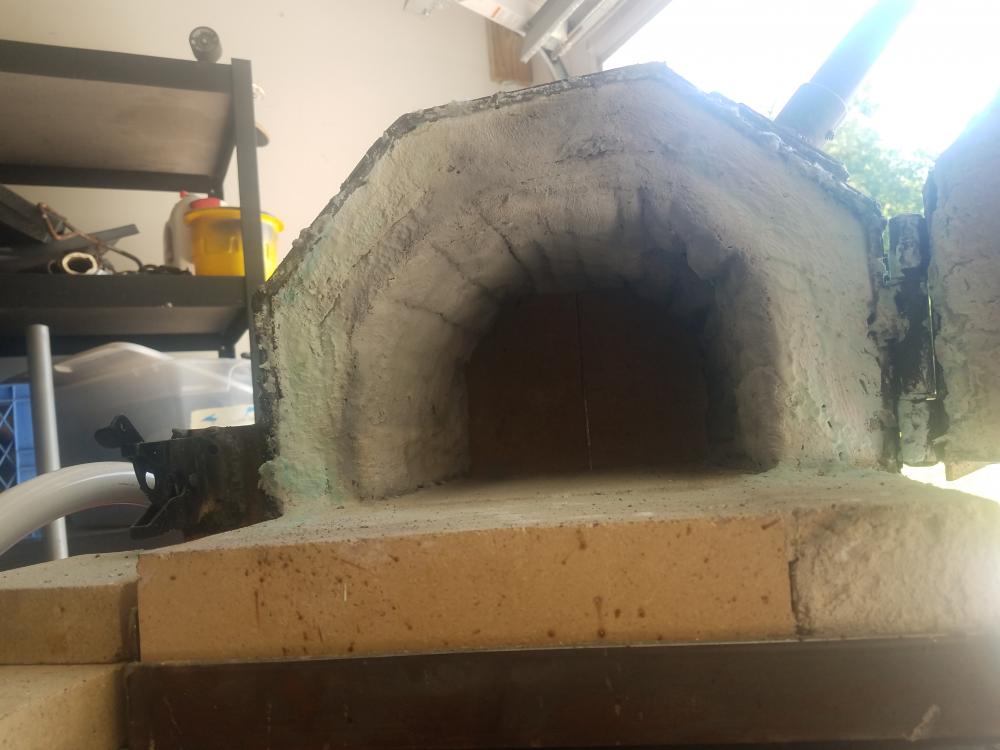
Okay, got it. I had firebrick doors before. Thx Got the front door built and hung so now the shell is all closed up. IFB has been rigidized and metrikote applied. Mixed a little blue food coloring with it to show coverage. I put a heavy coat of Metrikote on it a few days ago. It's not as hard as I thought it'd be. Actually it's quite soft and kind of chalky. Does incrementally firing it harden it more? I'm leaving the back open and planning on just stacked bricks for the rear wall and adjustable exhaust vent. It's rough looking still and I haven't cleaned it up yet. Pics coming once it's more presentable.
-
I'm well acquainted with them lol. I'd love to build one for a tow pig and swap an old 12 valve in it.
-
Okay, got it. I had firebrick doors before. Thx
-
Rework progress... Okay, busted all the brick out. (2) 1" layers of IFB all the way around. Rigidized sort of. I ran out pretty quick, have some metrikote on the way. The floor of the chamber has hard split bricks that are replaceable over fire blanket. Have a beer bottle pressed in shaping the burner hole. Got some 1/16" steel sheet metal to closeup the shell. Bought some heavy gate hinges for the front and back of the chamber and i'm going to build some doors. Have some more IFB on the way to line the doors. Trying to figure out how I'm going to make adjustable openings on the doors. Maybe use stainless pins or something. I'm sure I'm going to hear about something I missed. Fire away... Question, is a castable liner more for longevity or is it going to up the heat? I see forges running both ways.