DonB82
Members
-
Joined
-
Last visited
-
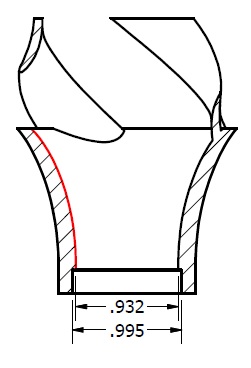
You're drawing was very helpful to me. I was comparing your curve (the red one below) to mine. I thought opening the outlet would help with airflow, but now I can't get it to light and it does some weird fluttering when I choke it off enough to get a flame. I wonder if those penny donation funnels you would see at a mall are a good visual of what is happening to the air flow. I think the term is angular velocity. It increases as the coin reaches the bottom of the funnel. Do you think by opening the mouth I'm hurting the amount of spin before going into the mixing tube?
-
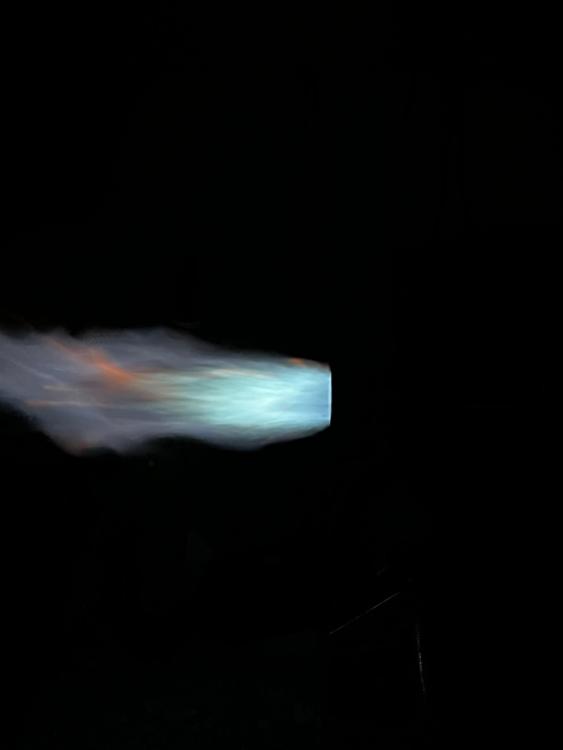
I wouldn't recommend Blender for this. It's more of an organic/sculpting software. There are a lot of free trials and open-source engineering CAD software you can try. I would recommend Autodesk Fusion 360 or Onshape. Plenty of people on youtube with tutorials to get you started. I use NX free trial at home. There is plenty of information to get you started but I think it has one of the steeper learning curves. I did spend some more time experimenting with designs this weekend. I drilled out some 1" DIA stainless tube to an ID of .938" but have a new problem. Heat travels up the thinner wall much faster and starts melting the plastic before I get a chance to do anything with it. I did get a really dark blue to purple flame to the naked eye with a 4" long mixing tube before meltdown.
-
-
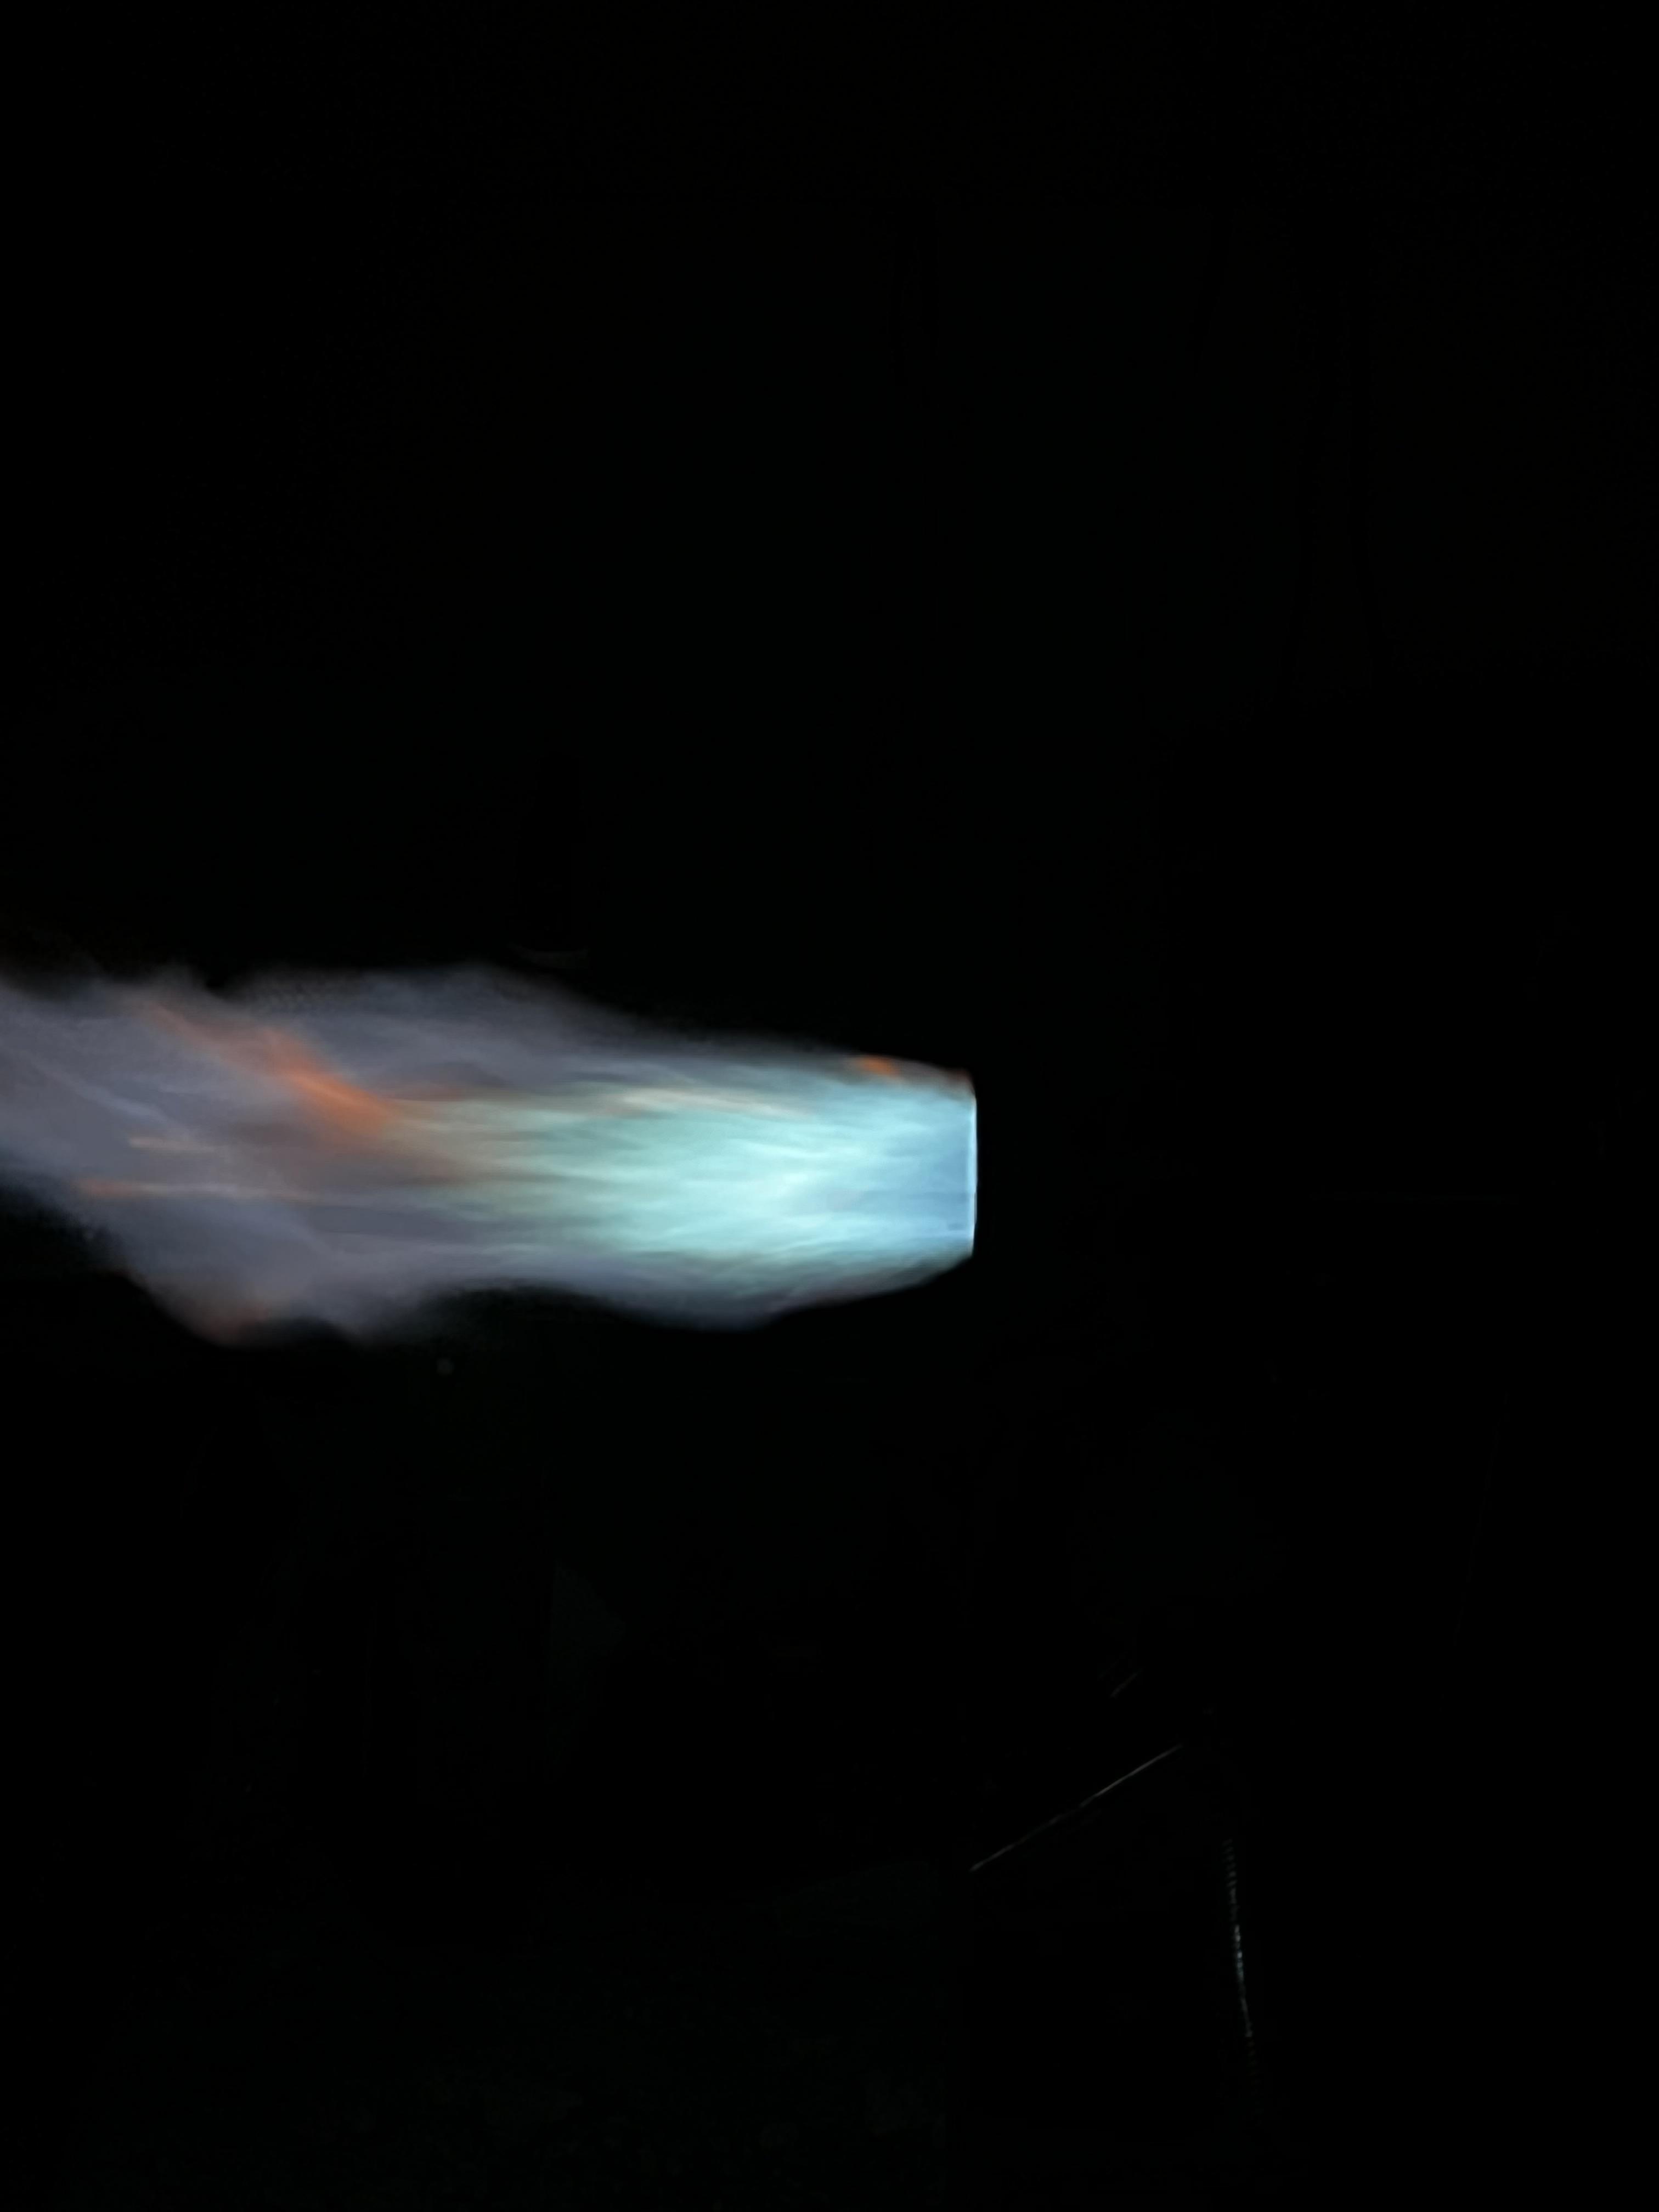
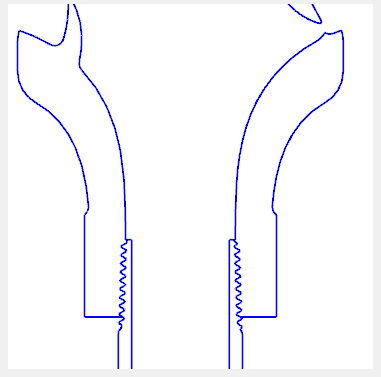
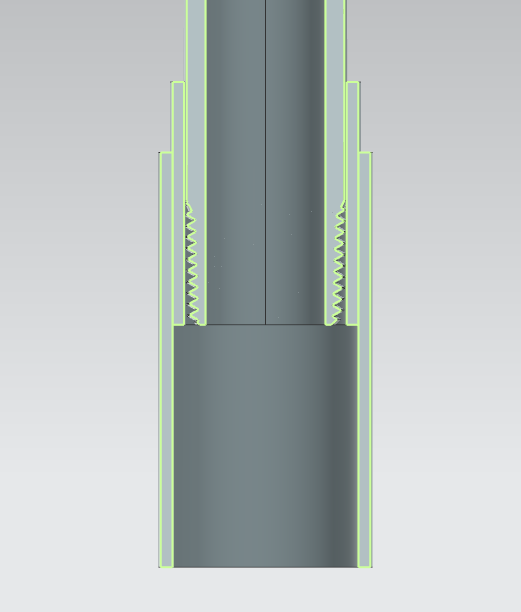
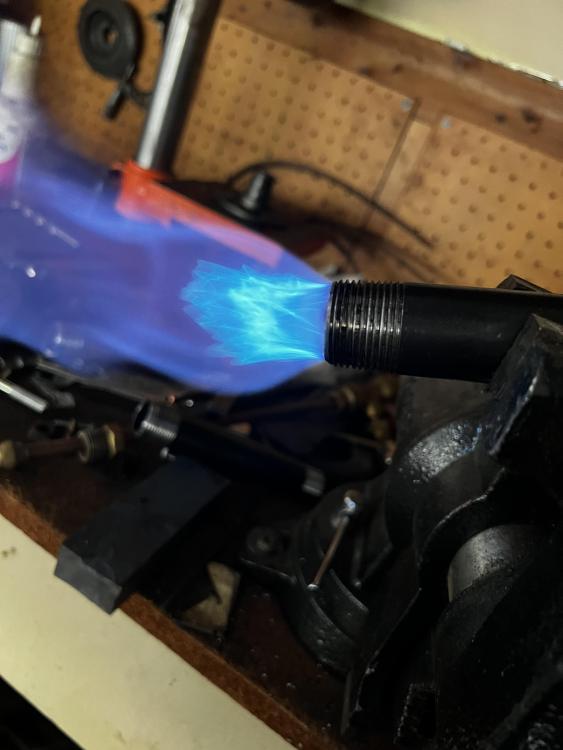
I had a Zoeller flare I took off another burner and tried it real quick. It's a little bigger and I noticed the flame had a more distinct cone. This was around 11 psi. Sorry for the dark background. With the lights on I can't get a good picture. Plus it hides my messy workbench. This is precisely what I did. I had to make a few educated guesses but there is ample information there. Something I want to improve for next time is removing the step from the plastic to the pipe. The image below shows a step that I want to make into a smooth transition. I am also going to use a seamless tube instead of the welded pipe. I'm curious if removing the weld seam makes a difference. I'm not exactly sure what you mean by a slide-over step nozzle. Below is what I'm imagining.

-
I've made a couple attempts myself at designing one of the vortex burners. I've gotten some results I "think" are similar to the original design, but I'm still learning what is considered a good hot flame. I didn't take very good notes when I was experimenting with designs, but I think I was running a mig tip that had an orifice that gage pinned @ .041". First image is almost completely chocked off in order to keep the velocity low enough to keep the flame lit. I just wanted to see if there was any swirl. Other images were attempts to take pictures of the flame to get some advice, I just never got around to posting it. Again still reading and learning. If I can get the results AFB was achieving, I can share drawings to help those still looking to make one.

-
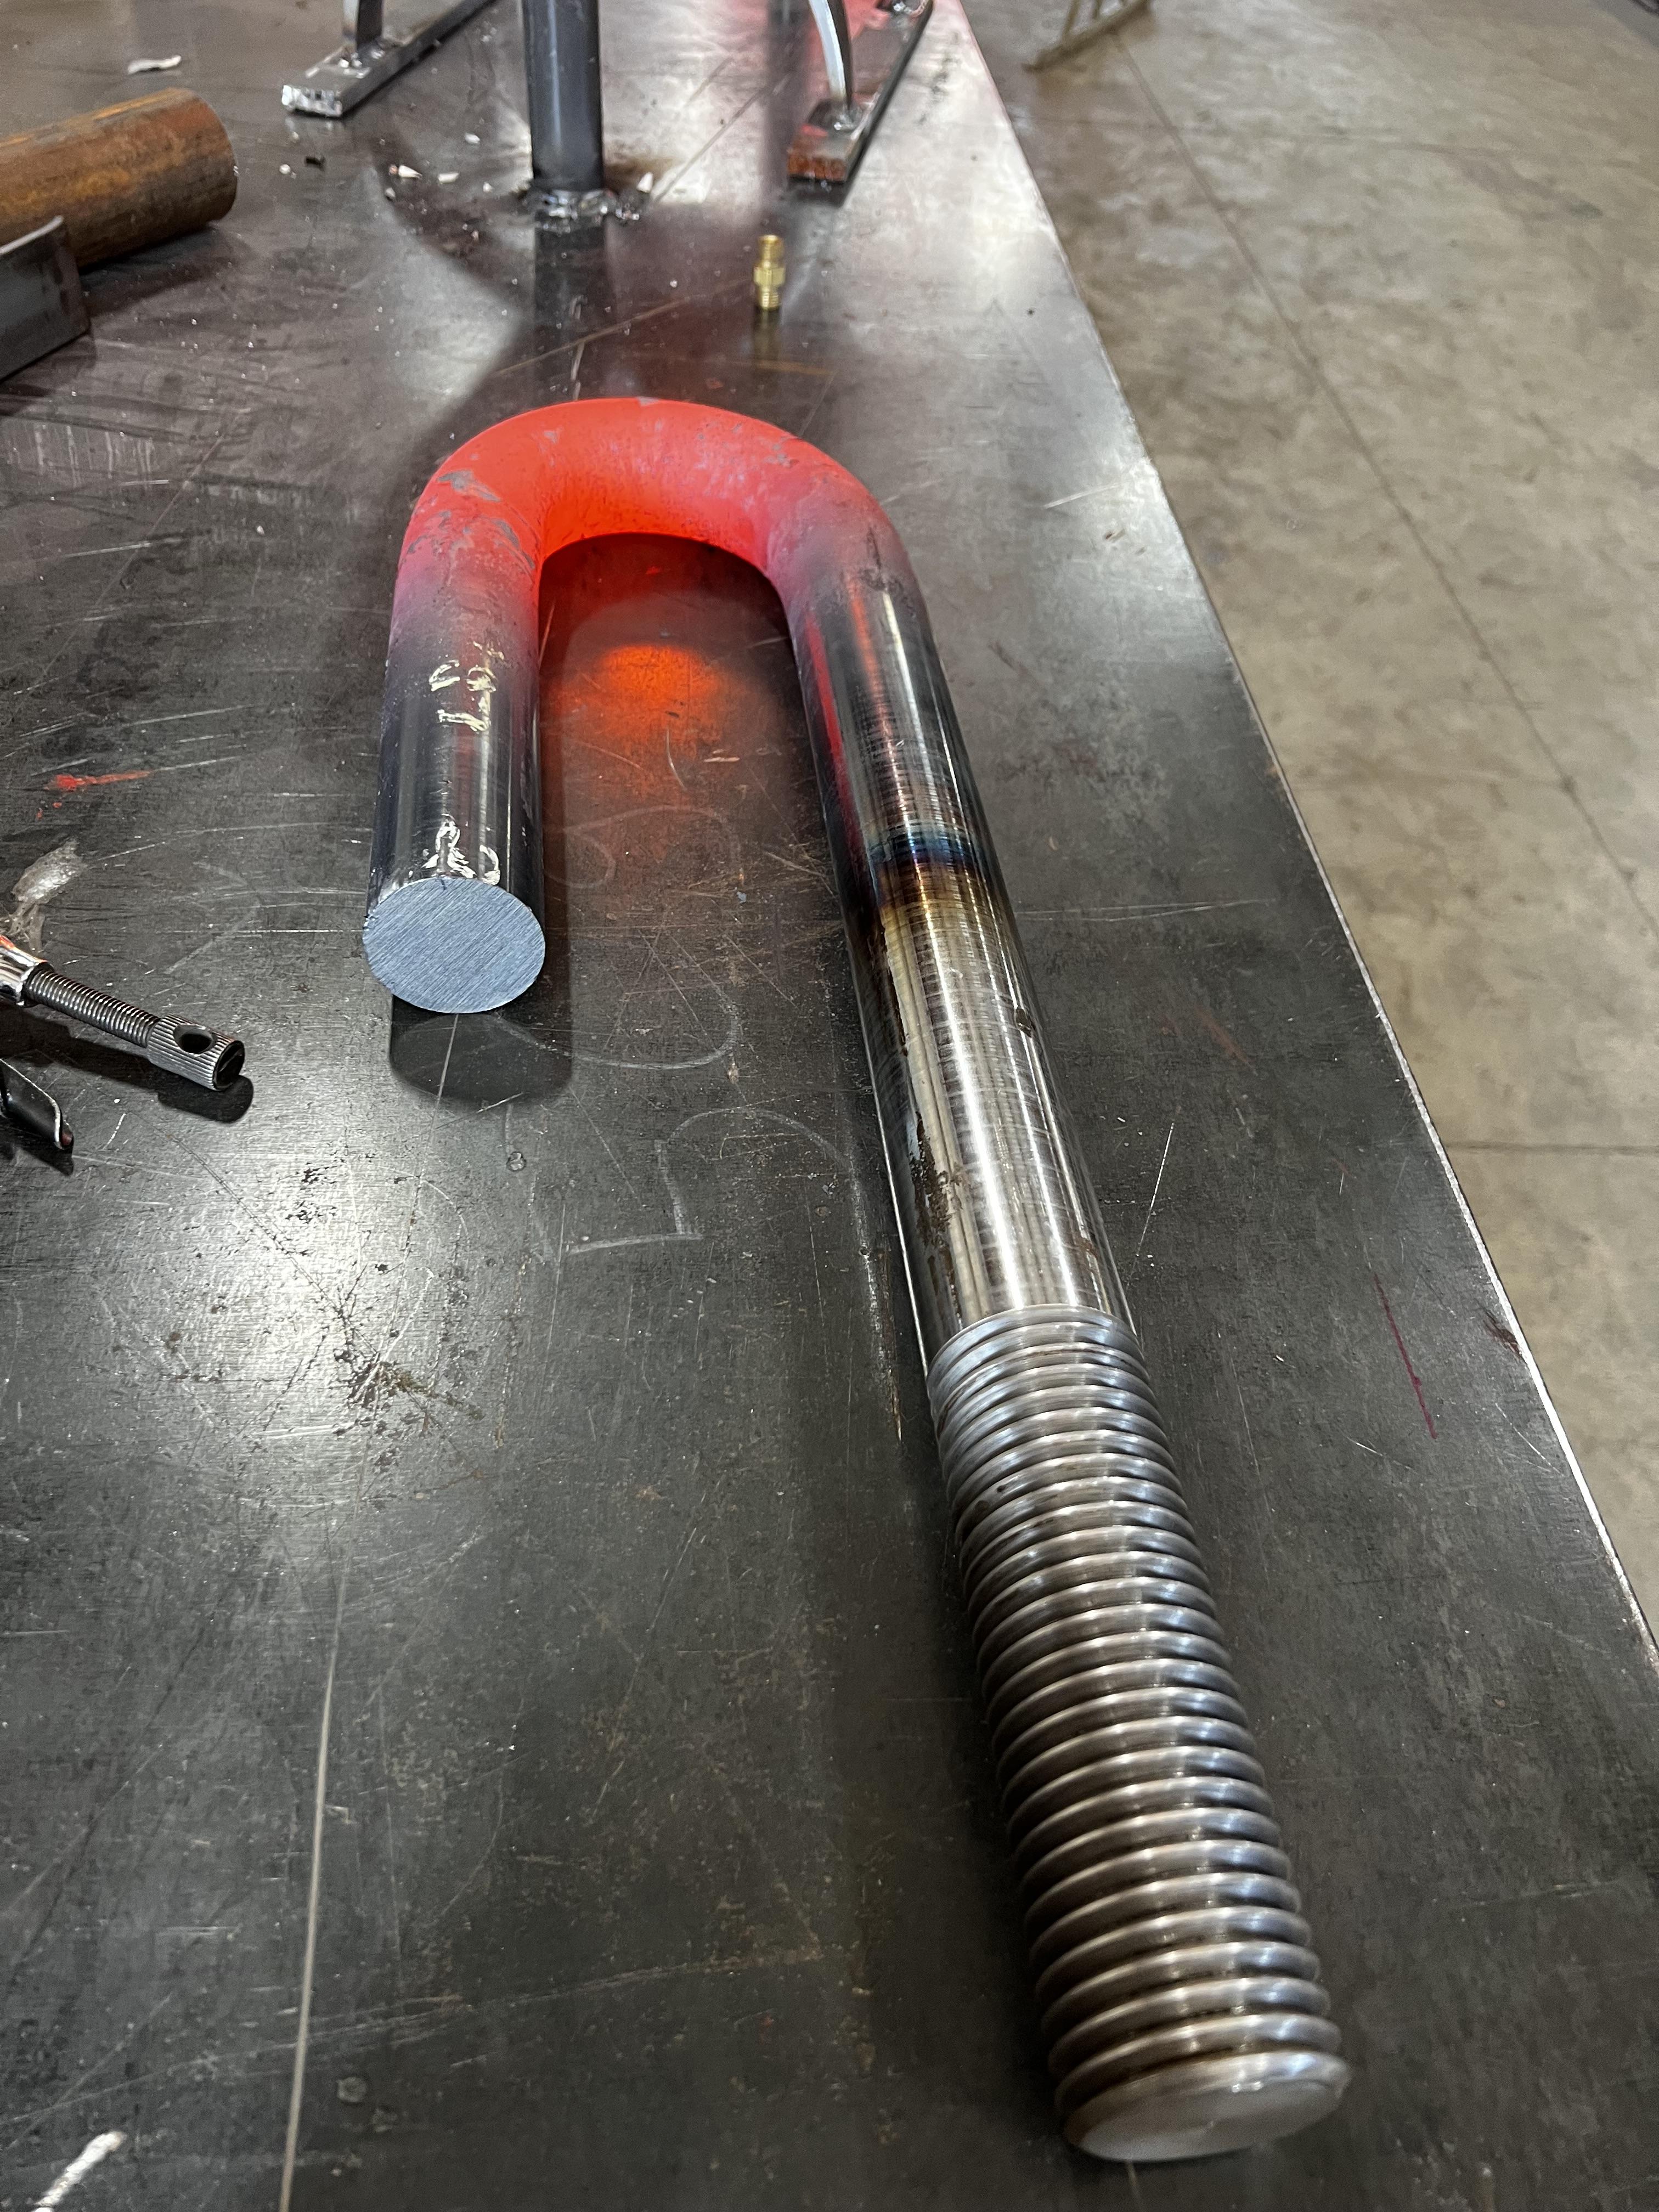
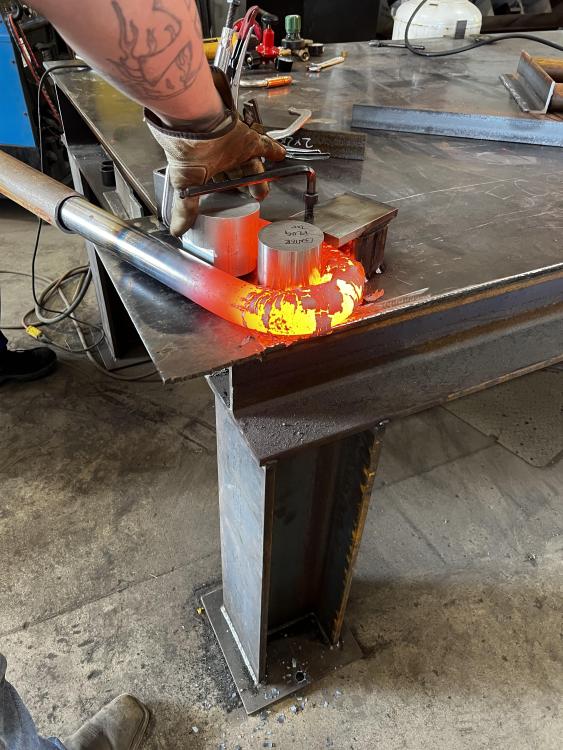
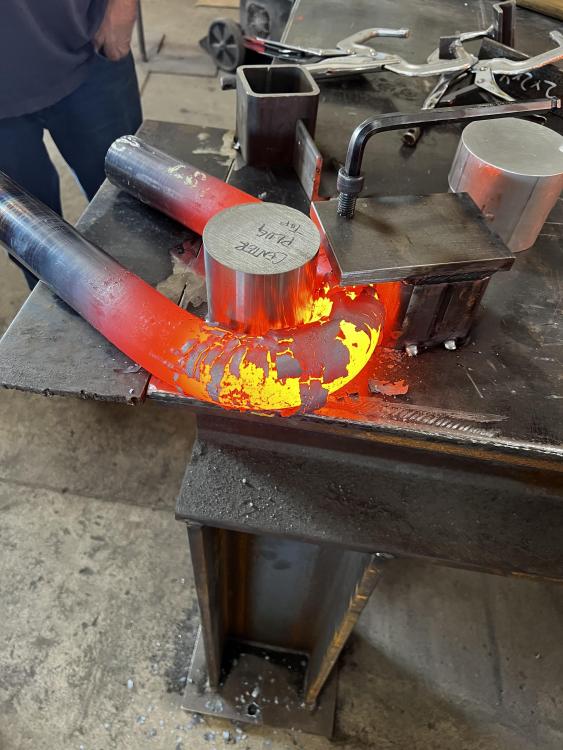
Success! This forum has been an amazing resource. I'm just beginning my blacksmithing journey and this is the first time I really brought my forge up to temperature. Two guys on a cheater bar and wrapped around with minimal effort. The only issue we have is the radius came out about an 1/8th in larger than what we wanted. We have five more to do and are planning to make the pin smaller to help tighten it up.

-
Current plan is take a welding table outside and anchor bolt it to the ground. We will then weld the fixture to the table. We are going to place another pin on a fork truck and use that to move the bar around. We have a skid steer and larger flat bed trucks as well. We were actually worried about the bar sagging once we place it in the fixture. Doesn't sound like that needs to be a major concern.
-
Twistedwillow - These are not load bearing. They hold down a lid for a large melting vessel. The head of the J bolt rides on a bar as a pivot point for a lid as a pair. David - We are making a total of 6. Going to try the first one and see if lengths are good. The drawing the customer provided is so old we can make out the dimensions of the mating piece. I would think the main concern is making sure we have the 180 degree bend. We can always throw it in the mill and clean the inside radius if need.
-
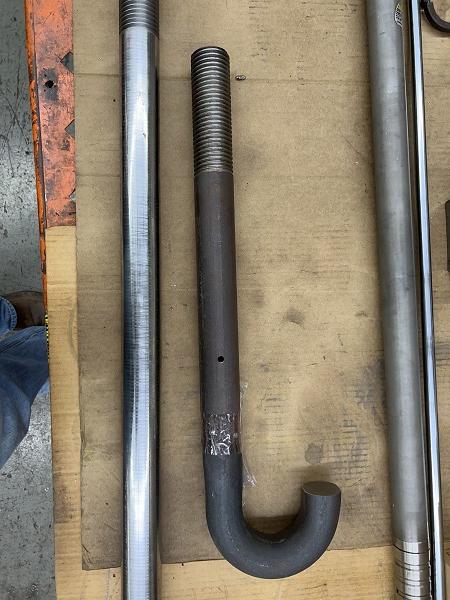
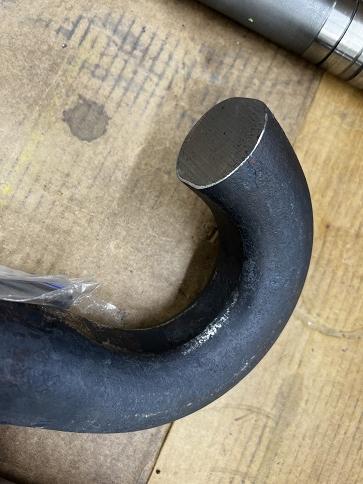
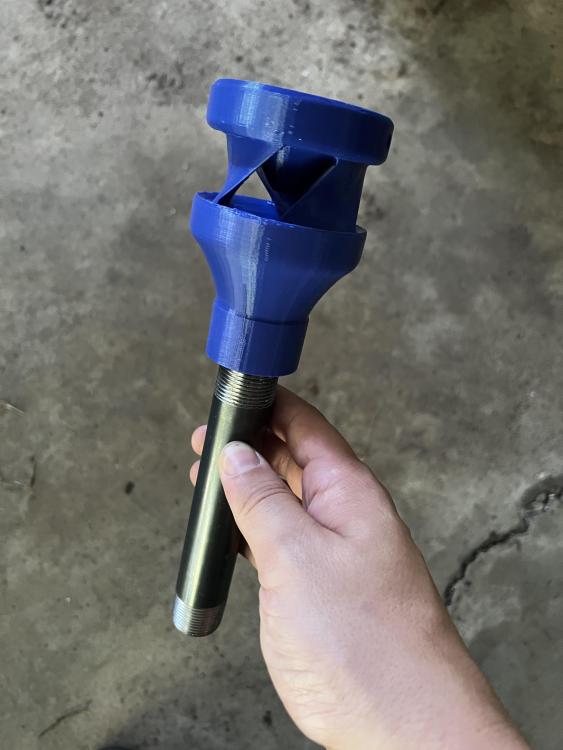
I was hoping to get some safety advice for a project. Being a small machine shop, we usually try to avoid heating up work pieces. We signed up for a job to make some large J-Bolts. We have turned the threads and are ready to attempt the bend. The bar is 4340 annealed 2" DIA and the radius on the bend is 1 -9/16". Length is approximately 40in. Any advice, cautions, or recommendations would be greatly appreciated. My main concern is safety. We are going to practice moving from the forge to the fixture cold before going hot, but I have no idea how a diameter this large is going to behave. My other concern is providing enough heat. We are using my home built forge. I am still in the learning process of getting to tuned properly but I can get metal to a bright orange. The picture below show the sample bolt we received and the machined bar for our first attempt. Thank you for your time, Don