hikerjohnson
-
Posts
41 -
Joined
-
Last visited
Content Type
Profiles
Forums
Articles
Gallery
Downloads
Events
Everything posted by hikerjohnson
-
Common Beginner Mistakes
hikerjohnson replied to Ridgewayforge's topic in Blacksmithing, General Discussion
It's been said a couple of times, but it bears repeating - as soon as you see a cold shut, STOP EVERYTHING. Look at it, figure out how you did it so you dont do that again (you will), and then grind or file it out, or discard the piece and start over. It can't be ignored, and all work beyond the cold shut is just a waste, even as practice. Also worth repeating, it's a lot cheaper and faster to start over; whether you use free steel or pay new price for it, the steel and coal is a lot cheaper than your time, even if it's just a hobby. Cut it off, and start over. You'll be better for the experience, and in the end will have more time, even if you have a little less steel. I know this, but still struggle with it. Most importantly, though, just get out there at the fire and start hammering. I started with a pile of bricks and a hair dryer. Worked quite well, and kept me forging for months before I built a nice forge. Don't get hung up on the setup details, that all will come in time. Fire + Heavy Thing + Hammer = Smithy The rest is details. -
Thank you @jlpservicesinc; I really appreciate the compliment. I like yours as well; between you and the other commenters, I am going to knock out another one with holes for sprinkling the fire - hopefully make less water do more work that way. Maybe I'll try a hybrid with a pour on one side, sprinkle on the other. I'm just getting back to the home forge from a few weeks on the road, so there's lots to do.
-
Steve, they're that sharp only because I haven't learned my lesson and eased them off with a flap wheel. I'm sure that in the near future I will do just that. So far, on smaller stock, it's working OK. I can see how working something wider than the hammer face would look terrible in very short oder.
-
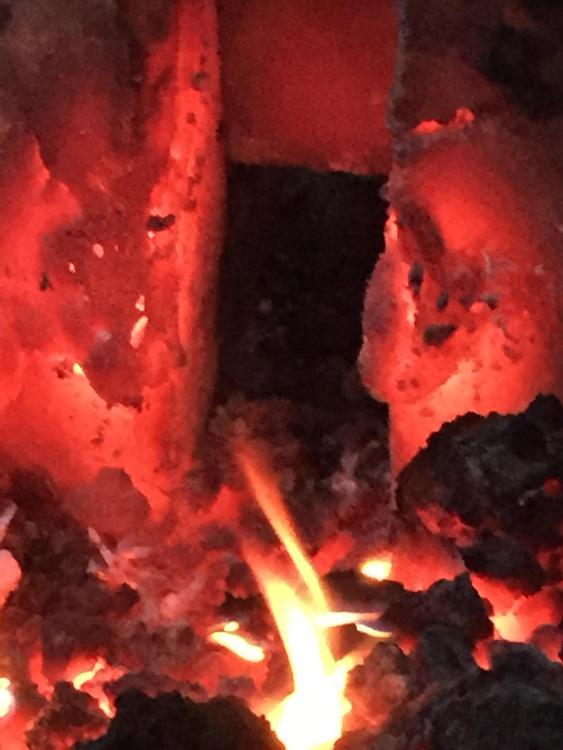
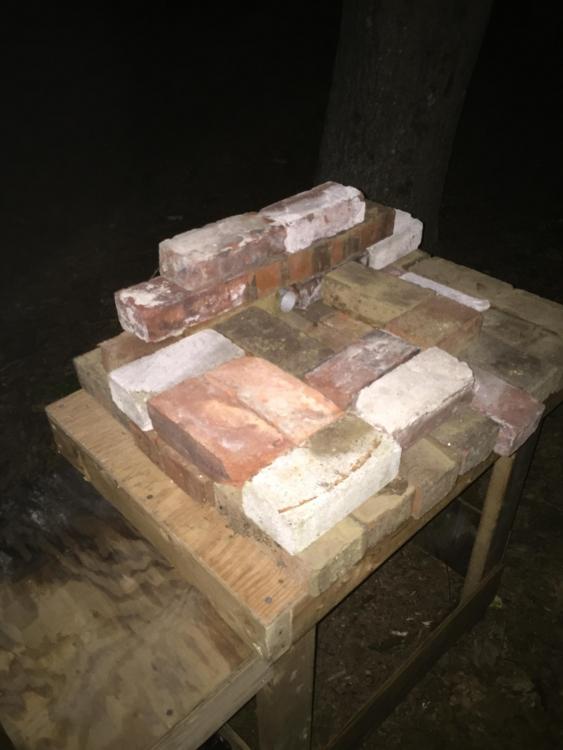
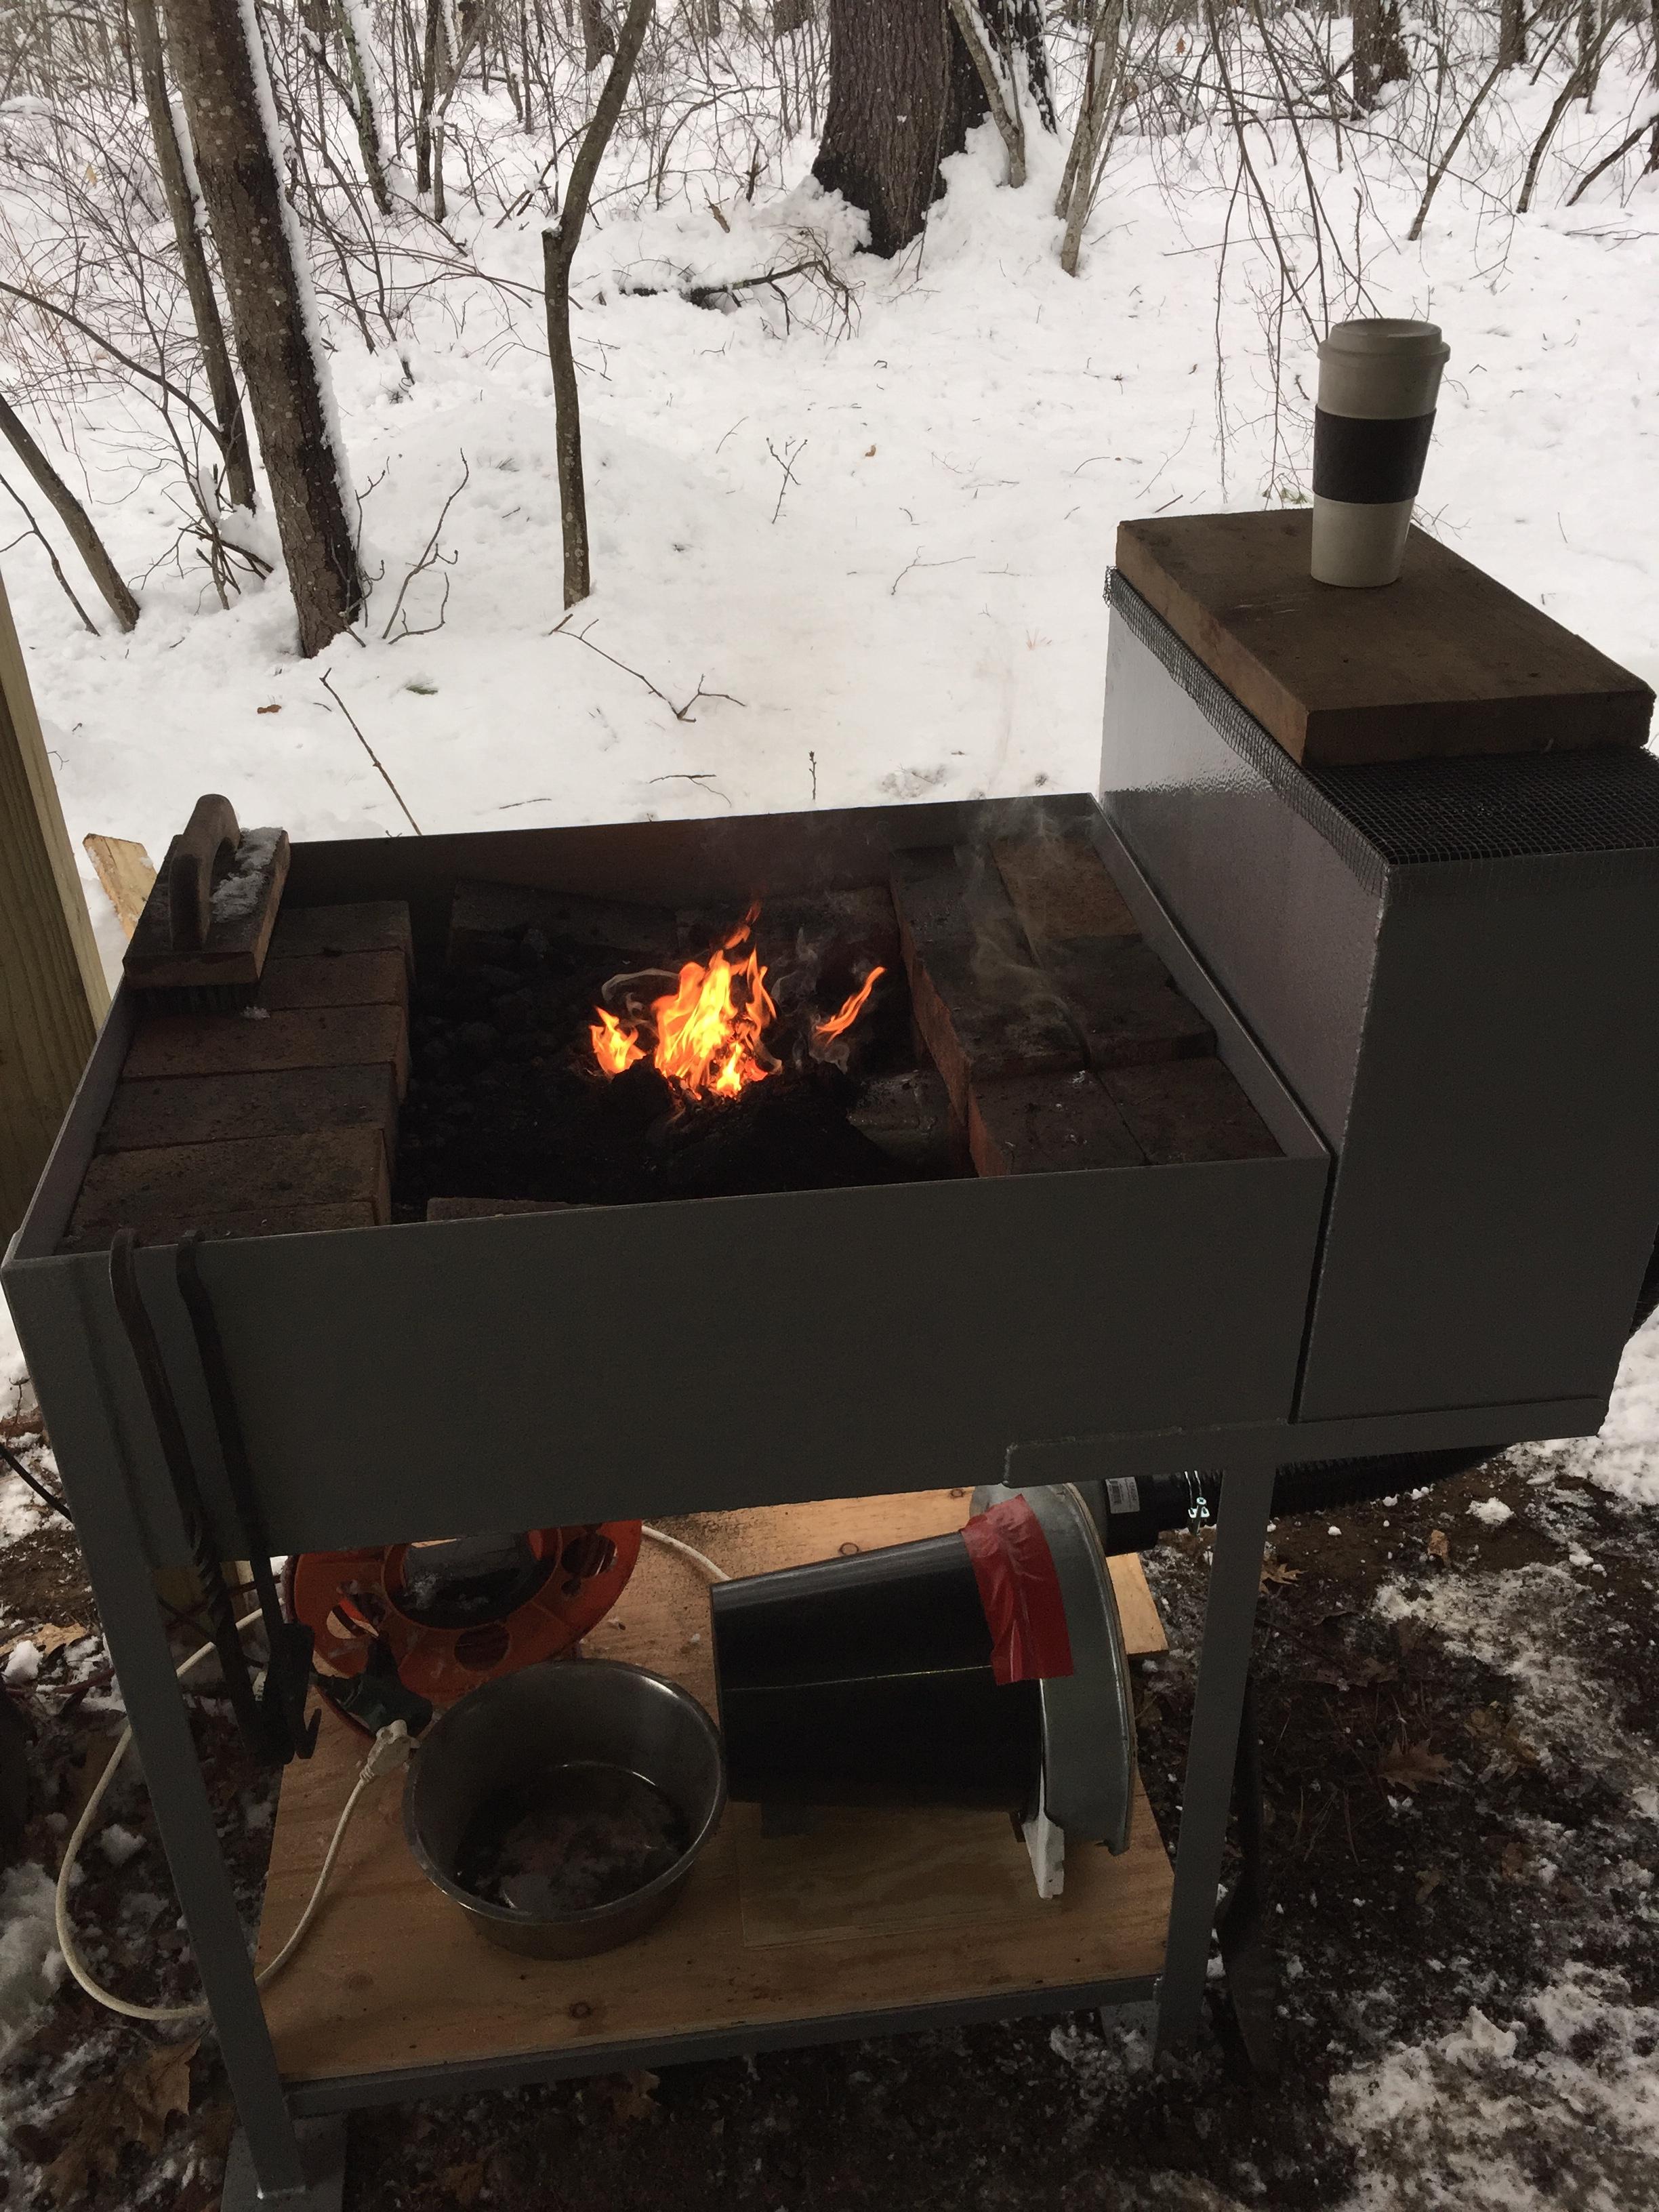
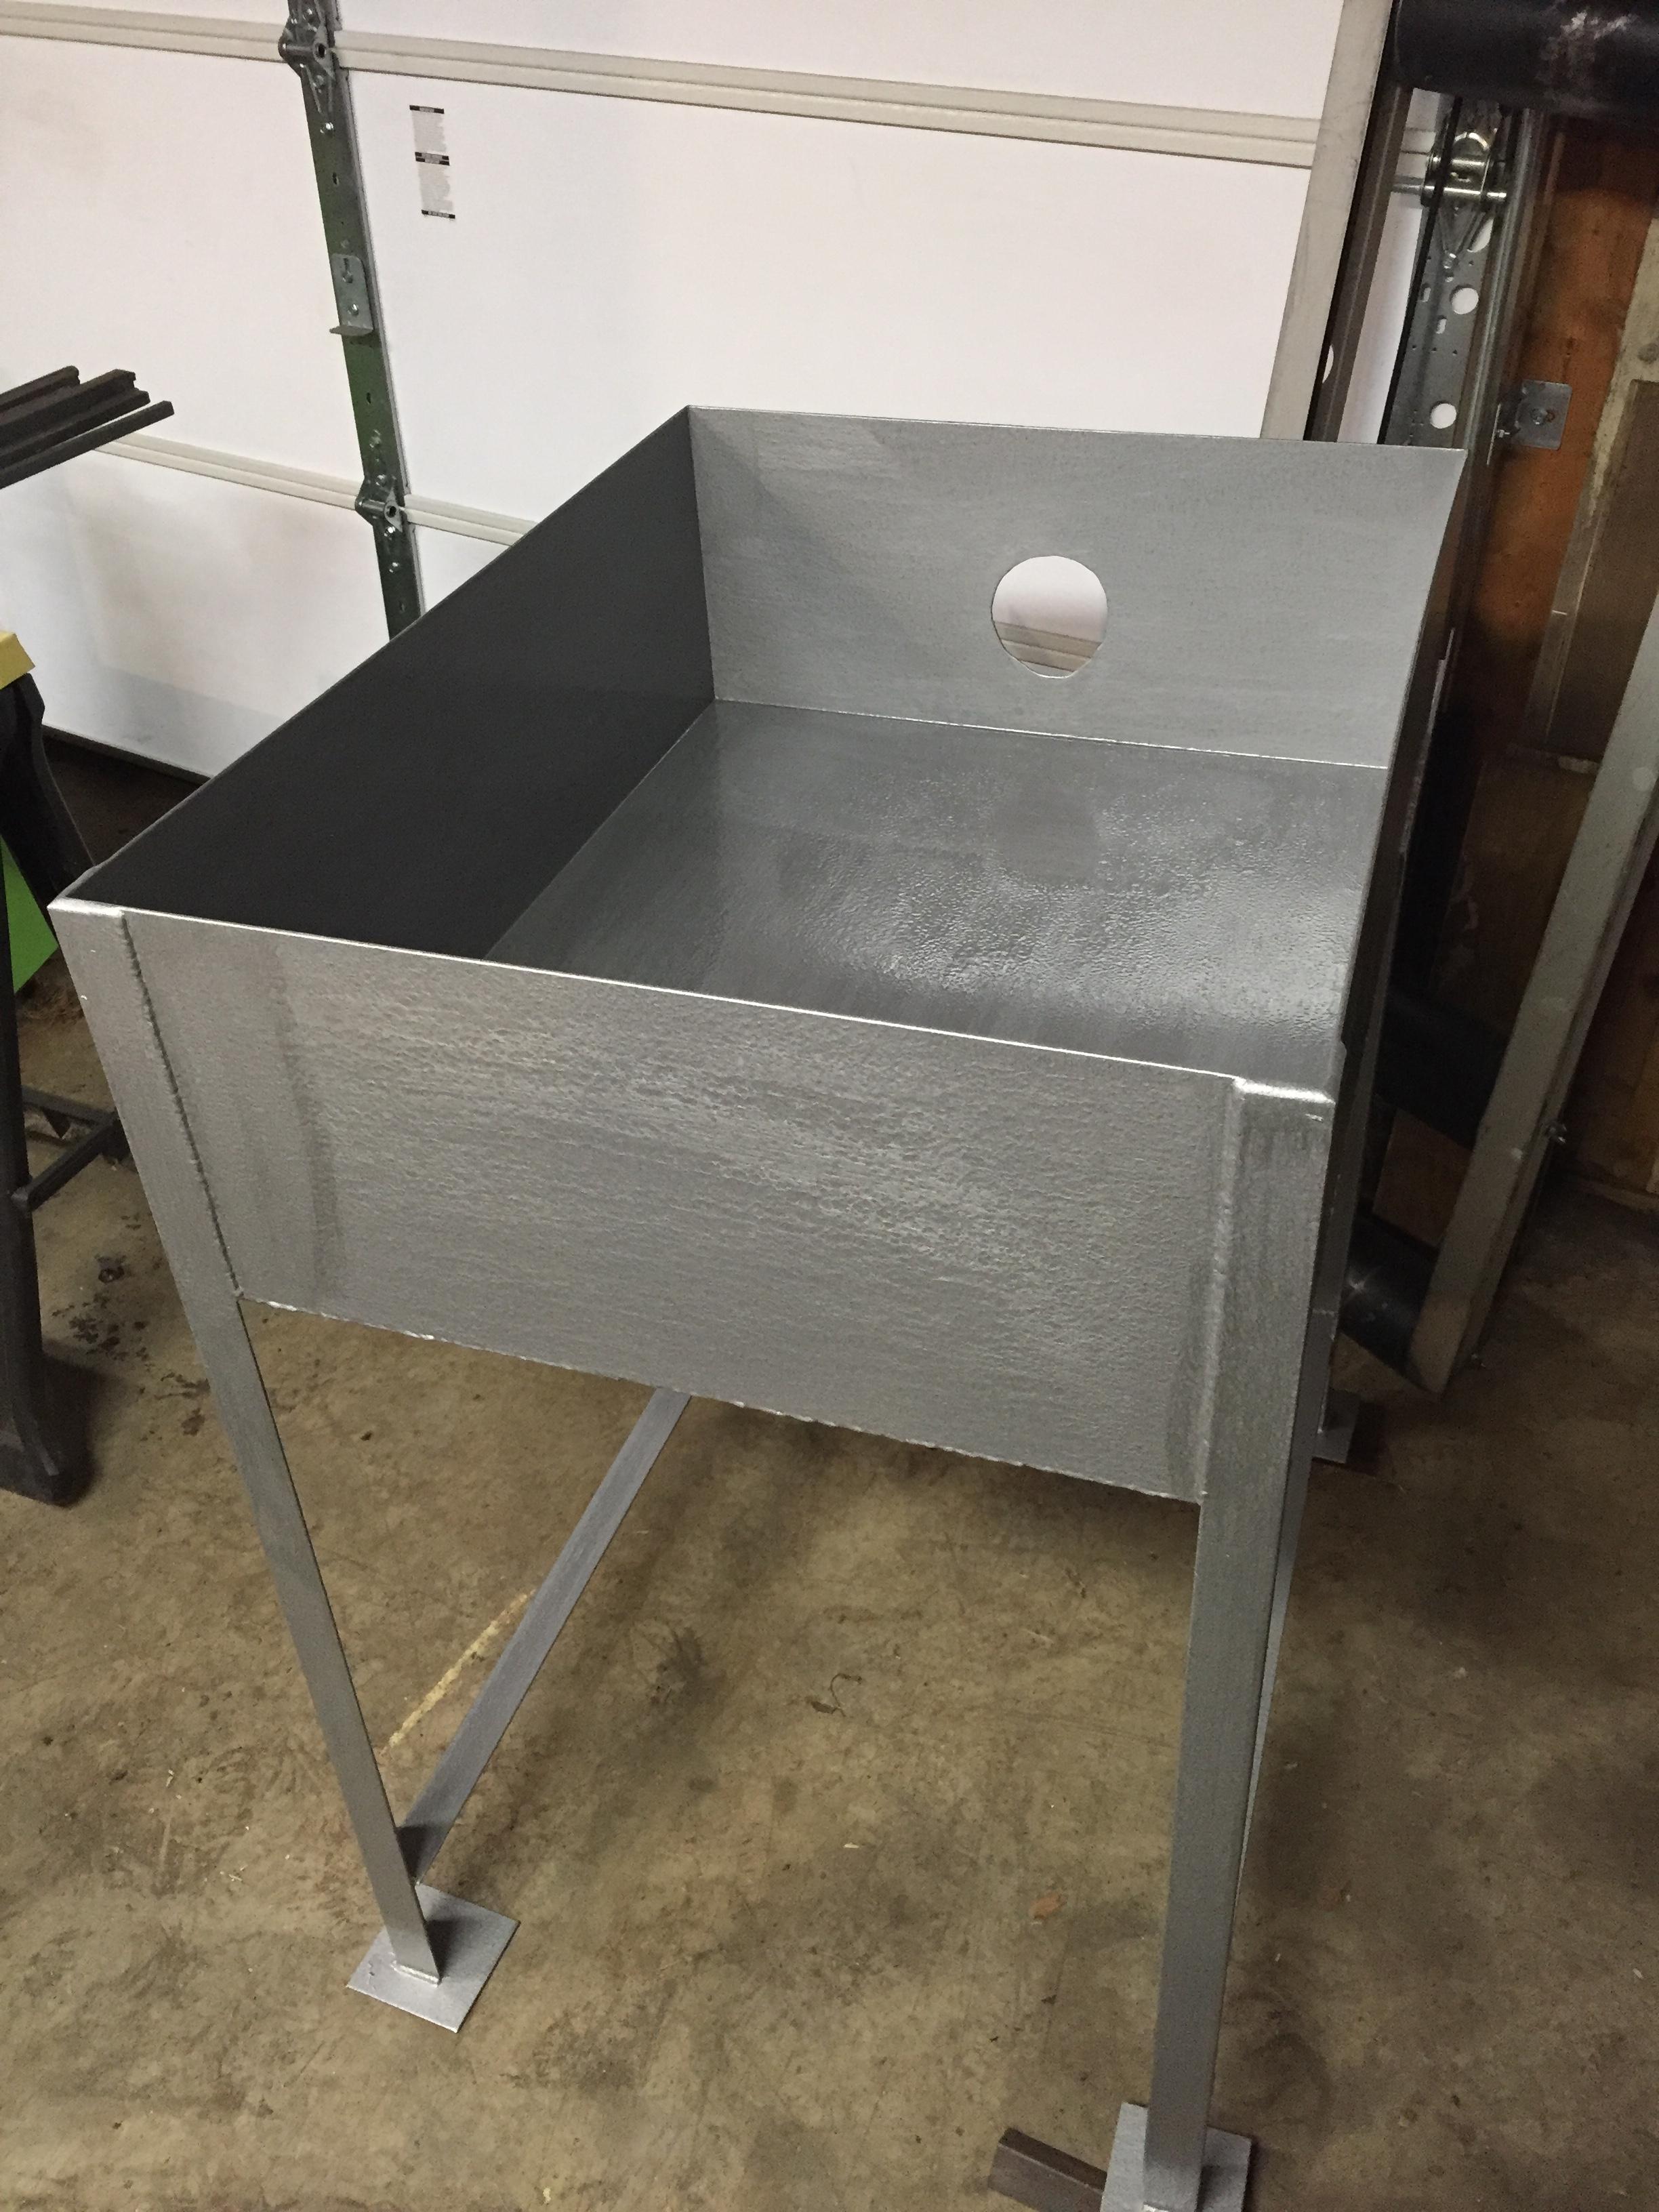
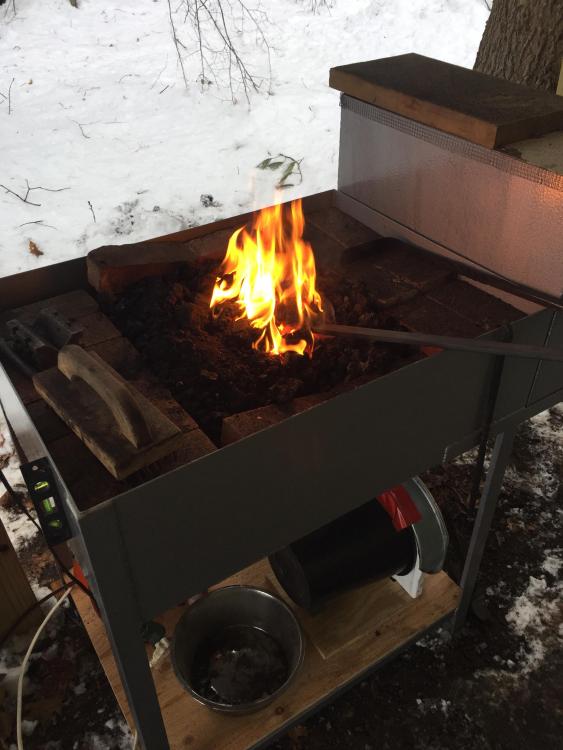
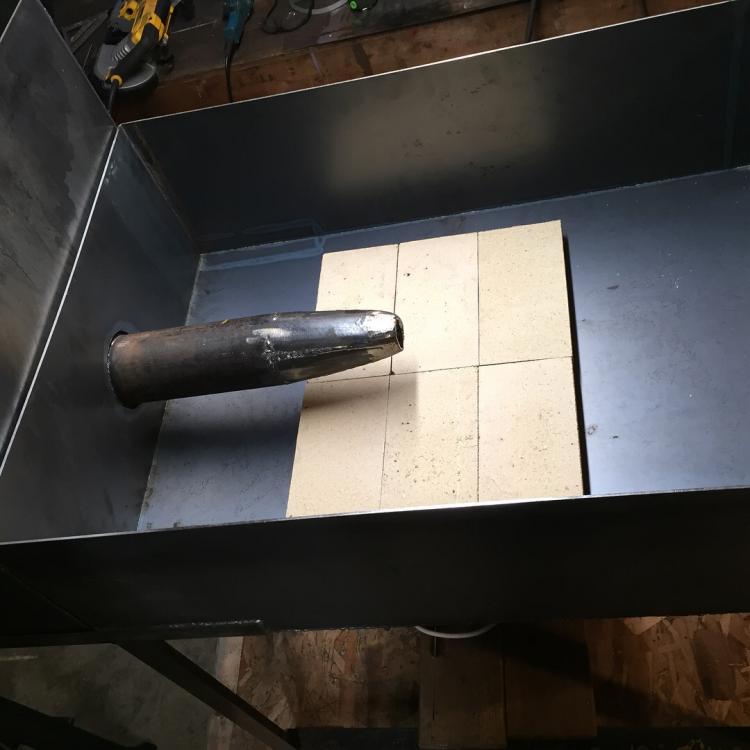
Thanks for the compliments and feedback; to answer a couple points and suggestions, I have fitted a nice sturdy (and heavy) lipped wooden cap for the bosh - I fitted it first with a mesh screen, which you can sorta see in the photos, but immediately saw all the fly ash sprinkling into the tank, so I decided a solid cover was in order. This may also help reduce evaporation of the water portion of the antifreeze. The fill in the pan is slowly becoming ash, and as it builds up, I am picking out the bricks. I just didnt have four or five cubic feet of coal ash to start off with, so the bricks made a handy filler - I have a pile of them around for various jobs. I haven't cut slots in the side yet for two reasons. One, I wasnt sure exactly where the heart of the fire would end up, and so didn't want to do it twice, and the second reason being that I wanted to keep the walls as solid as possible for when the lid (not pictured) goes on - it's not airtight, but it's close, and so smothers the coals very quickly. Additionally, I am now not so sure I really need the slots. In these photos, the fire (the very first lighting) is quite shallow, and so prone to burning steel. Since this photo, I've learned I can build a tight mounded fire with green coal banked and wetted on the sides that is very tall, probably 4" above the forge sidewall. This means that at least for smaller long stock, I can put the bar straight across and have it in a pretty good place in the fire. I'll still eventually cut slots in the side. Just haven't gotten to it yet. I am waiting for it to be warm enough outside to do the touch up painting where I cut.
-
This is all good advice, thank you. Glenn, I do build a sizable wood kindling fire, and add in only coke from the last fire until I have a good heart, but some days end up with more smoke than I think desirable. I'm sure as time goes on and I gain experience, I will learn to mitigate the smoke. I did ask the folks at NEB, everyone here uses coal, primarily from Aubochon, as noted by Pat. So far, they are reliable, but I worry, as there is only one locally that carries coal, and aside from them, there isn't anyone else. Single-point failures always leave me unsettled. I'm just spending a small amount of time investigating alternatives before they might be needed. That said, the question still stands; if anyone reading this has ever seen coke being used in the New England region, I'd be happy to know about it.
-
Thanks for the comments and compliments all, this forge has been officially retired. It worked after a fashion, but the dry pipe tuyere burned back too fast for my liking, and the table was ultimately too small to work comforatbly on without having the fire and green coal drifting off the edges. See below link for the new toy.
-
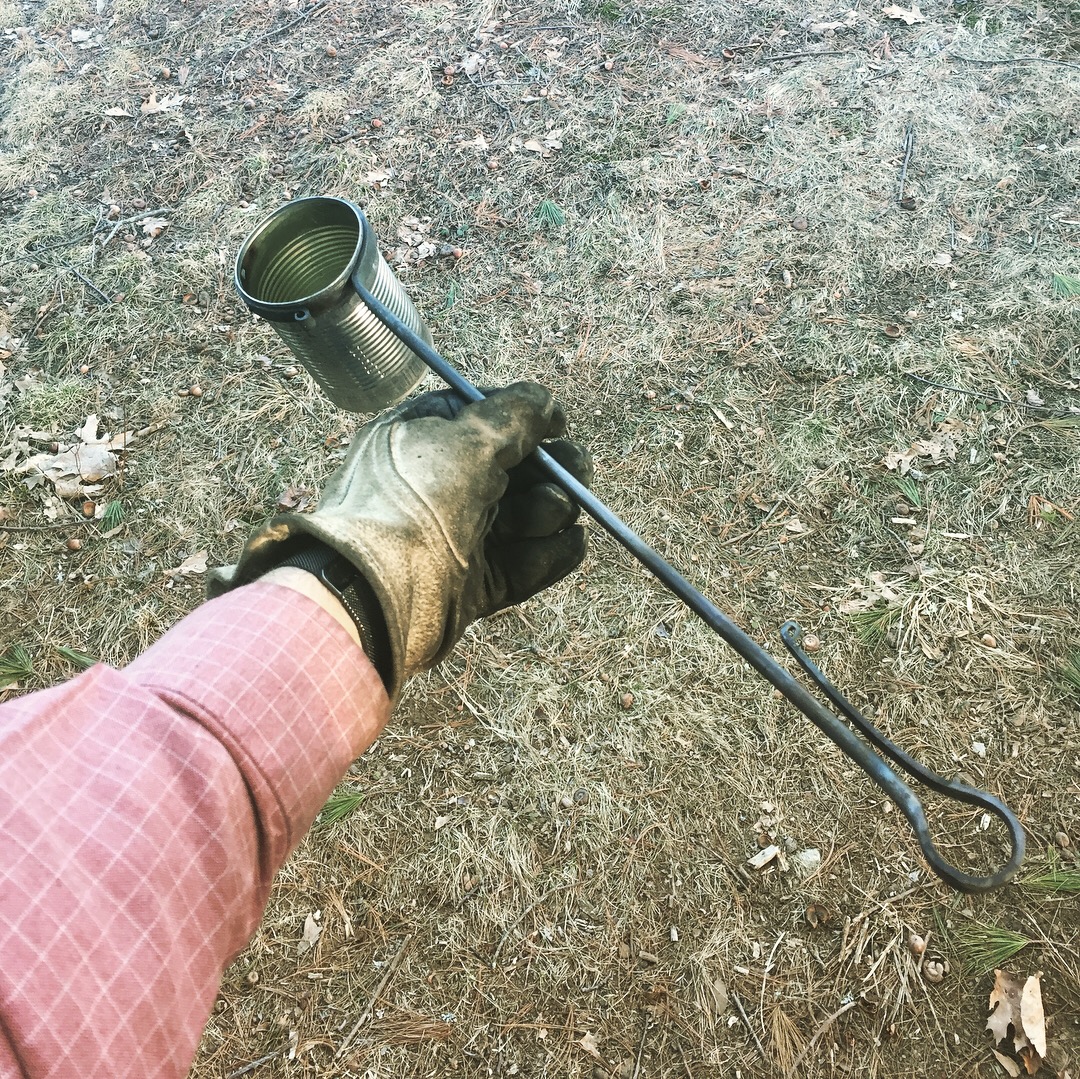
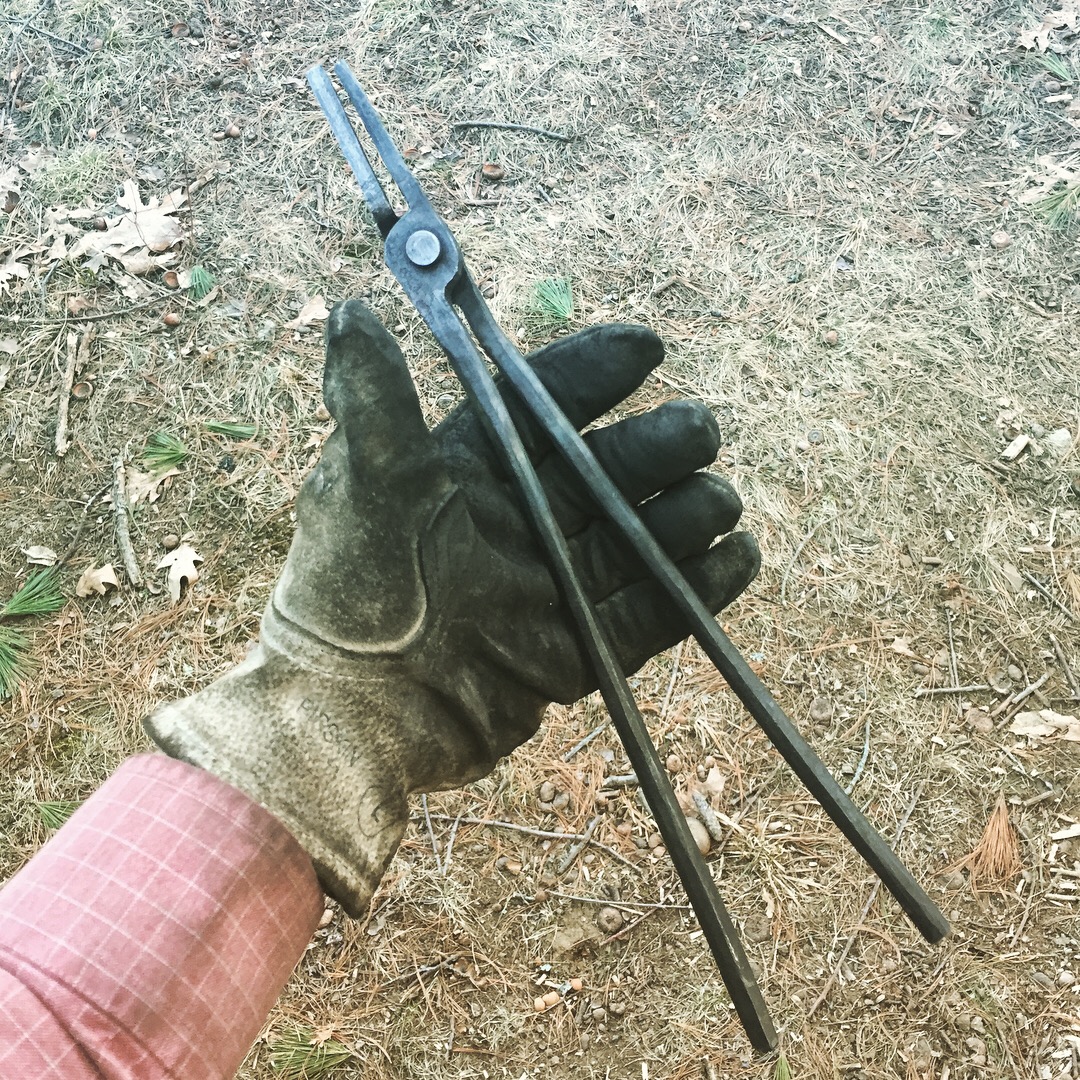
Here's a little thing I banged out the other day; a real necessity for selective quenching of stock, or watering your coal in the fire; previously I had been muddling along with just a soup can, but a couple of decent steam burns showed me the error of my ways. This keeps my hands out of the way of the steam puff, and also keeps my gloves dry, both nice things. It hangs right by my fire shovel, pick, and slice on the edge of the forge. The soup can just snaps in, so when it wears or rusts out, I'll just pop in another one.

-
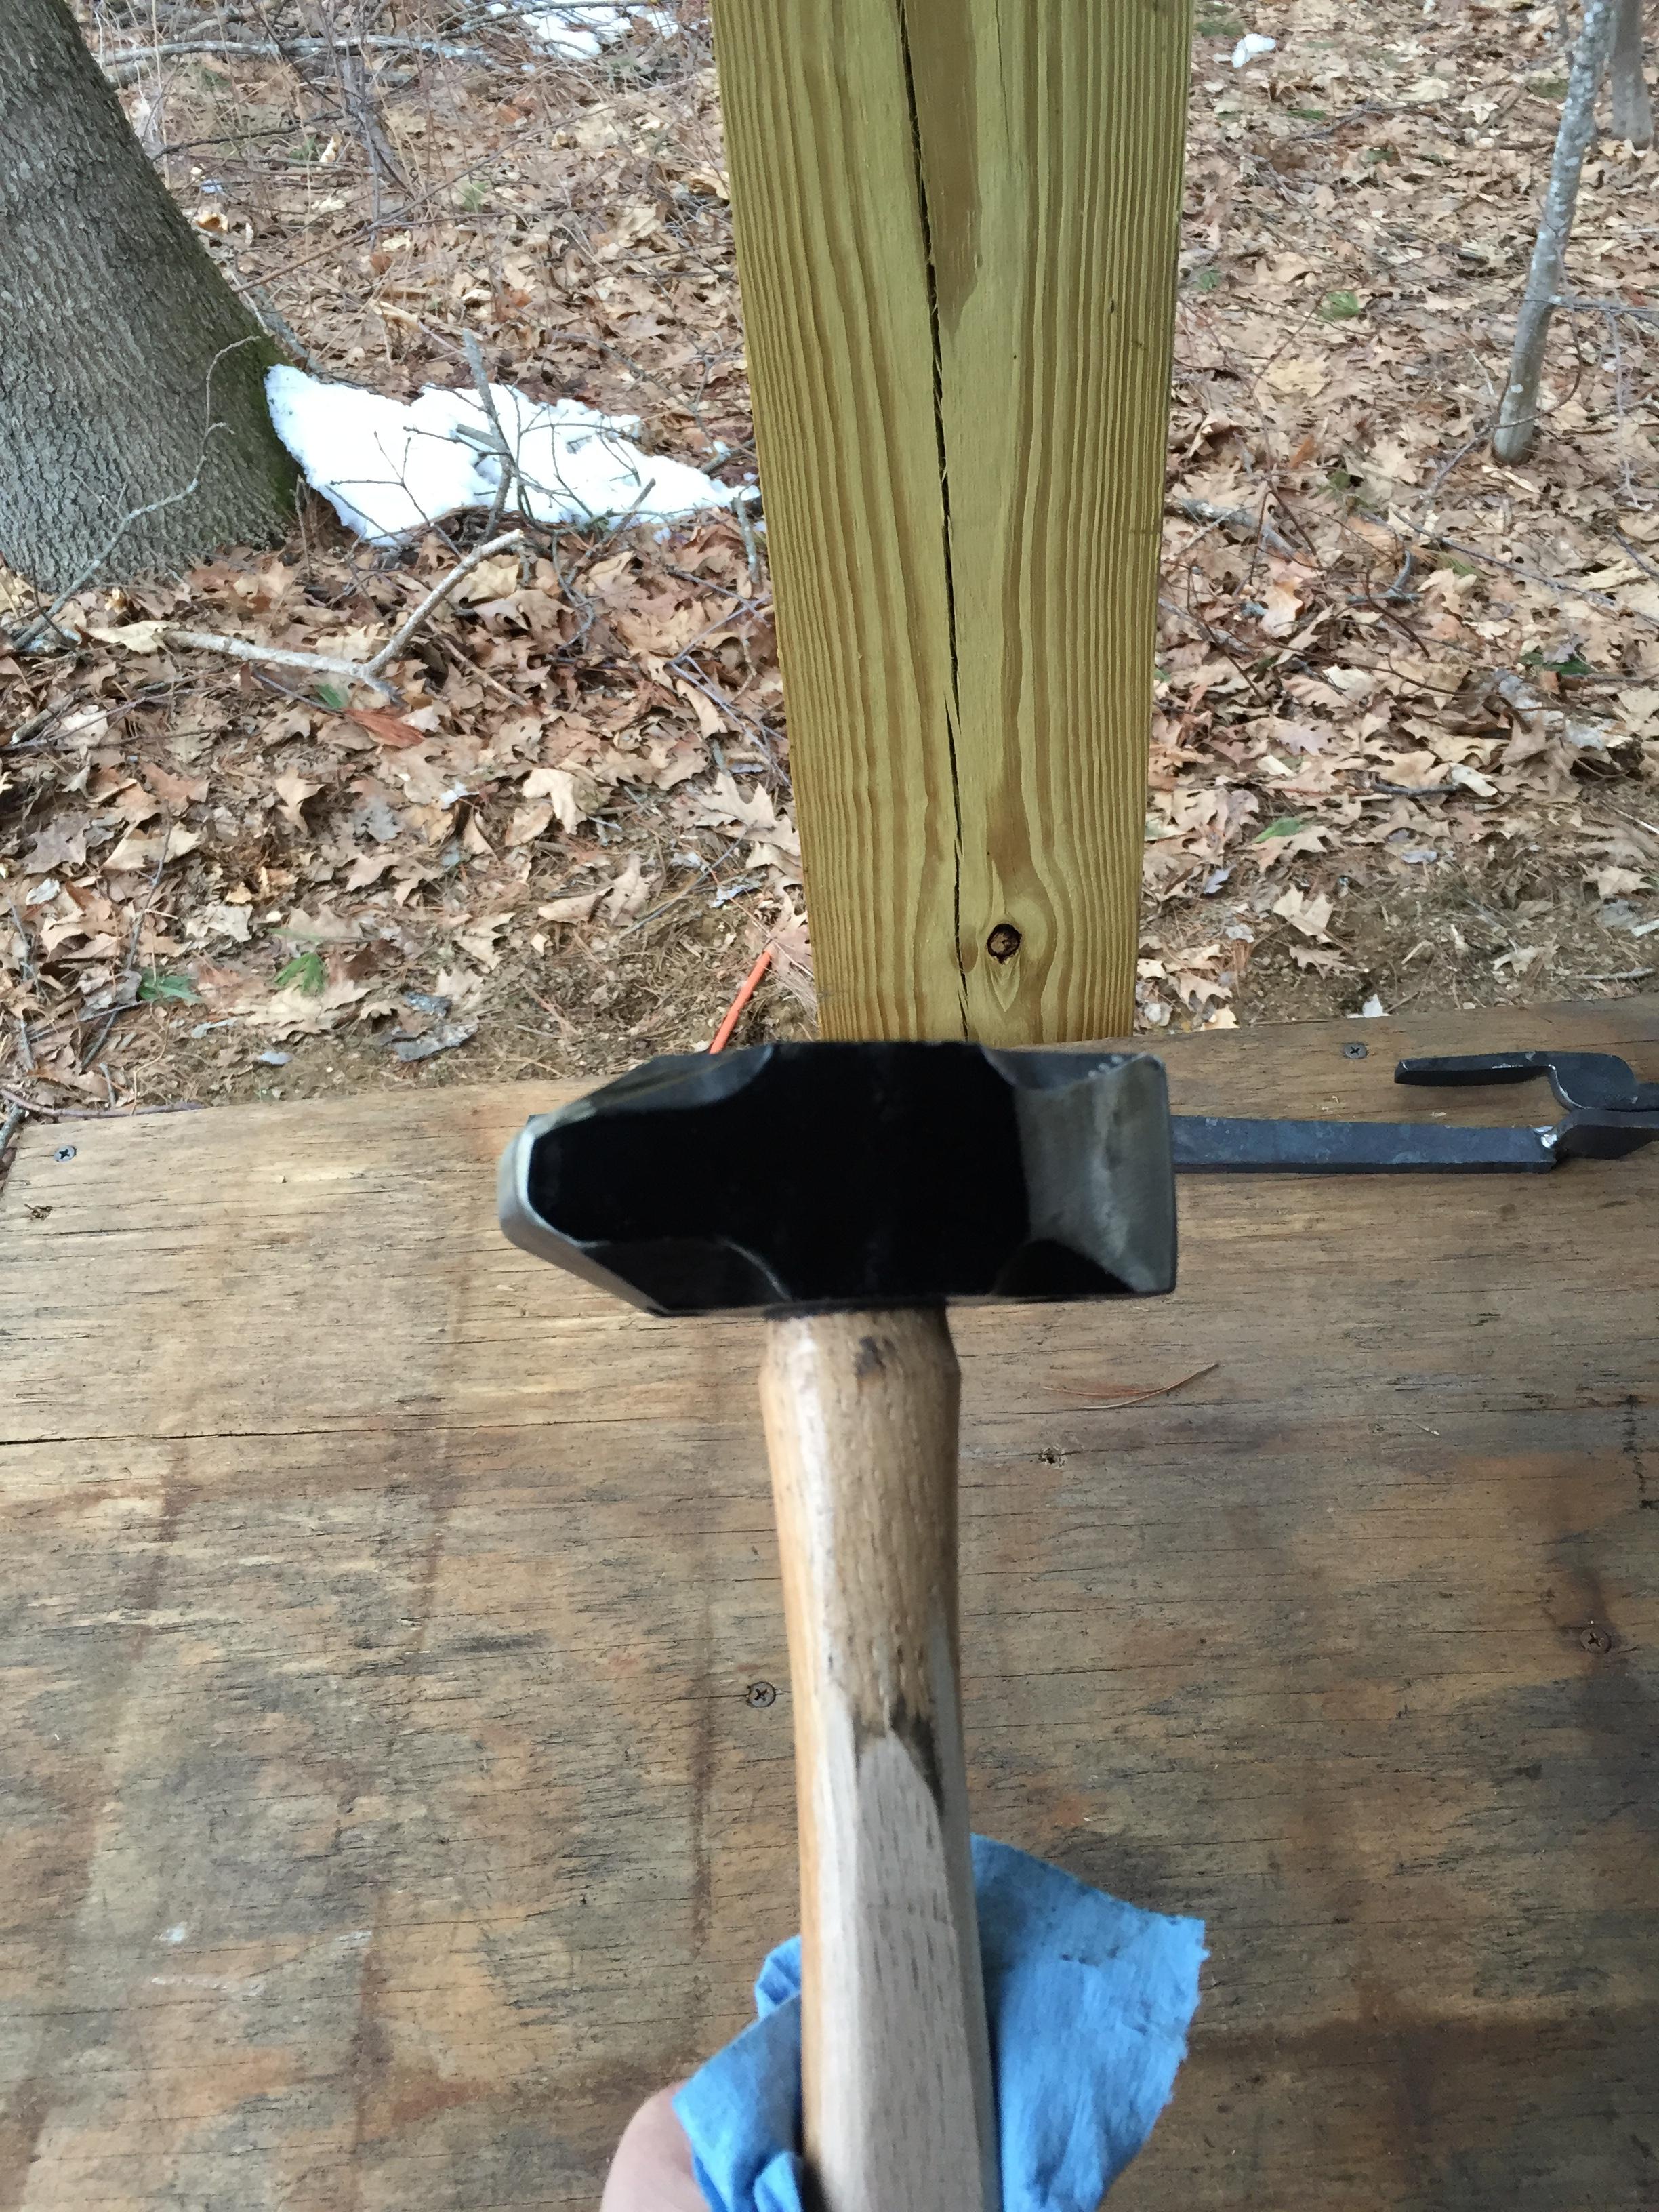
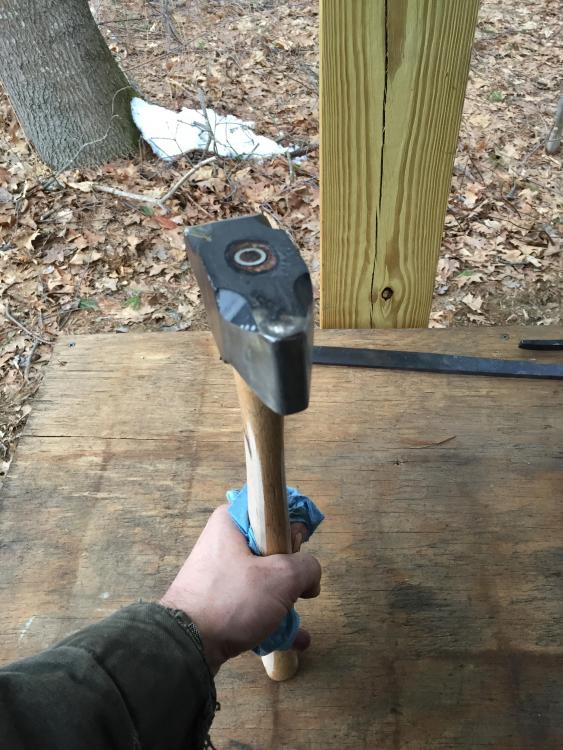
I hadn't seen this post before, but have just finished doing the same thing as you folks. I picked up a 3# Harbor Freight hammer, and with a couple of cutoff discs and a flap wheel, got myself a pretty reasonable double peen hammer for a little less than ten bucks. It's not a Bailey hammer, but for the time being, it's quite good enough for me. I found thinning the handle also made a difference in the grip, and the accuracy of my hammering; something about indexing in the hand, I suppose. I am thinking of doing this again, but with a 2# hammer, to get something a little lighter. This is a bit over 2.5# now, I believe.

-
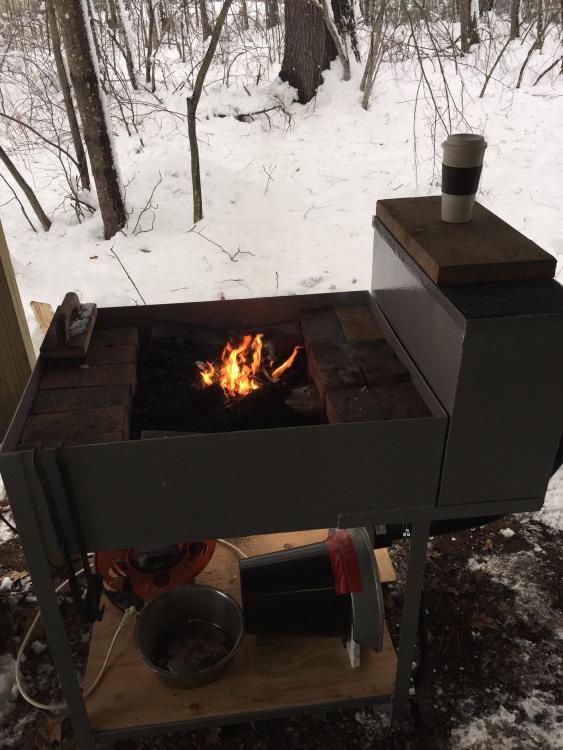
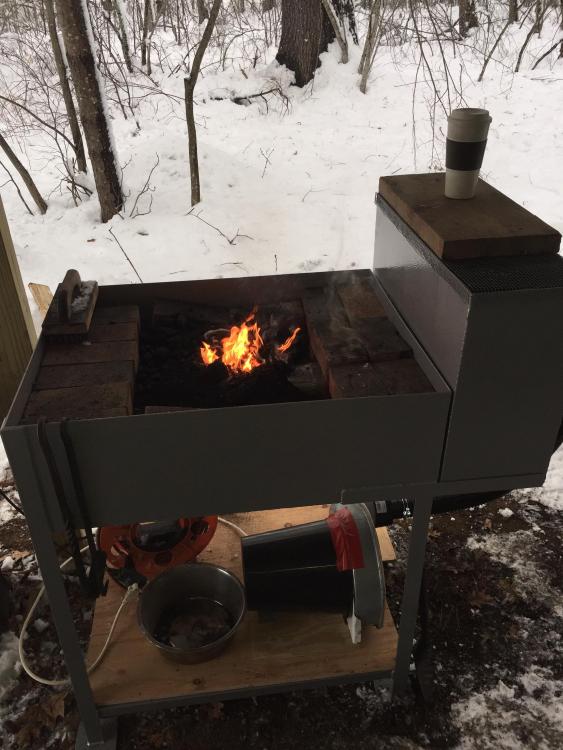
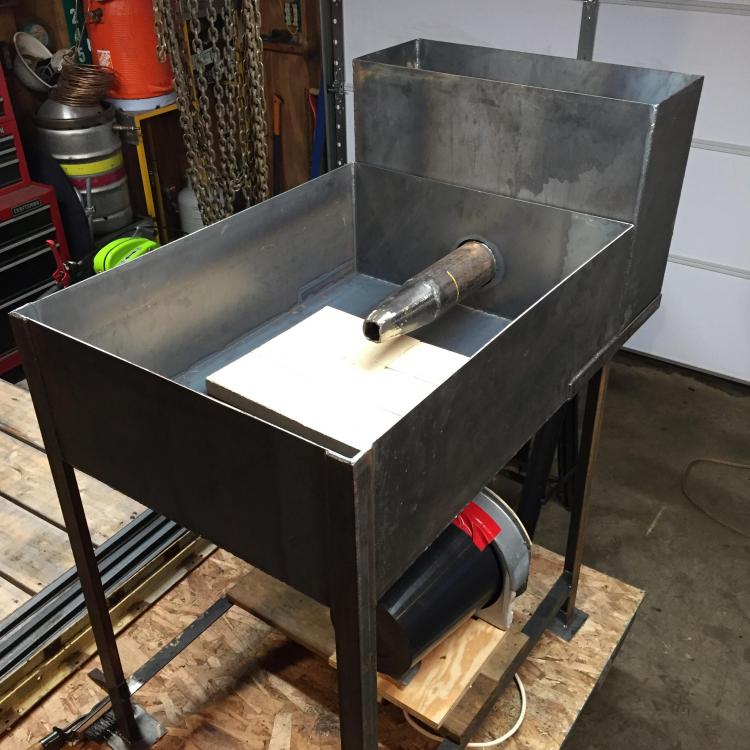
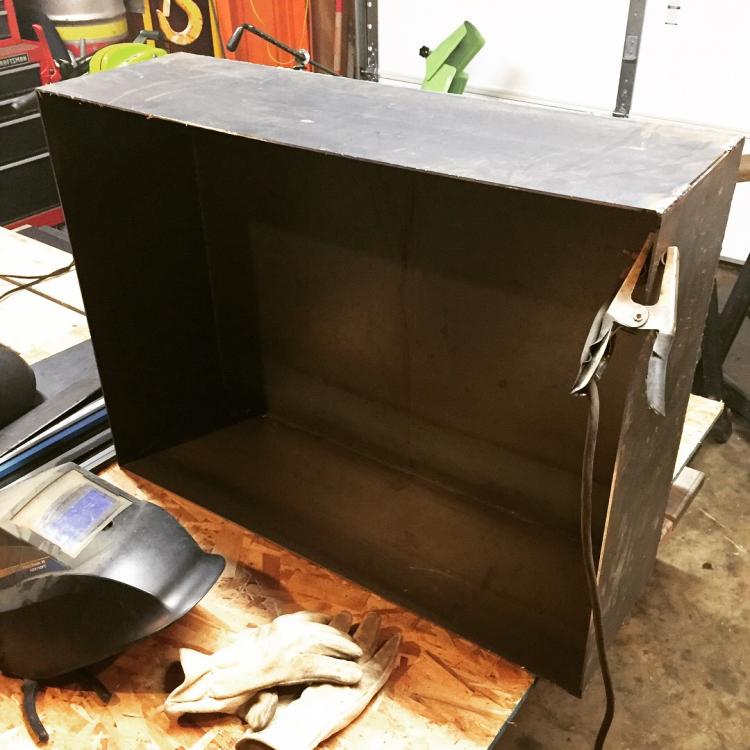
Time for an update; this forge is fantastic, and everything I hoped it was going to be. I'm learning to control the fire size using water, and how to build a very deep fire with green coal banked around the sides. The top of the fire will be three or four inches above the level of the table, for a fire depth approaching 8 inches. Because of this, I am very far from the tuyere, and consequently, my work is not so prone to burning as in a shallow fire where you are very close to the oxidizing zone. All I do is shove sideways on the green coal, and it pushes coke into the fire, and green coal into the coking zone. The dryer fan has plenty of ooomph, and for ordinary work (less than 1") I don't need to open the blast gate more than 1/8 open. Full open will throw the fire fleas against the tin ceiling. I got the blast gate at Woodcraft; it is for woodworking dust collection, and the hose and adapter too. At the time of these photos, I was using bricks to take up volume in the table, but I've found that with enough wetting of the coal, I can take them out and just leave green coal all over the table. When I'm done for the day, I made up a 16GA cover for the table. I rake out the fire, let it cool a little bit, and then slam the lid on, which snuffs the fire pretty well, and keeps the coke bone dry for next time. All the water I use on the green coal seems to evaporate from the leftover heat between uses. The tuyere cooling tank is only about half full of automotive antifreeze (50:50) and gets warm but not simmering in use. Come summer I will likely add more antifreeze. I've made a wooden cover for it to keep the fly ash out. So far, no detectable wear on the tuyere tip in five or six hours of running. I used antifreeze so I would have a year-round forge. As you can see, it gets nippy here in Maine.

-
I am looking for metallurgical coke in the New England area. Some googling hasn't turned up much, and I am also not aware of any large smelting or steel refining in this area that I could try to contact. Short of driving to PA or OH, has anyone ever run across coke in this corner of the country? I am looking for coke to try as an alternative to soft coal, which is also somewhat difficult to get. My rationale is that coke will produce less startup smoke and fume, and so would make this hobby easier on those within nose range of the forge, particularly on startup. Yes, I do start the forge with the leftover coke from last session, and yes, it still smokes profusely for ten minutes or so.
-
That's actually a pretty good idea. I guess the only issue would be sourcing a ceramic tube, and potentially worrying about whacking it with the poker and cracking it. How is the ceramic tuyere holding up in your forge?
-
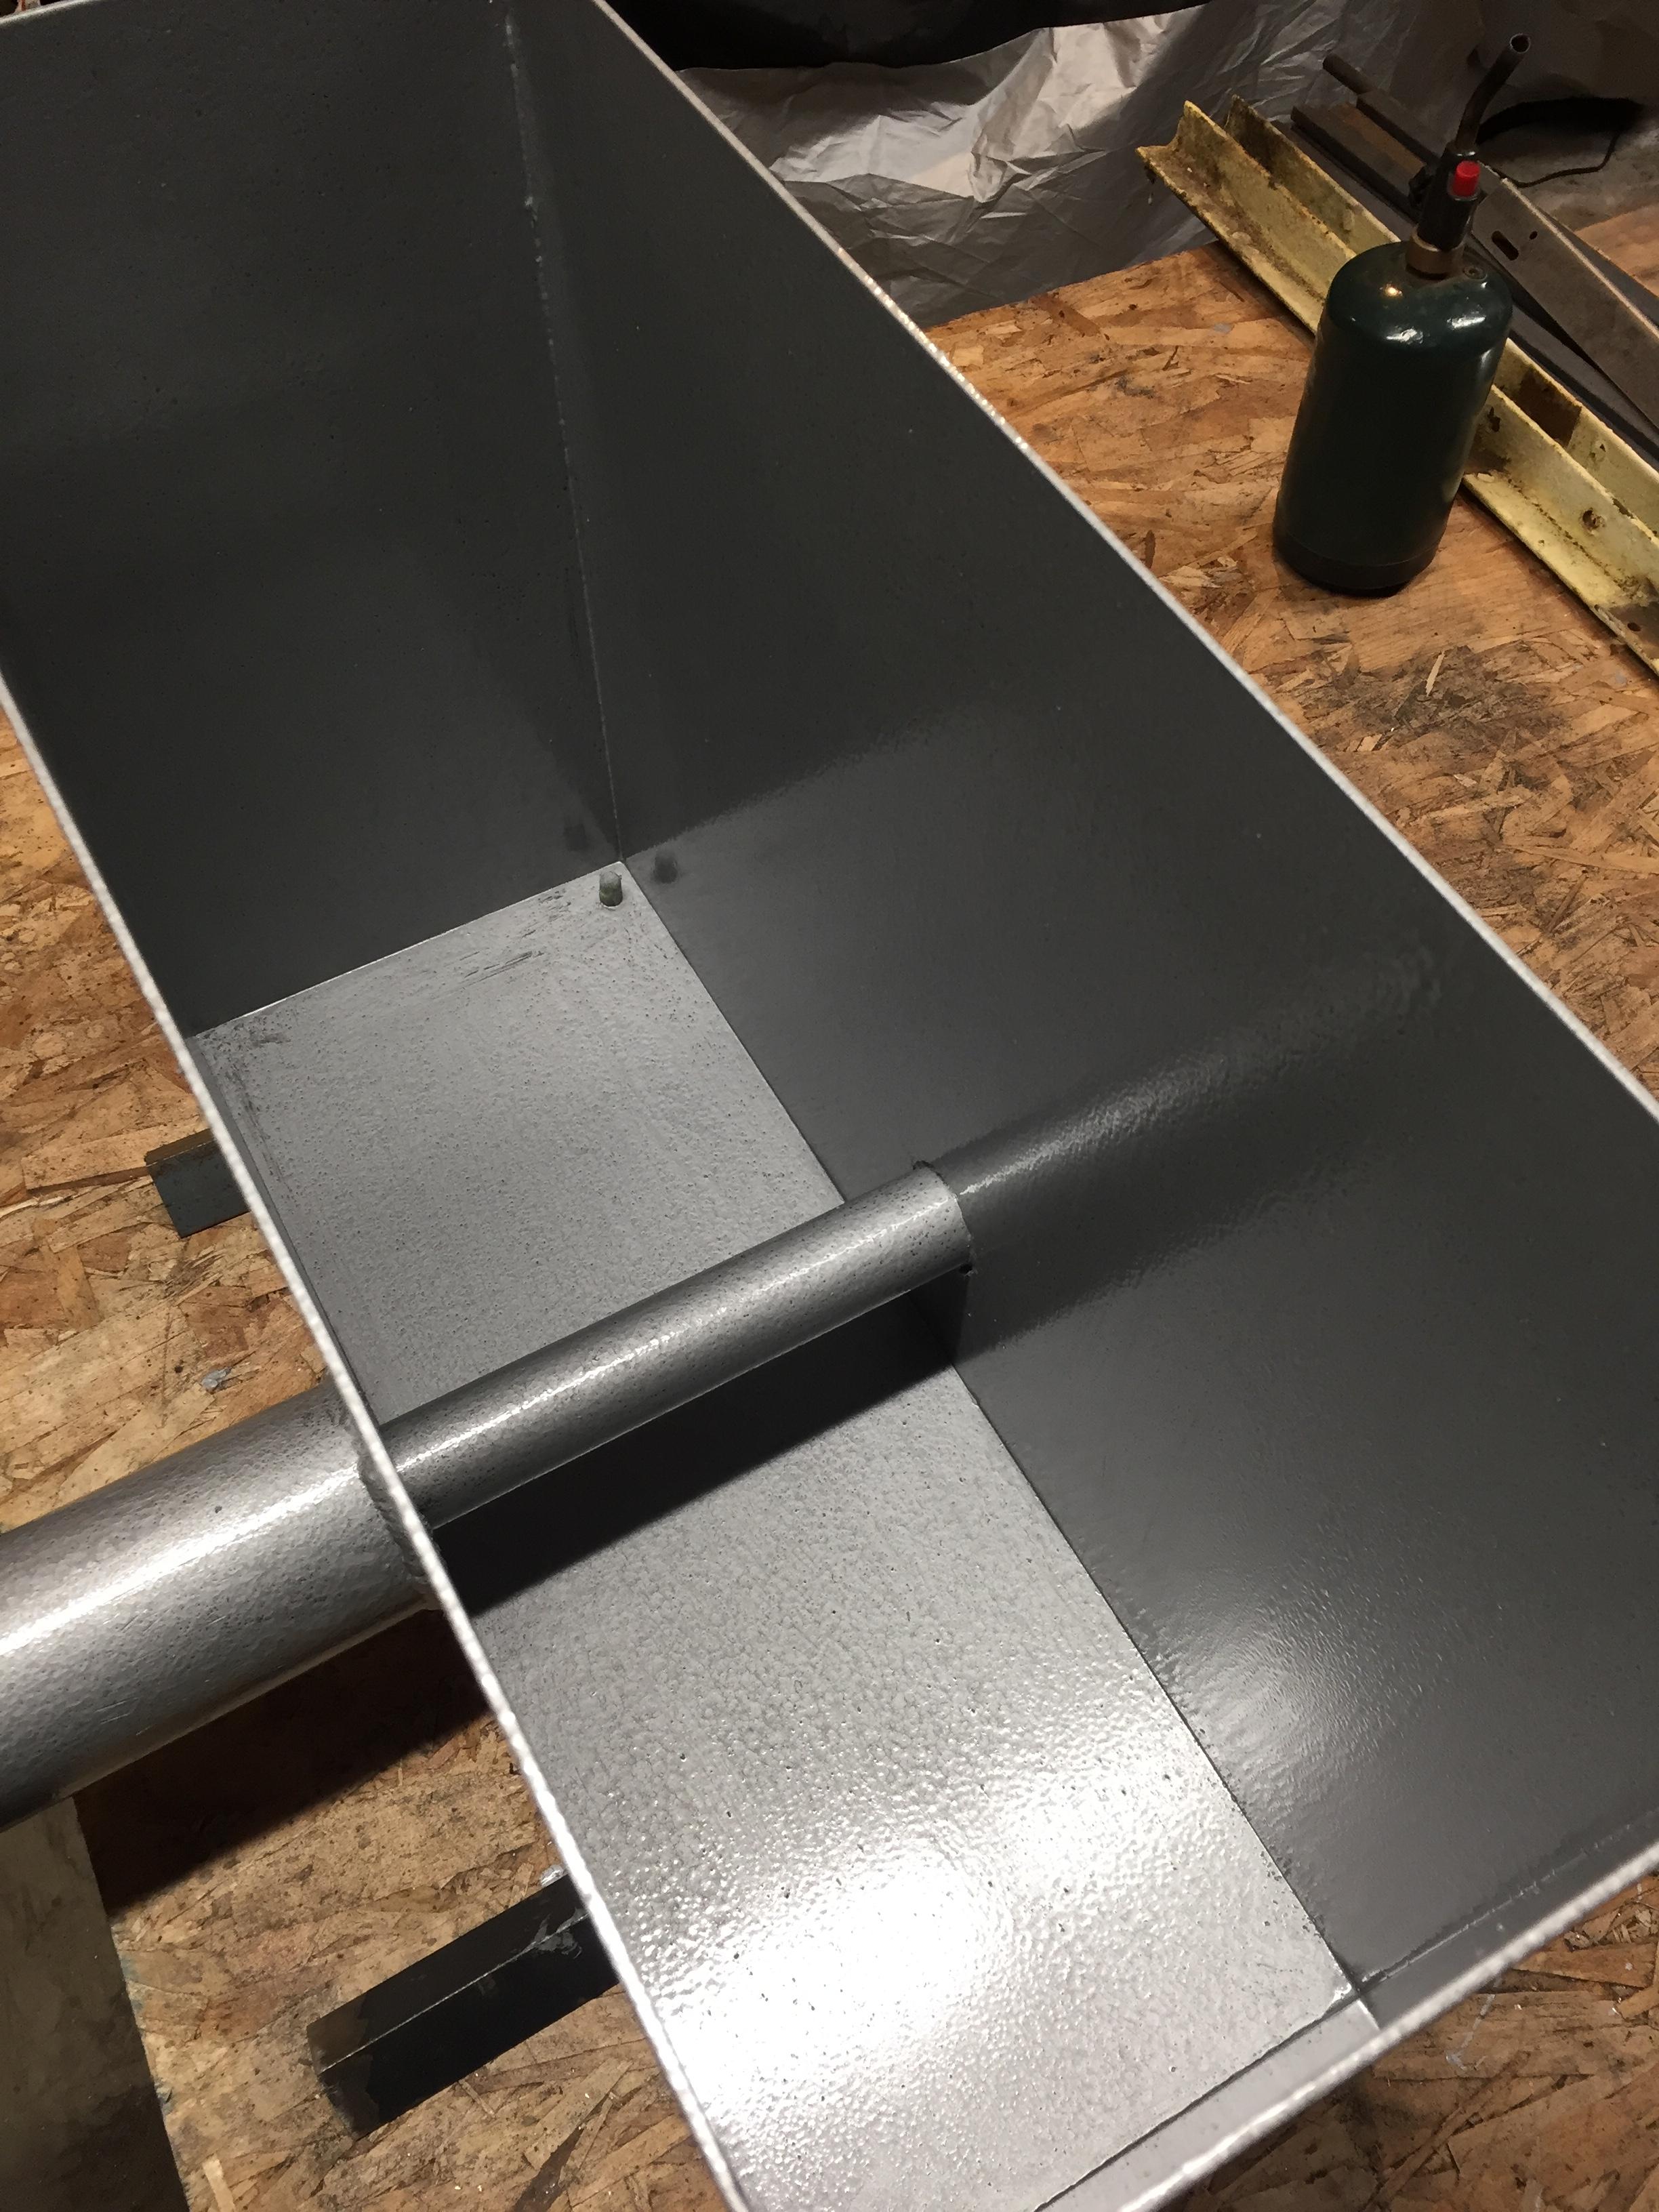
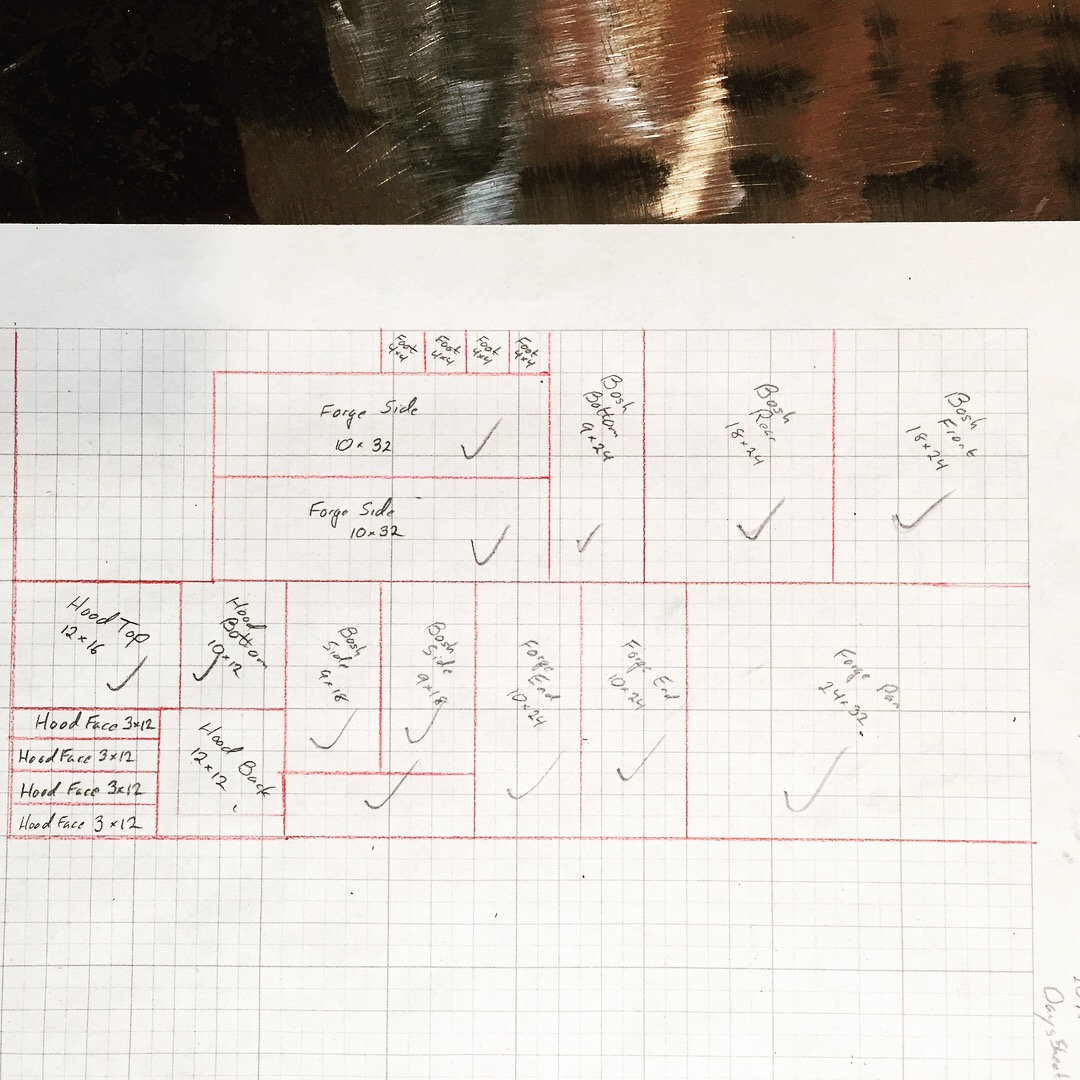
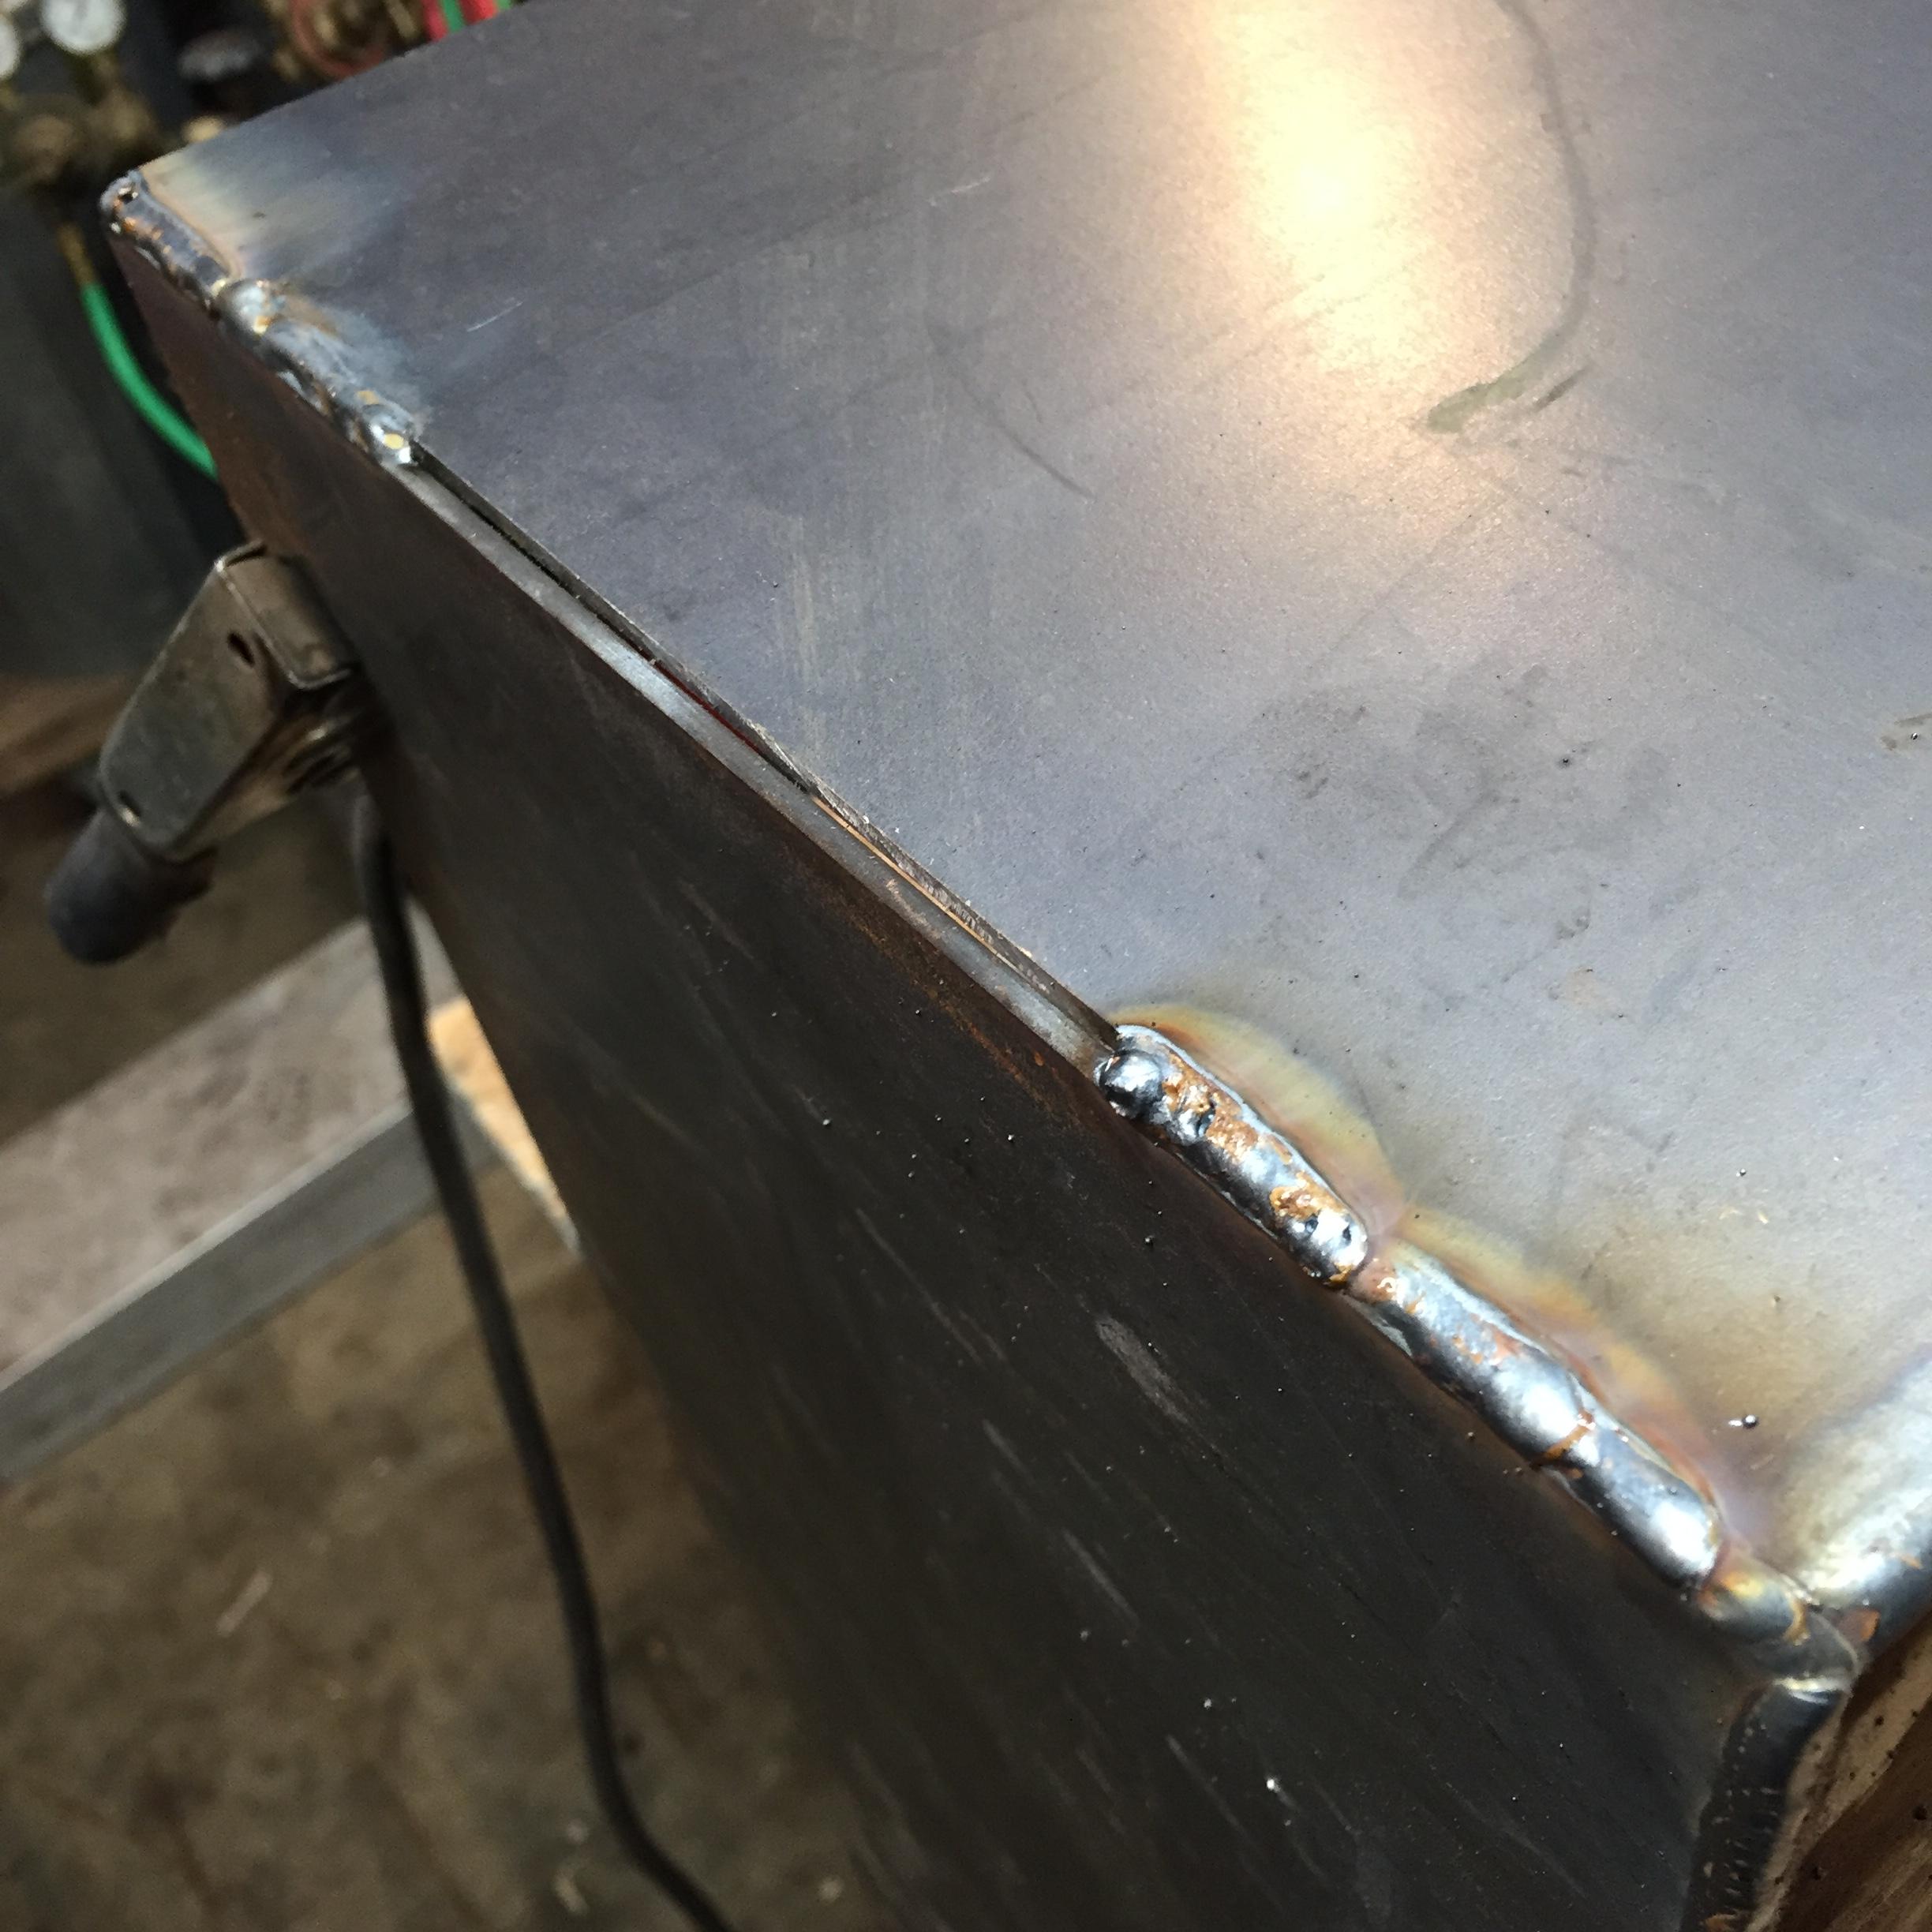
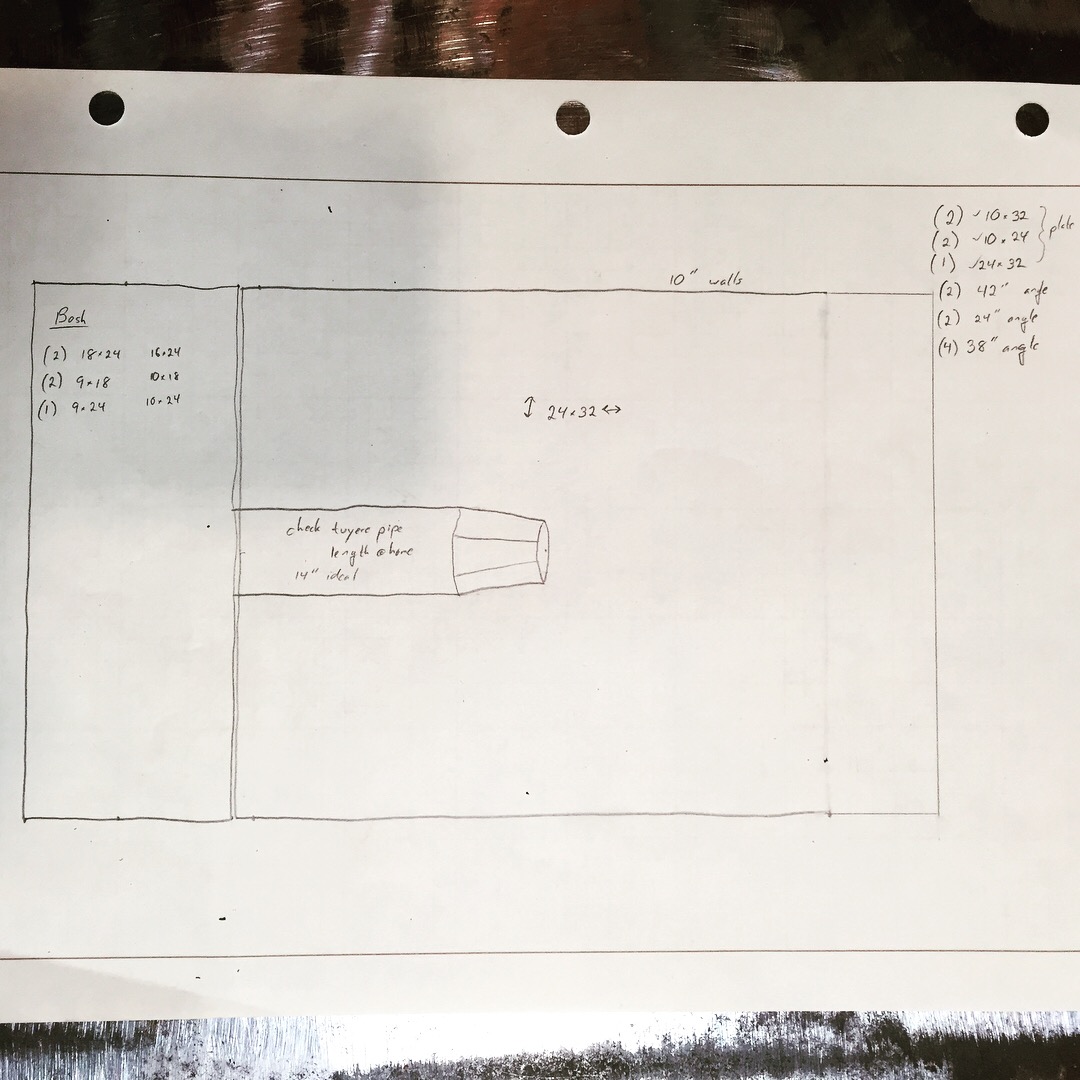
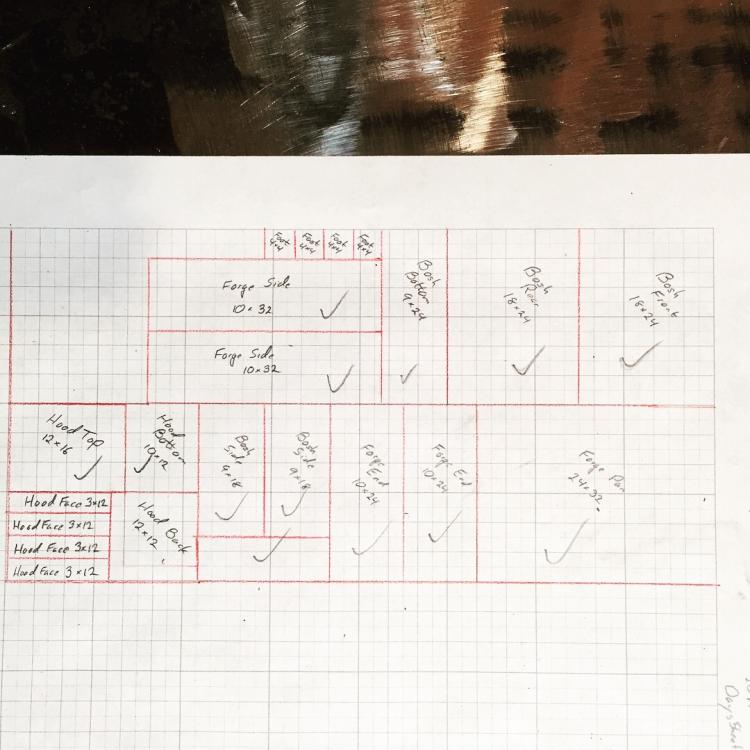
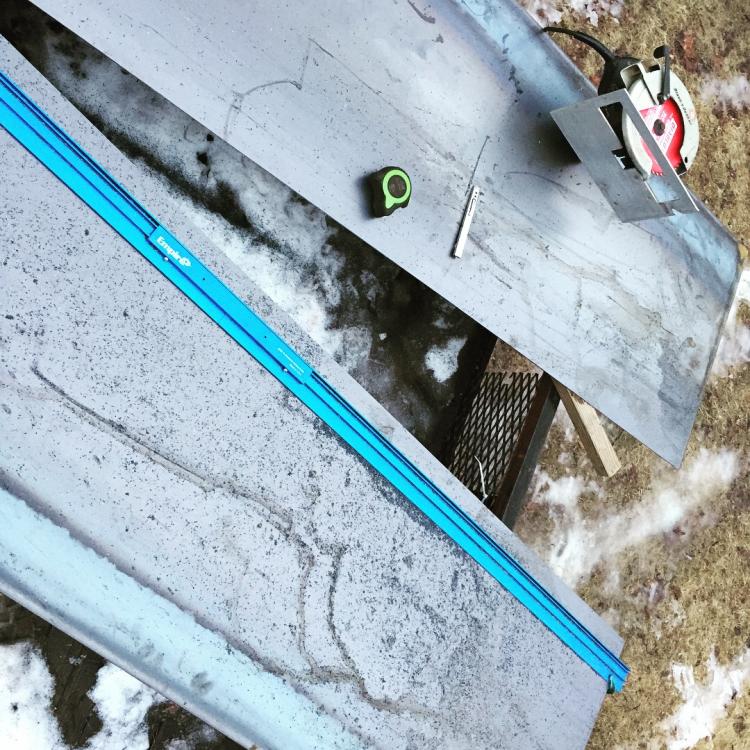
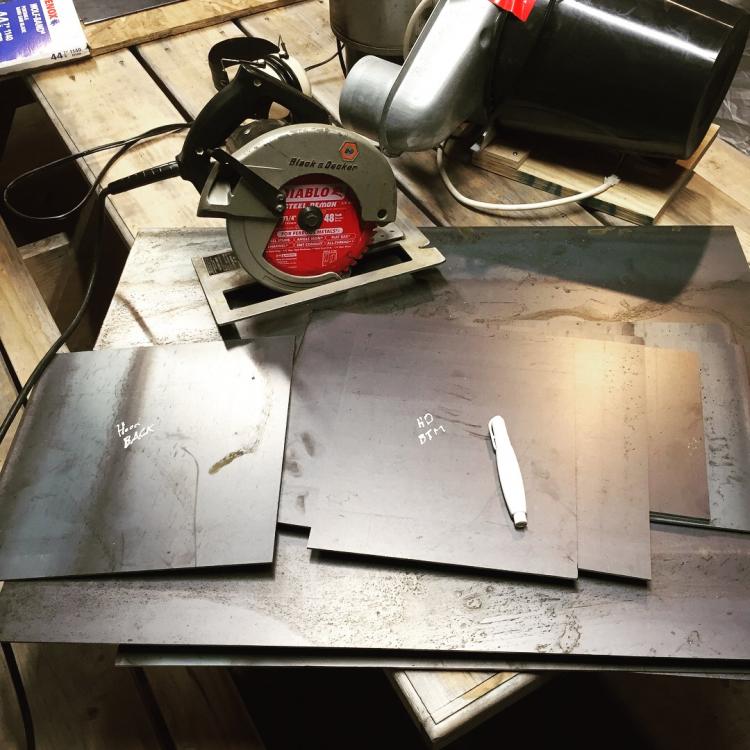
Almost done with an Aspery style sideblast forge; have a handful of remaining unknowns: 1: I've got a hacked-up clothes dryer fan for an air source, it produces somewhere around 1.5 - 2 water inches of pressure; I have no idea if that will be enough. The tuyere center is 1-1/4" black iron pipe sleeved in heavy wall 4"pipe. I'm going to feed the air via a 2-1/2" blast gate and same size corrugated dust collection hose. I guess I will find out, and upgrade if necessary. 2: I don't know what to fill the forge pan with. I plan to lay brick in the bottom just because I have a bunch, and it is easier to deal with than sand or dirt, but on top of that, I don't know whether to use sand, soil, wood ash, coal ash, or if I can get away with just dumping fuel in like it appears they do in England. I think they use coke, though, which may make a significant difference in not having runaway fires. Opinions are welcome on this. 3: I will need to cut side reliefs in the tub wall for a pass-through, but I decided not to do it up front, because I don't know where exactly the heart of the fire will be, and I'd hate to do it twice. I live in Maine, so I will fill the tuyere tank with plain old green antifreeze so I don't have to worry about freezing. Both tank and forge pan will eventually get sheet metal storage covers to keep wind-driven rain out (I forge in a lean-to, no walls) Currently, my pile of bricks forge has no chimney at all, and so I'm going to do a little futzing with smoke guidance; not sure if a side-draft or a hood will work best for me. I'm loath to cut a hole in the tin roof, and then I would have to figure out how to keep rain out of the forge pan. More to follow on that. Having no walls makes this somewhat less of an issue. Edit: All in, this cost slightly over $200 for all the steel, and another $12 for the can of Rustoleum hammertone. Also used up a $40 Freud ferrous cutting skilsaw blade to chop the steel plate. If I did this right, this looks like a viable alternative to very expen$ive cast firepots if you have access to a welder. Also, had to stop a buy a new bottle of C25 part-way through, and grind the bit of bubbly weld out. Oh well.


-
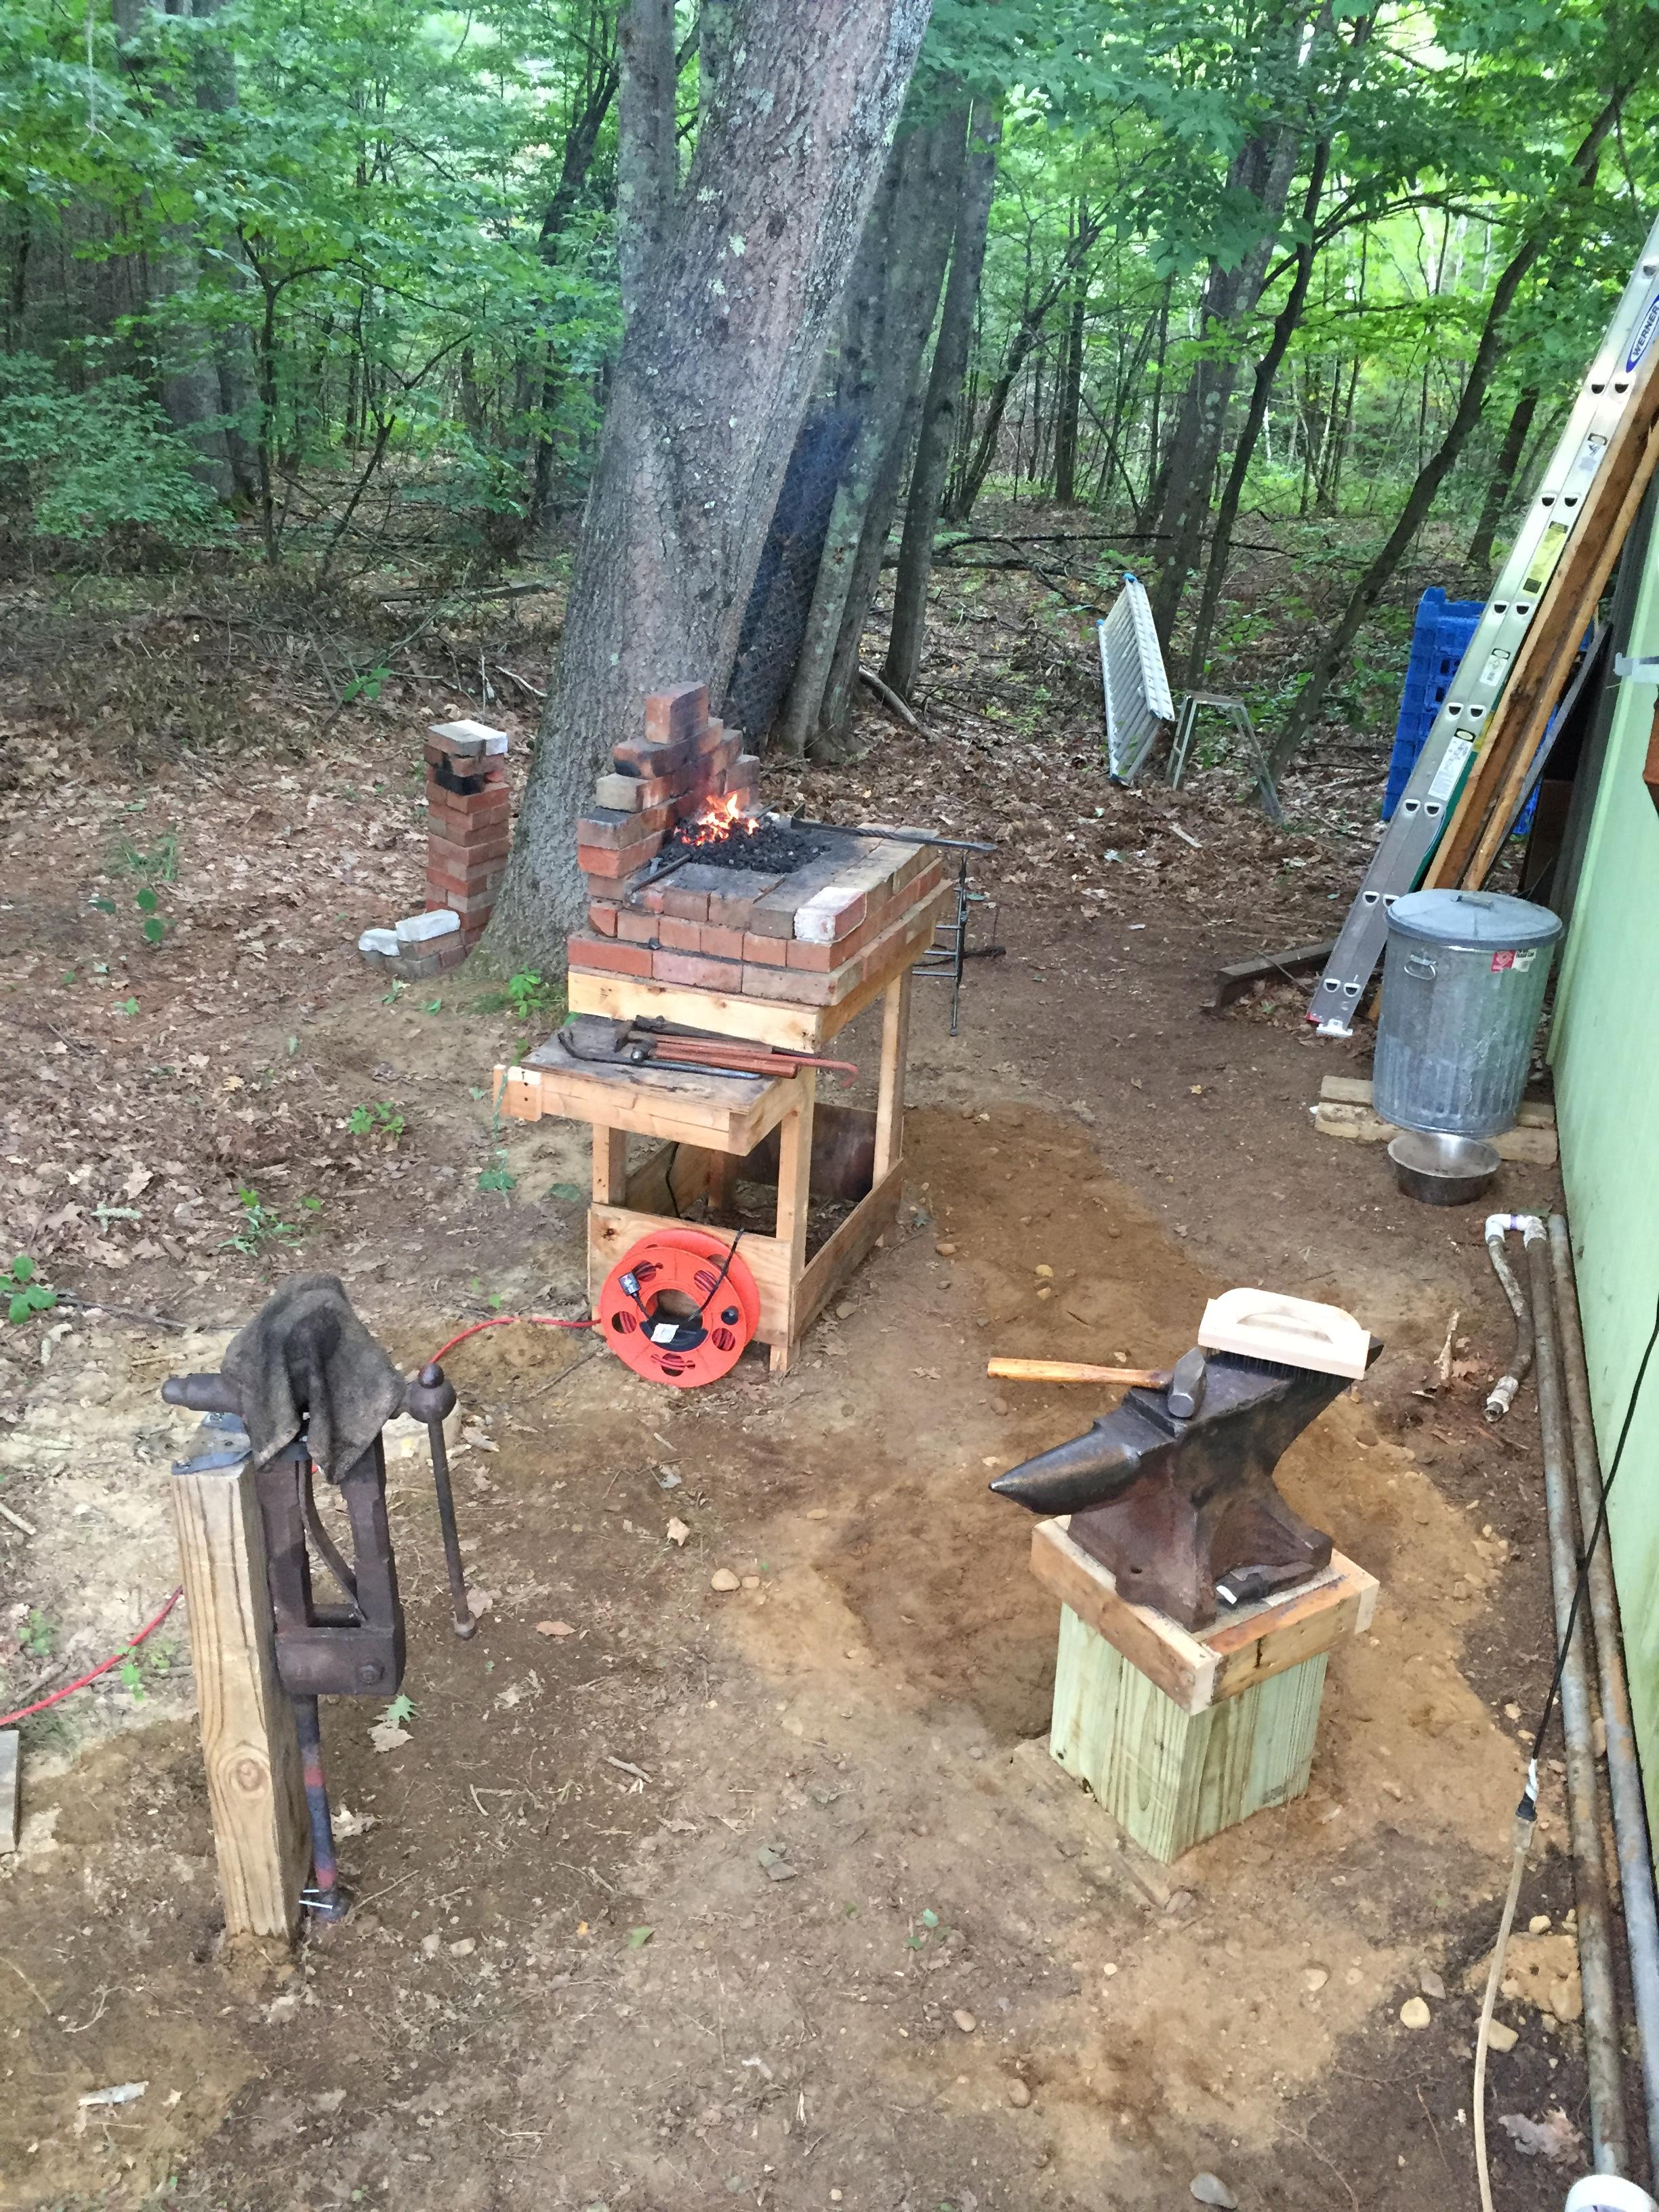
Did a little re-arranging of the forge guts to give some ash below the tuyere and more of a well for coal and coke, and packed some moist dirt around the tuyere to keep the air and fire where it belonged, definitely an improvement. The forge poker is from a little chunk of rebar, and was a good exercise in squaring off and tapering, and hammer control. Not bad for a pile of bricks. Last photo is the firge as it sets now; I need to move the fire closer to the anvil, its about two and a half steps from fire to anvil, too far. Also bought a butcher block brush. All I can say is wow, what a difference in surface finish. These brushes are unsung saviors for newbie blacksmiths.


-
Hi everyone,happy to join the forum. I'm a beginner living in southern Maine on the NH border, and have wanted to pursue blacksmithing for a long time, and have just recently had all the stars align for me - I found the New England Blacksmith's group forge in Brentwood, I inherited my grandfather's anvil, and a neighbor hooked me up with an old post vise. Between all that and a pile of bricks and a sack of coal, I'm more or less in business! I plan on living off scrap material for awhile to practice and learn hammer control, and then hopefully start making things that are useful, though I couldn't say what yet, exactly.
-
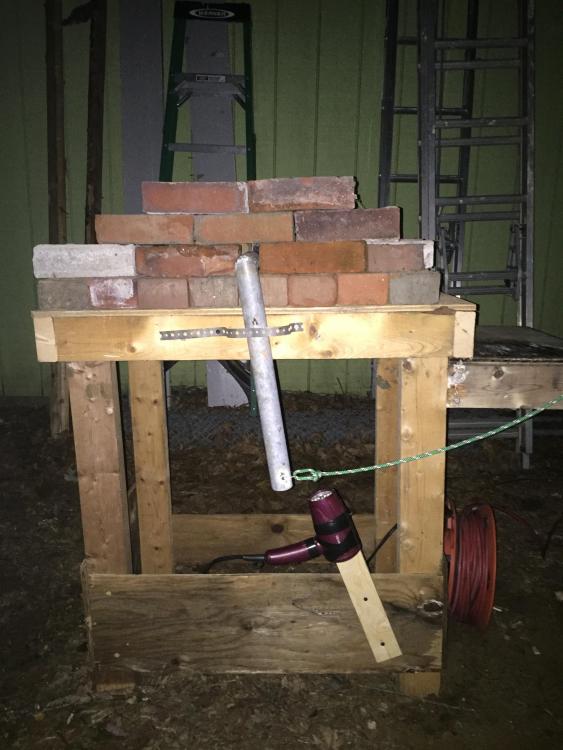
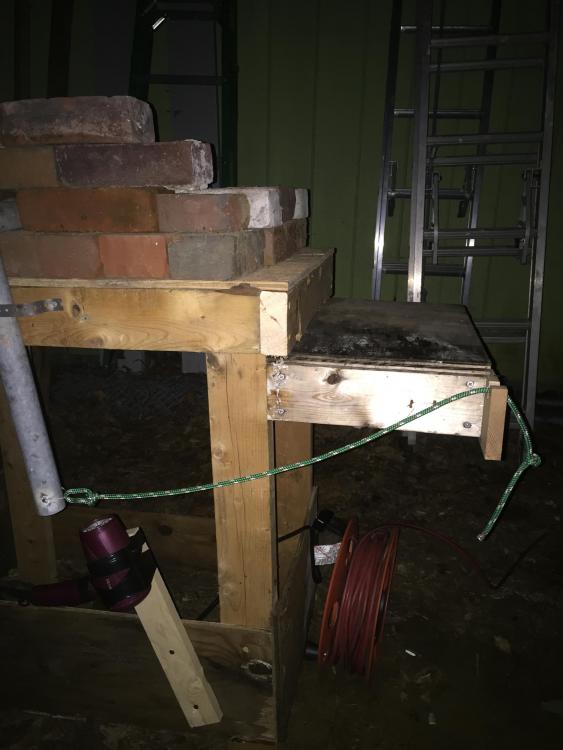
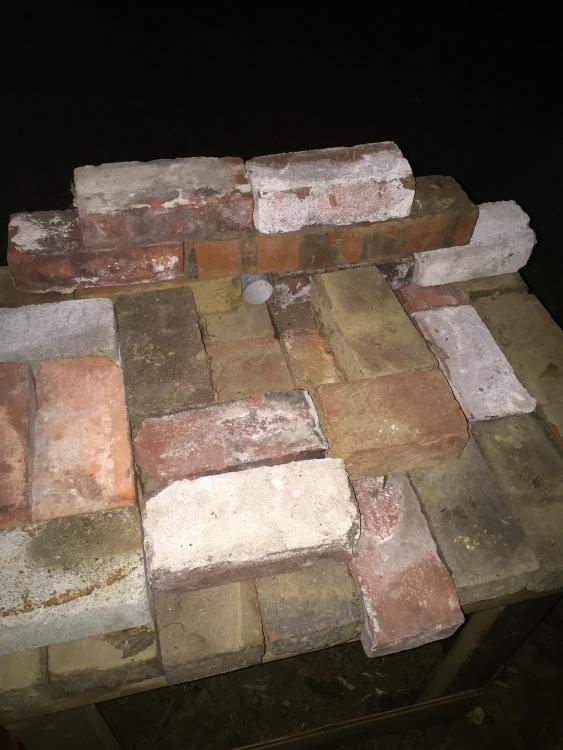
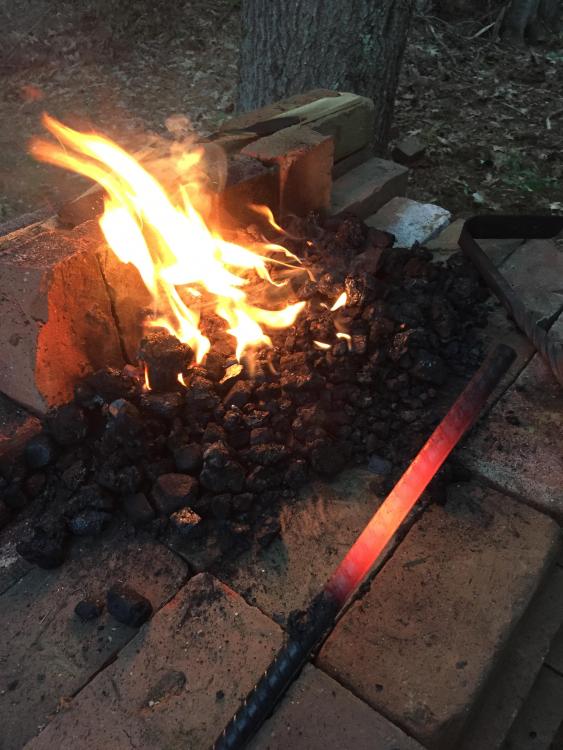
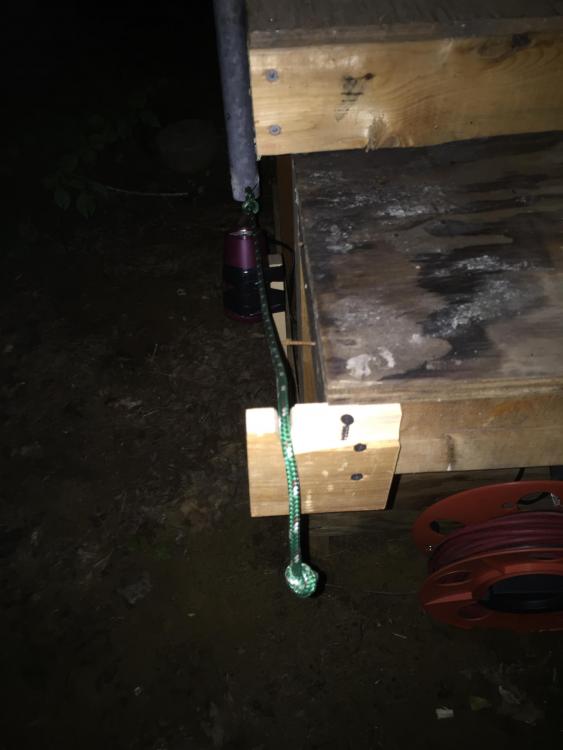
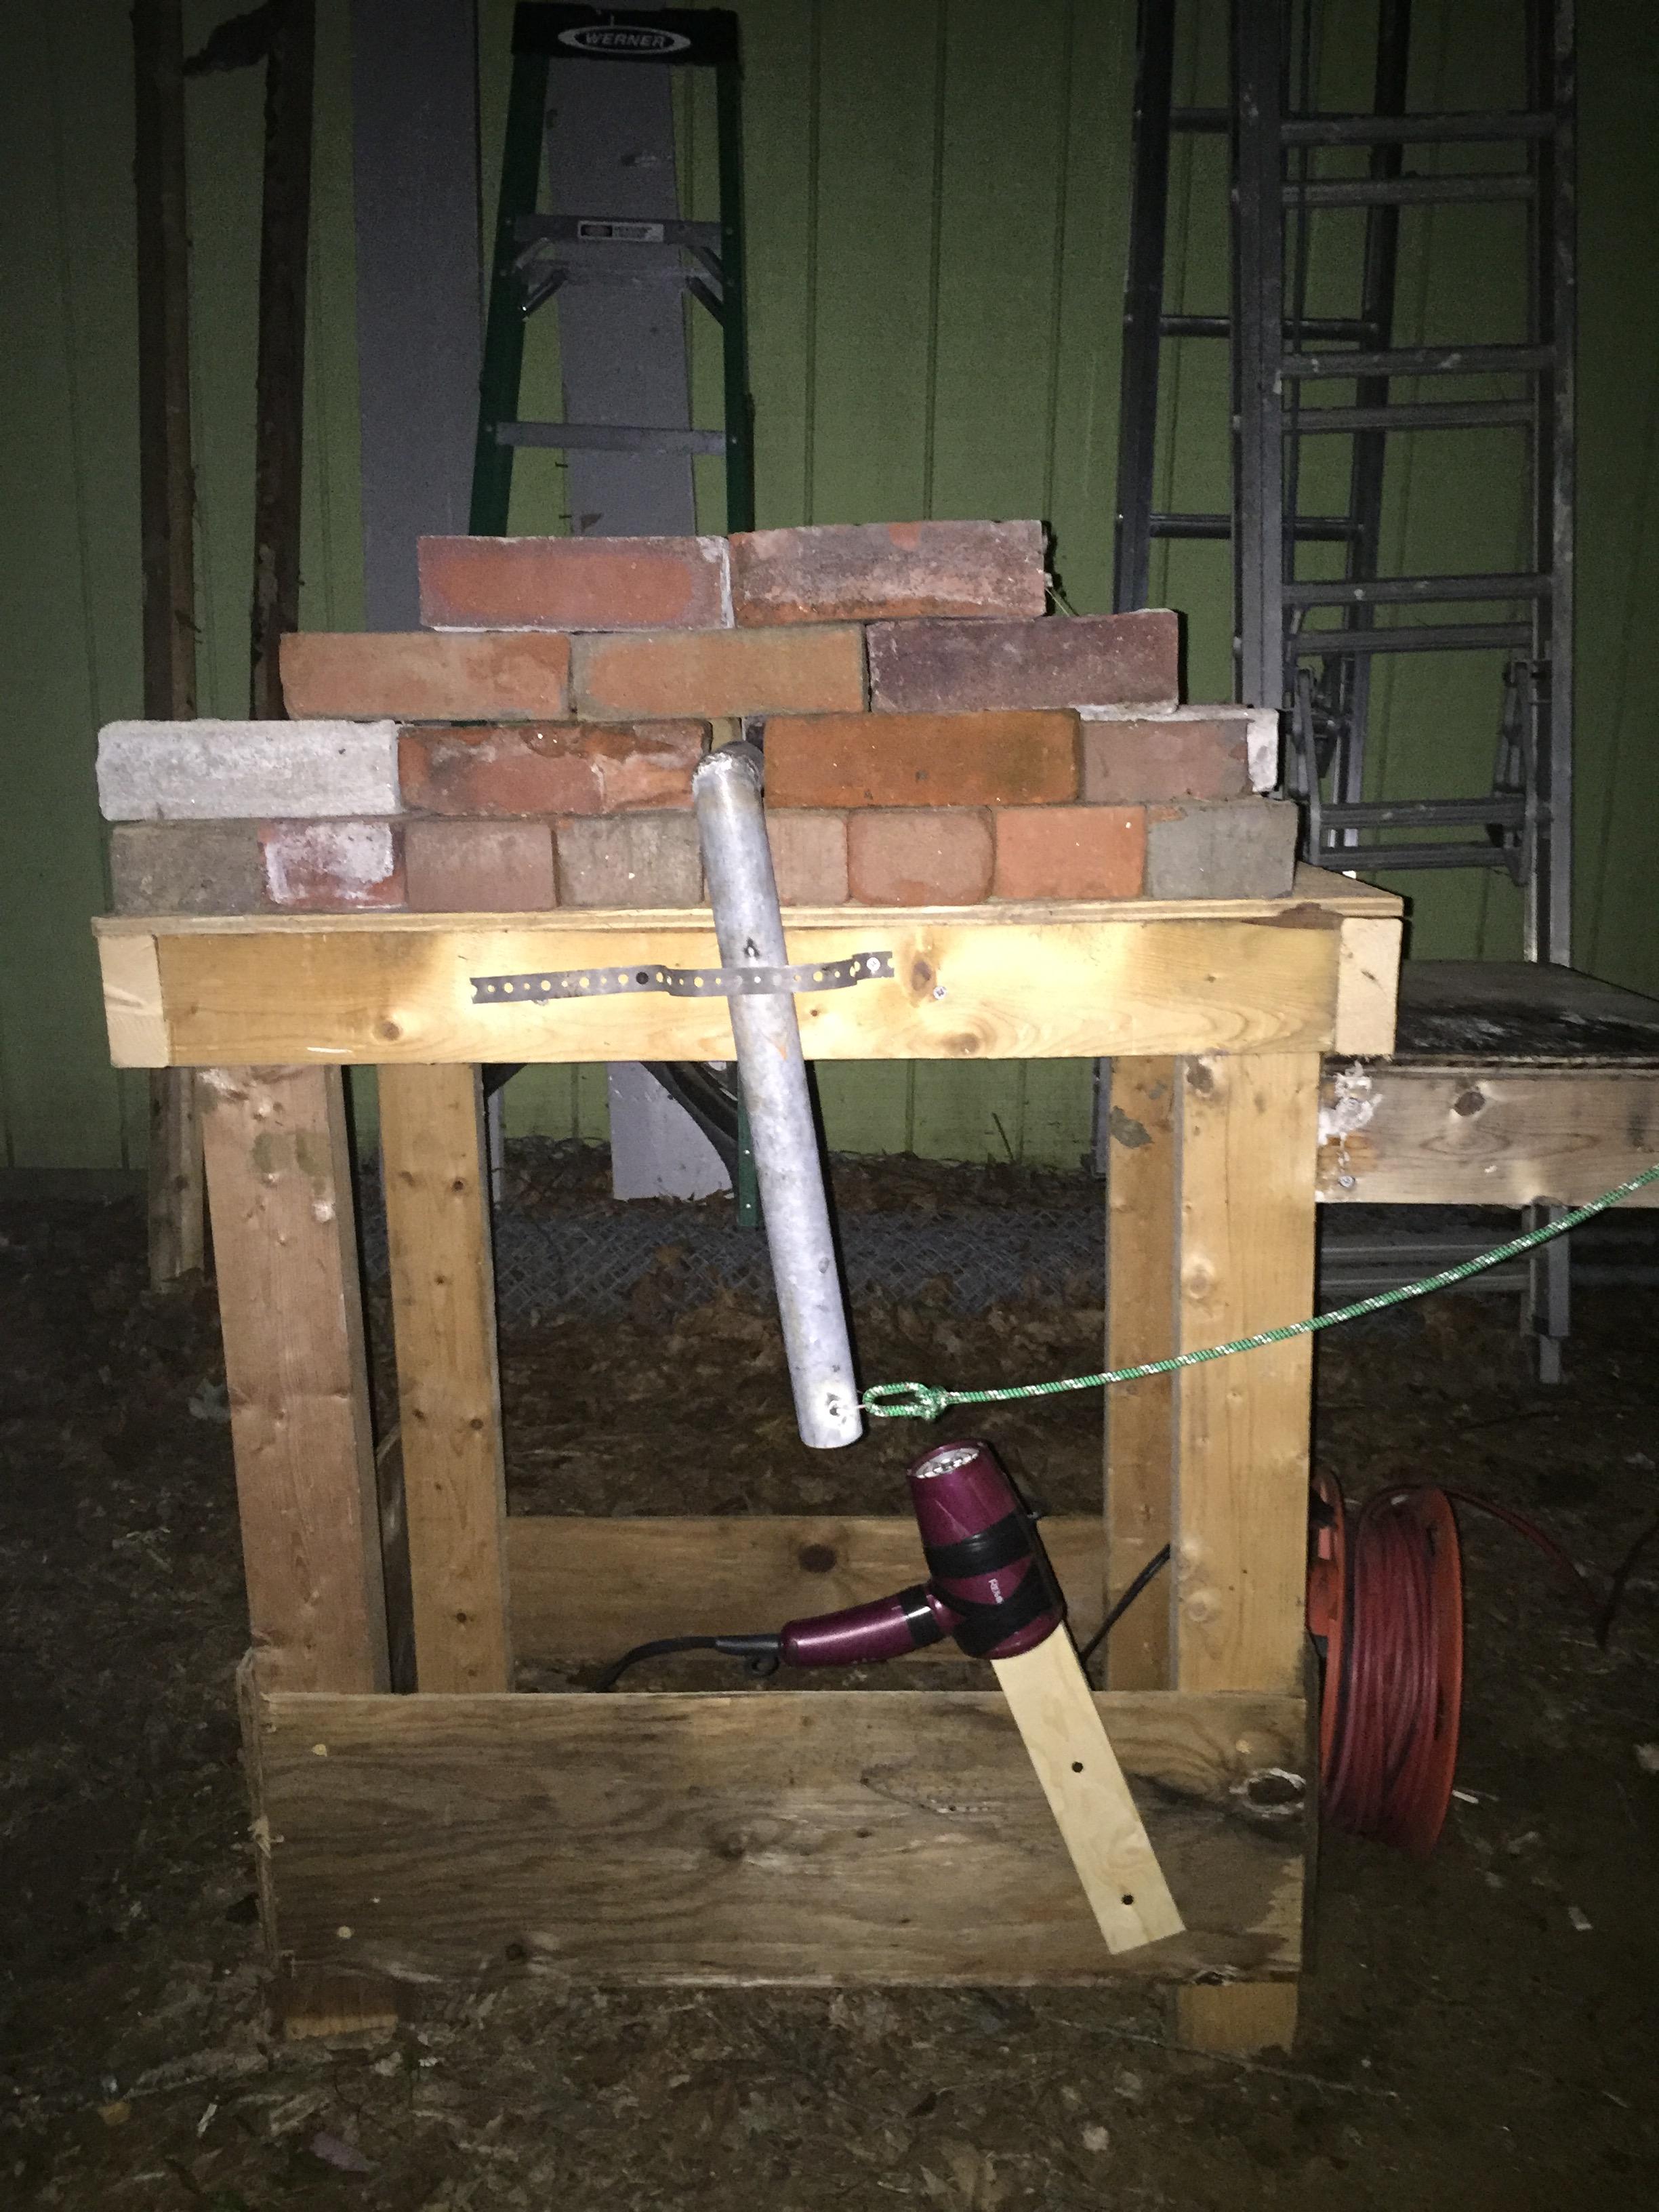
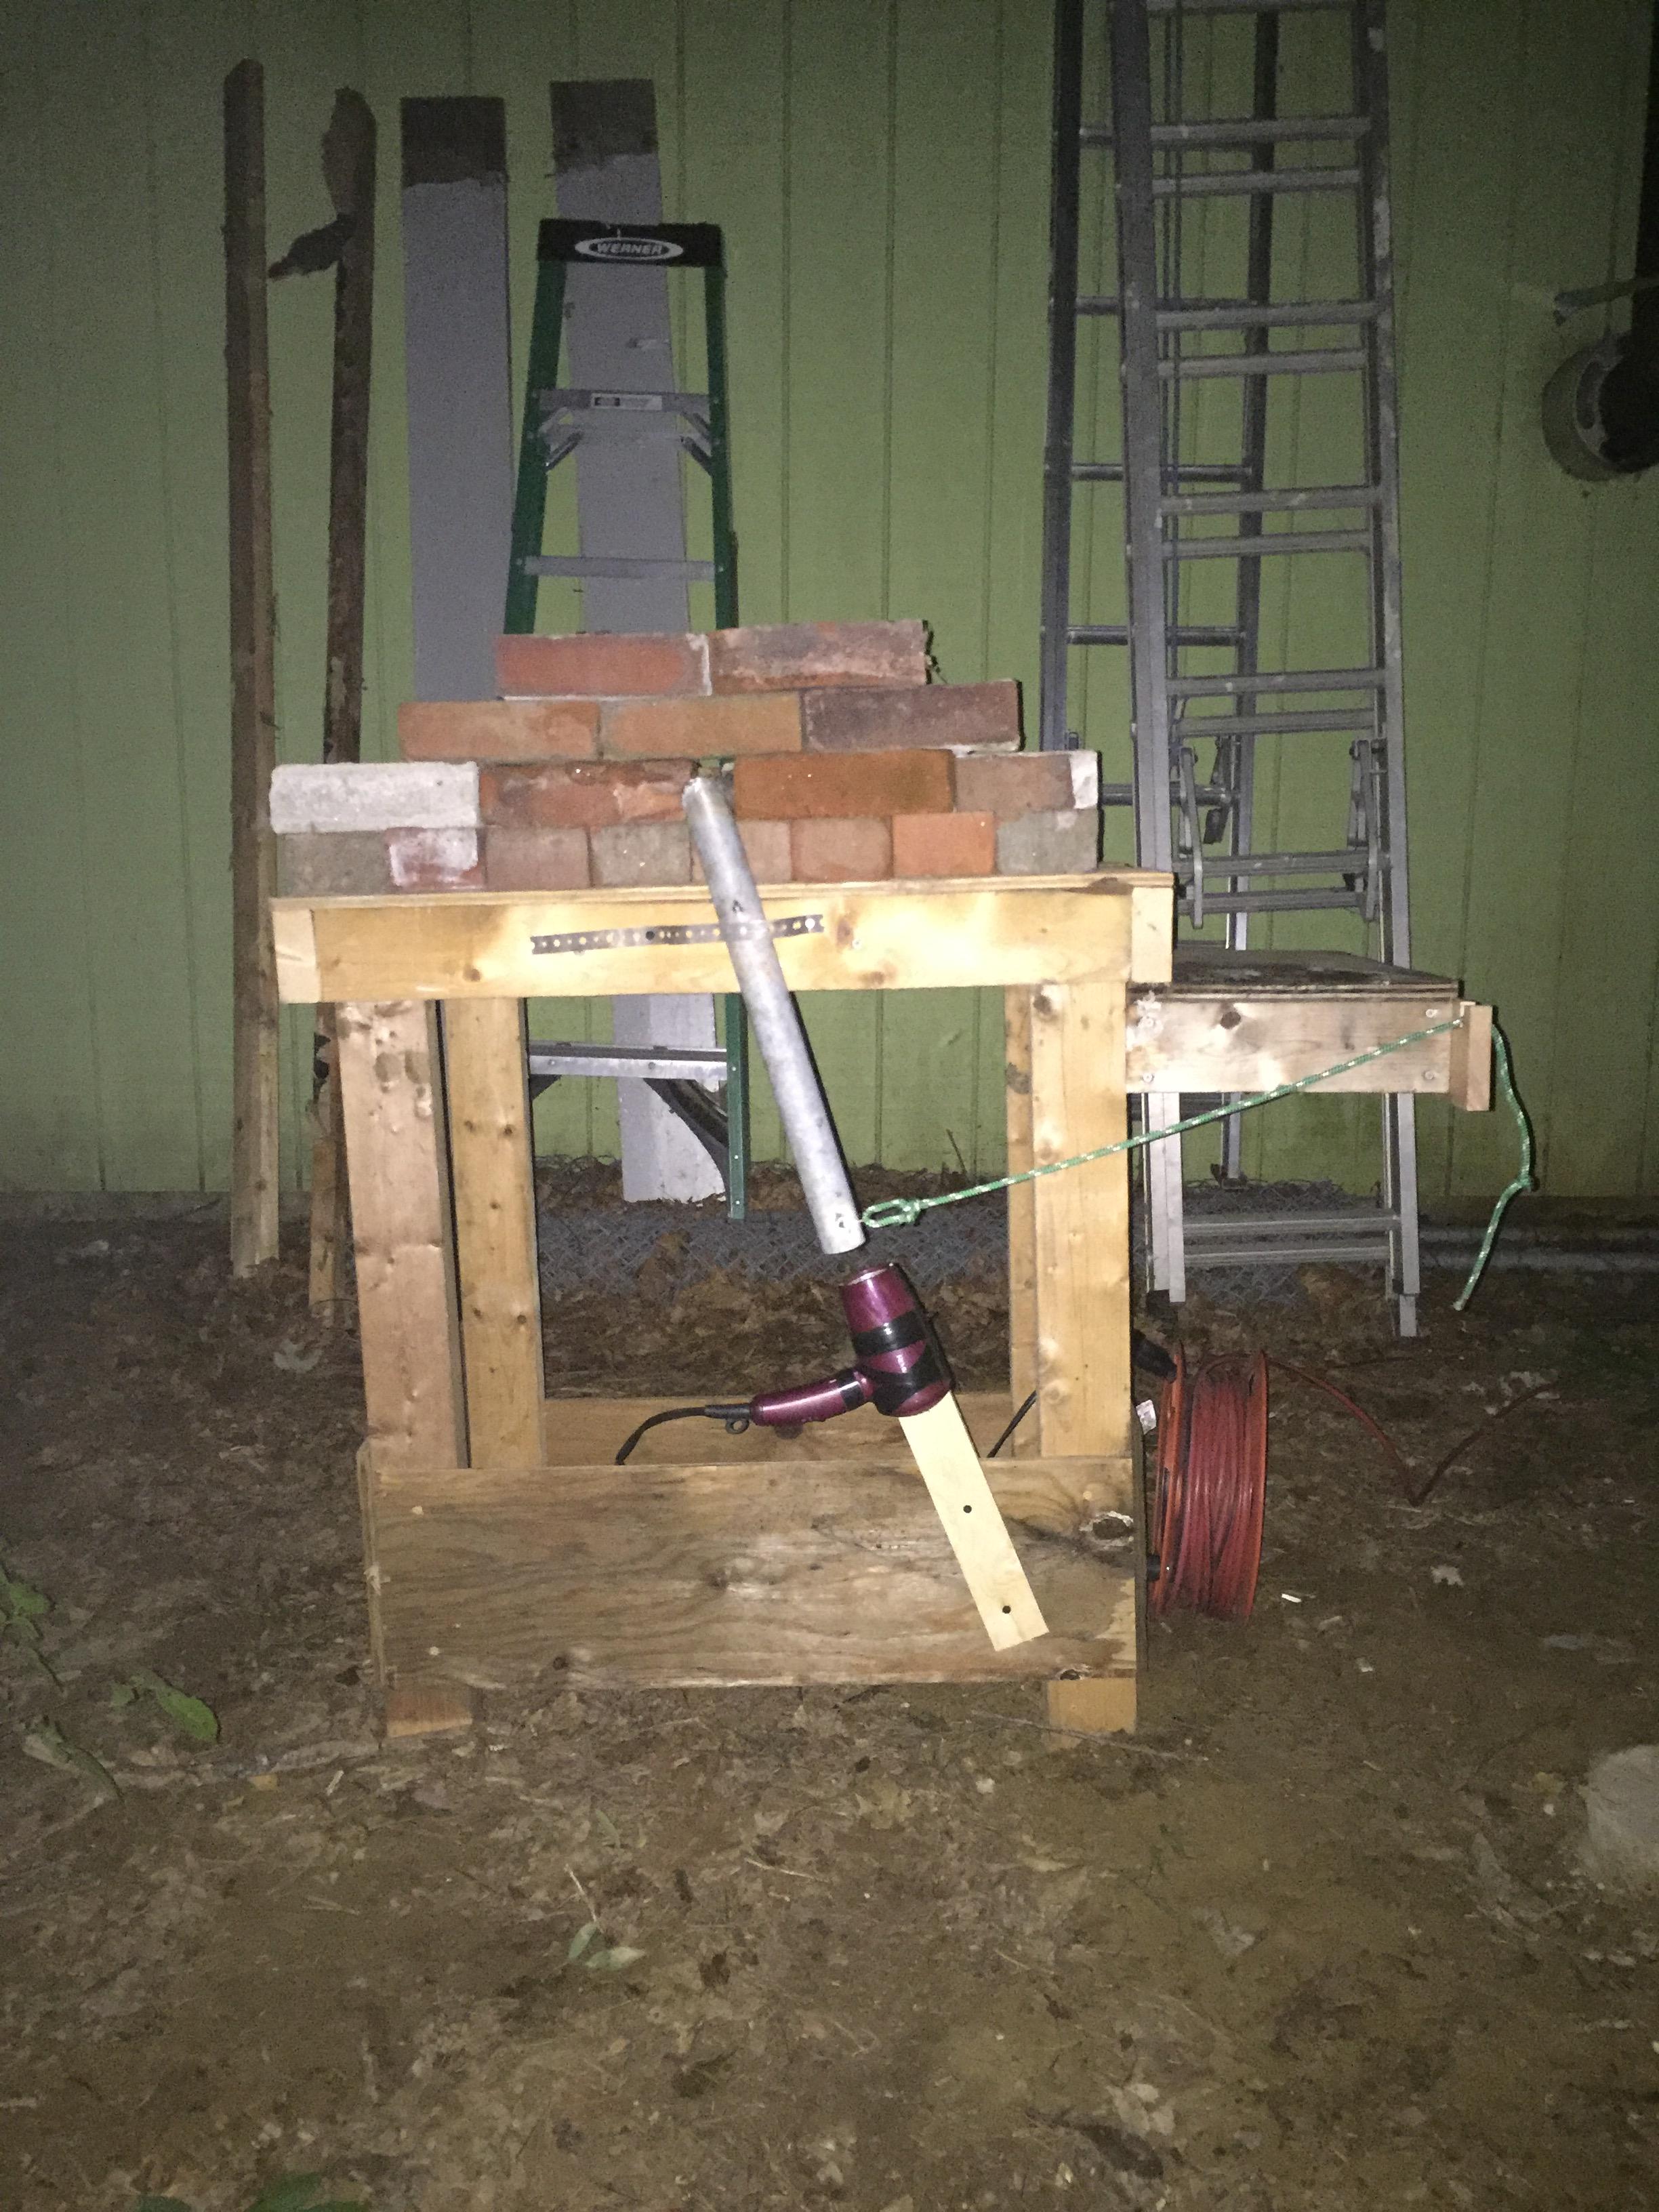
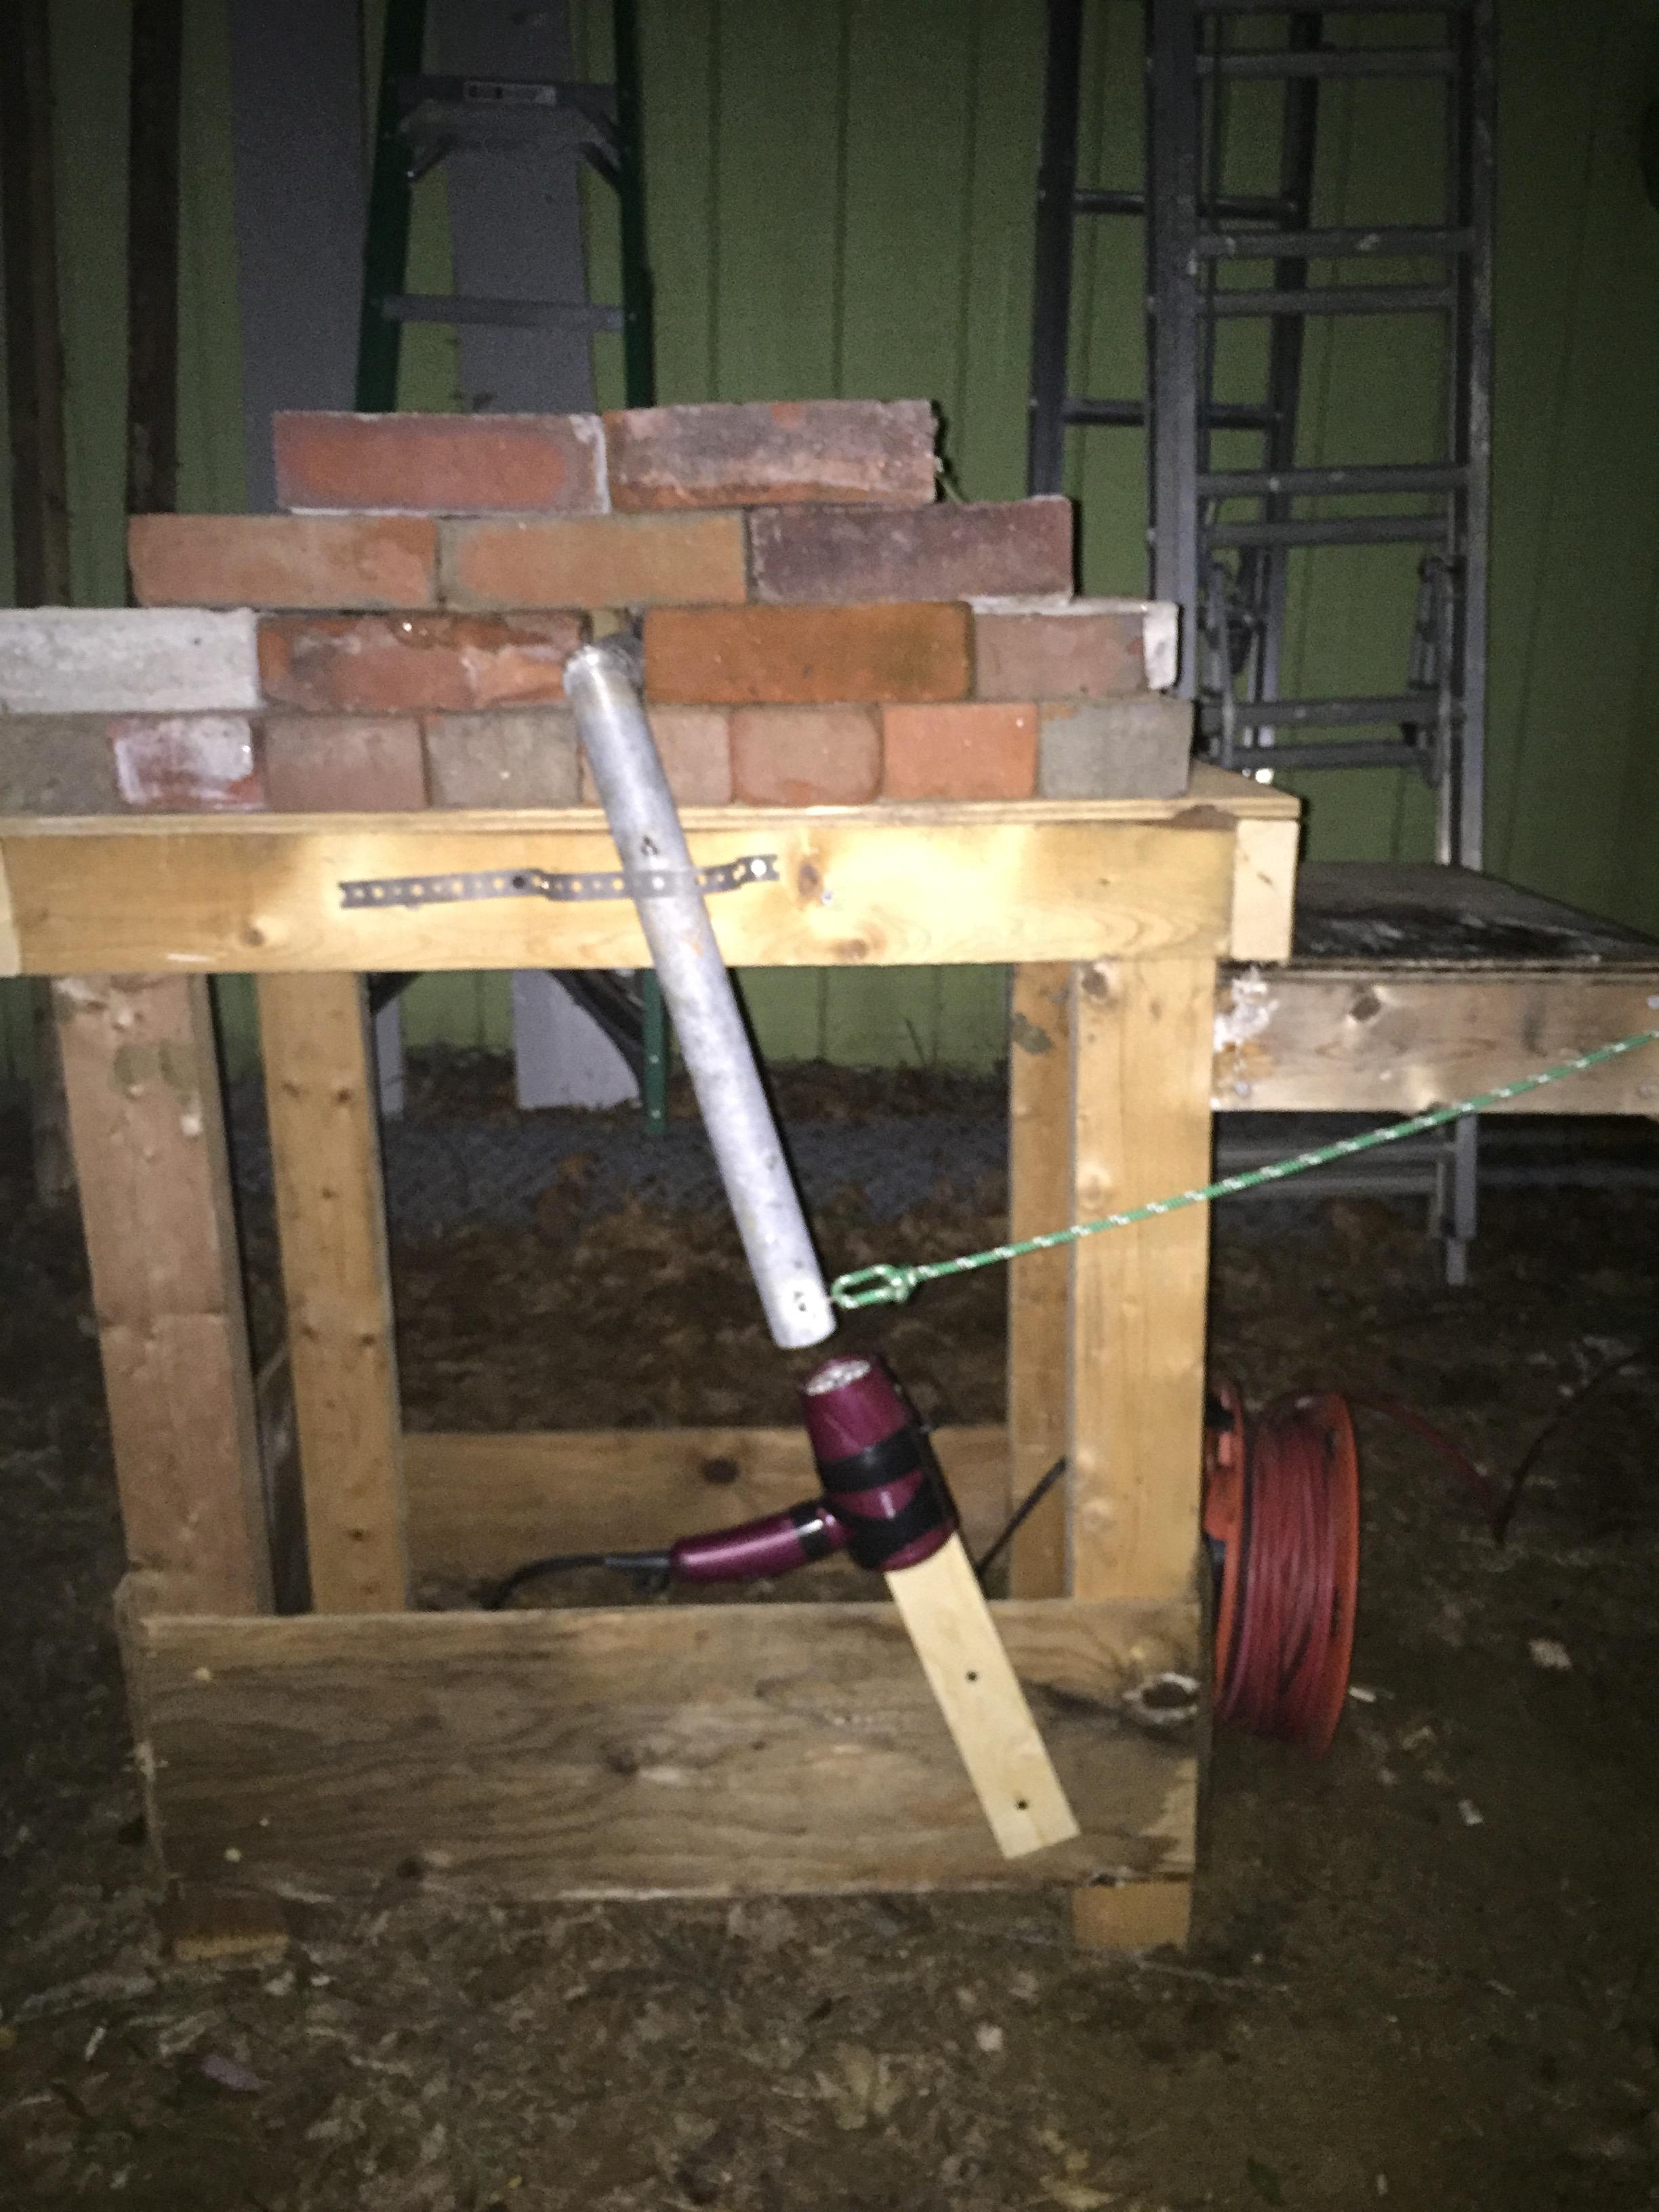
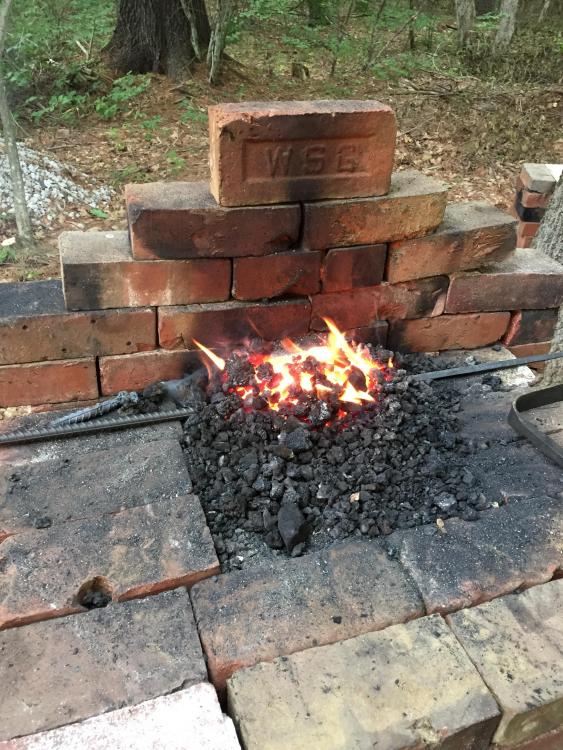
Riffing on the JABOD idea, I decided to use what was handy, namely a pile of scrap 2x and plywood, some old bricks leftover from a neighbor's tumbledown chimney, the wifes long-forgotten hairdryer, and a bit of old fencepost pipe (relax, I am aware of hot zinc issues, and wore a respirator for the welding and first fire, thanks for thinking of me!). The bricks are piled up two-deep on the floor, and arranged so that the gaps between bricks dont line up. Nothing is mortared, so as the bricks burn up, which it will, I can just re-stack it all. The hardware store in town sells smithing coal, and so after a bit of faffing about getting the coal to coke and the bricks warmed up, it works quite nicely! I lost 6" of the rebar shortly after I took these photos, got distracted in the garage and left it in too long, and it melted right off! I just left the dryer on low, and the tuyere pipe swings in front of the dryer to adjust the blast; the pipe stays surprisingly cool in use, and when I was done, I just took it out so it wouldnt burn up in the after-fire heat. I set the dryer off at an angle, so if the blast control line gets knocked off, the fire will die down instead of run away on full blast. It's not perfect, but its not too bad for the investment. This was just a first fire and a test; I'm working on getting my anvil on a stand and so hopefully in the near future I'll actually get to do some work and get to know the forge. Hopefully I can make this little pile of bricks work for awhile.