GrumpyBiker
-
Posts
276 -
Joined
-
Last visited
Content Type
Profiles
Forums
Articles
Gallery
Downloads
Events
Everything posted by GrumpyBiker
-
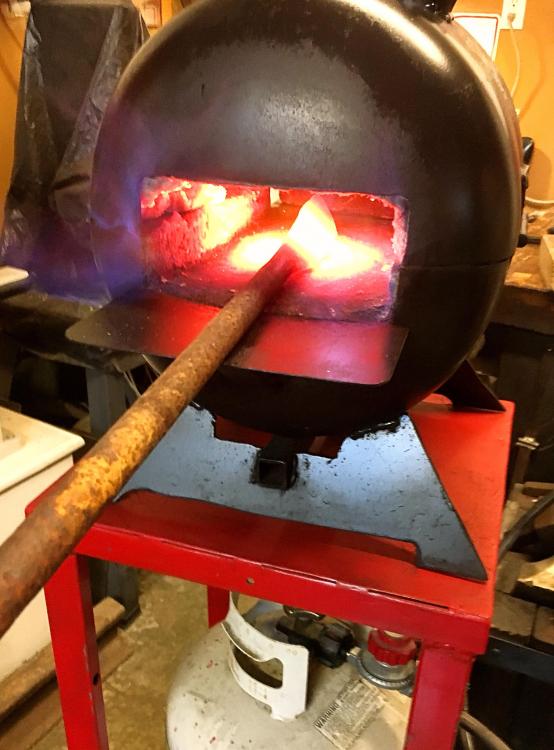
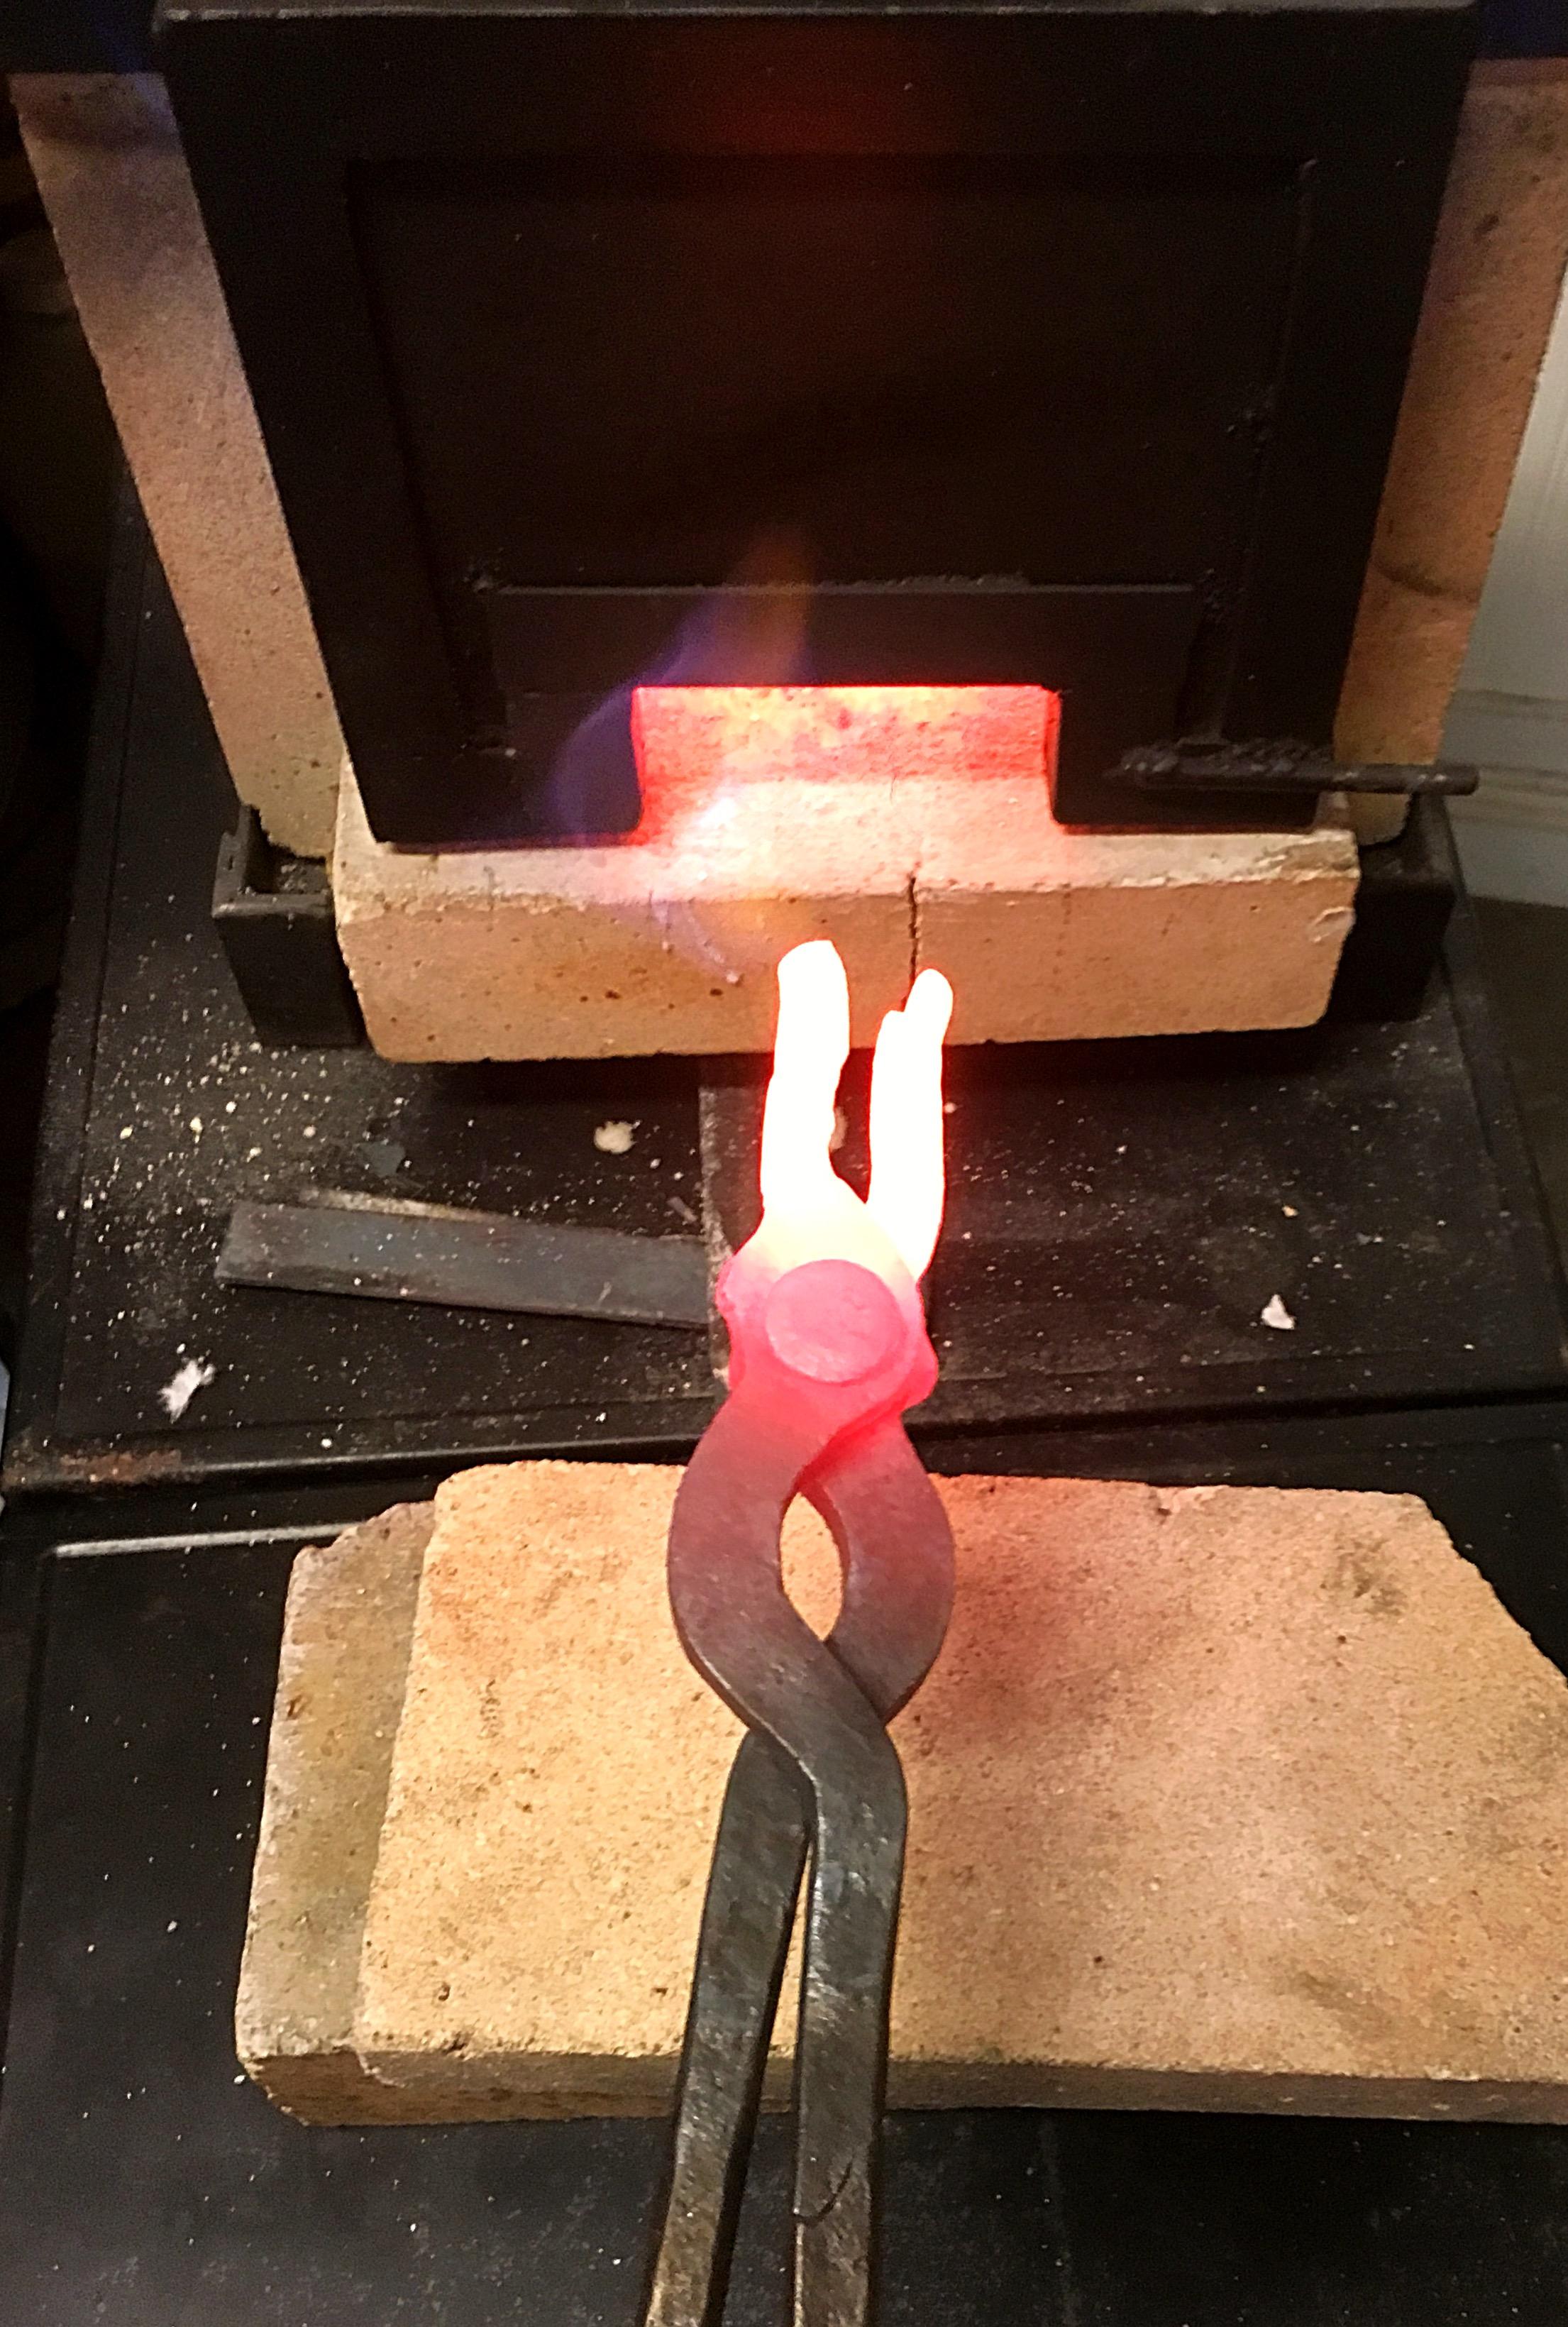
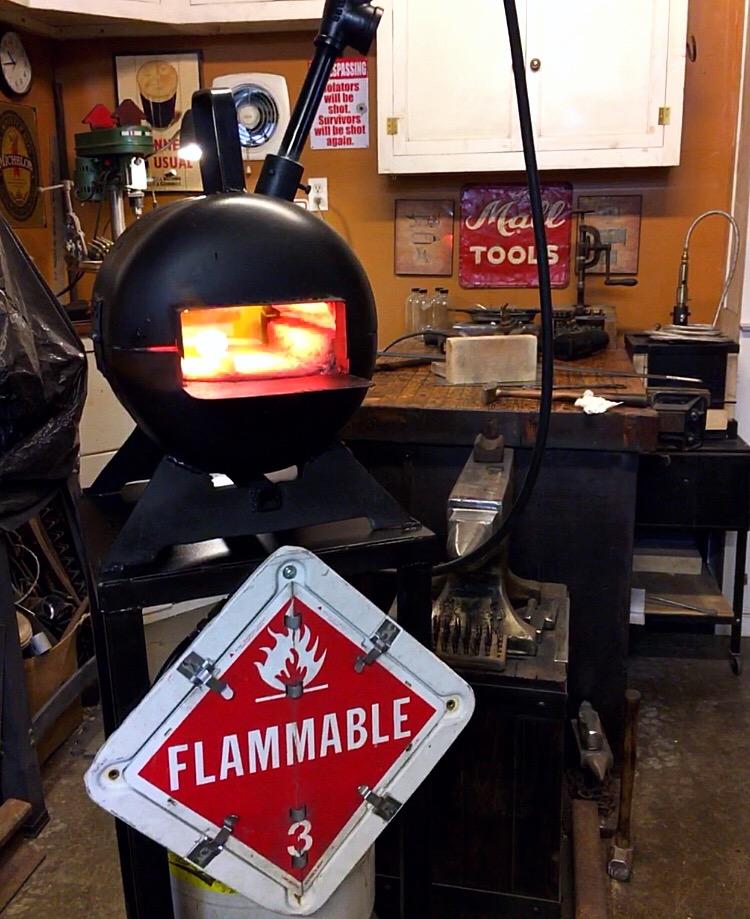
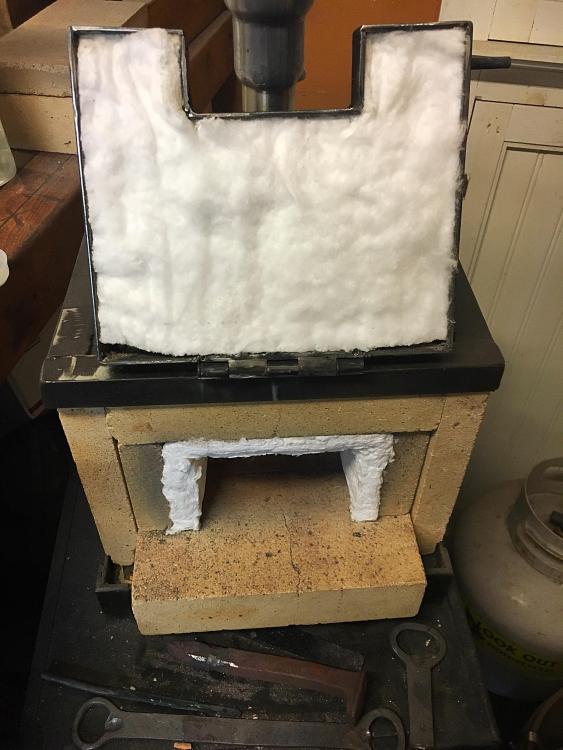
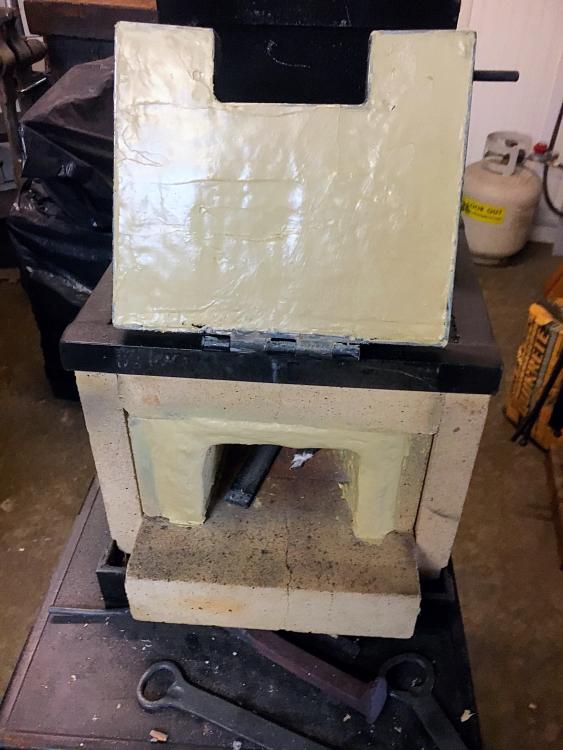
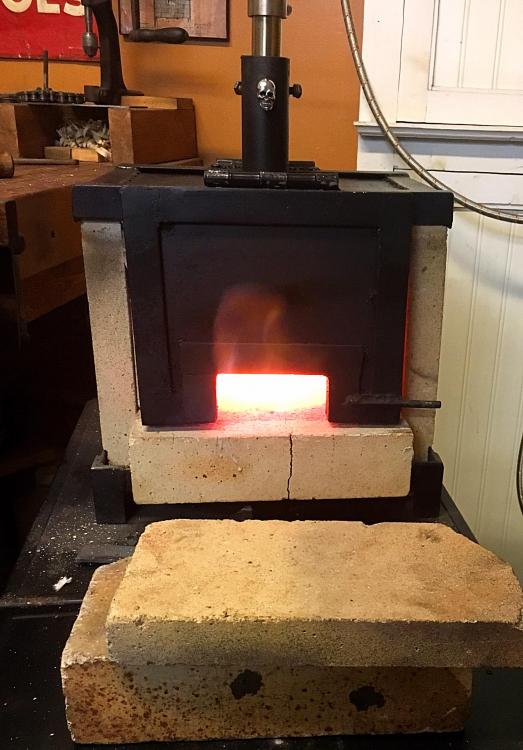
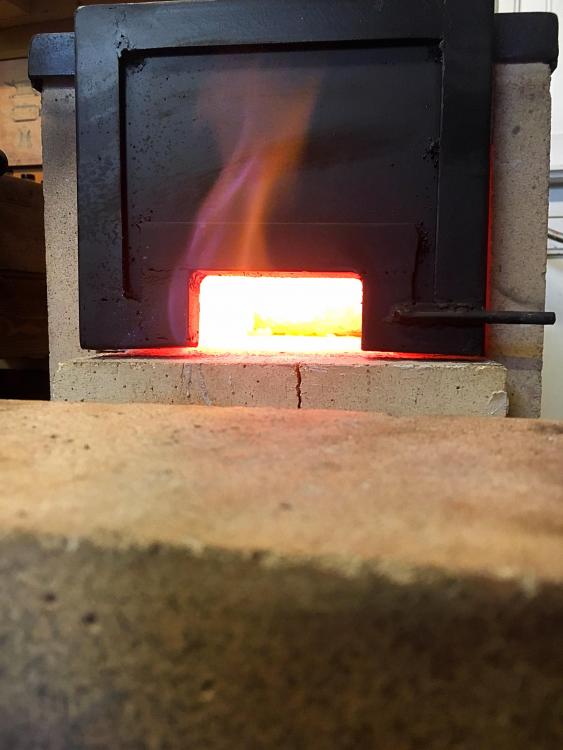
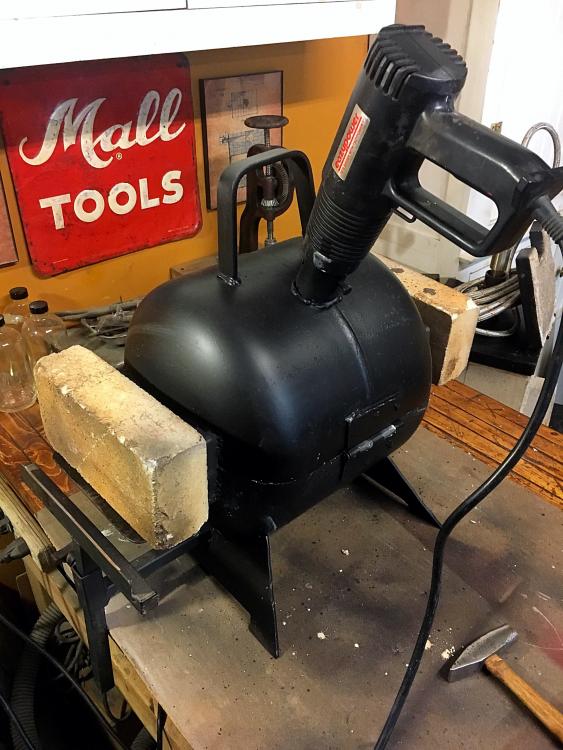
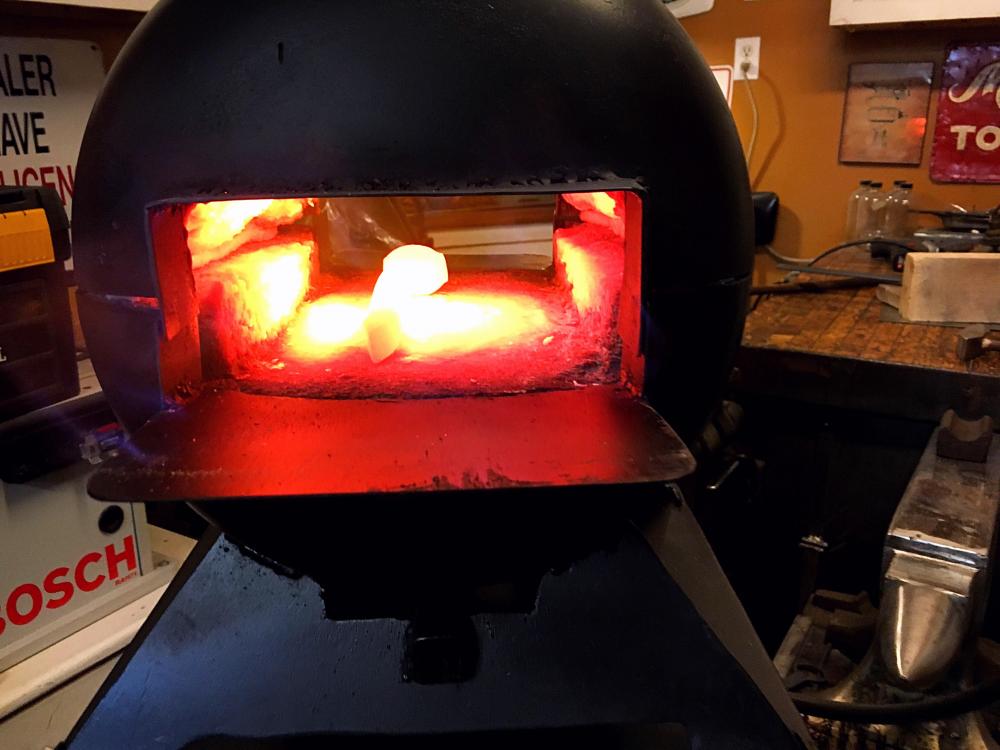
Finally got back around to tuning my original forge today. It’s the hated brick forge. I lined it with Kaowool, rigidized it, coated it with refractory and with the left over ITC 100 I applied to my other forge, I put a coating on the brick forge. I first tried a T-Burner I’d picked up off Ebay and it was too much. It was blowing 10” flames out of every opening & crack around the doors. I swapped out the 6” tube to an 8” one & it was no better. So I went back to the little (mini mongo?) burner I started with. The Kaowool & refractory reduces the Cubic inches so that may have been the problem with using the T-Burner. Either way, with all the added insulation & the ITC 100 this thing got hotter than I’d ever seen this thing get ! I’d added the doors earlier and filled them with Kaowool & refractory & ITC 100 as well. I think this is going to be great as a back up &/ or for little items. The first photo is as it was originally & shows the heat level it attained. Not very hot compared to how it is today.


-

What did you do in the shop today?
GrumpyBiker replied to Mark Ling's topic in Blacksmithing, General Discussion
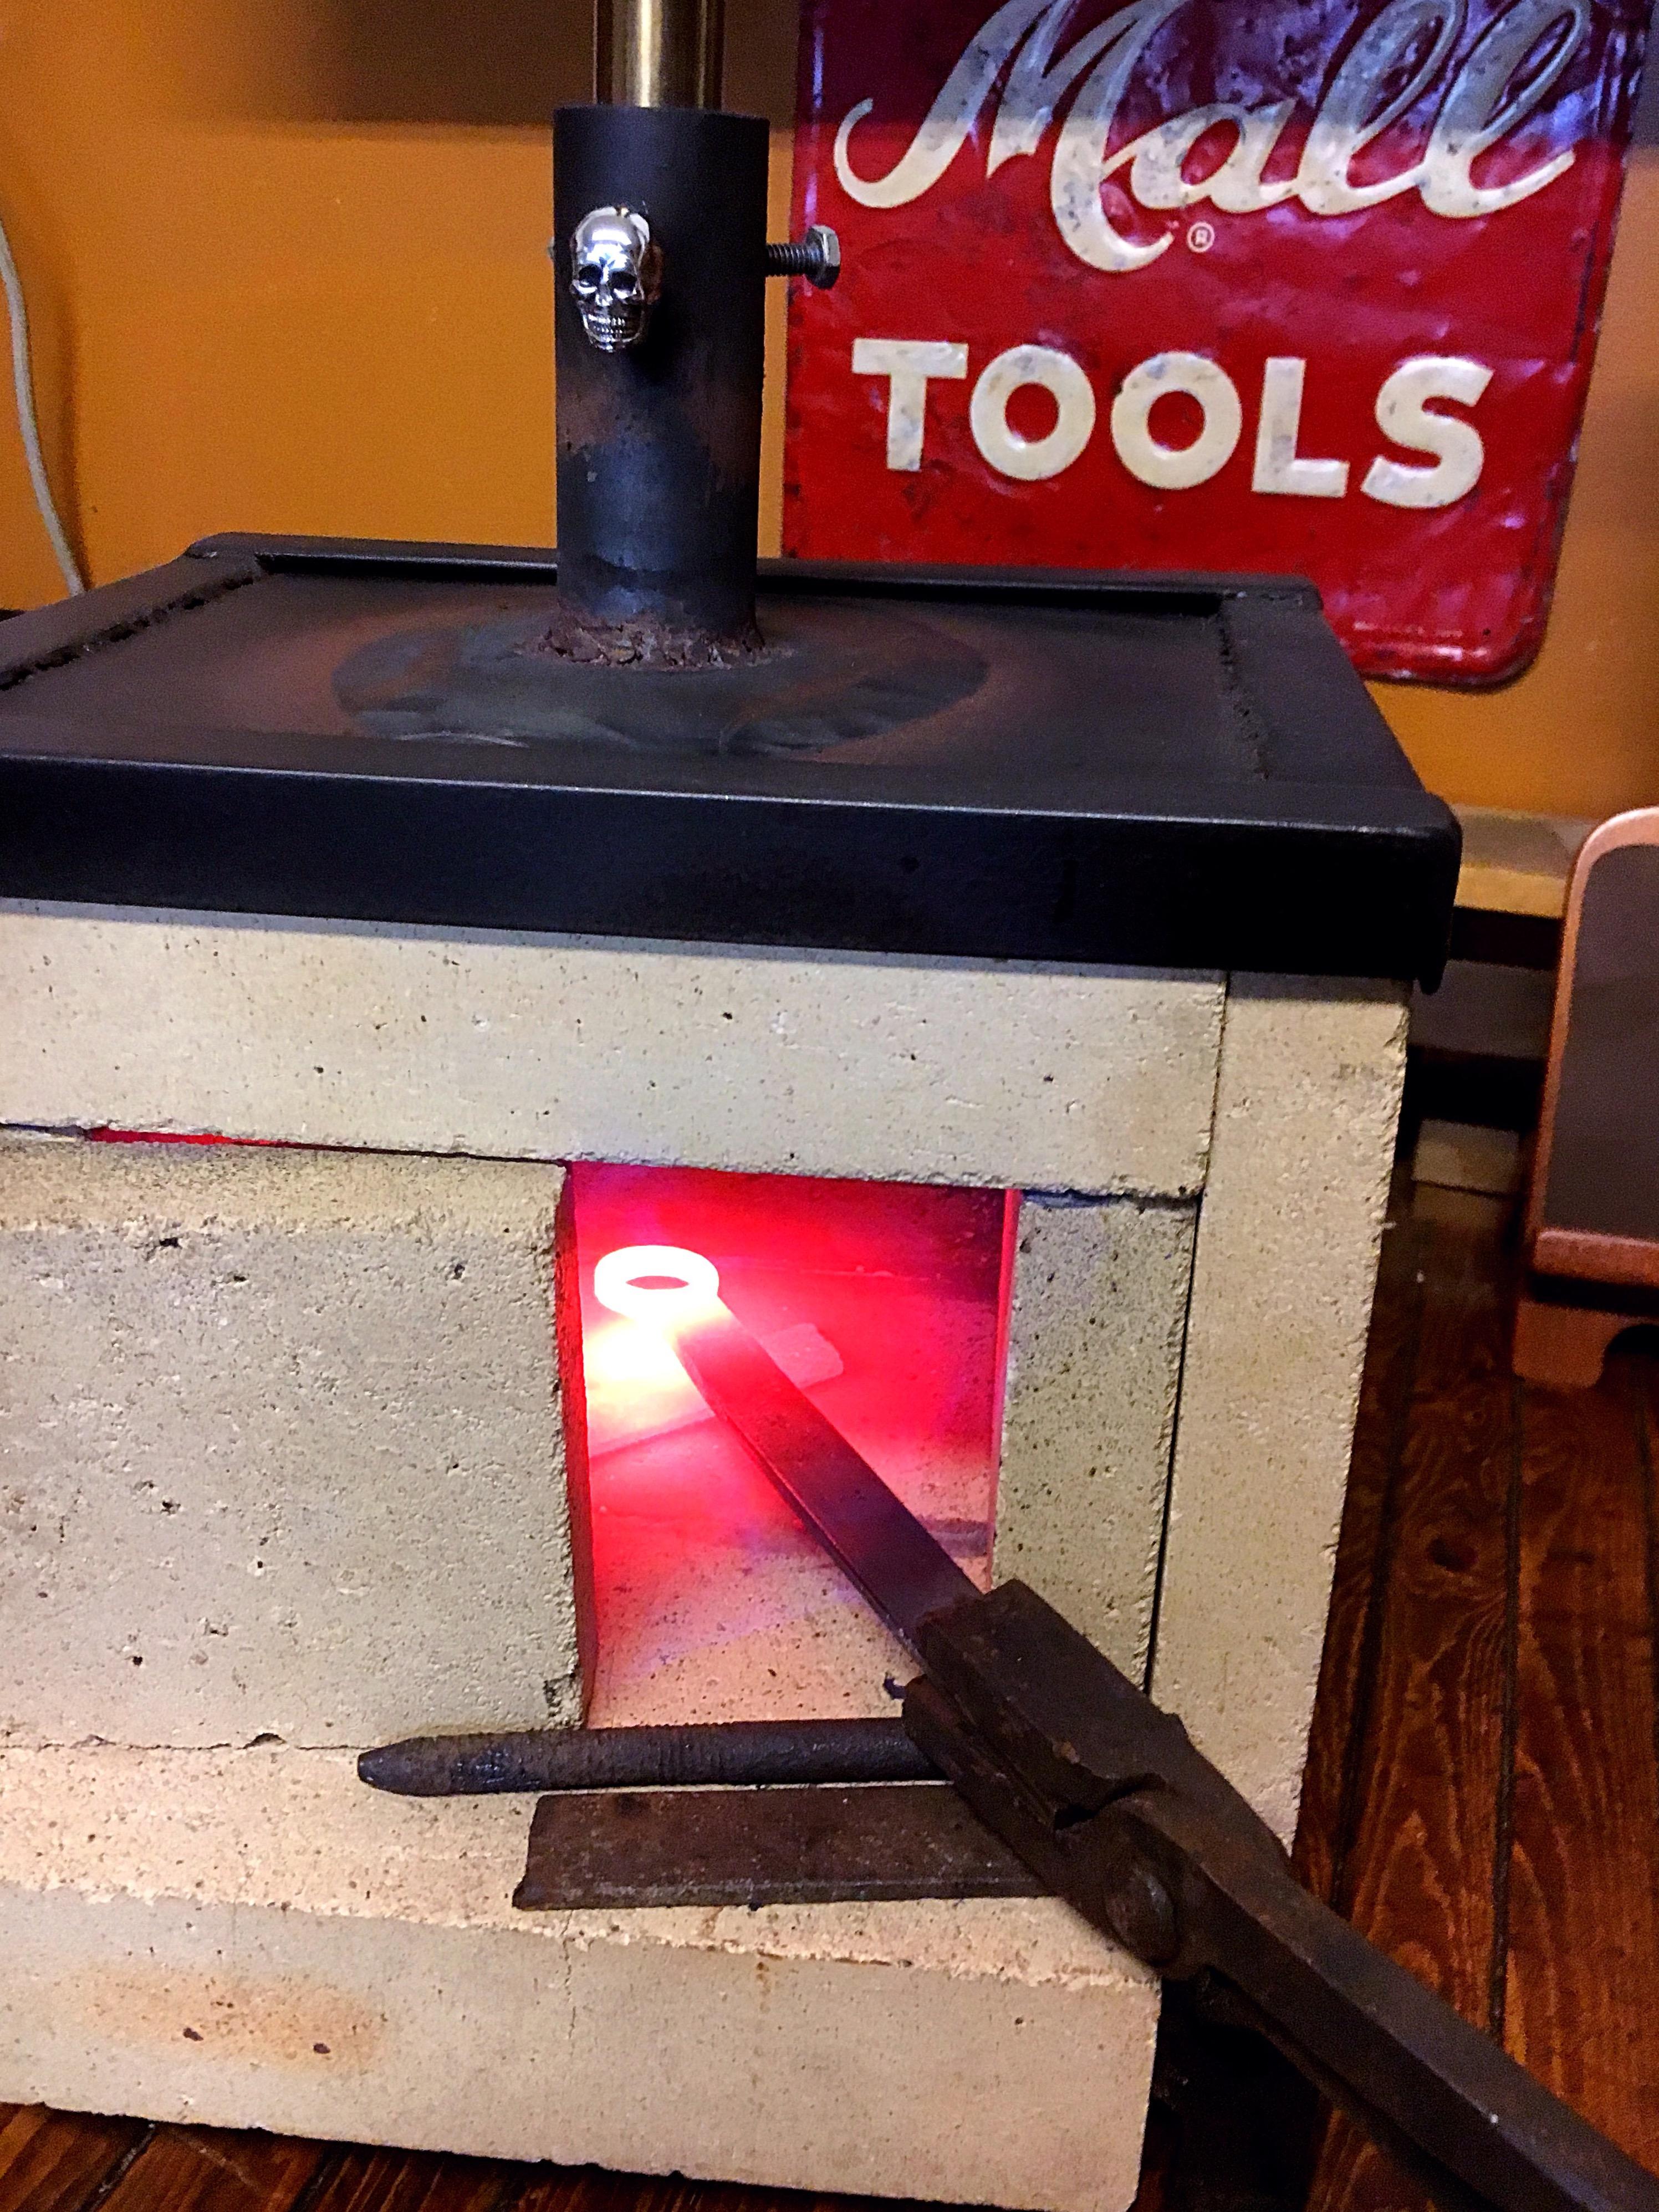
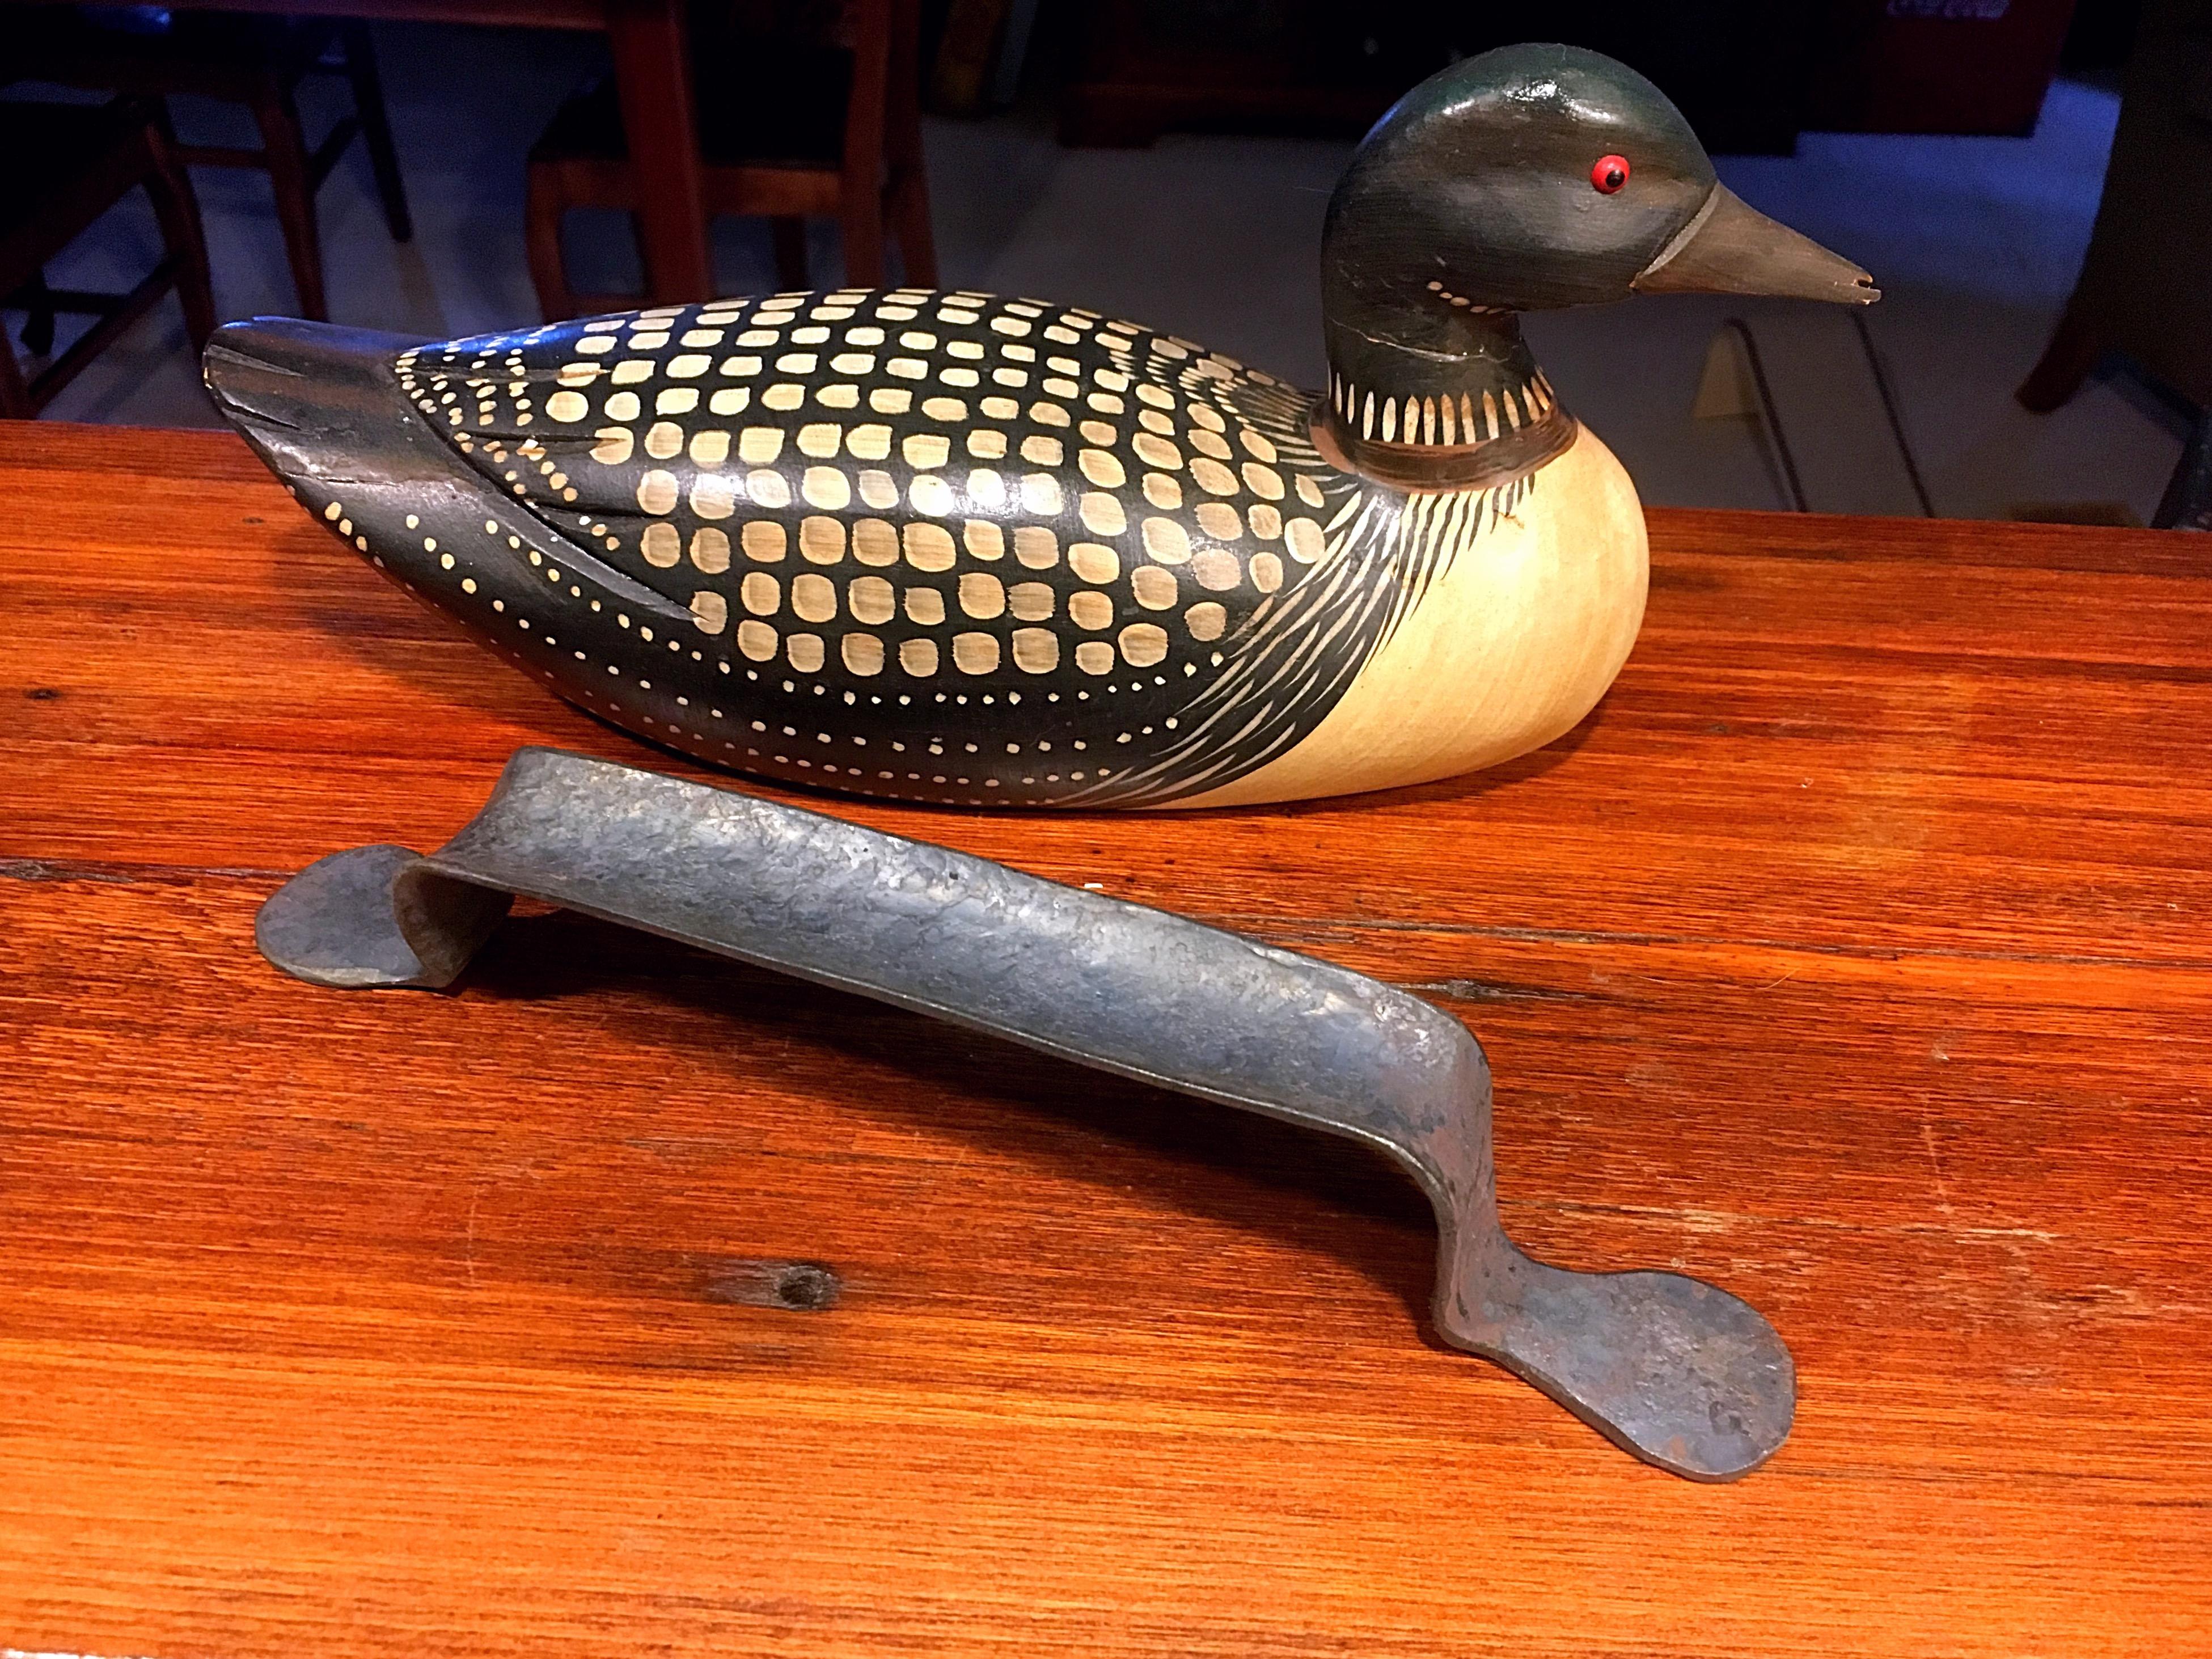
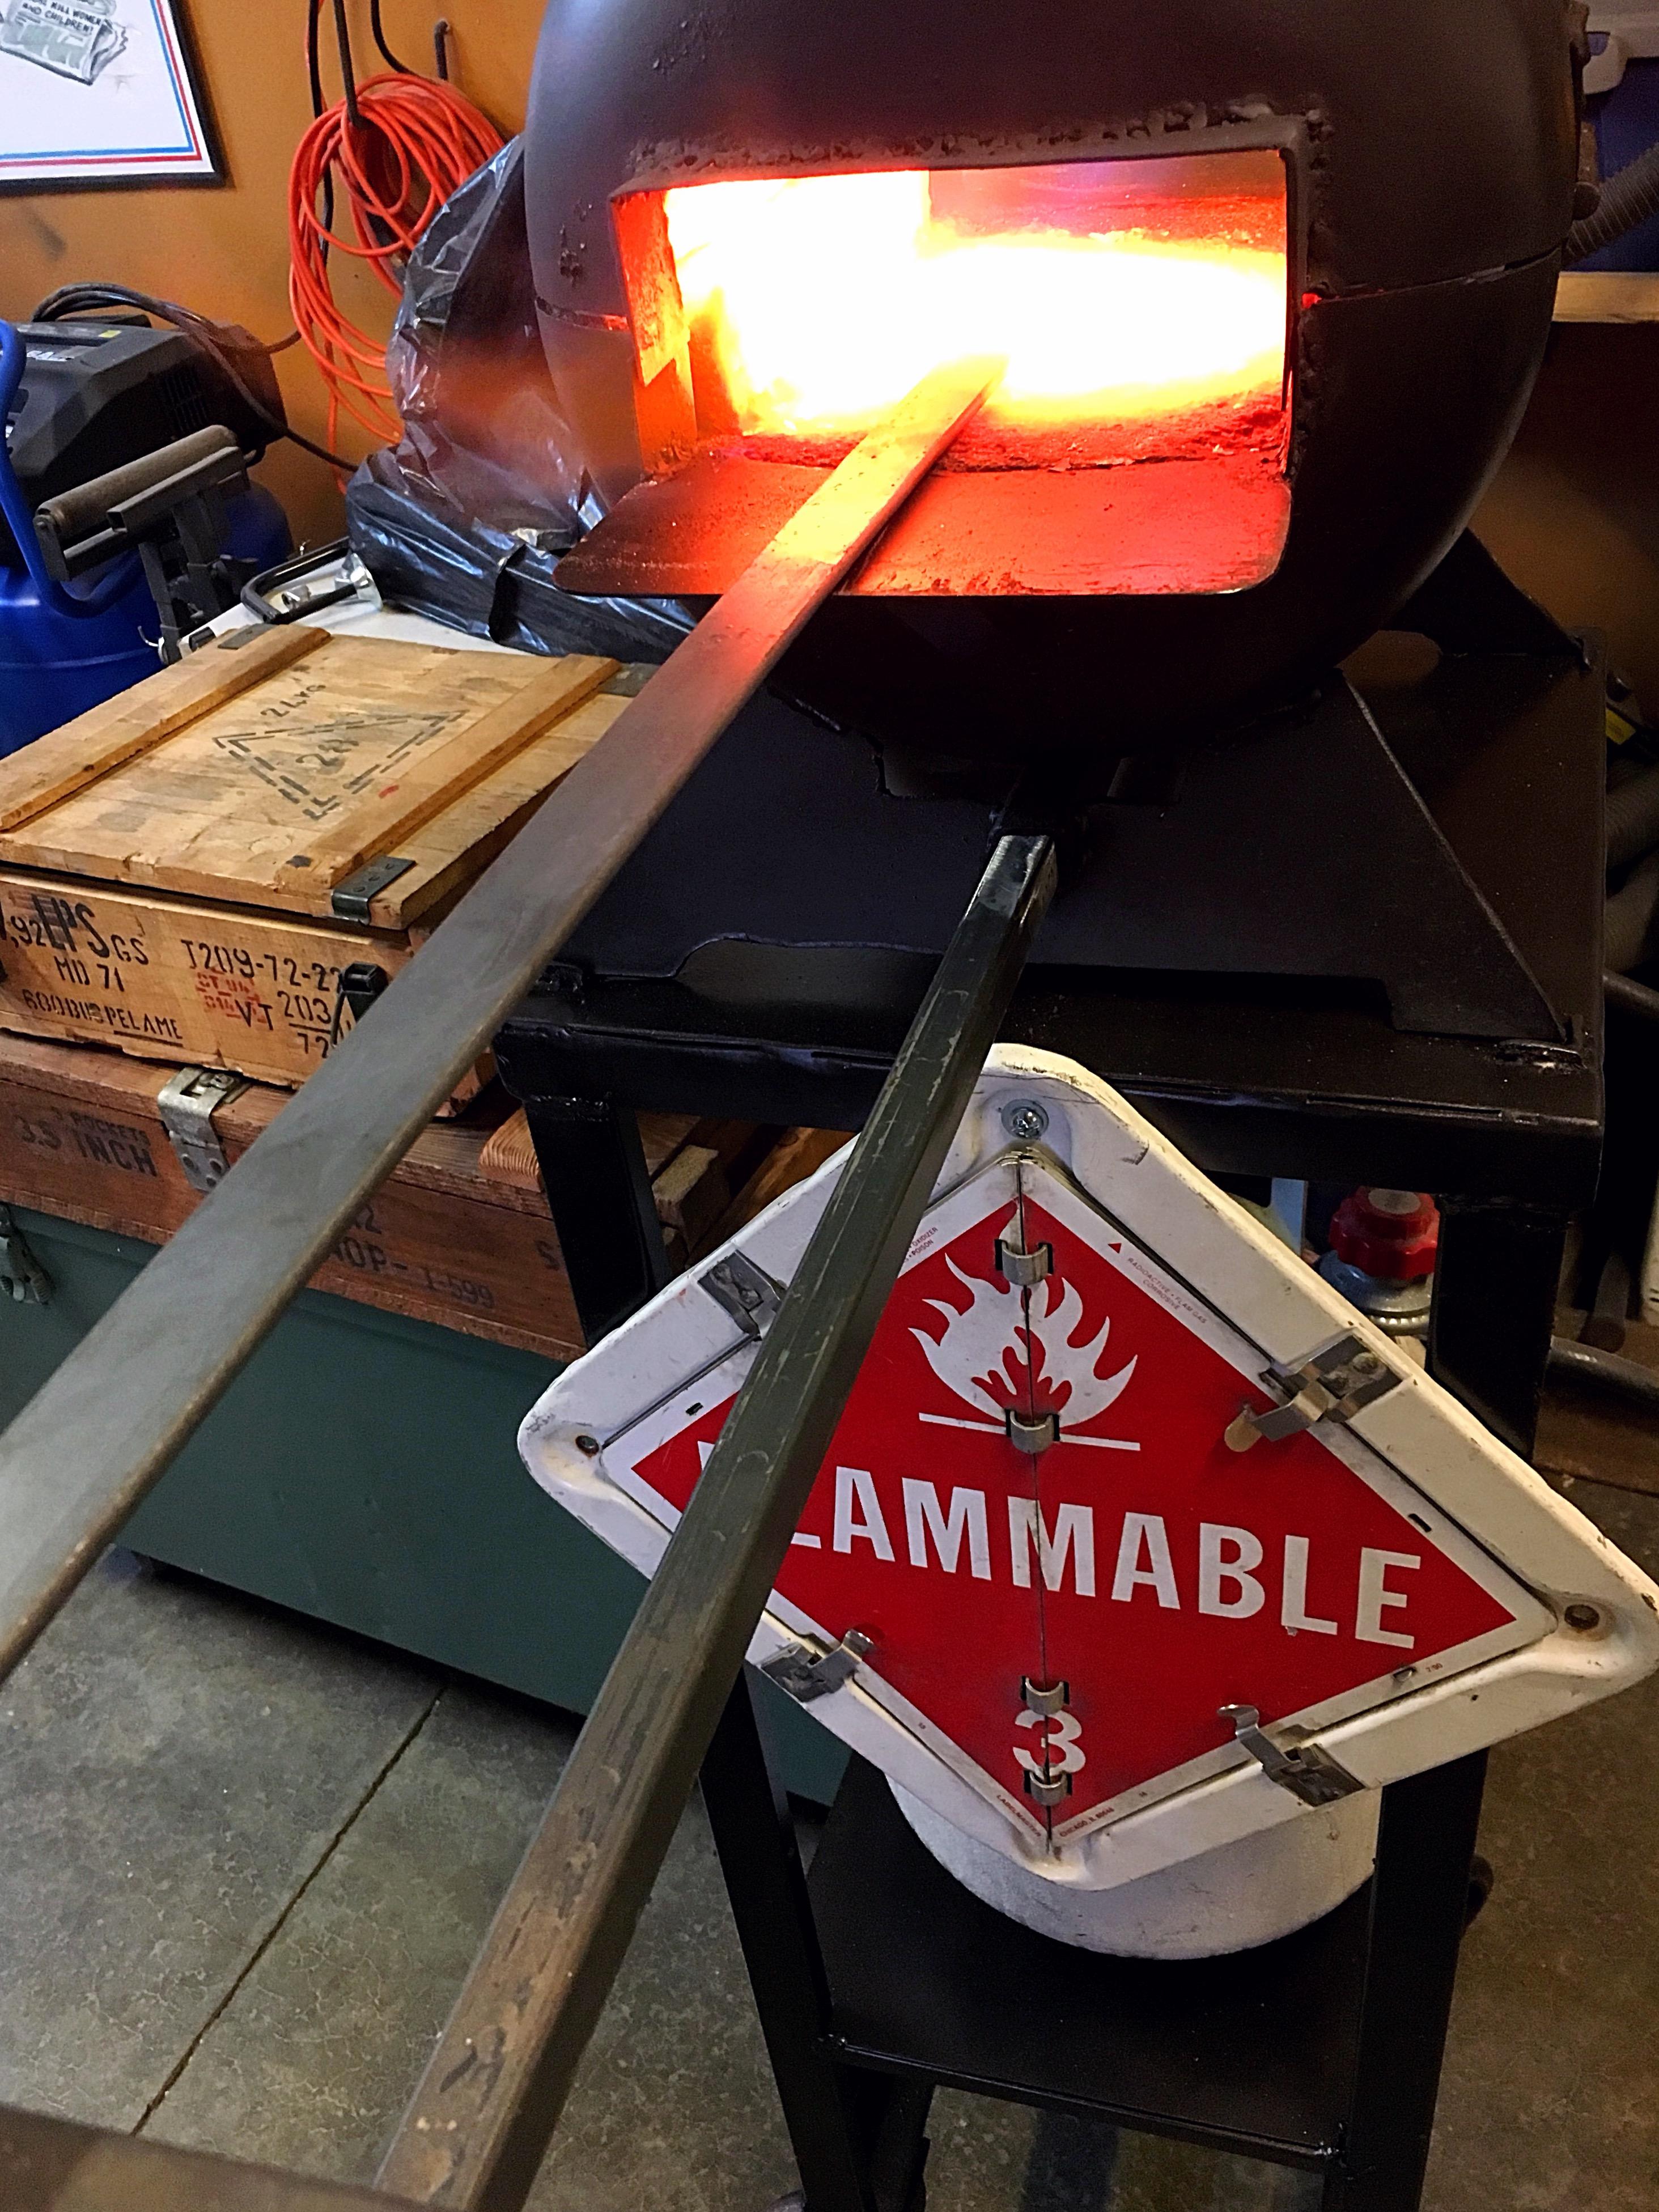
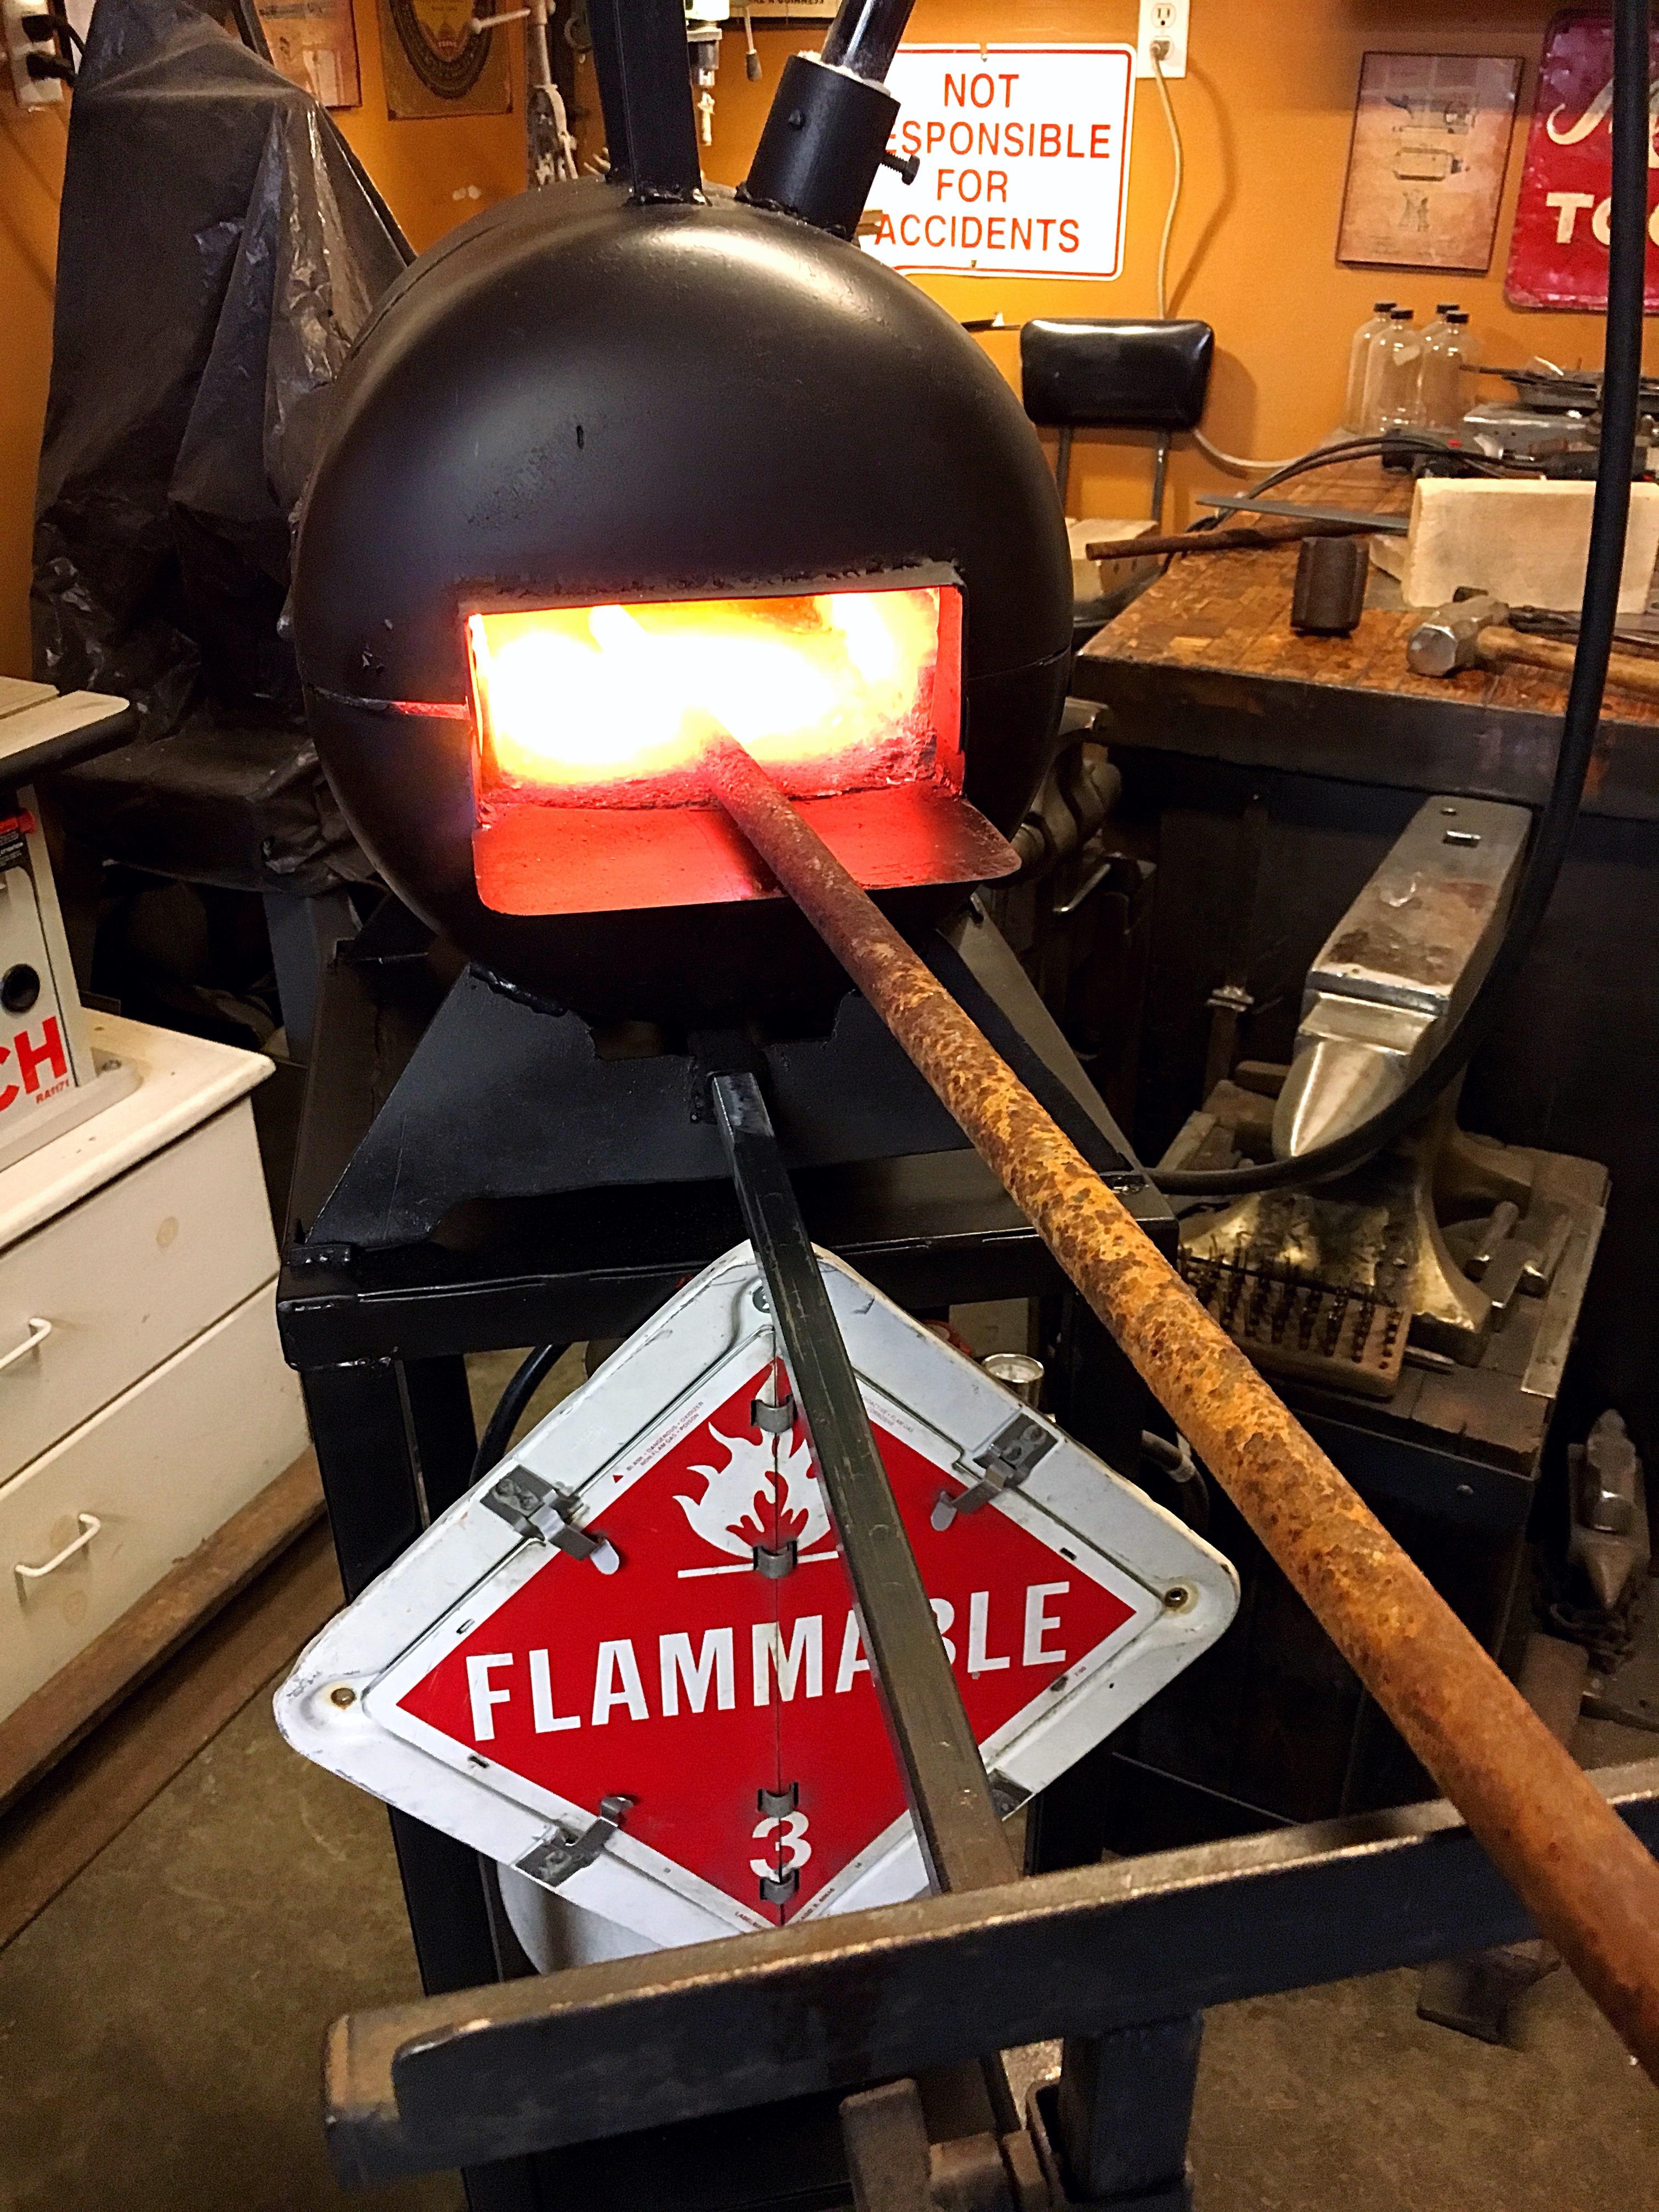
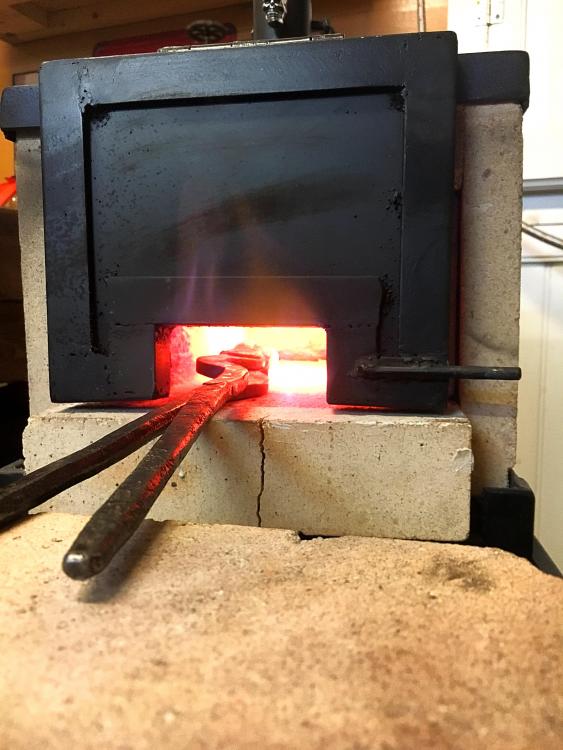
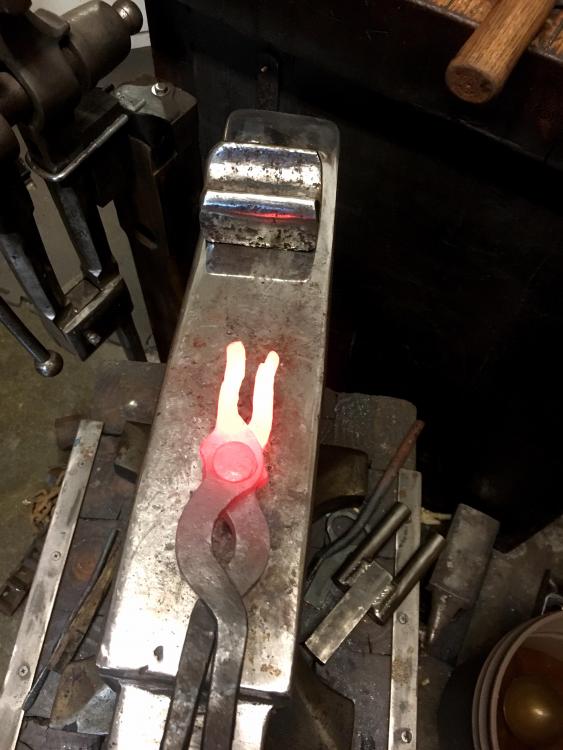
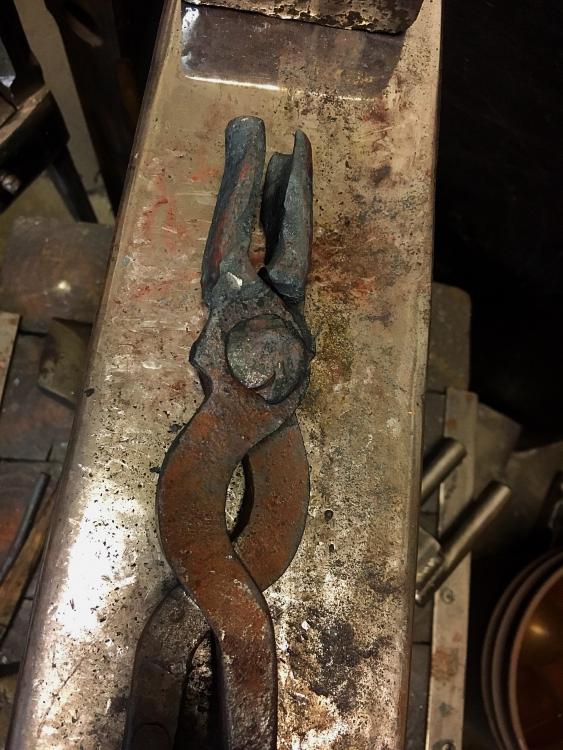
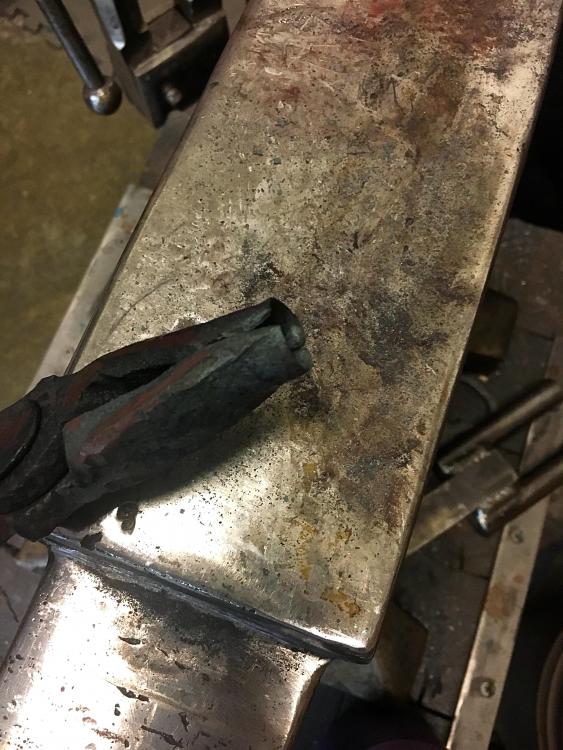
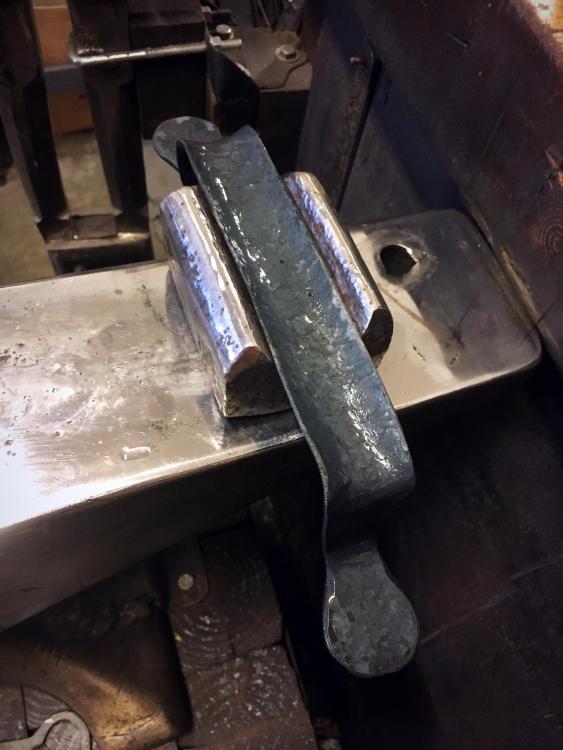
Today I was testing one of my forges I’ve been tuning and discovered a pair of nippers I’d been given last year and lost track of & had no use for. Thought I’d see if I could alter them to hold round bar stock. The Forge seems to be getting things to a decent heat. Some more work & they may have a chance of coming together.
-
Can someone answer me this, all other things being the same ; same burner, psi, Forge etc... What effect is to be expected by a longer burner tube? By that I mean using Frostys t-burner plans of a 6” long tube on a 3/4” T-burner, if you went shorter what effect will it have? If you went longer what would you see / experience? It was answered for me how that moving the mig tip closer & farther away from the top of the tube will effect the fuel to air ratio so I’ve got to expect that the gurus here know this one. In the fine tuning of a burner this seems interesting to me. From a hot rodders perspective I mean , if this can be viewed as a type of fuel injection system then the tube is the runner that delivers the mix into the combustion chamber....
-
Hey, I’m trying !!! I’ll be out at Yoders Blacksmithing Supplies this weekend with a pocket full of cash (they don’t take cards or have electricity) looking for deals. If anyone is in the area!
-
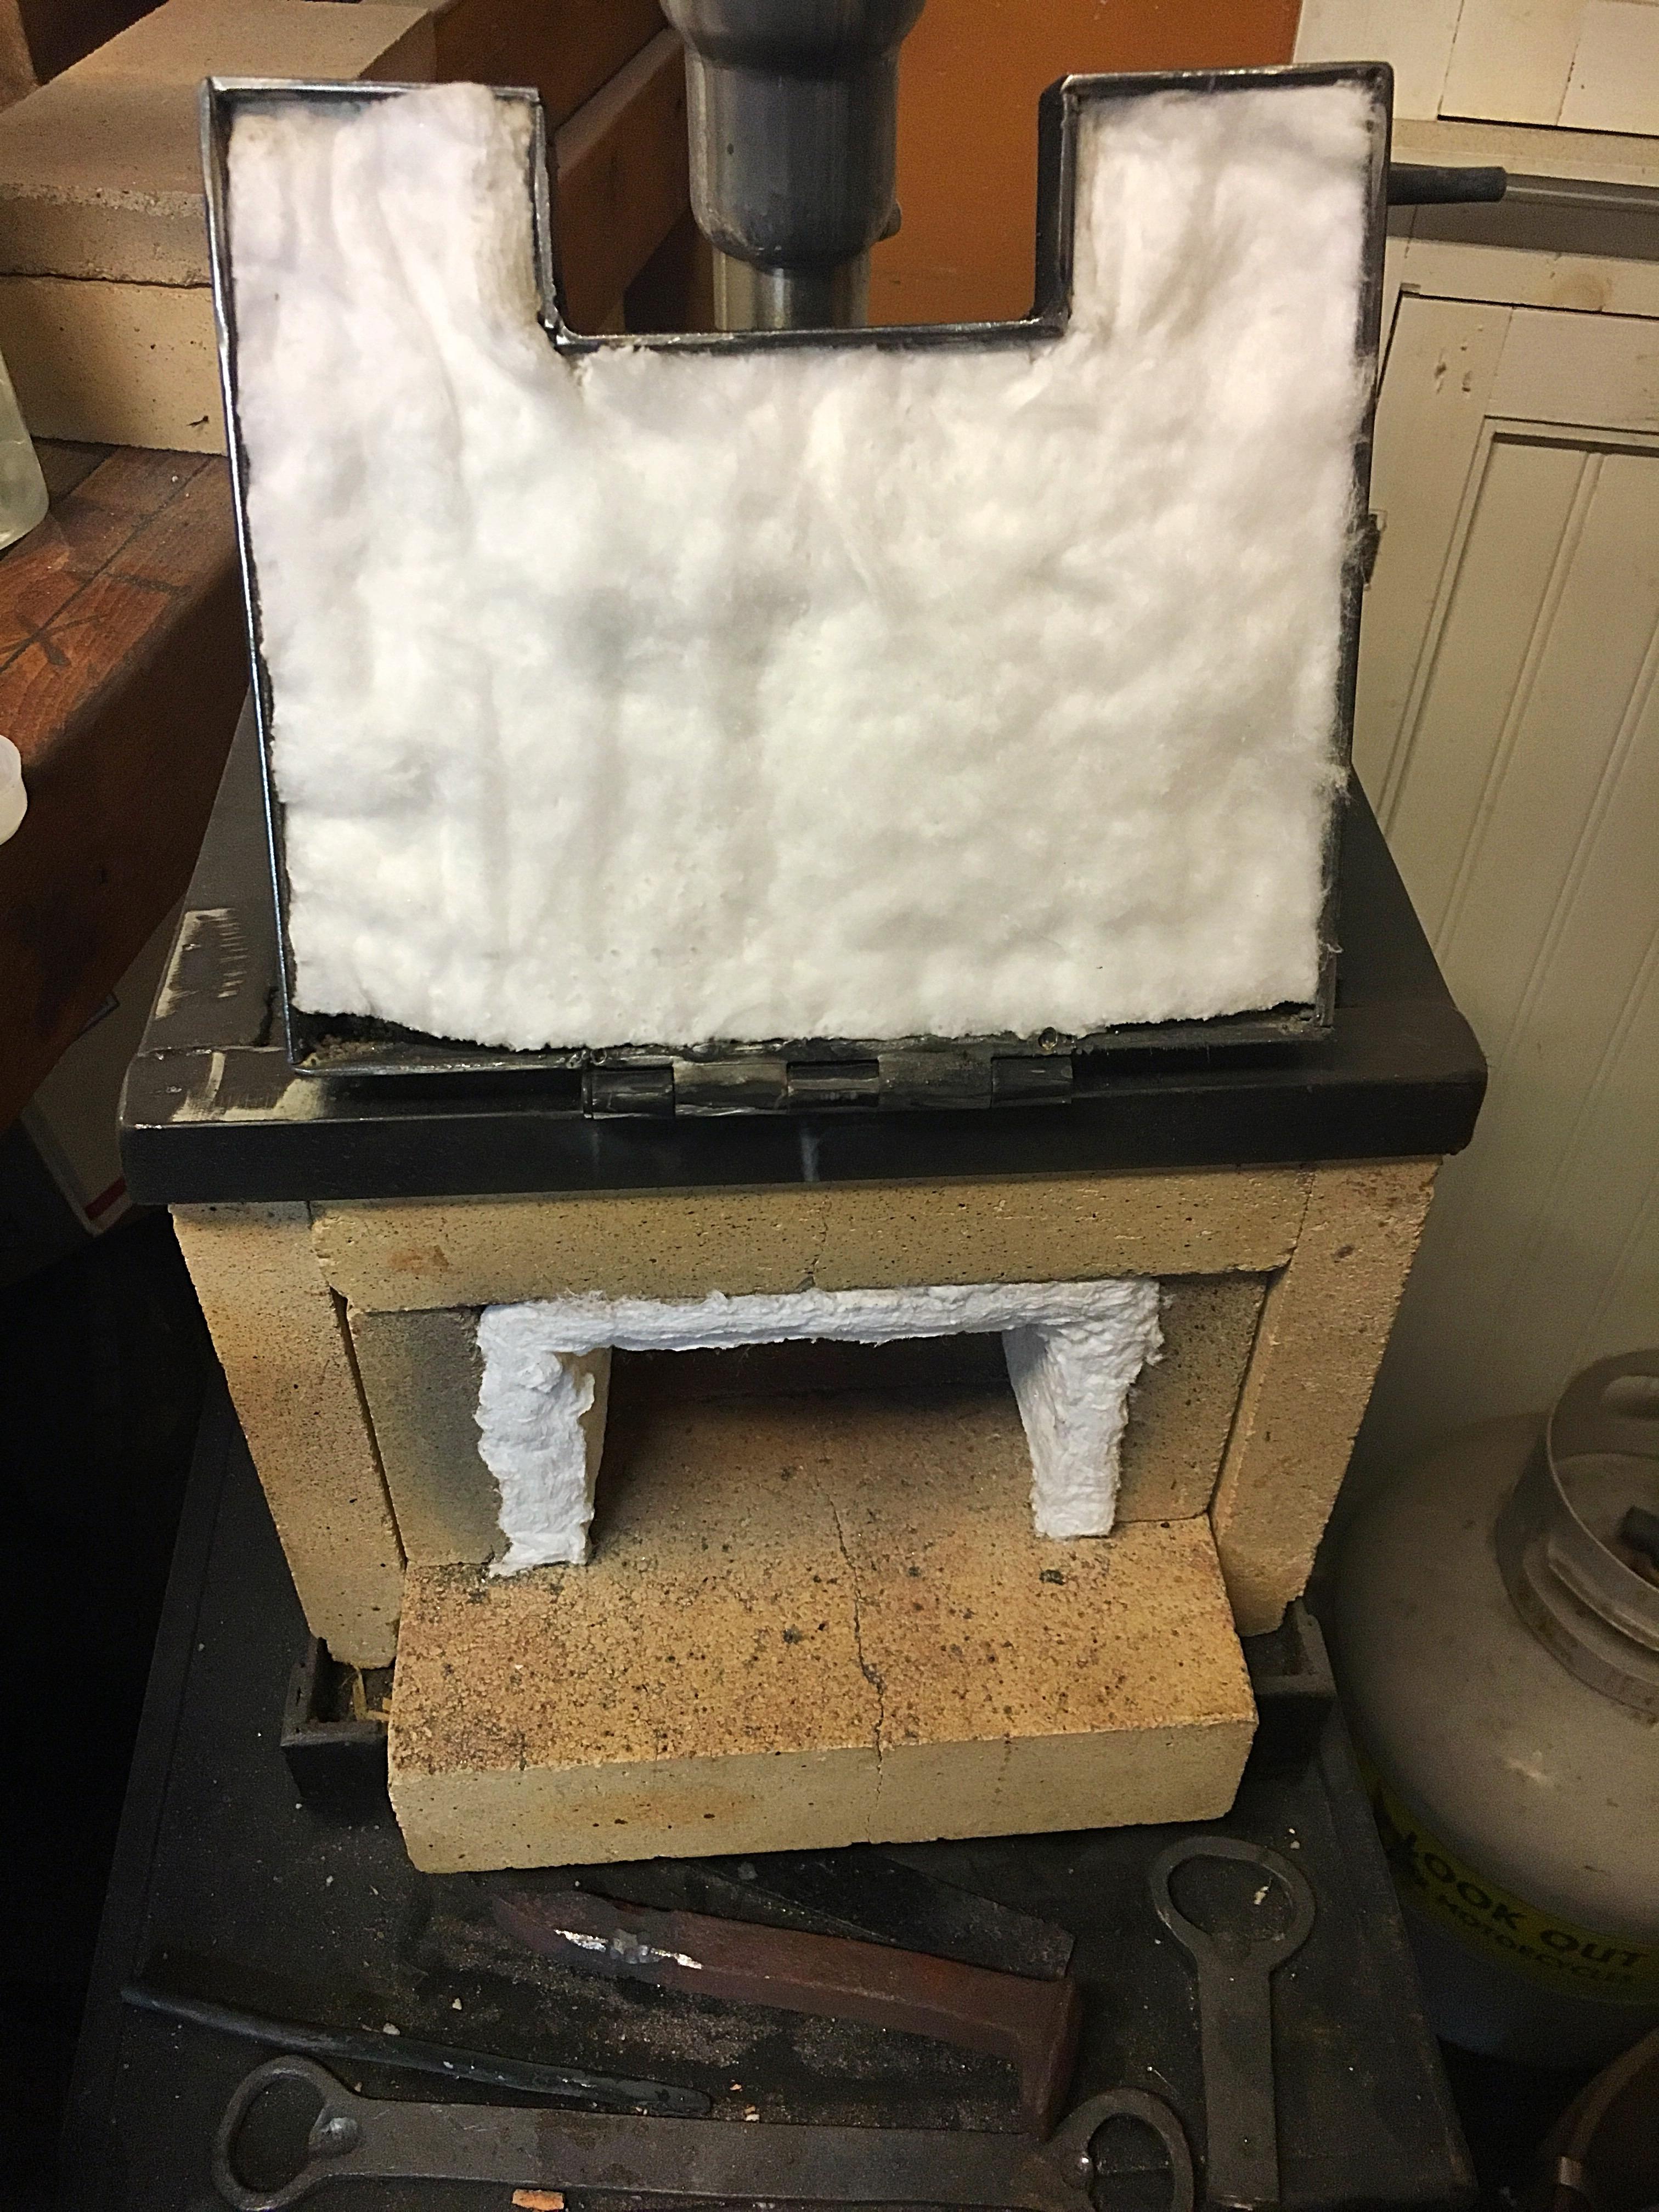
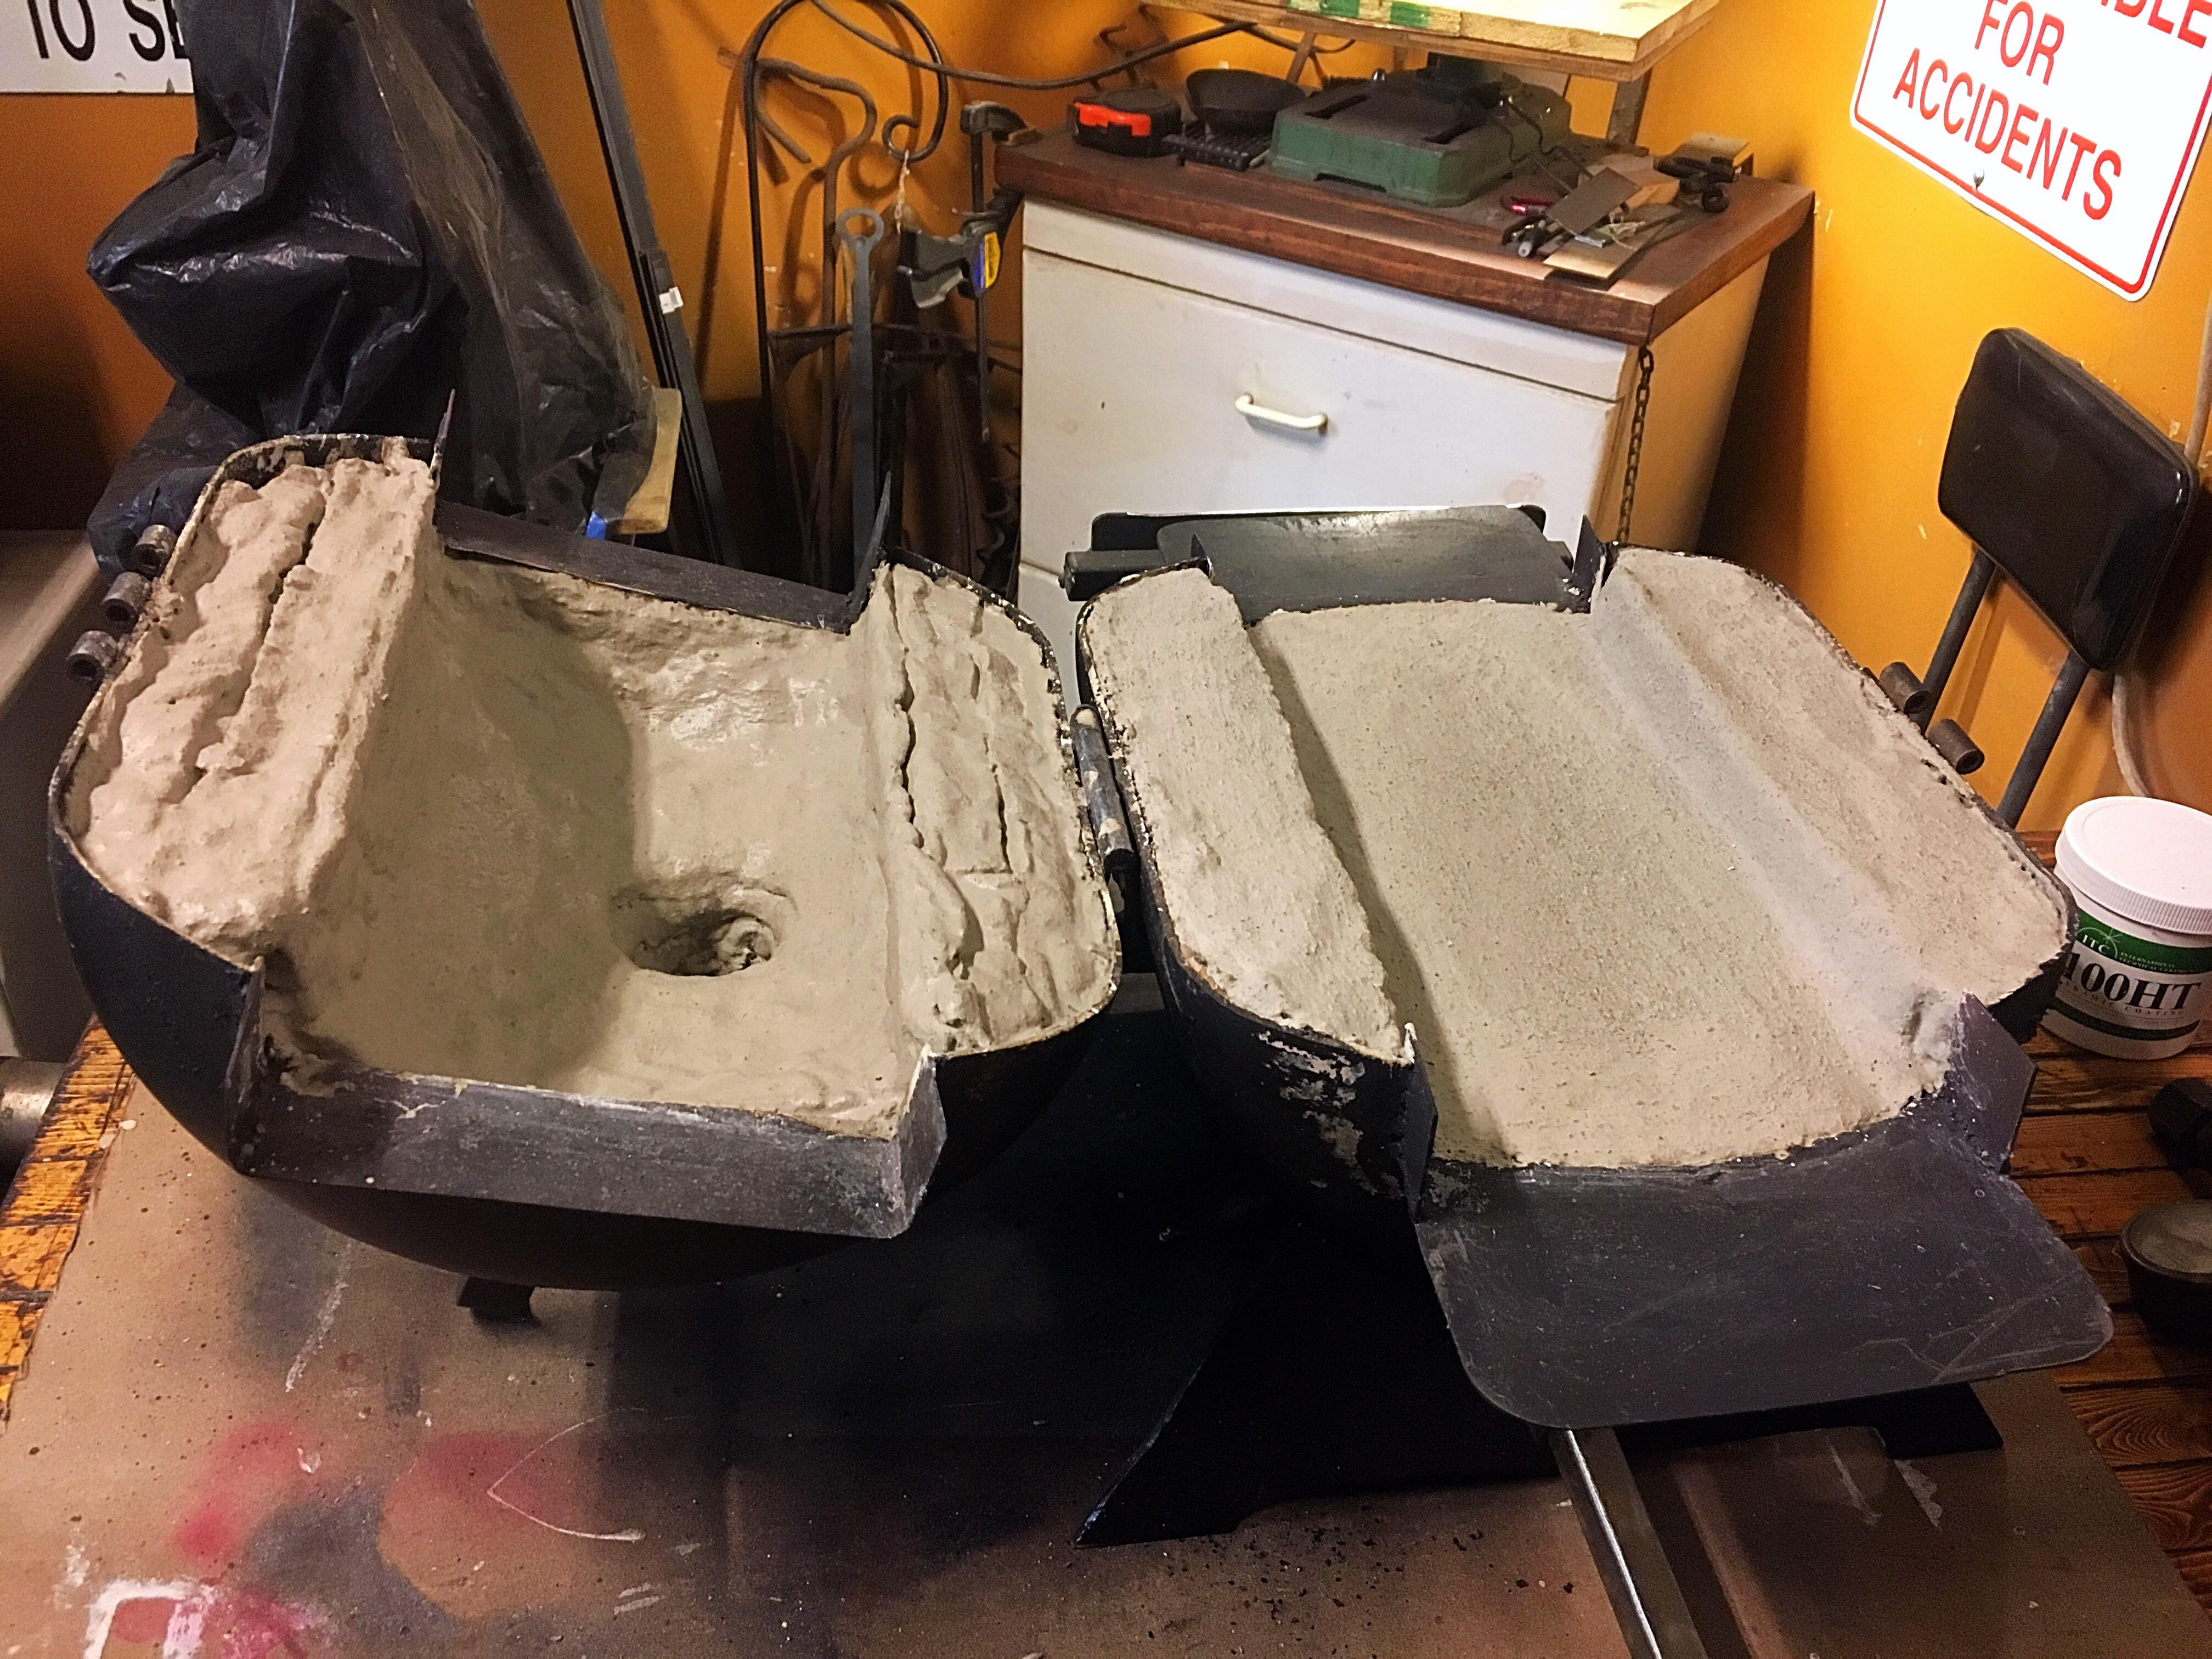
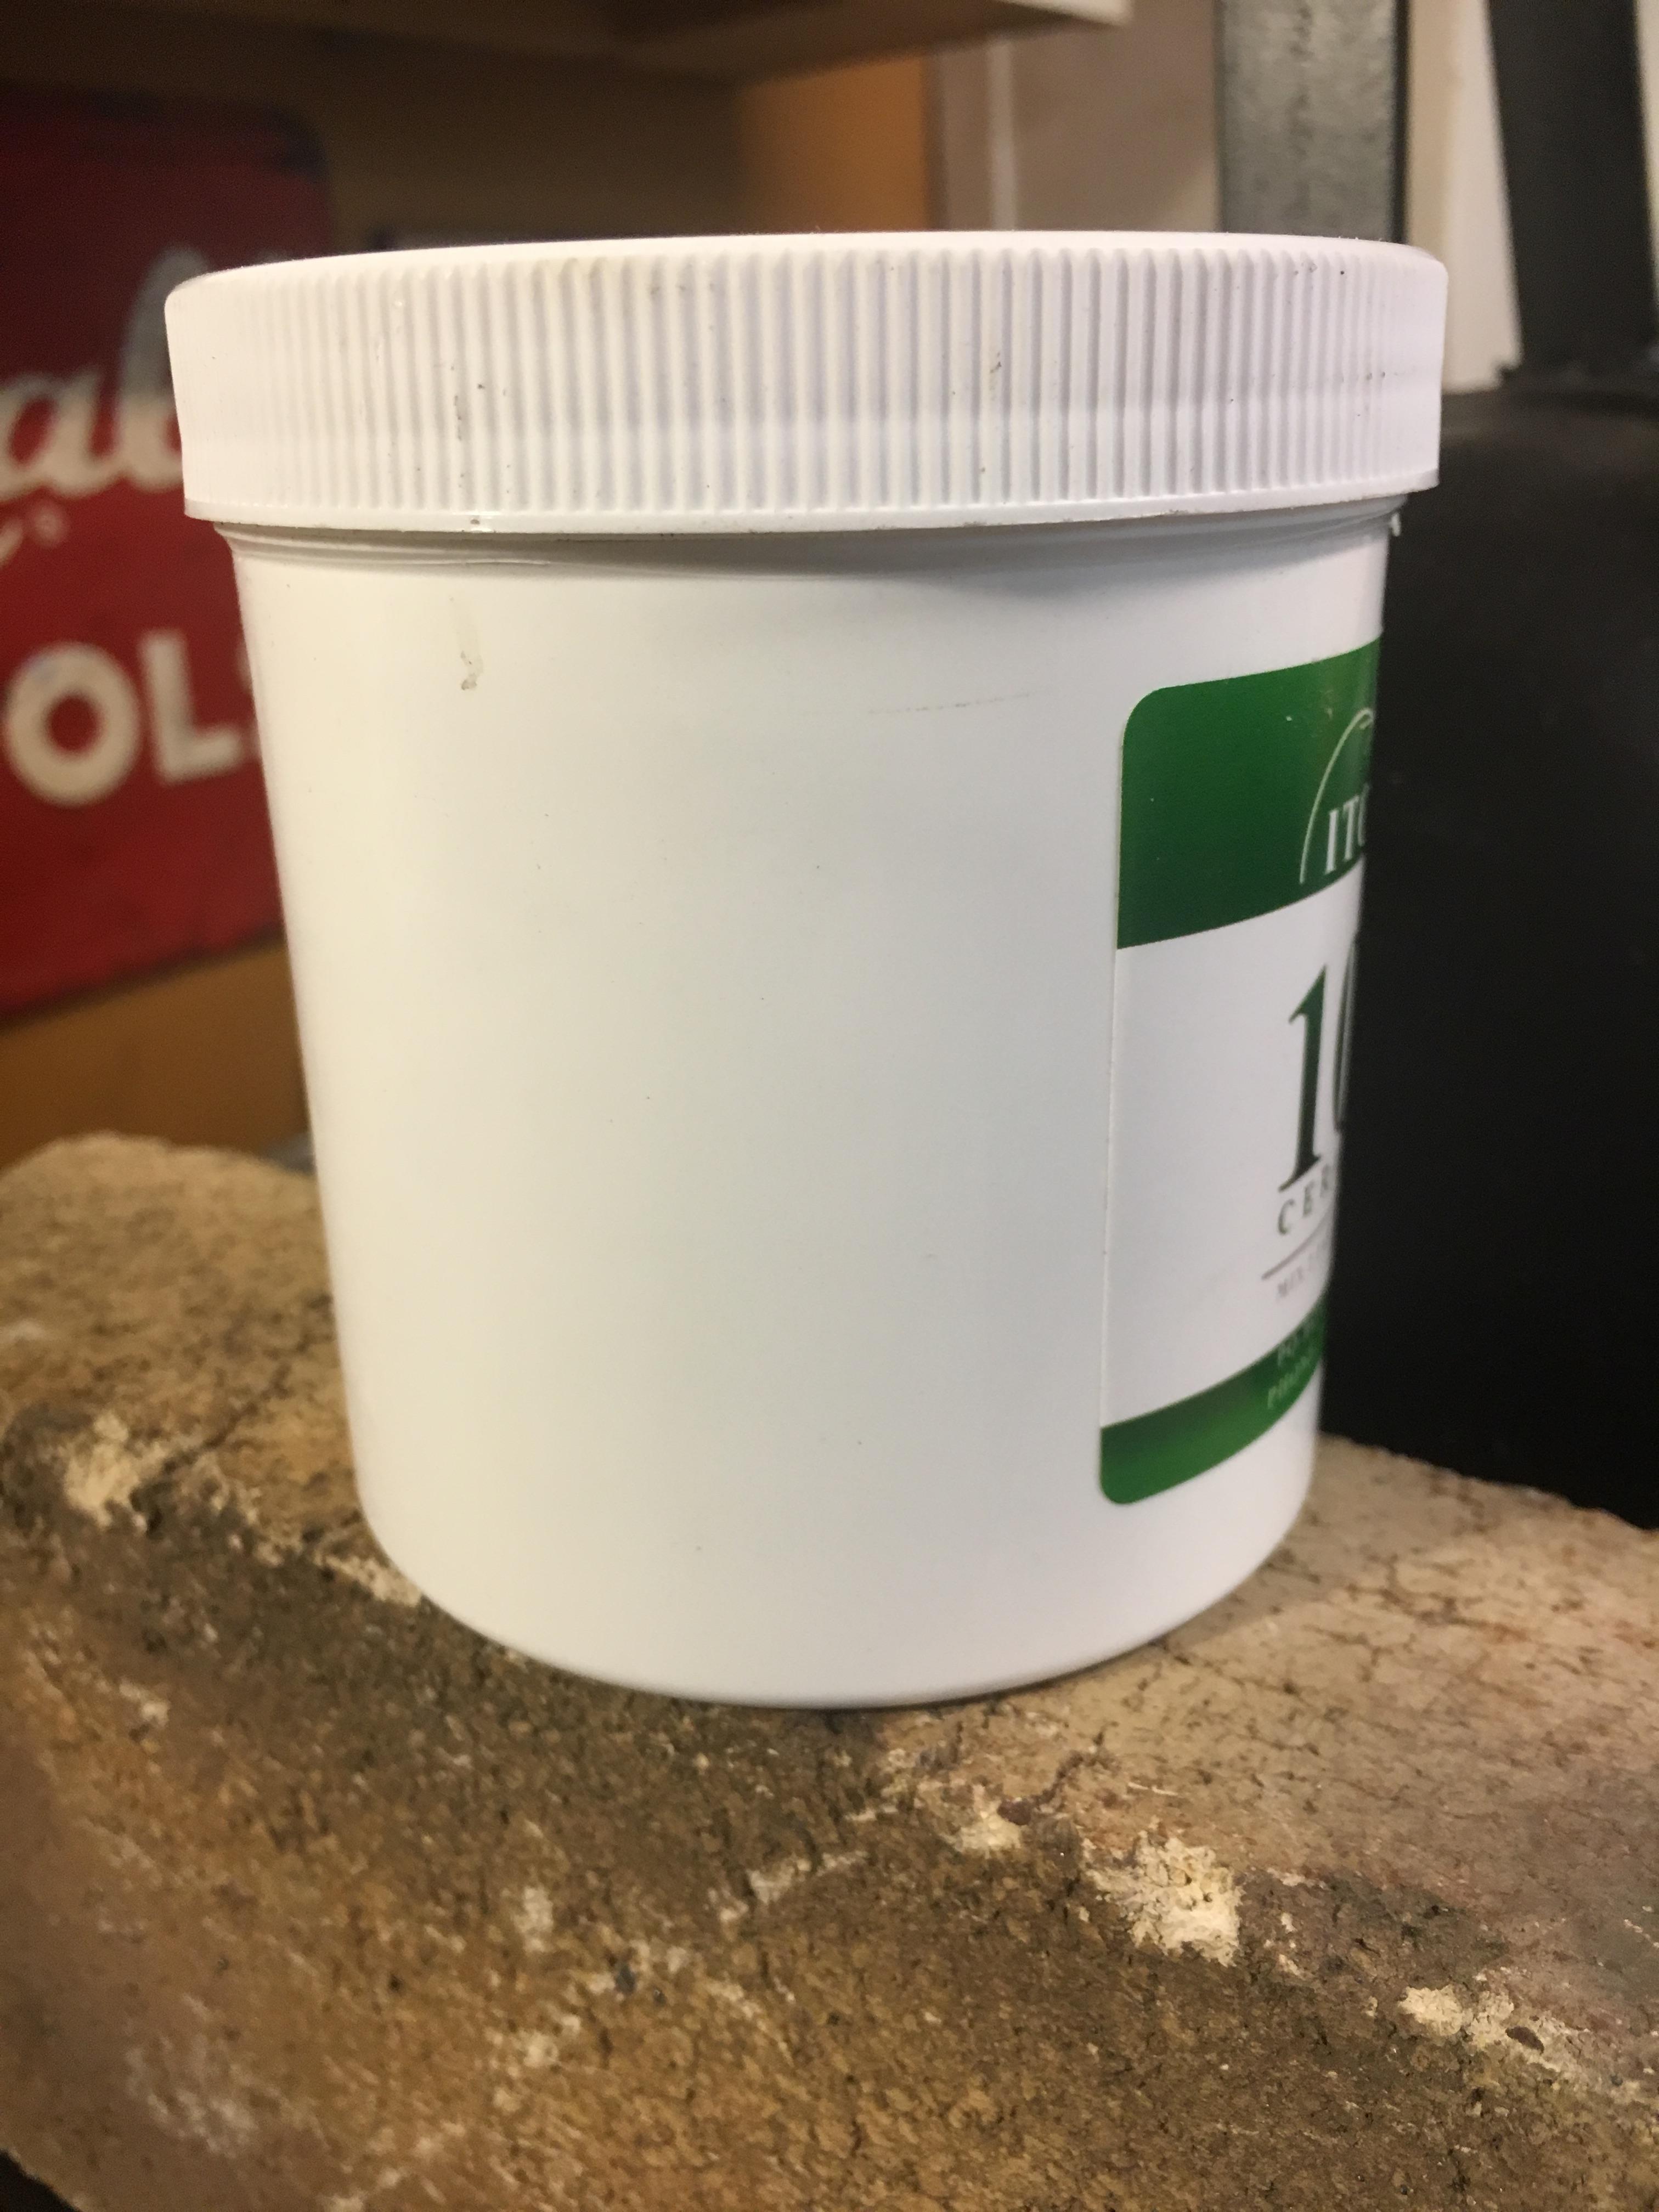
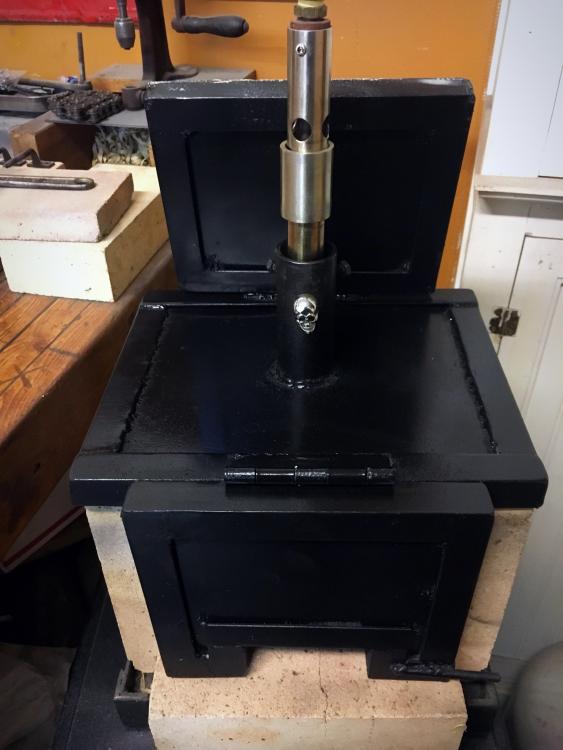
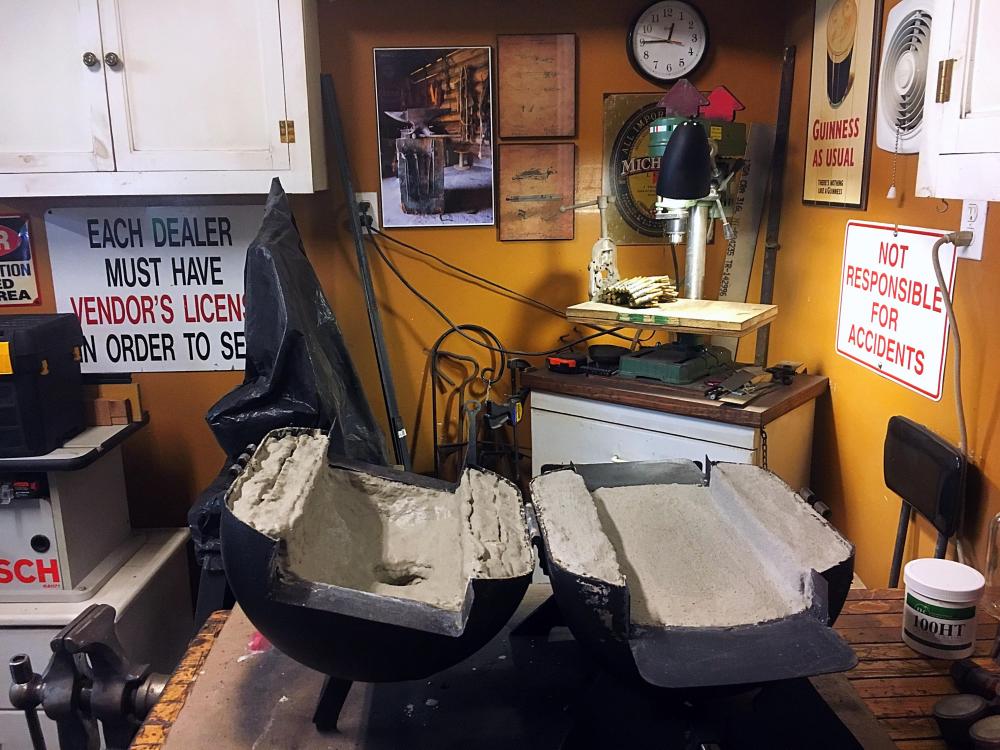
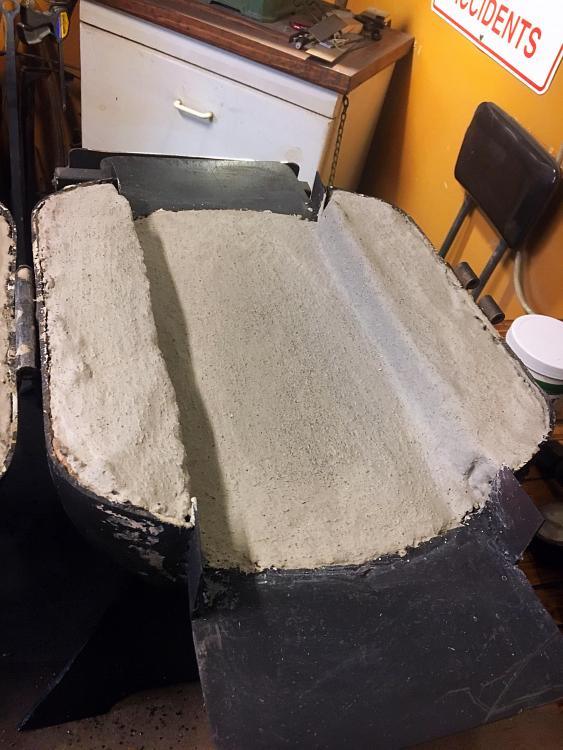
The person who built this welded a large hinge on each side. I drove the pin out and I have to admit, it really makes working on it easy. I test fitted it once the ITC 100 was dry and there were a couple gaps where a hint of light could be seen where the top & bottom meet. So I cut a piece of Kaowool to use as a gasket. Soaked it in rigidizer and assembled the top & bottom and left it to dry in place. Probably a bit inefficient splitting the tank that way but I have to say it certainly is convenient.


-
What did you do in the shop today?
GrumpyBiker replied to Mark Ling's topic in Blacksmithing, General Discussion
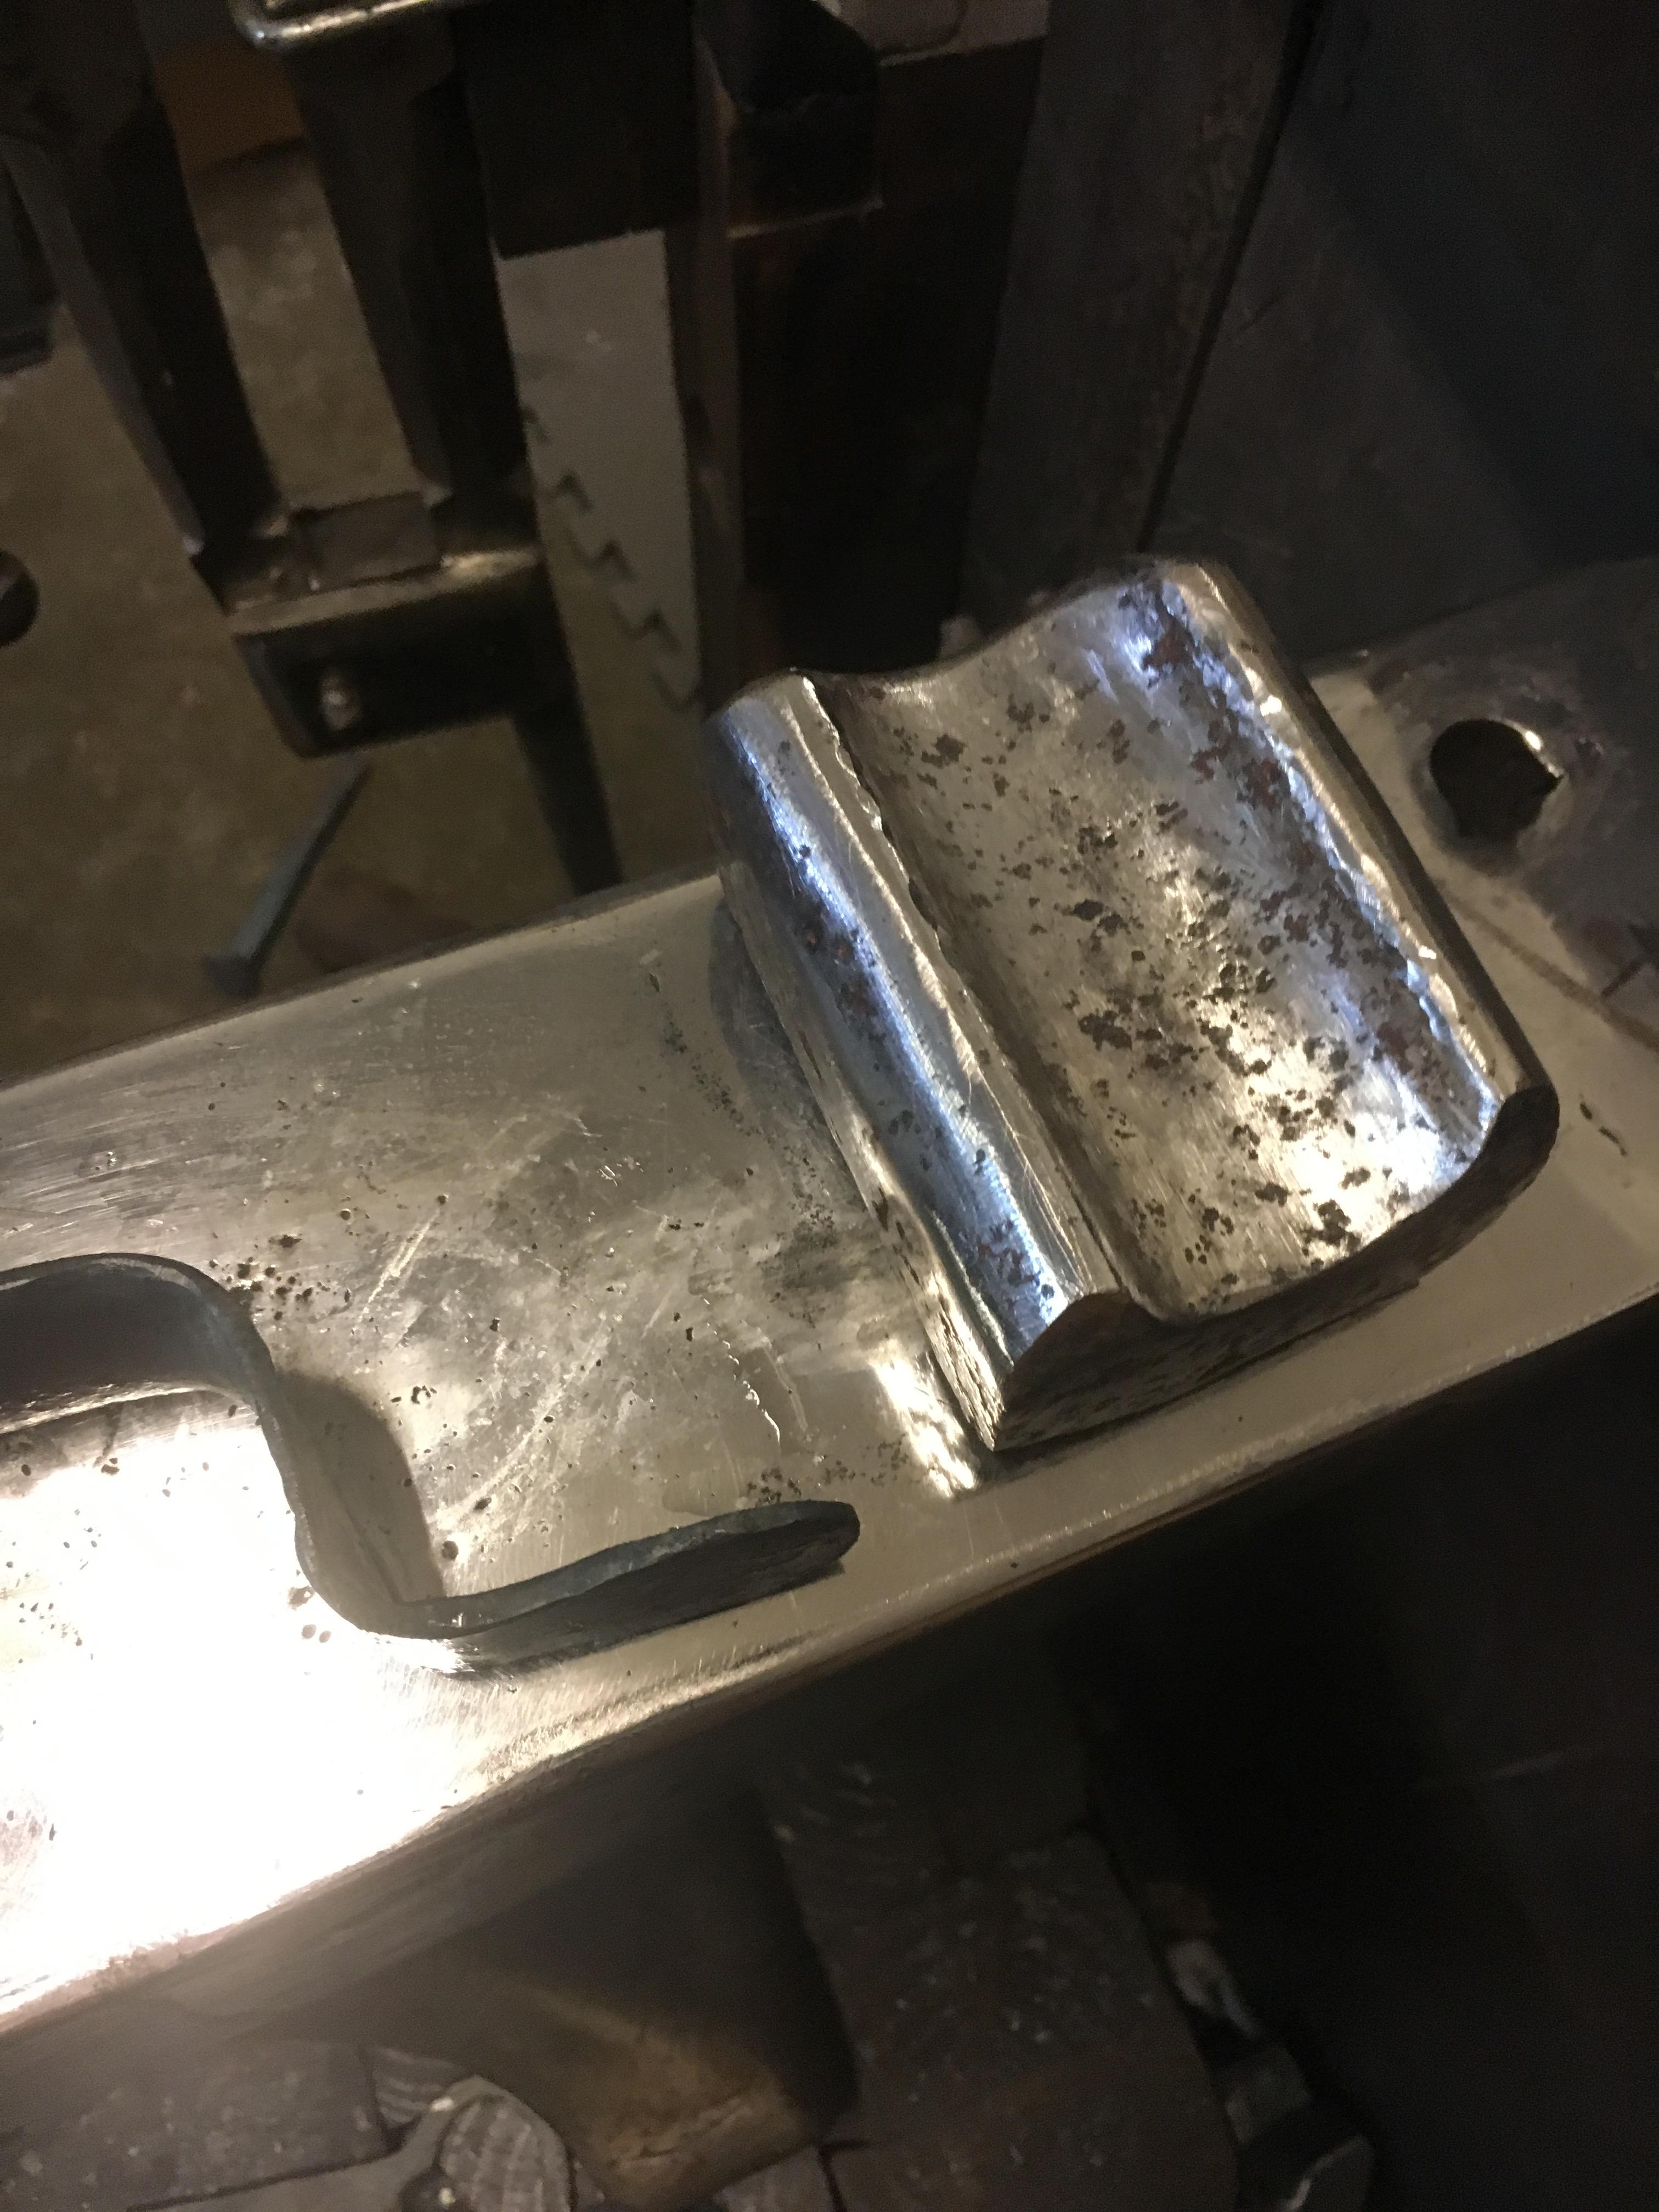
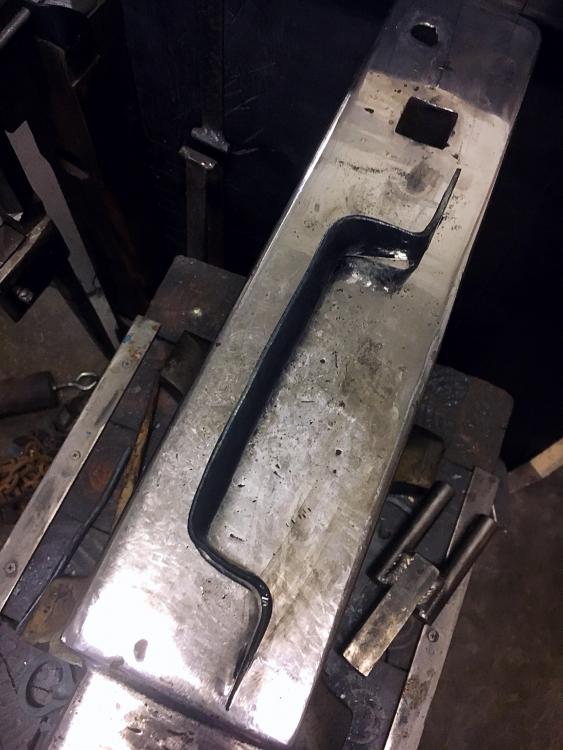
Nothing special, first concave handle . Bought an old $15 hardy tool at Yoders Blacksmithing Supplies a few weeks ago. The wooden lids & handles I made for my wife’s rain barrels are in need of replacement.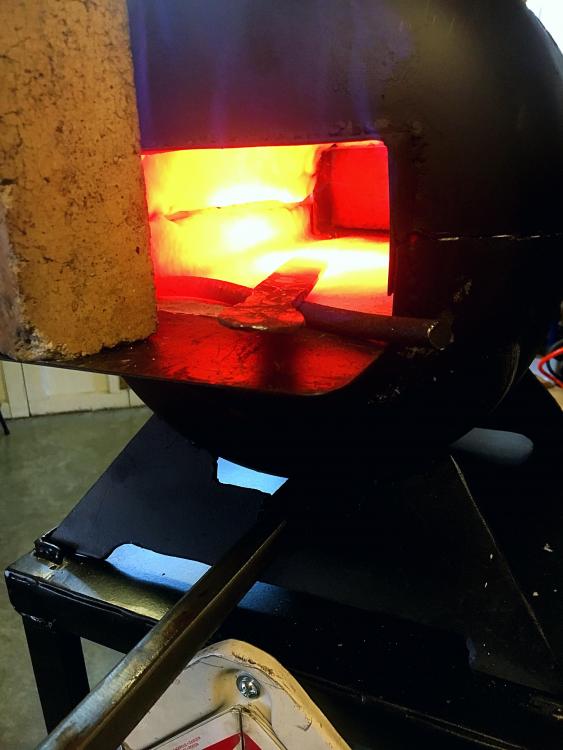


-
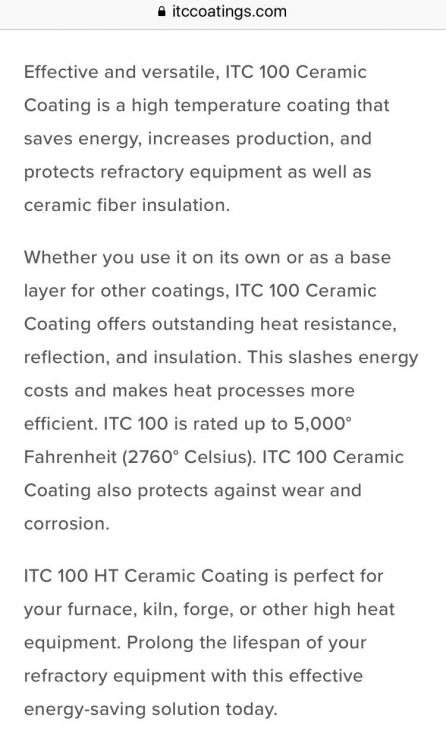
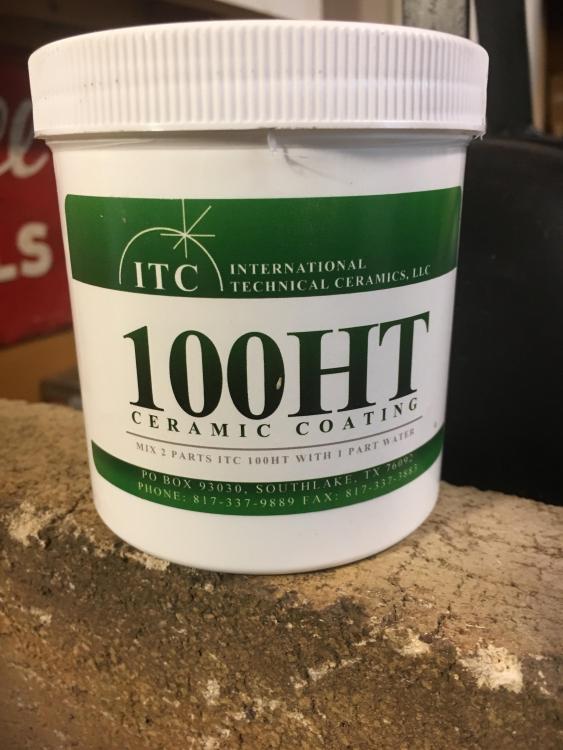
Even the company’s website is devoid of instructions. Guess I’ll just let it cure over night and give it a run up tomorrow.
-
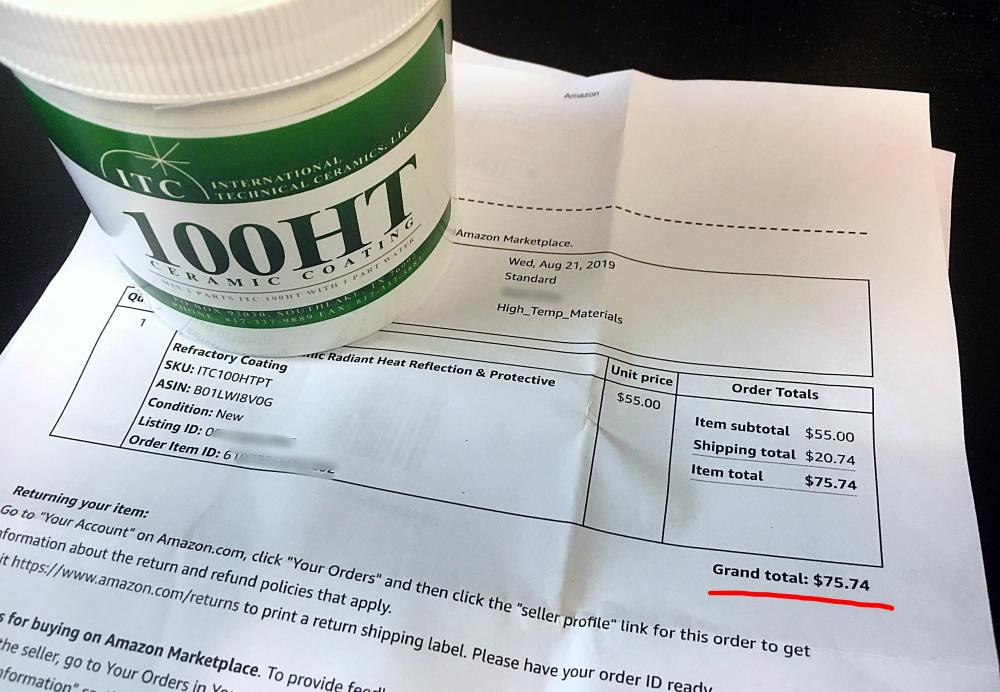
The “directions” leave a bit to be desired. There was nothing but the tub & the bill of sale in the box. I didn’t know if a heat gun on low was recommended or not.
-
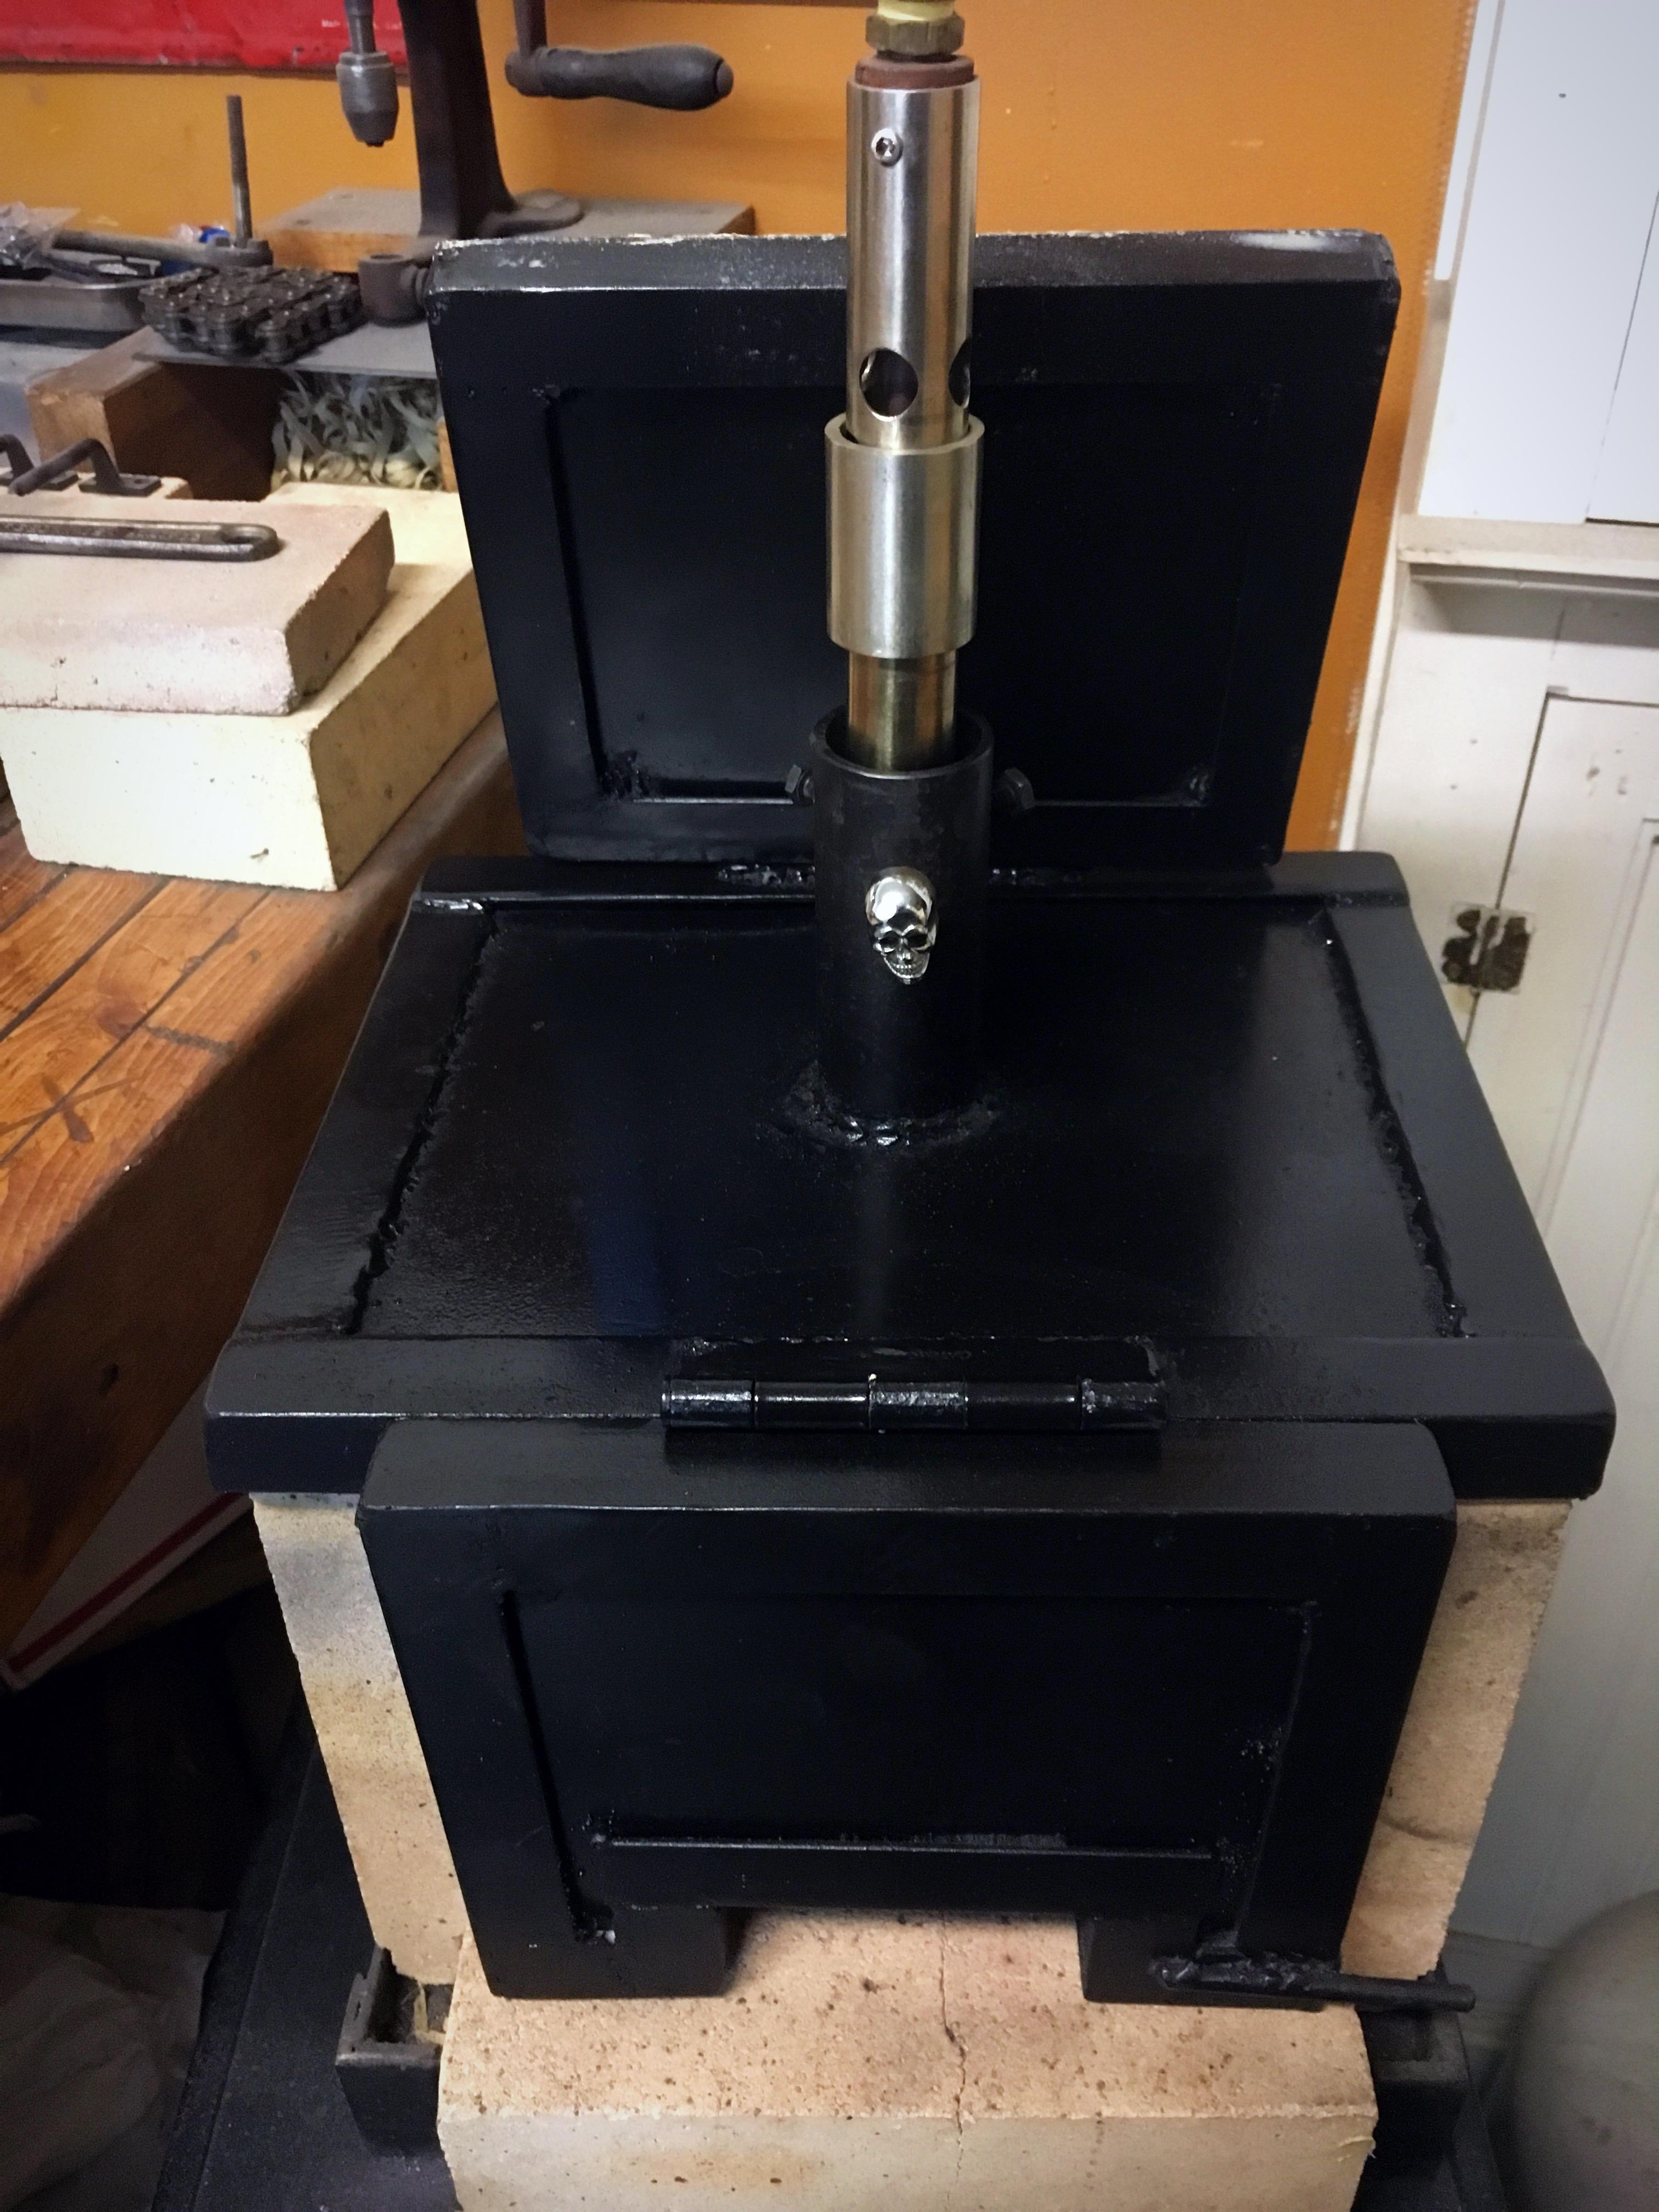
Well since Mikey mentioned a clamshell style forge a couple posts above I’ll post up the new to me “stove with stand” forge I bought two weeks ago & am sorting out! I just received the ITC 100 and applied it. (that stuff isn’t cheap!!) I have to ask, as there are no directions on the little tub, how long is the cure time for this material? Also, I kind of thought it’d be thicker but it’s more of a gritty ceramic slip than anything.
-
Well that was not easy given a smart phones offset camera . 15 pics later and all with the flash were garbage. This is sadly as good as I got today. I did take a slow-mo video of the swirling flame from the burner. Not experienced enough with this burner as it’s new to me , to be able to say if it’s better or by how much. I may start a forge log and keep track of the temp , humidity & barometric pressure each time I run it and document observations for the first couple months until this Forge & I get to know each other better.
-
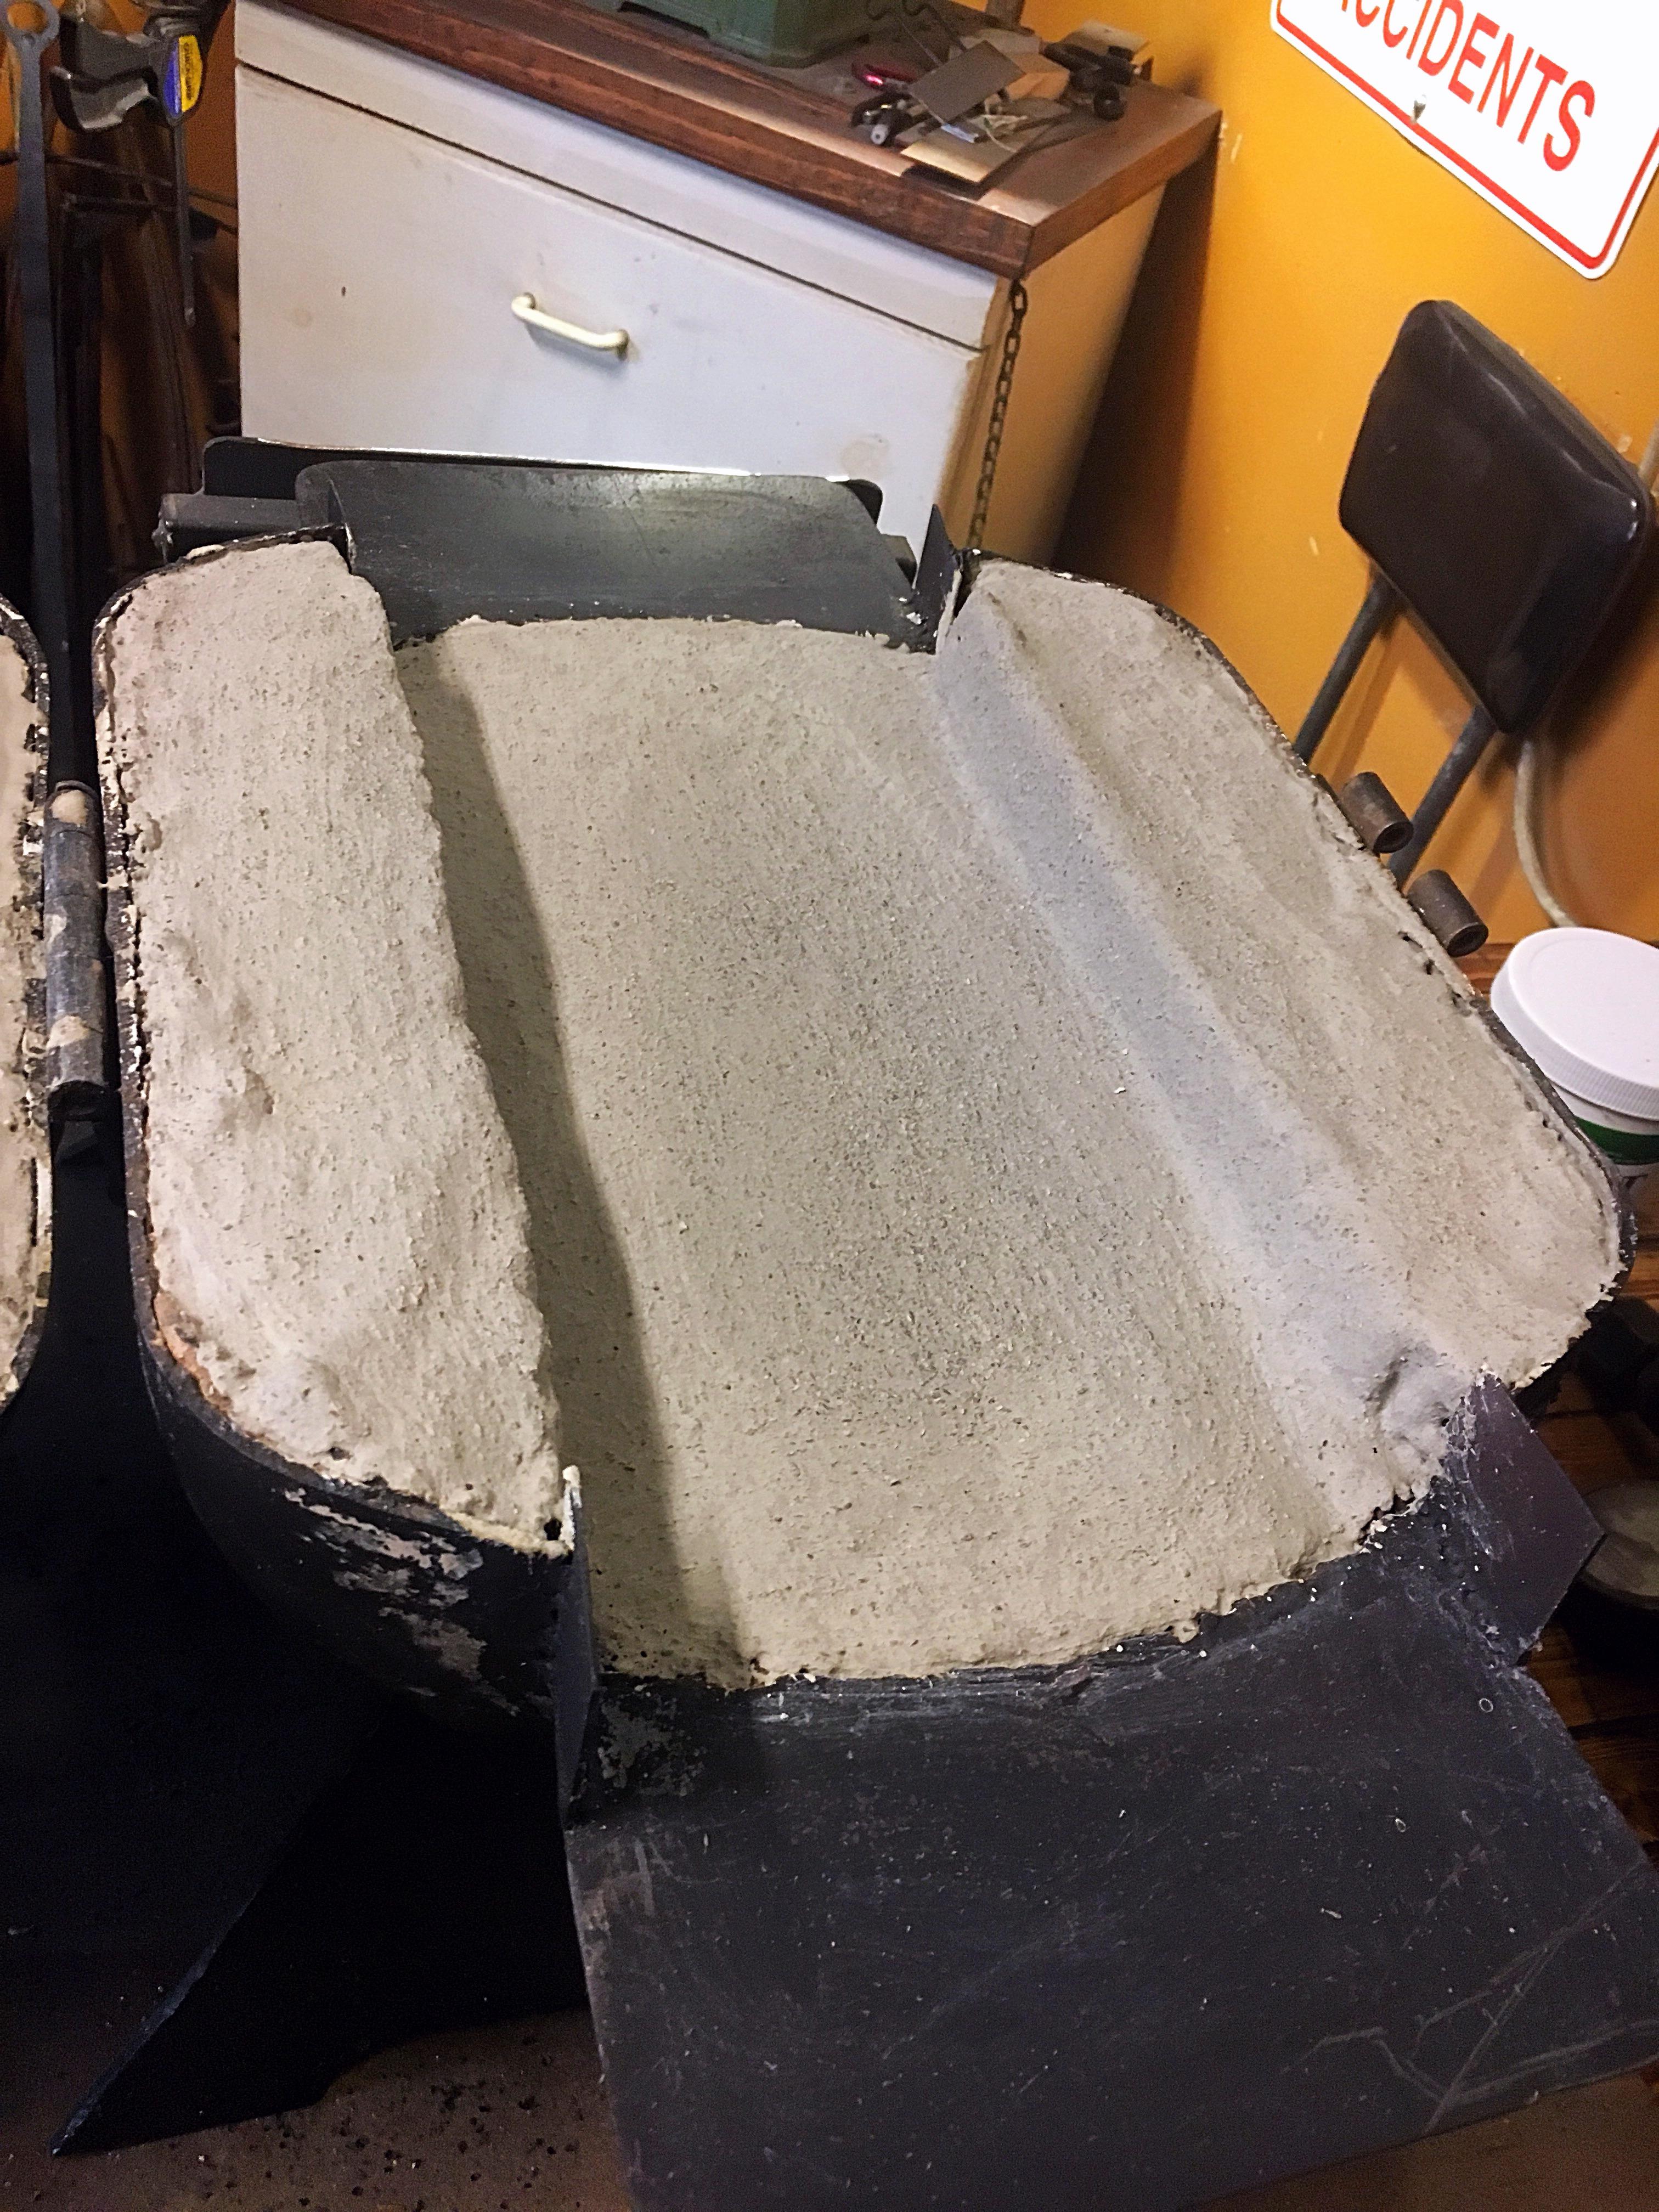
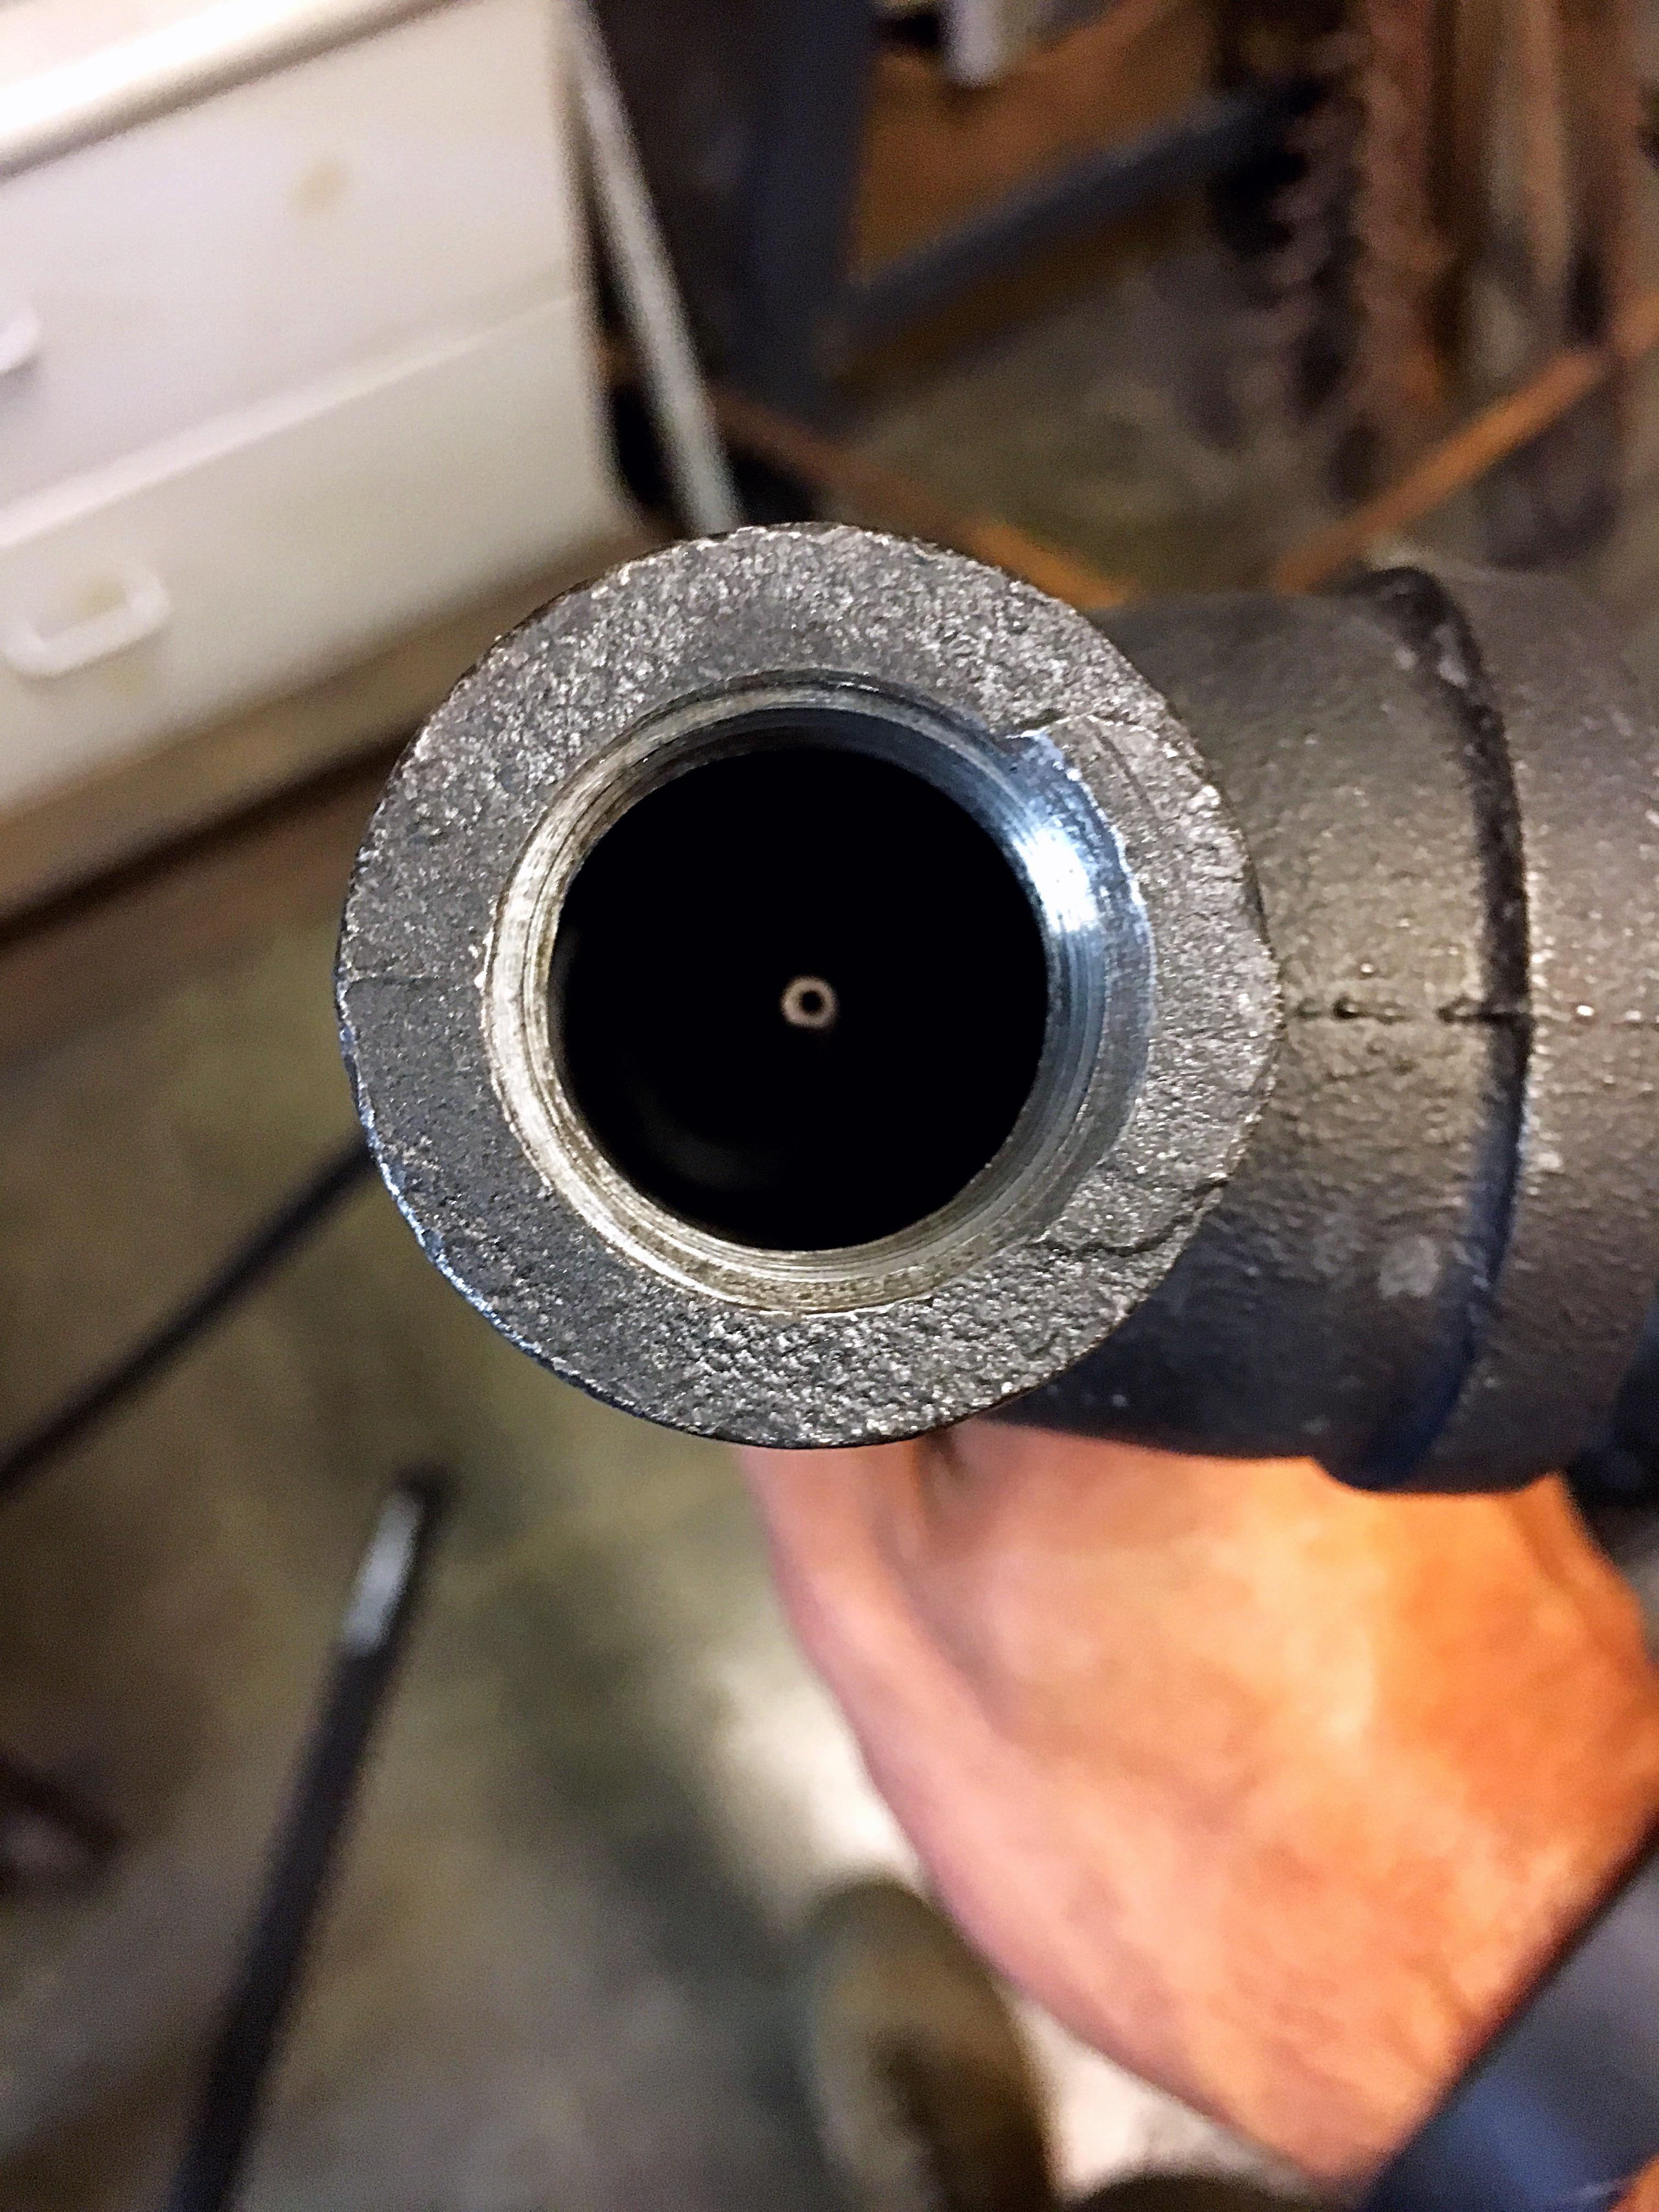
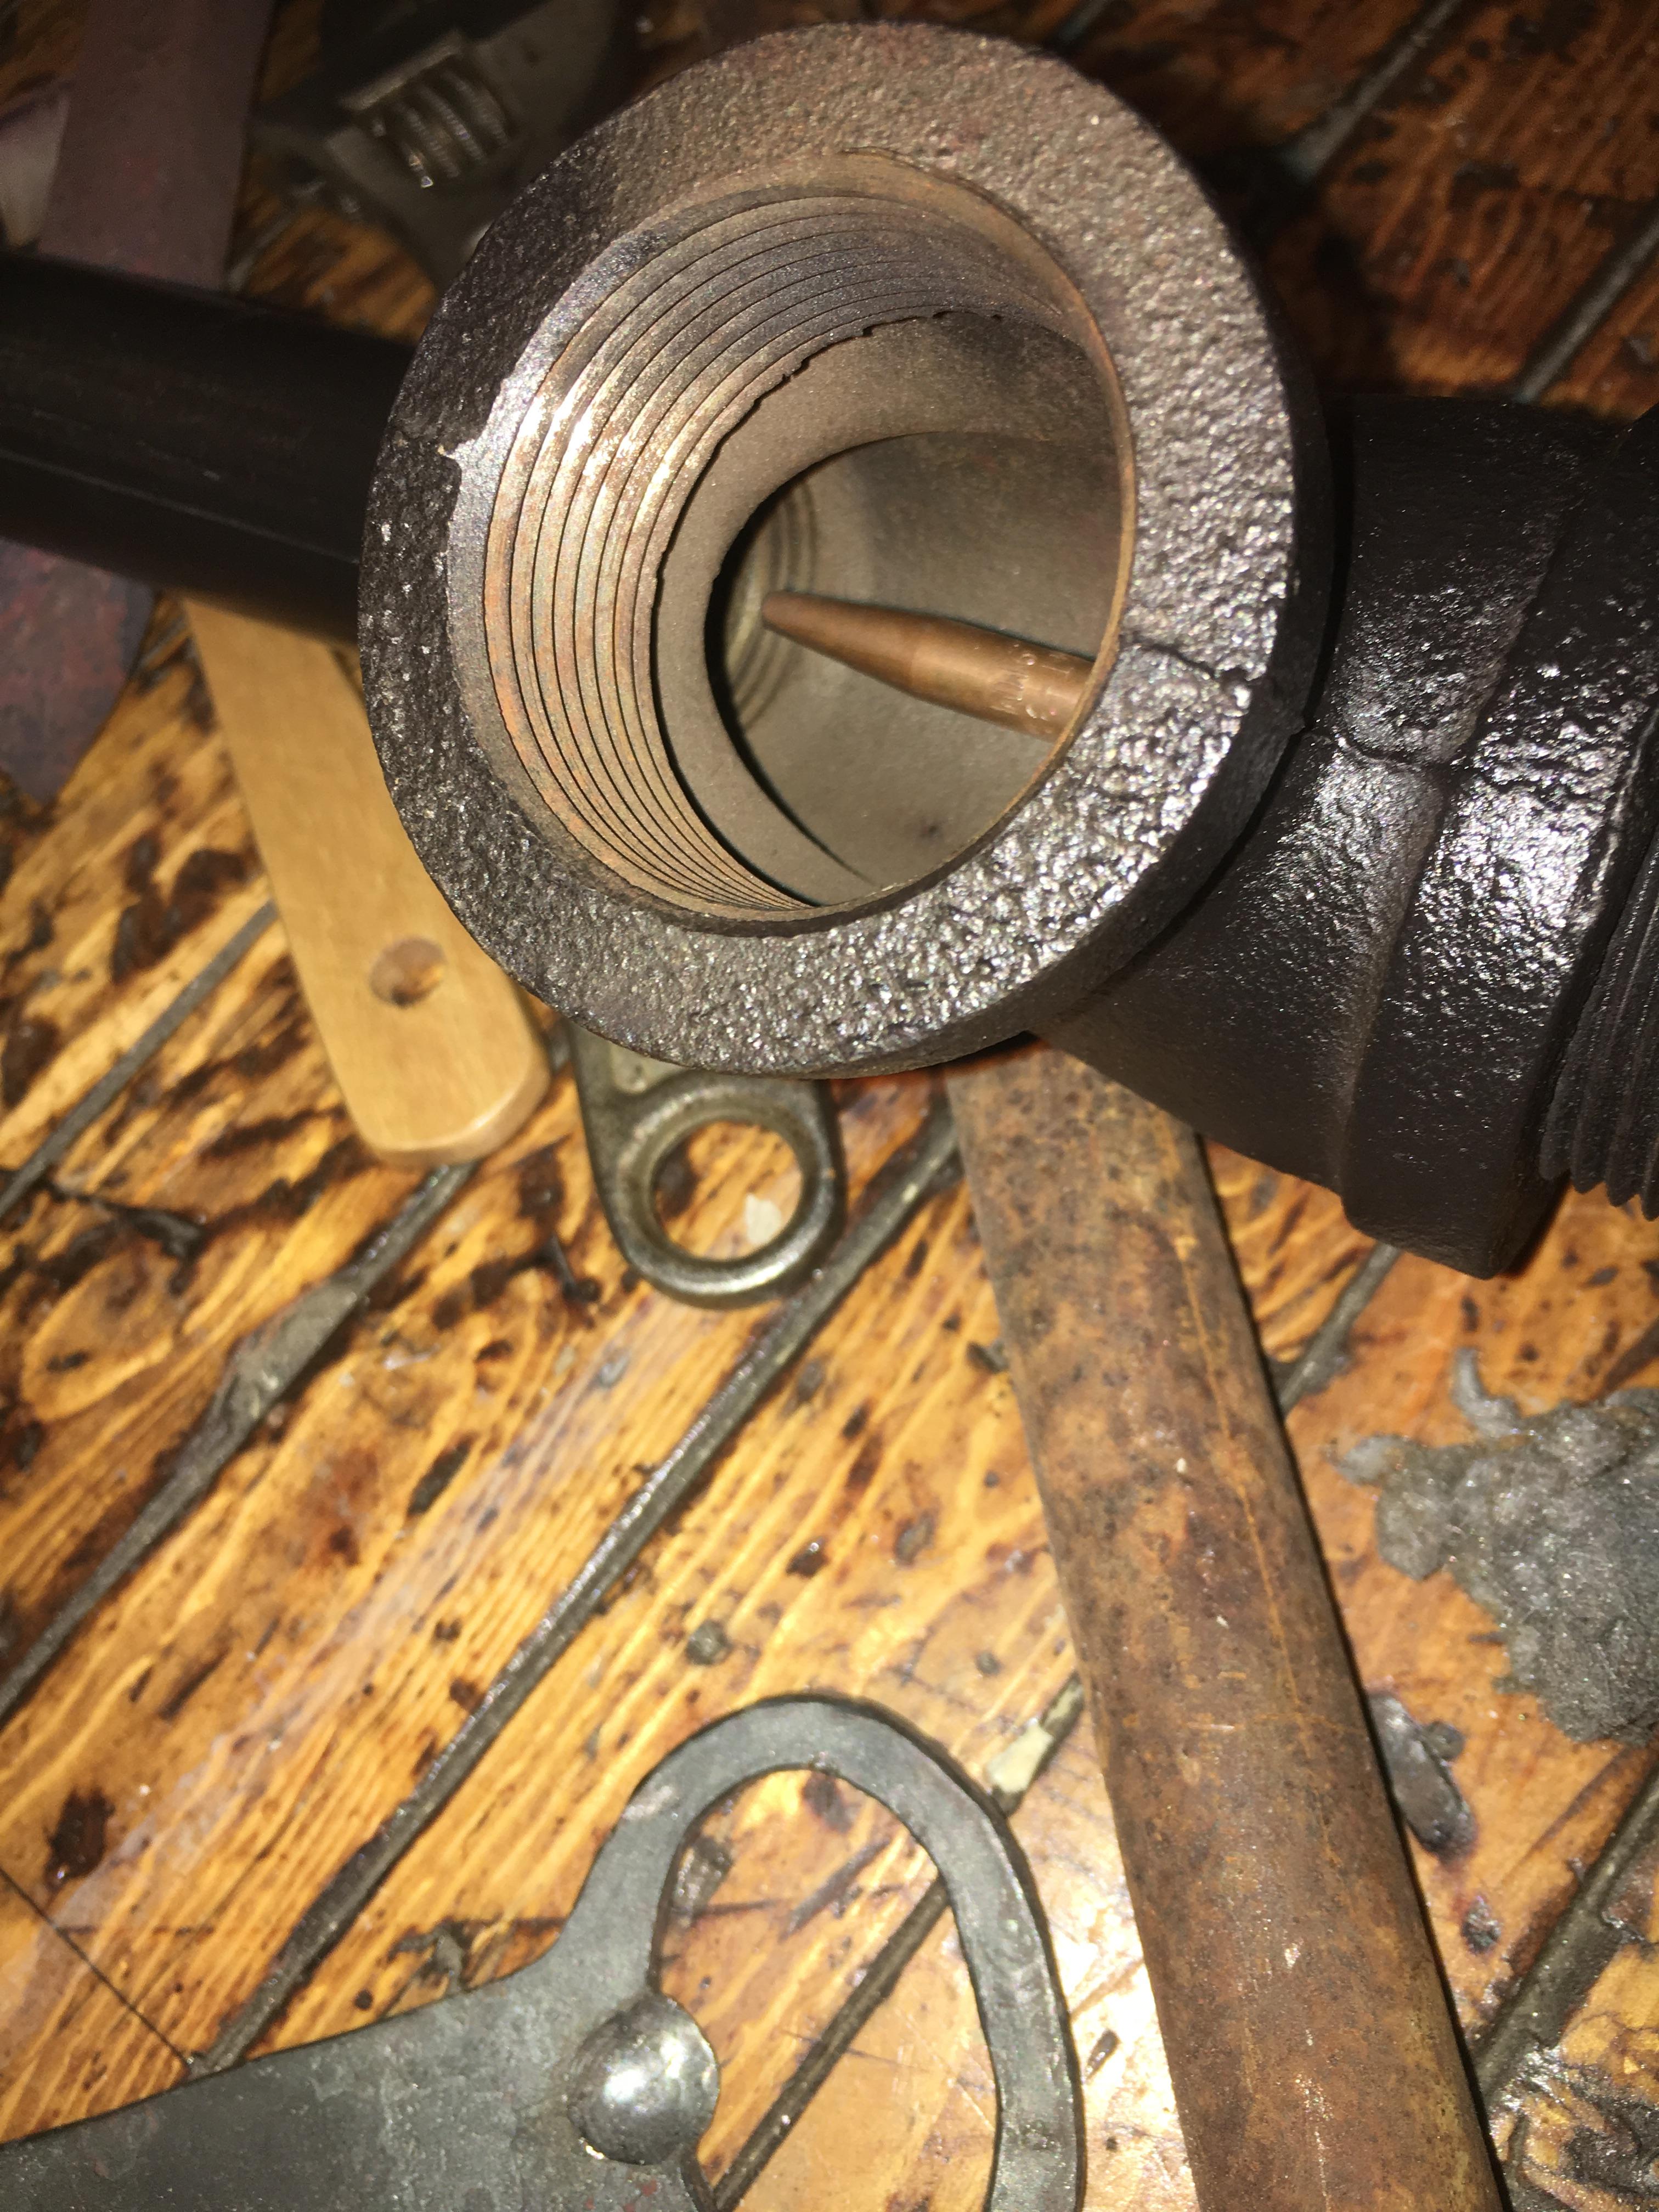
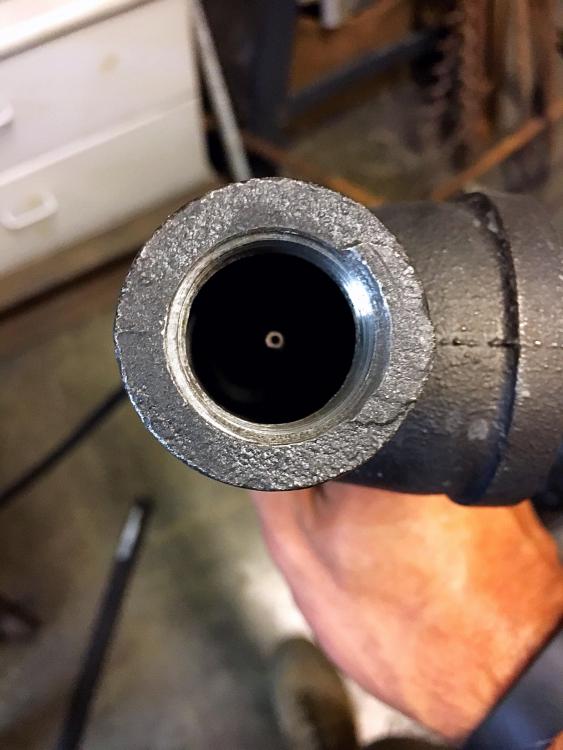
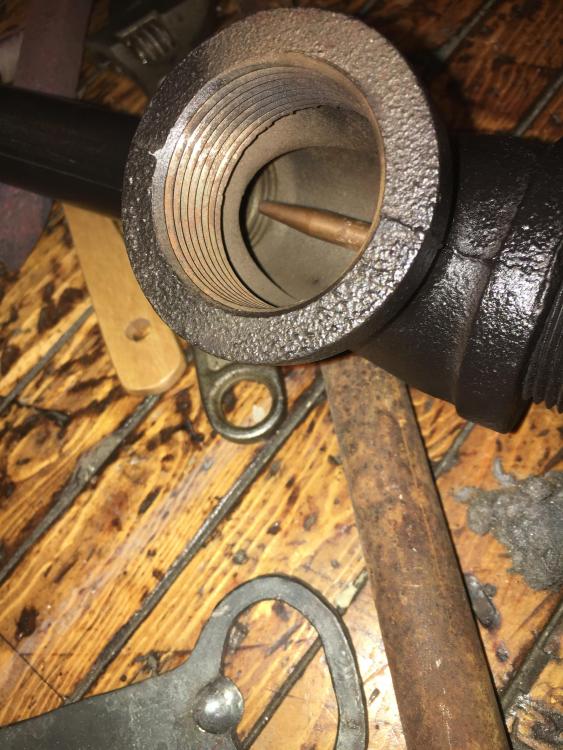
There’s only one set screw holding the mig tip nipple in place . Theres no lateral adjustment in its current iteration. I’ll disassemble it in a bit and take a pic from the burner tube hole with the tube removed.
-
Any opinions & feelings are welcomed, I’m just playing around at this point since I’ve been helped into a working & usable forge. I now have a little time to mess around.


-
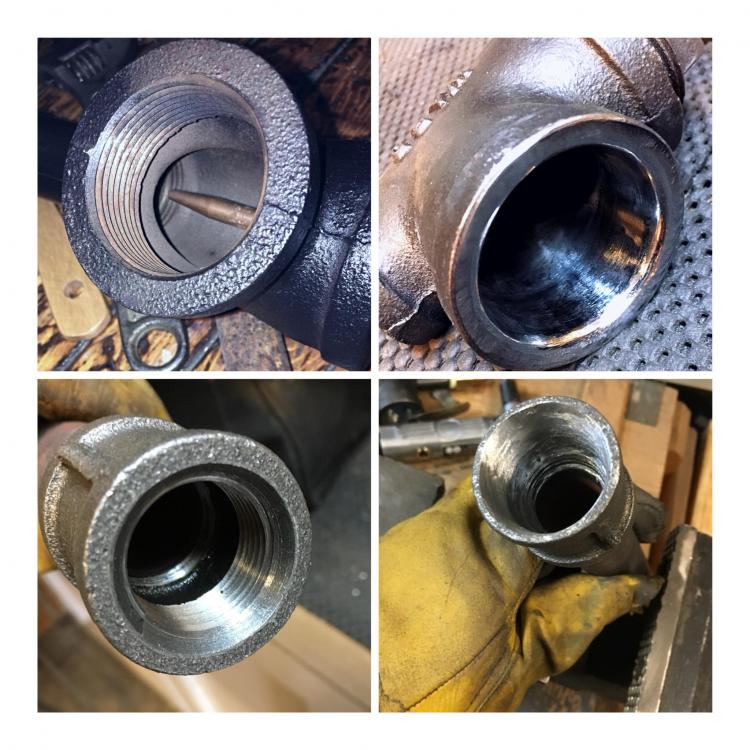
Well I know this is burner related... Has anyone done a “Port & Polish” type job to a home built burner? I bought an extra one of these reducing T’s and thought I’d see if removing the threads & opening it up a bit and polishing the inside would make a difference. Also beveling the top of the tube & polishing it. It was 95° and I didn’t feel like running the forge. We used to do this to the intake manifolds on my hot rods to improve flow and performance and I got to thinking that while it’s s short run , would it make any positive difference? I’ve yet to run it but was wondering if anyone had tried it? Also what’s you opinion on altering a coupling into a nozzle? I looked over Frosty’s PDF and thought that while I was making a mess of my shop I’d give this a go as well.

-
Thank you for putting it in layman’s terms for me. Went back and re-read the section you suggested. Played with the nozzle “overhang(?)” and backed off the mig tip and ditched the 6” tube for an 8”. (When the new nozzle arrives I’ll add that as well) Its running quite well now. I have one more question that I’ve racked my brain over, I’ll go post it in the forge section if you feel it’s an issue with the forge. Why would the temperature & flame be reduced when I block off the back of my forge? The dragons breath has blue tips when blocked off (nothing like in the previous pics) and yet it goes back to running hot & orange if I open it up. I don’t get that. Is it because of a lack of oxygen?


-
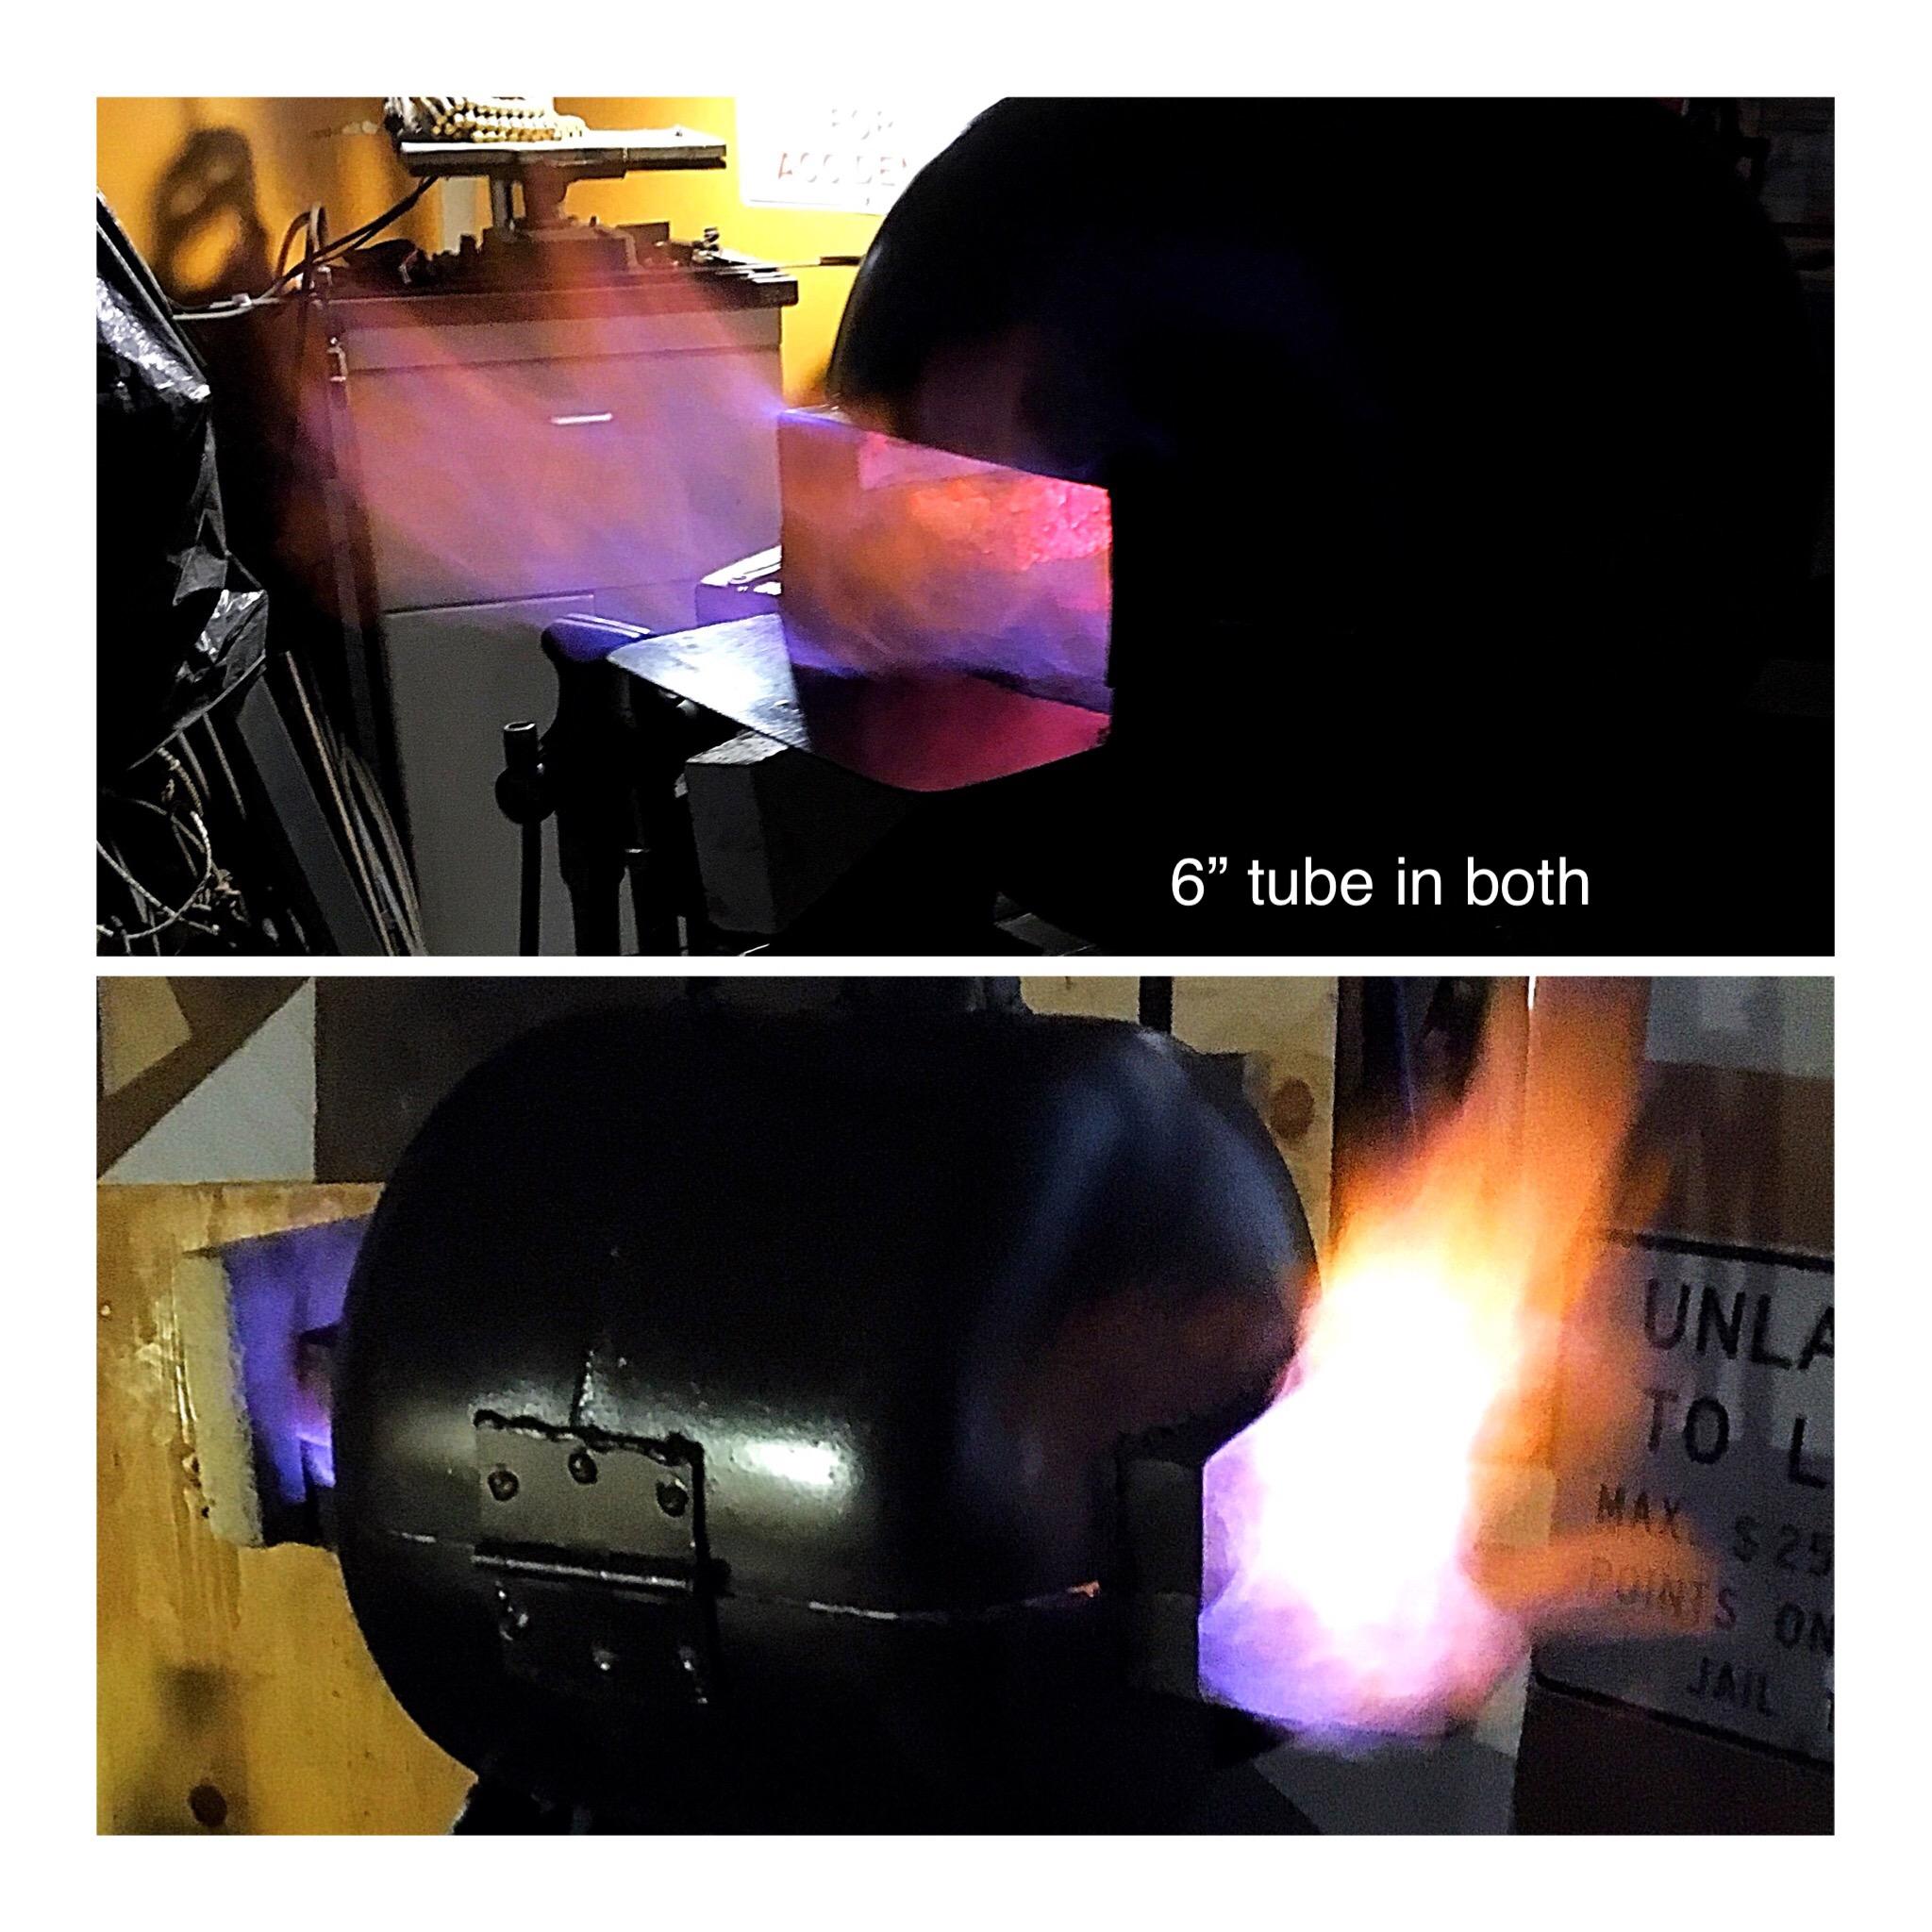
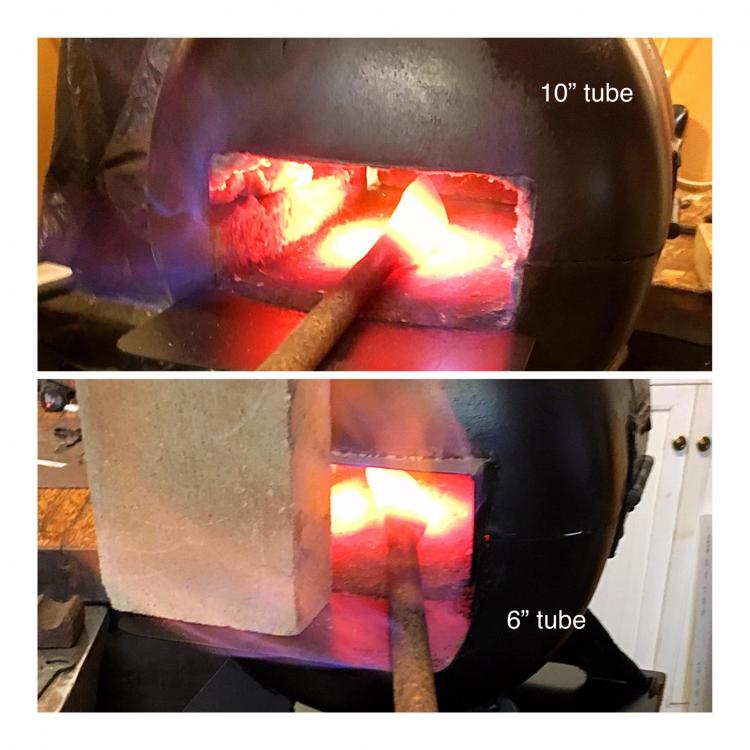
What does “heavily reducing “ mean? Most of the terms used are meaningless to us beginners. Is it running too rich, to lean - do I need more air or more LP ? Did it look better with the 10” tube ? The bottom photo collage was after running for 10mins & the middle collage pic was at 3 minutes (with the overhead lights off in my shop so I could get a better photo) , if that matters. What would your first / next step be? I have an 8” tube on the T-Burner I could swap out the 6” I bought yesterday and try it. If it was yours how would you go about getting the most out of this setup?
-
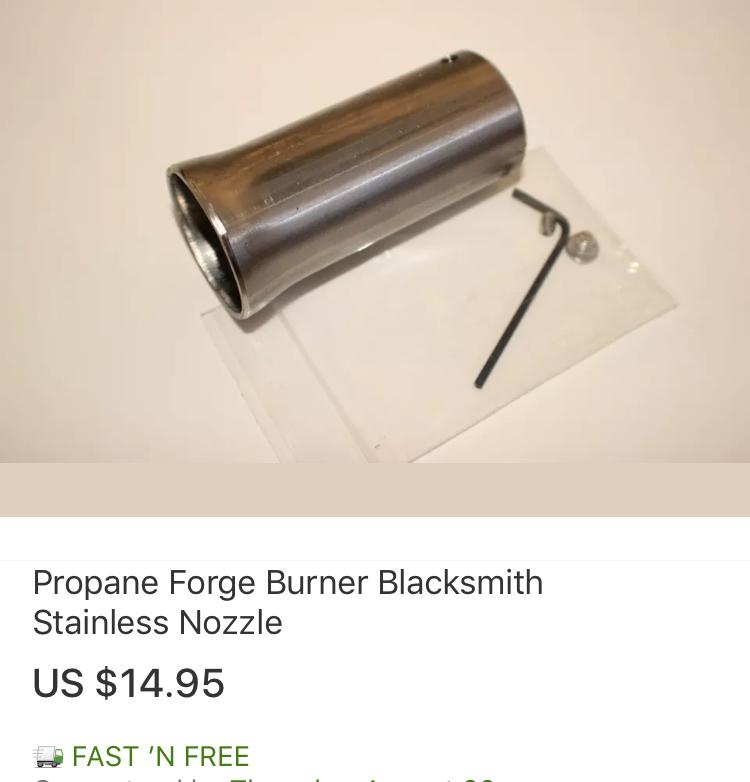
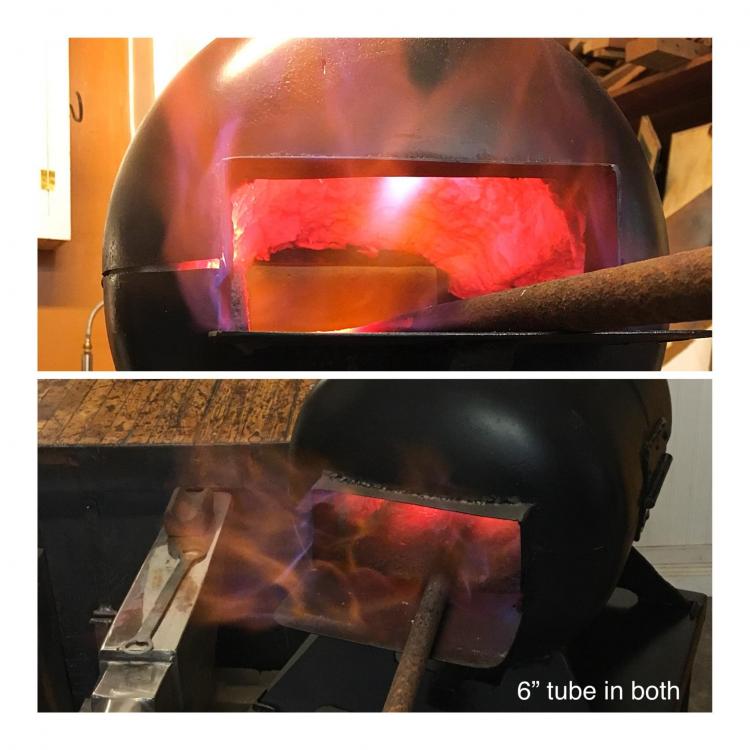
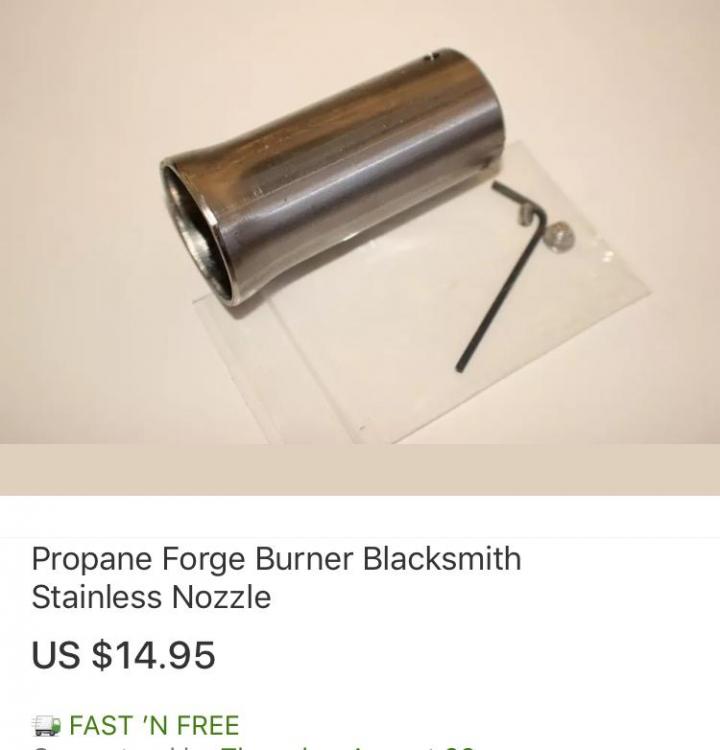
Well here it is with a 6” tube. I was wrong the original one was 10”. Here are a couple comparison pics . Both the 10” & 6” were run with the nozzle it came with in my original post. There is substantially more “dragons breath” with the shorter tube but I don’t know if it’s a good or bad thing. Or what exactly it’s an indicator of. Any insight is appreciated. I ordered the nozzle in the post above (Ebay screen shot) this afternoon so I’ll have that to play with once it arrives.

-
Do you mean something like this ?
-
You guys keep saying taper (ie, a reduction) but I’ve never seen a nozzle that’s smaller at the flame end. Everything I’ve seen has been flared at the flame end. Does anyone have photos of these tapered nozzles?
-
Here’s the flare as it is. Has two set screws holding it in place. Here it is next to a T-Burner I bought but have yet to run up.

-
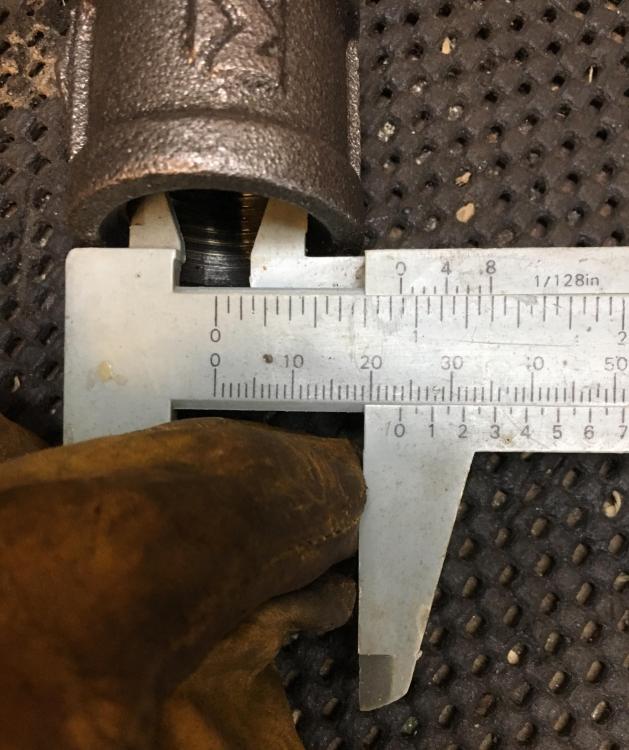
This tube is 12” . When you are tuning your burner do you adjust the tip position while it’s running so you can see the different results ?
-
What did you do in the shop today?
GrumpyBiker replied to Mark Ling's topic in Blacksmithing, General Discussion
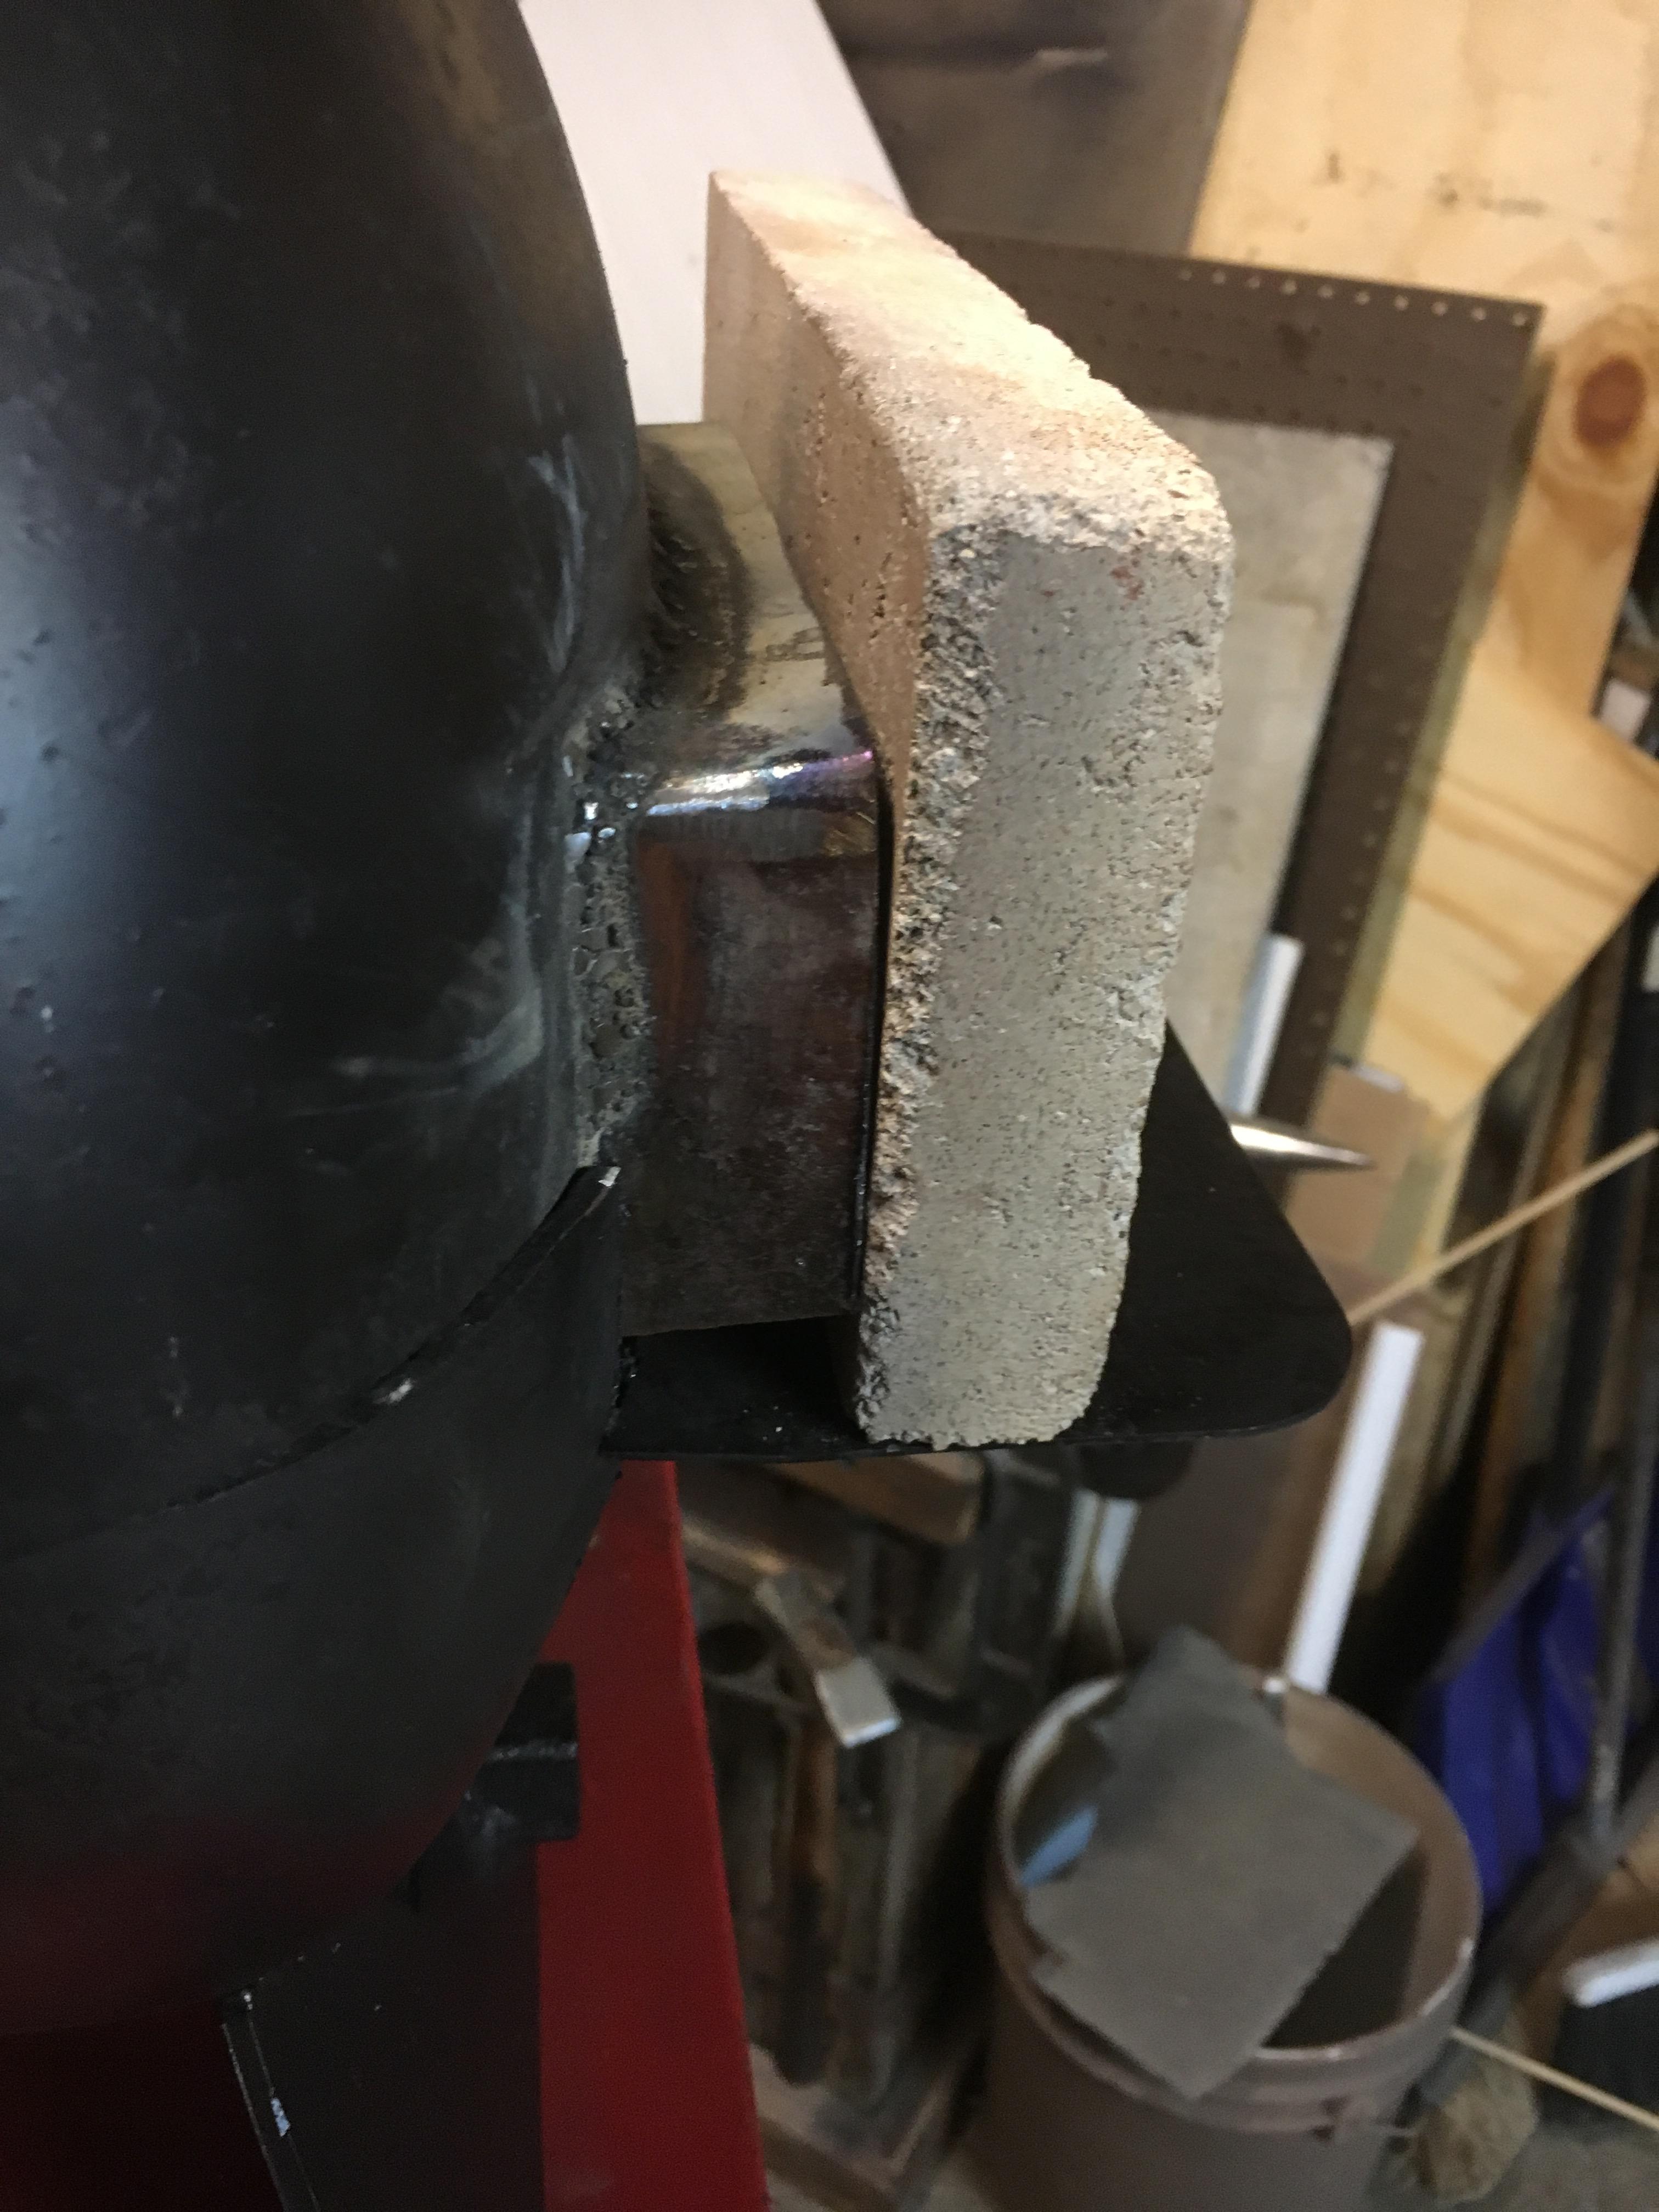
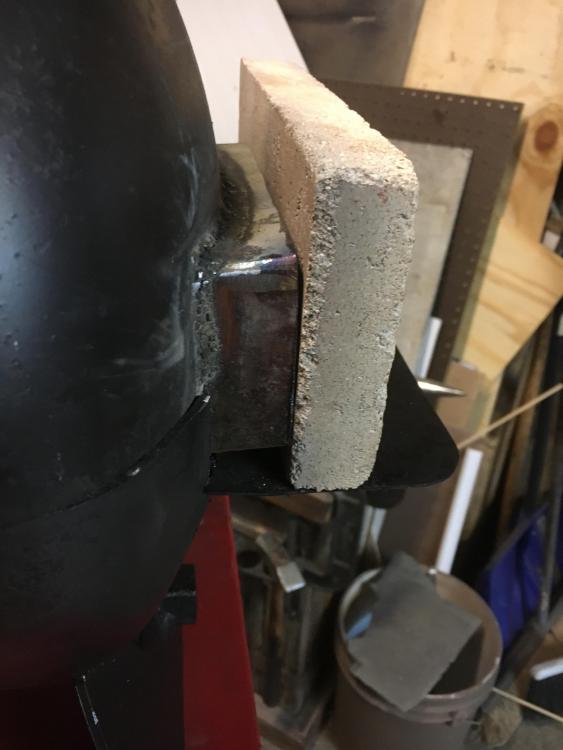
Today I’m in the process of adding a “mouth” to the 2nd hand forge I picked up. I wanted a better seal when closing off the back of the forge.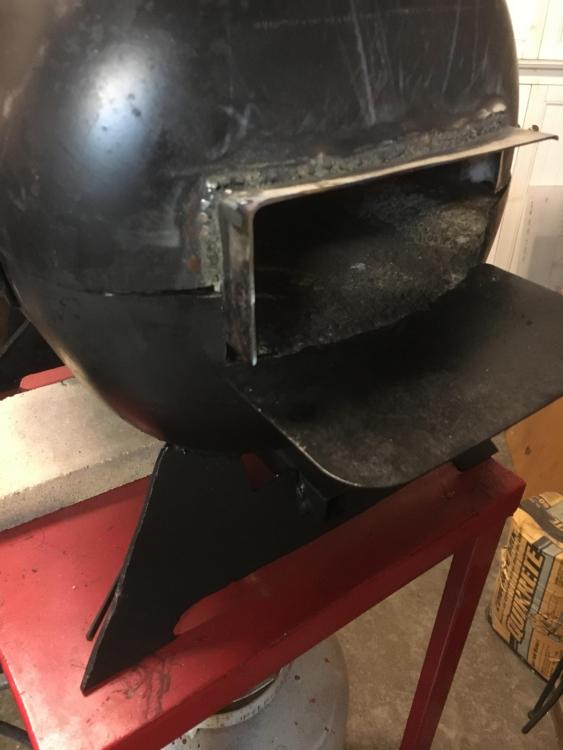
-
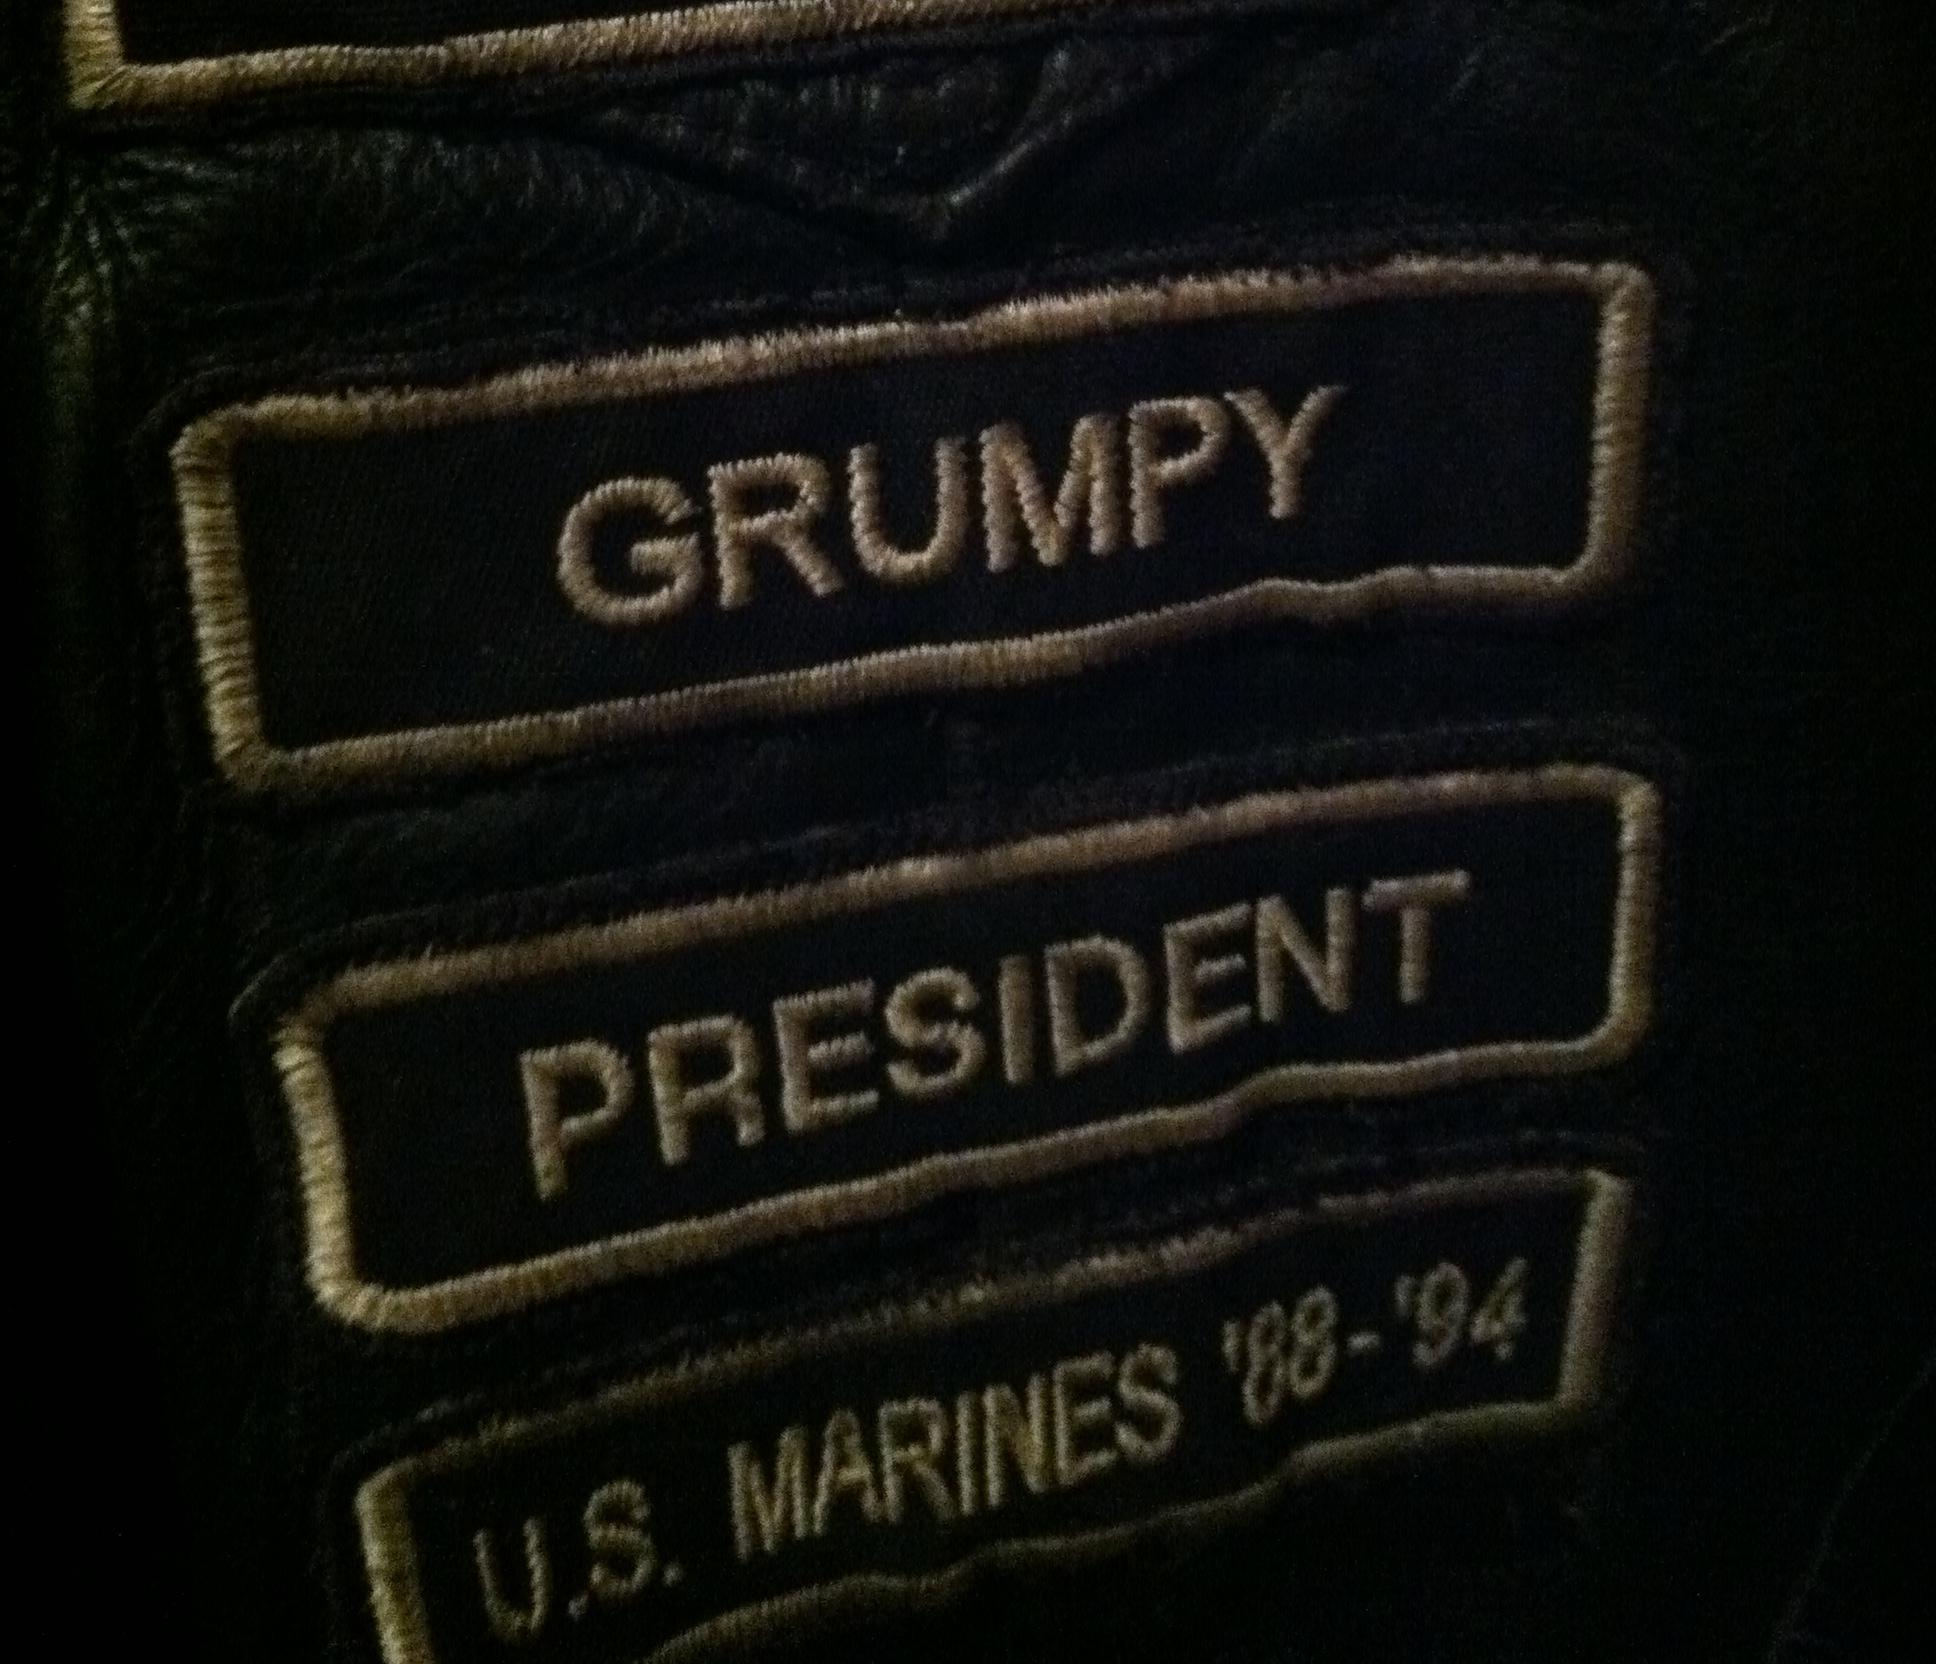
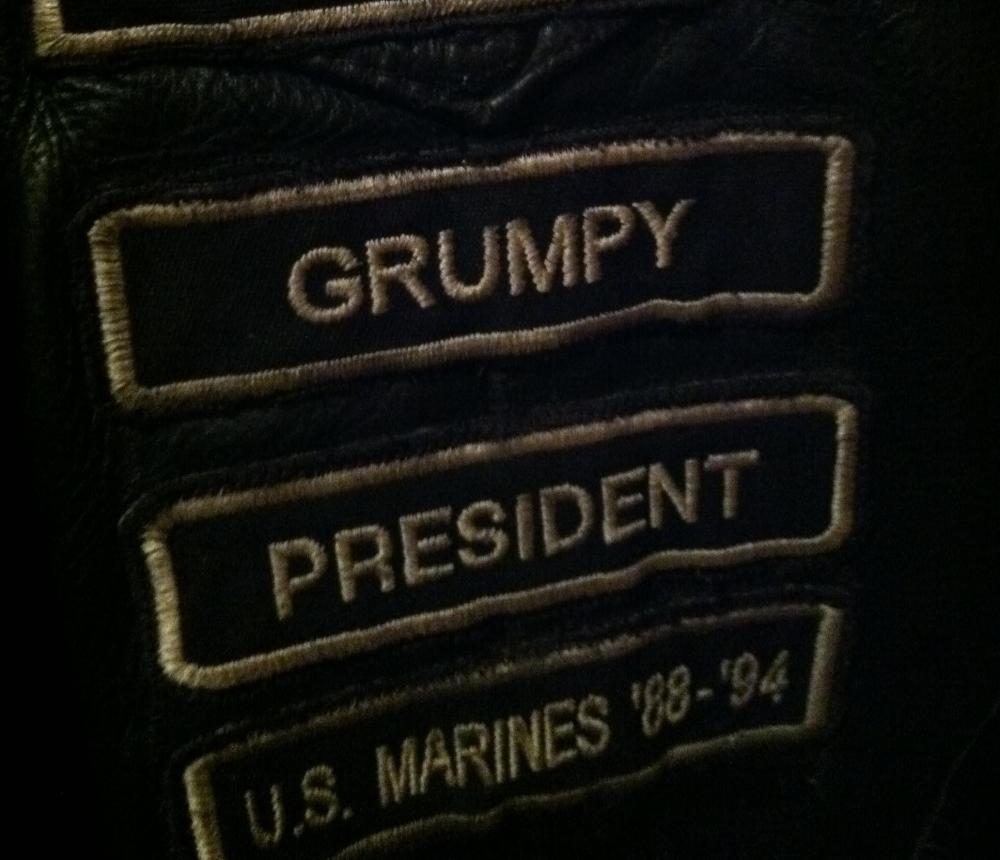
I certainly didn’t ask for that name but in a club, you’re given your name. No longer a patch holder but the name has stuck. So I just go with it. But yeah it’s a fairly common name.
-
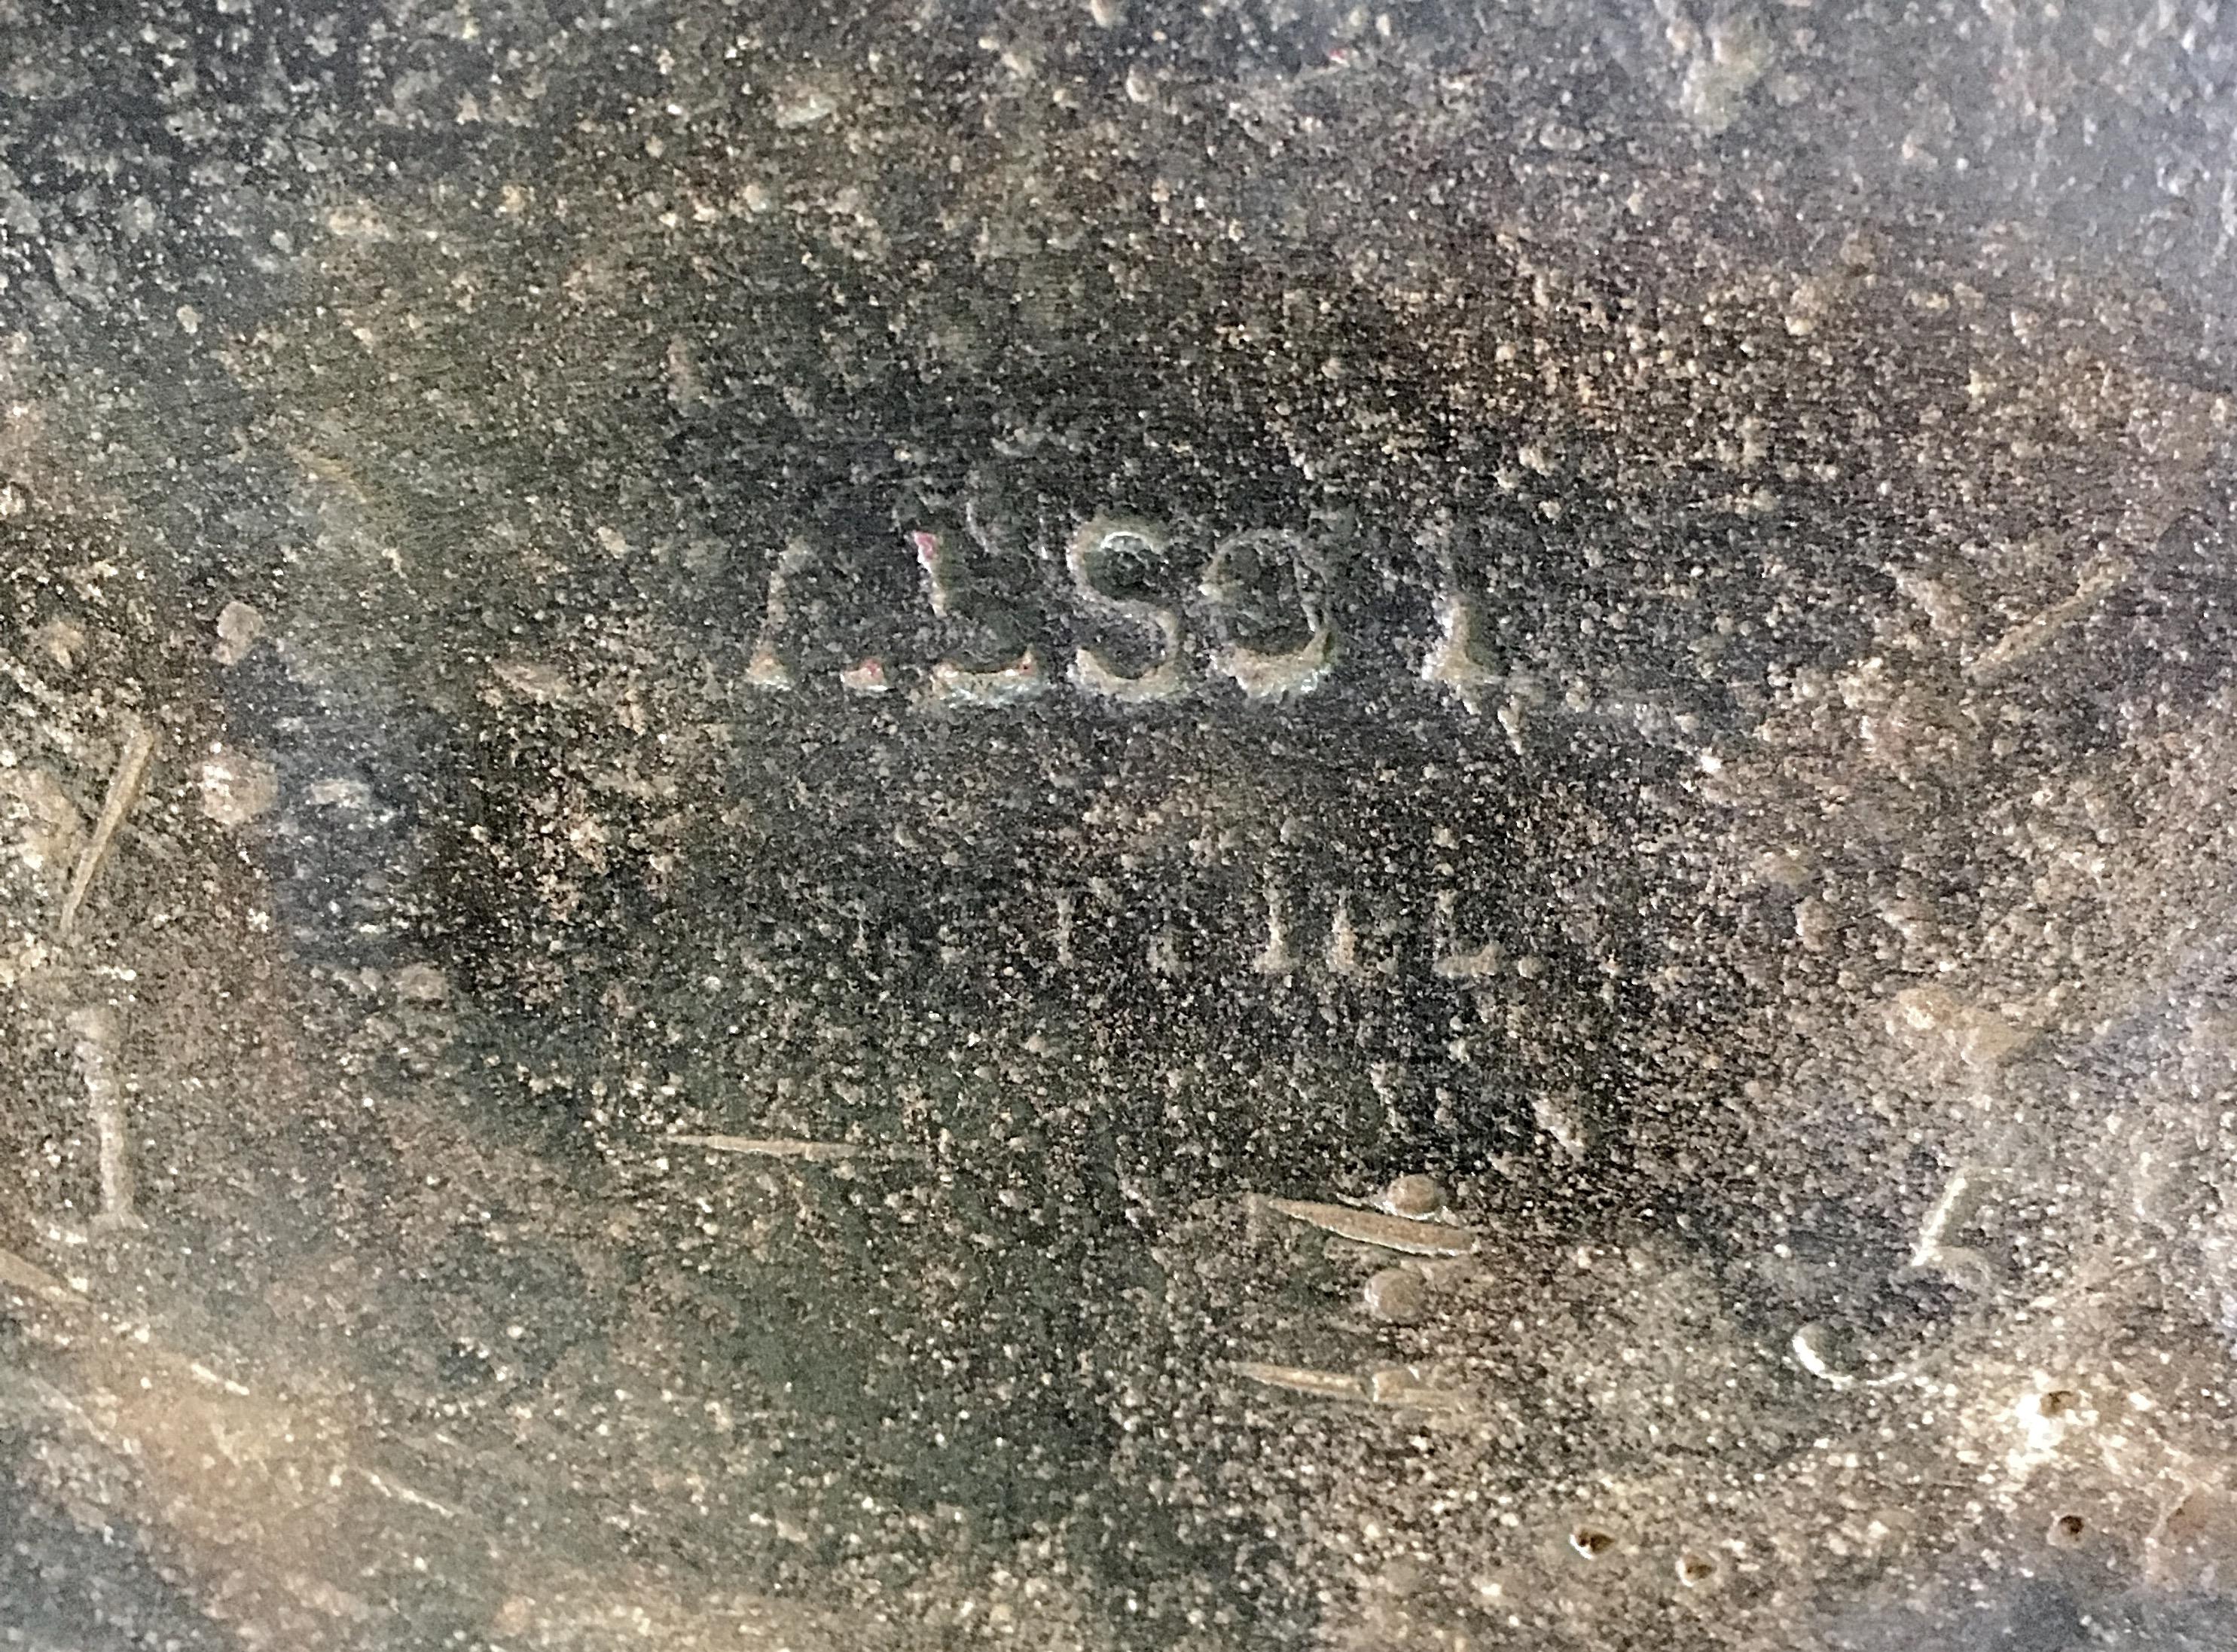
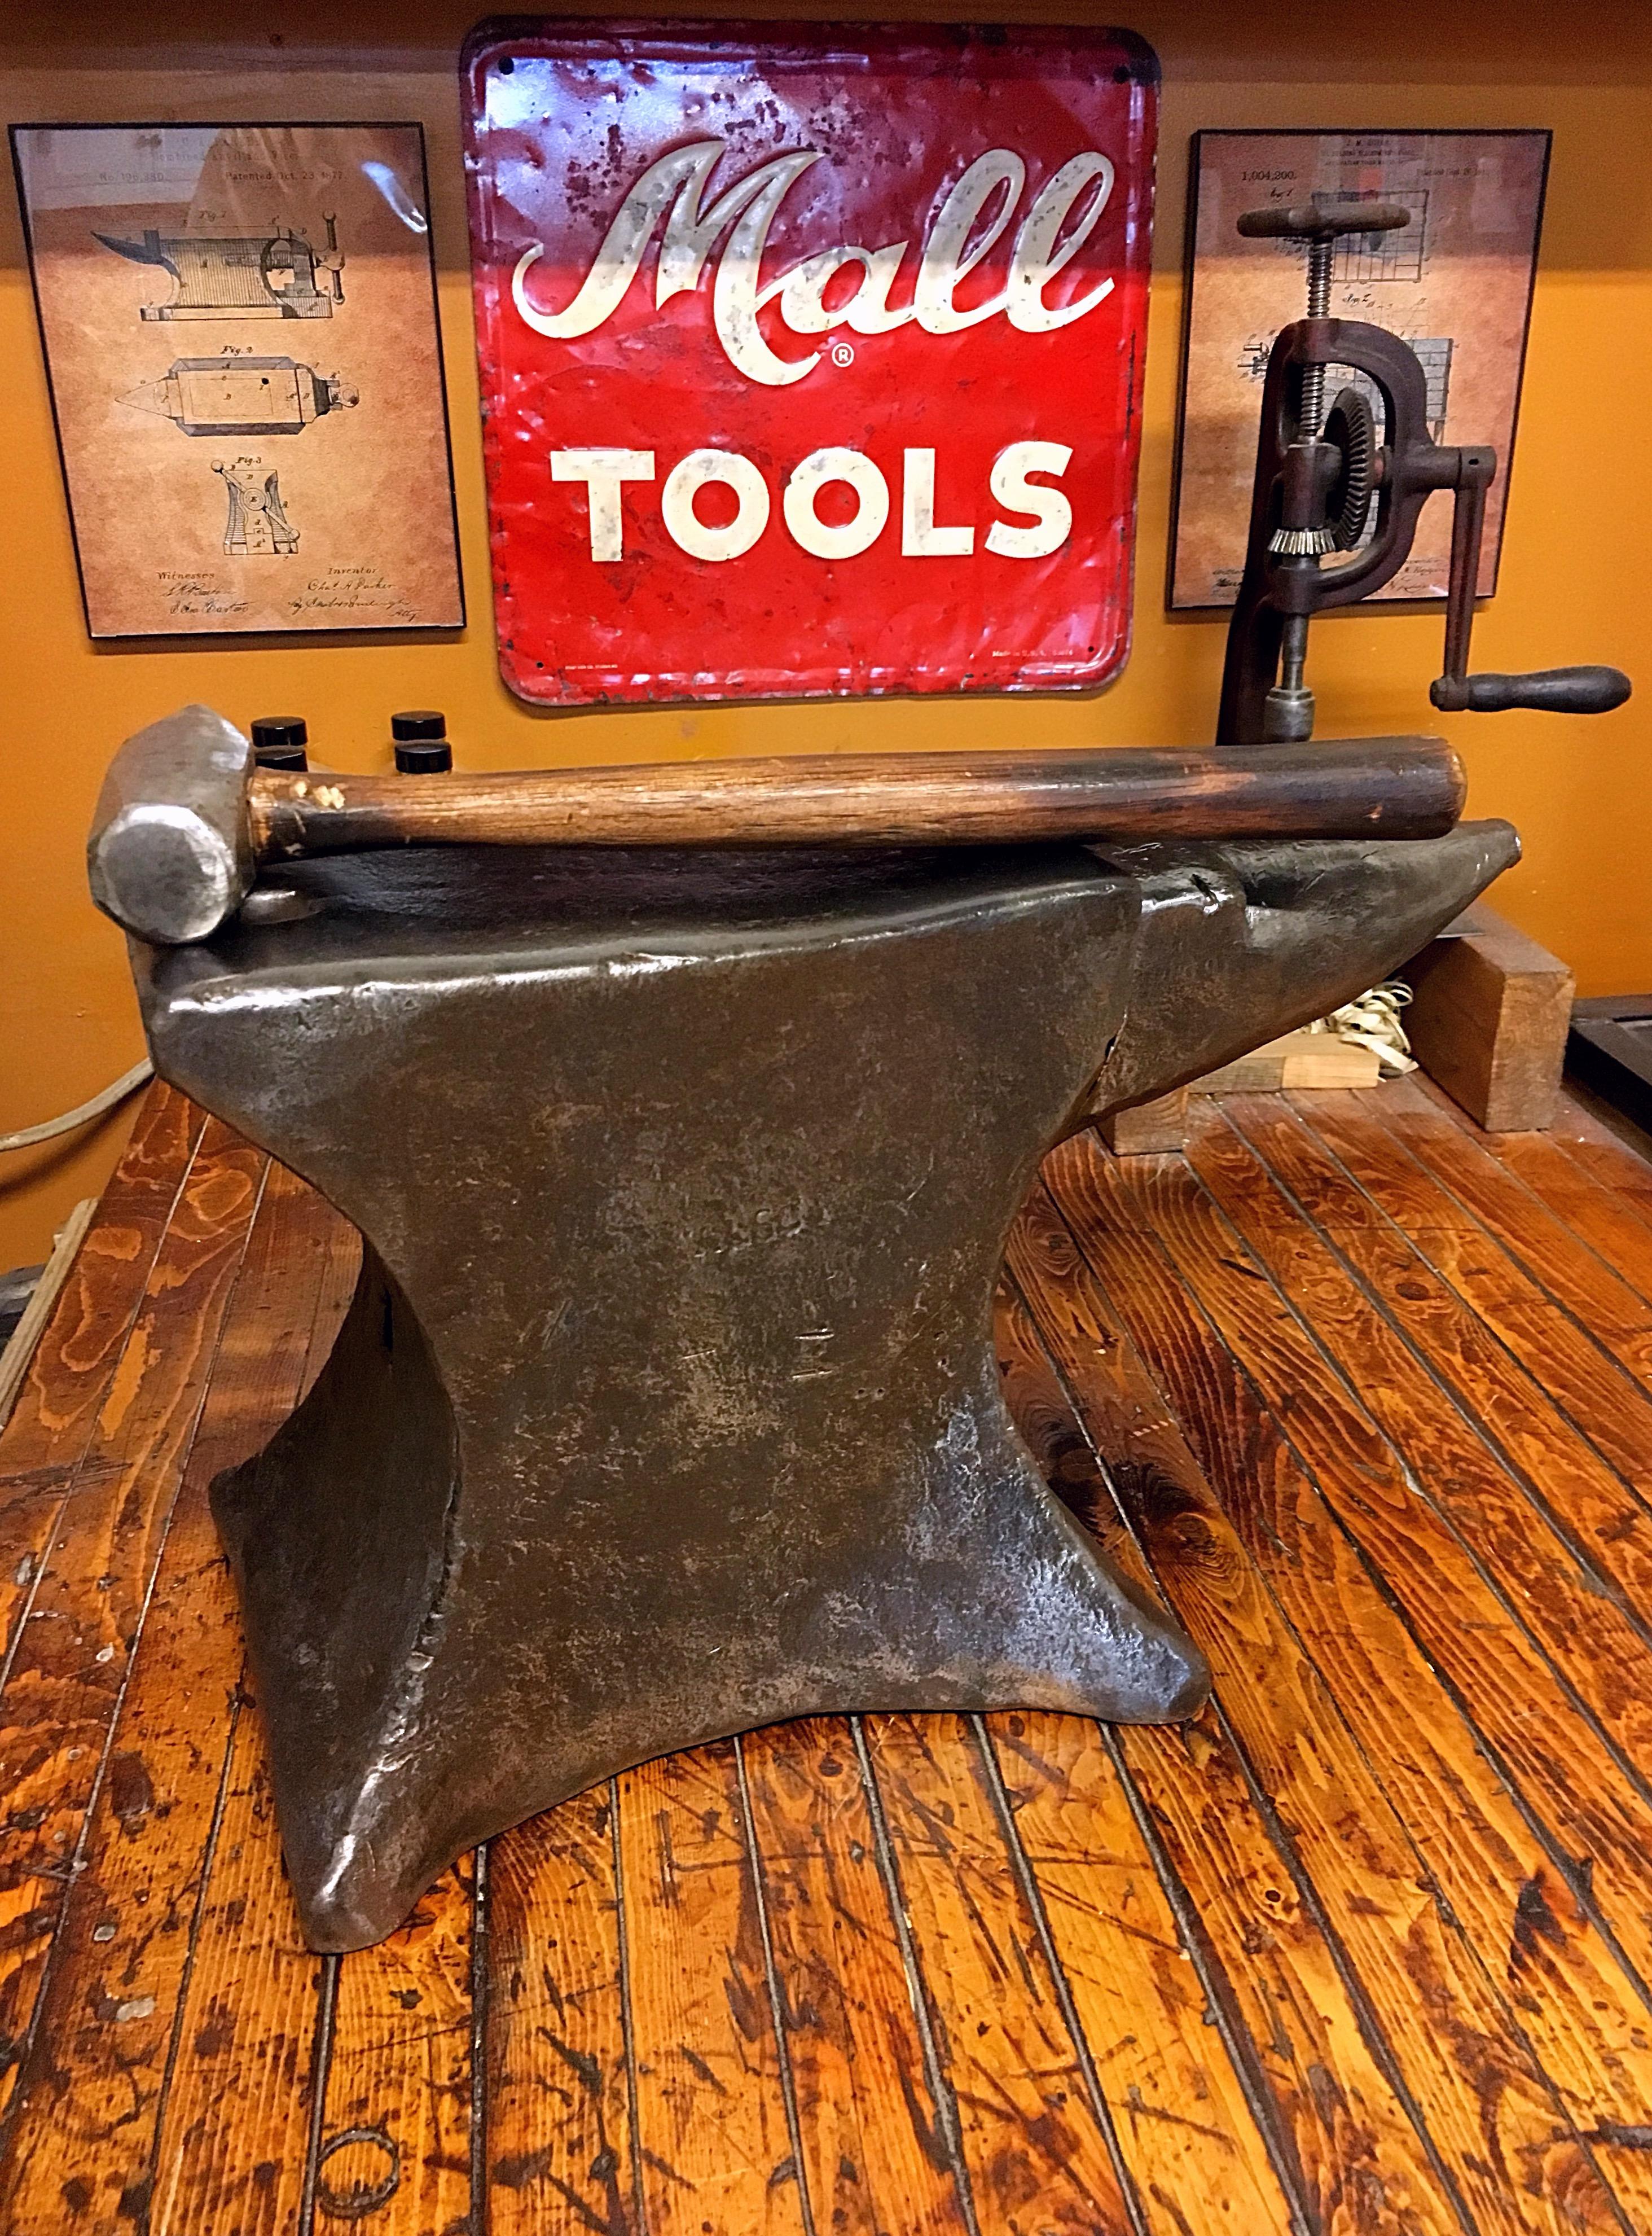
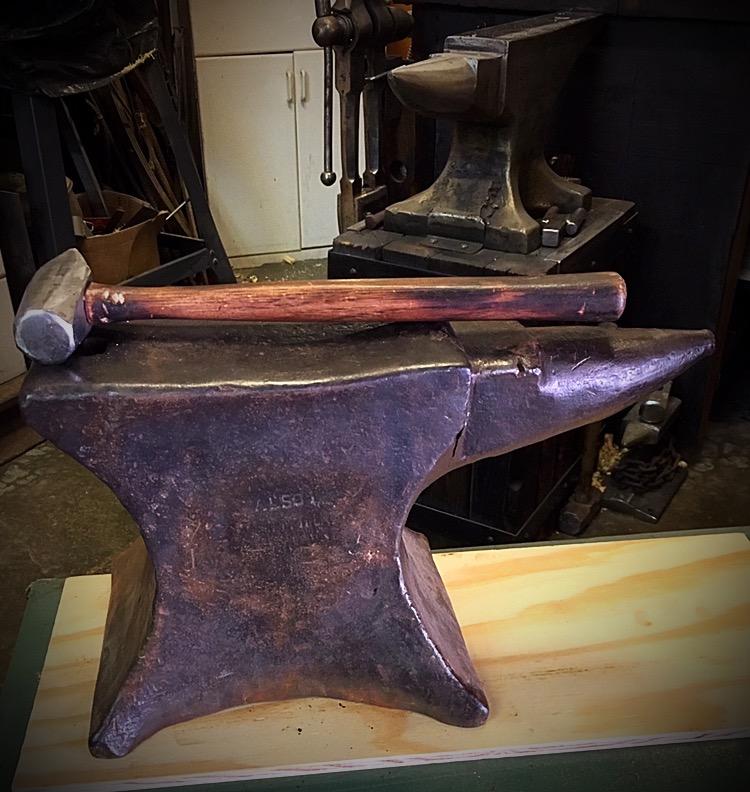
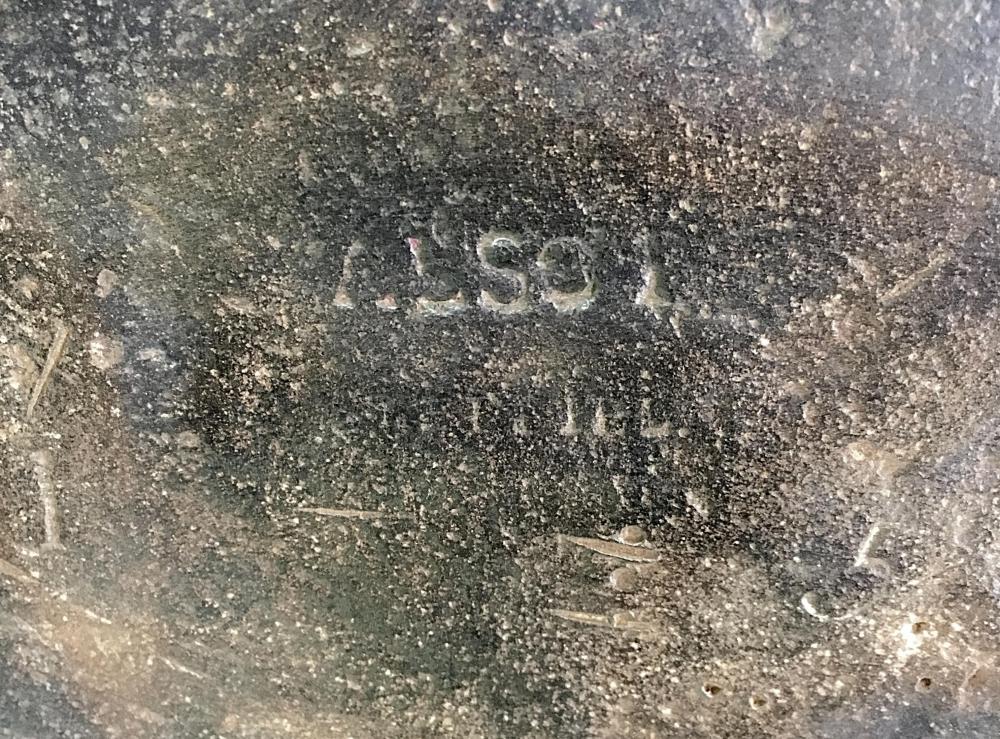
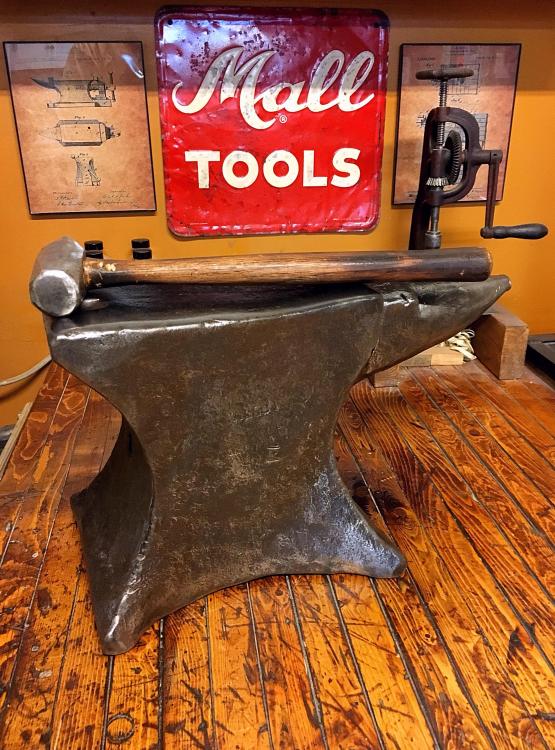
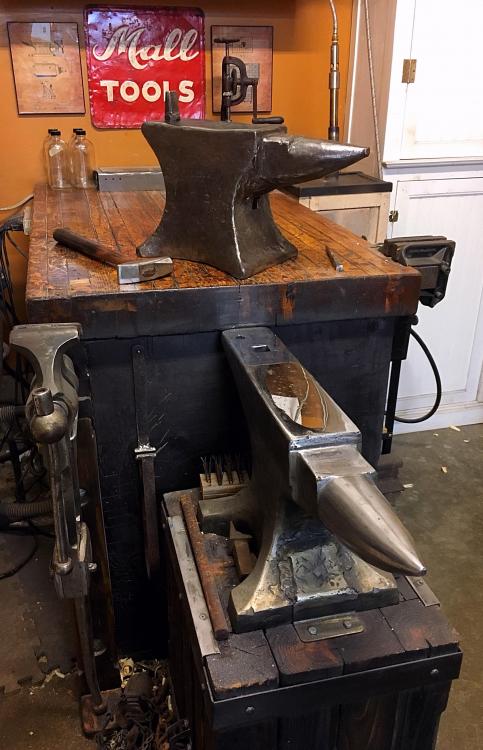
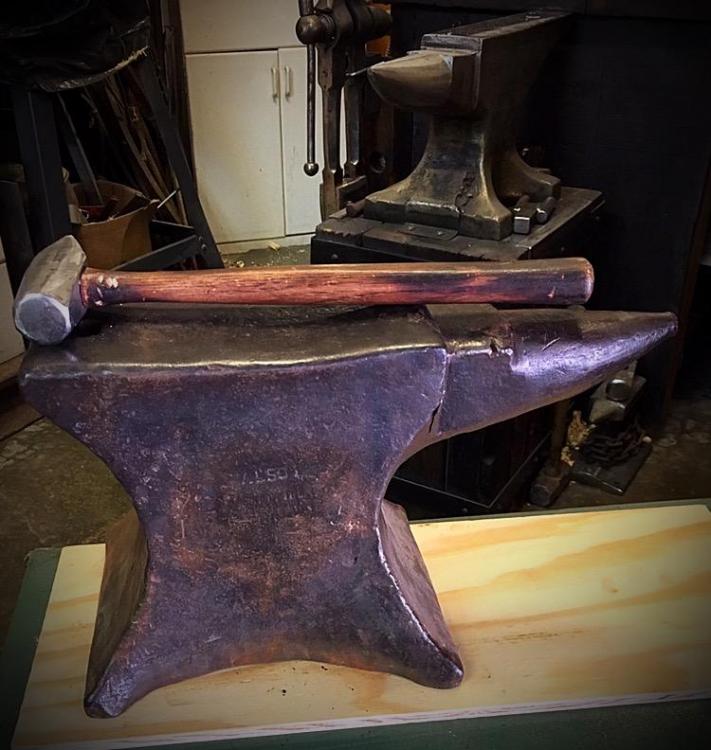
Last month I picked up a colonial anvil I’d stepped over for three years at an Amish Junk-tique shop. after ordering the Anvils in America book and reading his section on colonial anvils , especially the Alsop anvil ftom Sheffield England I realized I’d been stepping over a very old anvil. Having an anvil circa 1790 is something I didn’t want to pass up. It turned out to be a 145lbs Alsop. The Amish guy had $475 on it , I left an offer of $390 with the shop owner and after 5 days I received a call that the Anvils owner had accepted my offer. I have no need of another anvil so it kinda freed me up to buy this Old Man & bring him home.
-
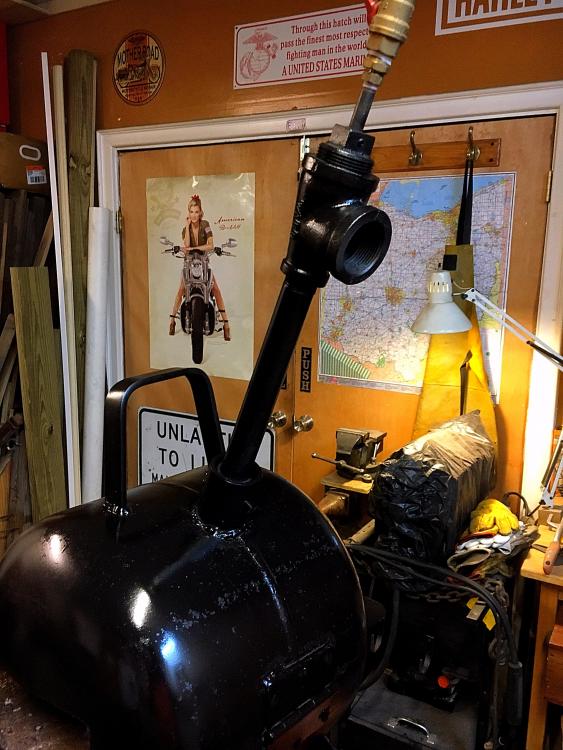
I have a couple questions on a burner that came as package deal with a forge I just bought. First, is this what’s referred to as a Side Arm burner or is it called something else? Second, what can be the expected results of moving the jet tip closer to the “burner tube, burner leg” (or whatever it’s called) Or moving it more to the center of the opening? Is there a general effect on the flame & burner performance in adjusting the jet position? Also, is the burner tube too long ? Ive seen a few like this in use on other forges and they also look longer than a T-Burner set up.
-
What did you do in the shop today?
GrumpyBiker replied to Mark Ling's topic in Blacksmithing, General Discussion
Actually it ran pretty well. I plan to shorten the tube on the burner to see if anything improves. I’m also not sure of the positioning of the jet tip so I’ll play with that as well. I also have a bunch of Kaowool so I’ll be adding that to the top half as it only has 1” of it. I’d not seen a clamshell design & while its not how I’d have gone its kinda interesting. The air compressor tank on the floor in the post above was going to be the beginnings of my next forge and still may be made into a two or three burner eventually. But I saw this setup for sale last year at a “Junk-tique” shop for $225 and laughed a bit as I couldn’t imagine who would pay that much for a lined propane tank. This weekend I took a closer look at the “Oven with Stand” as it was listed as. I now saw that the 39” tall red stand with 3” casters and propane tank shelf was part of the deal. The forge on the stand places the in feed & out feed shelf’s on the forge at 47.5”, perfect for me as I don’t have to bend over to look in. Also I noticed the (side arm ?) Burner was disassembled and inside the forge and the forge bottom was made of castable Refractory with a 1” lip on the hinged sides and Kaowool on the upper portion with rigidizer applied. It also included propane hose and a regulator.... I made an offer of $175 for everything and it was immediately accepted. I know it’s far from perfect and not the design I’d have done but for the price I couldn’t have gone and bought the materials to make everything, Kaowool, castable refractory cement, steel , casters, regulator, hoses, burner parts, LP tank etc.. for the price I paid as I don’t have a metal supplier and Lowe’s isn’t cheap for buying metal. Also yesterday while running it up it up I noticed the 1” square stock welded between the front & back legs and realized it will accept a 3/4” square bar that I can weld into an adjustable material support stand. Maybe I’m out to lunch but I’m feeling better & better about picking this thing up. I don’t feel like I stole it for that price but I think I got more that I expected and am actually quite pleased I took a second & closer look at the “Oven with Stand” ! Video of the forge running https://youtu.be/Um7TQ5uoeB4