
Arthur210
-
Posts
238 -
Joined
-
Last visited
Content Type
Profiles
Forums
Articles
Gallery
Downloads
Events
Posts posted by Arthur210
-
-
Is that similar to what you are trying to make?
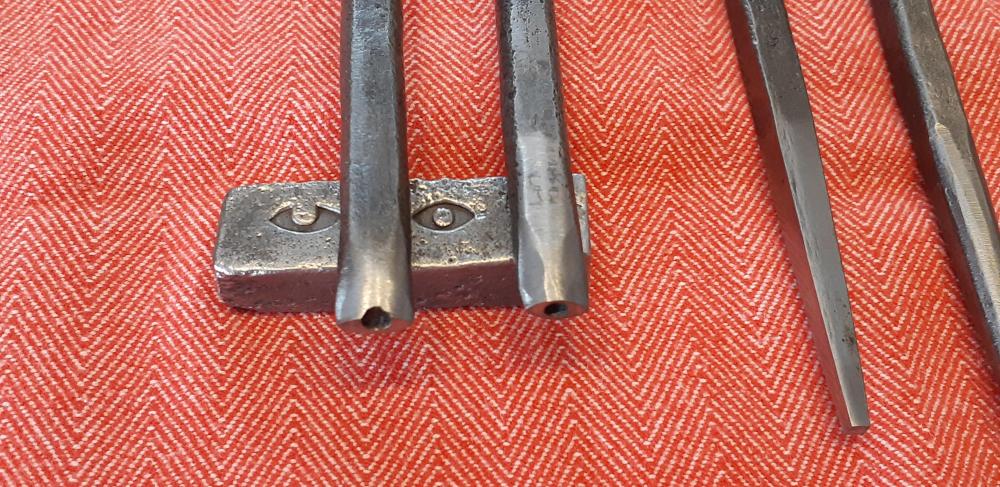
I made a small ball punch and used it to hot punch the pupil. Then ground off the shape of the eye. The one to the left I purposefully opened up so the the pupil would look like it was partially under the eyelid.
-
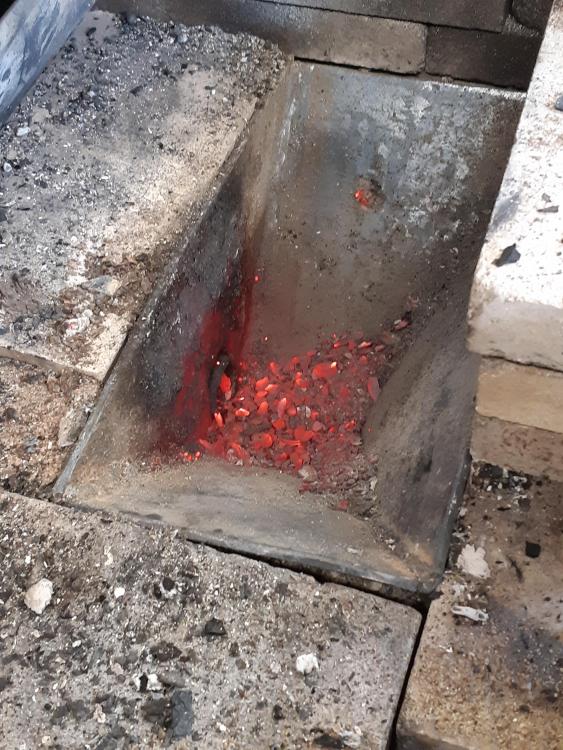
Now a year later, and this morning I had to patch my fire pot. As expected a part of it wore out (or burned through). I estimate usage over the last year to be about 100 hours.
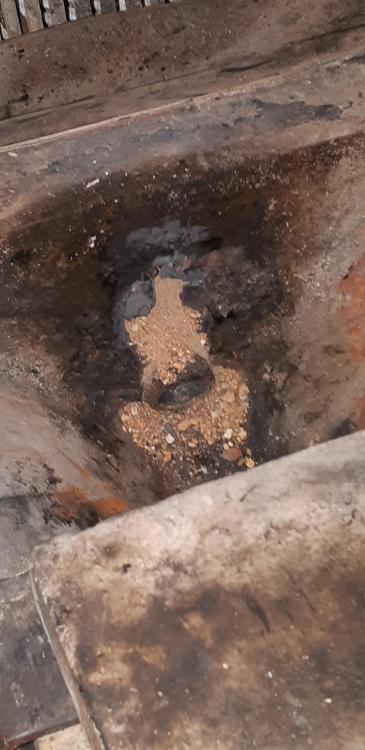
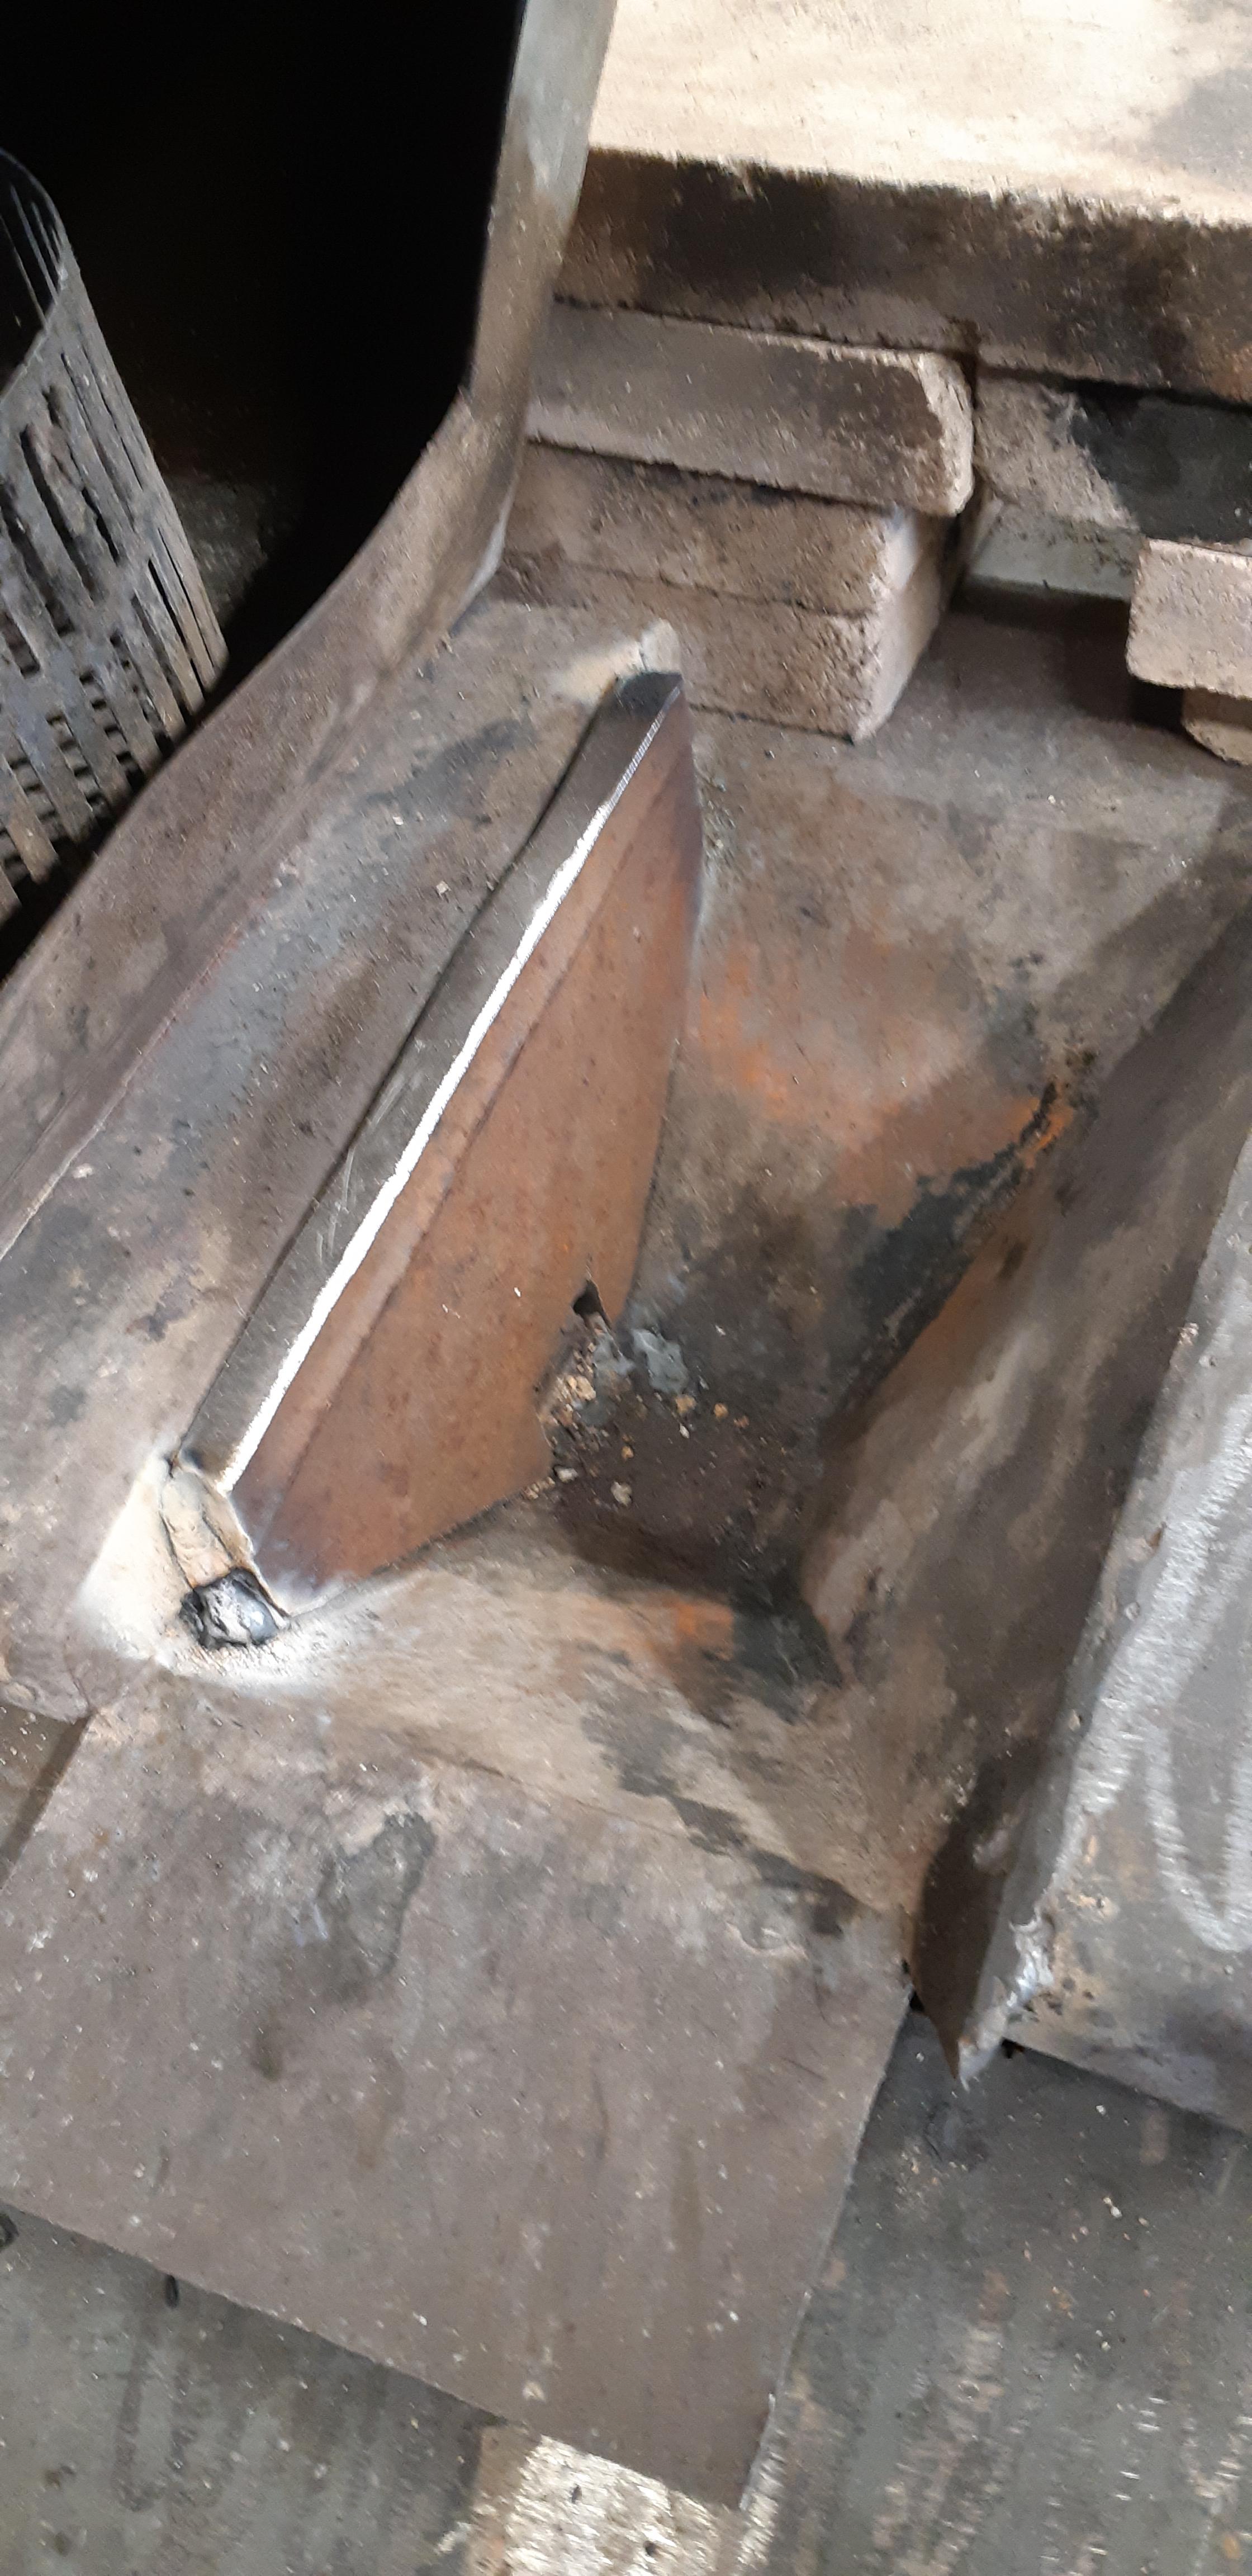
Since the damage was localized right above the tuyere, I repaired it by adding a thick piece of steel where the hole was. Almost 1/2" thick (cut from a rail tie plate), compared to 1/8" for the original plate. Took about 30 mimutes to cut and weld in place. That should last a while longer.

-
Nice design!
Tube for the arm would work, only the top die needs to be solid and go through the tube.
If you arrange the botton die to be removable, then you can use body of the tool for different dies. Much like a guillotine tool.
With the lengthened arm, you could call it a trebuchet tool.
")
-
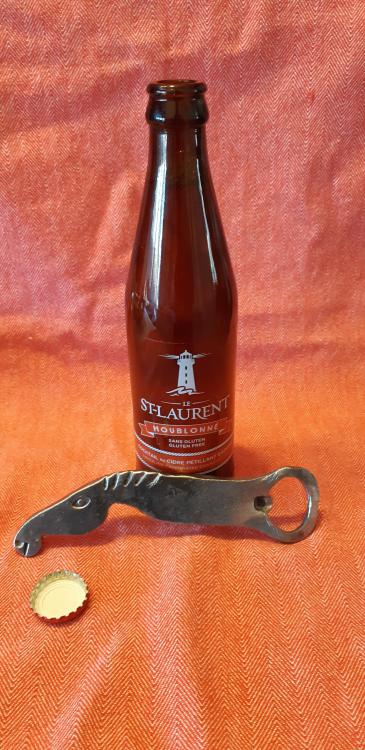
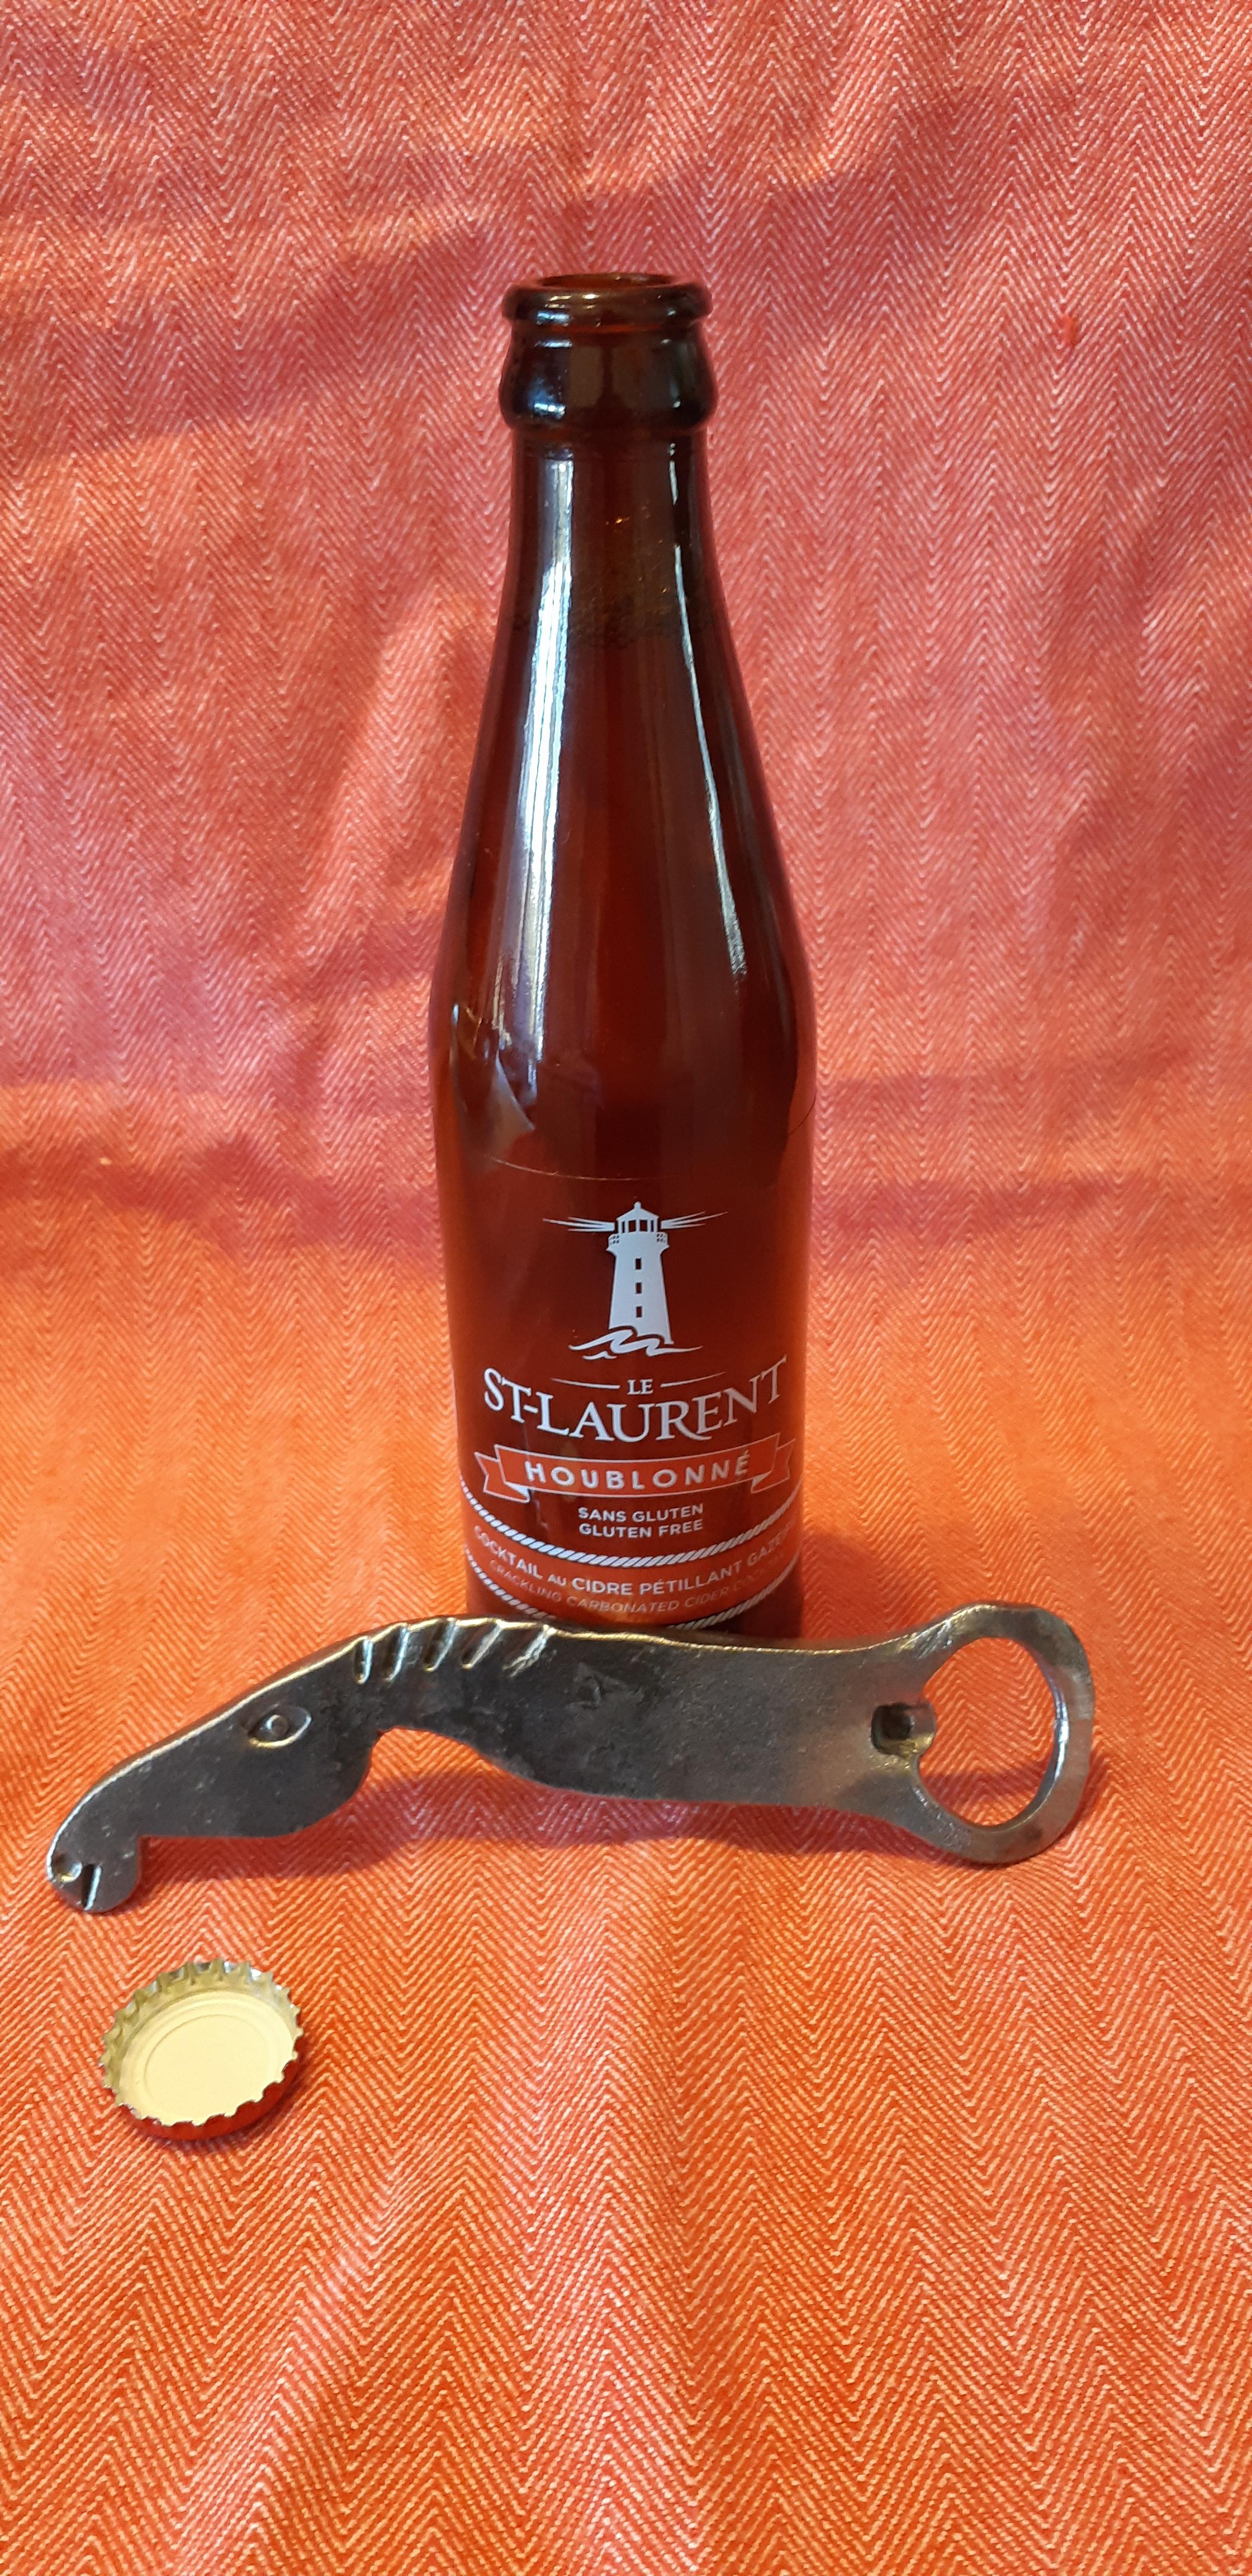
No cerveza for me, that was a bottle of cider.
")
-
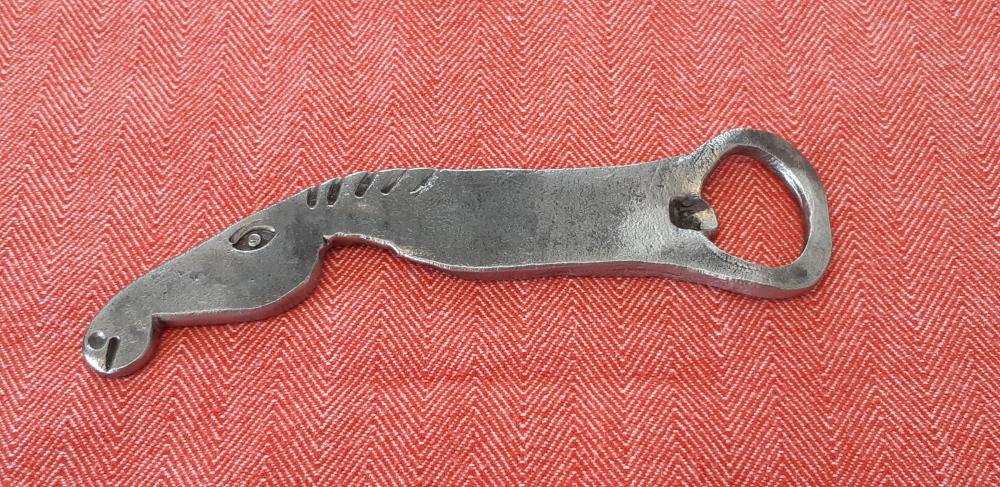
My first bottle opener.
It works!
-
7 minutes ago, Chris C said:
Arthur, that really looks clean....................but an "ear-less" horse?????
Indeed, I forgot about the ears. Next time!
26 minutes ago, jlpservicesinc said:Looks good.. Your way ahead of me.. I've never made one..
Nice work.
Thanks for the compliment. But I've seen your work, jlp, and you're far ahead of me in a lot of other items!
-
First bottle opener with first horse head.
Haven't tested it yet; I plan to do so later today.
-
I was able to spend a few hours in the shop this morning. Finished a few punches: 2 eye punches. 1 square punch and 2 ball punches (to make the eye punches and other texturing). All from a small coil spring. I also made 2 drifts from a 3/4" diameter length of unknown steel (sparked like medium carbon to my admittedly novice eye).
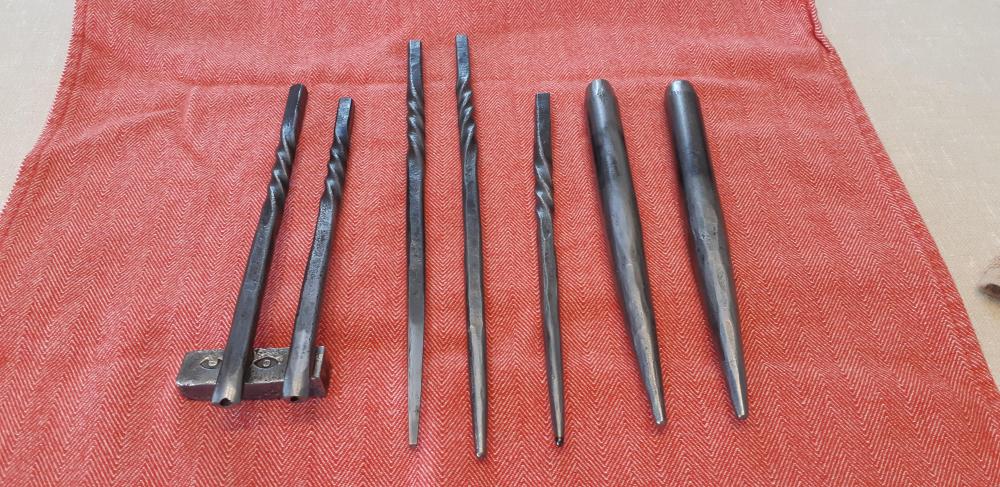
First time.I make eye punches. Figured I'd make 2 different ones. One has a centered pupil while the other one is offset as if partly hidden by the eyelid (for an angrier/more aggressive look). Had to try them out eben though I was winding down, so I heated up a small piece to do so.
-
On February 13, 2020 at 7:39 AM, blacksmith-450 said:
tu as acheté l'enclume de Stéphane ? Lui as tu pris d'autres outils ?
Non, j'ai cette enclume depuis presque 3 ans.
-
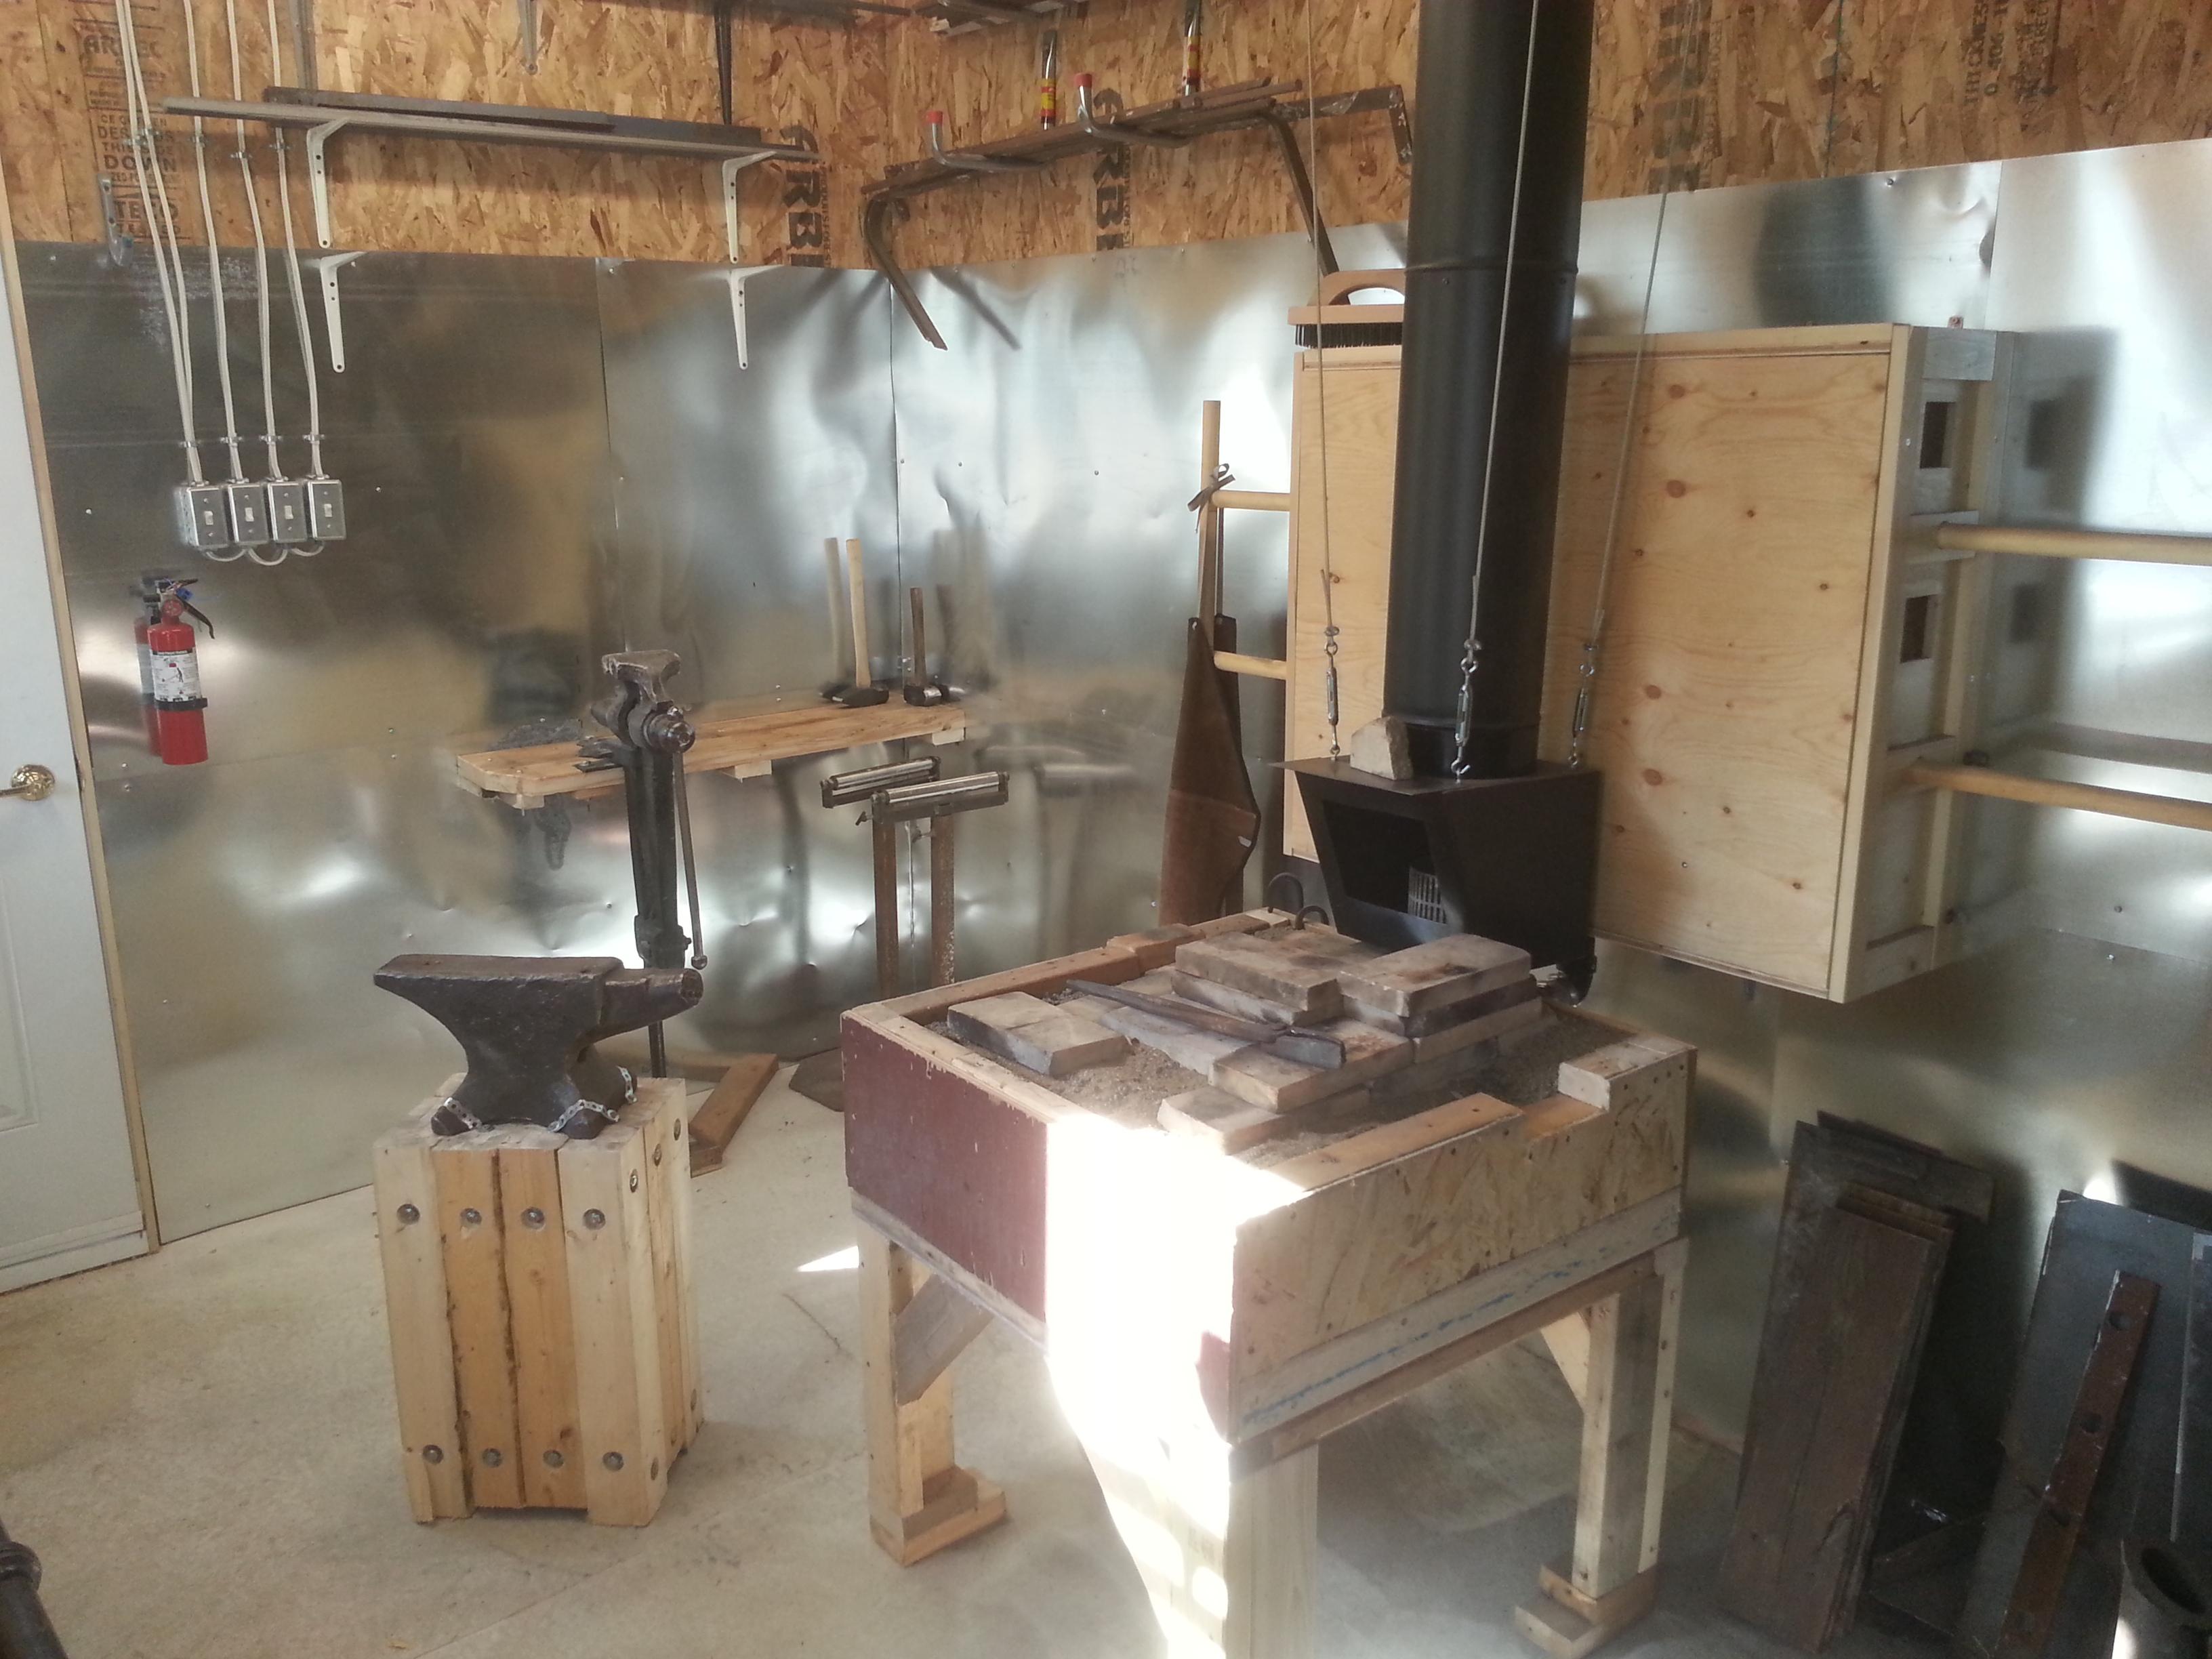
I was able to sneak out tothe shop this evening for a little time in the shop. Couldn't work hard, since I hurt my shoulder a month ago (tendinitis) and am still recovering.
Cleaning up stumps for secondary anvil and tool mount.

-
It looks large but it is only 10" wide. I used the increased height to compensate and still get a decent inside volume. I get a bit over 2 cubic feet of air for each one-way movement of the piston.
-
-
Box bellows are great sources of air. When I made mine, I went with the handle oriented vertically and mounted it higher. I find it a more natural position for the arm and shoulder. Just hold my hand up and grab the handle. It also allows me to just lean into and away from the bellows to pump it.
Great set up. Well done.
-
Just arrived...
-
Yesterday was moving day for a lot of people in Quebec, so I went around my neighbourhood and recovered 4 metal bedframes.
-
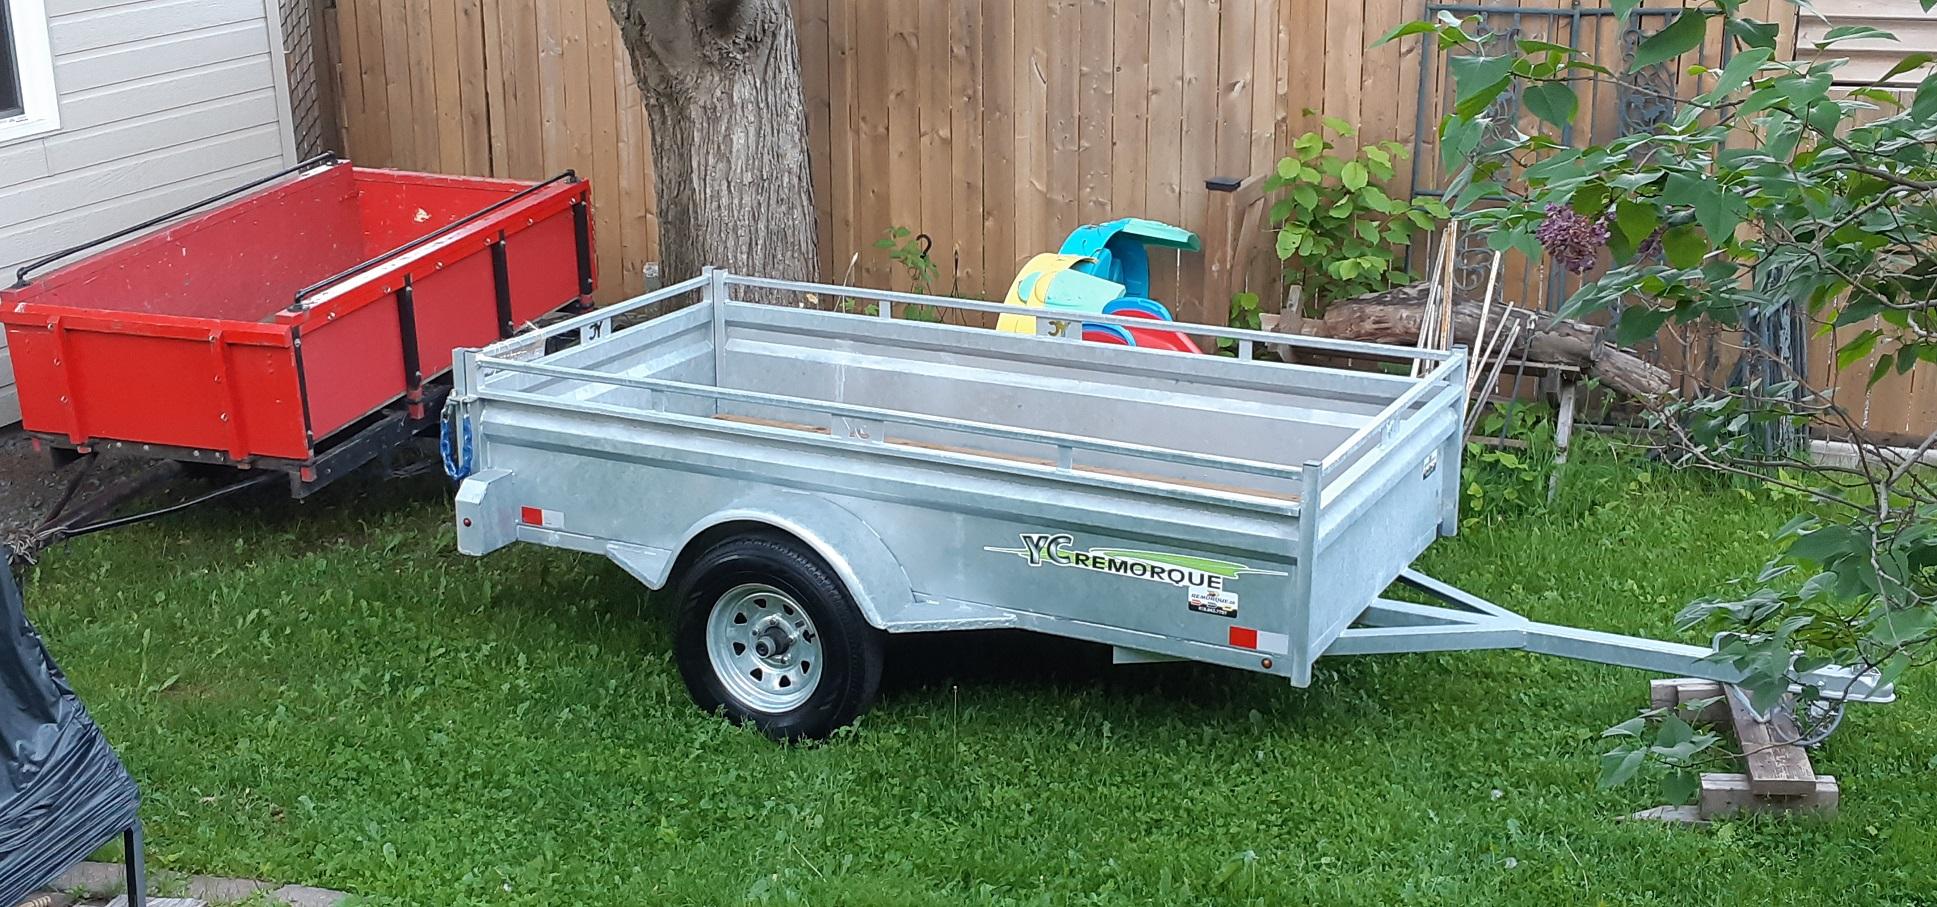
Literally followed me home... new trailer, 50" x 97" and 2000 lb load capacity.
You can see my previous trailer on the left. The new one has about 2.5x the volume and 4x the load.

-
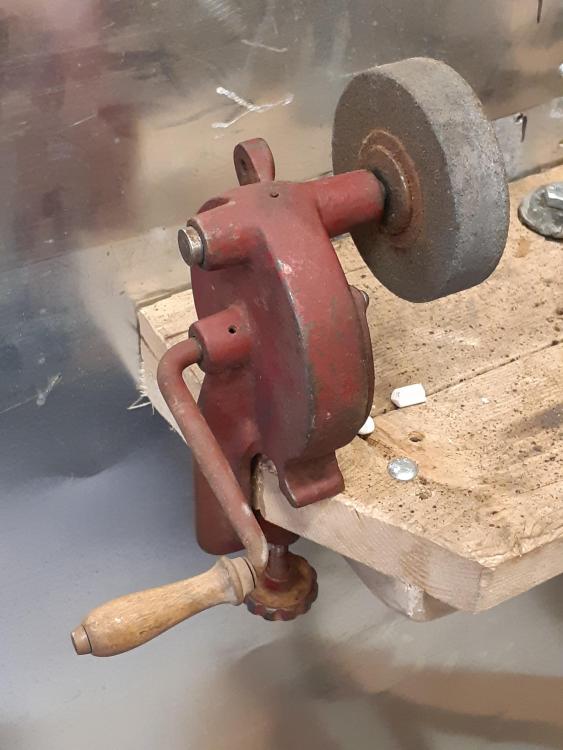
This one sounds fine. Smooth turning and a bit of noise from the gears at higher speed, but I think that's normal for these. I may have to add some oil or grease in it, I haven't had time to inspect it more closely to determine which.
-
A small manual grinder. Announed on Facebook locallu (less than 10 min drive). At $5 it was a an easy decision and will be useful for my portable setup.
It turns smoothly. Any advice on how to clean up the stone?
-
Hi Frosty! Indeed, I'm aware that the pot won't last forever and will burn out eventually. It will be interesting to see how long it lasts, considering that I spend less than 10 hours a week at the forge.
If it lasts a year I will consider it worth my time. Most of my forge sessions are about 2 hours, so the 5 minutes I spend reshaping the dirt before lighting up the forge, plus sorting out pieces of vitrified sand out of the charcoal, may make the steel pot a big plus. Or not. Time will tell!
Note that the steel is from the inner wall of a wood stove I cut apart, so I strongly suspect it is not mild steel (methinks it sparks too much for that). This may increase its resistance.
-
Well made Fowllife, looks like professional-quality work to me!
-
Hi Laynne!
Consumption is pretty much the same as a JABOD bowl of the same volume.
The main problem with the JABOD is that every time you use it, you tend to enlarge the depressinon in the dirt when moving the coals around. So if you are not careful and don't restore the bowl into shape, it grows and you end up consuming more charcoal. The steel pot solves that.
The other advantages of the steel pot is in the ease of cleaning and lack of vitrified clay/sand mixing up with the coals. At the end of my forging sessions, I shovel my hot charcoal into a cast iron pot with a lid that I leave outside the shop to cool (lack of oxygen and cold put it out and I can use it next time). This is quicker and easier with the steel pot, with its smooth sides. And I have no clinker mixed with the charcoal.
Essentially, I used the JABOD to experiment with the size and proportions of my bowl, and used that as a pattern for by steel pot.
Cheers,
Arthur -
Made the adjustment to my fire pot, lowering the short sides by about 1". I kept the long sides higher, as this will help keep the charcoal contained.
I tested it again and it's now at a good height, with the steel sitting right at the top of the fireball.

Last step will be to weld a flange around the pot. This will make it easier to push back the hot coals into the pot.
-
Full testing performed earlier today, and as I suspected the pot is a little too deep. I needed to either pile up more charcoal and pump more air than usual, or angle my steel down.
This will be easy to fix, by simply shortening the side of the pot. I will be doing that tomorrow.
-
Box bellows, about 2 cubic feet of air with every full single movement of the piston. The pipe is 1" diameter.


It followed me home
in Blacksmithing, General Discussion
Posted
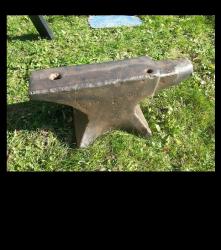
Improvised anvils, not ASO.
An Anvil-Shaped Object is something that *looks* like an anvil, but doesn't perform as one.
Have fun,
Arthur